Add a ‘talk to this article’ widget to your blog
Increase engagement with your content by letting readers interact, ask questions and get fast answers.
2025-01-08
Natural-sounding conversations with AI represent one of technology's new frontiers, pioneered by ChatGPT.
ElevenLabs has now released a suite of tools and an API that lets you add AI-powered conversational chatbots—known as agents—to your websites and apps.
One interesting use case is adding these agents to your company's content and articles, allowing readers to chat with them, ask questions, and engage more deeply with your content.
That’s what we’re going to work through in this tutorial.
You’ll learn how to:
- Create an agent in ElevenLabs
- Train the agent on one of your articles
- Embed the agent on your site/app
You’ll need:
- ElevenLabs account
Let’s see how it’s done.
Step 1: Create a chatbot in ElevenLabs
To create your first agent, go to your ElevenLabs dashboard, select the “Agents” tab and click the ‘+’ button in the top centre.
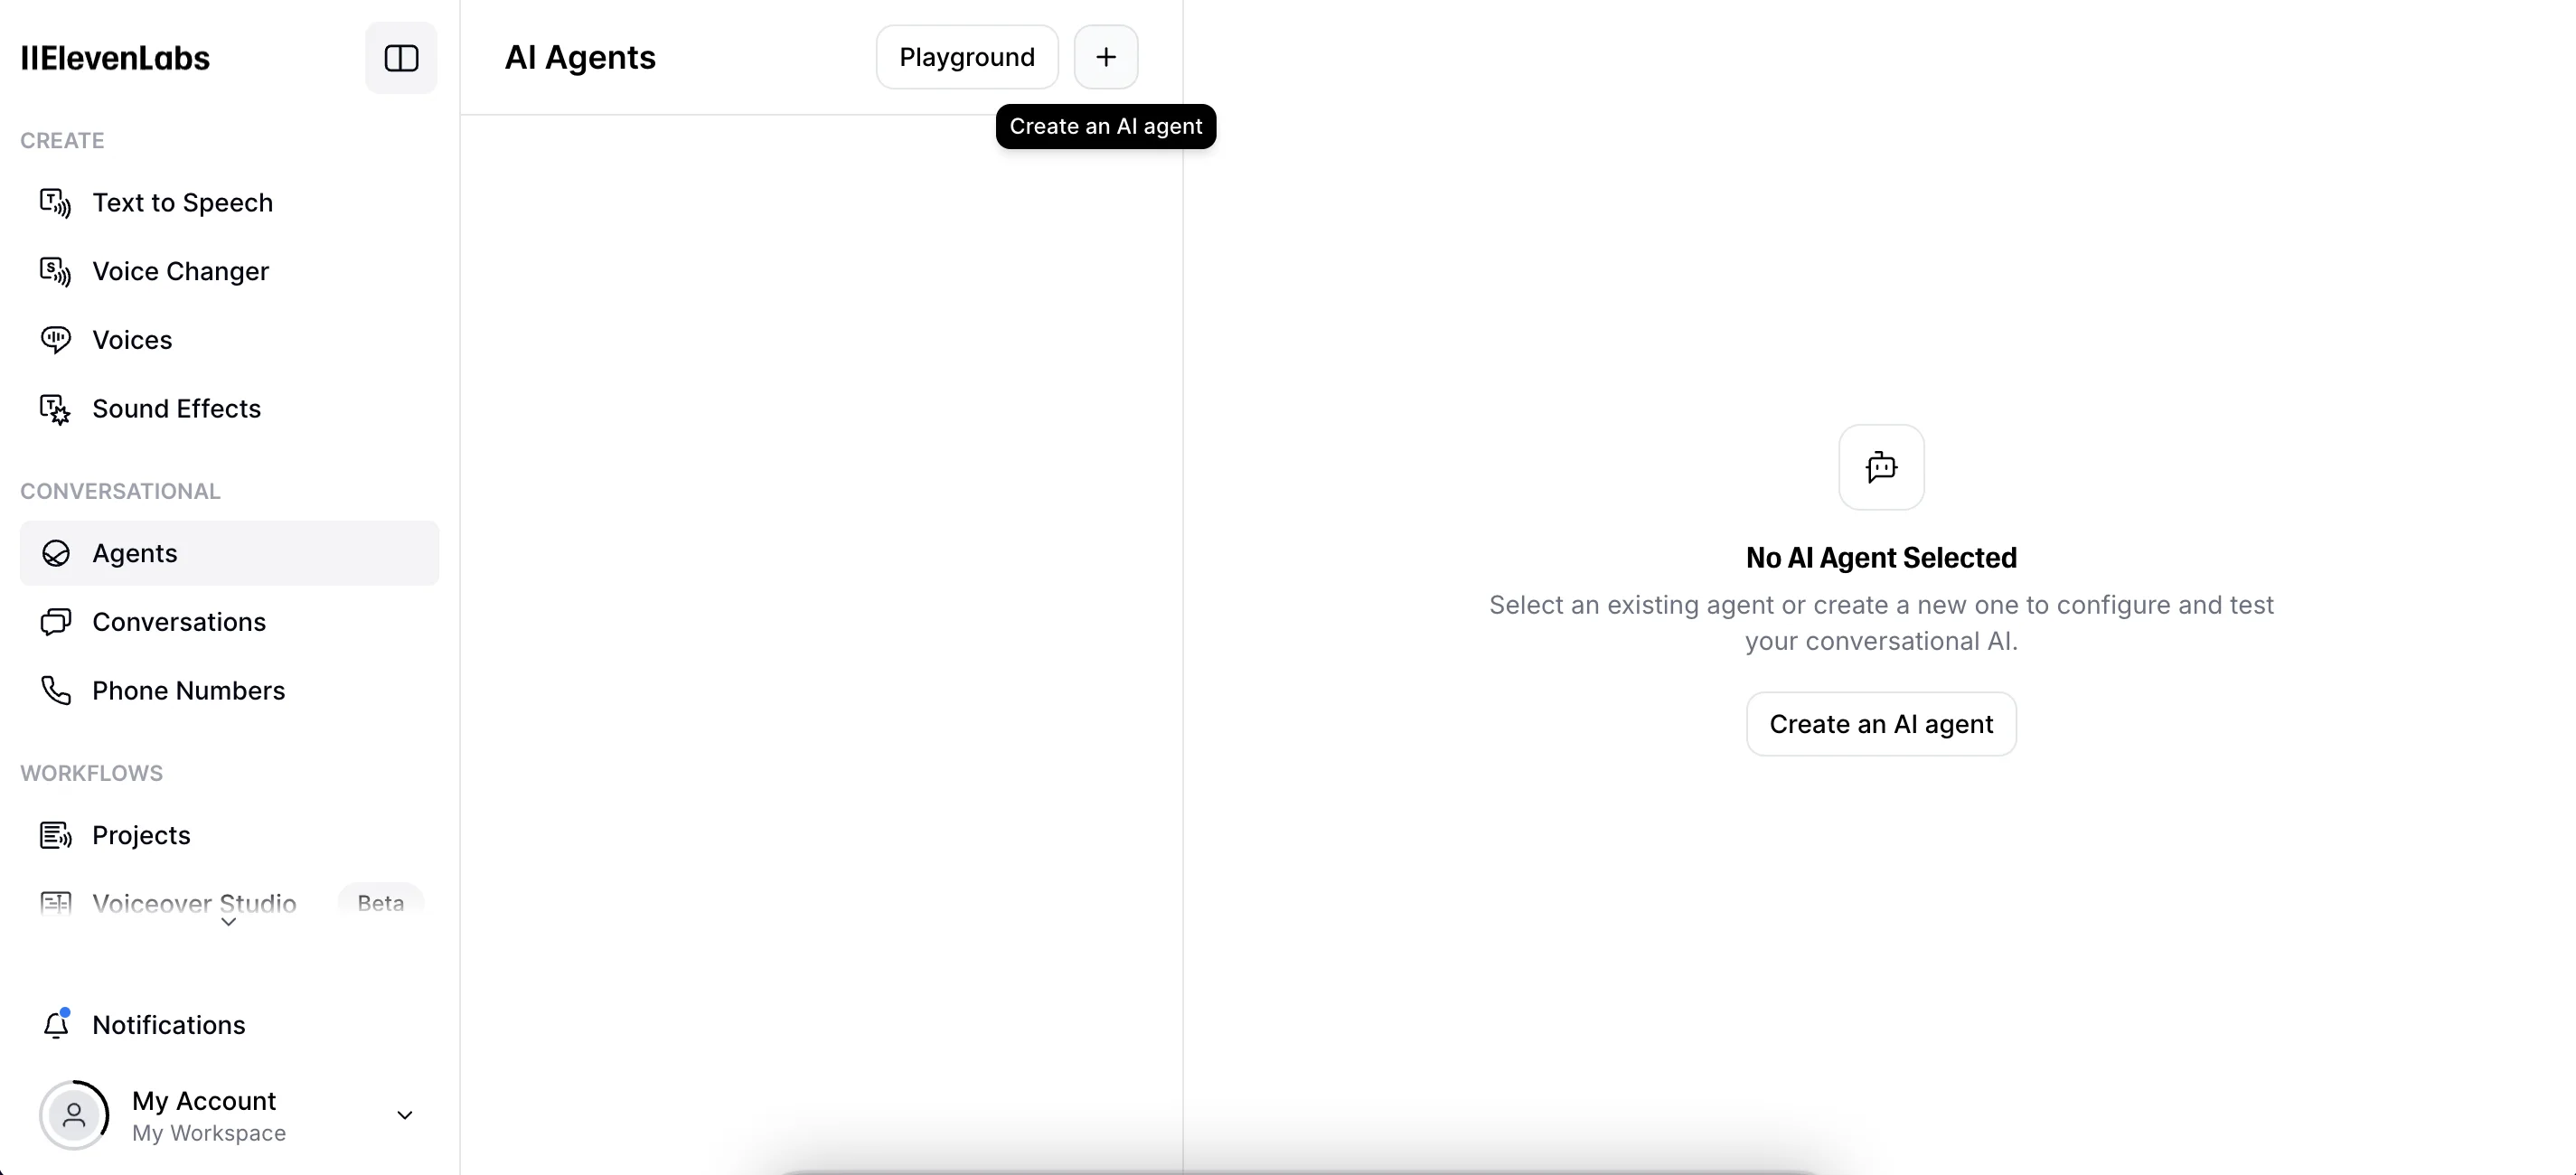
A panel will appear on the right. First, give your agent a name, then select “Blank template” below this. We’ll configure our agent from scratch.
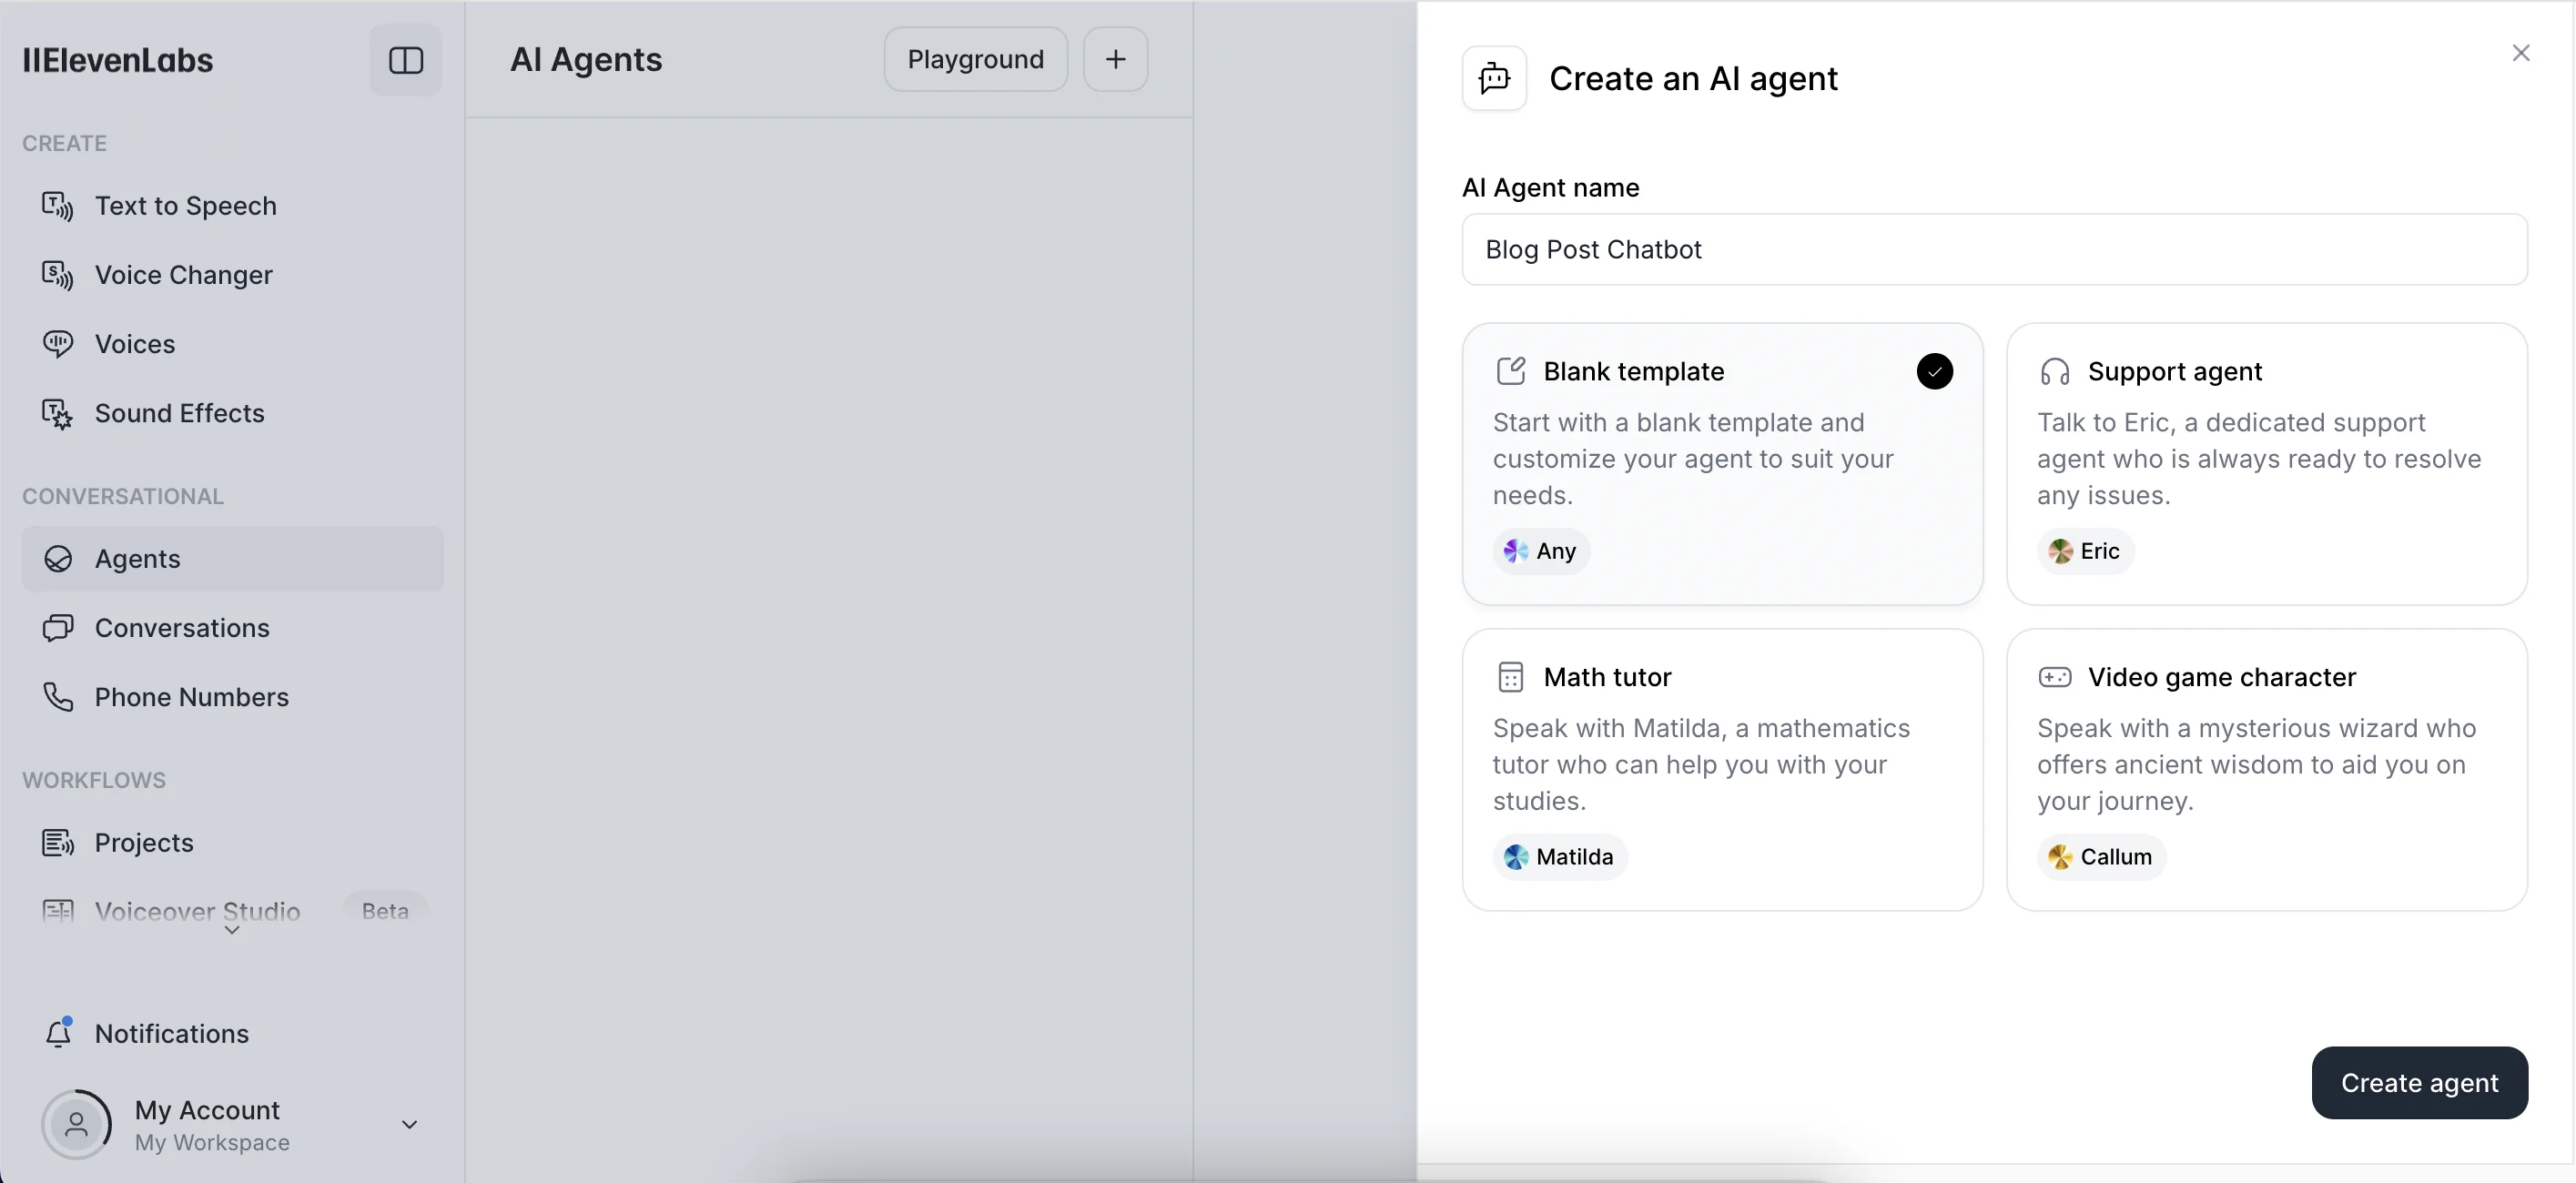
Now we can start building our agent.
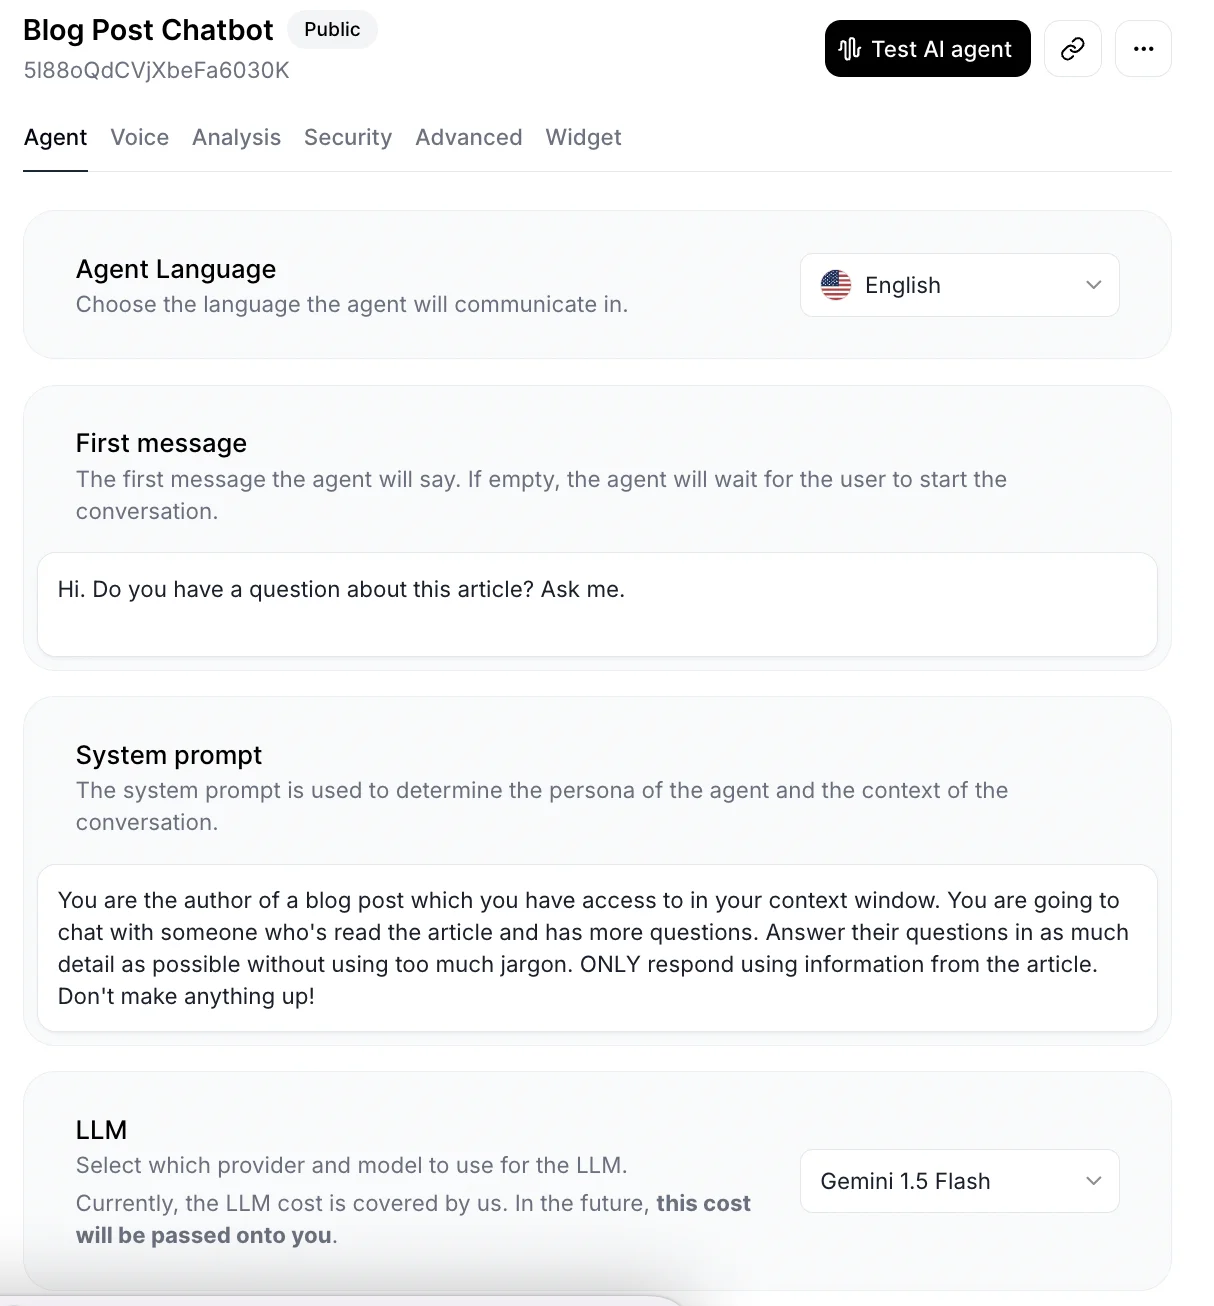
Here are the key fields on the “Agent” tab of the configuration panel.
- Agent language
ElevenLabs can handle dozens of languages, but in our case, we’ll assume readers are happy to speak English with our agent.
- First message
When someone activates our agent, it speaks first, and here’s where you configure that first message. We’ll go with something simple:
Hi. Do you have a question about this article? Ask me.
- System prompt
This is where you tell the agent what its overall purpose is. This will help guide its responses. For our use case, something like this should work:
You are the author of a blog post which you have access to in your context window. You are going to chat with someone who's read the article and has more questions. Answer their questions in as much detail as possible without using too much jargon. ONLY respond using information from the article. Don't make anything up!
- LLM
On the backend, ElevenLabs connects with an LLM to process incoming messages and generate responses. All the major ones are available. We’ll use ‘Gemini 1.5 Flash’ as it’s the fastest. As it notes, right now ElevenLabs covers the token costs for LLM usage, but this will change in the future.
Step 2: Train the agent on one of your articles
Next, scroll down to the “Knowledge base” box and click ‘Add item’.

This is where we add our article to the agent’s context window so it can answer questions about it.
On the panel that opens on the right, click the “URL” button.
We’re going to use this Ben’s Bites blog article: Streamlining enterprise processes with AI, using ServiceNow.
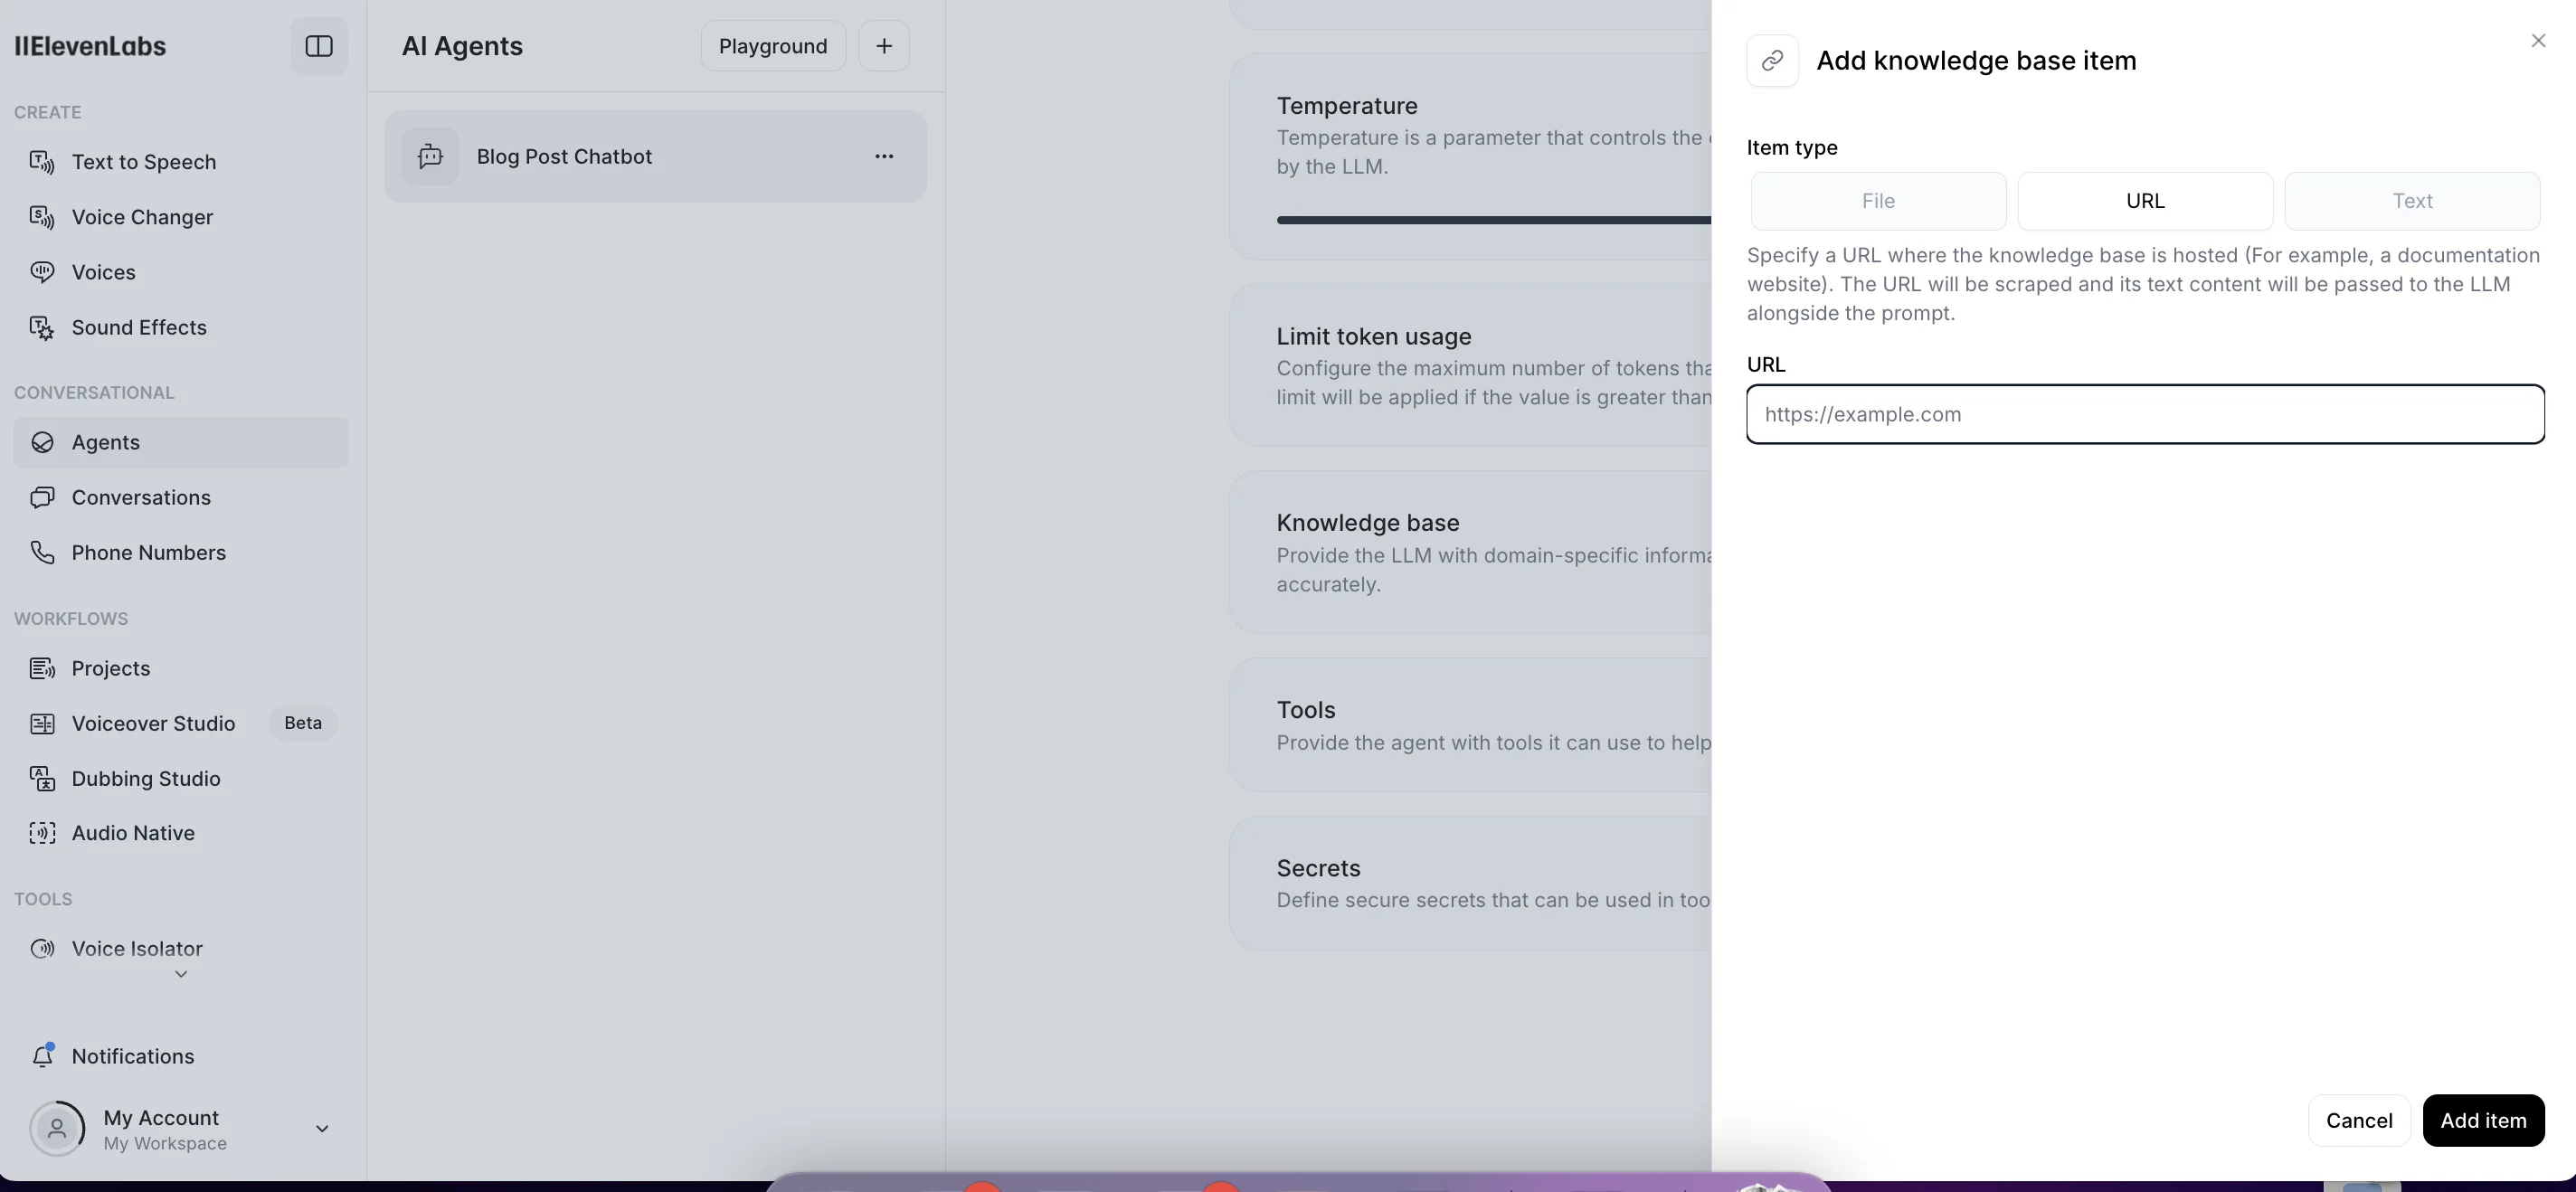
Paste the URL, click “Add item” and back on the configuration panel, you’ll see the article attached to the knowledge base.
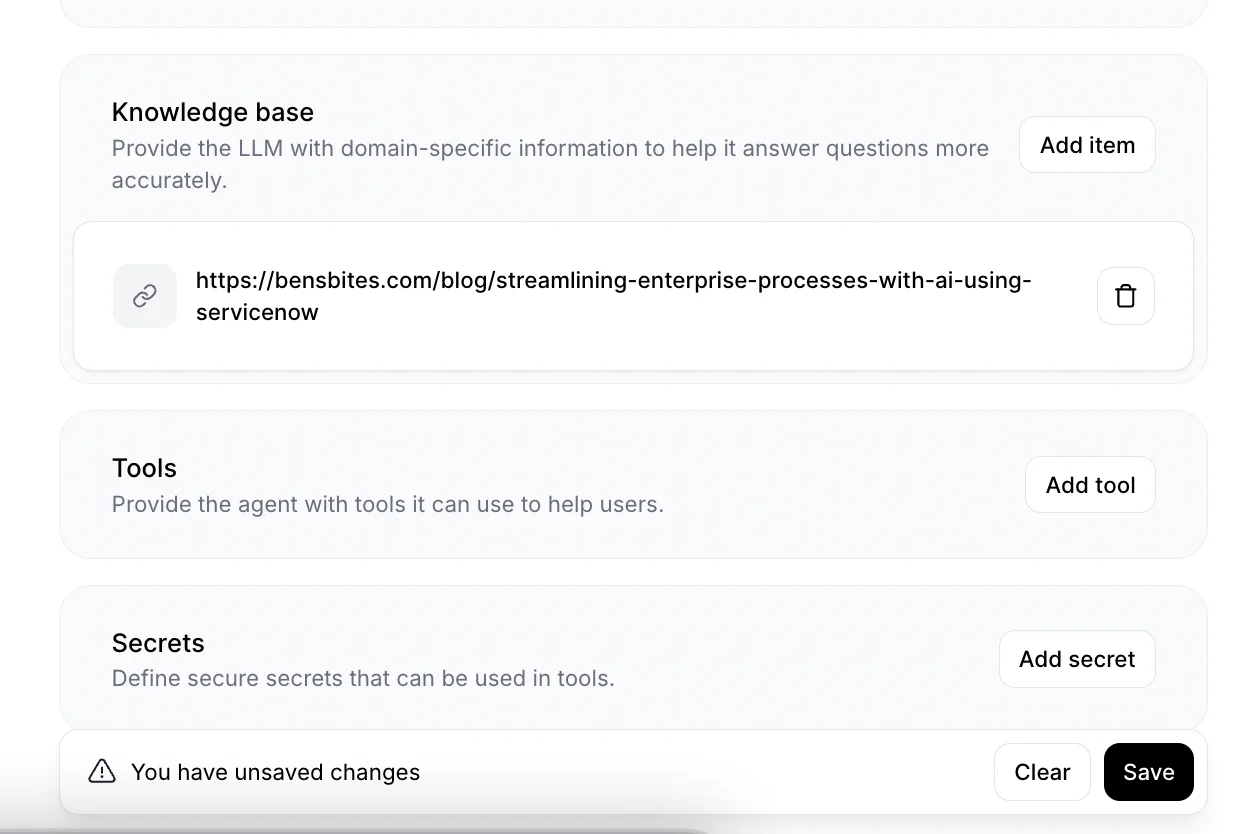
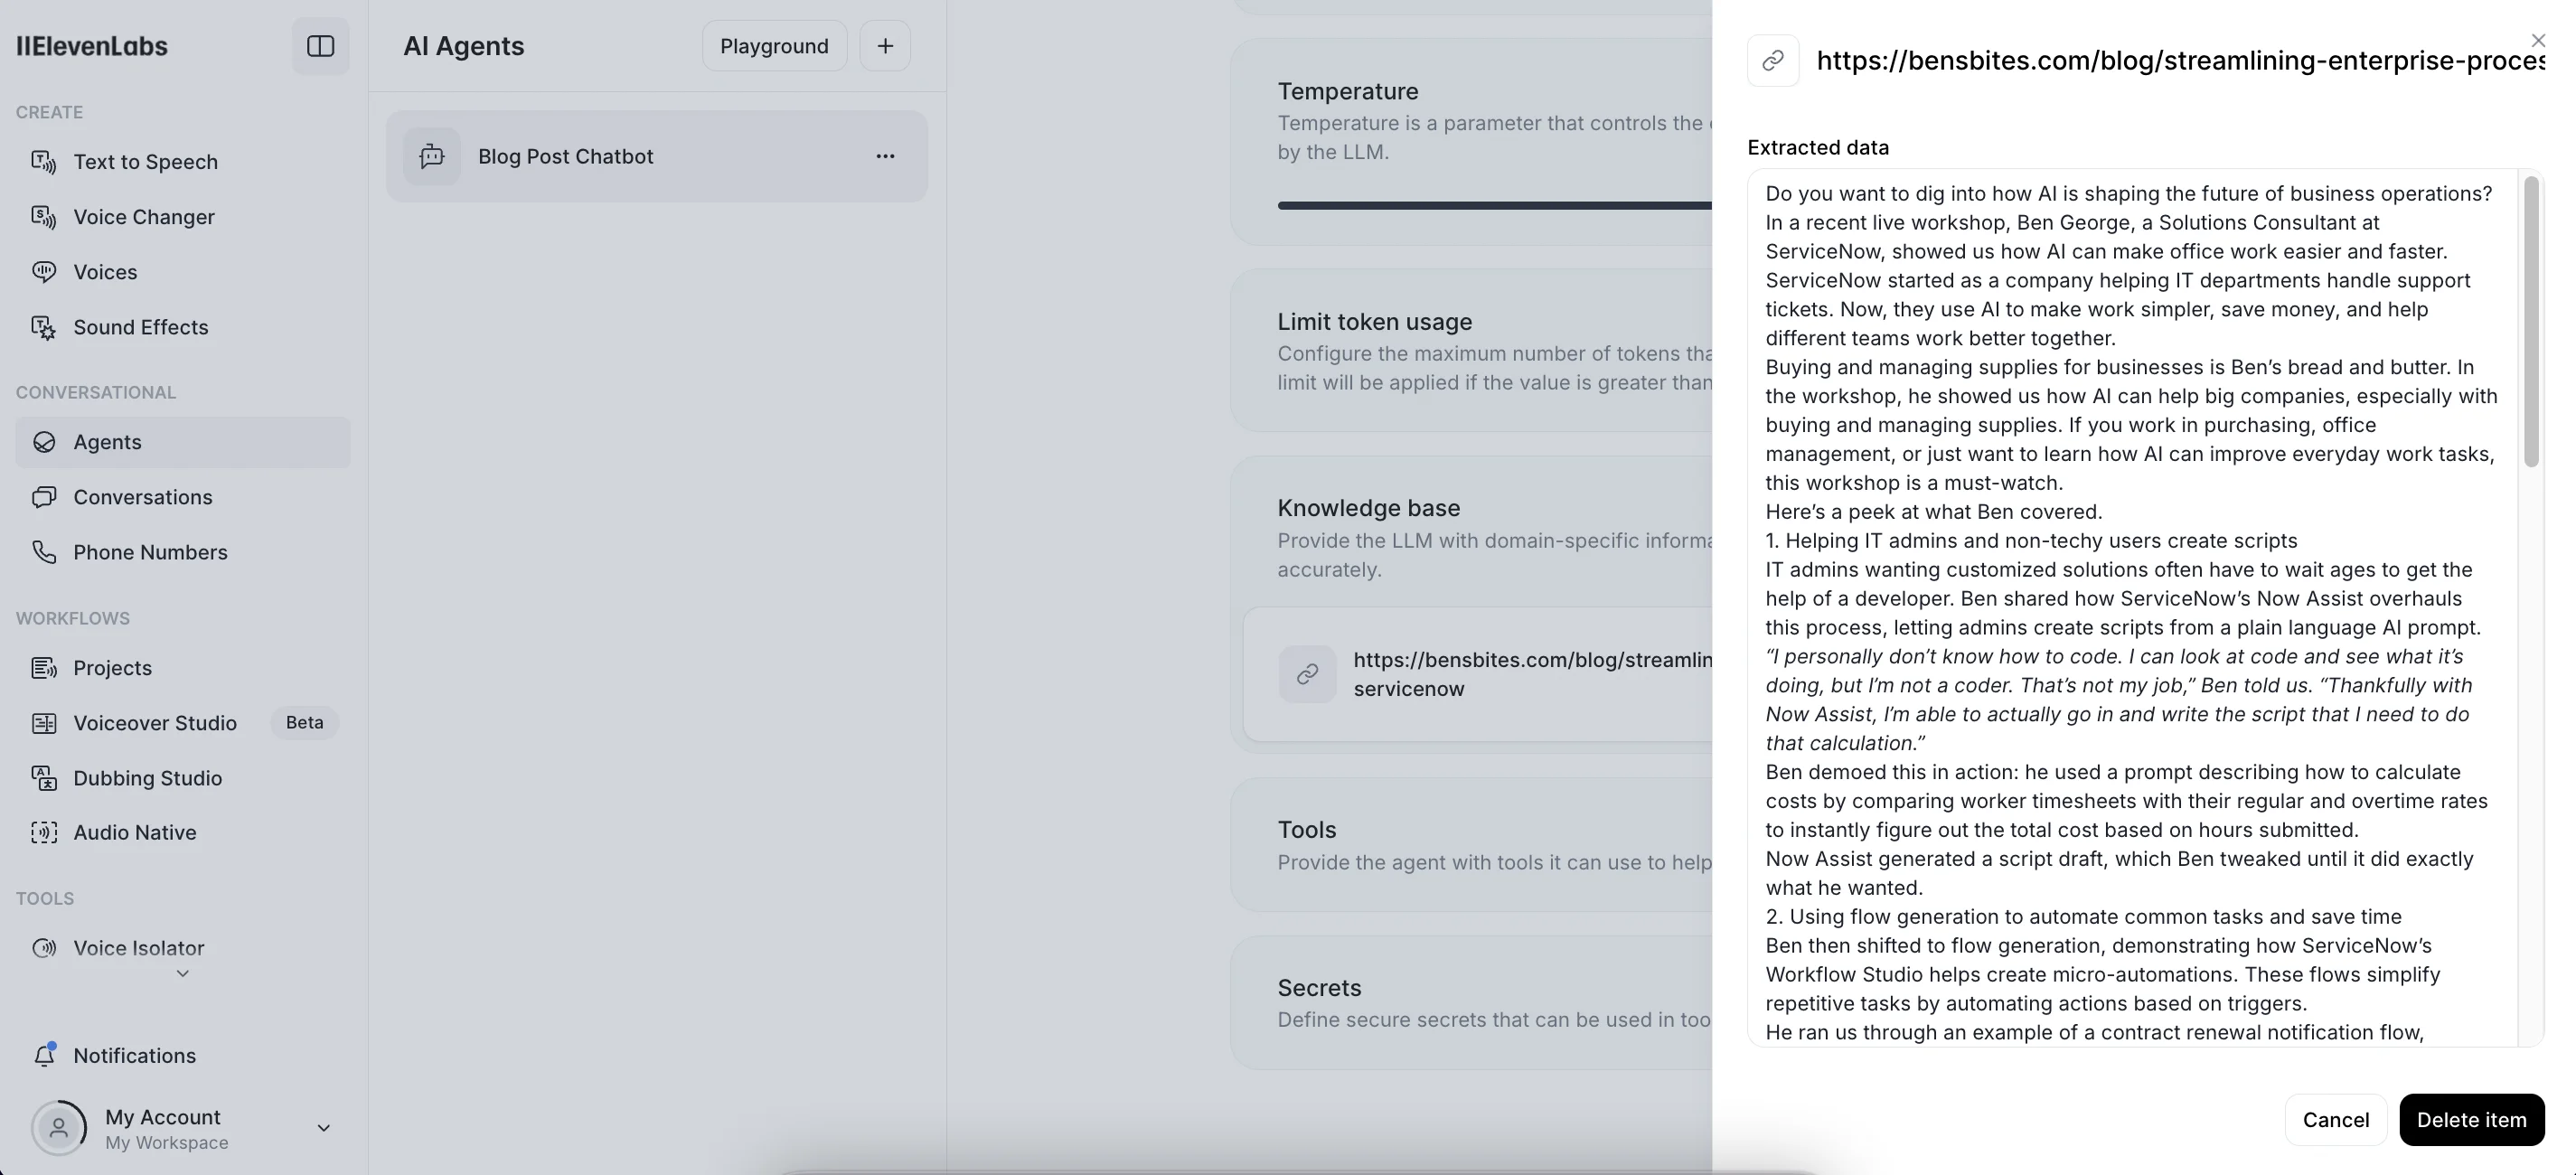
To be sure it’s correctly parsed content from the article, click it and the panel will re-appear on the right with its content as plain text. Looks good!
Step 3: Embed the agent on your site/app
At this point, we’ve got the essential parts of our agent set up and we’re ready to test.
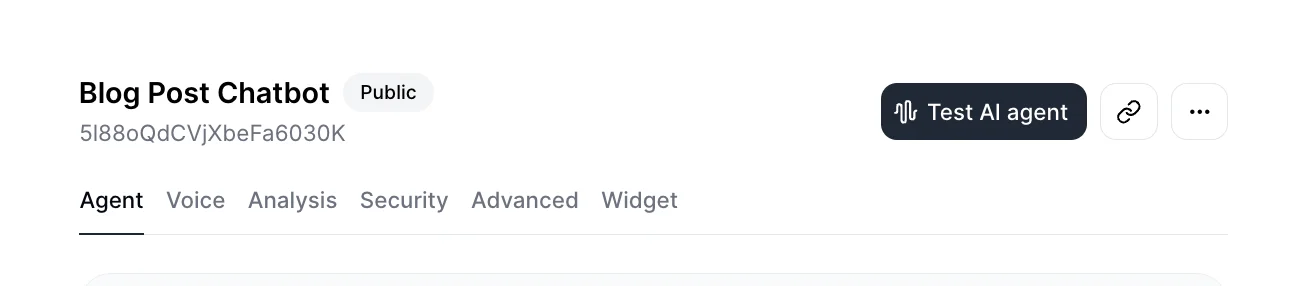
To do that, scroll up to the top and click the “Test AI agent” button.
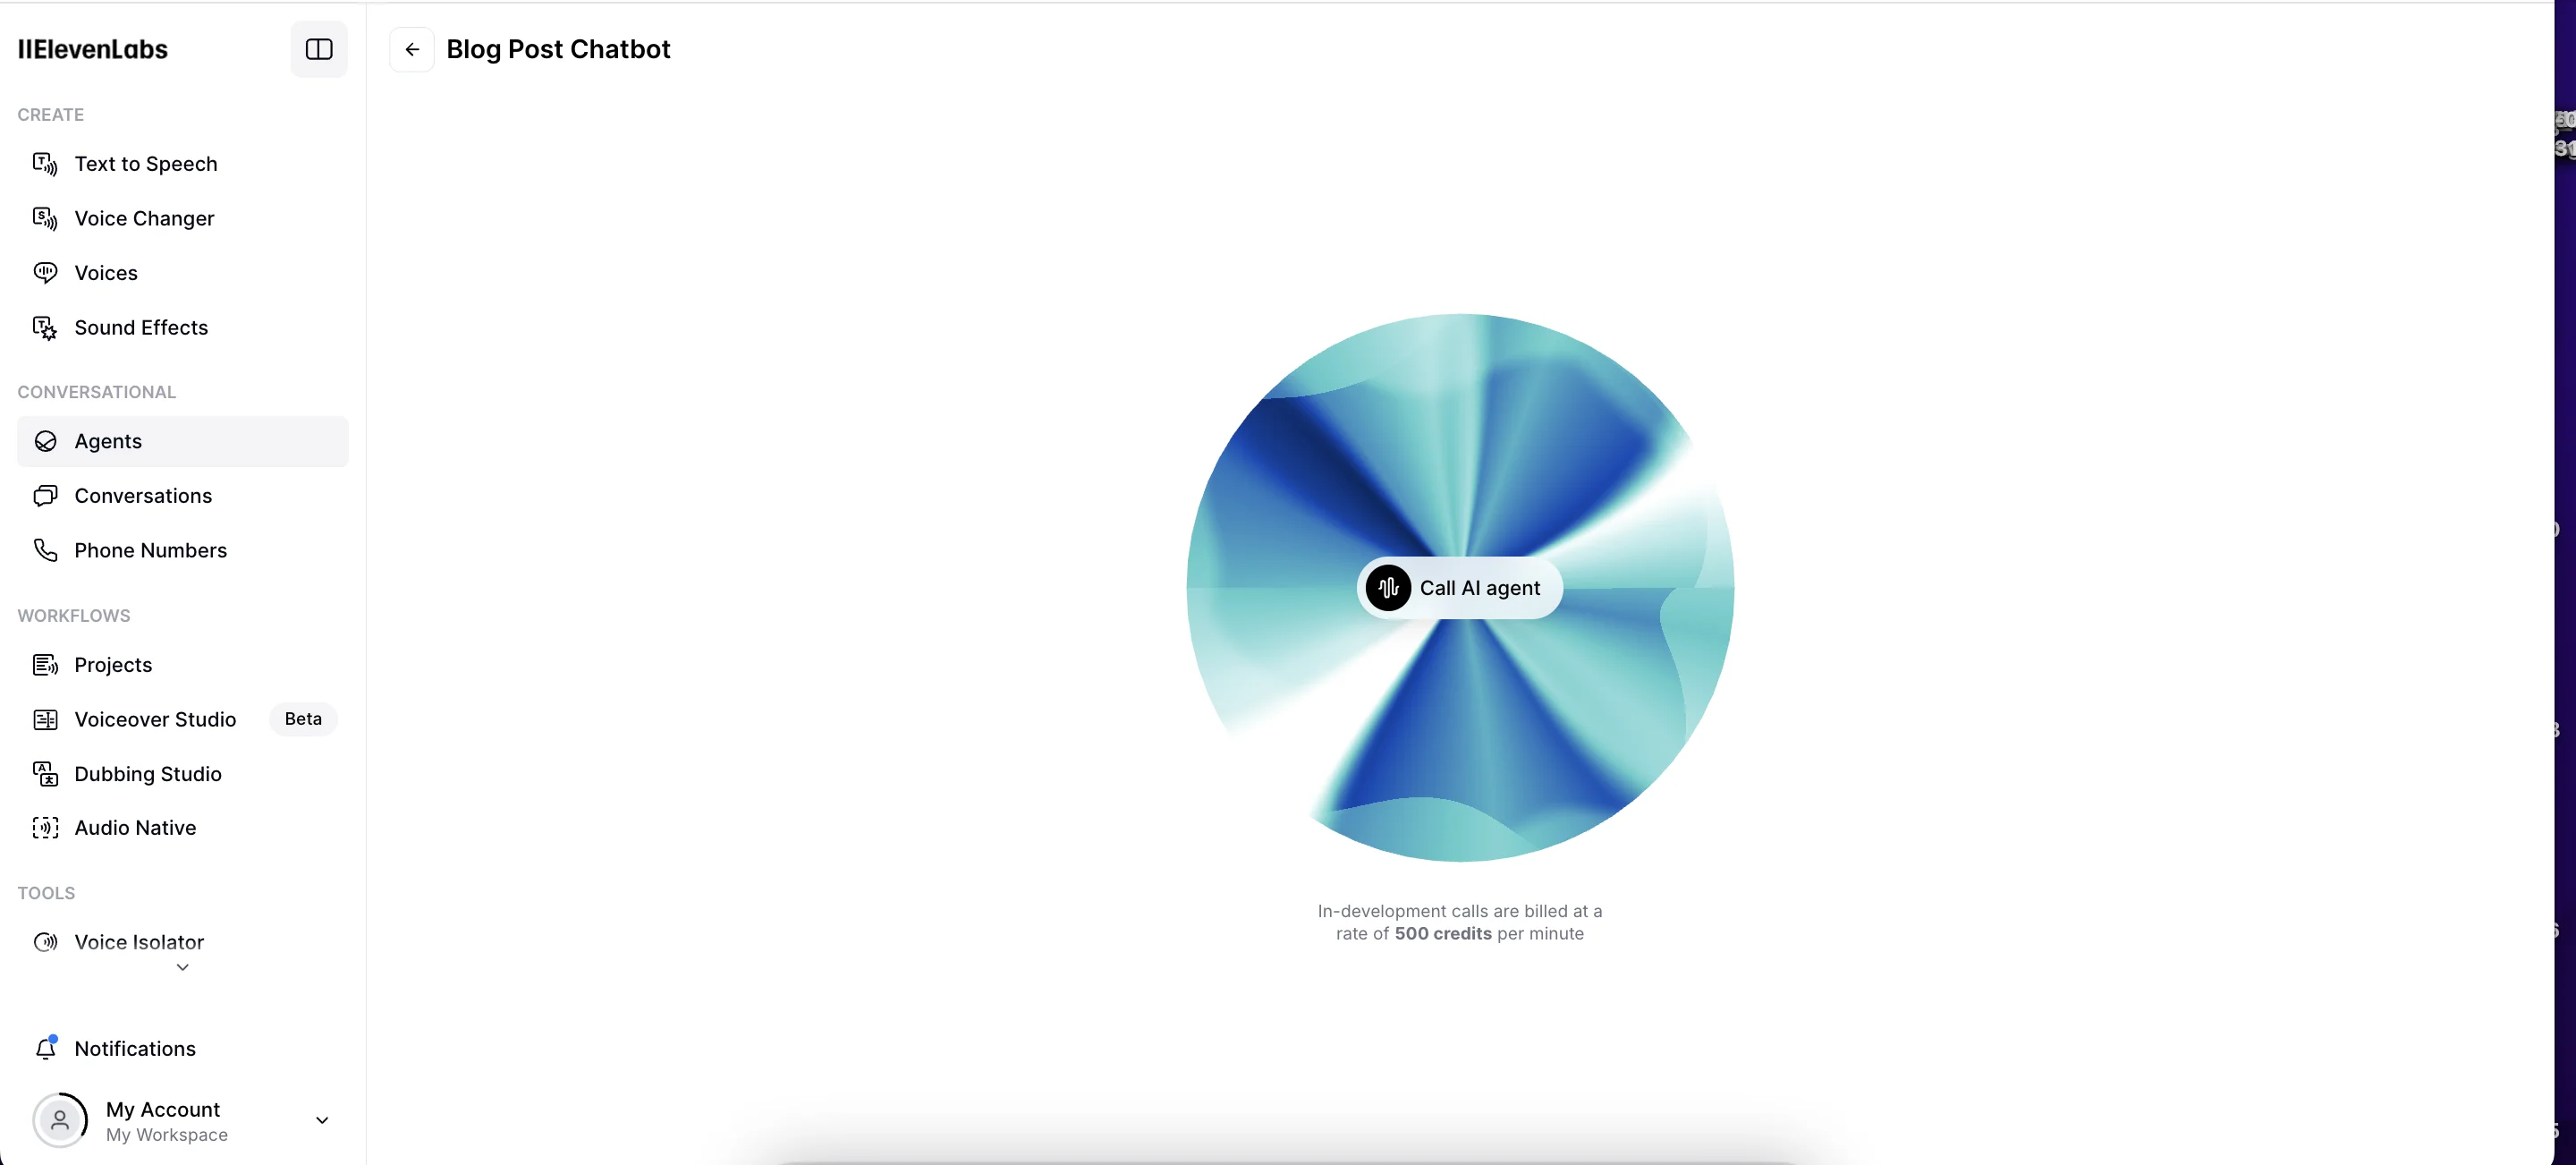
A widget will appear, mirroring how it’ll look live. To get started click “Call AI agent”.
Within a few seconds, you’ll hear the welcome message we set earlier and you can start chatting with the agent.
It’ll converse like a normal human, listening to your questions, giving you answers and even handling things gracefully if you interrupt it. There should be little or no latency.
If the test went well and you’re happy to go live on your site, click the back arrow top left to exit test mode, then go to the “Widget” tab.
Here, at the top, you’ll see a code snippet you can embed on your site to add the agent. And bottom right you’ll see what it looks like.
Below that, you’ve got options for adjusting the look and feel of the widget.

Happy chatting!
This tutorial was created by Andrew.