Add AI-generated audio to your projects
Use ElevenLabs to convert text to speech, generate sound effects and translate audio into 29 different languages.
2024-11-13
AI tools have risen in prominence largely due to text-based LLMs and their impressive capabilities (e.g. ChatGPT). As such, text-based workflows dominate much of the AI discourse, but other AI modalities, like image, video, and audio generation are fast becoming high-quality and extremely powerful.
In this tutorial, we’ll walk through some helpful AI audio-generation workflows with the platform ElevenLabs, a leader in the AI audio space. You’ll learn how to use their text-to-speech model to:
- Convert blog posts into podcasts
- Generate sound effects from prompts for videos
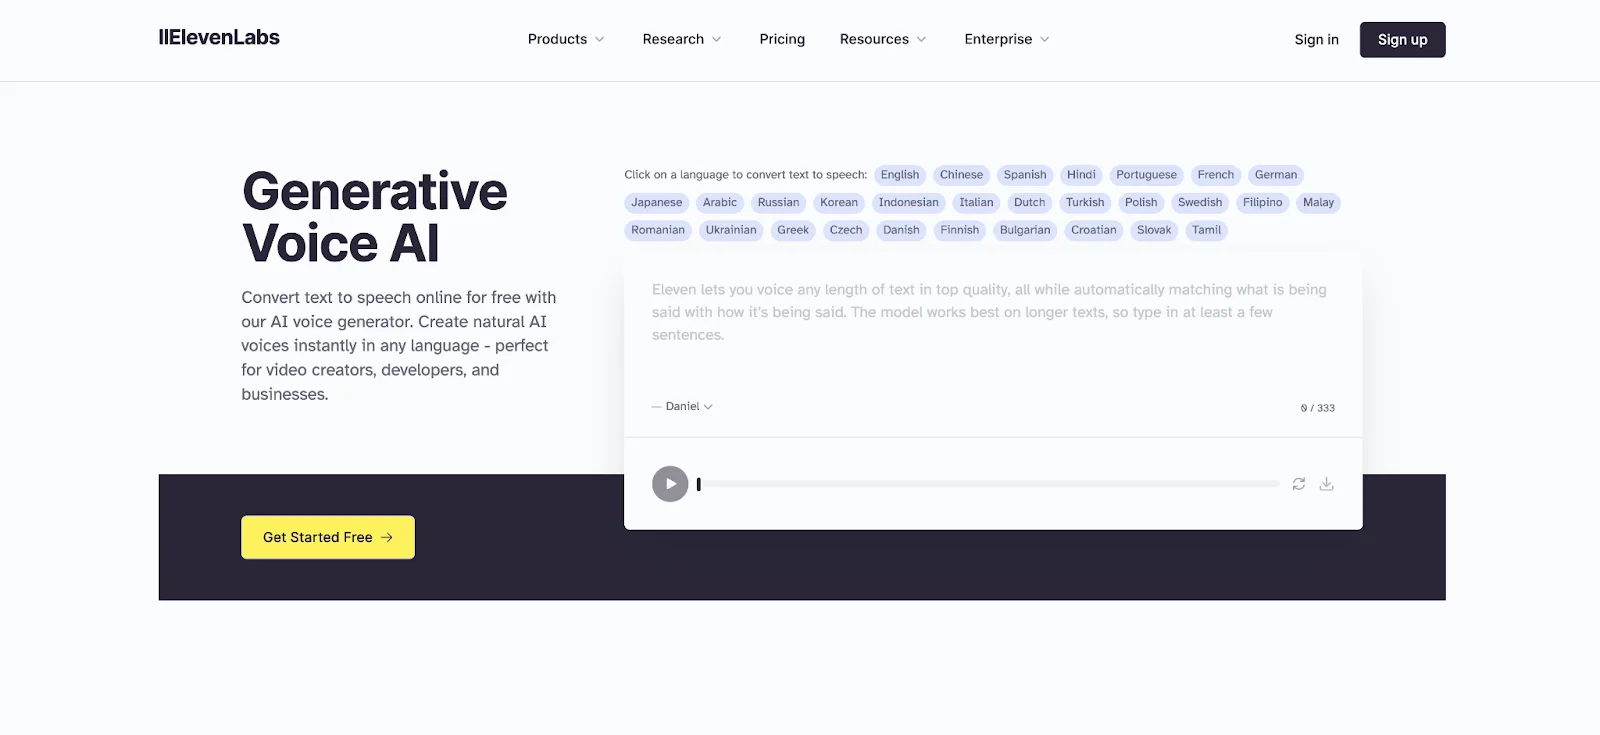
- Translate your audio and video content into 29 different languages with AI dubbing
You’ll need:
- ElevenLabs account
Use text-to-speech to convert blog posts into podcasts
To get started, go to ElevenLabs and create a free account. There are paid plans available, but for this tutorial, you’ll be able to do everything with a free account.
Once you’ve made an account, navigate to the Speech tab in the top left corner of the screen. This feature will allow us to write text and convert it into speech using pre-made ElevenLabs voices.

In the text box in the center of the screen, drop in some sample text, or a full blog post. For our example, we’re going to copy and paste some text from a Ben’s Bites tutorial.

You can toggle through different voices in the bottom left corner of the window. In this example, we’re using the “Clyde” voice.

In addition, you can click the Settings button to dial in various settings of the voice, including the Model, Stability, Similarity, and Style Exaggeration. For our example, we are going to leave the Settings to the default.

Once you’re happy with your voice, you can click the Generate Speech button on the main screen and a bottom bar will appear with the text-to-speech audio.

You can download the audio file by clicking the download button in the bottom right corner of the window, which will download an MP3 file of the audio.

Generate sound effects for videos
The next feature we’ll walk through is ElevenLab’s Sound Effects. To get to the Sound Effects feature, click on the Sound Effects tab in the left-side navigation.

Similar to the text-to-speech module, you can click the Settings button to dial in the settings of the sound effects, including the Duration and Prompt Influence. The Prompt Influence is the level of creativity or determinism you allow within the AI generation process. In our example, we’ve set the Prompt Influence to be more creative, which is the default setting in ElevenLabs.

Now for the fun part, to create your sound effects, you can select a pre-made example provided by ElevenLabs or type in your own prompt and click the “Generate sound effects button”. In this example, we’re going to generate the sound of waves crashing against rocks.
Sample Prompt:
A wave crashing against rocks.

ElevenLabs will generate four variants of the sound effect, which is helpful, as some might not sound like what you want. You can play each one with the play button and download the ones you want to keep via the download button.

Translate your content with AI dubbing
The last ElevenLabs feature we’ll explore in this tutorial is Dubbing. The AI Dubbing feature allows you to translate your content across 29 languages in seconds with voice translation, speaker detection, and audio dubbing.
To get started, click on the Dubbing tab on the left side navigation.

Once you’re on the Dubbing page, you can name your translation and select both the Source Language and Target Language(s). For this tutorial, we’re going to leave the Source Language to “Detect”, meaning we’ll have the AI detect the spoken language in our file, and we’ll set the Target Language to Spanish.

From there, you can upload or link to your source file. ElevenLabs provides a range of options for linking, including YouTube, TikTok, X, Vimeo, and more. For our example, we’re going to provide a link to a tutorial video from YouTube.

Once your source file is linked to or uploaded, you can click the Advanced Settings toggle below and set some additional parameters, including the Number of Speakers, Video Resolution, Time Range, and Watermark option. We’ve left everything to the Default settings except the time range; we’ve updated it to the first 30 seconds of our video in this example.

Click the Create button and the translation process will begin. Depending on the length of your audio or video file, it will take a few minutes to process. When the process is complete, you’ll see a green “dubbed” status on the file. You can click the View button on the right side to watch or listen to your dubbed audio or video.

It will bring up a player, where you can see the specifications of your dub, play it back, and download it for further use.

This tutorial was created by Garrett.