Animate images with Runway’s Motion Brush
Learn how to use Runway to transform static images into animated short videos.
2024-12-20
Looking to animate your images using AI? Look no further than Runway’s Motion Brush. This tool allows you to paint life into static pictures, creating animations with just a few simple steps.
Whether you're a digital artist, content creator, or just exploring new creative avenues, this tutorial will guide you through the process of transforming your images into animated short videos.
Steps we’ll follow in this tutorial:
- Upload an image
- Paint image areas and define motion settings
- Generate animation and refine motion settings
By following these steps, we’ll go from this still beach image to an animated video of it:

Step 1: Upload an image
To get started, go to the Runway website and create a free account.
.webp)
Then, click the “Text/Image to Video” tab under the Tools section in the left-side navigation.
.webp)
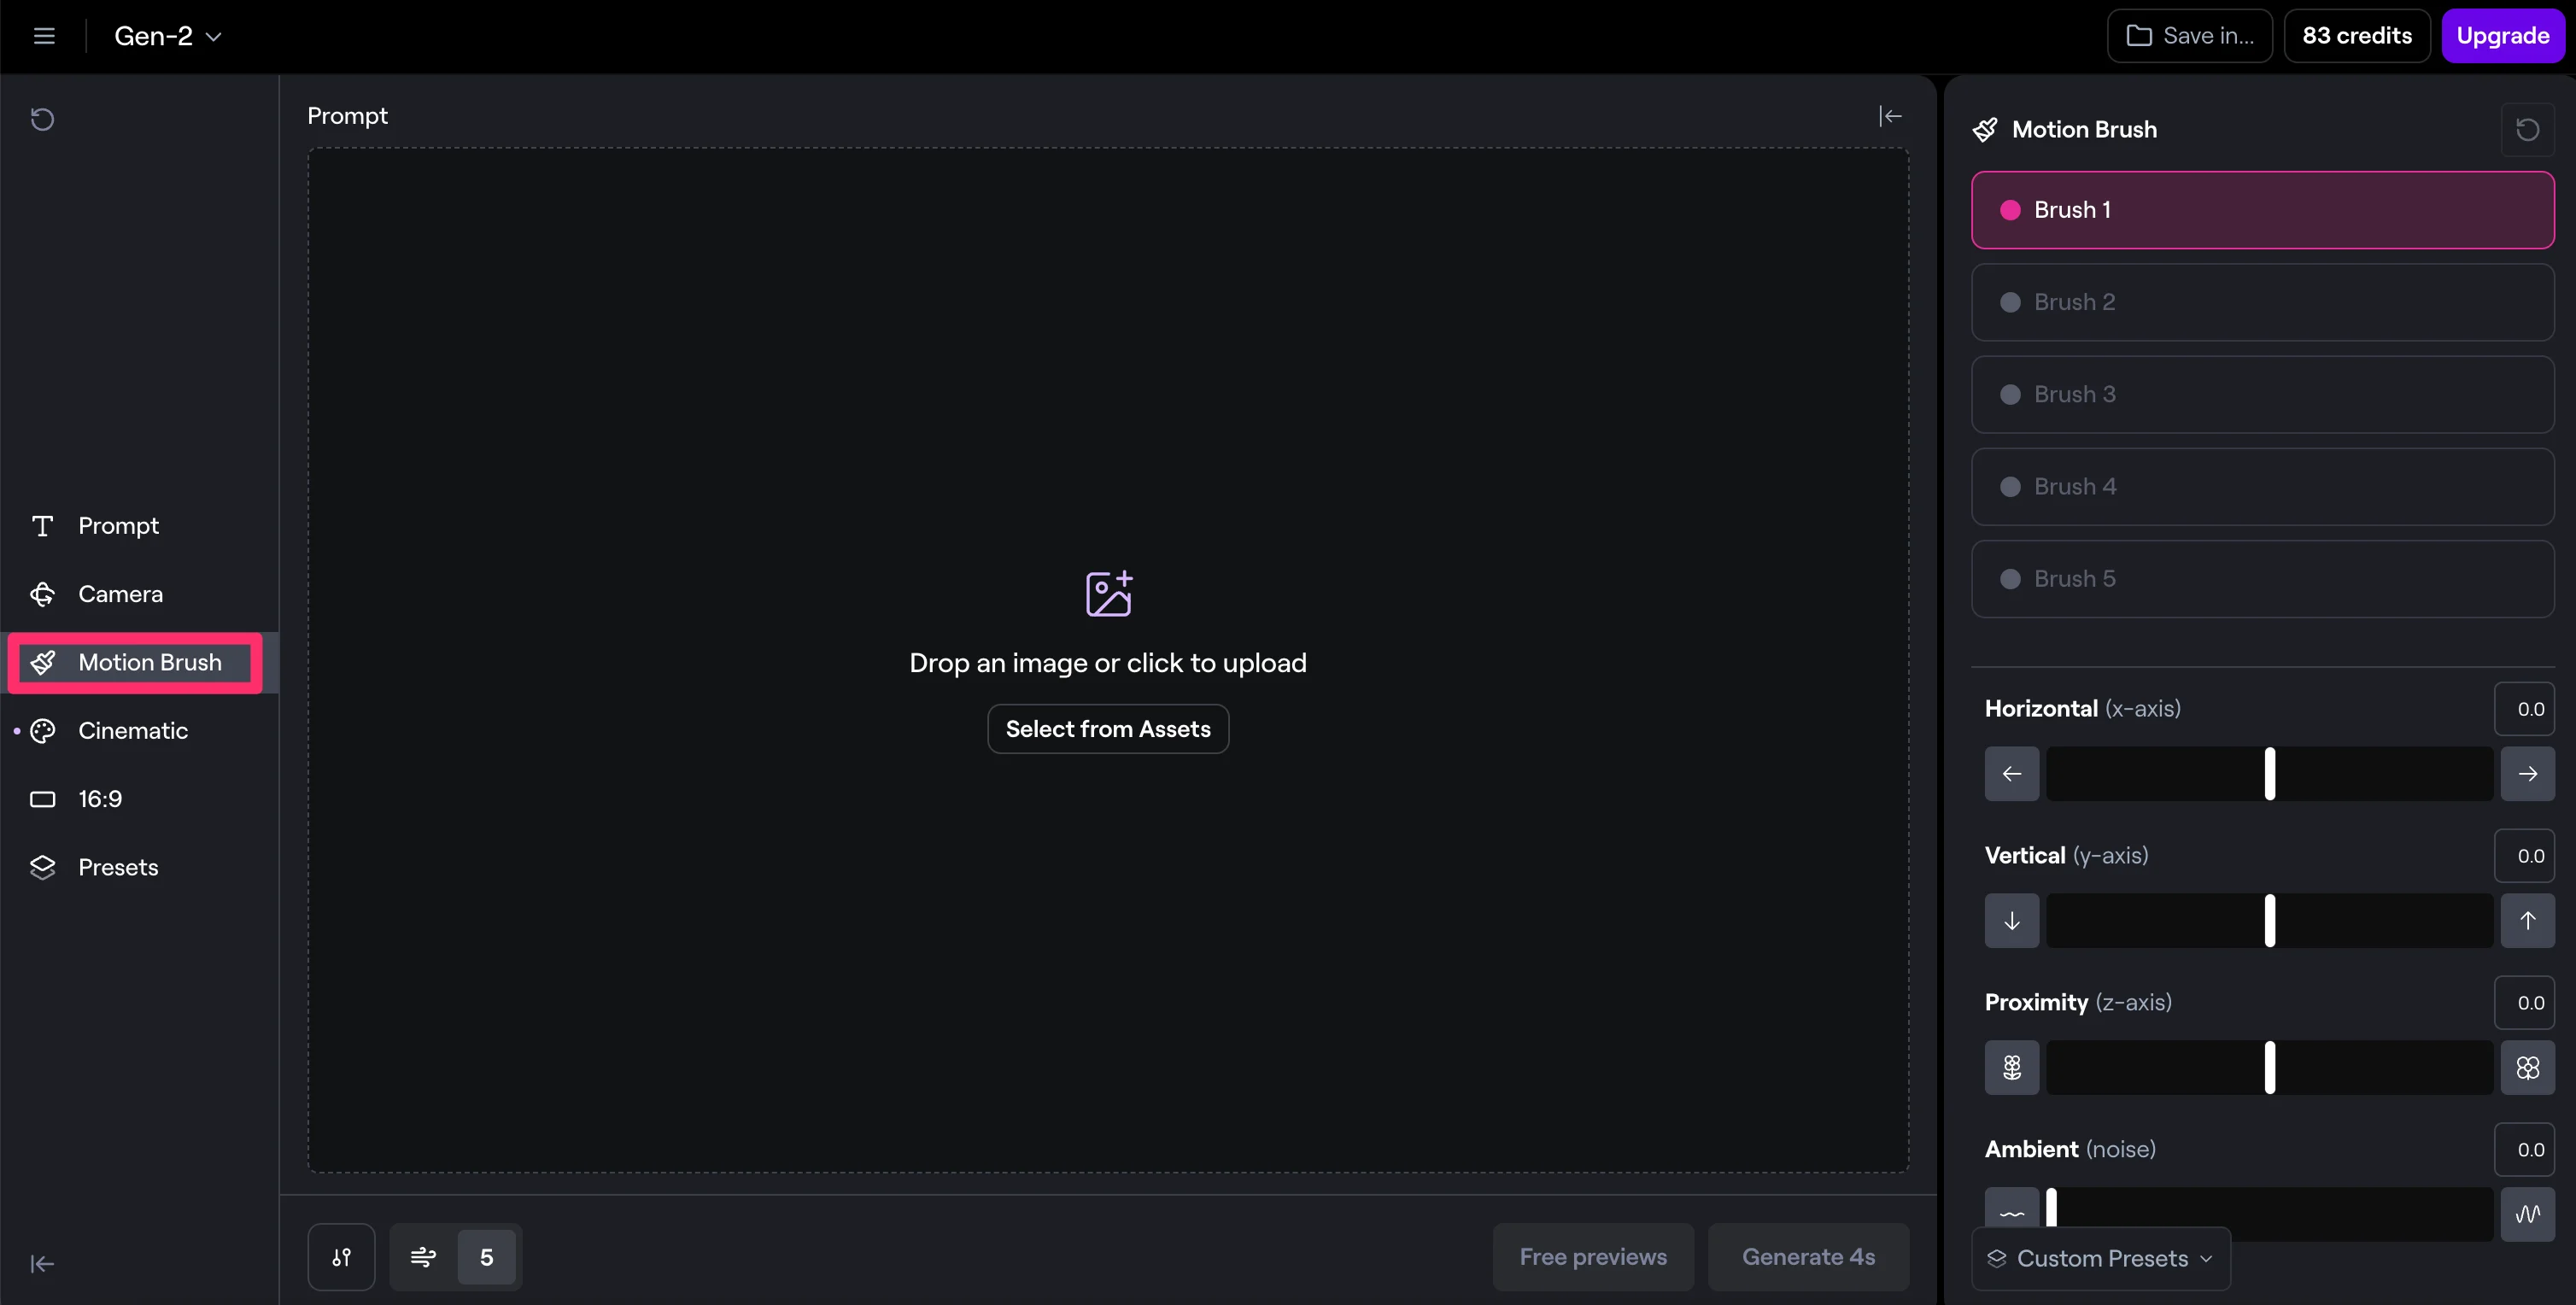
We’ll be using the Gen-2 model for this tutorial, which has the Motion Brush tool. To access it, click on the Motion Brush tab on the left-side navigation.

Then, upload an image to animate. We’re going with a beach picture from Unsplash.
.webp)
Step 2: Paint image areas and define motion settings
Now that we have our image uploaded, we can click on the Motion Brush on the right side of the page and start selecting areas to animate. Each brush gets one set of animation settings, so it’s helpful to apply one brush to a similar set of textures/objects in your image. For example, we’re going to use Brush 1 to animate the tree leaves.
.webp)
Once you’re done painting over your first set of objects, you can then set motion settings. This allows you to create Horizontal, Vertical, Proximity, and Ambient movement of the object. For this first Brush, we’re going to add some Horizontal (3.0) and Ambient (1.0) movement.
.webp)
Now, we’re going to select Brush 2 and select the water of our scene.
.webp)
We’ll set the Vertical motion to -2.0 and the Ambient motion to 1.0. The Vertical motion should make it so the waves appear to crash on the shore.
.webp)
Finally, we’ll select the sky of our image with Brush 3 and set the Ambient motion to 2.0.
.webp)
Step 3: Generate animation and refine motion settings
Once all of your motion settings are complete, you can click the “Generate 4s” button at the bottom of the screen to generate a four-second video animation.
.webp)
Once the generation is complete, you can click on the thumbnail in the top right corner of the page to view your animation.
.webp)
The video will appear in an expanded view on the right side of the page where you can view it.
.webp)
As mentioned earlier in the tutorial, we set too much Horizontal motion on the tree leaves, so we’ll re-select Brush 1 now and update the Horizontal motion to 0.0. We’ll click “Generate 4s” again to regenerate our animation with the updated settings.
.webp)
And that’s it! Once you’re happy with your animation, you can click the download button to download your video.
.webp)
This tutorial was created by Garrett.