Automate summarising YouTube video transcripts
Parse transcripts of YouTube into a database and use AI to summarise the content.
2024-12-20
If you’re trying to research YouTube videos of talks and podcasts at scale, it would be handy to be able to pull transcripts into a database and use AI to summarise them.
This tutorial is inspired by Jordan Mix of Late Checkout, who uses a similar process to build a growing database of business ideas that get talked about during episodes of his partner Greg Isenberg’s podcast, Startup Ideas.
You could also use this same workflow to:
- Track industry trends by pulling transcripts from conferences or interviews with experts.
- Build a knowledge base from educational YouTube content for learning and reference.
- Monitor competitor mentions across various video content.
- Create a database of customer feedback from product reviews on YouTube.
- Collect content for a social media content library by summarising videos for easy repurposing.
In this tutorial you will learn how to:
- Set up a database in Notion database where we will store parsed YouTube transcripts.
- Set up a Zapier automation to manage the process.
- Build an app in Replit to retrieve YouTube video transcripts.
- Use Notion’s built-in AI to summarise video transcripts.
You’ll need:
Let’s see how it’s done.
Step 1: Create a Notion database and Zapier workflow to manage the process
In this tutorial, we’re going to work from Notion, but you could easily adapt this process to work with Airtable or Google Sheets.
In Notion, click the pen and paper icon in the top left to create a new page.

Let’s call our new page “YouTube Video Analysis”.
Next, type a forward slash on the first line then keep typing the word “database” until you can select ‘Database - Inline’ as an option.
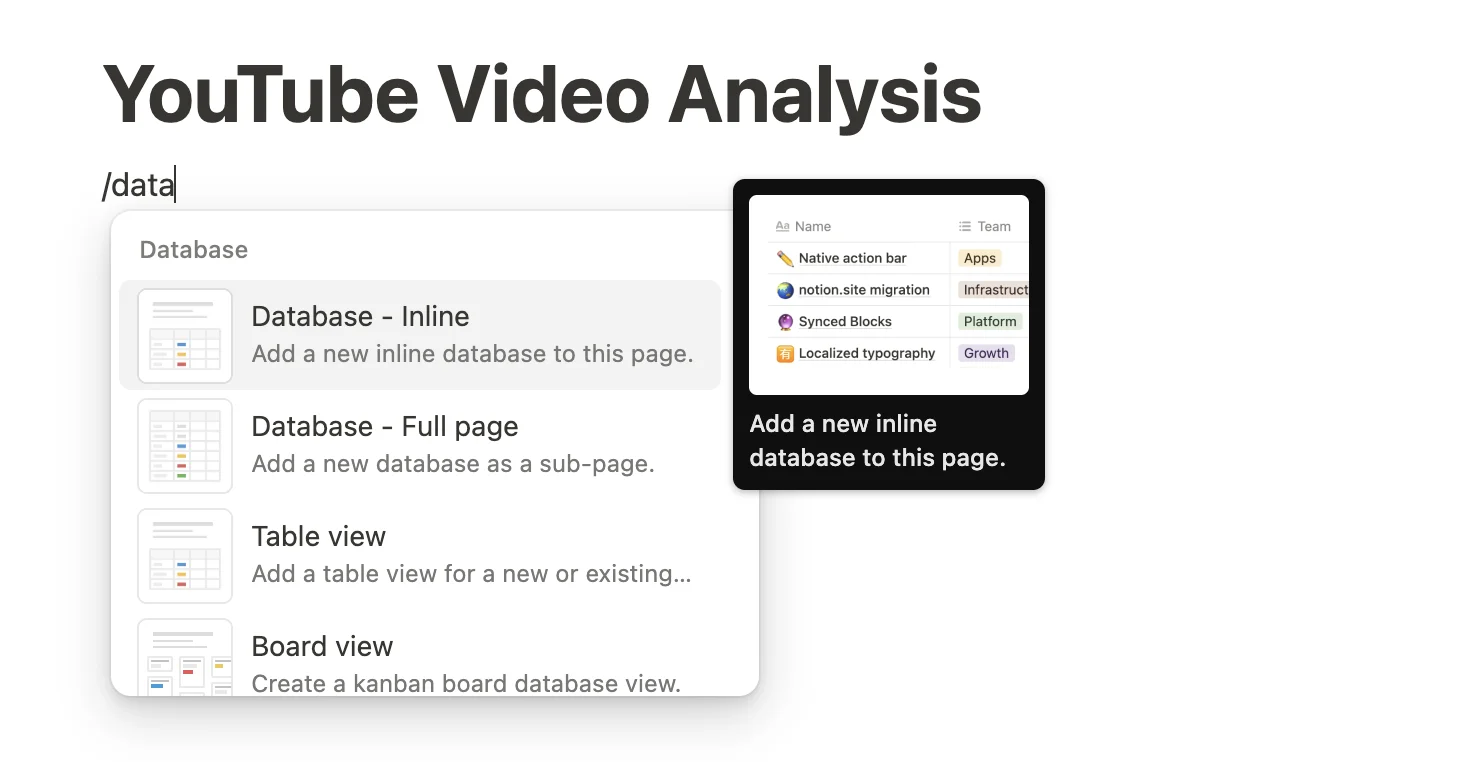
A blank database view will appear.
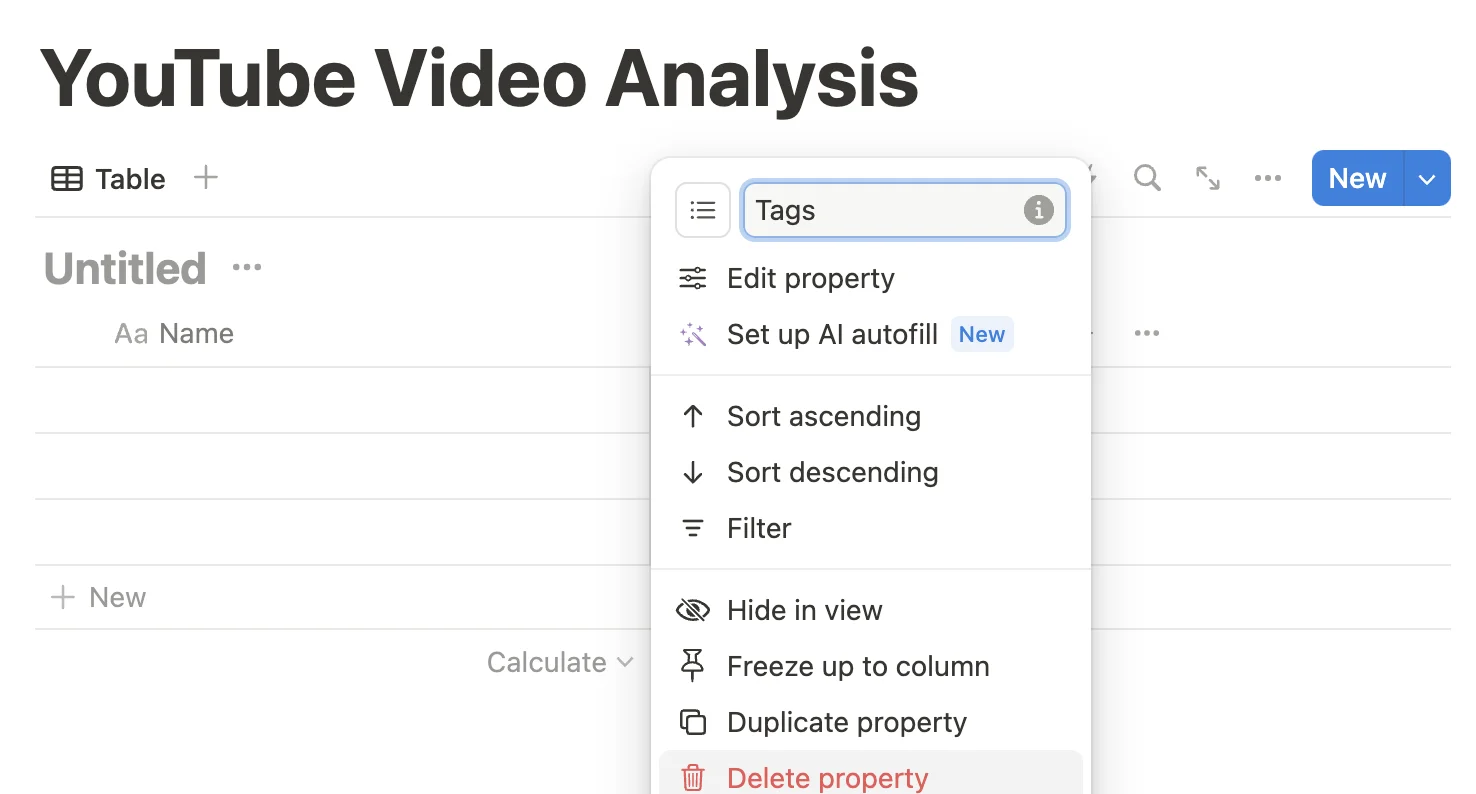
Leave the default “Name” column for now, but select the “Tags” column and then click ‘Delete property’. You’ll then need to confirm the choice.
Now click the “+” button to add a new column.
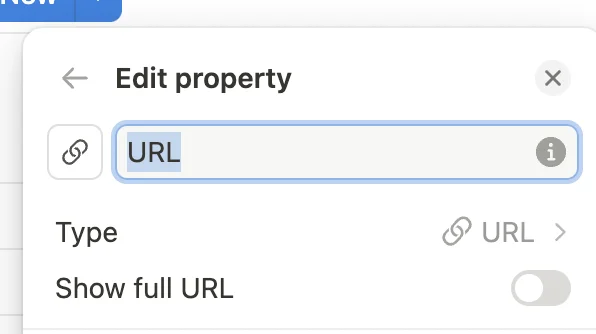
In the panel that appears, scroll down and select ‘URL’ as the type.

Then, name the column “URL”.
Do the same again and create another column called “Transcript” with the type set as ‘Text’.
Some other things to do:
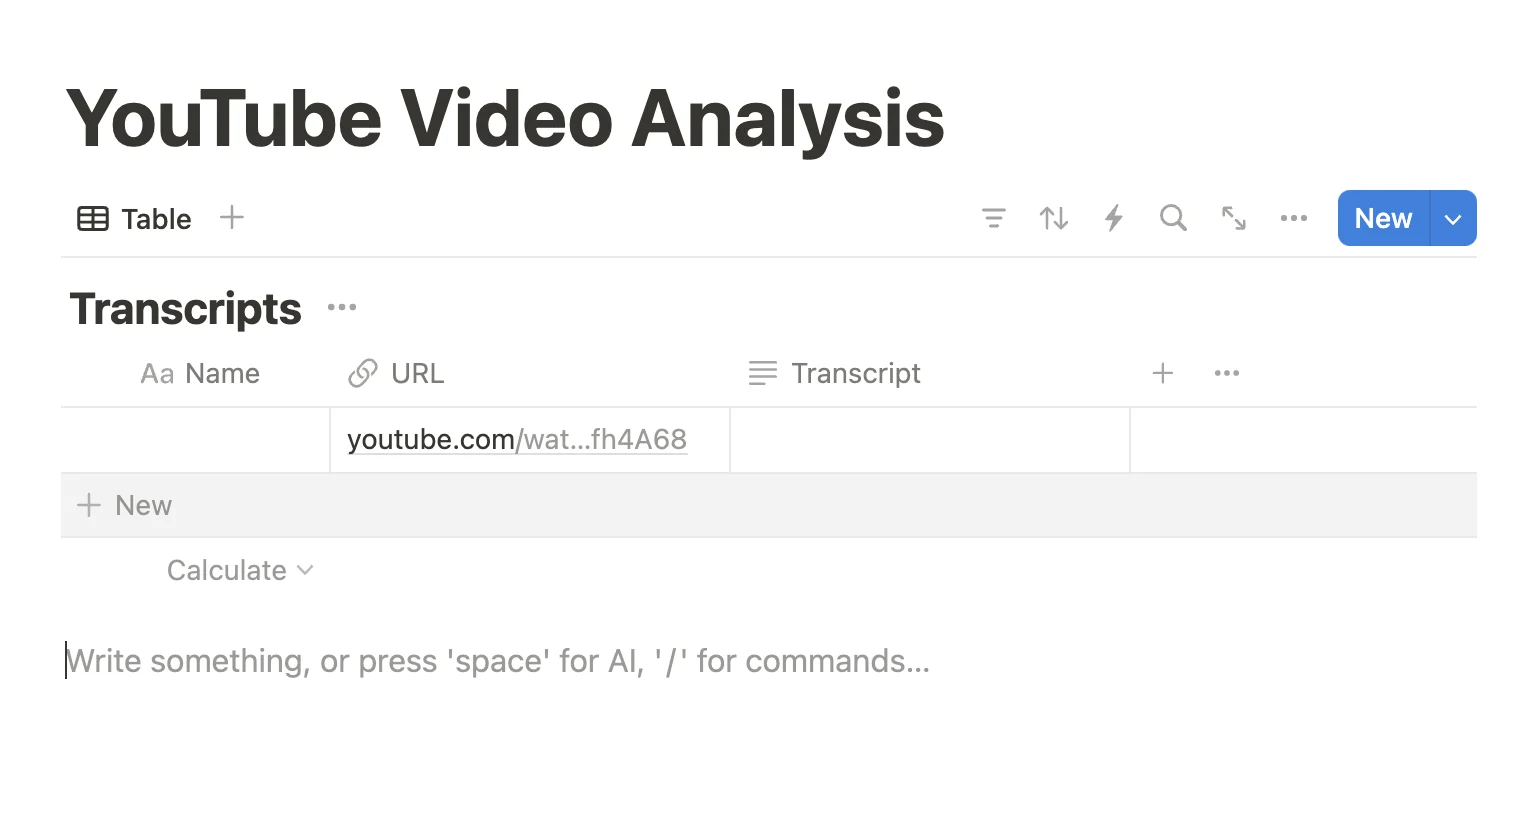
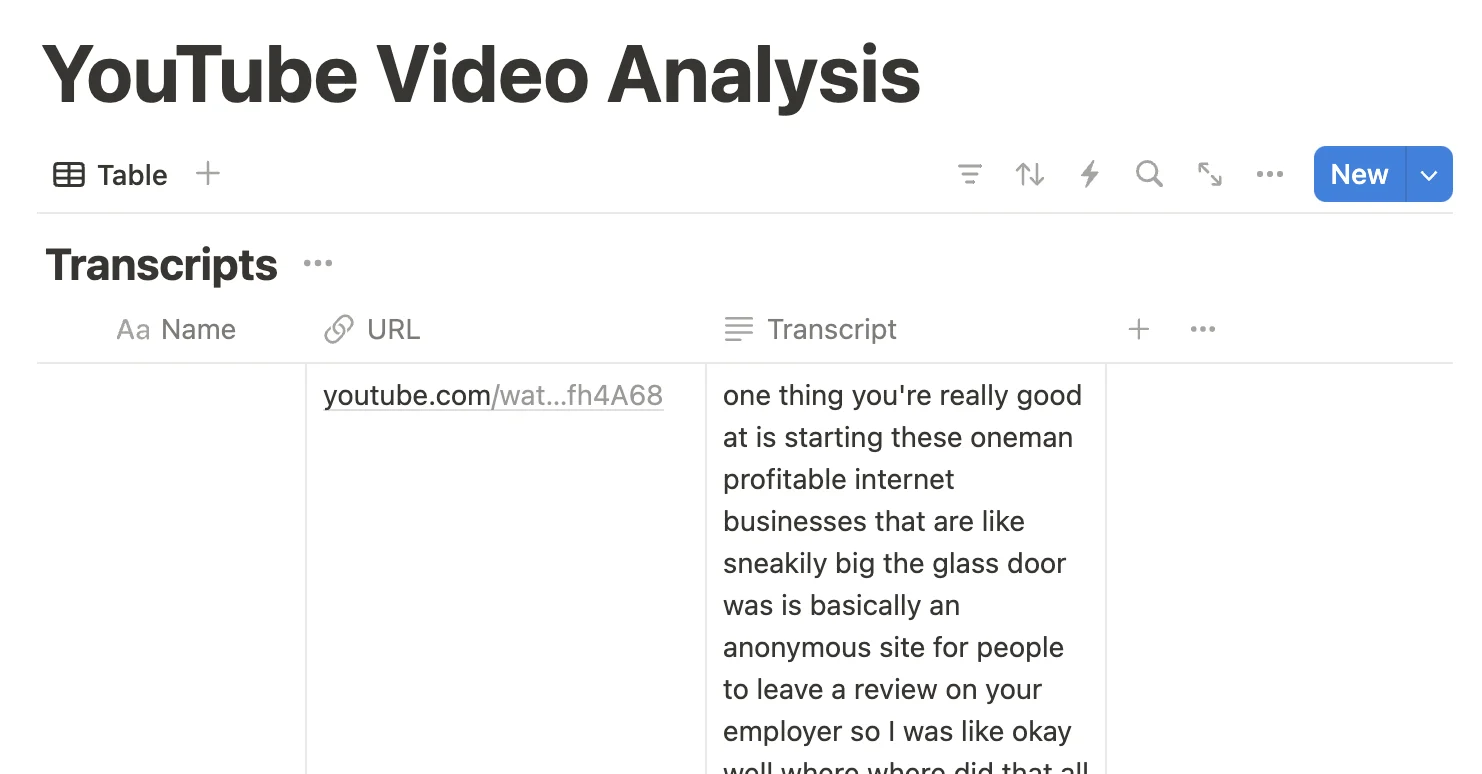
- Rename the database from “Untitled” to “Transcripts”.
- Make the “Name” column narrower for now. We don’t need it for our setup, but Notion won’t let us delete it.
- Delete all rows but the first one.
- Add a sample URL in the URL column cell. I’ve gone with this video where Ben’s Bites founder Ben Tossell appears on a podcast: https://www.youtube.com/watch?v=tQe1Rfh4A68.
Your final database should look like this:
Next, we’re going to build a Zapier workflow to process the transcriptions.
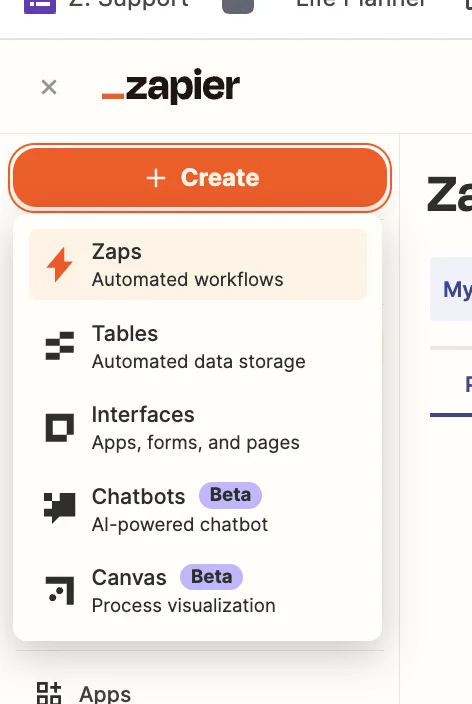
Head over to Zapier, then in the dashboard, in the top left, click the big orange “Create” button and select ‘Zaps’.
Inside the zap editor, click on the box that says “Trigger” and select/search for ‘Notion’ as the app. Then select ‘New Database Item’ as the trigger event.
Configure the step by selecting the “Transcripts” database.

Test the zap step and you’ll see your example record pulled through.

Step 2: Build an app in Replit to retrieve YouTube video transcripts
Now we need to get the transcript for our video.
To do this we’re going to get AI to code us an app in Replit that accesses the unofficial YouTube Transcript API.
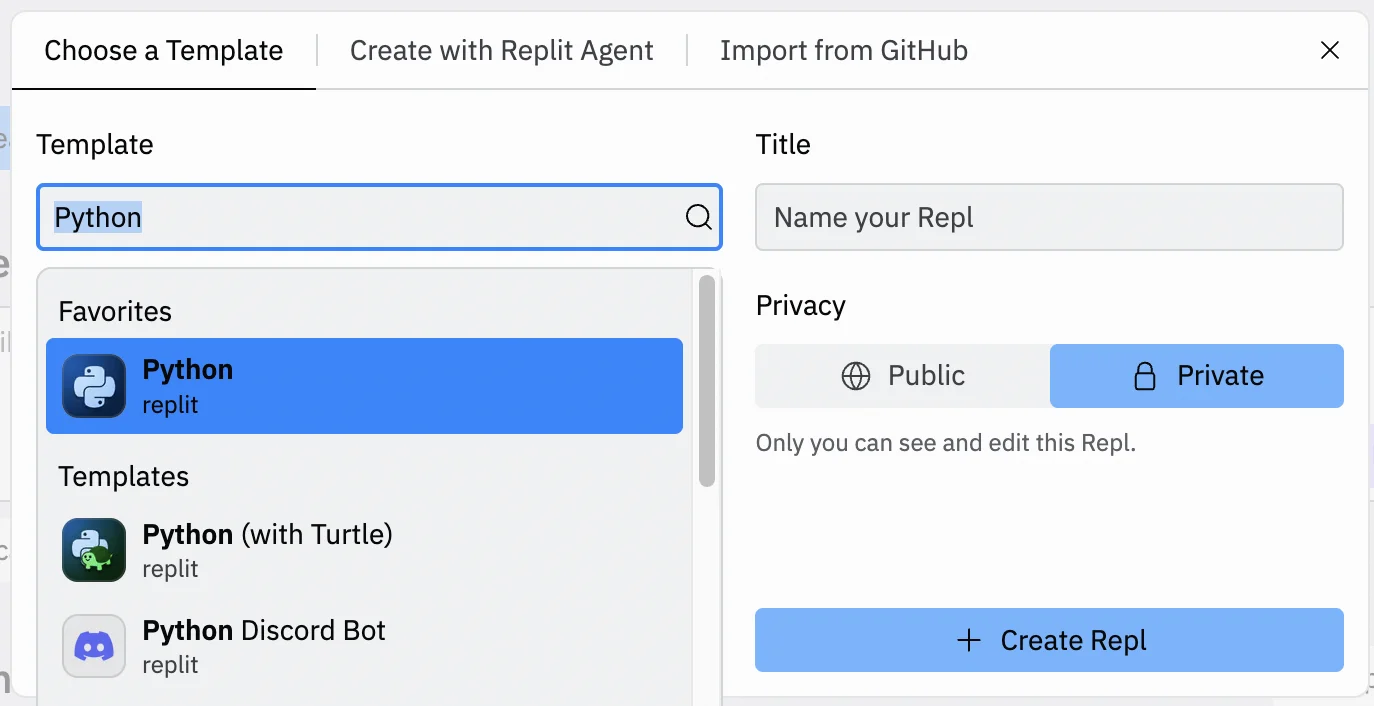
Go to the Replit dashboard and click the “Create Repl” button in the top left corner.
In the panel that appears, select “Python” from the ‘Template’ dropdown and give your Repl a title. You can also decide whether you want it public or private.
On the next page, you’ll see 3 columns - a file menu on the left, a code text file in the centre, and a panel of tabs on the right, with the AI tab selected. This is where we’ll build our app.
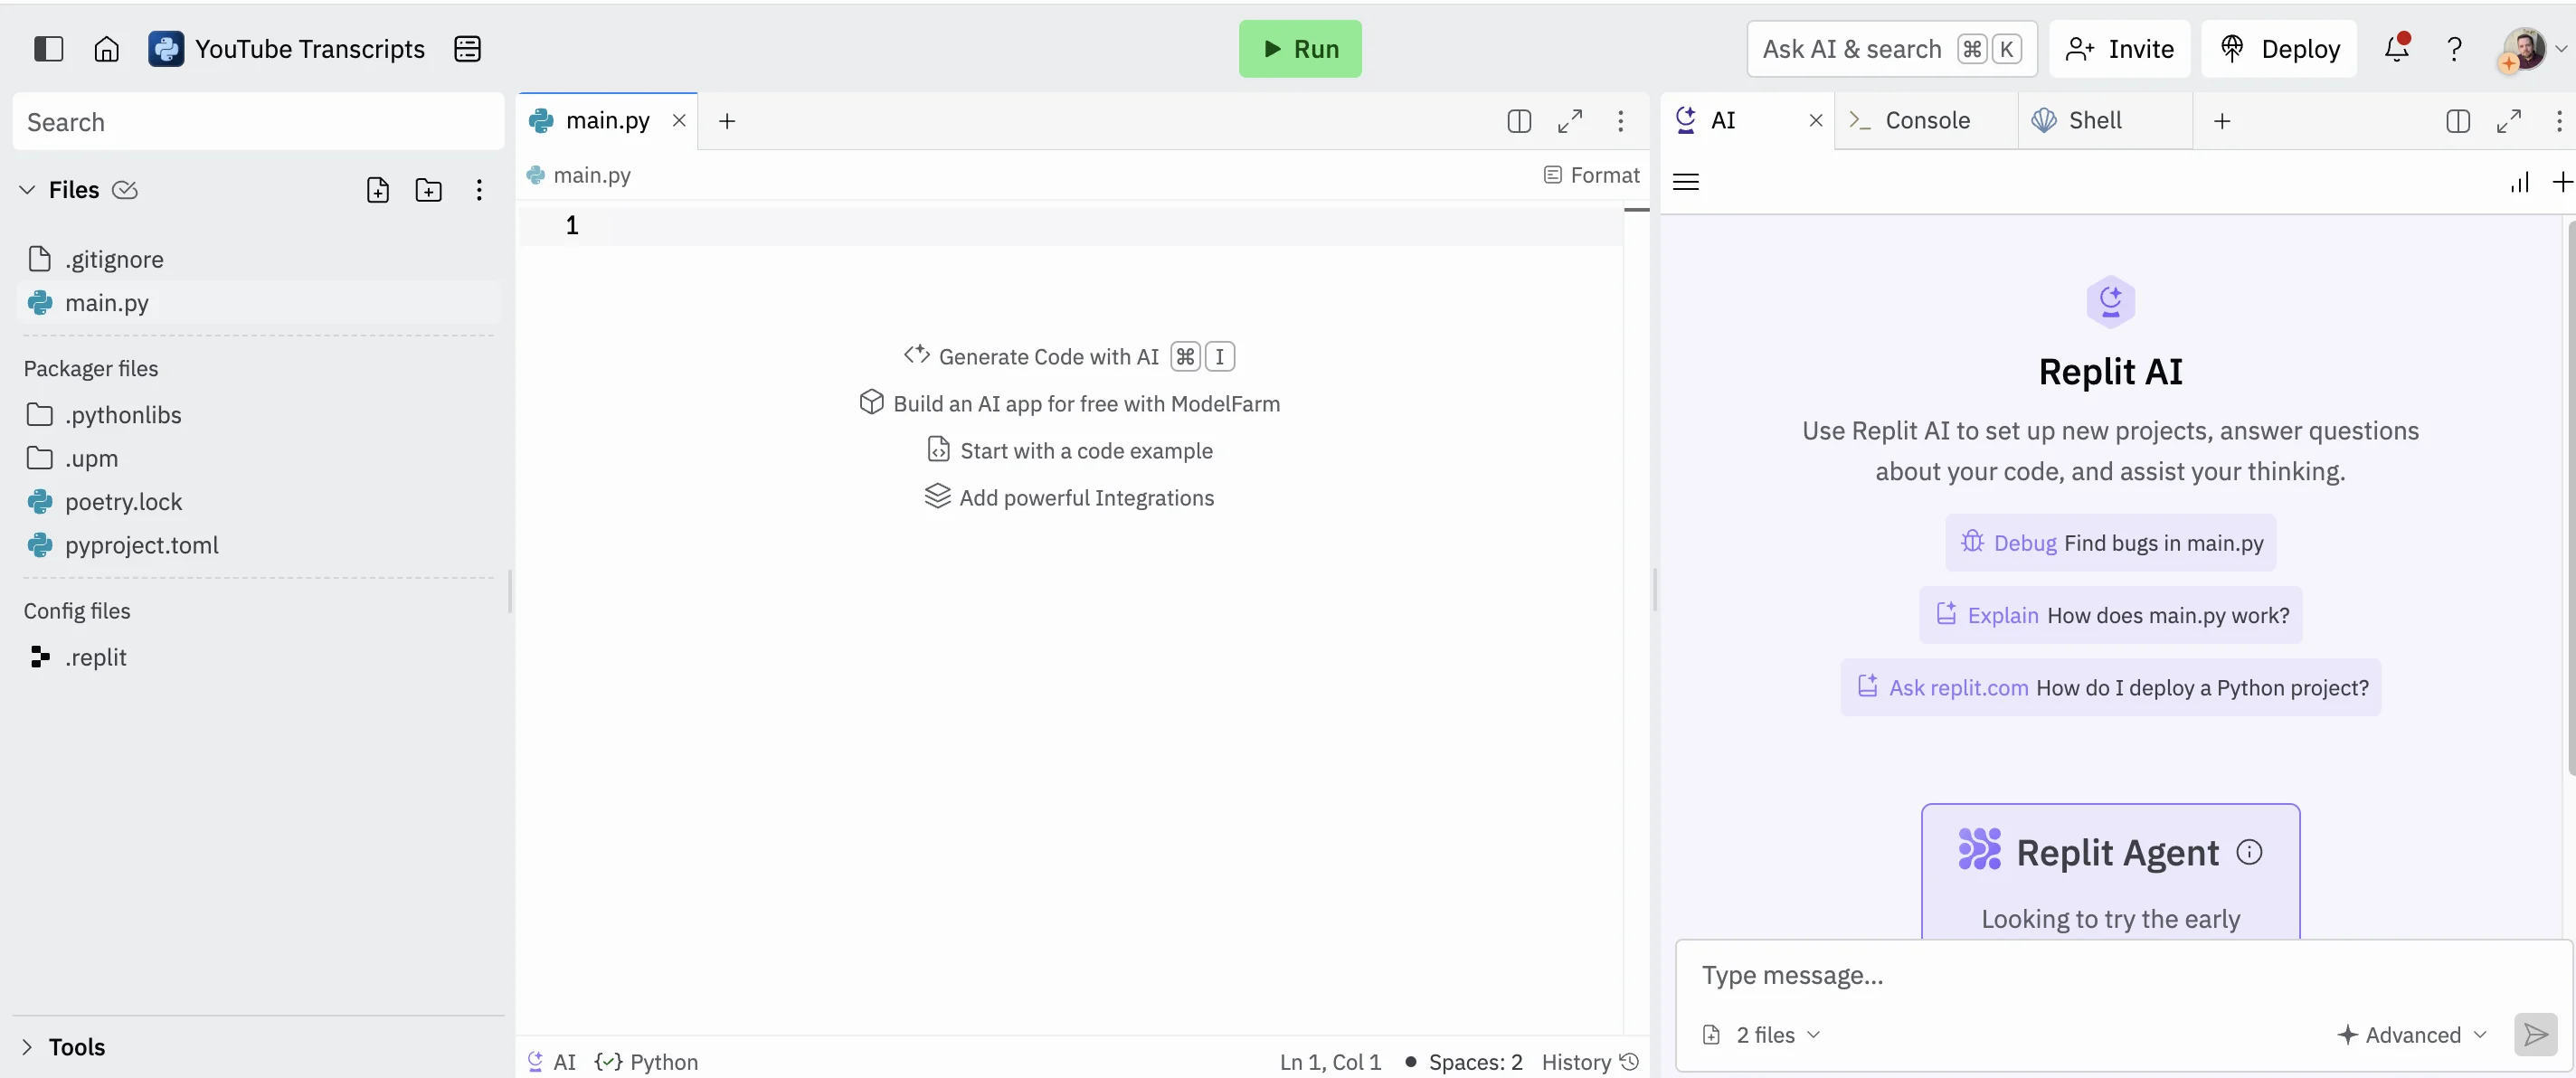
Start in the AI tab and use the following prompt.
Please create a single endpoint flask app.
1. It will receive the URL of a YouTube video in the 'url' field.
2. It should respond with a text field called 'transcript' that has a transcript of the YouTube video.

Press thea arrow button and after a few seconds, the AI will respond with a summary and code for our app.

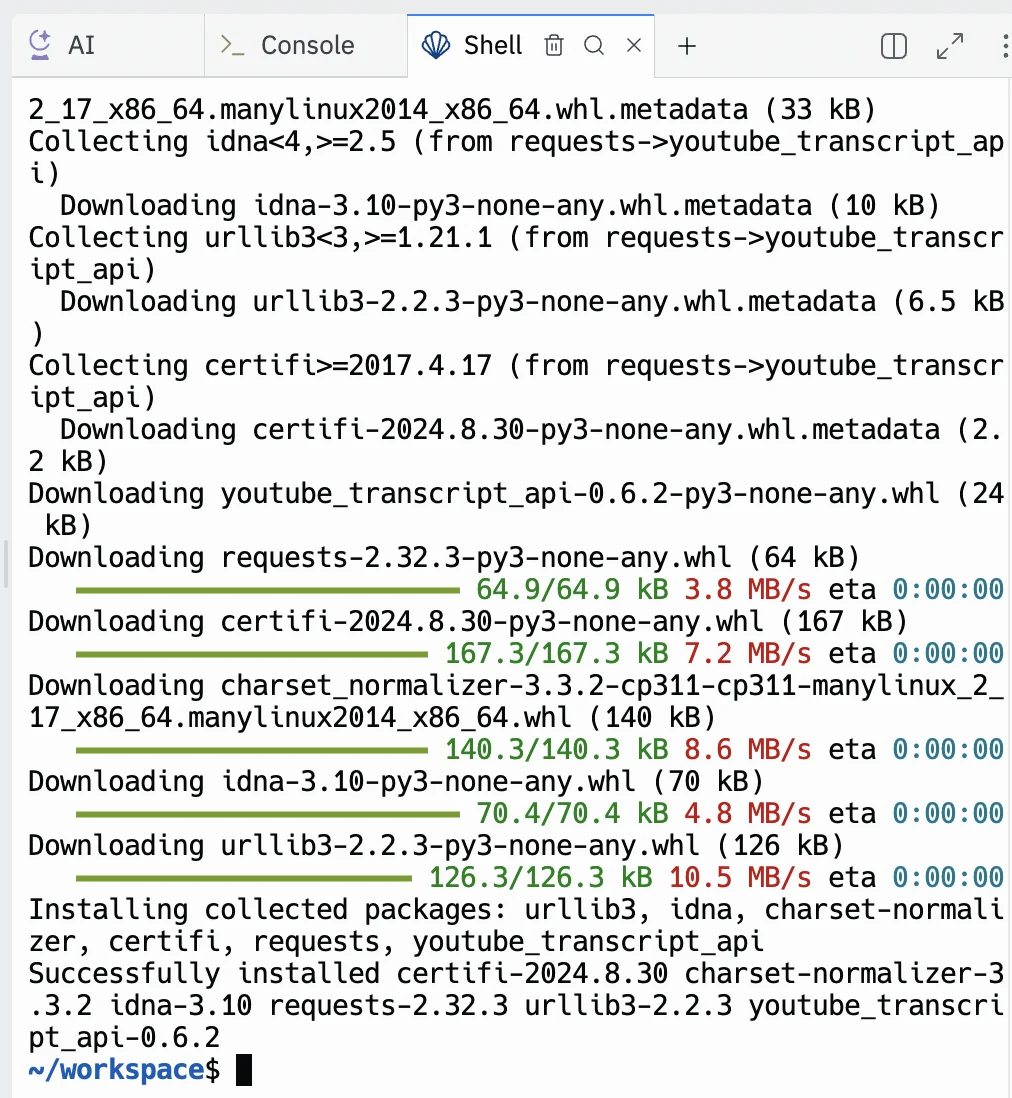
Next, switch to the “Shell” tab and type the following command. This installs the YouTube Transcript API into Replit so our app can use it.
pip install youtube_transcript_ap
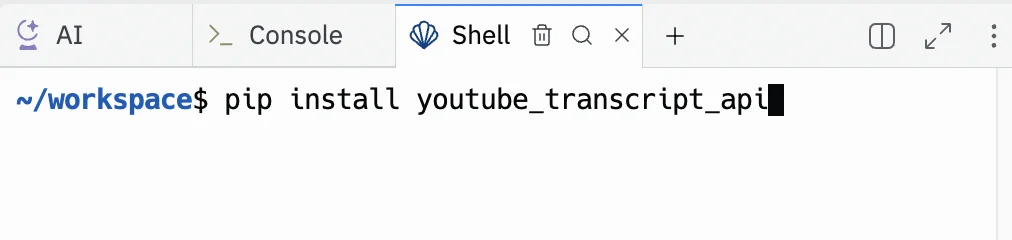
Press enter, and within a few seconds it’ll be installed
Next, copy the code from the AI panel and paste it into the centre panel text file.
The code AI gives might differ between generations, but if you prefer, you can use the following code which is confirmed as working.
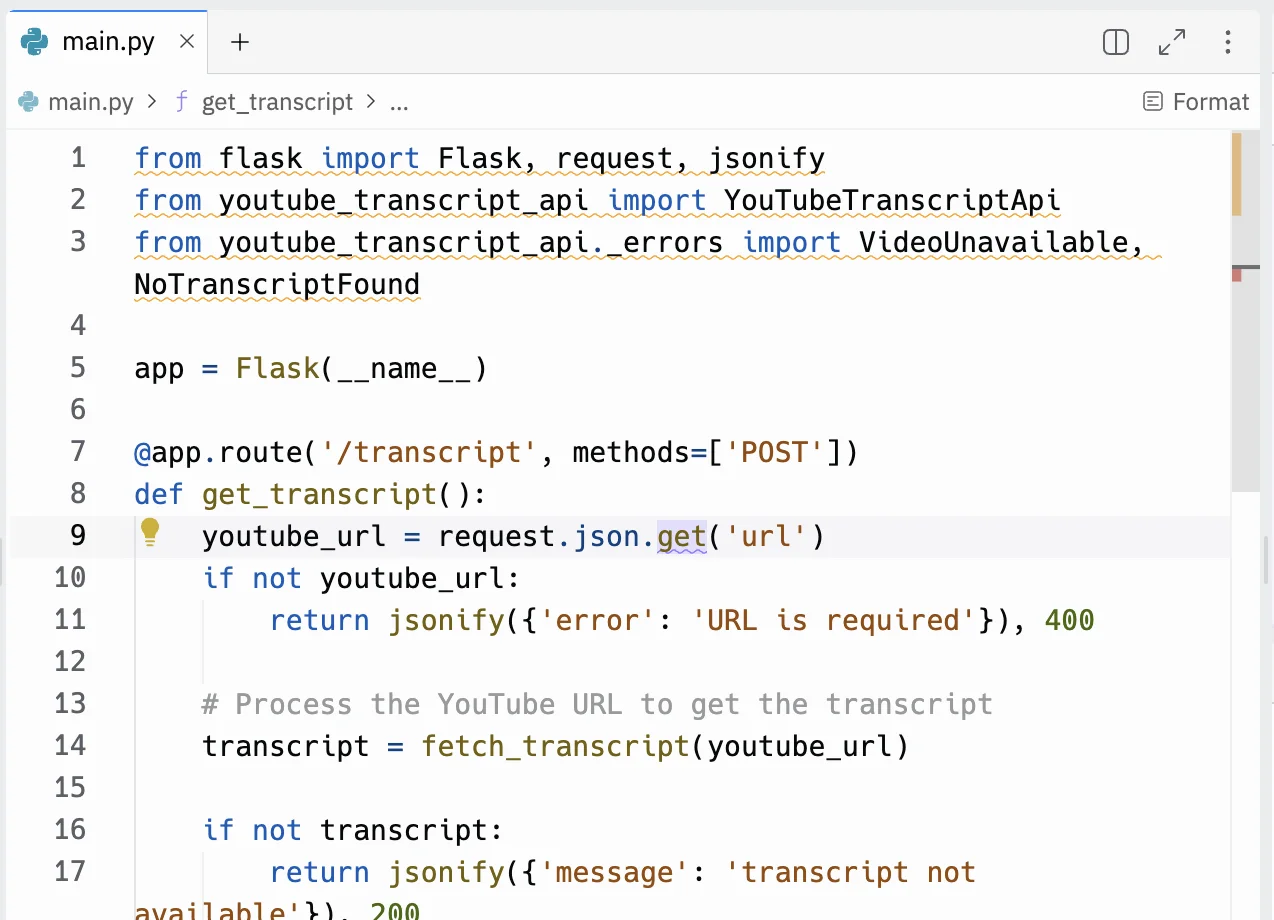
Click the green “Run” button at the top, and in the right column a ‘Webview’ panel will appear.

Click the “New tab” button and the page will load in your normal web browser with the same message.
Copy the entire URL from your browser. It’ll be something long like this: https://1bc4a8ae-70b9-46ec-b77a-8b341677d1d1-00-1c2c0omalu2o.janeway.replit.dev/.
Back in the zap editor, click the “Action” box. Select "Webhooks by Zapier" as the app, and ‘POST’ as the action event.
When configuring the step, these are the important fields:
- URL
Paste in the URL from Replit and add “/transcript” at the end.
- Payload Type
Select “json”.
- Data
Add one entry here. The left value should be “url” and the right value should be the ‘URL’ value from the trigger step.

Test the zap step, and after a few seconds, you should see the transcript from the URL video in the “Data out” tab.

The final step is to add the transcript back to the Notion database.
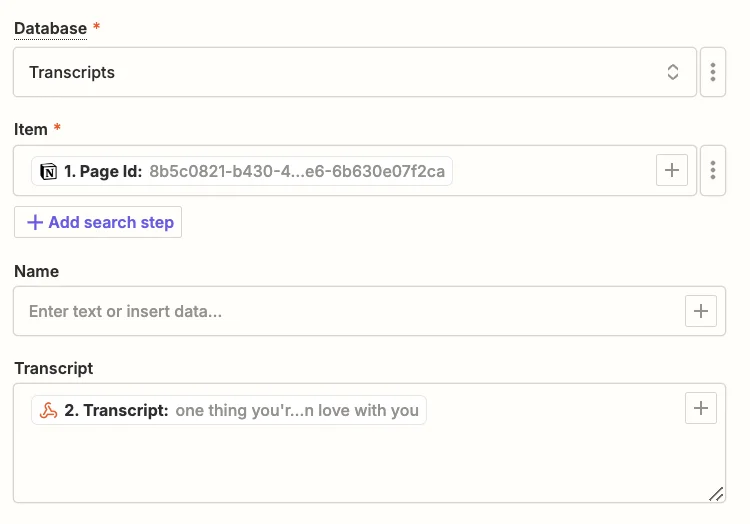
Add a new step to your zap with “Notion” as the app and ‘Create Database Item’ as the action event.
When configuring the step, these are the important fields:
- Database
Select the “Transcript” database you created.
- Item
Map the ‘Page Id’ value from the trigger step.
- Transcript
Map the ‘URL’ value from the webhook step.
Test the zap step, and back in Notion you should see the transcript added to your test row.
Step 3: Use Notion’s built-in AI to summarise video transcripts
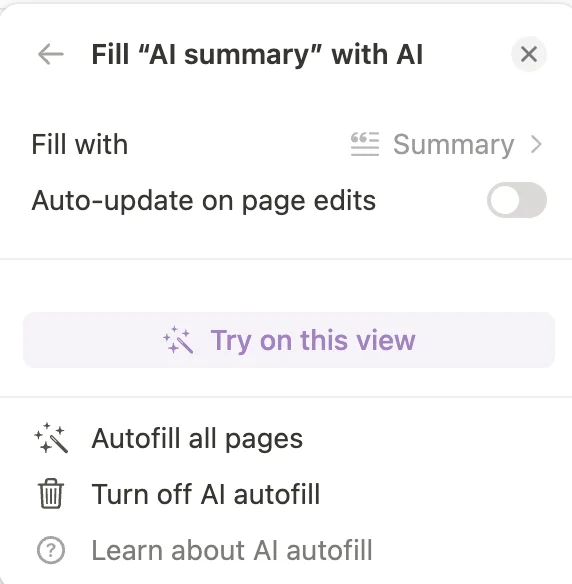
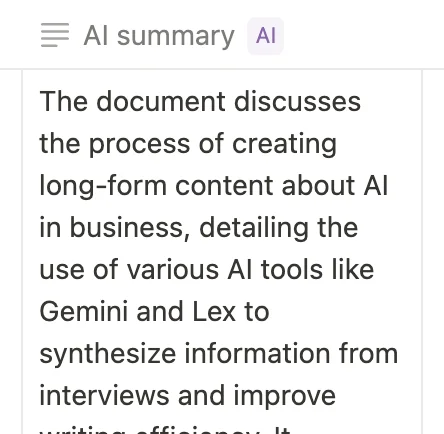
We have the video transcript, now we want to do something useful with it. Notion has a bunch of built-in AI functions - one of which is the ability to summarise rows in a database.
To do this click the “+” button to add a new column to the table and select ‘AI summary’ as the type.

Then on the next tab, click “Try on this view”.
Wait a few seconds and the summary will appear.
This tutorial was created by Andrew.