Automatically analyze product reviews and feedback
Learn how to automate Amazon reviews analysis with Apify scraping and AI-powered insights.
2025-01-08
Apify is a powerful platform that makes web scraping super easy with its ready-to-use tools and integrations. When combined with AI analysis, you can automate all kinds of useful tasks for your business.
In this tutorial, we'll show you how to build an automation that keeps track of your Amazon product reviews. Once built, you simply add your product URLs and the system will automatically collect new reviews and send you detailed analysis reports on a schedule you choose.
While we are using the Amazon Reviews Scraper in this tutorial, the same process works with any of Apify's other tools, allowing you to easily adapt this workflow for other platforms as well.
In this tutorial, you will learn how to:
- Set up and configure Apify's Amazon Reviews Scraper
- Create an automated workflow using Zapier
- Process review data
- Generate insightful reports using Claude
- Deliver automated analysis through email notifications
You'll need:
- An Apify account (offers $5 initial credit)
- A Zapier account
- Anthropic API key
Let's dive in.
Step 1: Create and configure your Apify account
First, we need to set up our Apify account and get the necessary credentials. Head over to Apify's website and complete the onboarding process.
While Apify offers various scraping tools, we'll focus on their Amazon Reviews Scraper actor for this tutorial. The process works similarly for other marketplace platforms too.
Navigate to the Settings section after creating your account. In the API & Integrations tab, you'll find your Personal API Token.

Copy this token and keep it secure—we'll need it when connecting Apify with Zapier.
Step 2: Configure the Amazon Reviews Scraper
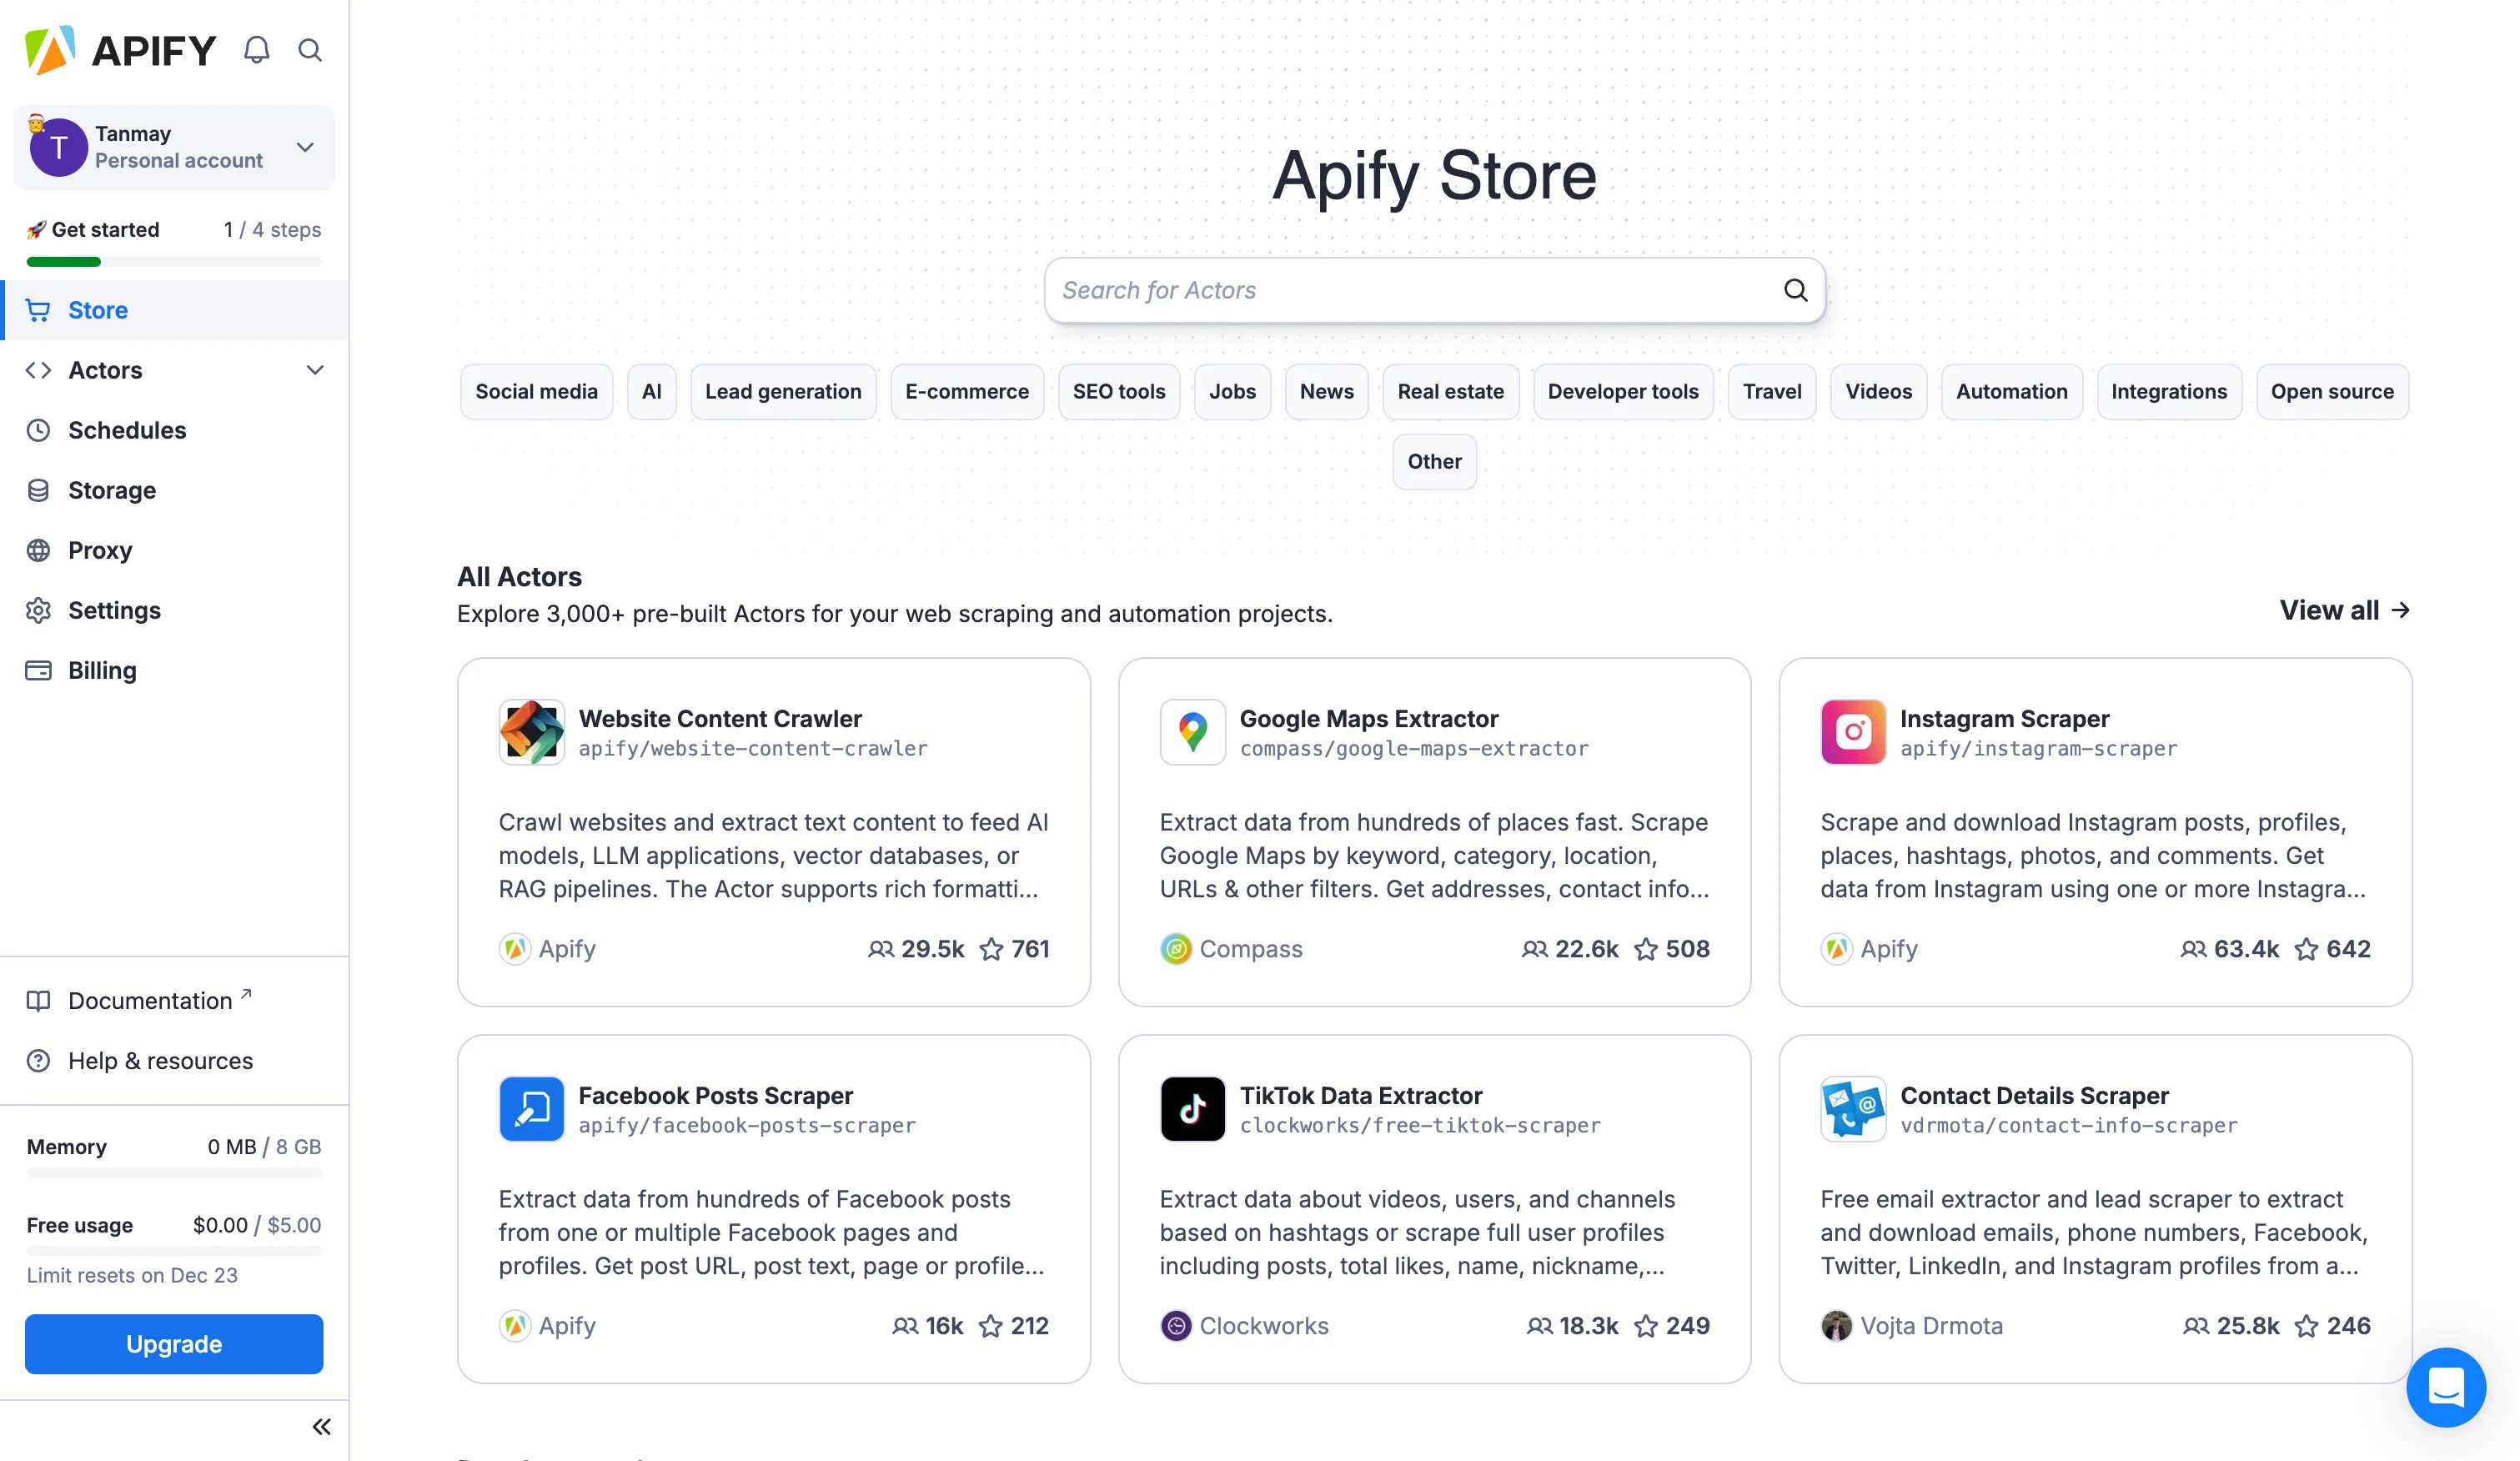
Now that we have our Apify account set up, let's see how to create a new Amazon scraper. In your Apify dashboard, click on the "Store" menu to access Apify's actor marketplace.
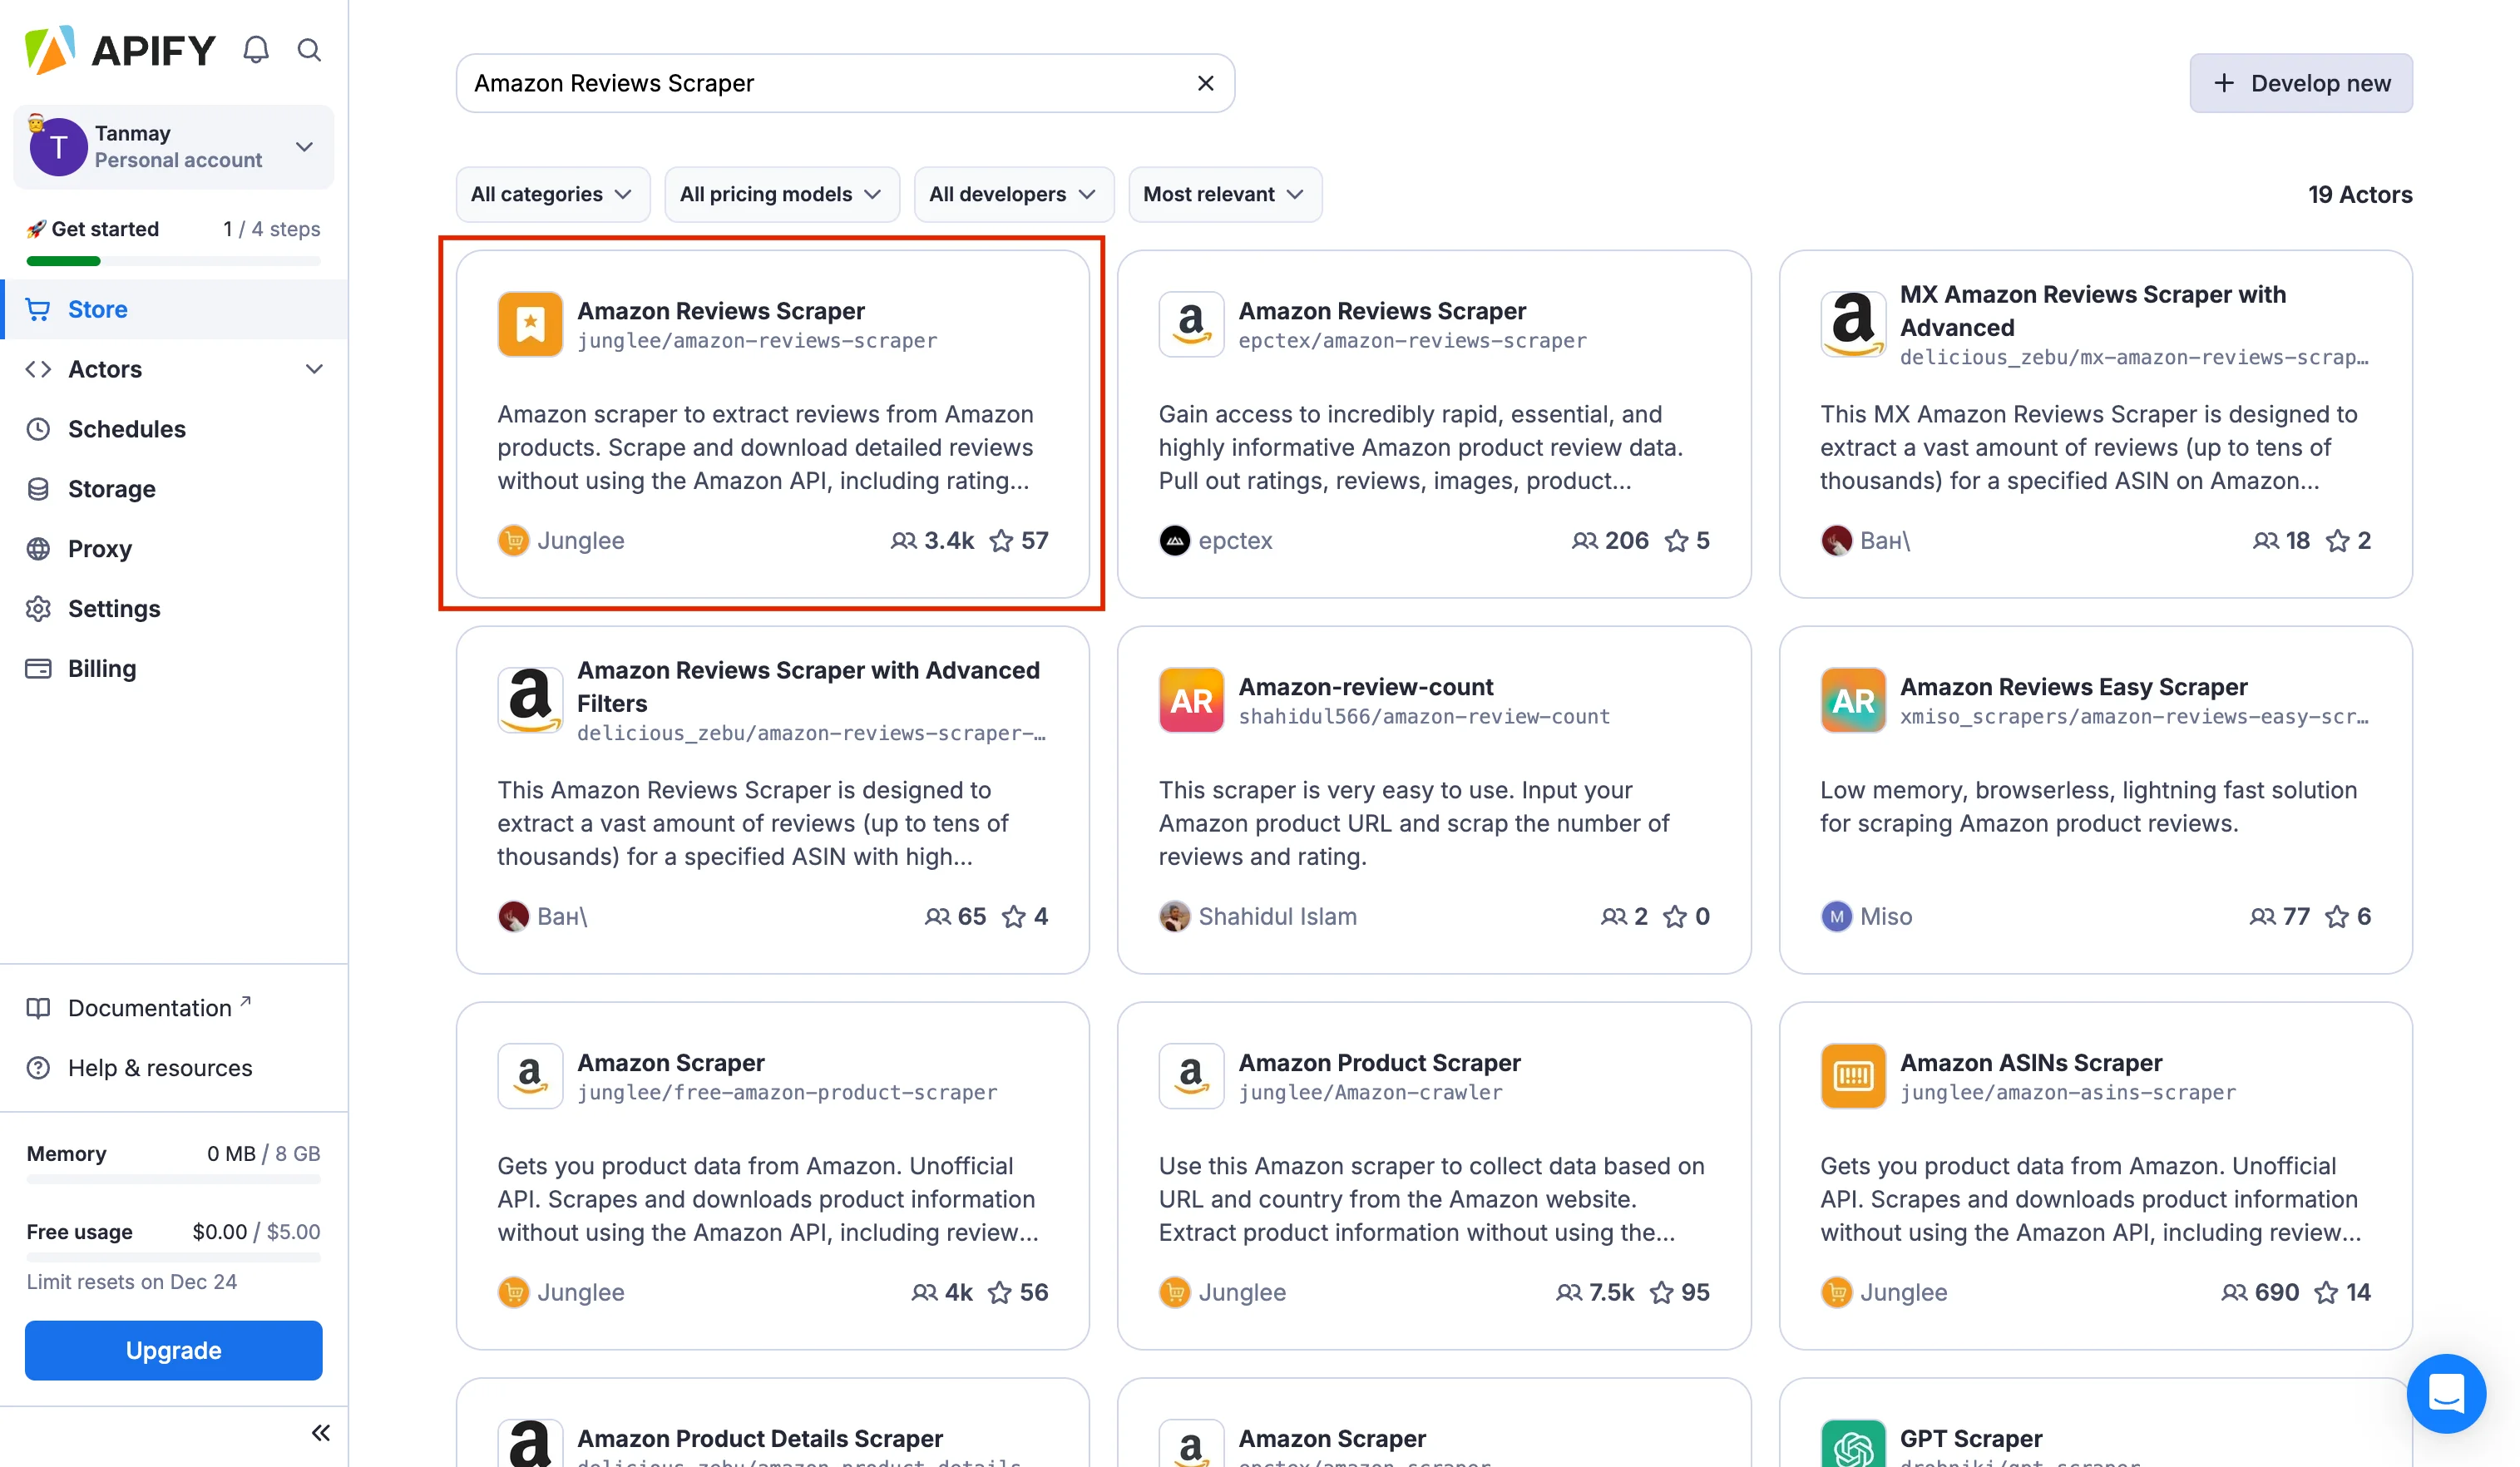
Search for "Amazon Reviews Scraper" in the marketplace and let’s set it up. This particular actor is perfect for our needs as it can handle multiple product URLs and provides structured data that's easy to process.
After selecting the actor, let’s create a new task by clicking "Create Task". This is where we'll configure our scraping parameters.
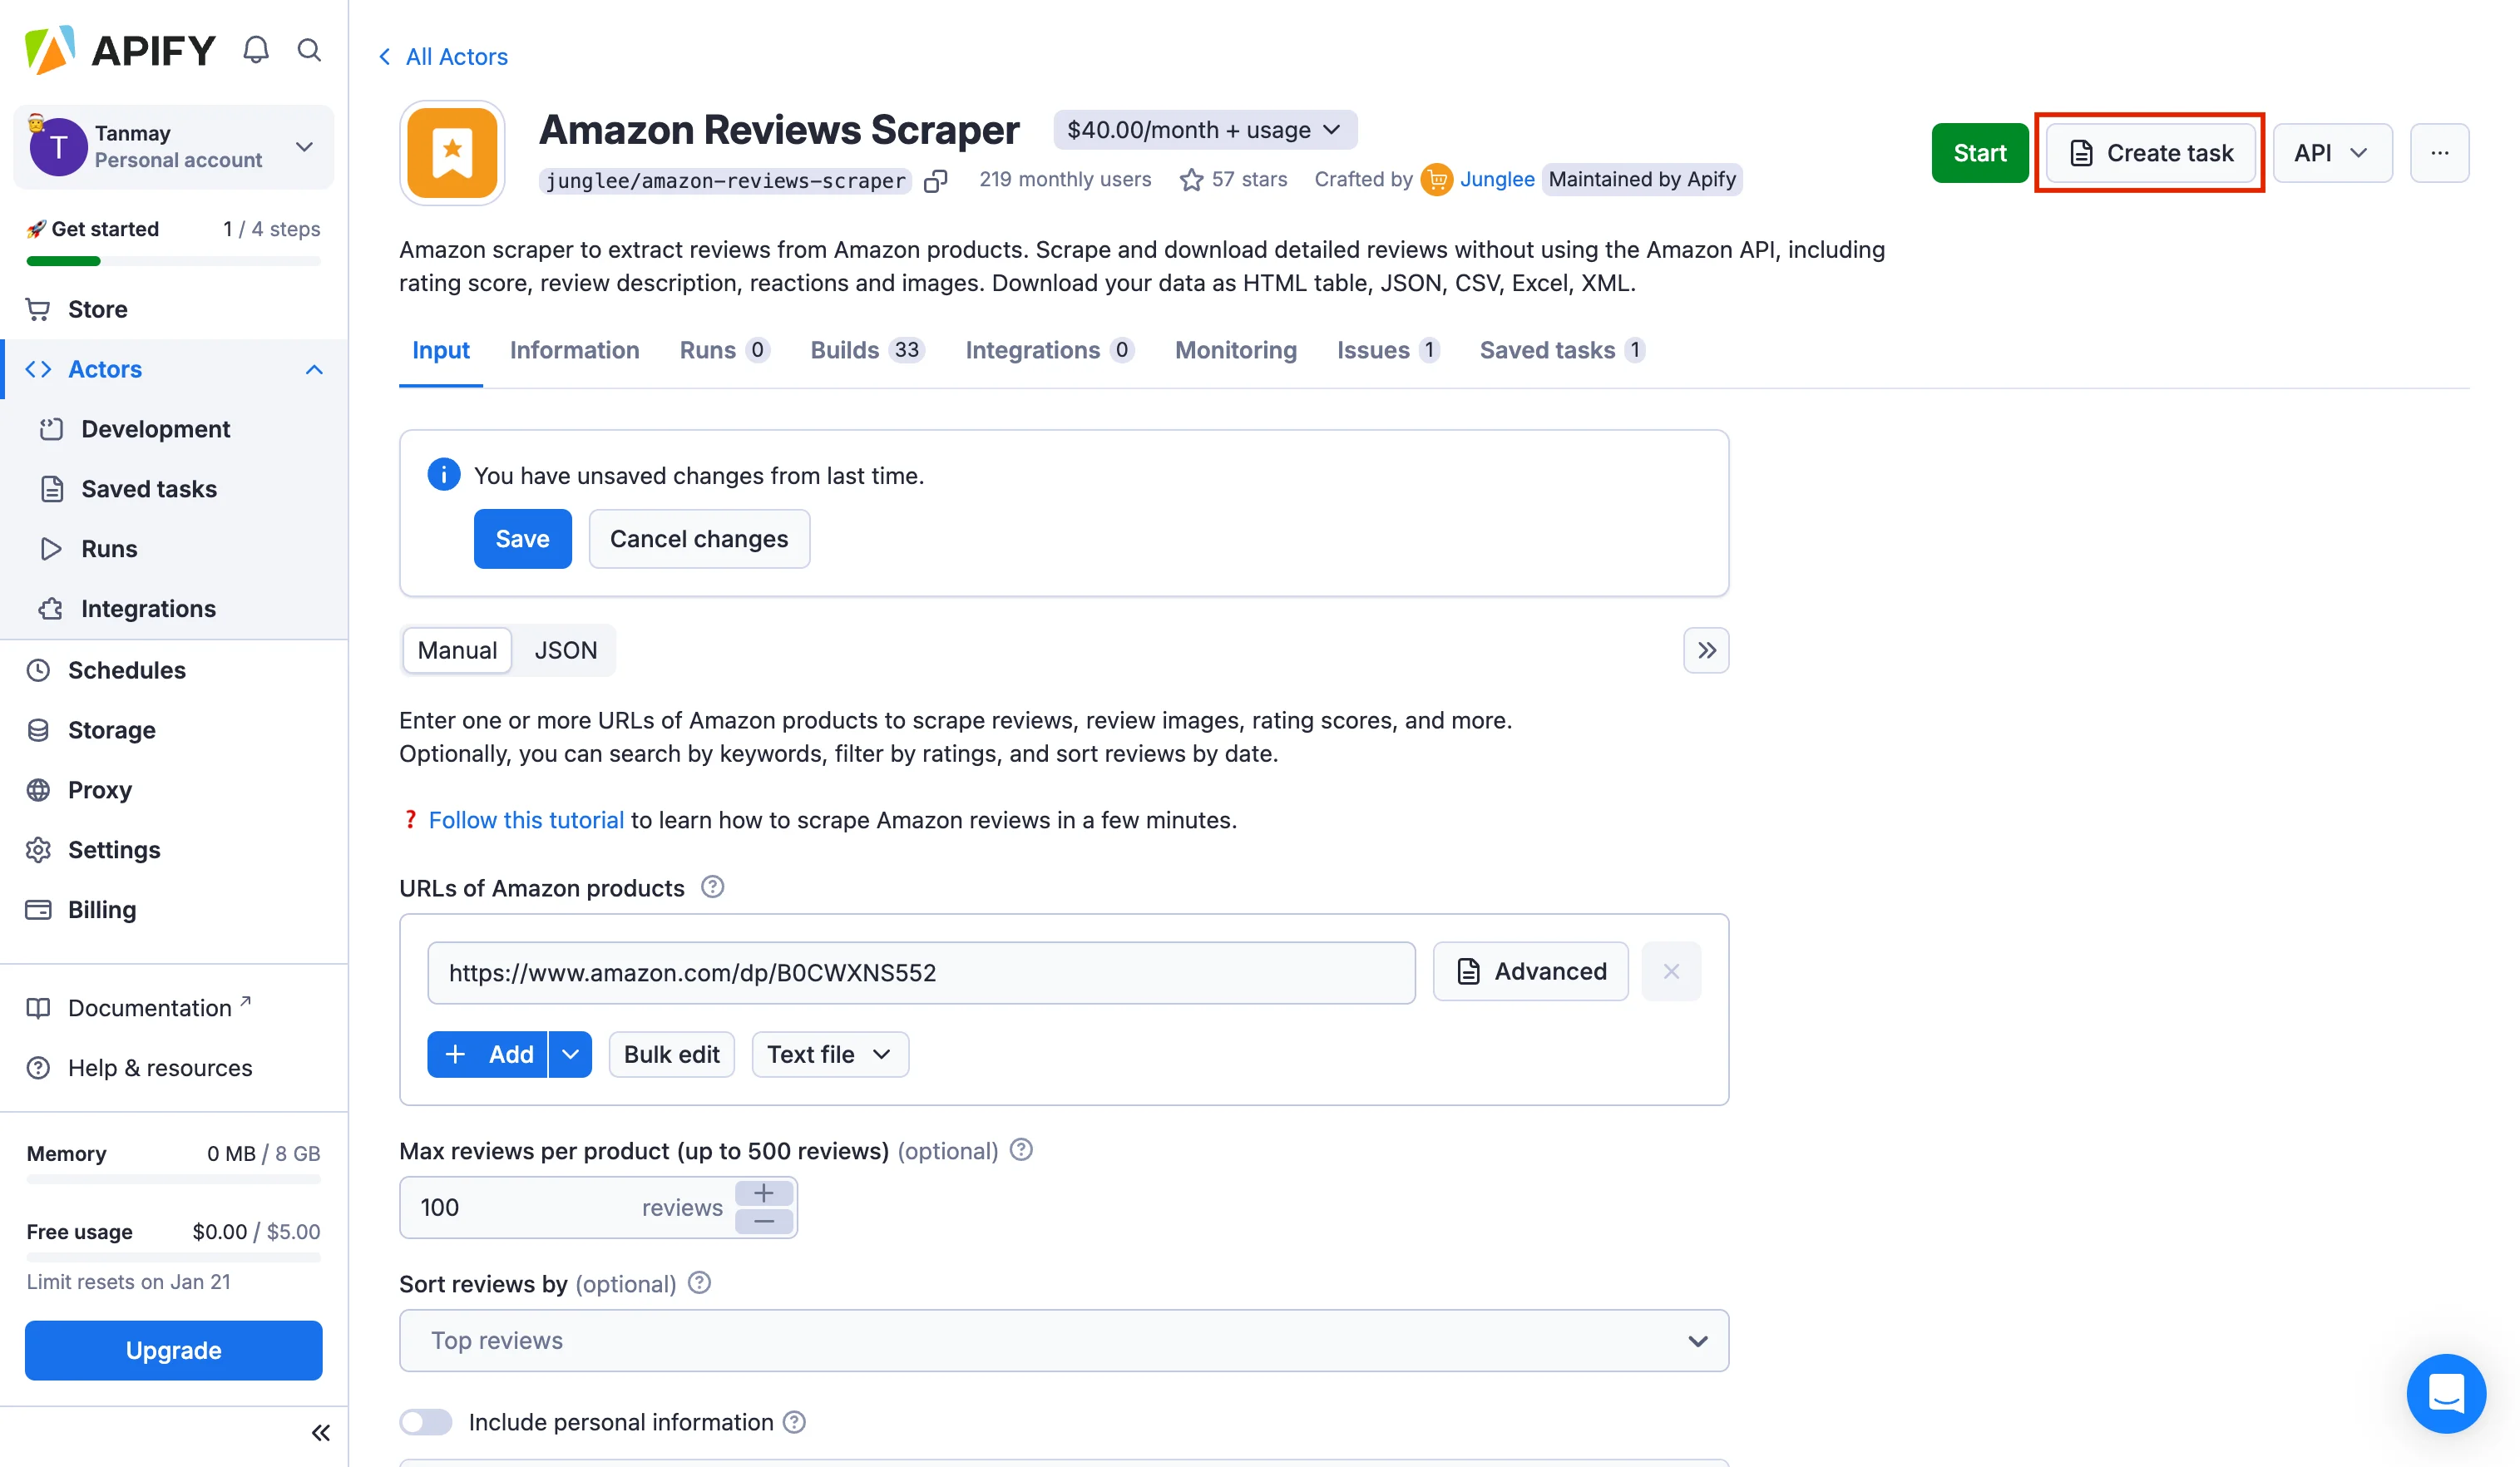
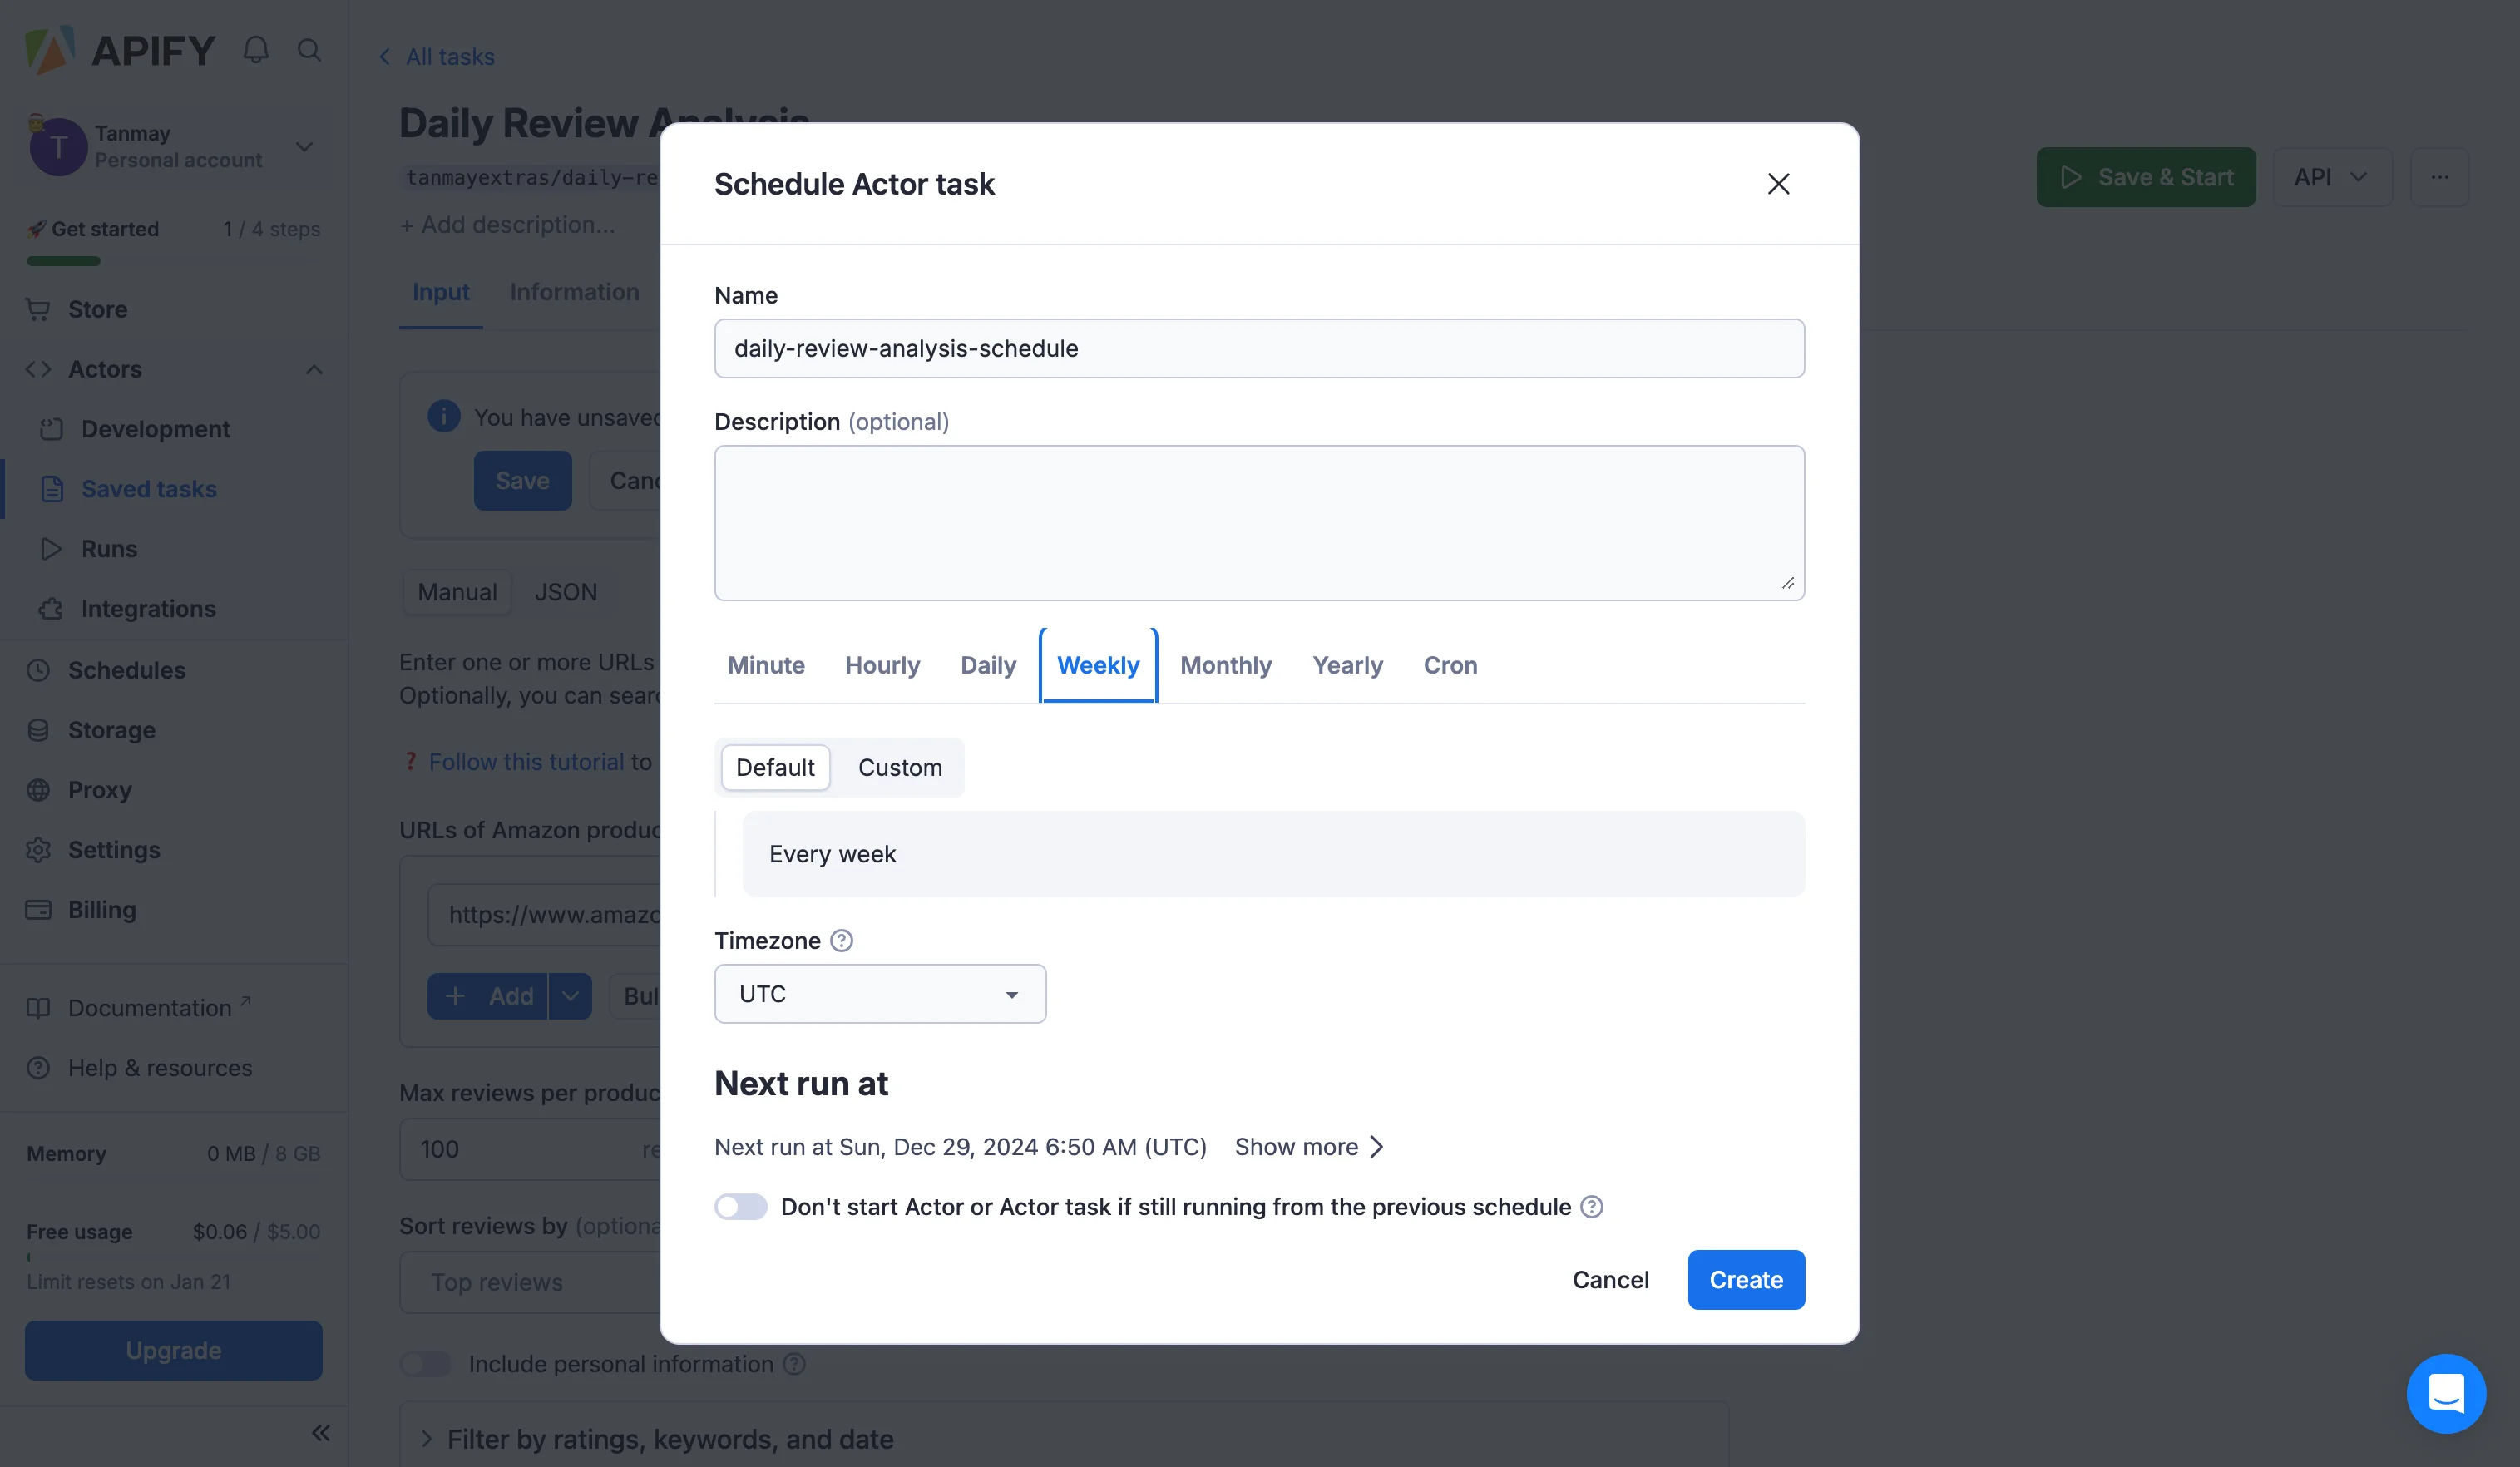
Give your task a descriptive name like "Daily Review Analysis" to easily identify it later.

The actor configuration screen allows us to specify several important parameters. Enter your product URLs in the input field. You can also add them in bulk by writing them in a txt file and then uploading it to Apify.
Format example for Amazon actor-:
https://www.amazon.com/Sceptre-E248W-19203R-Monitor-Speakers-Metallic/dp/B0773ZY26F
For testing, start with just one or two products. Later, you can add on the complete list of products to run this workflow.
Now we are going to set up a complete automation to run on specific schedules, allowing us to receive AI powered analysis for all new product reviews within a defined timeline. Apify actors do not provide a direct option to dynamically select dates for scraping Amazon product reviews; however, there is a workaround that can effectively scrape recent reviews.
First, we will sort our results by the ‘Most recent’ reviews to determine how many are being posted for a particular product during the timeline you choose for this AI automated workflow.
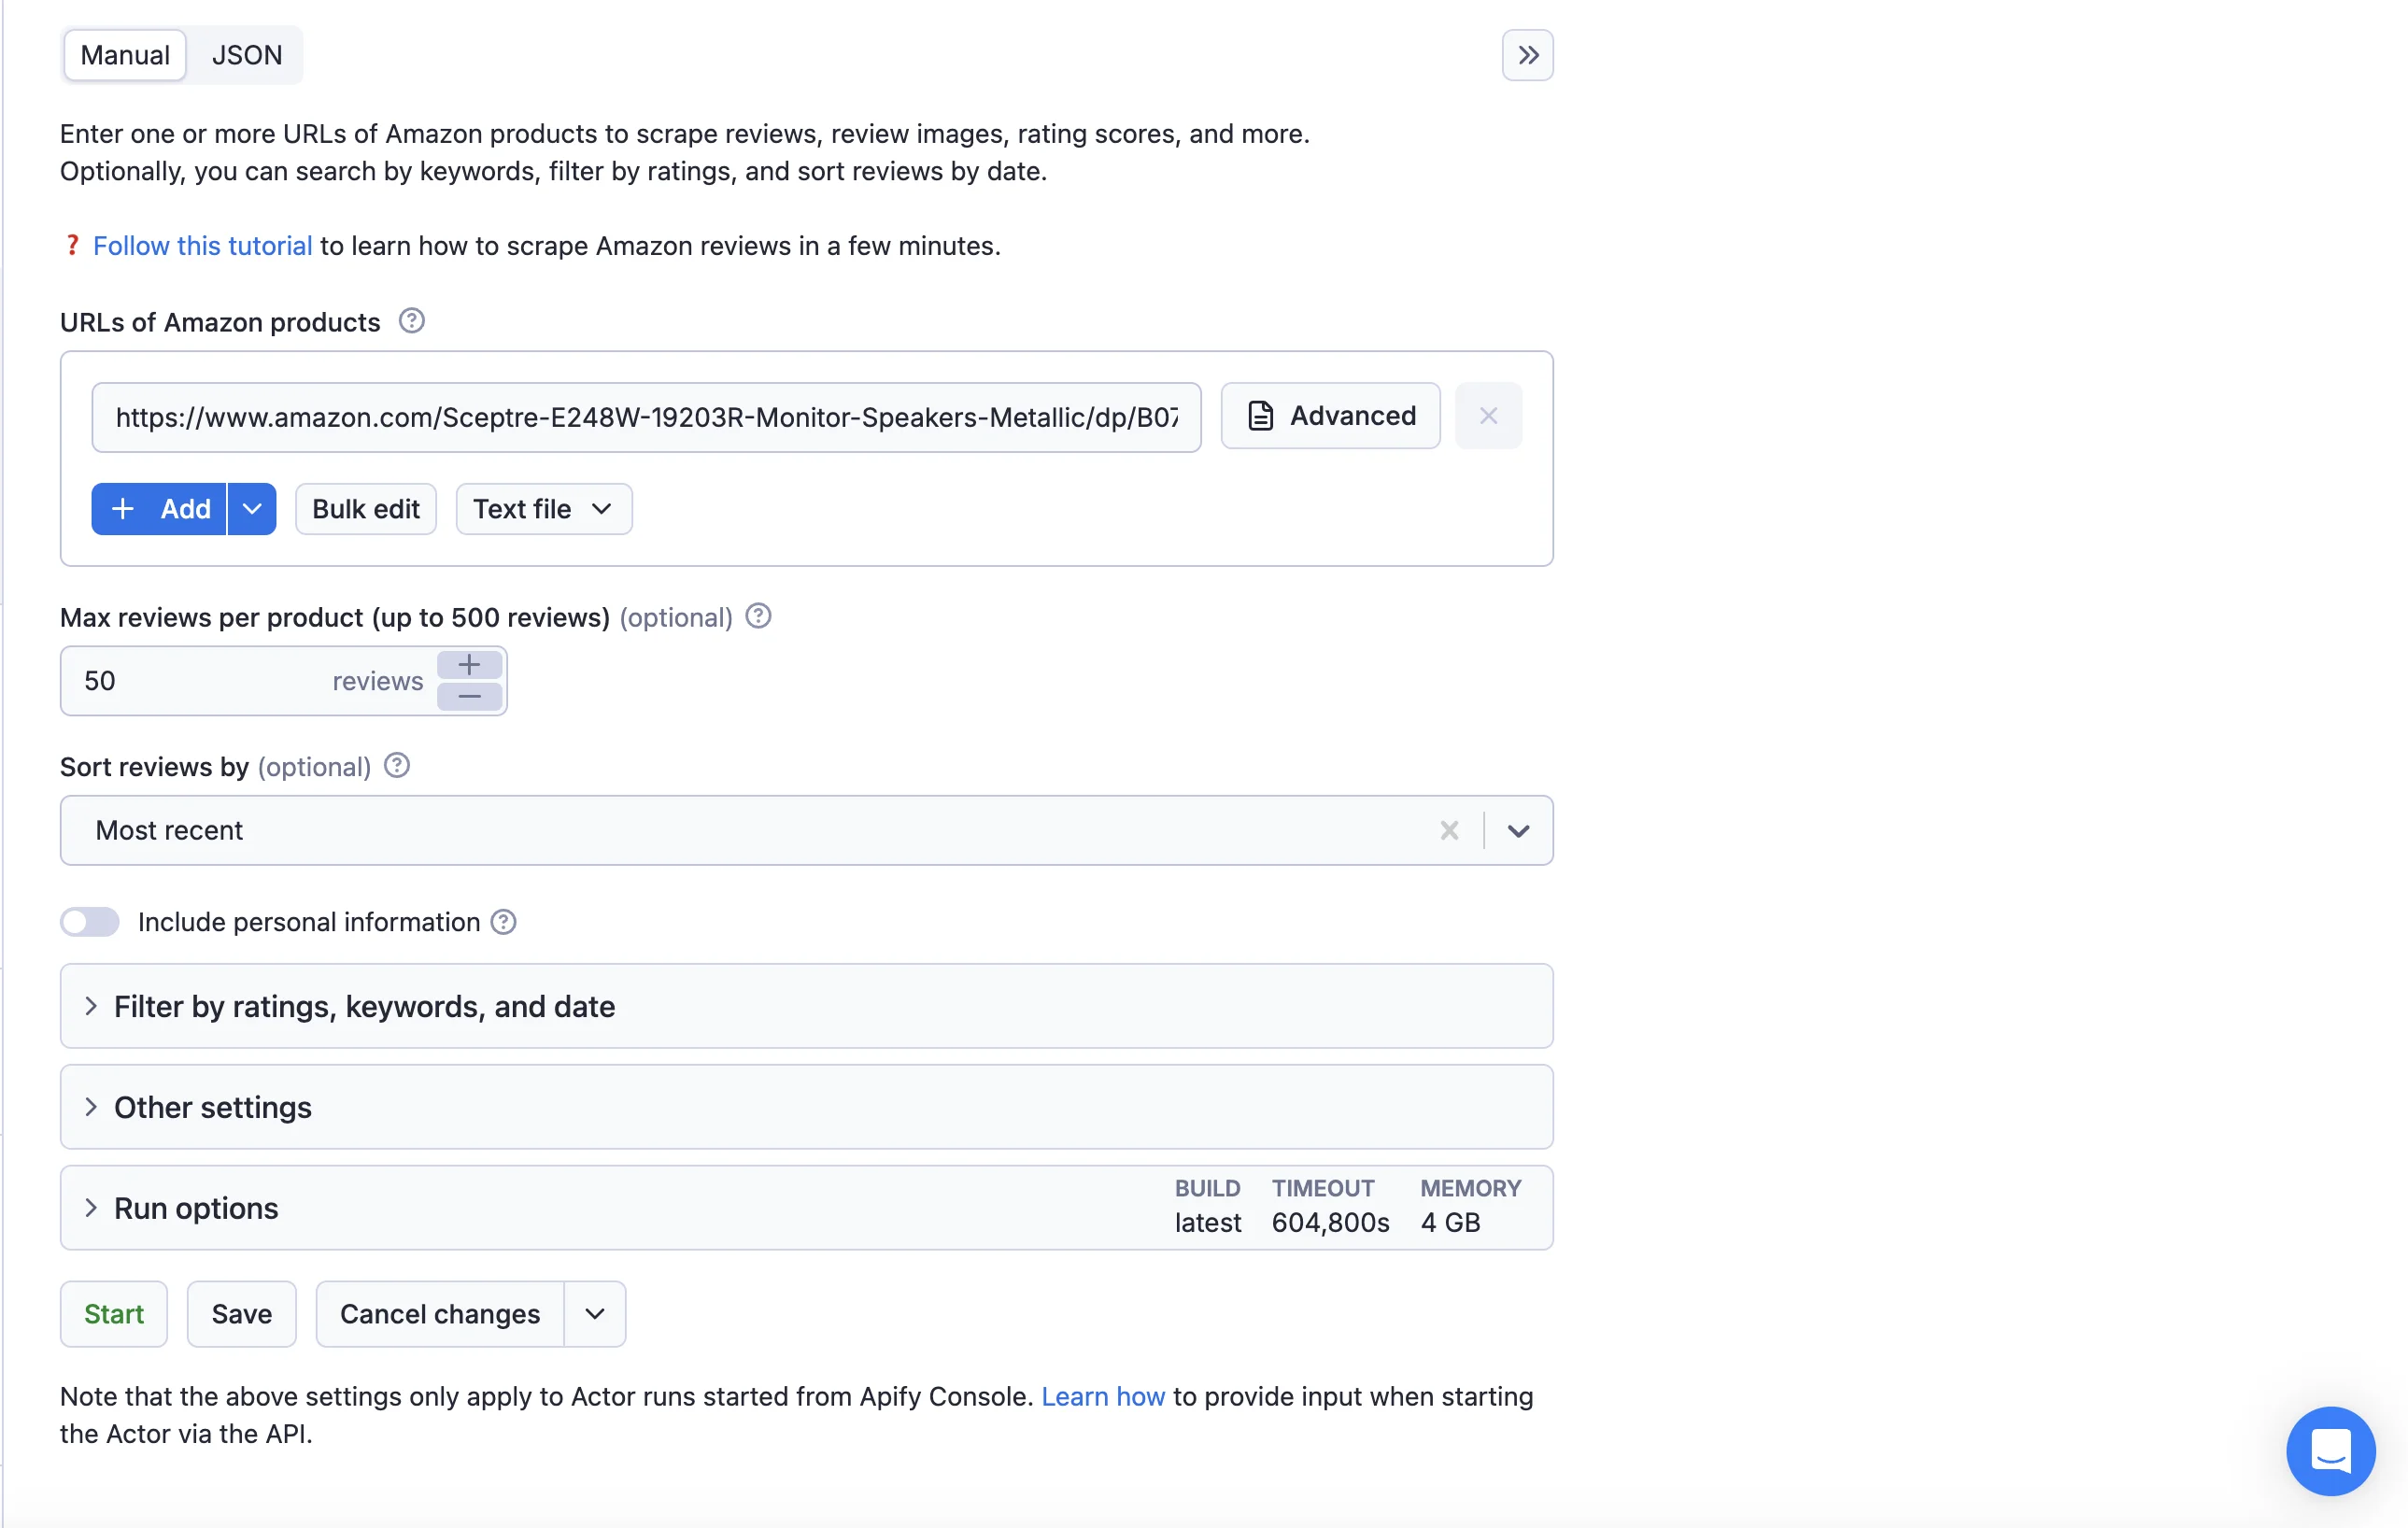
Select the number of reviews you believe our product typically receives (perhaps over one week), and then we will configure the workflow inside Zapier accordingly.
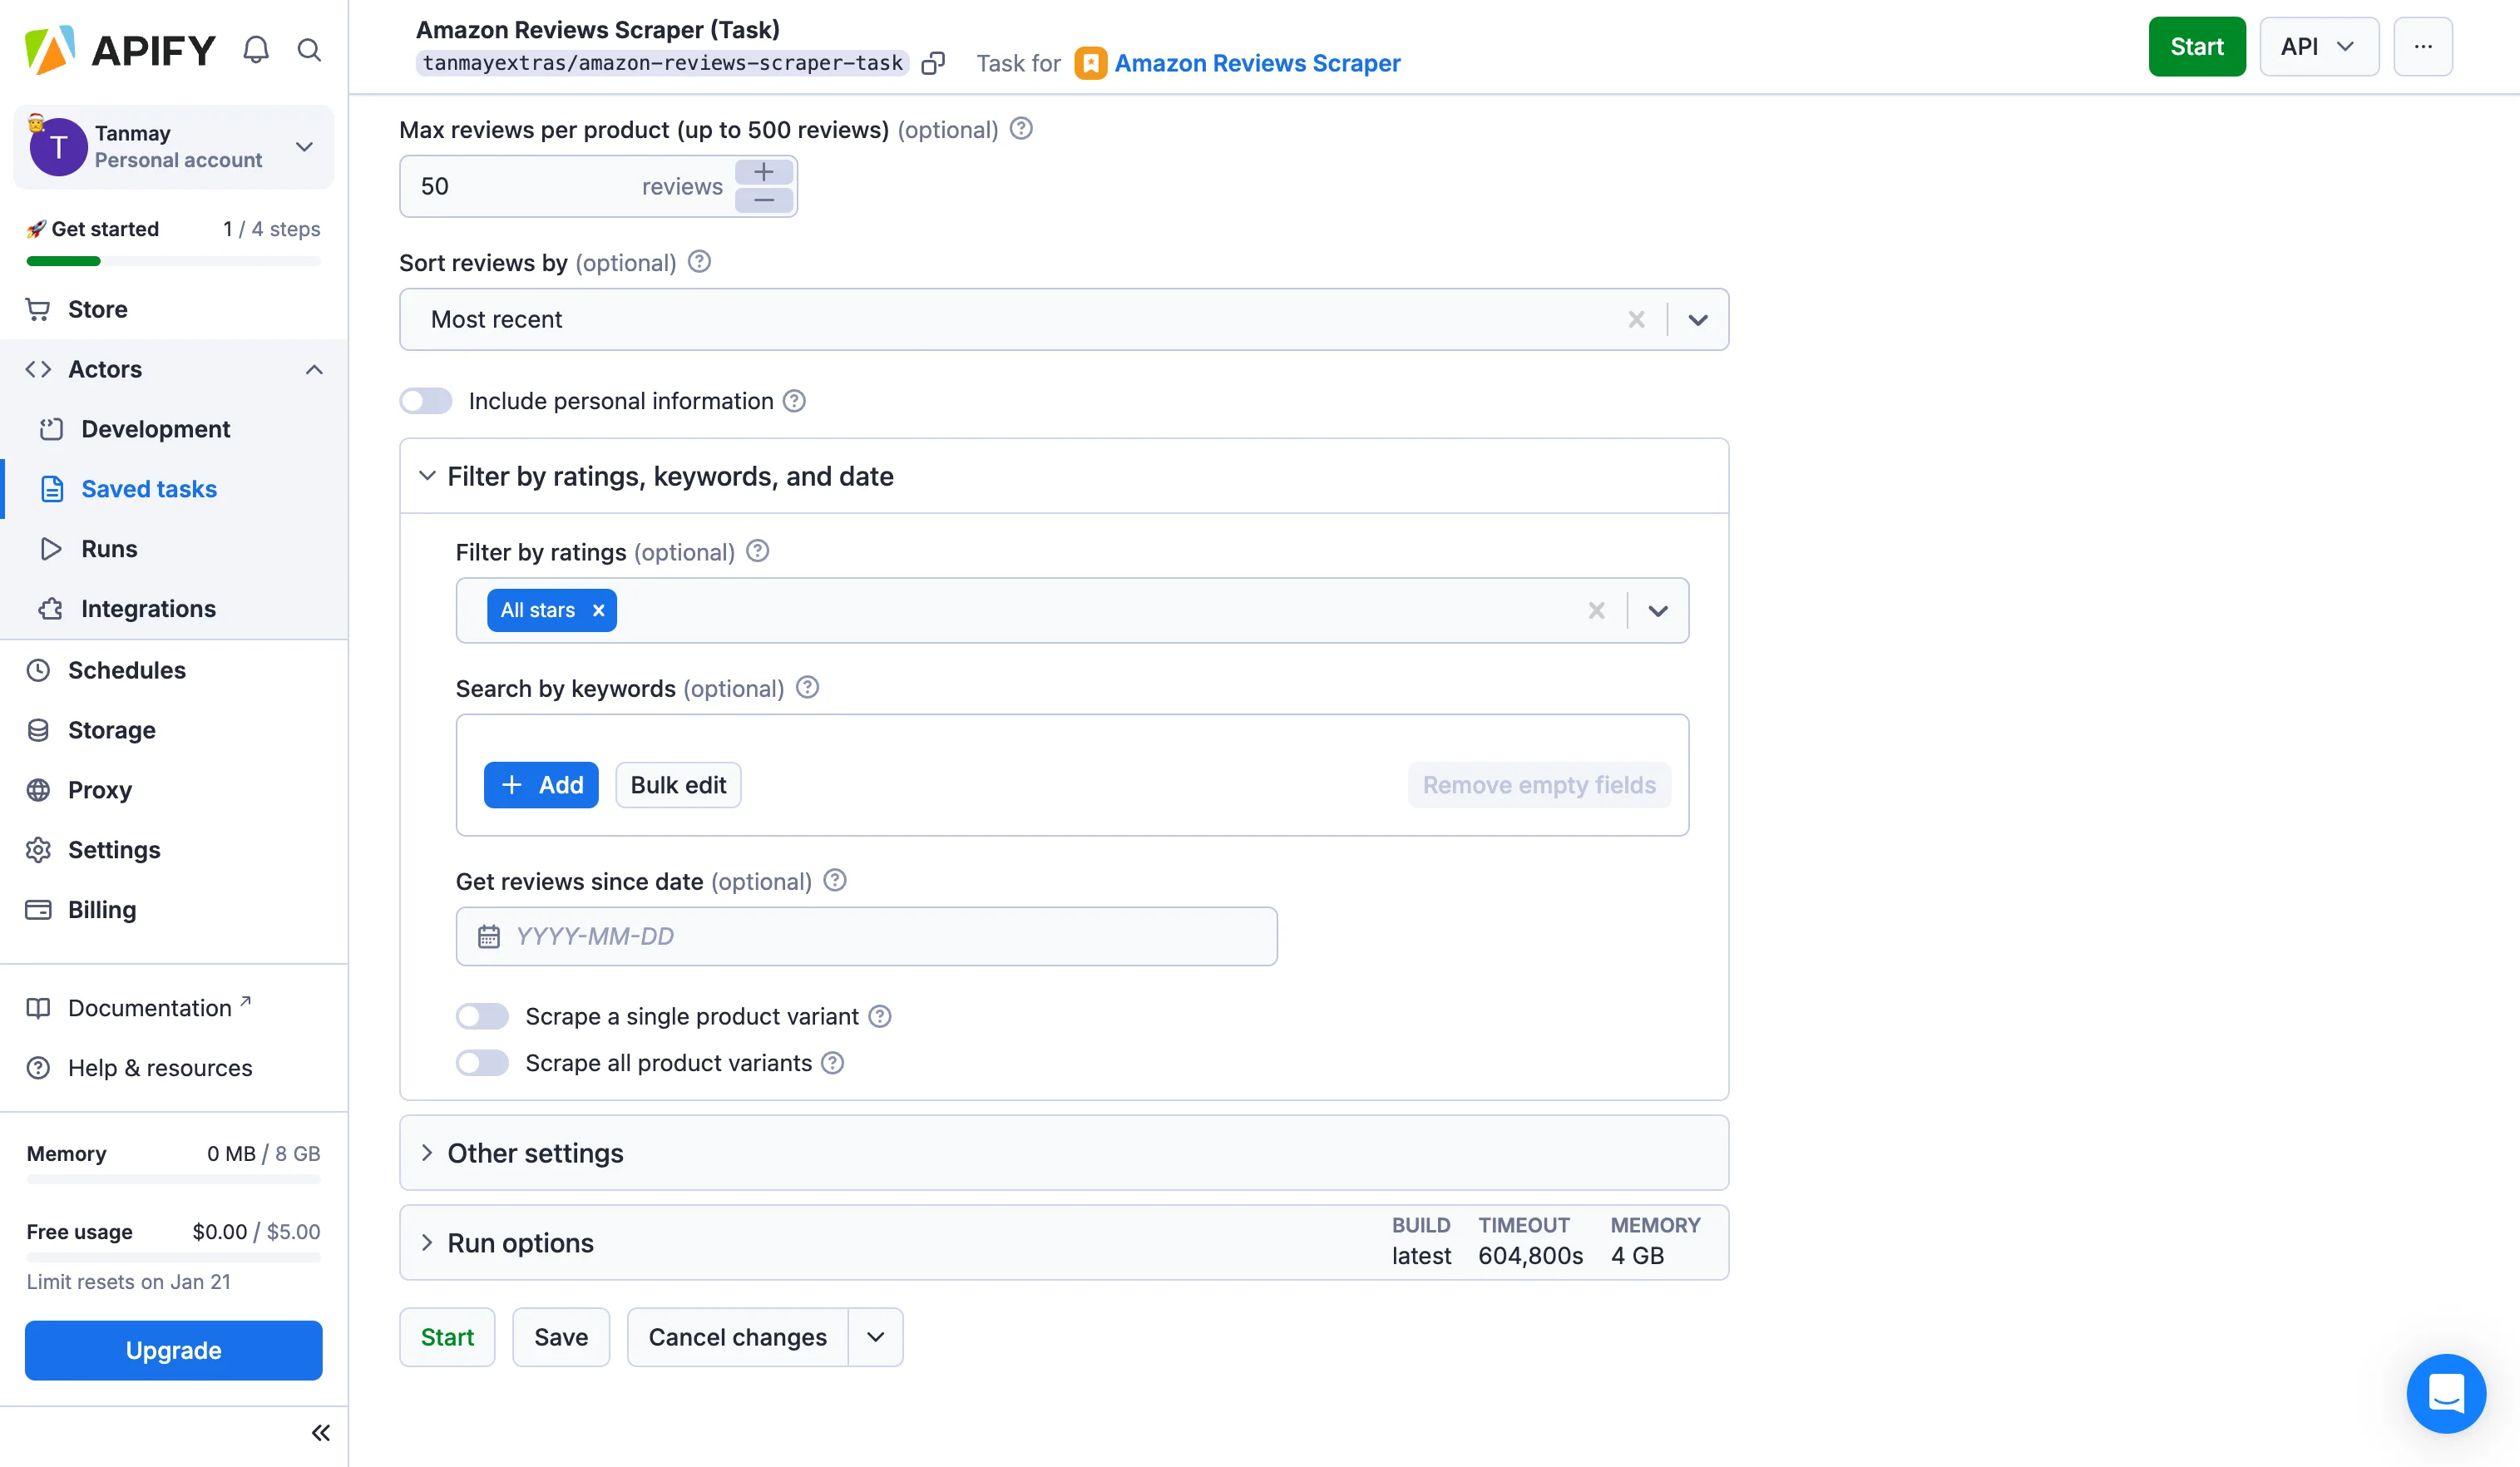
You can adjust your actor's settings to filter ratings and reviews by various parameters. For example, if you want to summarize only negative reviews or those with low star ratings, you can do so based on your objective.
Before integrating our actor into the Zapier workflow, let's test it. Click the start button below to test the actor. A premium plan is required to use any actors on the Apify, but many offer a free trial to begin.
After starting the run, the actor will take some time to get all the data from the API depending on the number of reviews and other things you have applied in your actor settings.

After testing your actor, let's schedule it to run at a specific interval. Click on the three dots and select "Schedule." Now, choose the interval for which you want the actor to run automatically in the backend.
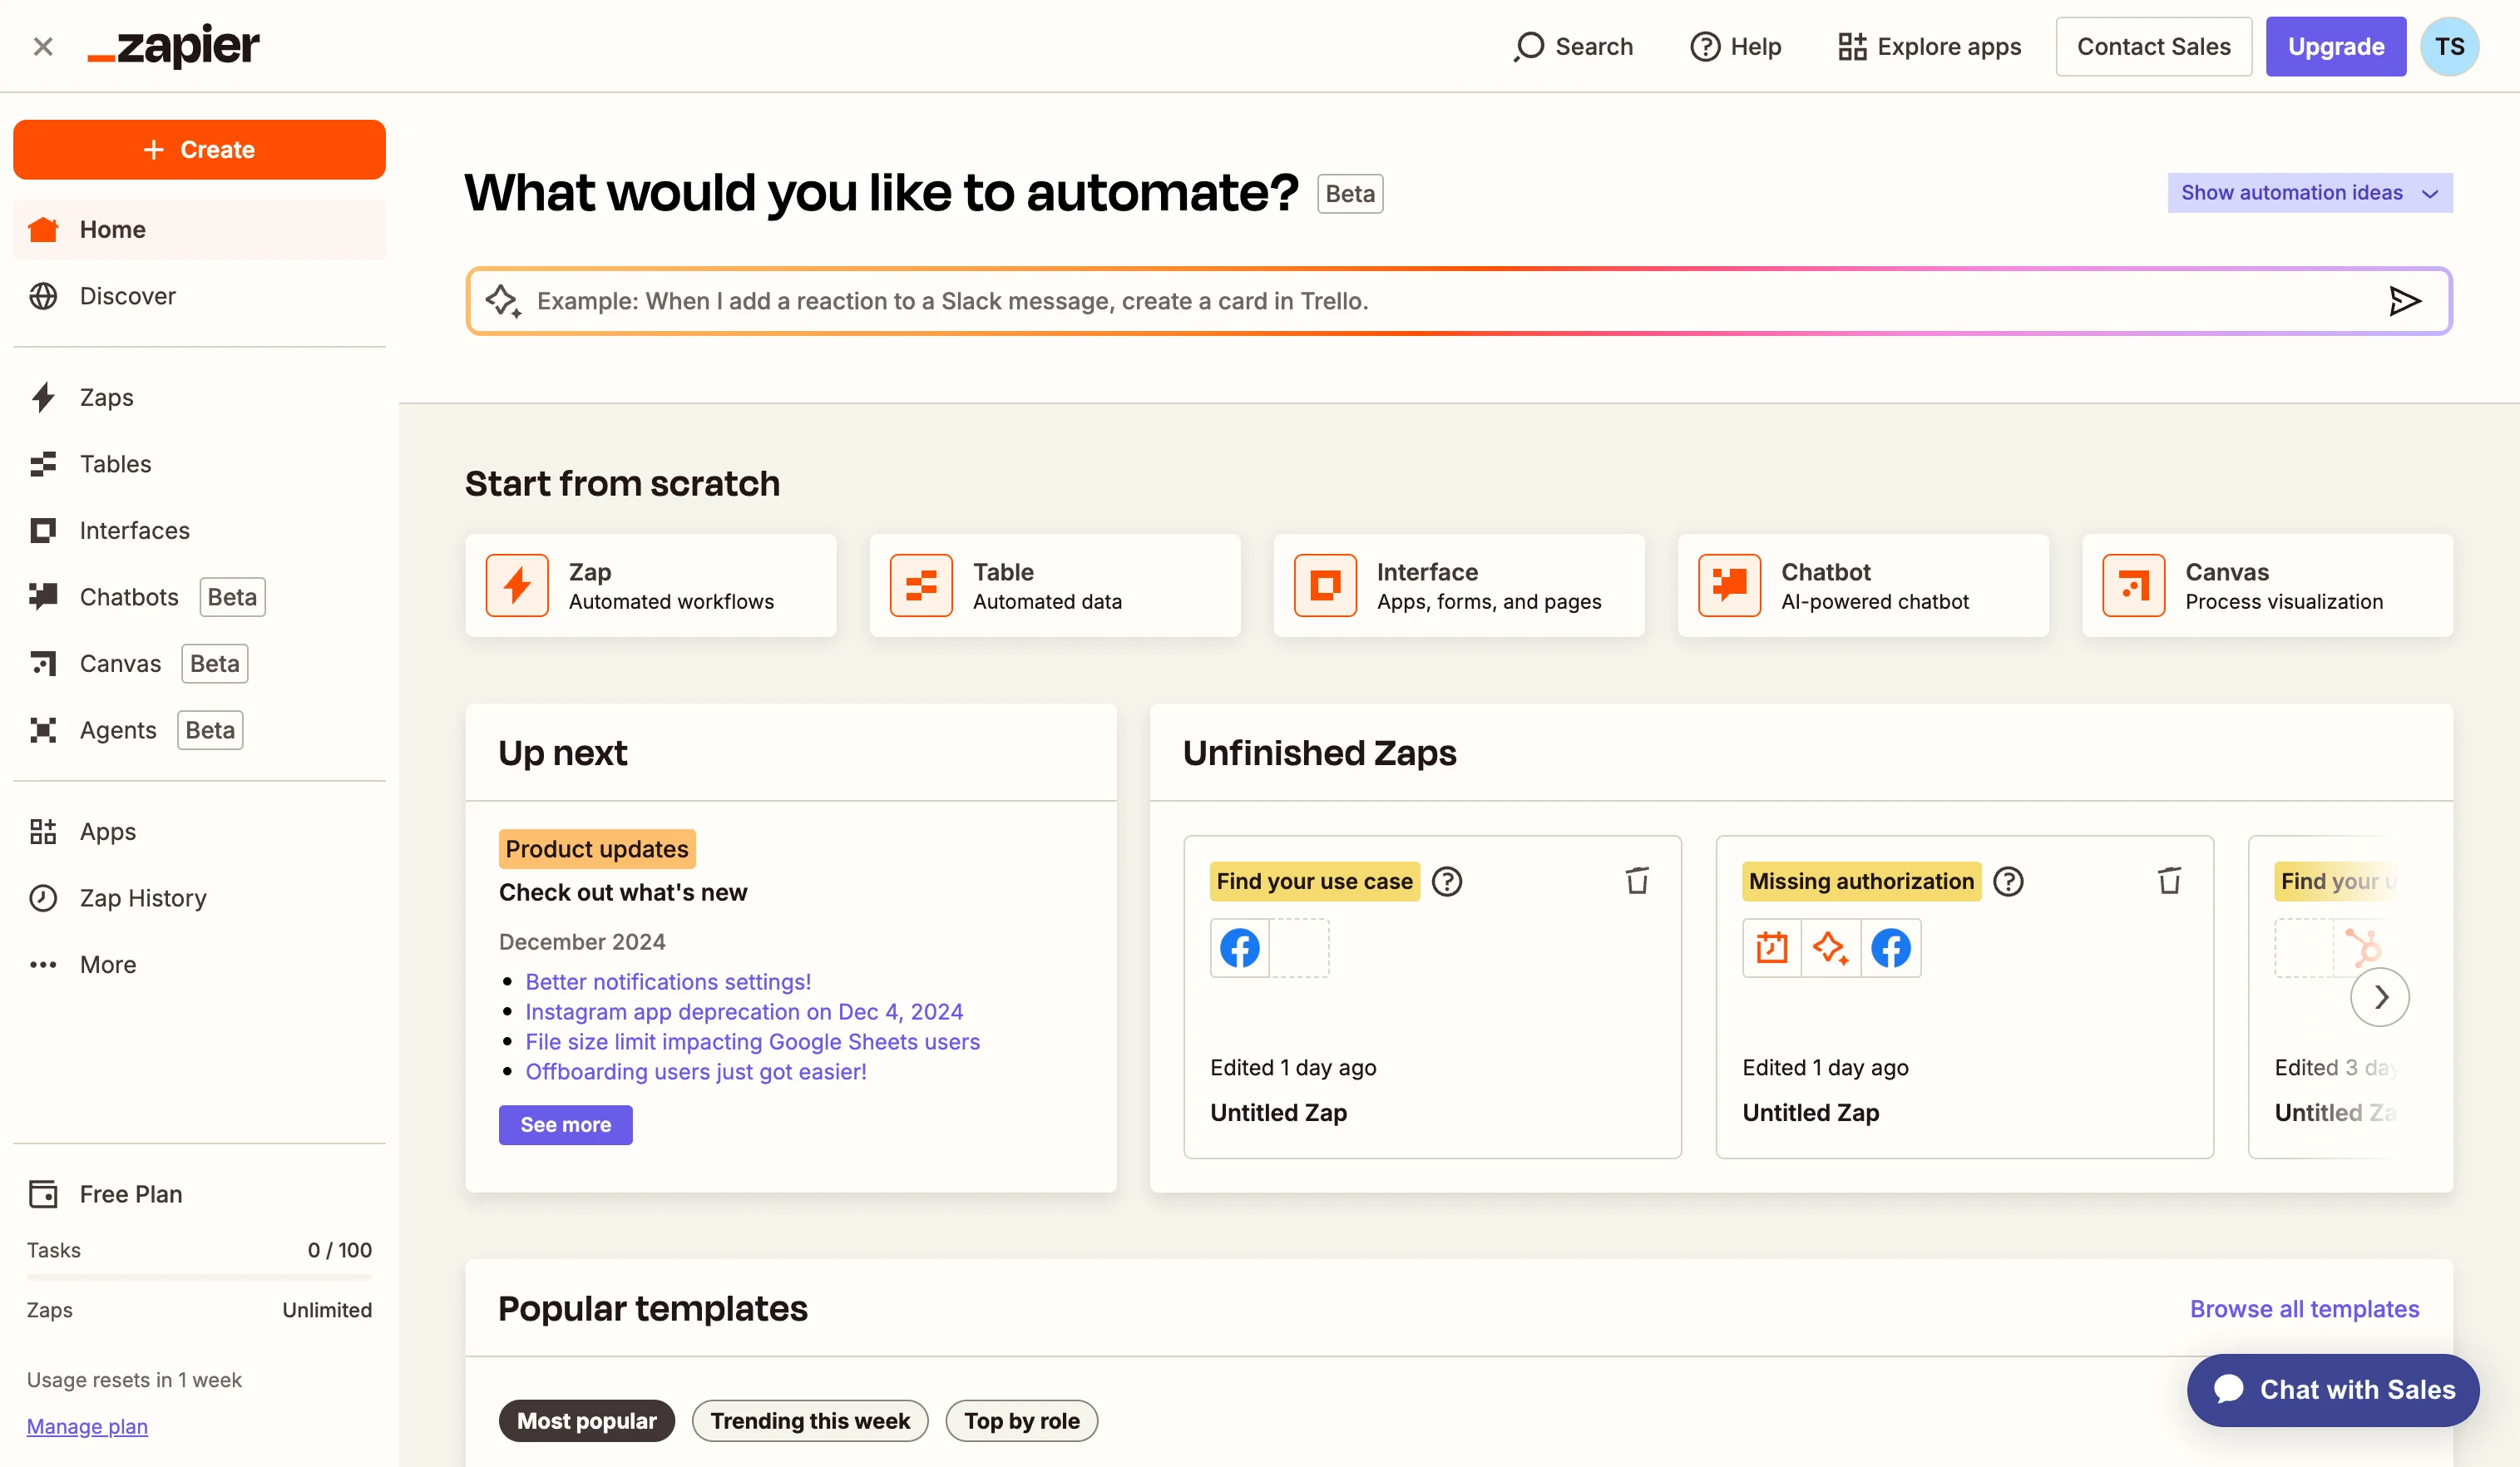
Step 3: Create a Zapier integration
With our Apify scraper configured, we'll now set up Zapier to create an automated workflow that processes the scraped reviews and generates insights. Sign into your Zapier account and click the "Create Zap" button to start building our automation.
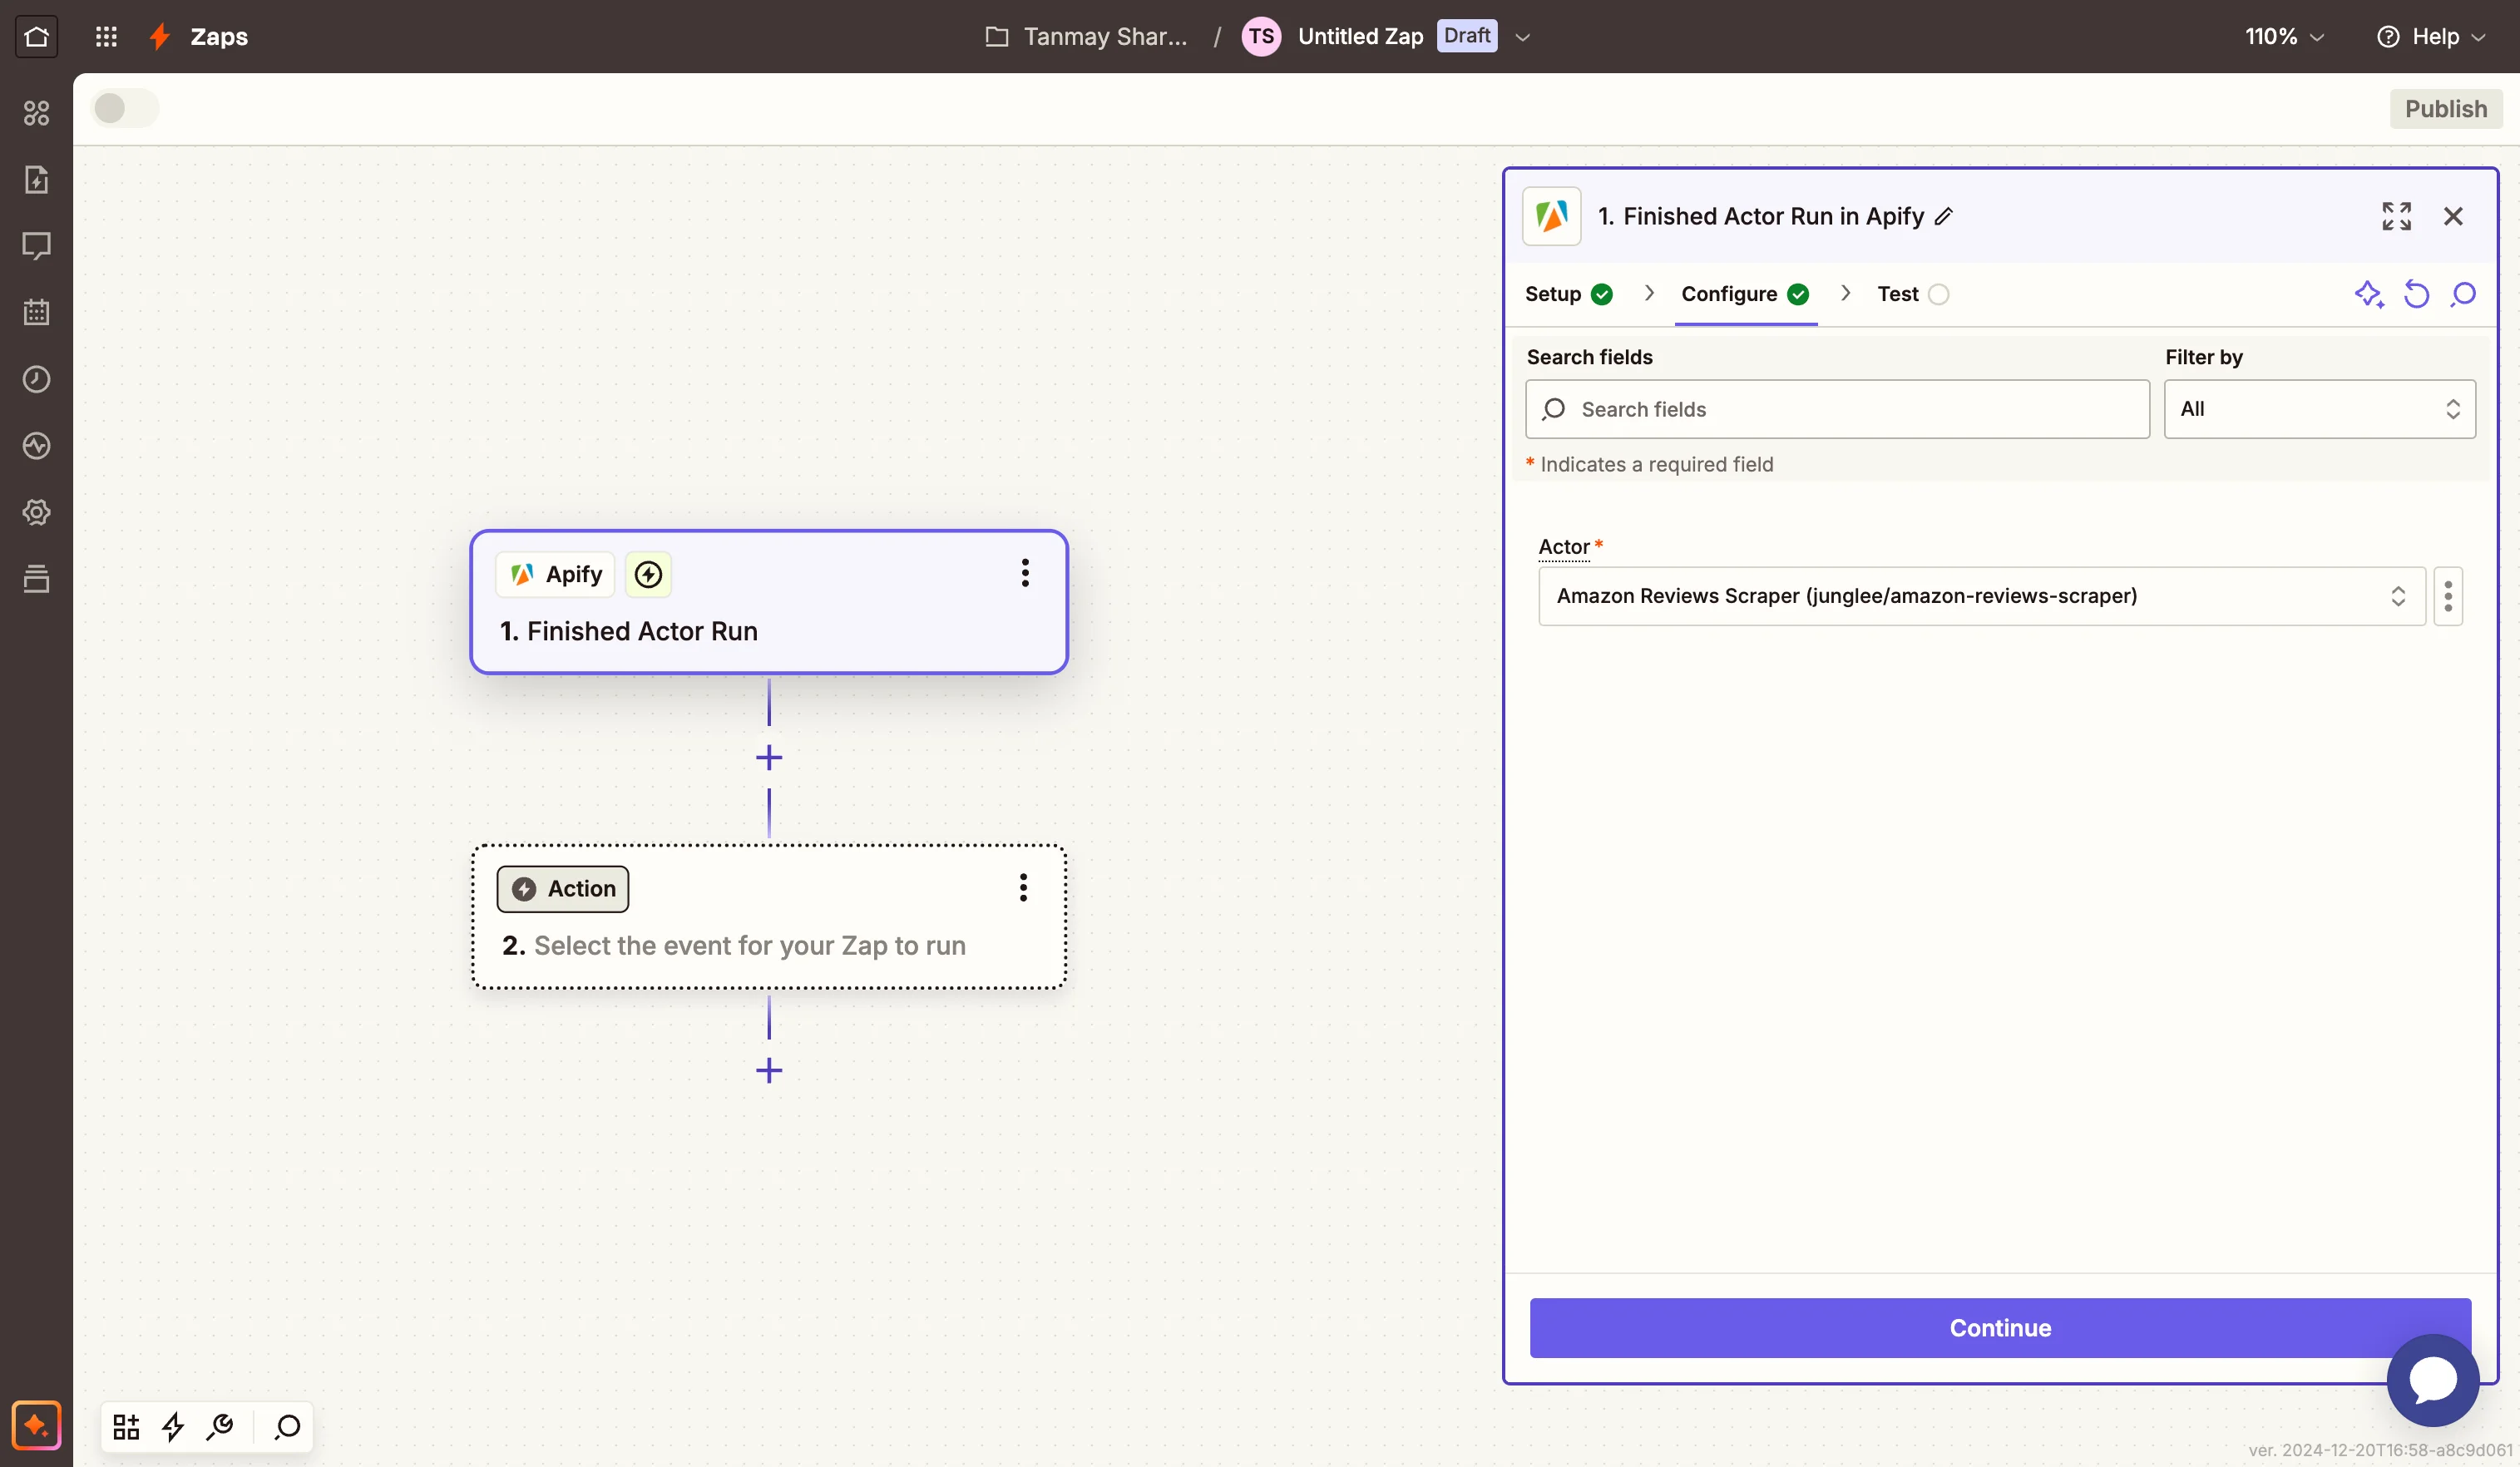
First, we need to set up the trigger that will start our automation. Search for and select "Apify" in the trigger app selection. Select "Finished Actor Run" as the trigger event—this ensures our workflow starts as soon as the Apify scraper completes its run.
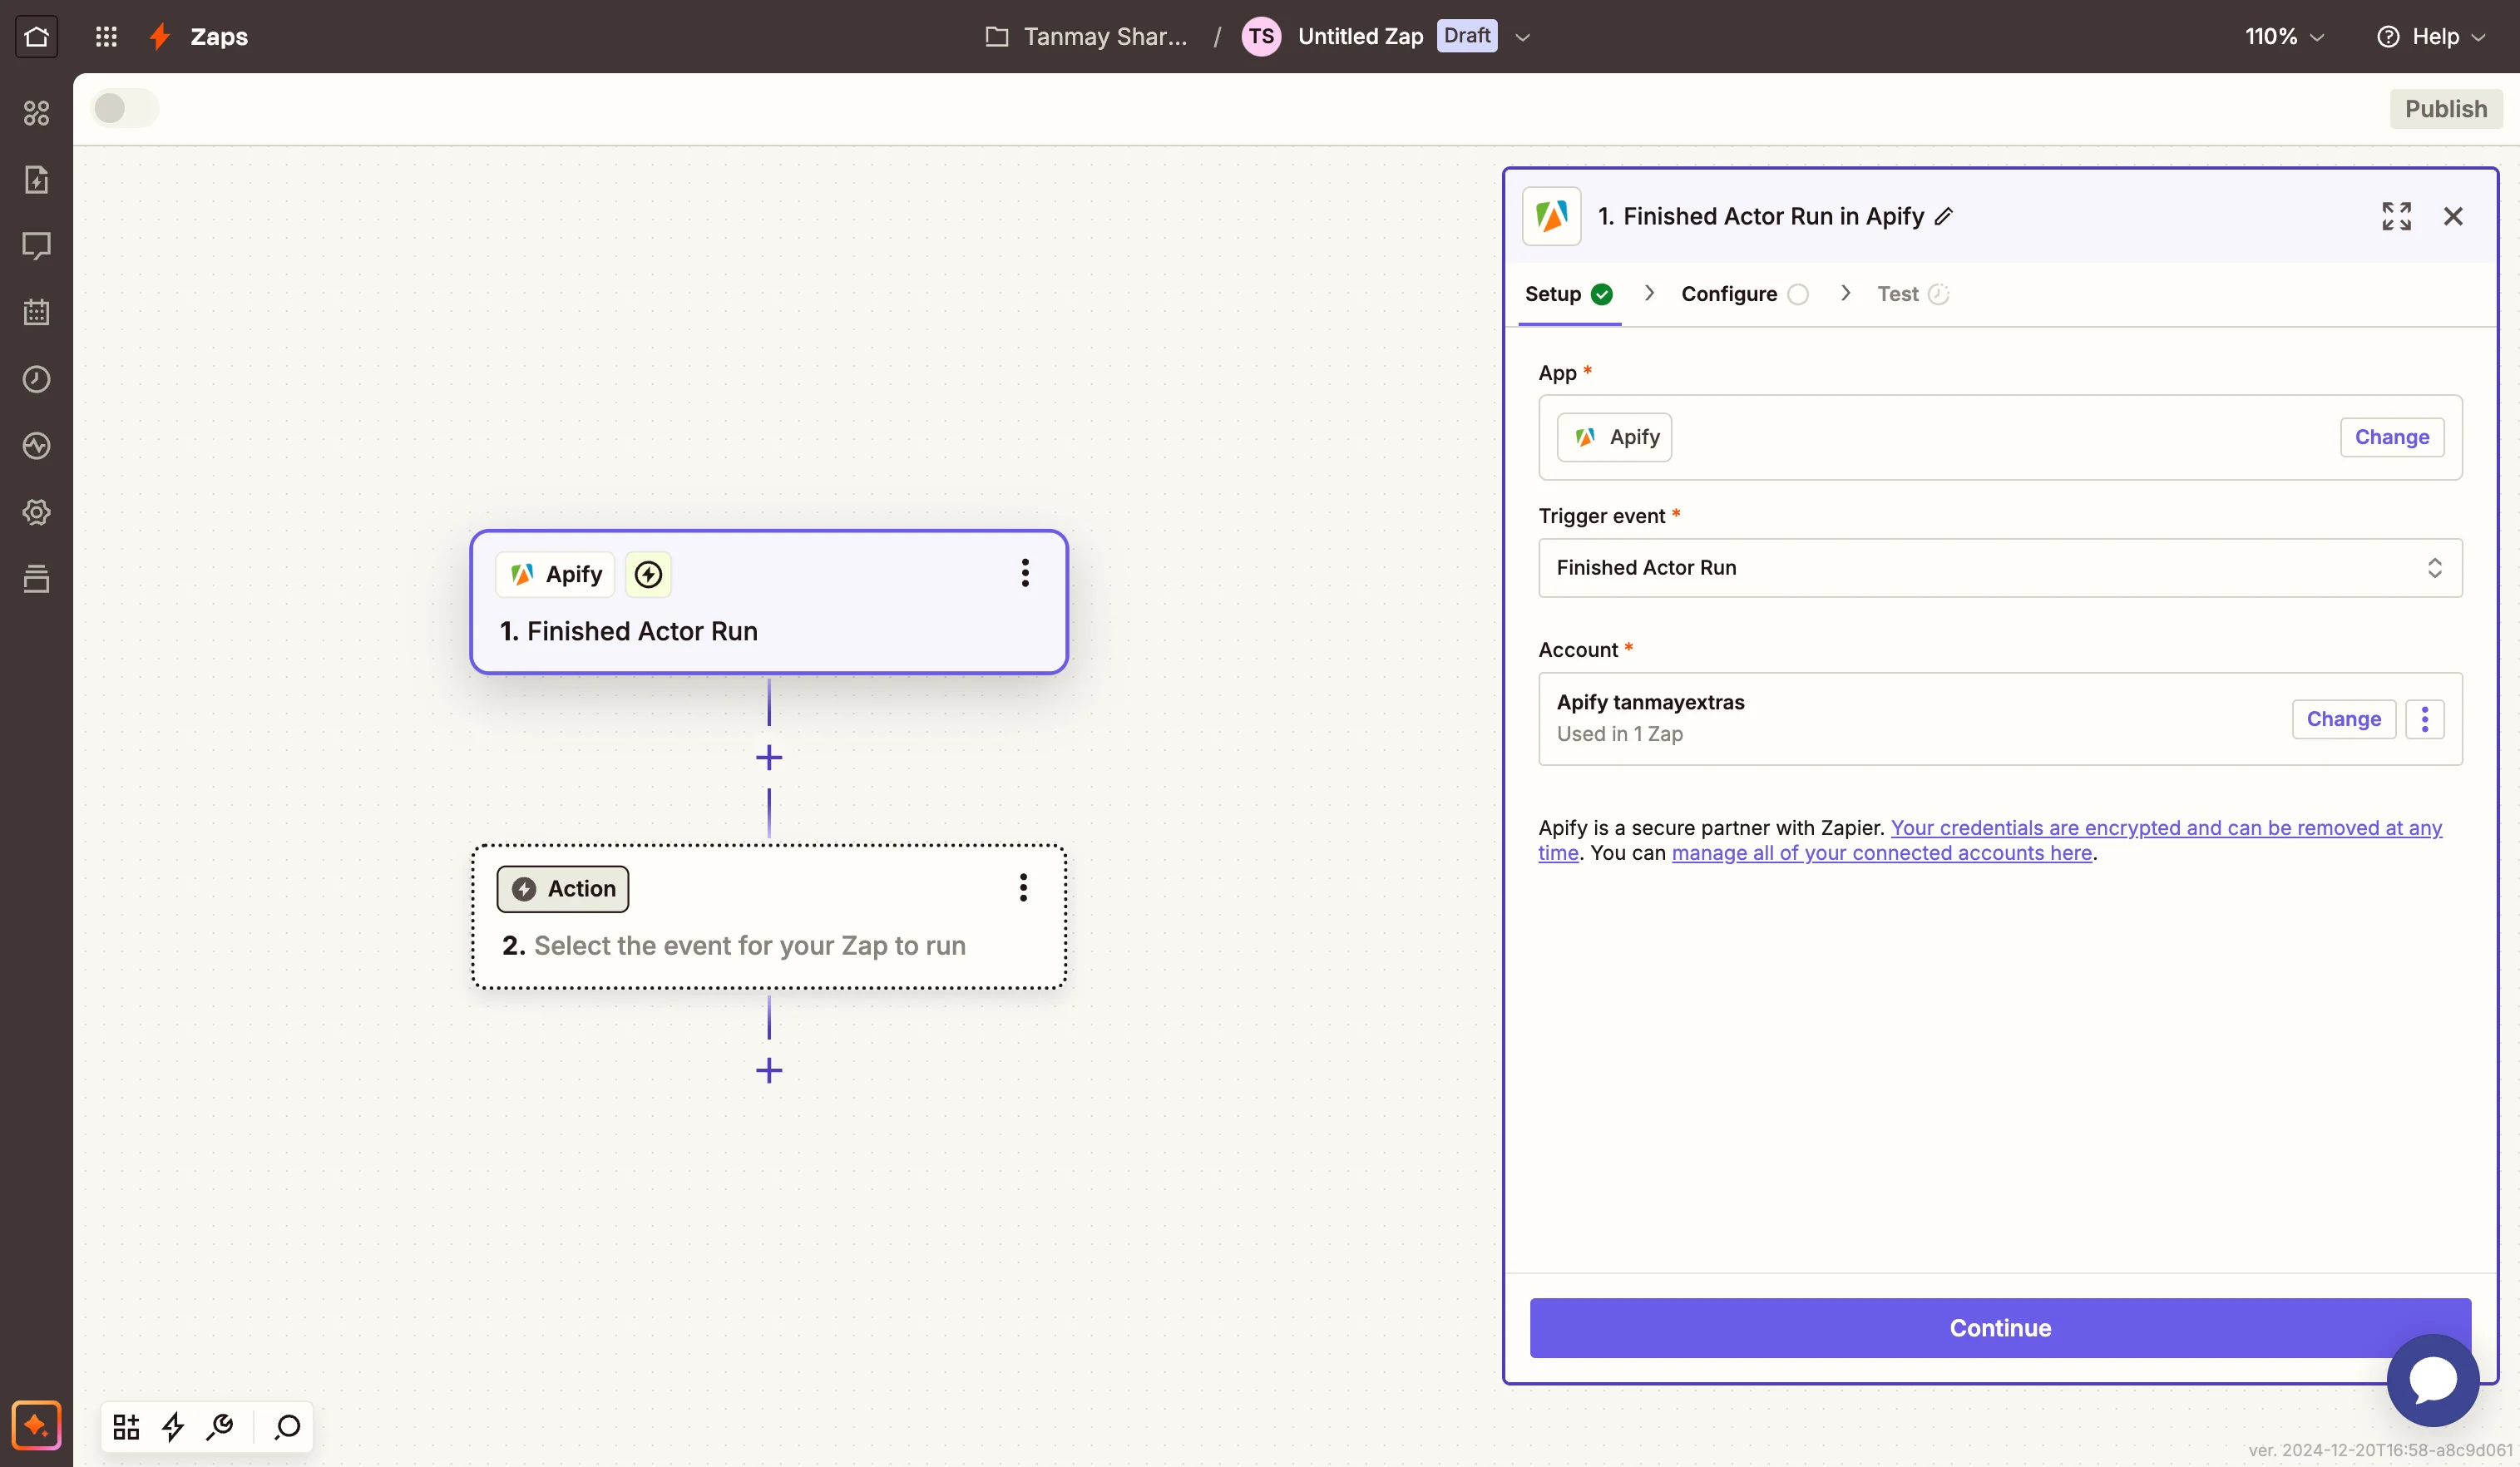
When prompted, connect your Apify account by entering the API token we copied earlier. After connecting, select the Amazon Reviews Scraper actor from the dropdown list.
Test the trigger to ensure that Zapier can successfully detect when the scraper completes its run.
Step 4: Process and format the review data
Now comes the crucial part of our workflow: transforming the raw scraped data into a format that's suitable for AI analysis. Add a new step to your Zap and search for "Formatter by Zapier".
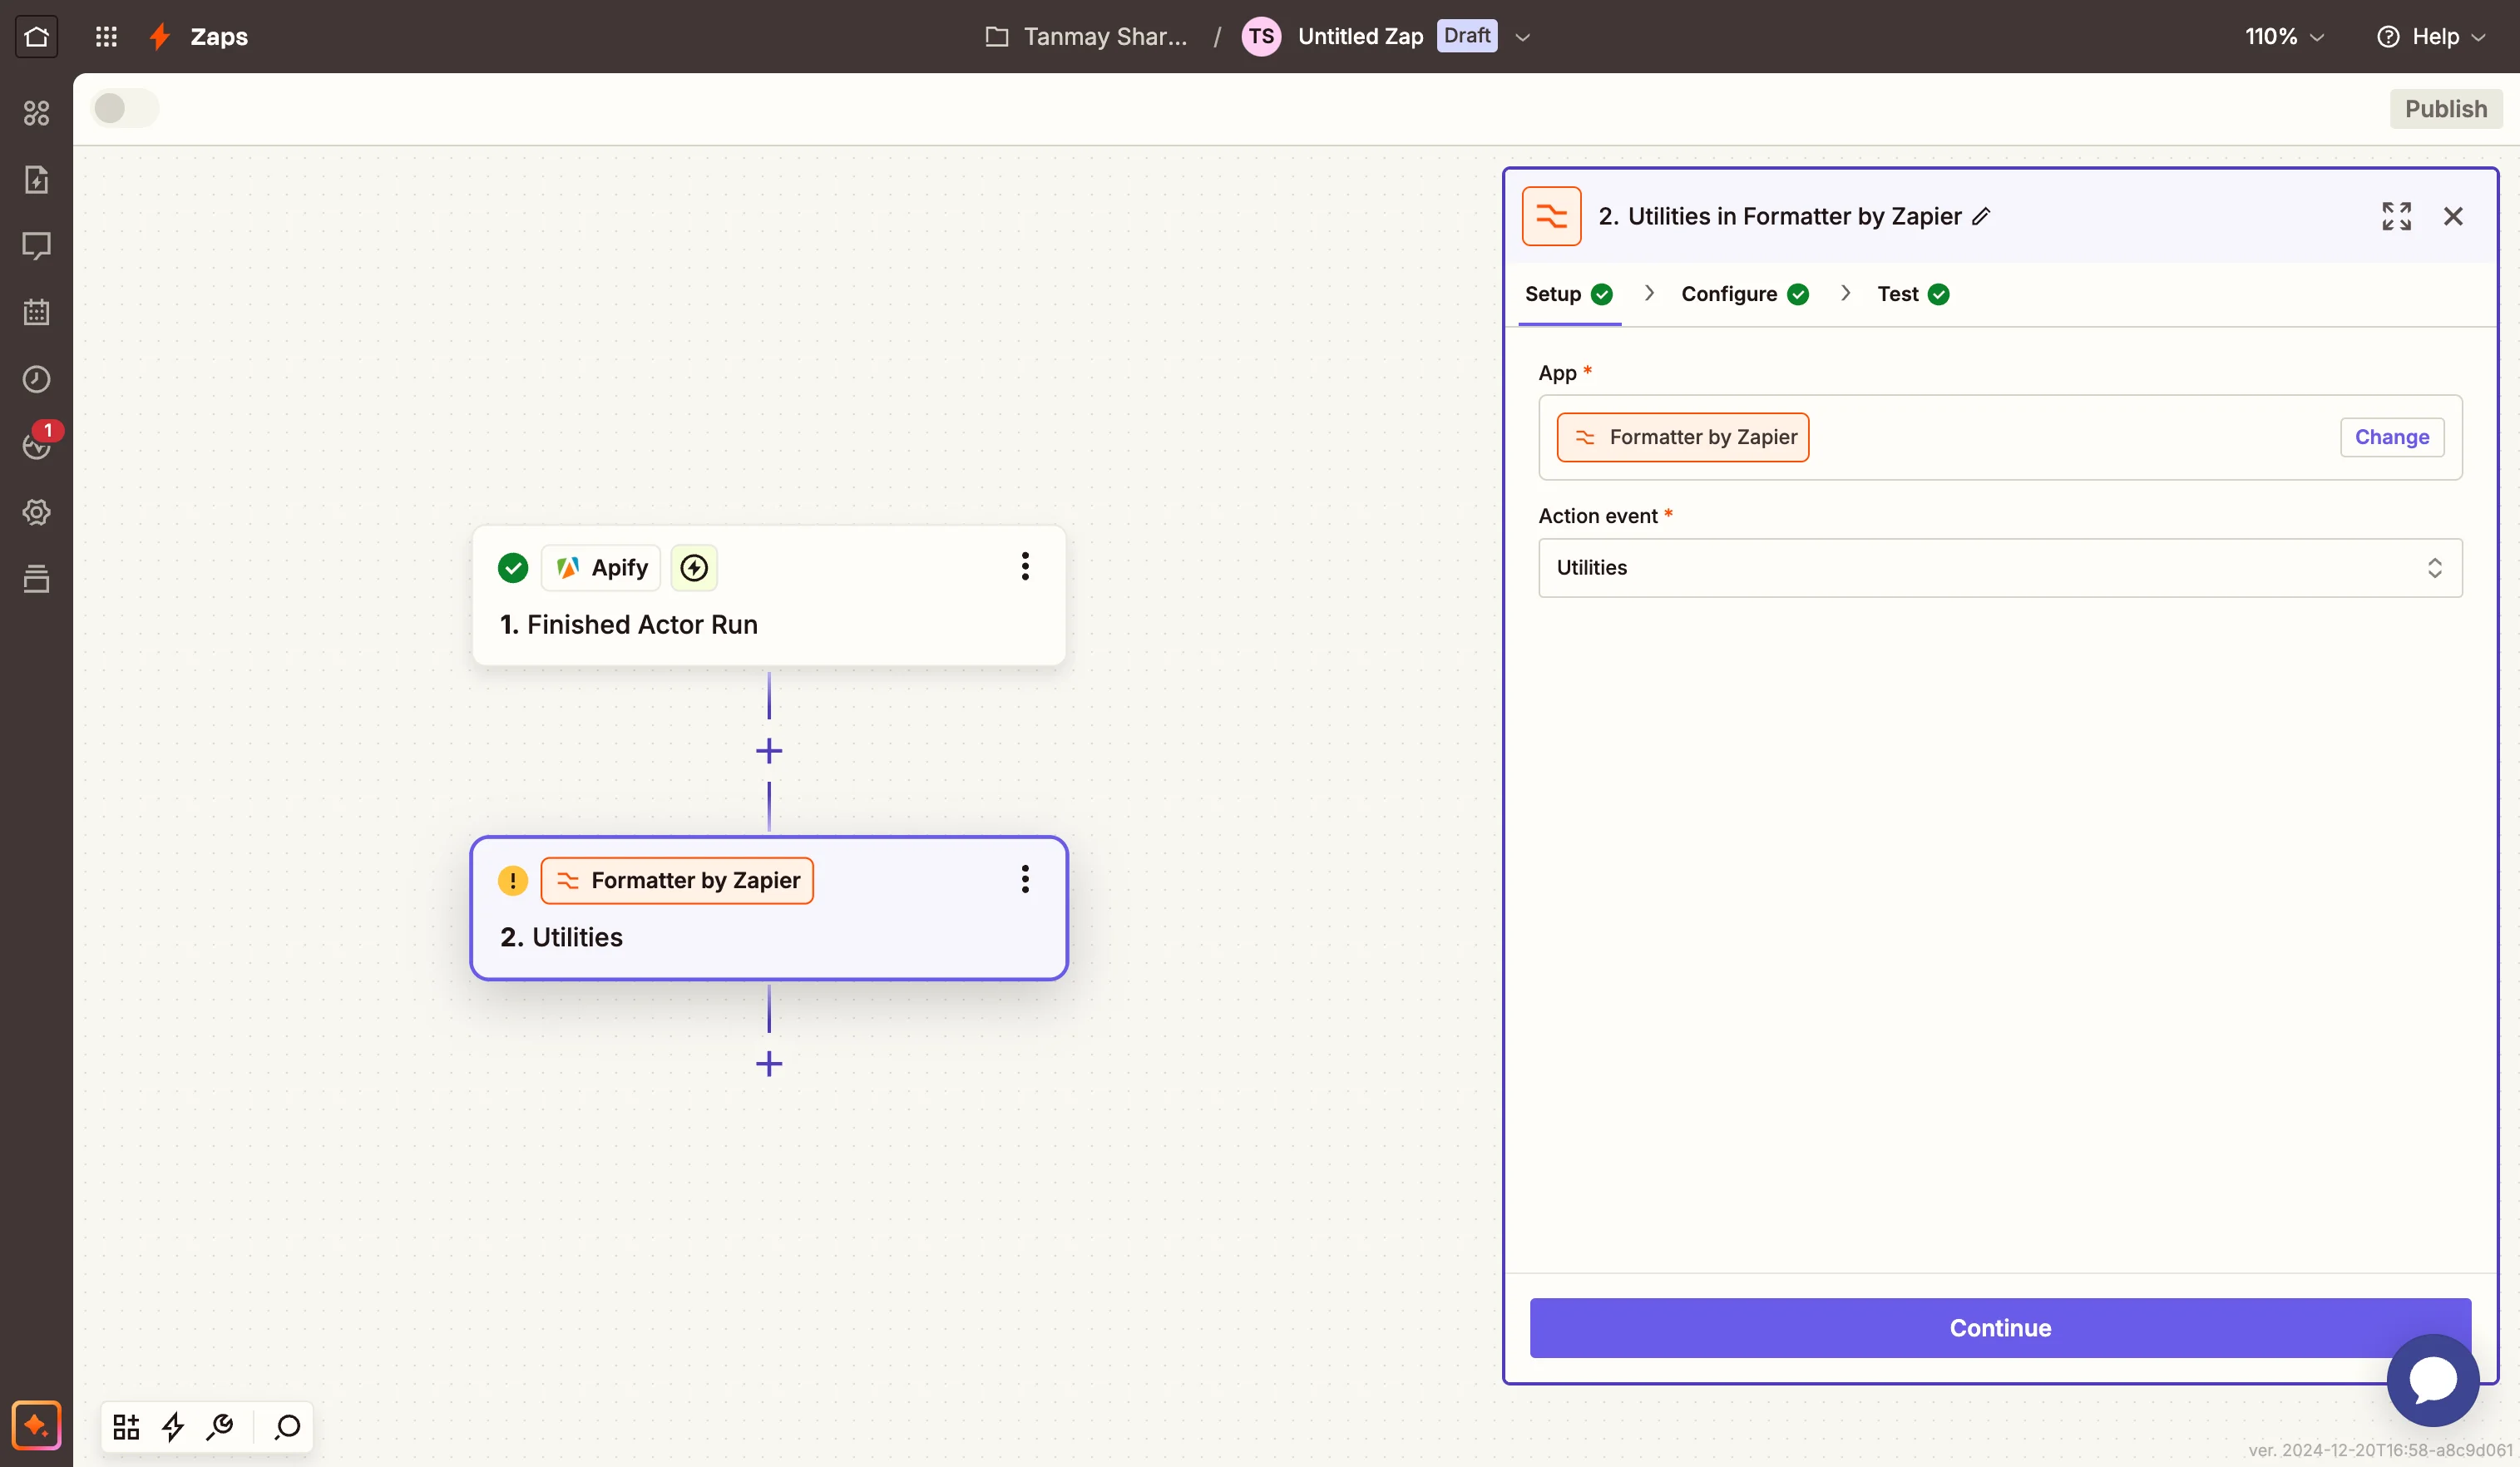
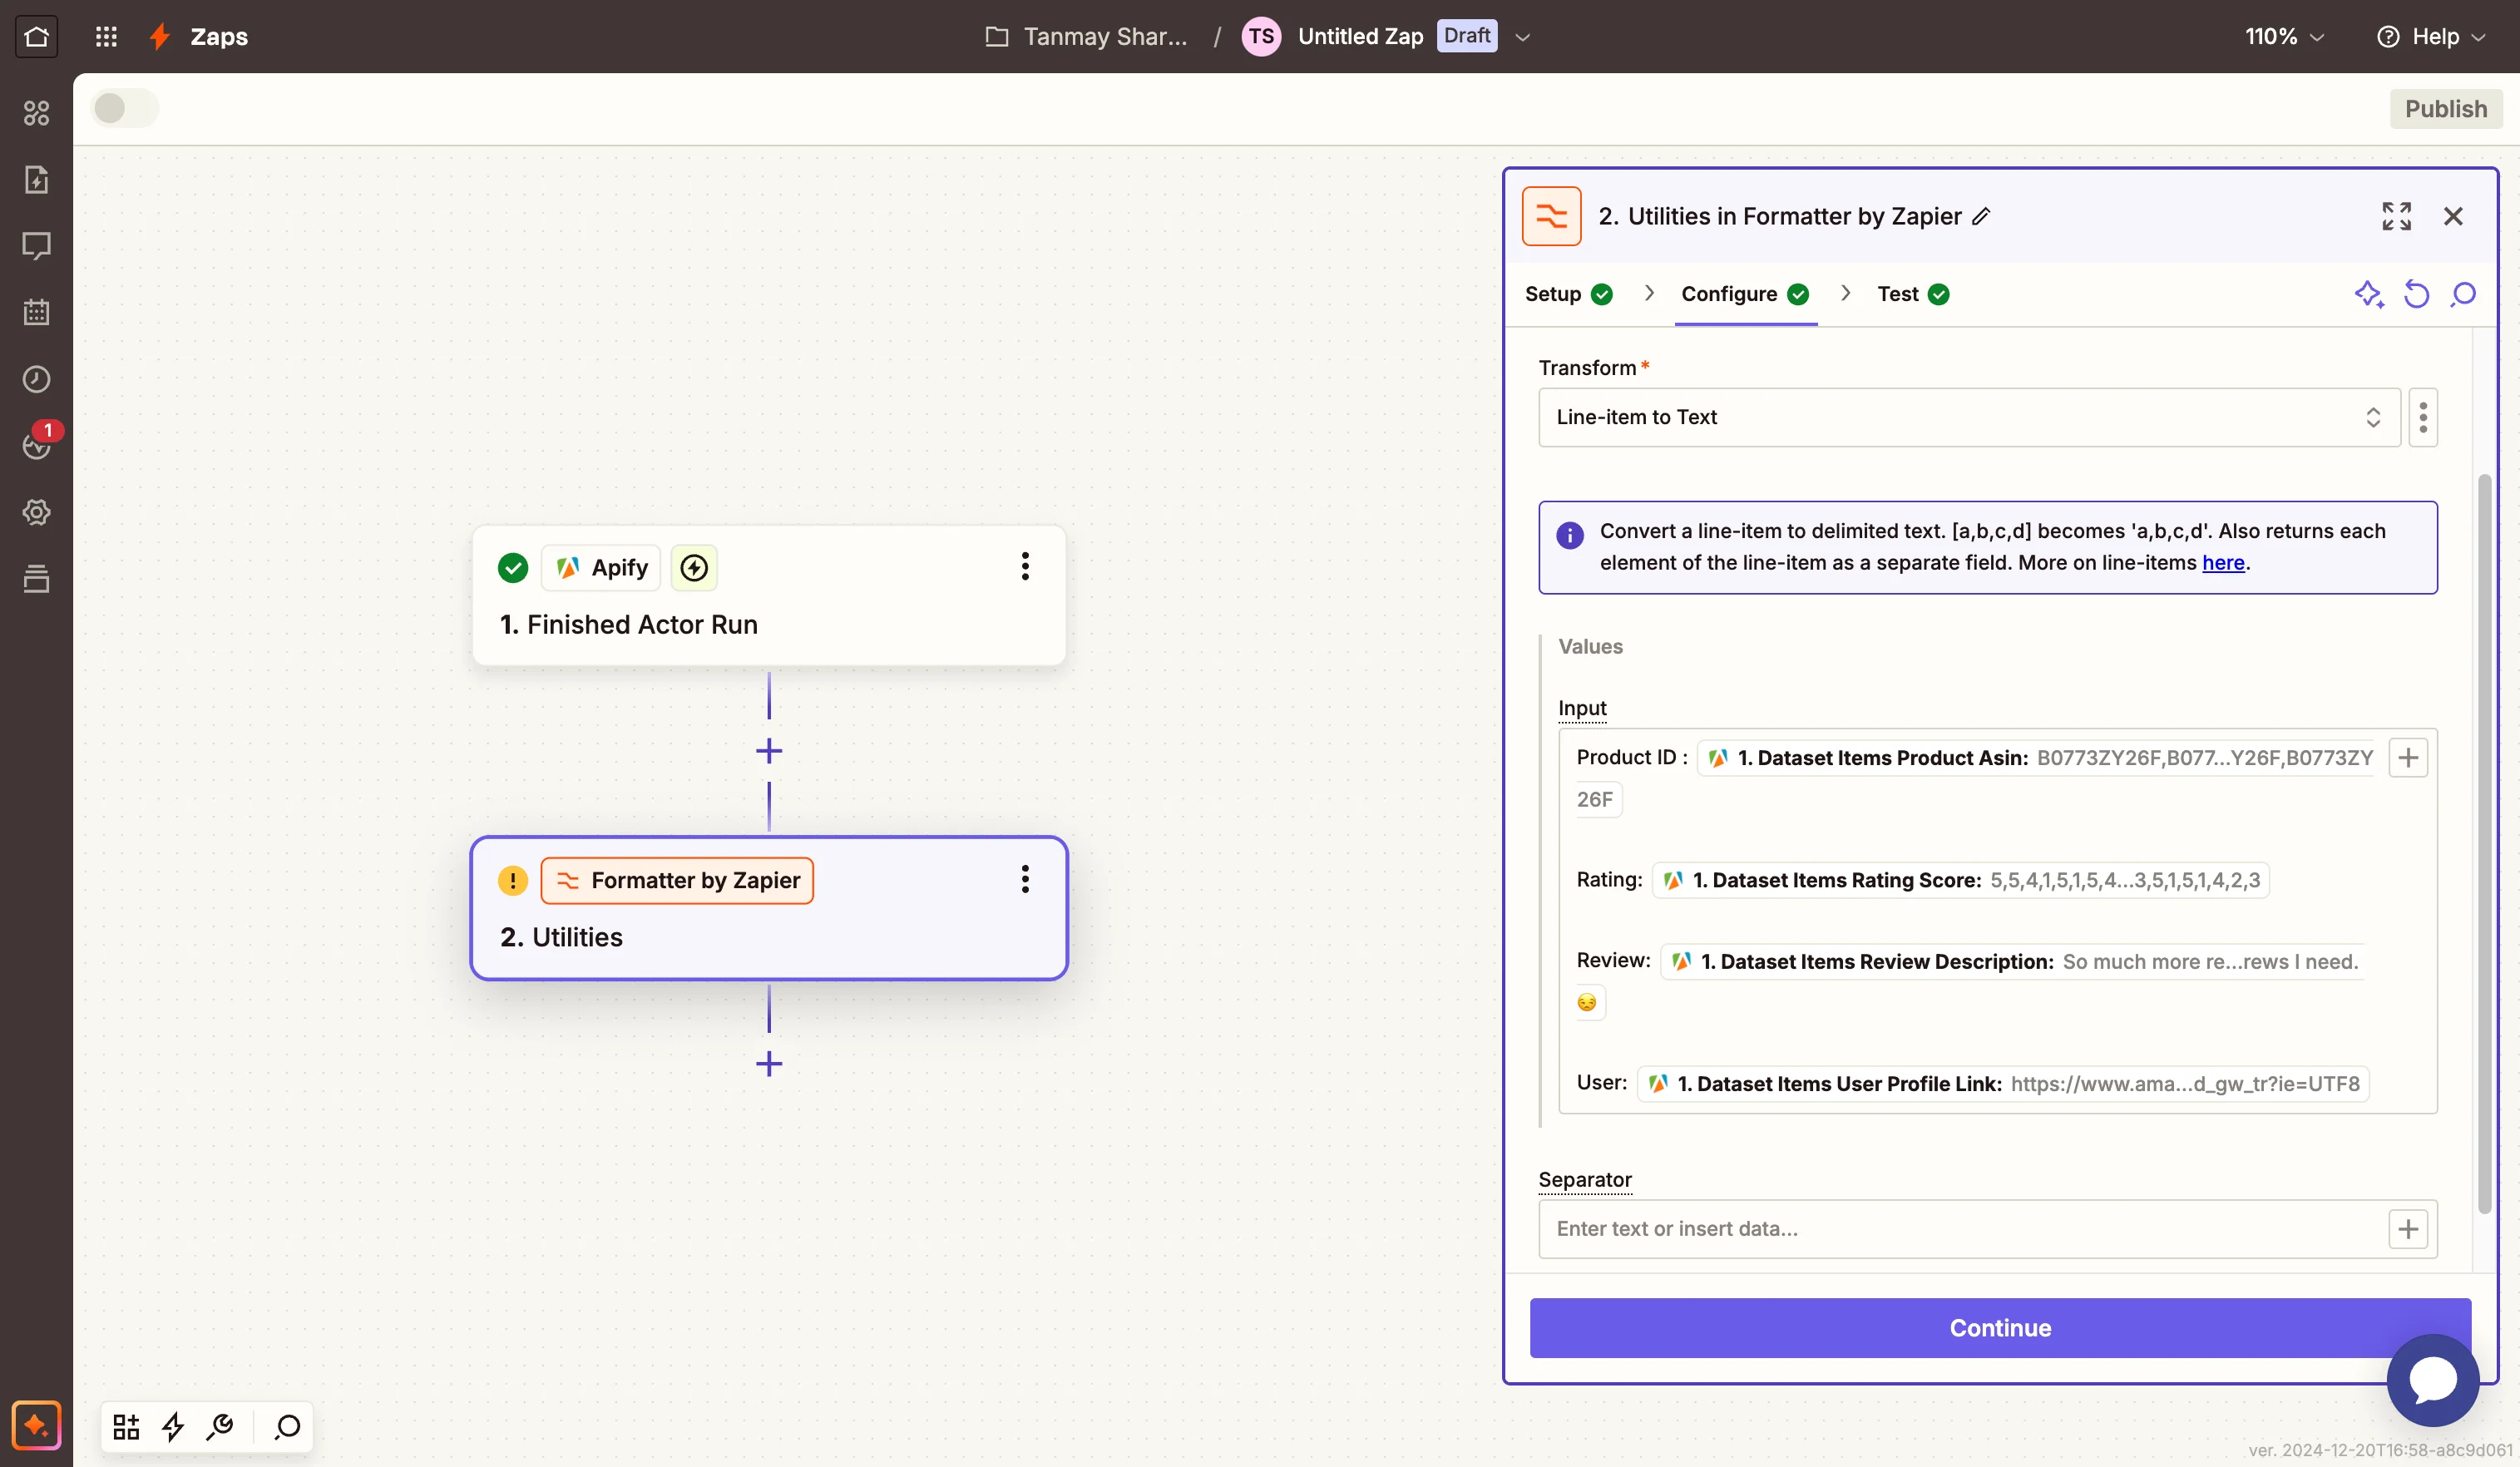
Select "Utilities" as the action event, then choose "Line-item to Text" in the configuration. This will help us structure our review data in a way that's optimal for processing. In the formatter setup, we'll map fields from our Apify data.
For the Input value, create a template that includes the product name, reviewer username, review title, rating score, and review description. The goal is to create a structured format that provides context for our analysis.
You can use this template:
Product ID : [Dataset Items Product Asin]
Rating: [Dataset Items Rating Score]
Review: [Dataset Items Review Description]
User: [Dataset Items User Profile Link]
Step 5: Implementing analysis with Claude
Now we'll use Claude to analyze our formatted review data and generate actionable insights.
Add another step to your Zap and select Anthropic (Claude) as the app. Choose "Send message" as the action event.
When configuring the Claude step, we'll provide specific instructions to ensure we get consistent, valuable analysis every time.
Use this example prompt:
Analyze these product reviews and provide a clear summary covering these main areas:
1. Sentiment & highlights
Analyze the overall customer sentiment and highlight the most significant positive features and benefits that customers consistently mention.
2. Key concerns
Identify the most pressing issues or complaints that need attention, focusing on problems that appear repeatedly or seem urgent.
3. Actionable insights
Provide 2-3 concrete suggestions for product improvements based on the reviews, plus any notable patterns in how customers are using or responding to the product.
Keep the analysis practical and specific, using examples from the reviews where relevant. Focus on insights that can drive real improvements. Format your response directly as a report, as it would be directly mailed without any modifications and any acknowledgements of this instruction.
This prompt helps ensure that the AI focuses on the most important aspects of the reviews and provides actionable feedback rather than just a general summary.
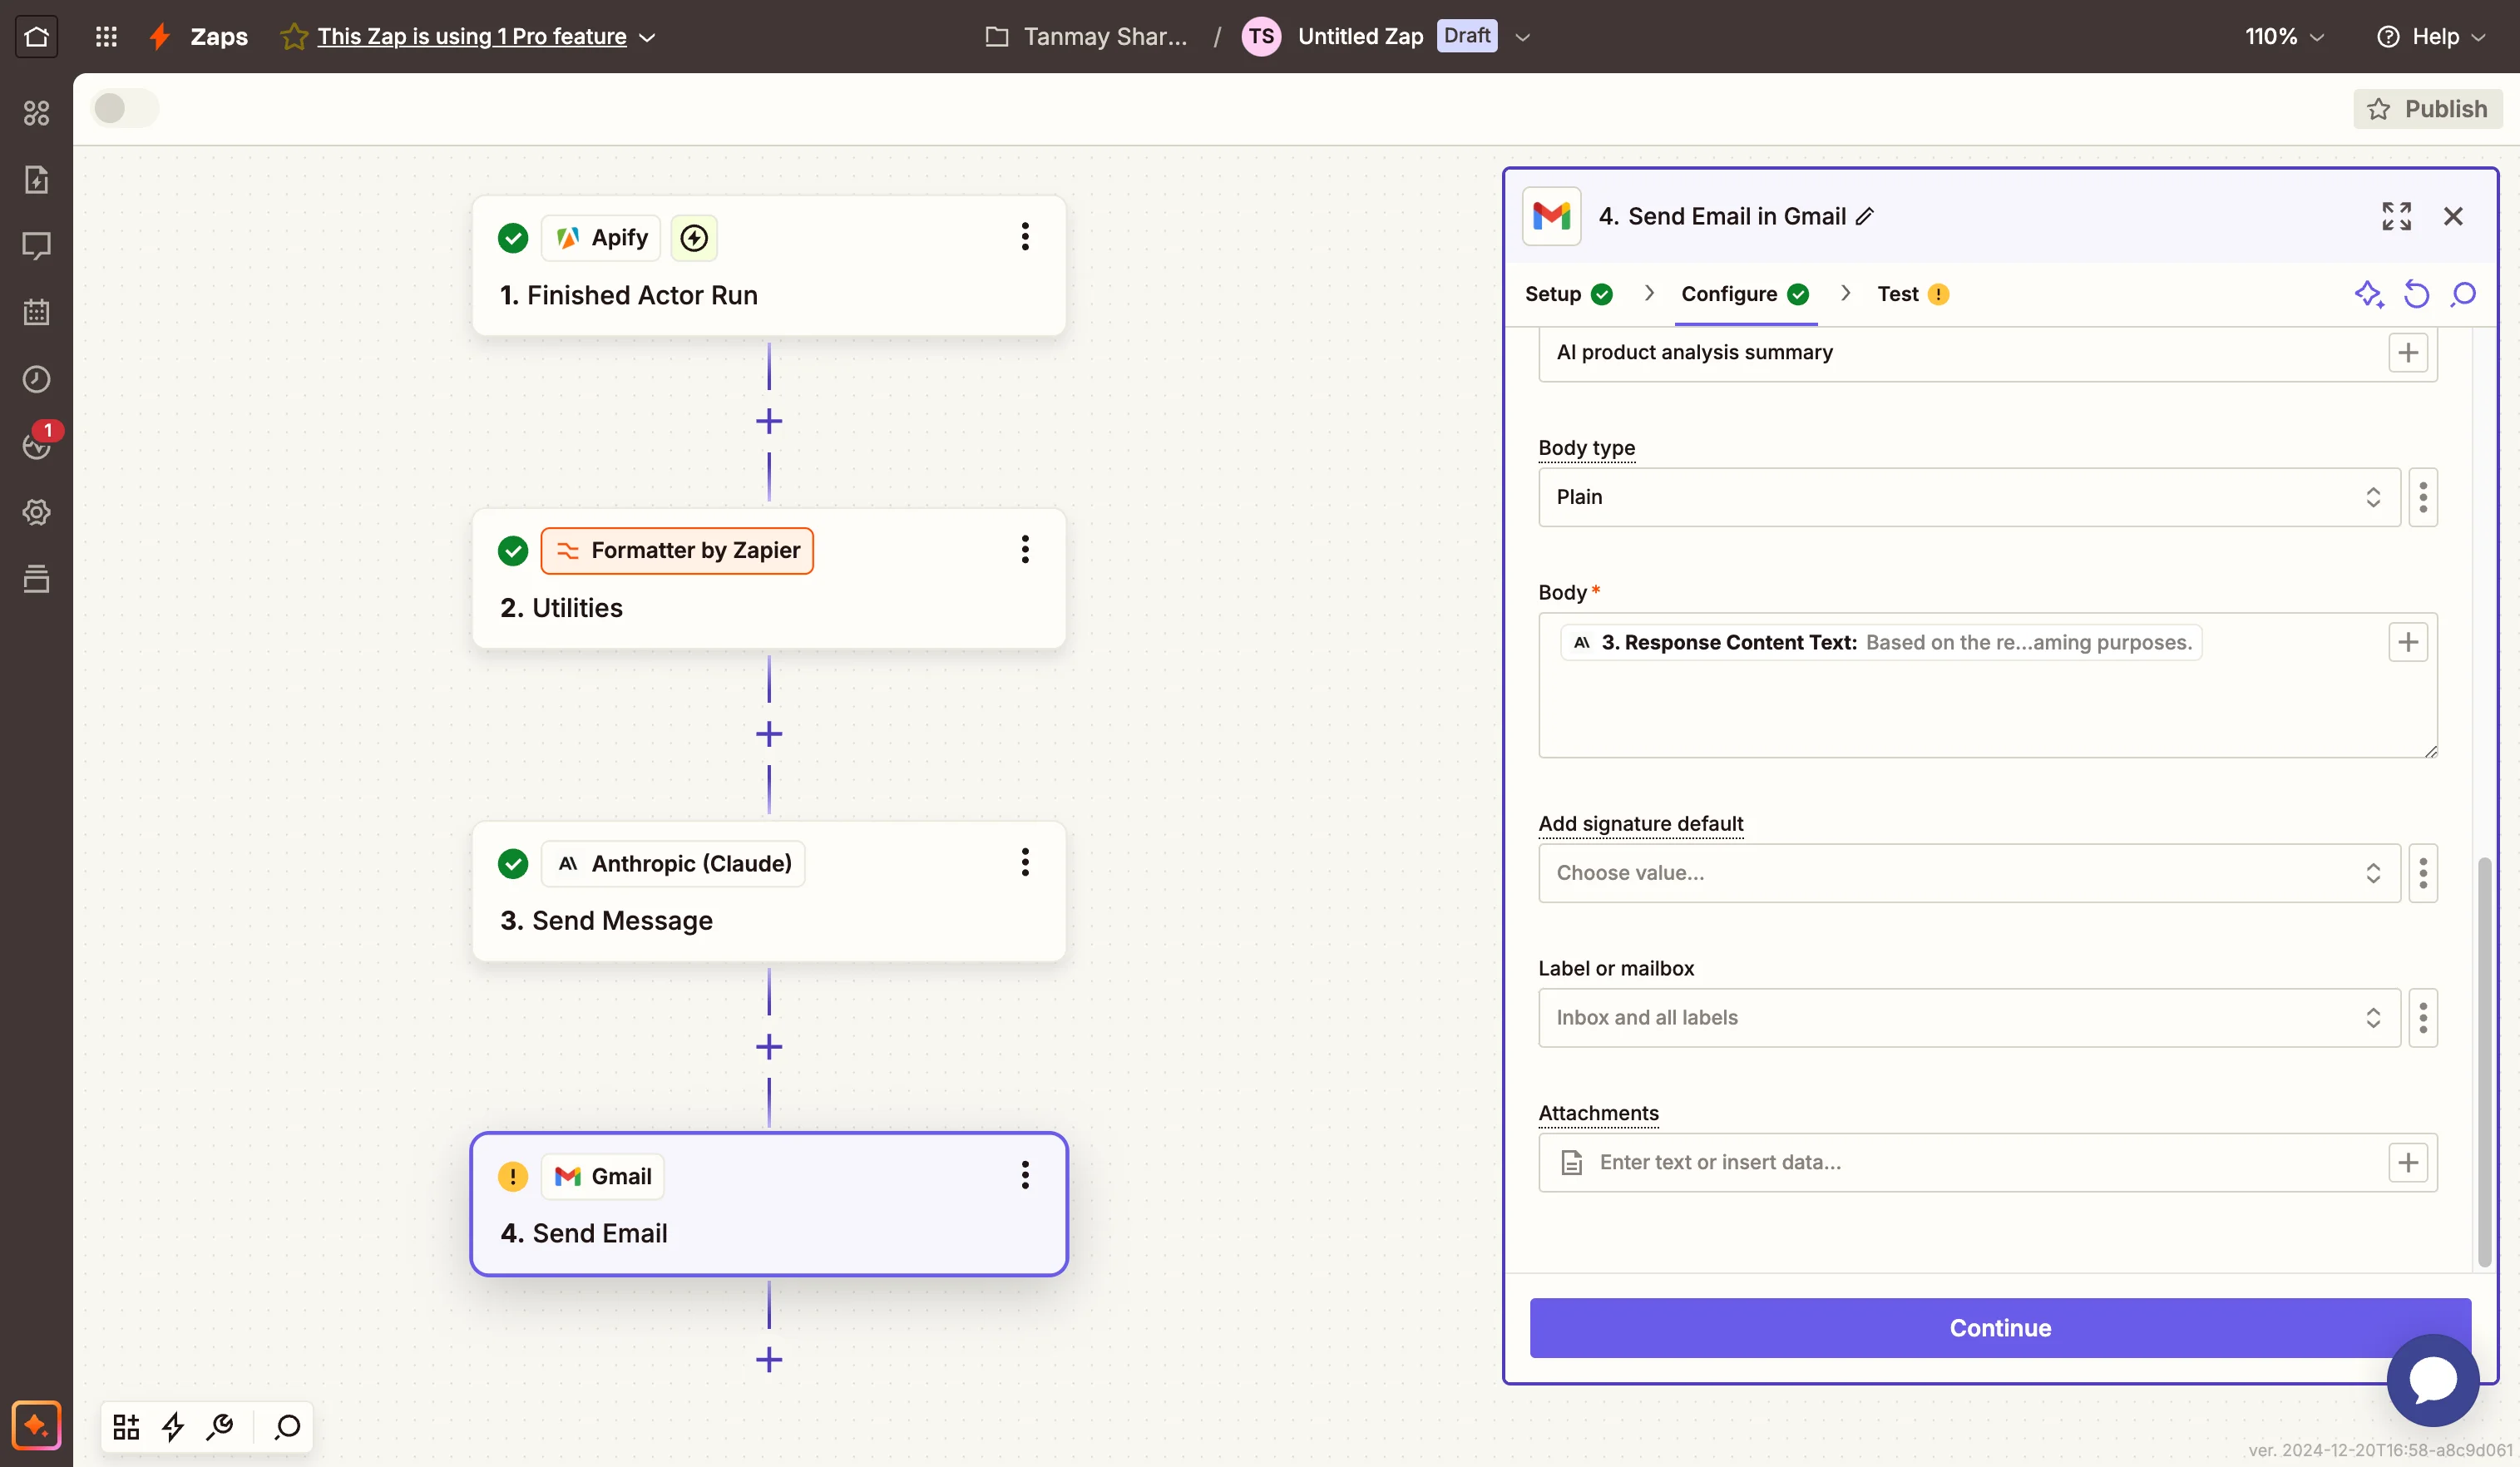
Step 6: Set up email notifications
The final step in our workflow is to deliver the analyzed results via email. In Zapier, add a new step and select "Gmail" as your app. Choose "Send Email" as the action event. If you haven't connected your Gmail account yet, you'll be prompted to do so now.
In the email configuration, enter the recipient email addresses—this could be your team's addresses or a distribution list. Create a clear subject line that helps identify these reports, such as "Product Review Analysis Report."
In the email body, link it to dynamic data from the previous step as the response context text.
This automated review analysis system can save you hours of manual work while ensuring you never miss important customer feedback. As you use the system, you'll find ways to customize it further to better suit your specific needs.
And, that’s it! You've created a powerful automated system that transforms raw customer reviews into actionable insights, helping you make data-driven decisions to improve your products and customer satisfaction.
This tutorial was created by Tanmay.