Automatically convert blog posts into social assets
Learn how to convert blog posts into social assets with Zapier and OpenAI.
2024-11-13
ChatGPT is great for one-off conversations, but when you want to create a repeatable, AI-powered process, using Zapier with OpenAI’s APIs is the way to go. You can set up data and content pipelines with AI steps that can automate many processes within your content supply chain.
In this tutorial, we’re going to use Zapier to ingest blog posts from an RSS feed and convert them into summaries, Twitter threads, and text-to-speech audio files using OpenAI’s APIs.
You’ll need:
Steps we’ll follow in this tutorial:
- Ingest blog posts from RSS into Zapier
- Parse webpages with Zapier
- Generate an OpenAI API key
- Summarize a blog post
- Convert a blog post into a Twitter thread
- Convert a Twitter thread into an audio file using Whisper
- Store AI-generated content in Google Sheets
Step 1: Ingest blog posts from RSS into Zapier
To start, we will need to create a Zap automation that will ingest articles from an RSS feed or CMS. We’ll be going with an RSS feed for this tutorial, but alternatively, you could directly plug in your CMS if you want to ingest blog posts from a source like WordPress or Notion.
To create your Zap, go to your Zapier dashboard, click the Zaps menu item on the left side, and click the Create button.

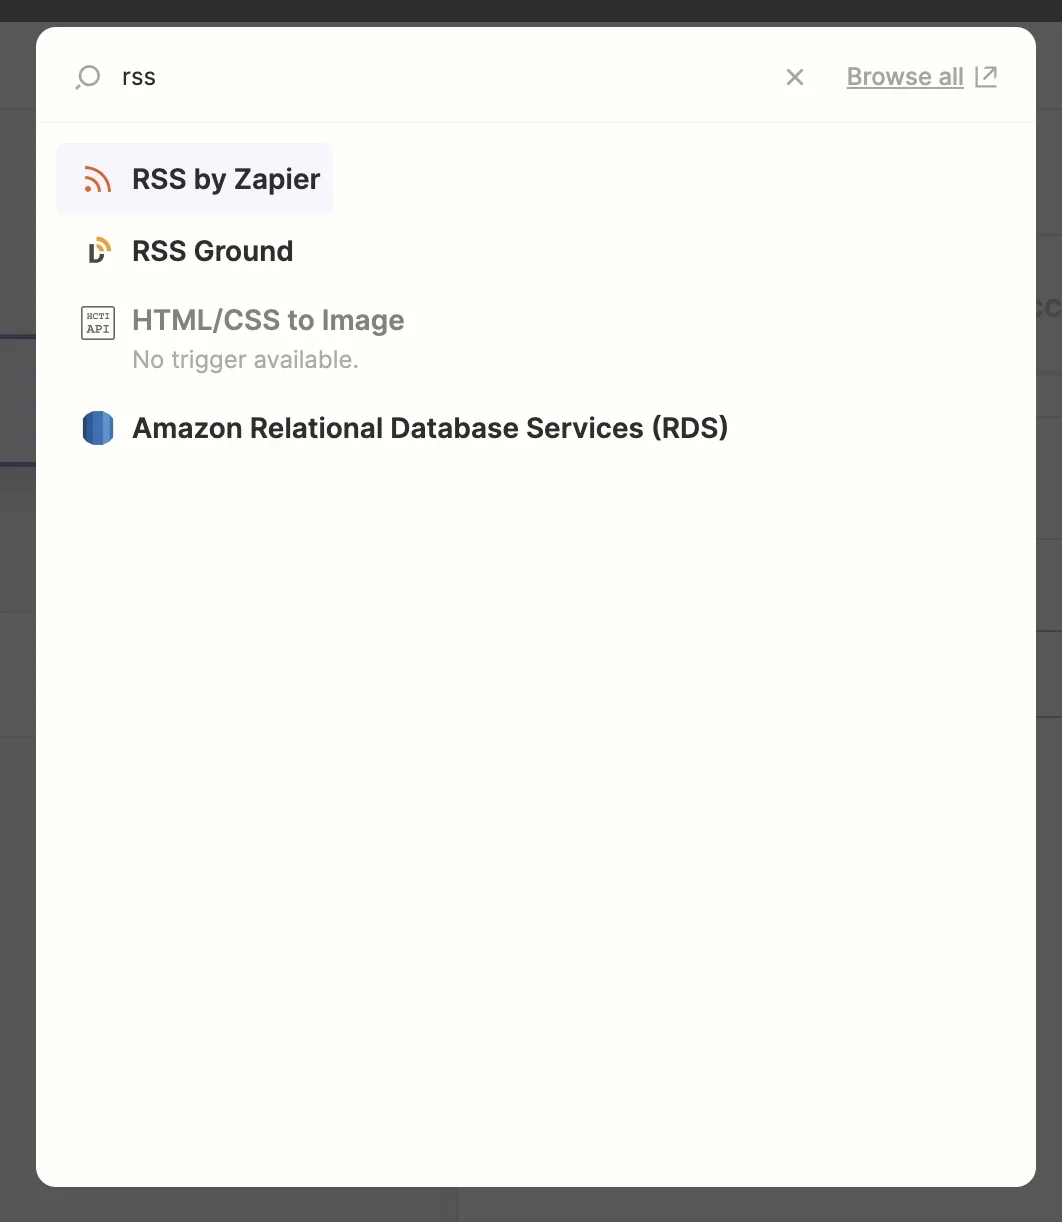
For the Trigger step, we’ll search and select RSS by Zapier from the available applications.
For the Feed URL, we’re going to use ESPN’s news RSS feed. Add this URL, or another RSS feed URL, to the Feed URL text box. The ESPN news RSS feed is public so we do not need to add a username or password for authentication. We are not going to change any of the other parameters in this step.
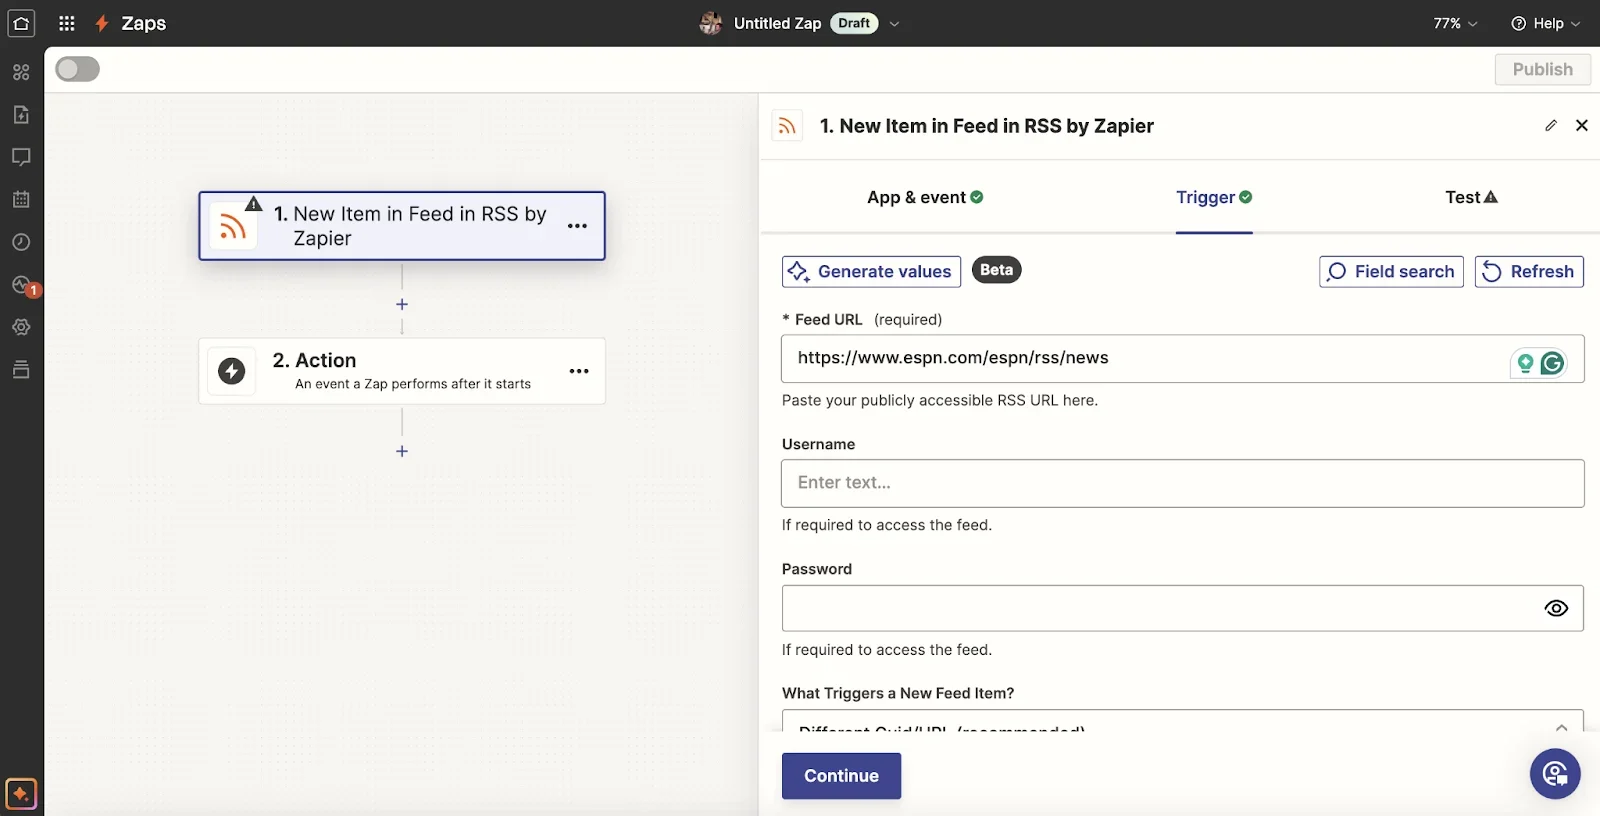
Test this step to make sure you get a response from the new feed that contains content like a title and link. The link is the most important piece of content, as we’ll need it for our next step to extract the full content of the article.

Step 2: Parse web pages with Zapier
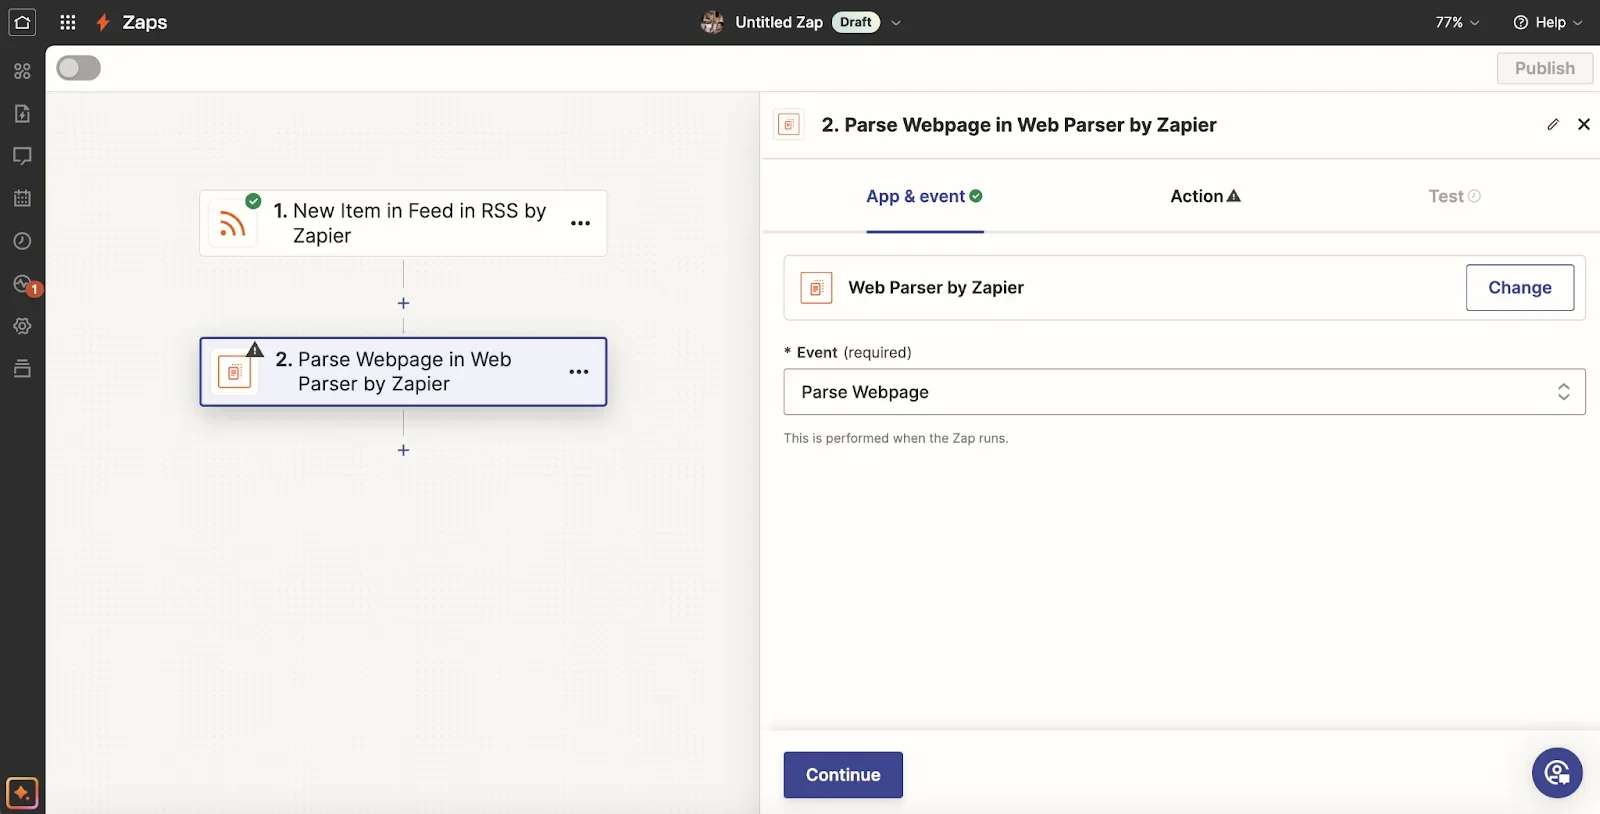
Now that we have our article, we can use Zapier’s Web Parser to grab all of the article’s content. RSS Feeds typically don’t send the full body content of an article, which is why we need to do this step to get it. To do this, search and select Web Parser by Zapier as the application for this step, and set the Event to Parse Webpage.
For the Action, set the Raw Link from Step 1 as the URL to Parse and define the Content output format. We’re going to set it as HTML but you can also set it to Plain Text as well. We’re also going to set this Zap step to not continue on failure. If the web page doesn’t parse, we don’t want the automation to continue.
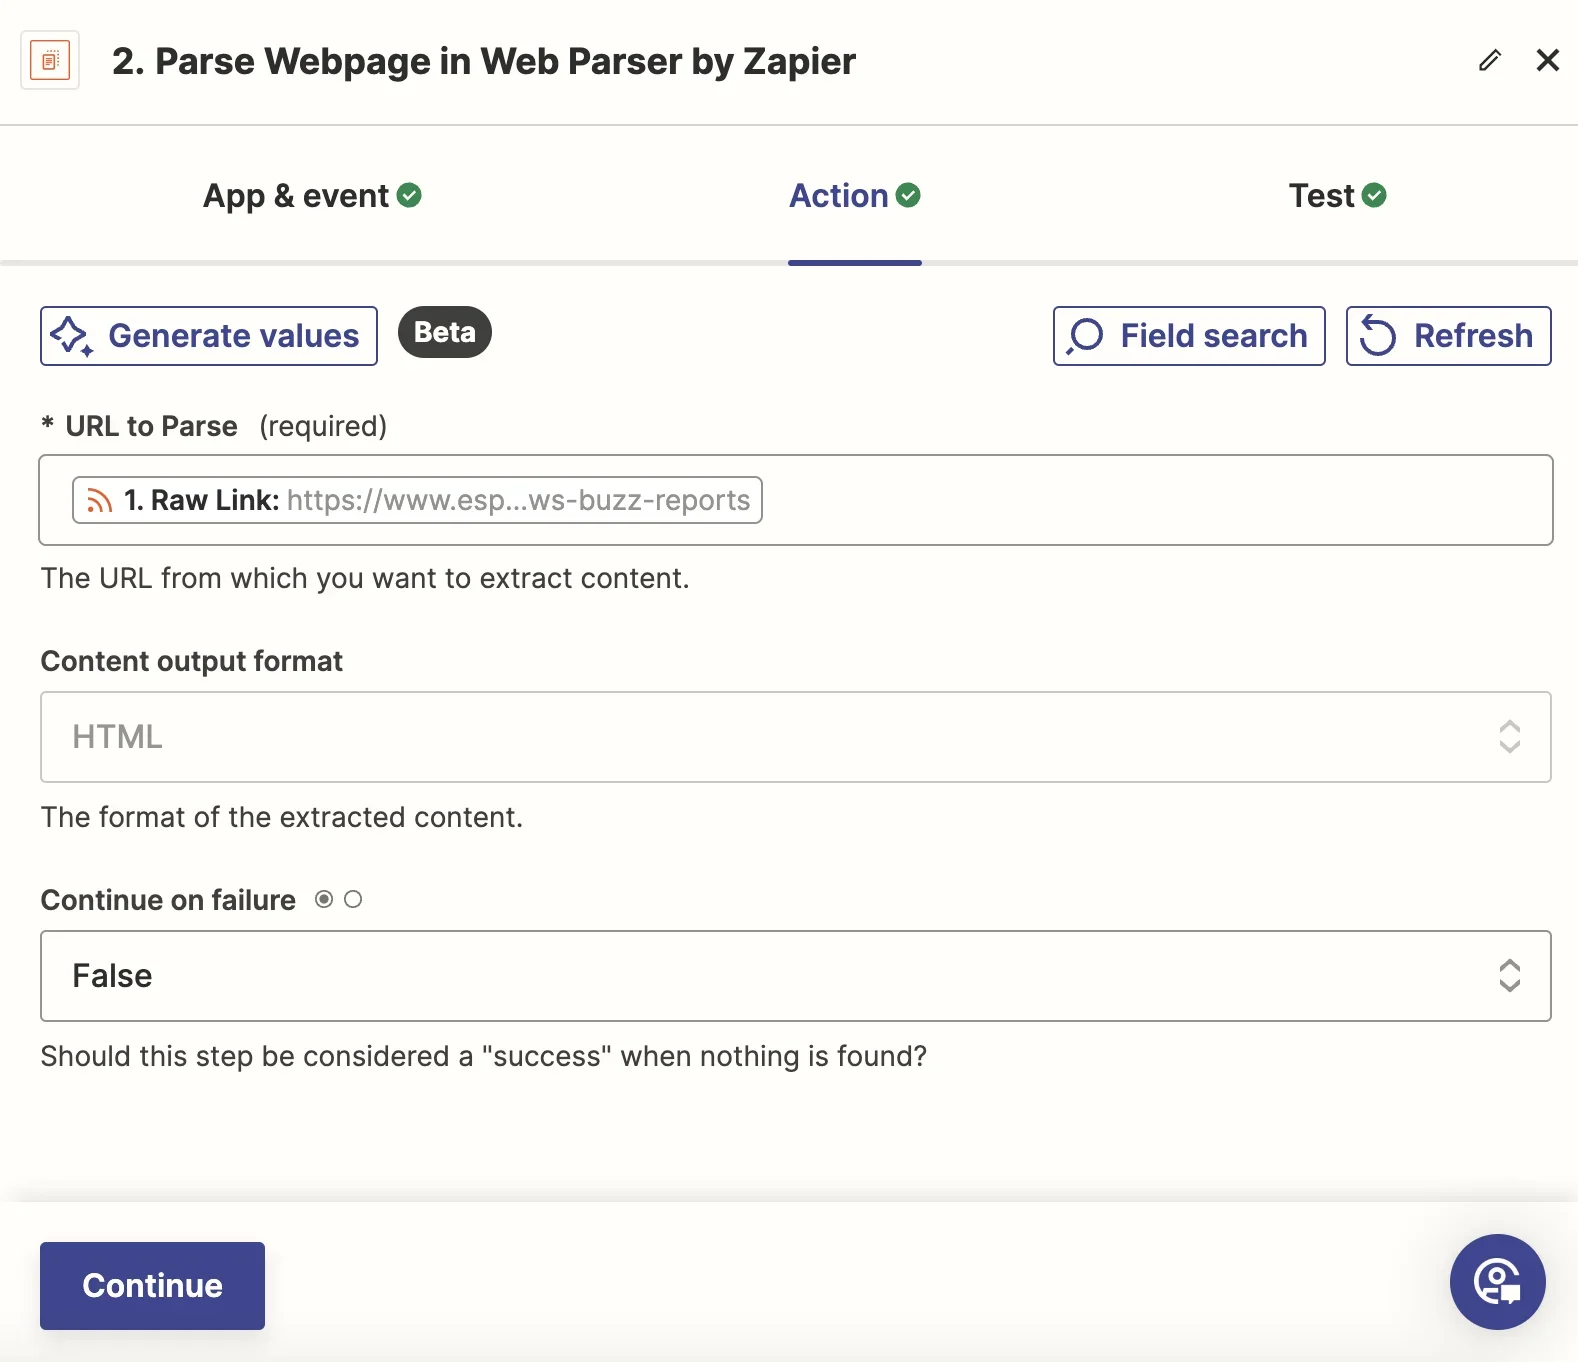
Test this step to make sure you’re getting an output of the full body content of the article.

Step 3: Generate an OpenAI API key
Next, we’ll need to generate an OpenAI key. This will be used in the following step within our Zap to transform our article content into various social assets. To do this, log in to platform.openai.com, then click ‘API’ to be taken to the developer platform.

Click ‘API keys’ on the left menu, and click ‘Create new secret key’.

Give it a name and click ‘Create secret key’. Once generated, copy it to your clipboard. Also, keep it secure; do not share it publicly as it gives access to your OpenAI account capabilities.
Step 4: Summarize a blog post
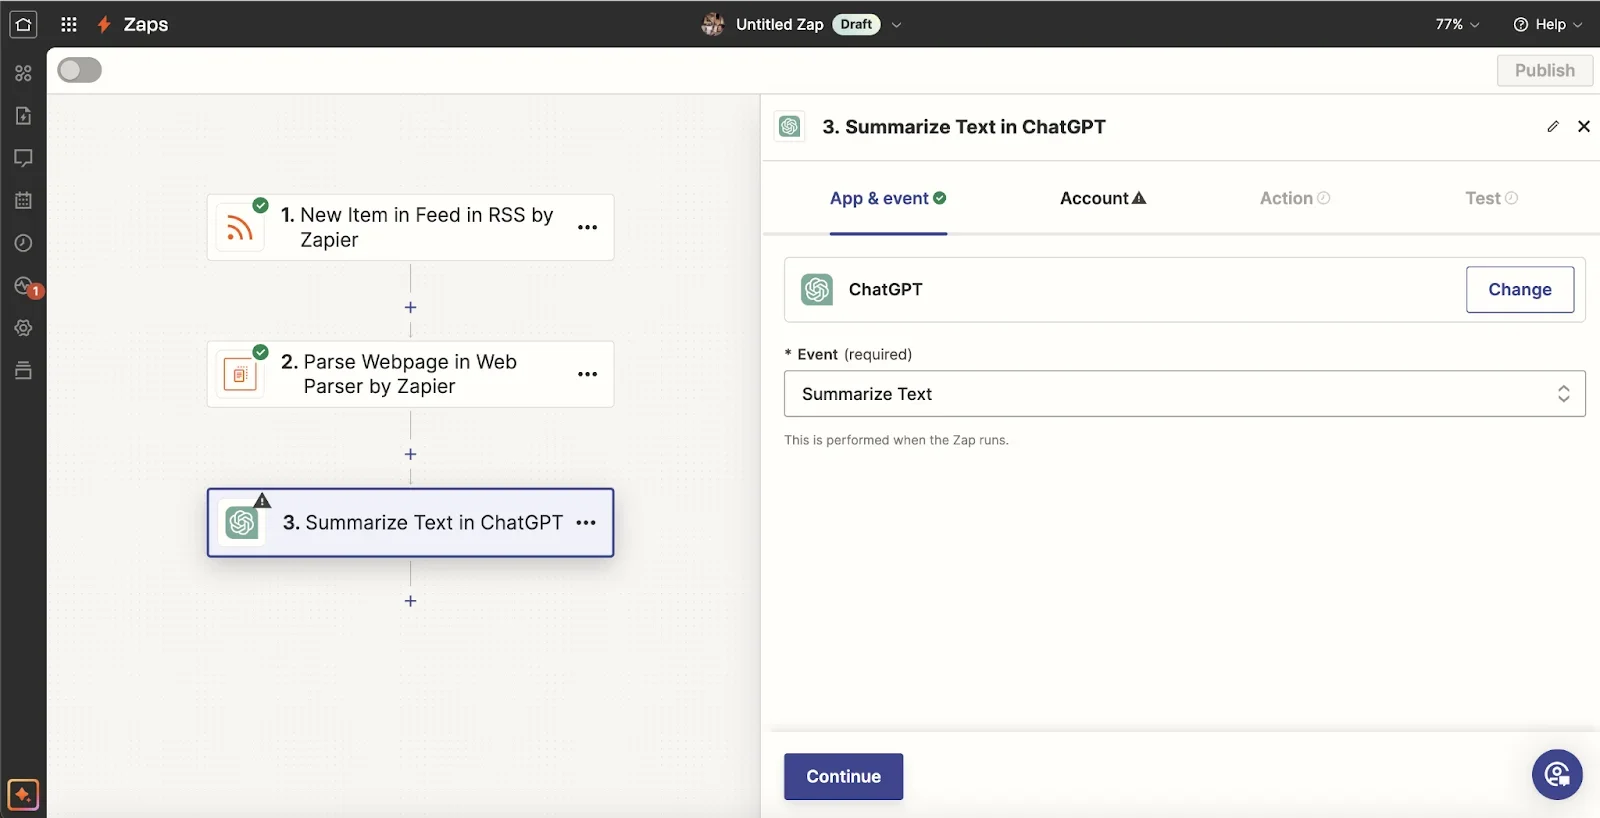
Now that you have your OpenAI API key, head back to Zapier and add a ChatGPT step. Set the Event to “Summarize Text”.
This is where you’ll need your OpenAI API key. On the Account tab, when you click Connect, a pop-up window will appear where you can paste in your OpenAI API key. Drop it into the top text box and then click Continue.
.webp)
In the Action tab, add the Content output from Step 2 of your Zap as the “Text to Be Summarized.” We’re going to set the Model to “gpt-4-turbo” and leave the rest of the settings on their defaults.

<aside> 💡 Tip: Behind the scenes, Zapier has already created a prompt to instruct the model to summarize the text we’re providing. This is why we don’t need to write a prompt for this AI step.
Test this step to make sure you’re getting a summary of your article.

Step 5: Convert a blog post into a Twitter thread
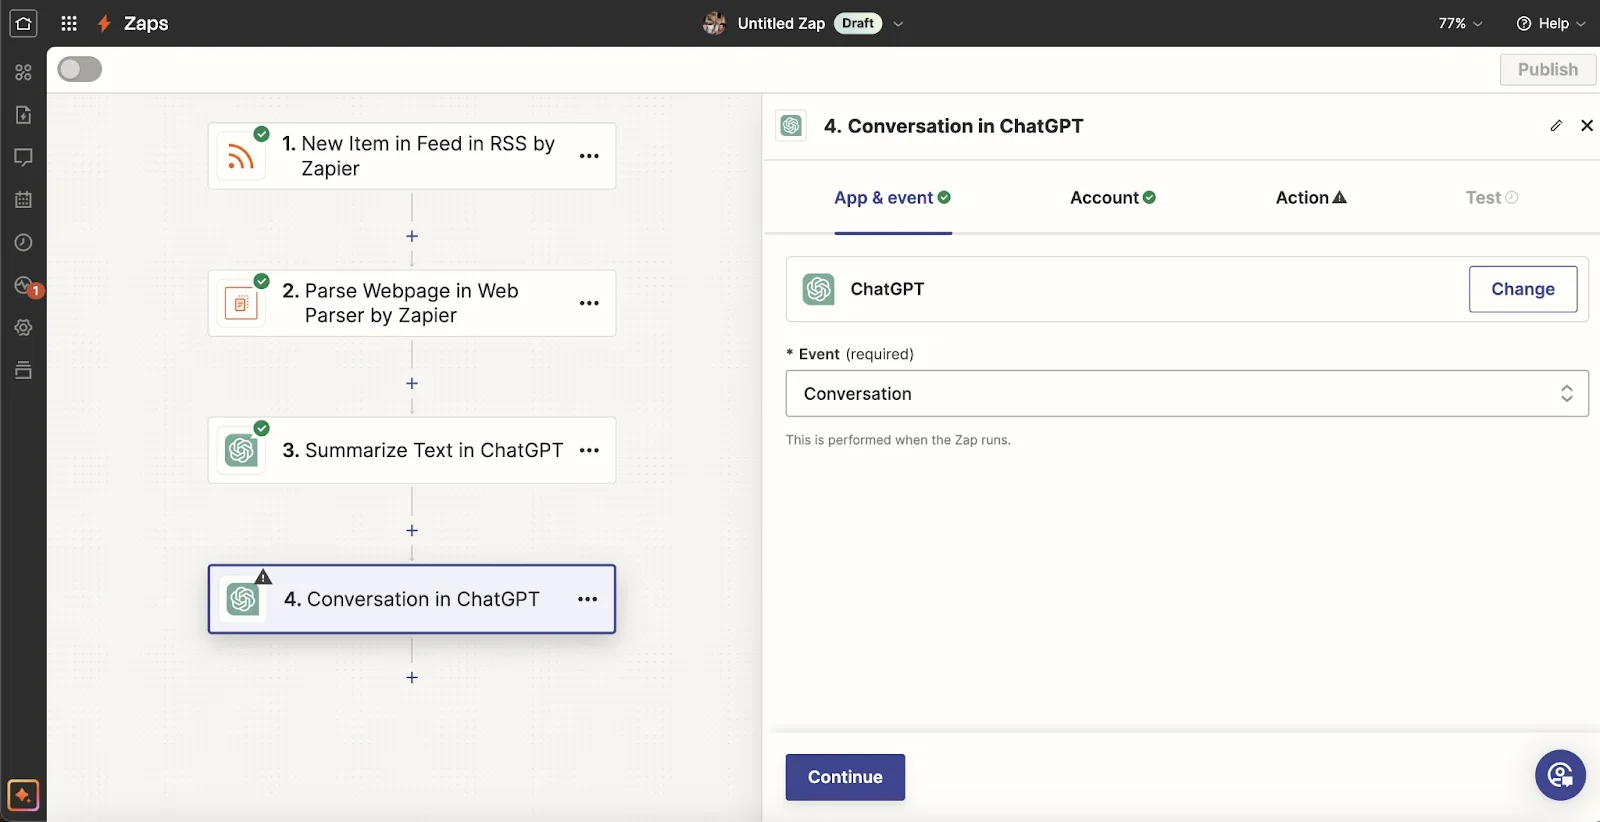
In the next step, we’re going to convert the article into a Twitter thread. To do this, add another ChatGPT step and set the Event to “Conversation.”
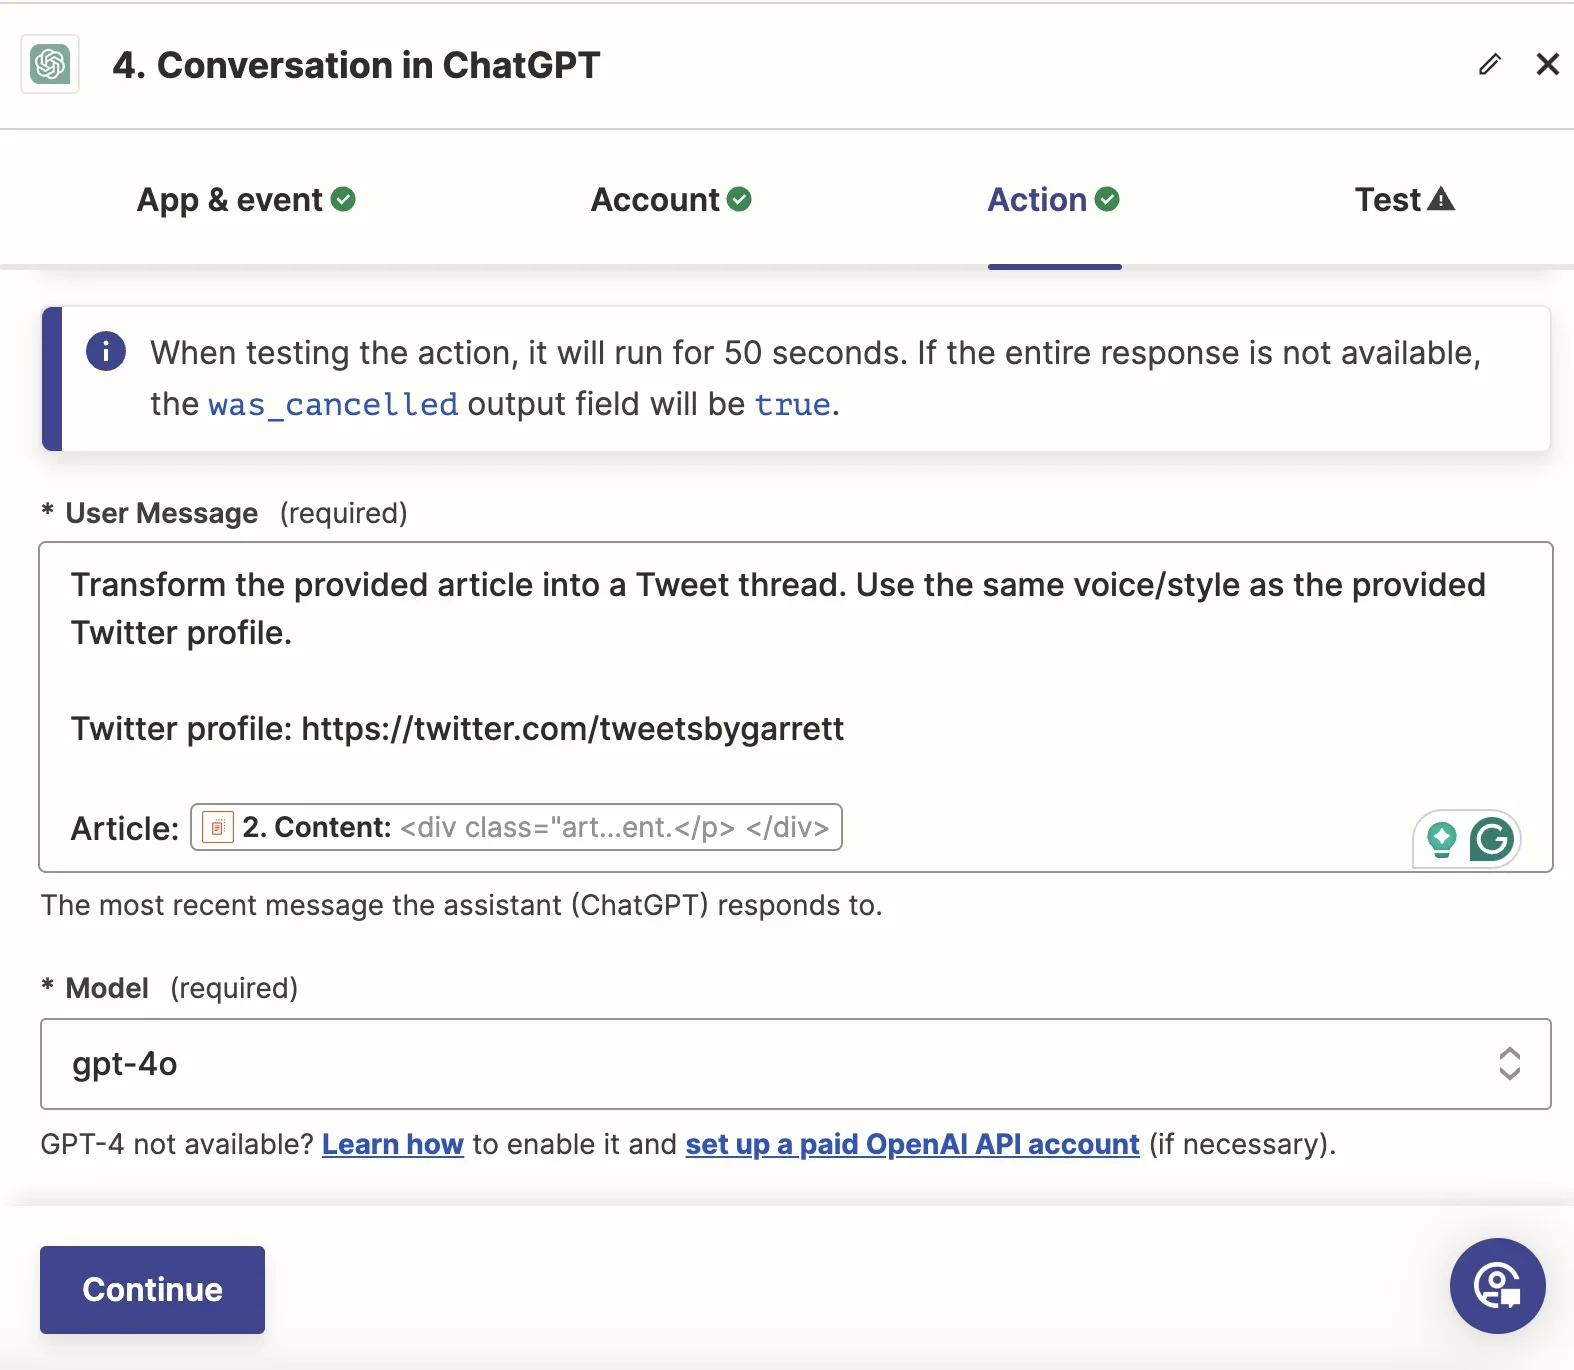
For the prompt, we’re going to instruct ChatGPT to transform the article into a Twitter thread that matches the voice/style of our Tweets. To do this, make sure to provide a link to your Twitter profile and the article content from Step 2 of the Zap.
Sample prompt:
Transform the provided article into a Tweet thread. Use the same voice/style as the provided Twitter profile.
Twitter profile: [insert Twitter profile link].
Article: [insert content output from step 2].
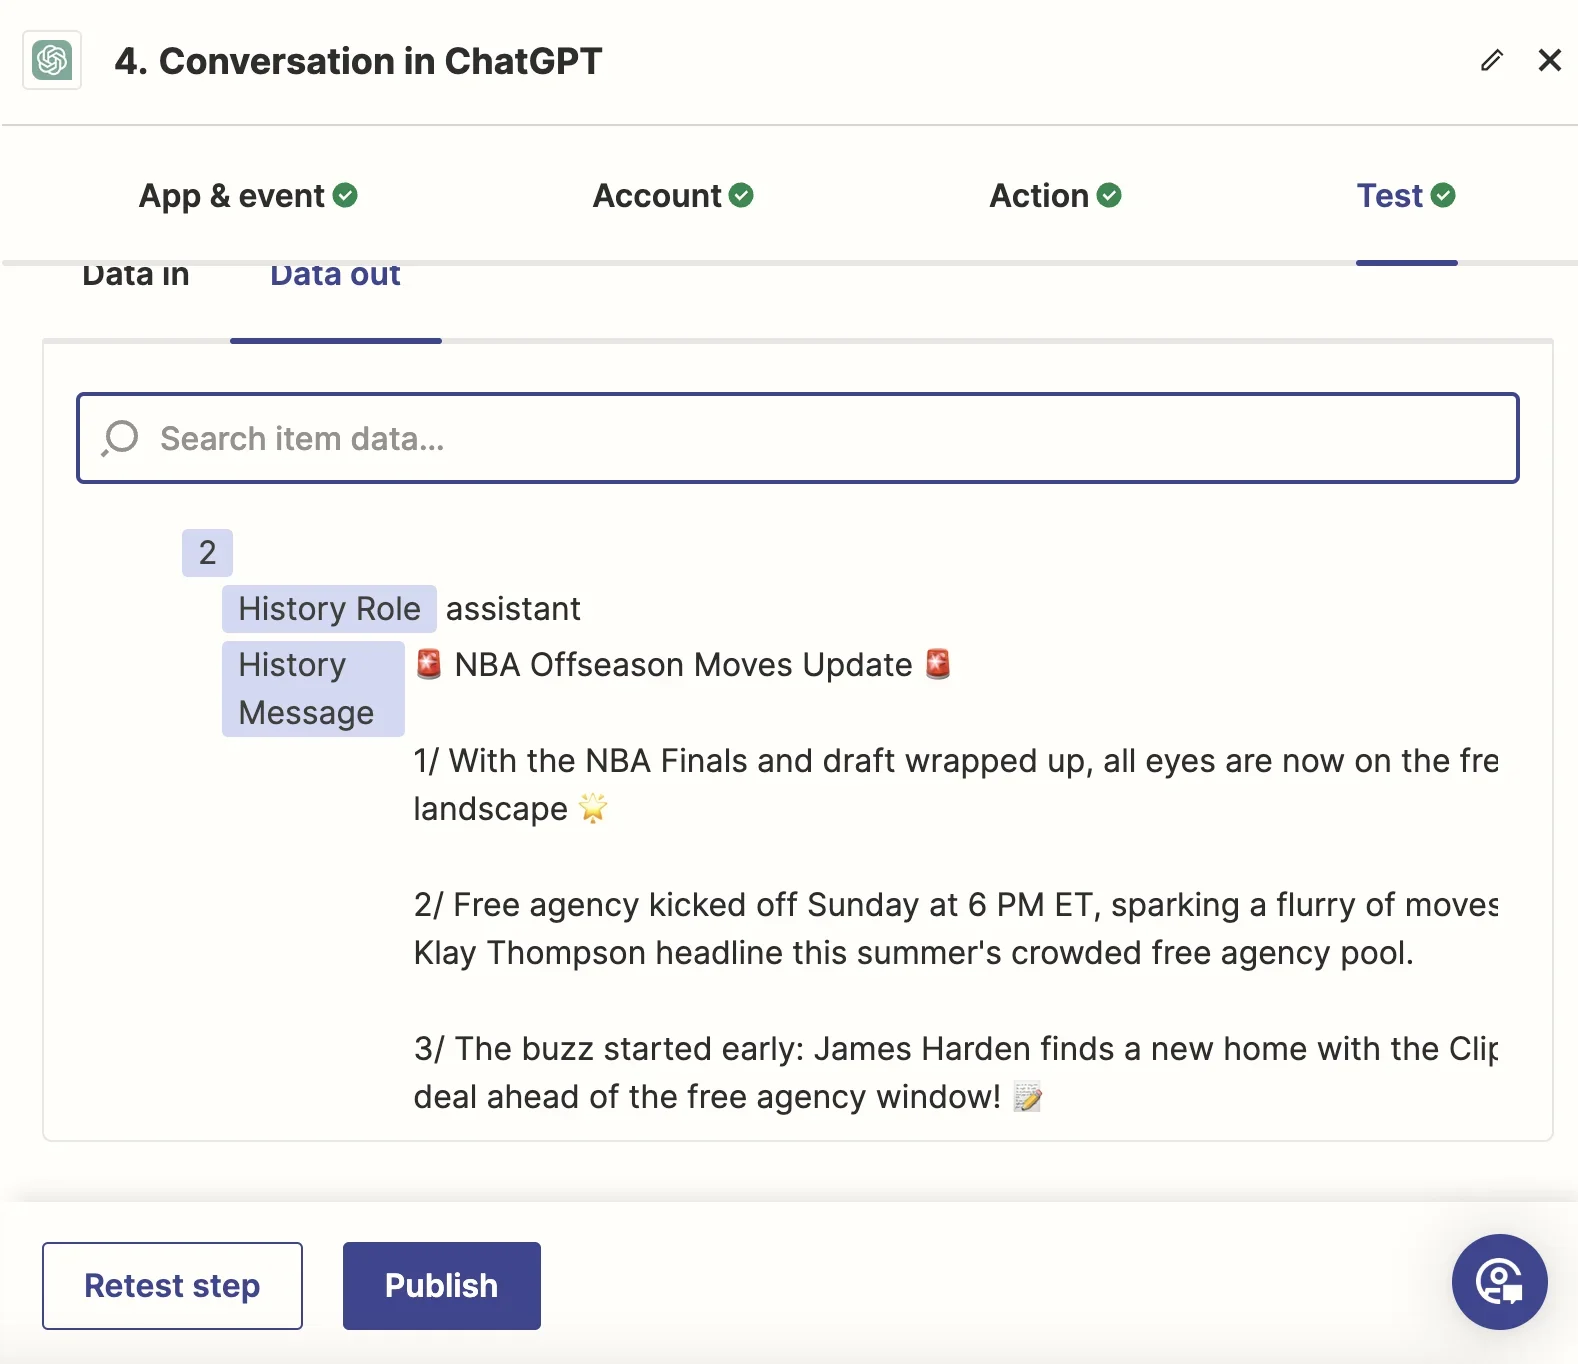
Test this step to make sure you get a Twitter thread as the output.
Step 6: Convert a Twitter thread into an audio file using Whisper
Finally, we’re going to convert the Twitter thread we just generated into an audio file. This could be used for a podcast, YouTube video, or another audio format. To do this, search and select OpenAI as the app for this step.

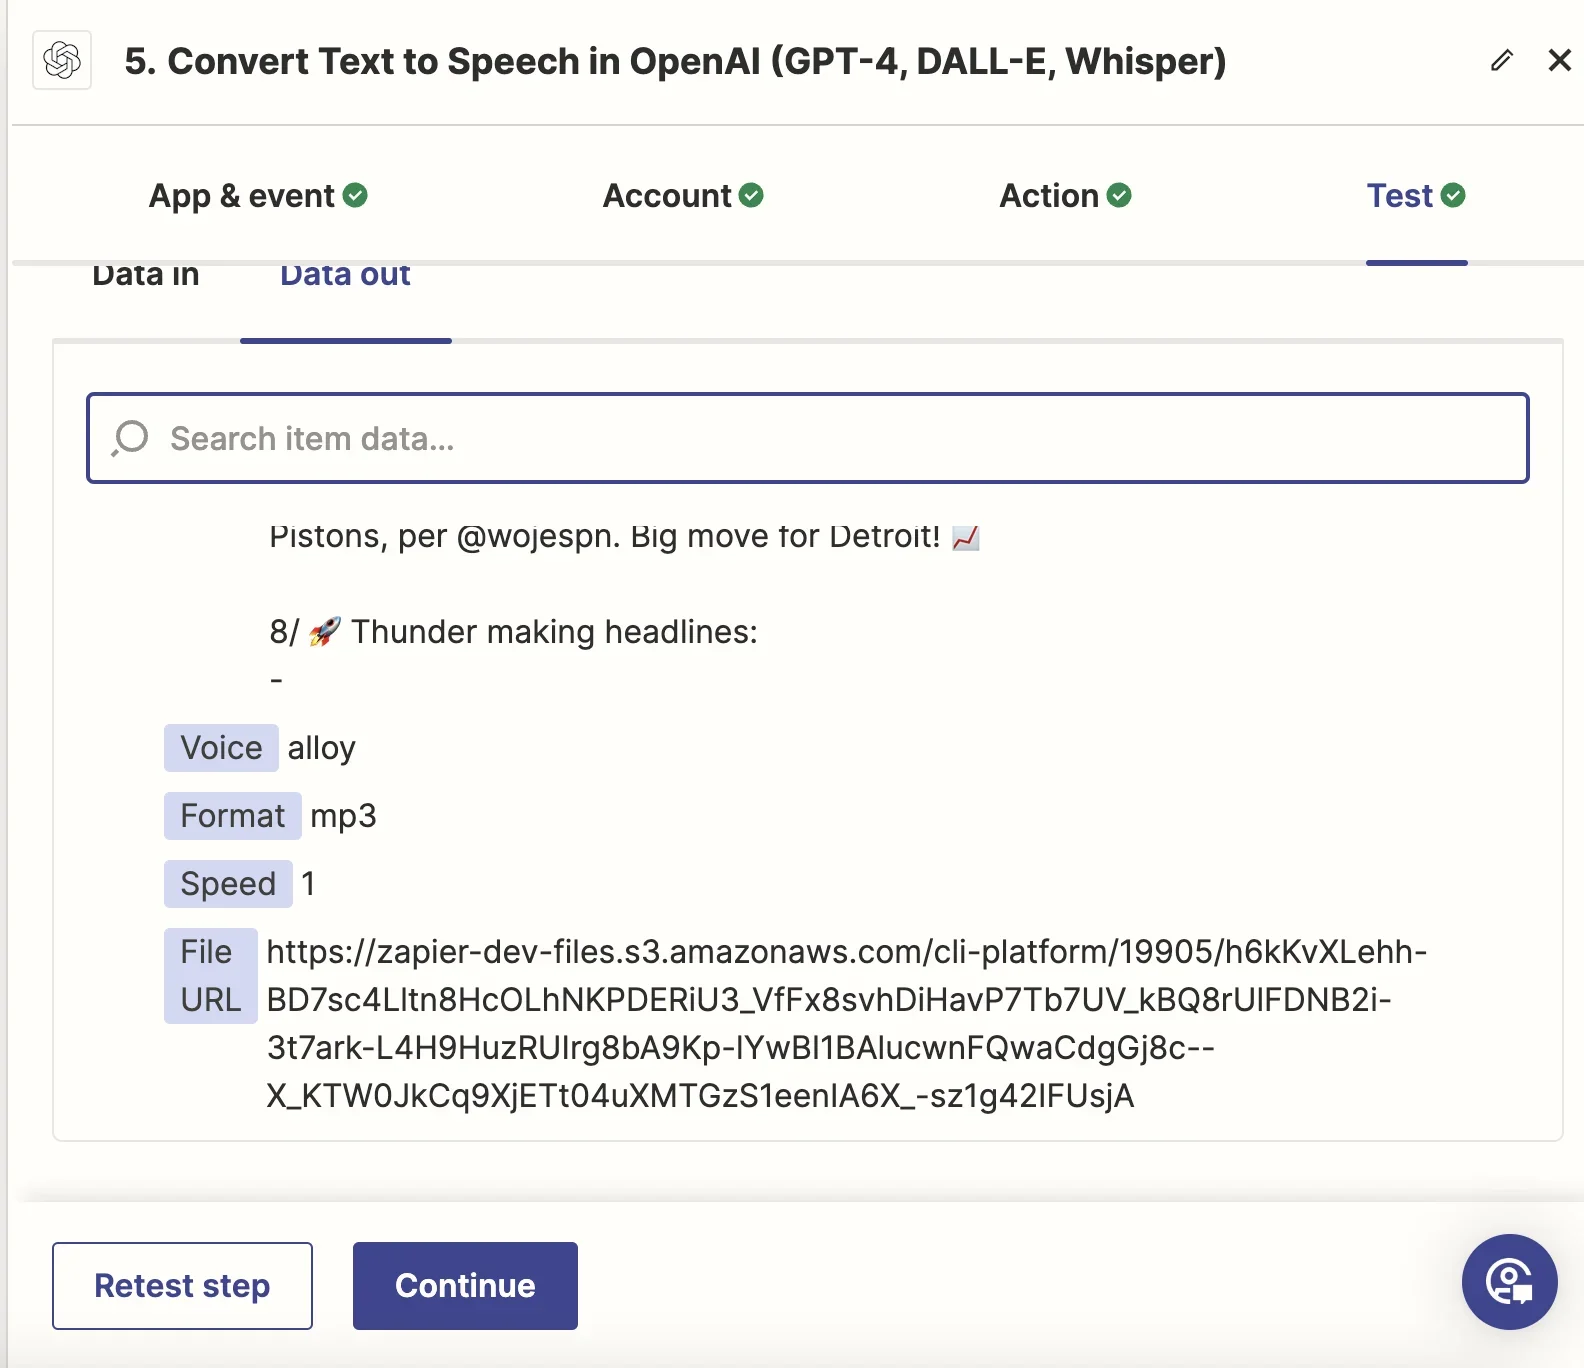
In the Action section, we’ll select the “Text-to-Speech-HD” model and input the output from Step 4 as the Text for conversion. You can also select the Voice and Output File Format in this section.

Test this step to make sure you get a File URL output, which contains the audio content.
Step 7: Store AI-generated content in Google Sheets
Now that we have all of our content transformations, we can store these in a single location. We’re going to send all of this content to Google Sheets. To do this, search and select Google Sheets as the app for this step in your Zap and set the Event to Create Spreadsheet Row.

Next, create a Google Sheet. We’re going to create the column headers URL, Title, Summary, Tweet Thread, and Audio File.

Go back to Zapier, and for the Action, find your Spreadsheet and Worksheet.

Then map the content outputs from the previous Zap steps to your column headers.
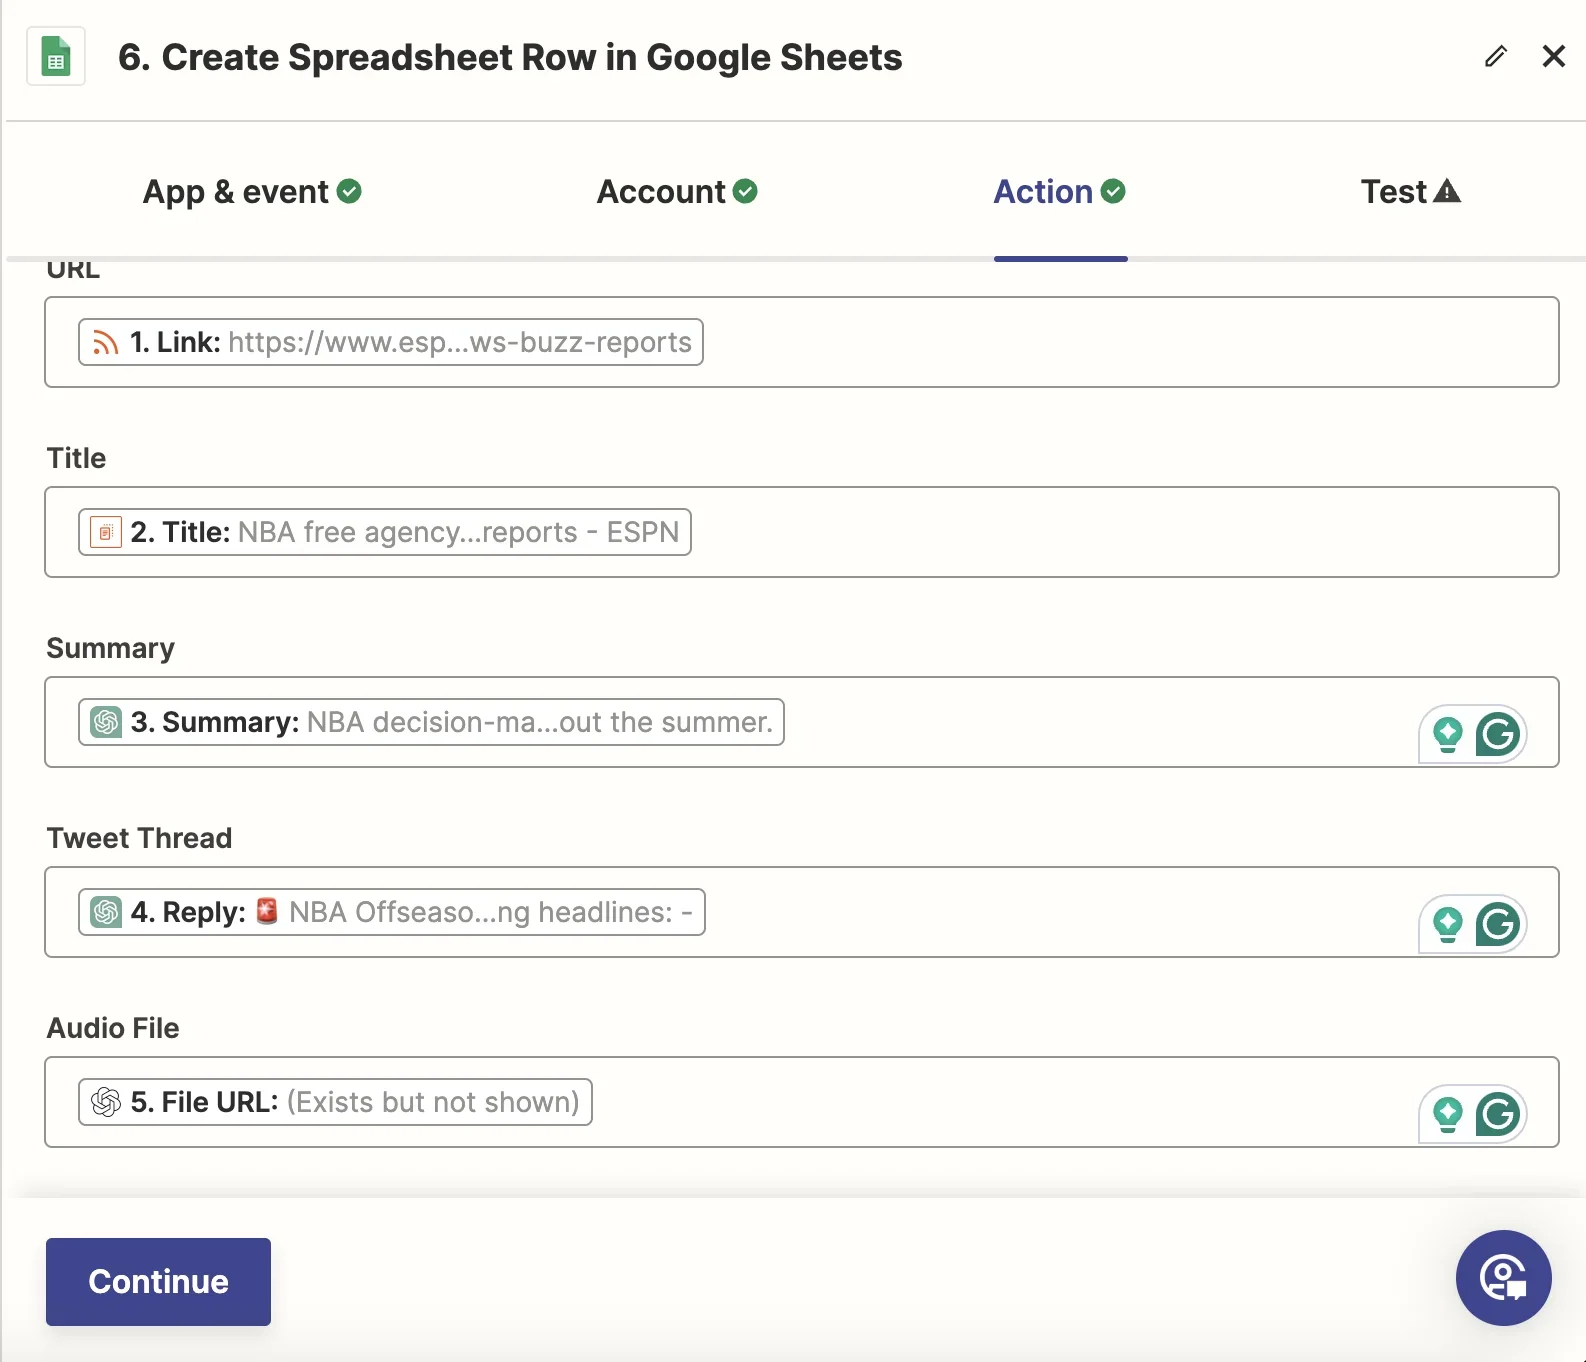
Test the Zap and you should see all of the AI-generated content populate your Google Sheet.

That’s it! If the output looks good to you, make sure to Publish your Zap so that it’s live and you can start automatically generating content transformations from your RSS feeds and blog posts.
This tutorial was created by Garrett.