Automatically extract action items from emails
Create an automated workflow that identifies tasks from your emails and adds them to a Notion database.
2024-12-20
This tutorial teaches you how to create a workflow that scans your emails, extracts to-dos, and adds them to a Notion database as tasks.
Manual tracking of email-based tasks is time-consuming and error-prone, but with this automated workflow, you can save time and enhance your task management.
Steps we’ll follow:
- Set up a Notion database to store action items
- Create a Gumloop workflow to extract action items from emails
- Analyze email content and identify tasks
- Automatically populate your Notion database with extracted action items
You'll need:
- A Notion account
- A Gumloop account (starter plan required for automated triggers)
- A Gmail account
Let's get into it.
Step 1: Set up your Notion database
First, we'll create a Notion database to store our extracted action items. This will serve as the central hub for all tasks identified from your emails.
Head to Notion and create a new page; title it "Action items from Inbox".
Within this page, type "/database" and select "Database - full page" to create a new database. Name the database "Action items from Inbox" as well.
Rename the first column to "Tasks" and add a new column called "Status" with the type set to "Status".
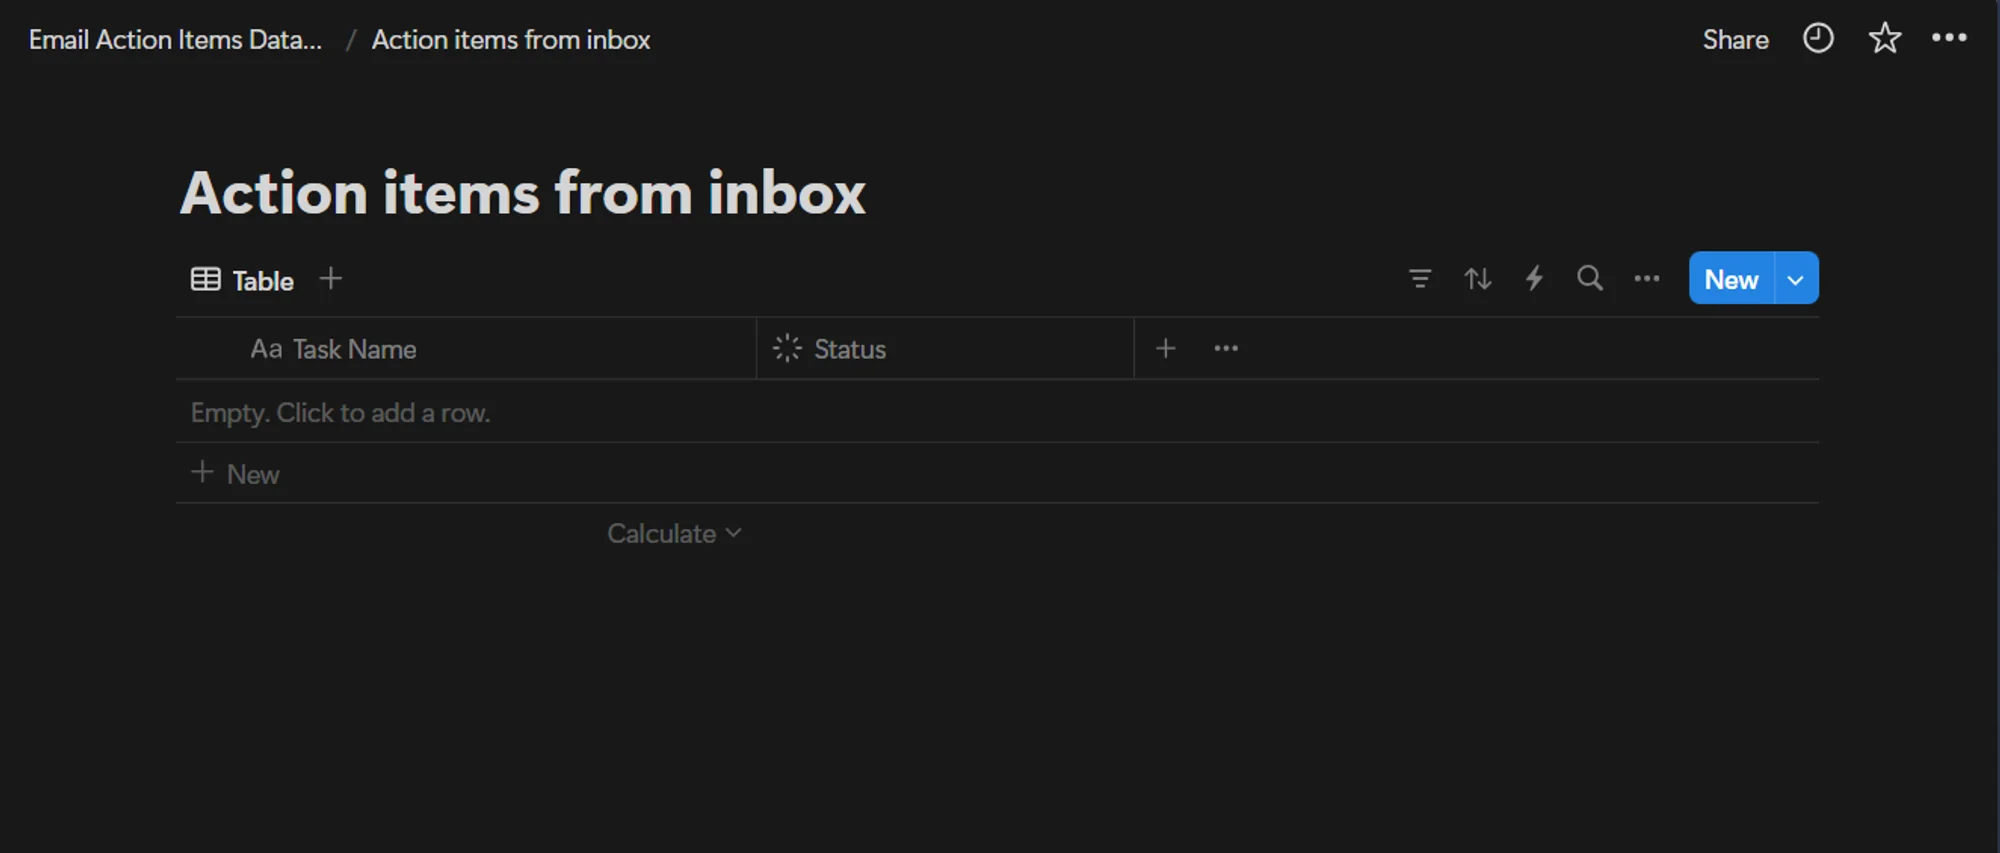
Your Notion database is now ready to receive action items extracted from your emails.
Step 2: Create your Gumloop workflow
Now that our Notion database is set up, let's create the Gumloop workflow that will power our email analysis and action item extraction.
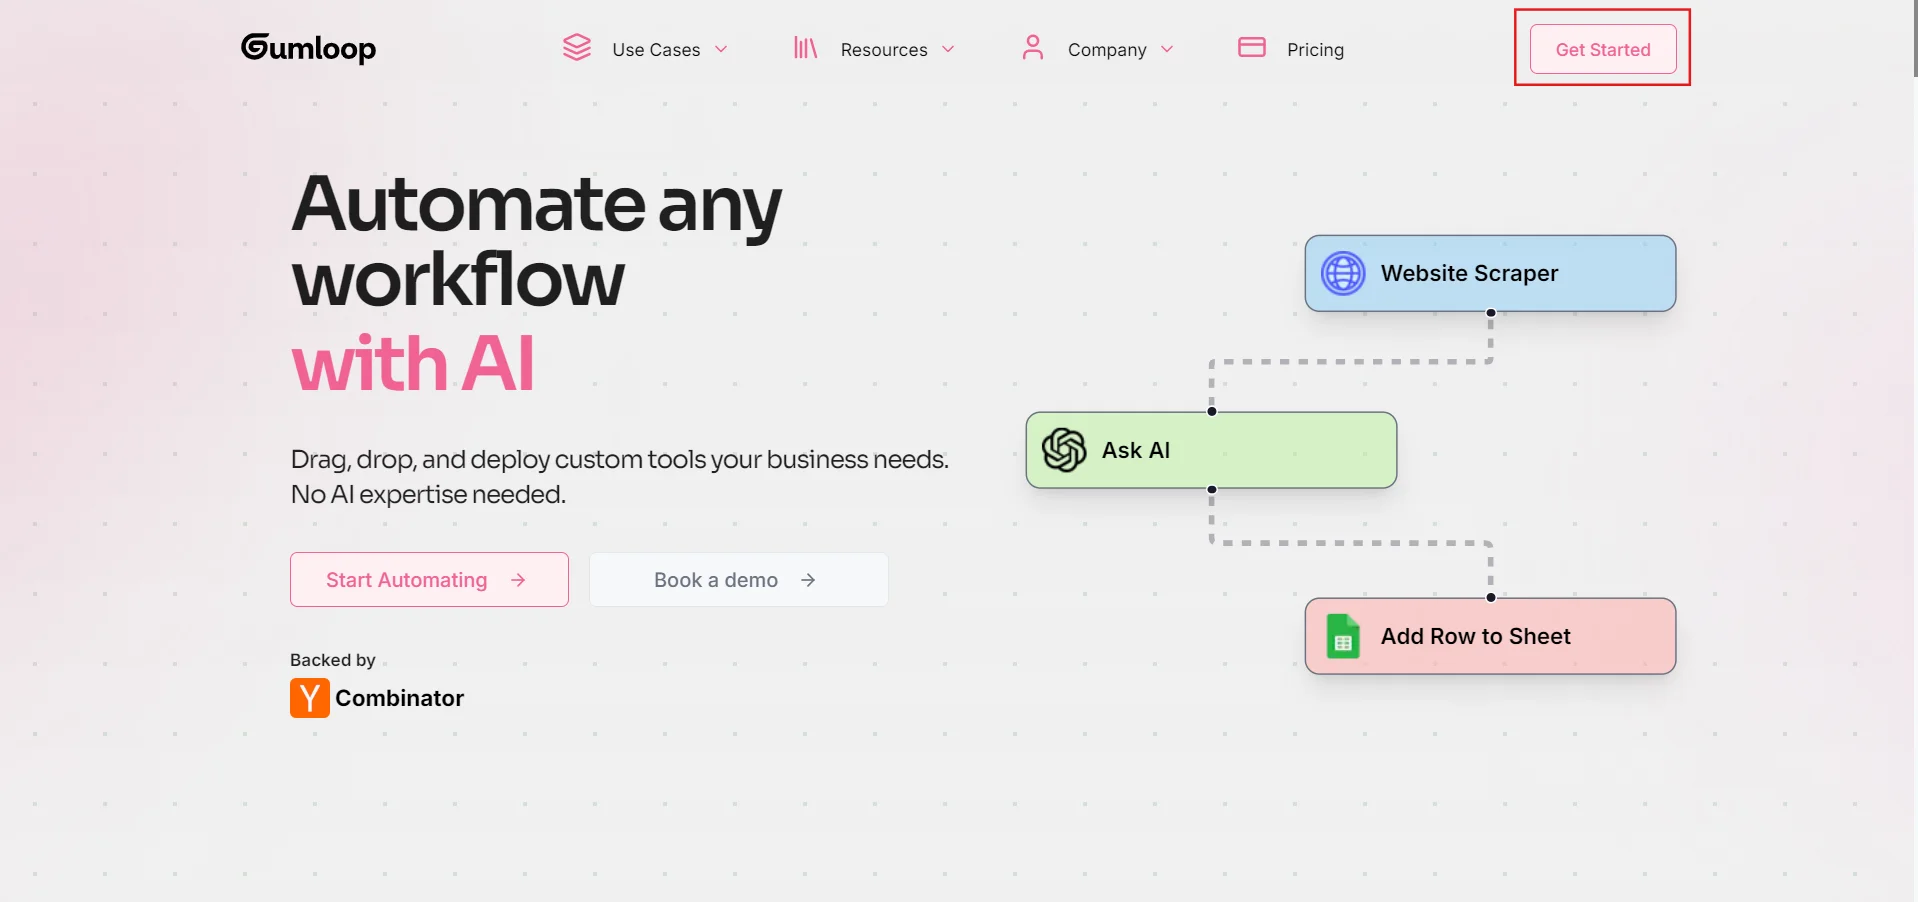
Go to gumloop.com and click on the "Get Started" button. If you don't have a gumloop account, you'll be prompted to create one.
Once logged in, click on "Start with a blank canvas" to begin creating your workflow. You can ignore the "How gumloop works" section by clicking on Skip if you're already familiar with the platform.
To start building the workflow, click on "Add your first node" in the blank canvas. Search for the "Gmail Reader" node and add it to your canvas.
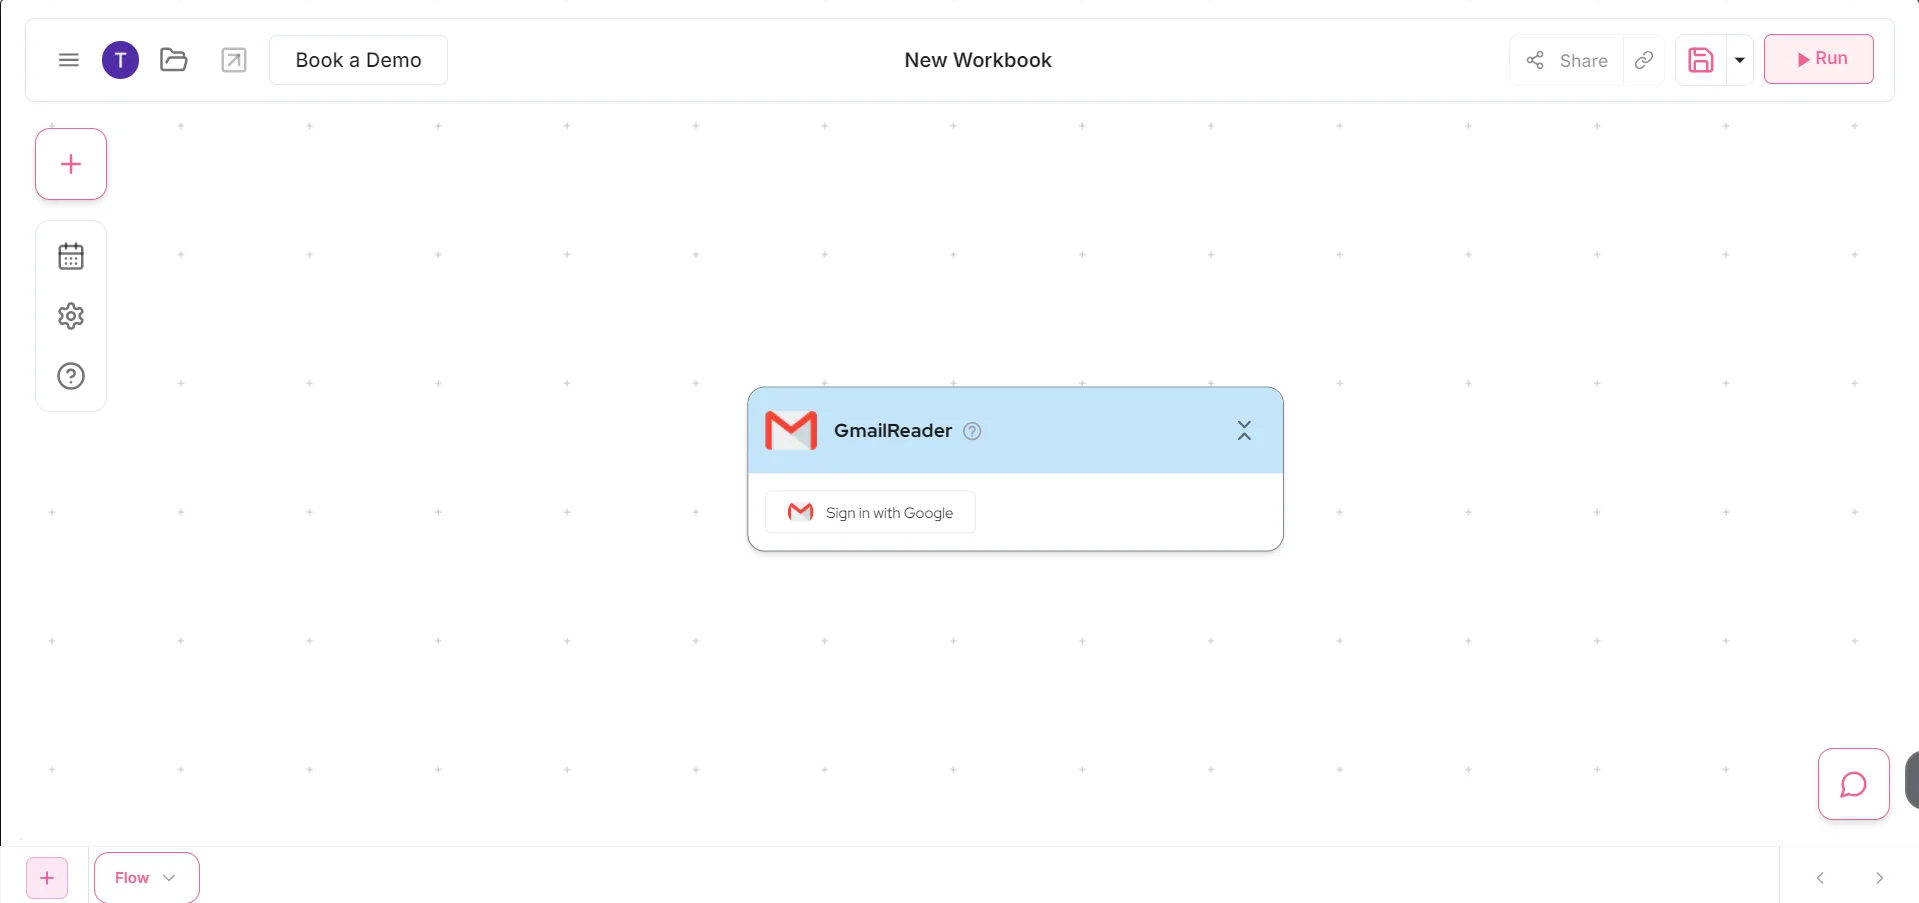
Click on "Sign in with Gmail" and authorize Gumloop to access your Gmail account. Once connected, configure the node as follows:
- Label: Select "inbox"
- Email information: Choose "email bodies"
- Number of emails to read: Enter "1"
- Leave the search query empty
- Check the box for "Ignore read status"
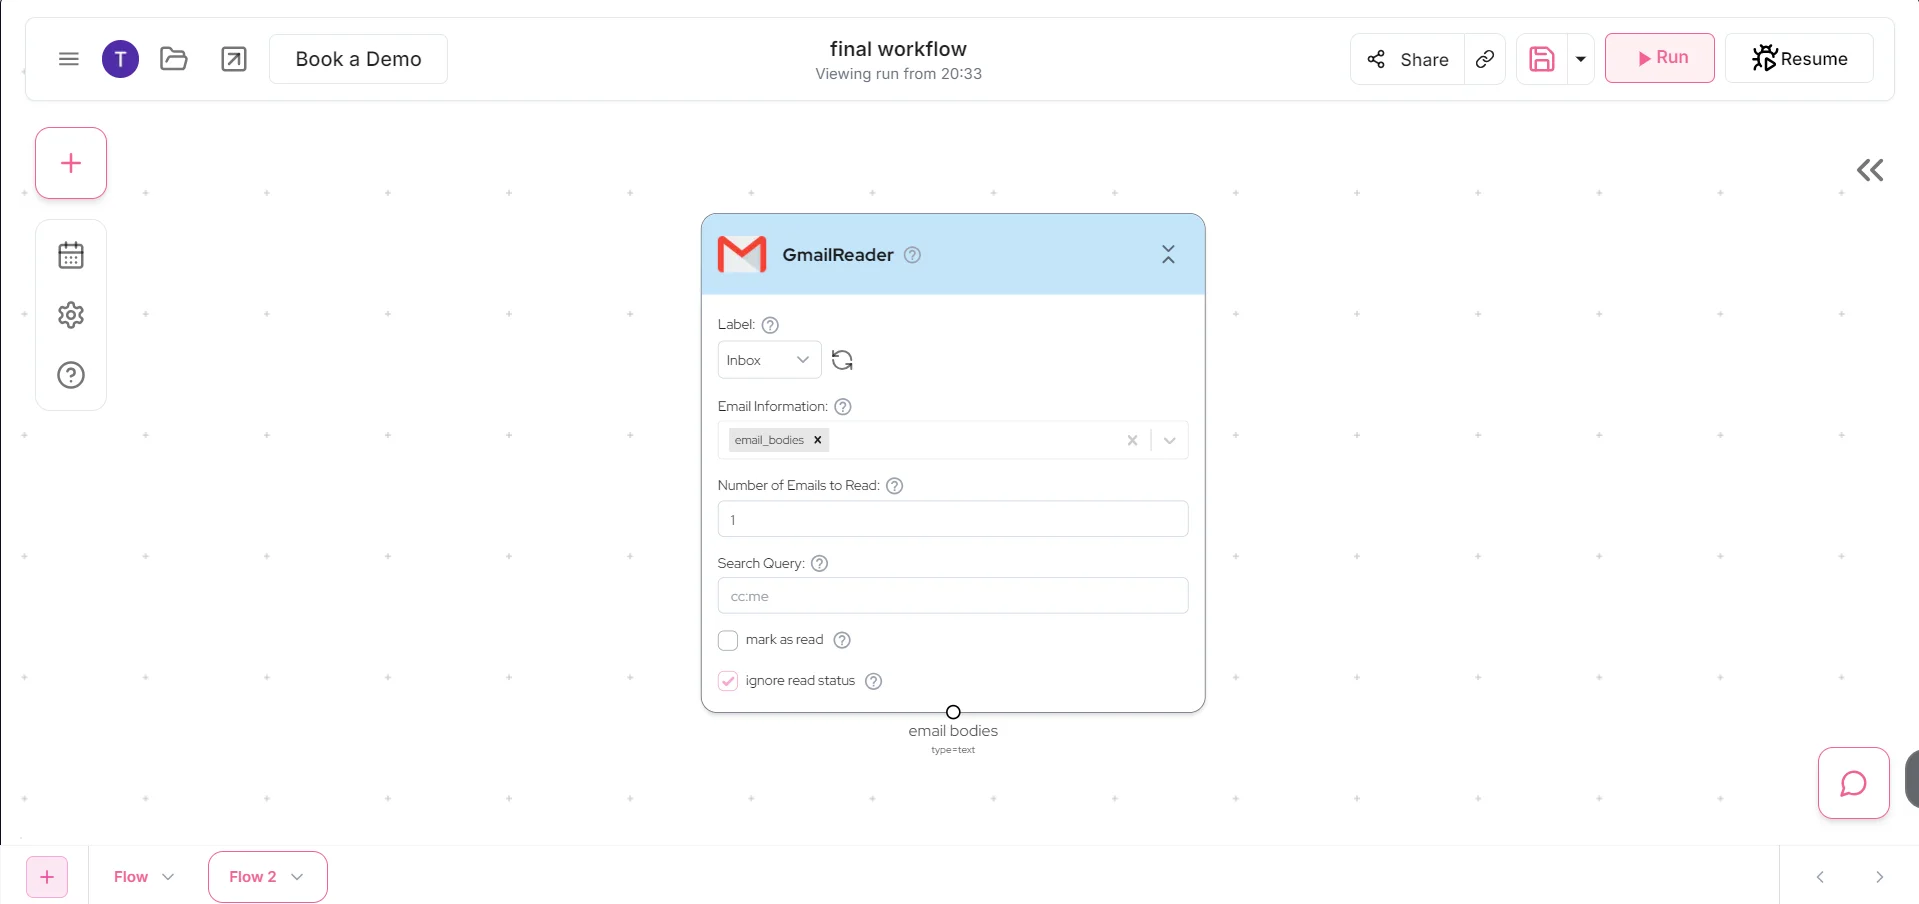
This setup ensures that your workflow will process new emails as they arrive in your inbox.
Step 3: Implement action item extraction
With our email input set up, we'll now use AI to analyze the email content and extract action items.
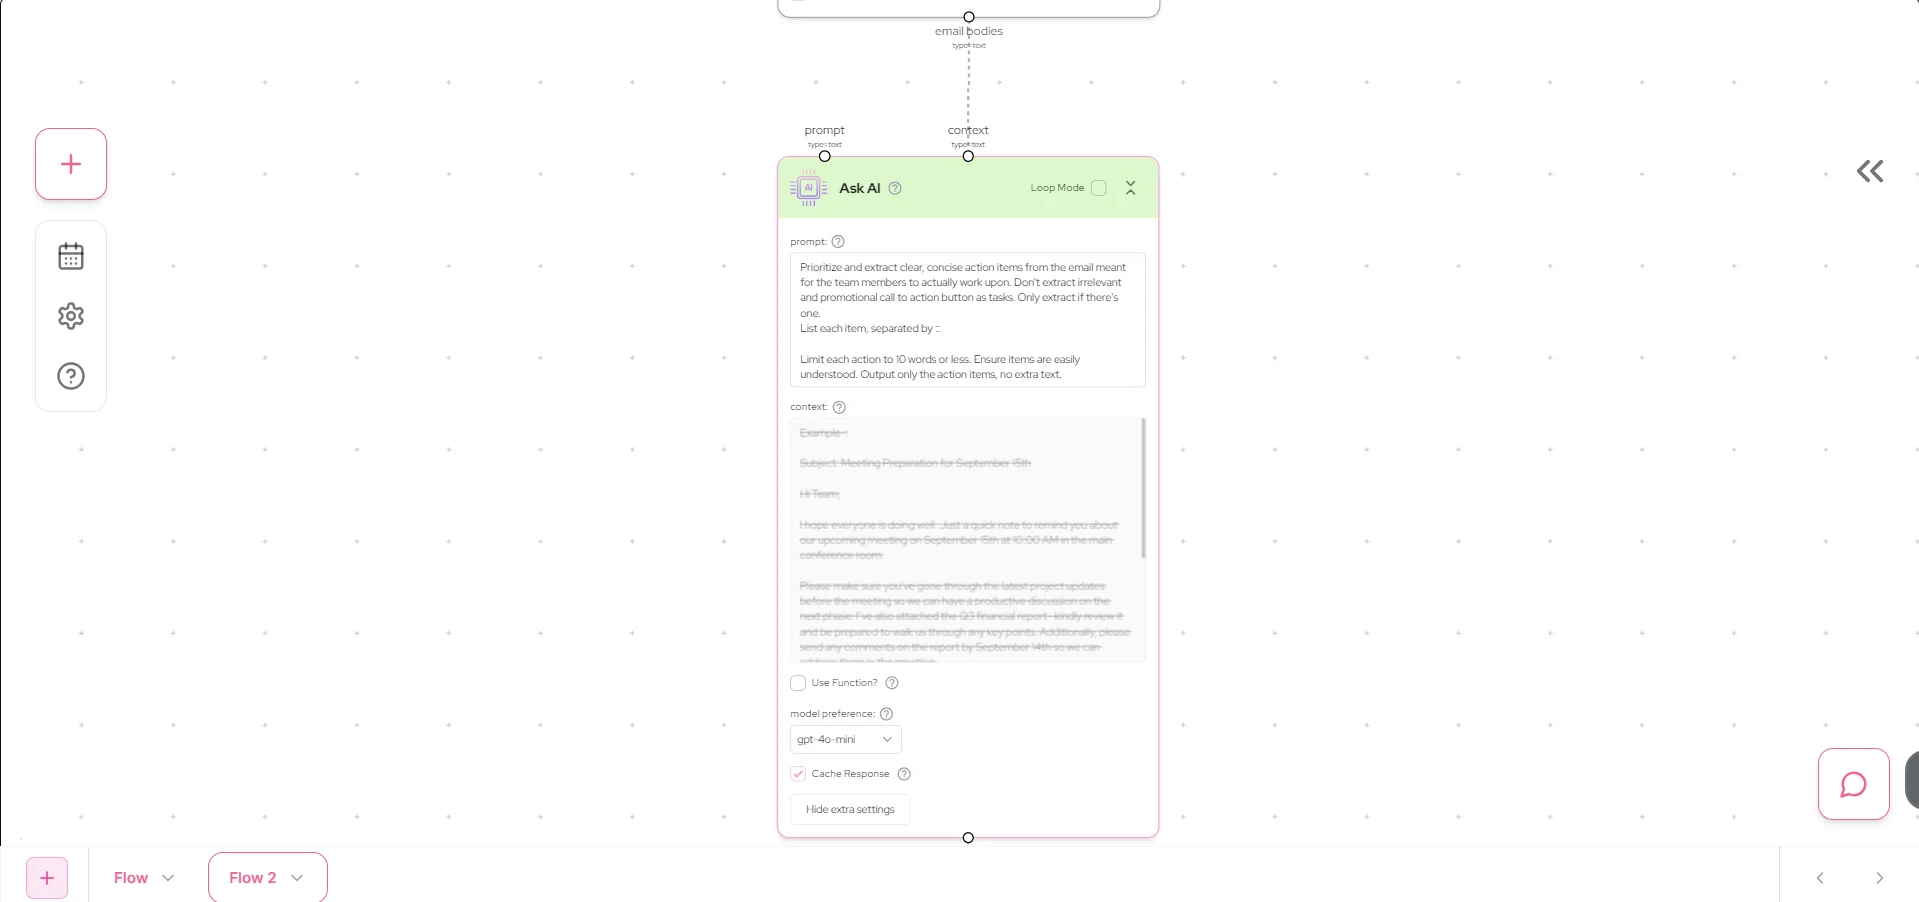
Add an "Ask AI" node to your canvas by clicking the plus button below the Gmail Reader node. Connect the "email bodies" output from the Gmail Reader to the "context" input of the Ask AI node.
In the prompt field of the Ask AI node, enter the following:
Prioritize and extract clear, concise action items from the email meant for the team members to actually work on. Don't extract irrelevant and promotional call to action button as tasks. Only extract if there's one.
List each item, separated by ::
Limit each action to 10 words or less. Ensure items are easily understood. Output only the action items, no extra text.
Set the model preference to "gpt-4-0-mini" for optimal performance.
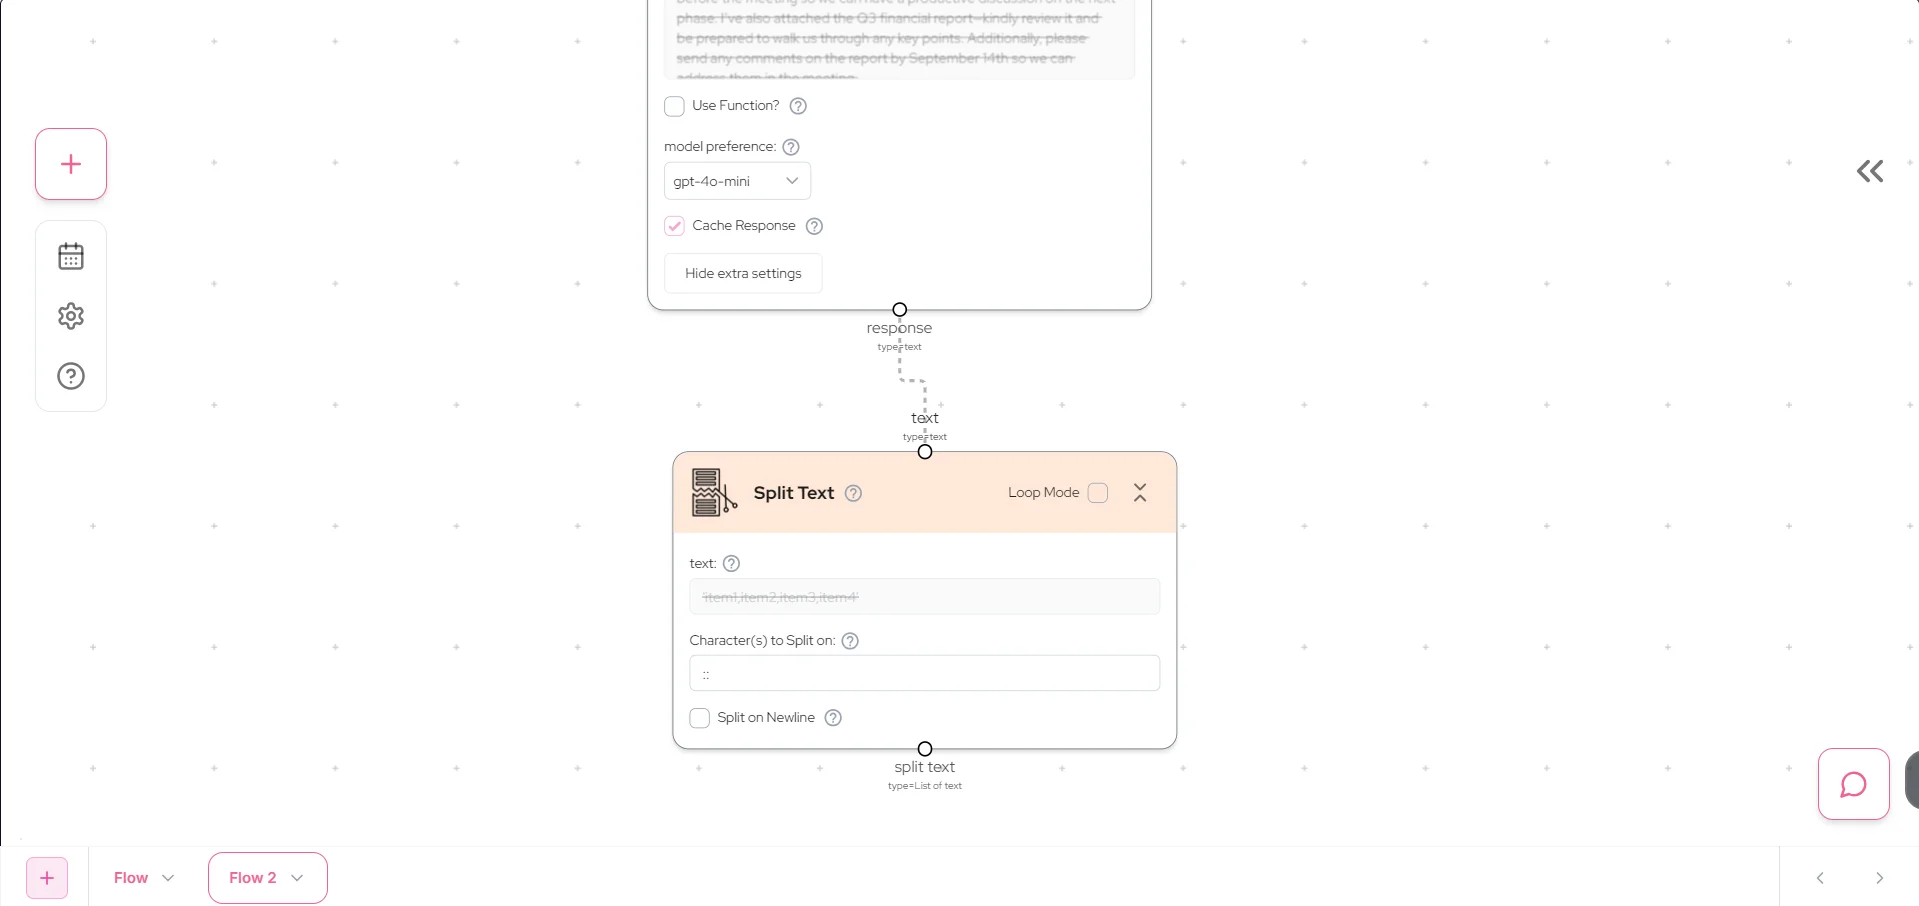
To prepare the extracted action items for our Notion database, we need to split them into individual entries. Add a "Split Text" node after the Ask AI node. Connect the "response" output from the Ask AI node to the "text" input of the Split Text node.
In the "characters to split on" field, enter "::". This will separate our action items into individual entries.
Step 4: Populate your Notion database
The final step is to send our extracted action items to the Notion database we created earlier.
Add a "Notion Database Write" node to your canvas. Click on "Sign in with Notion" and authorize Gumloop to access your Notion account. Once connected, select the "Action items from Inbox" database you created in Step 1.
Connect the "output" from the Split Text node to the "Task name" input of the Notion Database Write node. This will create a new entry in your Notion database for each action item extracted from the email.

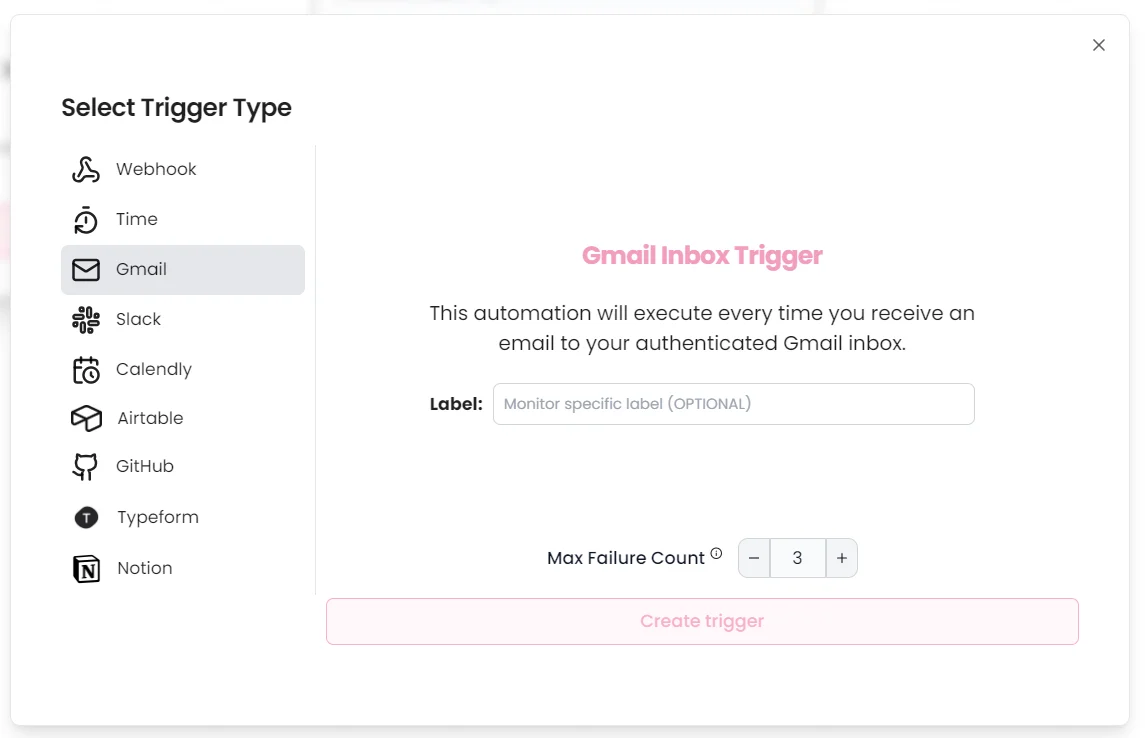
To set up automated triggering of your workflow, click on the trigger icon in the left sidebar of the canvas. Select the "Gmail" tab and click on "Create Trigger". Choose your preferred trigger settings, such as running the workflow every time a new email arrives in your inbox.
Congratulations! You've now created an automated system that extracts action items from your emails and organizes them in Notion. As new emails arrive, Gumloop will process them, identify action items, and populate your Notion database, helping you stay on top of your tasks effortlessly.
You can customize the workflow further by adding more complex filtering or additional AI analysis steps to suit your specific needs.
This tutorial was created by Tanmay.