Build a simple to-do list app using Bolt
A walkthrough building in Bolt—perfect if you’re just starting out creating apps using AI.
2025-03-06
In the world of learning to code (with AI or otherwise), building a to-do list app is a rite of passage—the first project many people work on.
It also happens to be a useful thing to have. So let’s get Bolt to build us one.
In this tutorial you will learn how to:
- Prompt Bolt to build a first version of the app.
- Connect a database for storing to-do items.
- Test the app and ask Bolt for changes.
- Deploy the app.
You’ll need:
Let’s see how it’s done.
Step 1: Prompt Bolt to build a first version of the app
The great thing about Bolt is you can give it simple prompts, and it’ll turn them into fully working apps very quickly.
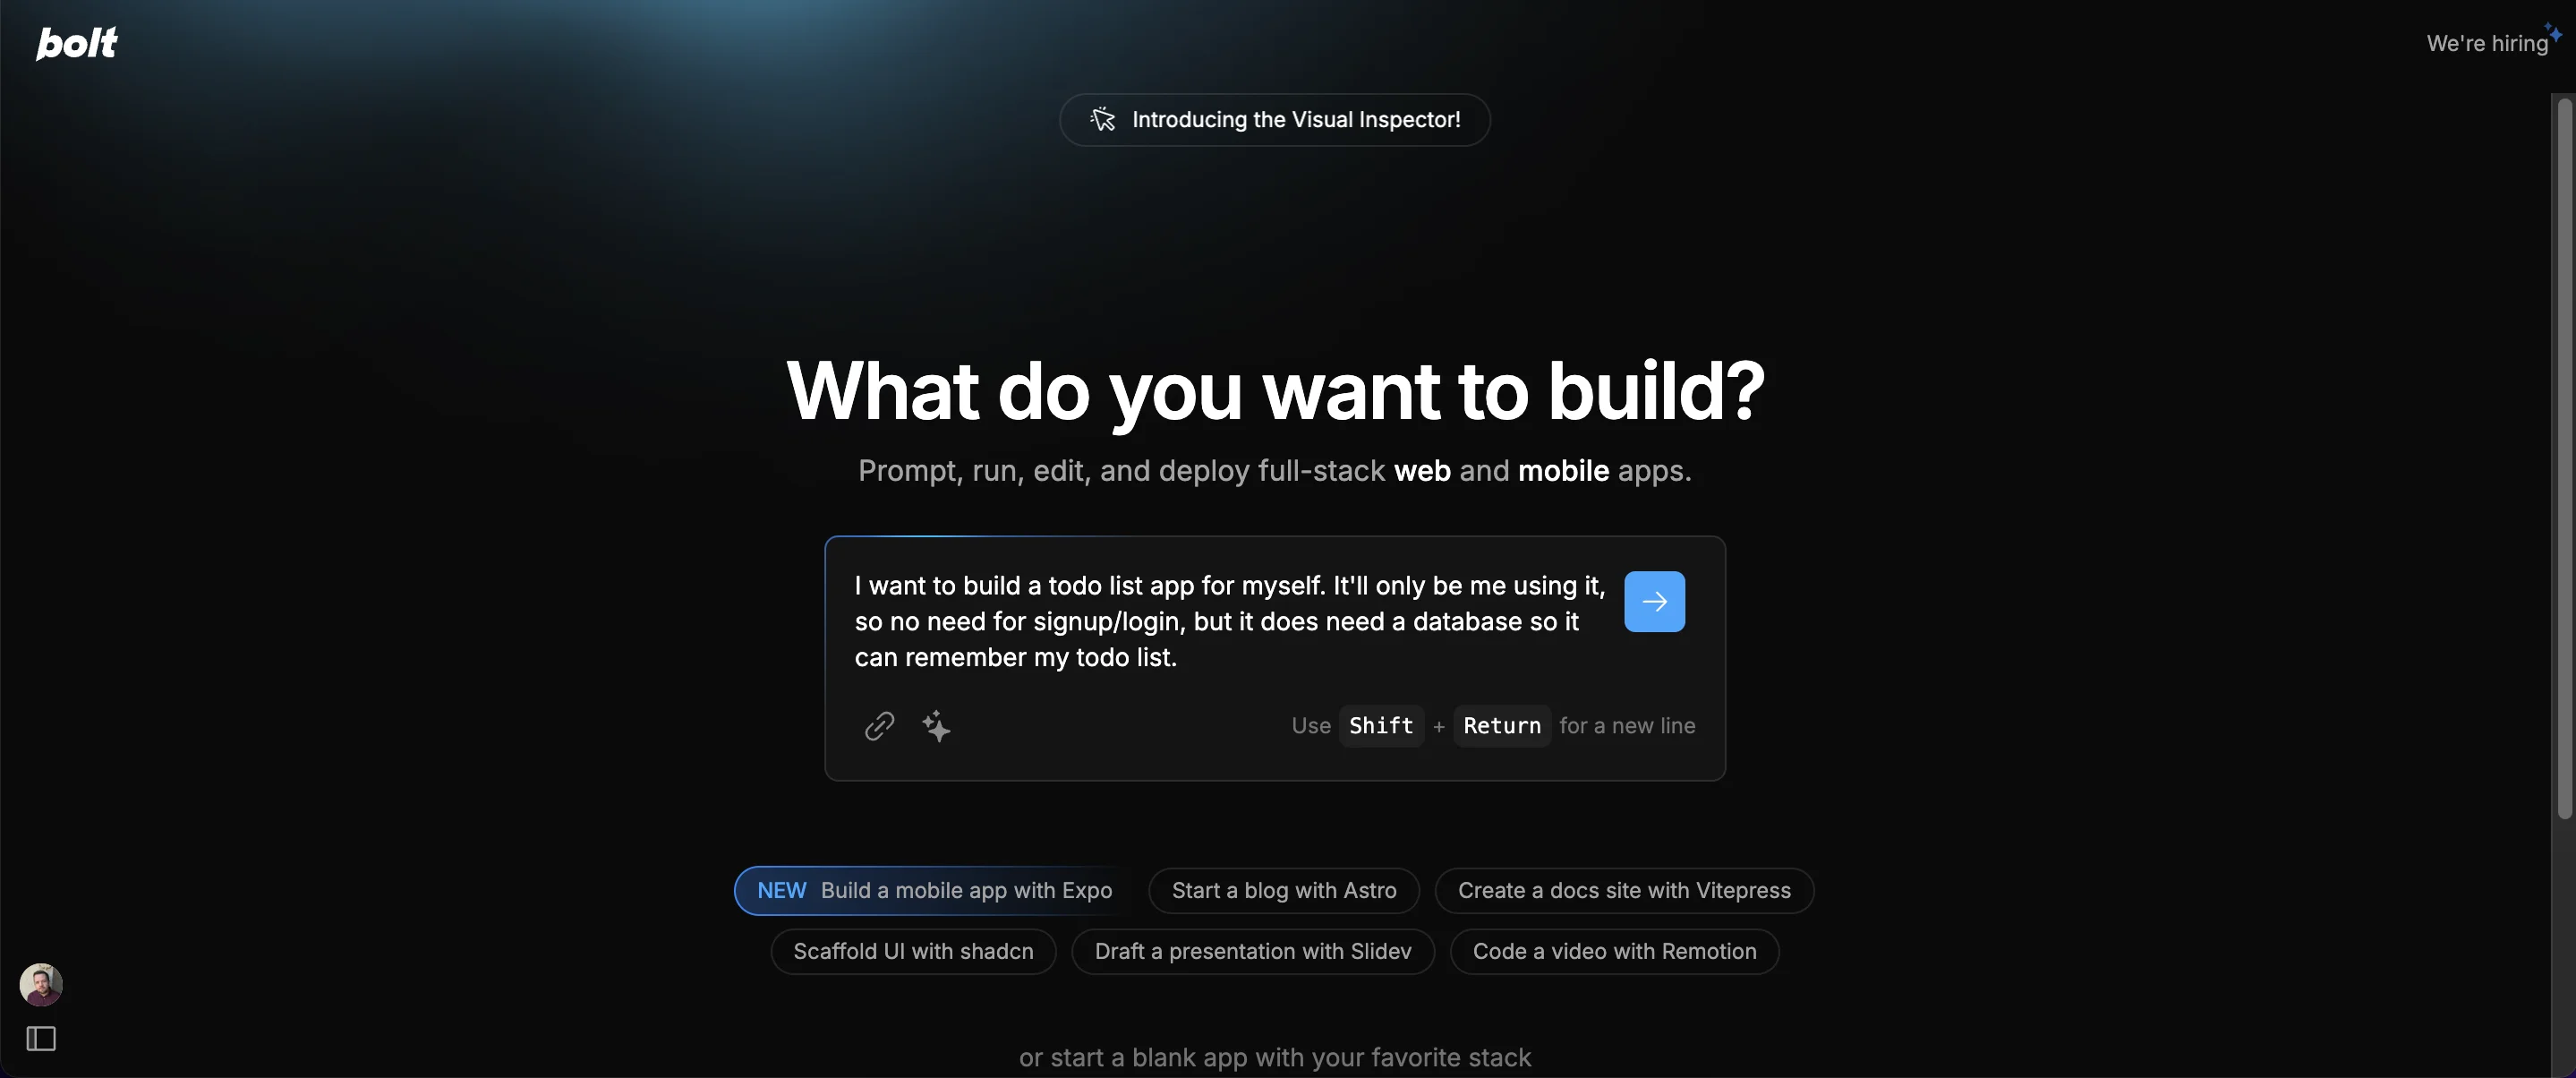
For our to-do app, let’s use the following prompt. You’ll notice we’re not talking about programming languages or using any technical jargon at all—just explaining what we want.
I want to build a todo list app for myself. It'll only be me using it, so no need for signup/login, but it does need a database so it can remember my todo list.
Press the blue arrow to start.
Bolt will quickly drop into build mode, with code on the right and chat on the left.
No worries if the code doesn’t make any sense to you—it doesn’t need to!
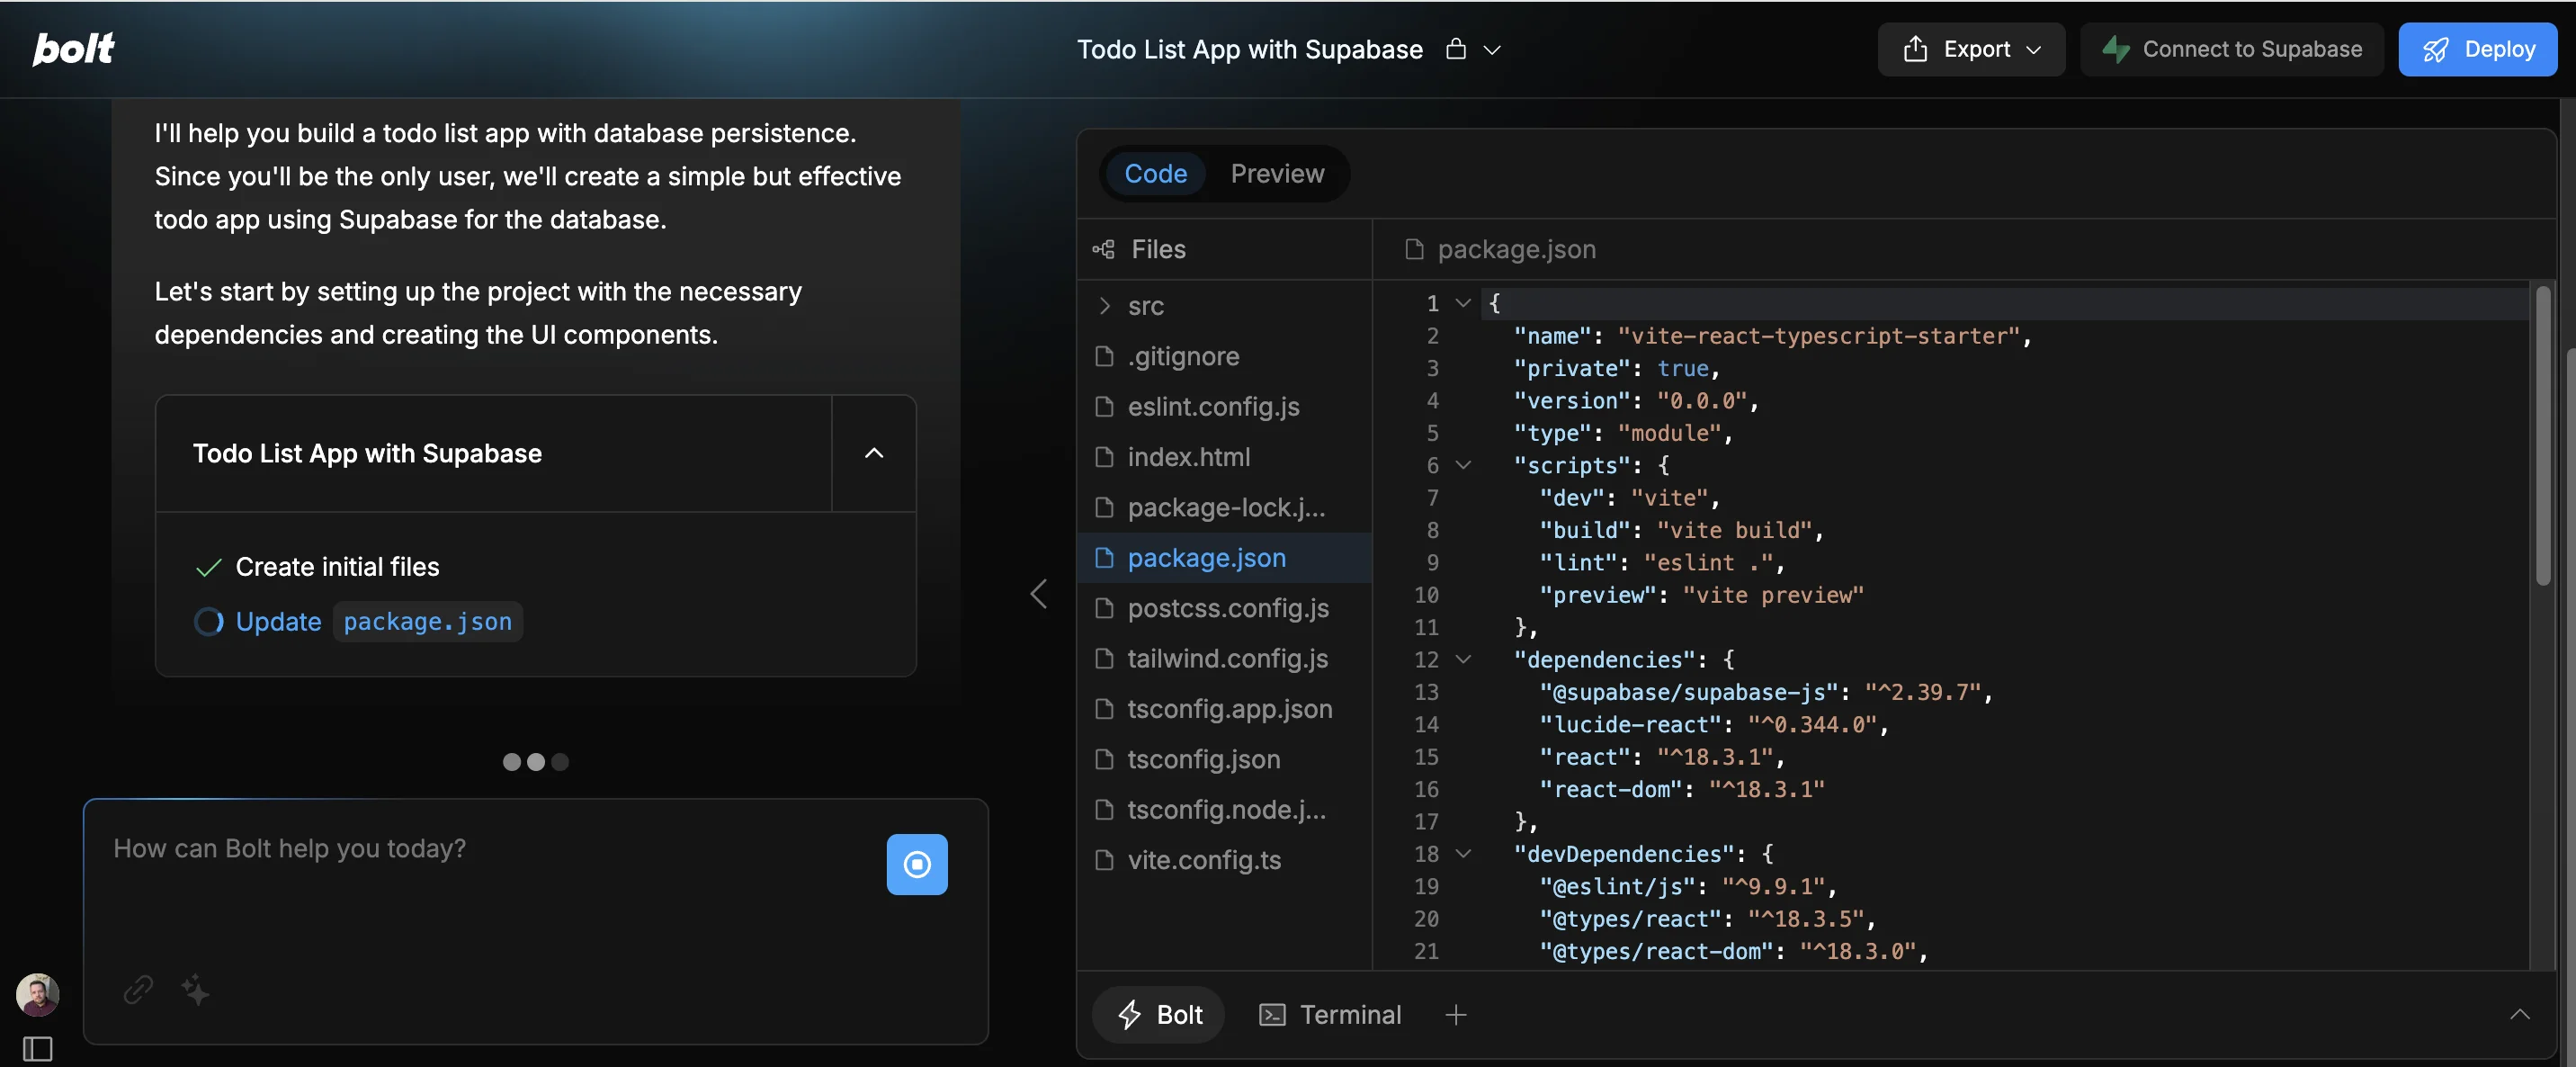
In the chat on the left, Bolt will keep you updated on progress, describing what it’s building and listing each thing it works on.
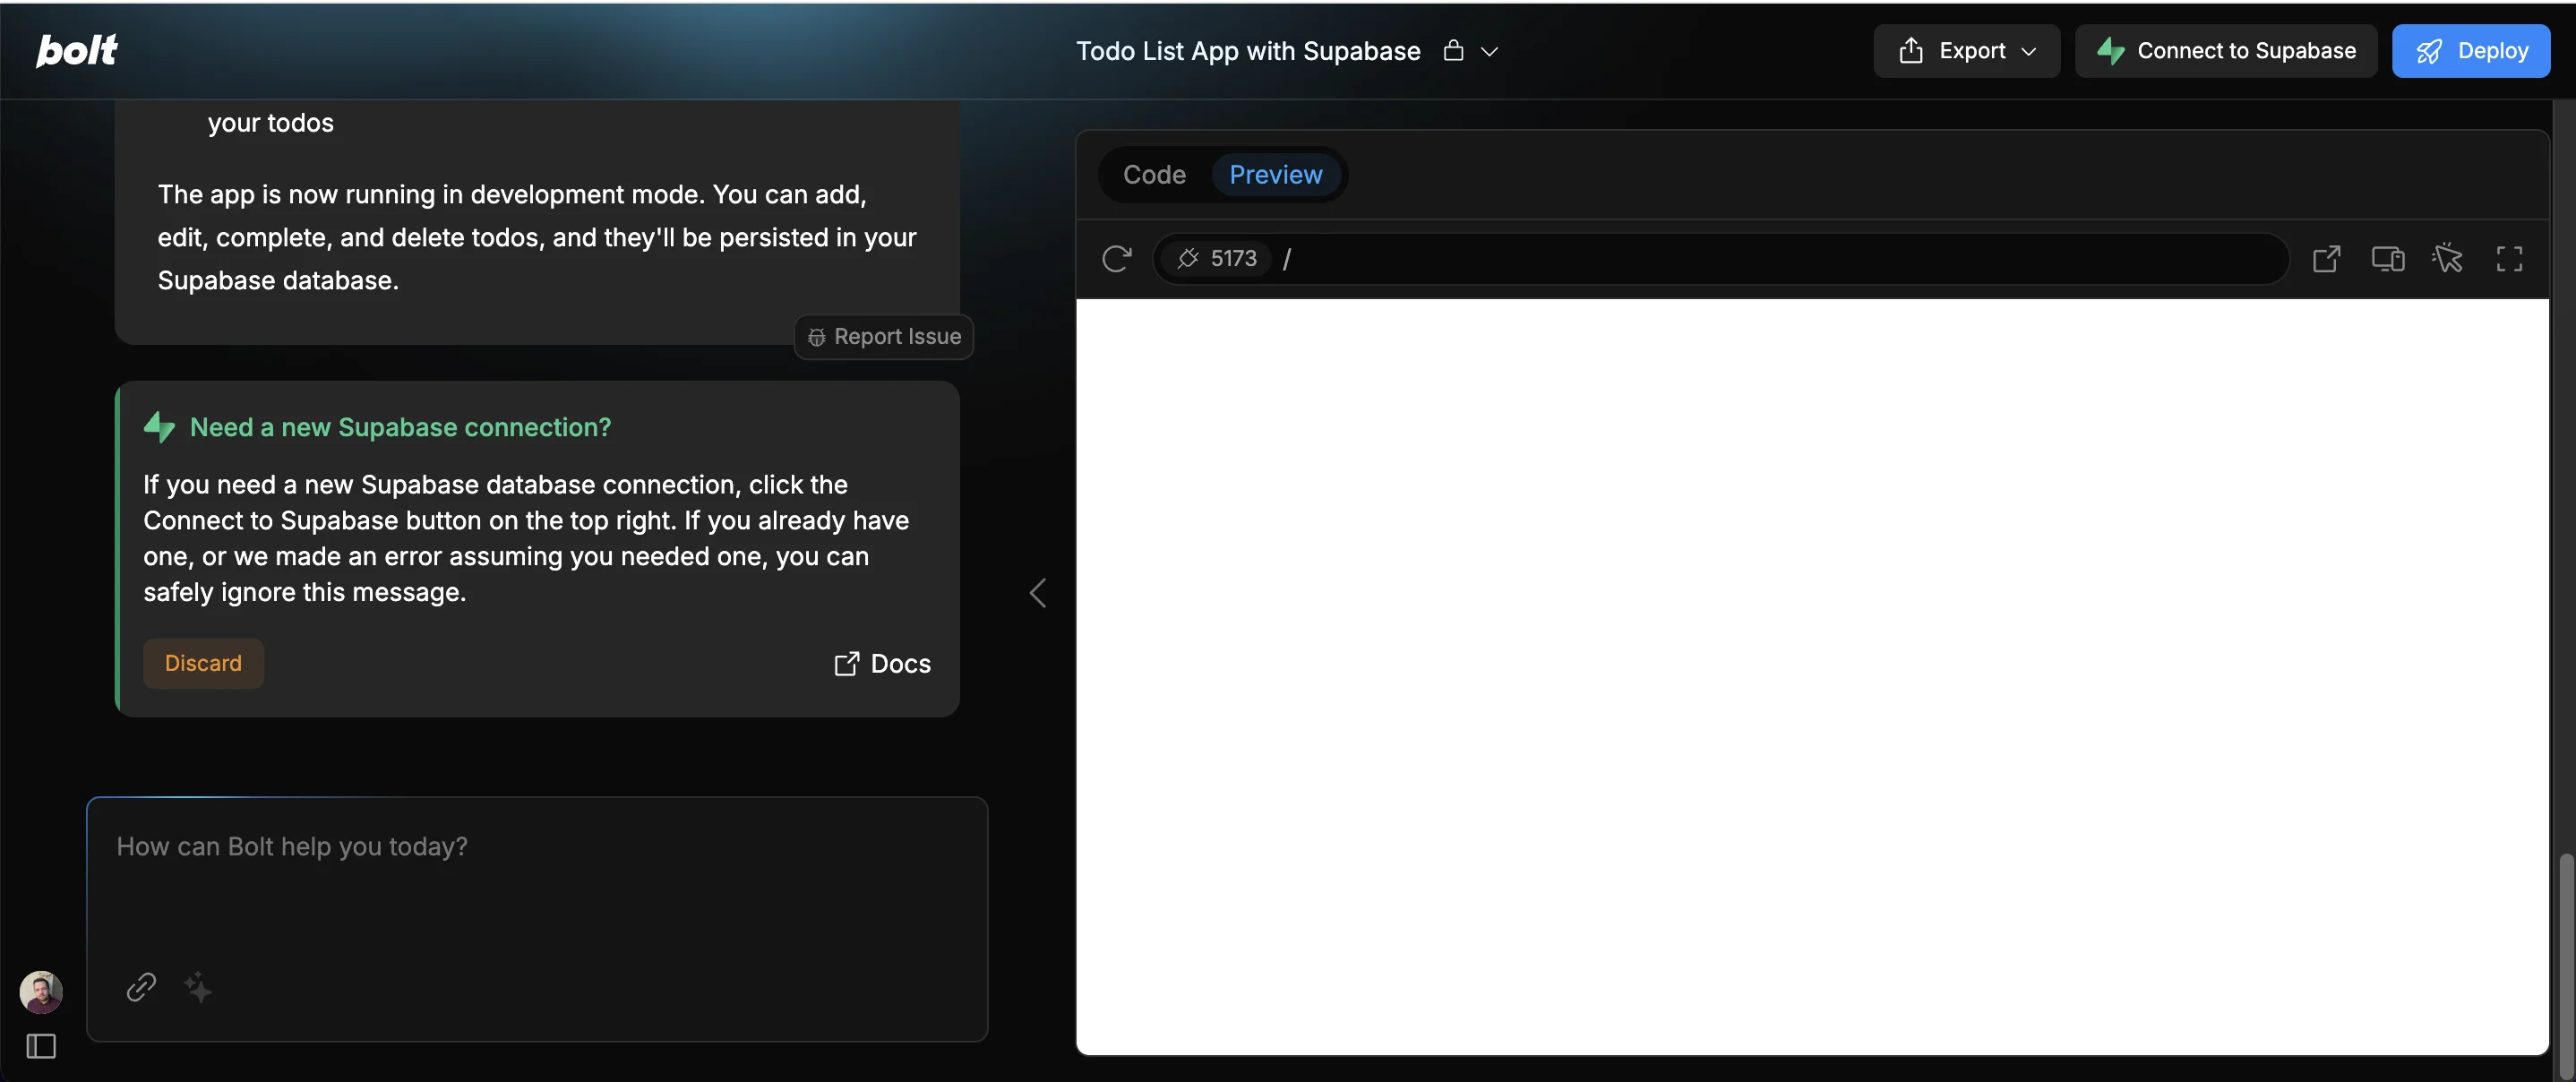
After a few moments, the right panel will switch from the “Code” to the “Preview” tab. It’s most likely going to be blank, but don’t worry about that for now.
Step 2: Connect a database for storing to-do items
Right now, if we were to use our app, we’d create to-do items that would just disappear each time we reload the app, which would be useless.
What we need is a database to store our to-do items. This is a concept known as ‘persistence’.
In the chat, you’ll see Bolt asking about a Supabase connection. Supabase is a database hosting platform. Once you connect your Supabase account to Bolt, it can use Supabase to automatically create a database for your project.
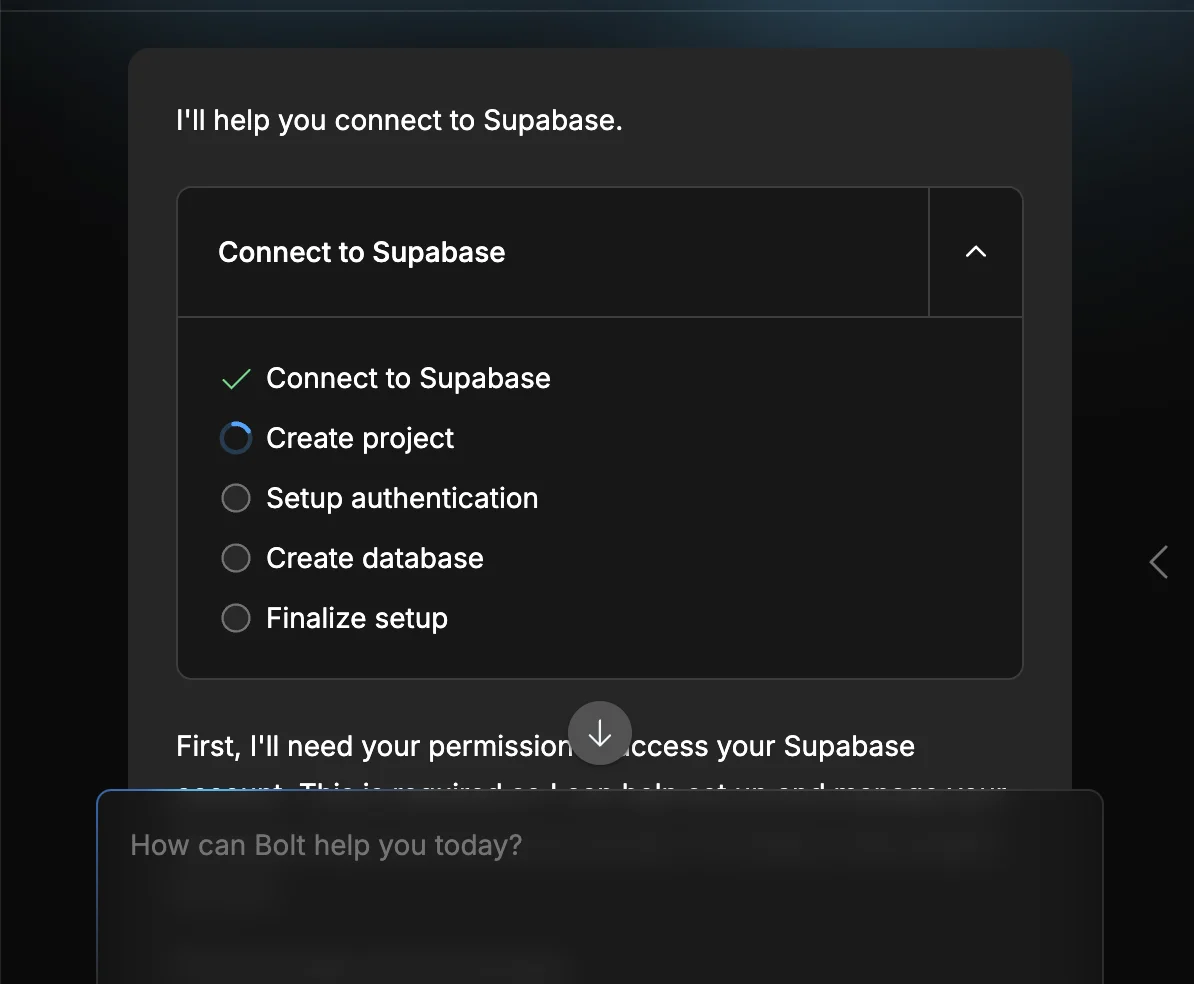
To do that, click the “Connect to Supabase” button in the top right.

If it’s your first time connecting Supabase in Bolt, there will be a permission box for you to accept, otherwise, Bolt will immediately get to work integrating a database into the app.
After 30ish seconds, you’ll be prompted to action something called “Supabase Migrations”. This is basically Bolt creating the required tables in Supabase. Click ‘Apply changes. ’

At this point, on the right, you should see the first working version of your app.
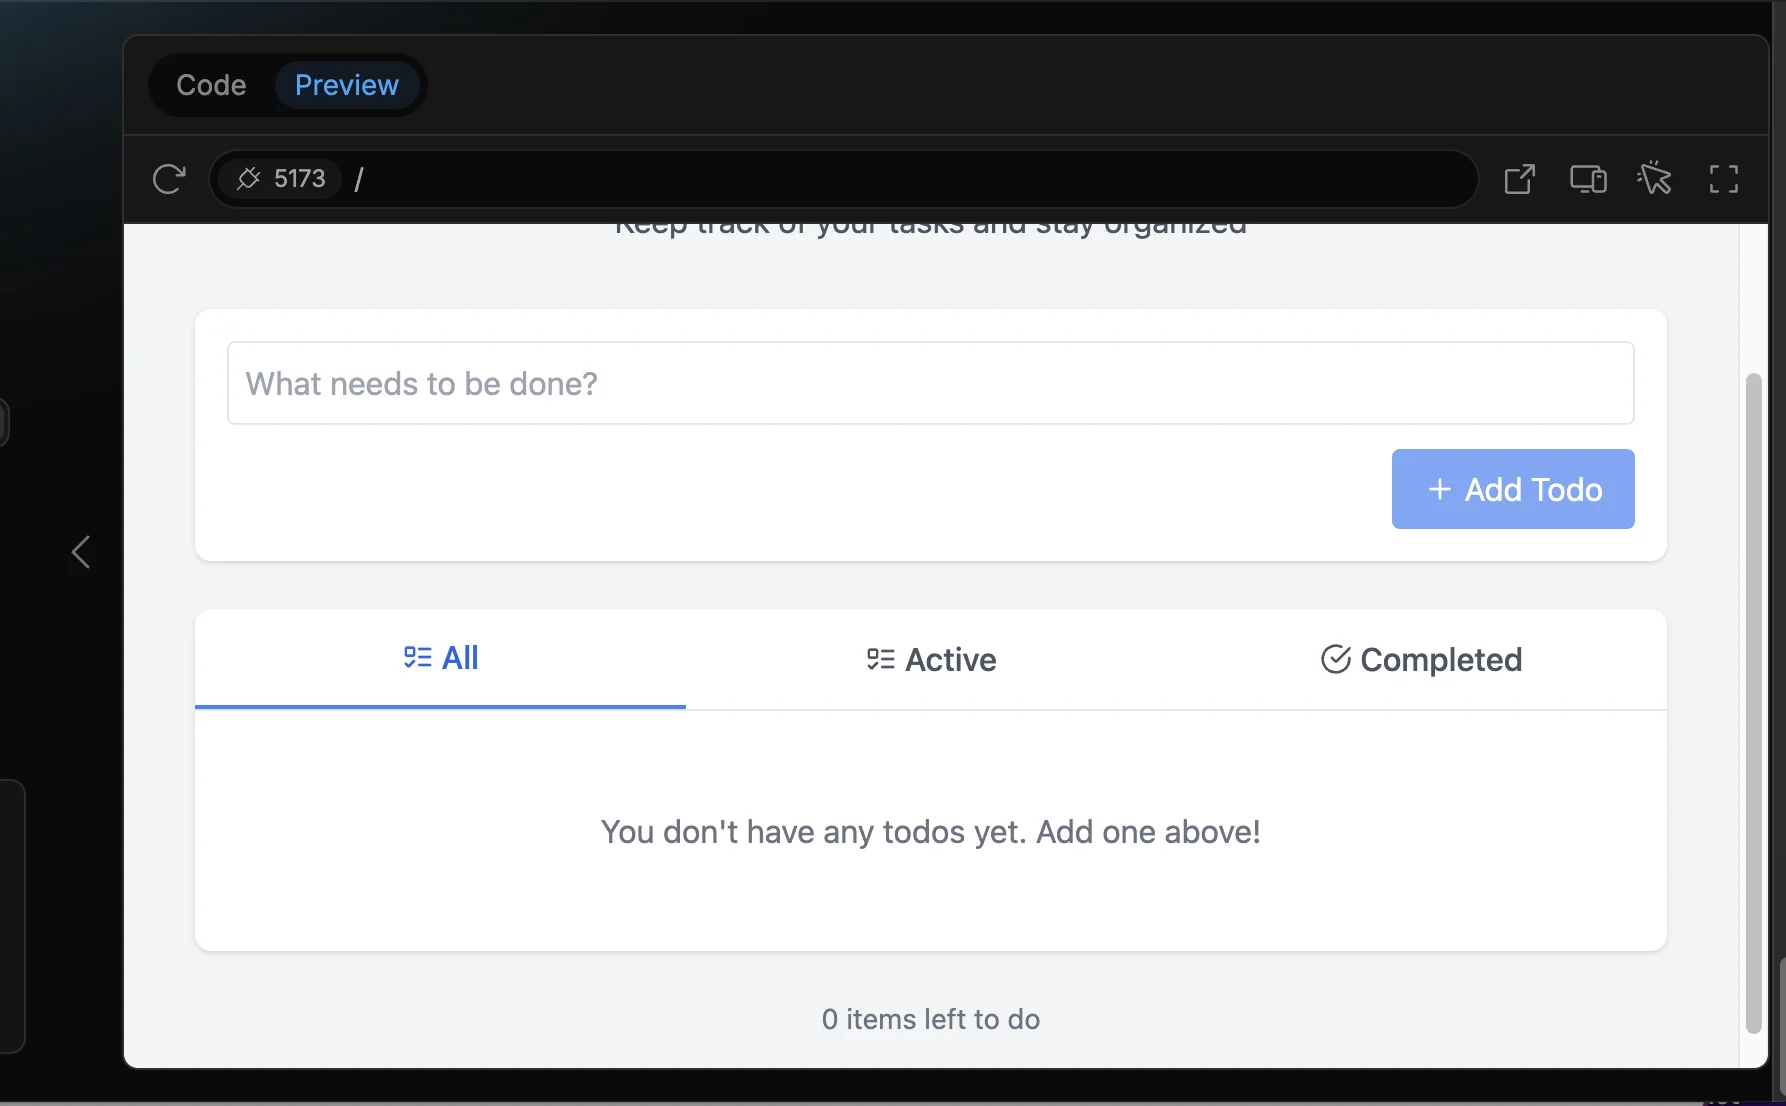
You can open it in a new tab in your browser using the square and diagonal arrow icon in the top right.
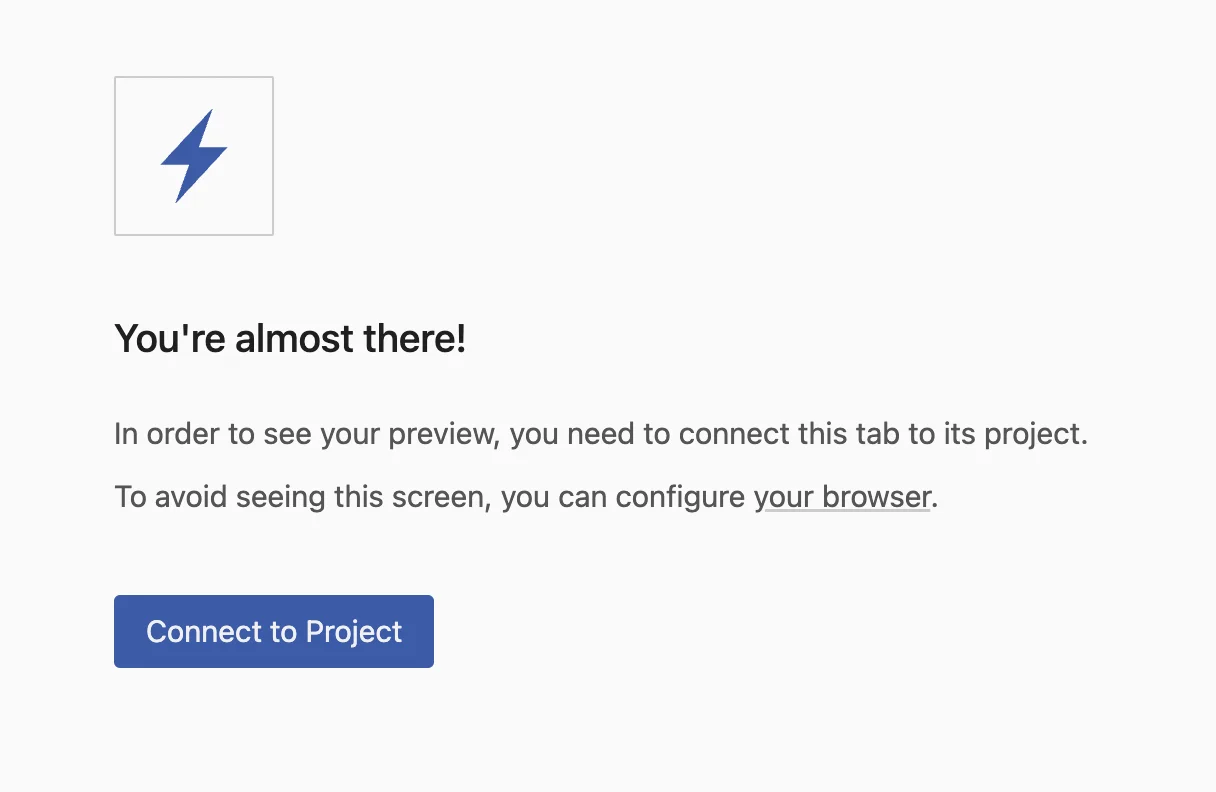
You might see the following warning, just click “Connect to Project” to proceed.
Step 3: Test the app and ask Bolt for changes
First impressions? This app looks great. It has a clean, intuitive layout and a professional-looking design. Bravo Bolt!
I also like how it’s given us tabs for ‘All’, ‘Active’ and ‘Completed’ tasks. We didn’t even ask for that, but now that it’s there, it makes total sense.
Under the hood, Bolt used Claude’s Sonnet 3.7 AI language model, which is noted for proactivity and creativity when building features.
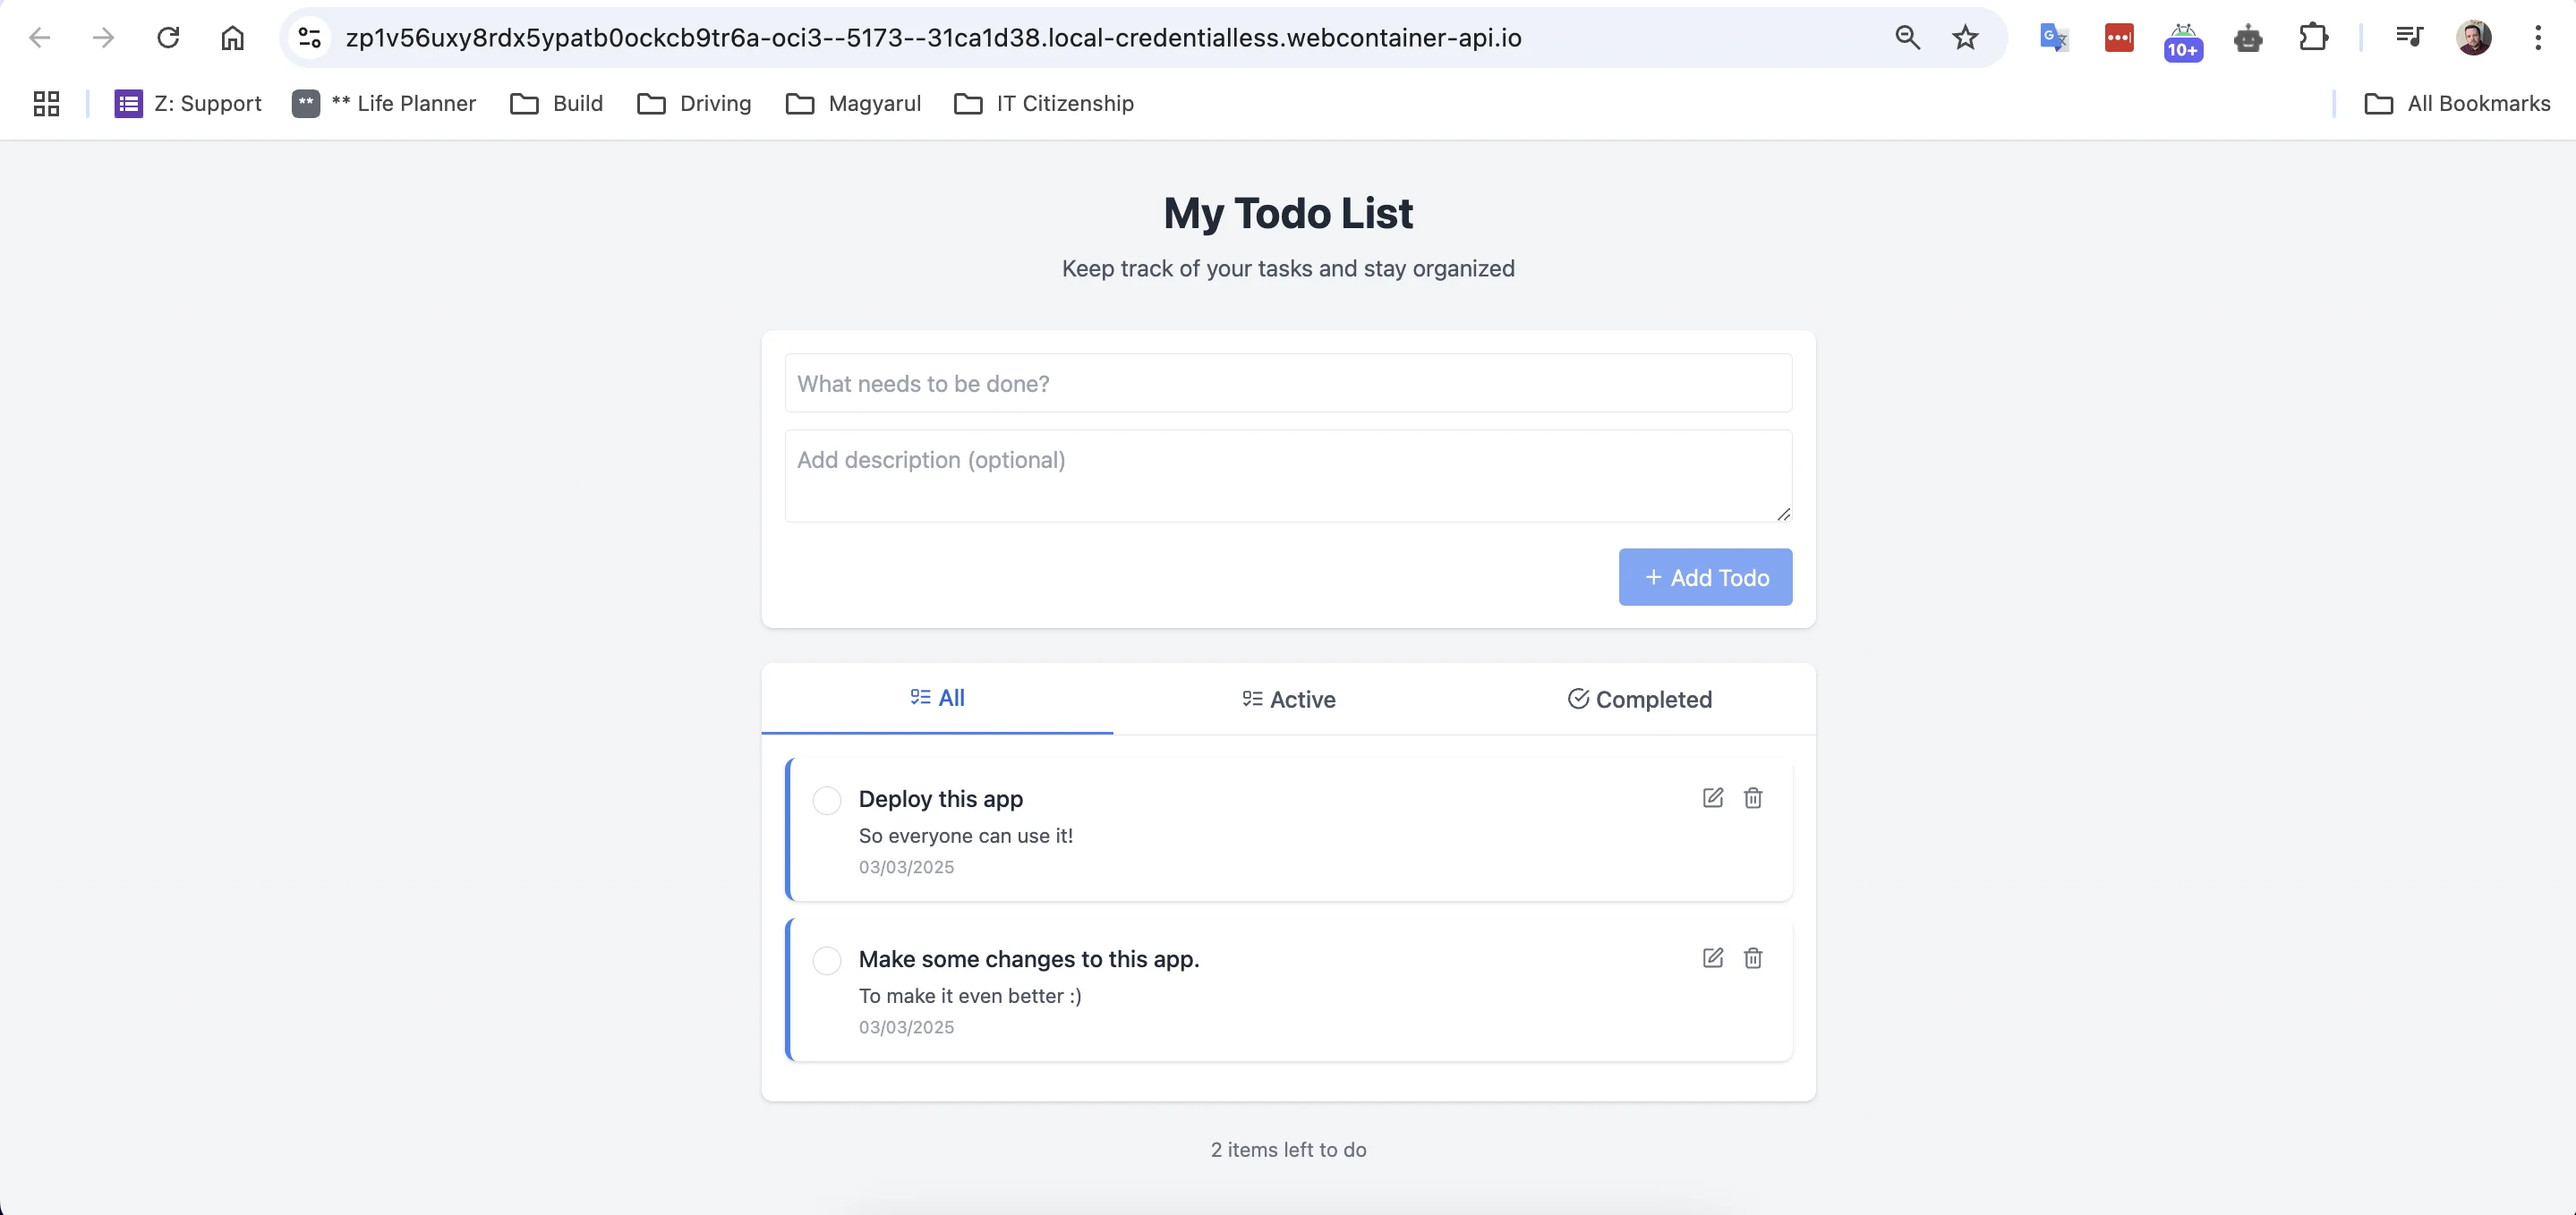
A quick test adding tasks and everything works well.
Now, I’d like to add a way to re-order tasks by priority. Let’s ask Bolt to do that.
Use the following prompt typed directly into the chat. Click the blue arrow button to progress.
This looks amazing! I want a way to be able to re-order created tasks by priority.
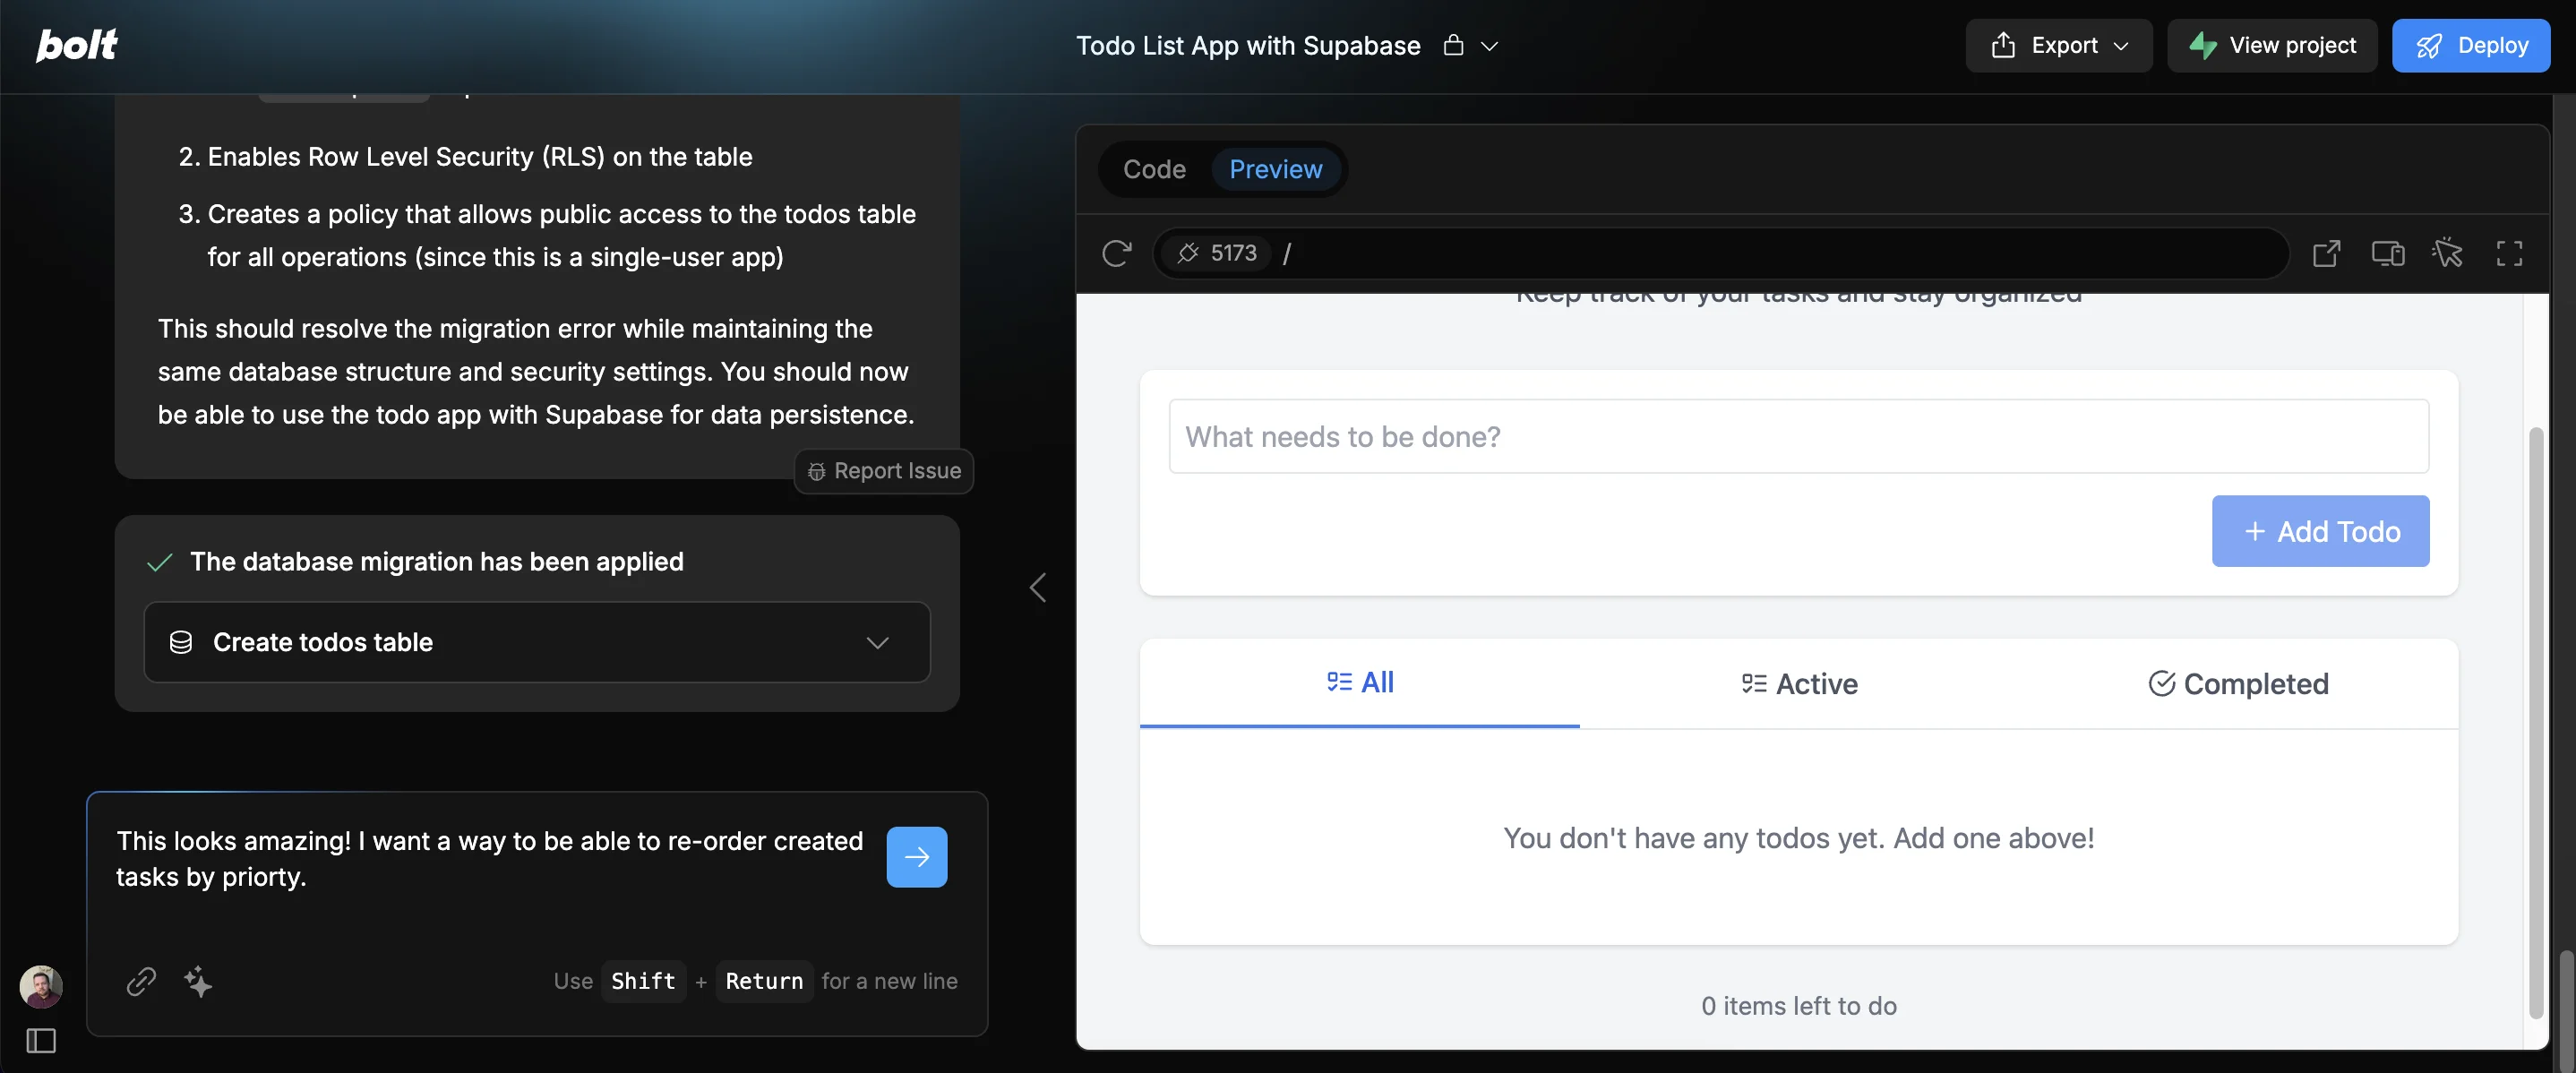
Like before, it’ll start creating and editing code and keep you updated in the chat.
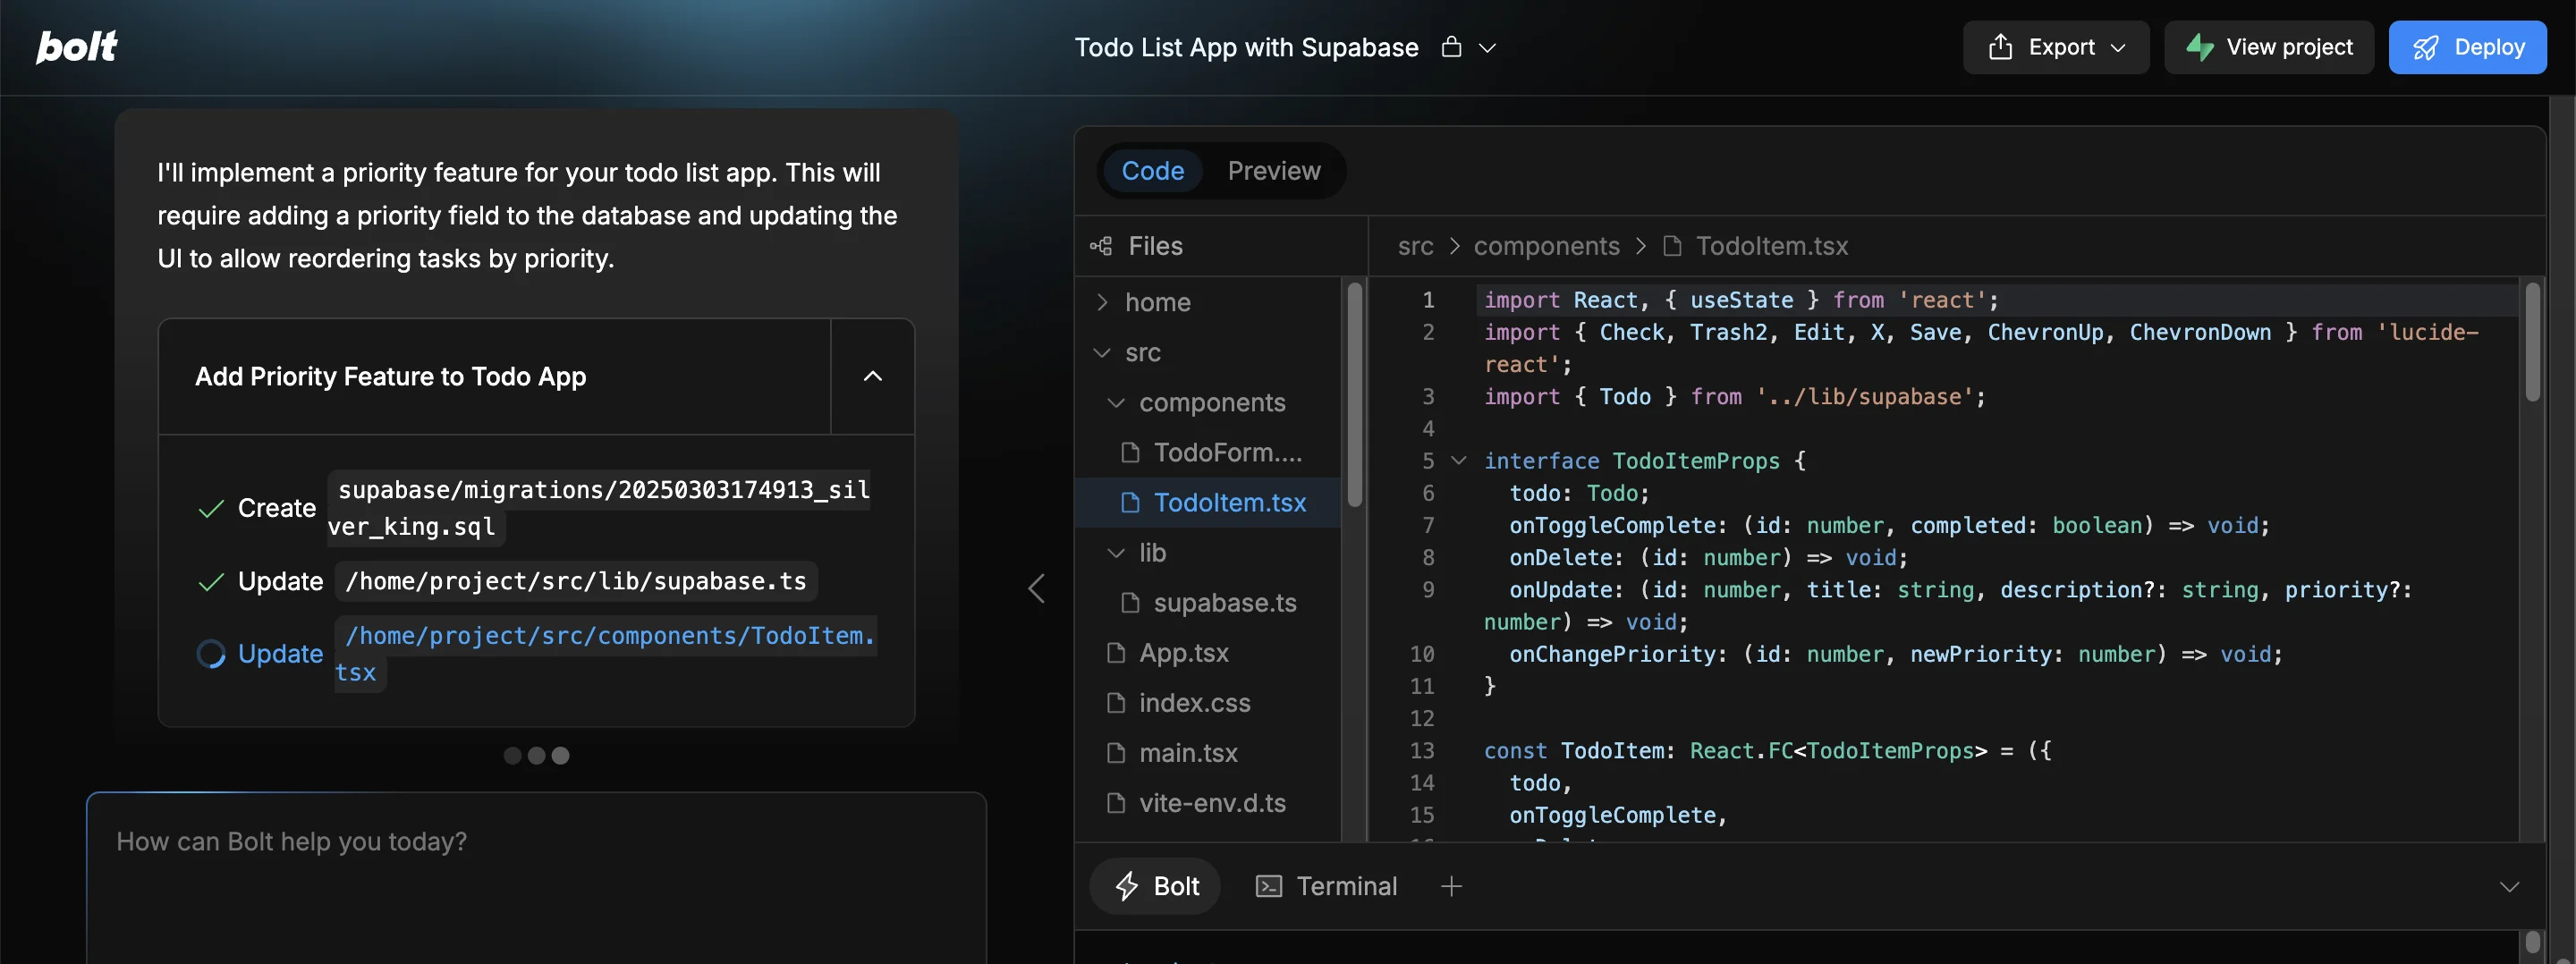
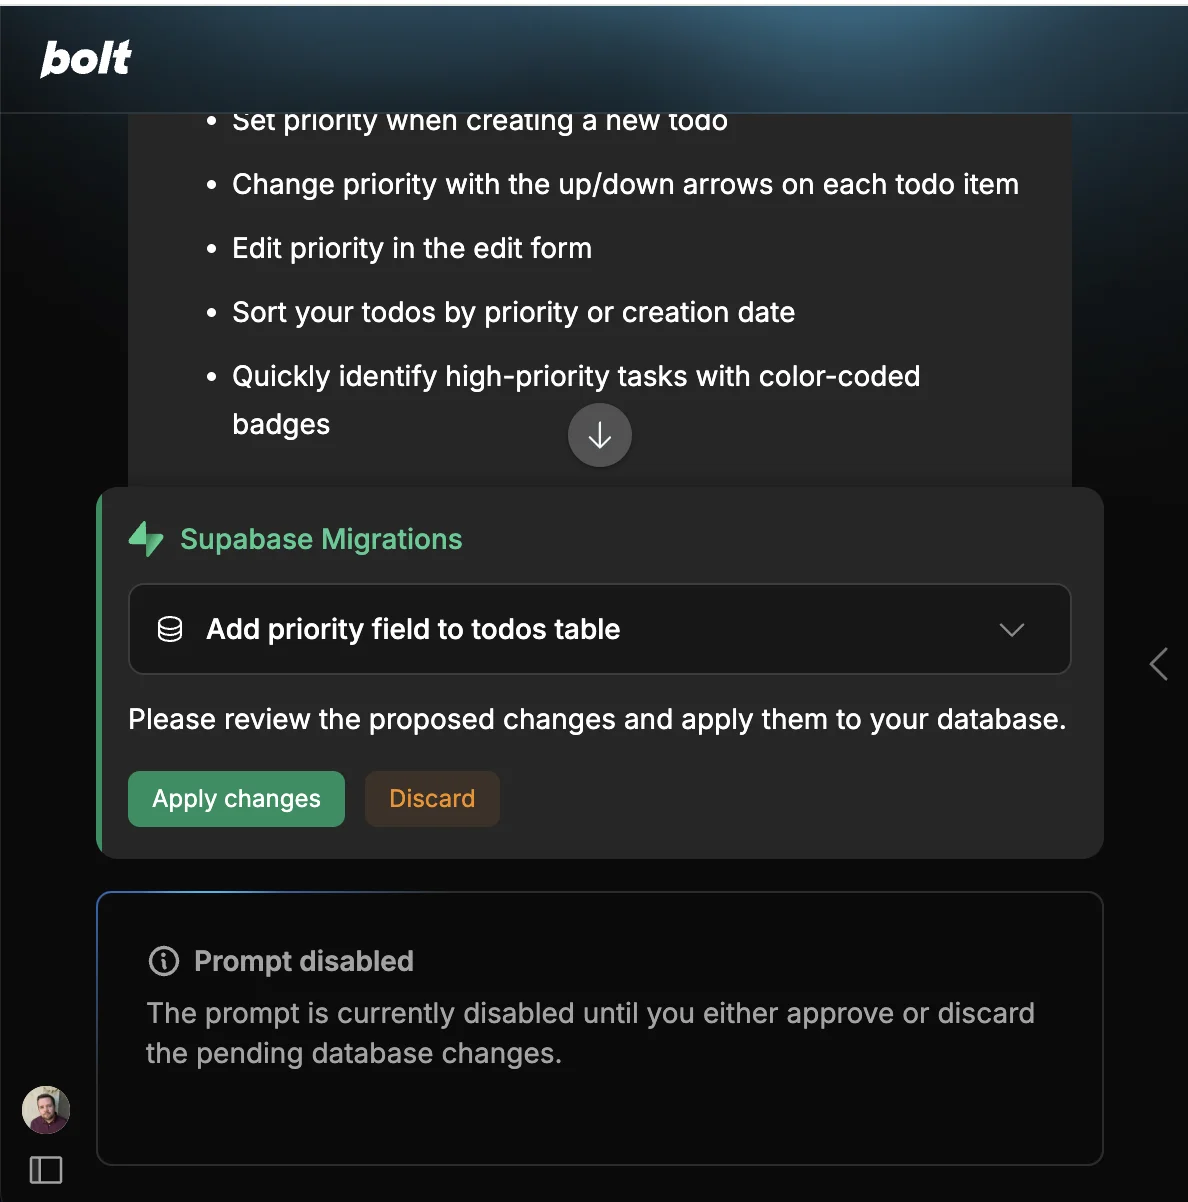
When it’s done, you’ll need to approve another Supabase migration as it’s made a change to the database structure to support the priority feature.
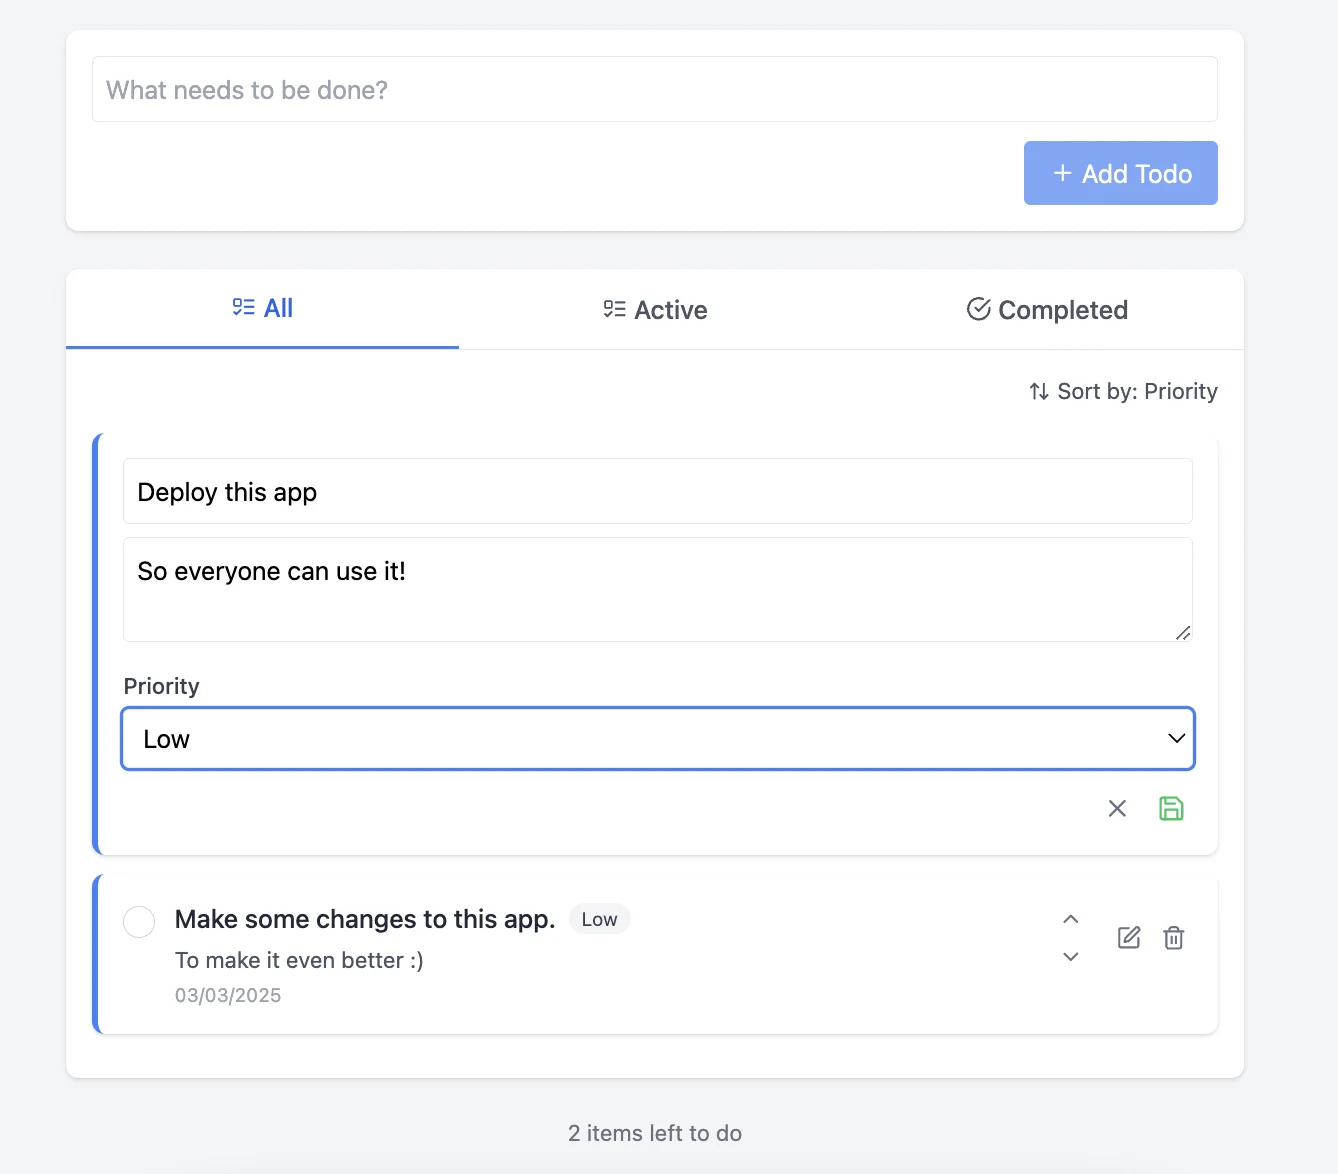
Reloading the preview tab, I now see options to edit the priority on tasks and re-order the list by priority. Job well done, Bolt!
Step 4: Deploy the app
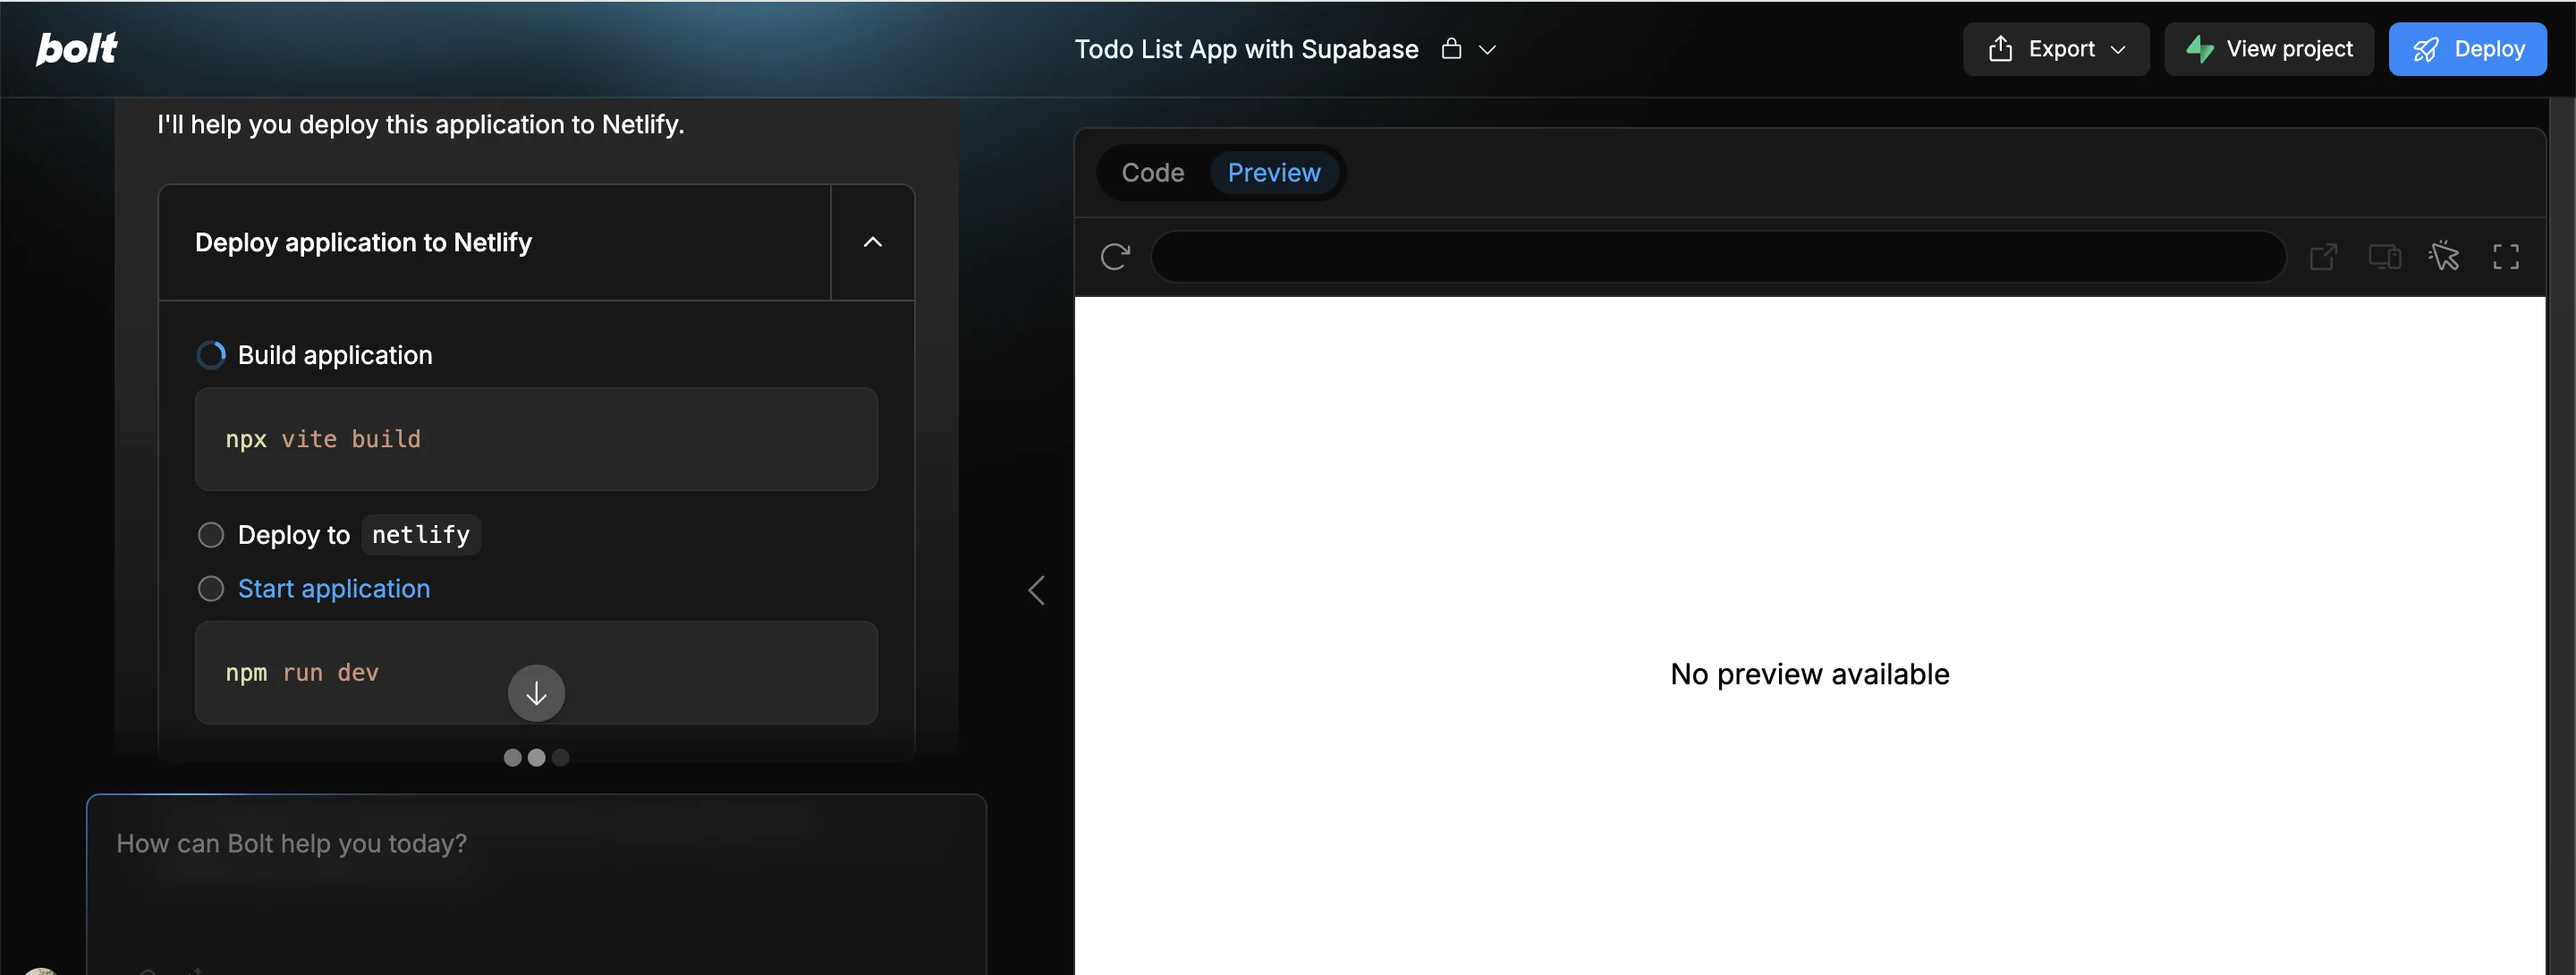
Our app’s preview URL only works when we’ve got Bolt open. Luckily, Bolt lets you deploy an app from right inside the editor.
Click the “Deploy” button in the top right.
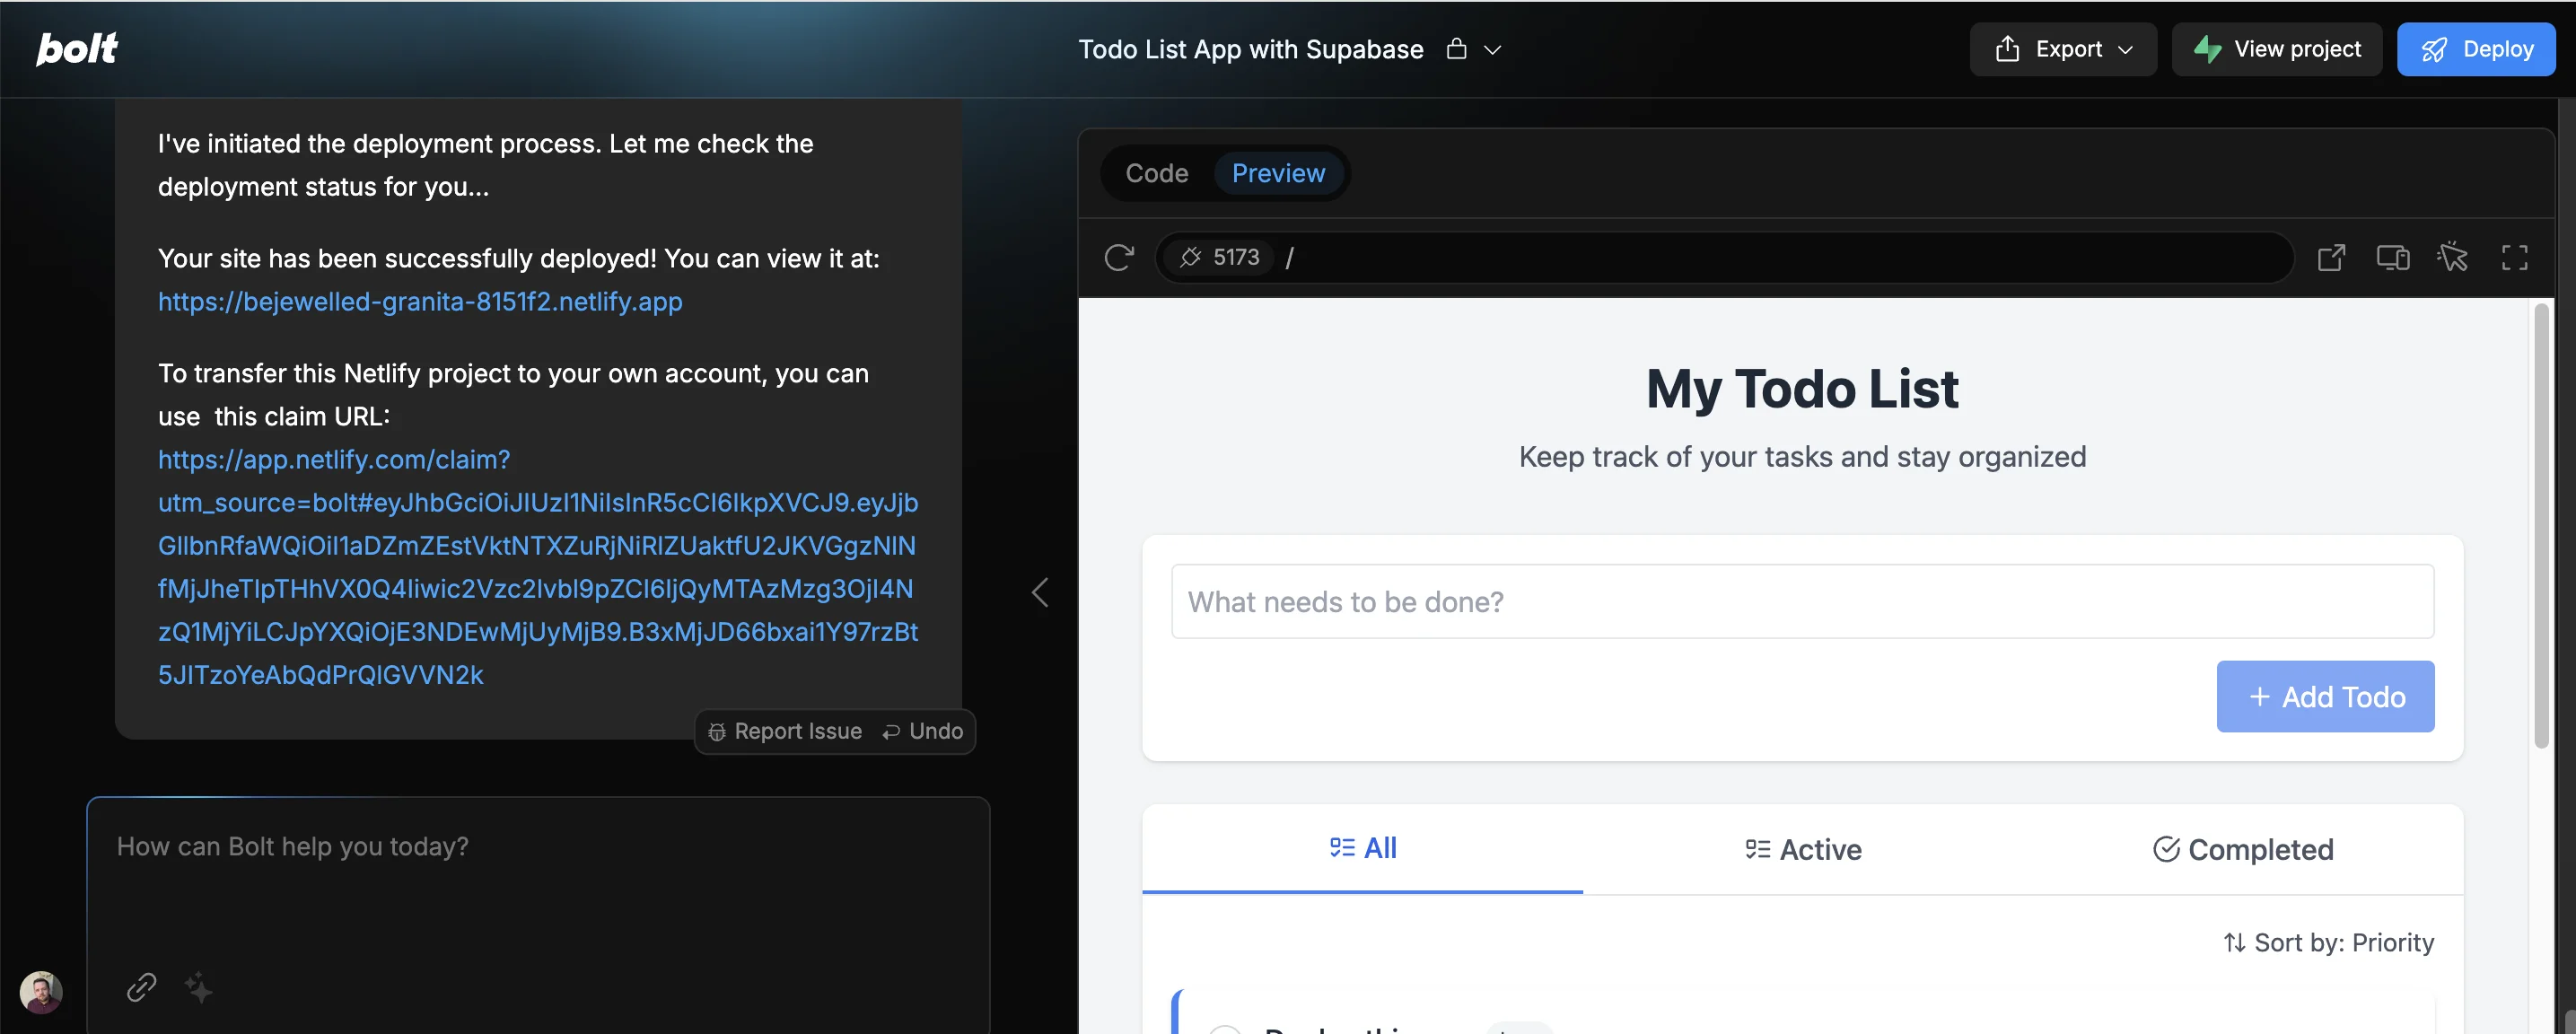
Immediately, Bolt will start deploying your app on Netlify (a hosting platform) and will keep you updated on progress via the chat (don’t worry if your app preview disappears for now).
Once it’s done, you’ll get a URL for your newly live app.
And, if you have your own Netlify account, you’ll get a URL you can use to transfer the project to your account. The main advantage of that would be the ability to give your app a custom domain.
This tutorial was created by Andrew.
While you’re here…
If you liked this, you should join us over in the Ben’s Bites community (a paid feature), to see the ingenious things people are doing with Bolt and other AI-powered app builders.
See you there!