Build an AI website explorer tool
Use AI to explore and summarise websites for newly released products.
2024-11-13
This tutorial will teach you how to build an AI-powered website explorer that can analyse, summarise and answer questions about websites, without ever needing to visit those sites.
It’s perfect for…
Numerous different applications, including:
- Competitive analysis: Quickly gather insights about competitors' products and pricing strategies without manual research.
- Market research: Efficiently analyse new products and trends in your industry (no more trawling through Product Hunt)
- Lead generation: Automatically collect information about potential clients or partners.
- Product management: Stay updated on feature sets and pricing models of similar products in the market.
- Investor research: Assess new startups and their offerings for potential investment opportunities.
Automating the website exploration and summarisation process can save hours of manual work and provide valuable insights for various business functions.
Steps we’ll follow
- Create an Airtable to house your research.
- Extract the HTML content of a website using PhantomJSCloud.
- Use ChatGPT to create a summary of the product.
- Additionally, find and summarise the pricing page on a website.
Let’s see how it’s done.
Step 1: Create an Airtable to house your research
For this tutorial, we’ll use Airtable to trigger our automation. However, you could easily use Google Sheets, Notion or Obsidian.
Go to Airtable and click to create a new Airtable from scratch.
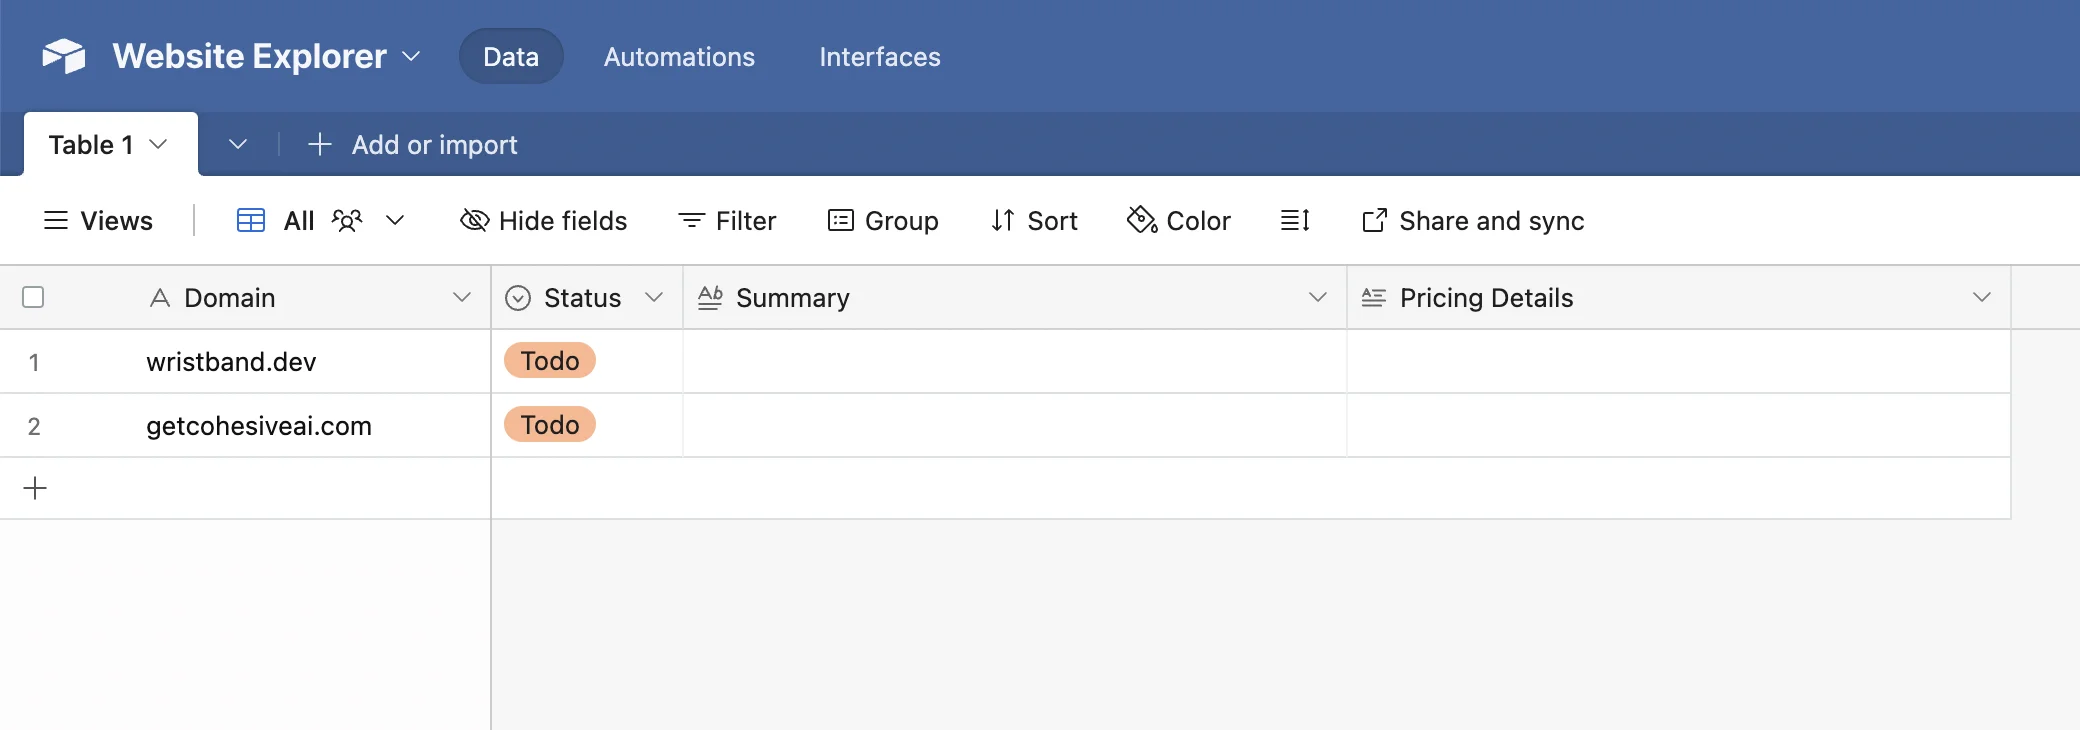
You can then customise it to your needs, but at a minimum, you need the following fields:
- Domain - The website you want the AI to research.
- Status - We’ll use a change of status to trigger our Zapier workflow.
- Summary - To be generated by AI.
- Price Details - To be generated by AI.
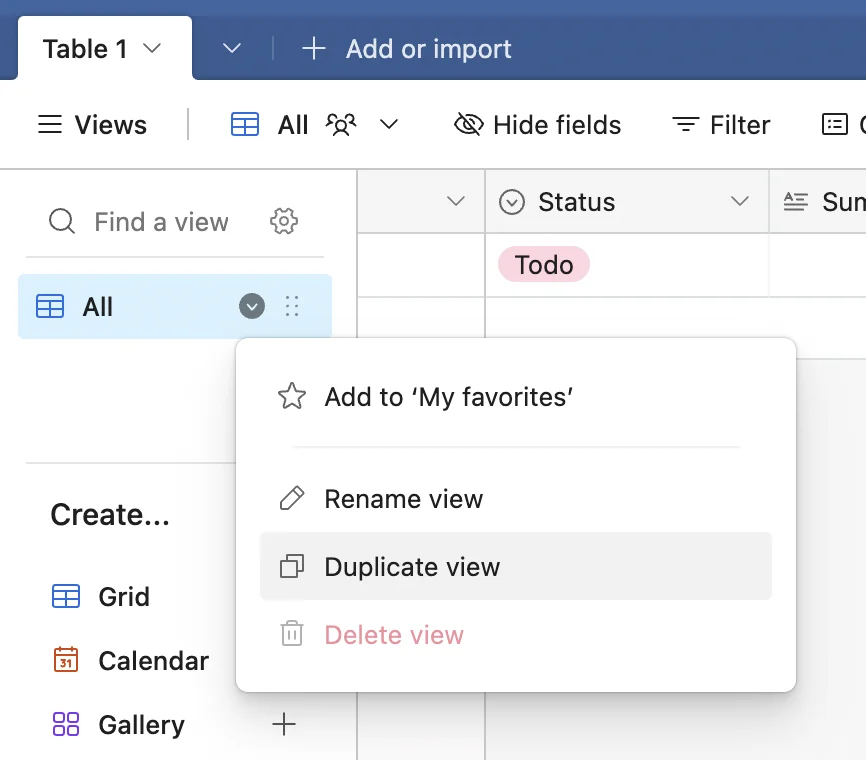
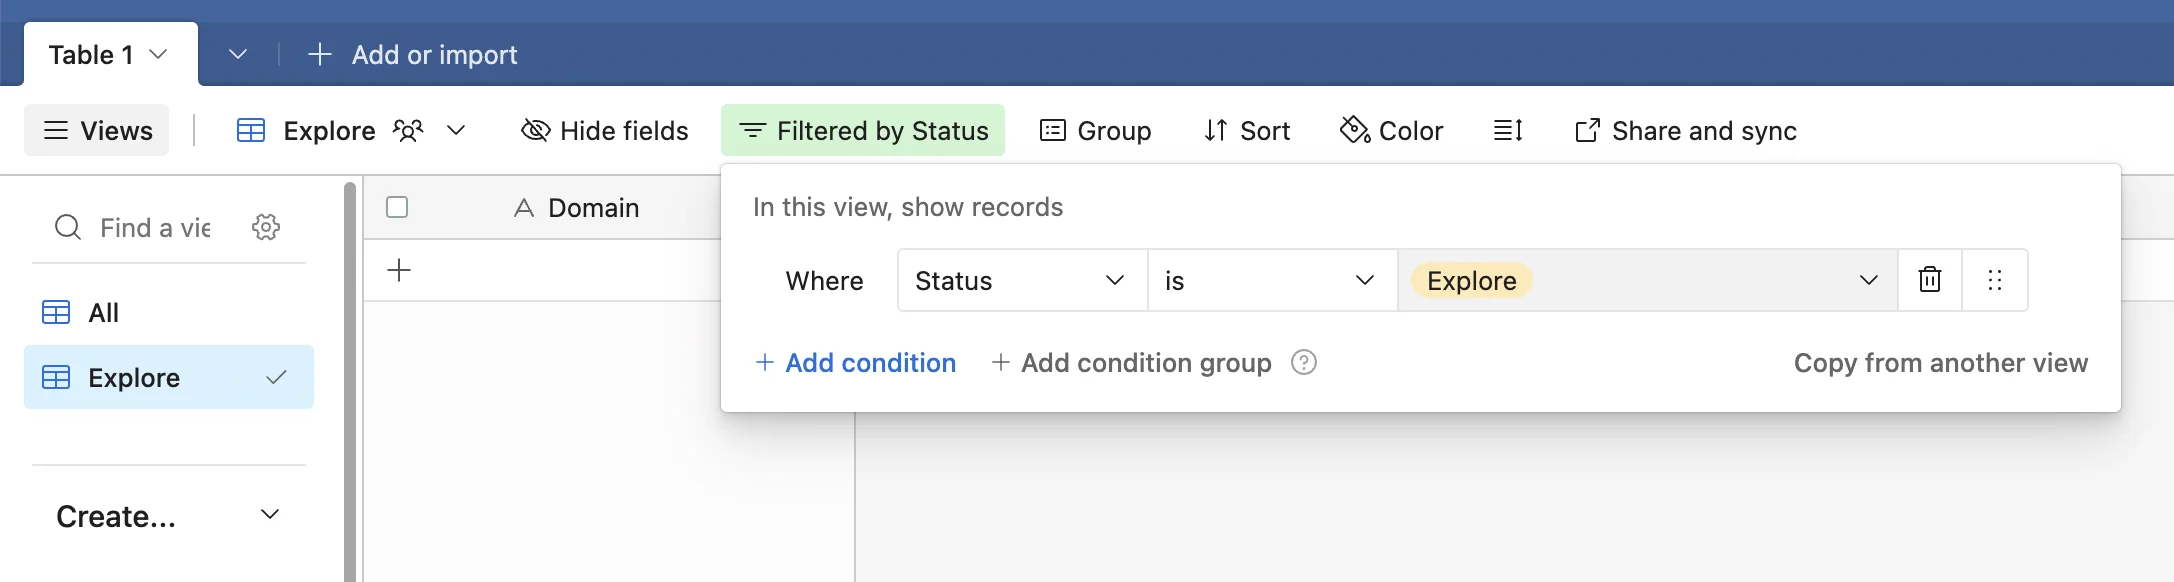
Next, under the “View” tab you should rename the current view to ‘All’ then right-click select “Duplicate view”, and call the new view ‘Explore’.
Apply a filter to this new view to only show records where ‘Status’ is ‘Explore’.
For testing, I found “wristband.dev” on Product Hunt. Add it to your table and set the status to ‘Explore’.
Step 2: Extract the HTML content of a website using PhantomJSCloud
Now we need to build the zap that will explore the website.
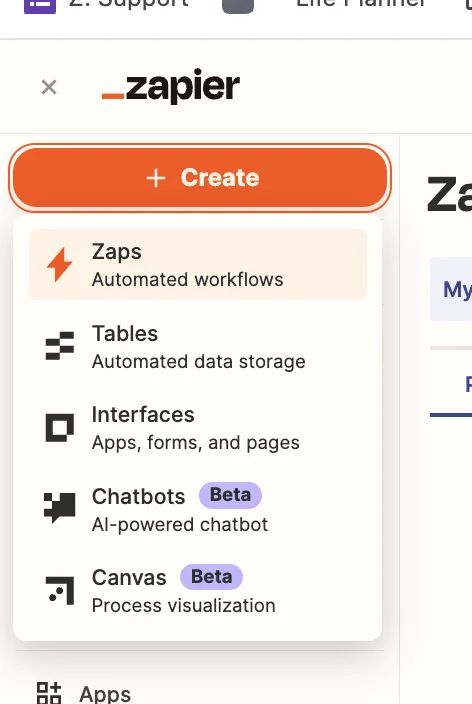
Head over to Zapier, then in the dashboard, in the top left, click the big orange “Create” button and select ‘Zaps’.
Inside the Zap editor, click on the box that says “Trigger” and select/search for ‘Airtable’ as the app. Then select ‘New Record’ as the event.
Configure the step as follows.
- Base
Select the Airtable base you created.
- Table
Select ‘Table 1’.
- Limit to View
Select the ‘Explore’ view you created. Records will only enter this view when you change the ‘Status’ field. Make sure to do that only after filling in the ‘Domain’ field.

Next, we need to parse the content from the website we want AI to explore.
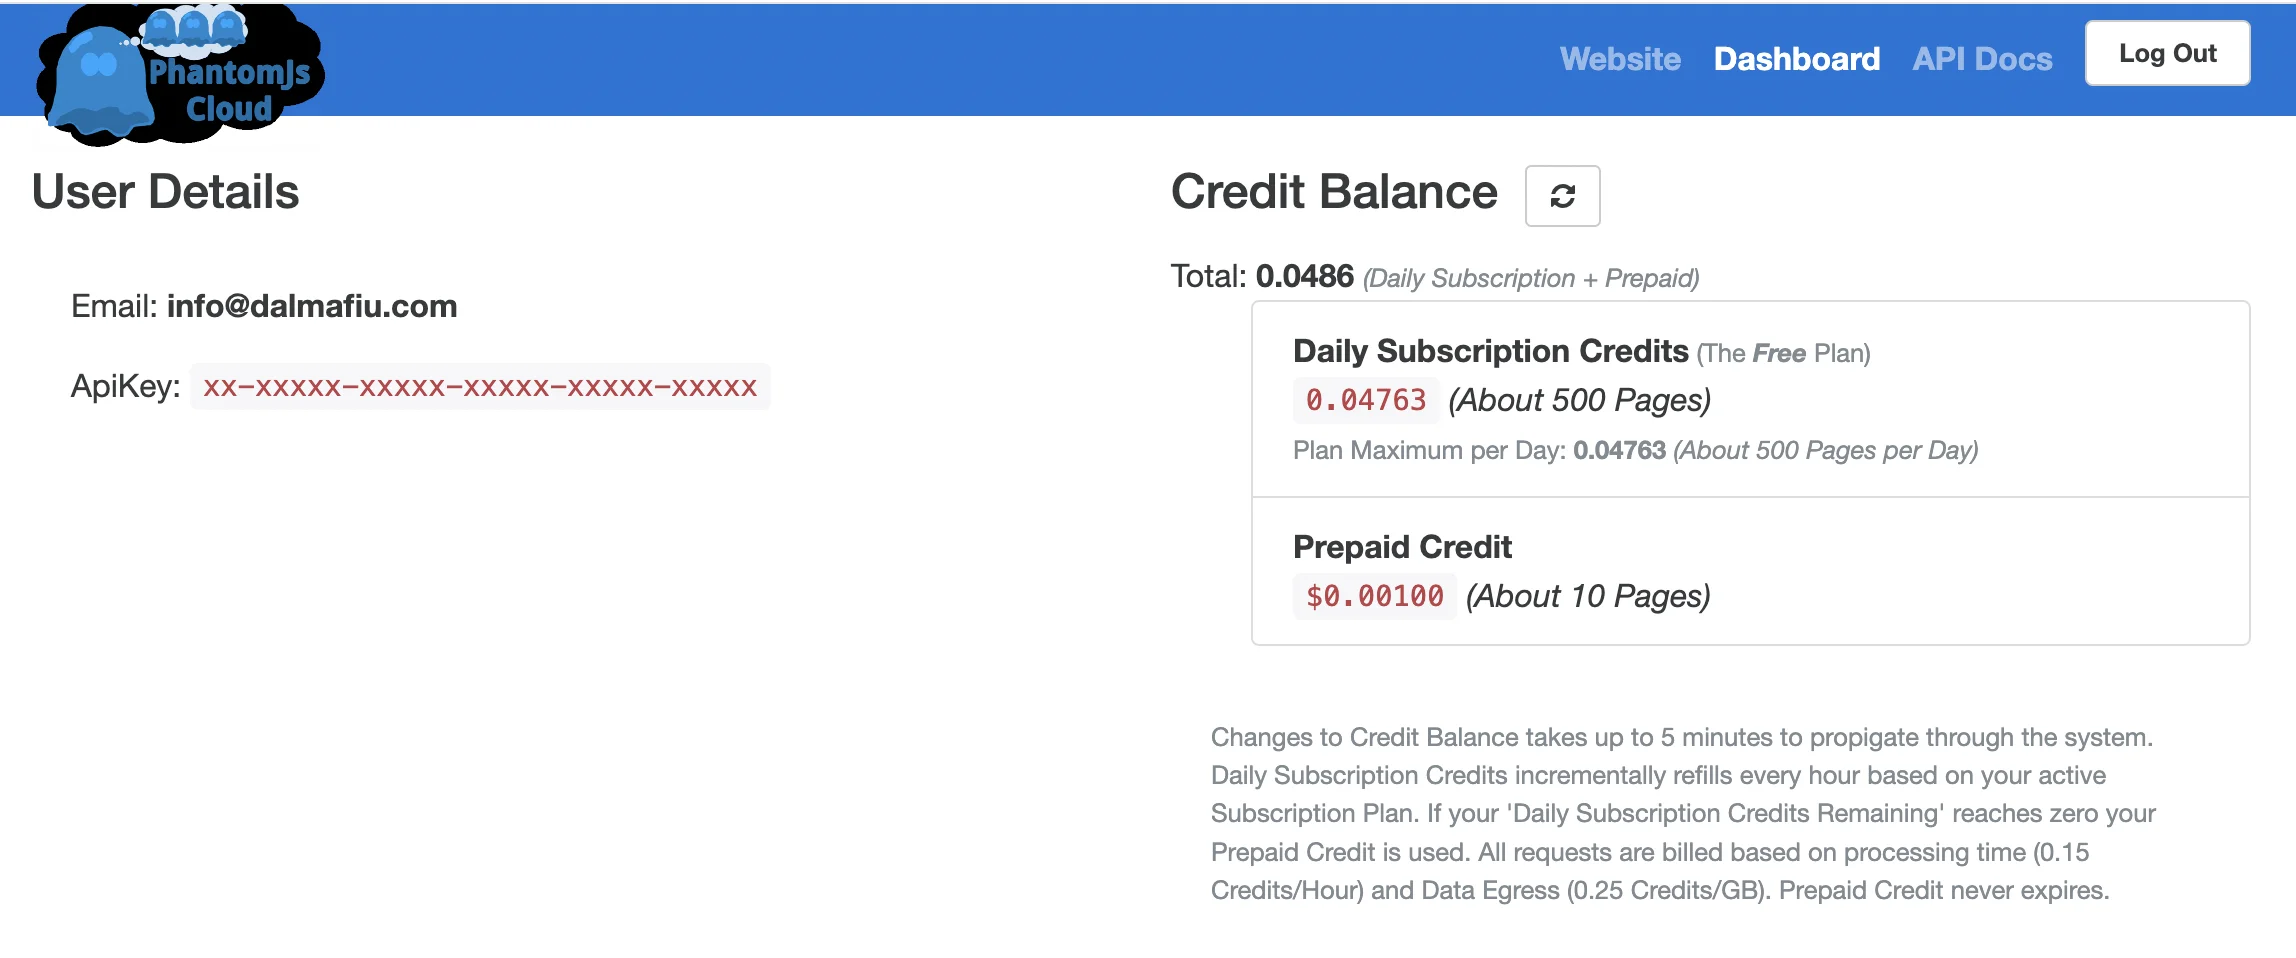
There are several tools available for this (including Zapier’s own built-in Web Parser integration), however, from experience one of the most robust options is PhantomJSCloud. They offer 500 parse credits per day.
Sign up, and on the dashboard, you’ll see your API key which we’ll need in the next part.
Unfortunately, PhantomJsCloud doesn’t have a Zapier integration, so we’re going to use a webhook step inside Zapier to send and receive data from the API.
In the zap editor, click the “Action” box. Select "Webhook by Zapier" as the app, and ‘Custom Request’ as the event.
Here are the fields you need to configure.
- Method
Select ‘POST’.
- URL
Input ‘https://phantomjscloud.com/api/browser/v2/xx-xxxxx-xxxxx-xxxxx-xxxxx-xxxxx/’ (replacing the string between the last two slashes with your API key).
- Data
Input the following code, replacing {{Domain}} with a mapping of the ‘Domain’ value from the trigger step. We’ve also added ‘https://’ before the mapped field to make sure it’s a valid URL.

Test the step, and you’ll see the HTML content from the website.
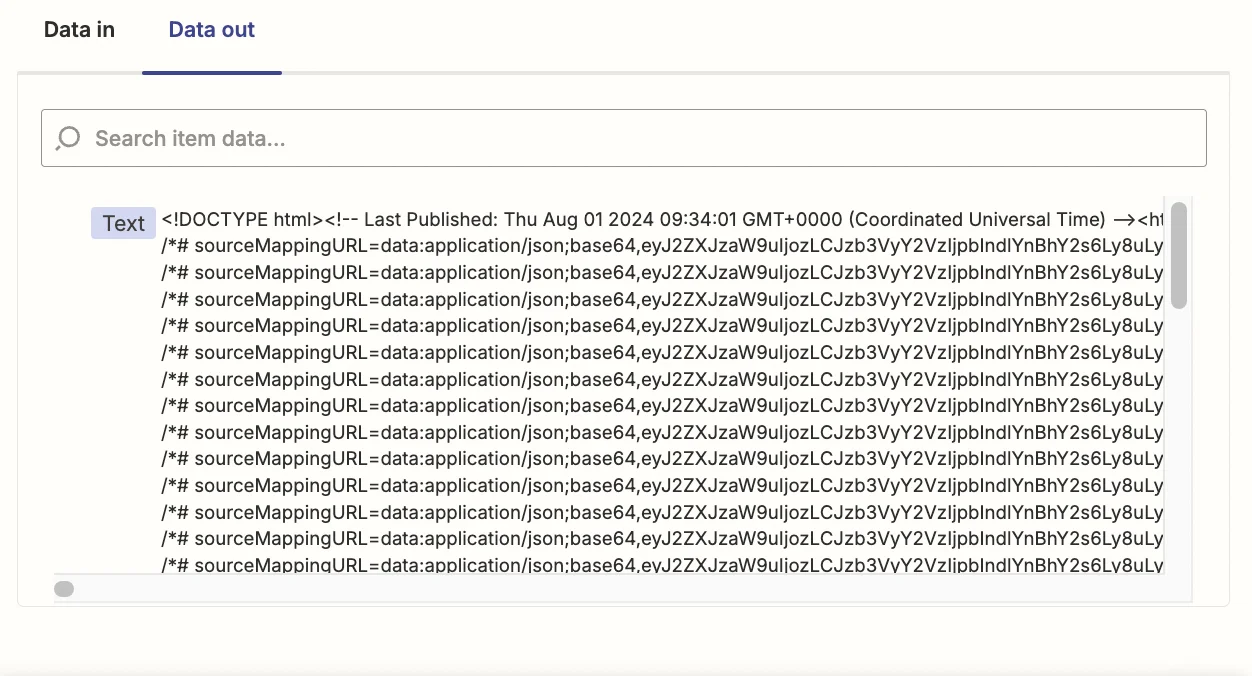
Although newer OpenAI models have large content windows, in many cases the HTML will still be too long.
Luckily most HTML deals with styling and other unseen parts of the website experience, so we can remove those parts and send a simplified version of the page’s HTML to OpenAI. We’ll do this by adding a Python code step to our zap.
Add a new action step to your zap with ‘Code by Zapier’ as the app and ‘Python’ as the event.
Here’s what you need to configure:
- Input Data
In the left column put ‘html’. In the right column map the ‘text’ value from the previous webhook step.

- Code
Use the following code. Don’t worry too much if you don’t understand what it does (bonus: paste it into ChatGPT and ask!).
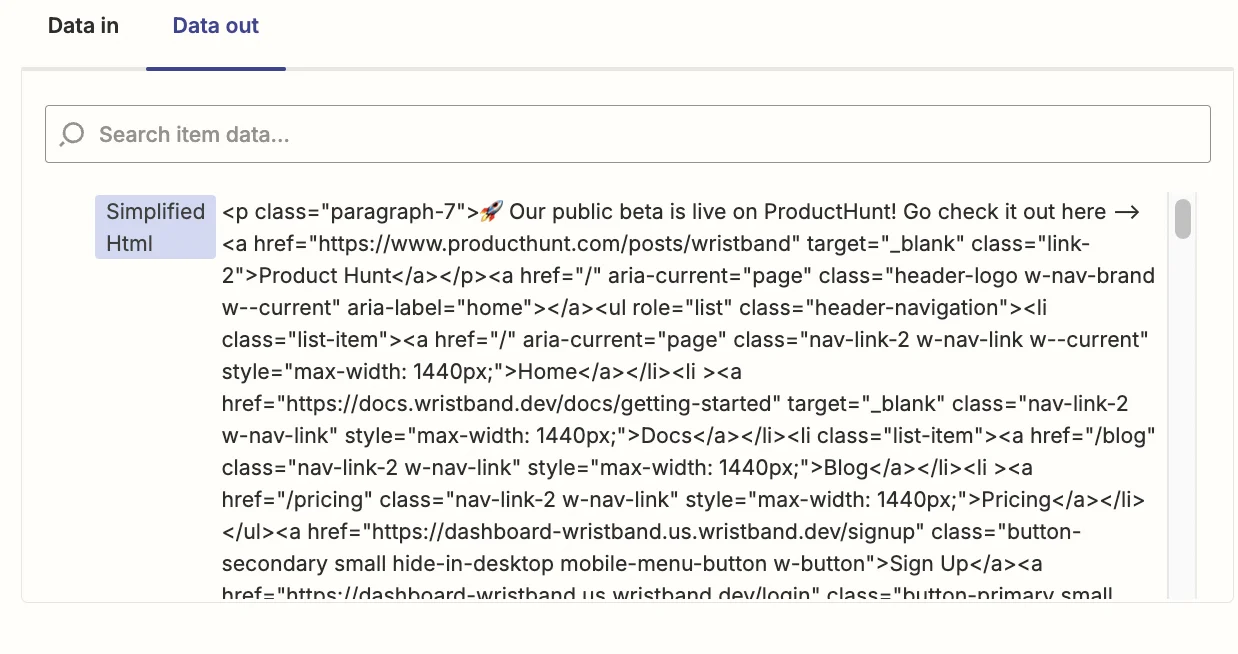
In short, this code step strips away all the HTML that’s not inside <h1>, <h2>, <h3>, <p>, <a>, <ul> and <li> tags. These cover titles, subtitles, text blocks, links and bullet point lists which is the content that matters for our AI summary.
Test the zap step and you’ll see the simplified HTML.
Step 3: Use ChatGPT to create a summary of the product
Now we’re ready for our AI to summarise the website.
Add another step to your zap, select/search for “ChatGPT” as the app and then select ‘Conversation’ as the event.
Here are the important fields when configuring this step.
- User Message
Here we map the ‘Domain’ value from the Airtable trigger step and the ‘Simplified HTML’ value from the previous code step.

- Model
We’re using ‘gpt-4o-mini’ as it’s OpenAI’s cheapest model and has a large 128k context window, which we’ll need for all the HTML it’s going to process.

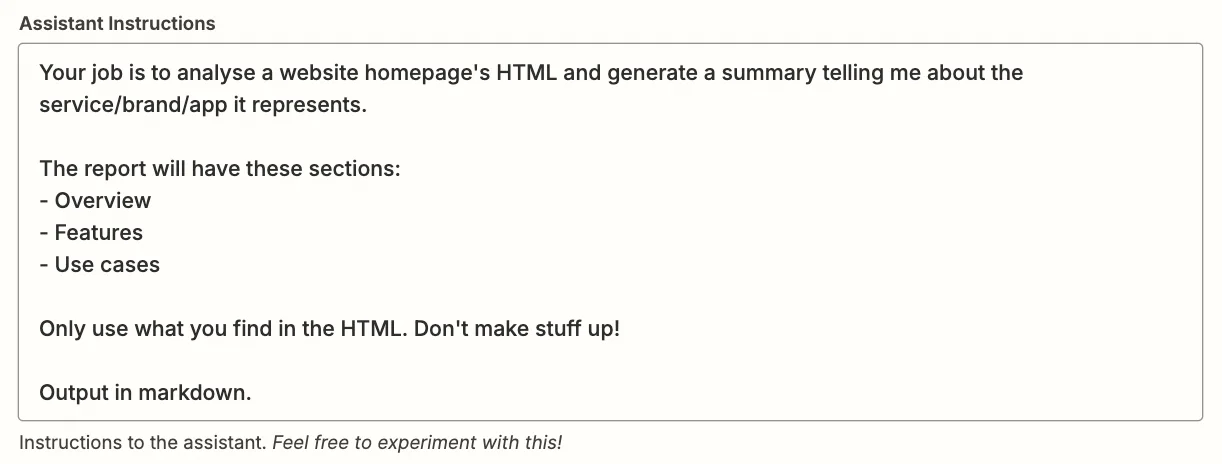
- Assistant Instructions
You can experiment with the prompt here. But something like this should work well:
Your job is to analyse a website homepage's HTML and generate a summary telling me about the service/brand/app it represents.
The report will have these sections:
1. Overview
2. Features
3. Use cases
Only use what you find in the HTML. Don't make stuff up!
Output in markdown.
- Max Tokens
Any number above 1,000 should be sufficient.

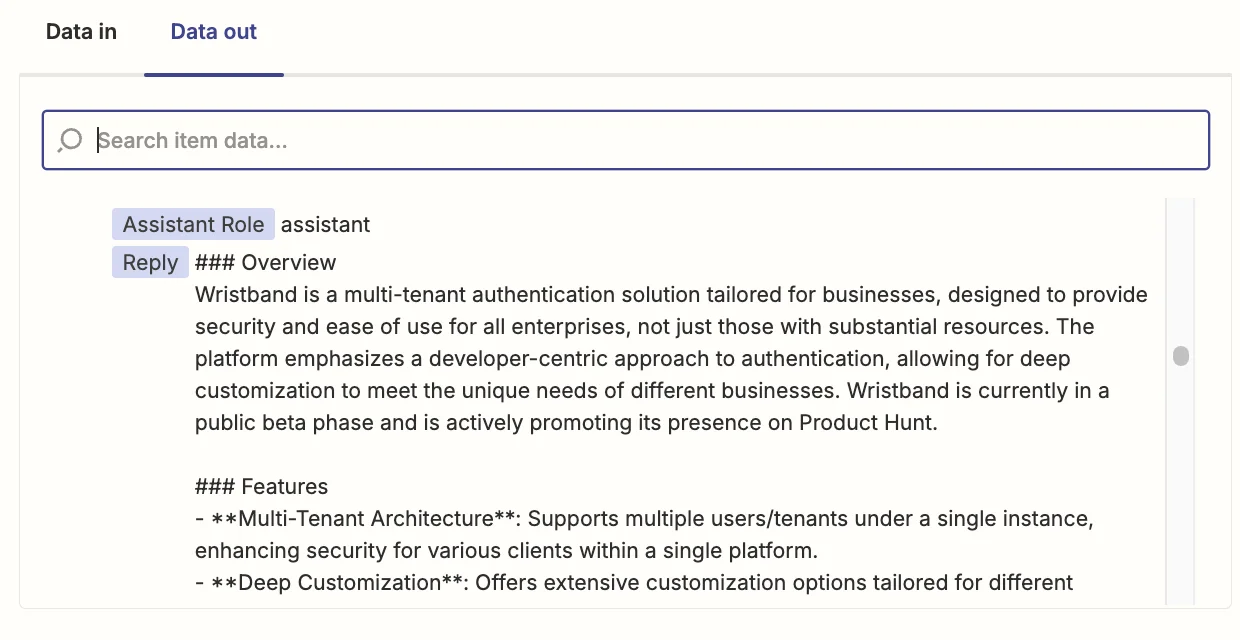
Test the zap step and you’ll see your newly generated summary.
Now we’ll add it back to the Airtable.
Add a new step to your zap with “Airtable” as the app and ‘Update Record’ as the event.
Select the same base and table as you did in the trigger and for the “Record” field, map the ‘ID’ value from the trigger step.

In the “Summary” field, map the ‘Reply’ value from the ChatGPT step.

Test the zap step and you’ll see your summary now in Airtable.
.webp)
Step 4: Additionally, find and summarise the pricing page on a website
At this point, we could call it done, but I’d like to see if we can find pricing information for a product and add that to Airtable.
The main issue is that the pricing information could be on the home page we’ve already parsed, or it could be on a separate linked page. Let’s use AI to find out.
Add another step to your zap, with “ChatGPT” as the app and then select ‘Conversation’ as the event.
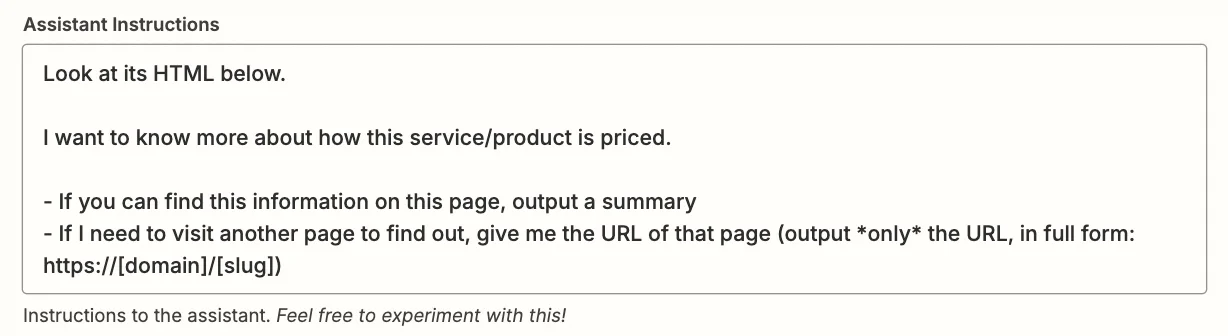
Configure all the steps the same way you did previously, except for “Assistant Instructions” which should be:
Look at its HTML below.
I want to know more about how this service/product is priced.
1. If you can find this information on this page, output a summary
2. If I need to visit another page to find out, give me the URL of that page (output only the URL, in full form: https://[domain]/[slug])
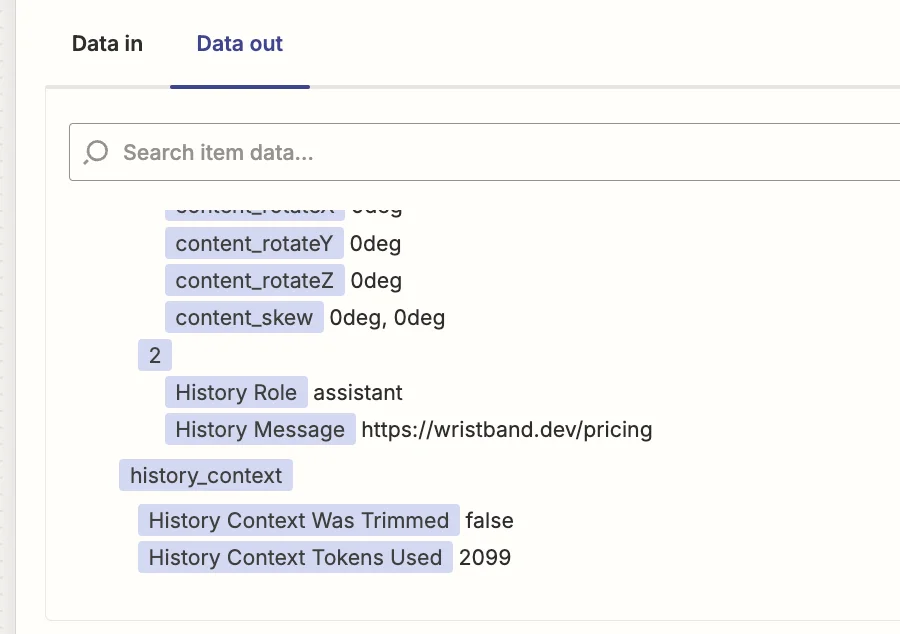
Looking at wristband.dev we know there is a separate pricing page, so we’ll be expecting the output to be a URL.
Test the Zap step and indeed it is.
At this stage, we need to split the zap into paths.
In the previous step, had pricing information been on the home page, then ChatGPT would have given us the page’s pricing details rather than a URL. When that happens, we want Zapier to add the details to Airtable like we did the summary.
Create a branched zap step
Add another step to your zap, with “Paths by Zapier” as the app. Two path branches will appear. For now, we’ll focus on ‘Path B’.
Click on the “Path conditions” box and then add a single rule. On the left, you should select the ‘Reply’ value from the second ChatGPT step. In the middle you should select ‘Does not start with’ and on the right, you should type ‘http://’.
Now, this branch of the zap will only run if ChatGPT does not return a separate pricing page URL.
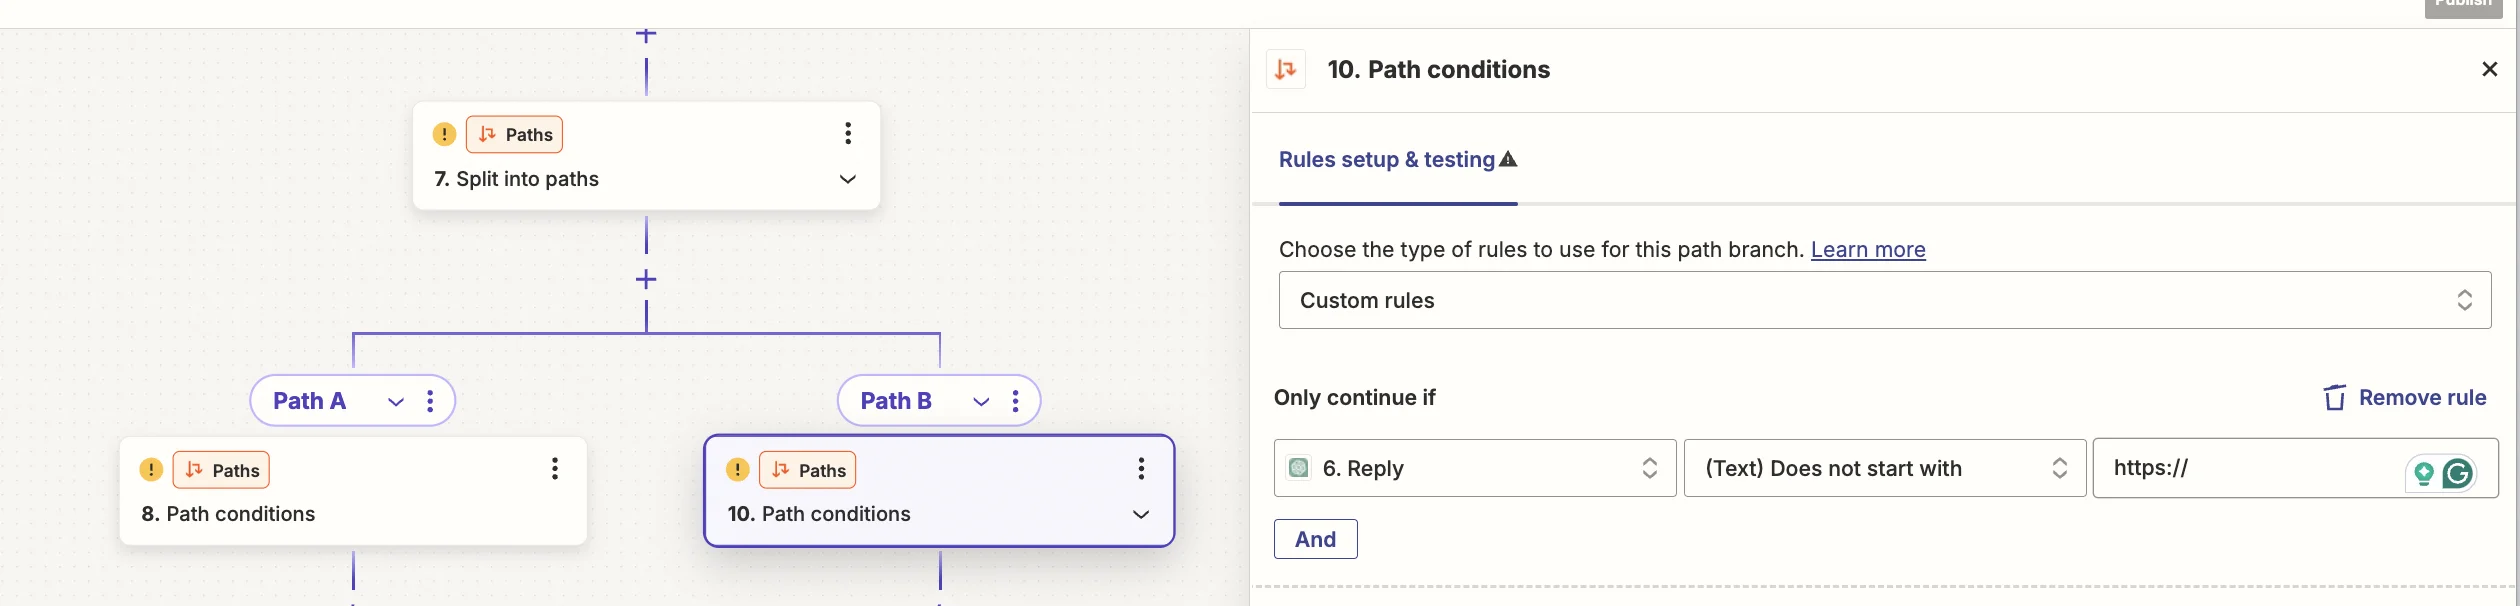
Add another step to this branch, an “Airtable - Update Record” step like before. Map the fields the same way, except for the “Pricing Details” field where you should map the ‘Reply’ value from the second ChatGPT step.
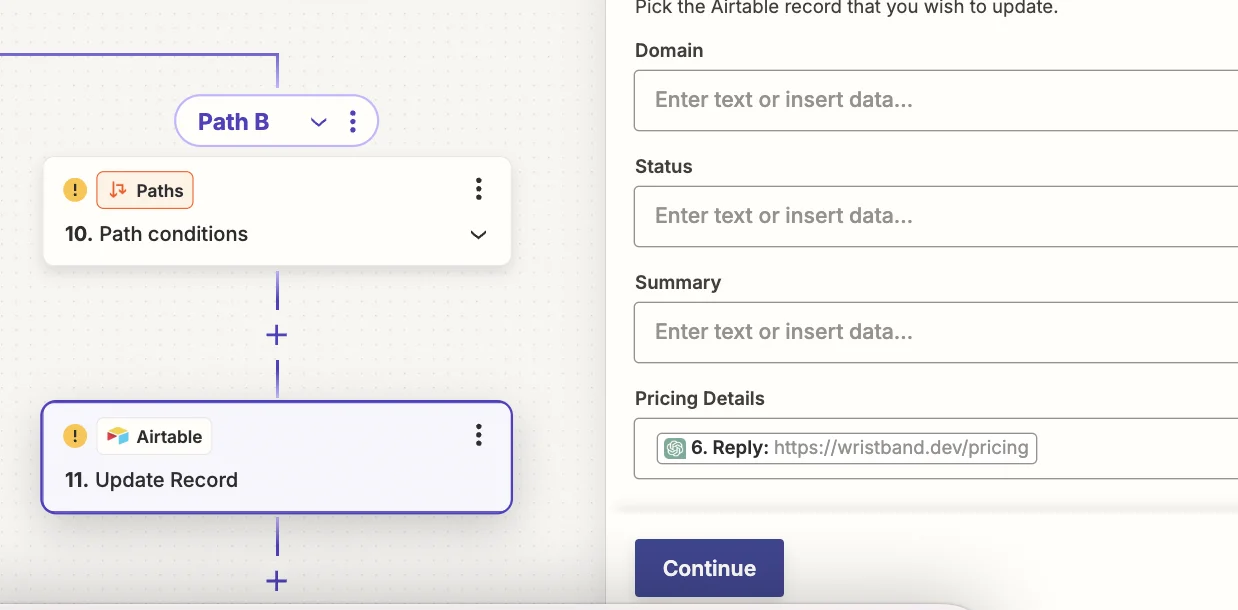
Test this step, and you’ll see the pricing details added to Airtable. However, we won’t do that as the ‘Reply’ value is currently a URL.
Now we’ll configure Path A, which handles when pricing in on a separate page.
Here, you want the path conditions to be opposite, so this branch runs when the second ChatGPT step does return a URL.

From here, the setup is quite straightforward. We just repeat the same steps from the start of the zap.
First, we parse the pricing page URL with PhantomJSCloud, and then we simplify the HTML with a code step. Finally, we send that HTML to ChatGPT and ask it to extract pricing details which we then add to Airtable.
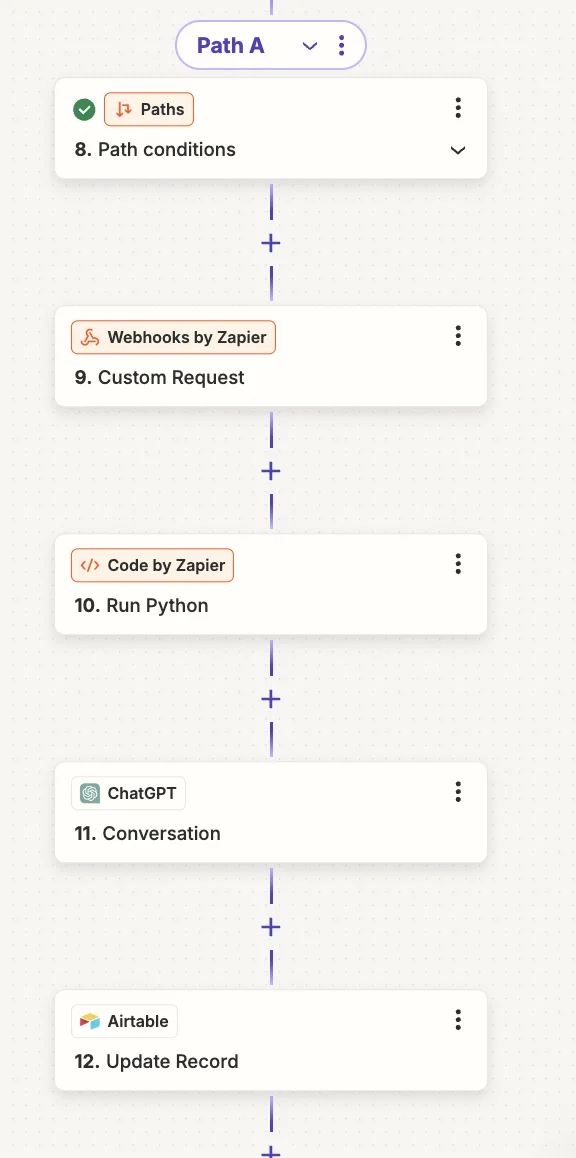
All these steps will be configured mostly the same, with these exceptions:
- In the PhantomJSCloud webhook step, the ‘Reply’ value from the second ChatGPT step should be mapped

- In the following code step, you’ll then map the output from the webhook step.

- In the ChatGPT step, in the “User Message” field, you should map the ‘Simplified Html’ value from the code step.

- Use the following prompt in the “Assistant Instructions” field:
Your job is to analyse a website pricing page's HTML and generate a summary of the pricing for the service/brand/app it represents.

- Finally, map the ‘Reply’ value from the ChatGPT step into the “Pricing Details” field in Airtable, as you did with the other path.

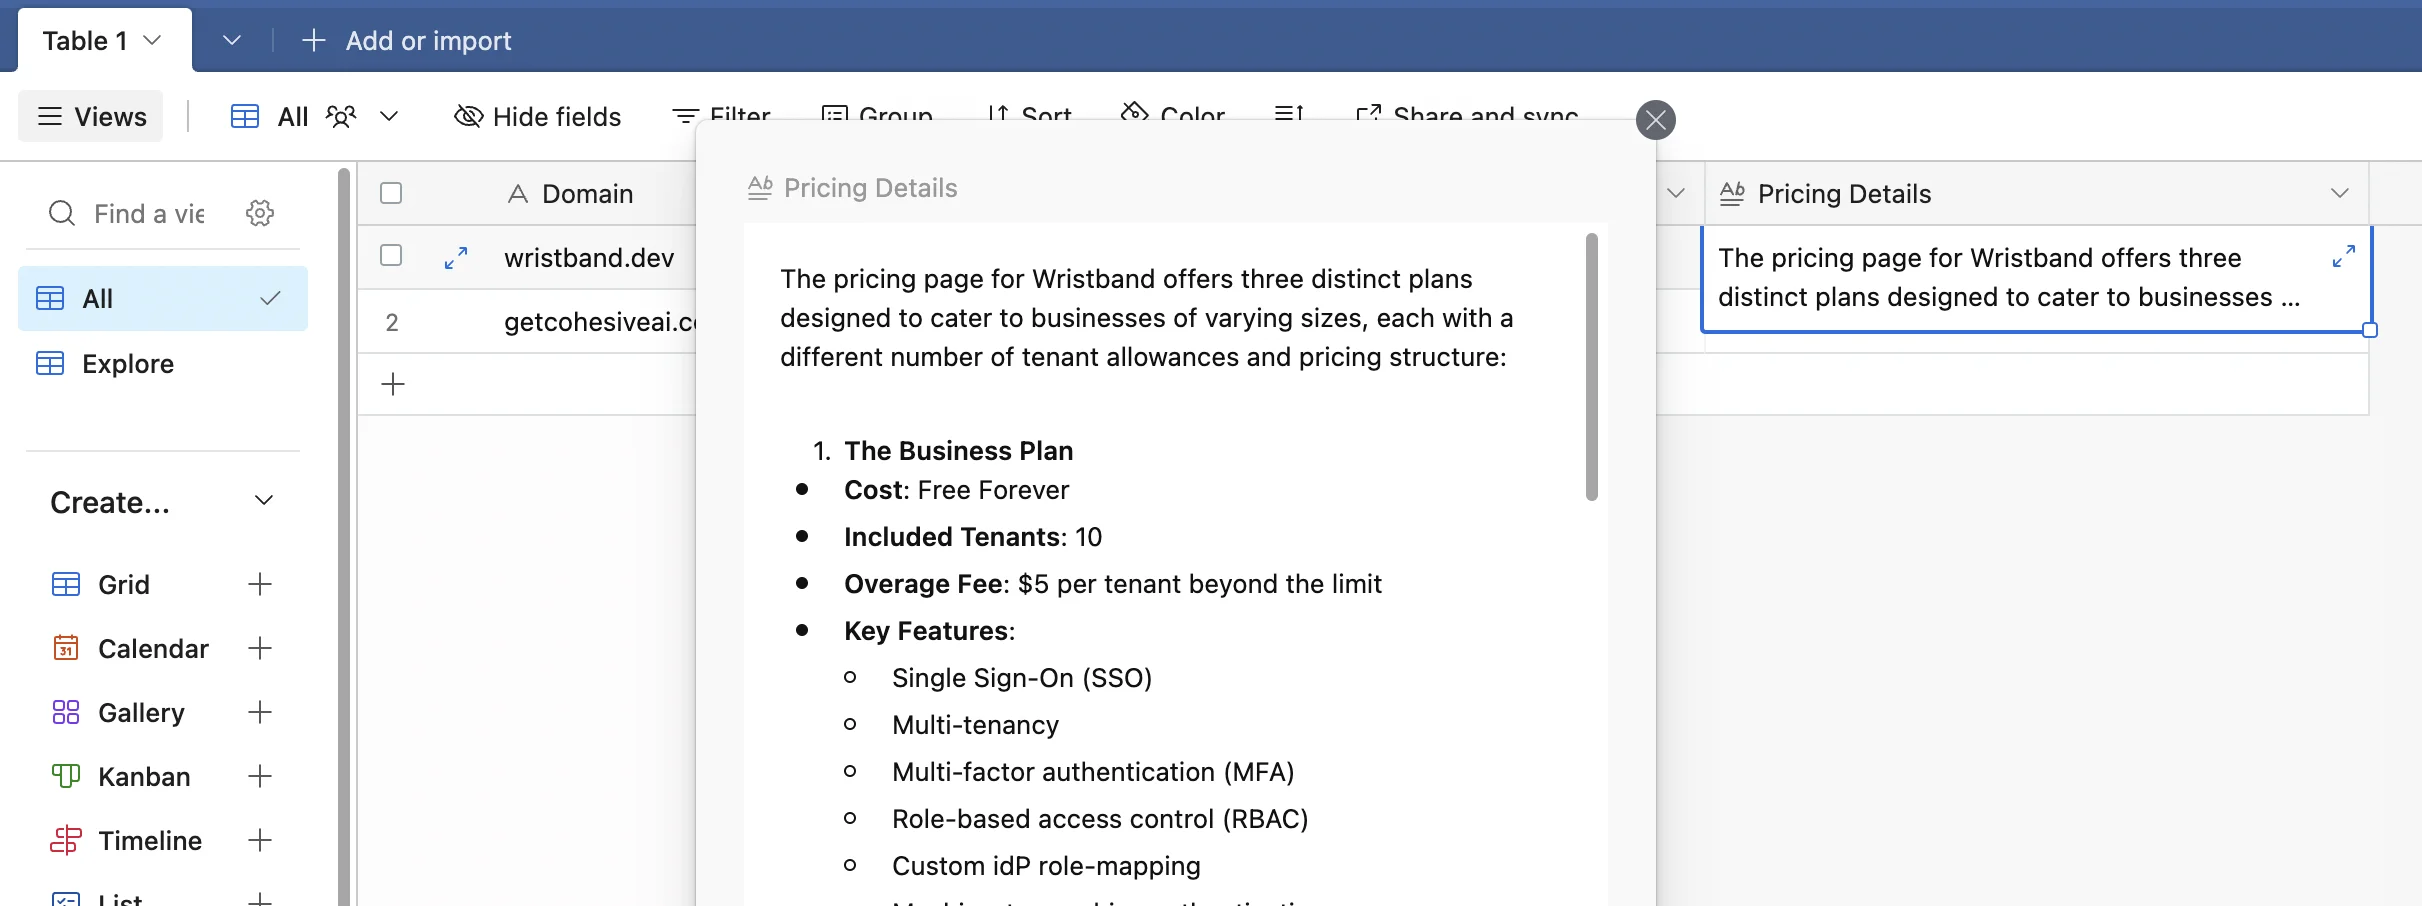
Test the Airtable step, and you’ll see your Airtable record now includes the price details.
This tutorial was created by Andrew.