Build an app with AI coding tool Bolt
A walkthrough on how to build a waitlist signup web app with login functionality using Bolt.
2025-02-26
Bolt has taken the tech world by storm in recent months thanks to the launch of its new idea-to-app AI coding tool.
A lack of coding ability is no longer a barrier to you building apps. You just need to describe your idea in plain English, then AI does the coding for you while you lead the process by chat.
In this tutorial, we’ll put Bolt to the test and build a waitlist signup landing page, complete with a dashboard we can access to see submissions.
You’ll learn how to:
- Start building an app in Bolt
- Add a database and authentication to the app
- Add signup/login functionality
- Deploy the app live
You’ll need:
Let’s see how it’s done.
Step 1: Start building an app in Bolt
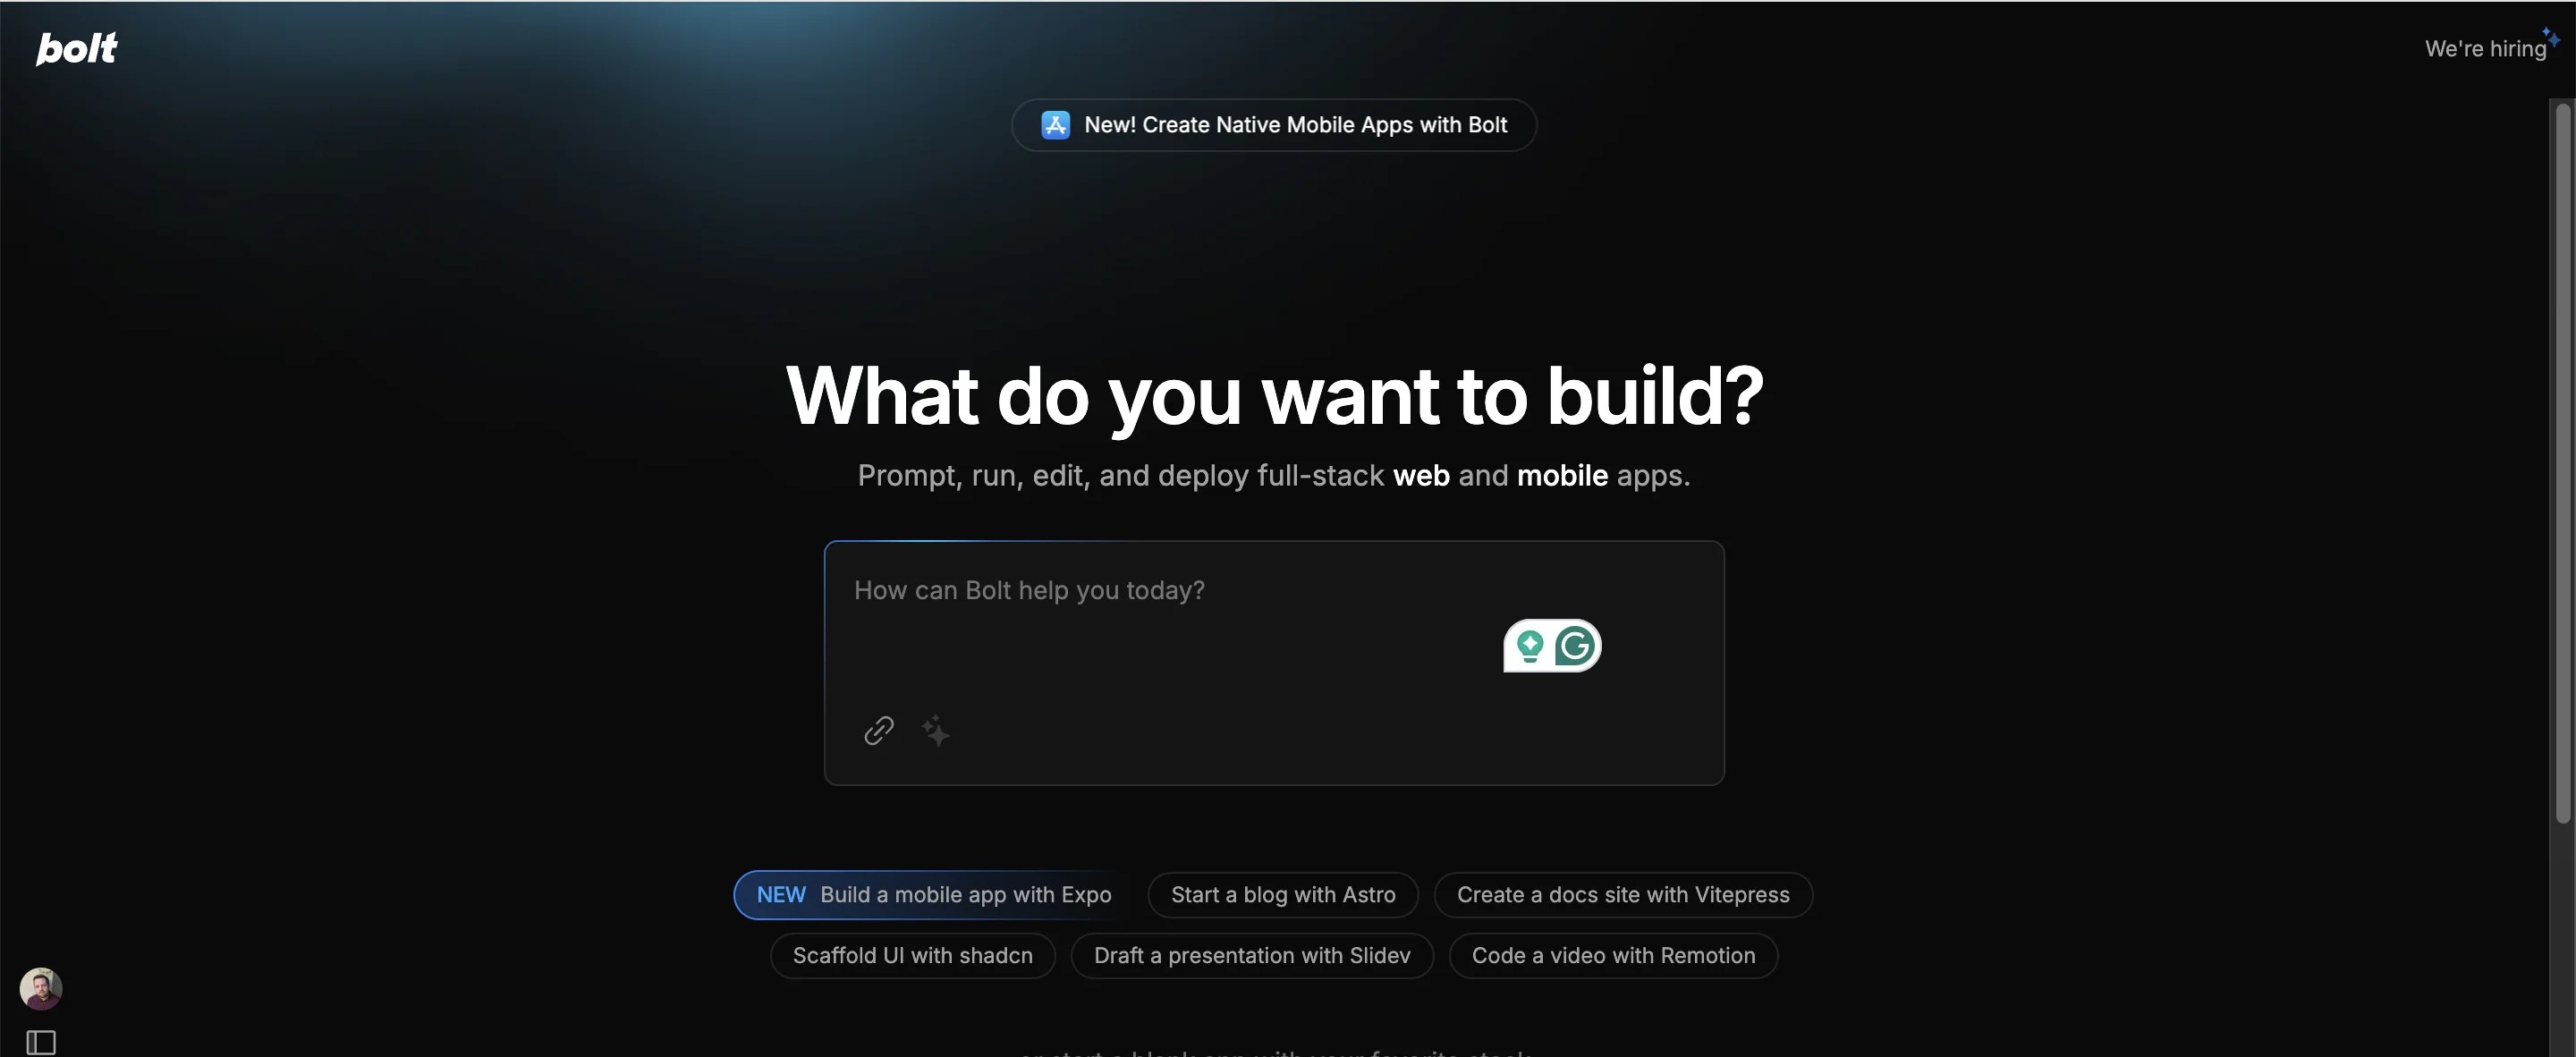
Head over to Bolt and sign up if you haven’t already. Landing on the homepage, you’ll see a prompt input. Tthere are some preset ideas you can use if you don’t yet have your own idea.
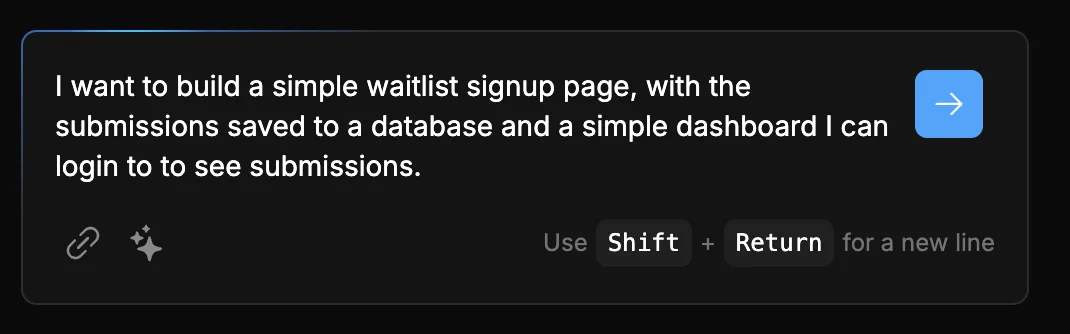
To build our waitlist signup app, I’m deliberately going with a pretty simple prompt so I can see how the AI handles it:
I want to build a simple waitlist signup page, with the submissions saved to a database and a simple dashboard I can login to to see submissions.
Enter your prompt then press the blue arrow button when you’re ready to start.
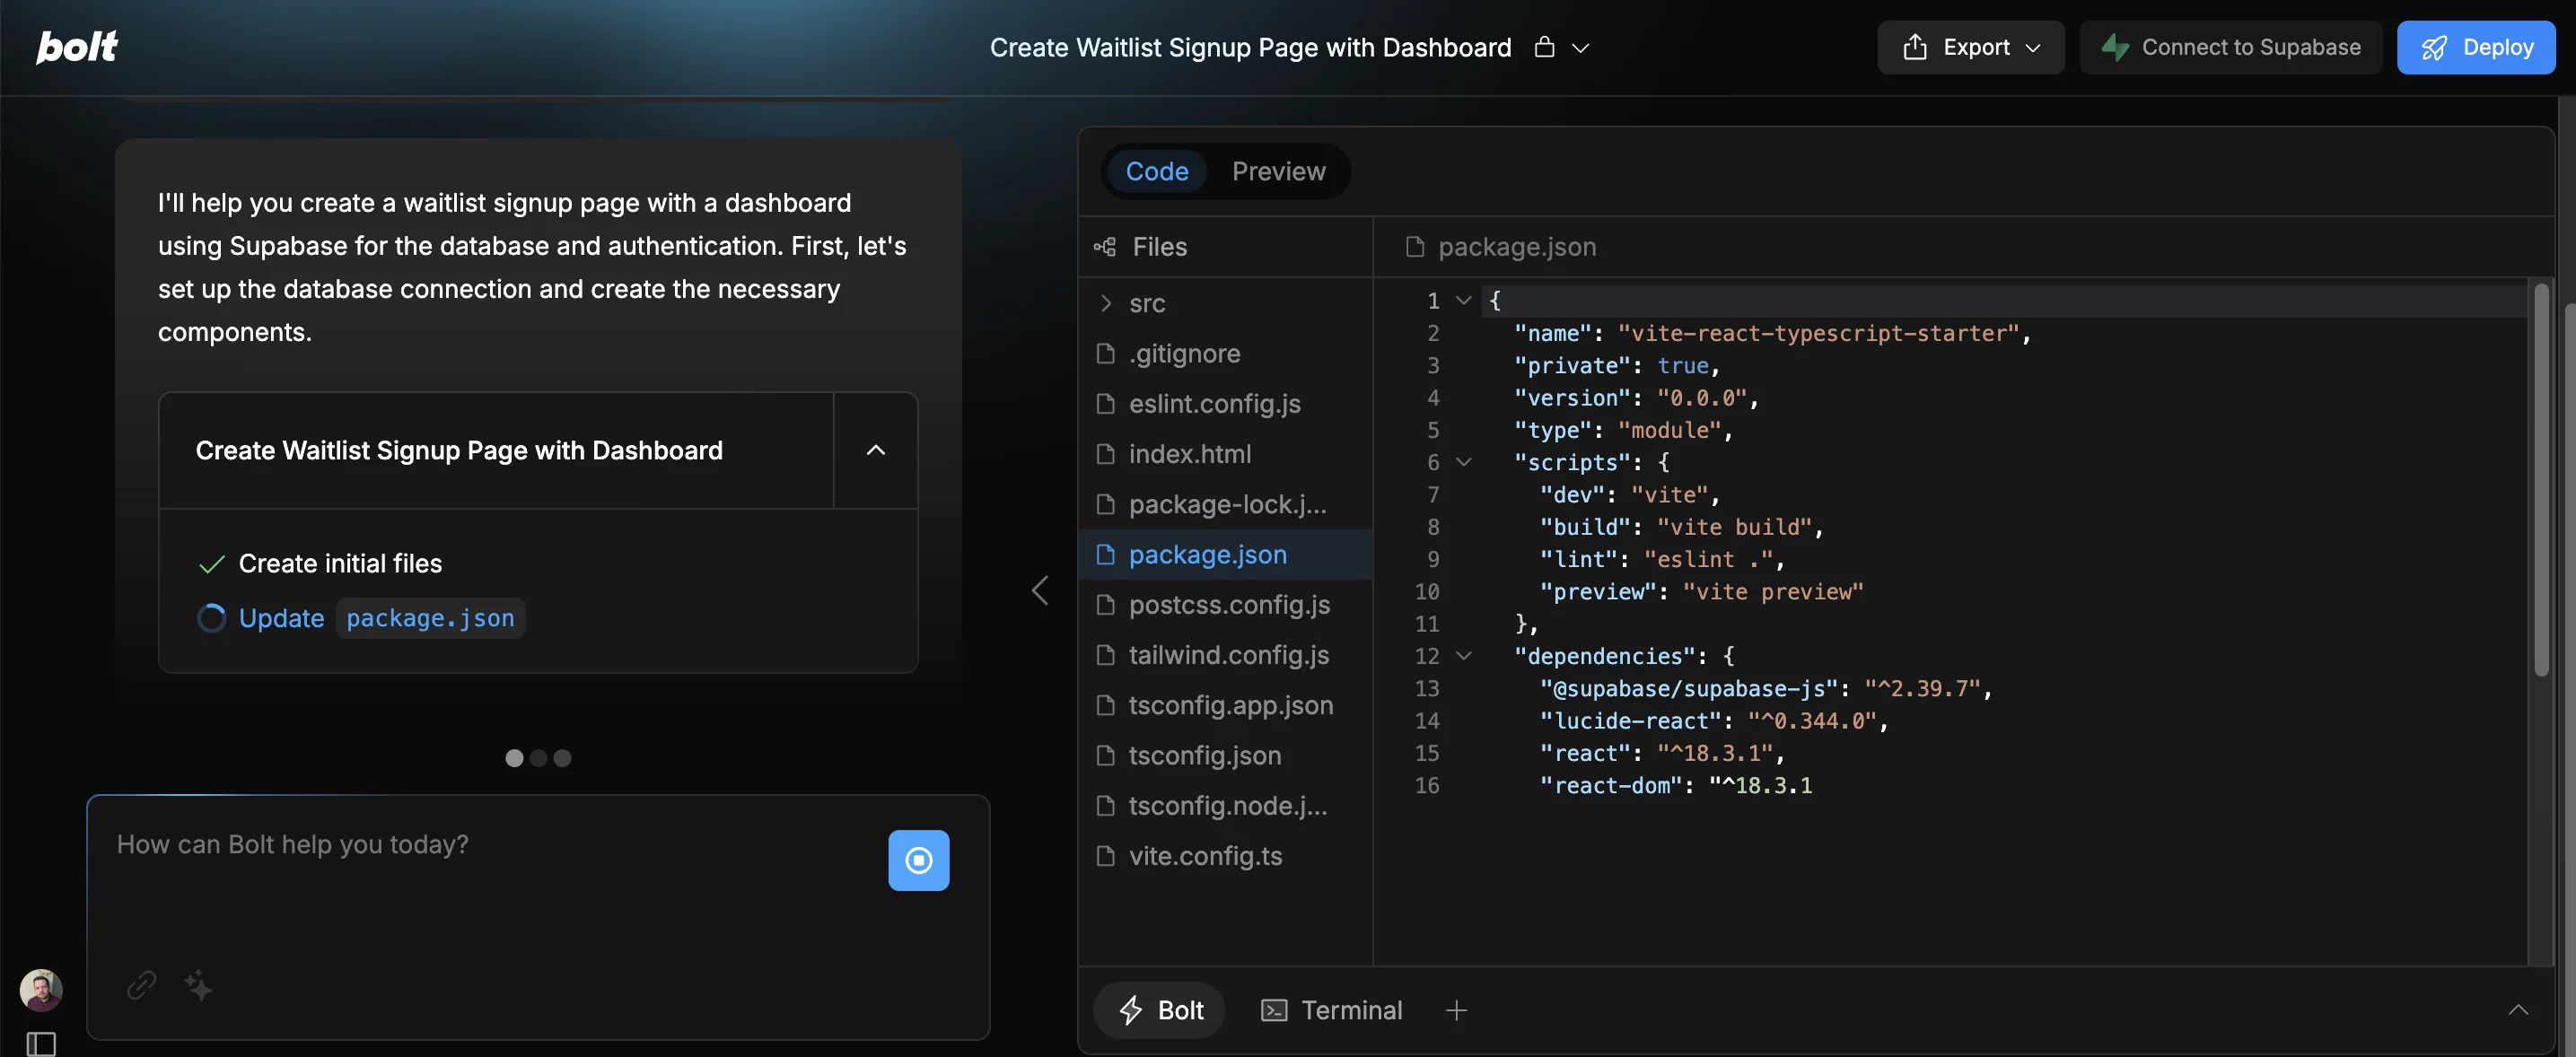
After a few seconds, the screen will split. The chat stays on the left giving a top-level overview of what’s being done. On the right, a preview panel shows you the code being written in real time.
Bolt will then work through some steps building your app over the course of a minute or two.
Step 2: Add a database and authentication to the app
At some point in the build process, you’ll see this popup in the chat:

Bolt is building the visual representation of a waitlist signup app—but with no database to store submissions, it’ll be pretty useless.
Supabase is a database platform with a generous free tier, and they have a baked in integration with Bolt which makes things easy.
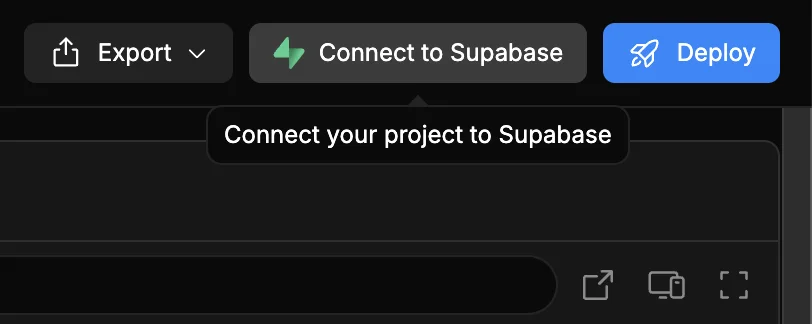
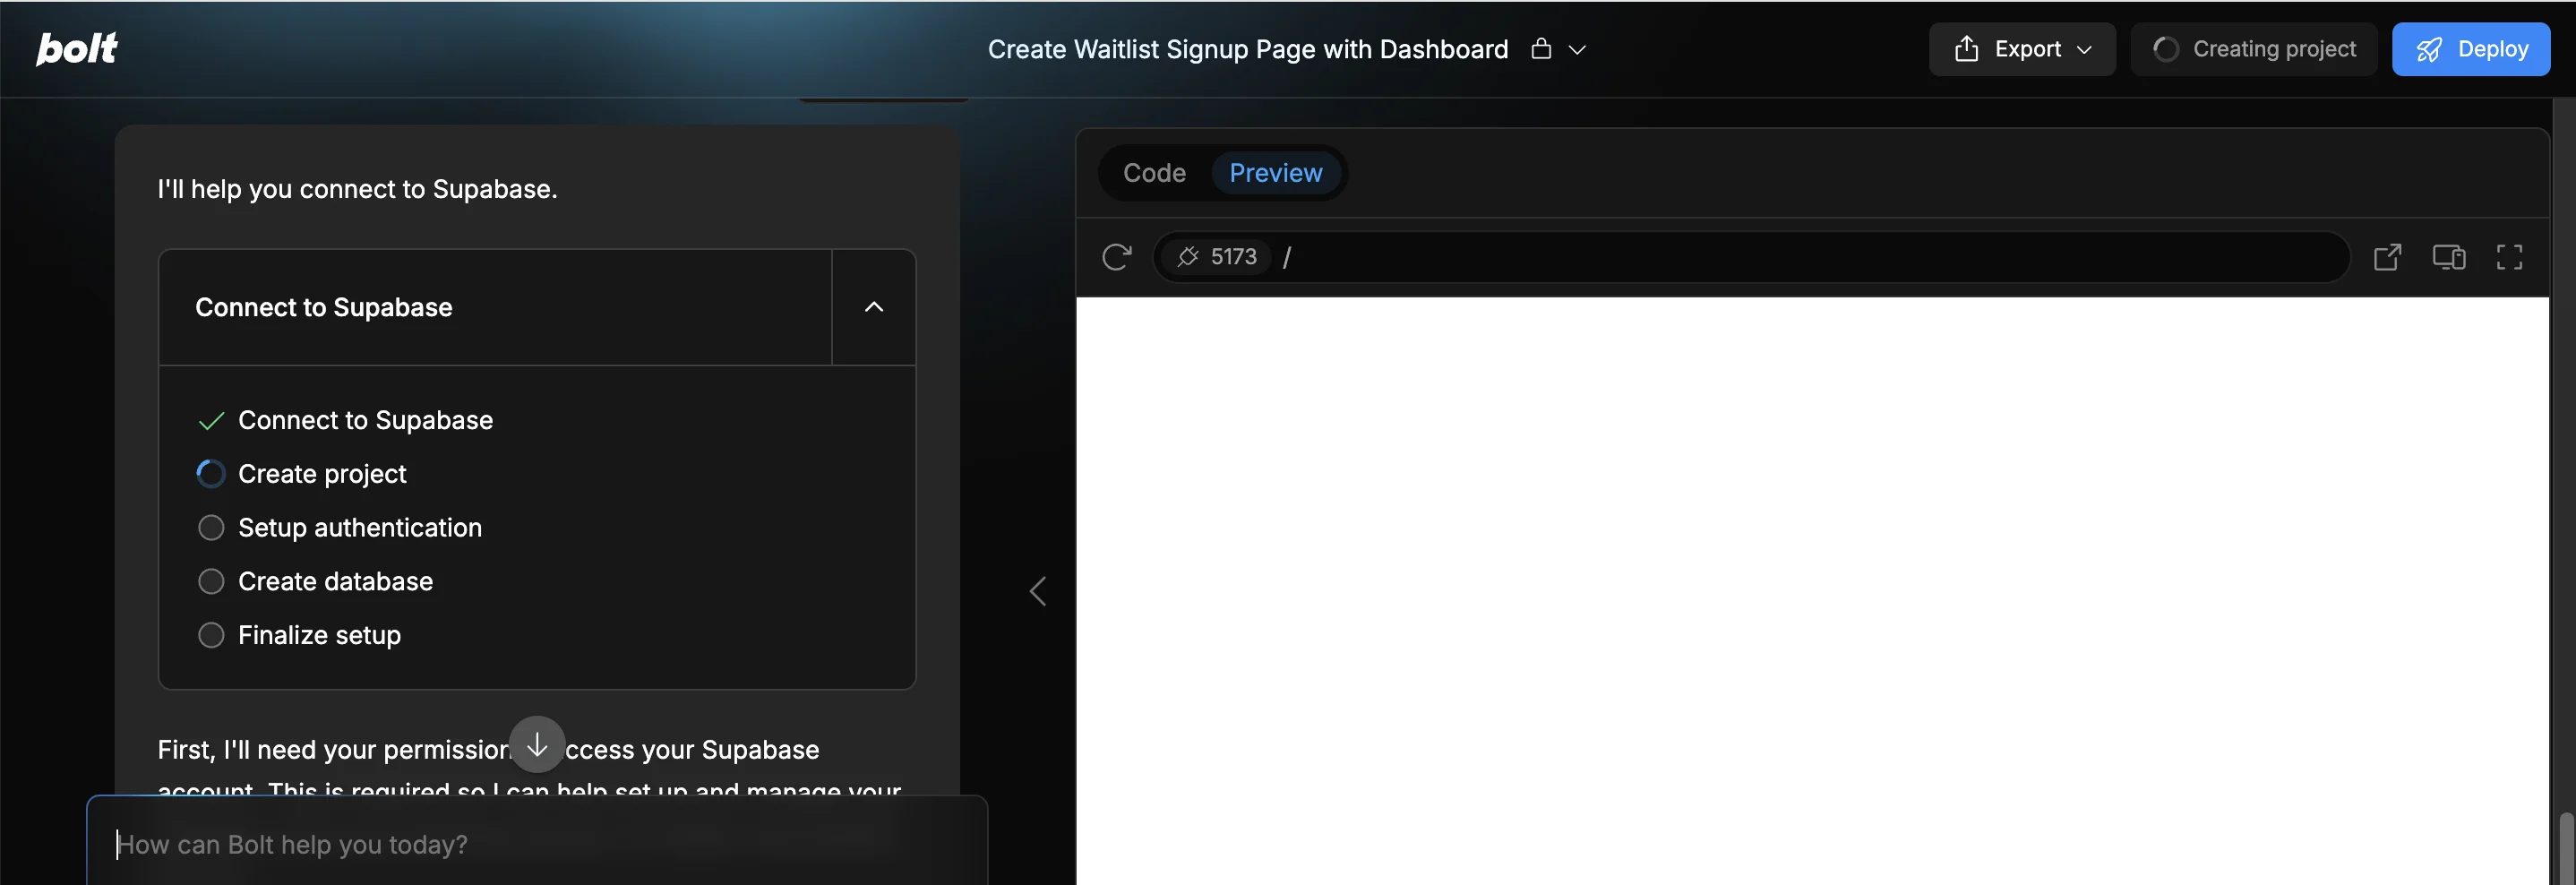
Sign up for a Supabase account and then come back to Bolt and click the “Connect to Supabase” button in the top right of the editor.
You’ll be prompted to authenticate your Supabase account in Bolt if it’s your first time connecting, then over in the chat you’ll see Bolt running through some steps.
This might take up to 5 minutes to complete.
Meanwhile there’s a good chance that the preview panel on the right will be blank. It will eventually show us the app, but right now it can’t run without the database connected. So don’t be concerned.
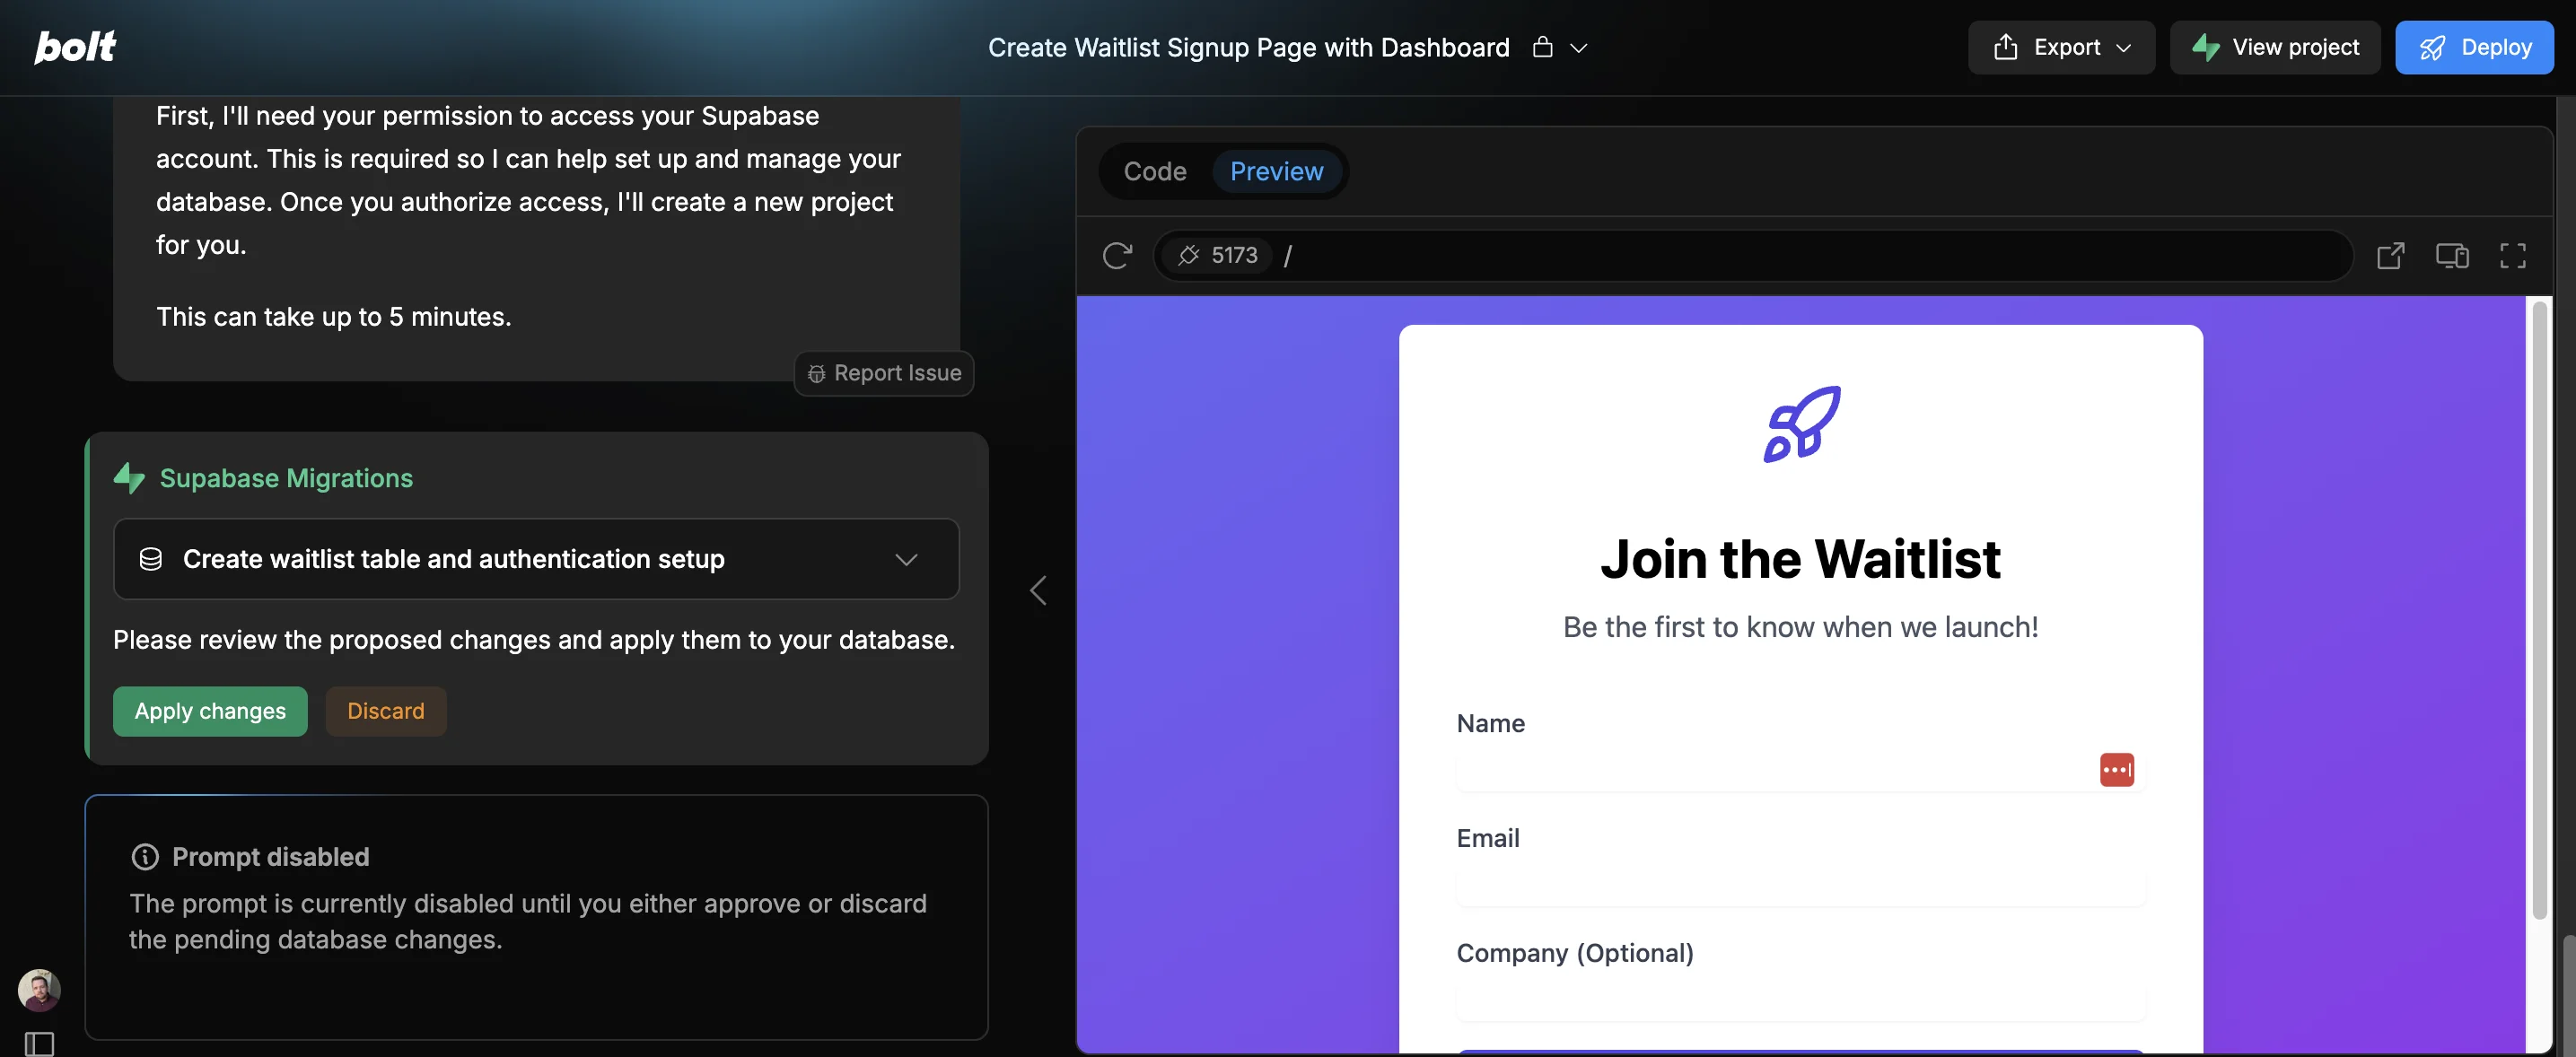
Once Bolt finishes connecting to Supabase, our app preview will finally appear—exciting stuff!
Next, Bolt is prompting us about something called a “Supabase Migration”. Essentially this is Bolt asking permission to set up a table in the Supabase database it just created, to match the needs of our app.
Click “Apply changes”.
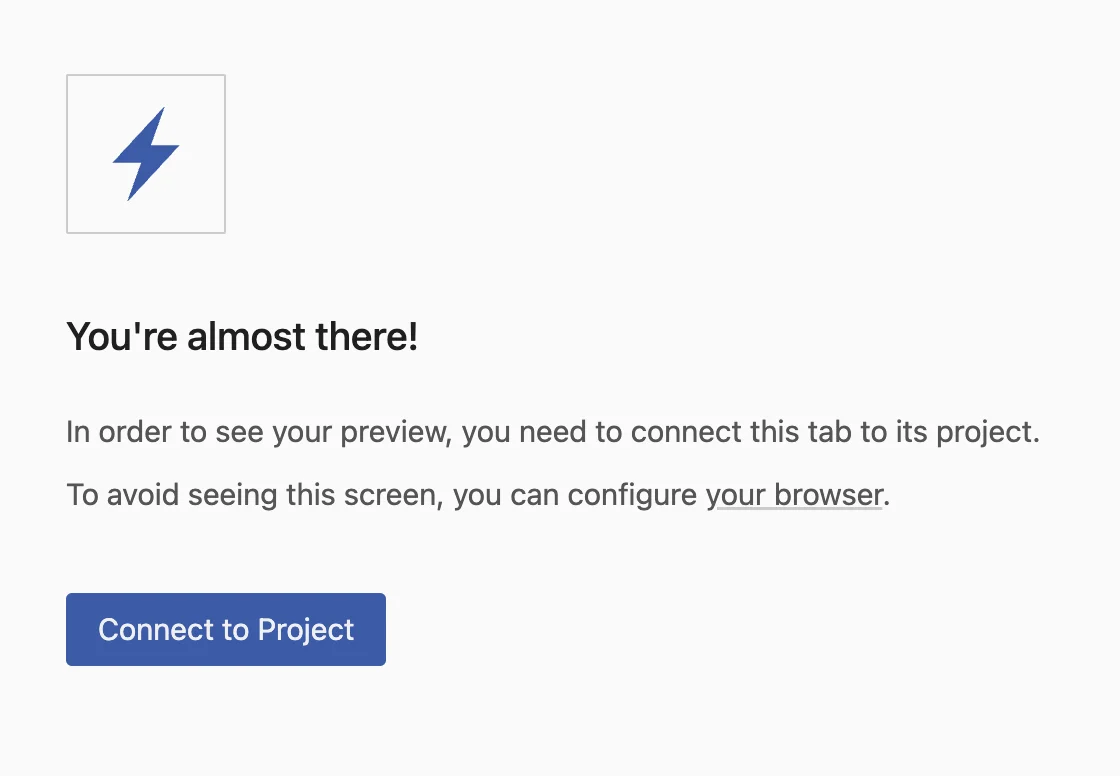
Now let’s test our app. To make it easier, use the button at the top right of the preview panel to open it in a new browser tab.

In the tab that opens, you may see the following message. If you do, just click “Connect to Project”.
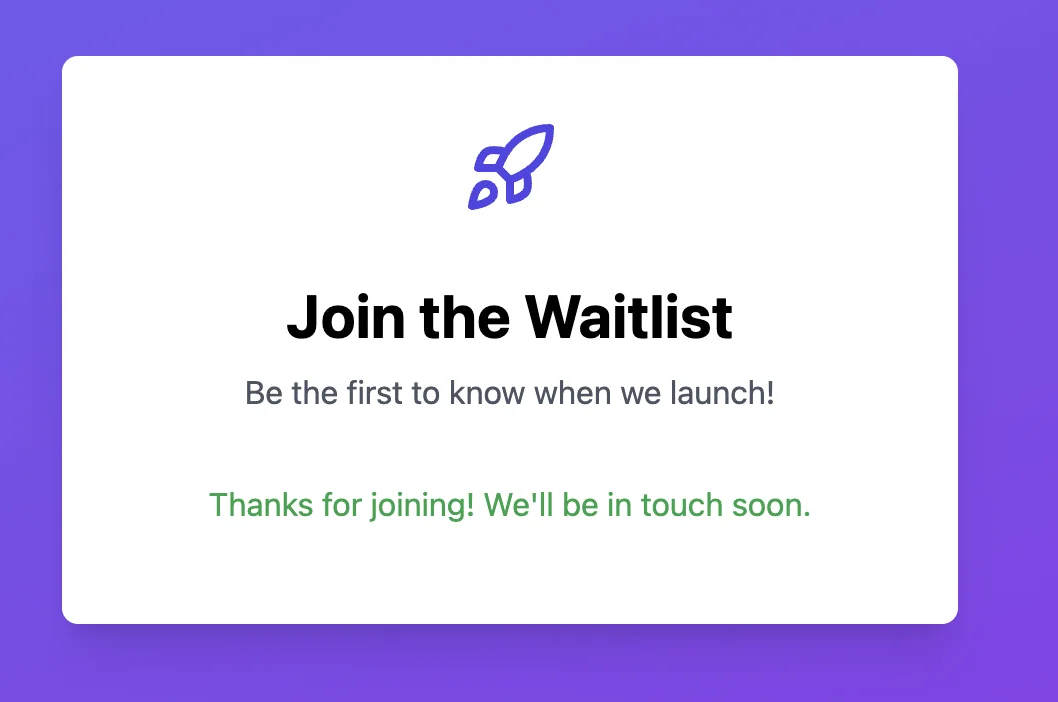
And there we have our app. Let me try and add myself.
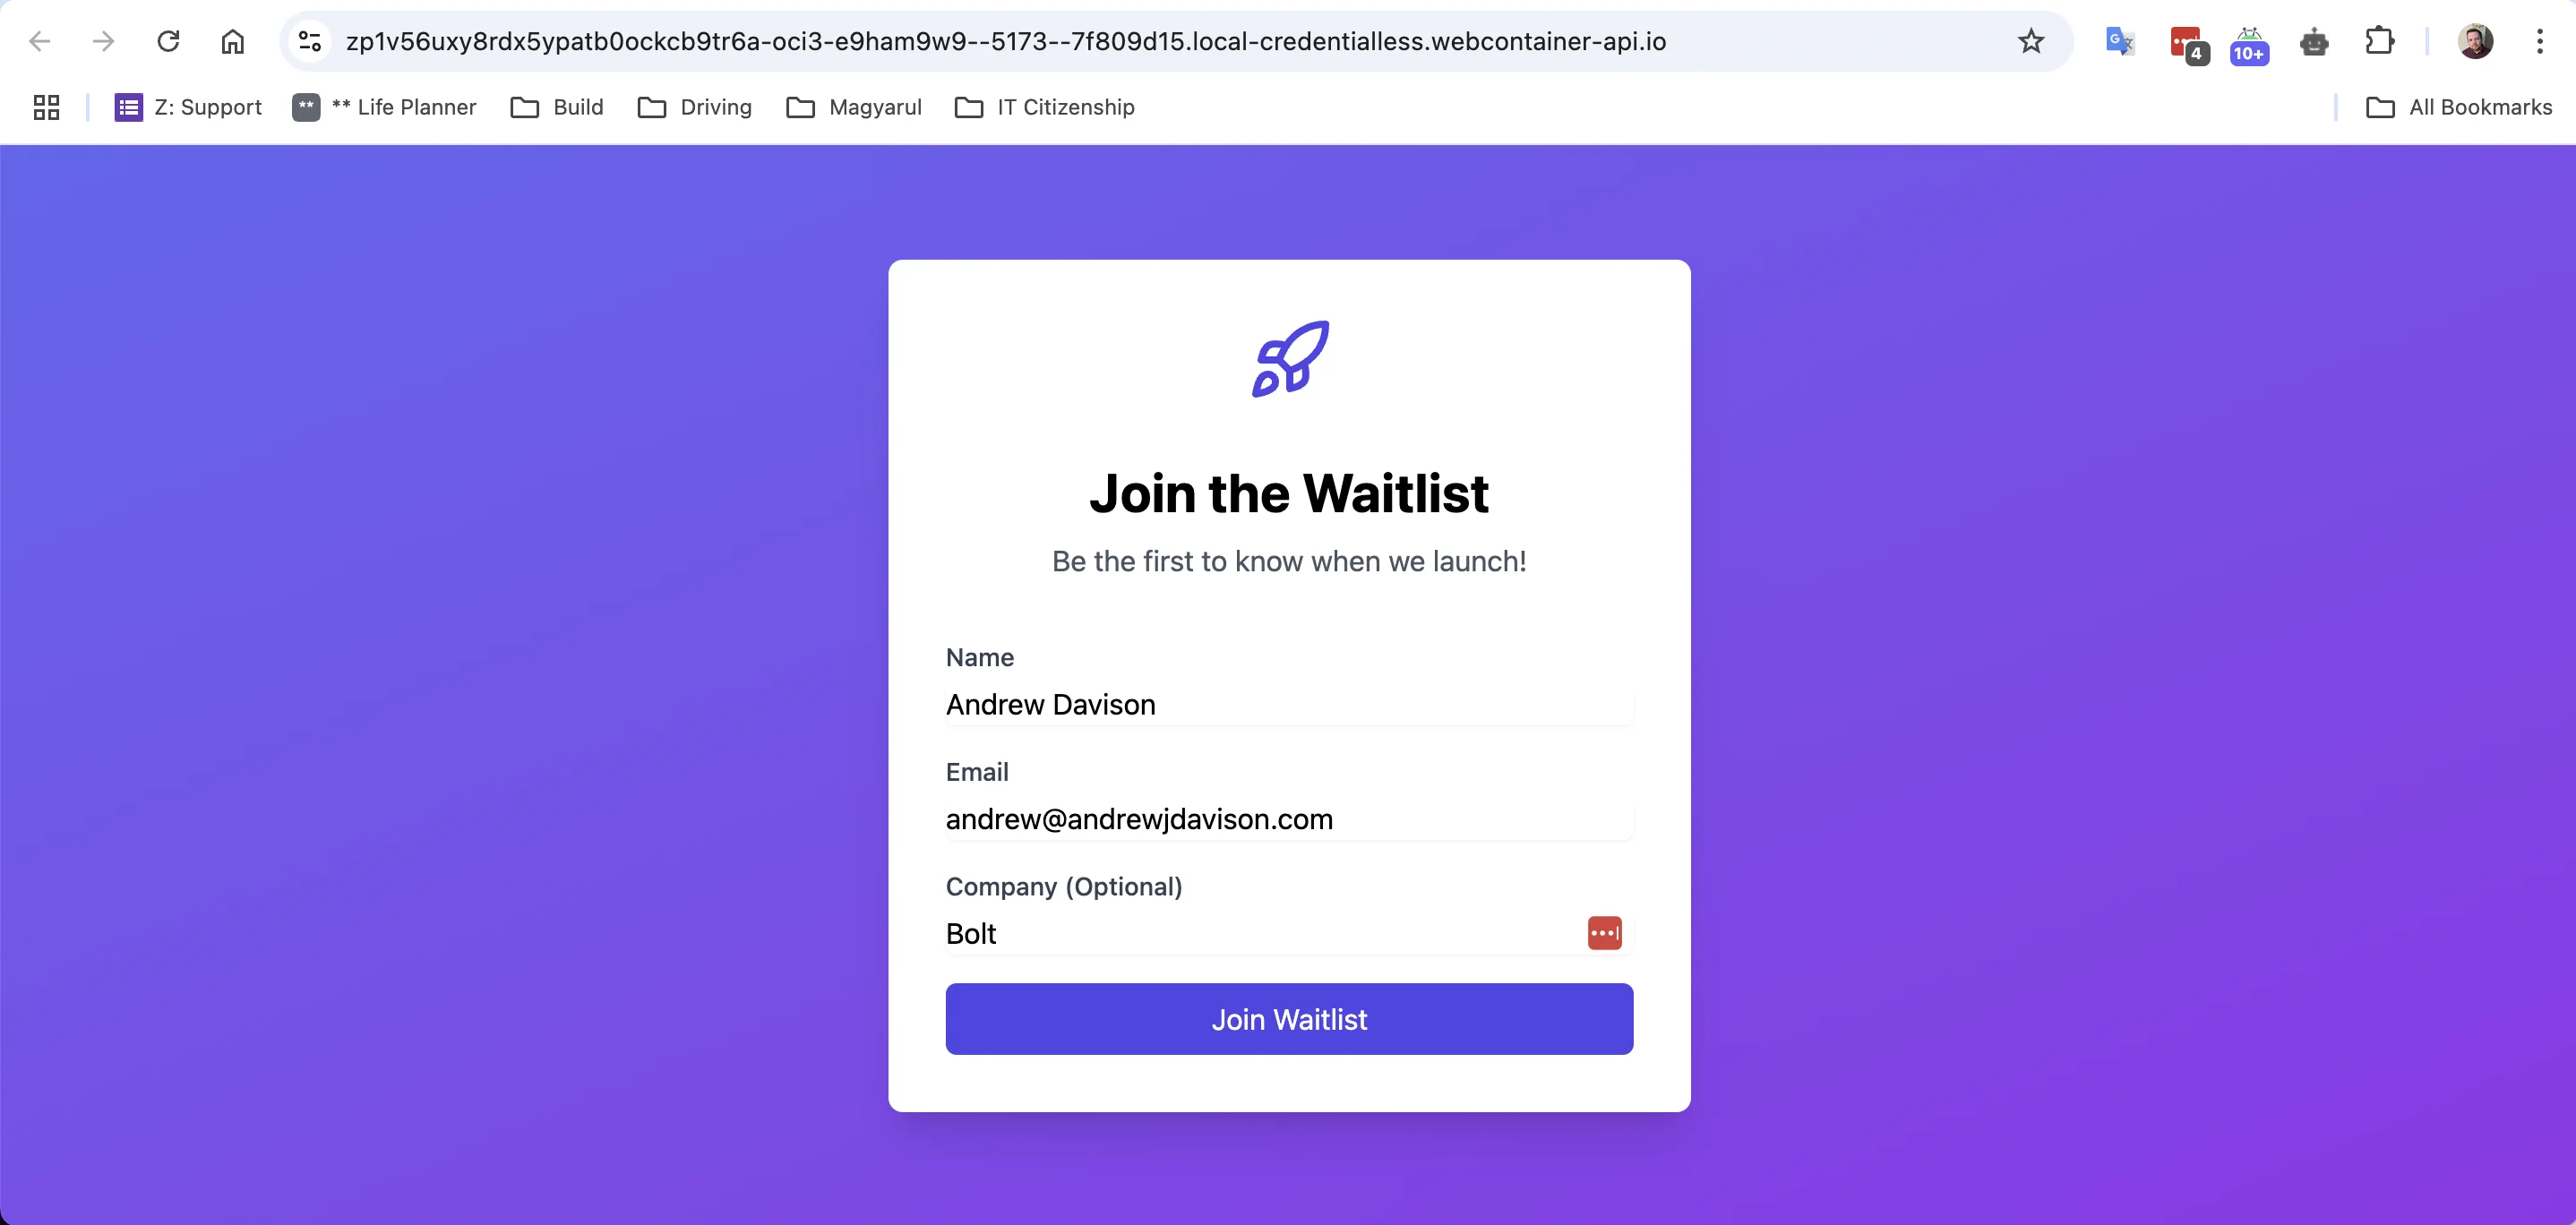
It works!
Step 3: Add signup/login functionality
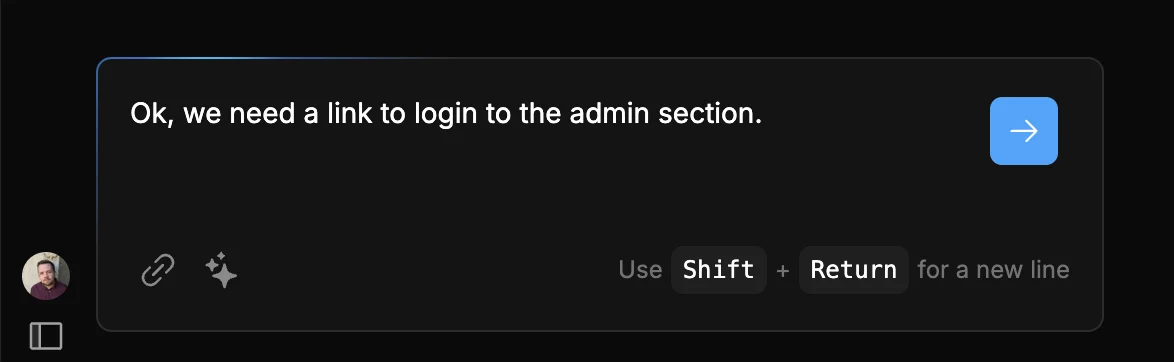
Bolt talked about adding a login section, but as of now, there’s no way to get there. So let’s ask Bolt to fix that. Use this prompt then click the blue arrow to proceed:
Ok, we need a link to login to the admin section.
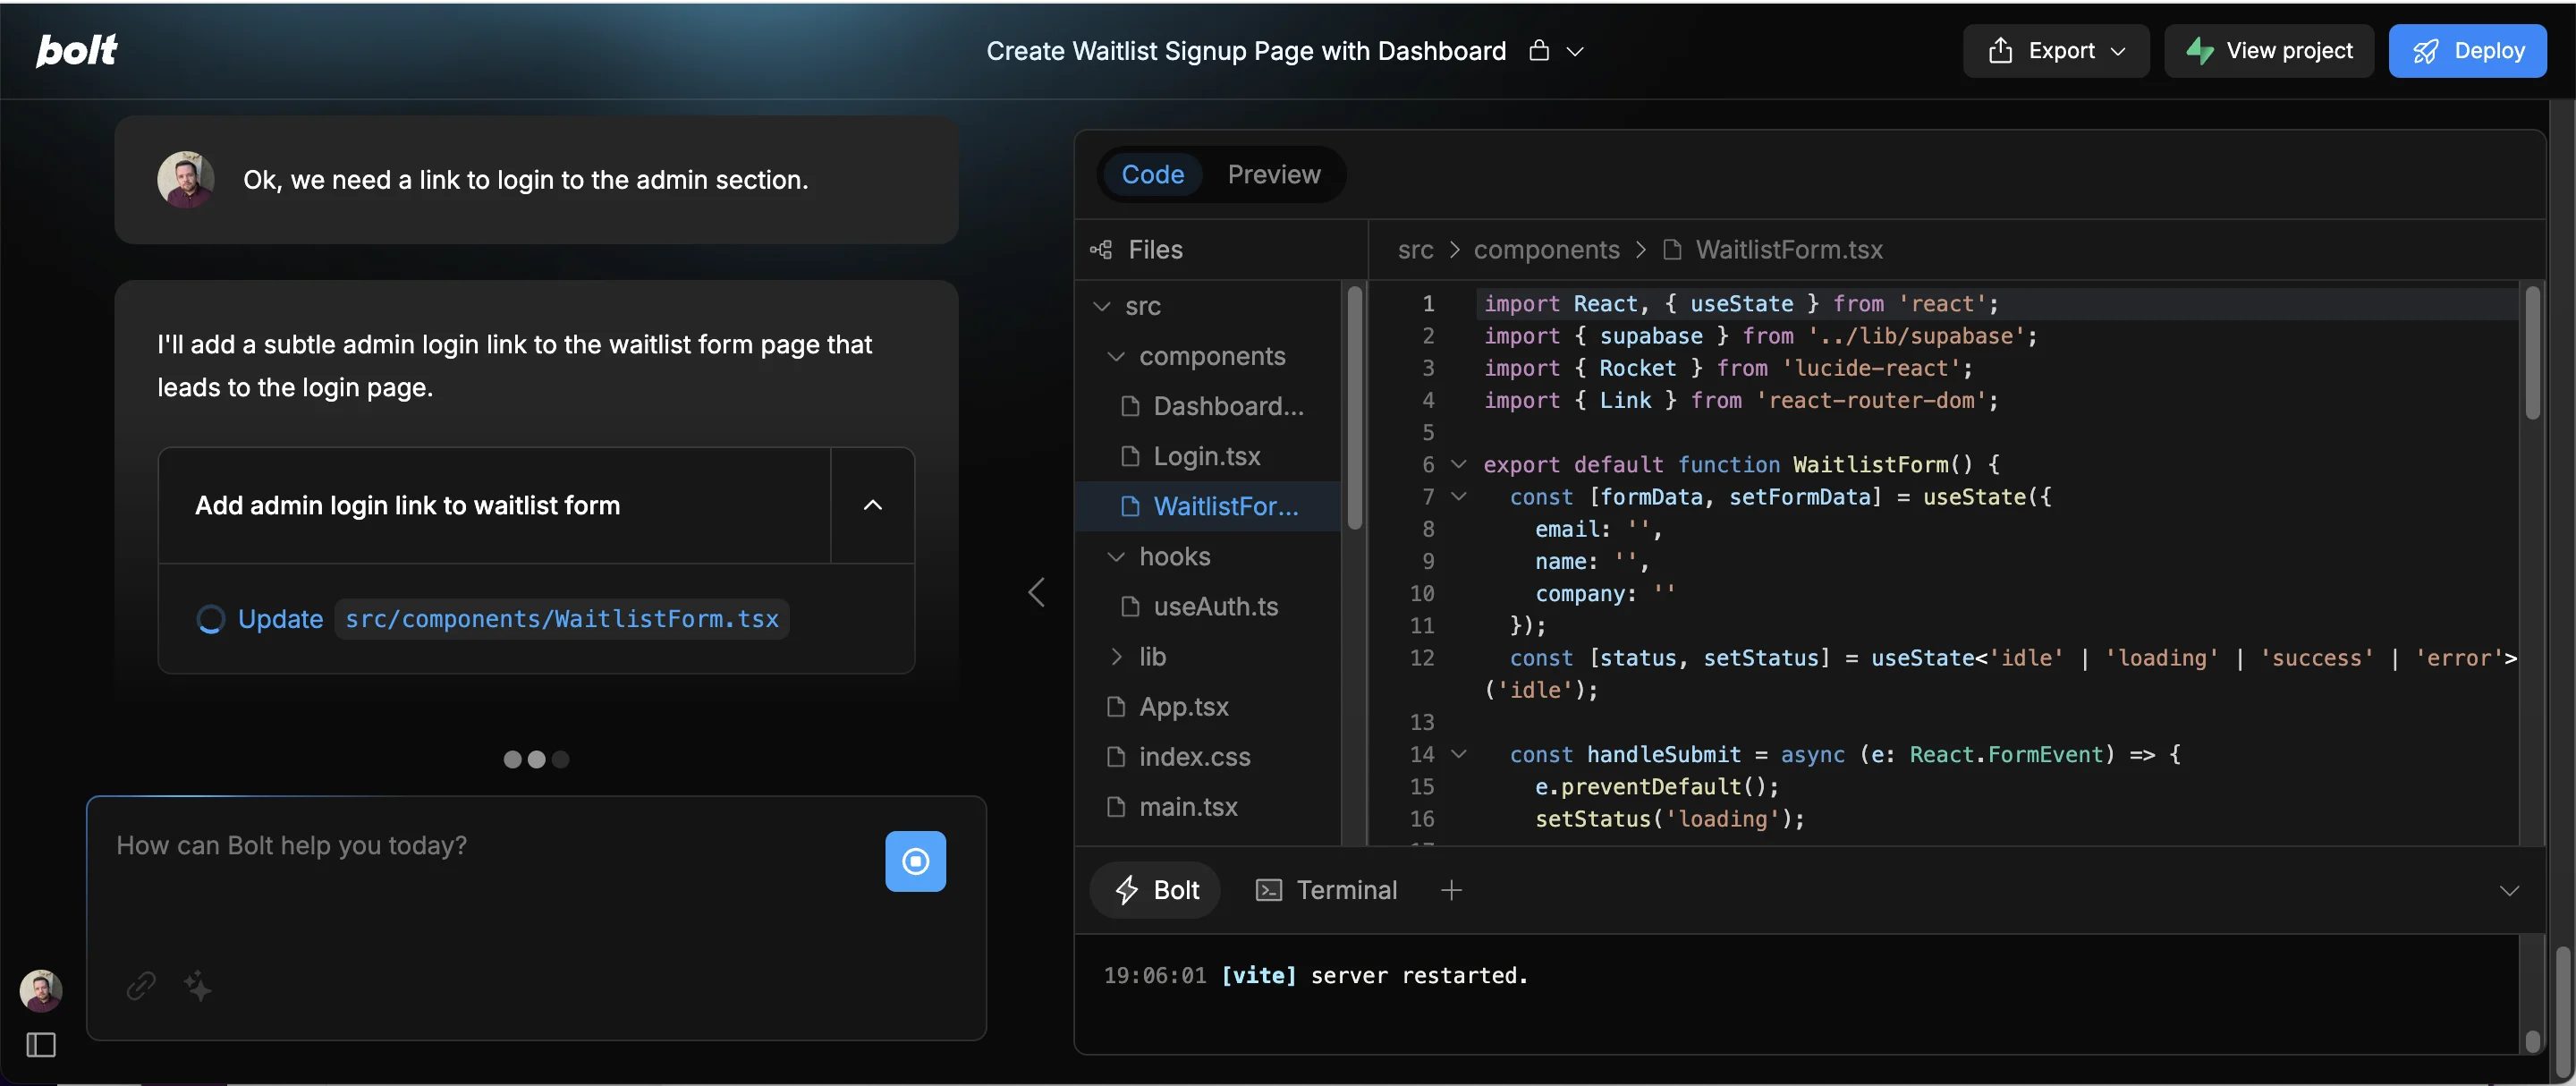
Bolt acknowledges our request and goes back to code mode.
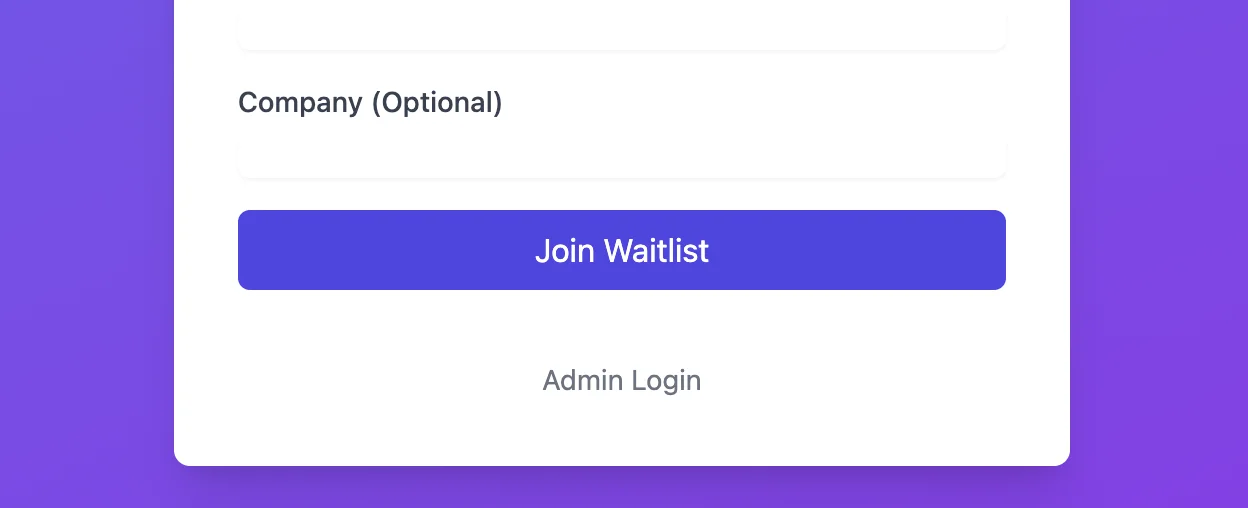
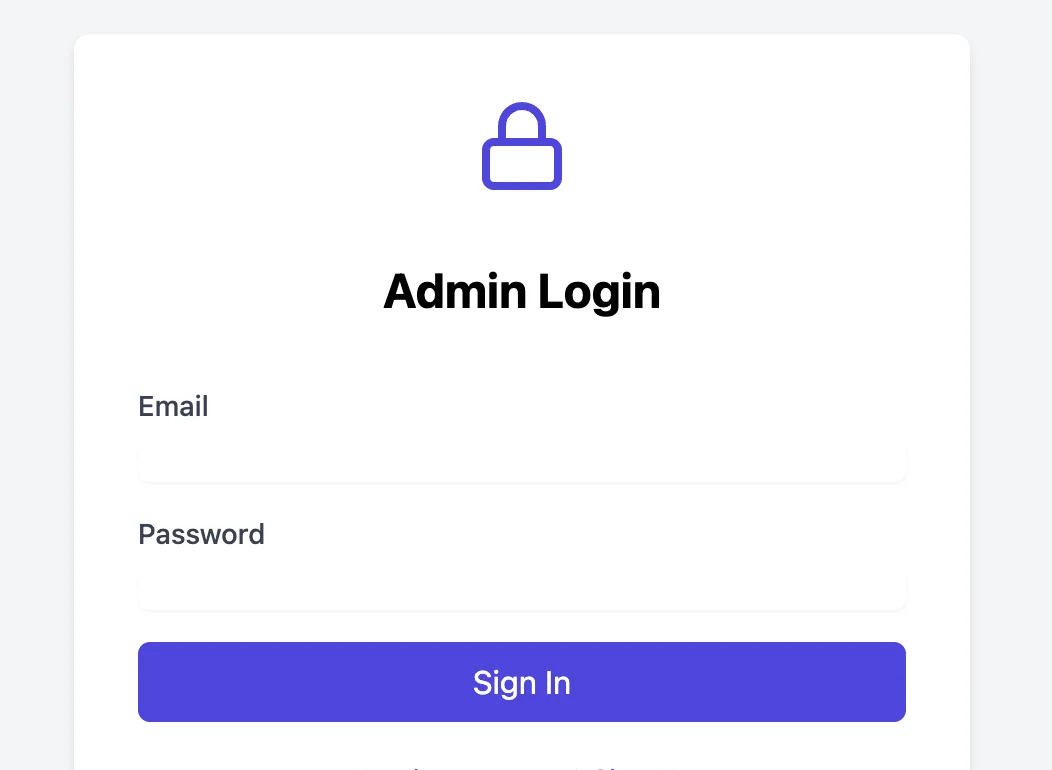
Success! Reloading our app in the preview tab, there’s now a login link.
The new problem—there’s no current way to sign up and we don’t have an account feature.
Let’s ask Bolt to fix that as well:
There should be a signup option as well.
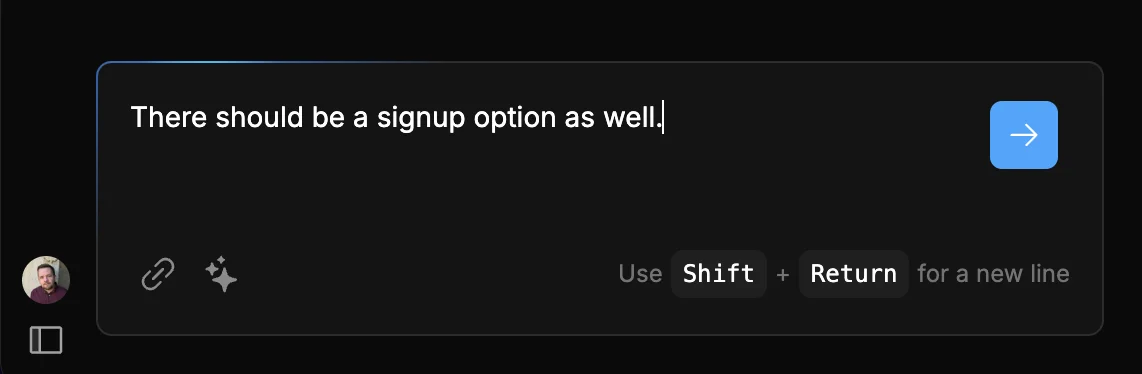
Bolt does its thing for a few seconds, and upon reloading the preview, I’ve now got the option to sign up.
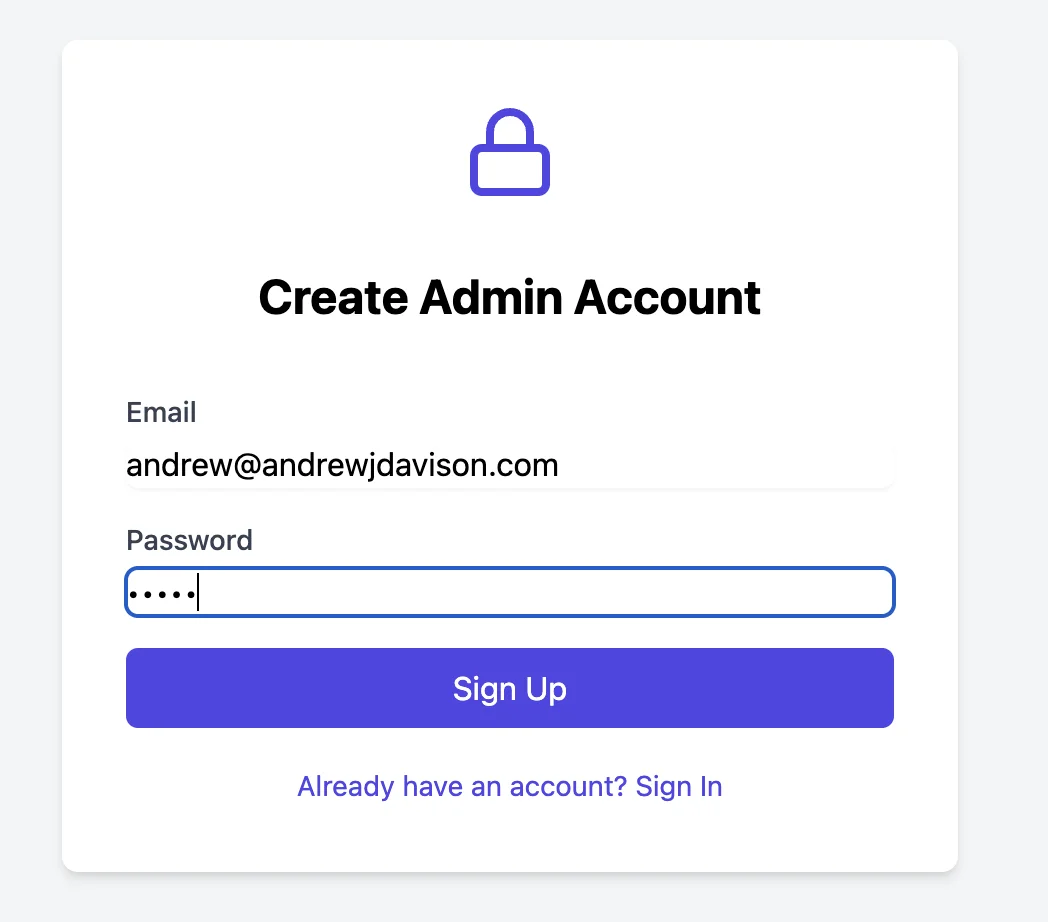
Account created. Let’s log in.
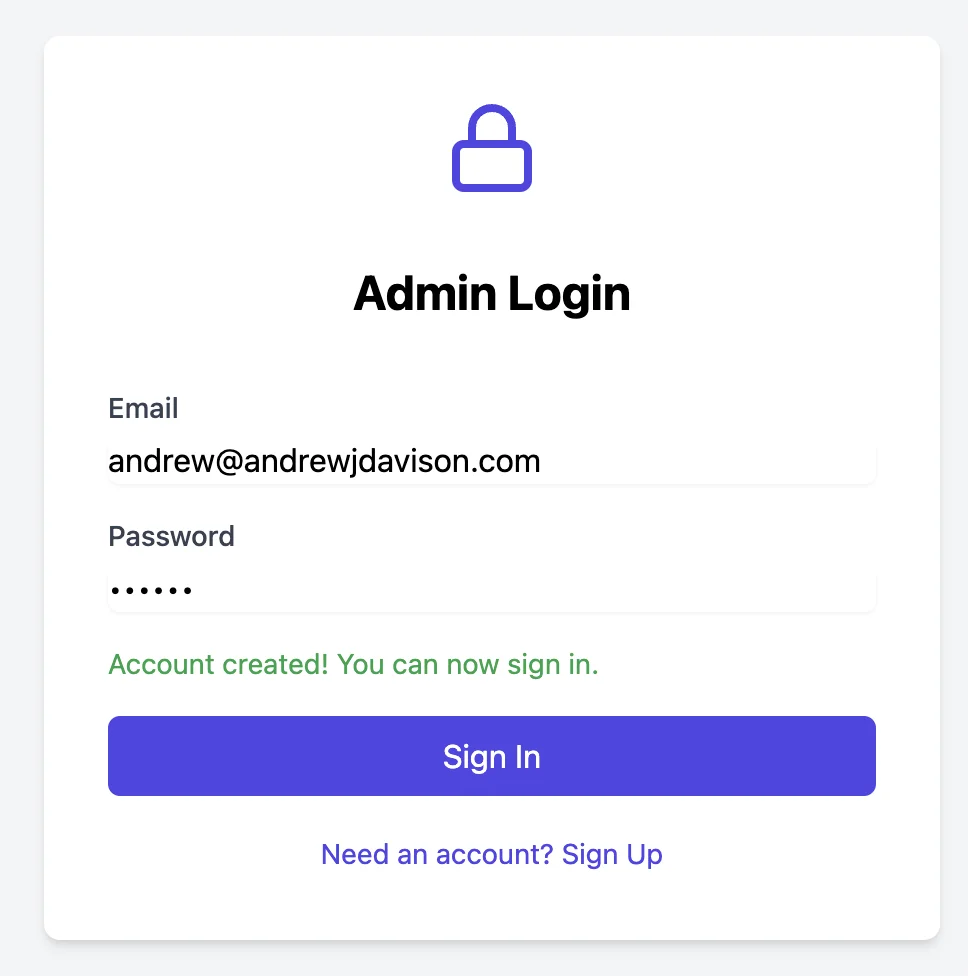
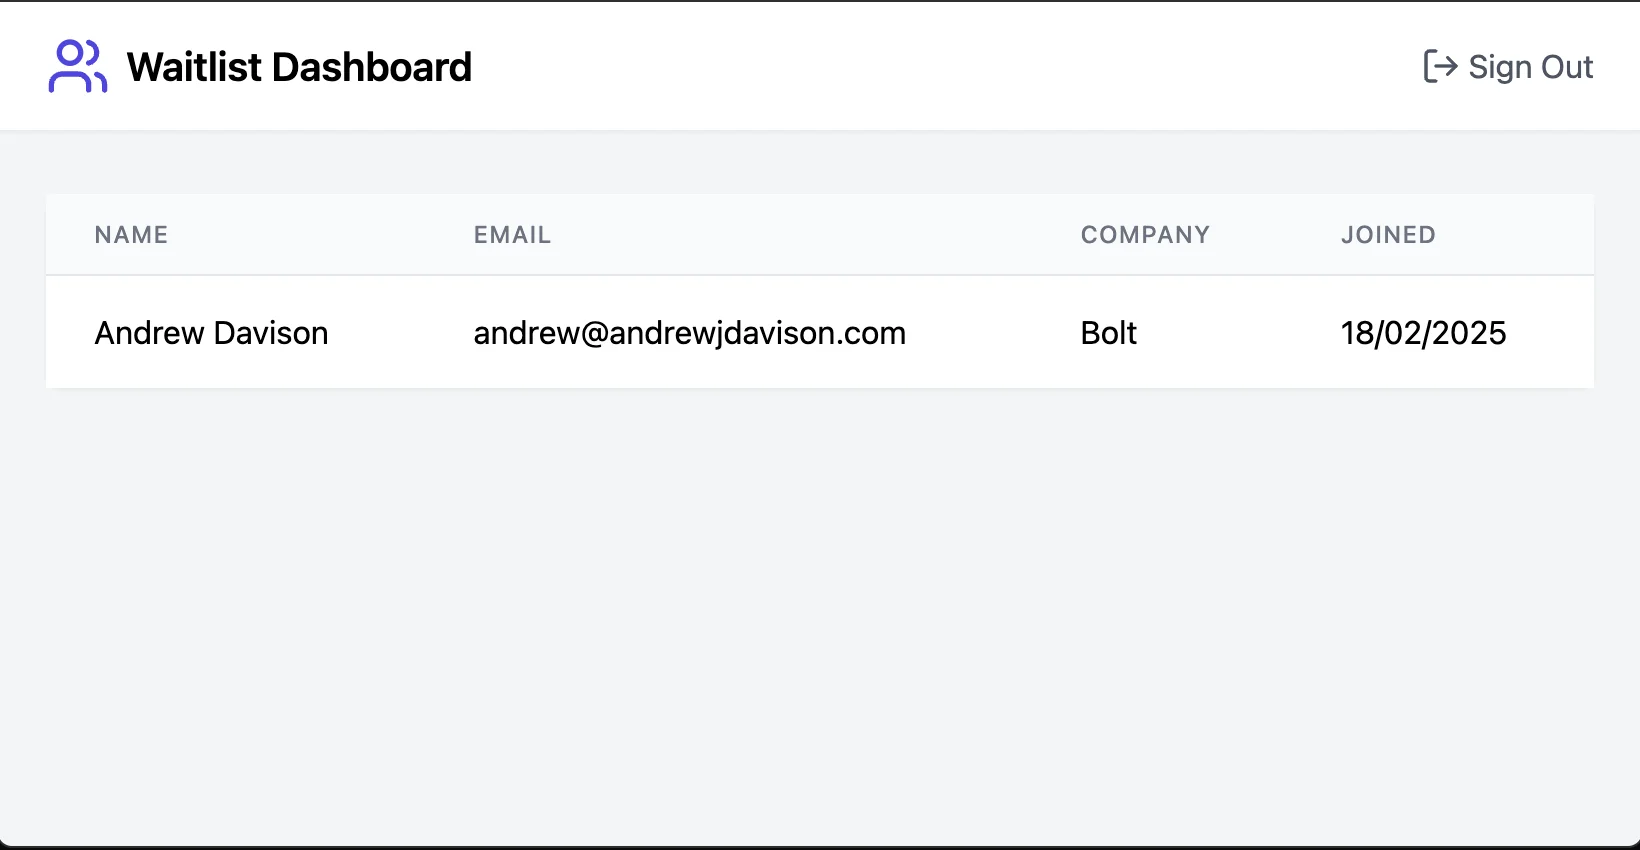
Using these new login details, I’m into the dashboard, and there’s my previous submission. Great!
Step 4: Deploy the app live
Our app’s preview URL only works when we’ve got Bolt open. But, luckily, Bolt lets you deploy an app from right inside the editor.
Click the “Deploy” button in the top right.
Immediately, Bolt will start deploying your app on Netlify (a hosting platform) and will keep you updated on progress via the chat.
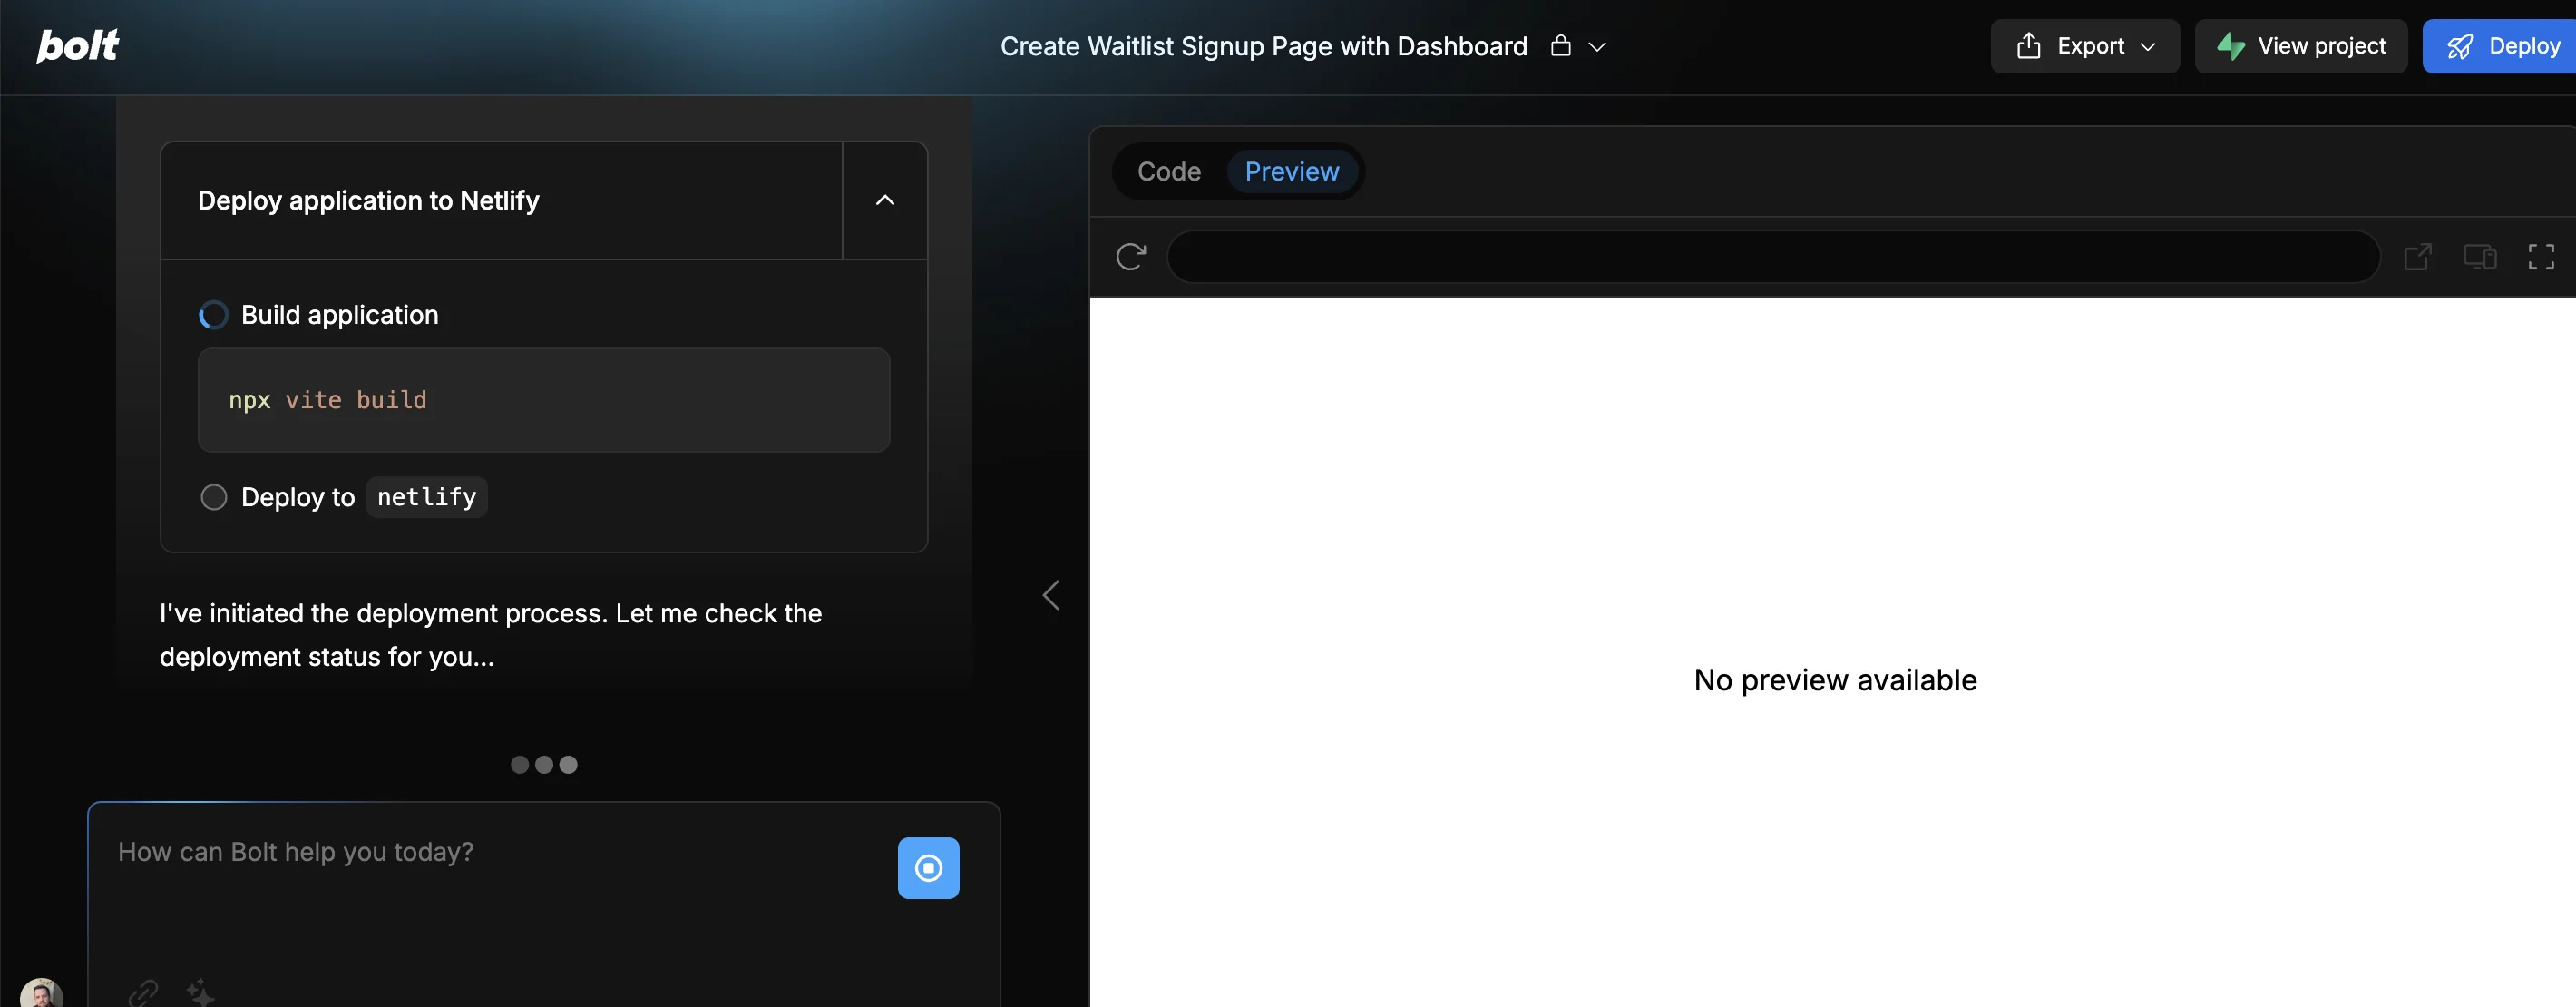
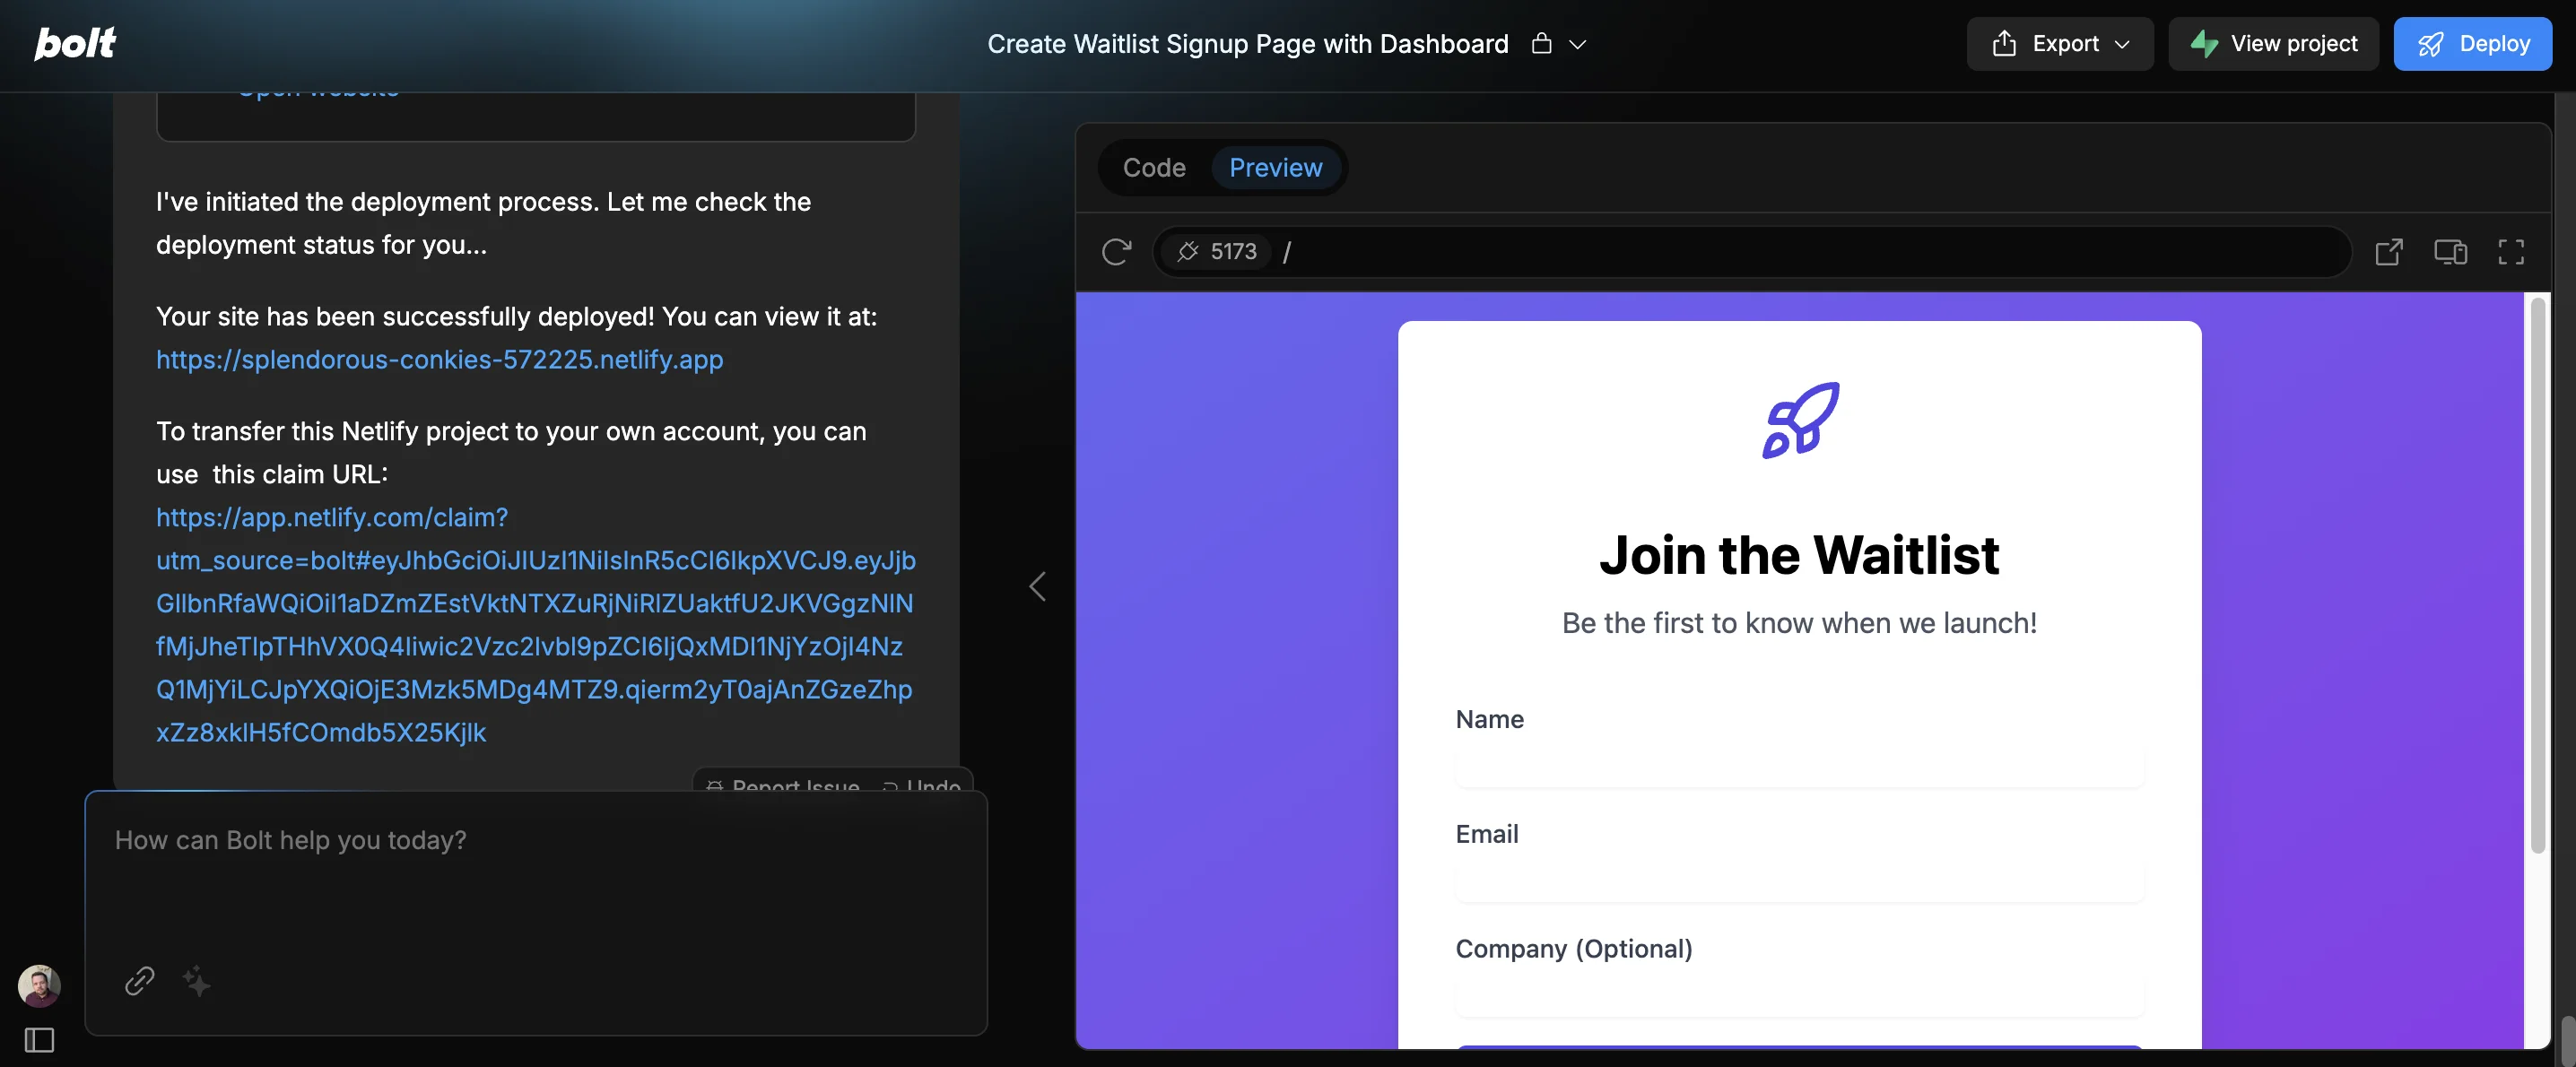
Once it’s done, you’ll get a URL for your newly live app.
And, if you have your own Netlify account, you’ll get a URL you can use to transfer the project to your account. The main advantage of that would be the ability to give your app a custom domain.
This tutorial was created by Andrew.