Build an app with AI coding tool Create
A walkthrough on how to build an app using Create
2025-04-19
Create is another of the crop of prompt-to-app builder tools that have been making waves recently.
The core idea is that with nothing more than an idea and a plain English prompt, an AI agent will code a fully working tool for you, complete with database and external integrations if needed.
So, let’s put it to the test and build a to-do list app.
In this tutorial you will learn how to:
- Setup a Create account and start building an app
- Add a database to the app
- Connect the app to Zapier
- Publish the app
You’ll need:
- Create an account (you can sign up while building)
Let’s see how it’s done.
Step 1: Set up a Create account and start building an app
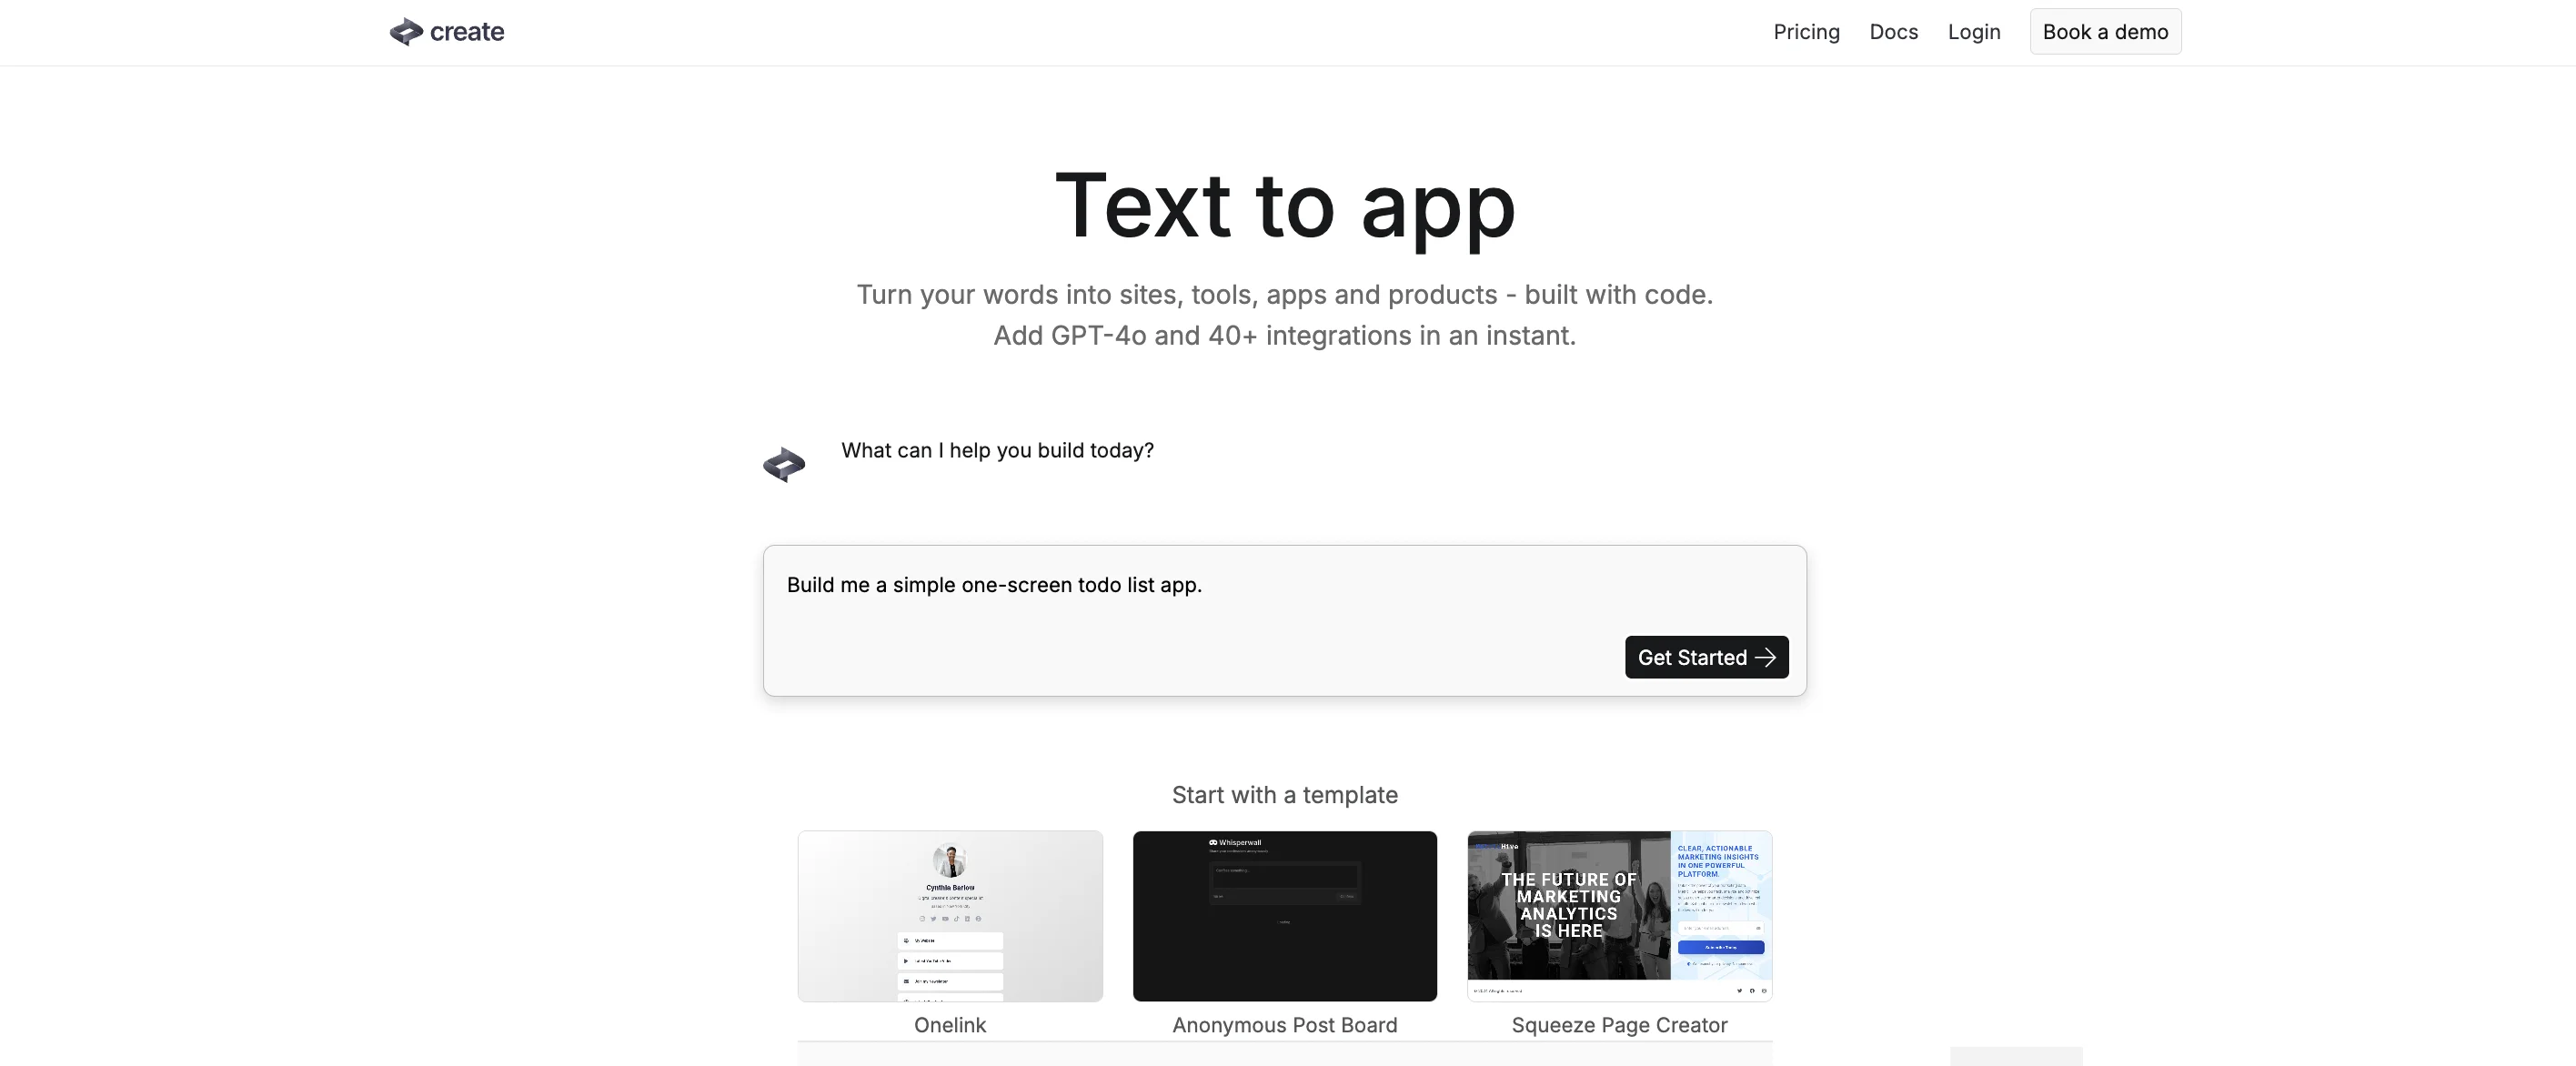
When you go to the Create website you’re dropped right into things—with an input to type in your idea for an app.
Let’s start simple to see how it handles things.
Build me a simple one-screen todo list app.
Then click “Get Started”.
The screen transforms into a typical chatbot flow and the agent gets to work.
If you’re a first-time user, you’ll be prompted to add your email address to create an account.

Once that’s done the screen transforms again, this time with the chat window on the left and an app preview screen on the right.
After 30 seconds it’s already built something for us to test.
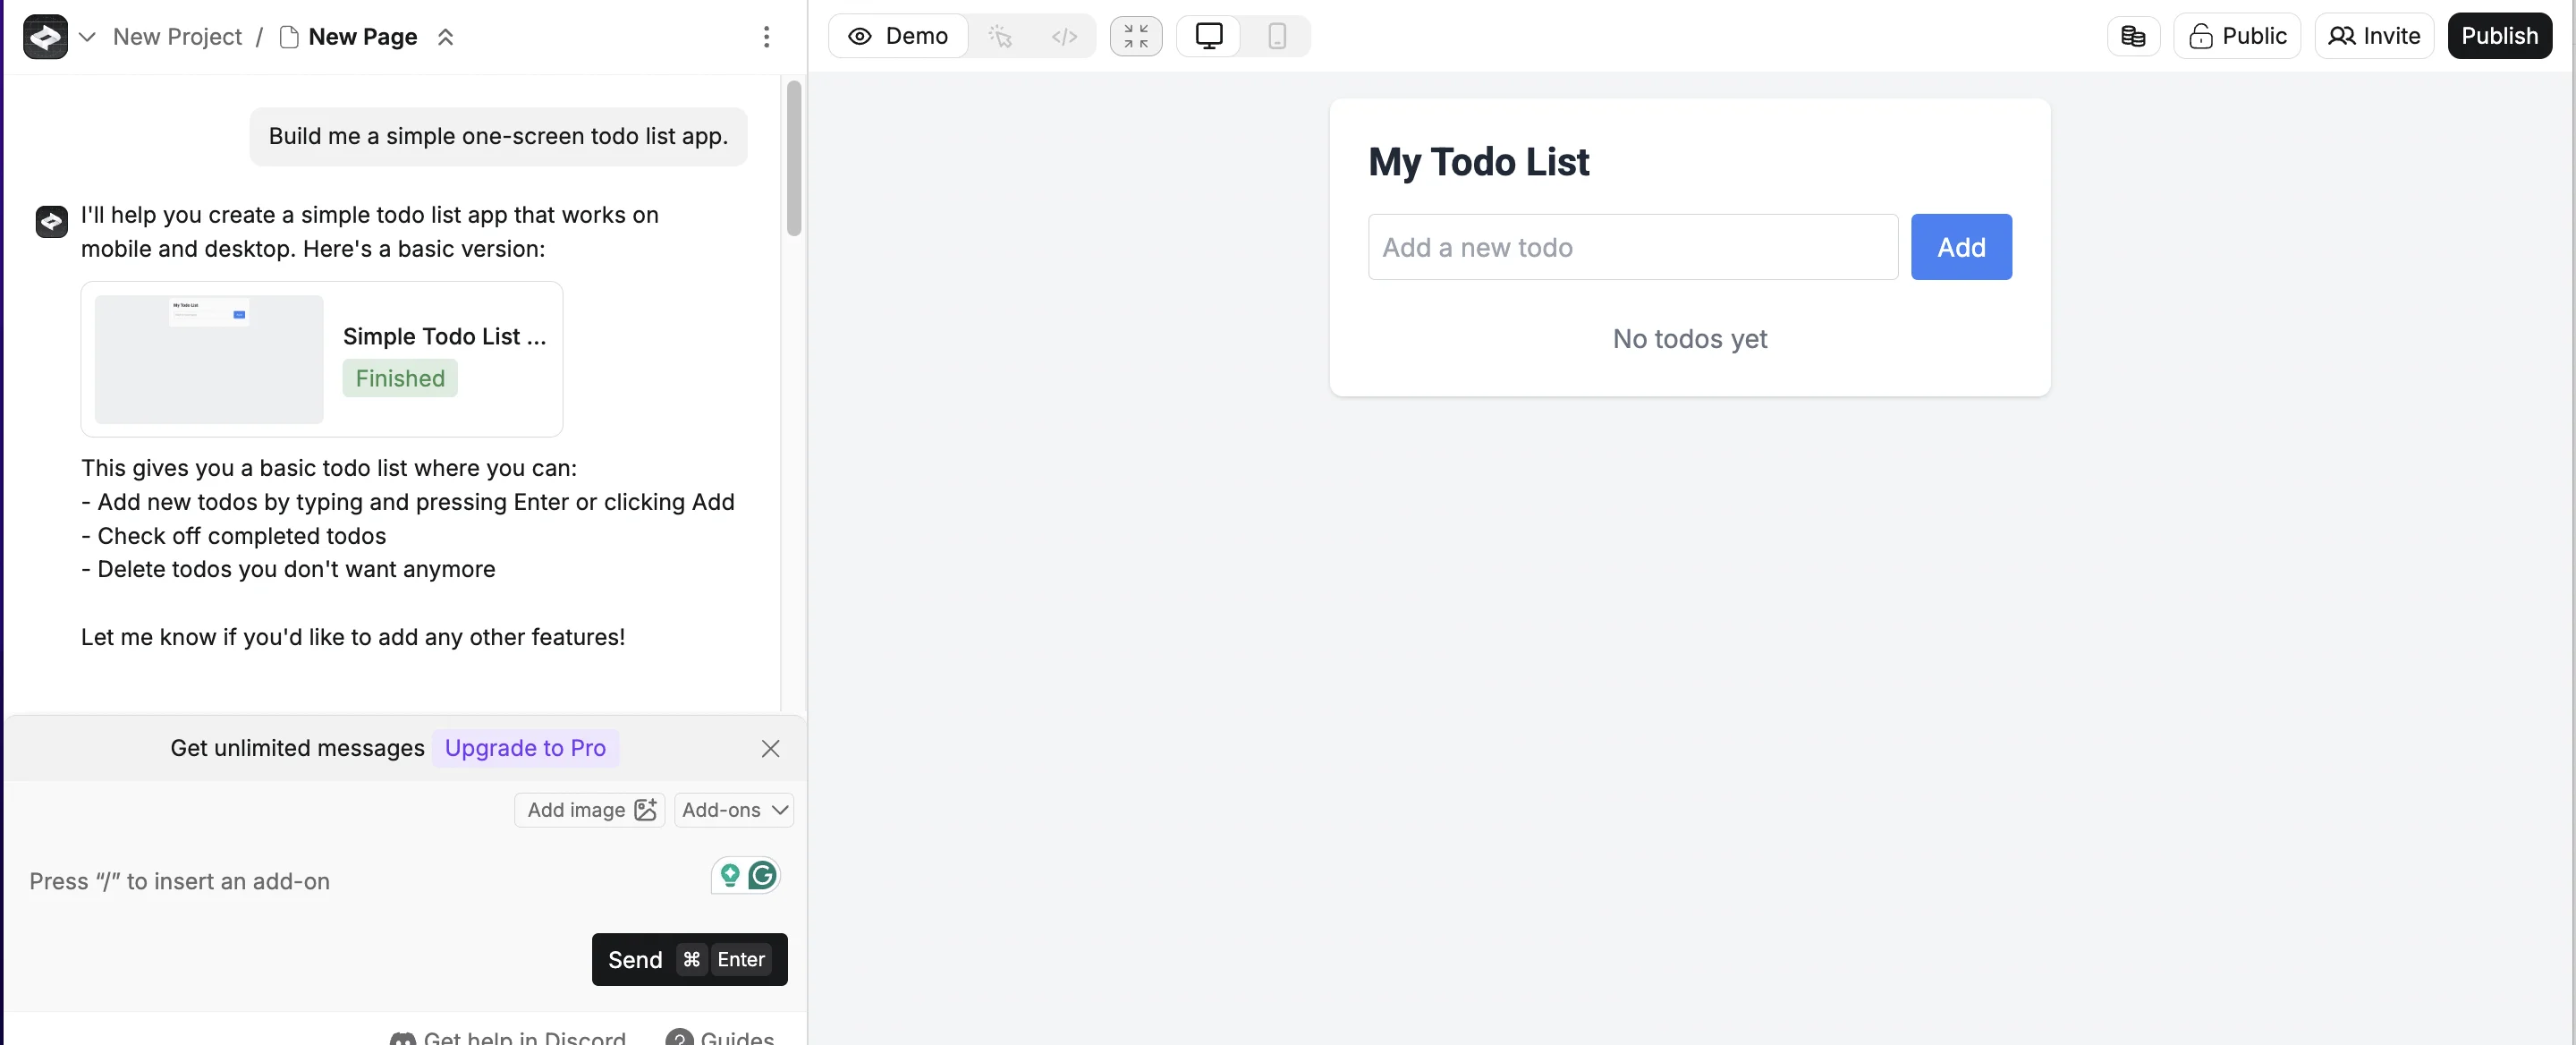
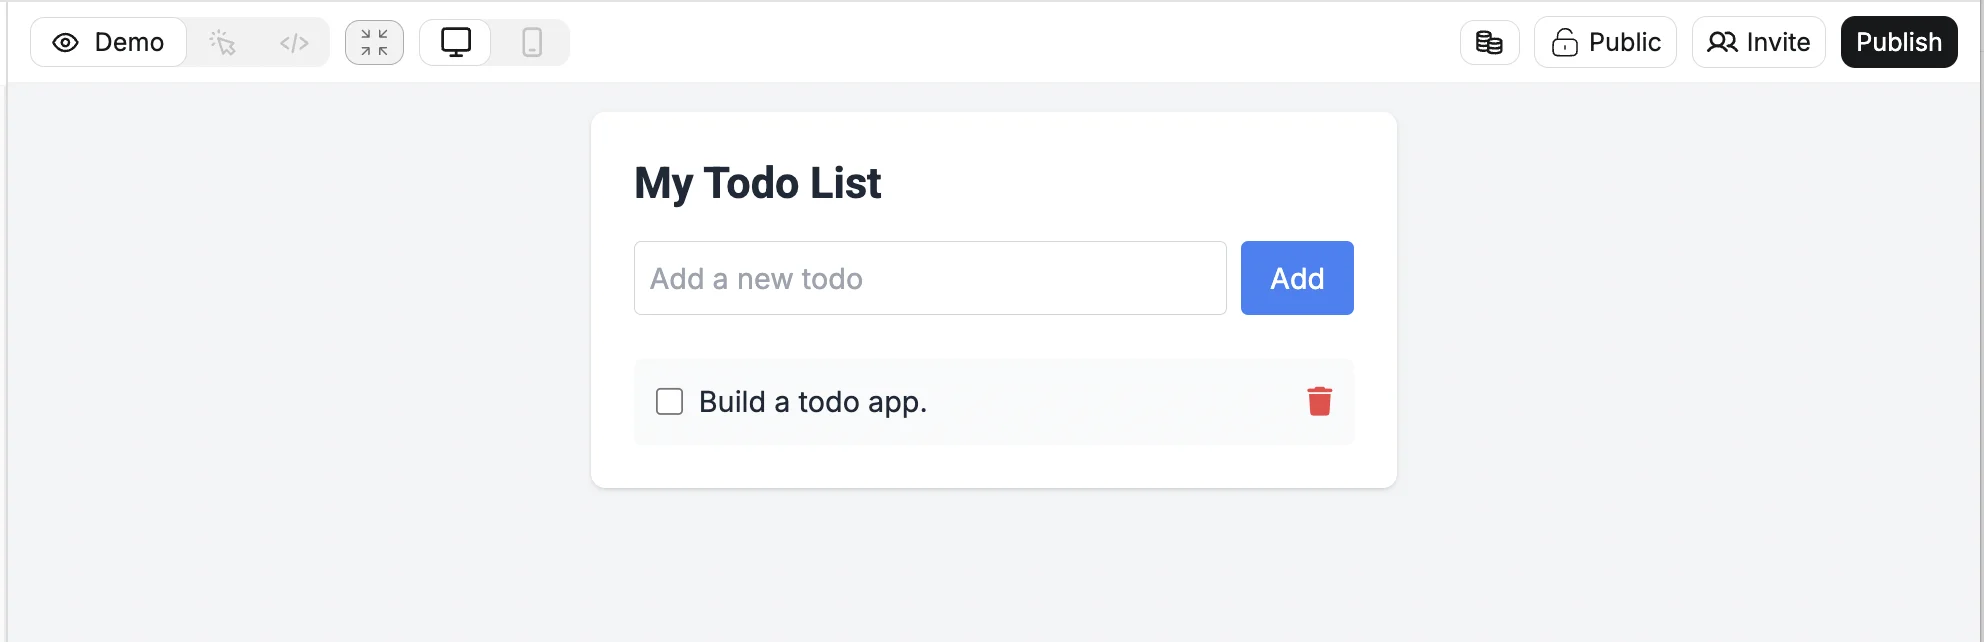
To test our app, we can simply use the panel on the right which acts like a browser—it seems to work!
Step 2: Add a database to an app
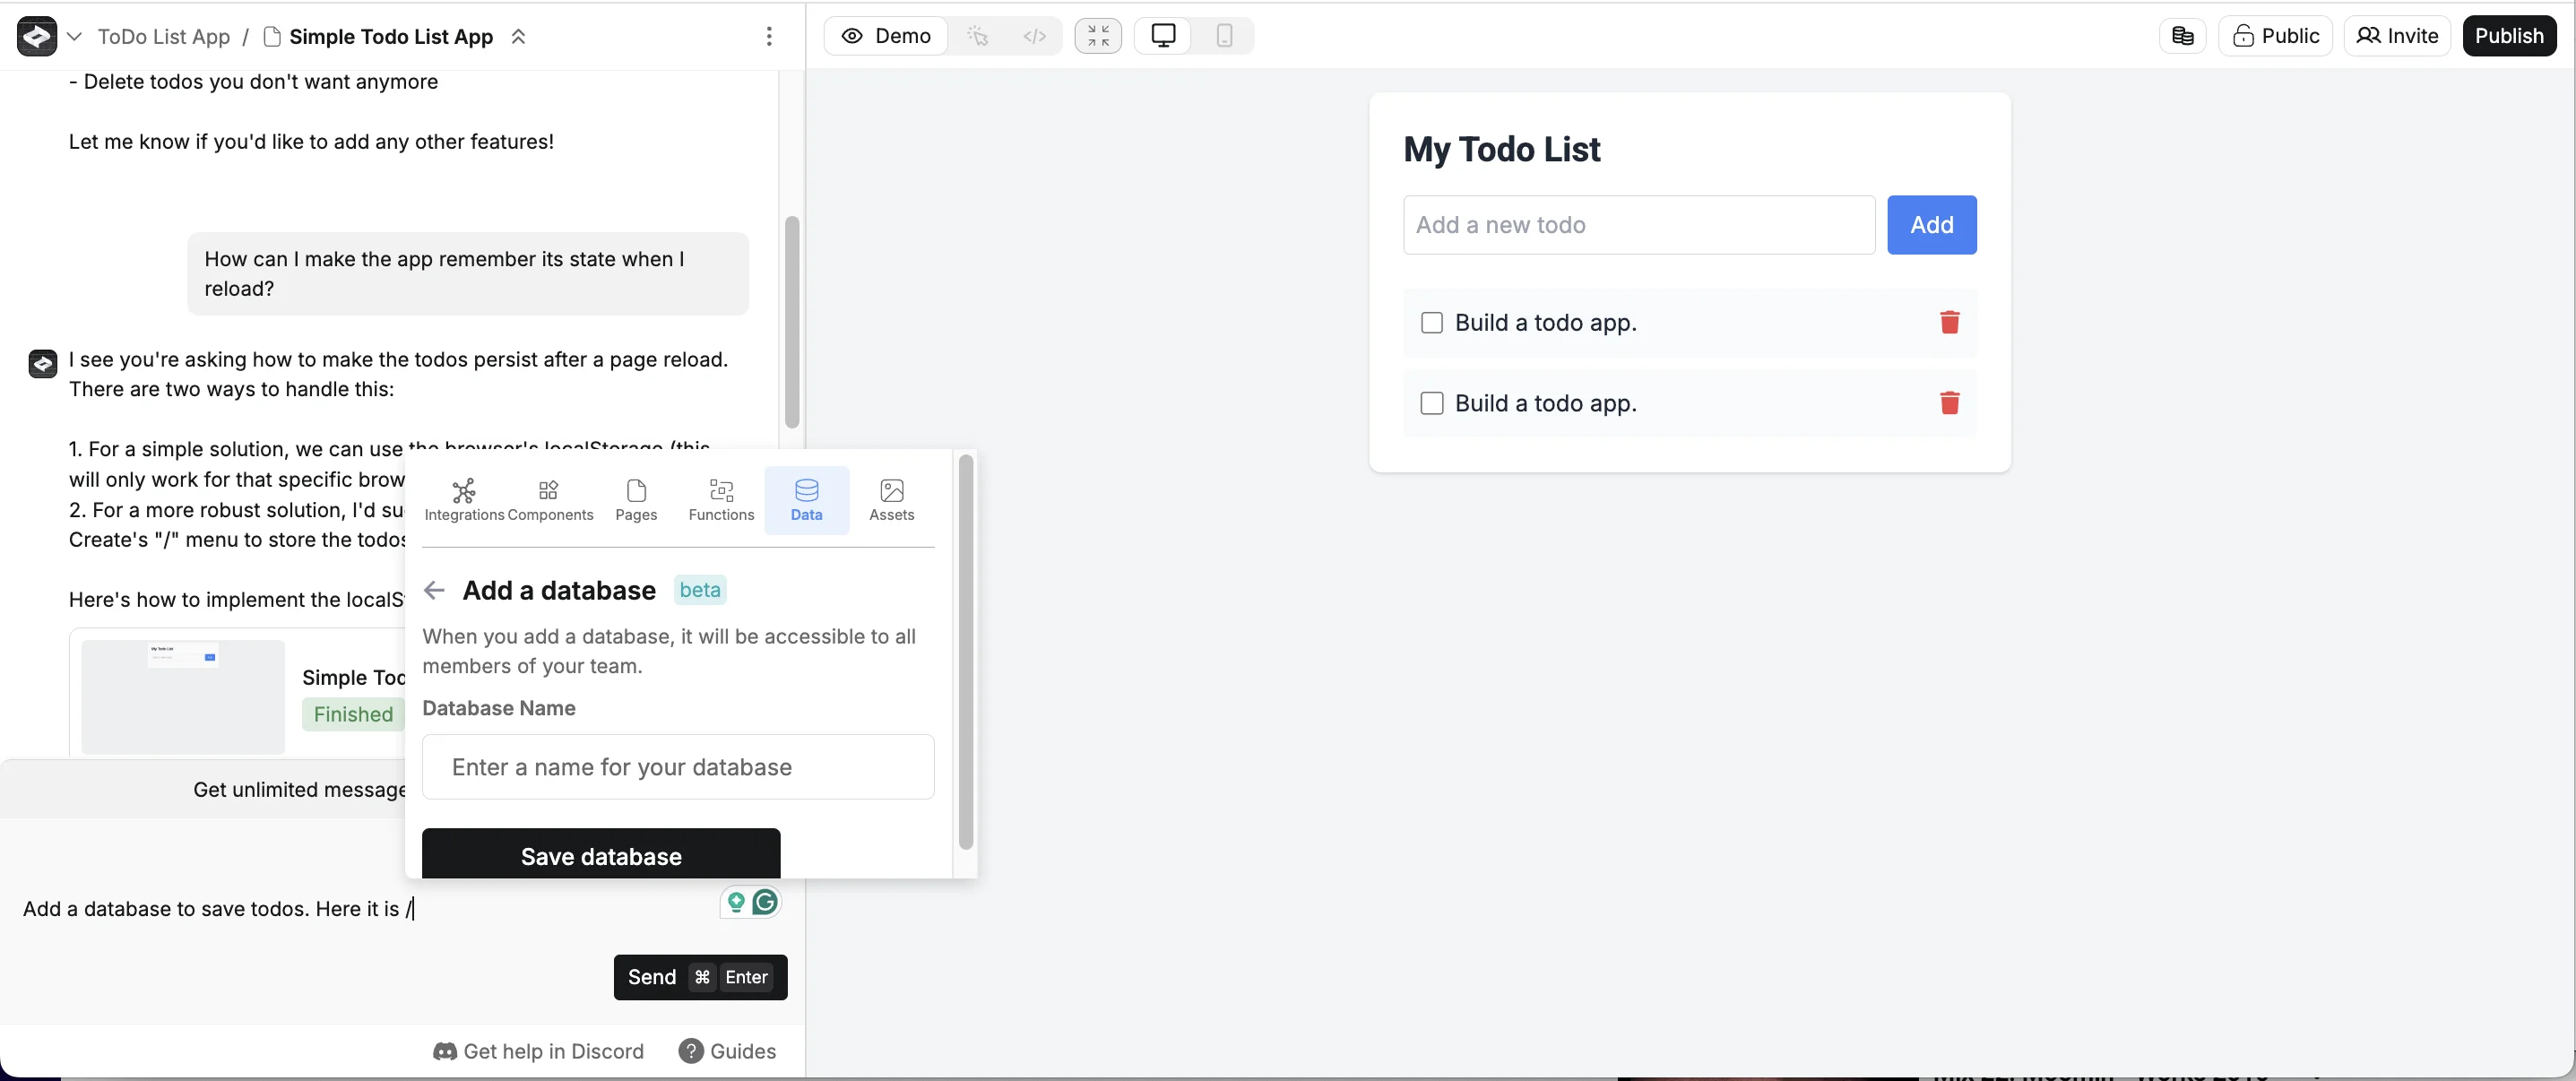
One big problem with our app right now is that if we reload the page, all our to-do items go away, meaning this app will be pretty useless.
To get around this, let’s ask Create what can be done. Just type the question directly into the chat on the left.
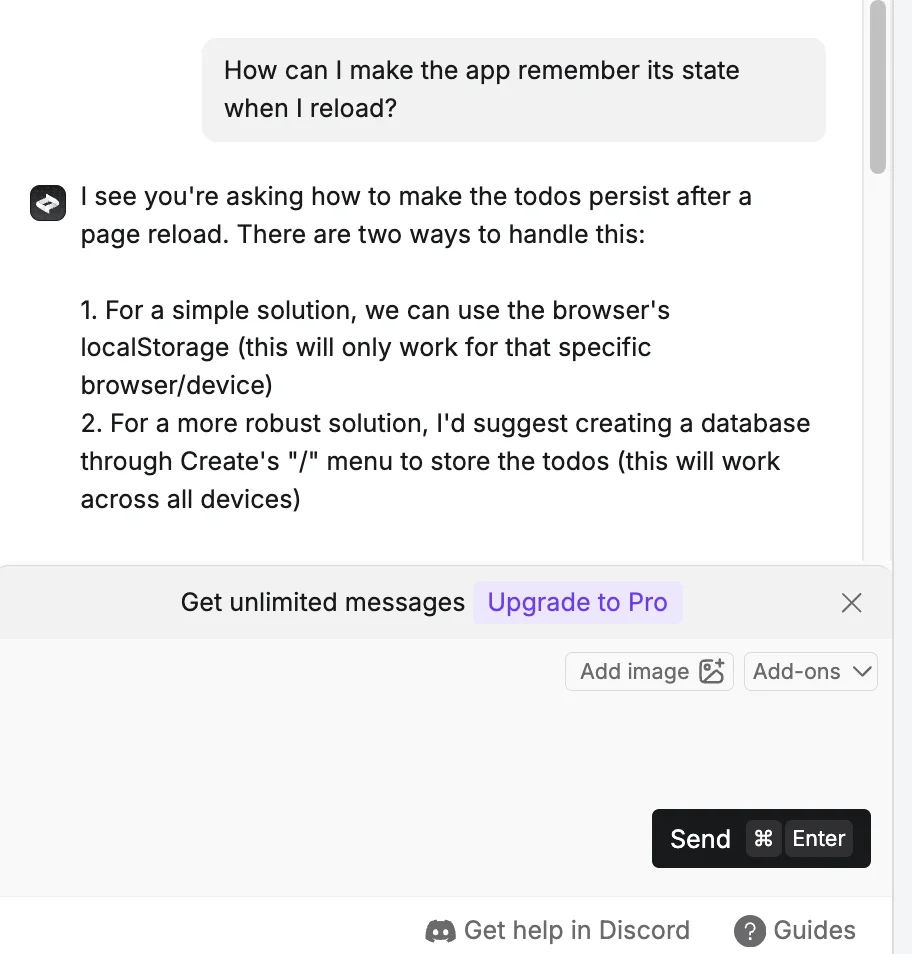
The second suggestion to add a database sounds like the most robust, so let’s go ahead and do that.
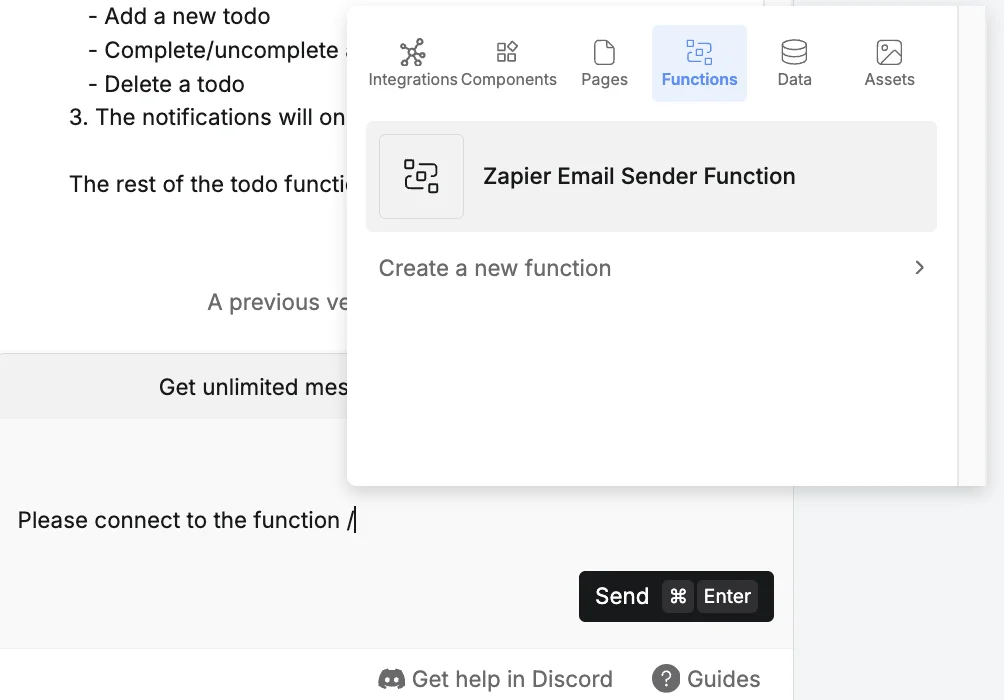
Create makes it easy to add a database to your app. Just start typing the following prompt, with a / (slash) at the end.
Add a database to save todos. Here it is /
When you type /, a popup will appear. Select the “Data” tab at the top, scroll down, select ‘Create a database’ and then give it a name and click ‘Save database’.
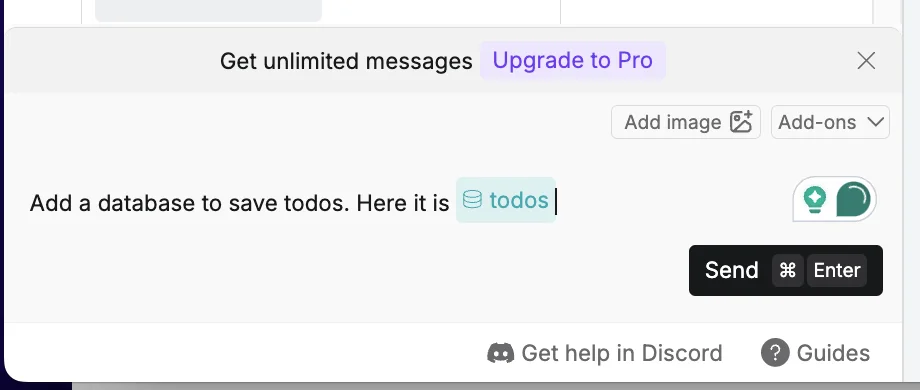
I gave mine the name ‘todos’ and once you click save, the database appears as a mapped icon in the prompt. Click “Send” when that’s done.
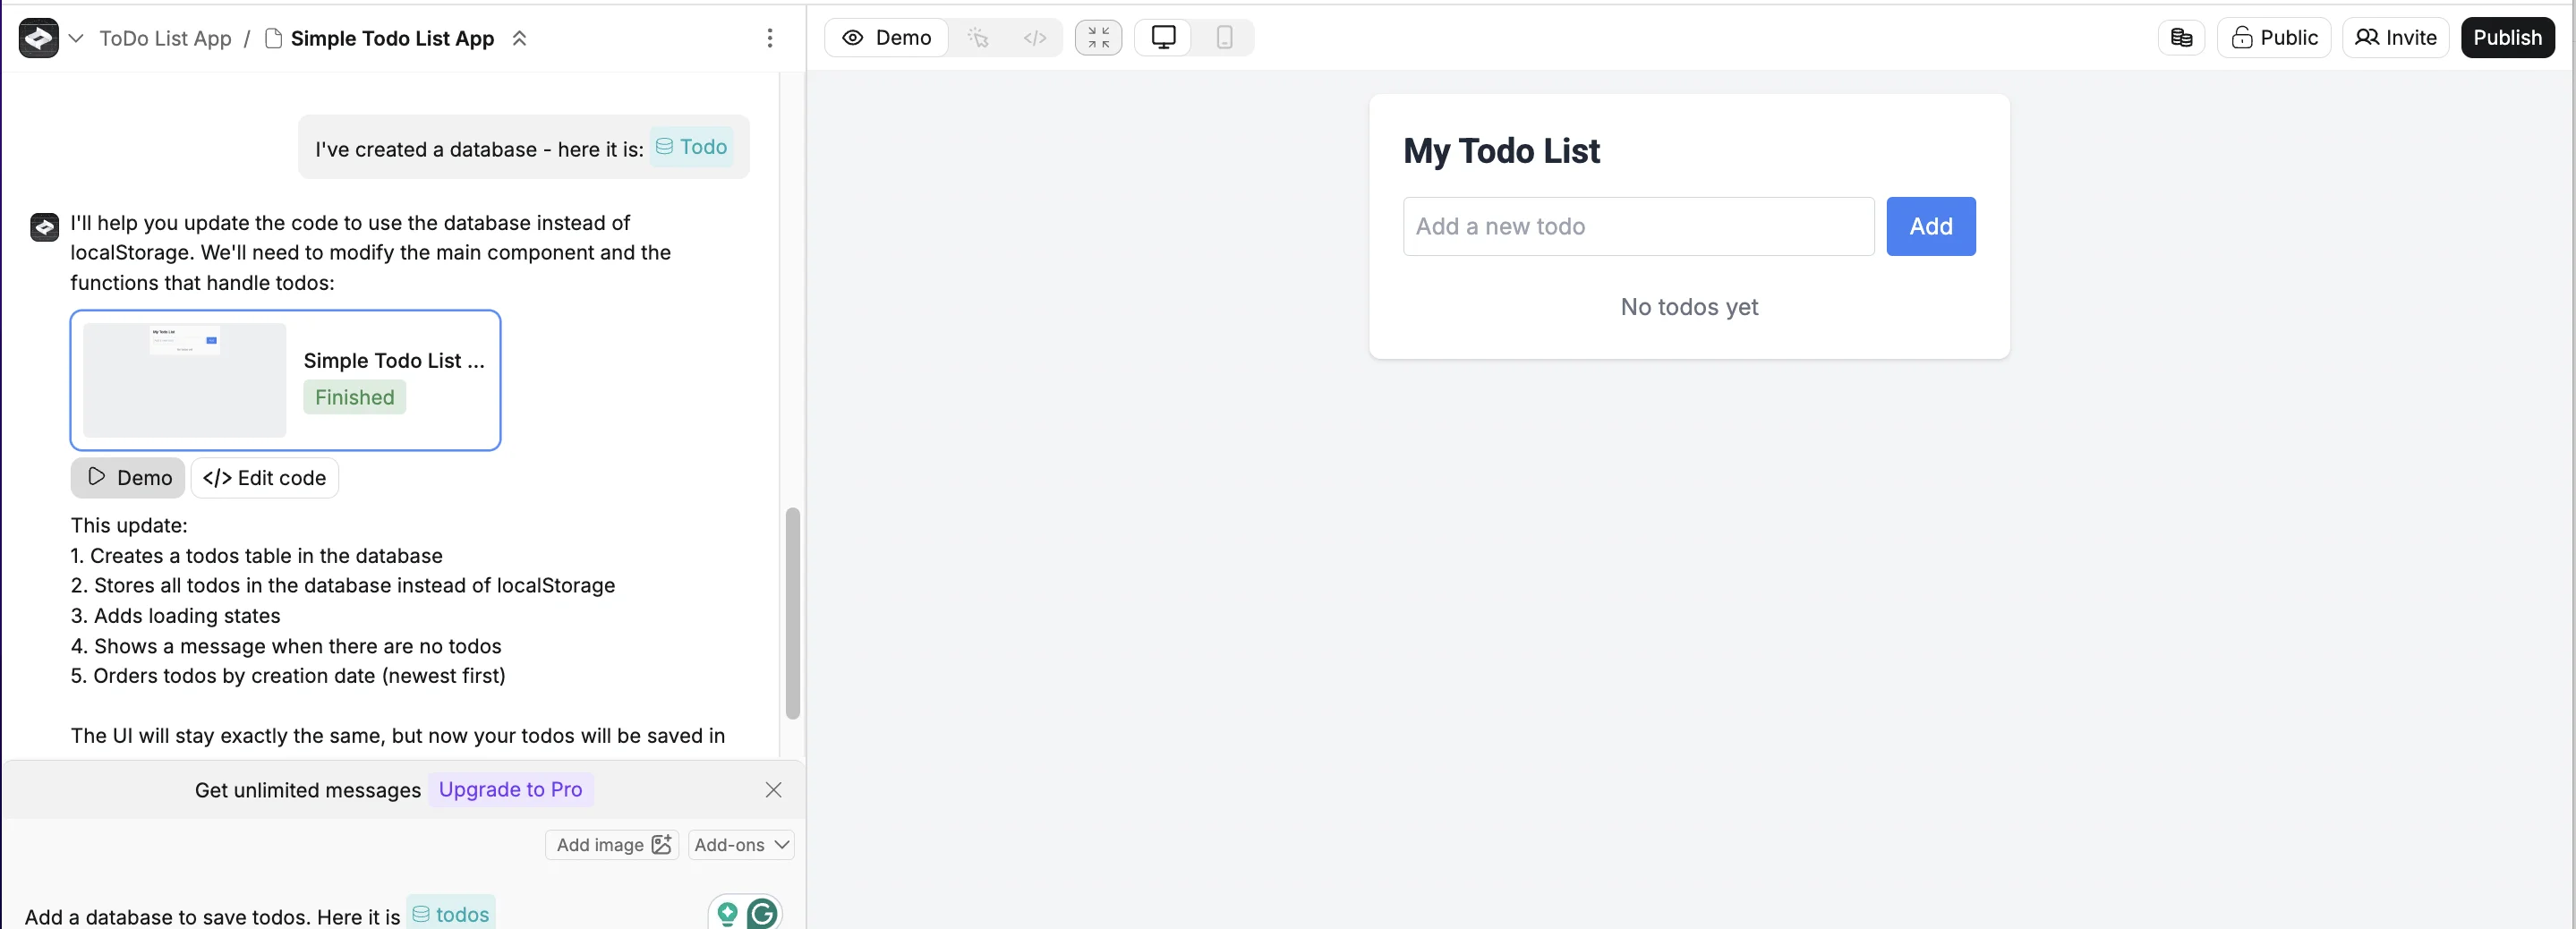
Create will get to work updating our app. When it’s done it lets us know that visually it looks the same, but now todo items will be saved to a database making them permanently available, even when we close and reload the app. Great!
Step 3: Connect the app to Zapier
Create has something called ‘functions’ that allow you to connect your app to external services.
In this case, I want to connect the todo app to Zapier, so I can have it send me an email when a todo is added.
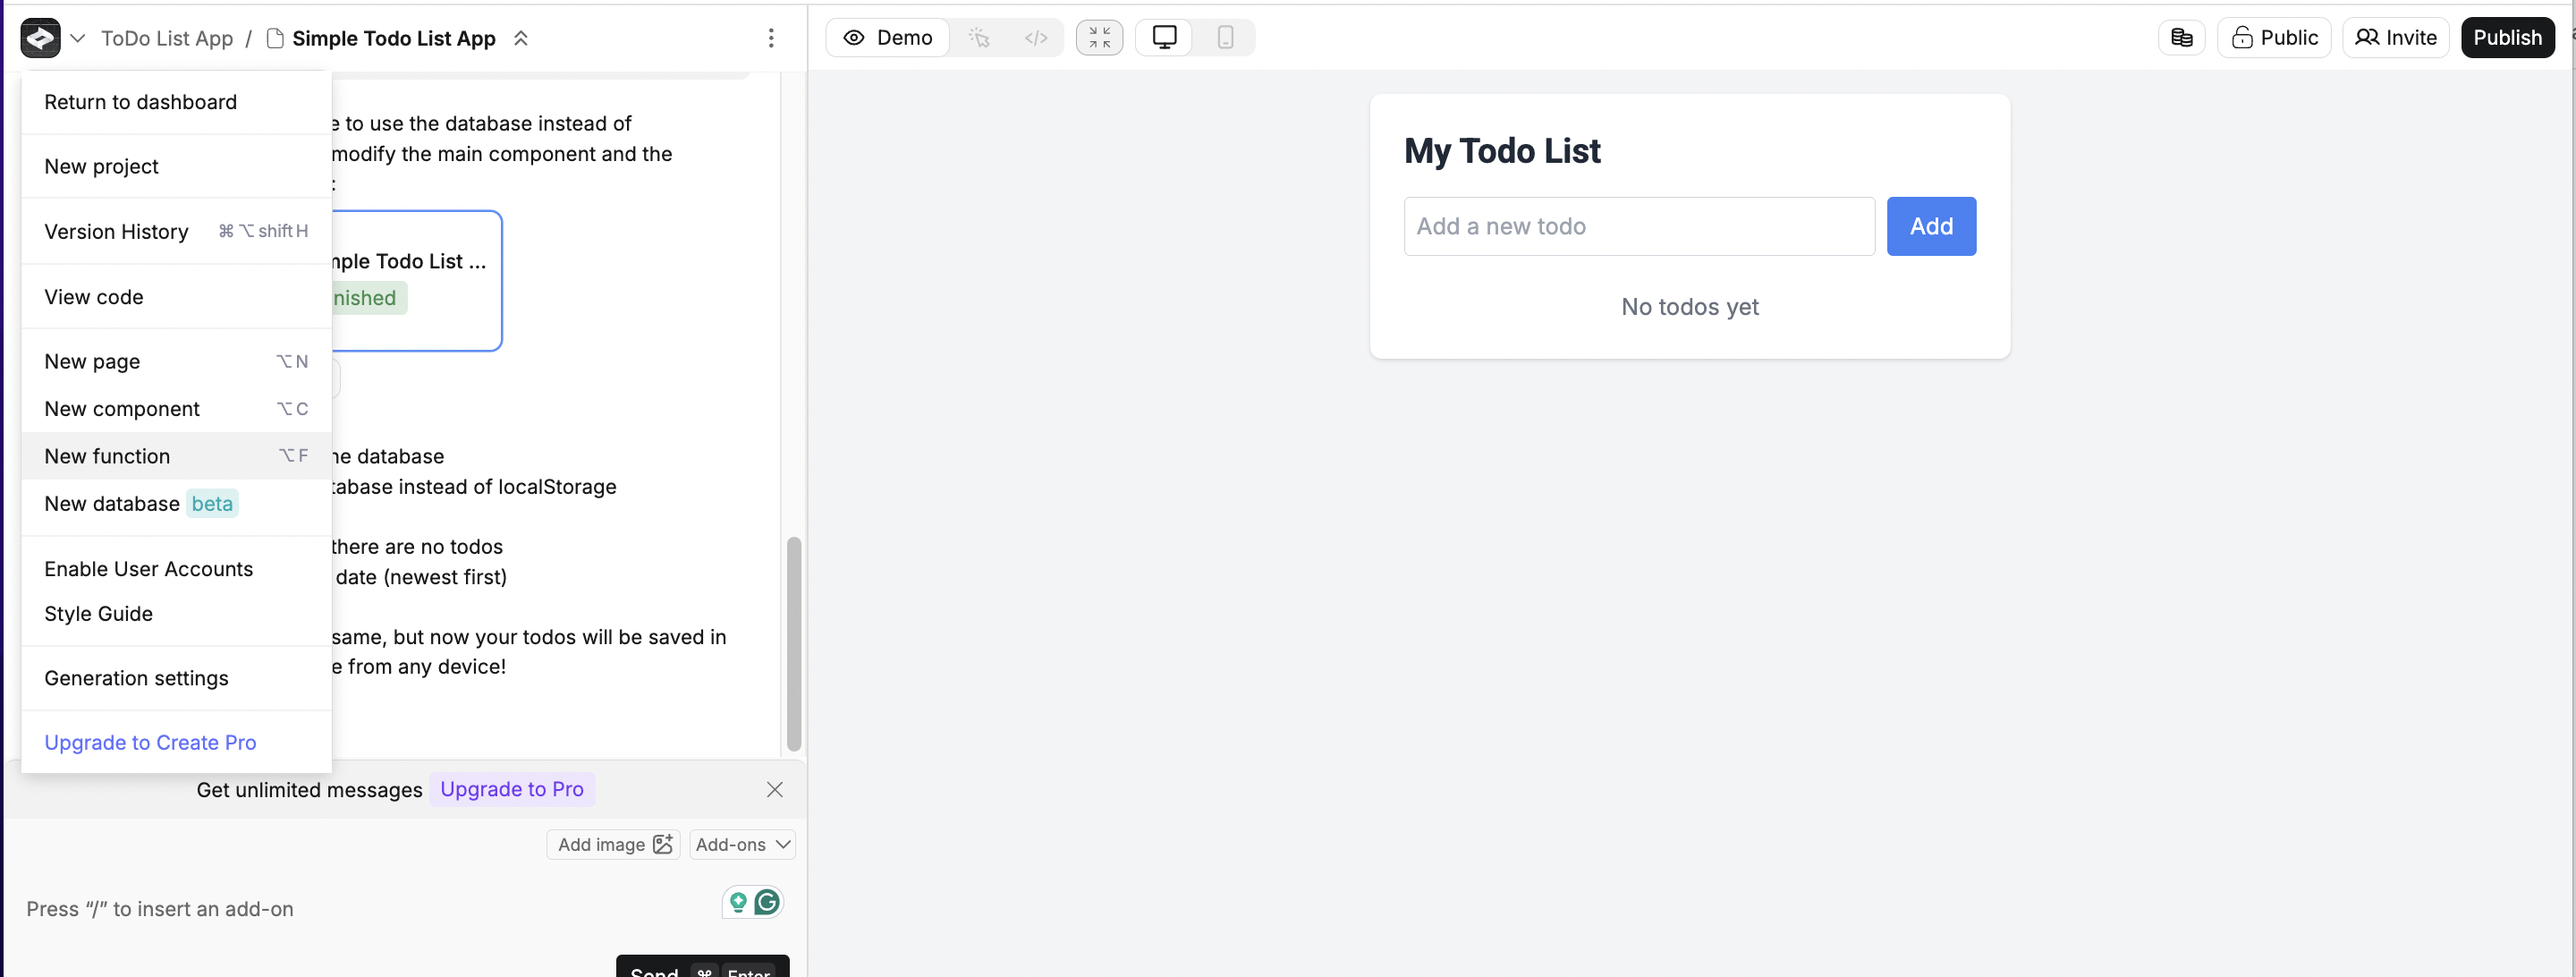
Click the Create icon in the top left and then select “New function”.
It’ll open up a new page in the editor with its own AI chat window. Helpfully “send email w/ zapier” is a suggestion option. Click it.
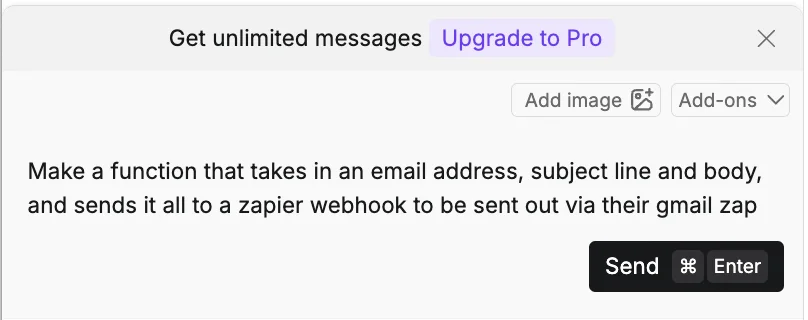
This in turn pre-populates a prompt.
Make a function that takes in an email address, subject line and body, and sends it all to a zapier webhook to be sent out via their gmail zap
Quickly, Create builds out the function for us, with the process visualised on the right.
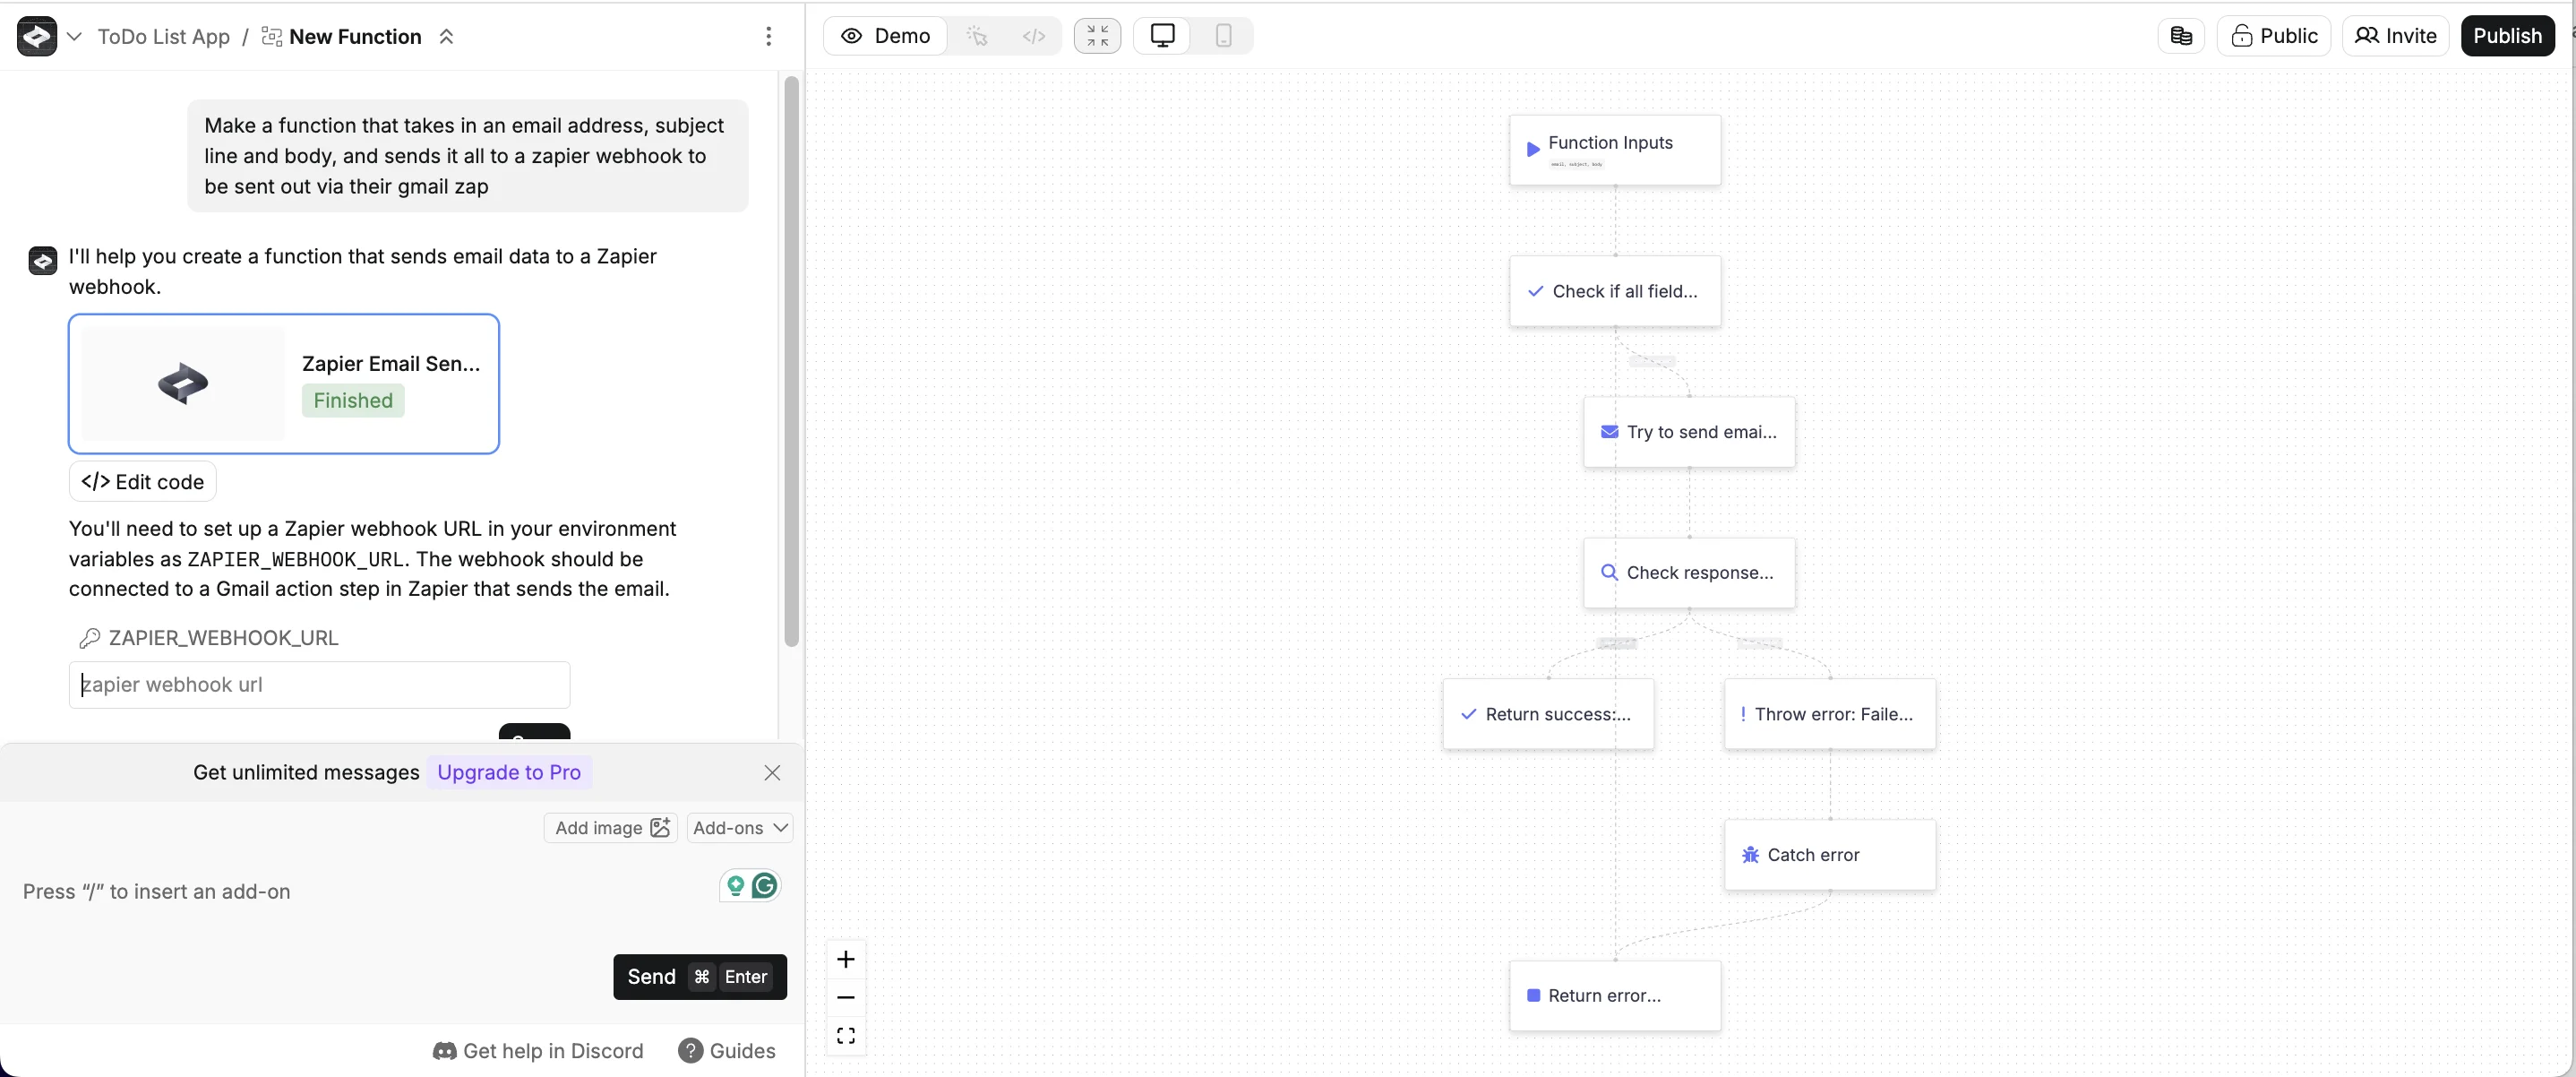
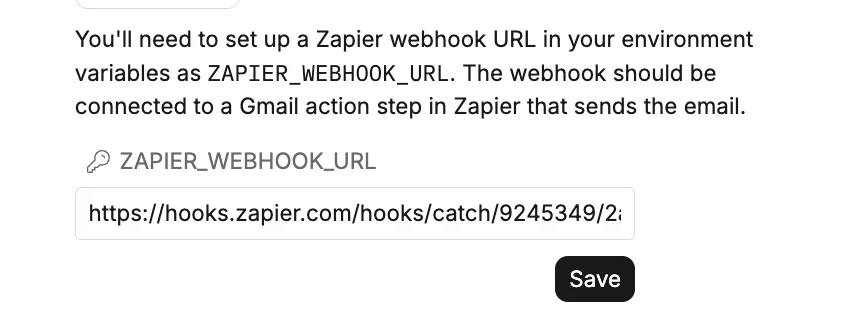
In the chat, it’s asking us for a webhook URL from Zapier.
If you’re familiar with Zapier, you’ll know you can get that by setting up a new zap with a “Webhook > Catch Hook” trigger and then selecting the URL from the ‘Test’ tab.
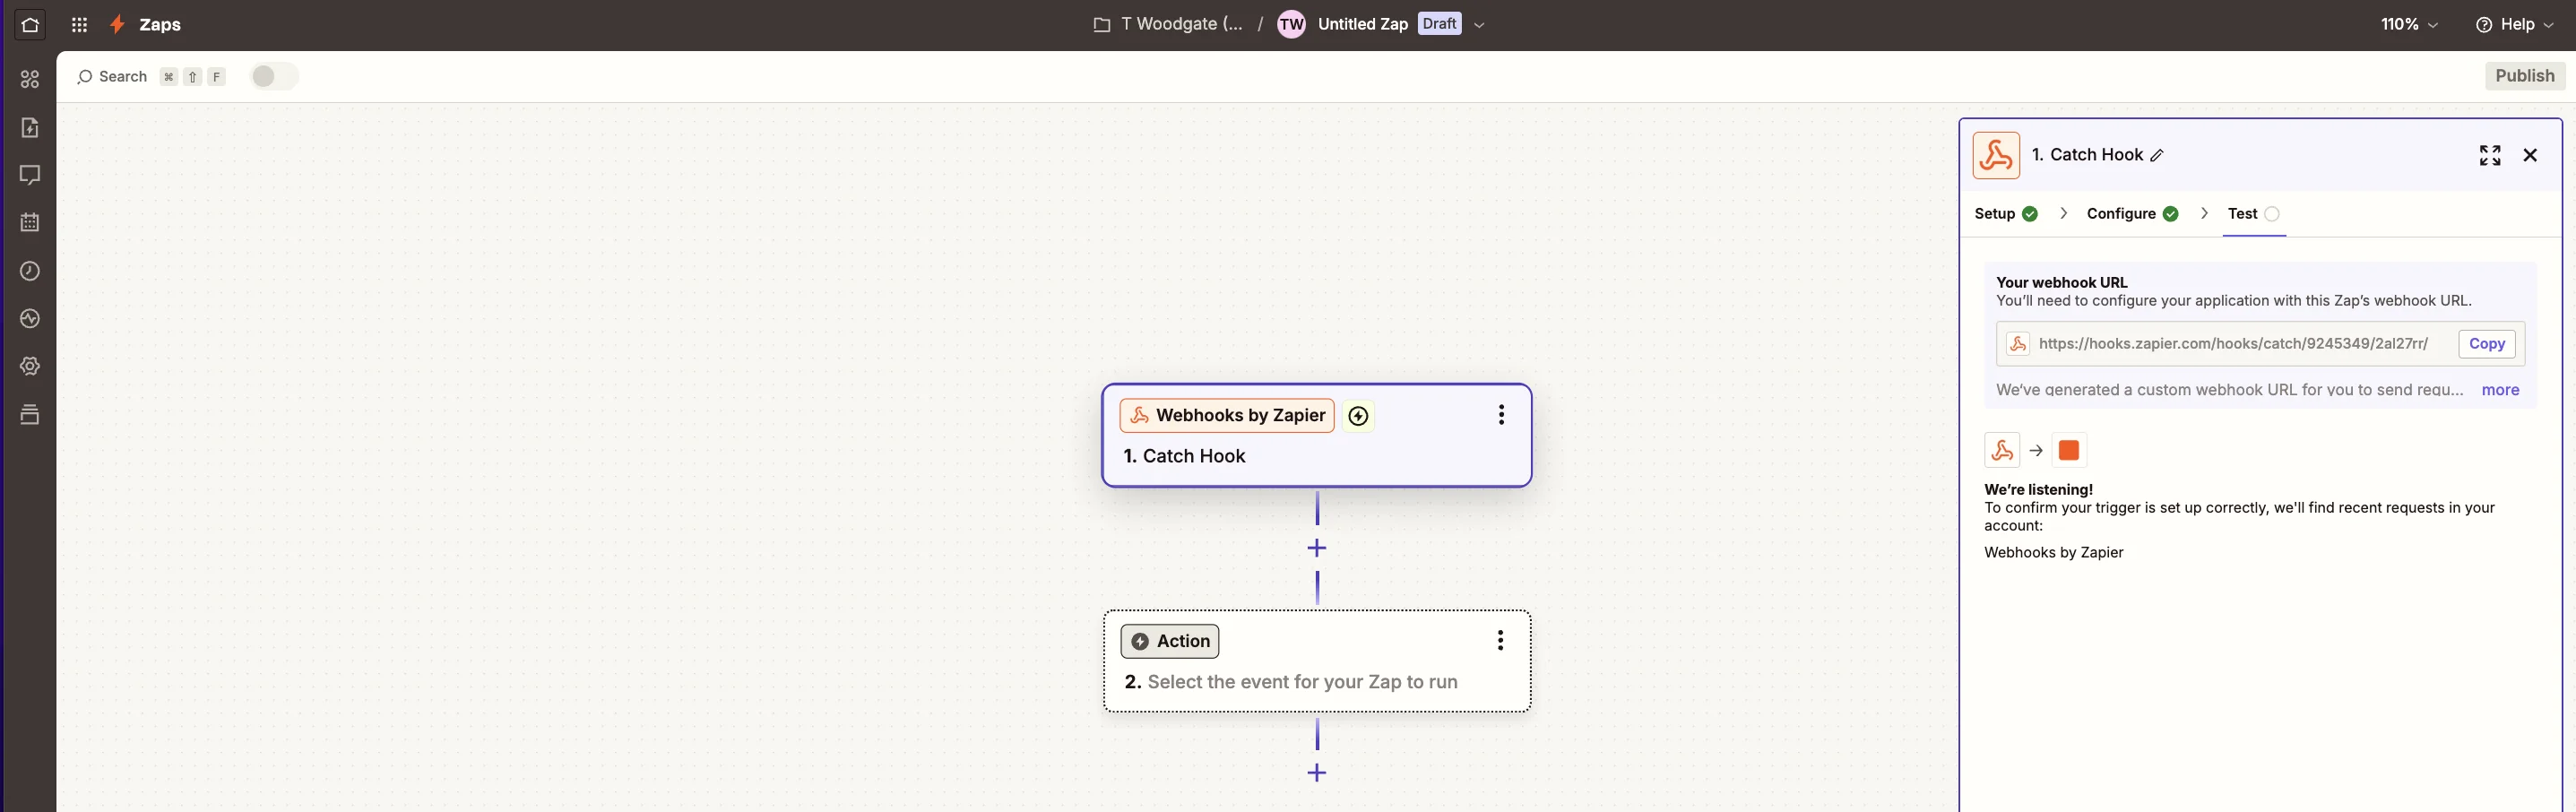
Paste that URL where asked in the Create chat and click “Save”.
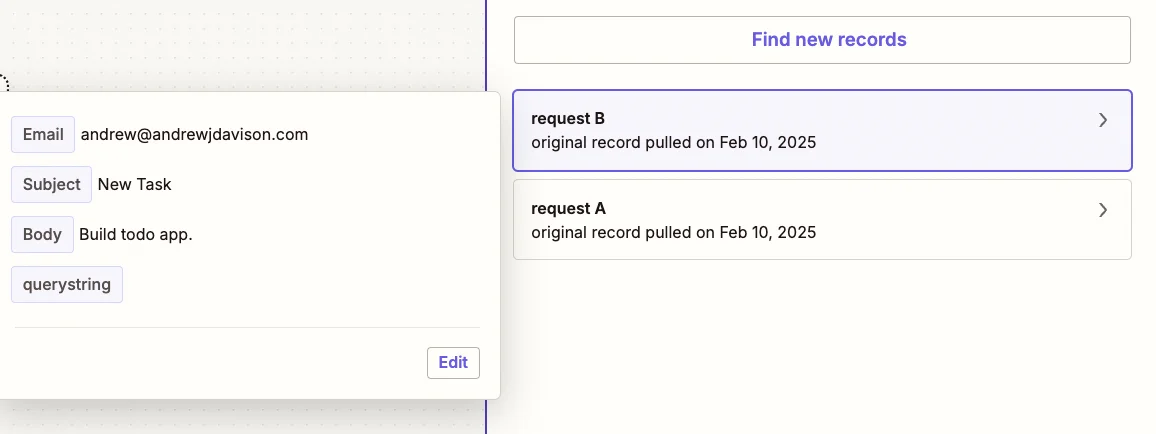
Once saved, you can click the ellipses icon at the top and select “Run Test” and then set up a test send to the webhook. We have to give three fields: ‘body’, ‘email’ and ‘subject’.
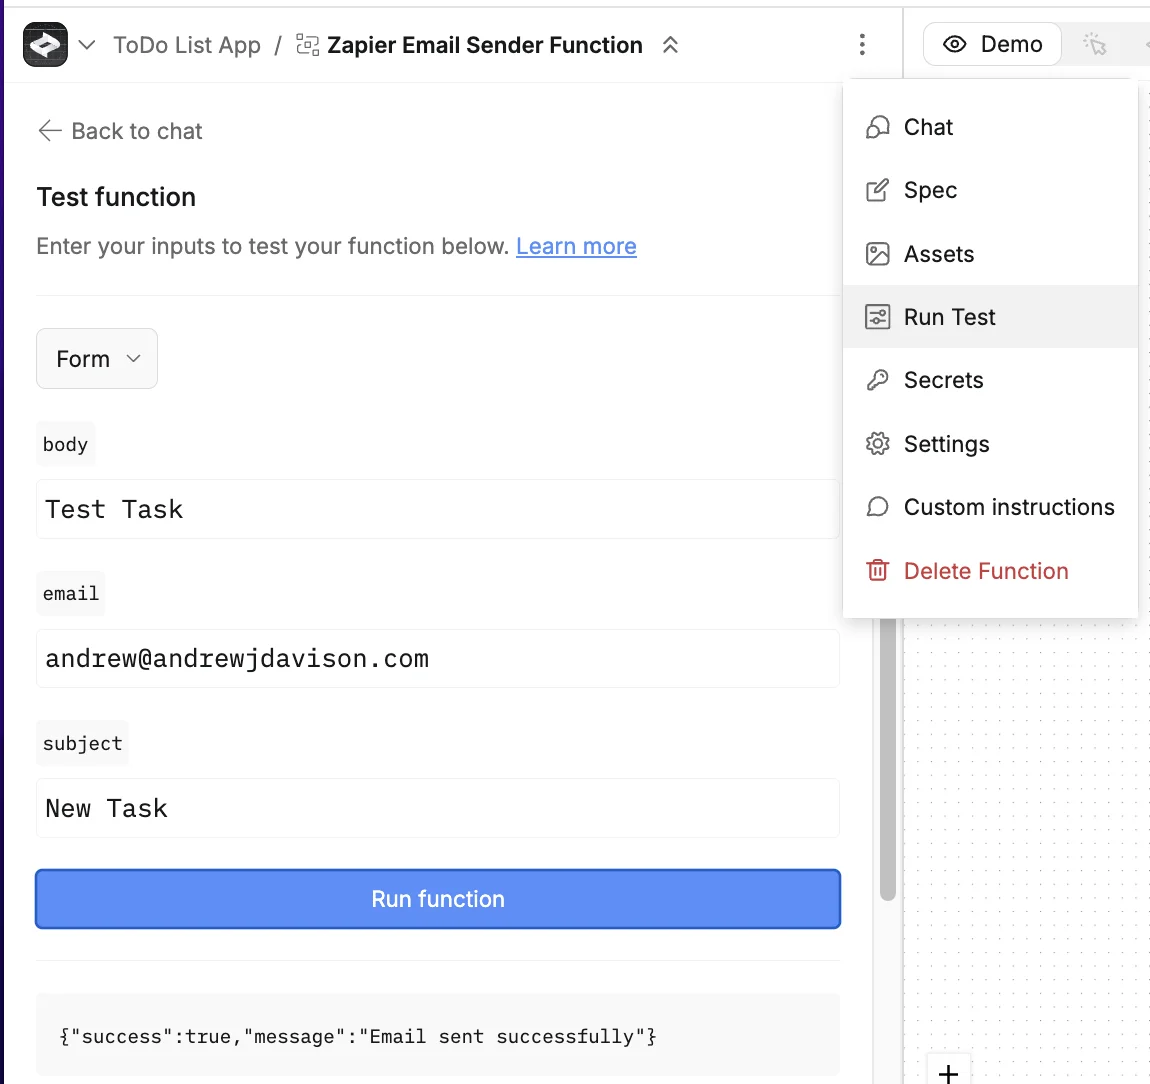
Checking Zapier, that was received - our function is working!
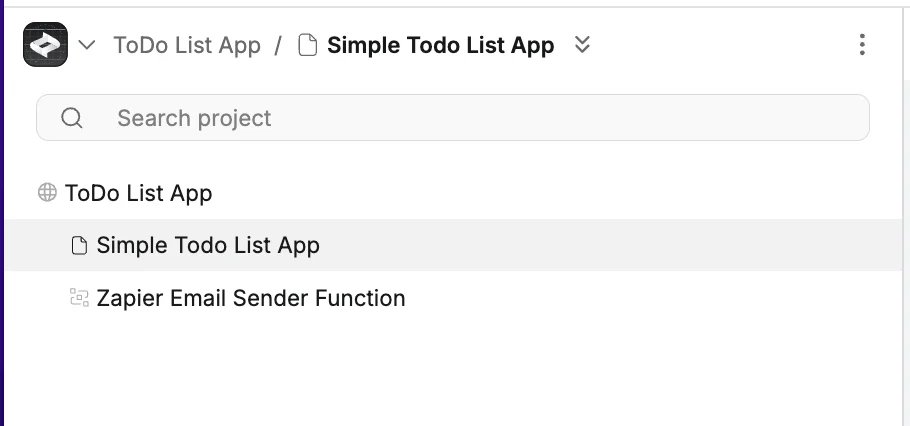
Back in Create, select the “Simple Todo List App” option via the navigation dropdown to bring us back to the original chat and preview.
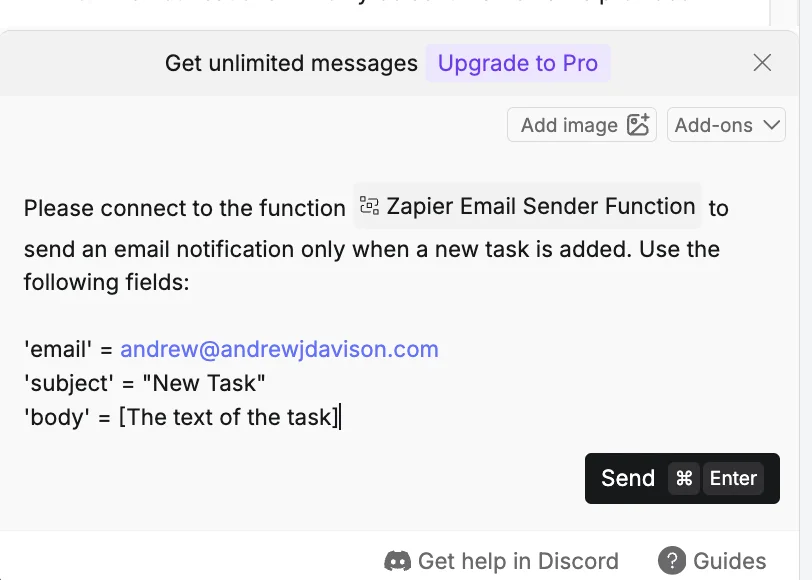
Now we need to connect our app to the function we just built. To do that use the following prompt, with a / (slash) in the middle, select the “Functions” tab from the top of the popup and then select the ‘Zapier Email Sender Function’.
We’ll also include information on what to put into the three fields we know the function needs.
Please connect to the function Zapier Email Sender Function to send an email notification only when a new task is added. Use the following fields:'
email' = andrew@andrewjdavison.com
'subject' = "New Task"
'body' = [The text of the task]
The full prompt will look like this. Click “Send”.
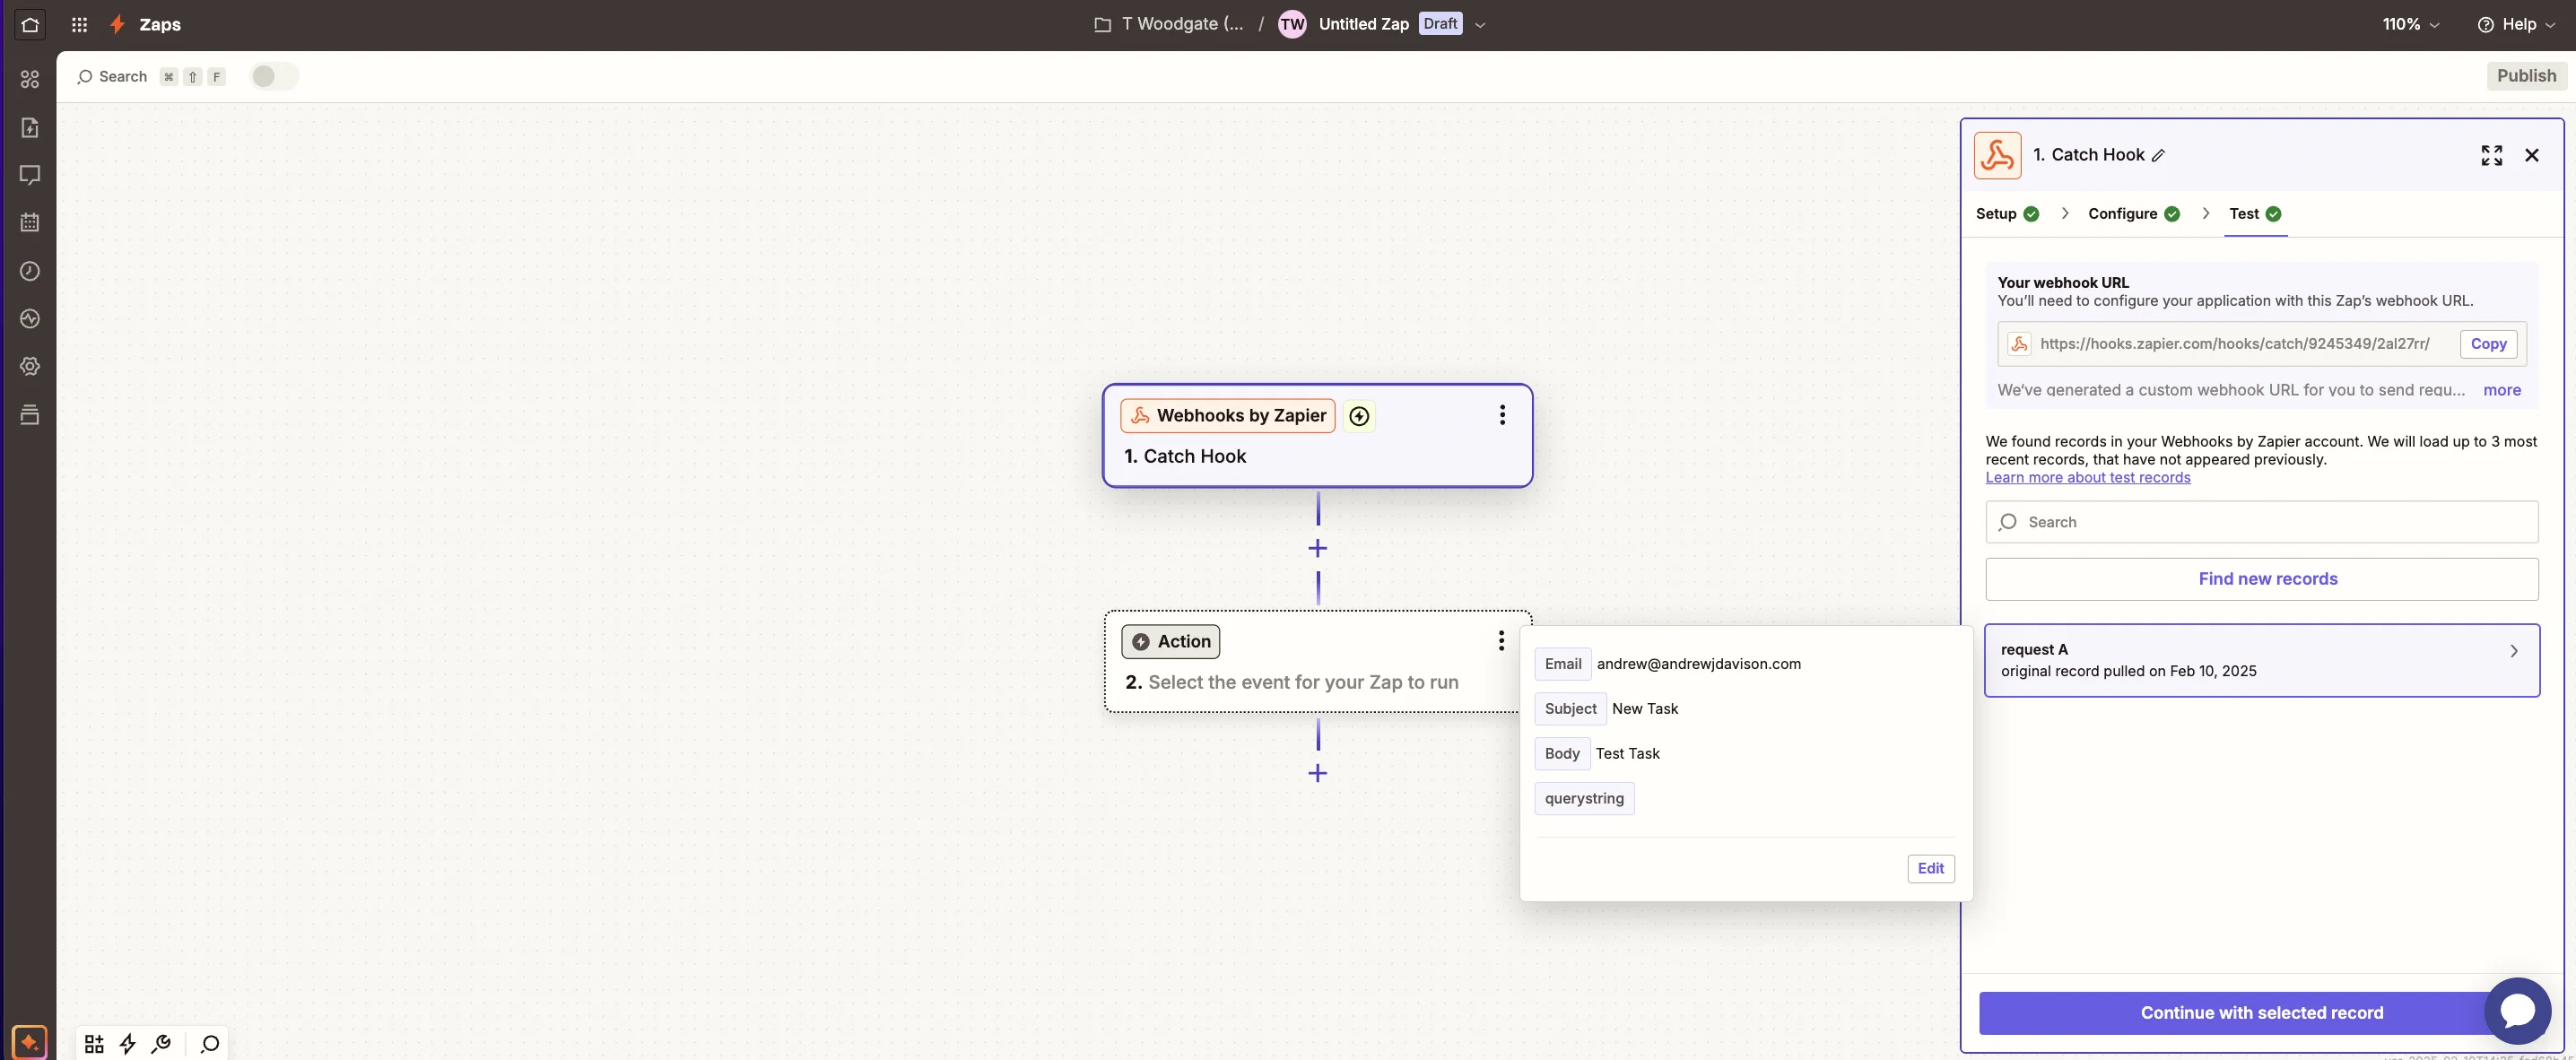
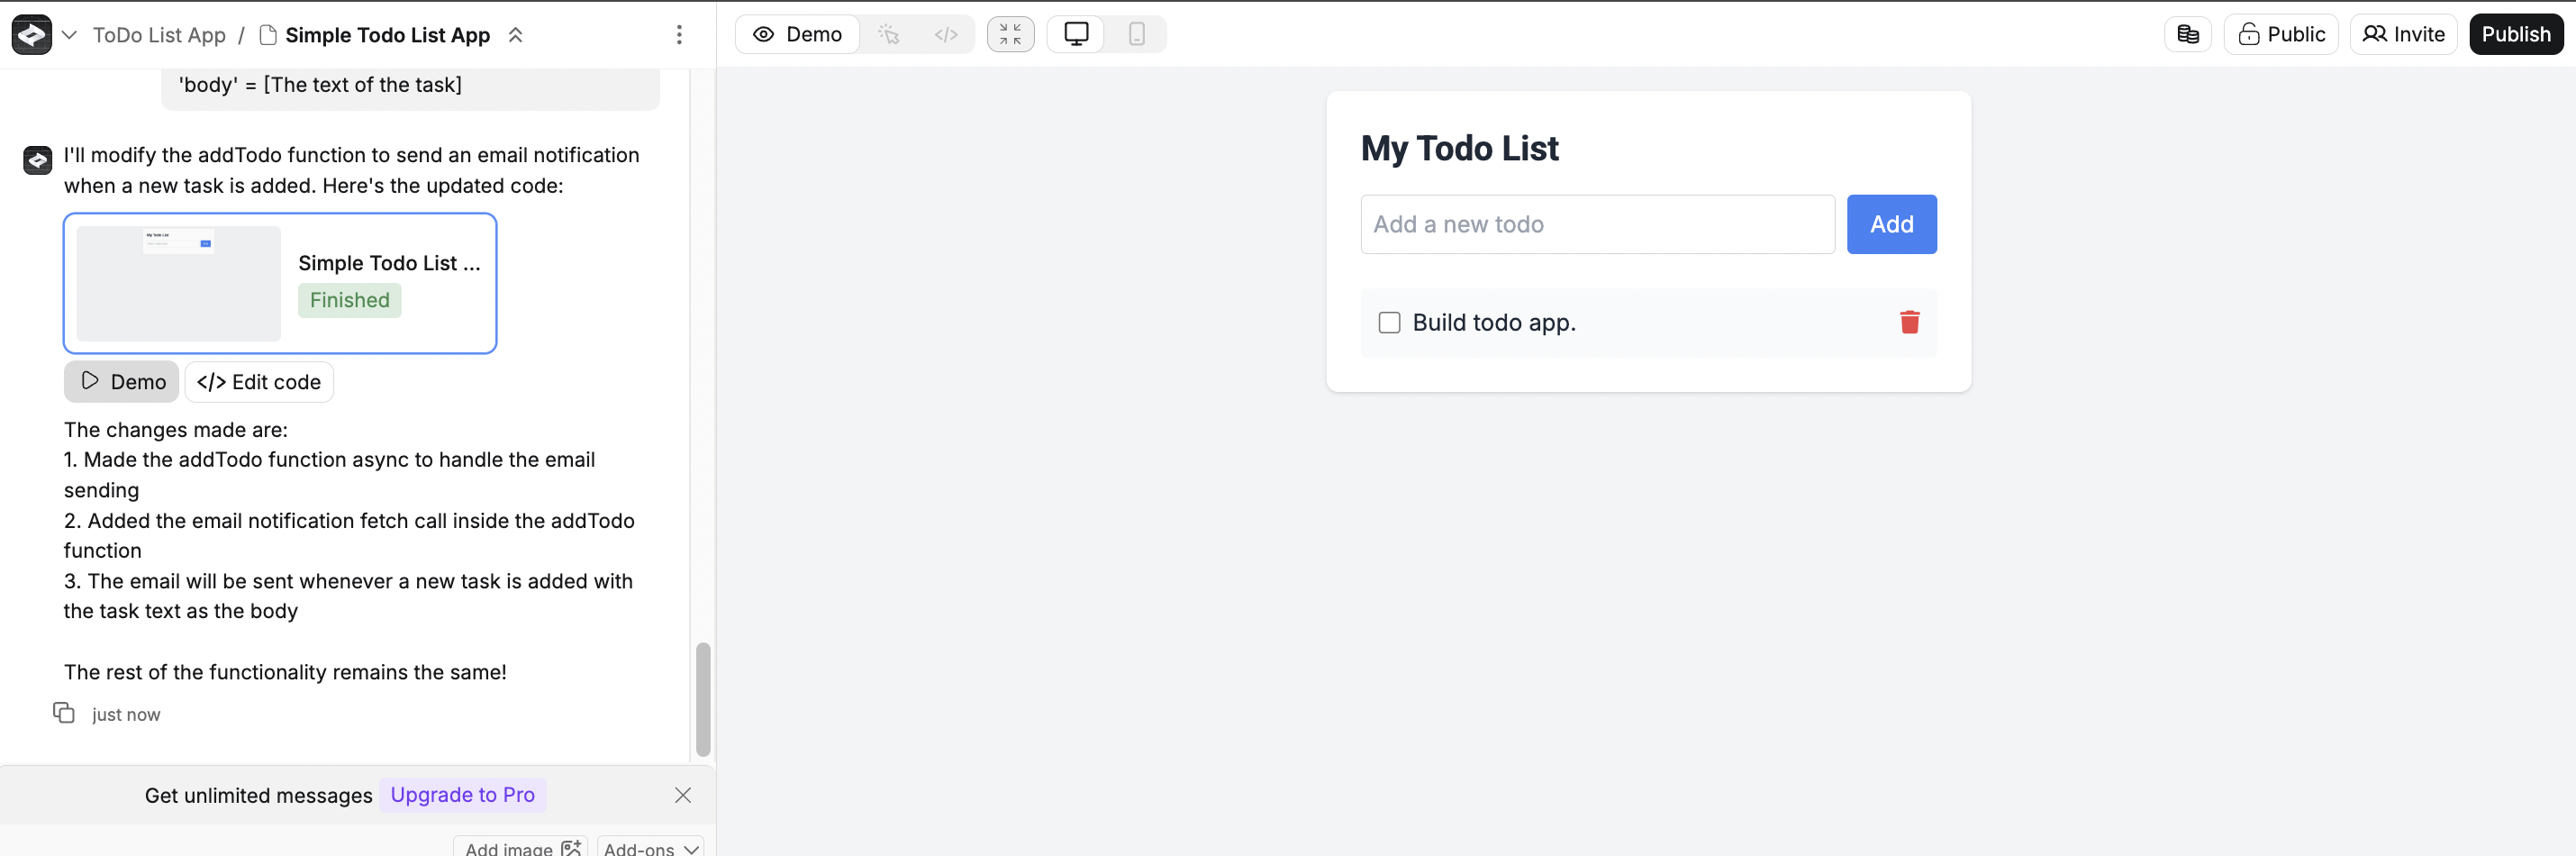
Create is finished with the changes, so let’s test by adding a new to-do item.
Testing in Zapier, there it is. Success!
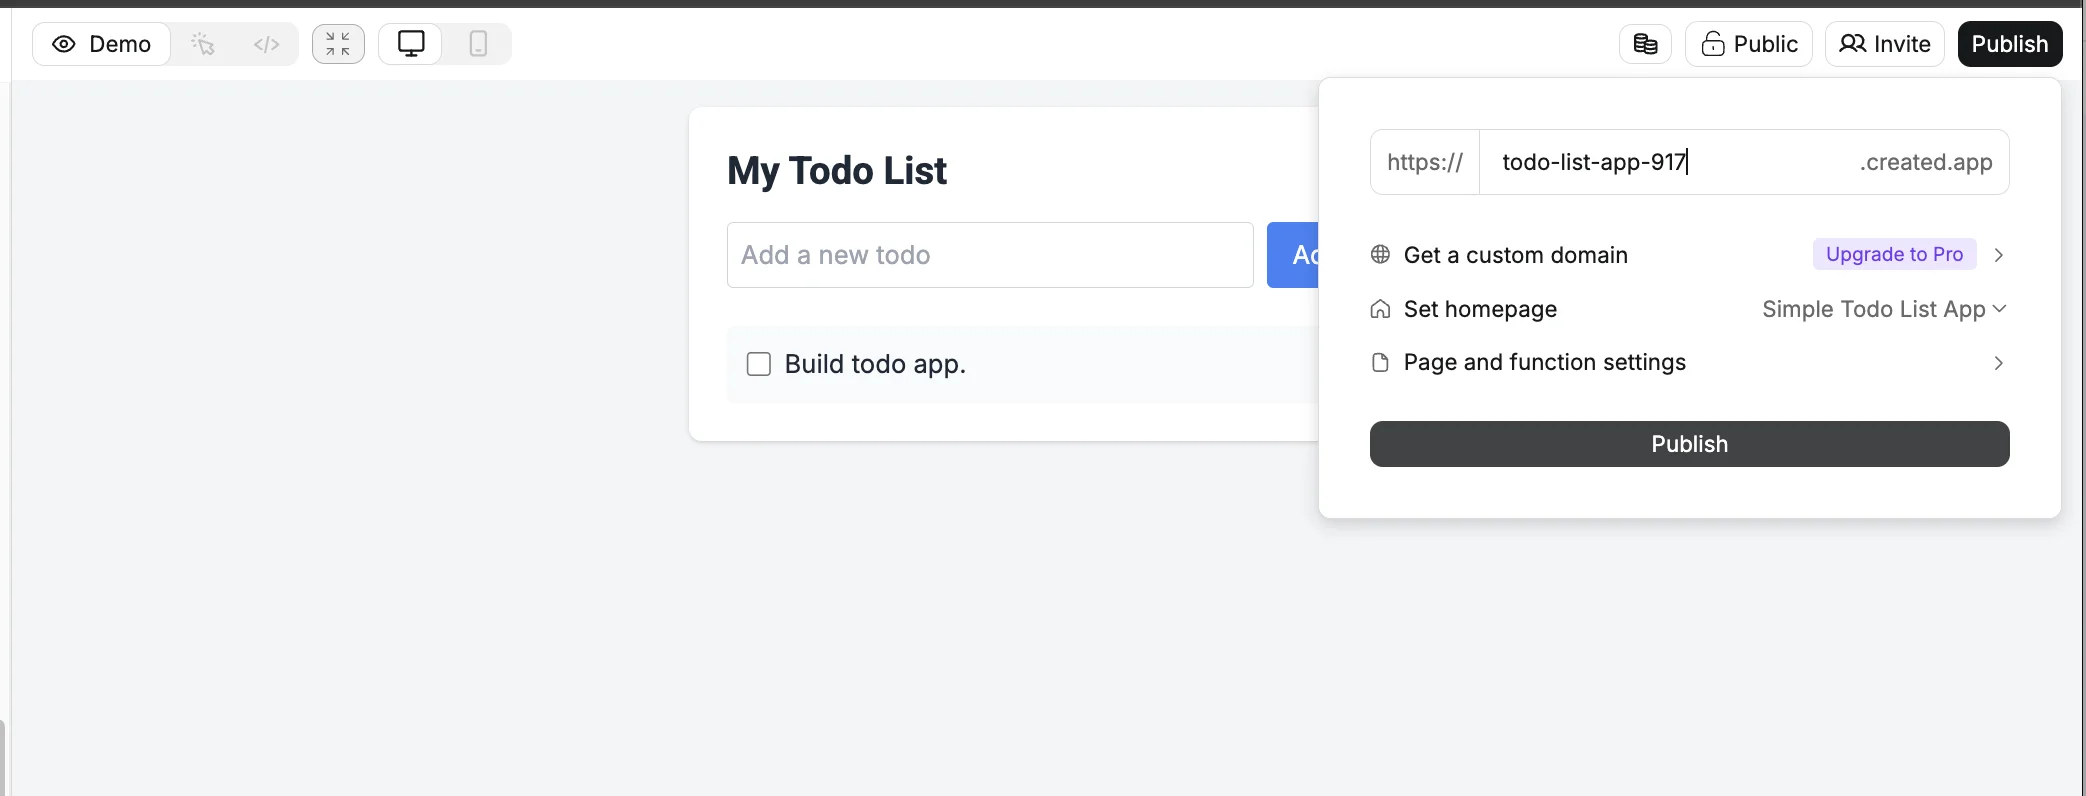
Step 4: Publish the app
It’s time for our app to go live. To make that happen click “Publish” in the top right.
Every app gets its own subdomain under ‘.created.app’ (you can also add a custom domain on the Pro plan).
Let’s stick with the default options for now. Click “Publish” when you’re ready.
Once it’s ready, click “View site” and marvel at your new app in all its glory!

This tutorial was created by Andrew.