Build flowcharts from Standard Operating Procedures (SOPs)
Use Miro’s AI to transform an SOP document into a flow chart.
2024-11-13
Flowcharts are extremely helpful in communicating and training people on standard operating procedures (SOPs). However, they are time-consuming to create and maintain. In the past, to make a flowchart, you’d need to manually create process shapes, drag-and-drop arrows across the process shapes, and label and color-code everything for hours on end.
But not anymore! Miro, a no-code process visualization tool, has an AI creation and editing feature that makes turning process documents into visualizations a breeze. In this tutorial, we’re going to use Miro’s AI tools to transform an SOP document into a flowchart and embed it back into the SOP document.
You could use a tool like Napkin AI or Claude to create flowcharts from SOP documents as well, but across all our testing, we found Miro’s AI for this workflow to be the best, not only for its speed but its accuracy and flowchart editing capabilities as well, which is extremely important for this type of use case.
Steps we’ll follow in this tutorial:
- Create, collect, and organize your SOPs
- Prompt Miro with your SOP
- Edit your flowchart
- Export your flowchart and embed it into your SOP
Let’s dive in!
Tools Needed:
- Miro
- ChatGPT (Optional)
Step 1: Create, collect, and organize your SOPs
To get started, you’ll need a structured standard operating procedure (SOP) document to feed into Miro. If you don’t have an SOP document, we can use ChatGPT to transform process notes, meeting notes, or bullets into a structured SOP document.
To create an SOP document from a set of notes, go to ChatGPT and request an SOP with a prompt including your notes or process bullets pasted below.
Sample Prompt:
Turn the below process bullets into a structured SOP document:
[insert process notes]
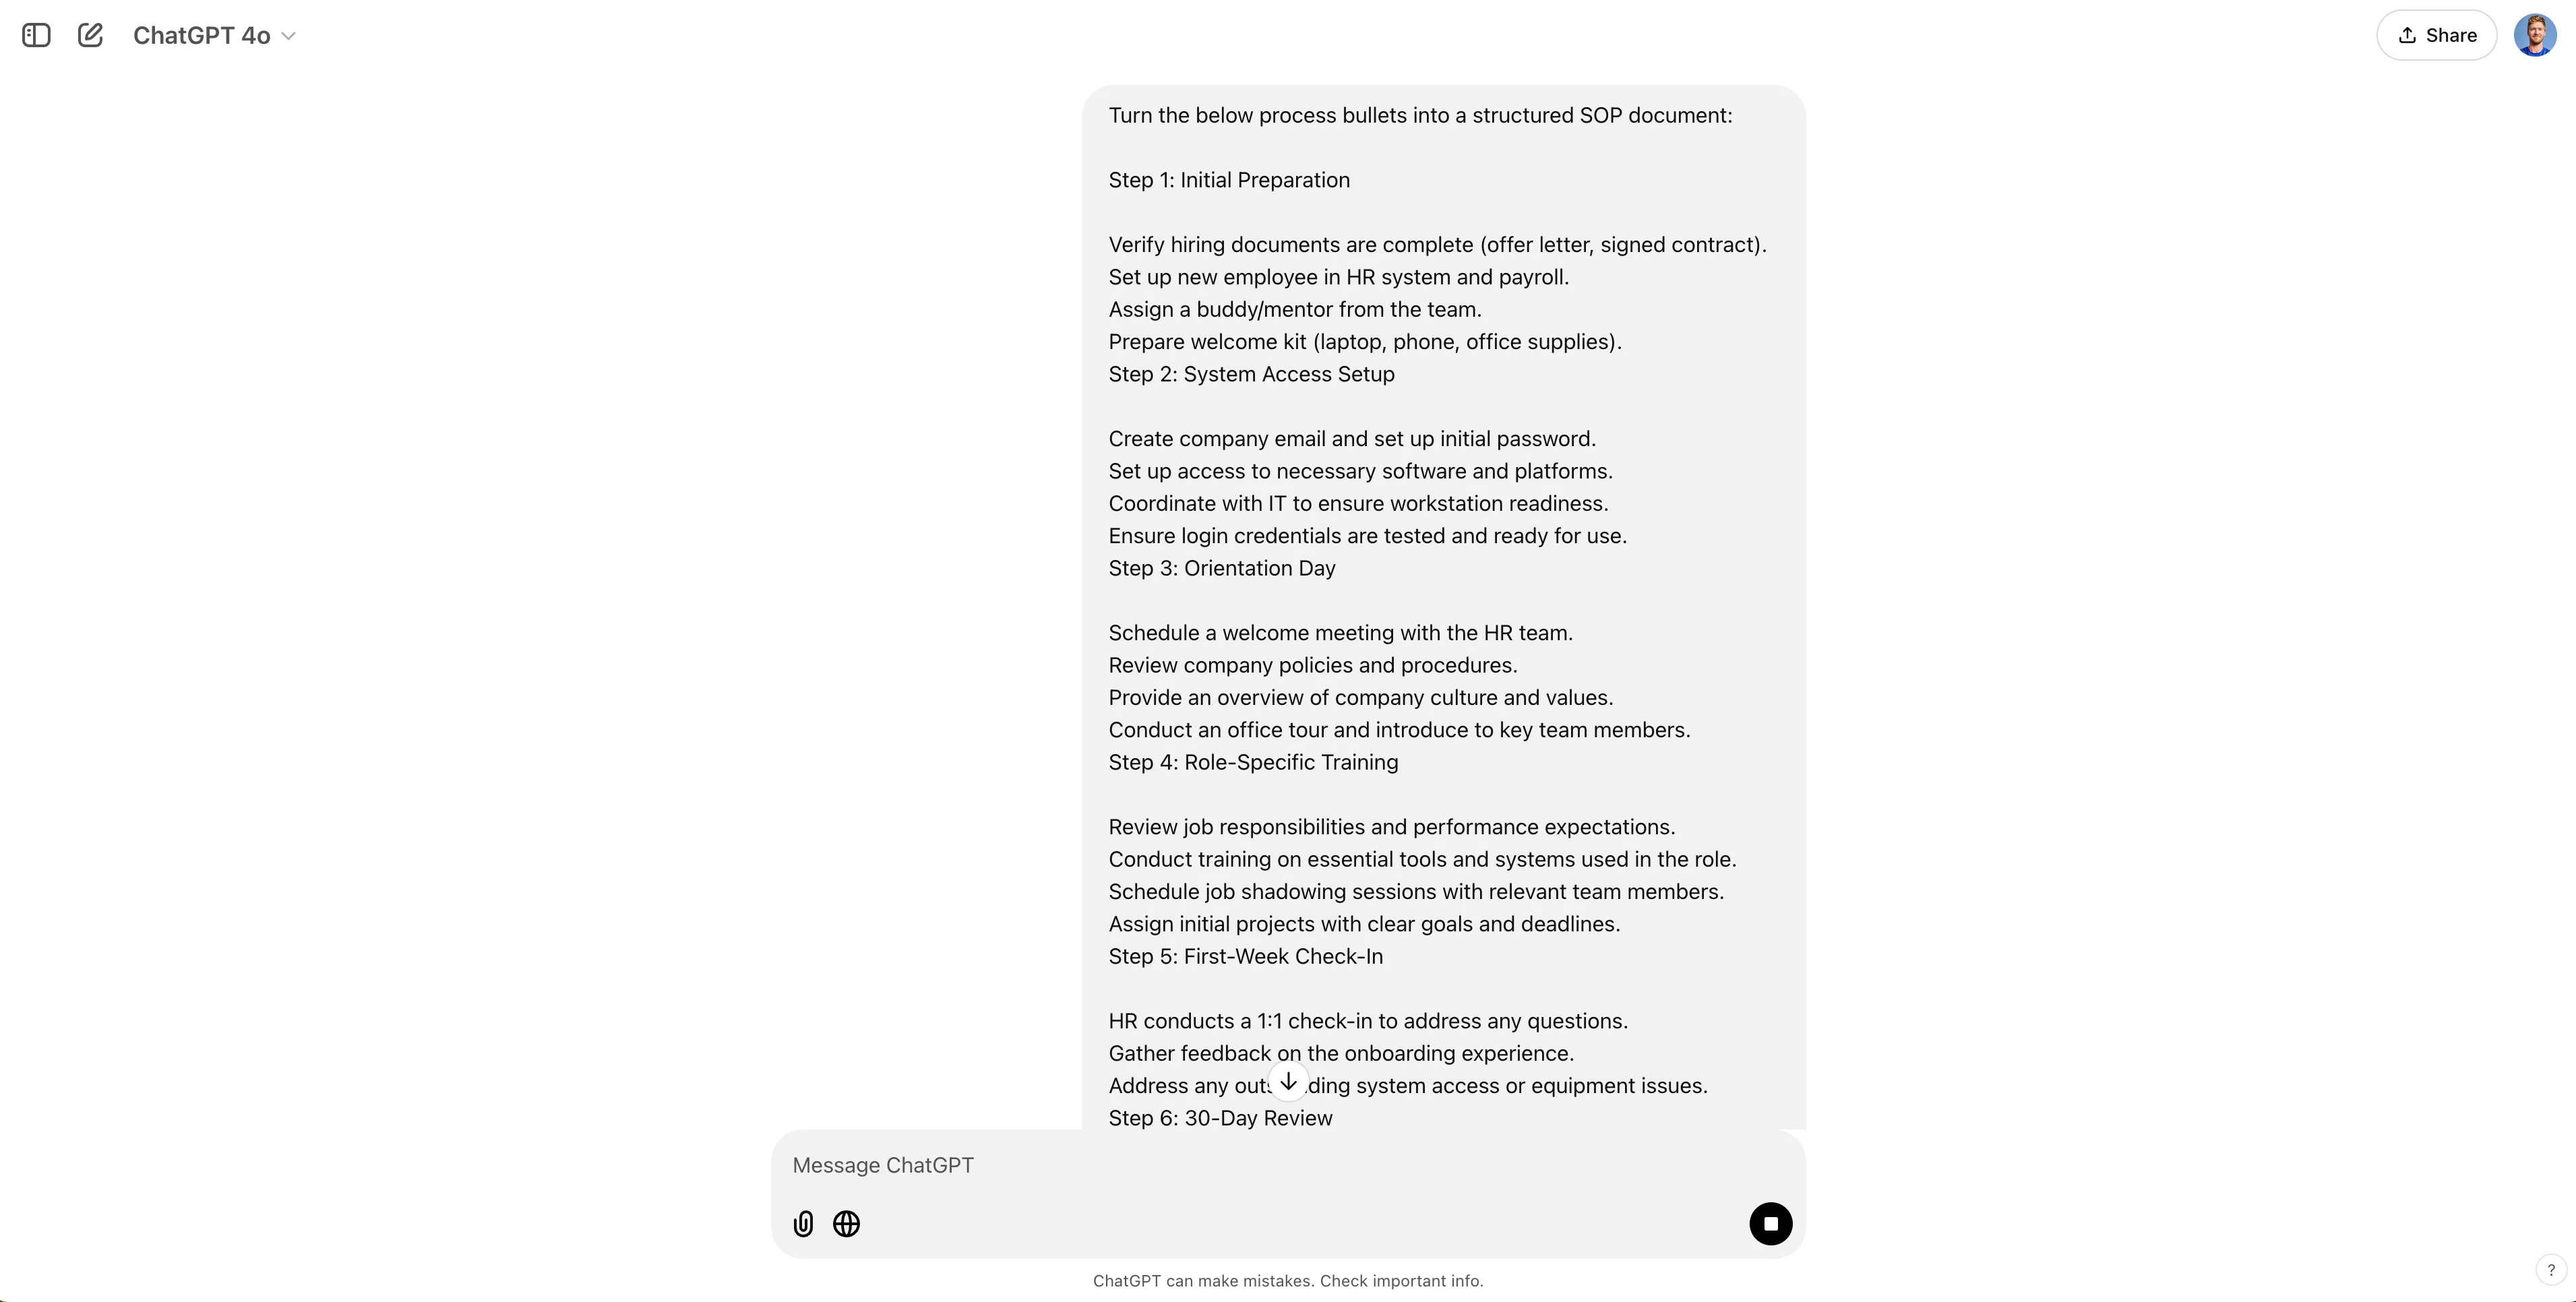
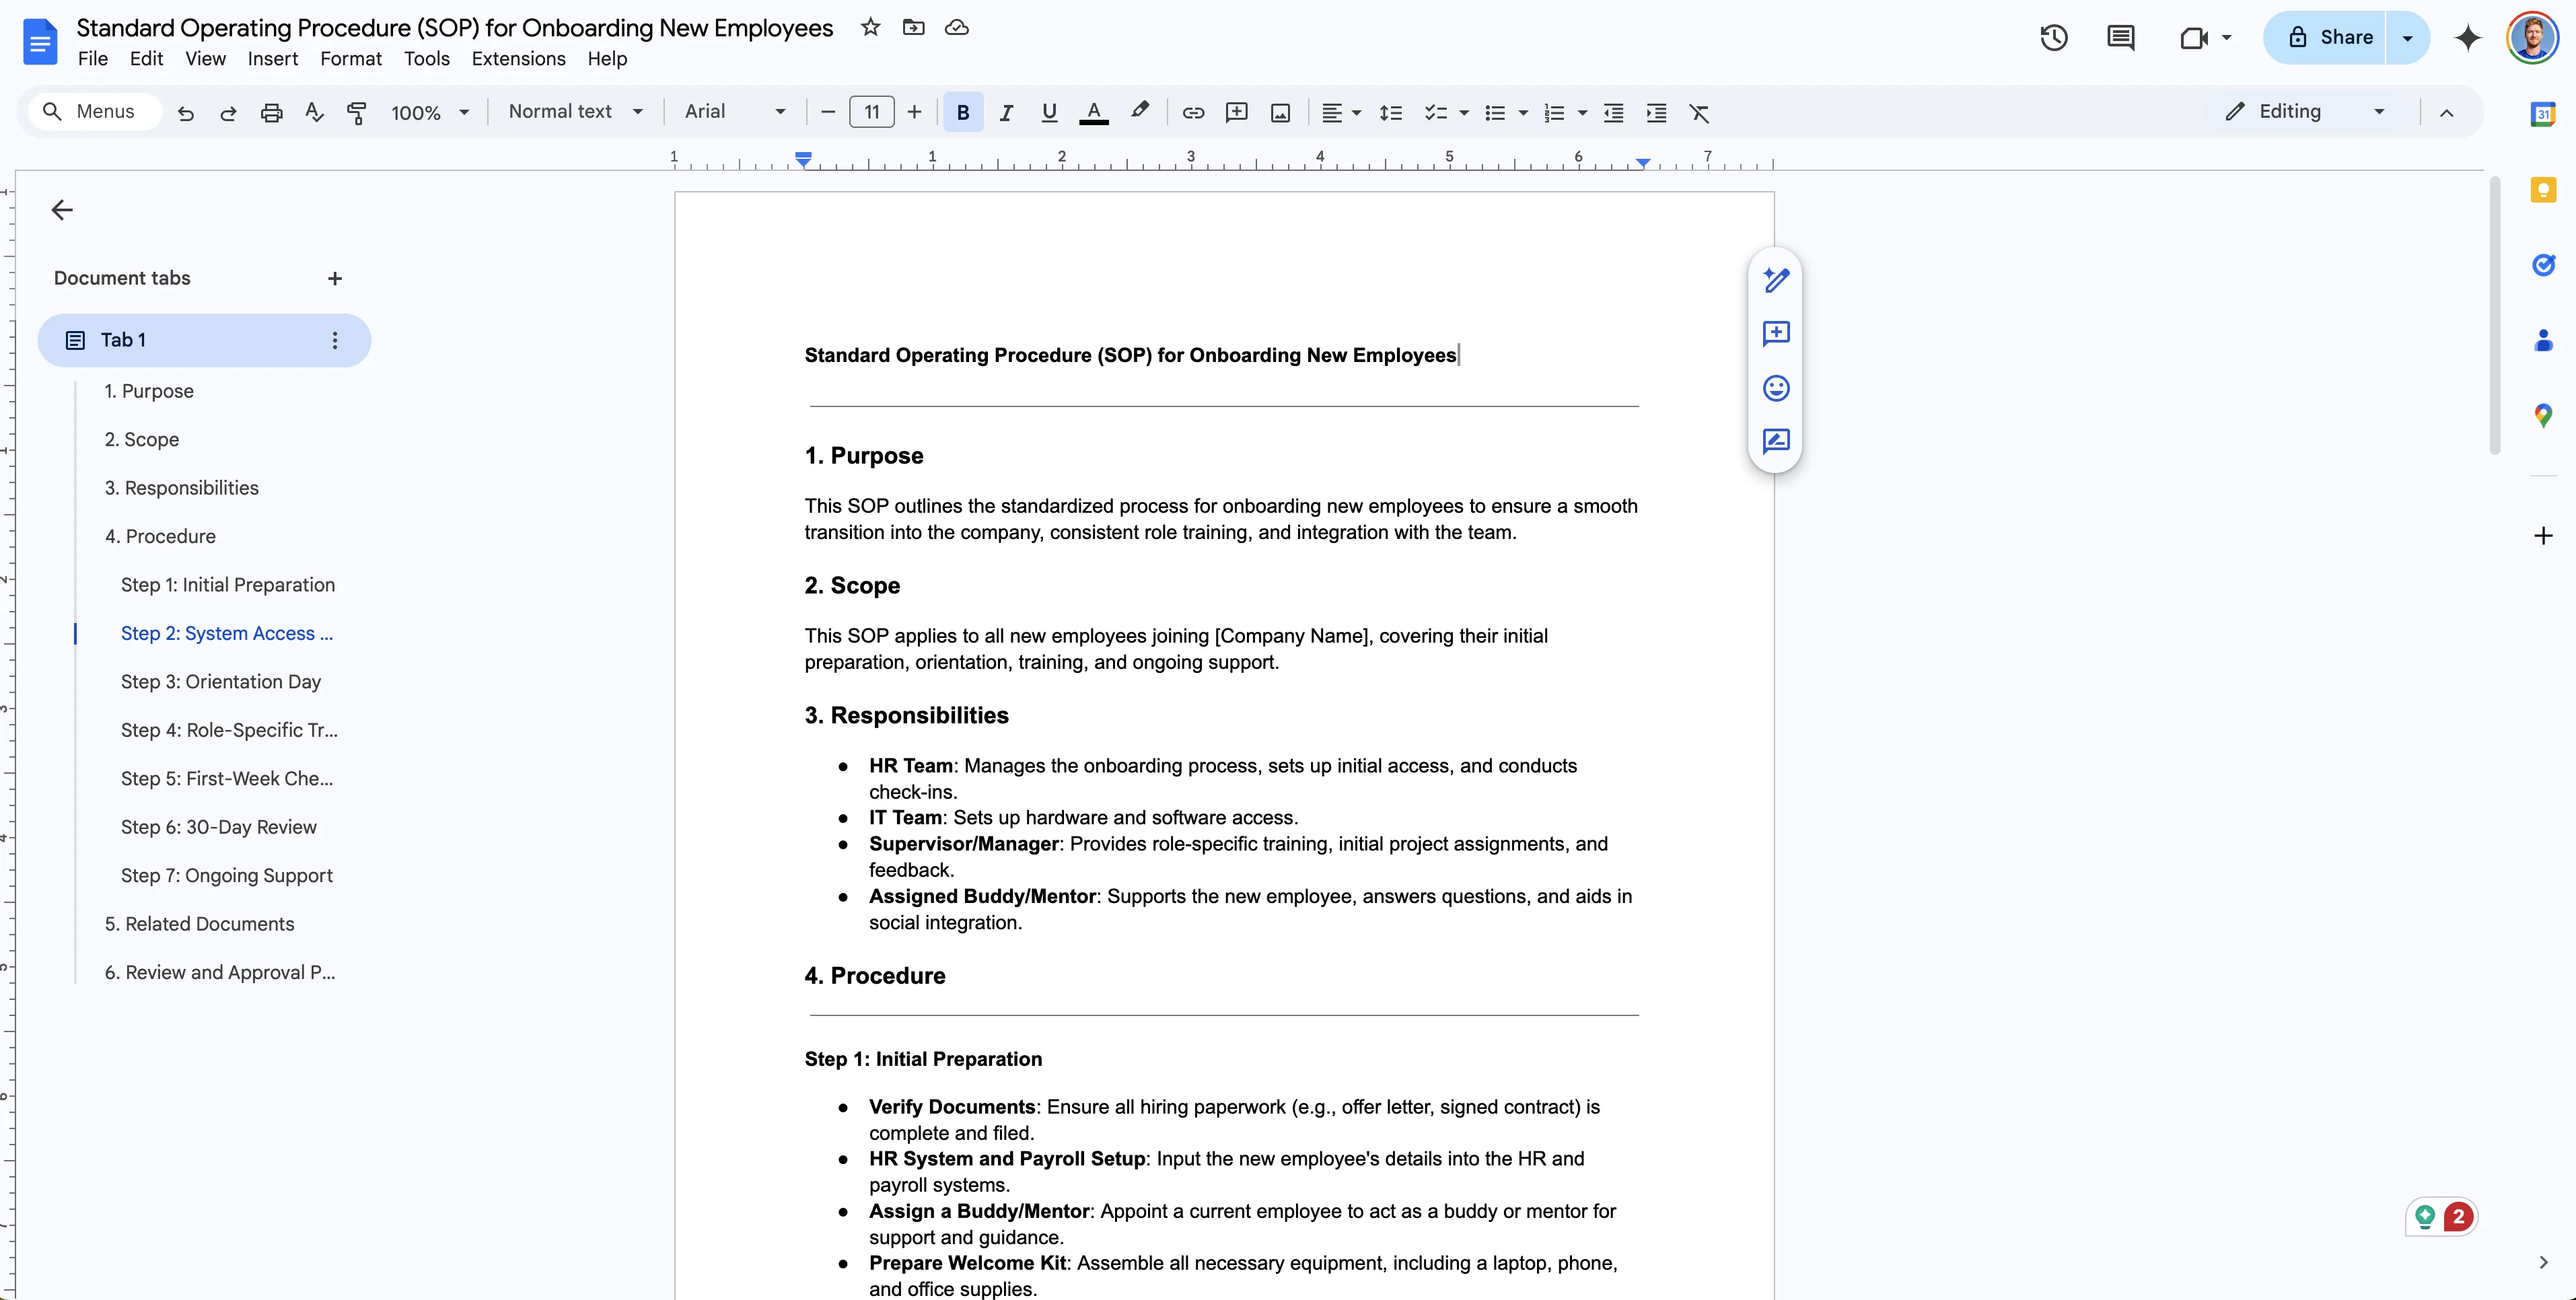
ChatGPT will create a structured, organized SOP document we can now feed into Miro to generate a flowchart of the process.

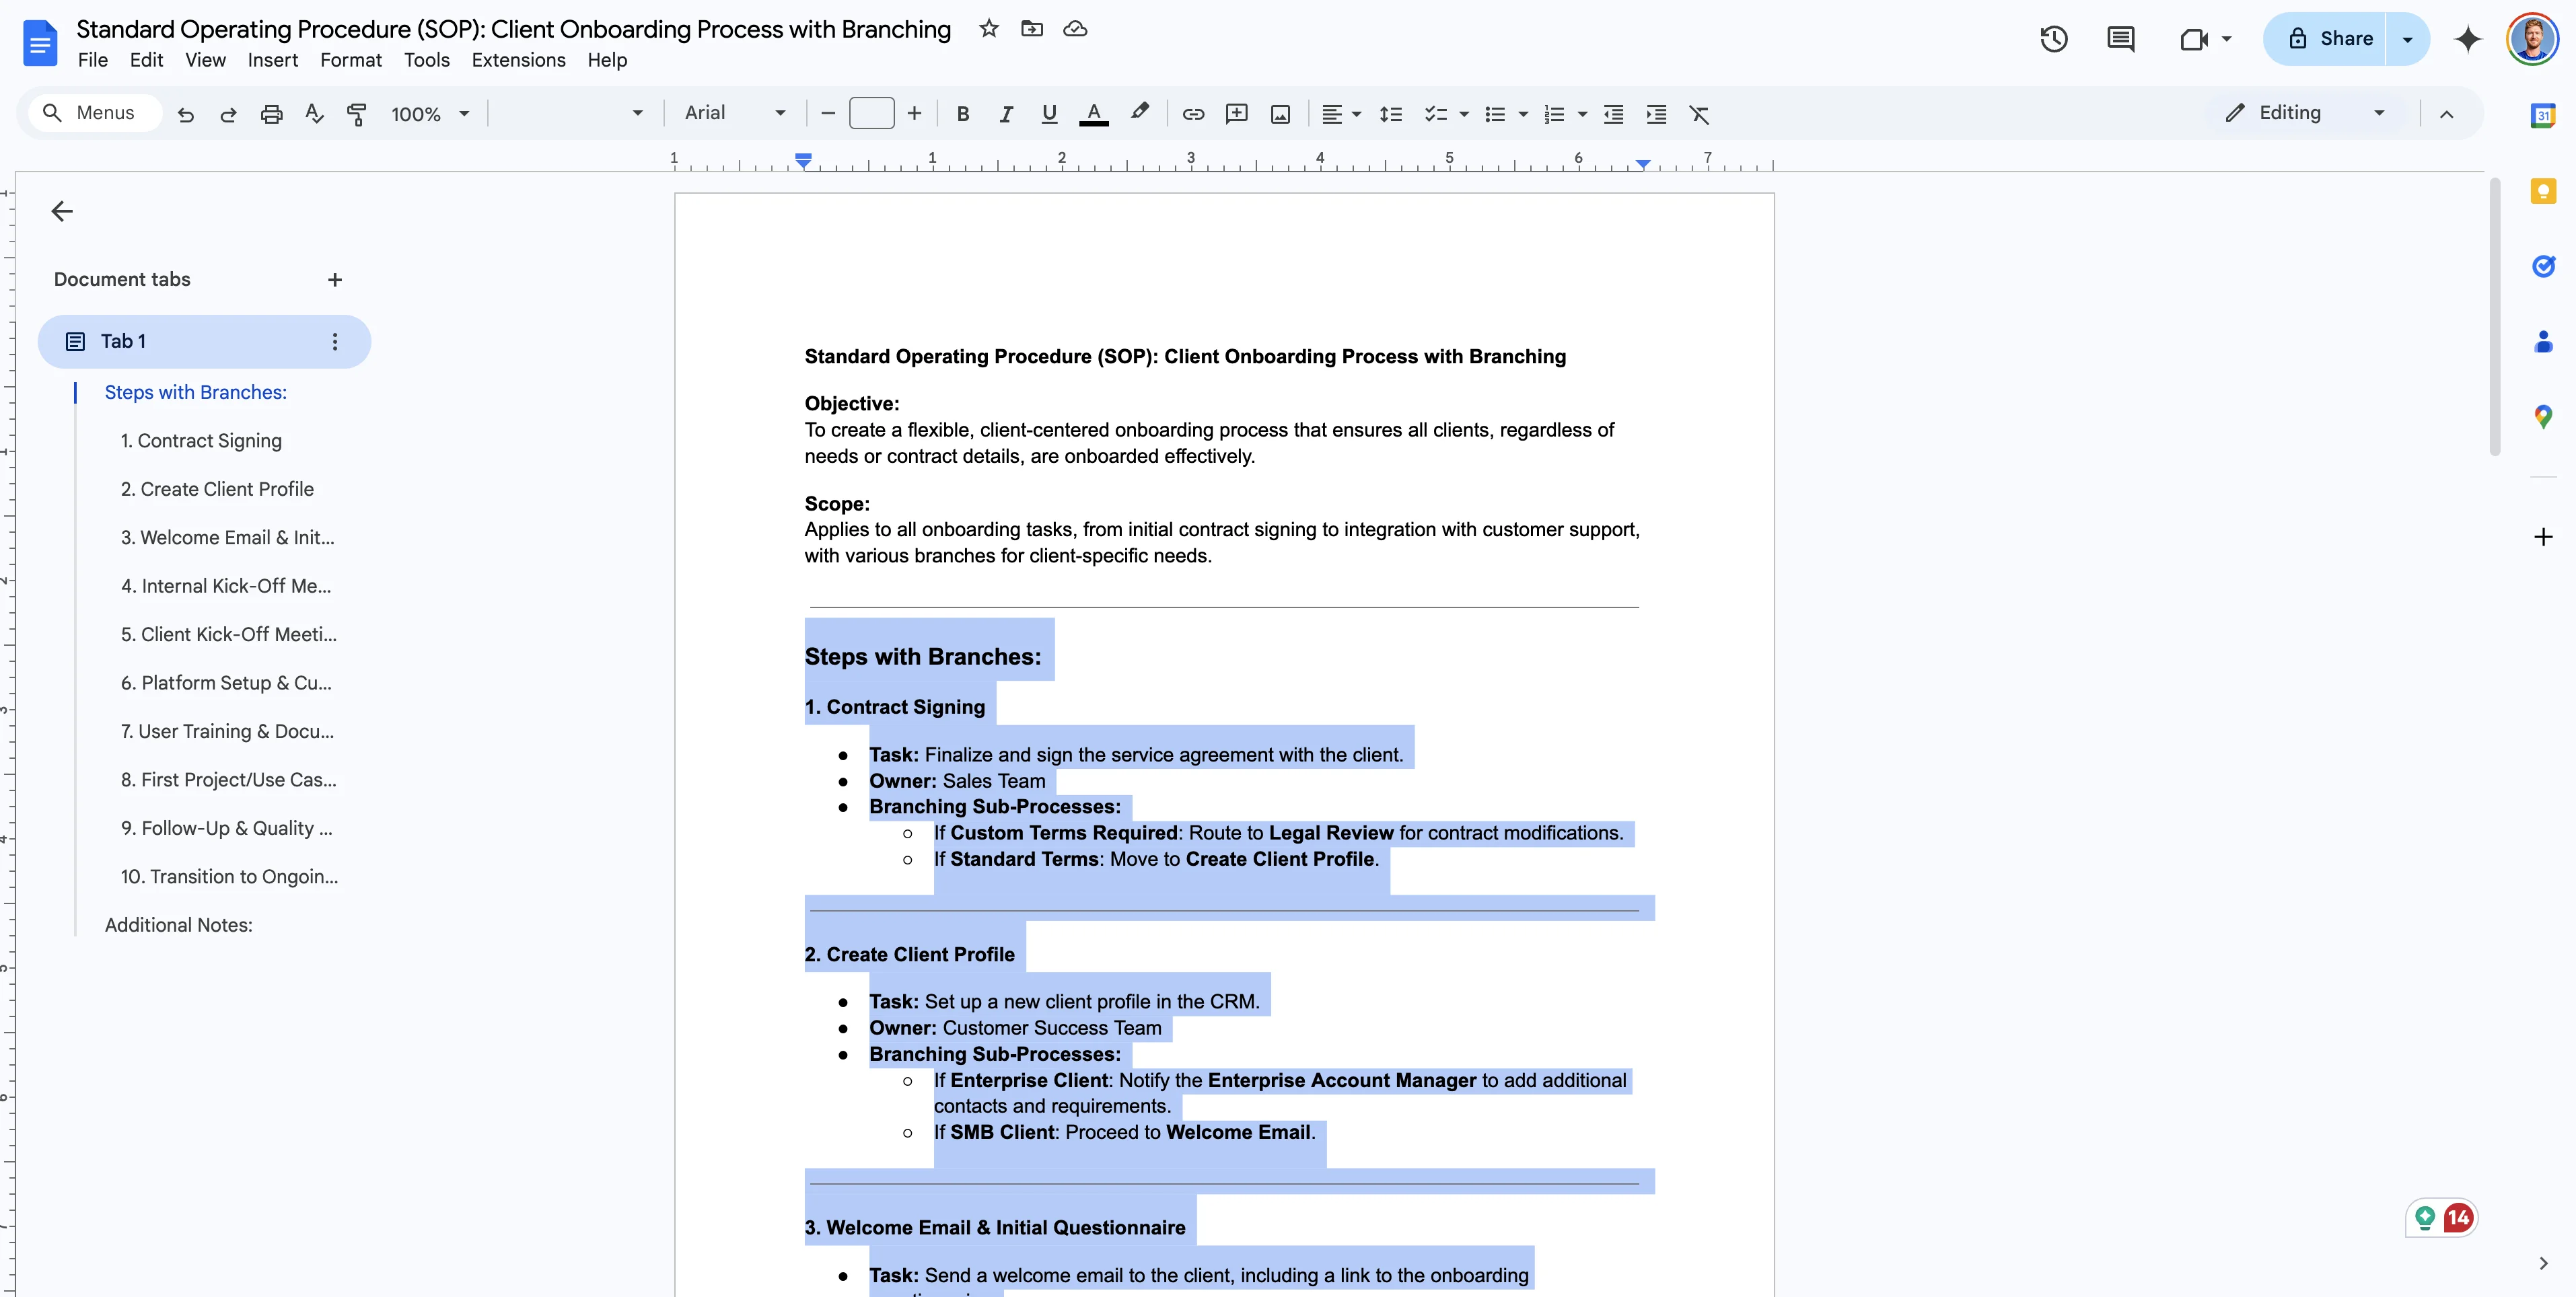
We’ll copy/paste the SOP document into a Google Document so we have it stored in a collaborative document space for easy access. This will also serve as the place we’ll embed our flowchart back into when it’s complete.
Step 2: Prompt Miro with your SOP
Now that we have our SOP document, we can head over to Miro to create our flowchart. Create a free Miro account, if you don’t already have one.
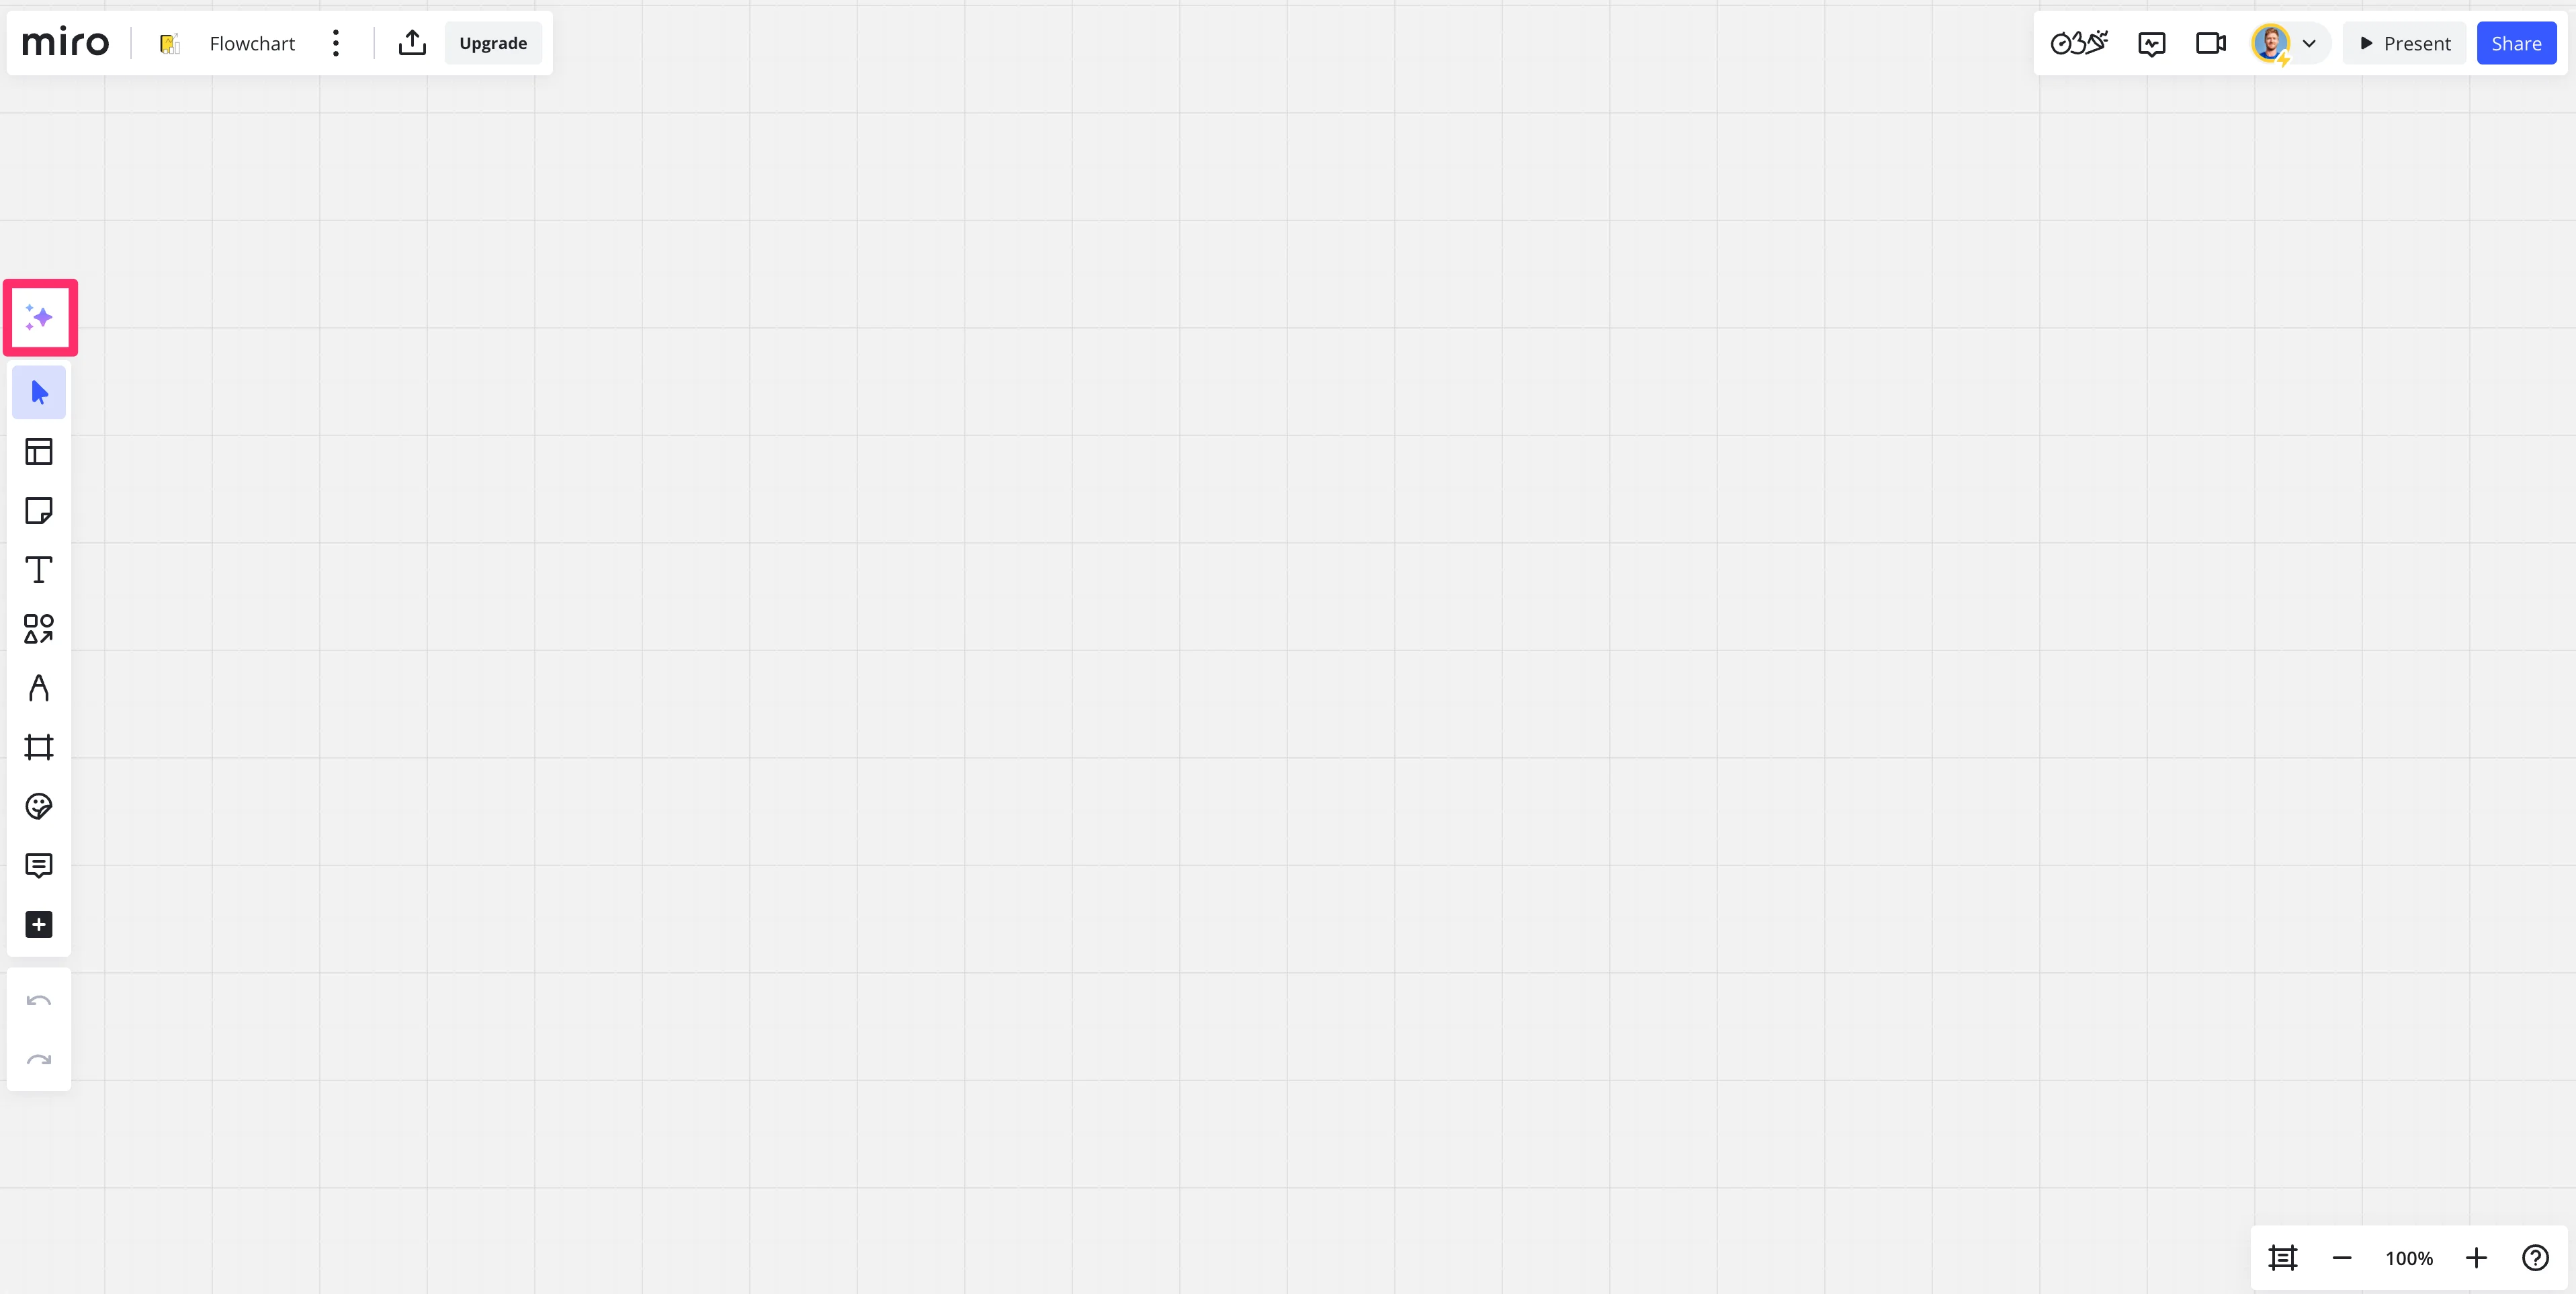
Then, click on the “Blank board” option on your Miro dashboard.

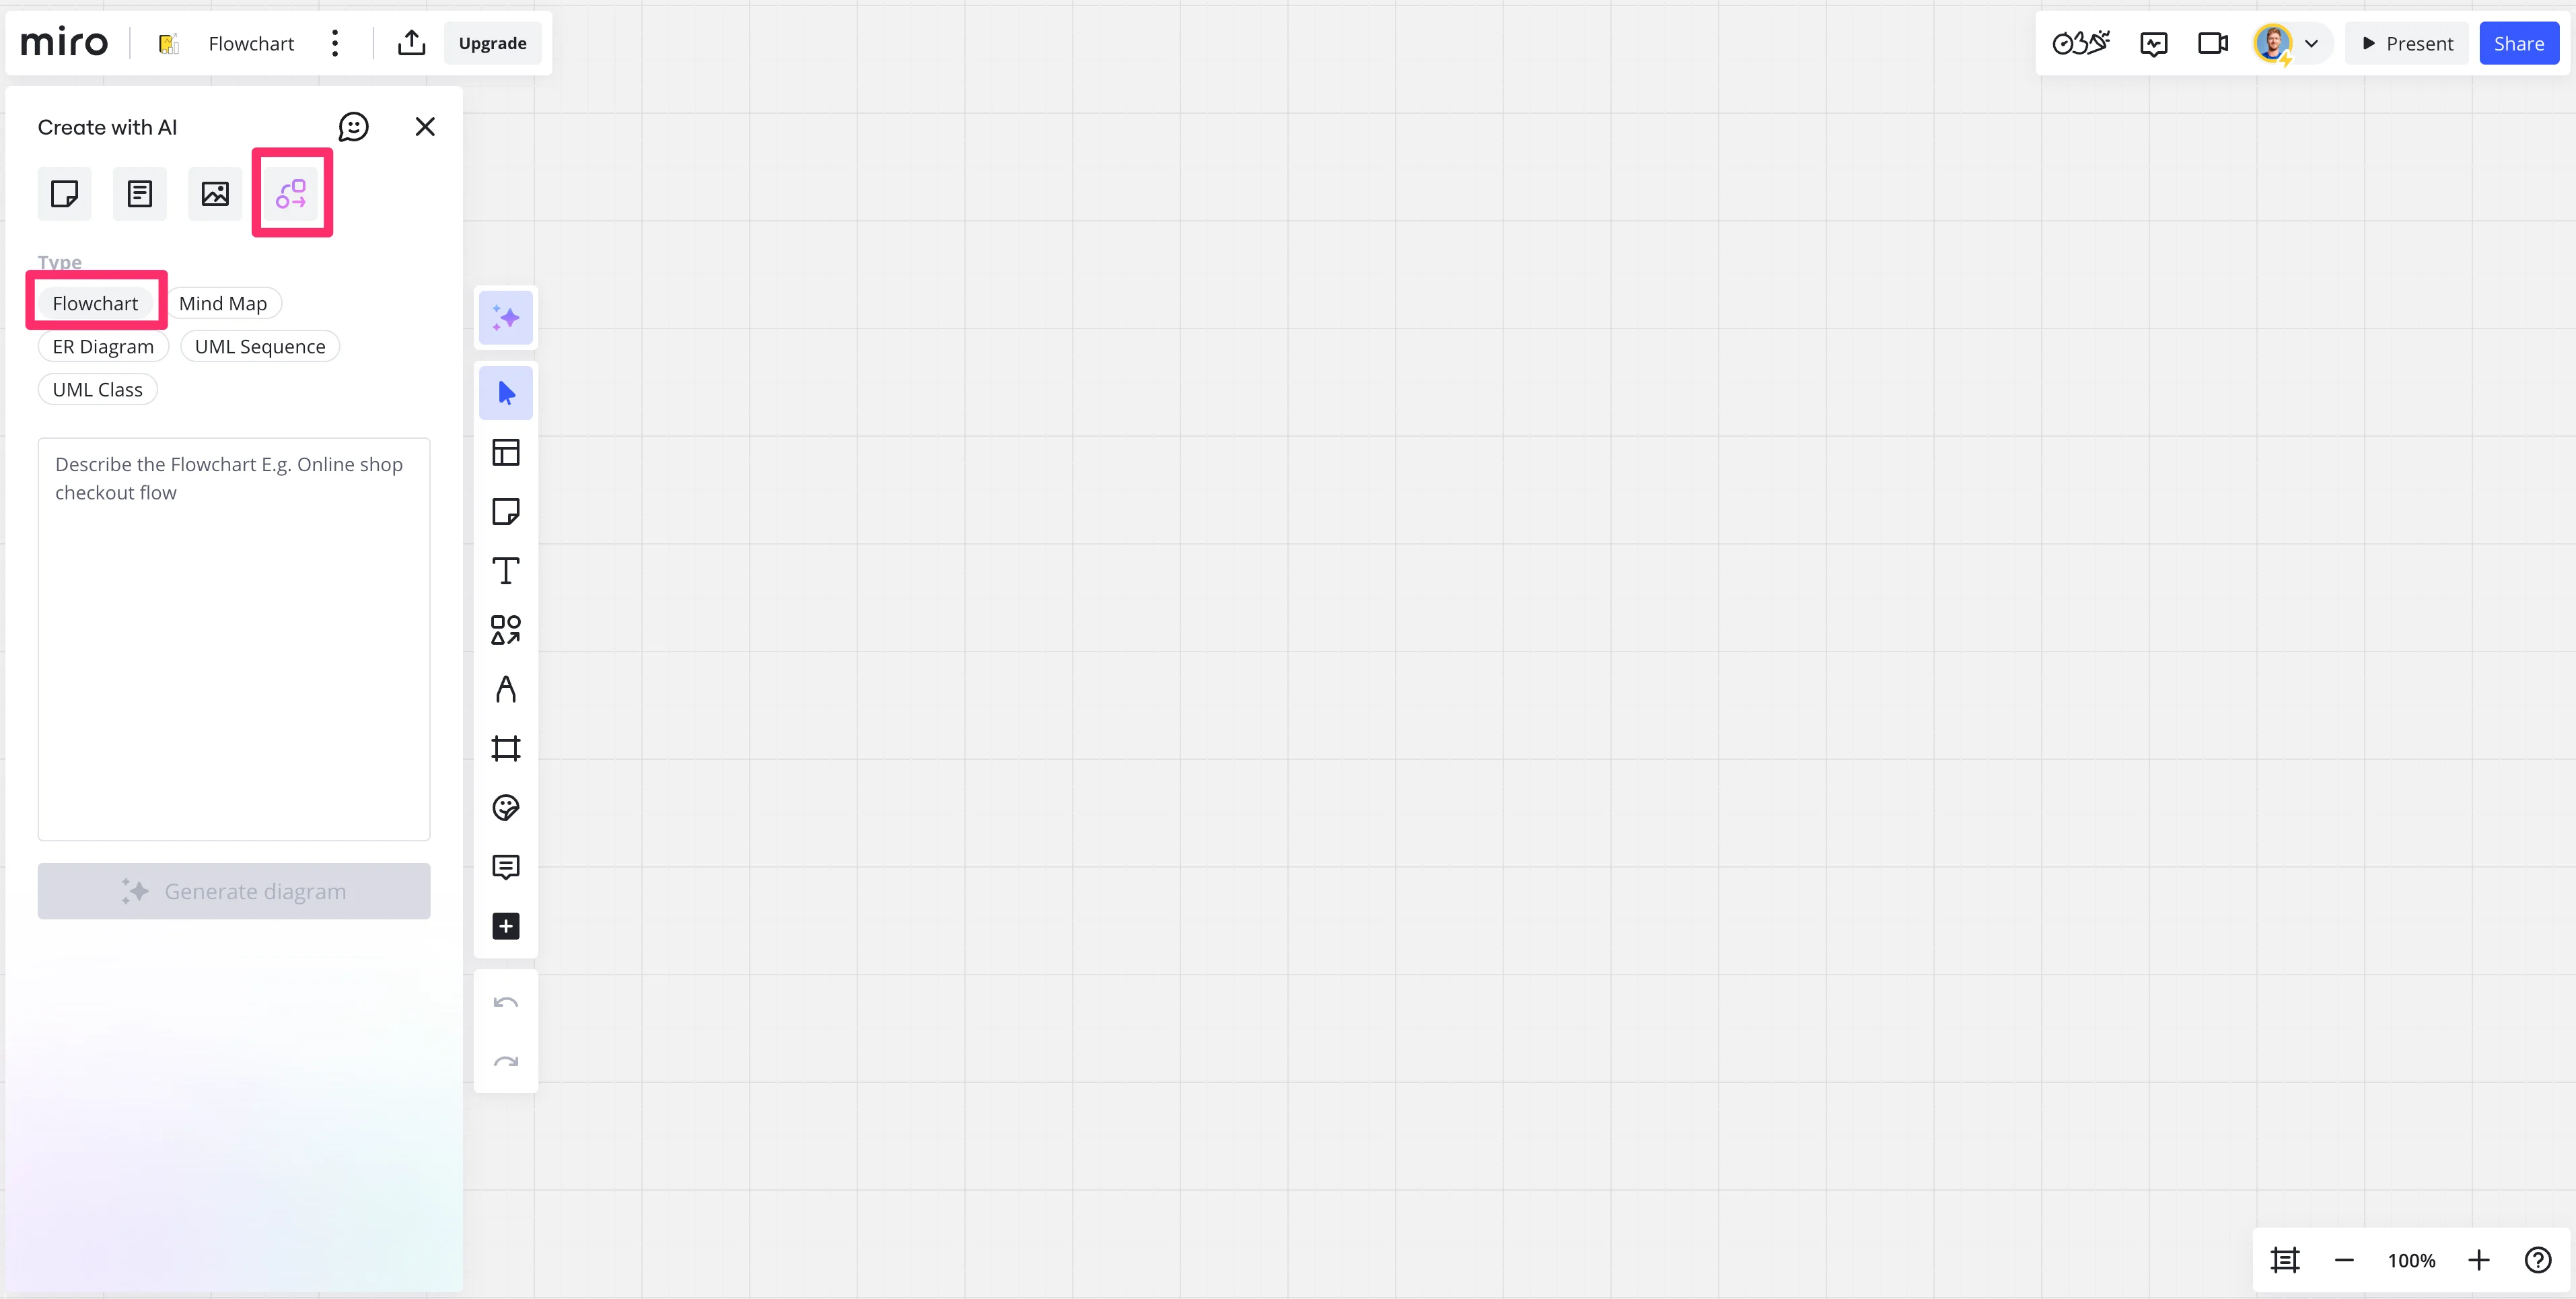
This will take you to a blank Miro board where we can start building our flowchart. Click the magic stars icon on the left-side navigation to access Miro’s “Create with AI” tools.
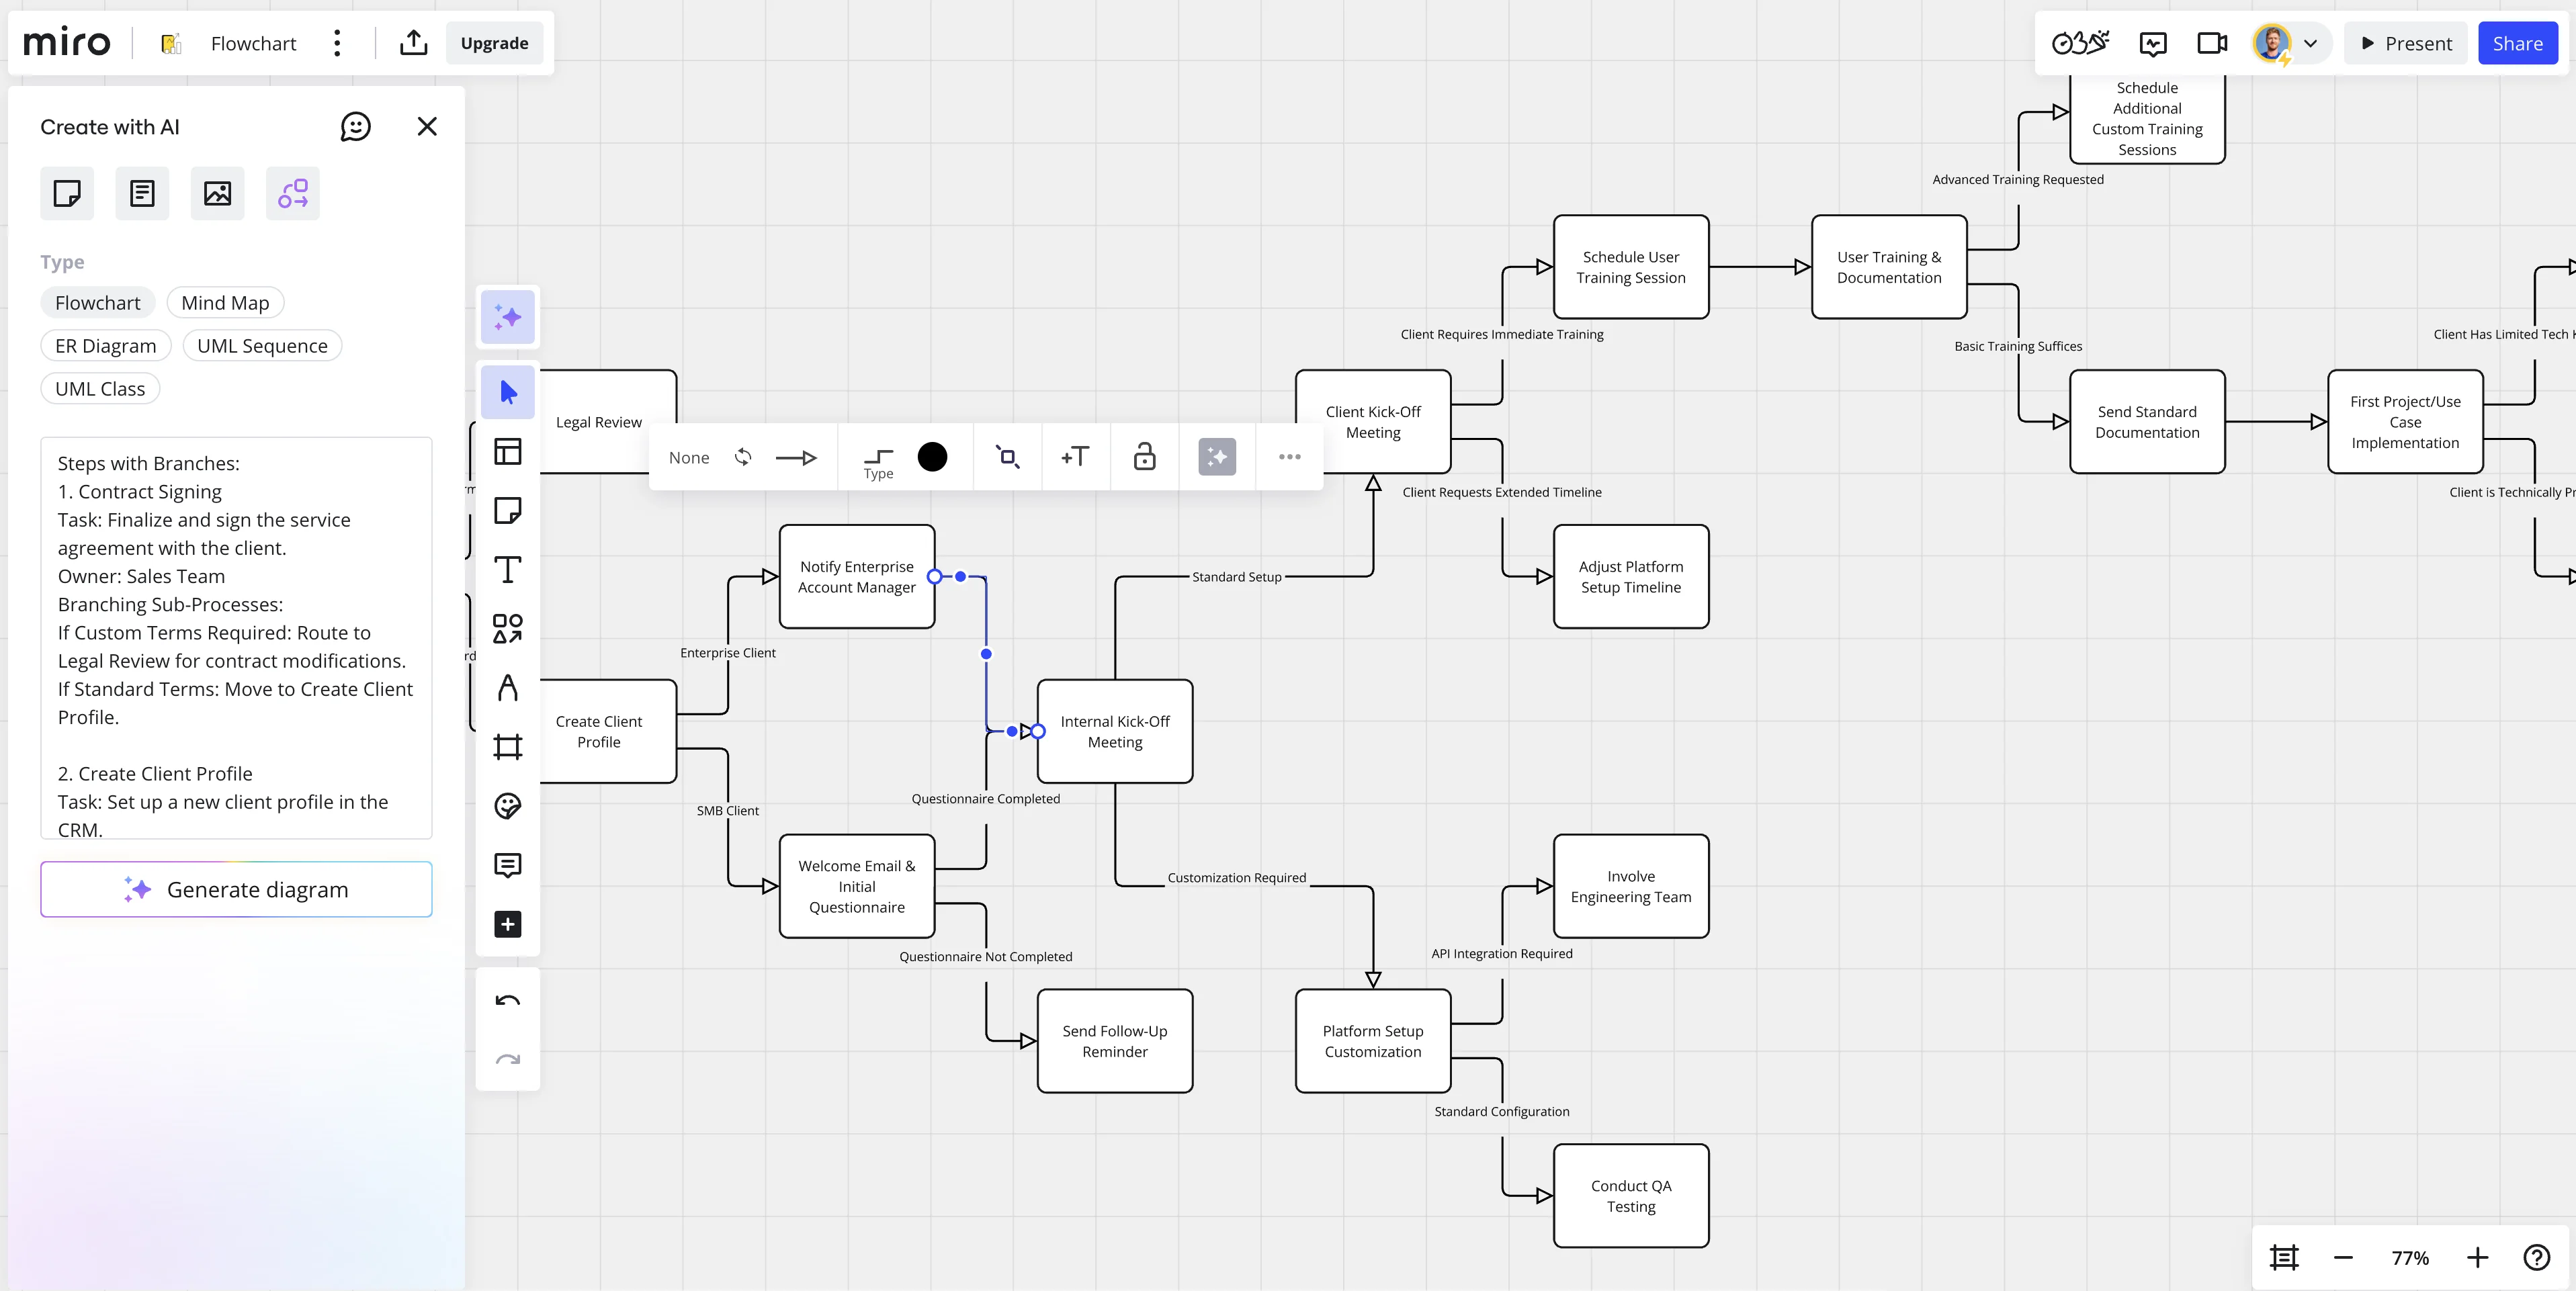
Click on the far right “Diagram” icon at the top of the window and then select “Flowchart” as the type of diagram.
Head back over to your SOP document and copy the steps of the procedure.
Then paste those steps into the text box in Miro and click the “Create diagram” button.
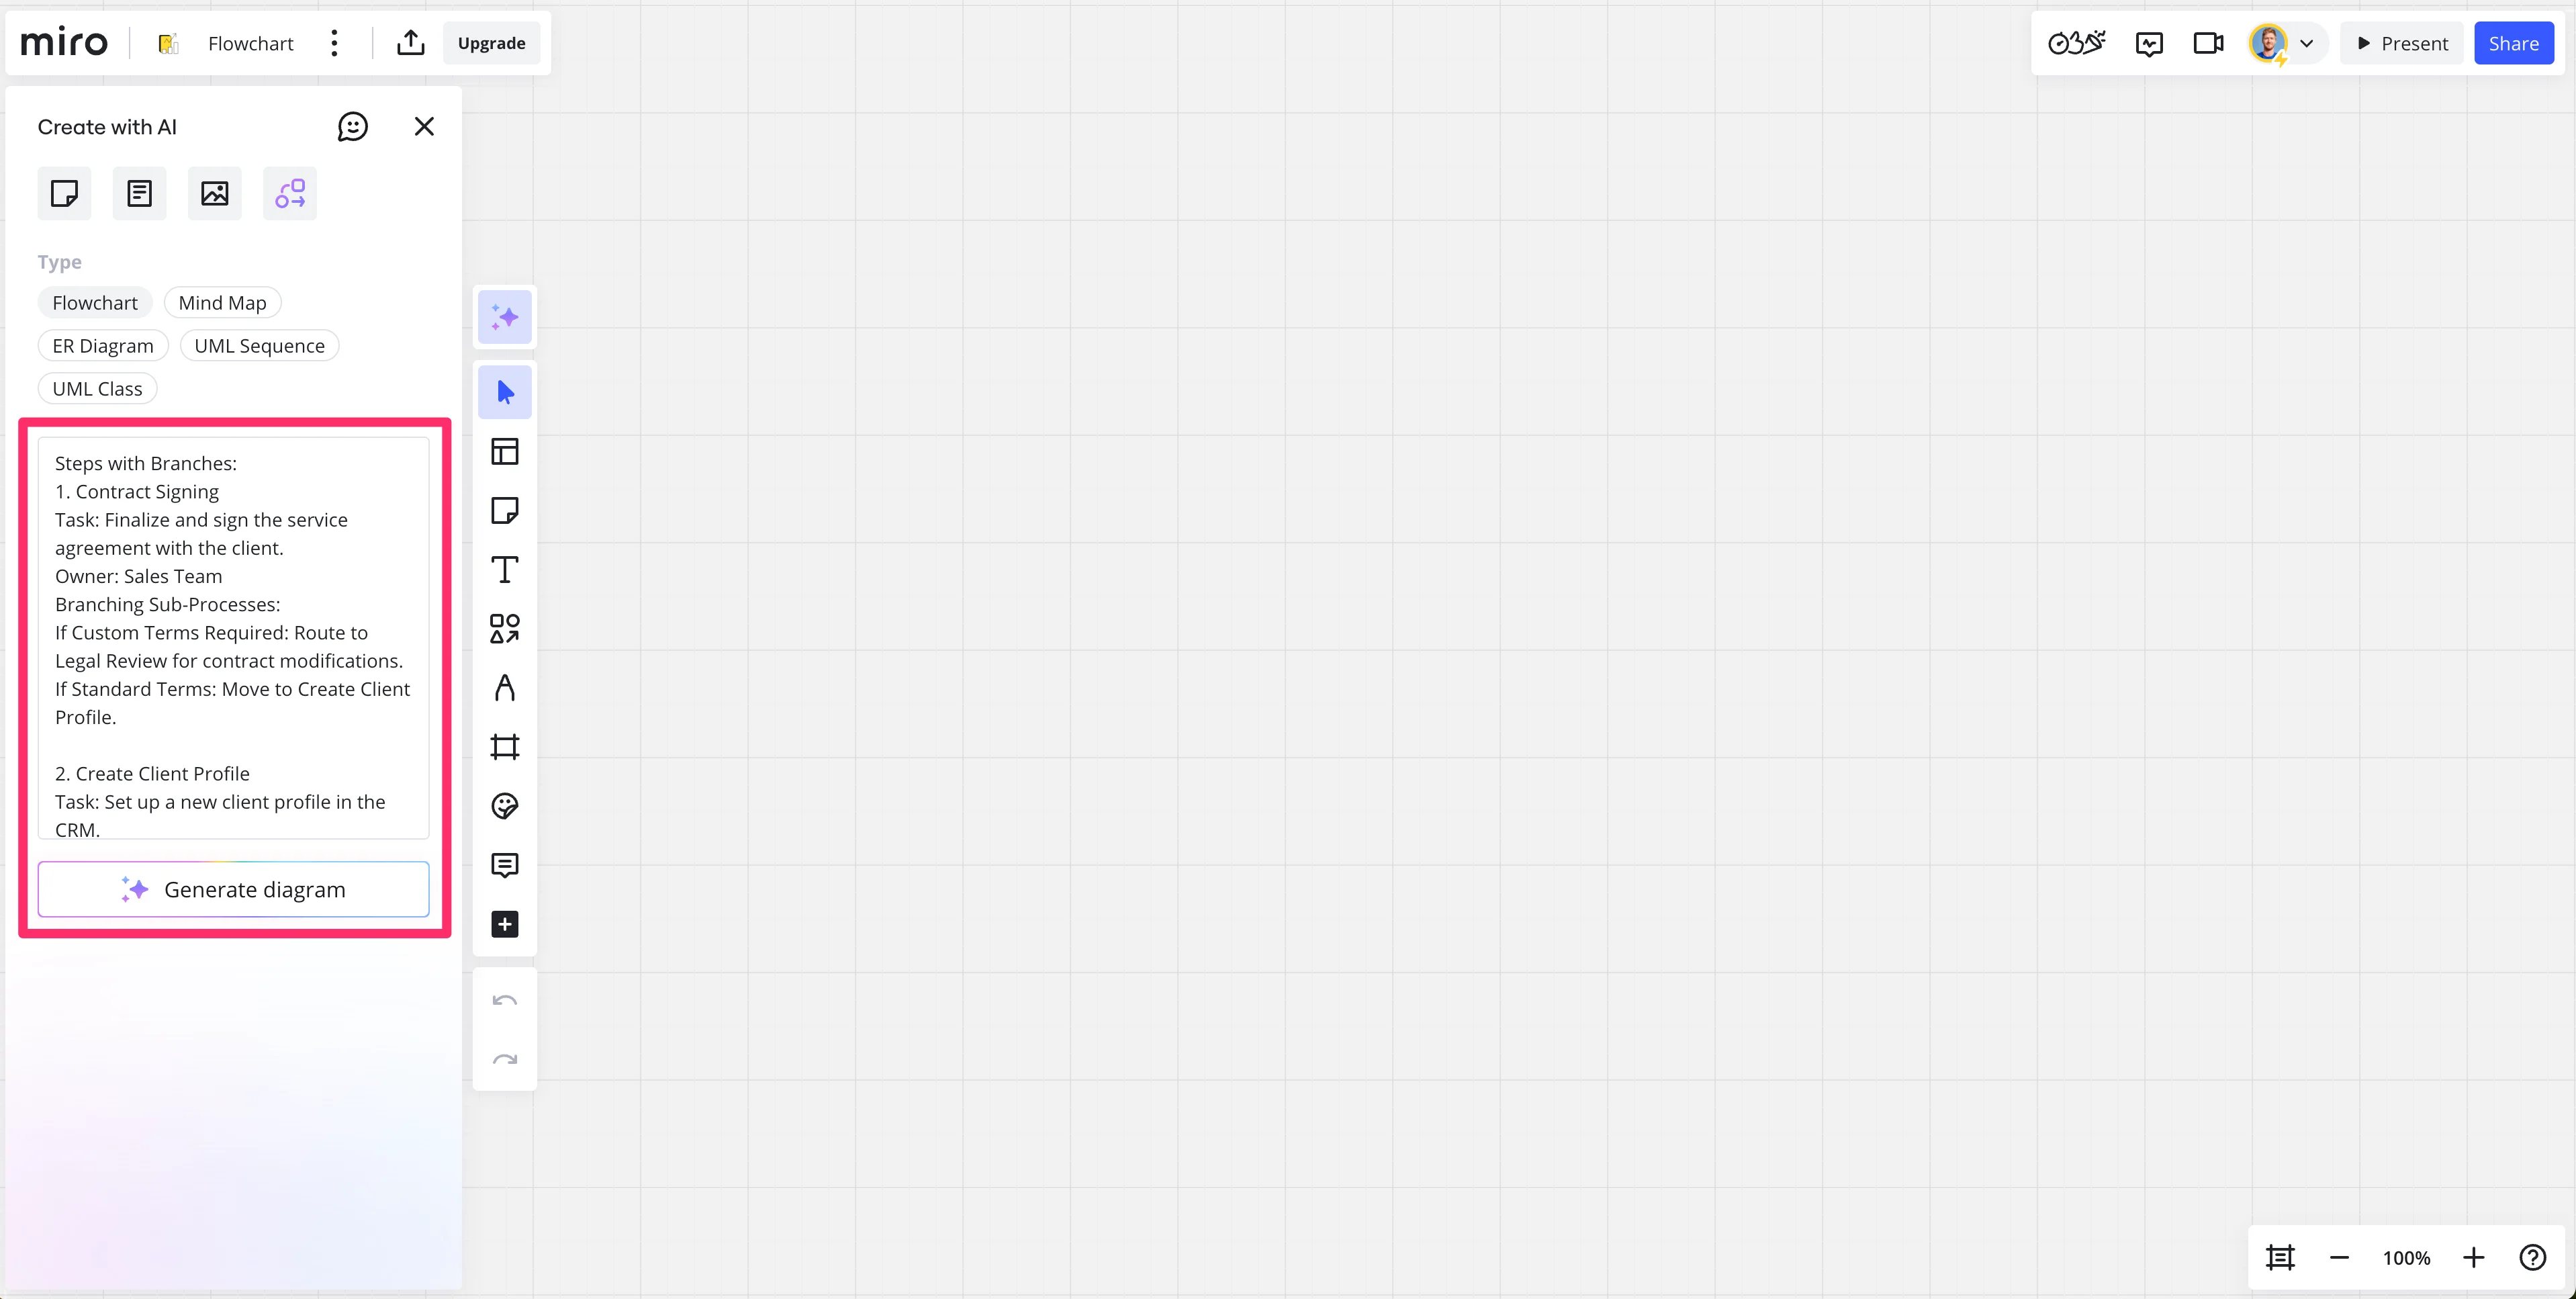
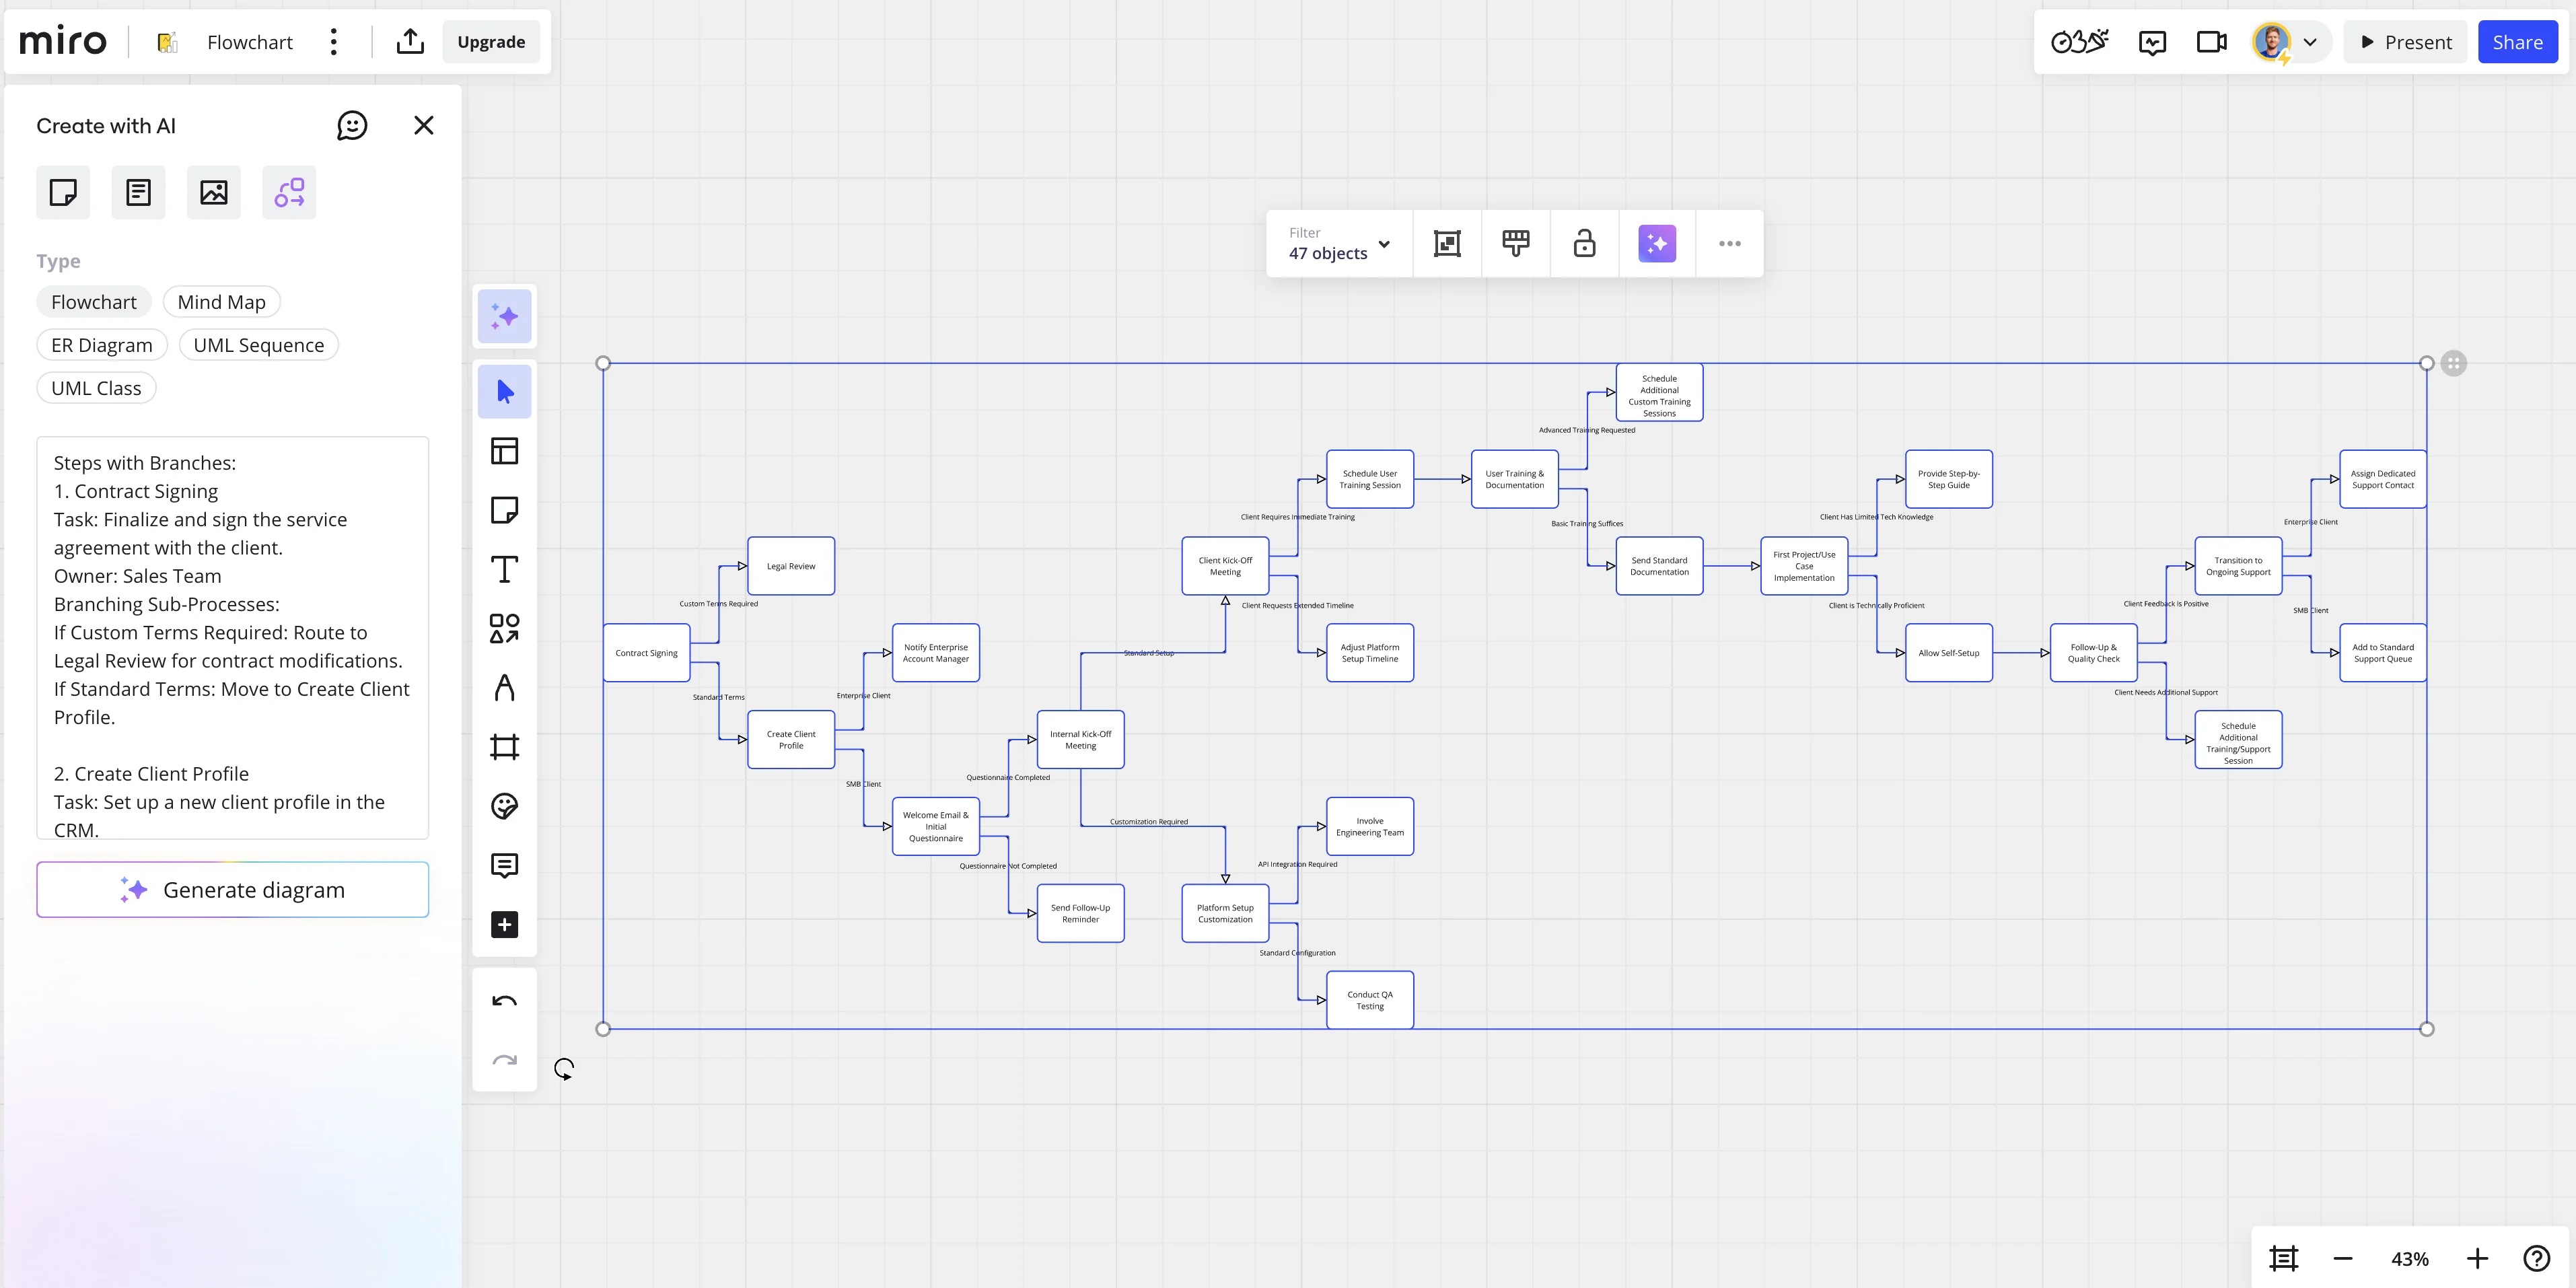
In under a minute, Miro will generate a robust flow chart of your SOP!
Step 3: Edit your flowchart
The flowchart will include process steps with descriptions and flowchart arrows with decision text as well. We’ve found these flowcharts to be extremely accurate; however, your SOP document might be missing some details or you might want to edit the flowchart visualization slightly. This is where Miro shines, as editing the AI-generated flowchart is a breeze.
For example, we want to connect our “Notify Enterprise Account Manager” step to the “Internal Kick-Off Meeting” step, which we can do by clicking on the first step and dragging an arrow to the second step.
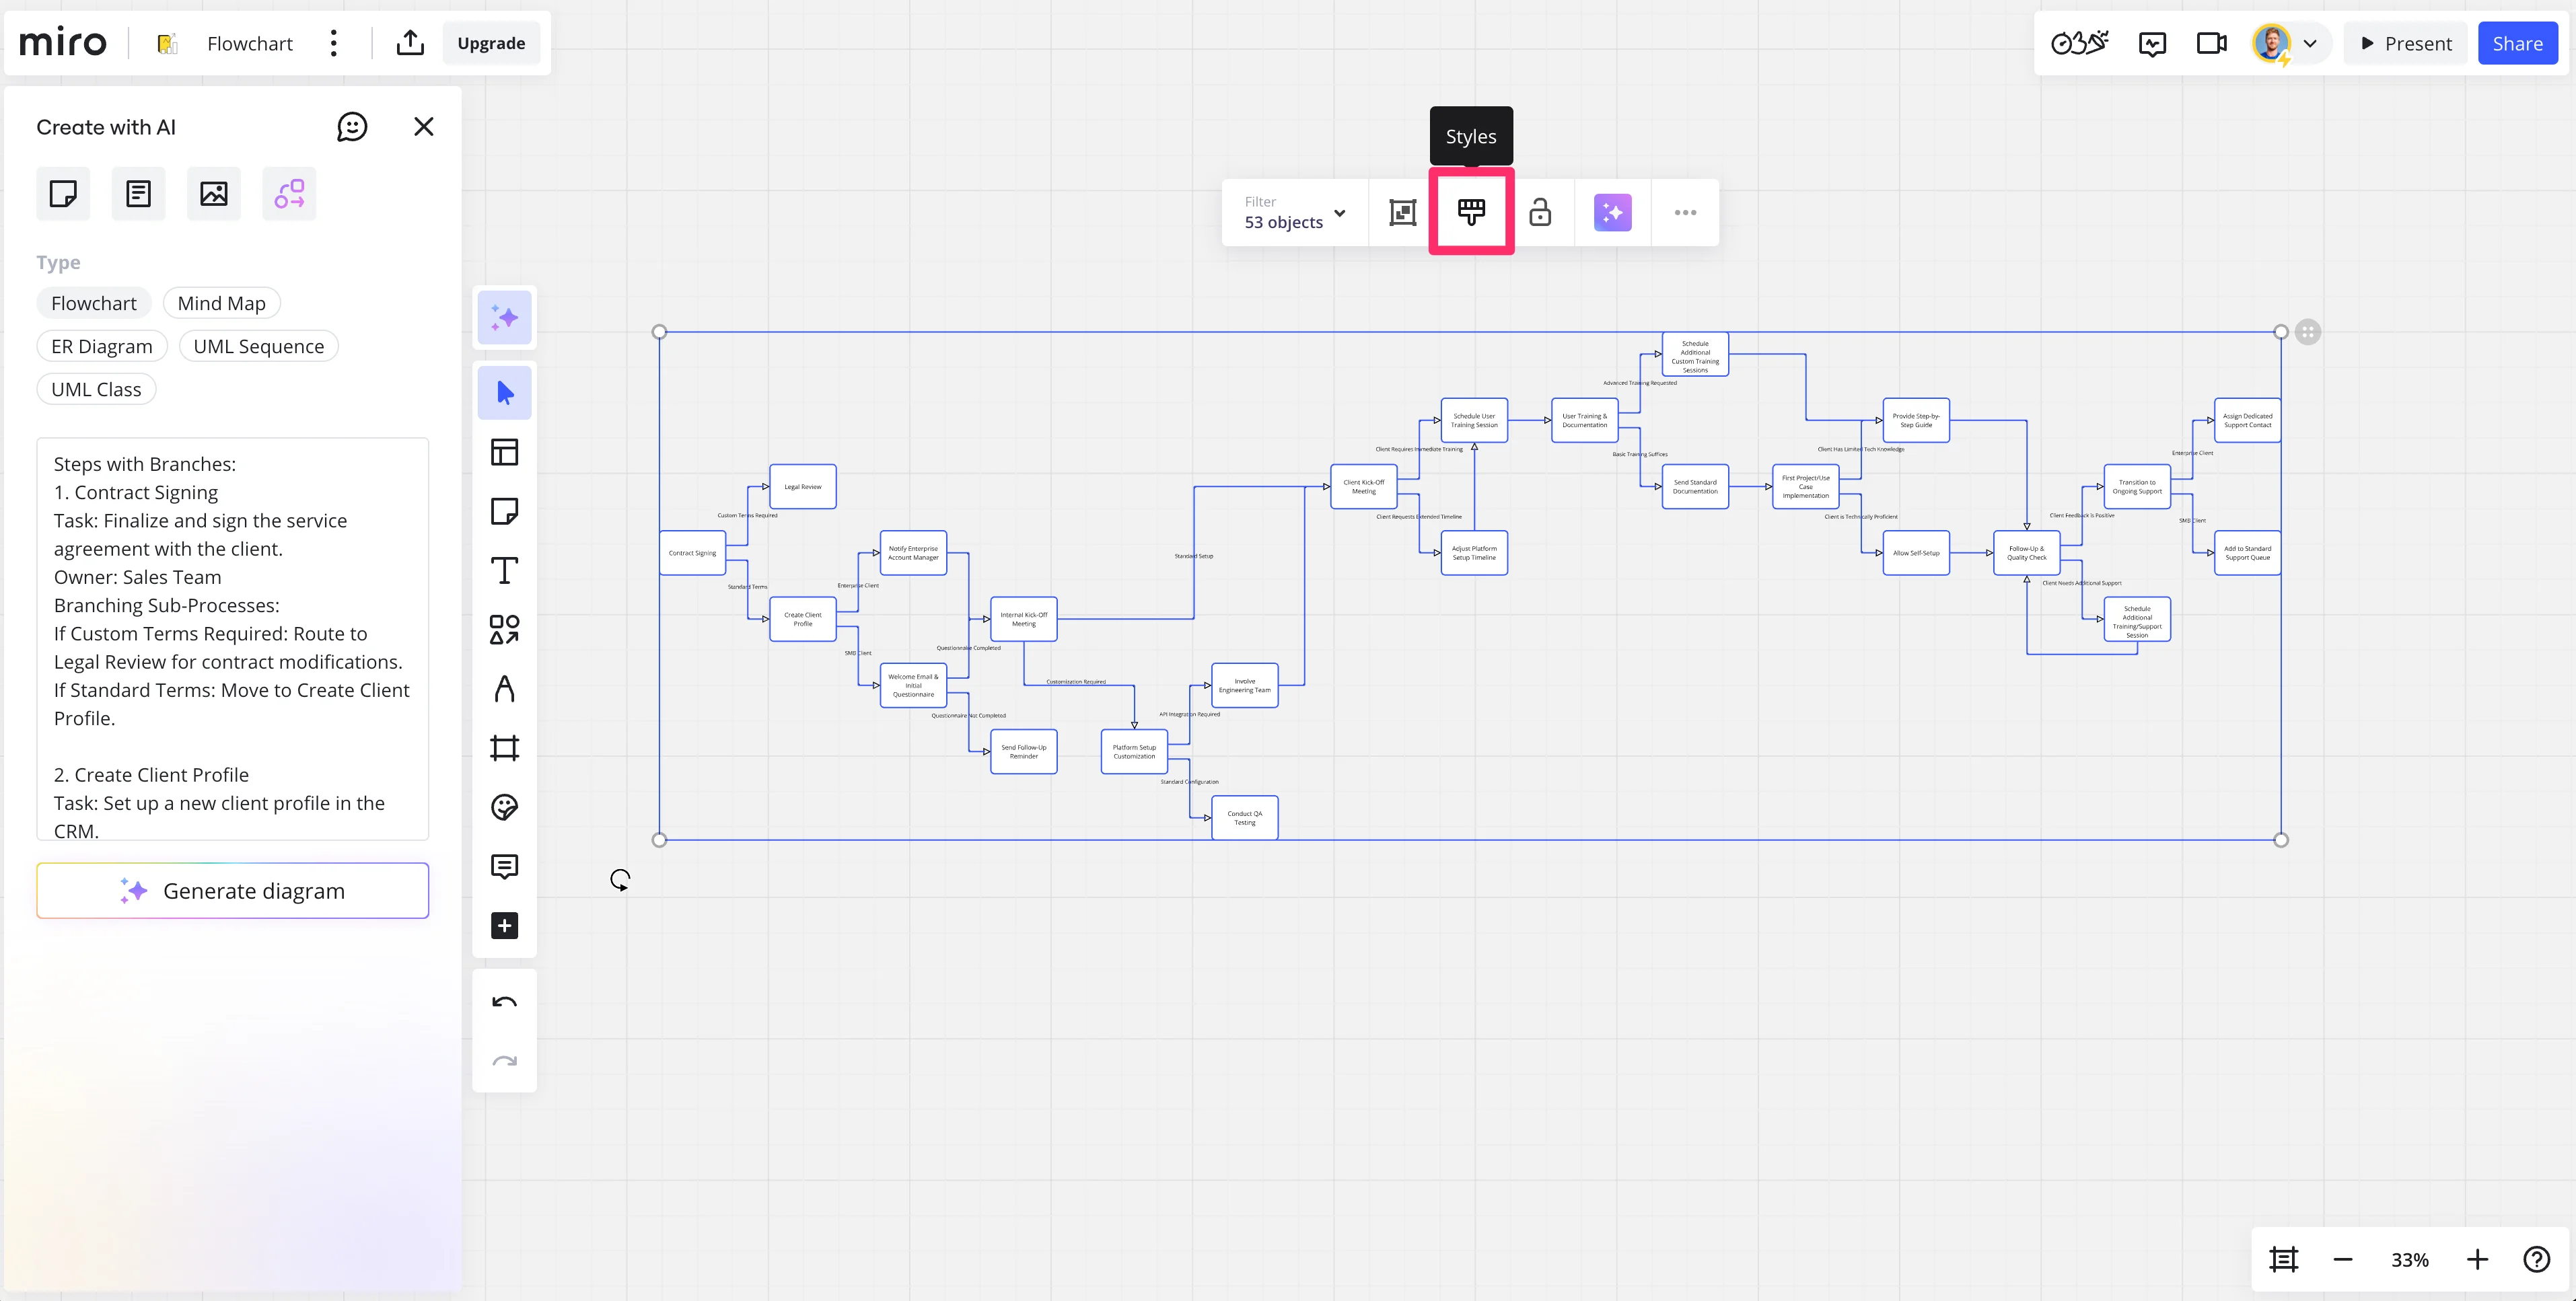
We can also change the styles and color palette of our flow chart in a few clicks. To do this, click and drag to highlight all the steps of your flowchart and click the “Styles” option in the menu.
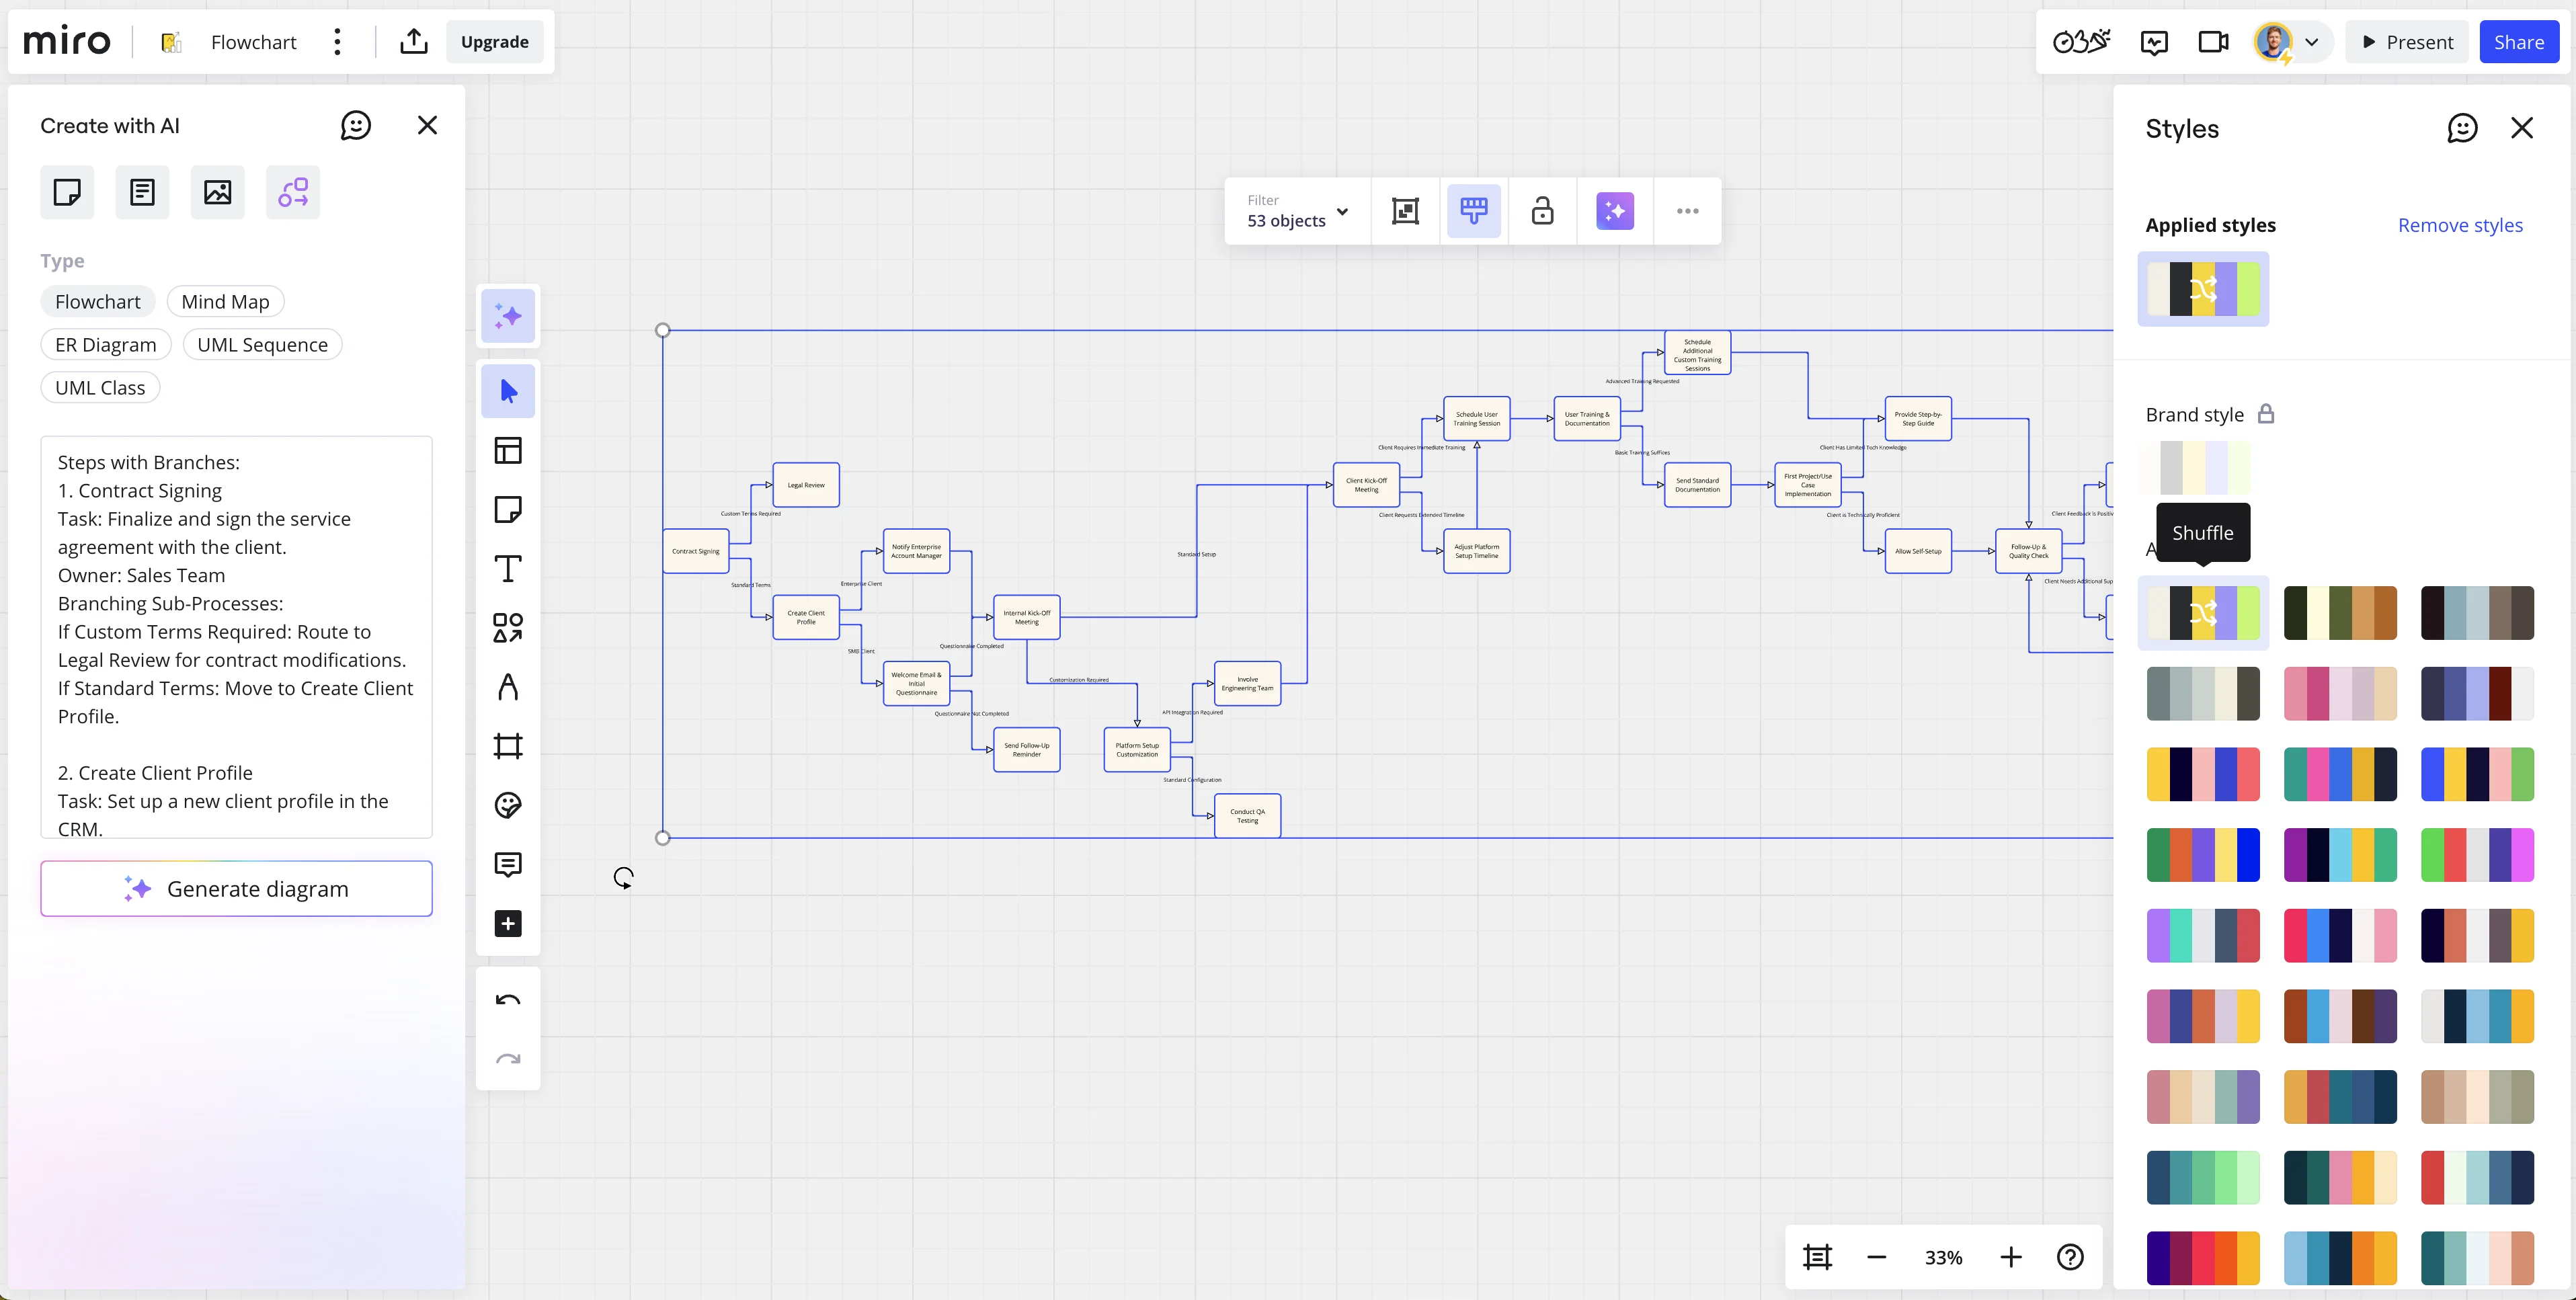
Then, select the color palette you want your flowchart to be updated with. You can even create a “Brand style” that is always accessible.
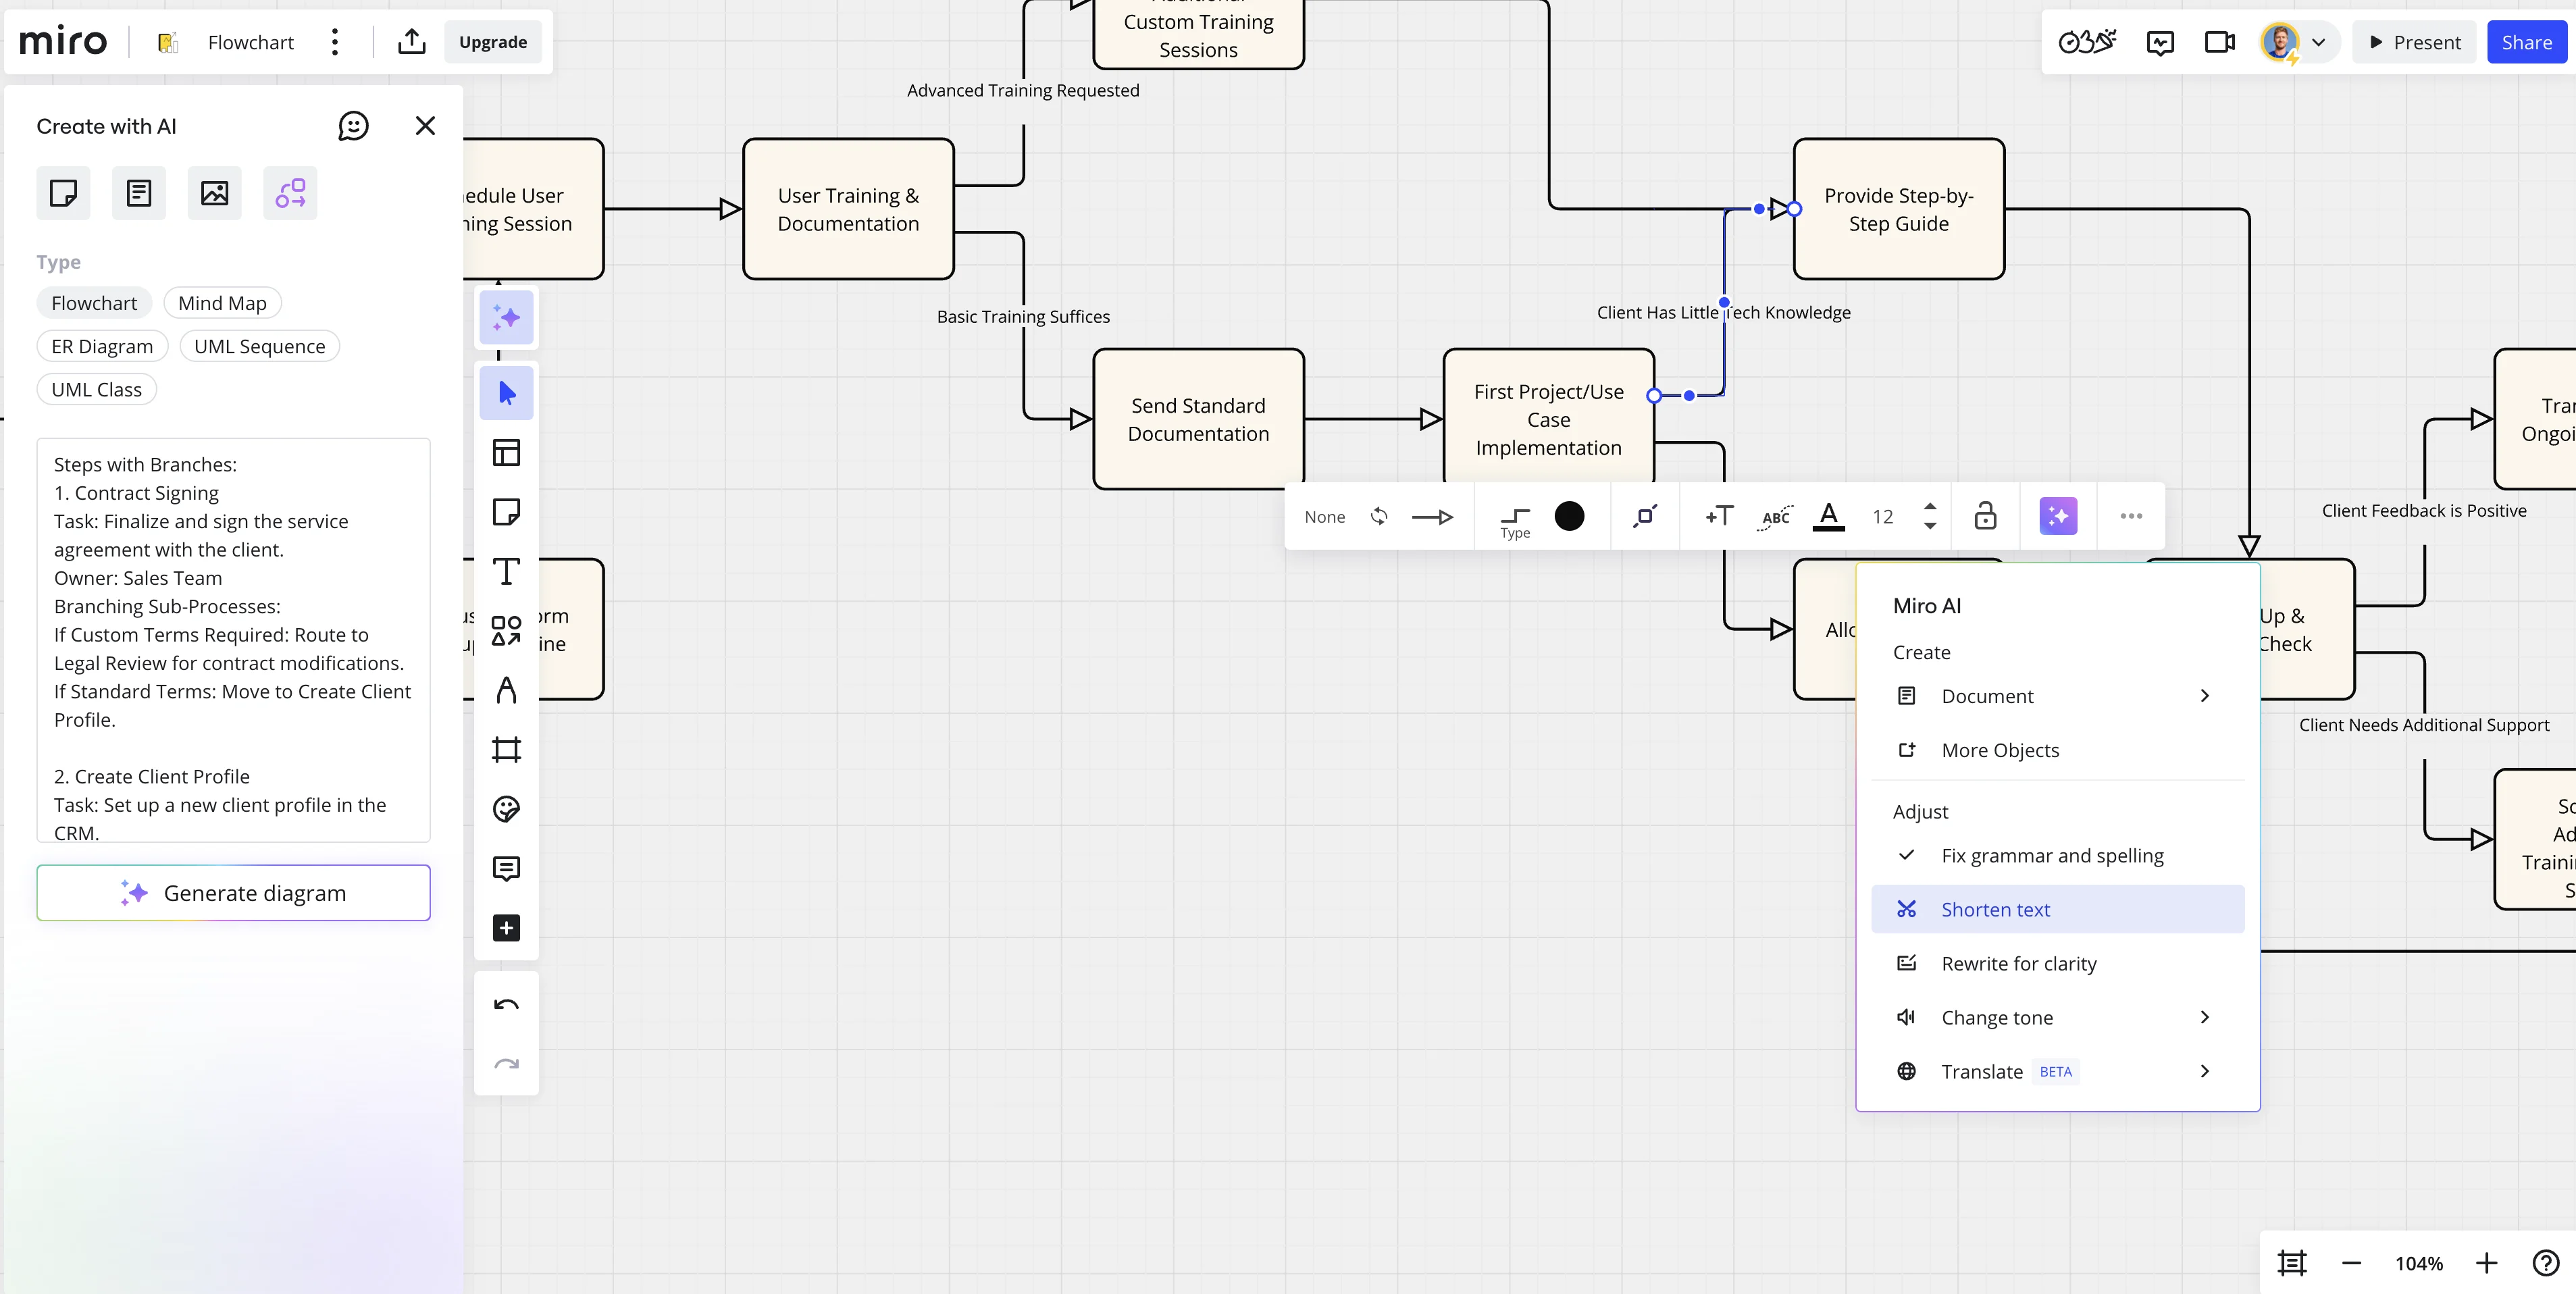
Miro also has AI tools for editing the flowchart. For example, you can highlight any text and click on the “Miro AI” menu option to make textual changes.

For example, we’ll have it shorten text on one of our labels.
Step 4: Export your flowchart and embed it into your SOP
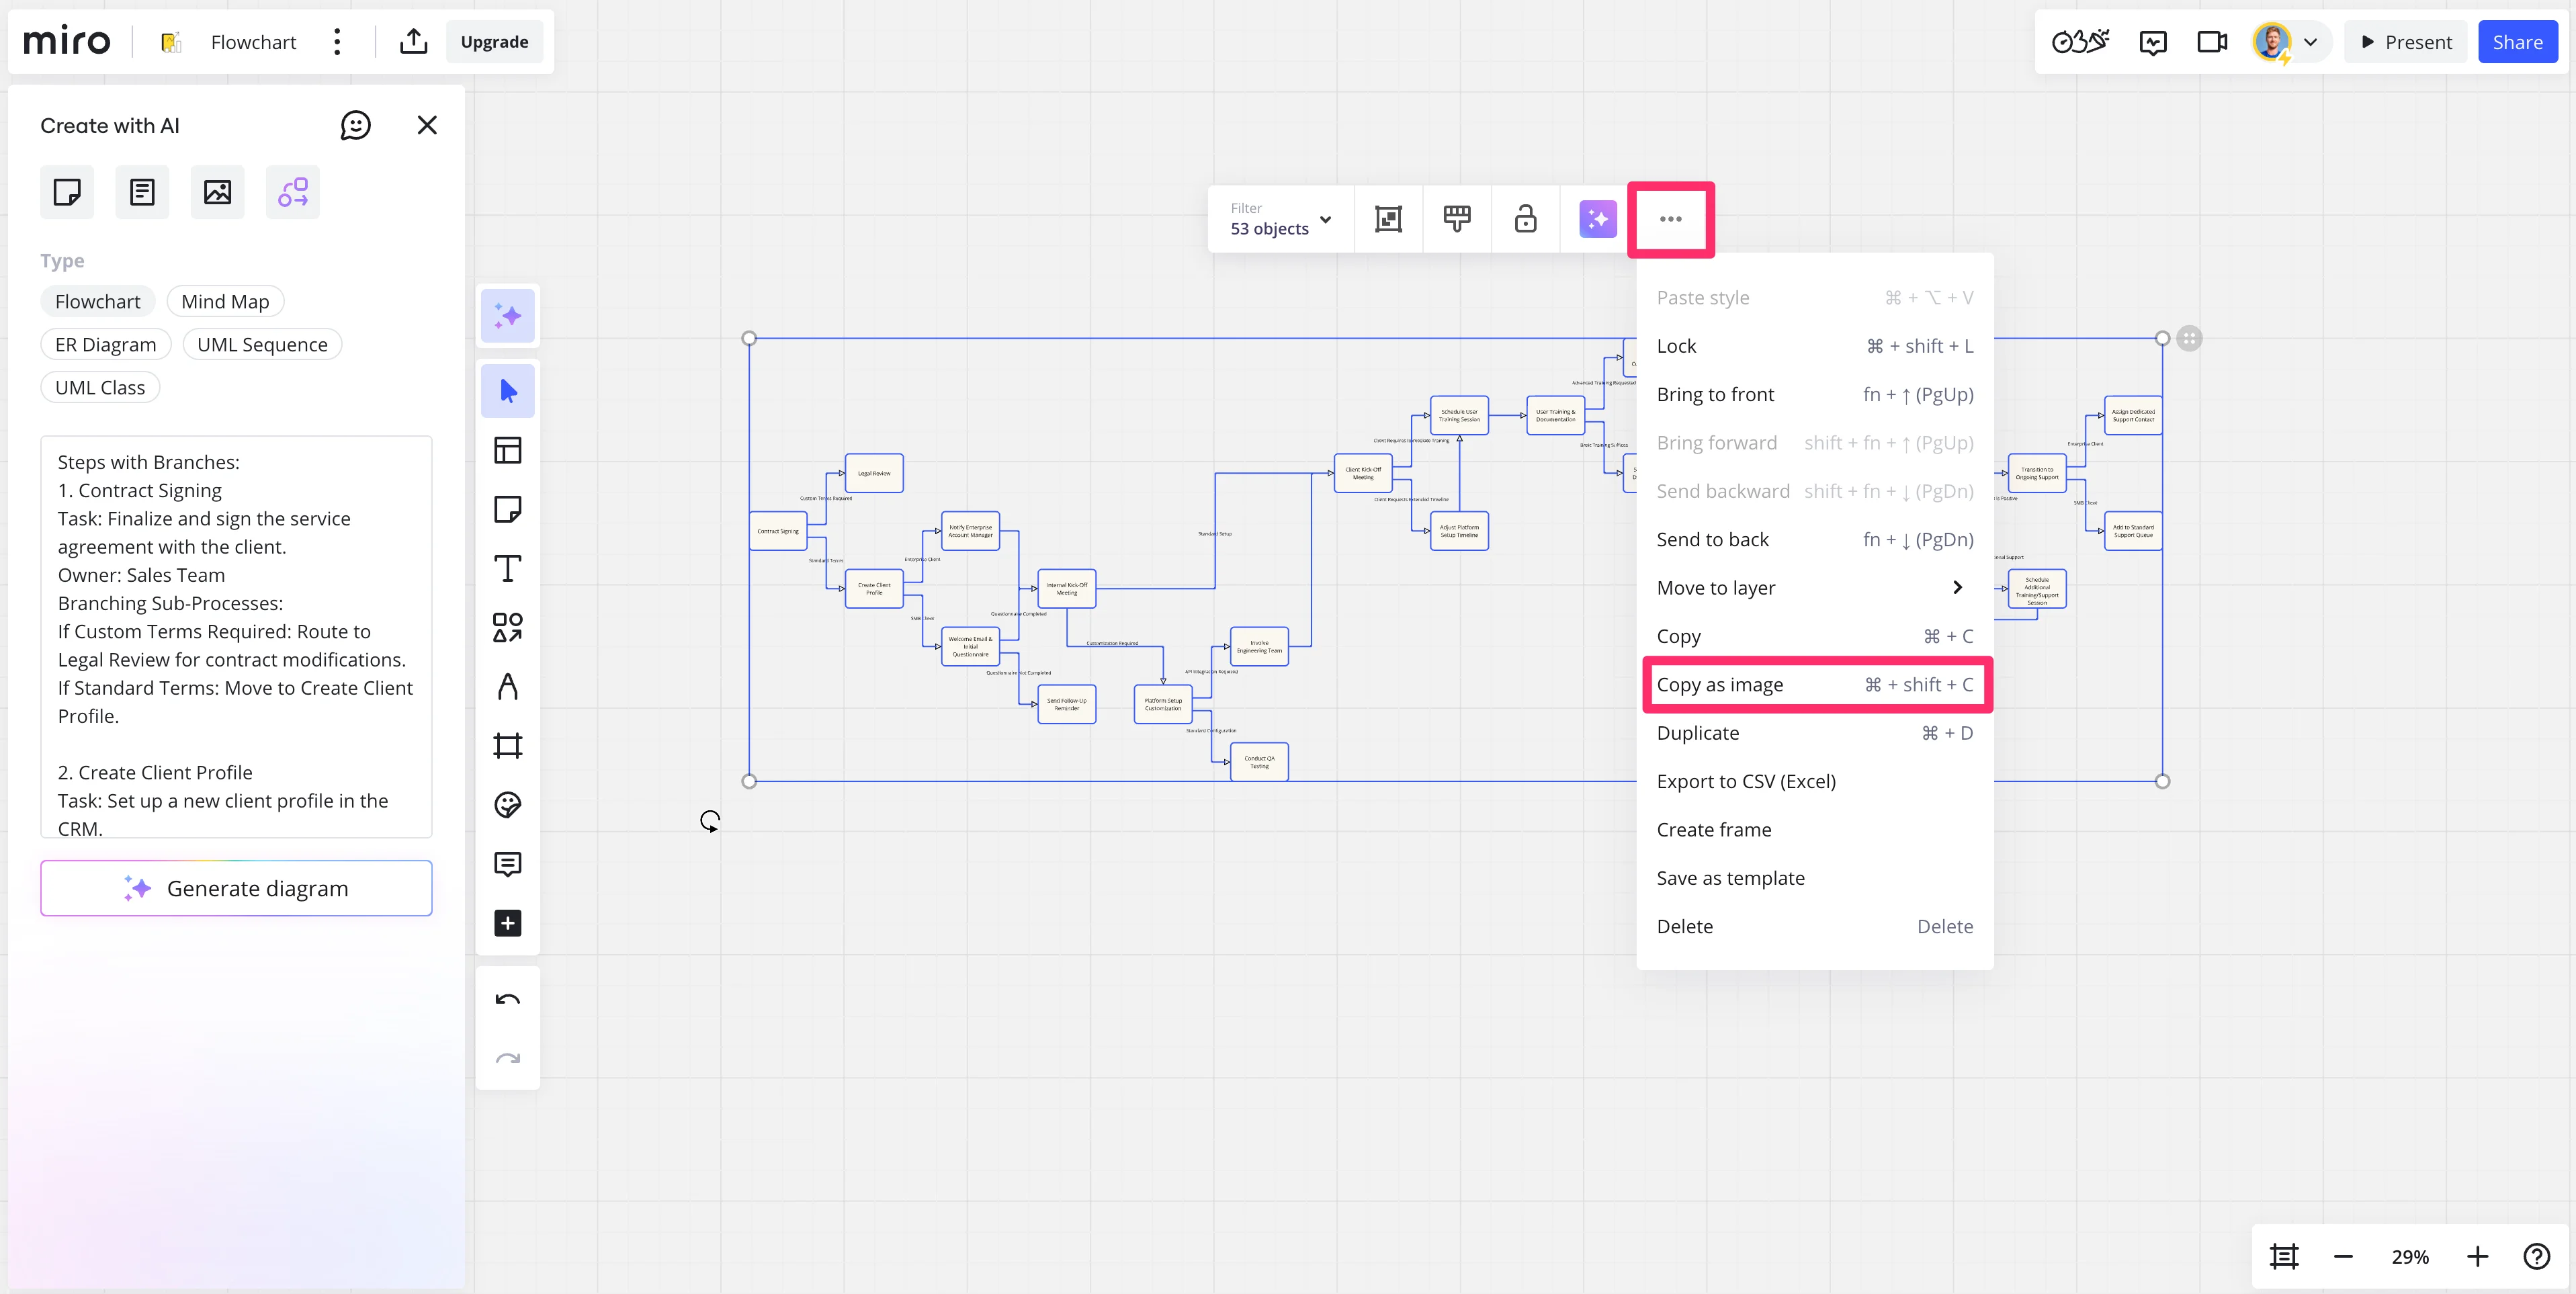
Once you’re happy with your flowchart, you can click and drag and highlight the entire flowchart, click the three dots icon on the resulting menu, and copy the flowchart as an image.
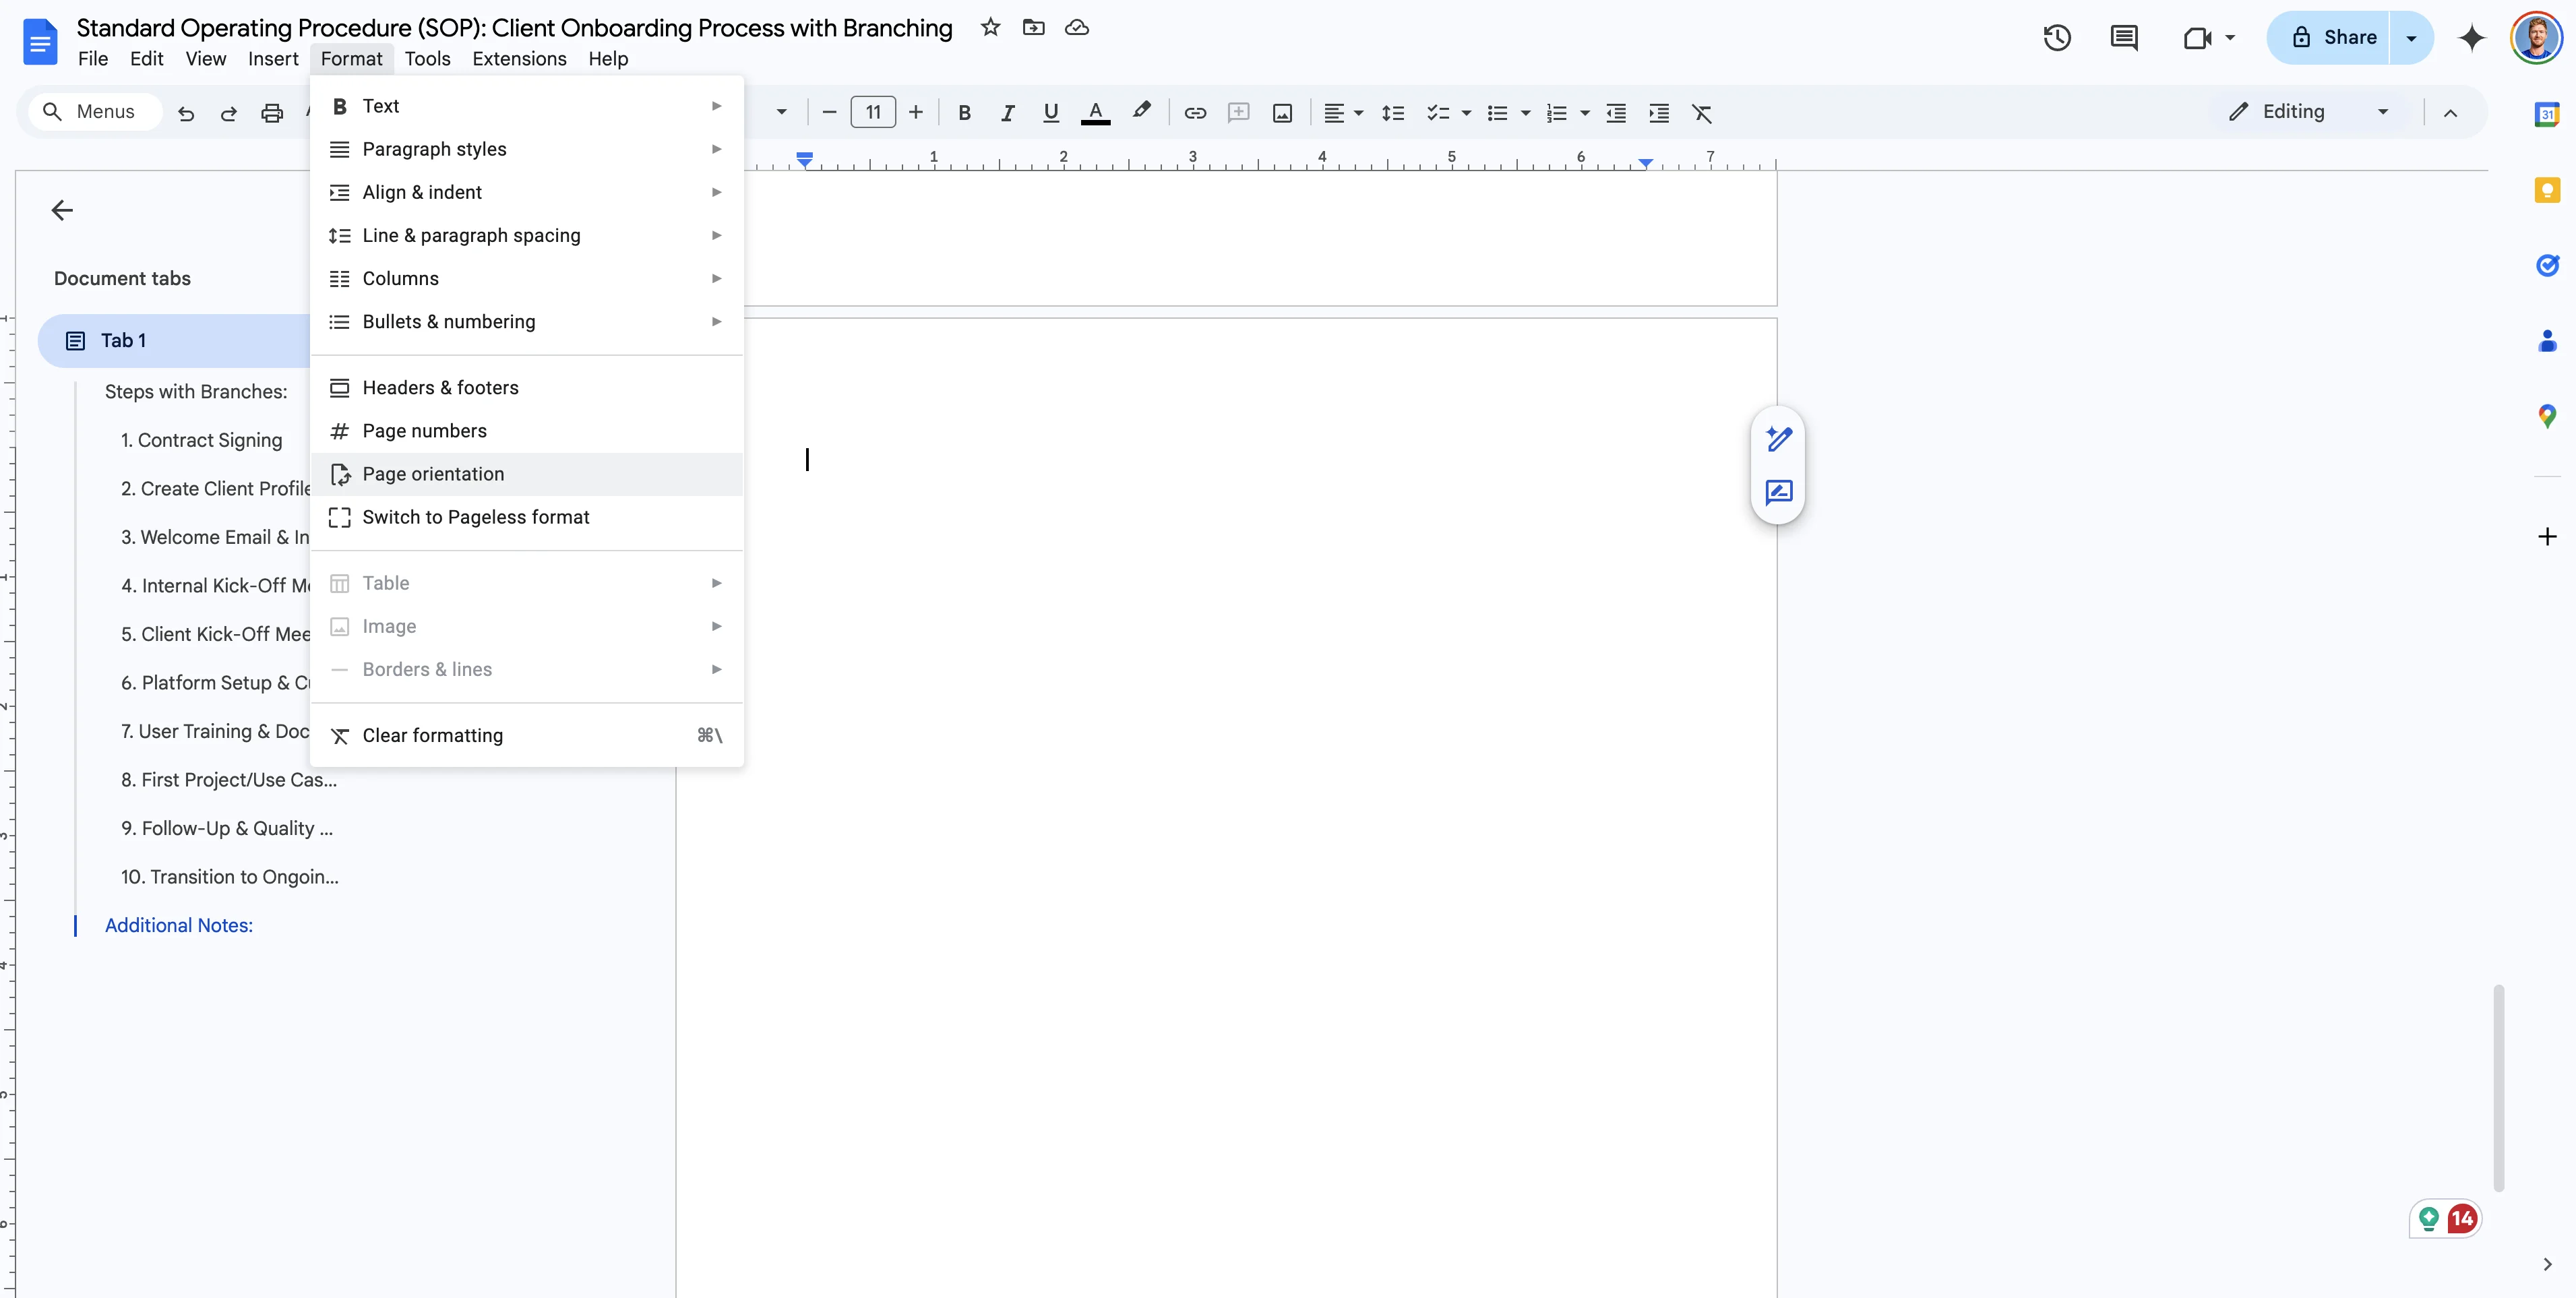
Then you can head back to your SOP document, add a new page, and update the page orientation.
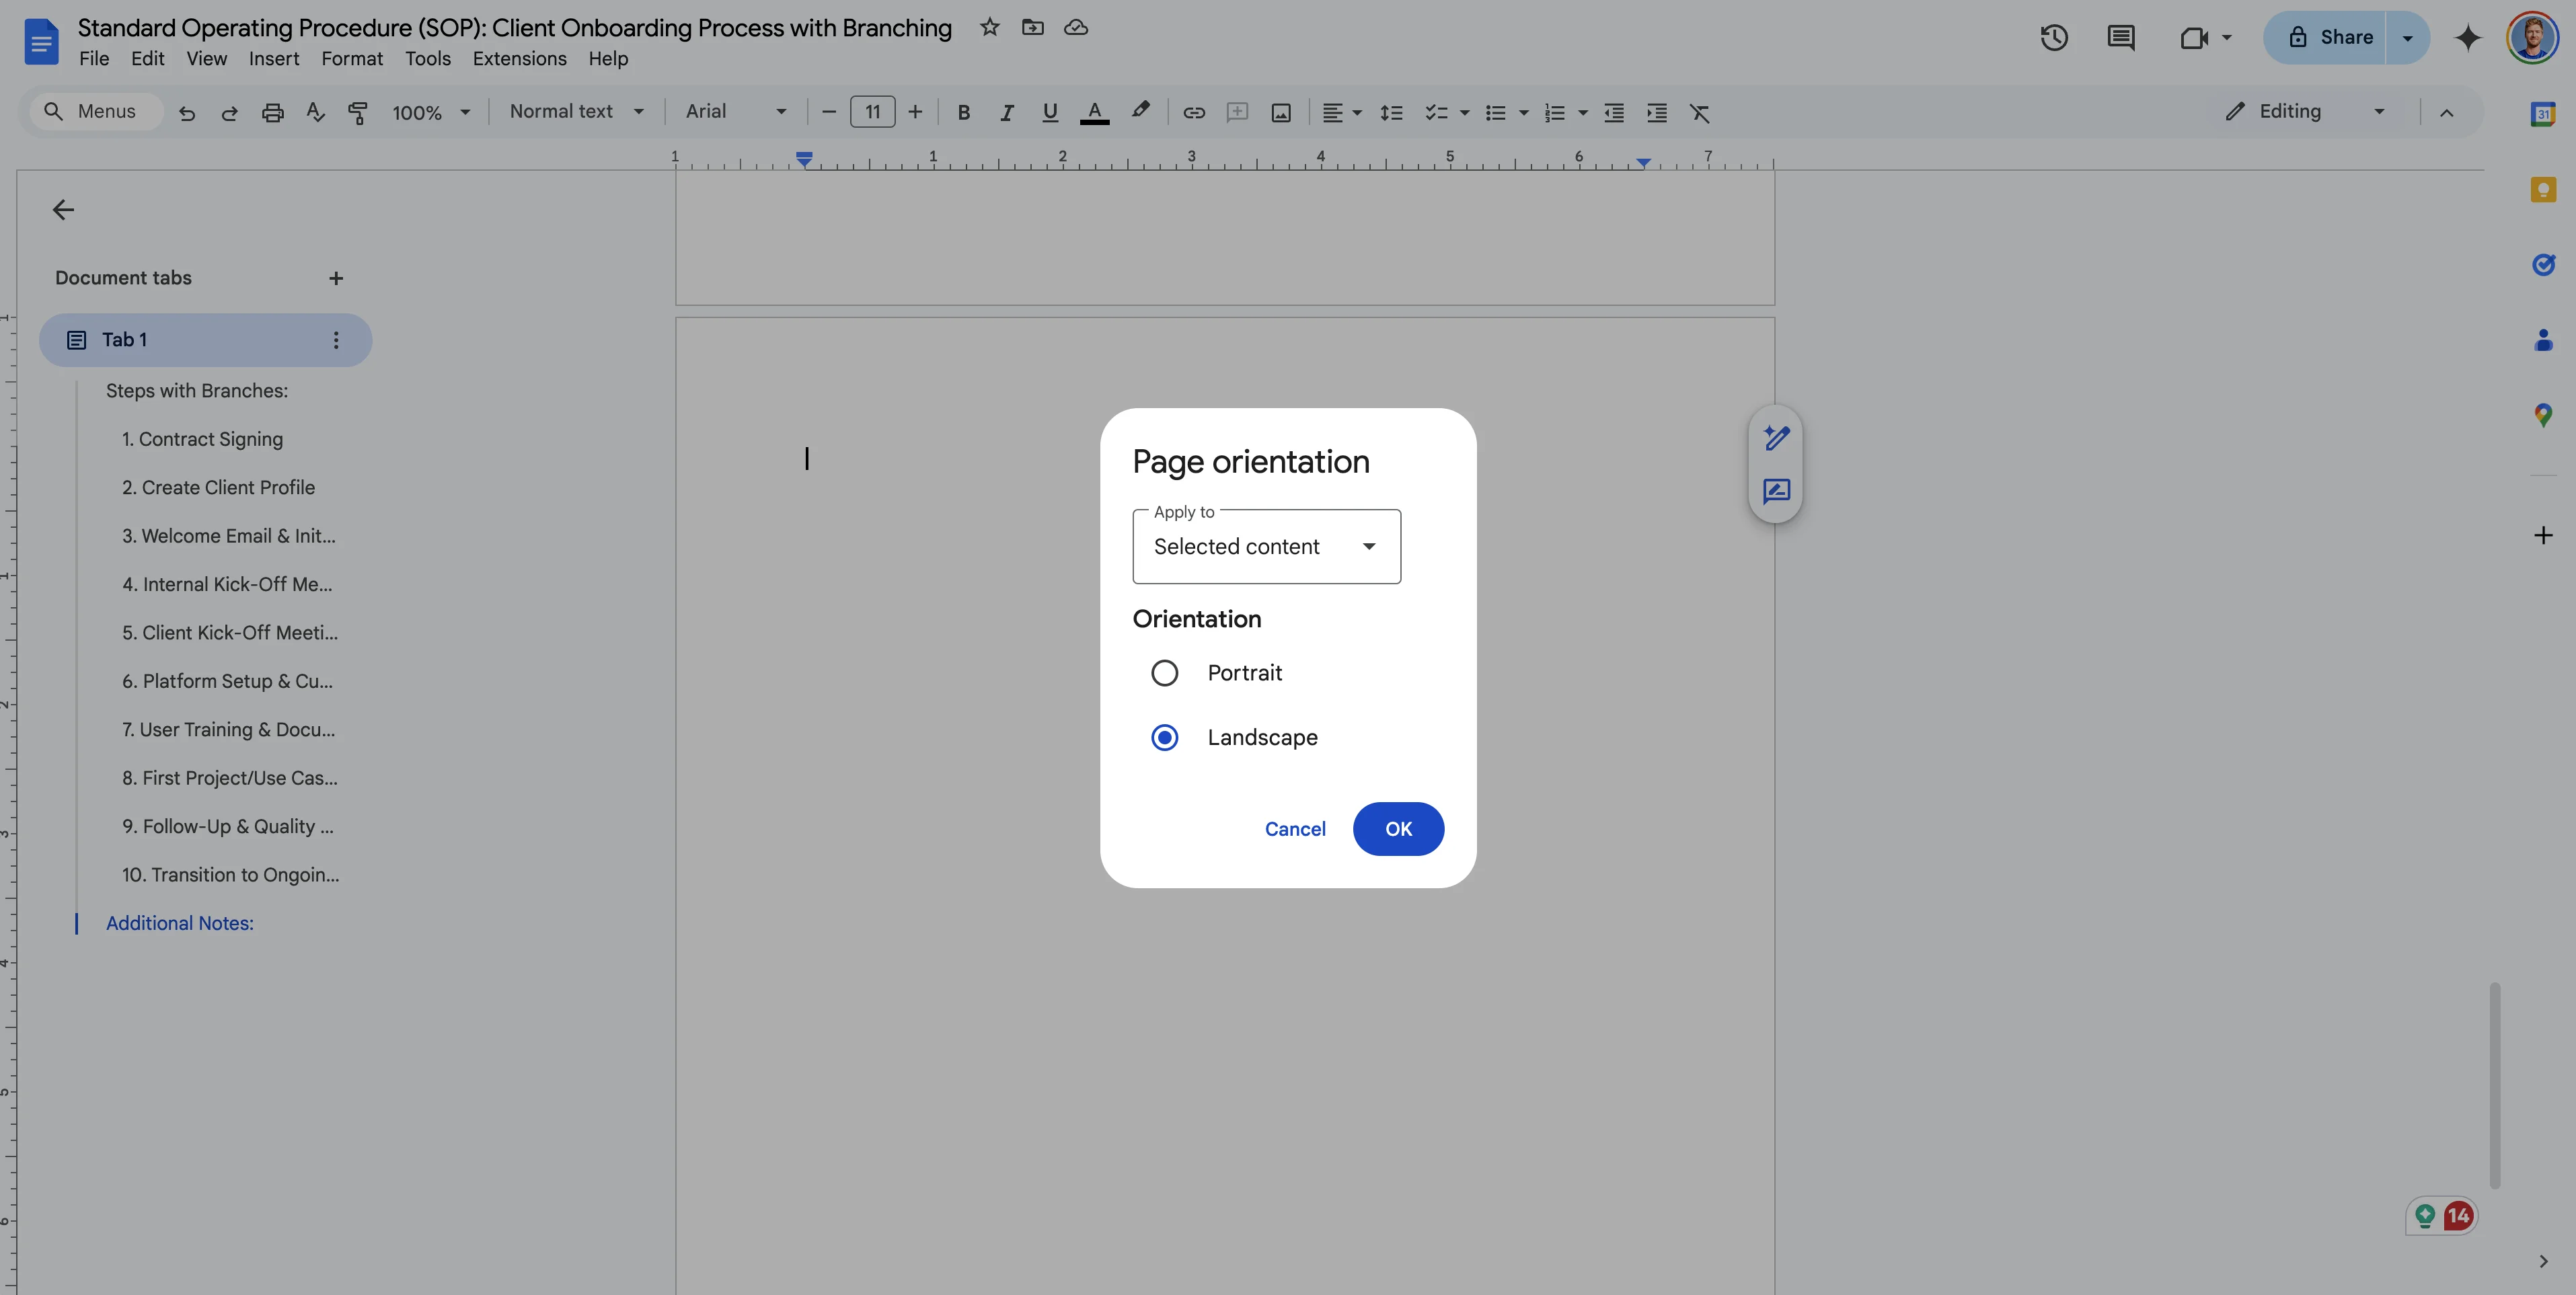
We’re going to set the page orientation to “Landscape” to better fit our flowchart.
Then we’ll paste our flowchart into the document.
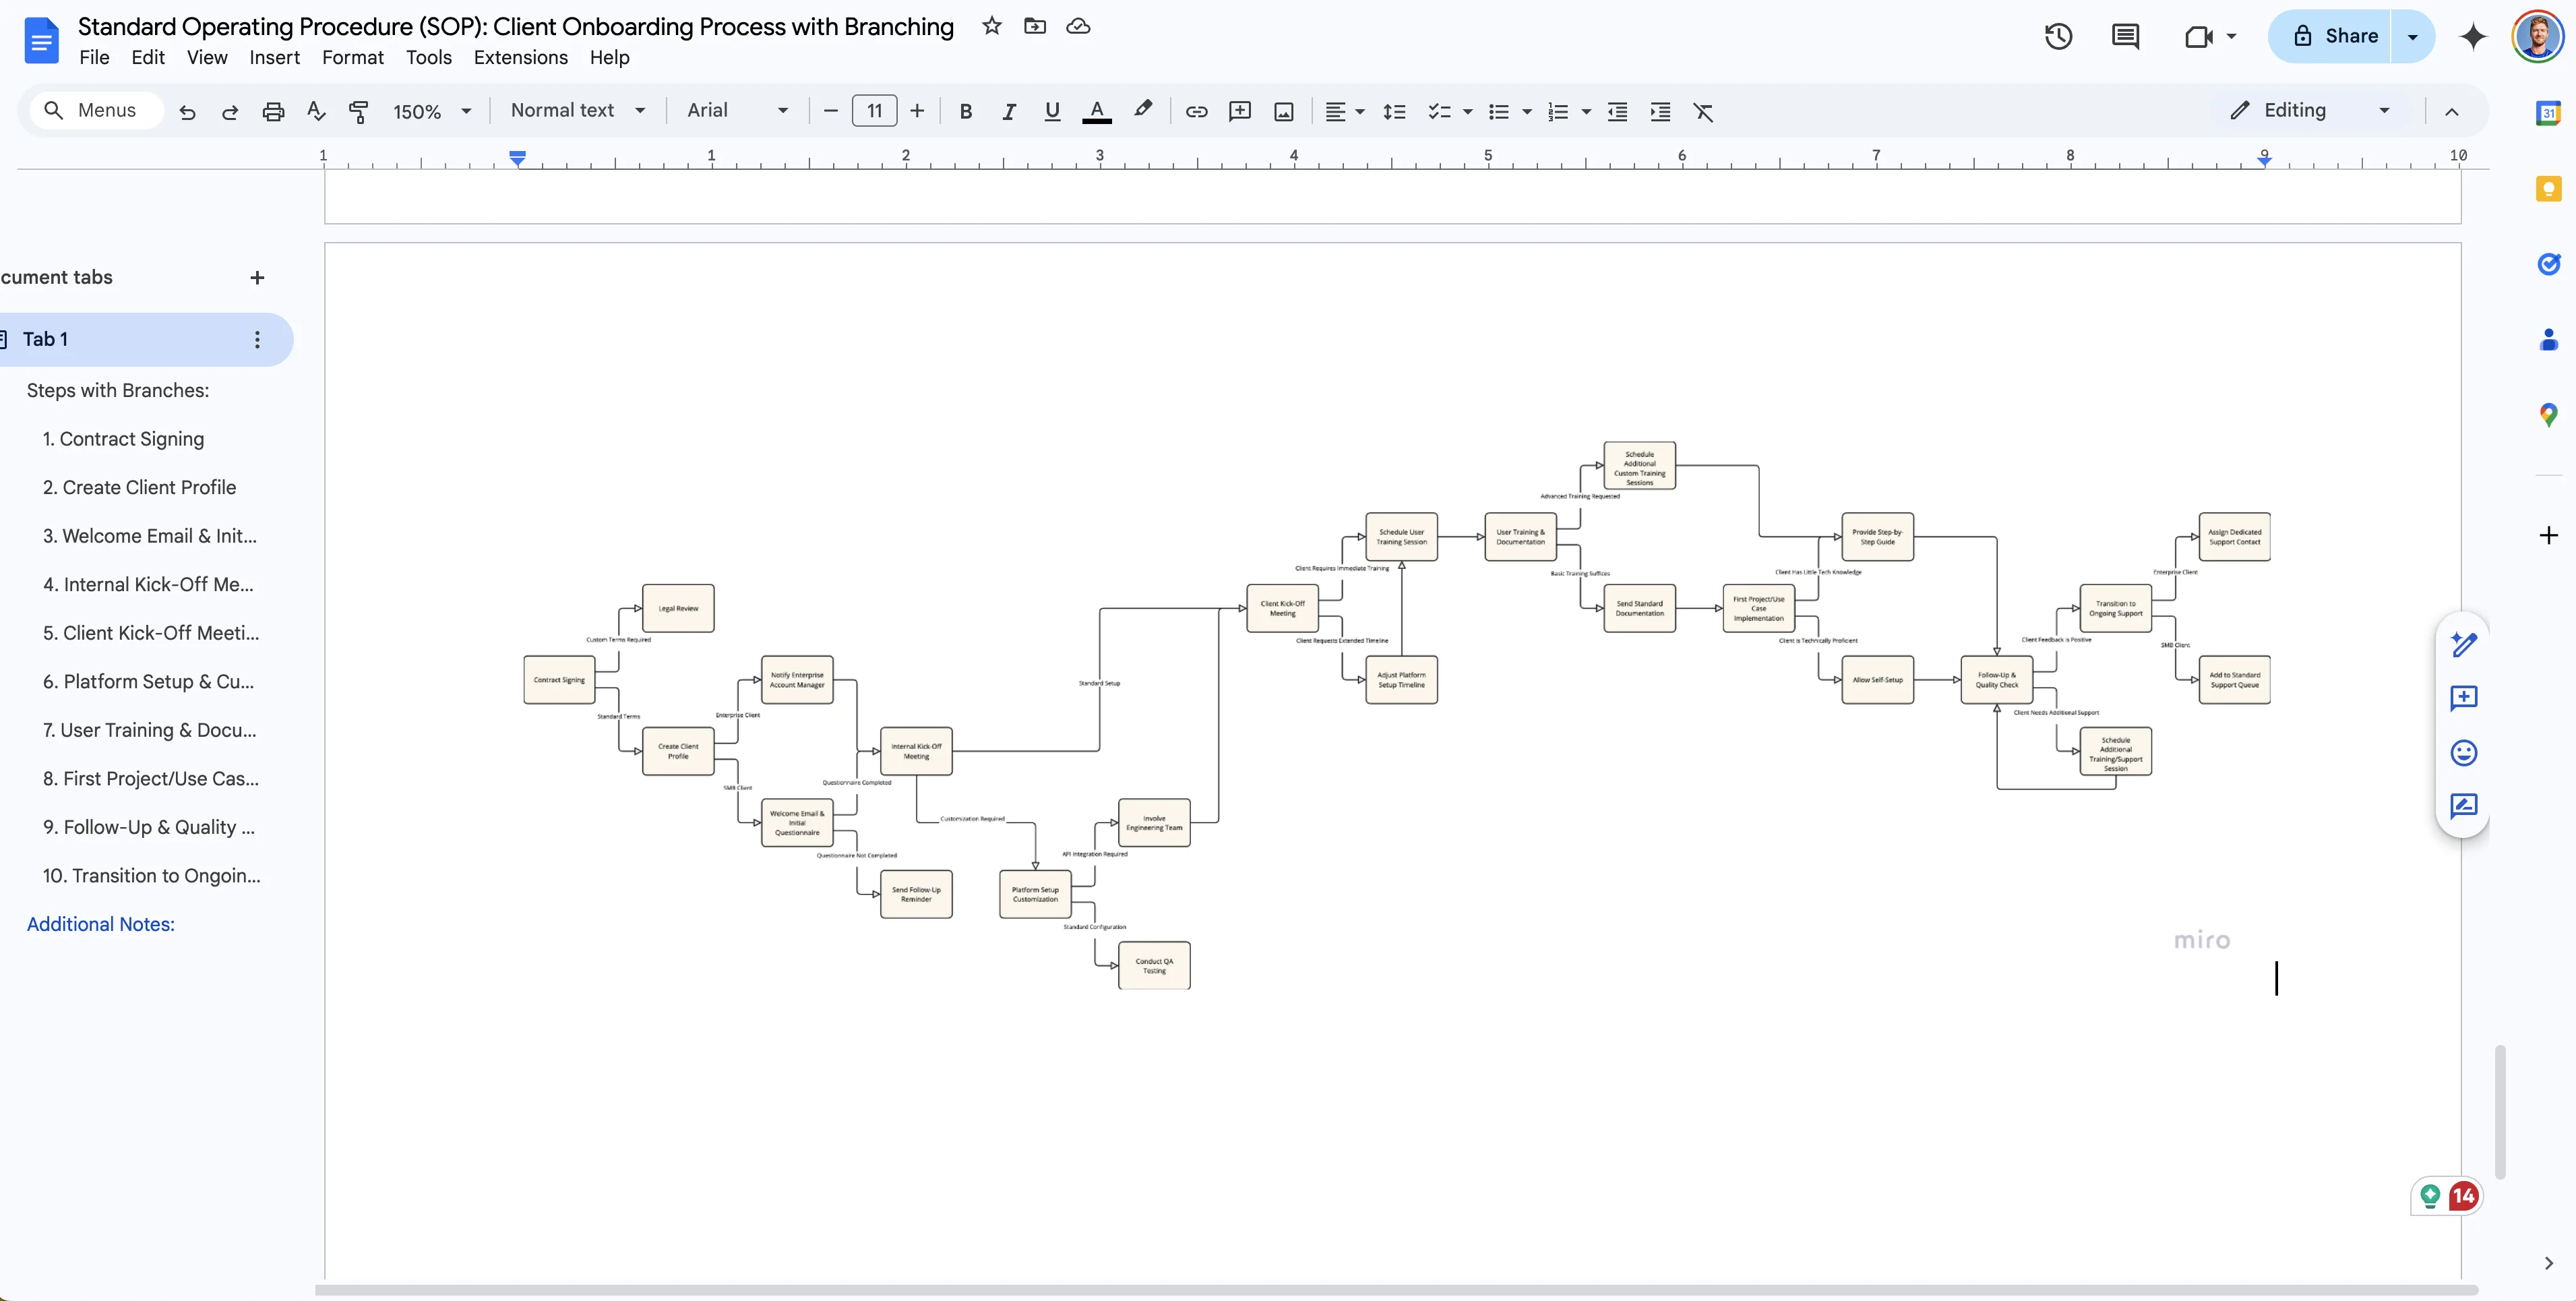
And that’s it! You went from an SOP document to a flowchart with Miro in minutes. No more tedious dragging and dropping, shape creation, or pixel manipulation. Process documentation has never been easier.
This tutorial was created by Garrett.