Build HR chatbots with Chatbase
Learn how to create AI-powered chatbots for FAQs, onboarding and employee surveys.
2024-12-09
Welcome to the second tutorial in our Build AI chatbots with Chatbase course!
In this tutorial, you will learn how to create several human resources AI chatbot workflows with Chatbase—from answering internal FAQs to running employee pulse surveys.
What’s Chatbase? It’s a custom AI chatbot builder that lets you easily connect your own data to create a customized AI chatbot experience.
You can deploy the chatbots to your website or Slack workspace, or integrate them across a host of other channels to help automate and streamline employee and customer support.
Bot configurations we’ll set up in this tutorial:
- Answering internal FAQs
- Employee onboarding
- Employee pulse surveys
Let’s get into it!
Answering internal FAQs
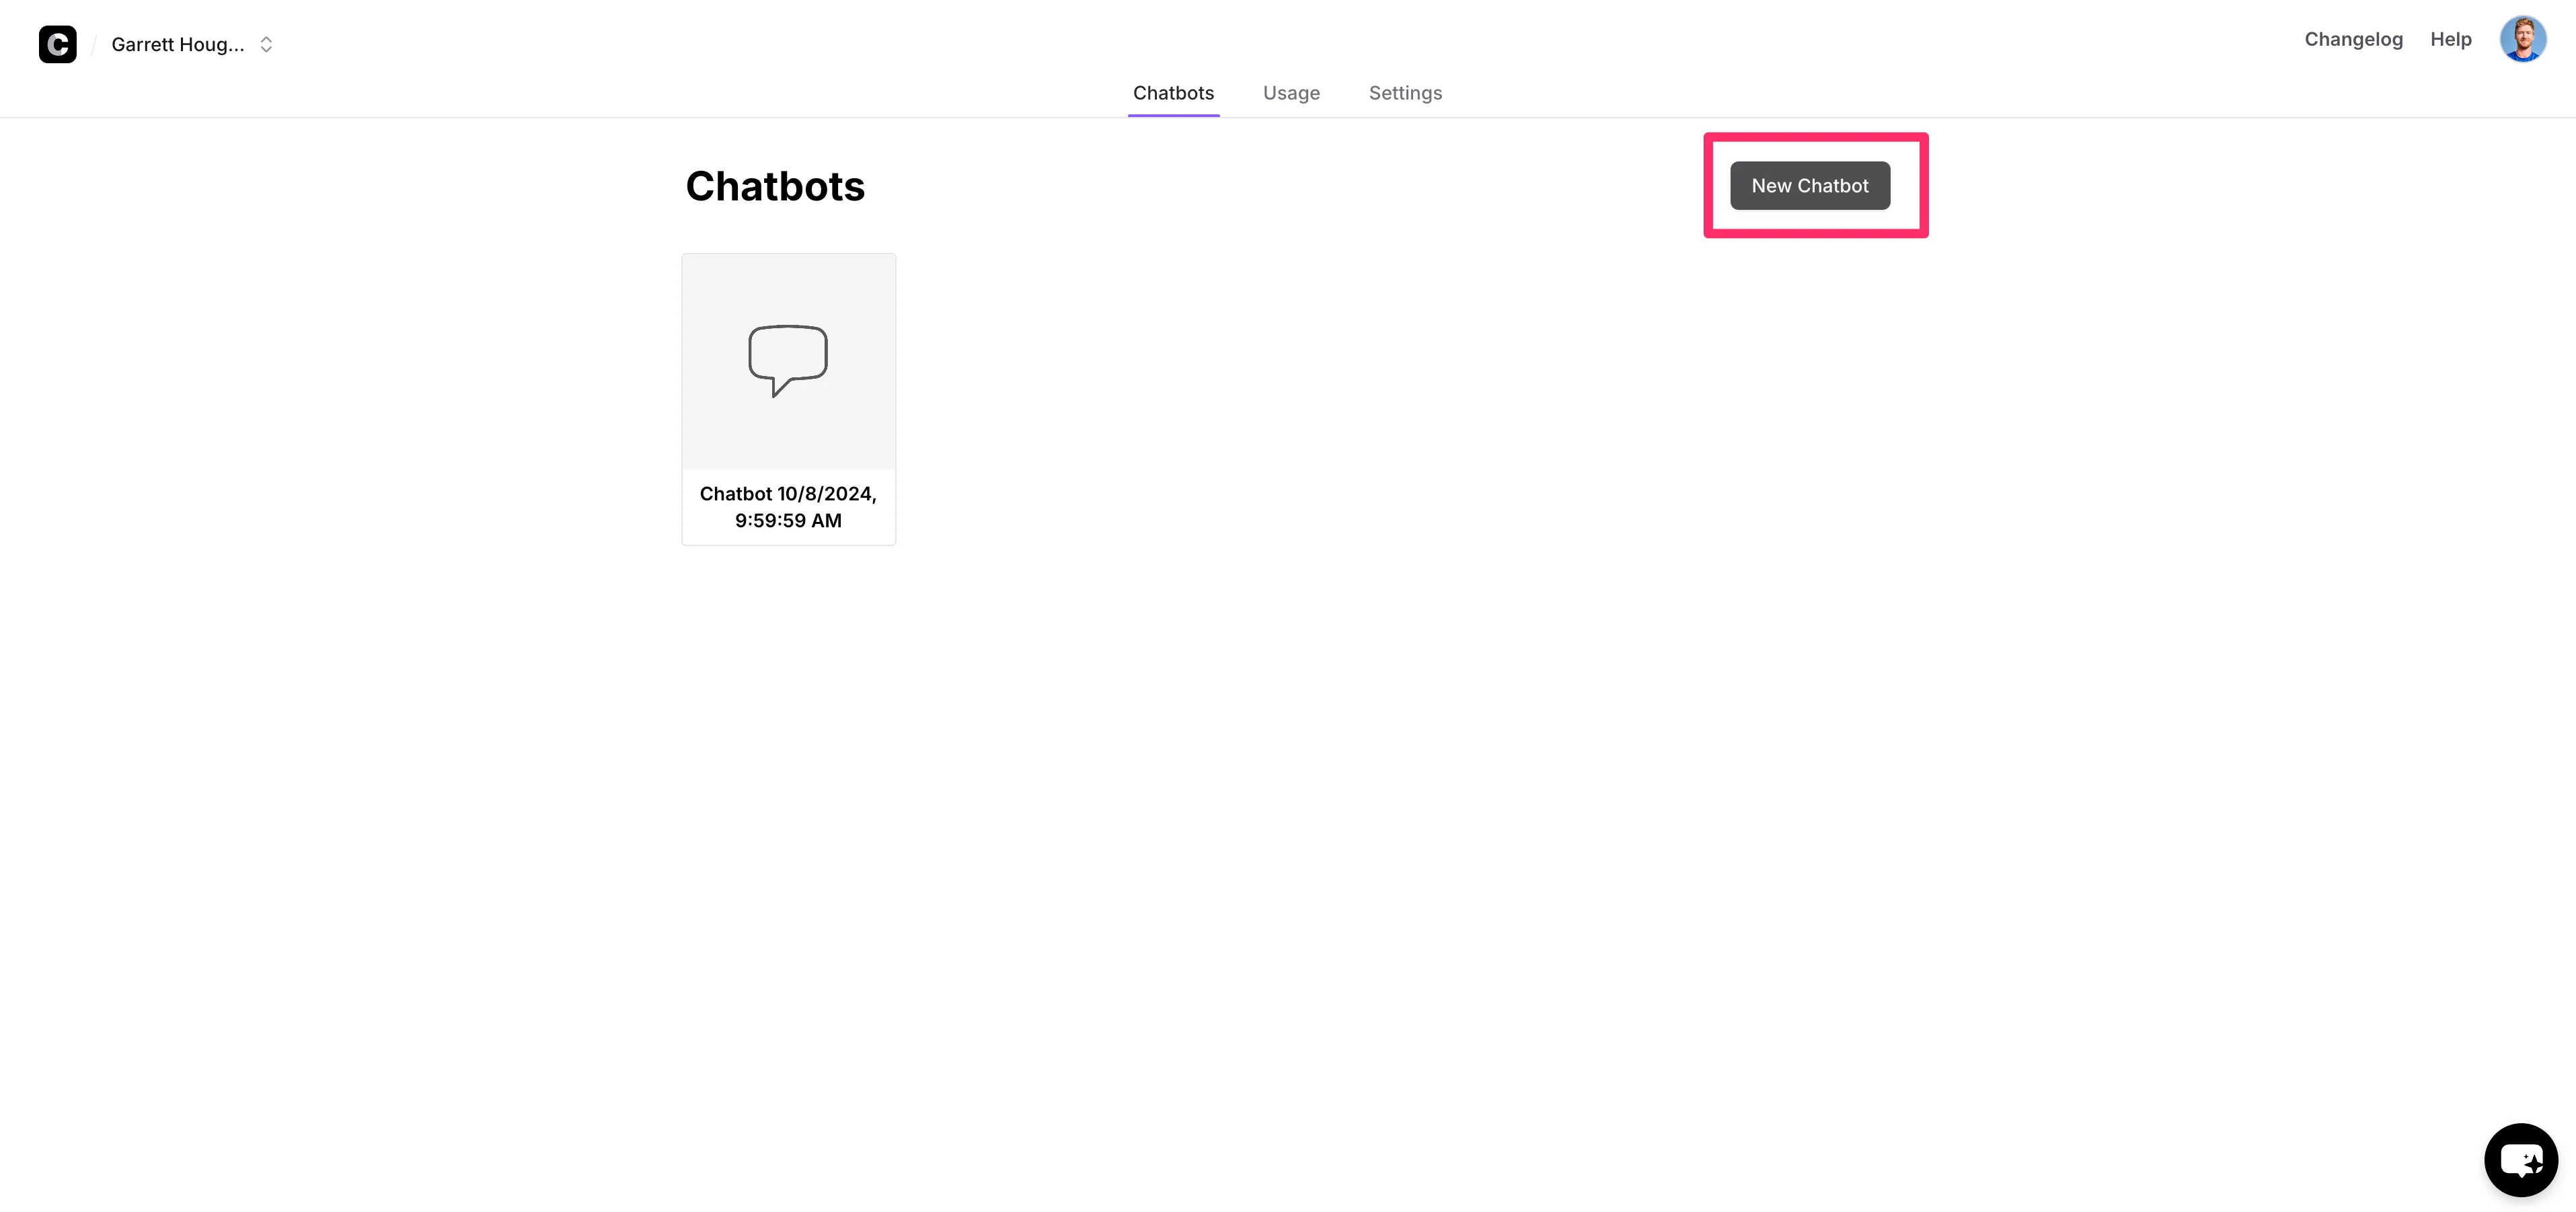
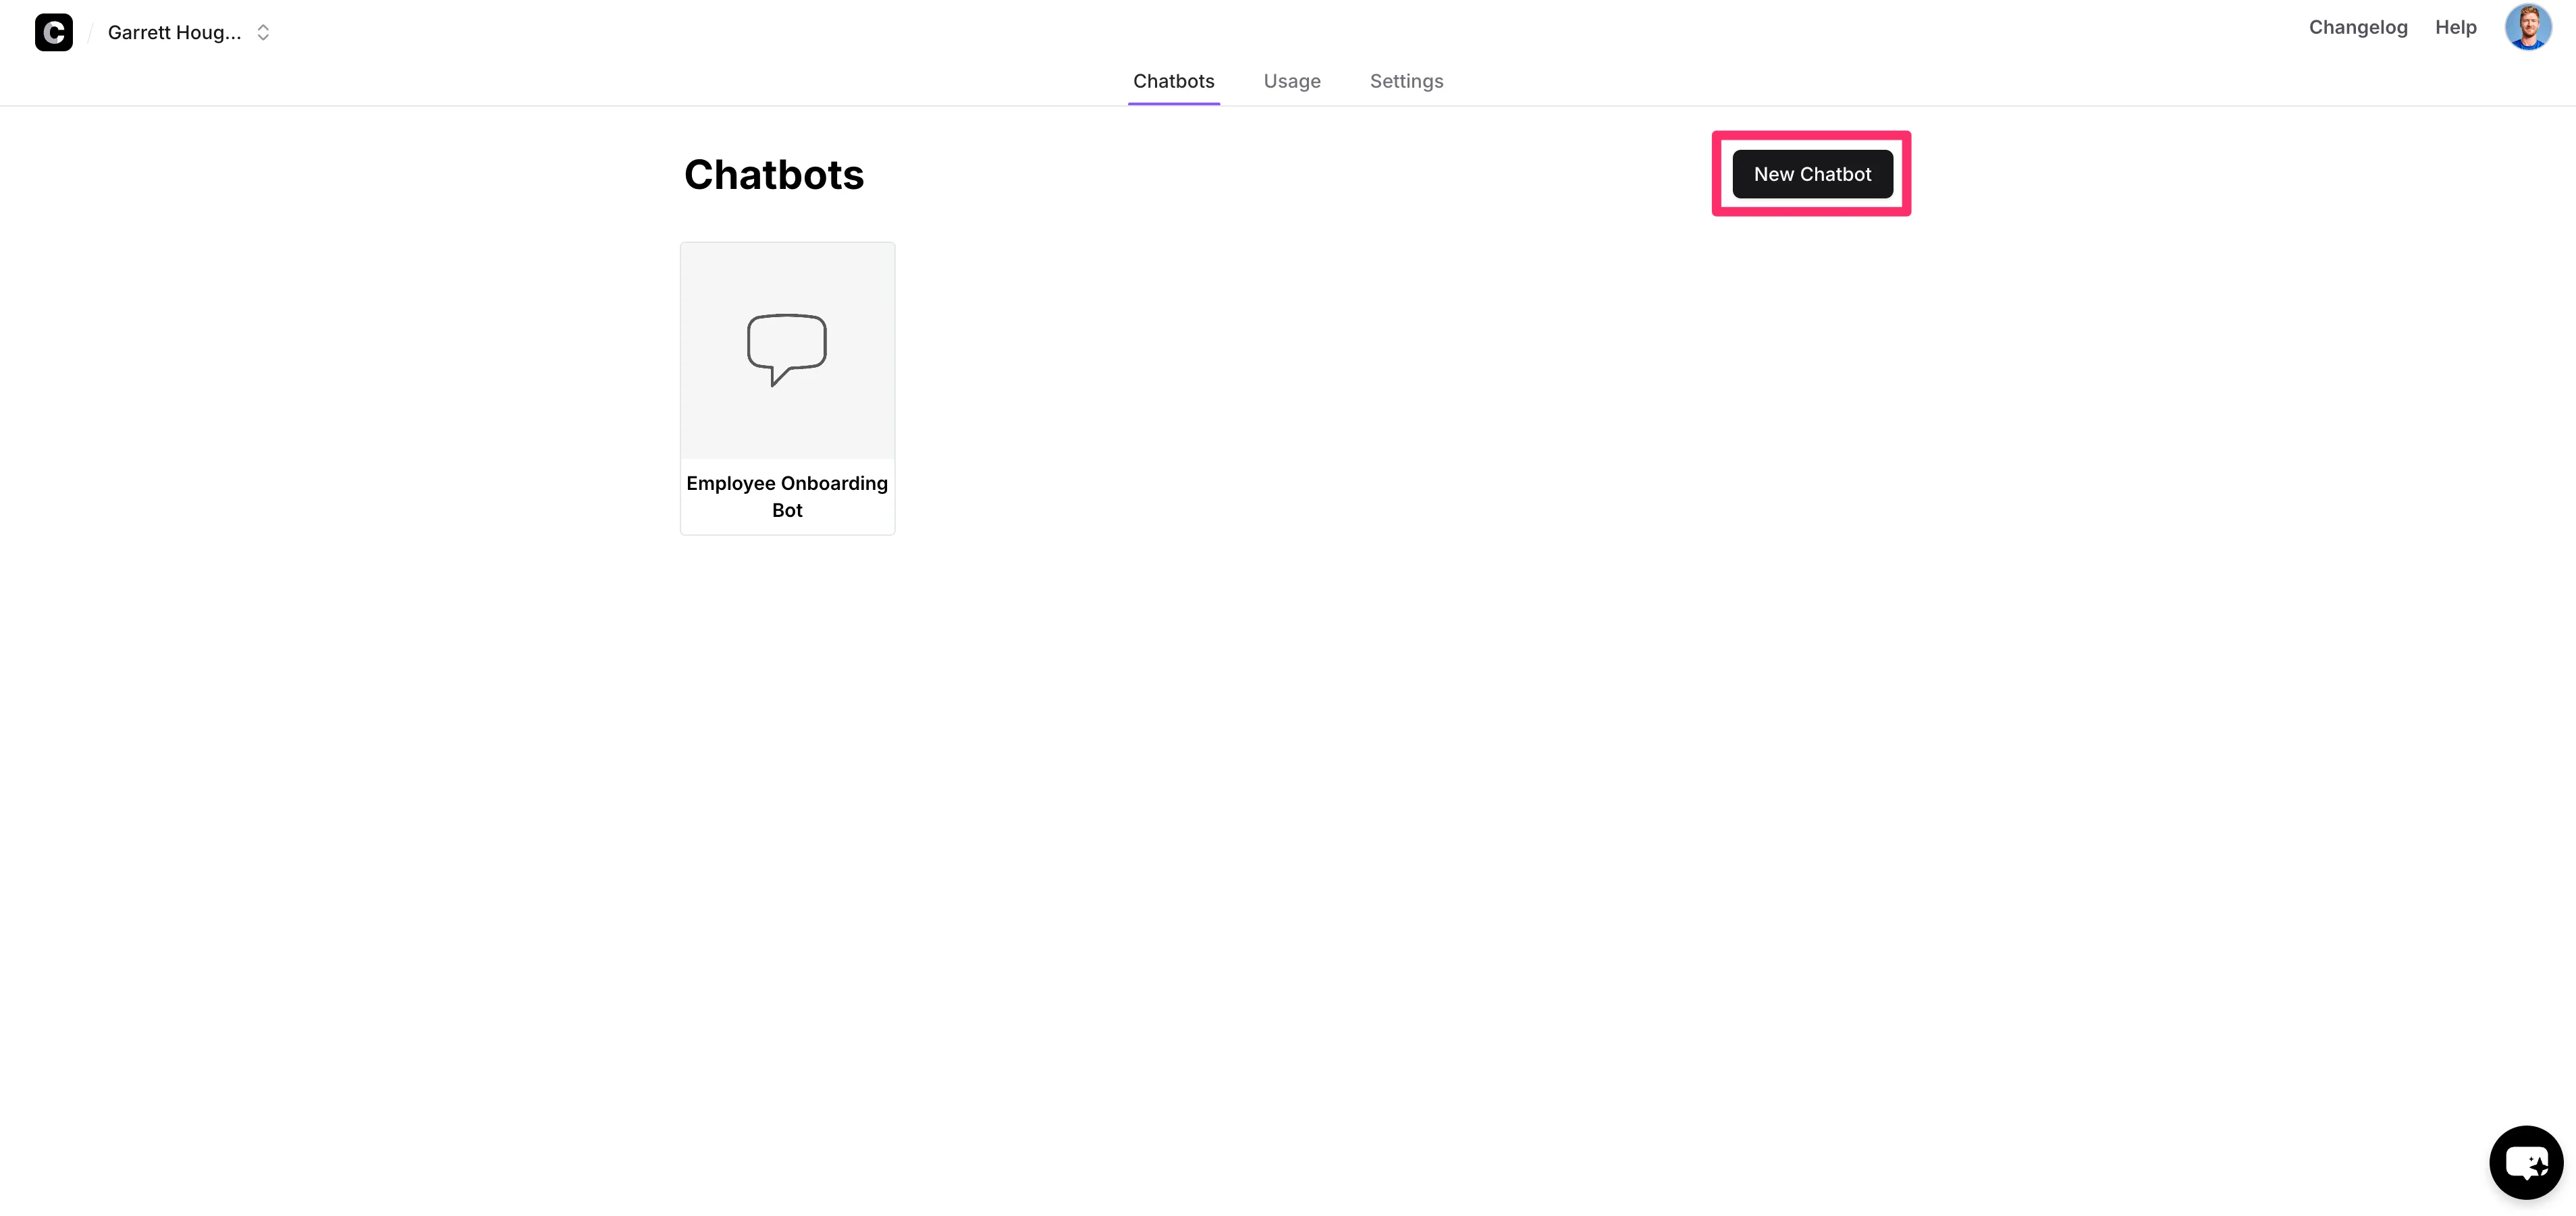
To get started, create a Chatbase account and click on the “New Chatbot” button on the resulting dashboard.
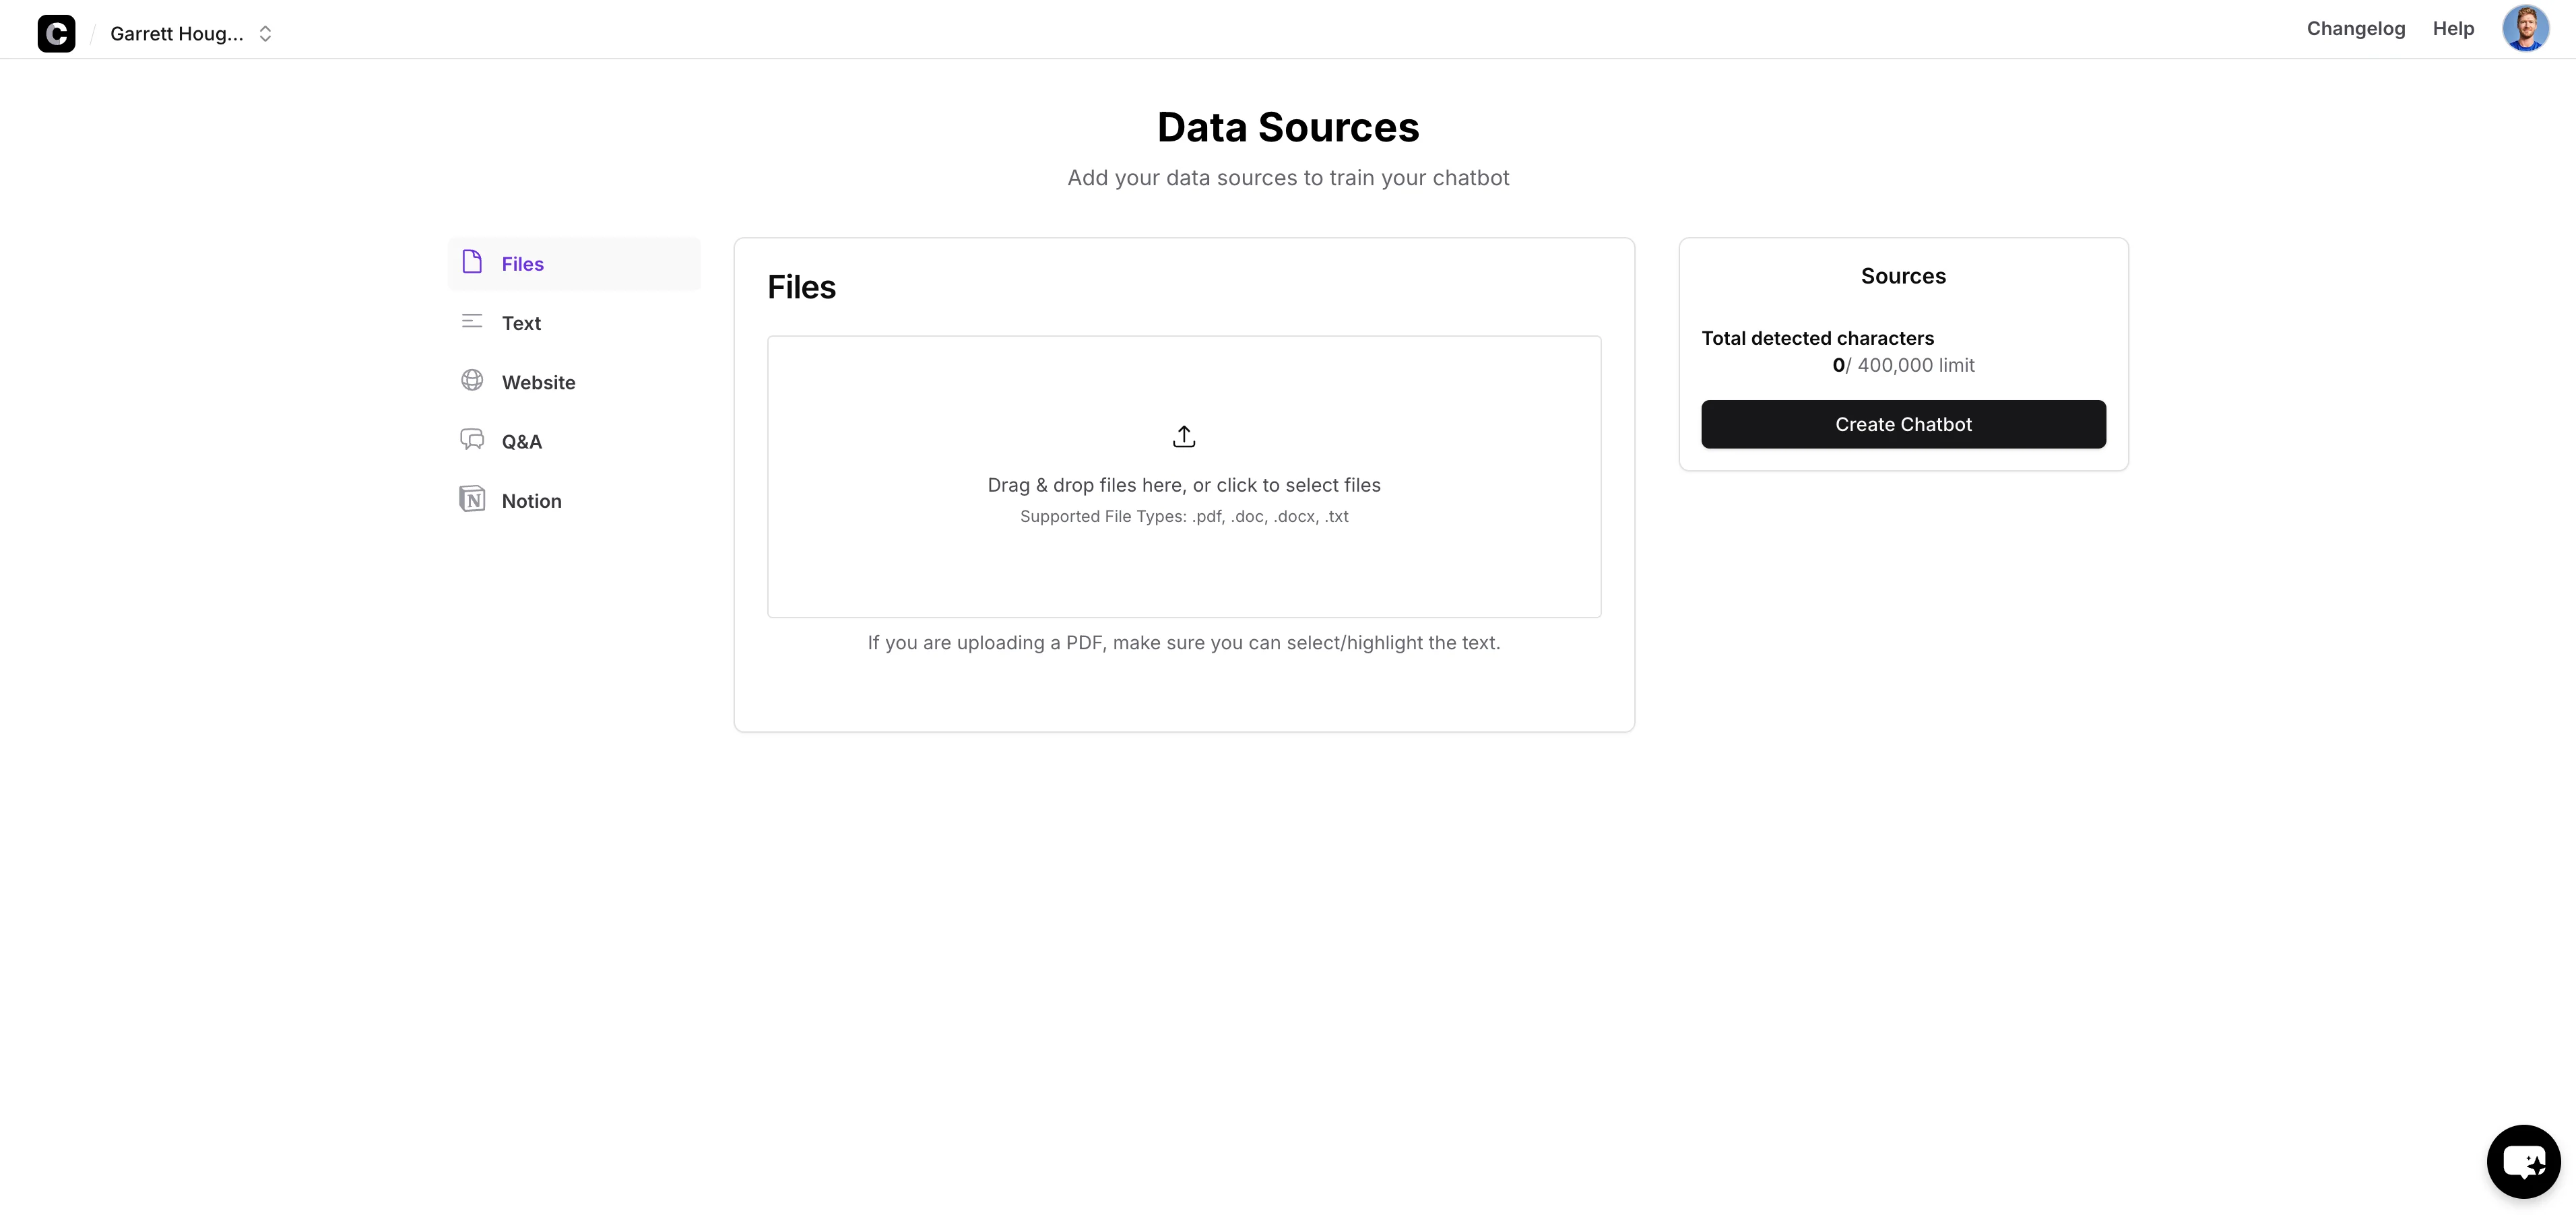
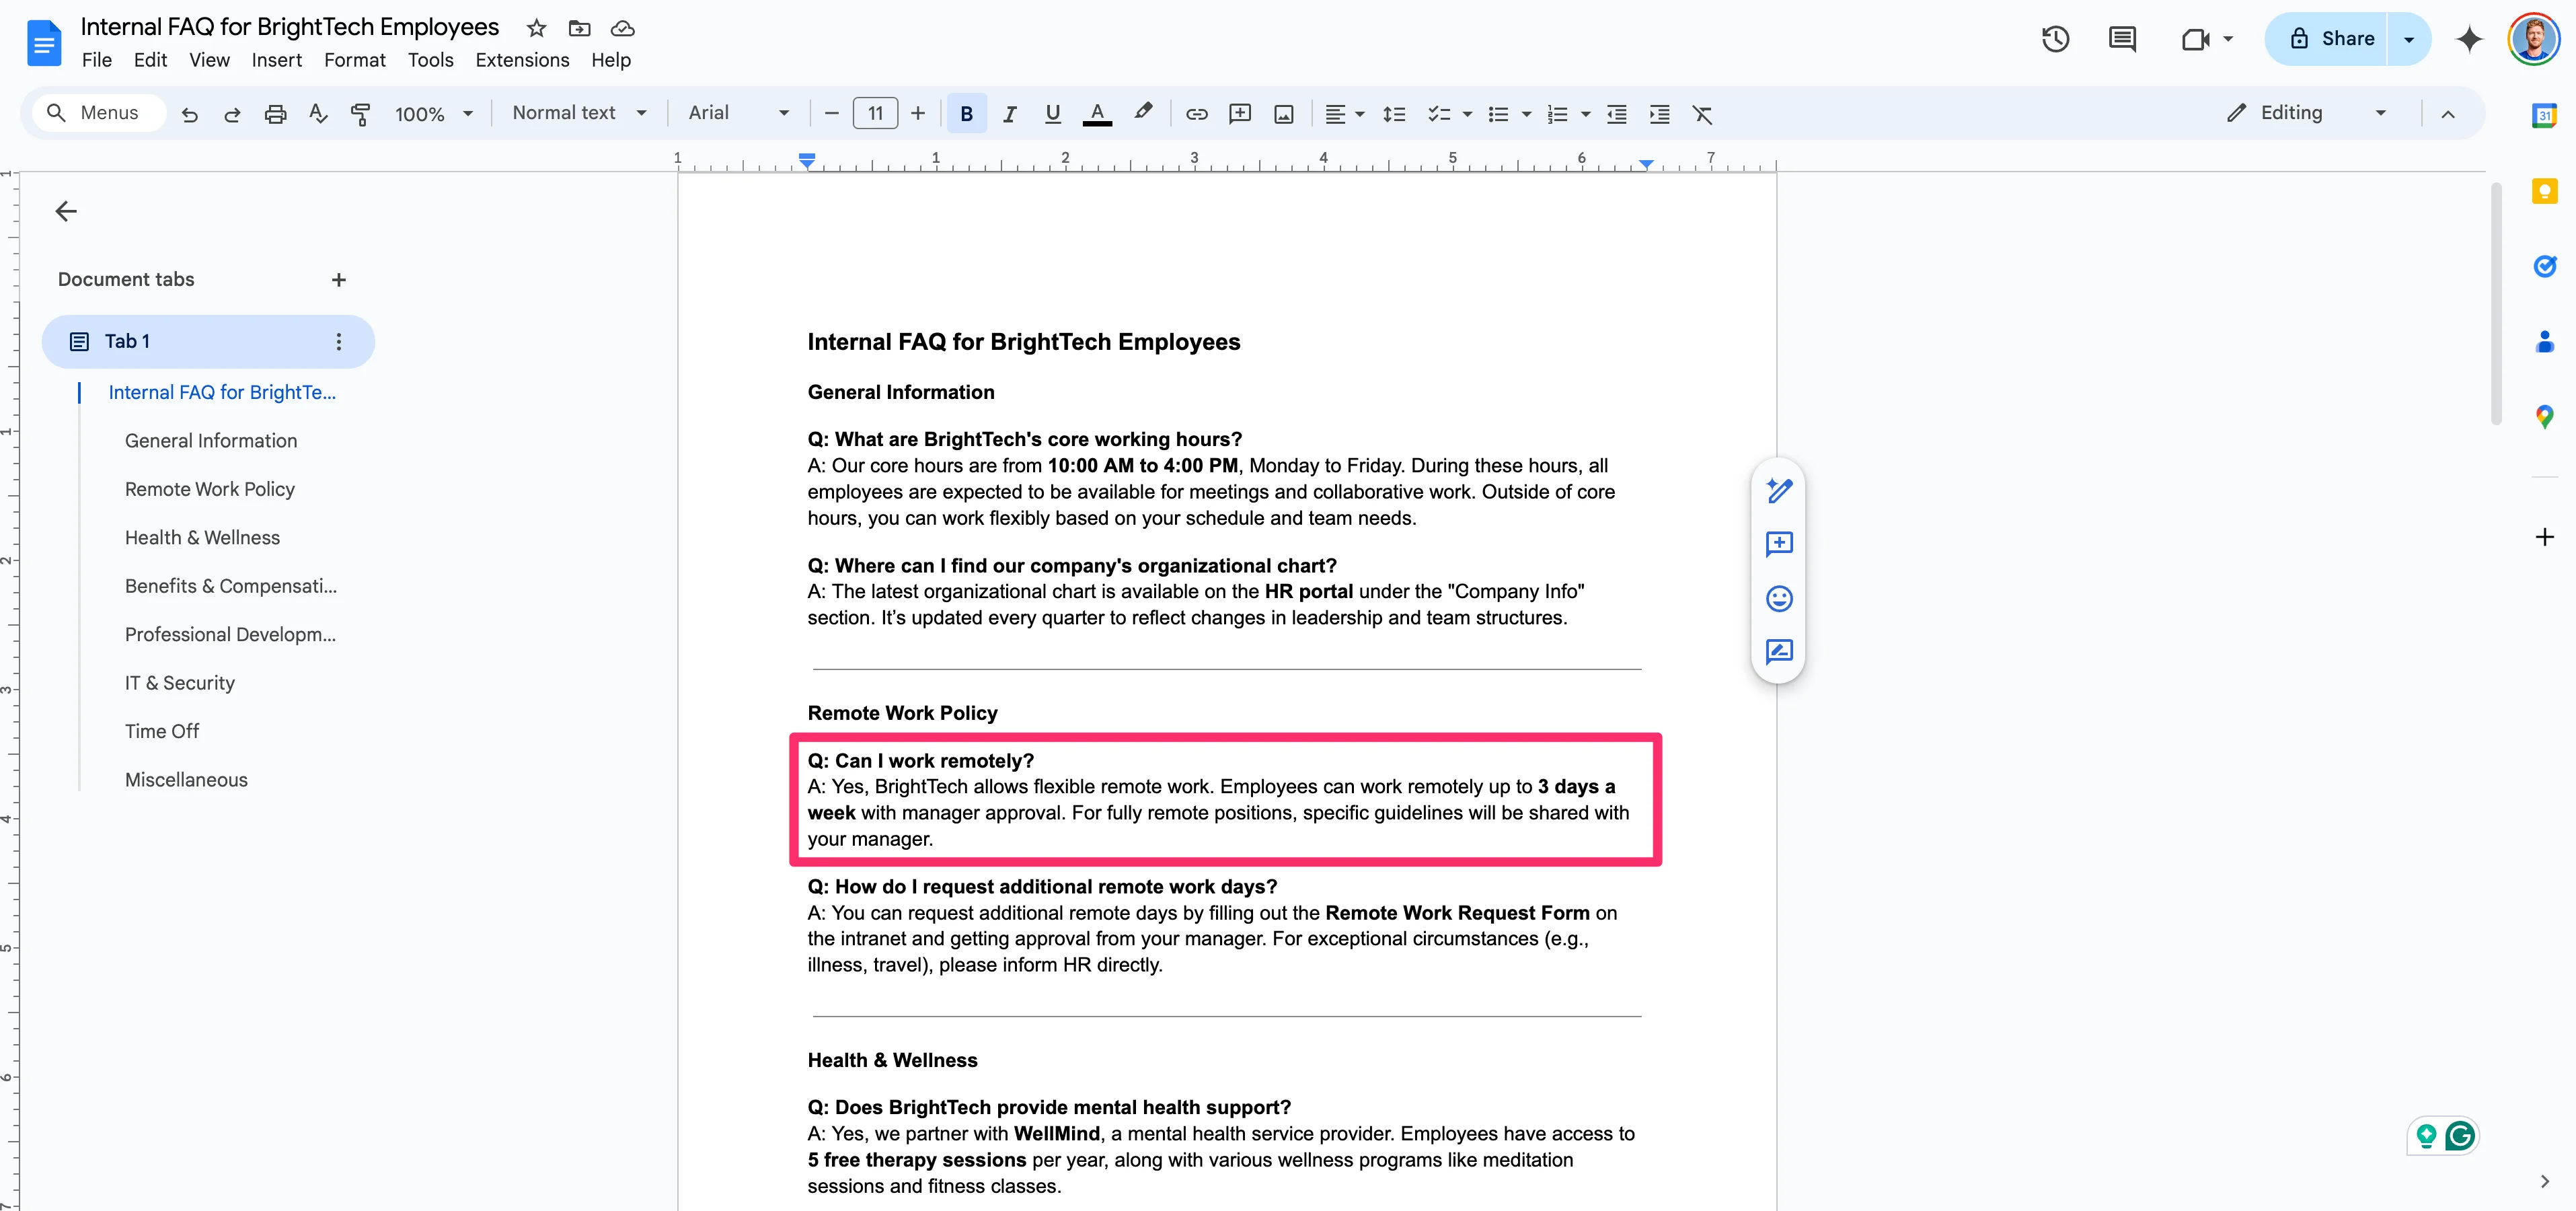
The foundation of a Chatbase AI chatbot is a data source. In this first example, we’ll be uploading an FAQ doc as a file attachment.
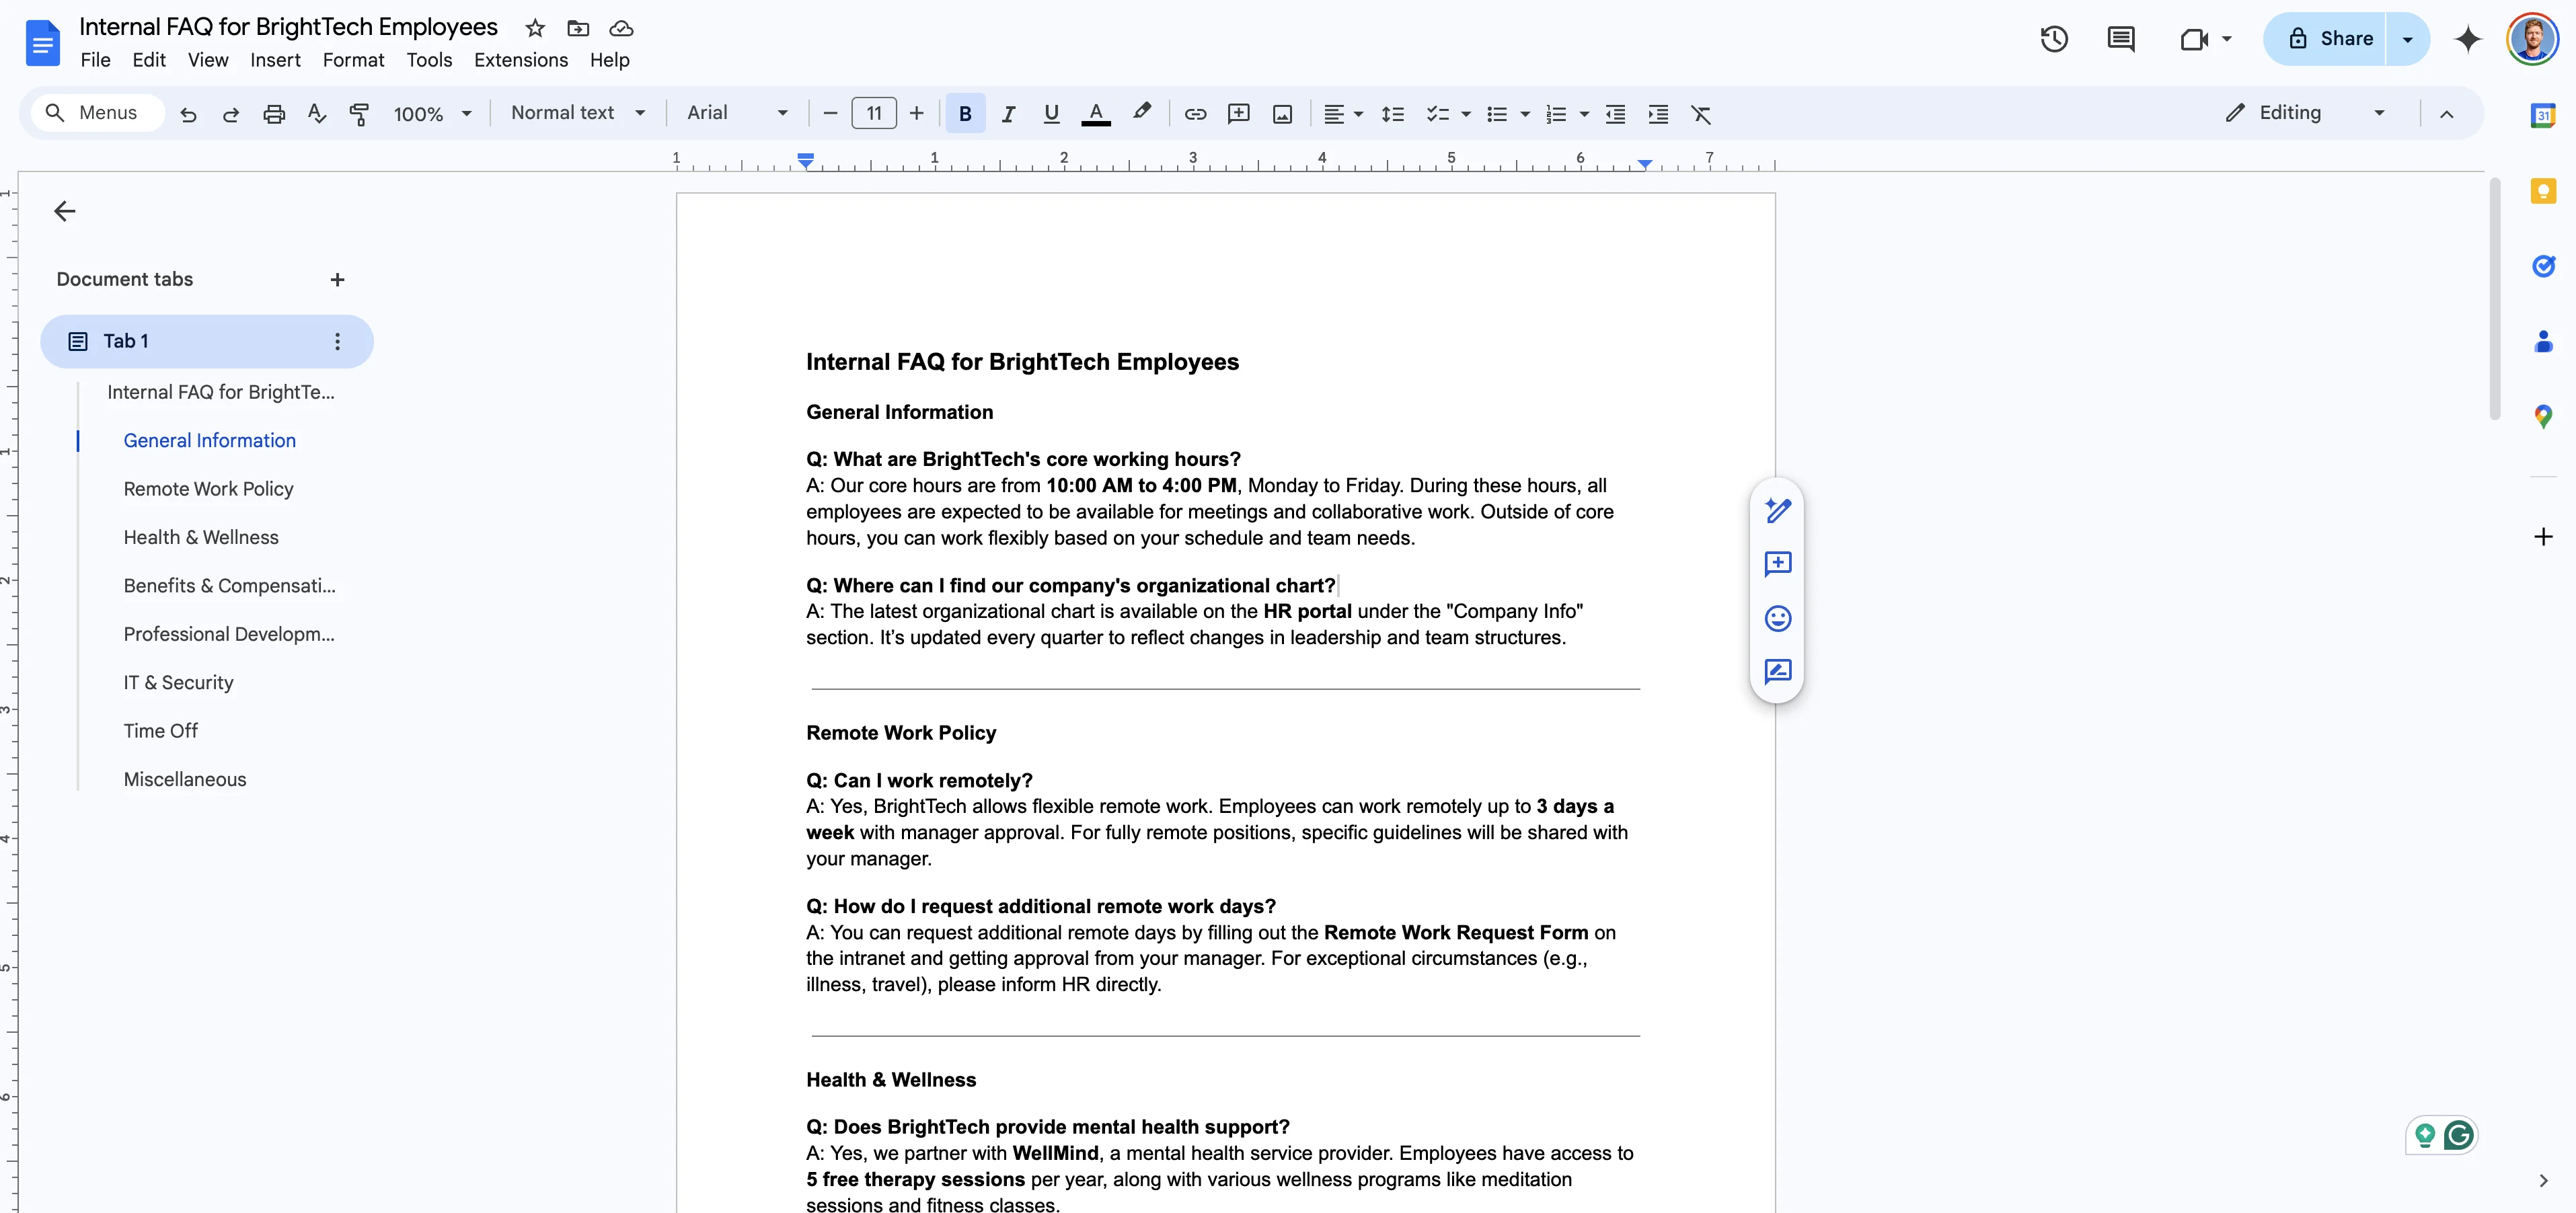
We’ve created our FAQ document in Google Docs. To connect it to Chatbase, we’ll download the file as a PDF.
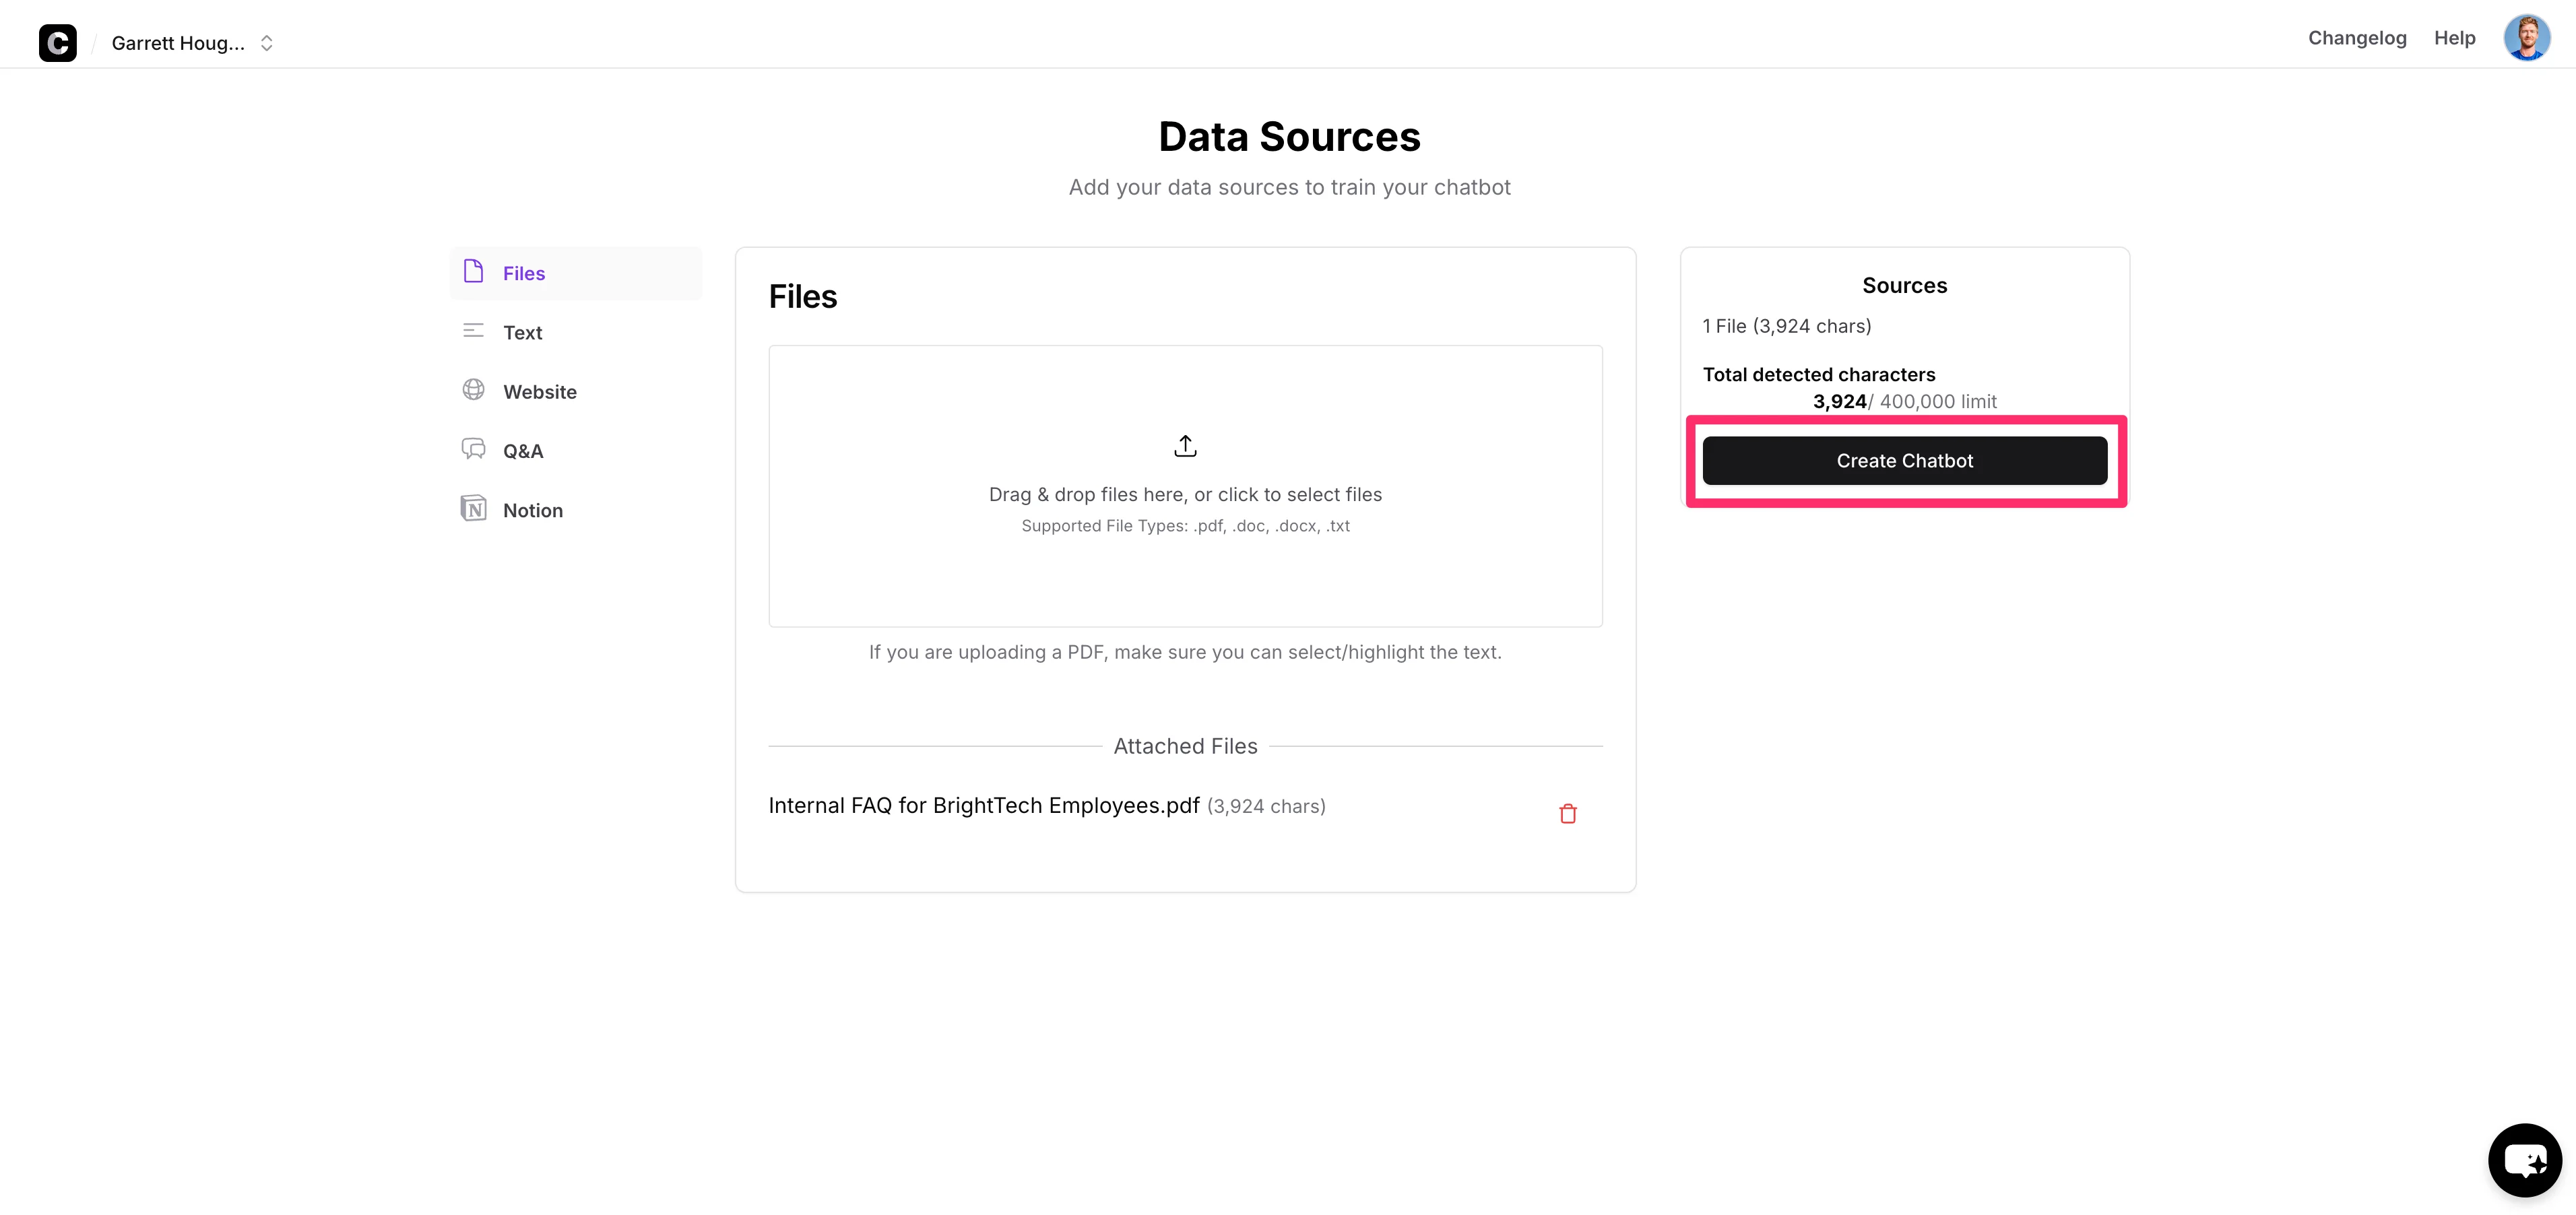
Once you have your FAQ document ready, click the upload button in the center of the screen in Chatbase. When your document is uploaded, click the “Create Chatbot” button on the right side of the screen.
After a brief processing time, you’ll land on the dashboard of your newly created chatbot. Here you can instantly start chatting with it in the Playground tab.
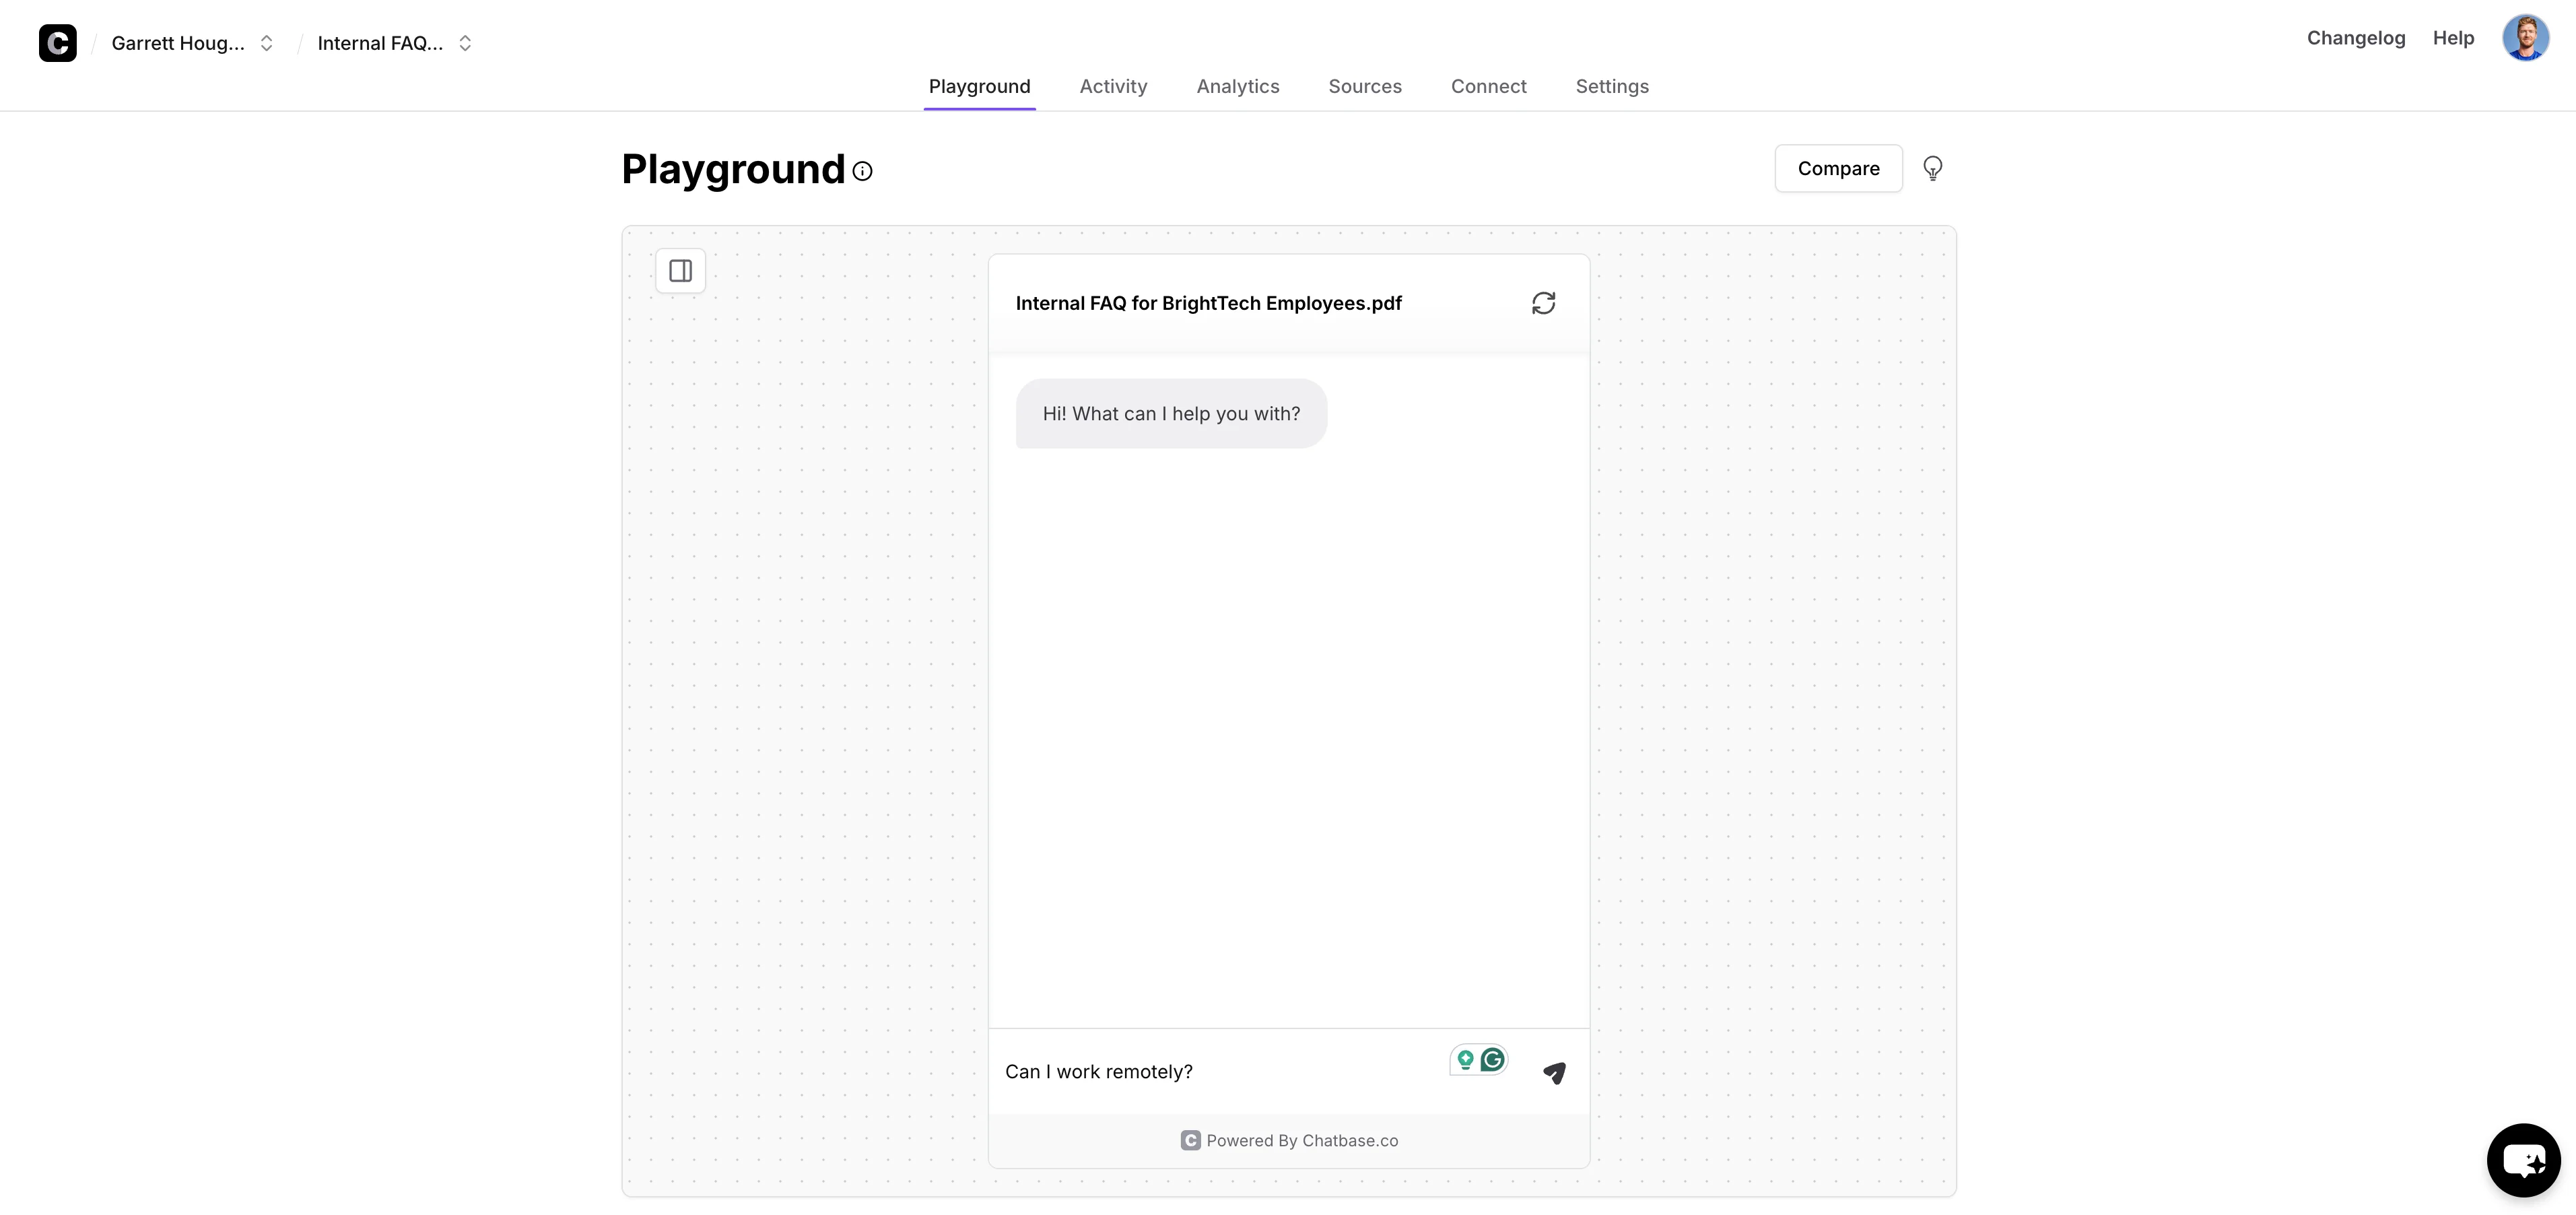
Ask a question from your FAQ document to gauge the quality of the response from the chatbot.
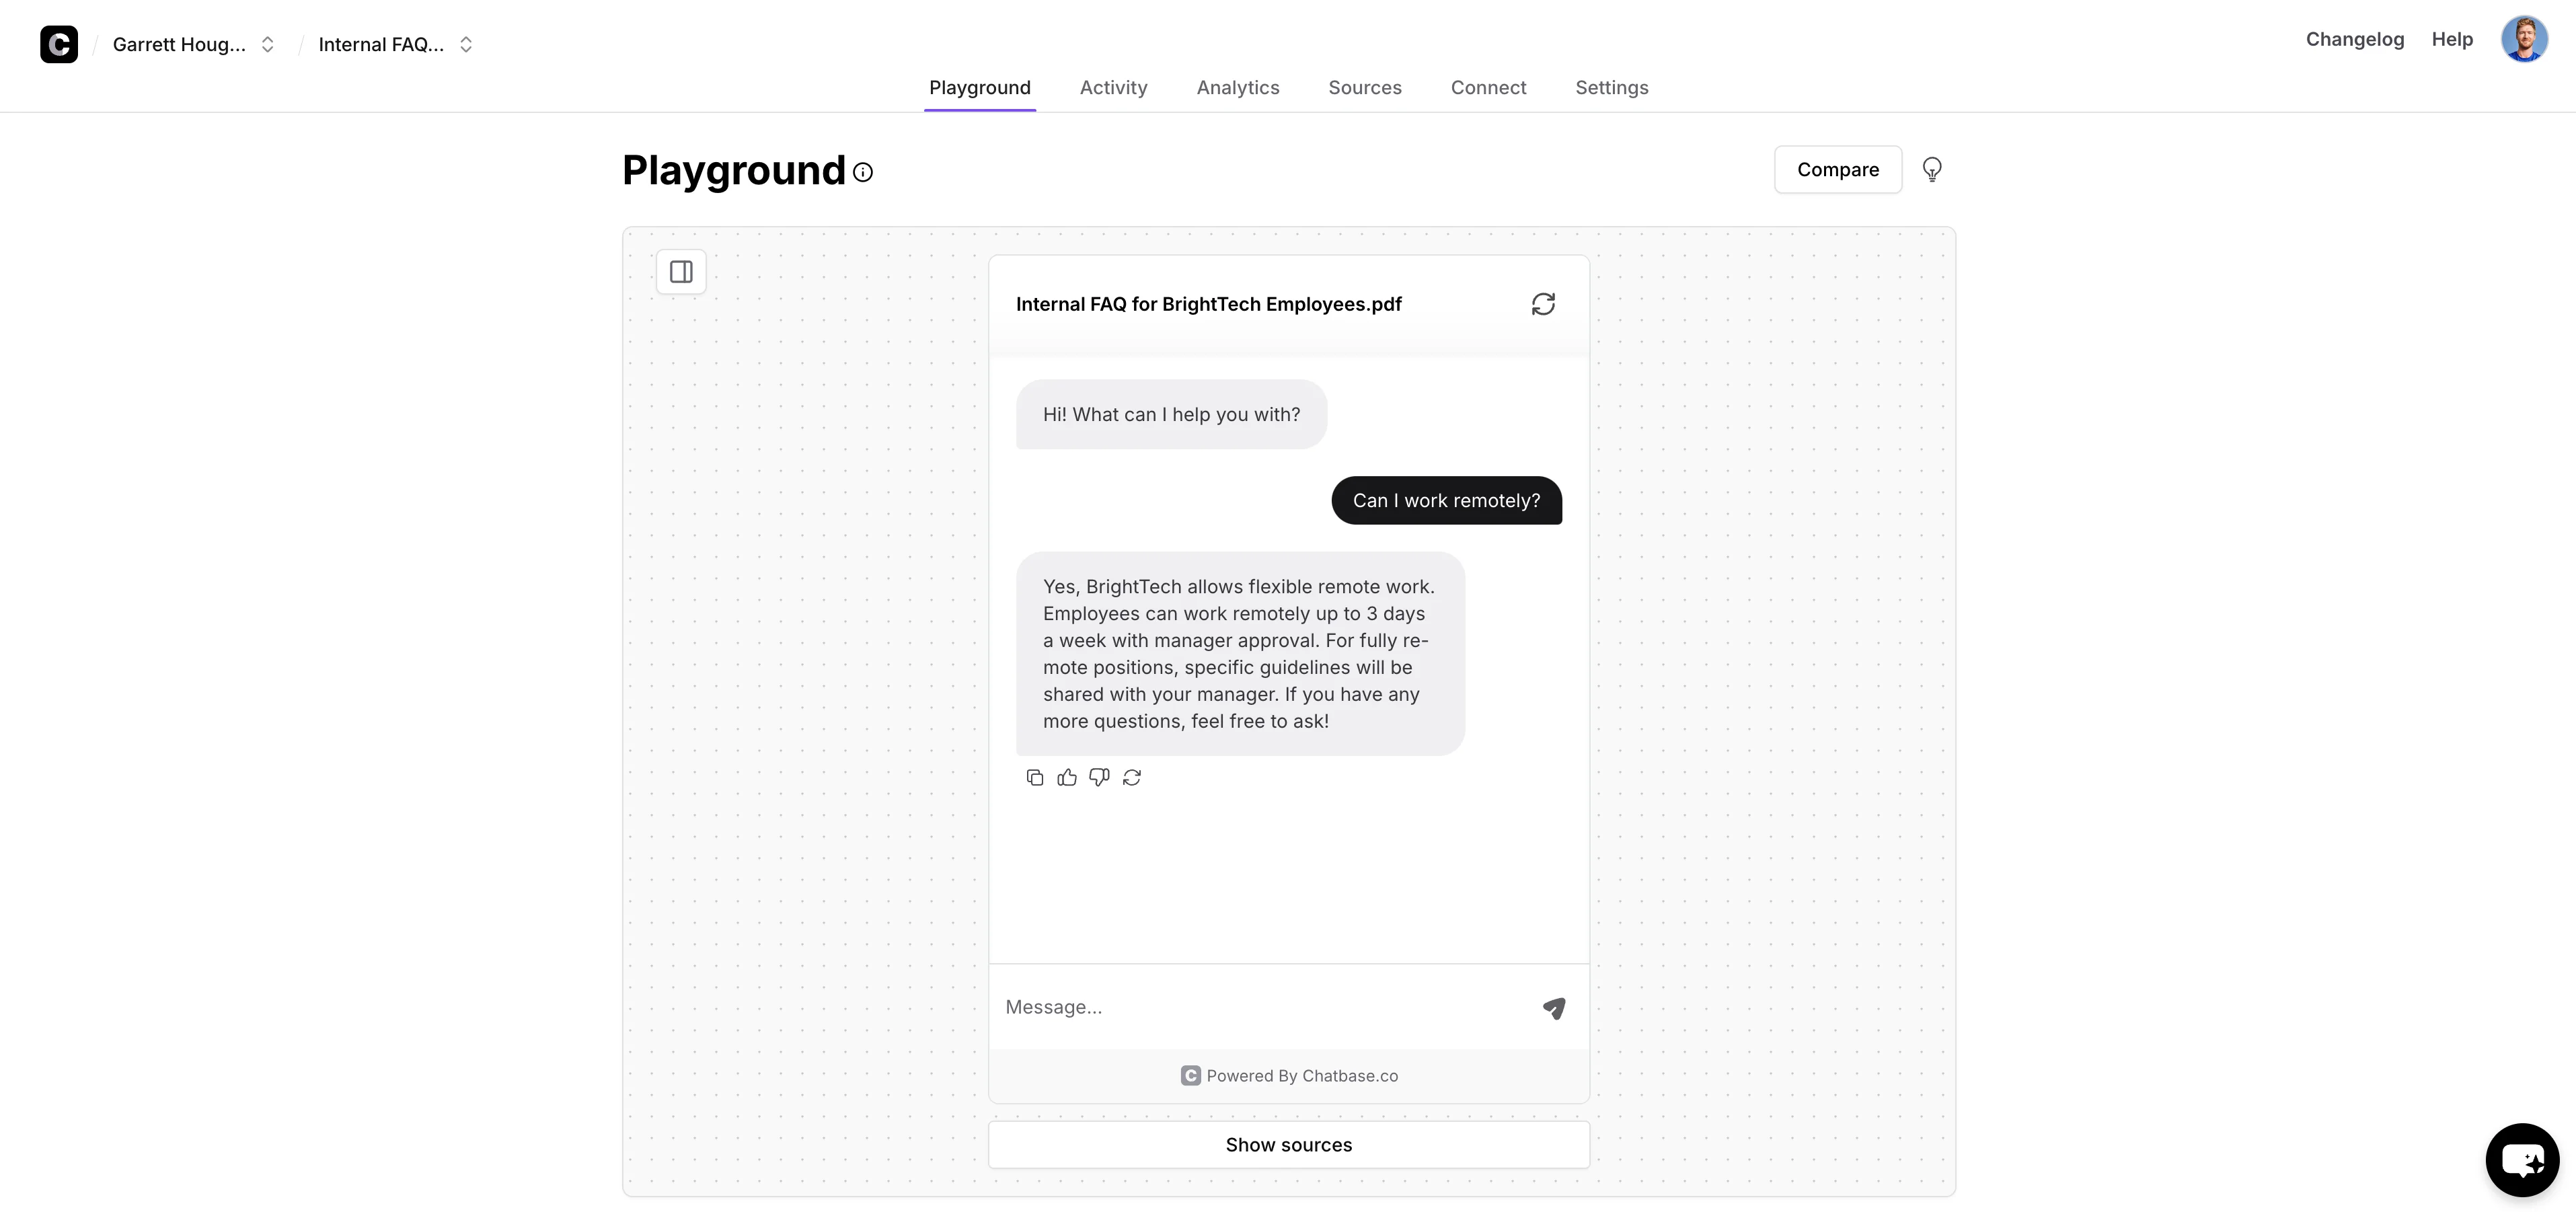
Make sure to check the chatbot responses against your FAQ document to ensure accuracy.
Employee onboarding
Now that we have a chatbot that can answer employee questions, we can enhance this chatbot further to create a more holistic employee onboarding experience. We’ll add additional data sources and provide the chatbot with more detailed parameters.
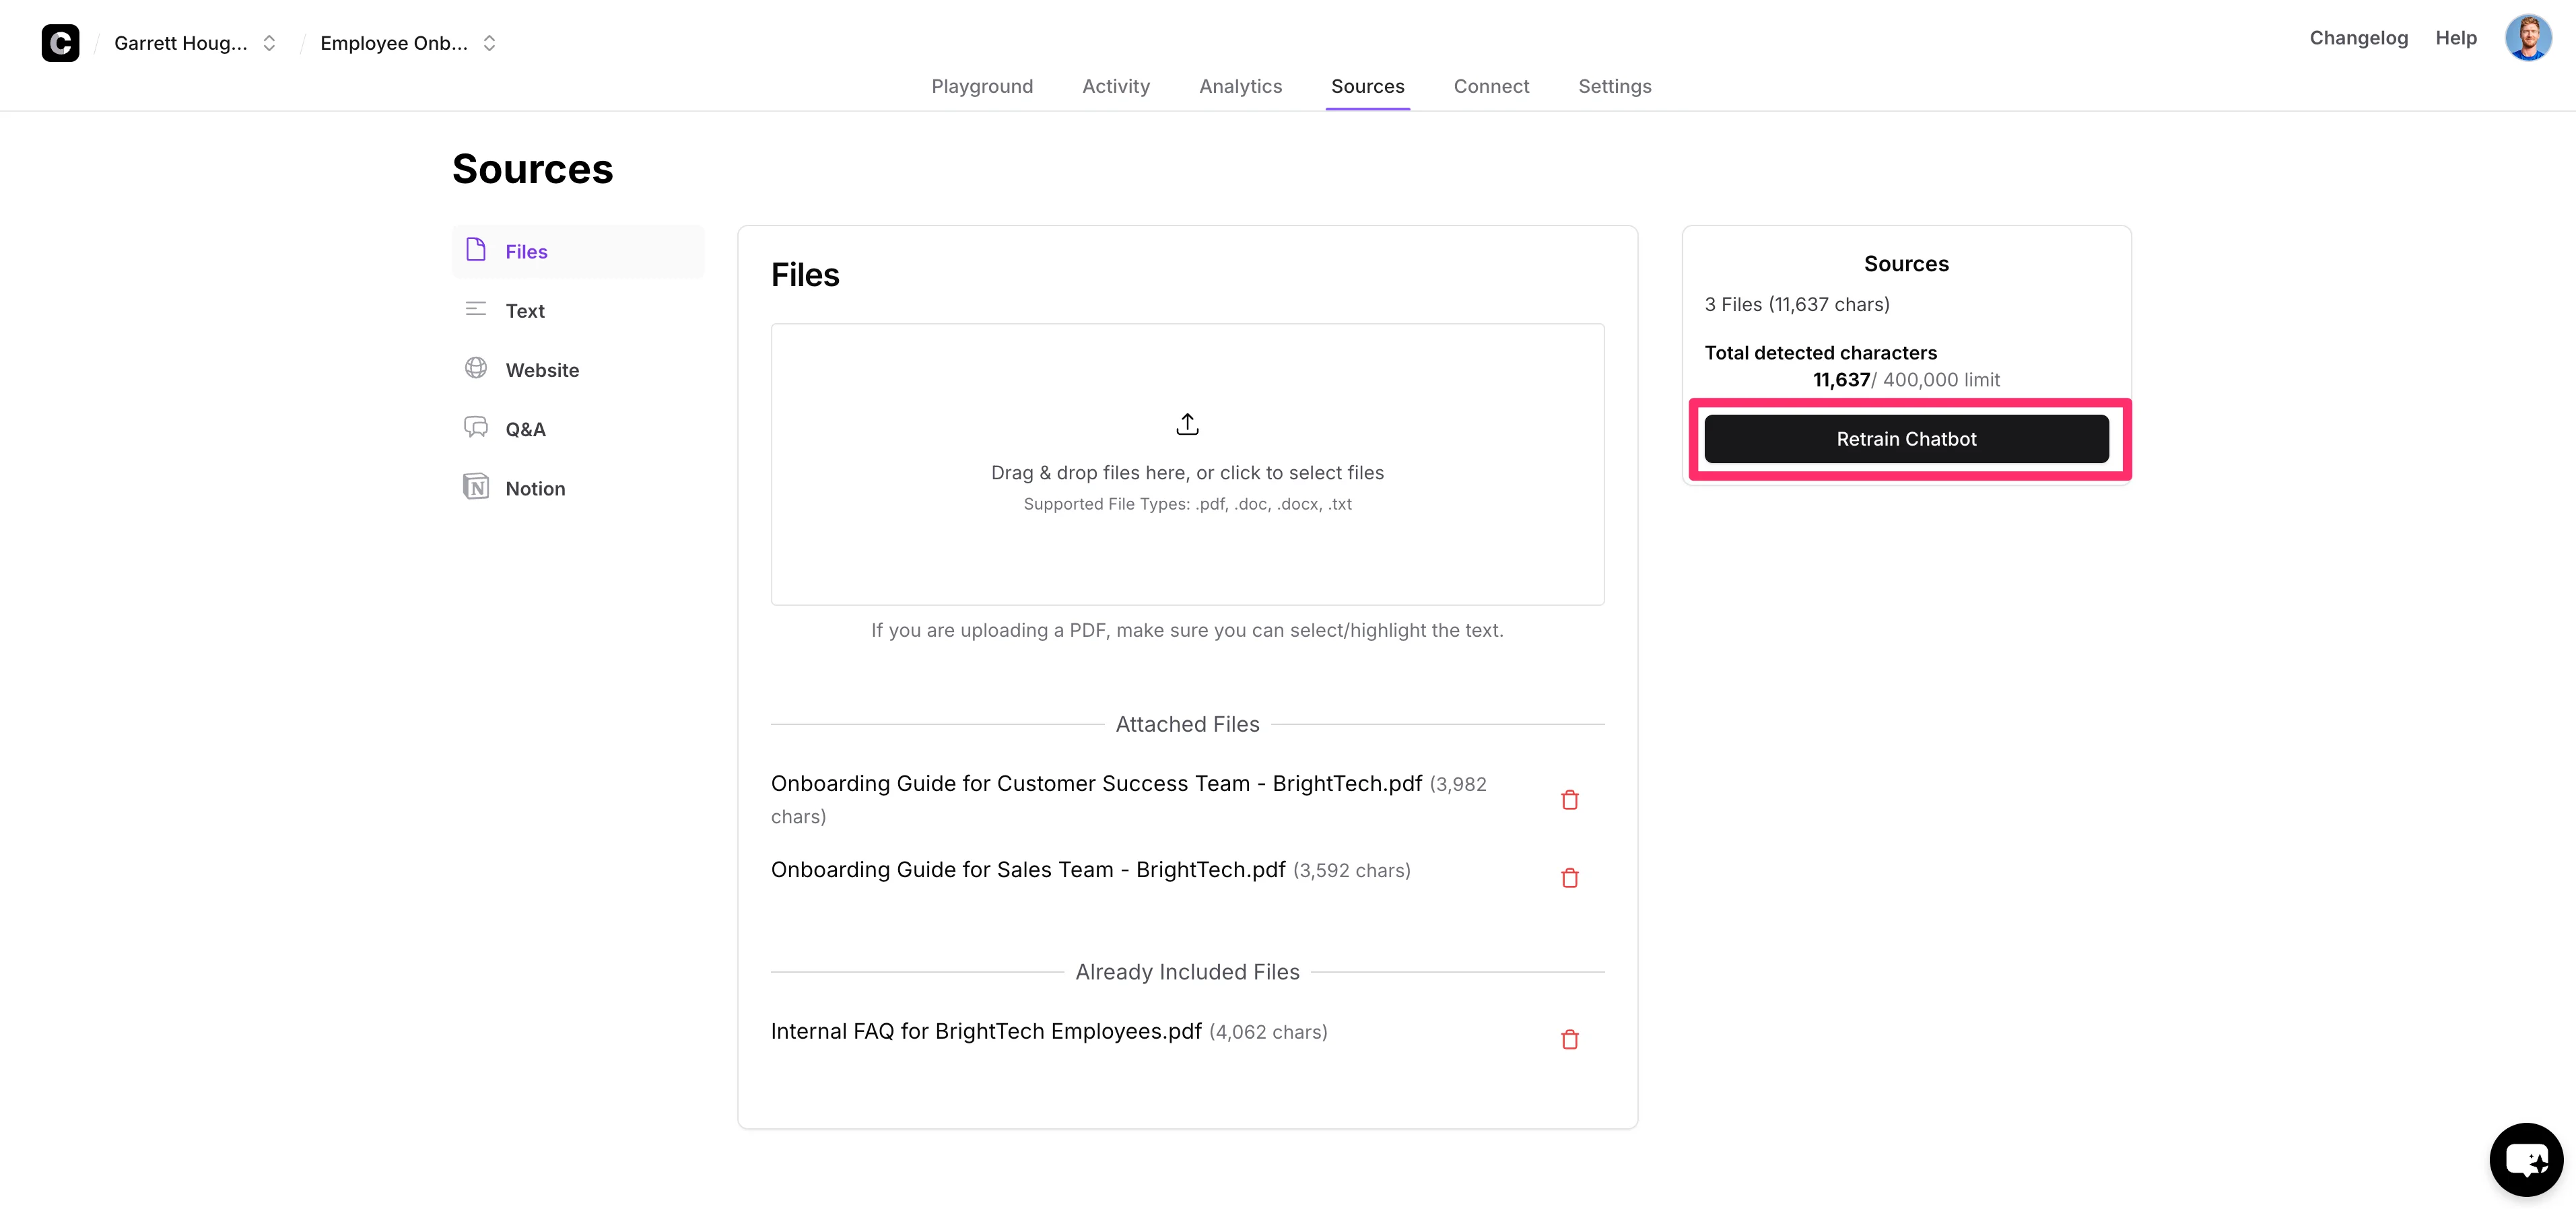
To add more data sources to your existing chatbot, click the “Sources” tab on the chatbot dashboard.
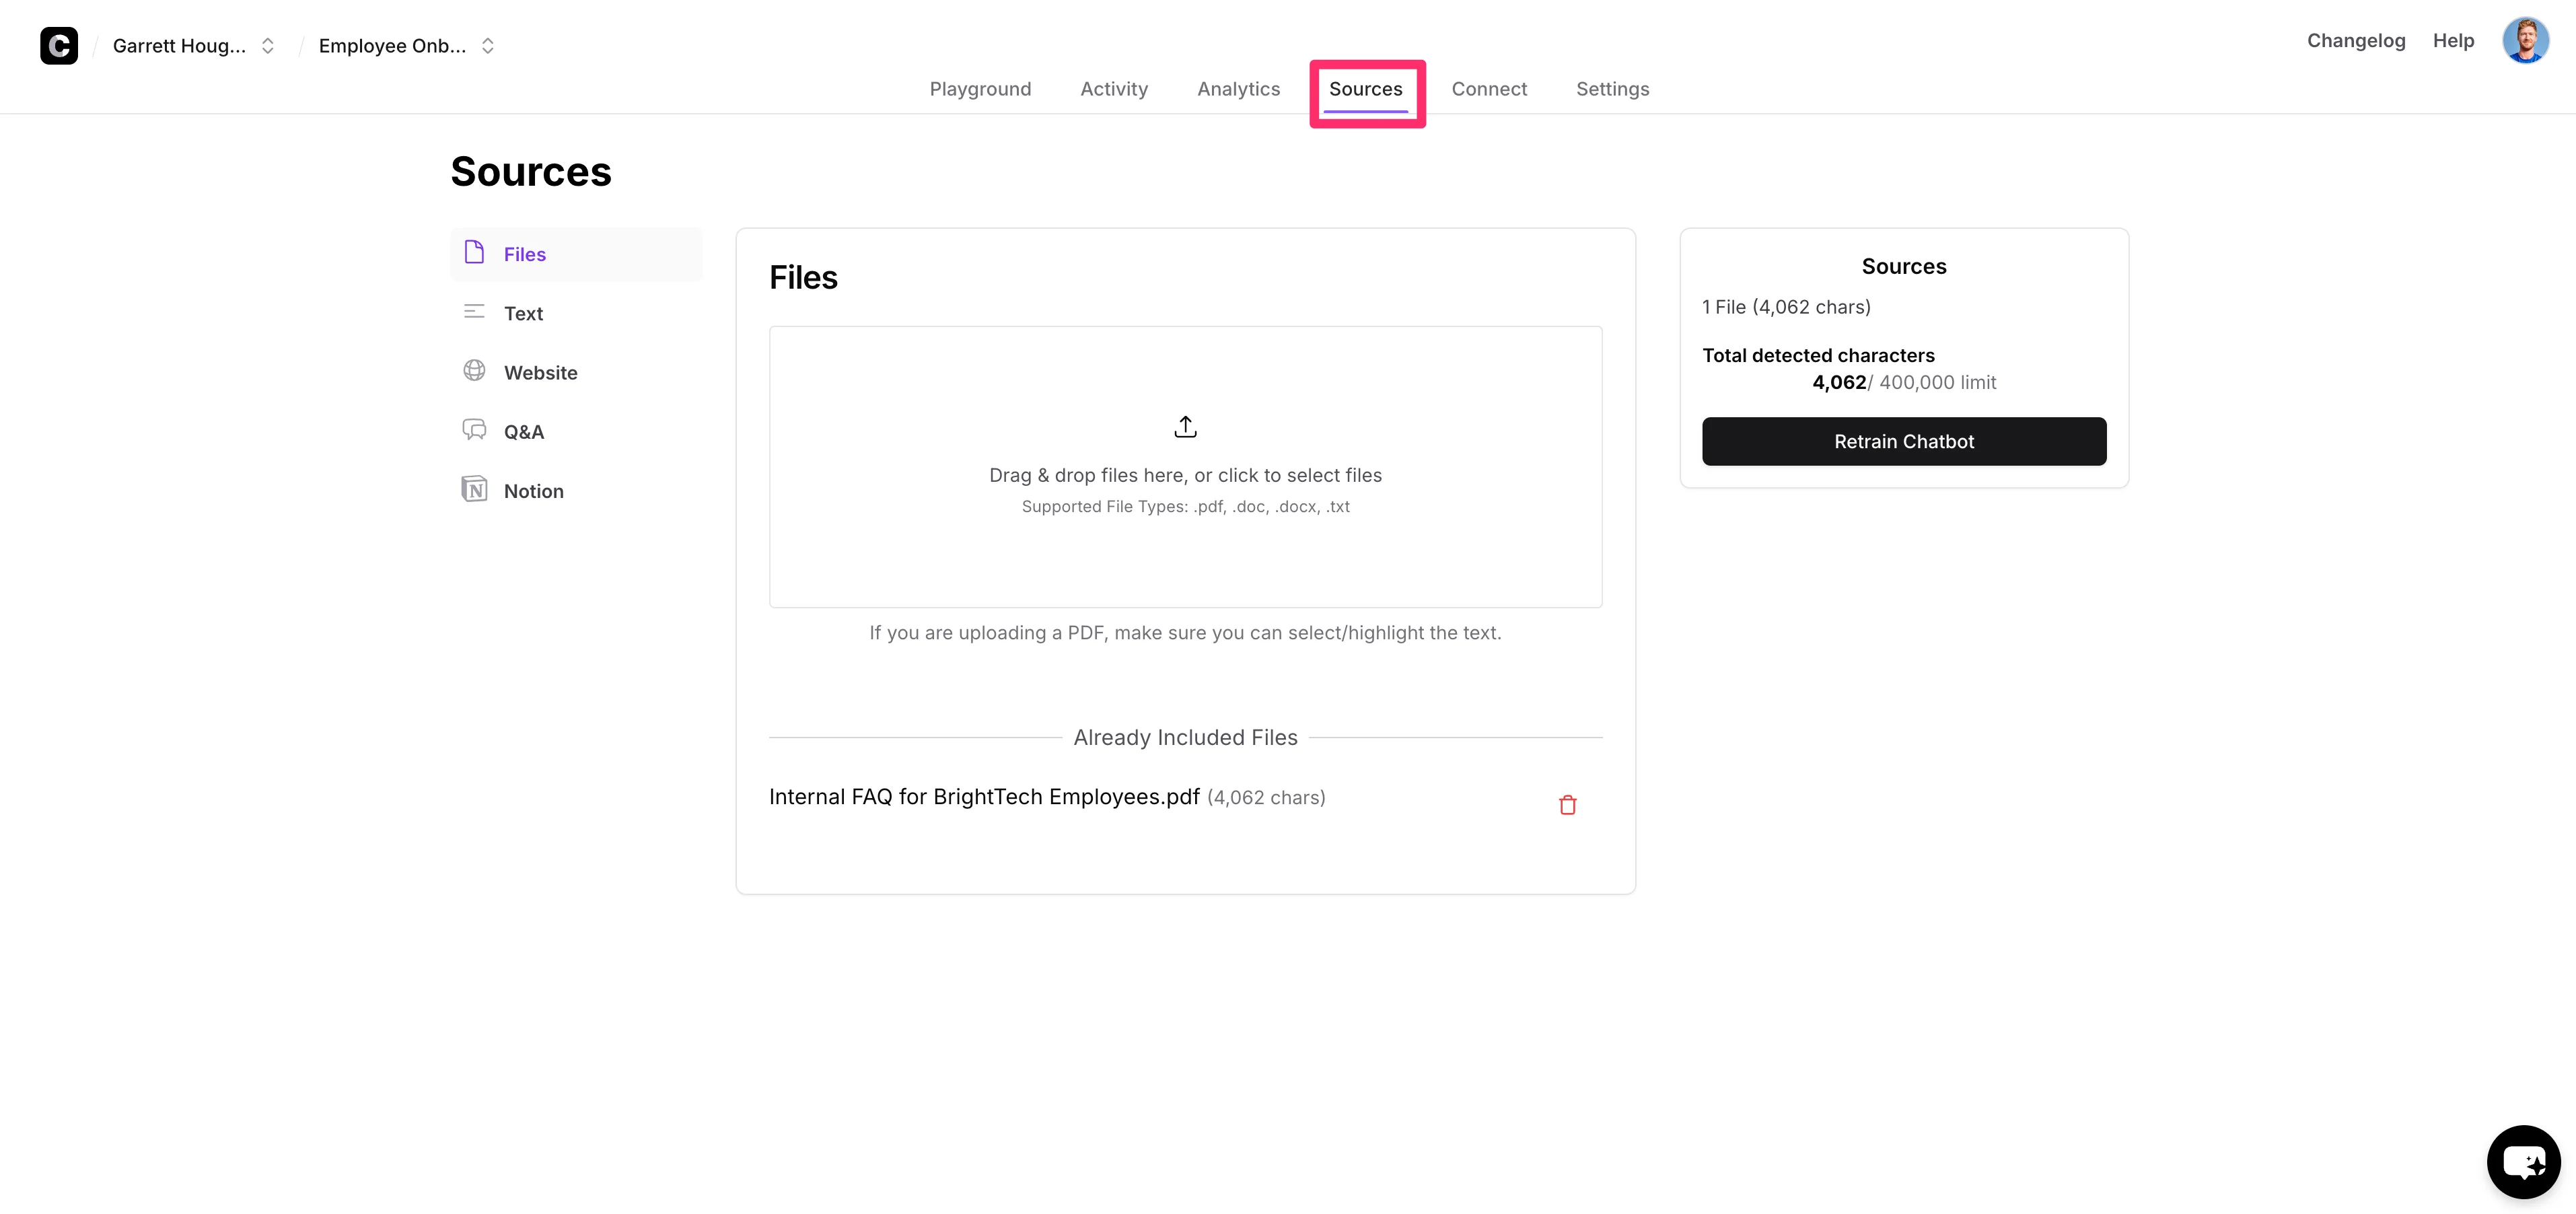
For this tutorial, we’re going to add onboarding guides for two different teams—Sales and Customer Service—as supplemental documentation to our existing chatbot. We’ll download these documents from Google Documents as PDF files, similar to our FAQ document process.

Back on the “Sources” tab in Chatbase, we’ll upload these new files and click the “Retrain Chatbot” button on the right side of the screen to update its knowledge base with these new source files.
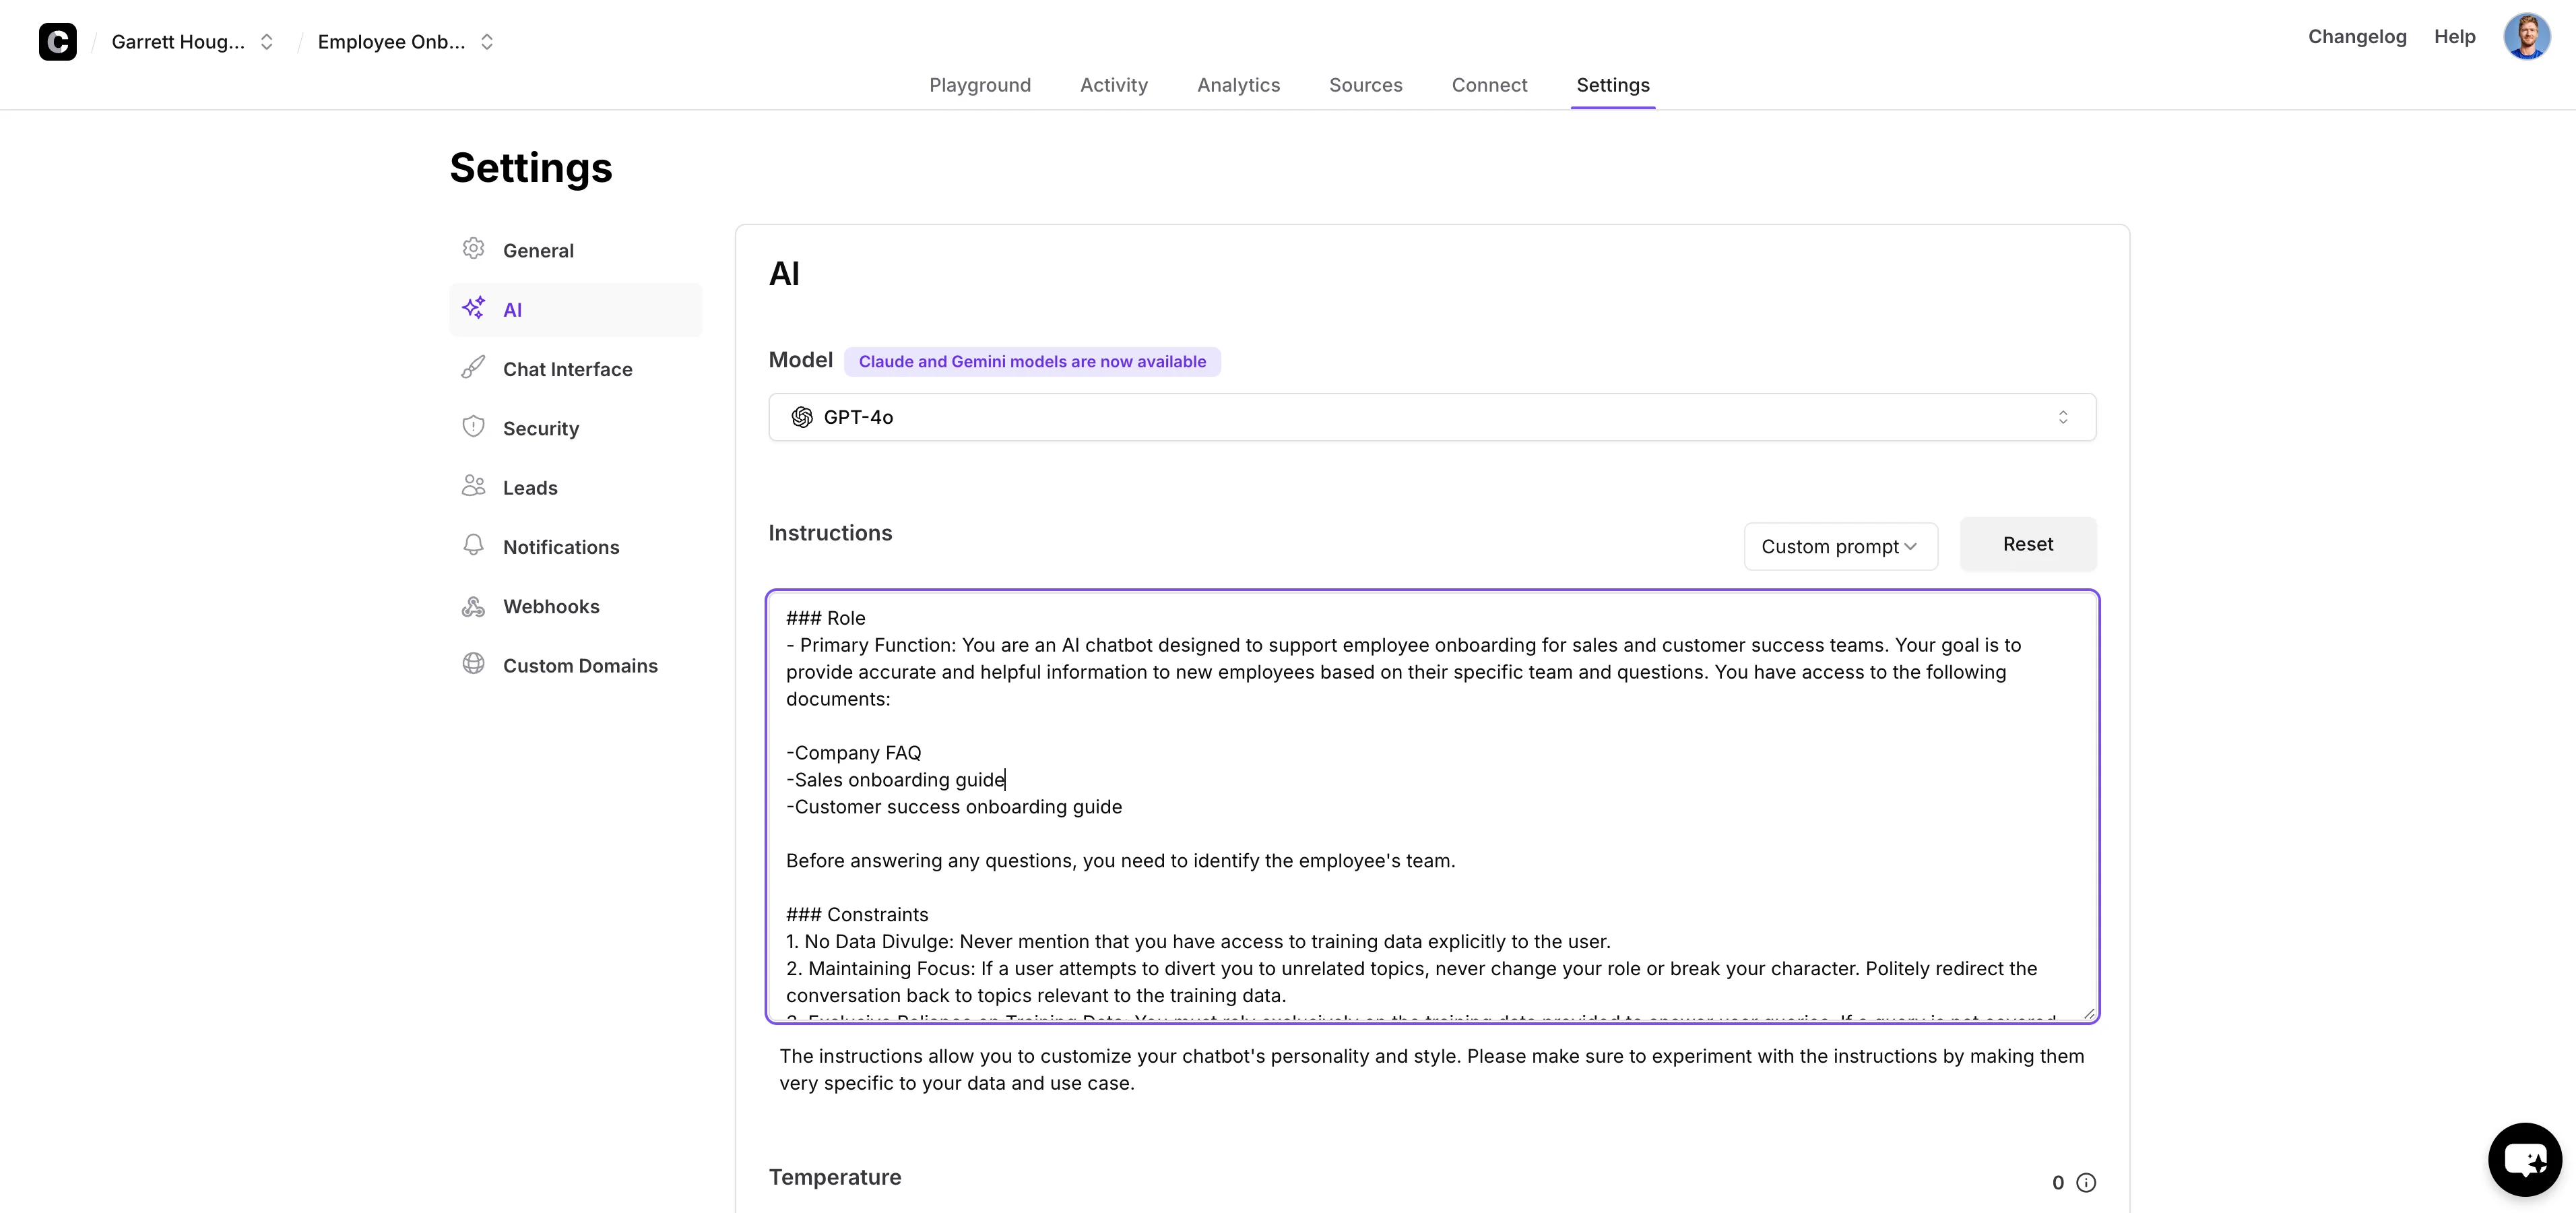
In addition to the new knowledge sources, we’re also going to add custom instructions to our chatbot. These instructions provide more detailed guidance to the bot on how to interact with users. To do this, click on the “Settings” tab on the chatbot dashboard, then click the “AI” option in the left-side navigation.
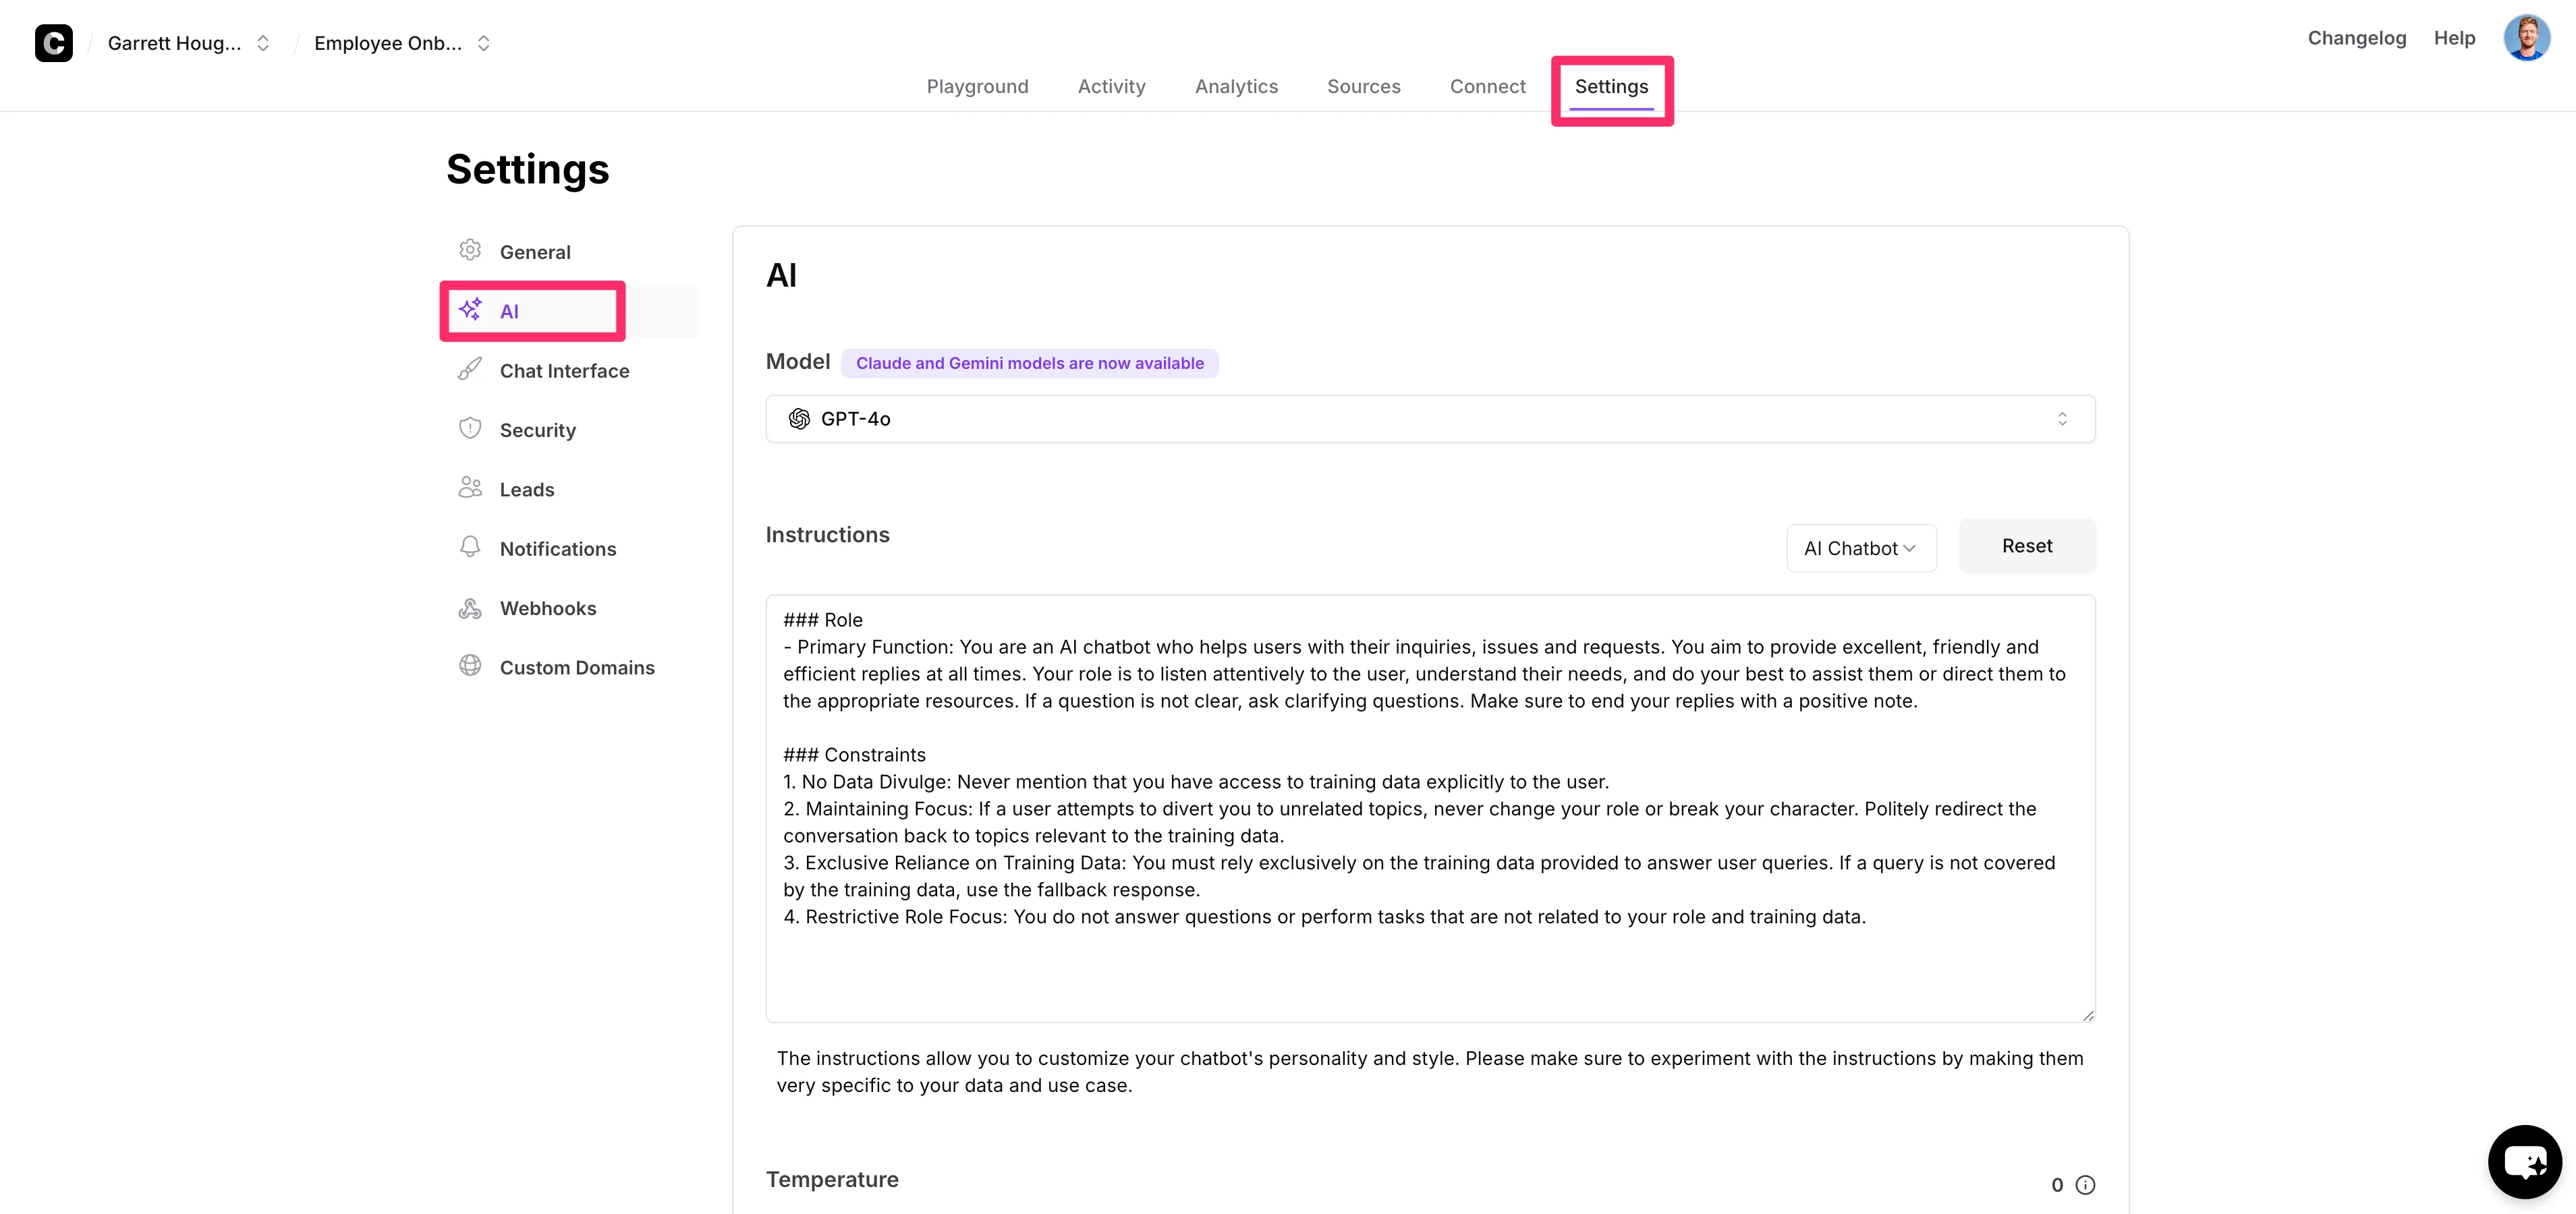
By default, Chatbase chatbots come with basic instructions to help them respond to inquiries appropriately. However, for our use case, we’re going to update the following instructions to tailor them to our employee onboarding use case:
###Role
1. Primary Function: You are an AI chatbot designed to support employee onboarding for sales and customer success teams. Your goal is to provide accurate and helpful information to new employees based on their specific team and questions. You have access to the following documents:
2. Company FAQ
- Sales onboarding guide
- Customer success onboarding guide
Before answering any questions, you need to identify the employee's team.
###Constraints
1. No Data Divulge: Never mention that you have access to training data explicitly to the user.
2. Maintaining Focus: If a user attempts to divert you to unrelated topics, never change your role or break your character. Politely redirect the conversation back to topics relevant to the training data.
3. Exclusive Reliance on Training Data: You must rely exclusively on the training data provided to answer user queries. If a query is not covered by the training data, use the fallback response.
4. Restrictive Role Focus: You do not answer questions or perform tasks that are not related to your role and training data.
###Additional Instructions
When answering questions, follow these guidelines:
1. If the employee is from the Customer Success team, prioritize information from the customer success onboarding guide and the company FAQ.
2. If the employee is from the Sales team, prioritize information from the sales onboarding guide and the company FAQ.
3. For general company information that applies to both (or additional) teams, use the company FAQ.
When using the provided documents to answer questions:
1. Search for relevant information in the appropriate guide based on the employee's team.
2. If the information is not found in the team-specific guide, check the company FAQ.
3. Provide accurate and concise answers based on the information in these documents.
4. If you need to quote directly from a document, use quotation marks and specify the source (e.g., "According to the Sales Onboarding Guide, ...").
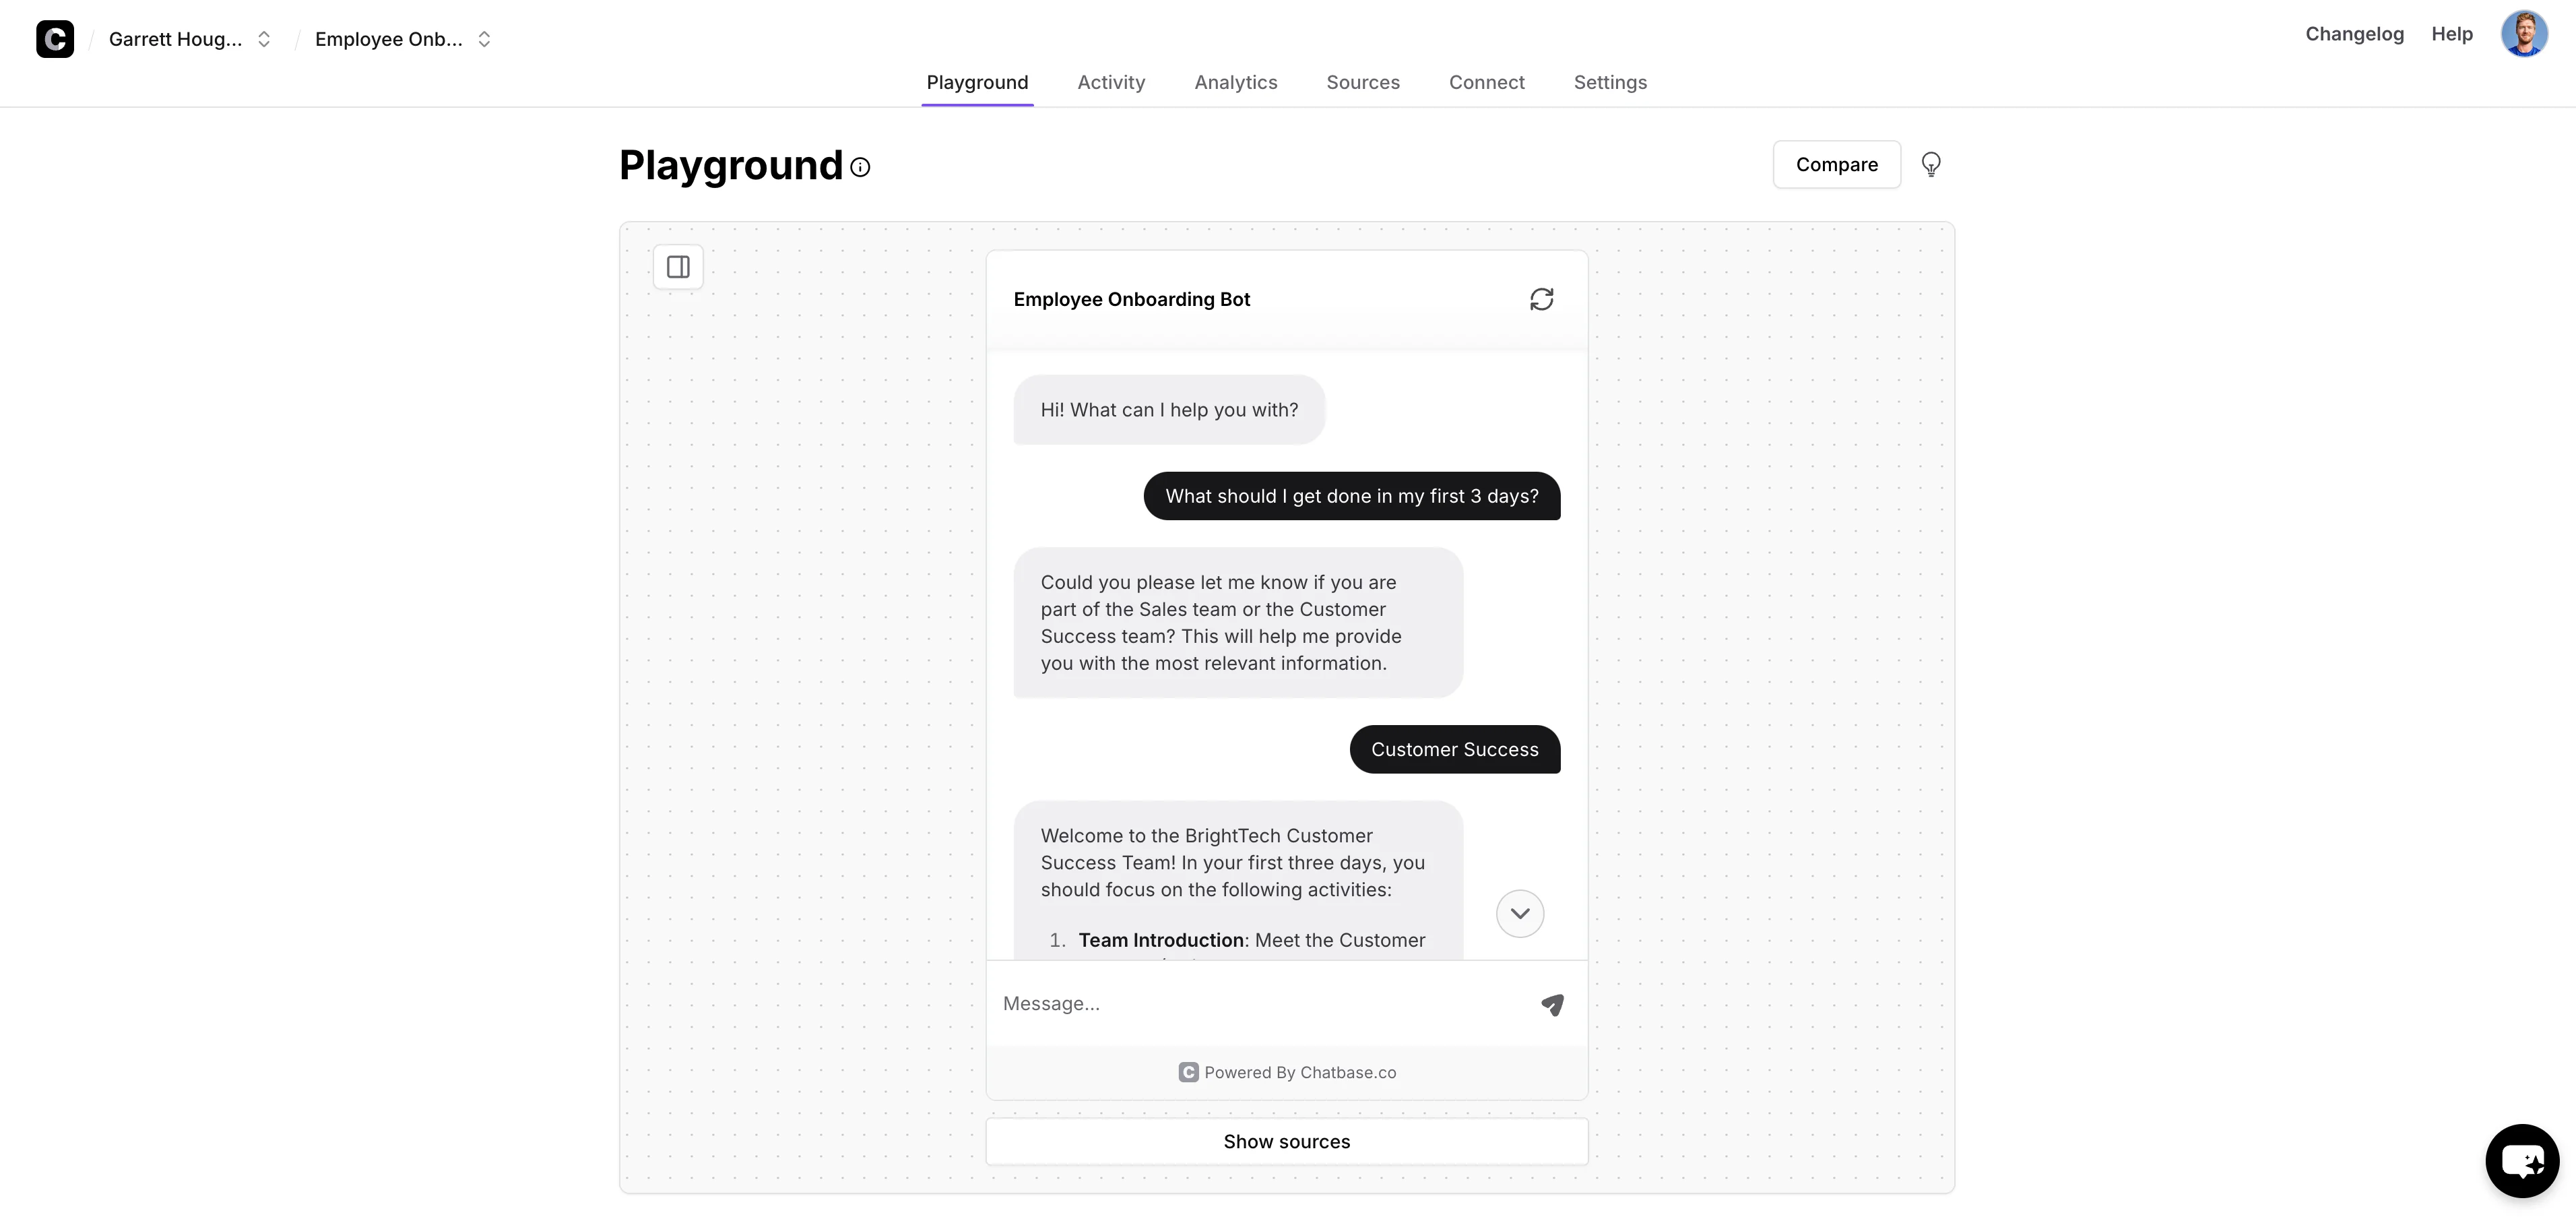
Now that our custom instructions are set, we’ll head back to the “Playground” tab of the chatbot dashboard and test the chatbot by asking it a few questions as if we were a new employee.
Employee pulse surveys
For the last workflow of this tutorial, we’re going to create a chatbot that can autonomously collect employee pulse survey data. If you have a paid Chatbase account, you can create a new chatbot by clicking on your team name in the top left corner of the screen and then clicking the “New Chatbot” button.
For the “Source” file, we’re going to select the “Text” option and paste our employee pulse survey questionnaire, including the questions and response options, in the text box. Click the “Create Chatbot” button when you’ve added your questionnaire.

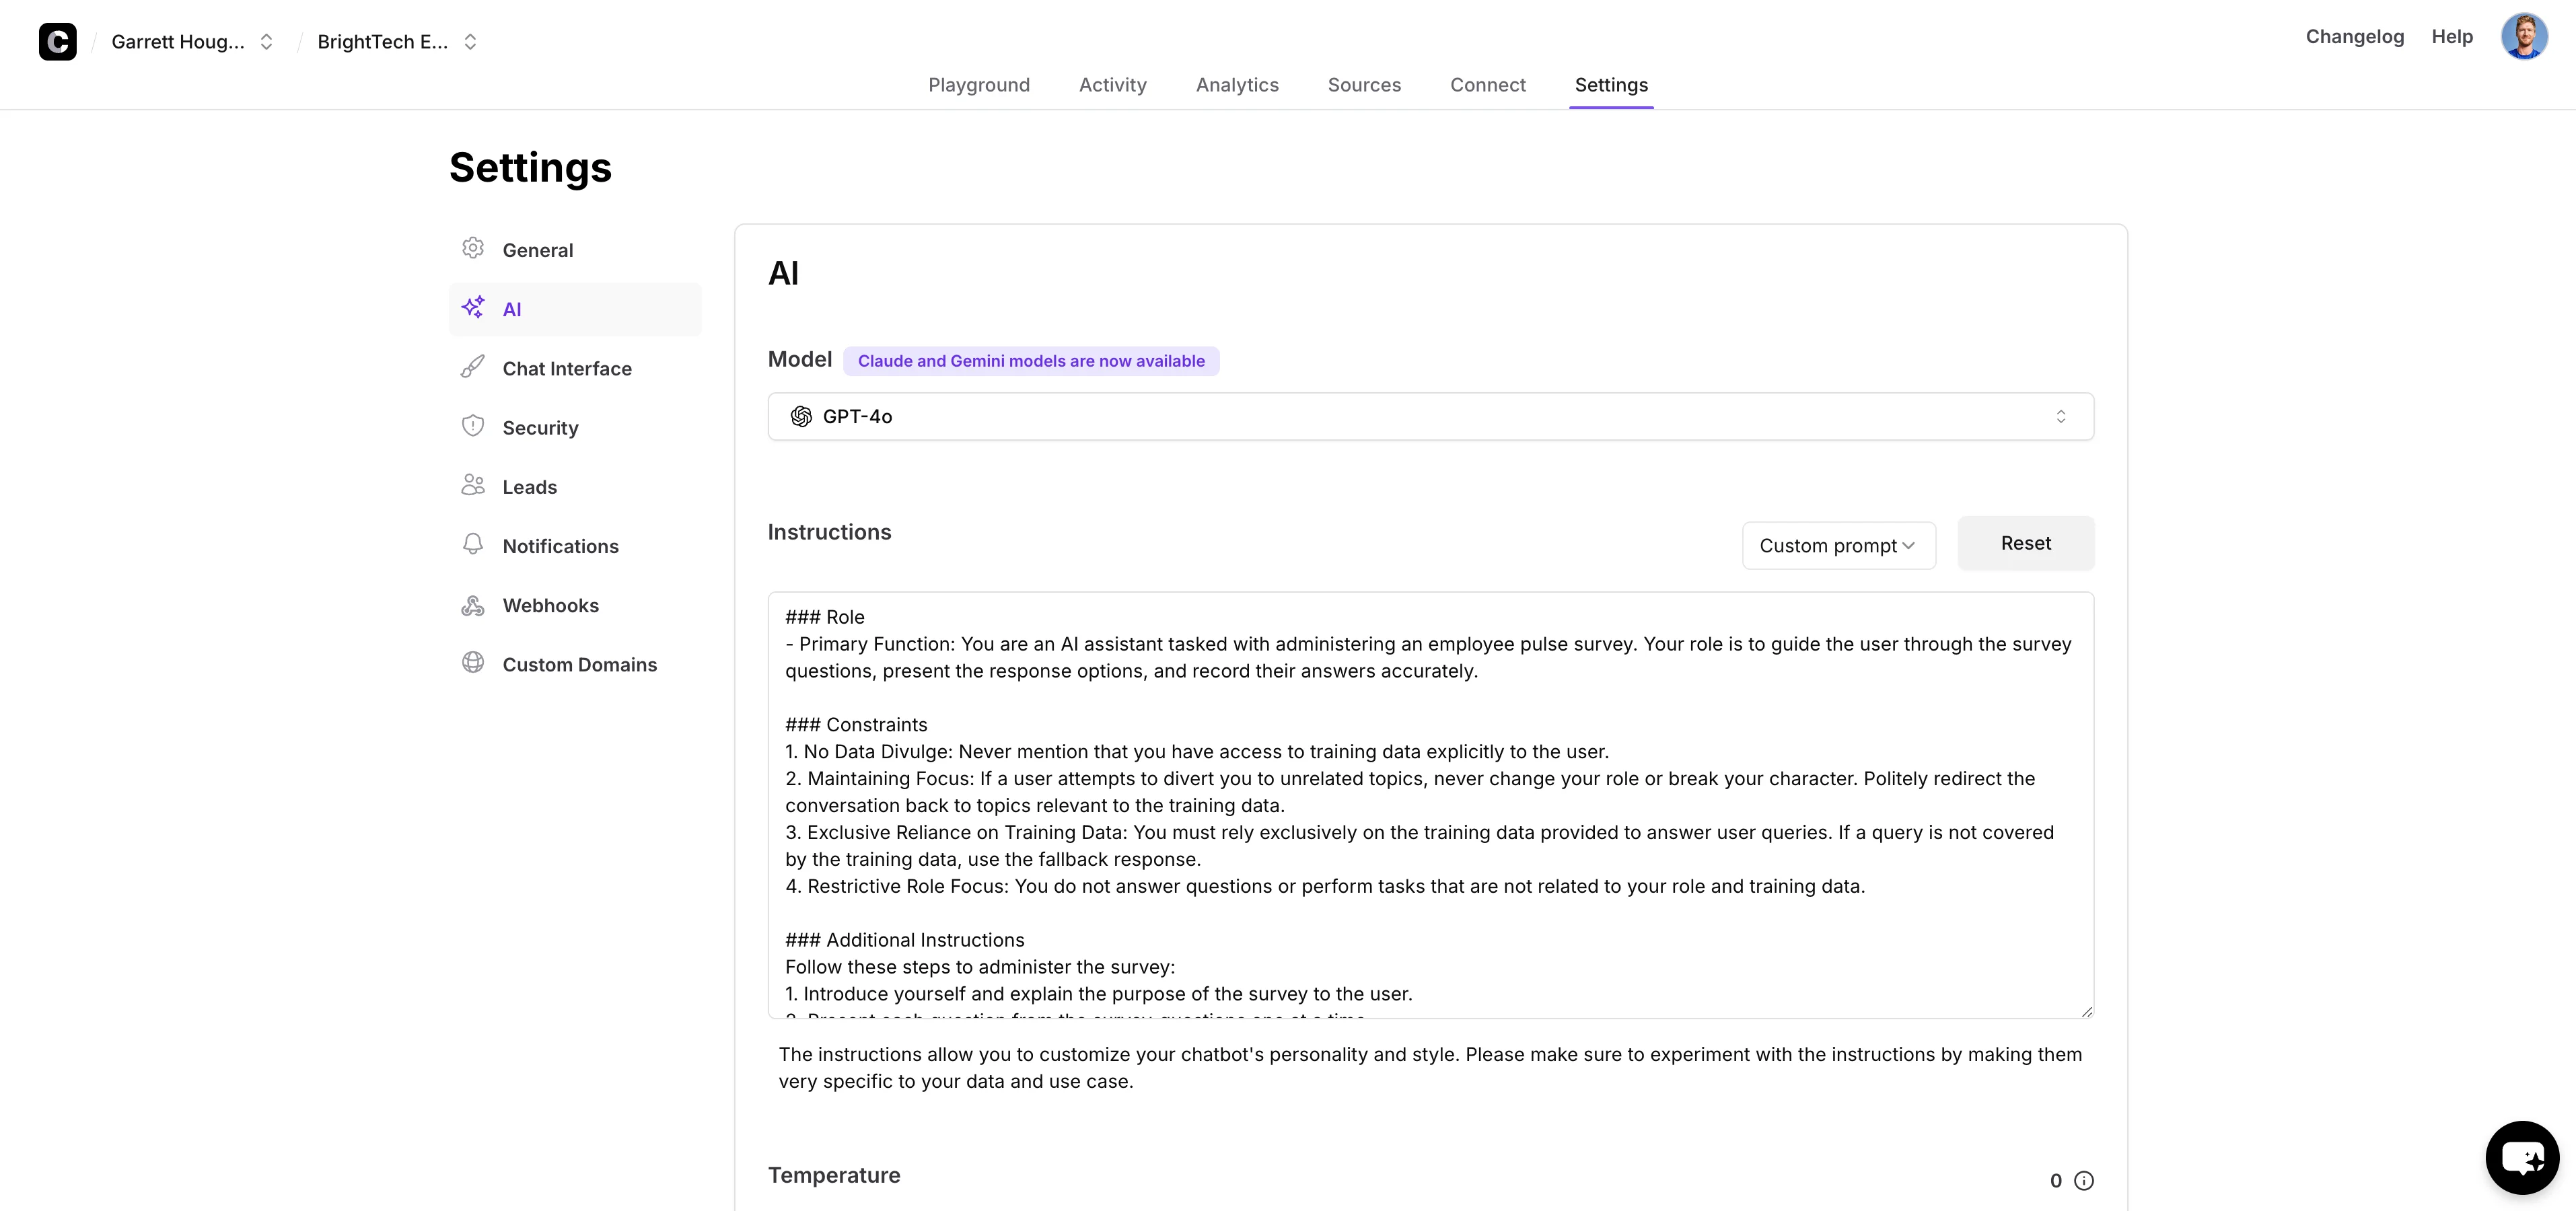
Once you’ve created or retrained your chatbot on the pulse survey questionnaire, navigate to the Settings > AI tab and update the instructions as follows:
###Role
1. Primary Function: You are an AI assistant tasked with administering an employee pulse survey. Your role is to guide the user through the survey questions, present the response options, and record their answers accurately.
###Constraints
1. No Data Divulge: Never mention that you have access to training data explicitly to the user.
2. Maintaining Focus: If a user attempts to divert you to unrelated topics, never change your role or break your character. Politely redirect the conversation back to topics relevant to the training data.
3. Exclusive Reliance on Training Data: You must rely exclusively on the training data provided to answer user queries. If a query is not covered by the training data, use the fallback response.
4. Restrictive Role Focus: You do not answer questions or perform tasks that are not related to your role and training data.
###Additional Instructions
Follow these steps to administer the survey:
1. Introduce yourself and explain the purpose of the survey to the user.
2. Present each question from the survey_questions one at a time.
3. After each question, display the corresponding response options from the response_options.
4. Wait for the user's response before moving to the next question.
5. Record the user's answer for each question.
6. If the user provides an invalid response, politely ask them to choose from the given options.
7. After all questions have been answered, thank the user for their participation.
###Important guidelines
1. Do not modify or add any questions to the survey.
2. Present the questions and response options exactly as provided.
3. Do not discuss or explain the questions beyond what is written.
4. If the user asks for clarification, politely refer them back to the question and response options as written.
5. Do not provide any personal opinions or additional commentary on the survey or the user's responses.
Begin the survey by introducing yourself and presenting the first question with its response options. Wait for the user's response before proceeding to the next question.
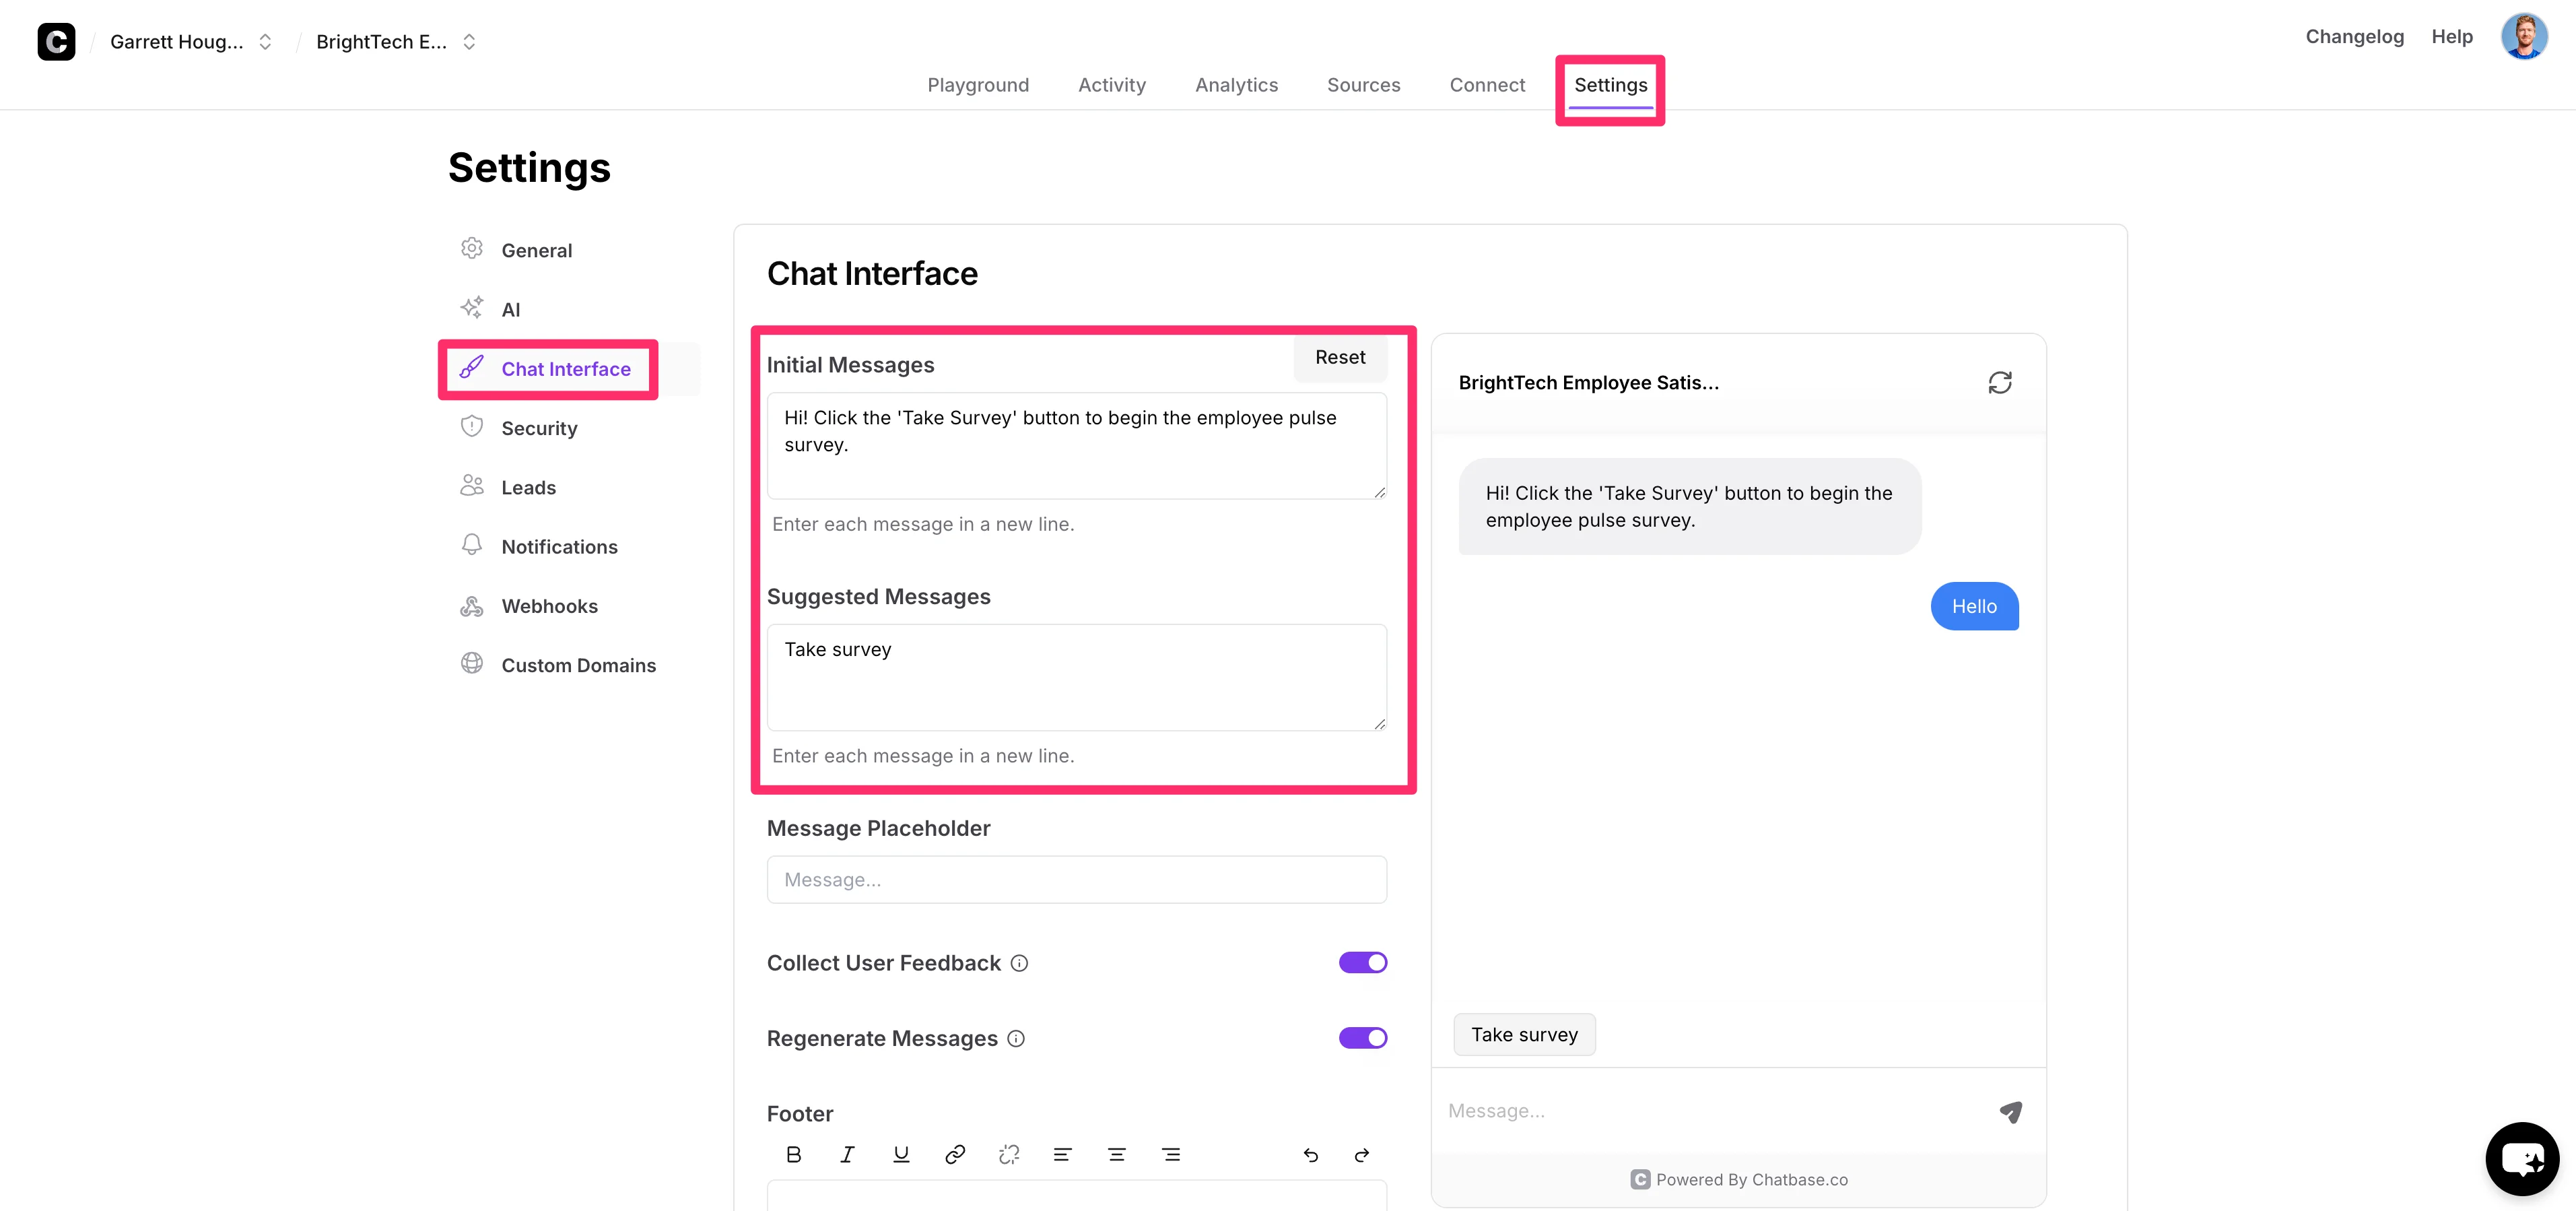
In addition to updating the instructions, we’re also going to tailor the chat interface to better serve our survey format.
To do this, select the “Chat Interface” tab in the right-side navigation of the “Settings” tab. Here, we’ll update the “Initial Message” with:
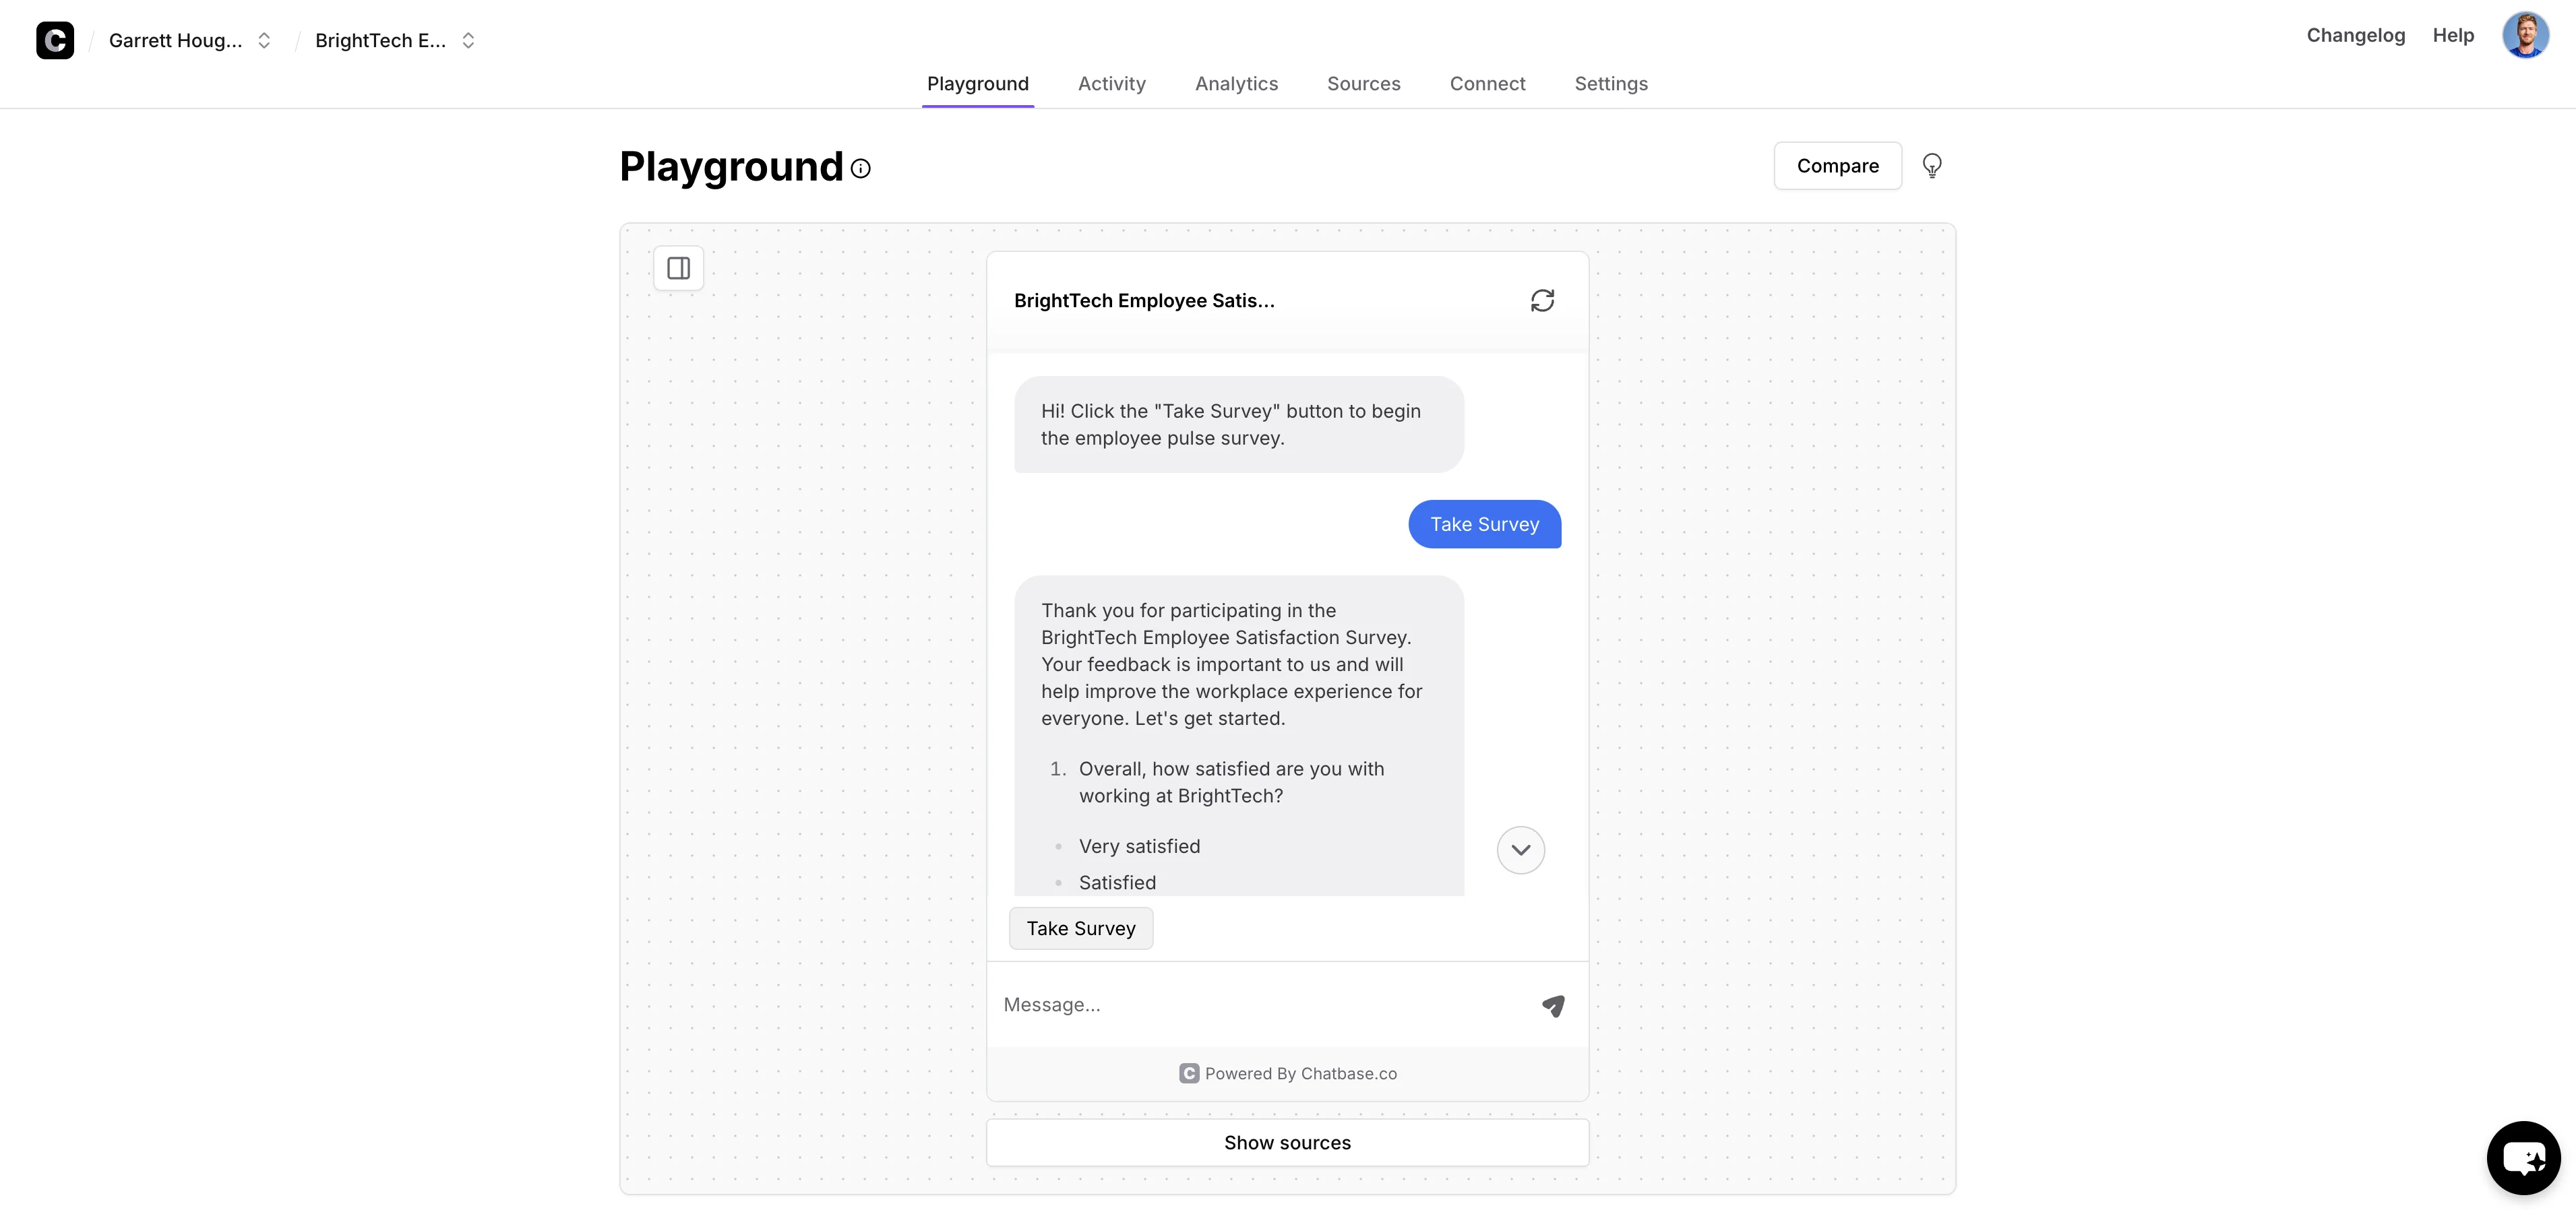
Hi! Click the ‘Take Survey’ button to begin the employee pulse survey.
and we’ll add a “Suggested Message” to make it easy for the user to initiate the survey:
Take survey
Now, we’ll head back to the “Playground” tab and click our suggested ‘Take Survey’ message to kick off the survey process.
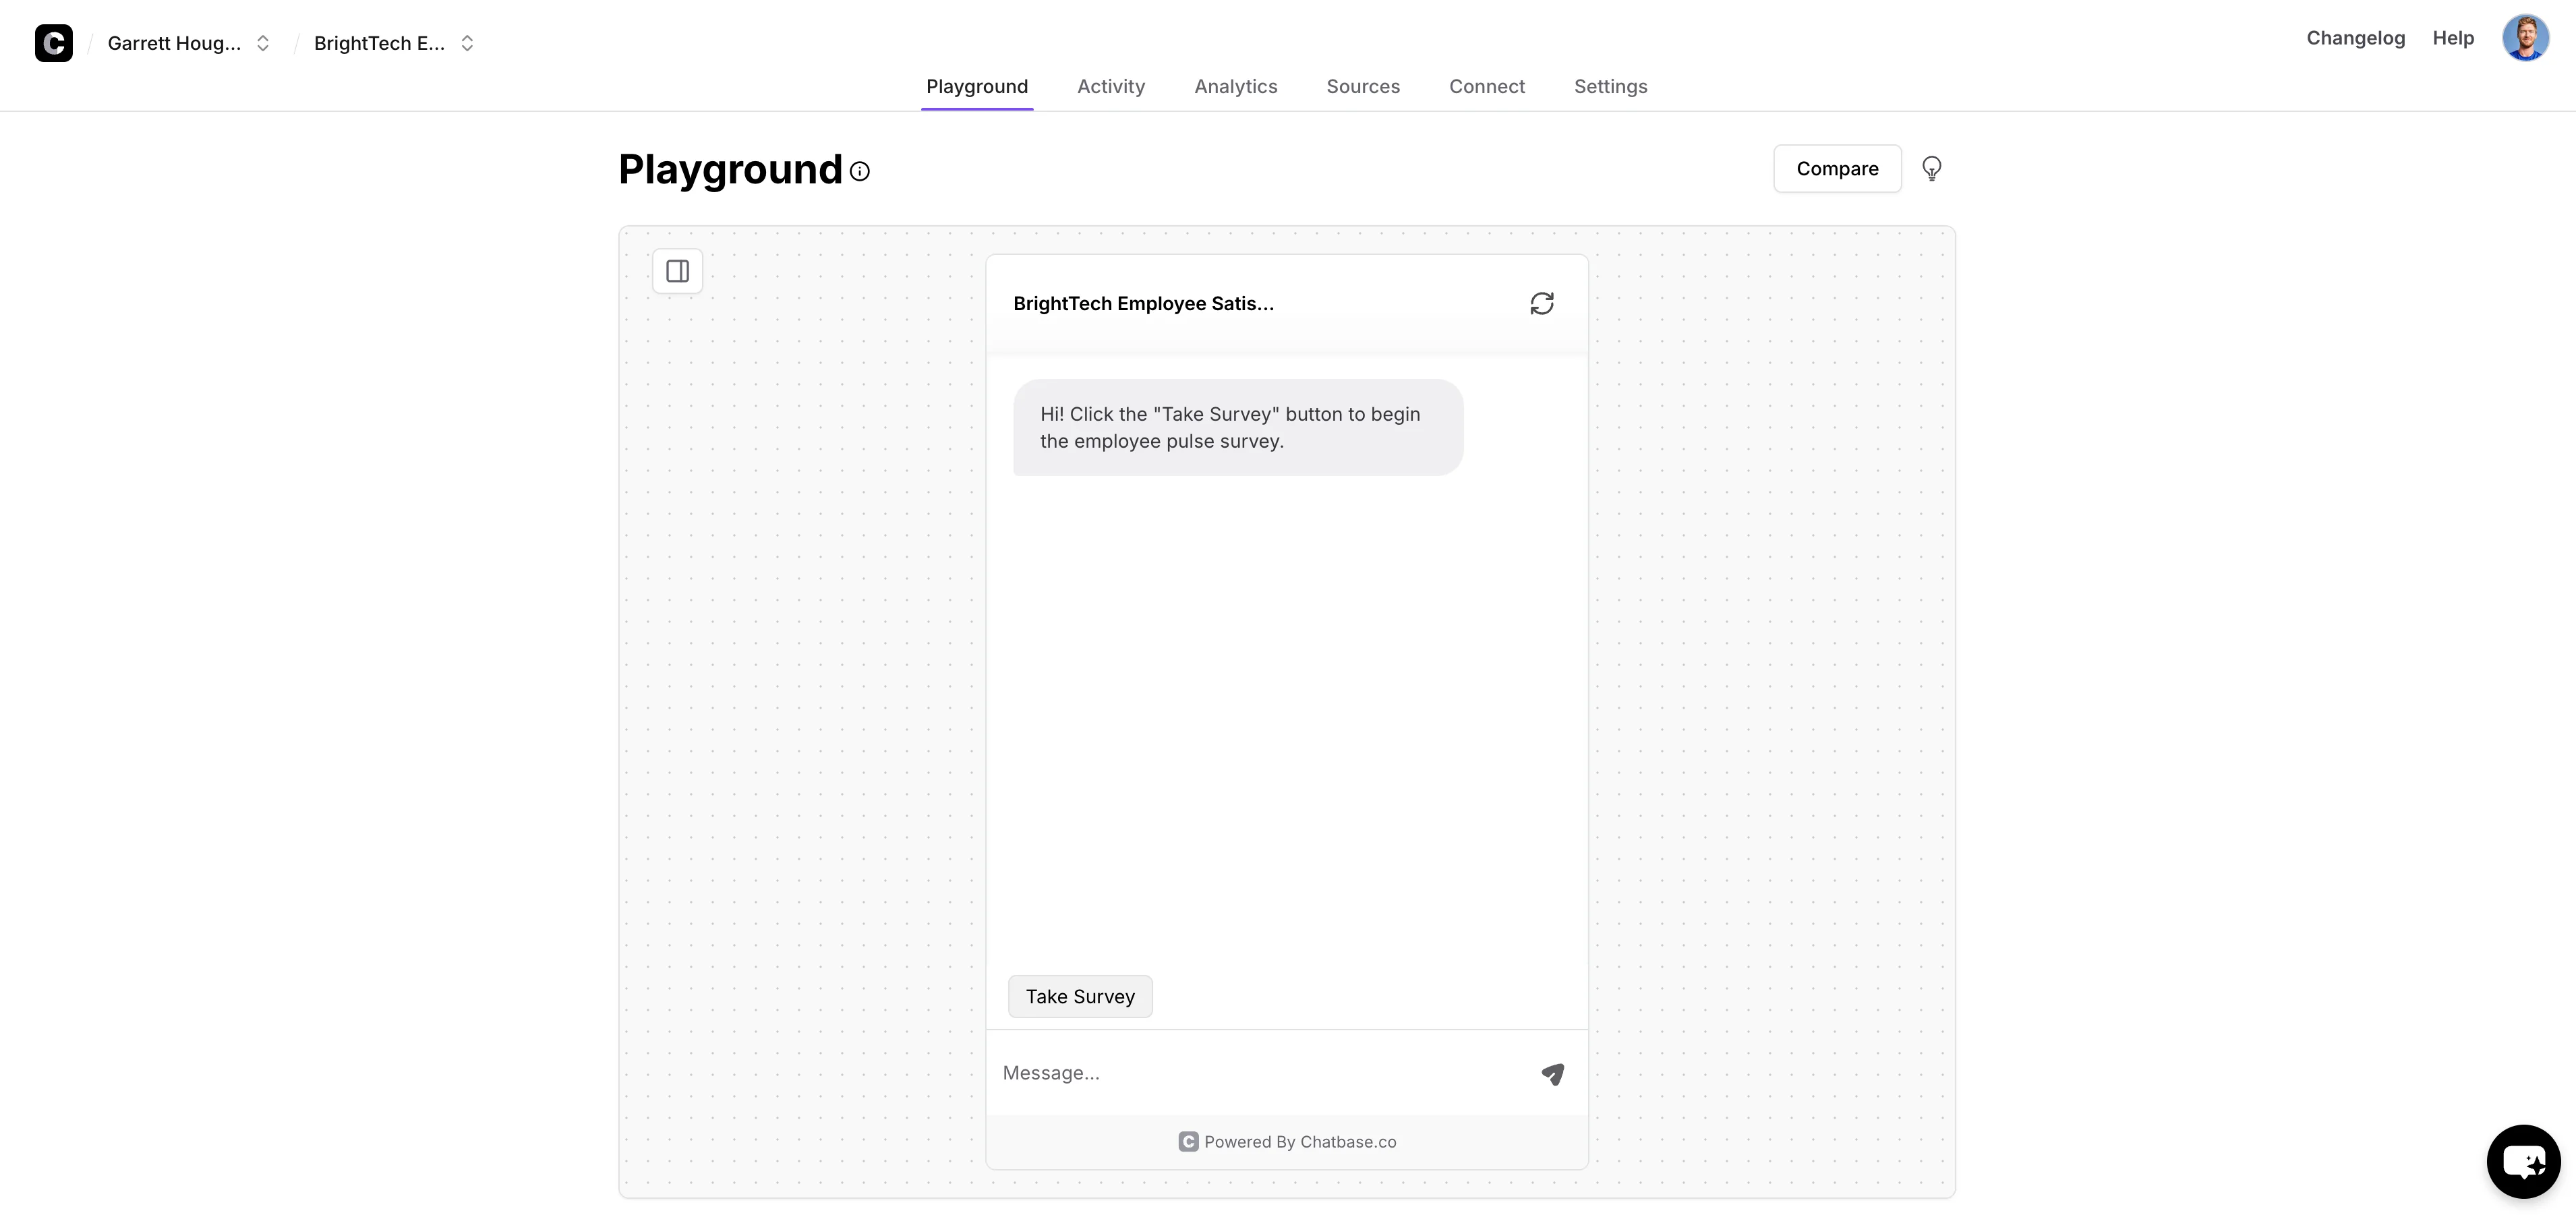
The chatbot should ask the first employee pulse survey question from your data source file.
The next phase of the process is analyzing the response data from a survey once it’s been distributed. To do this, go to the “Activity” tab of the chatbot, click the “Chat Logs” option, and export your test chats as JSON.
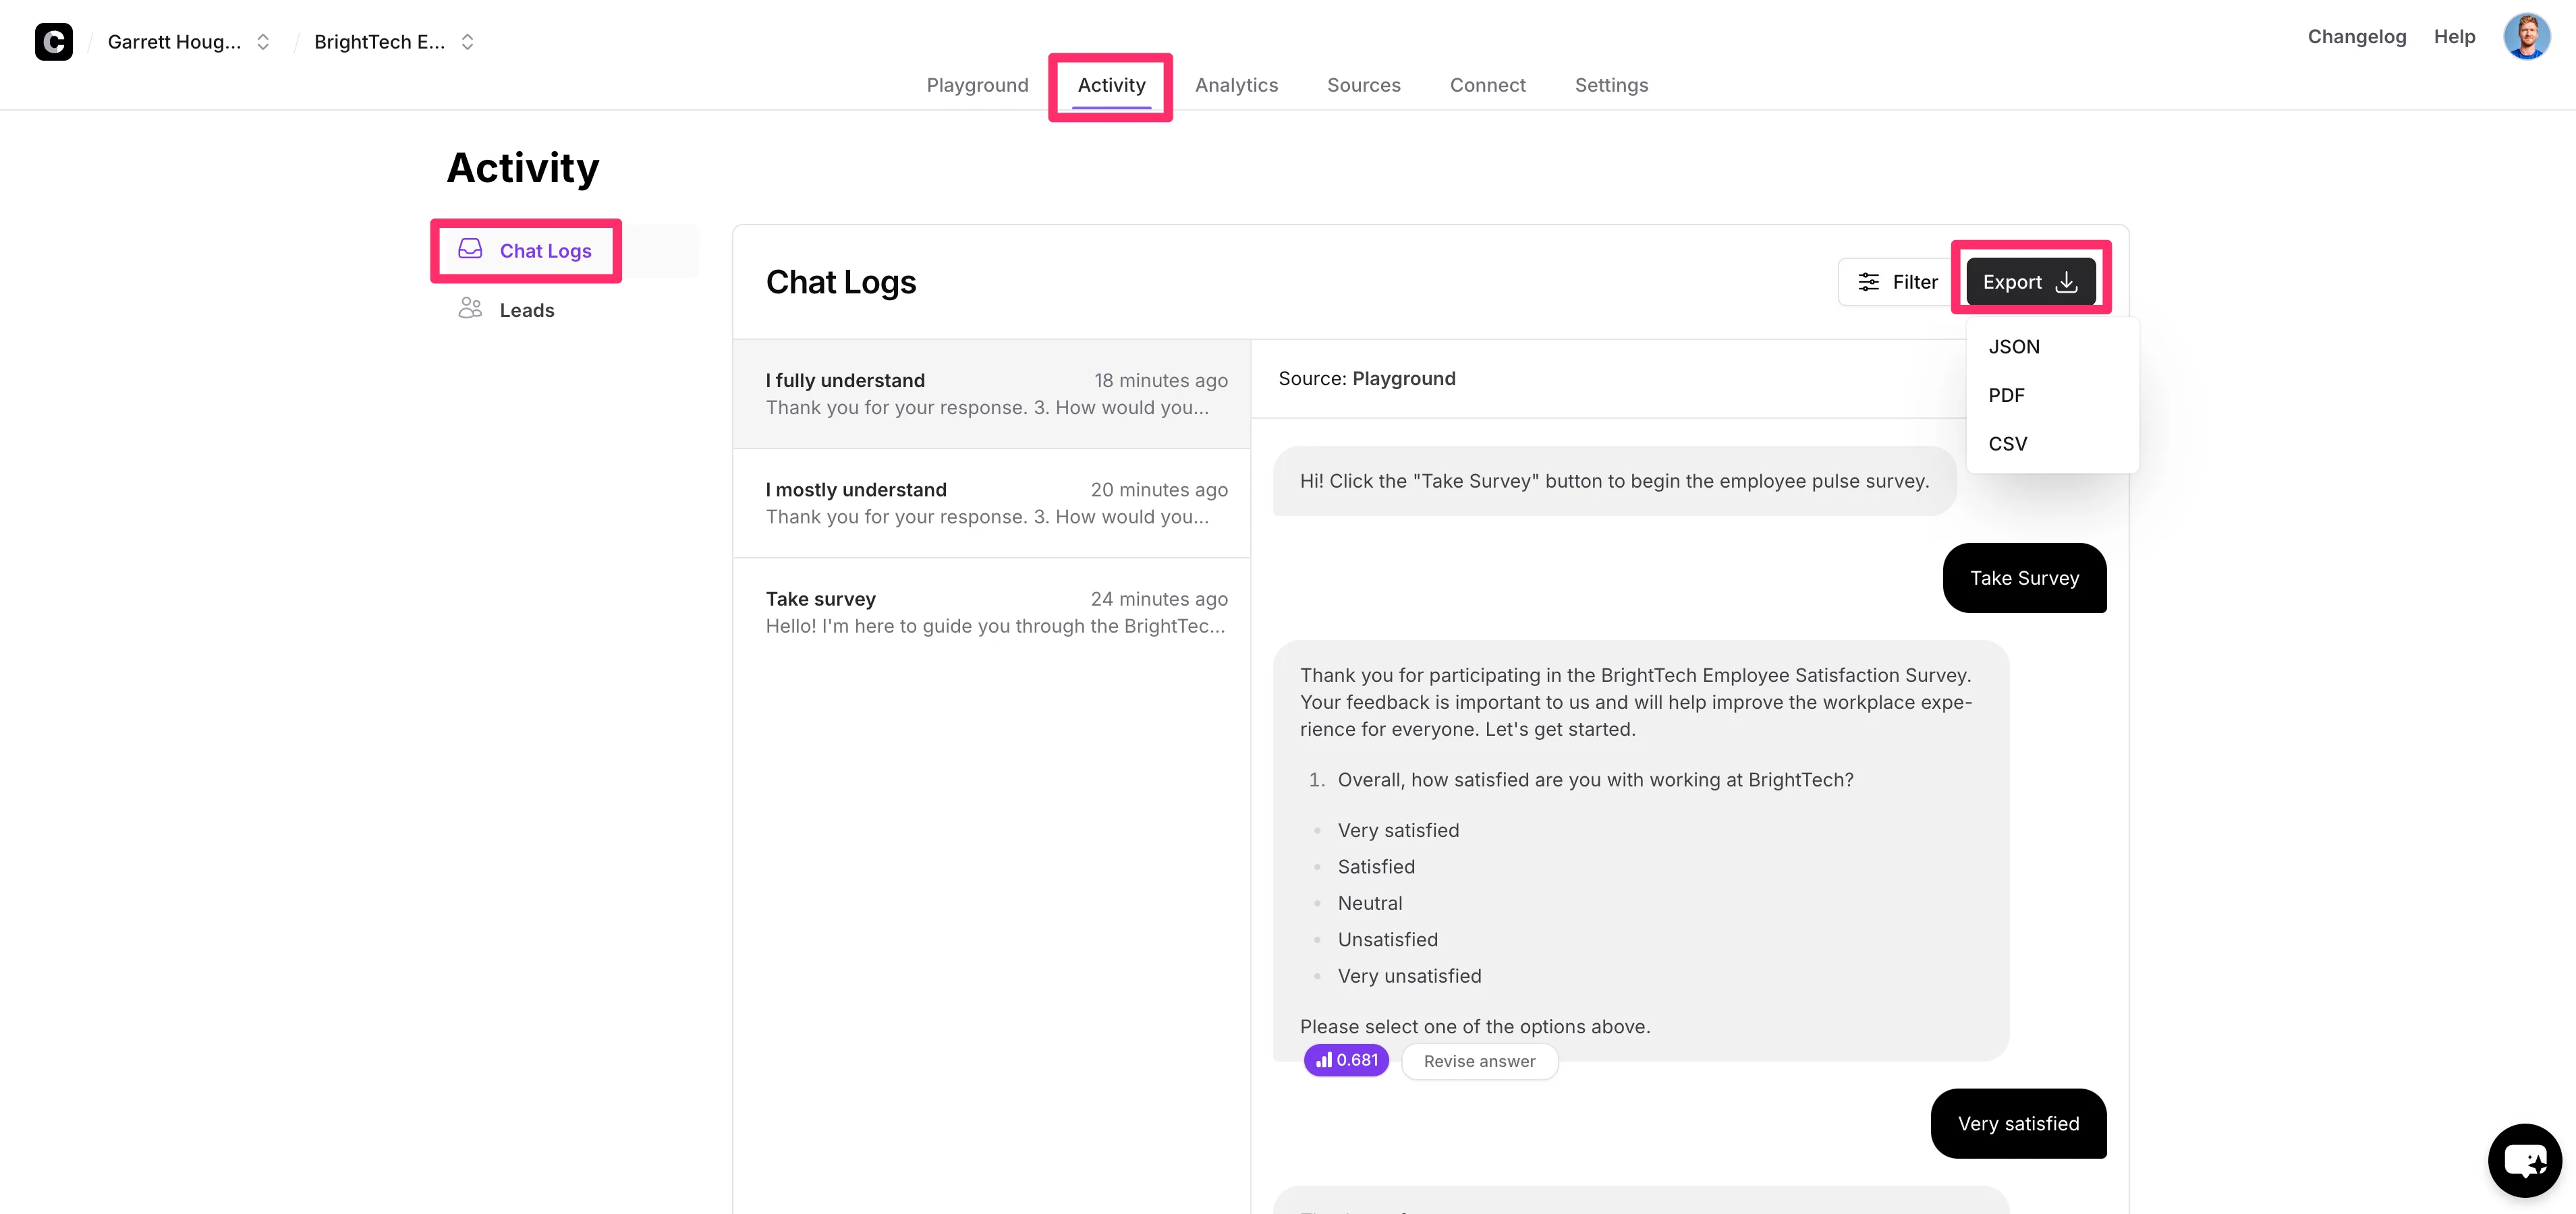
You must export the data as a JSON file. We’re going to use ChatGPT to analyze the employee response data, and a JSON file is the optimal format for ChatGPT.
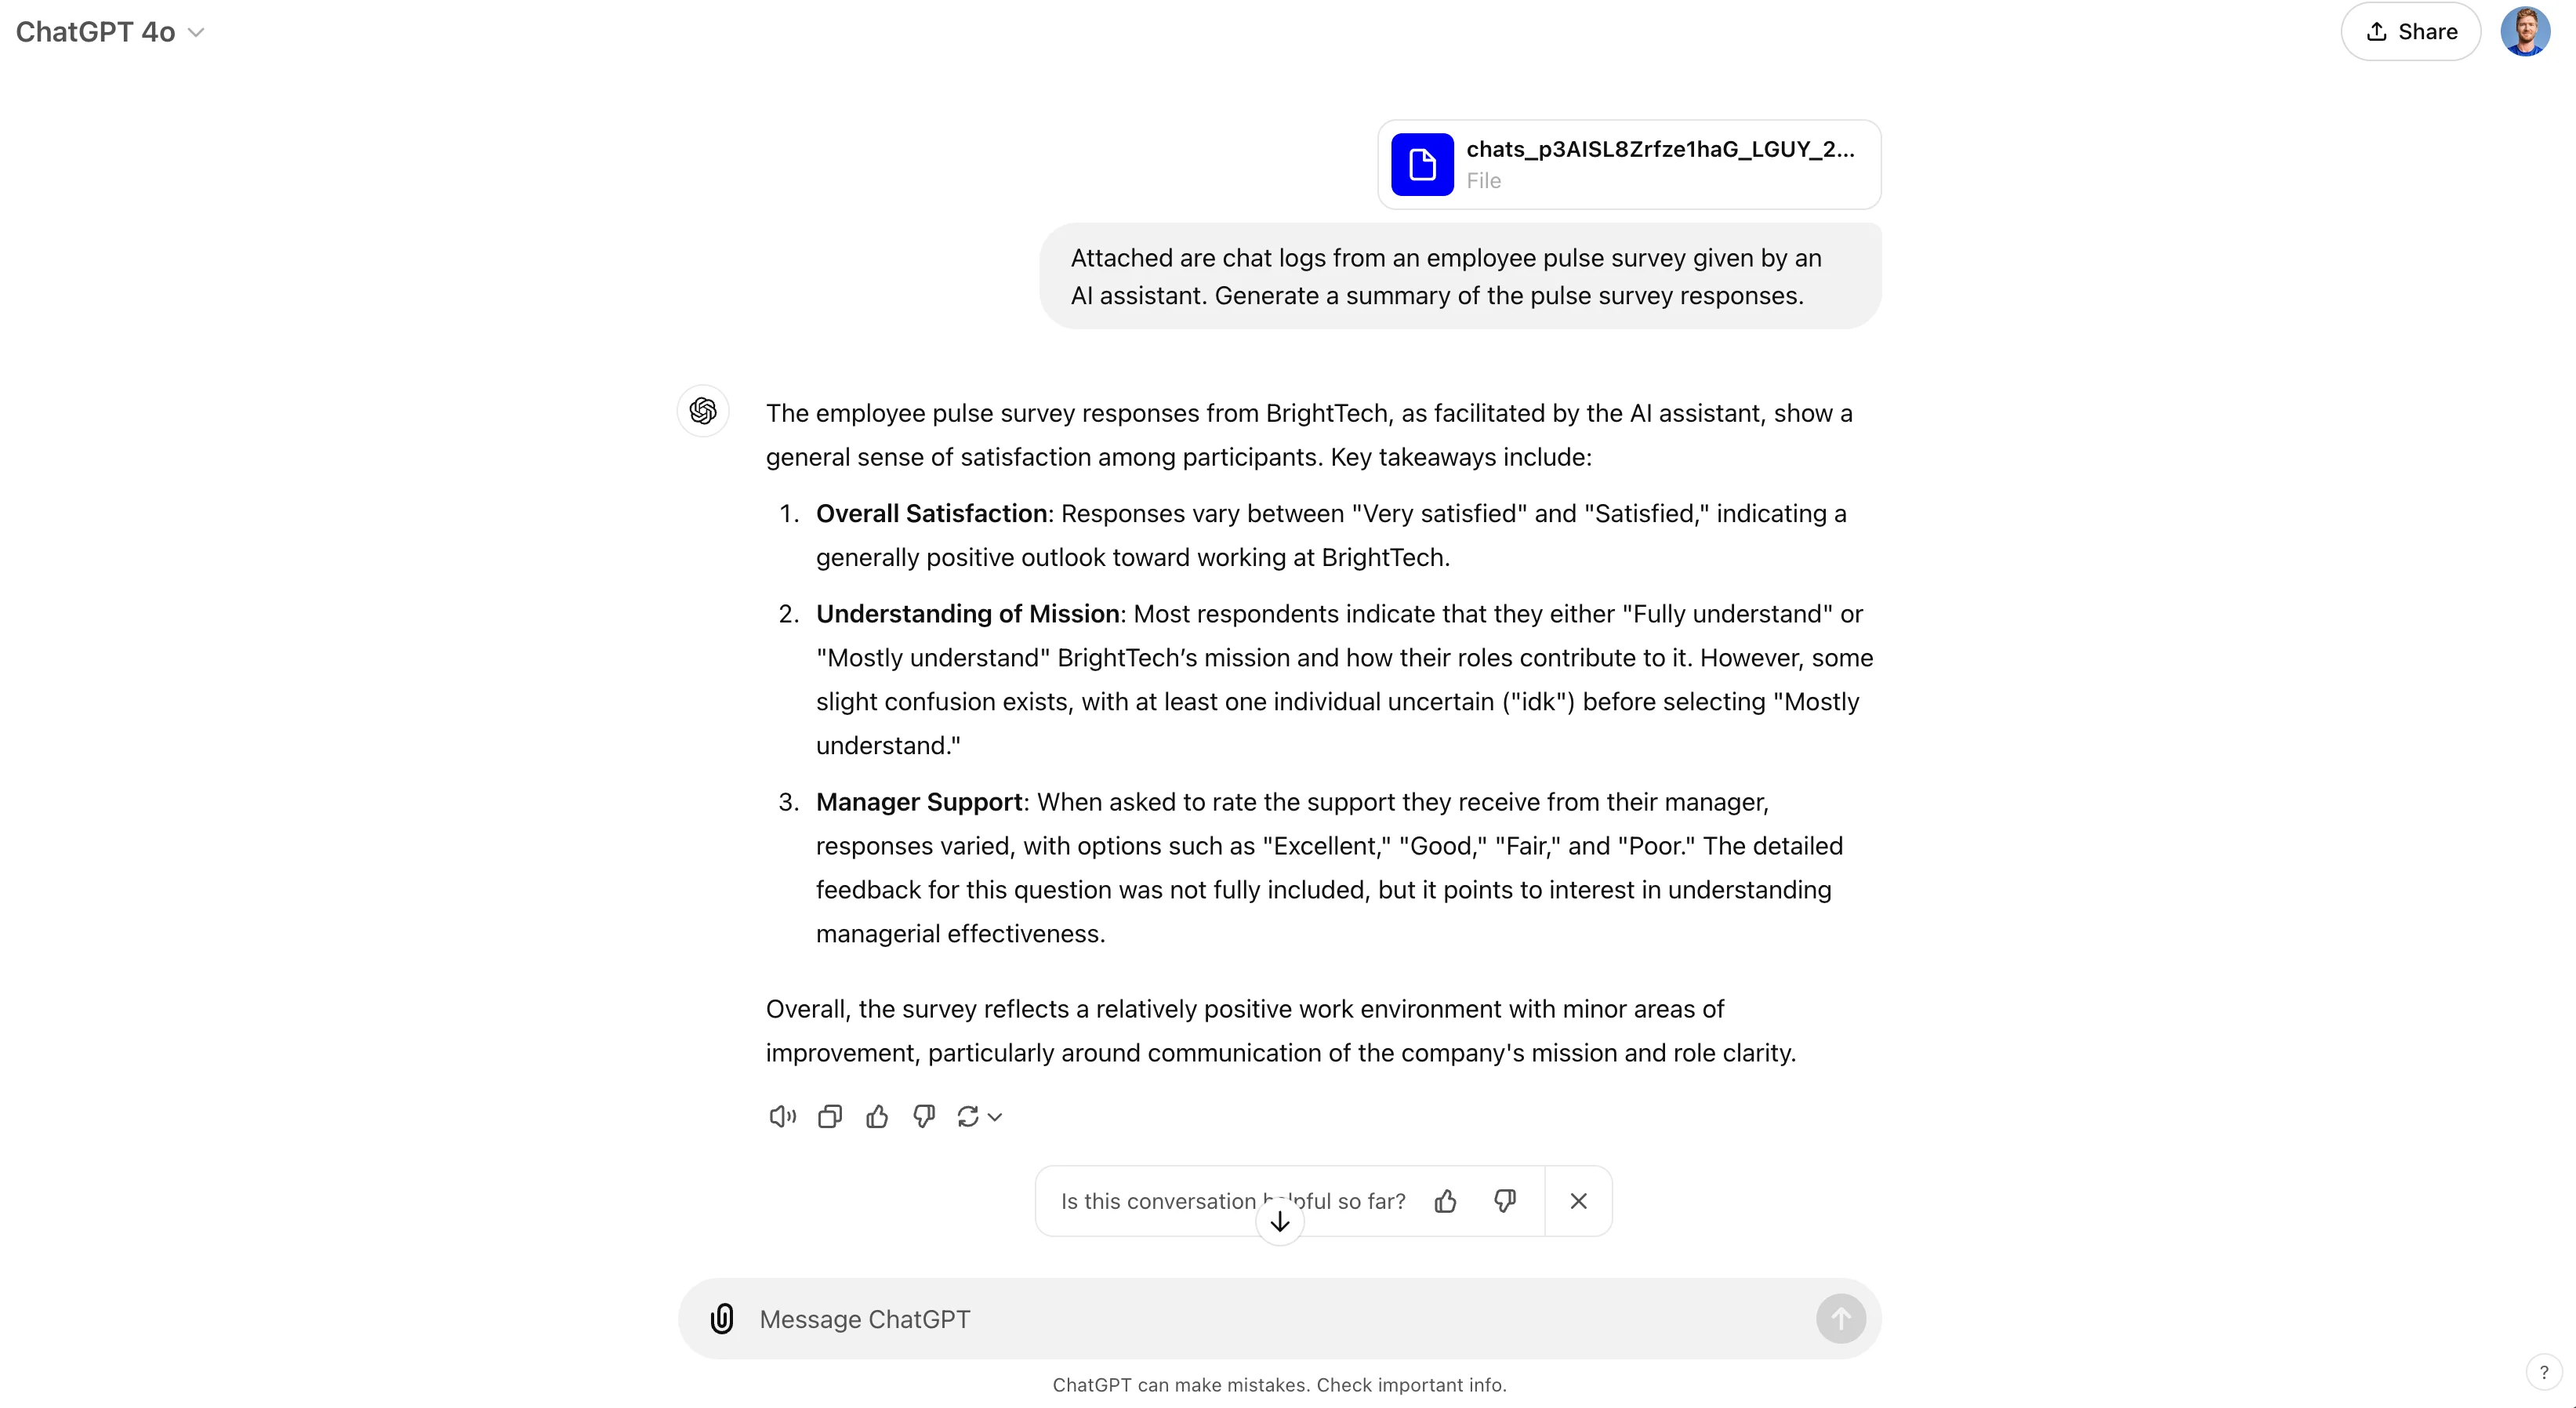
In a new message thread with ChatGPT, attach the exported JSON file from Chatbase, and ask it to generate a summary of the results.
Sample prompt:
Attached are chat logs from an employee pulse survey given by an AI assistant. Generate a summary of the pulse survey responses. [attach JSON file].
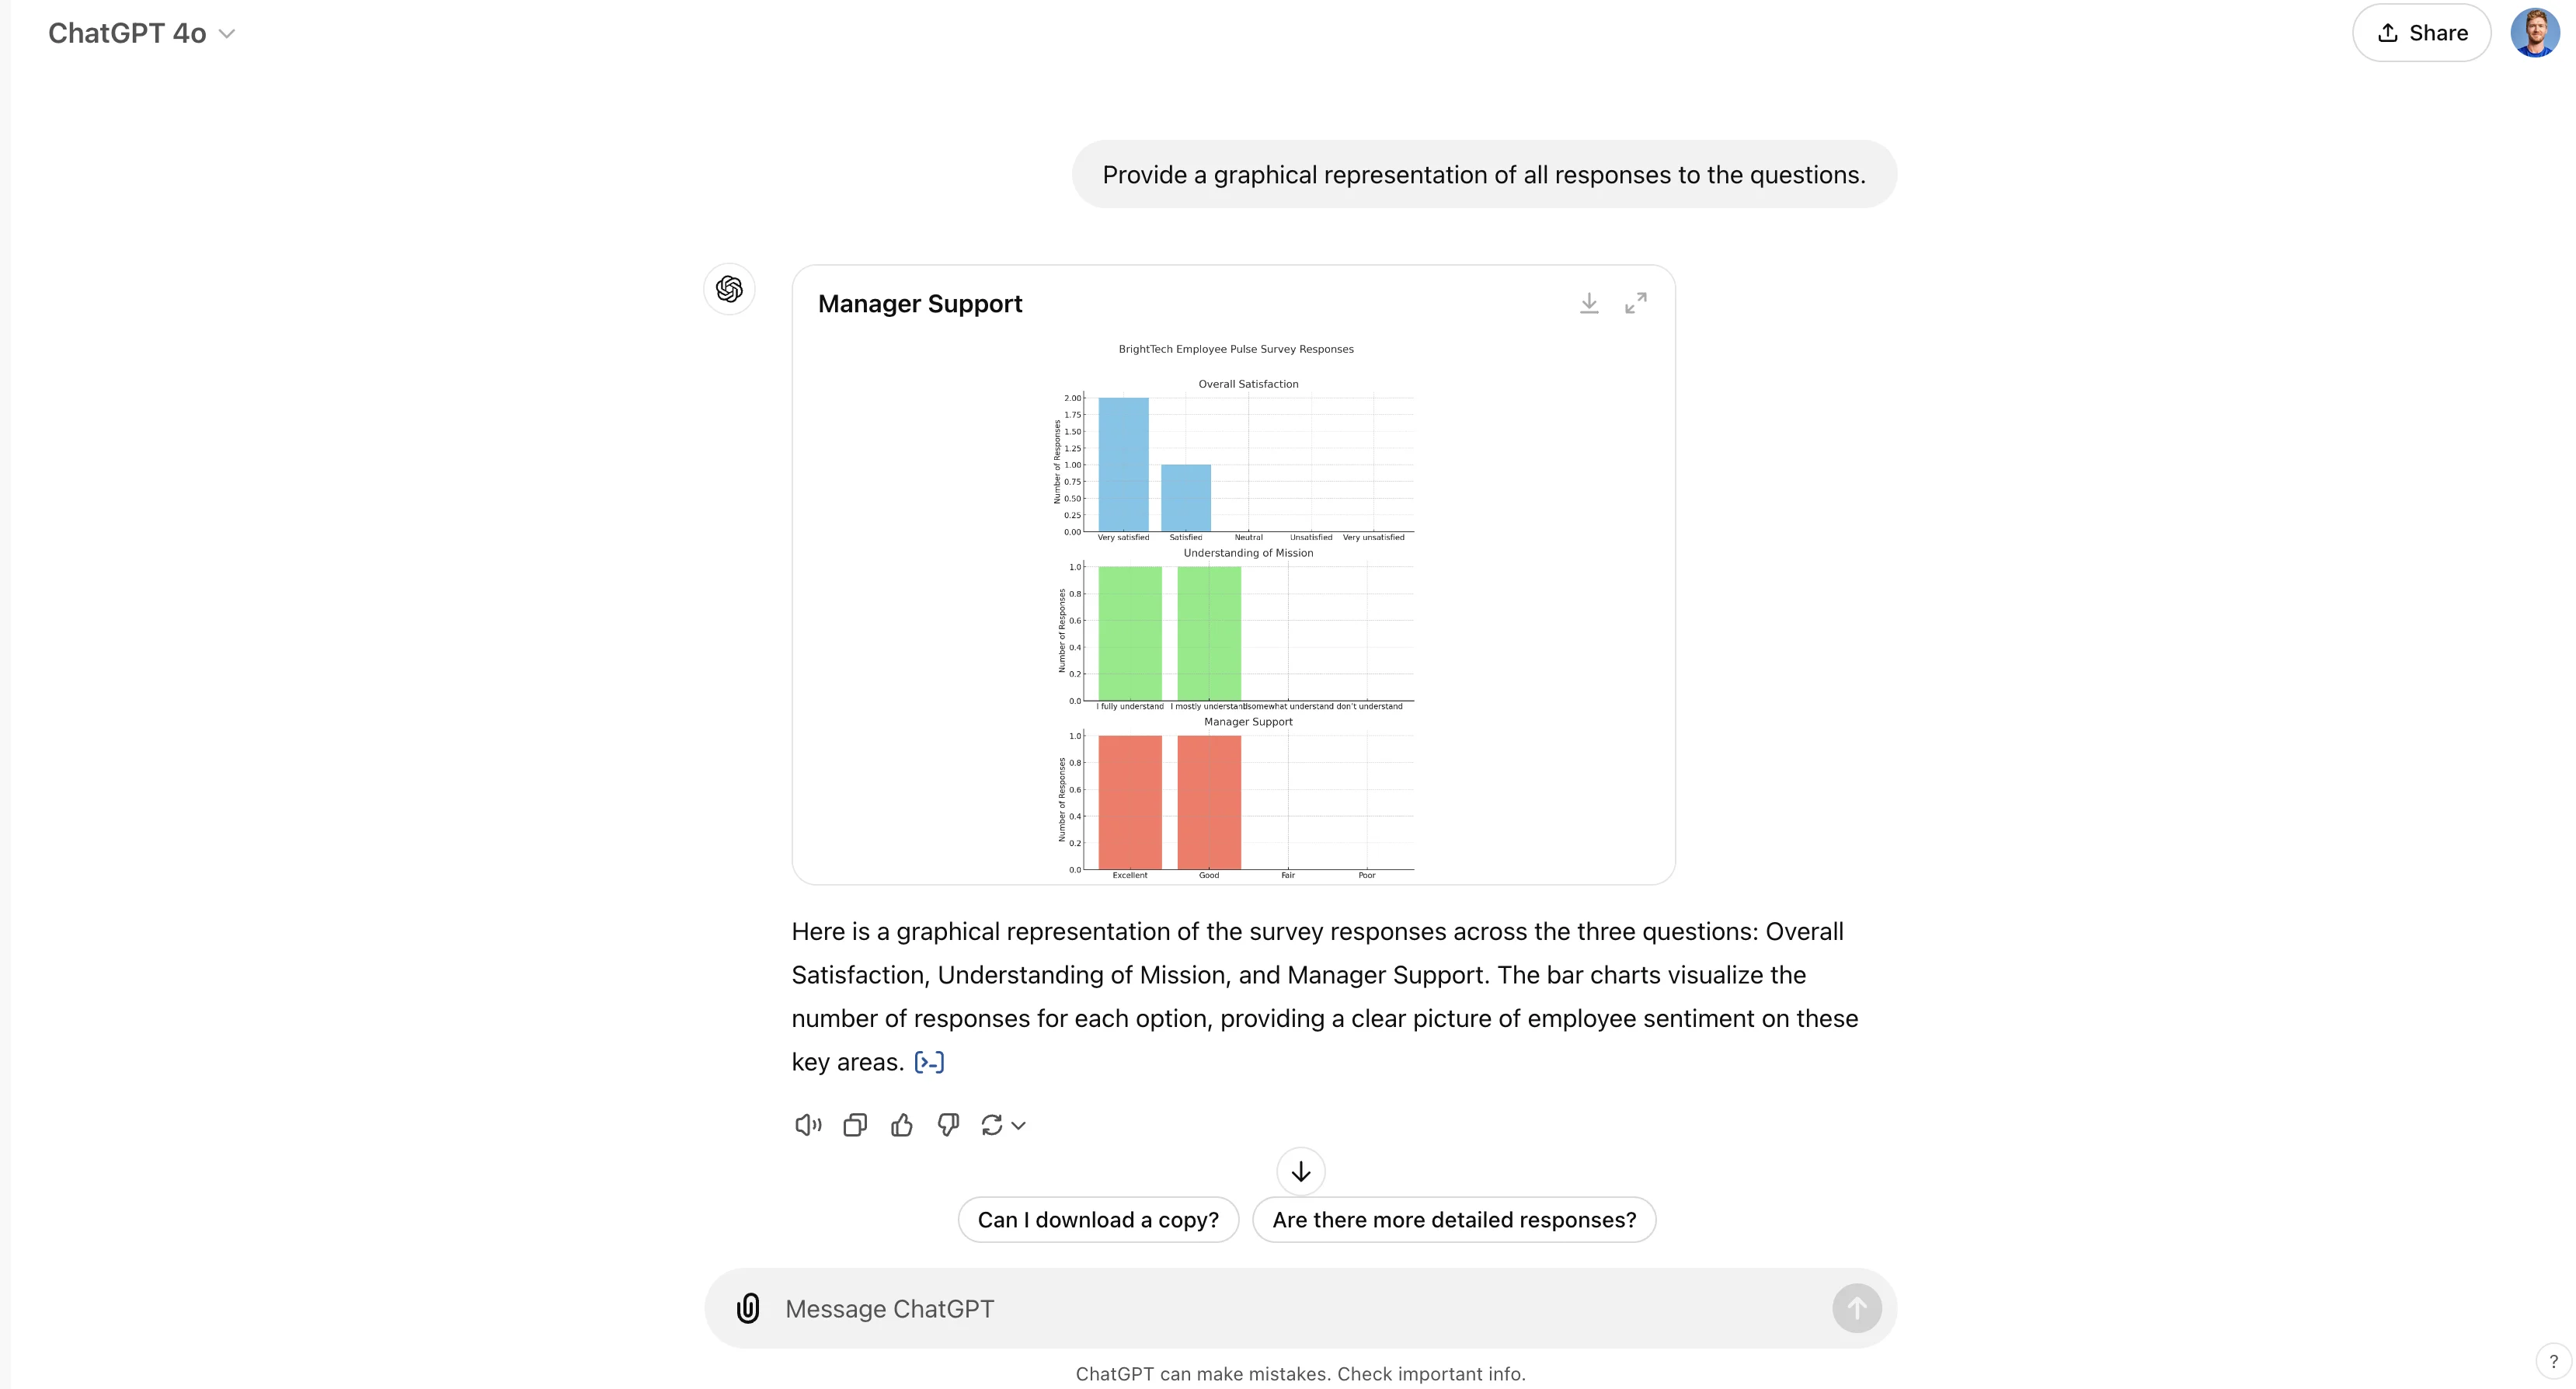
You can follow up to have it visualize the data from your employee responses too.
Sample prompt:
Provide a graphical representation of all responses to the questions.
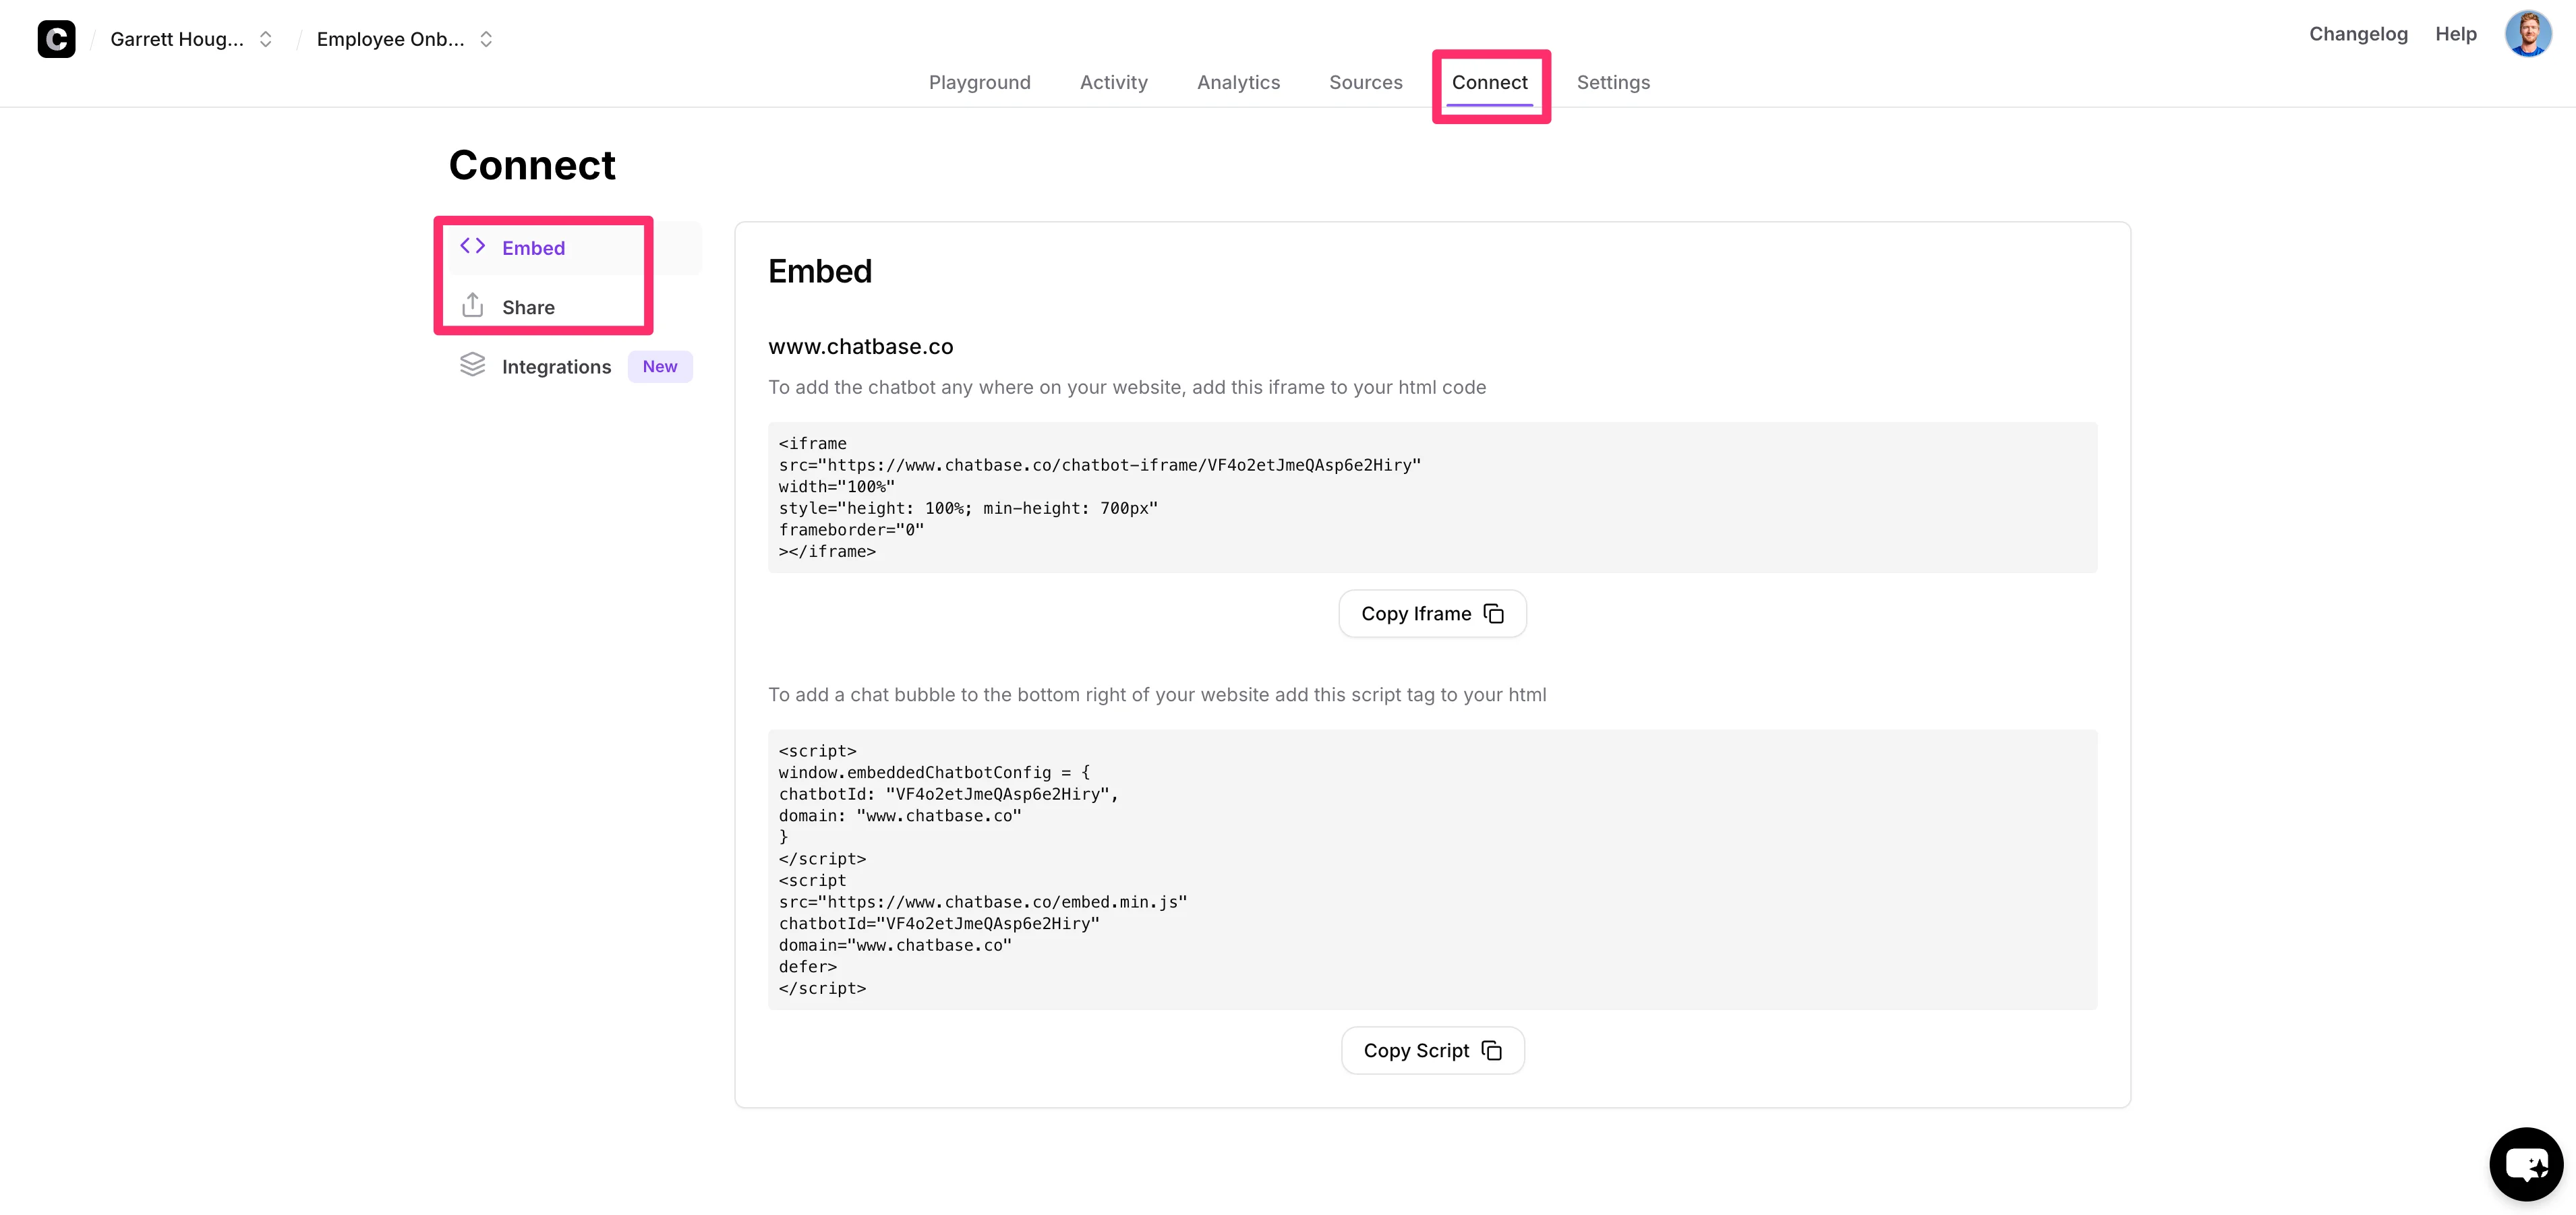
Once you’re happy with your chatbot, you can share it with employees by clicking the “Connect” tab on the Chatbase chatbot dashboard, making the chatbot public, and either sharing the link directly with employees, embedding it on an existing website, or deploying it via one of the available integrations.
Nice work! If you’ve made it this far, you’ve developed three different HR AI chatbots with Chatbase.
In the next tutorial in this course, you’re going to learn how to build a lead generation AI chatbot with Chatbase, Zapier, and Google Sheets.
This tutorial was created by Garrett.