Build your first interactive website with Websim
Learn how to create interactive websites and web applications without coding using WebSim.
2024-11-13
Creating websites traditionally requires learning coding languages, frameworks, and complex technical concepts, which can prevent many people from building the sites they envision. WebSim changes this paradigm by enabling you to create websites simply by describing your vision in plain English.
In this tutorial, we'll guide you through creating your first interactive website while exploring WebSim's capabilities. You'll discover how to transform your ideas into functional websites without writing code—all by communicating your vision to WebSim in everyday language.
In this tutorial, we will cover:
- Step 1: Understanding WebSim's interface
- Step 2: Creating your first website
- Step 3: Making modifications
- Step 4: Saving and sharing your work
- Taking WebSim further
Let’s get to it!
Step 1: Understanding WebSim's interface
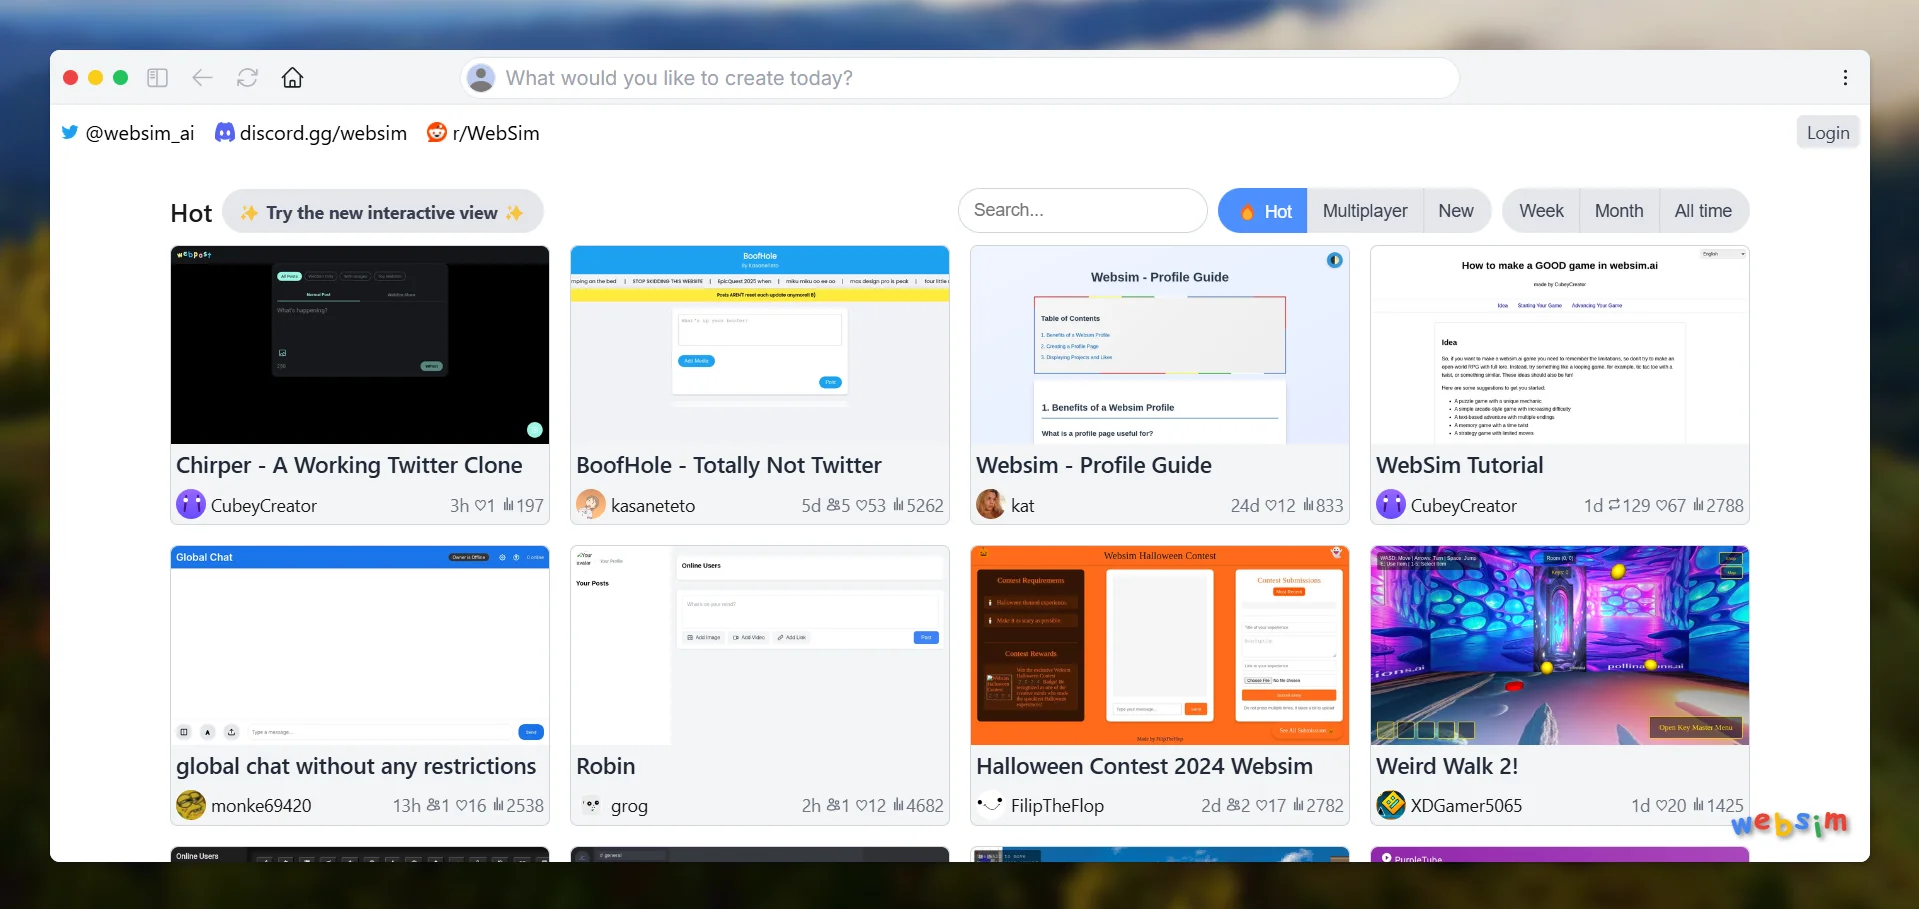
Let's start by getting to know WebSim's interface and features. When you go to websim.ai, you'll see what looks like a browser inside your regular browser.
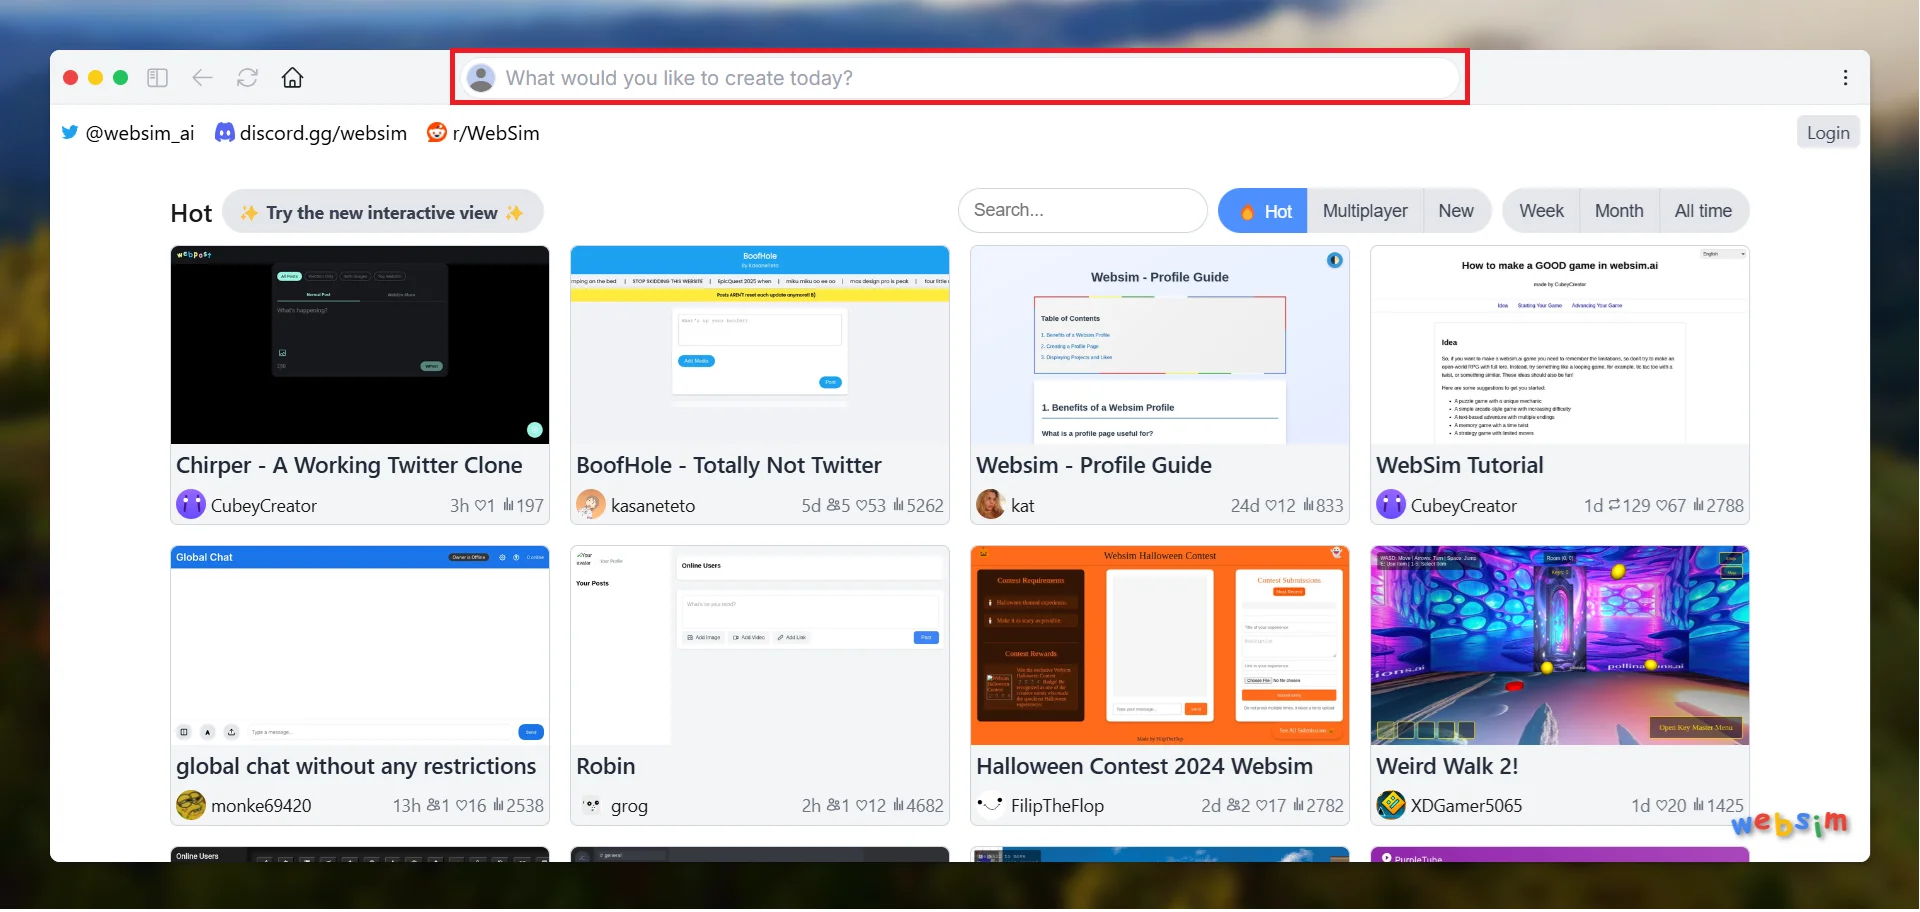
At the top of the screen, you'll find the URL and prompt bar. This is where you'll type your website descriptions and web addresses. You can use this single bar to create new pages, make changes to existing ones, and move between different parts of your website.
Next to the prompt bar, you'll see a dropdown menu to select which AI model to use. While WebSim's free plan gives you access to Claude 3.5 Sonnet - which is more than sufficient for most users' needs - paid plans offer access to o1 models.

These models can be particularly helpful when building more complex or large-scale applications. However, for most projects, including everything we'll create in this tutorial, the free plan works perfectly well.
In the top left corner, you'll see a button to open the sidebar. This sidebar panel keeps track of everything you create and lets you easily find your previous work.
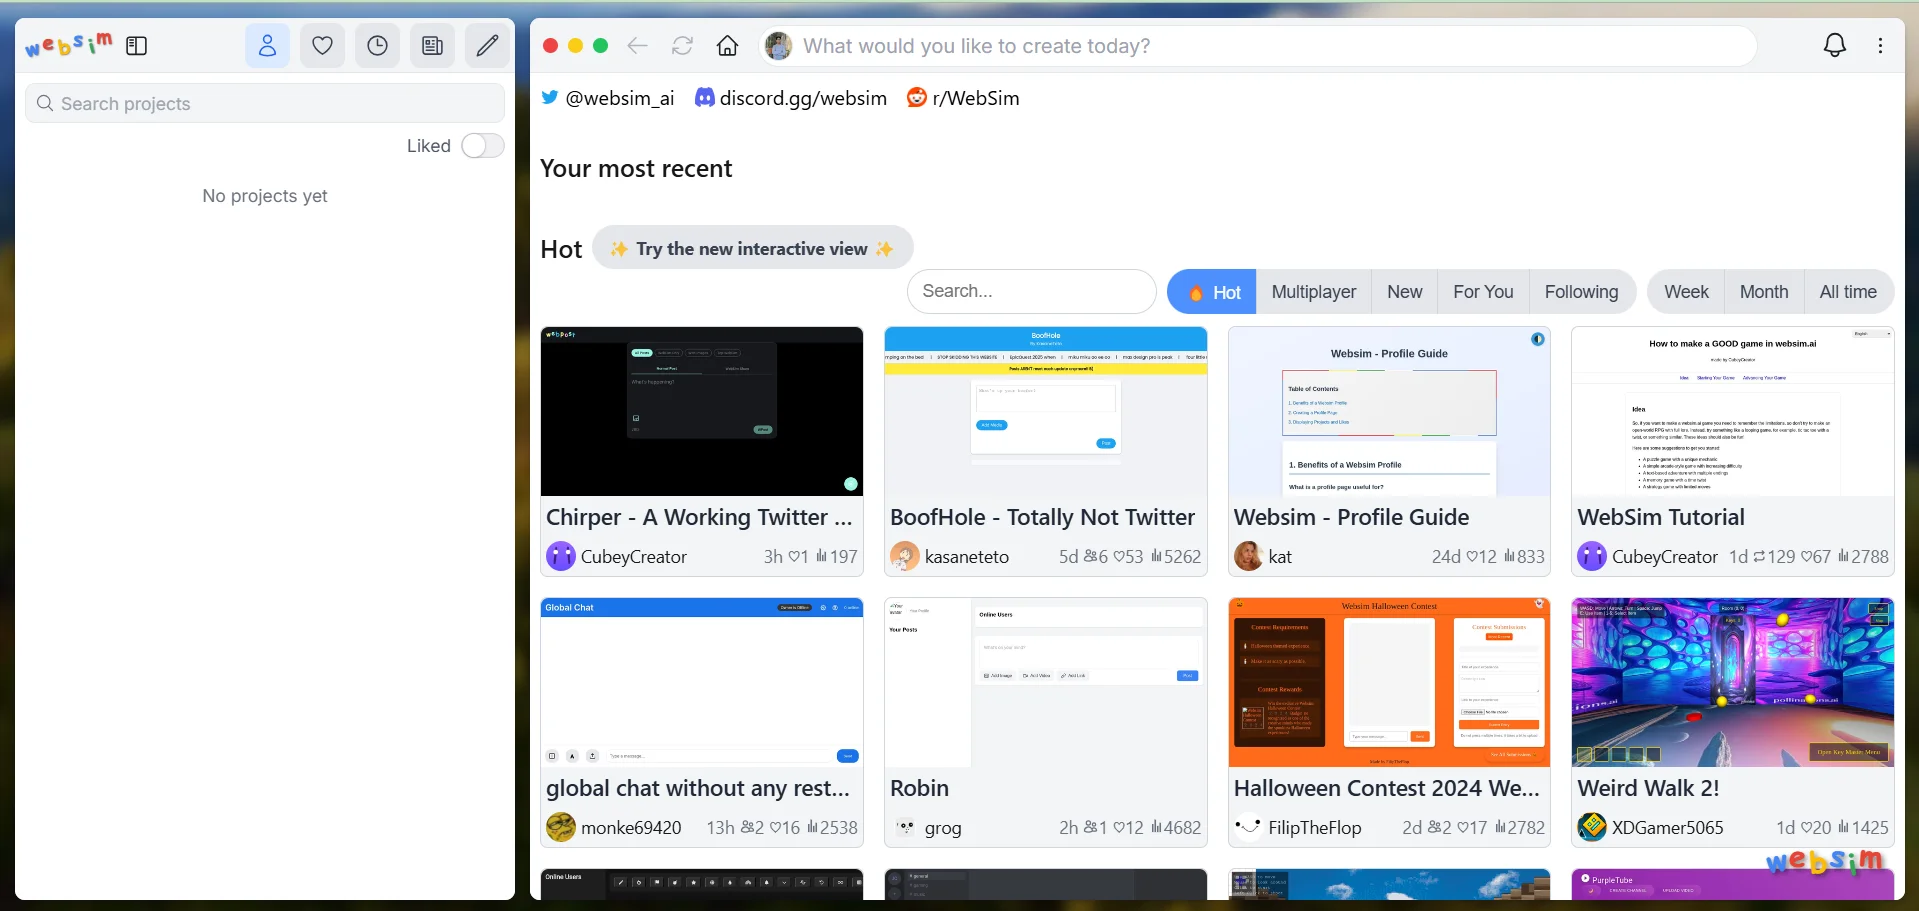
Your saved projects and bookmarks also live in this side panel, making it easy to come back to anything you're working on. You can also adjust your personal settings here to make WebSim work just the way you want it to.
The home page of the Websim interface shows you both your work area and examples from other users. These examples can give you great ideas about what's possible with WebSim. You'll see all kinds of projects, from simple one-page websites to interactive games and apps.
Step 2: Creating your first website
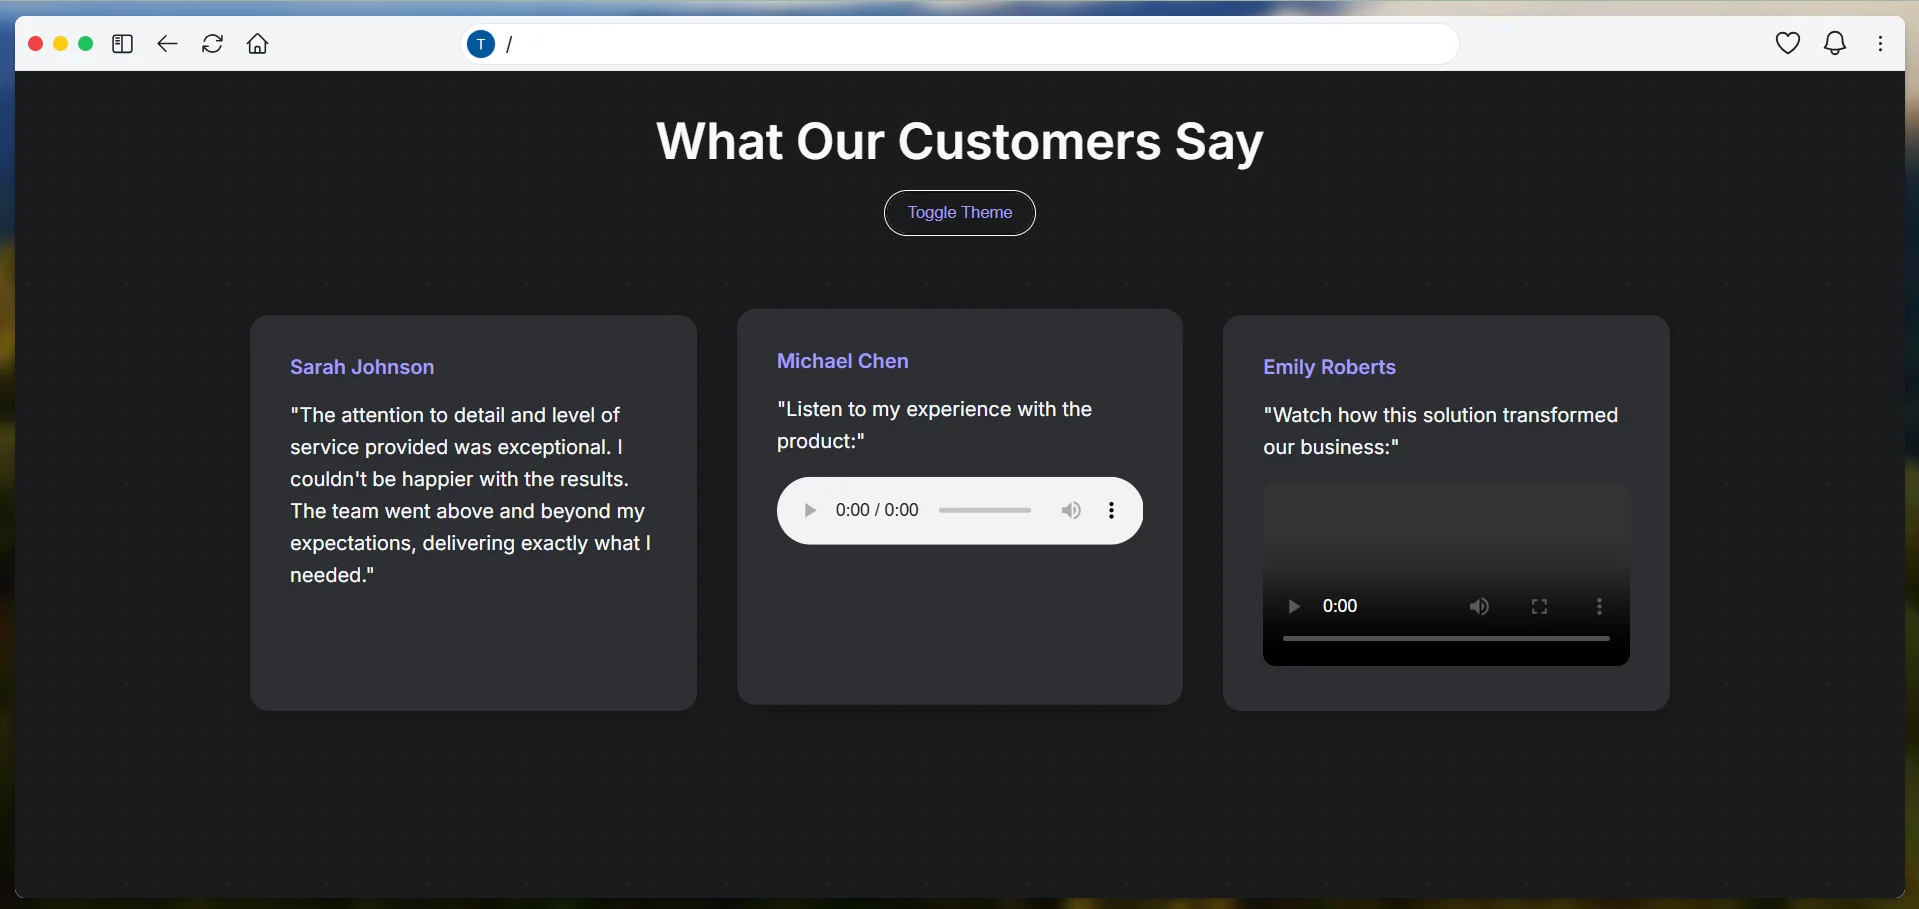
WebSim lets you build any kind of website you can imagine - from personal blogs to complex web applications. In this tutorial, we'll demonstrate WebSim's capabilities by creating a testimonial collection system. While we're using this as an example, remember that you can apply these same techniques to create whatever type of website you need.
The process of describing what you want, seeing it come to life, and refining it through simple prompts remains the same regardless of the type of site you're building.
Begin by finding the sign-in button in the top right corner and logging in. After signing in, WebSim will bring you back to the main screen, ready for you to start creating.
Click the prompt bar at the top of the screen to start typing your prompt. The default Claude 3.5 Sonnet model is perfect for what we will build. Let's create something comprehensive with our first prompt.
Think about what makes a good testimonial collection system. We want an intuitive interface that makes it easy for customers to share their experiences, clear options for different types of testimonials, and a professional design that builds trust. The system should be simple to use while offering multiple ways to share feedback.
Type this prompt into the bar:
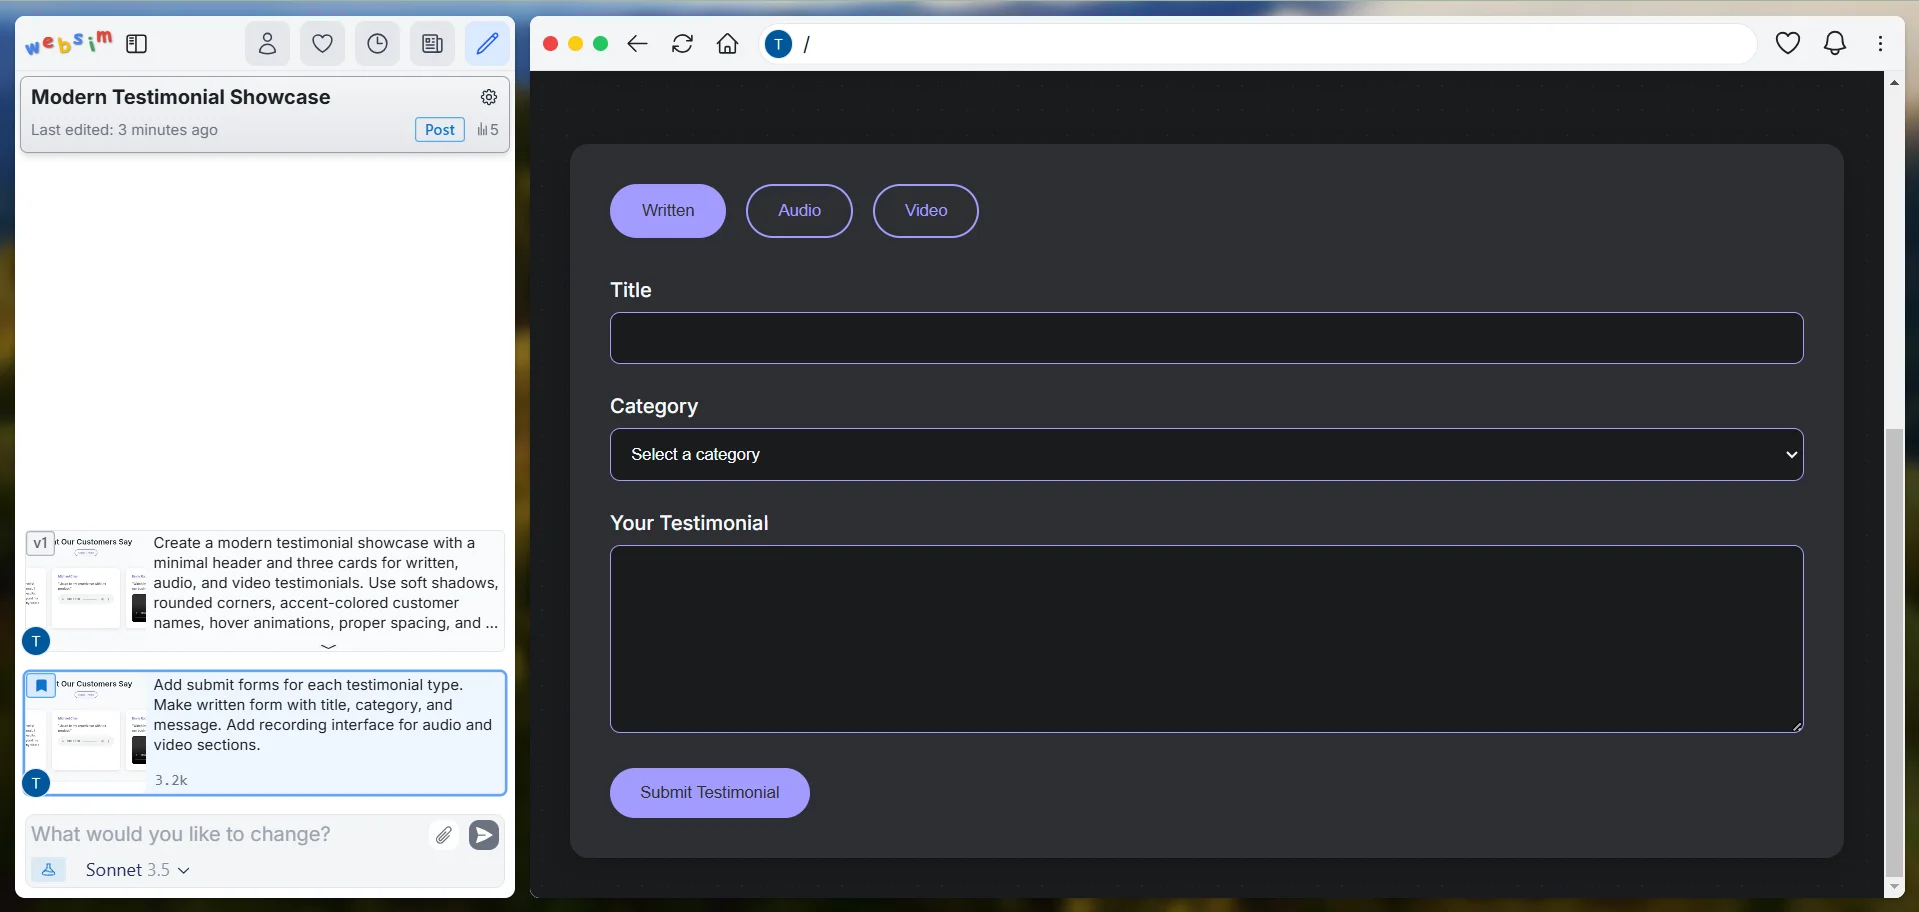
Create a modern testimonial showcase with a minimal header and three cards for written, audio, and video testimonials. Use soft shadows, rounded corners, hover animations, proper spacing, and a subtle background pattern. Include dark/light mode with smooth transitions.
Step 3: Making modifications
One of the best things about WebSim is how easy it is to make changes. You can keep improving your website by simply telling WebSim what you want to change, and it will update everything while keeping your design consistent.
WebSim remembers what you've done before, so it knows how to make changes that match your existing design. This means you can focus on describing what you want to change without worrying about how it will fit with the rest of your site.
Let's first enhance the form submissions by adding proper input fields and recording interfaces. We want to make it easy for users to submit different types of testimonials by providing well-structured forms and intuitive recording options.
Example prompt:
Add submit forms for each testimonial type. Make a written form with a title, category, and message. Add a recording interface for audio and video sections.
The written form provides organized fields for detailed feedback, while the audio and video sections include recording interfaces with clear controls and preview options.
Now, let's refine the overall user experience by enhancing the visual design and adding helpful feedback elements. A solid UI with clear visual cues will make the submission process more engaging for users.
Use this prompt:
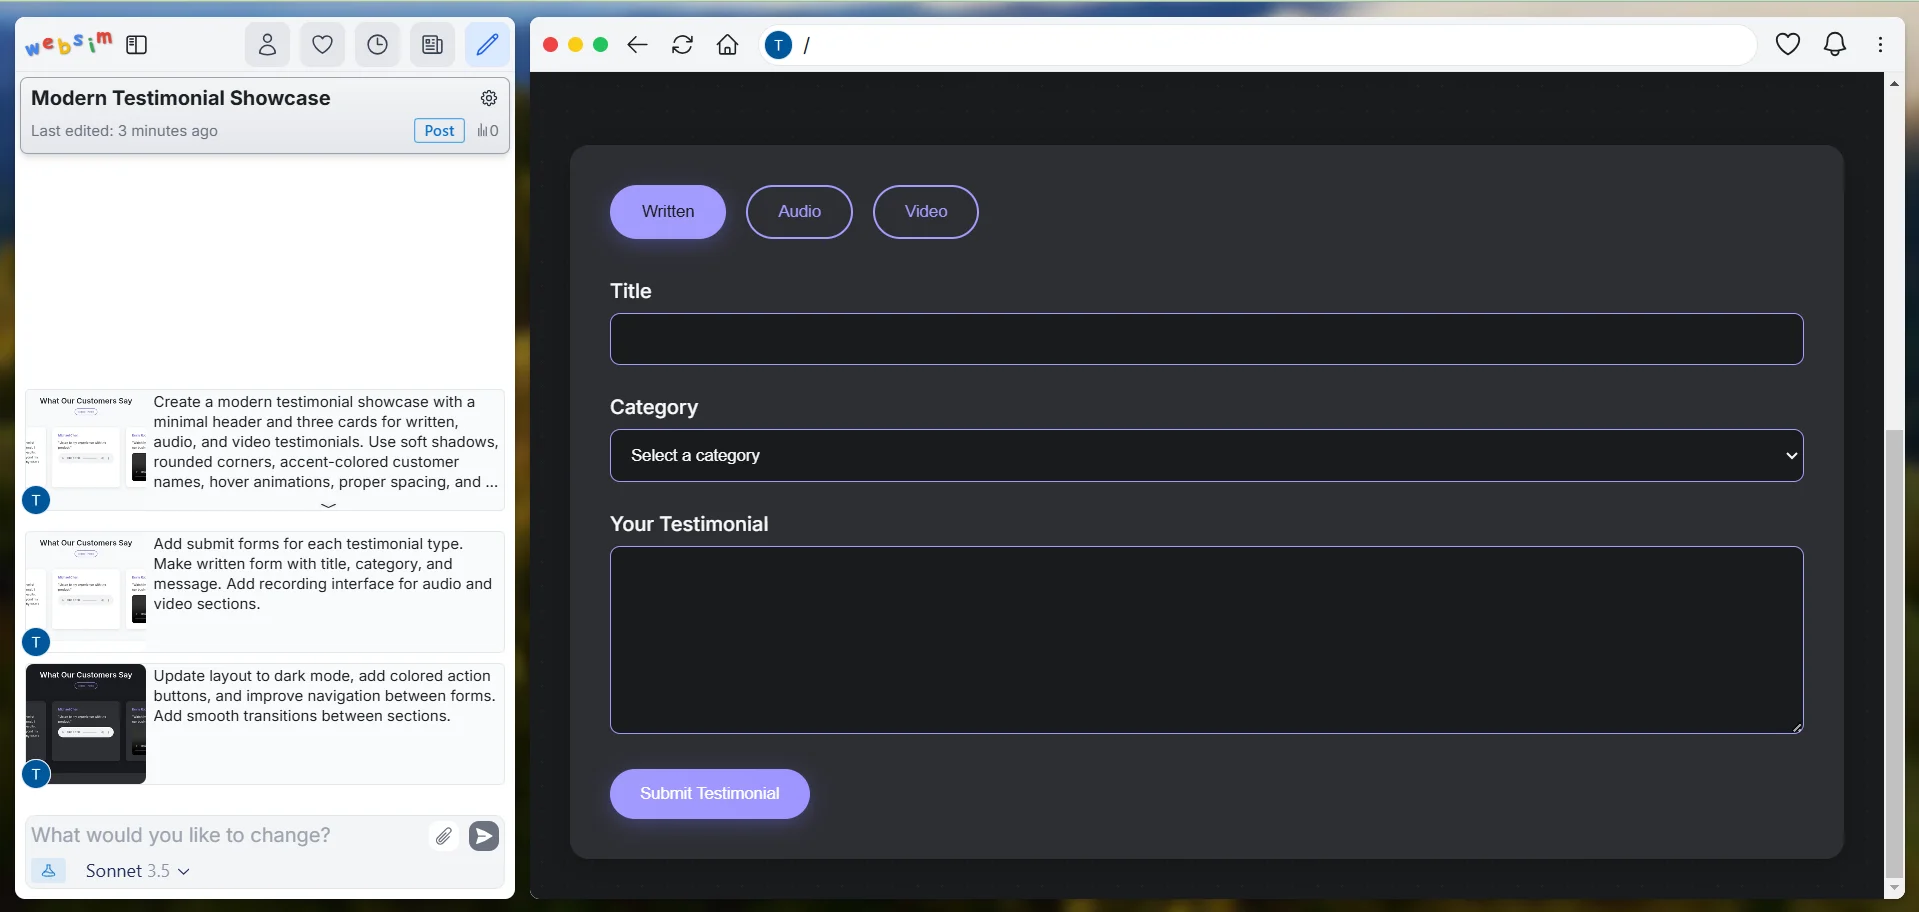
Update the layout to dark mode, add colored action buttons, and improve navigation between forms. Add smooth transitions between sections.
Let's organize our testimonial collection system into separate pages for a better user experience. This will give each type of testimonial its own dedicated space, making the process clearer for users.
Type this prompt:
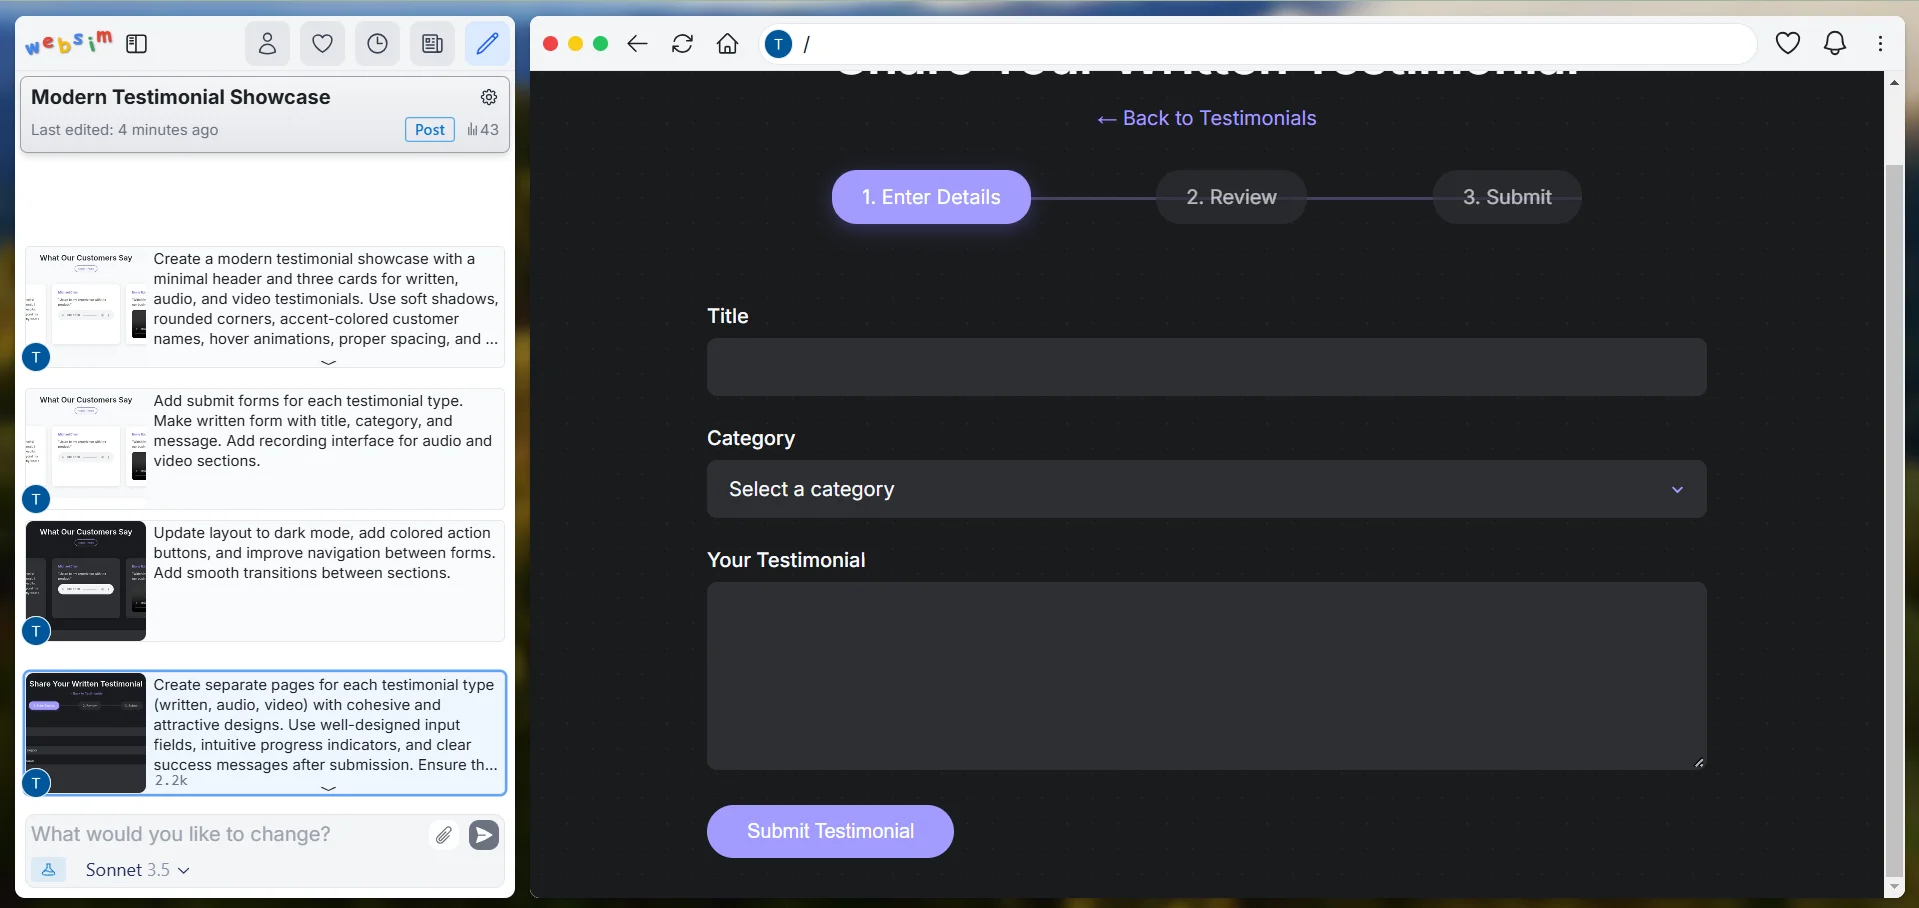
Create separate pages for each testimonial type (written, audio, video) with cohesive and attractive designs. Use well-designed input fields, intuitive progress indicators, and clear success messages after submission. Ensure the styling aligns with the overall website aesthetic, incorporating suitable colors, spacing, and typography.
If you want to adjust any specific part, you can always target it with a focused prompt. For instance, if you want to modify how a specific testimonial form works, just describe the changes needed for that form. WebSim will update just that form while keeping all other testimonial options and features intact.
Step 4: Saving and sharing your work
As you work on your website, you'll want to save your progress and maybe show it to other people. WebSim gives you several easy ways to do this, each serving a different purpose.
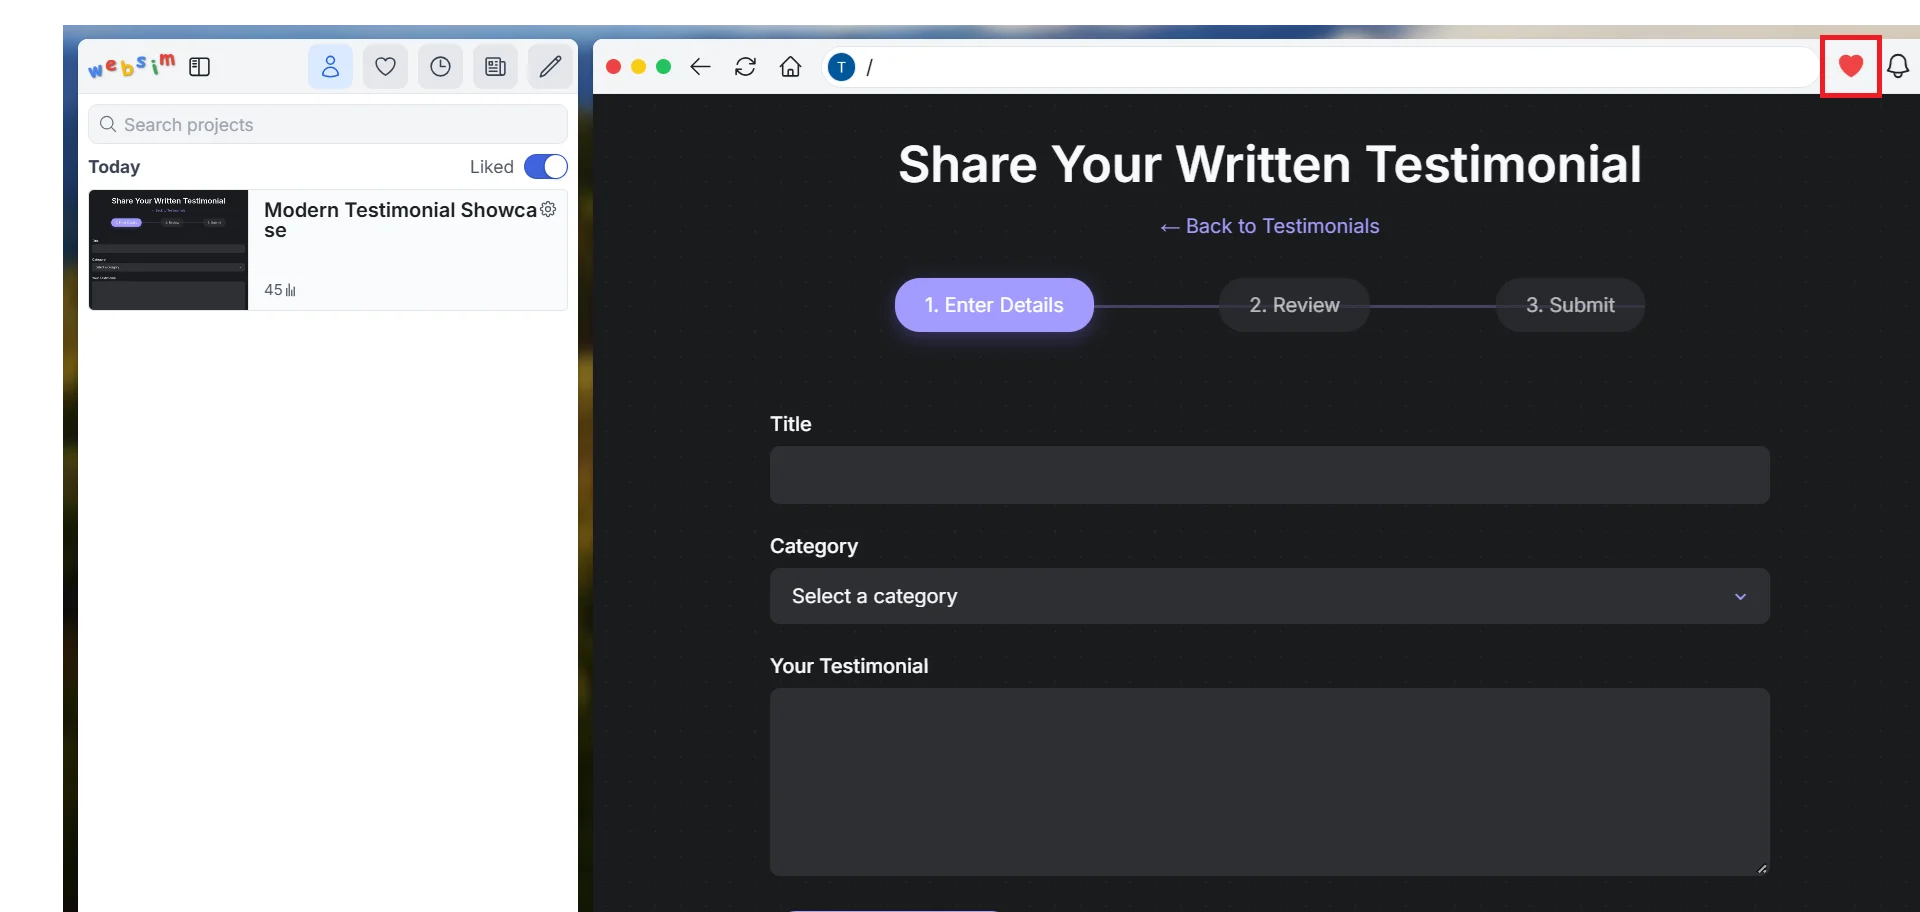
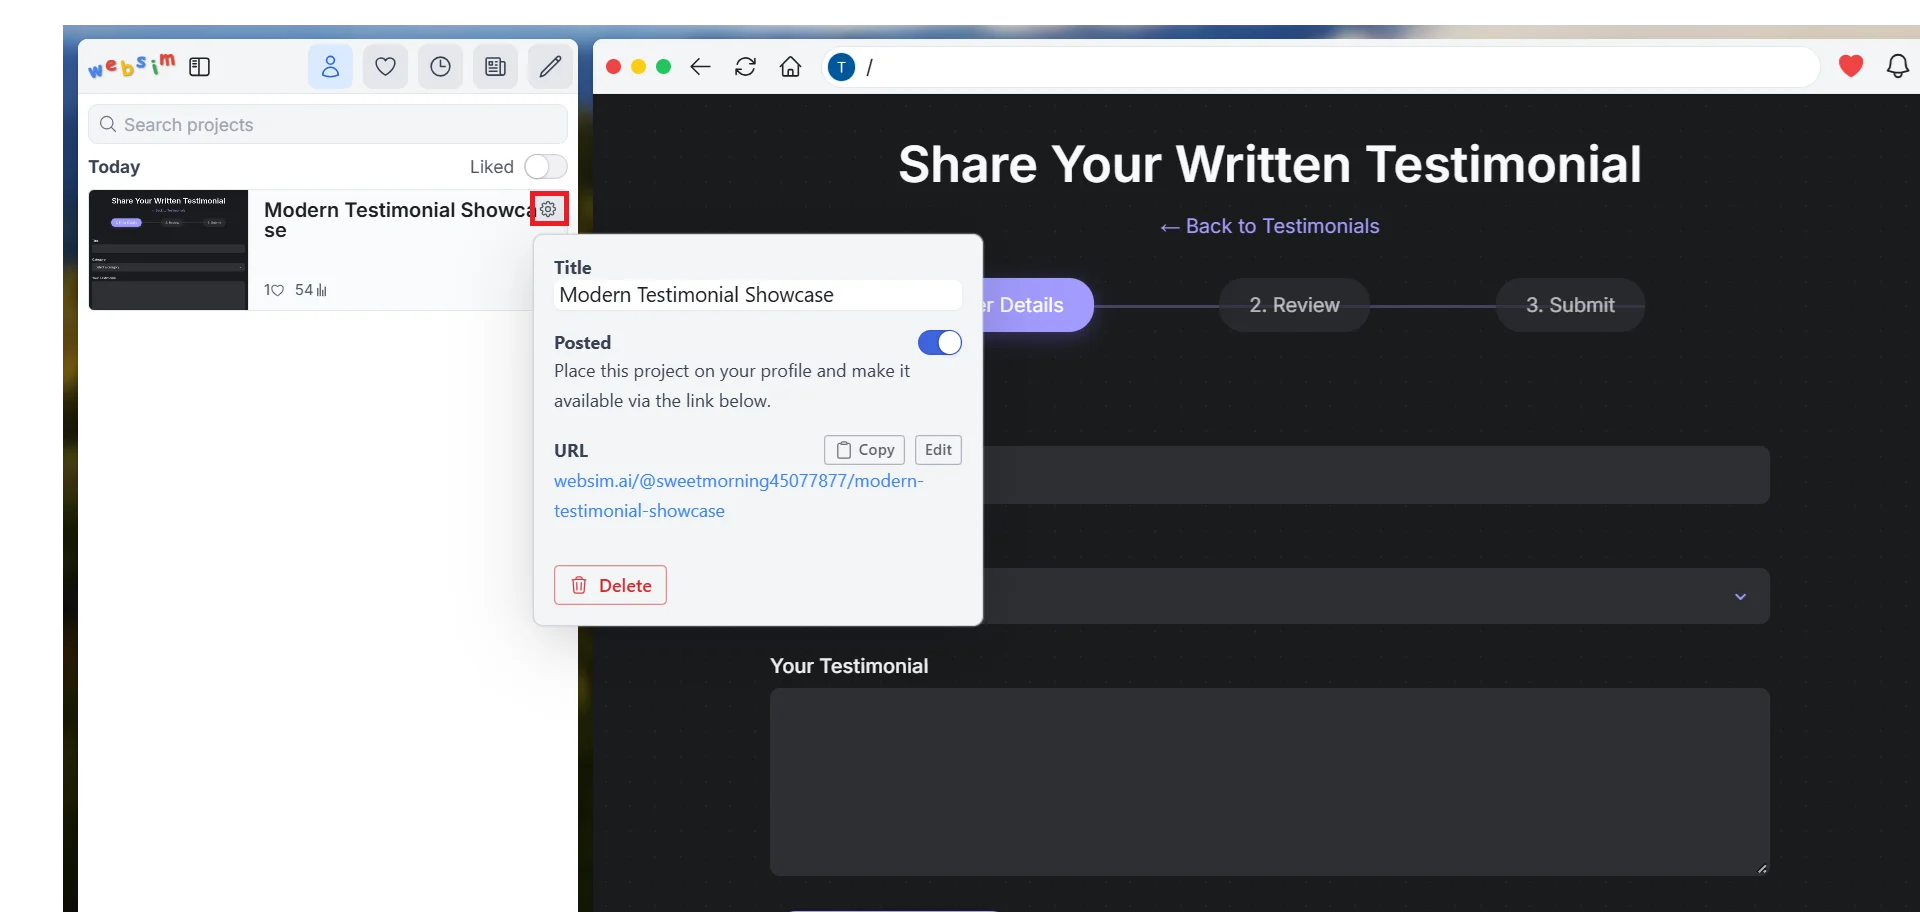
Look for the heart-shaped button in the top right corner of your screen. When clicked, it automatically saves your current version to your WebSim library
When you're ready to show your website to others, go to the sidebar and click the "Settings" button in the top right corner of your project. And then copy the special WebSim link you can share with anyone. The best part is that other people don't need a WebSim account to see your website - they can just click the link and see exactly what you've created.
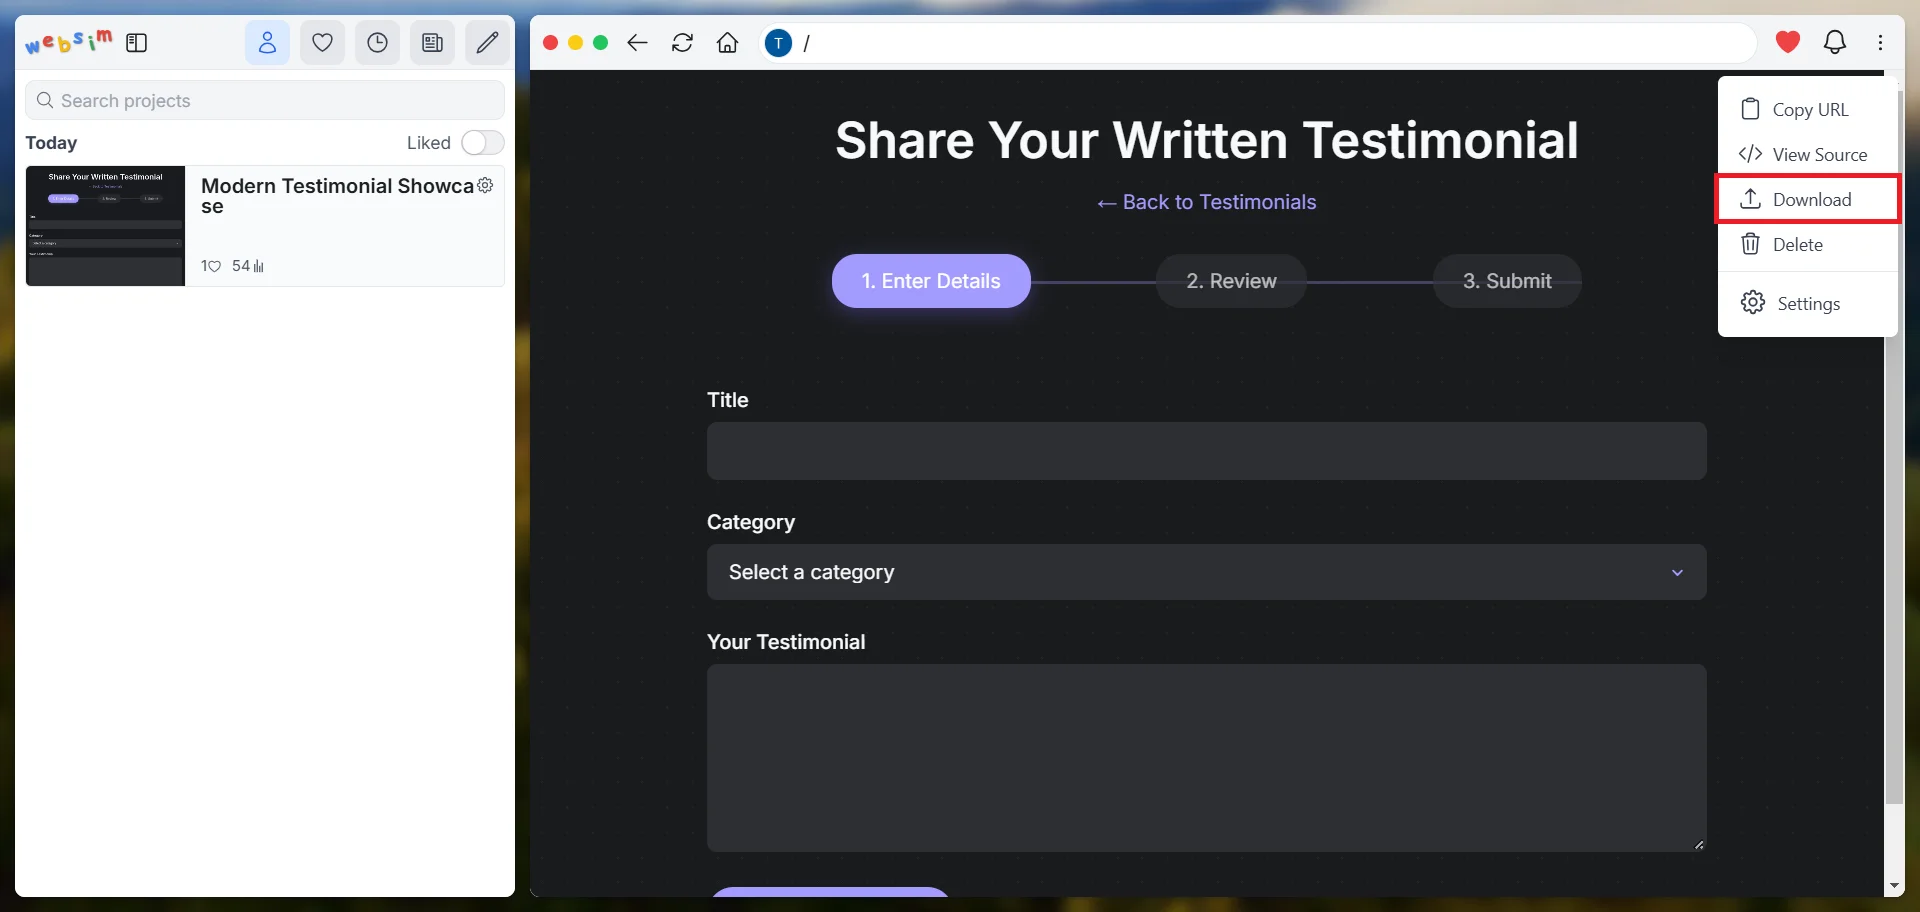
If you want to use your website outside of WebSim, look for the download option. Unlike many other no-code platforms that keep your projects locked in their system, WebSim lets you download the complete code for your website. This gives you all the HTML code needed to make your website work. You can take this file and put it on any web hosting service to make your website available to everyone on the internet.
Taking WebSim further
Throughout this tutorial, you've seen how WebSim changes the way we create websites. You've learned how to navigate around, create and modify pages, and share your work. But what you've seen here is just the beginning of what's possible.
Think about how you might use WebSim in your work. Maybe you need to create a quick landing page for a new product. Or perhaps you want to build an interactive tool for your team. You could even use it to test different website layouts before investing in a full website.
Here's how different teams can leverage WebSim in their work:
- Sales Teams:
- Create interactive product demos and presentations
- Set up deal tracking dashboards
- Make client showcase microsites
- Marketing Teams:
- Design campaign landing pages quickly
- Create A/B test variations of websites
- Set up content hubs for marketing materials
- Support Teams:
- Build interactive FAQ pages
- Design customer feedback forms
- Set up support ticket dashboards
In our upcoming advanced tutorials, we'll explore WebSim's more powerful features, including:
- Using language models to generate dynamic content within your apps
- Working with databases to store and manage data
- Creating automatically generating links that spawn new pages when clicked
These advanced abilities transform WebSim from a simple website creator into a powerful application development platform. But for now, take some time to experiment with what you've learned.
Try out different prompts and see what WebSim creates. Look at what other people have made in the community showcases. Push what you think is possible with web development. The more you experiment, the more you'll discover what WebSim can do.
This tutorial was created by Tanmay.