Build your own AI image generator
Learn how to create your own no code image generator workflow with Leap AI and Stable Diffusion.
2024-11-13
The no-code workflow automation landscape is evolving, with new startups challenging long-established platforms like Zapier and Make (fka Integromat). They’re revolutionizing no-code automation by prioritizing AI integration, enabling non-technical people to easily add advanced AI capabilities into their workflows.
This tutorial focuses on Leap AI's workflow builder, an emerging player in this innovative space. We’re going to create an image generation workflow that can ingest a text prompt, generate an image, and upscale the image via Stable Diffusion APIs. If you’re familiar with Zapier, Leap AI will be easy for you to pick up, as much of the UI/UX design patterns are the same.
Steps we’ll follow in this tutorial:
- Create a workflow and define your inputs
- Customize your image generation step
- Add an upscaler step
- Define the output format
- Test your image generation workflow
Step 1: Create a workflow and define your inputs
To get started, go to Leap AI’s website and create a free account. You’ll have enough credits with their free account to build and test the workflow for this tutorial.
Once you’ve created an account, you’ll land on Leap AI’s dashboard. We’ll get started by creating our own Workflow from scratch. To do this, click on the Workflows tab in the left-side navigation and click the “New Workflow” button in the top right corner.

When you click the “New Workflow” button, you’ll be taken to the Leap AI workflow builder. If you’ve used Zapier before, this page will look familiar. The triggers and steps for the workflow are on the left side of the page and the step editor is on the right side of the page.
To get started, we’ll click the existing Input trigger and add an input. To do this, click the Input step in the visual workflow builder and then click the “Add Input” button on the right-side panel.

For this tutorial, we’re going to generate an image from a text prompt, so for our Input, we’ll define one field, “prompt.” To do this, we’ll select “Long Text” as the Input Type and set the Input Label to prompt. We’ve added a placeholder of a fake image prompt in the Placeholder input.
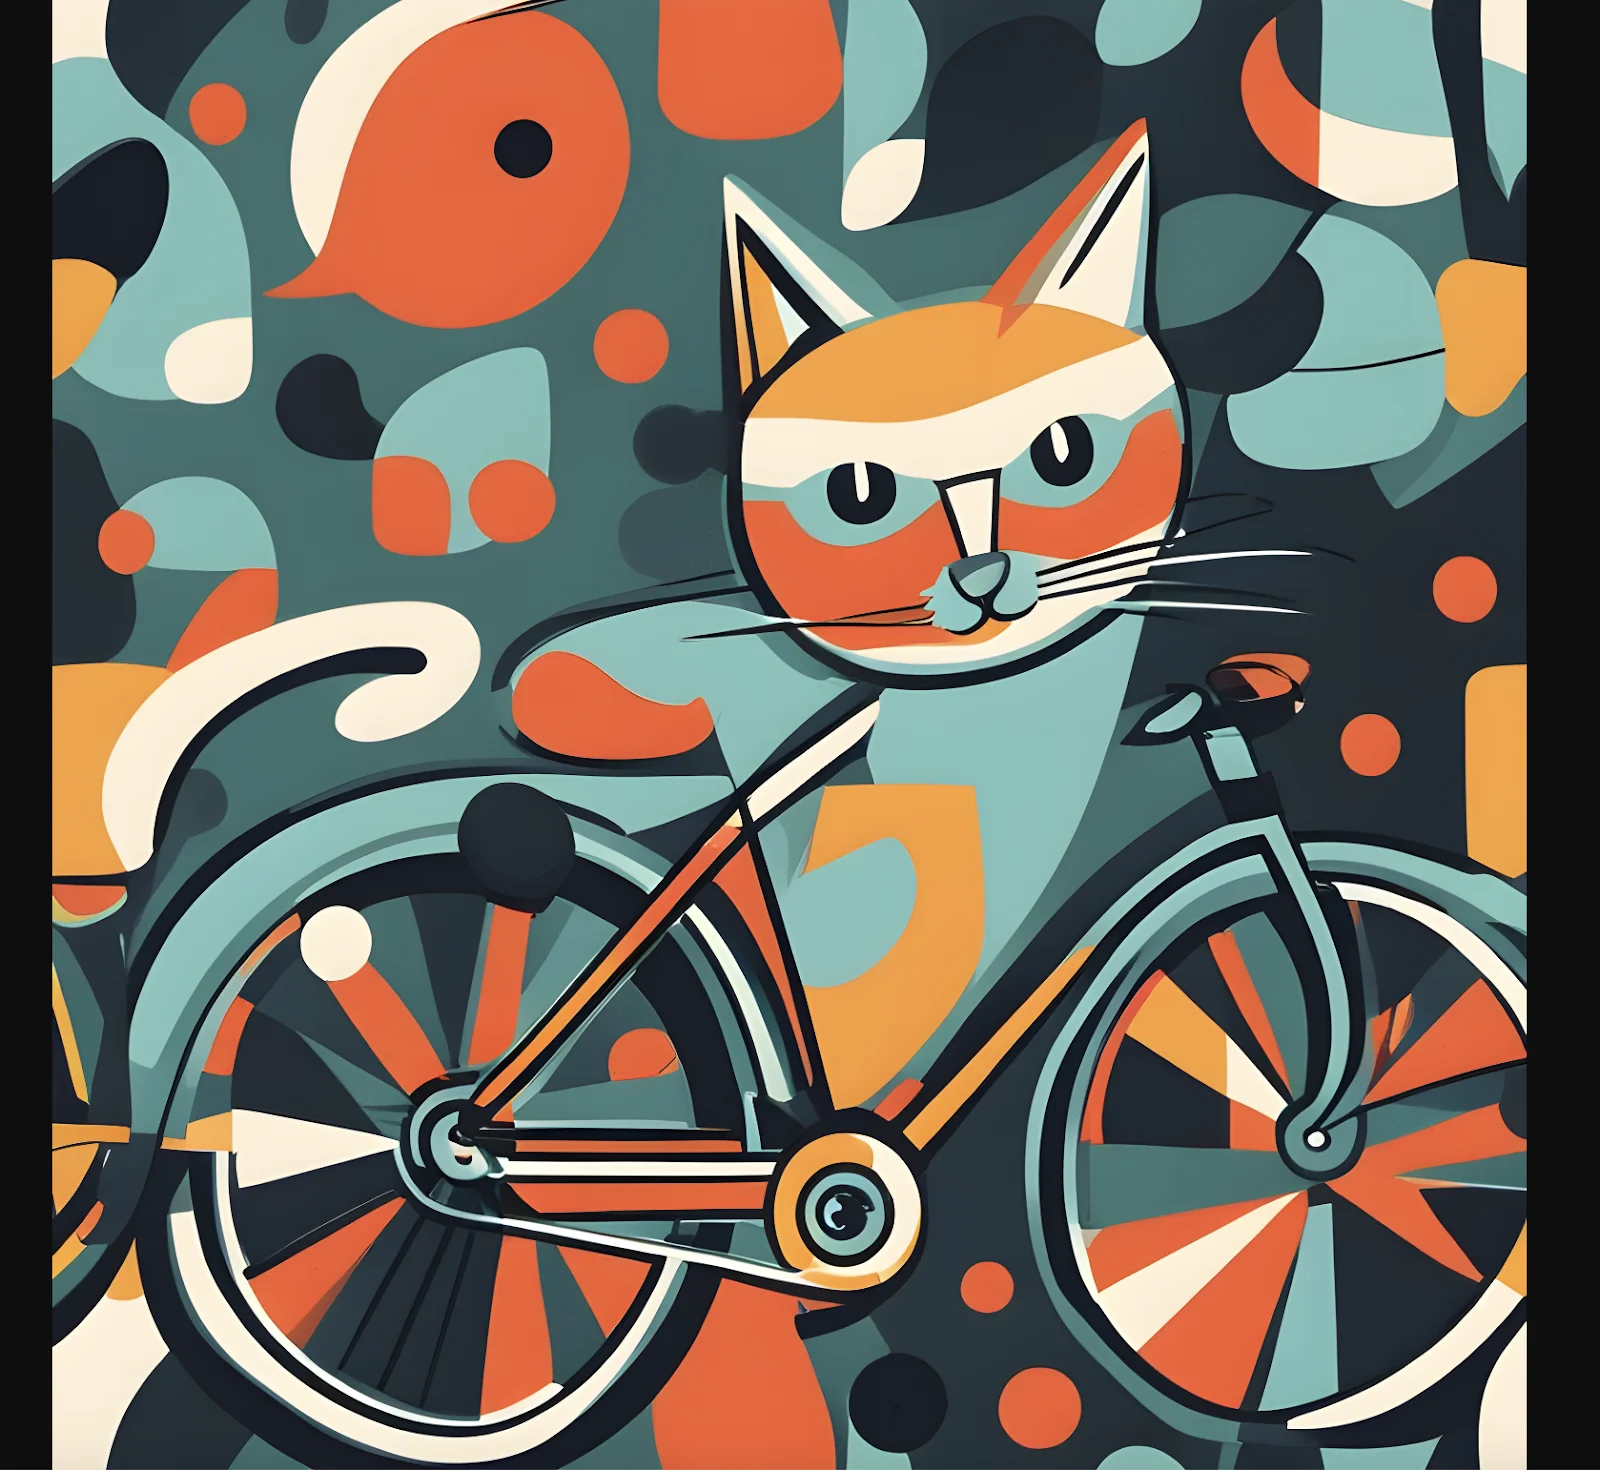
Sample image prompt:
An illustration of a cat riding a bicycle in the style of abstract expressionism.

For the additional settings, we’ll mark this Input field as required, set the Variable Name to “prompt”, and leave the rest of the fields blank. When you’ve completed this form input, make sure to click the “Add” button at the bottom of the panel to add this input.

Once you’ve added an input, you’ll see it listed in the right-side panel of the Input step. You can add additional inputs at this point, but we are going to just use the single prompt input.

To test this Input step, click the Test tab in the step editor side panel, enter an image prompt, and click the “Test” button.

Step 2: Customize your image generation step
Now that our Input is added, we can add our image generation step. To do this, click the “Add Step” button under the Input step.

In the pop-up window, you’ll see all of the various actions you can add to your workflow. Click on the Image tab in the left-side navigation and select the first “Generate Image with Stable Diffusion” action in the list.

Click on the Generate Image step now added in your workflow and you’ll notice a pre-defined prompt added in the right-side panel and other image generation settings as well.

We’re going to edit this prompt so that it ingests the prompt variable from step 1 we created. To do this, click into the Prompt text box and remove the existing text. When you click into a text box in the step editor, you’ll see a dropdown modal appear with the option to insert outputs from previous steps. Click on the Input option and then the prompt item.

Once the prompt is set, we can edit other parameters of the image generation step, including dimensions, the number of images to be generated, the negative prompt, and more. We’re going to leave all of the additional settings to the defaults for this tutorial. Click “Continue” when you are done finalizing the settings.

In the Test tab in the right side panel click the “Test” button. This will take the sample prompt you inputted from your Input test and run it through the image generation process.

You can review the output in the right-side panel. Click on the image URL in the output to see your generated image.

If there are any issues with the output, you can go back to the Action tab to revise and update the image generation settings. Otherwise, click the “Continue” button to go to the next step.
Step 3: Add an upscaler step
Now that we have the image generation step, we can add an upscaler step to our image generation workflow.
What’s upscaling?
AI-upscaling uses AI to increase the resolution of an image, enhancing its details and overall quality. We recommend adding this step to your image generation workflow to ensure the highest quality output. To do so, click the plus button below your image generation step.

Navigate to the Image tab again in the pop-up window and select the Upscale Images option.

With this step now added to the workflow, set the Image text field in the right-side panel to the image you generated in the previous step. Make sure to add the single image generated, not the array of images listed above it, as the Upscaler can only ingest one image at a time.

We’re going to leave the rest of the settings for the upscaler to the defaults. Click the “Continue” button to go to the Test tab of this step.

Click the “Test” button to generate the upscaled version of your test image.

Leap AI will provide the original image link, the upscaled image link, and the dimensions of each. Click on the upscaled image link to see your upscaled image in a new tab.

If there are any issues with the output, you can go back to the Action tab to revise and update the image upscaling settings. Otherwise, click the “Continue” button to go to the next step.
Step 4: Define the output format
In the last step of this workflow, we need to define the output format. To do this, click on the existing Output step in the workflow builder. Click the “Add Output” button to add an output.

We’re going to set the Output Type to “Image,” since the output of our workflow is an image. We’ll label the Output Label as “image”.
Within the Image URL text box, we’re going to input the output variable from our Upscale Images step. To do this, click into the text box, scroll down in the variable modal, and select the “output” variable from your Upscale Images step.
Once that’s done, click the “Add” button to add the output variable.

You can click on the Preview tab to see the test output.

Step 5: Test your image generation workflow
Our image generation workflow is complete! Now, we can test it. To do that, click the “Preview” button in the top right corner. You can then test the workflow in the right-side panel of the workflow editor like we did during the building process.

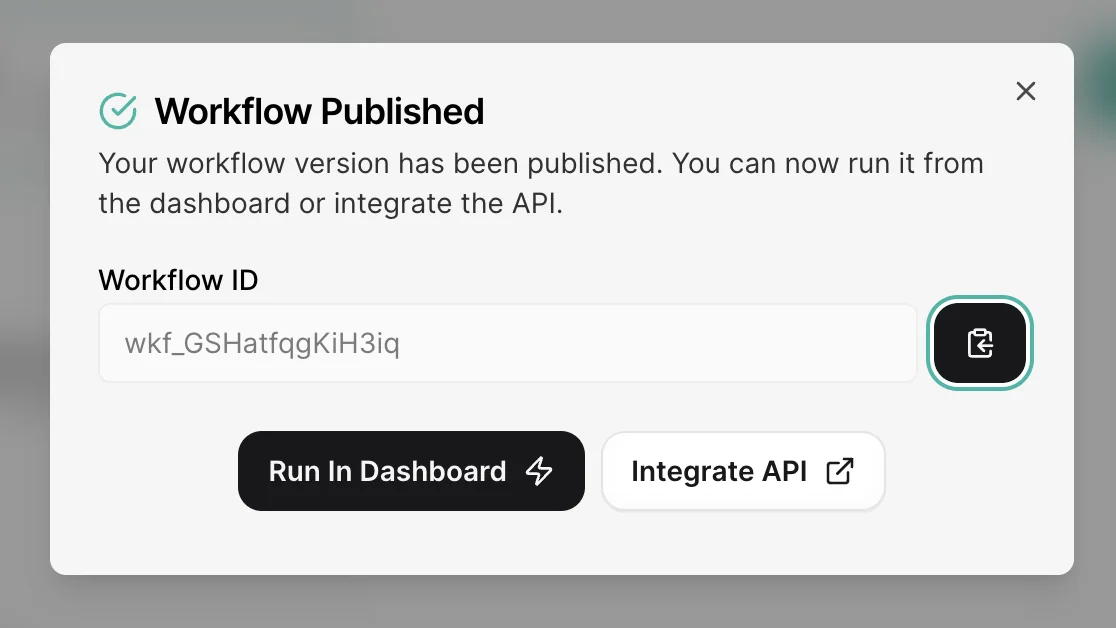
Once you’re happy with your preview tests, we can publish the workflow. To do this, click the “Publish” button in the top right corner of the workflow builder page. We’re going to run it in the Leap AI Dashboard. To do this, click the “Run In Dashboard” button in the resulting pop-up window.
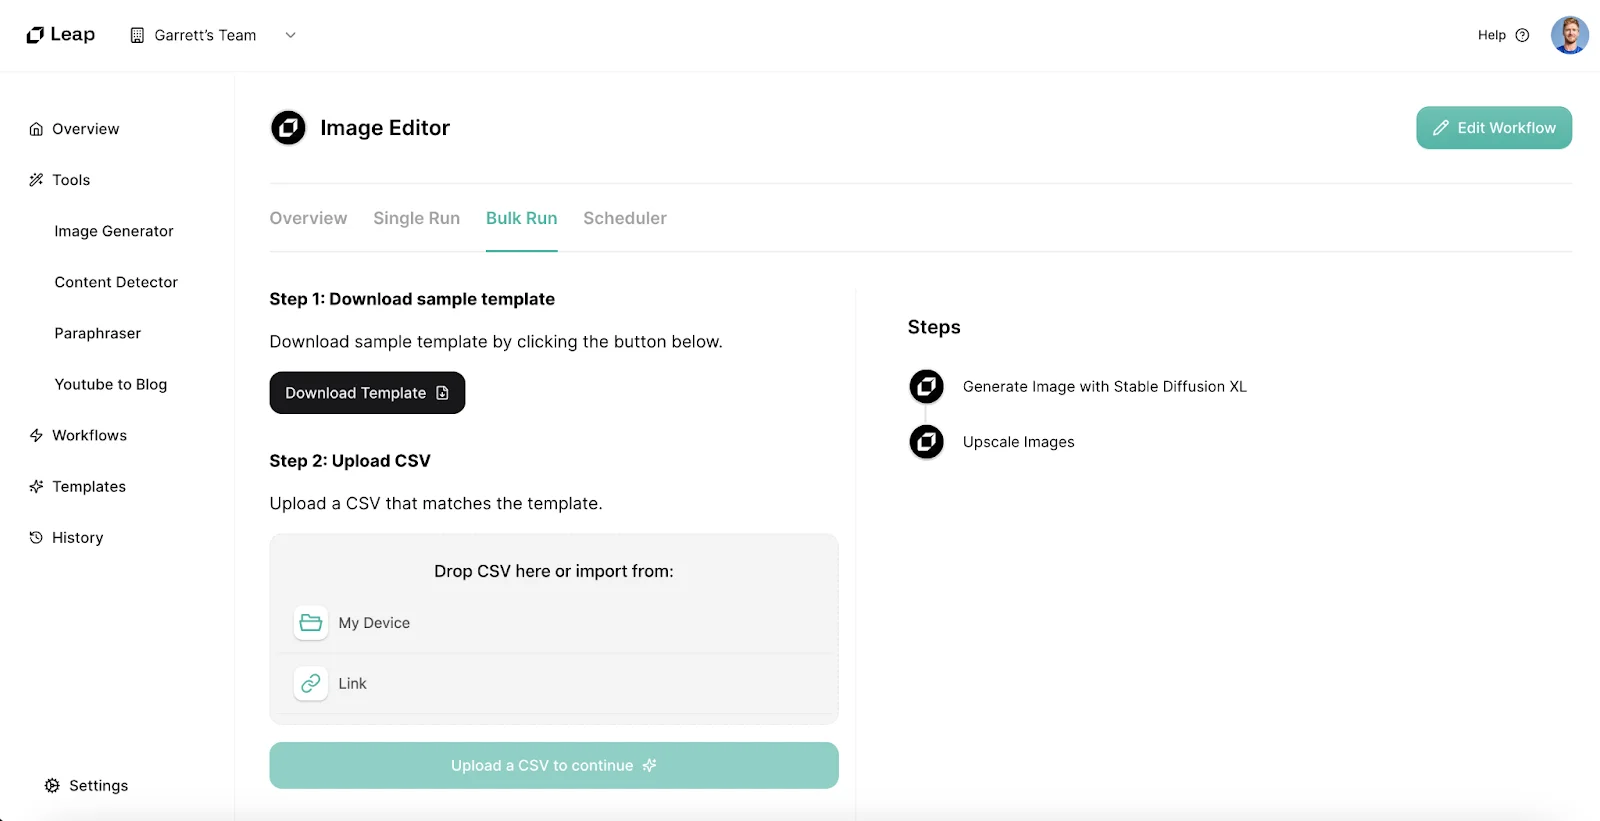
You can run your workflow in three different ways in the Leap AI dashboard: a single run, a bulk run, or via a scheduler. To perform a single run, click the Single Run tab. You’ll see a UI where you can enter your image prompt and run the workflow.

For a bulk run, you can upload a CSV of image prompts and run them all at once. Leap AI provides a CSV template you can use for formatting purposes.
And that’s it! You’ve created an image generation workflow with an upscaler using Leap AI and Stable Diffusion.
This tutorial was created by Garrett.