Build your own ChatGPT in Slack
Build your own version of ChatGPT that lives in Slack and is powered by Zapier and OpenAI.
2024-12-20
ChatGPT has radically changed how we interact with AI. But its free plan comes with limitations, and the paid version can be costly. What if you could harness the power of OpenAI's API to create your own ChatGPT-like experience within Slack, at a fraction of the cost?
In this tutorial, you'll learn how to build a custom ChatGPT integration inside Slack using Zapier. This approach gives you full access to OpenAI's models while only paying for what you use. You'll create a seamless AI chat experience right where your team communicates, without the restrictions of ChatGPT's free tier or the expense of its premium plan.
You'll learn how to:
- Set up a dedicated Slack channel for AI chats
- Use Zapier to send and receive messages from the OpenAI API
- Add the AI responses as threads in Slack
By the end of this tutorial, you'll have your own AI assistant in Slack, ready to help your team with various tasks and queries.
Let’s see how it’s done.
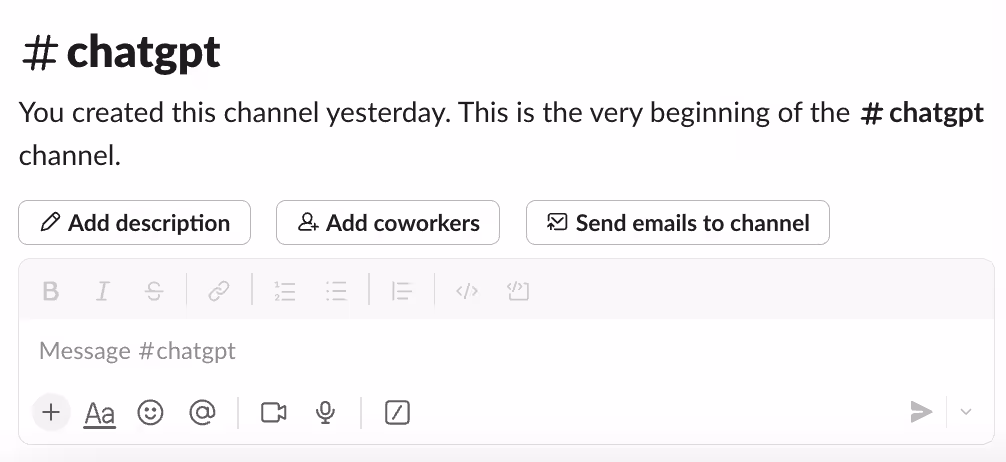
Step 1: Create a Slack channel for your AI chats
Open Slack’s desktop or browser app and in the left column click “Add channels” and then select ‘Create a new channel’.

For simplicity, we’ll call our new channel “ChatGPT”.
Step 2: Send and receive messages from the OpenAI API with Zapier
We’re going to build a zap that triggers when you add a new message to the #ChatGPT Slack channel and sends it to the OpenAI API for a response.
Create your Zap and select a trigger
Head over to Zapier, then in the dashboard, in the top left, click the big orange “Create” button and select ‘Zaps’.

Inside the zap editor, click on the box that says “Trigger” and select/search for ‘Slack’ as the app. Then select ‘New Message Posted to Channel’ as the event.
When configuring the step, these are the important fields:
- Channel
Select the “chatgpt” channel you just created.
- Trigger for Bot Messages?
It’s very important to select ‘No’.
Otherwise, you’ll create an infinite loop within the zap: the AI responses will keep triggering the zap, when you only want your messages to trigger it.
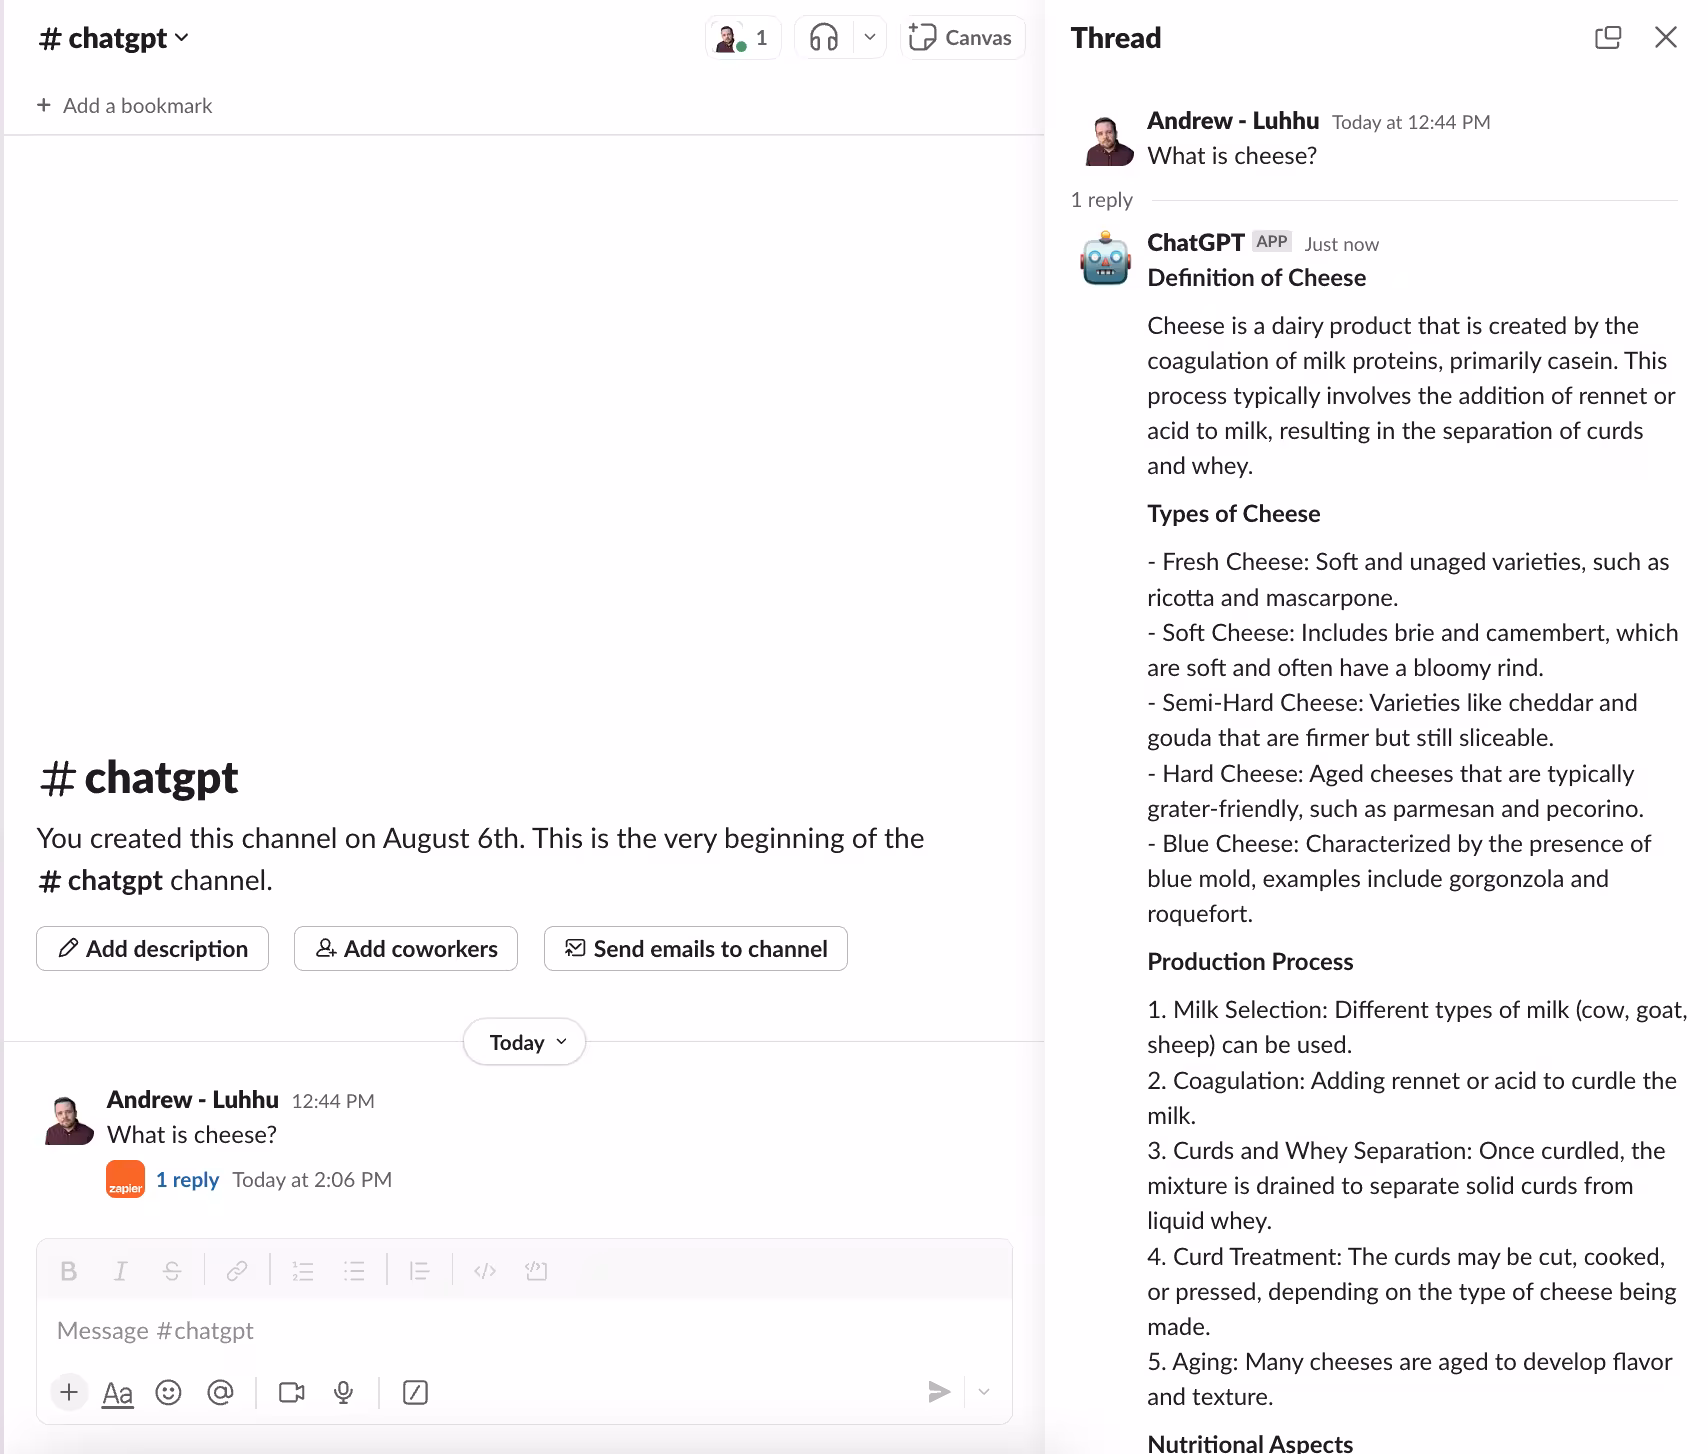
Before testing the trigger, I’ve added a question to our Slack channel “What is cheese?”.

Test your zap and this message will appear.

Identifying in-thread and non-thread messages
For ongoing conversations, we need Zapier to remember previous messages in a thread and send them back to OpenAI’s API along with new messages. That’s possible, but first, we need a unique identifier we can use.
To make things easier and allow multiple ongoing chats, we’ll have AI responses, and any follow-up messages, go inside a thread under the top-level Slack message.
Without complicating this tutorial too much, there are two unique identifiers to choose from depending on the situation.
If the Slack message triggering the zap run is a top-level message, it’s the ‘Ts’ value from the trigger output we need.
If it’s an in-thread message, we need the ‘Thread Ts’ value from the trigger output (and is only present in thread messages).
We’ll add a Zapier step to extract the ‘Thread Ts’ value if it exists, or the ‘Ts’ value if not.
In the zap editor, click the “Action” box. Select "Formatter by Zapier" as the app, and ‘Text’ as the event.
When configuring the step, these are the important fields:
- Transform
Select “Default Value”.
- Input
Map the ‘Thread Ts’ value from the Slack trigger.
- Default Value
Map the ‘Ts’ value from the Slack trigger.

Test the zap step, and you’ll see a single output value we can map in the next steps of our zap.

Connect OpenAI to your Zap
Now we need to send your message to OpenAI to get a response.
Add a new action step to your zap, with “ChatGPT” as the app and ‘Conversation’ as the event.
When configuring the step, these are the important fields:
- User message
Here we should map the ‘Text’ value from the Digest step.

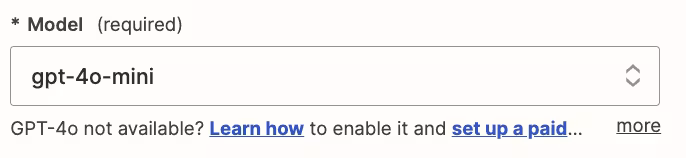
- Model
Select the “gpt-4o-mini” model, OpenAI’s cheapest and quickest model.
- Memory Key
Here you should map the ‘Output’ value from the previous formatter step.
Zapier will now ‘remember’ conversations as they continue.

- Assistant InstructionsYou can experiment here to get exactly what you want, but this prompt should work well:
You are a helpful assistant.
Use single asterisks to surround headers.
DO NOT use double asterisks for sub-headers INSTEAD use bullet points.
The OpenAI API has a habit of outputting text in markdown format, which Slack doesn’t accept, so the note at the bottom is to override this.

- Max Tokens
This sets the maximum output length. Anything above 2,000 should be suitable, although most responses will be much shorter.

Go ahead and test the step, then scroll down towards the end in the “Data out” tab, and you’ll see the AI’s response. Looks good to me!

Step 3: Add the AI responses as threads in Slack
The last part of the process is to put the response from OpenAI into the Slack thread.
Add a new action step to your zap with ‘Slack’ as the app and ‘Append Entry and Schedule Digest’ as the event.
When configuring the step, these are the important fields:
- Channel
Select the ‘chatgpt’ channel you created.
- Message Text
Map the ‘Reply’ value from the ChatGPT step.
- Send as a bot?
It’s important to set this to ‘Yes’ to avoid zap loops.
- Bot Name
This is the name that will appear next to the reply in Slack. I’ve gone with “ChatGPT”.
- Bot Icon
This is optional, but if you don’t set it, then the Zapier logo will show. So I’ve used the robot emoji ‘:robot_face:’.

- Thread
Map the ‘Ts’ value from the Slack trigger. This will ensure the AI response goes inside the correct response.

Test the zap step and over in Zapier you’ll see the AI response inside a newly created thread.
To test that further threaded responses work, we’ll ask a follow-up question.
First, publish and switch on the zap, then inside the Slack thread, type in a question referencing something mentioned in the response.

Wait a short time and you should see an in-context response to the message.

This tutorial was created by Andrew.