Build your own Perplexity AI search engine in Slack
How to build an AI-powered search engine in Slack to ask questions and get answers taken from live searches.
2024-11-13
Perplexity is a great tool. It’s like having AI search Google for you, read all the websites it finds, and give you a nice summarised answer with some links to follow up with.
They have their standalone app, but if you want to integrate Perplexity into other apps, their API has a big limitation - it doesn’t give you the source links.
In this tutorial, I’ll show you how you can build your own AI search engine, like Perplexity, inside Slack.
We’ll use a few tools to do this: Zapier to power the process, Brave as our search engine, PhantomJSCloud to parse content from the websites it finds, and OpenAI to create our summarised answers.
These are the steps we’ll follow:
- Create a Slack channel for your AI queries.
- Build a zap that searches your query and parses content from the search results.
- Send combined content to the OpenAI API to create a summarised answer.
- Finish the zap with a step that sends a summarised answer to a Slack thread.
You’ll need:
- Zapier paid account
- Brave Search API account
- PhantomJSCloud account
- An OpenAI Platform account and at least $10 of credit. Note: this is separate from their ChatGPT app
Let’s dive in.
Step 1: Create a Slack channel for your AI queries
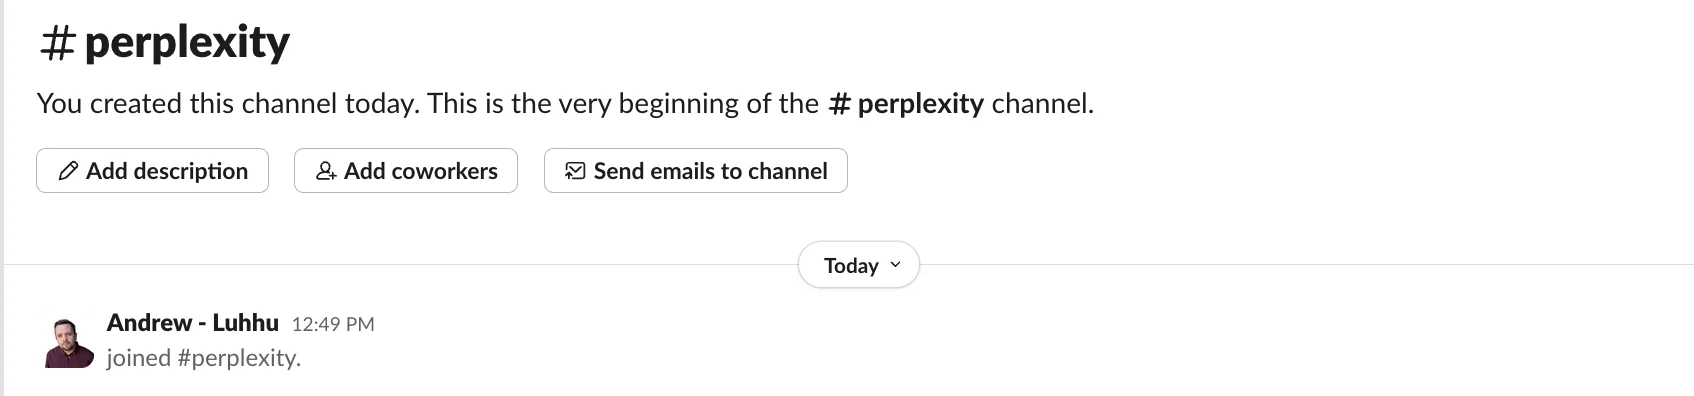
Open Slack’s desktop or browser app and in the left column click “Add channels” and then select ‘Create a new channel’.

For simplicity, we’ll call our new channel “#perplexity”.
Step 2: Build a zap that searches your query and parses content from the search results
We’re going to build a zap that triggers when you add a new message to the #perplexity Slack channel and sends it to the OpenAI API for a response.
Set your zap trigger
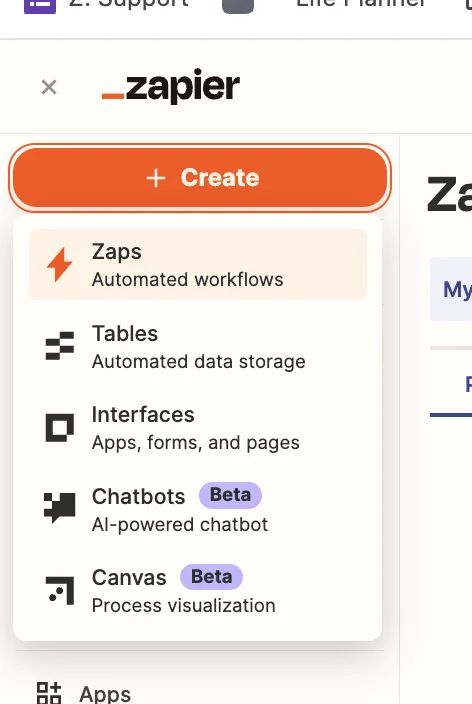
Head over to Zapier, then in the dashboard, in the top left, click the big orange “Create” button and select ‘Zaps’.
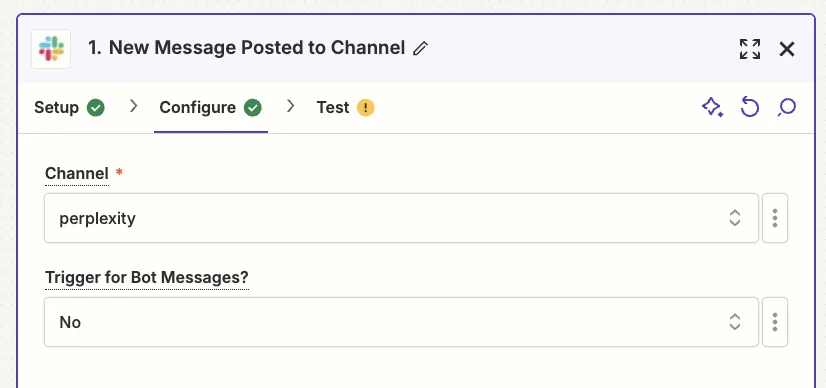
Inside the Zap editor, click on the box that says “Trigger” and select/search for ‘Slack’ as the app. Then select ‘New Message Posted to Channel’ as the event.
When configuring the step, these are the important fields.
- Channel
Select the “perplexity” channel you just created.
- Trigger for Bot Messages?
It’s very important to select ‘No’.
Otherwise, you’ll create an infinite loop within the zap as the AI responses will keep triggering the Zap when you only want your messages to trigger it.
Next, we need a test question to work with.
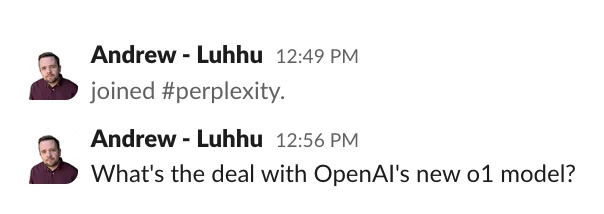
OpenAI released their o1 model this month (Sep 2024), so we know this is something that OpenAI’s gpt-4o-mini (which we’ll be using for the summary) won’t know about - we’ll need to search the internet to get accurate information.
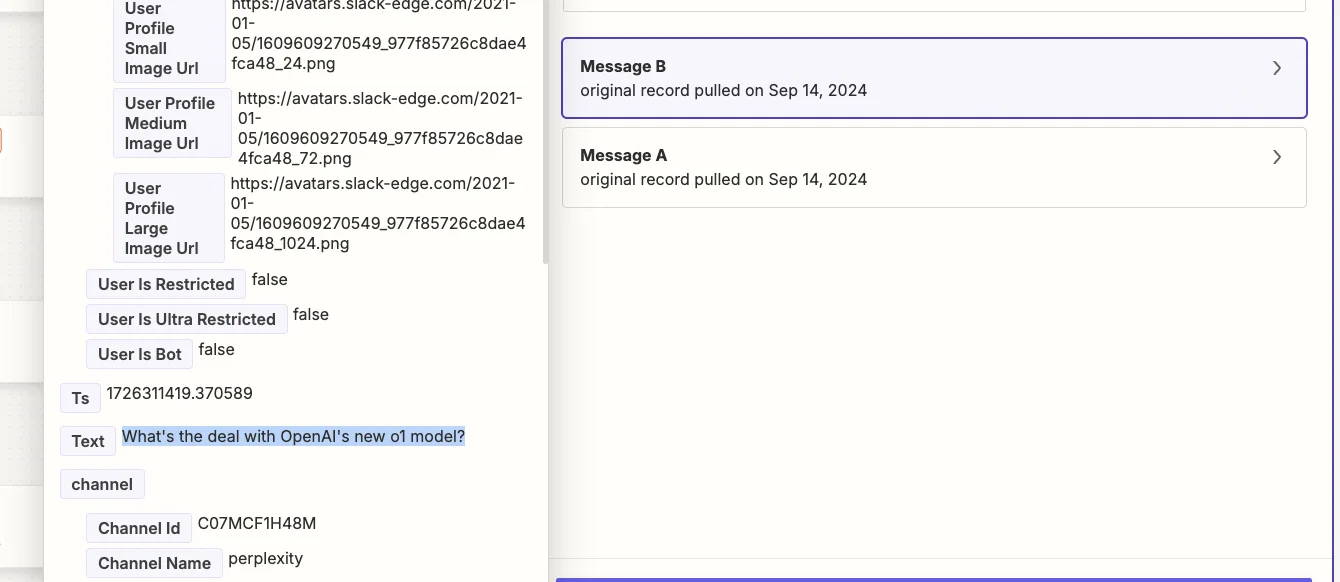
Type the message in the new Slack channel, then test the trigger in Zapier and you’ll see your message pulled in.
Add a search engine step
Now, two things need to happen. First, we need to query a search engine with our question.
For this, we’re going to use Brave which has its Search API. It has a free plan which allows for 2,000 searches per month.
Then we need to parse the content from the websites found by the search engine.
For this, we’ll use PhantomJSCloud, which also has an API that can parse content from most websites without the need for training or templates. They also have a free plan that covers 500 parses per day.
In Zapier, we’re going to combine these actions into a single Python code step.
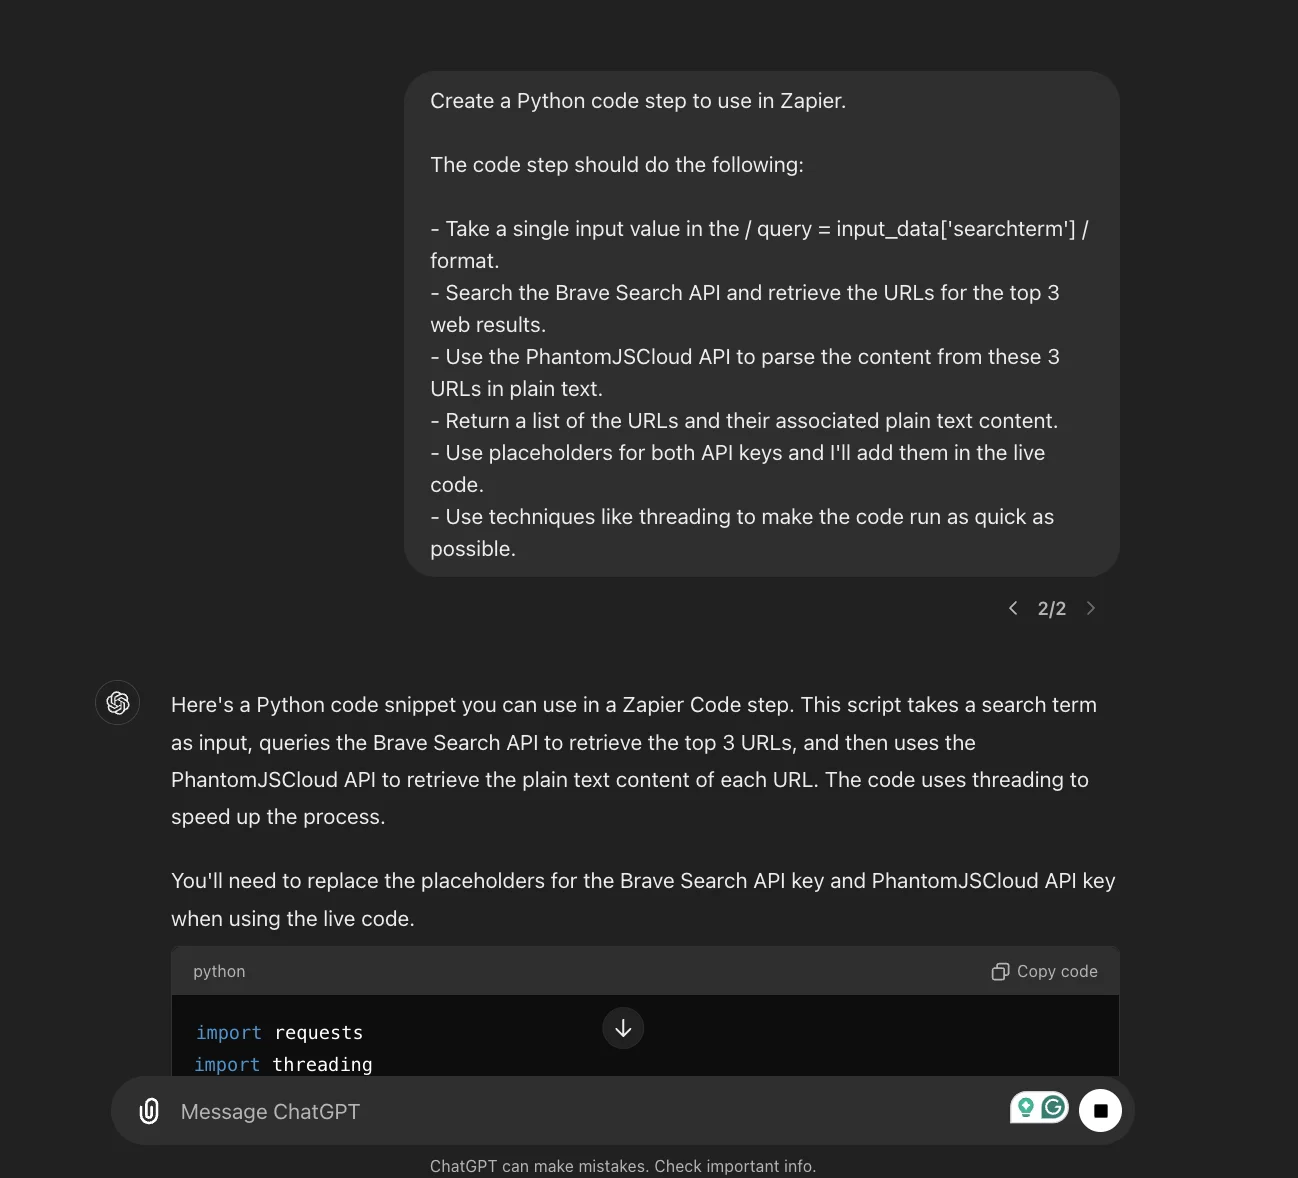
To create that code step I asked ChatGPT and it came up with the following prompt:
Create a Python code step to use in Zapier.
The code step should do the following:
- Take a single input value in the / query = input_data['searchterm'] / format.
- Search the Brave Search API and retrieve the URLs for the top 3 web results.
- Use the PhantomJSCloud API to parse the content from these 3 URLs in plain text.
- Return a list of the URLs and their associated plain text content.
- Use placeholders for both API keys and I'll add them in the live code.
- Use techniques like threading to make the code run as quick as possible.
The exact code you get back from ChatGPT may vary, but you can use my code below which is confirmed as working.
When creating Brave and PhantomJSCloud accounts you’ll get API keys. You need to replace the placeholders in the above code with them.

Back in the zap editor, click the “Action” box. Select "Code by Zapier" as the app, and ‘Run Python’ as the action event.
Configure the step as follows.
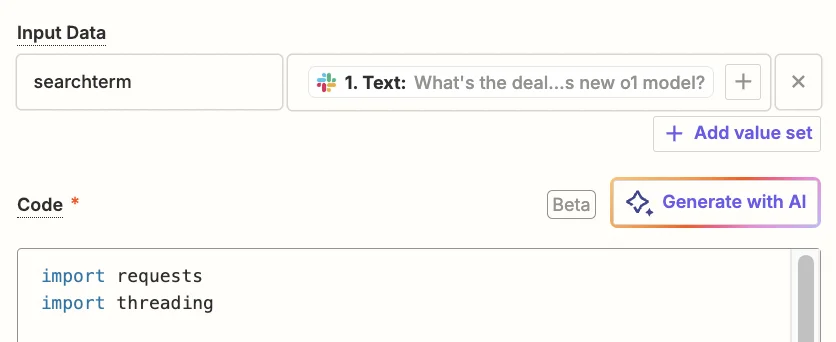
- Input data
Add one item here. The left column should be “searchterm” and in the right column, you should map the ‘Text’ value from the trigger step.
- Code
Here you should map the entire code step that you created in ChatGPT. Remember to add your API keys first.
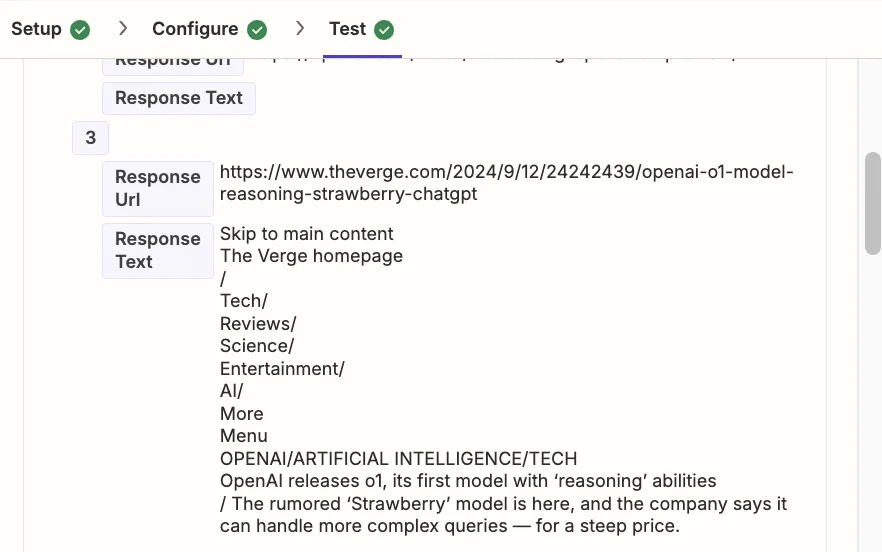
Test the step and after about 5-10 seconds you’ll see some results in the ‘Data out’ tab.
Step 3: Send combined content to the OpenAI API to create a summarised answer.
We have content from 3 different websites that relate to our query - now we’re going to use AI to summarise it into a concise answer.
Add a new action step to your zap, with “ChatGPT” as the app and ‘Conversation’ as the action event.
When configuring the step, these are the important fields.
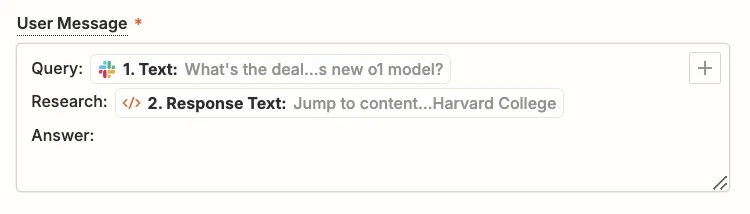
- User Message
Here we should use the following text and map the “Text” value from the trigger, and the “Response Text” value from the code step.
Query: {{1.Text}}
Research: {{2.Response Text}}
Answer:
- Model
Select the “gpt-4o-mini” model, OpenAI’s cheapest and quickest model.

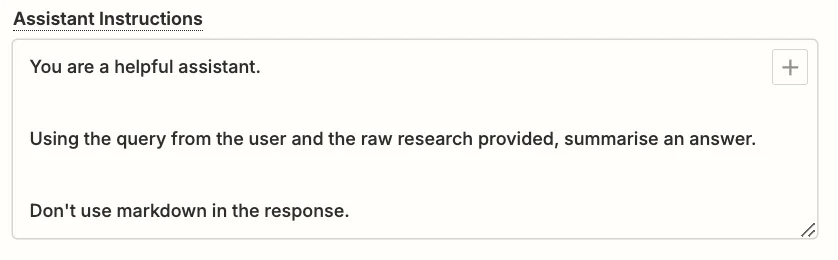
- Assistant InstructionsYou can experiment here to get exactly what you want, but this prompt should work well:
You are a helpful assistant.
Using the query from the user and the raw research provided, summarise an answer.
Don't use markdown in the response.
- Max Tokens
This sets the maximum output length. Anything about 1,000 will be fine.
.webp)
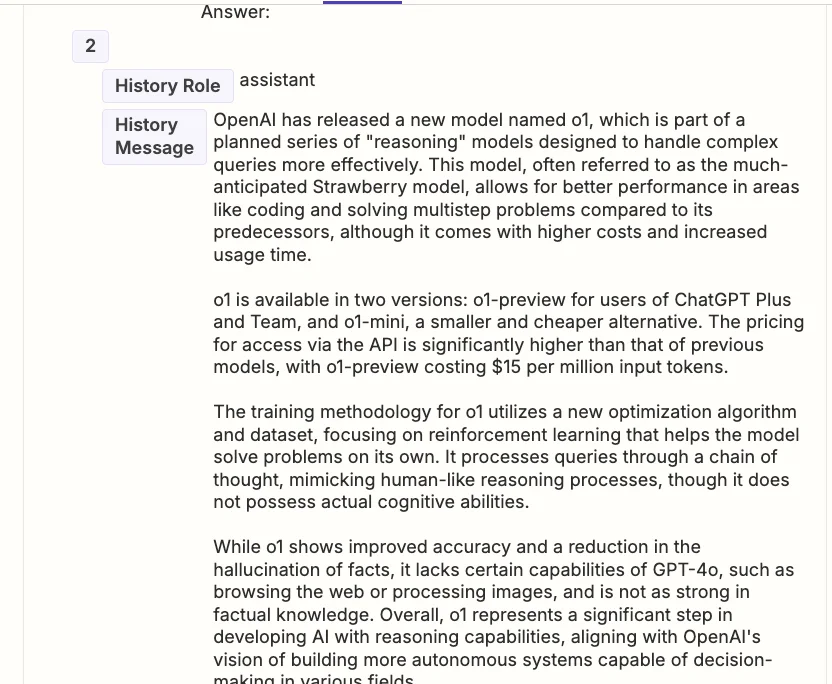
Go ahead and test the step, then scroll down towards the end in the “Data out” tab, you’ll see the summary generated by ChatGPT.
Step 4: Add the summarised answer to a thread in Slack
The last part of the process is to put the response from ChatGPT into the Slack thread.
Before we do though, we need to format the list of URLs from the code step output to appear correctly in Slack.
Add a new action step to your zap with ‘Formatter by Zapier’ as the app and ‘Utilities’ as the action event.
When configuring the step, these are the important fields.
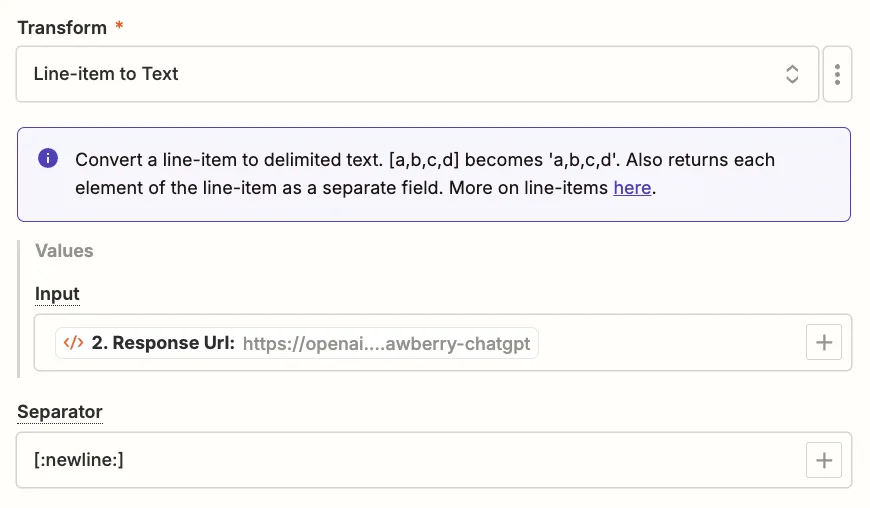
- Transform
Select ‘Line-item to Text’.
- Input
Add one item here, and map the “Response URL” value from the code step.
- Separator
Type ‘[:newline:]’ here. This tells Zapier to take the list of URLs from the code step output and format them onto separate lines.
Test the zap step, and in the “Data out” tab and you’ll see the formatted list of URLs inside the ‘Output Text’ field.

Finally, add a new action step to your zap with ‘Slack’ as the app and ‘Send Channel Message’ as the action event.
When configuring the step, these are the important fields.
- Channel
Select the ‘perplexity’ channel you created.
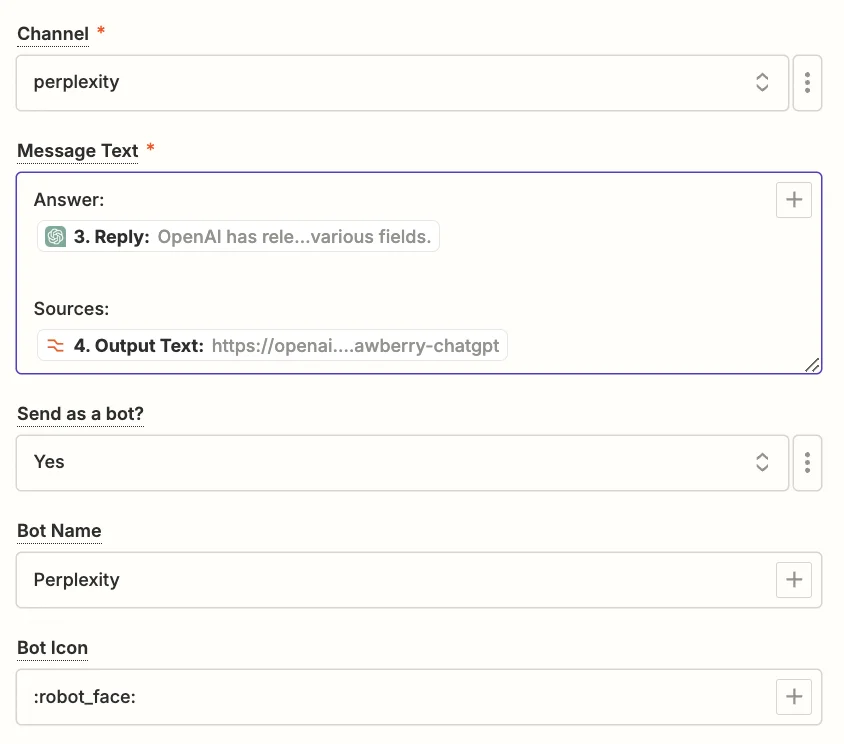
- Message Text
Use the following text and map the “Reply” value from the ChatGPT step and the “Output Text” value from the formatting step.
Answer:
{{3.Reply}}
Sources:
{{4.Output Text}}
- Send as a bot?
It’s important to set this to ‘Yes’ to avoid zap loops.
- Bot Name
This is the name that will appear next to the reply in Slack. I’ve gone with “Perplexity”.
- Bot Icon
This is optional, but if you don’t set it, then the Zapier logo will show. So I’ve used the robot emoji ‘:robot_face:’.
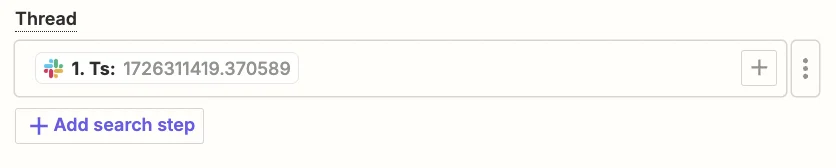
- Thread
Map the ‘Ts’ value from the Slack trigger. This will ensure the AI response goes inside a thread under the original query message.
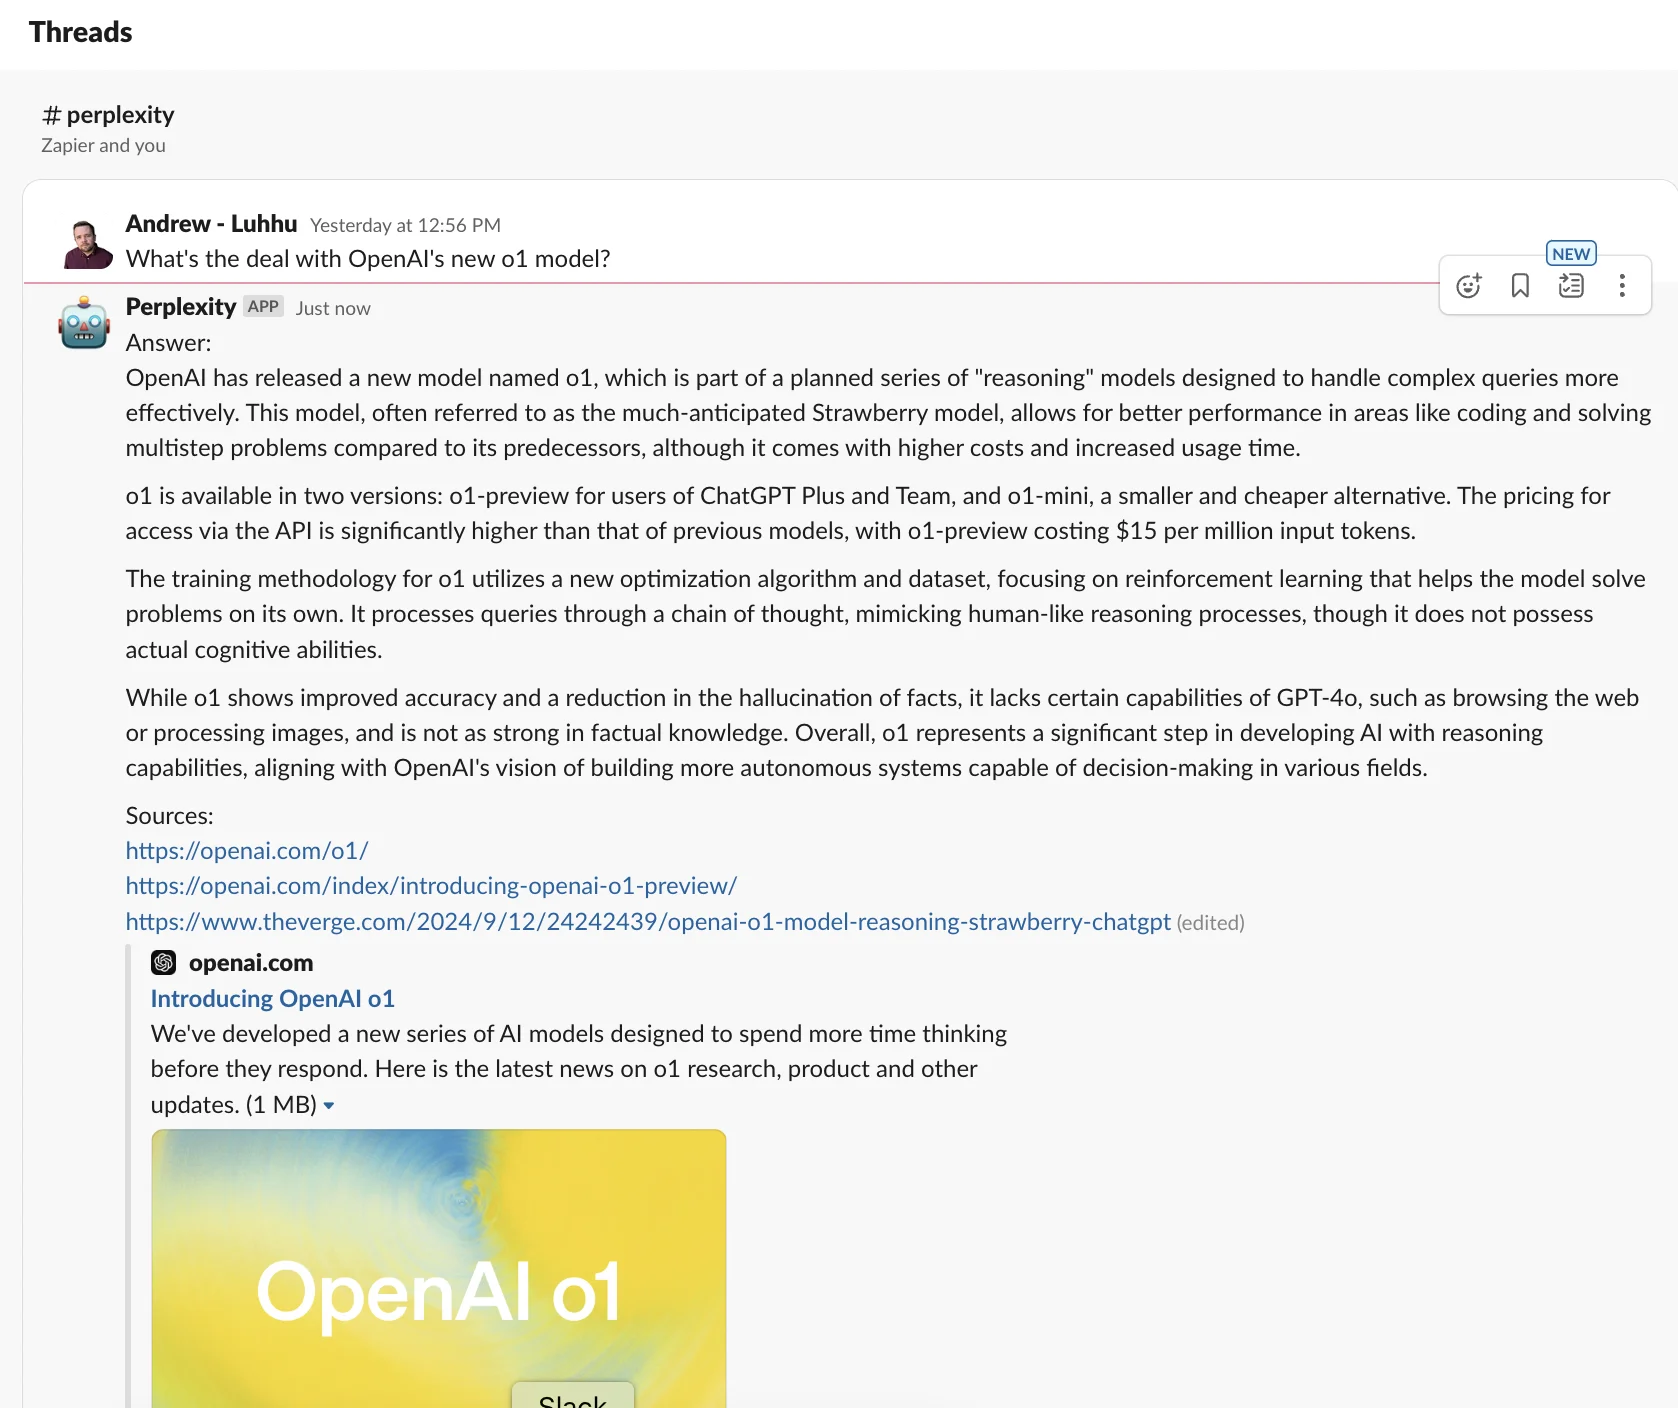
Test the zap step and over in Zapier you’ll see the AI response and source links inside a newly created thread.
This tutorial was created by Andrew.