Chat with CRM data from Slack
Create a workflow in Lindy AI that lets you use Slack to talk with your CRM data.
2024-12-12
CRMs are incredible tools for managing sales data, but they’re often not the easiest to navigate, especially when you’re on the go jumping between multiple client meetings. But what if you could chat with your CRM data, right from Slack, without having to switch between apps?
That’s what we’re going to show you how to set up in this tutorial.
We’ll use Lindy to build an AI Slack bot that can query Salesforce and answer questions about your contacts, accounts, opportunities, and more. Once finished, you’ll be able to get data-backed answers instantly. Setting this workflow up requires zero coding or technical expertise.
Steps we’ll follow in this tutorial:
- Set up your Slack message trigger
- Connect your CRM
- Add Slack response skill
- Test your workflow
Tools needed:
- Lindy
- Salesforce
Let’s jump in!
Step 1: Set up your Slack message trigger
To get started, log in to Lindy and click the “New Lindy” button from your home dashboard.
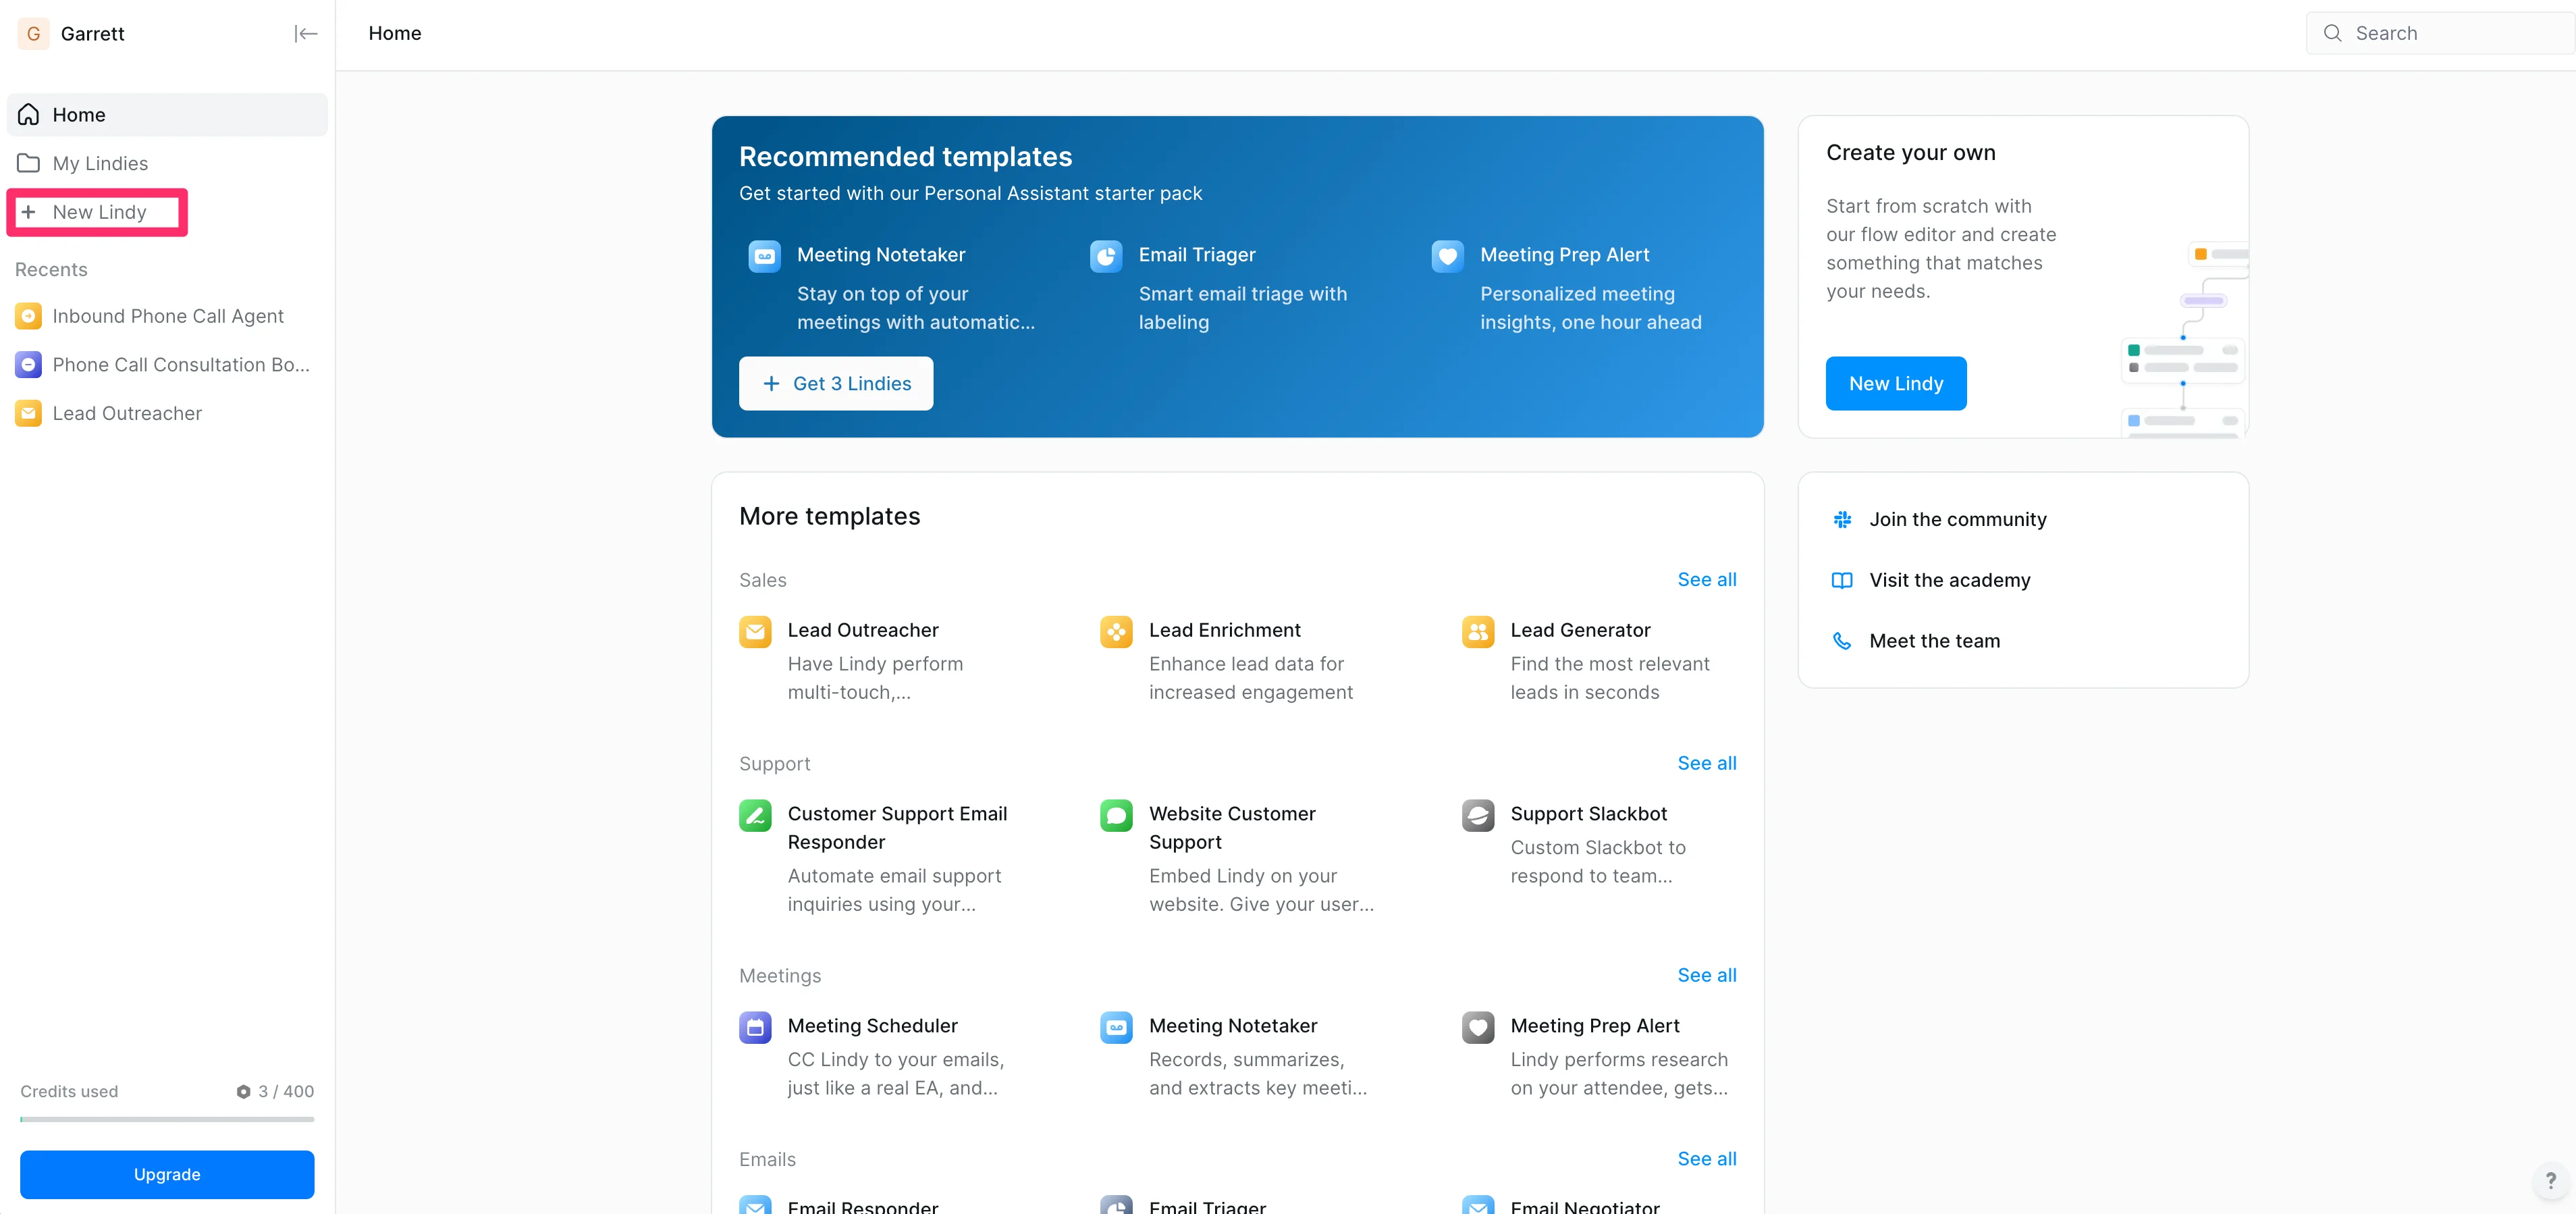
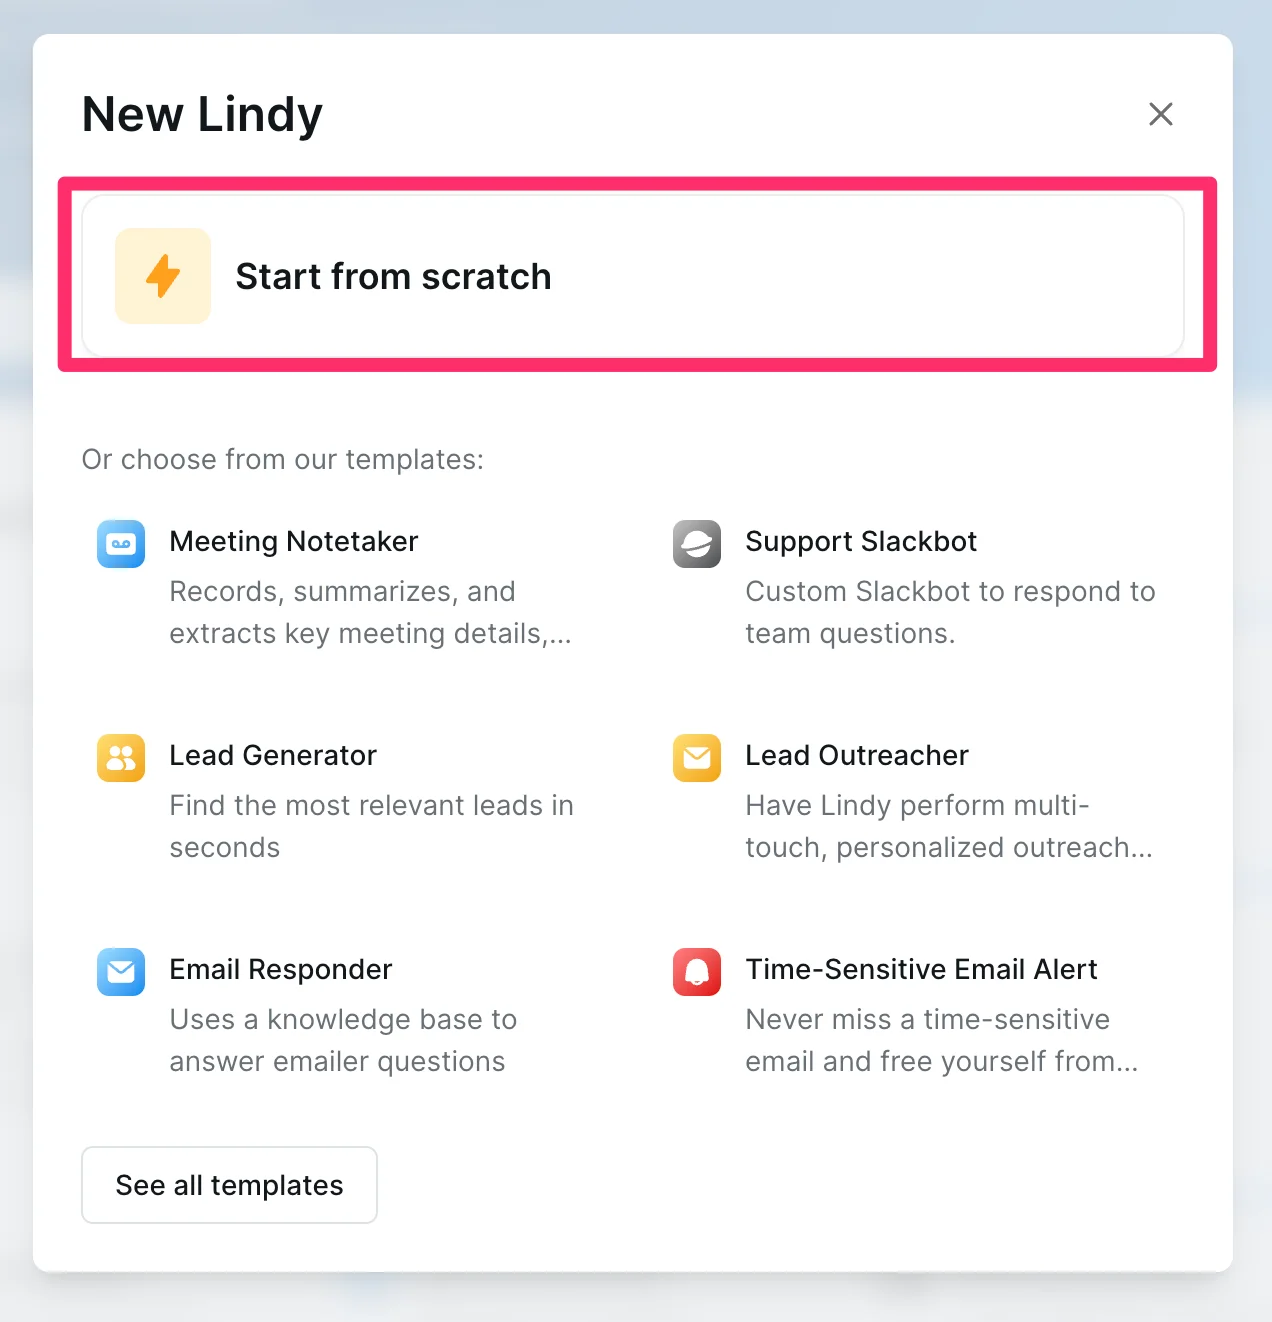
Then, click the “Start from scratch” option.
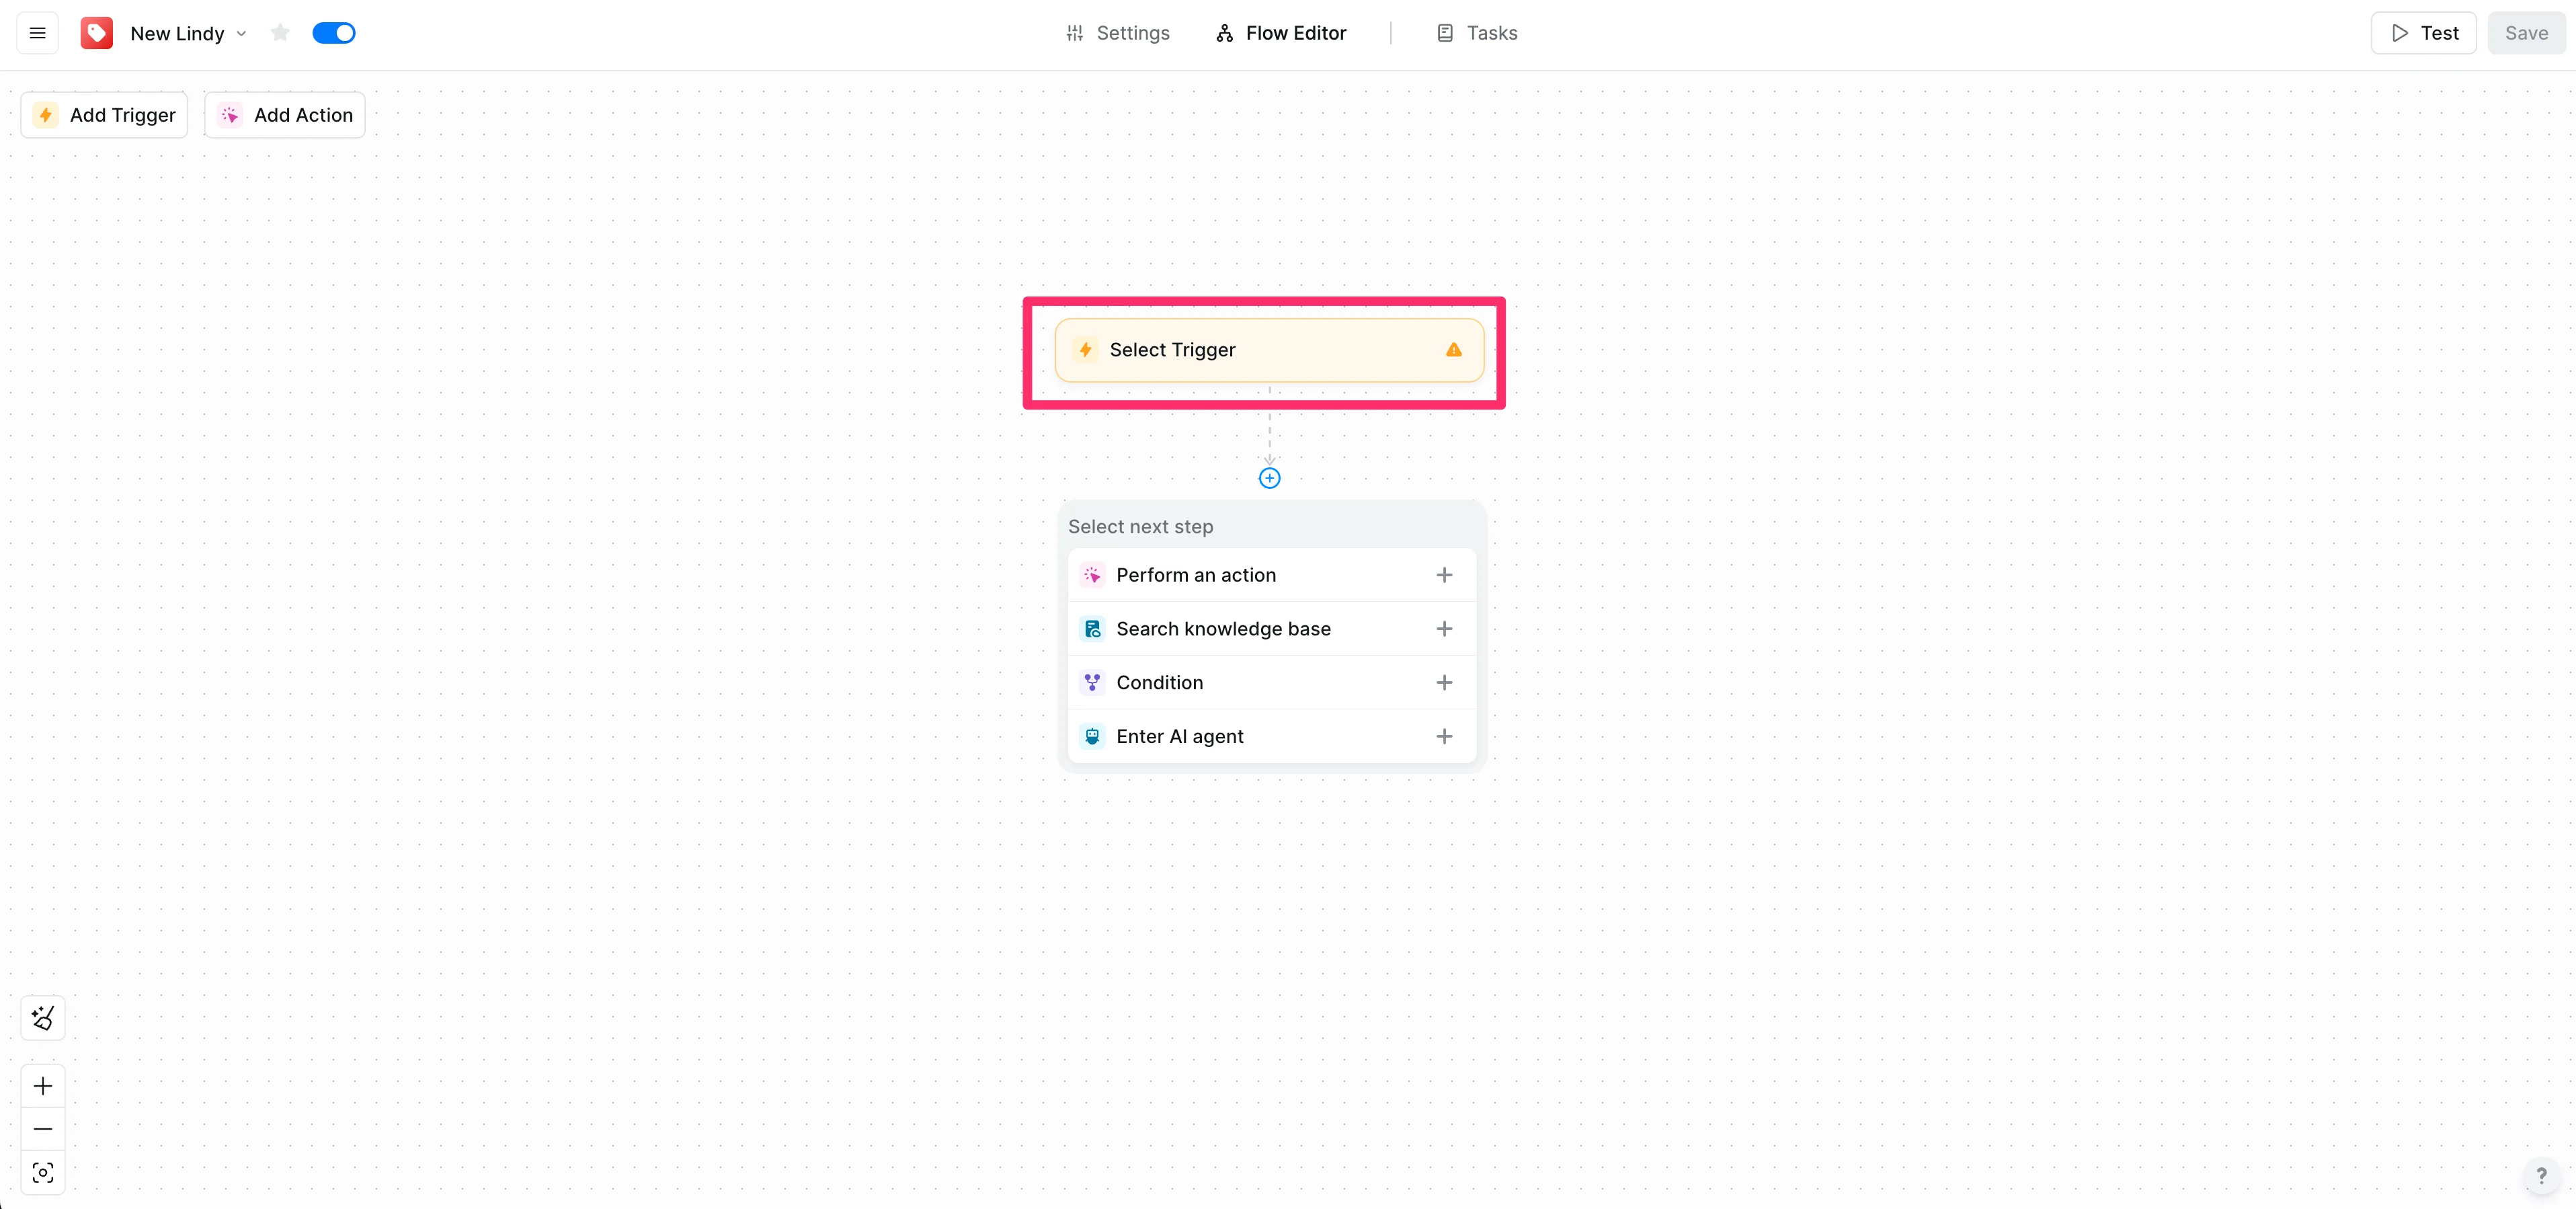
This will take you to a blank canvas in the Lindy Flow Editor. Click the “Select Trigger” button to add a workflow trigger.
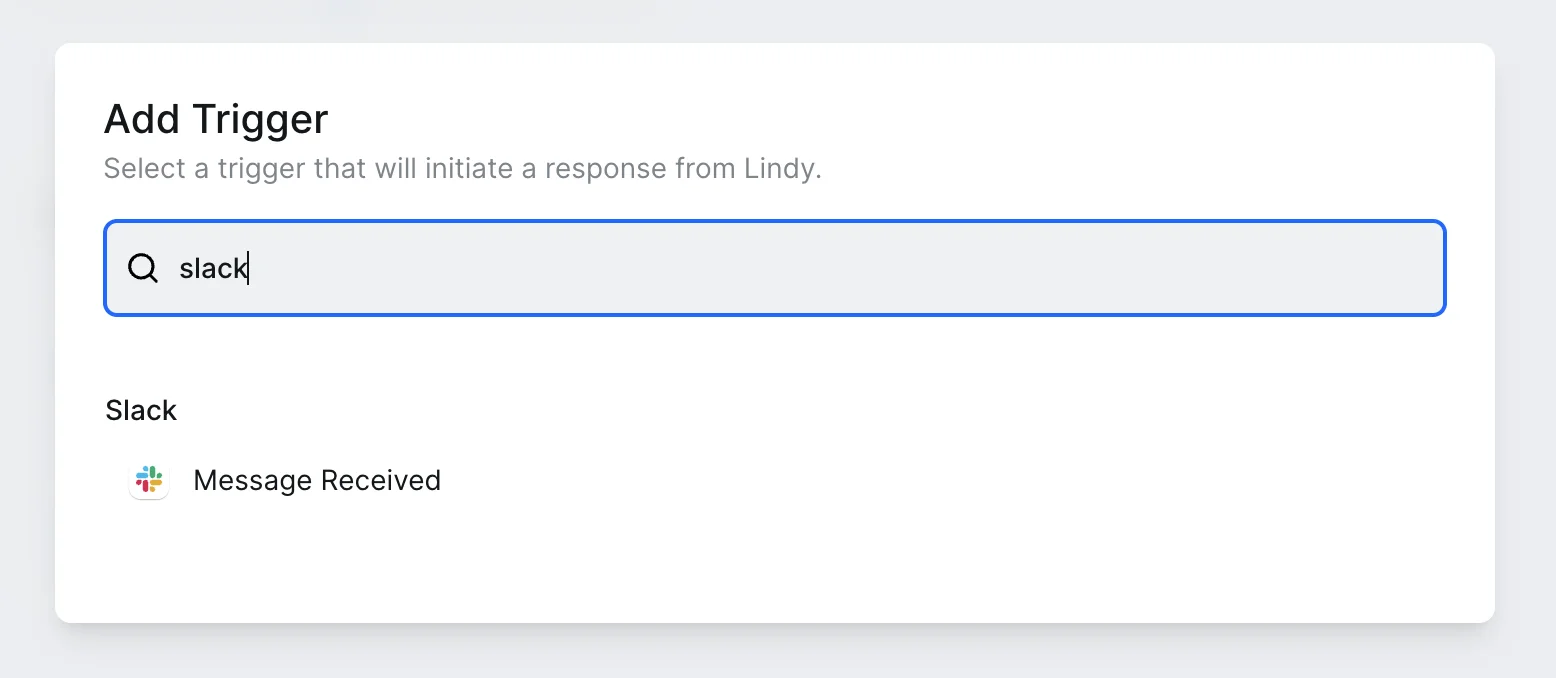
Since we’re creating a Slack AI chatbot, we’ll search for “Slack” in the resulting pop-up window and select the “Message Received” action.
Connect your Slack instance to Lindy in the action editor and select the Slack channel where you want to chat with Lindy. We’re going with “crm-test”.
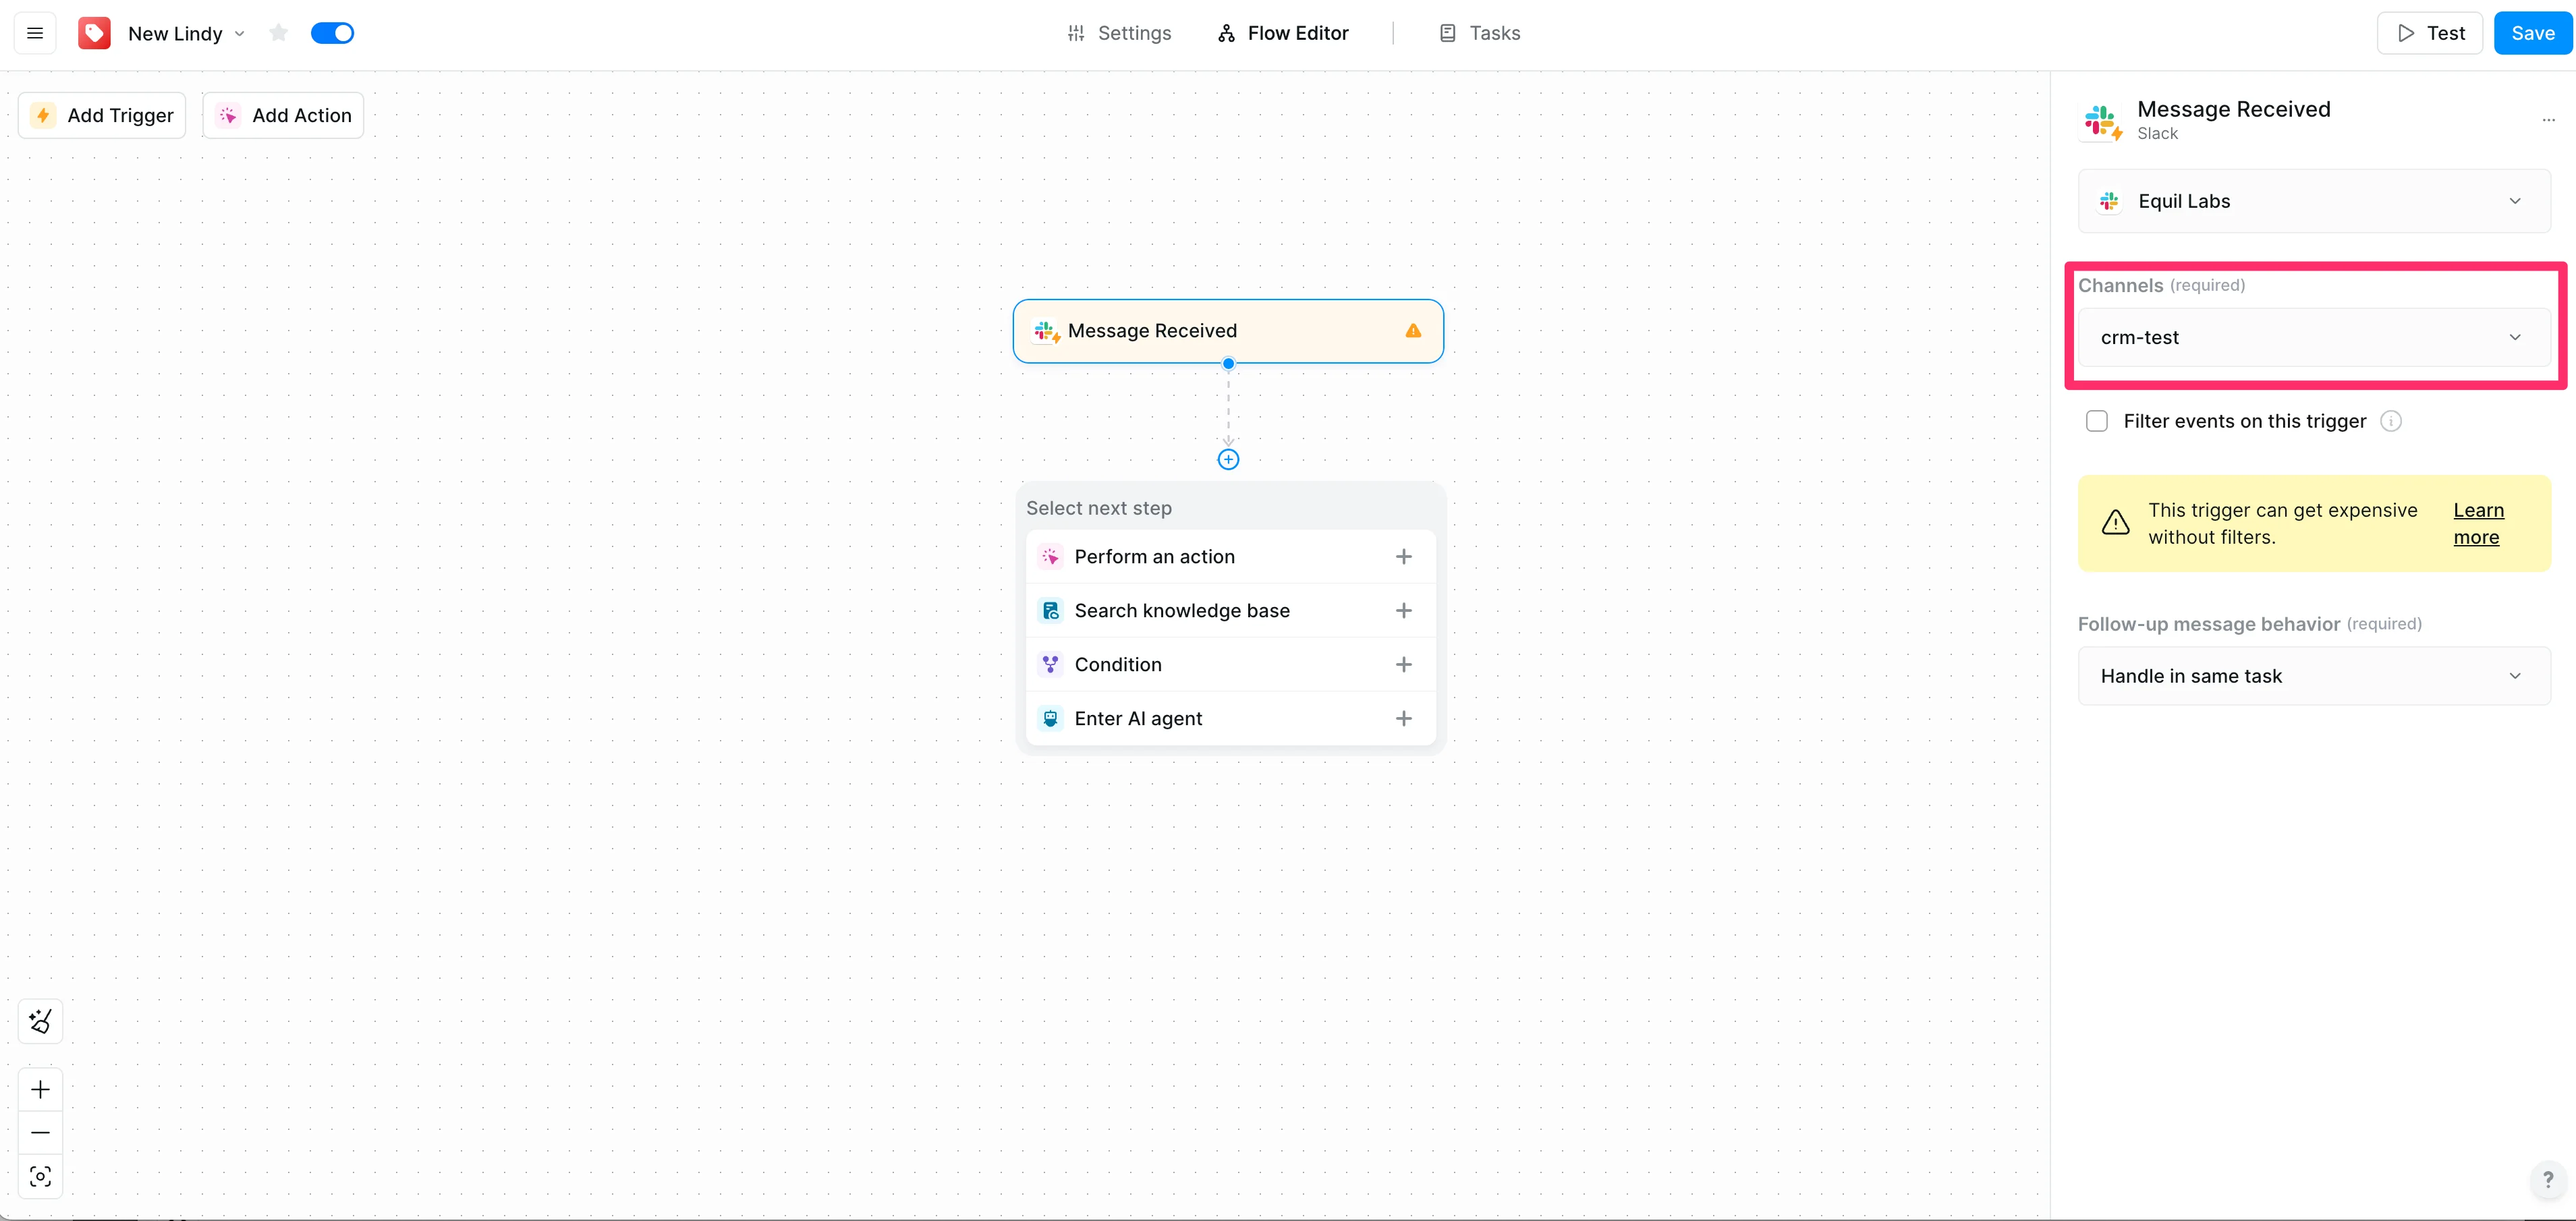
We’re not done with the configuration of this step yet. We need to filter out messages the Lindy Slack bot will send us from this trigger so that only human messages in the channel trigger this workflow, not the Slack bot’s responses.
To do this, we’ll head over to Slack and add Lindy as an app to our Slack workspace. Click the “Add apps” button in Slack.
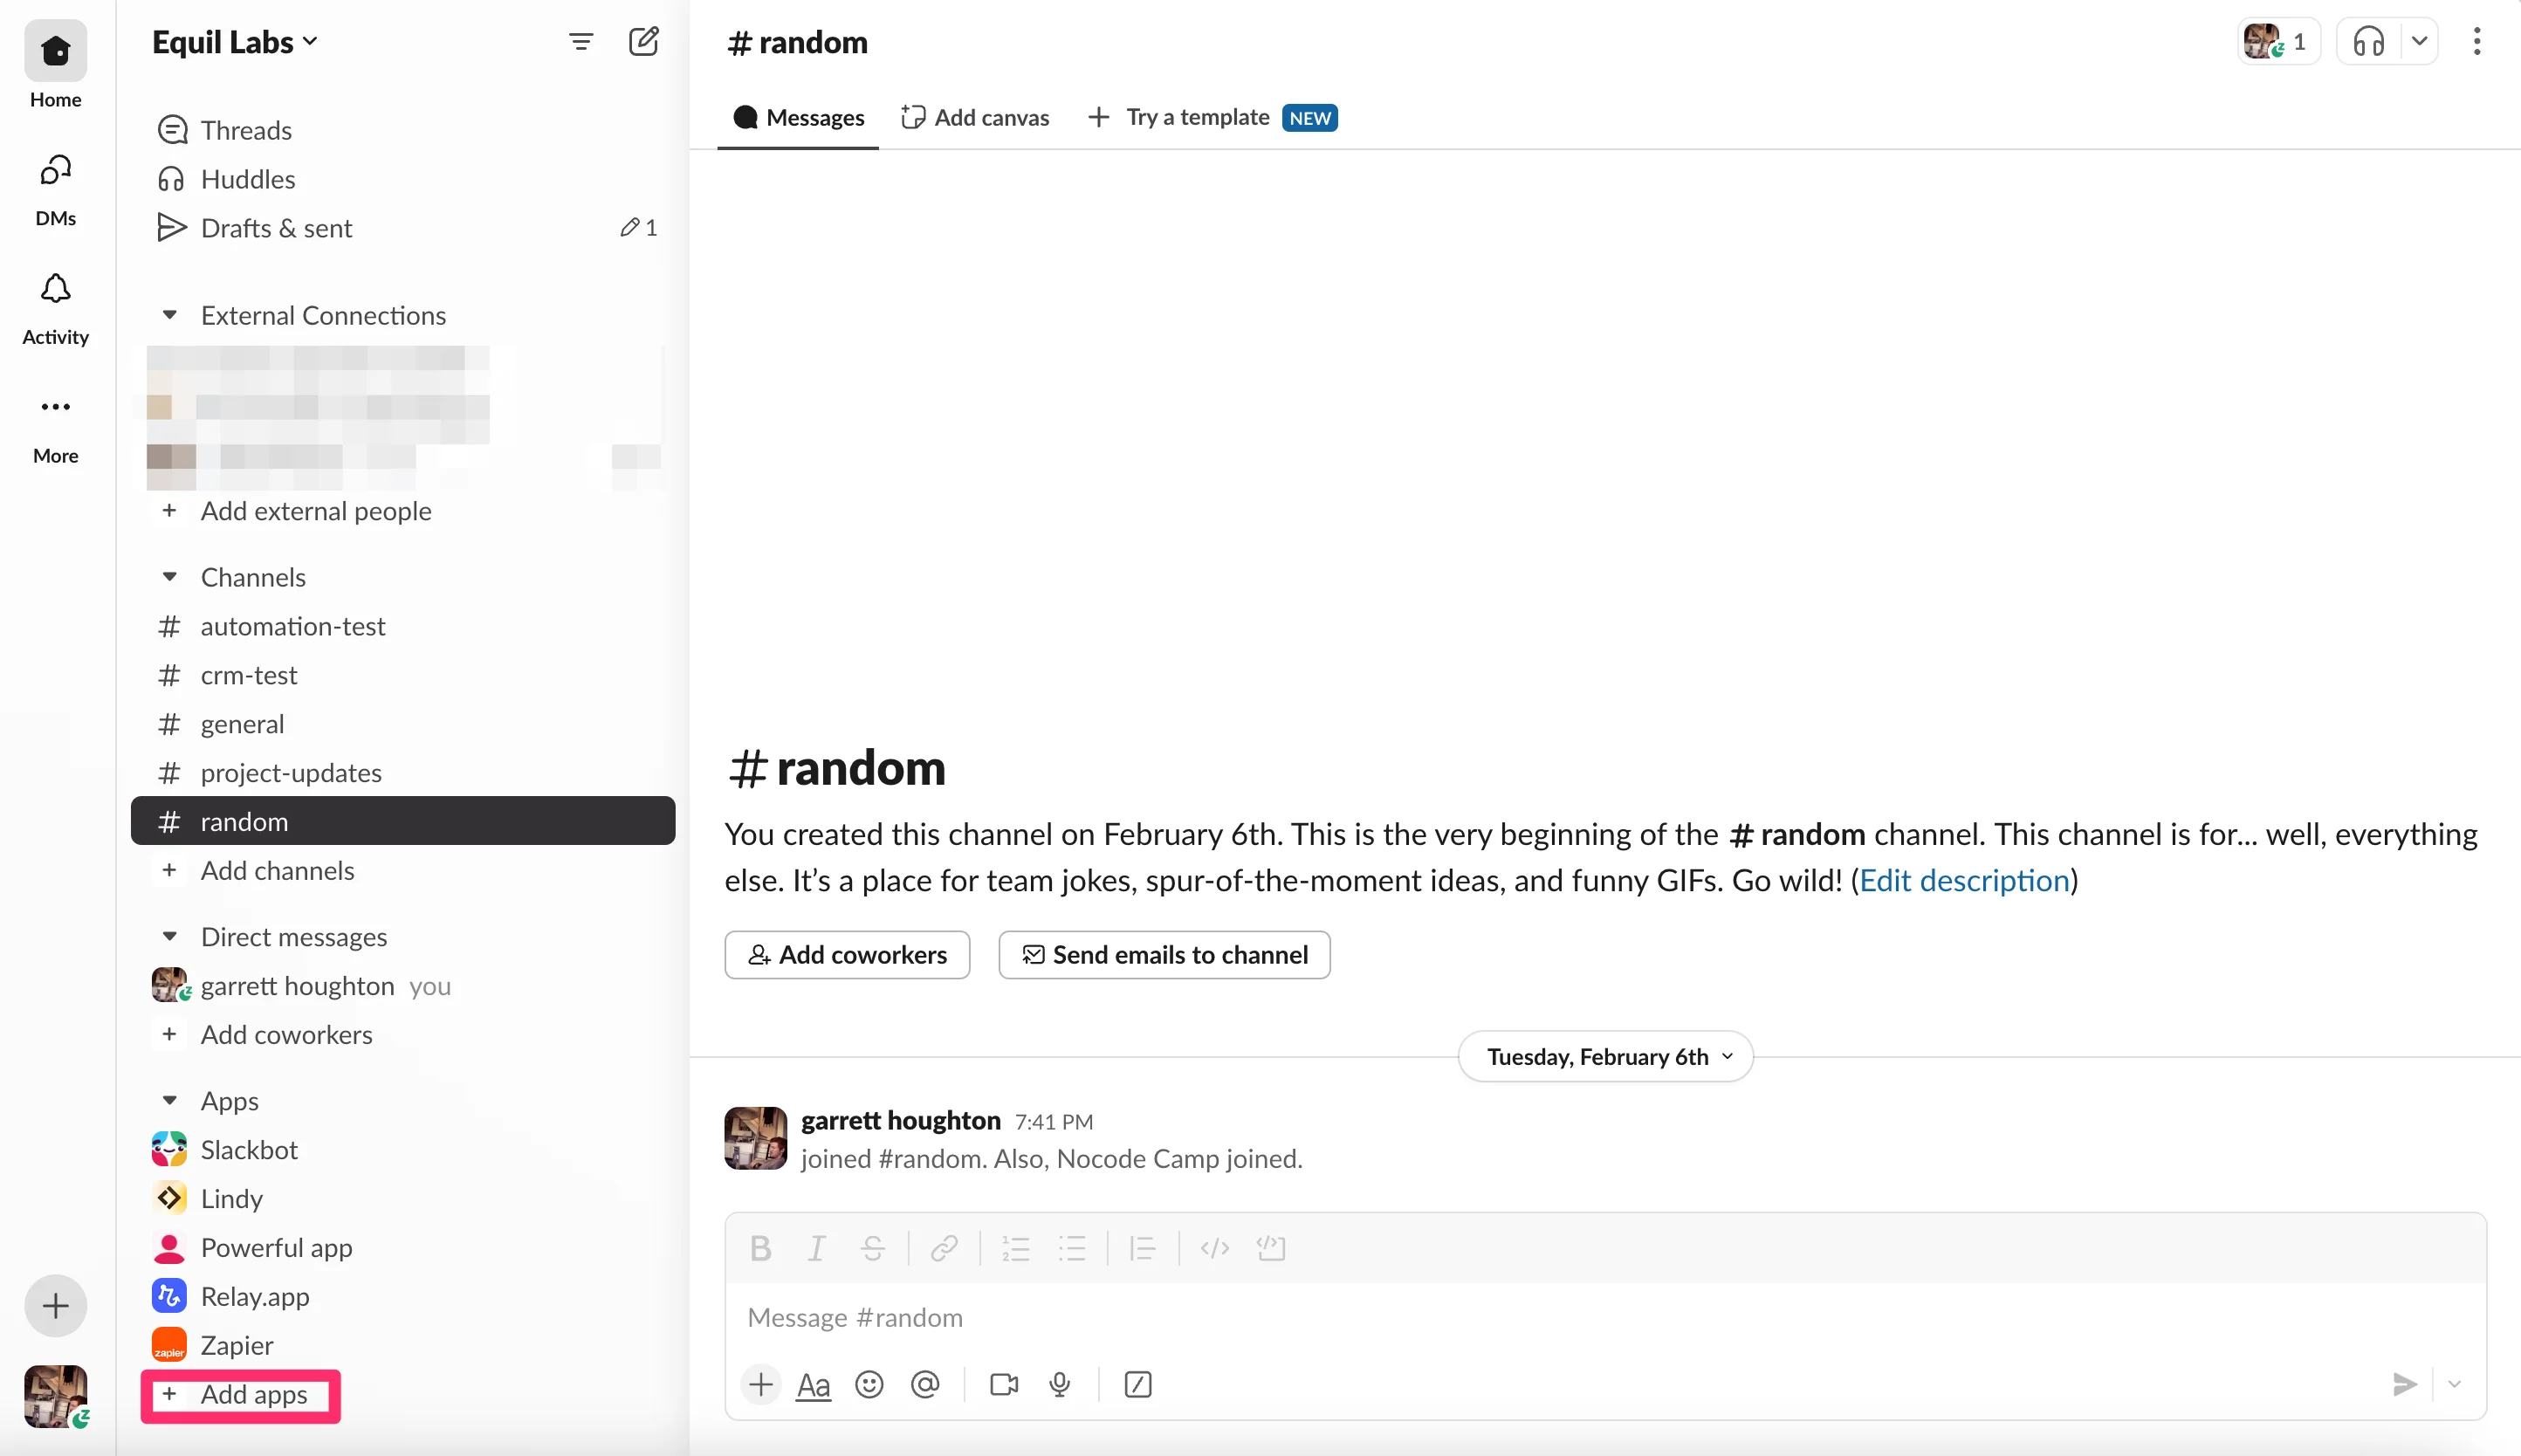
Search for “Lindy” in the app search bar and select “Lindy AI”.

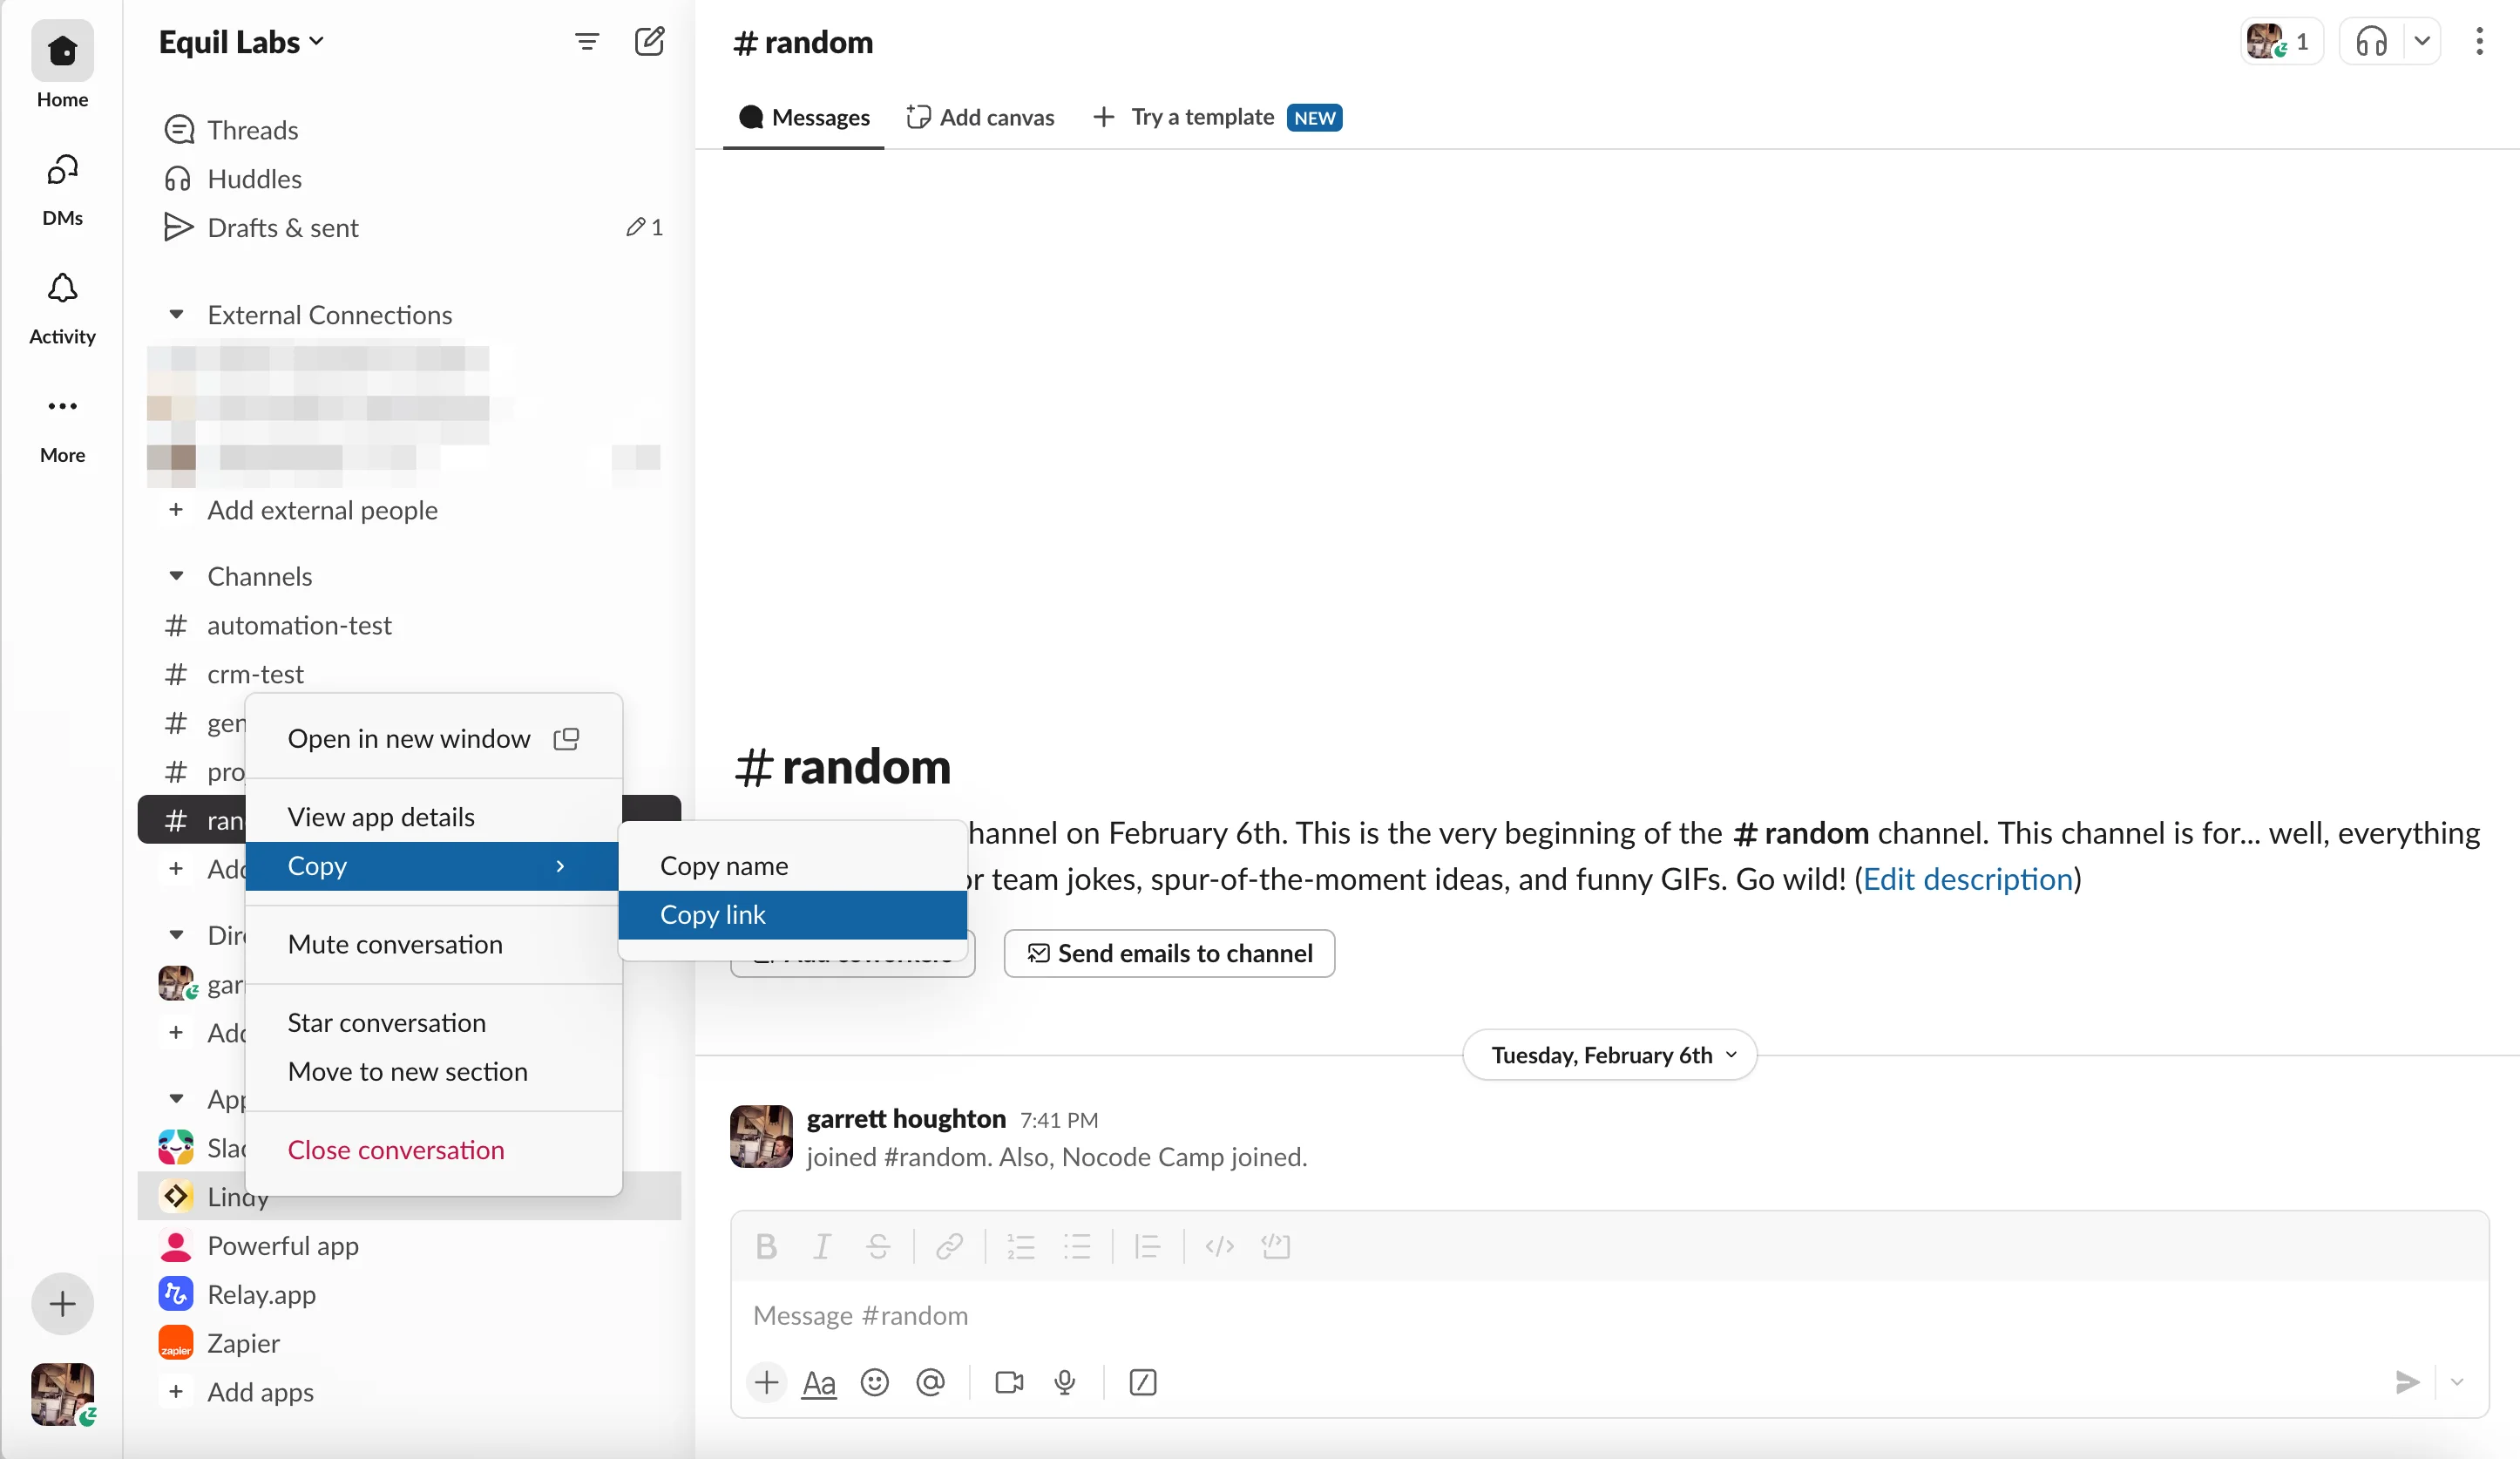
With the Lindy Slack app added, right-click on the app name in the left sidebar of your Slack workspace, hover over the “Copy” option, and select copy link. This will copy the link to the Lindy Slack app.
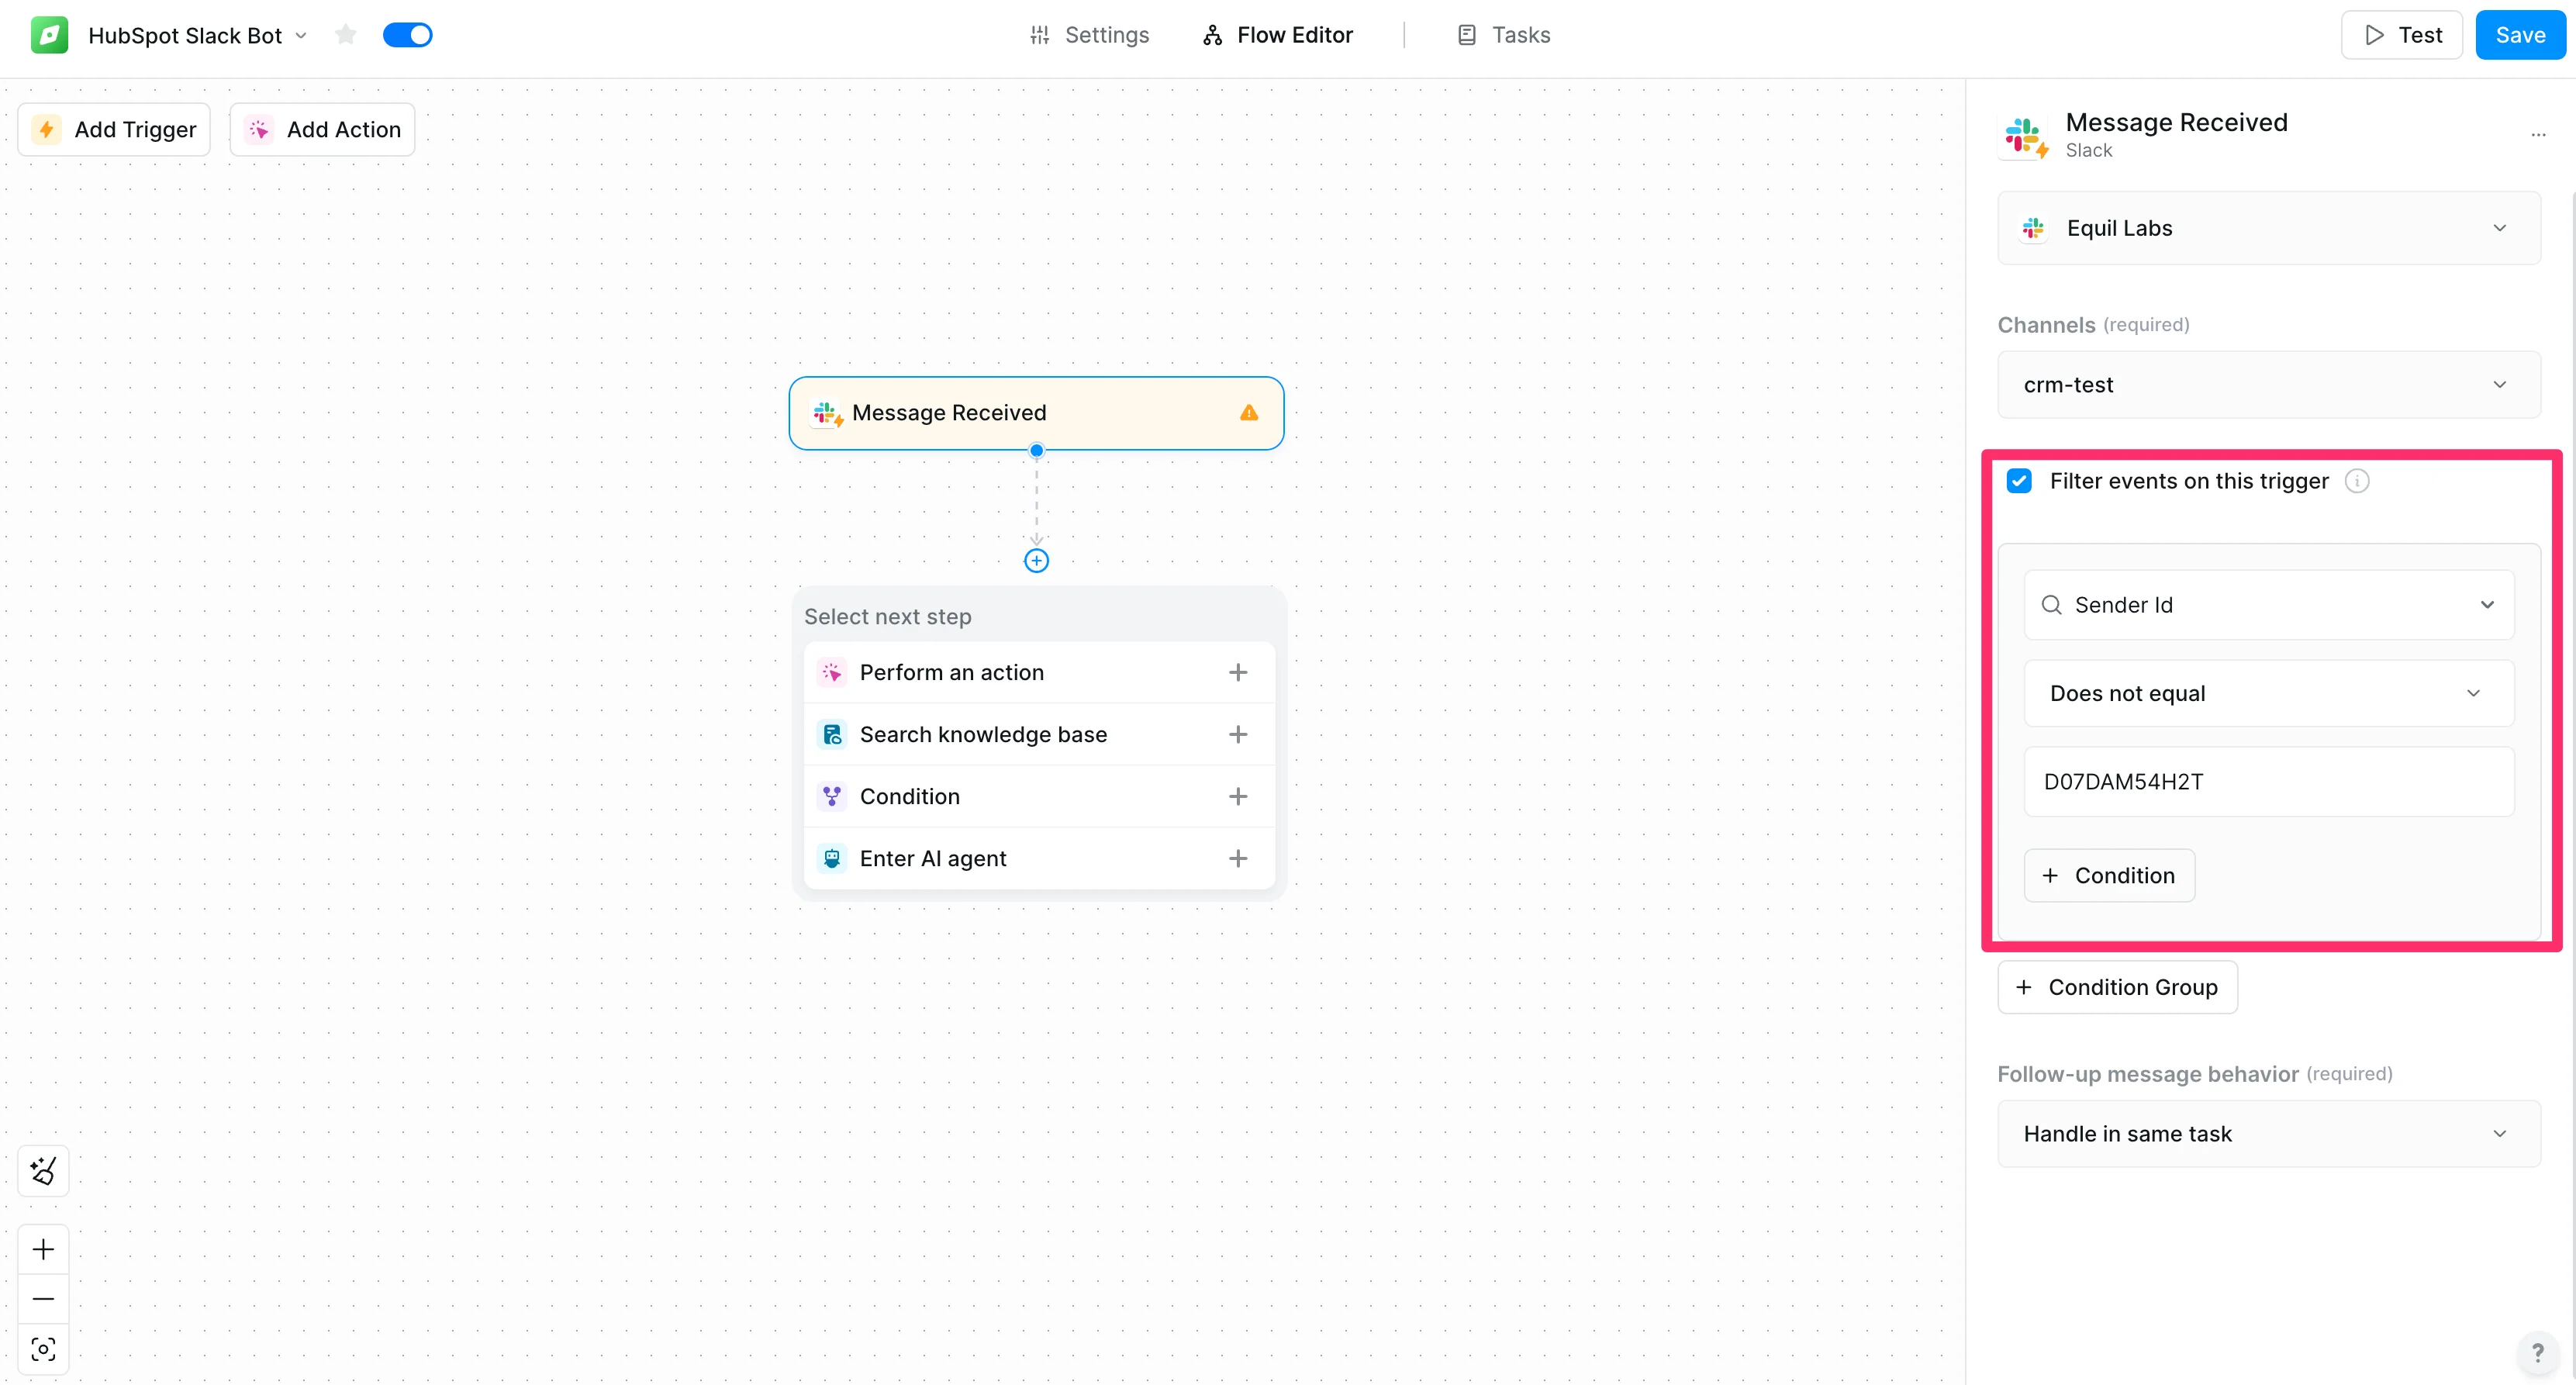
Head back over to Lindy and enable the “Filter events on this trigger” option. Then update the condition to Sender Id > Does not equal > [paste in the ID value from the copied URL]. The ID will be the alpha-numerical string after the last forward slash in the copied URL. This makes sure that Lindy Slack bot messages never trigger this workflow.
Step 2: Connect your CRM
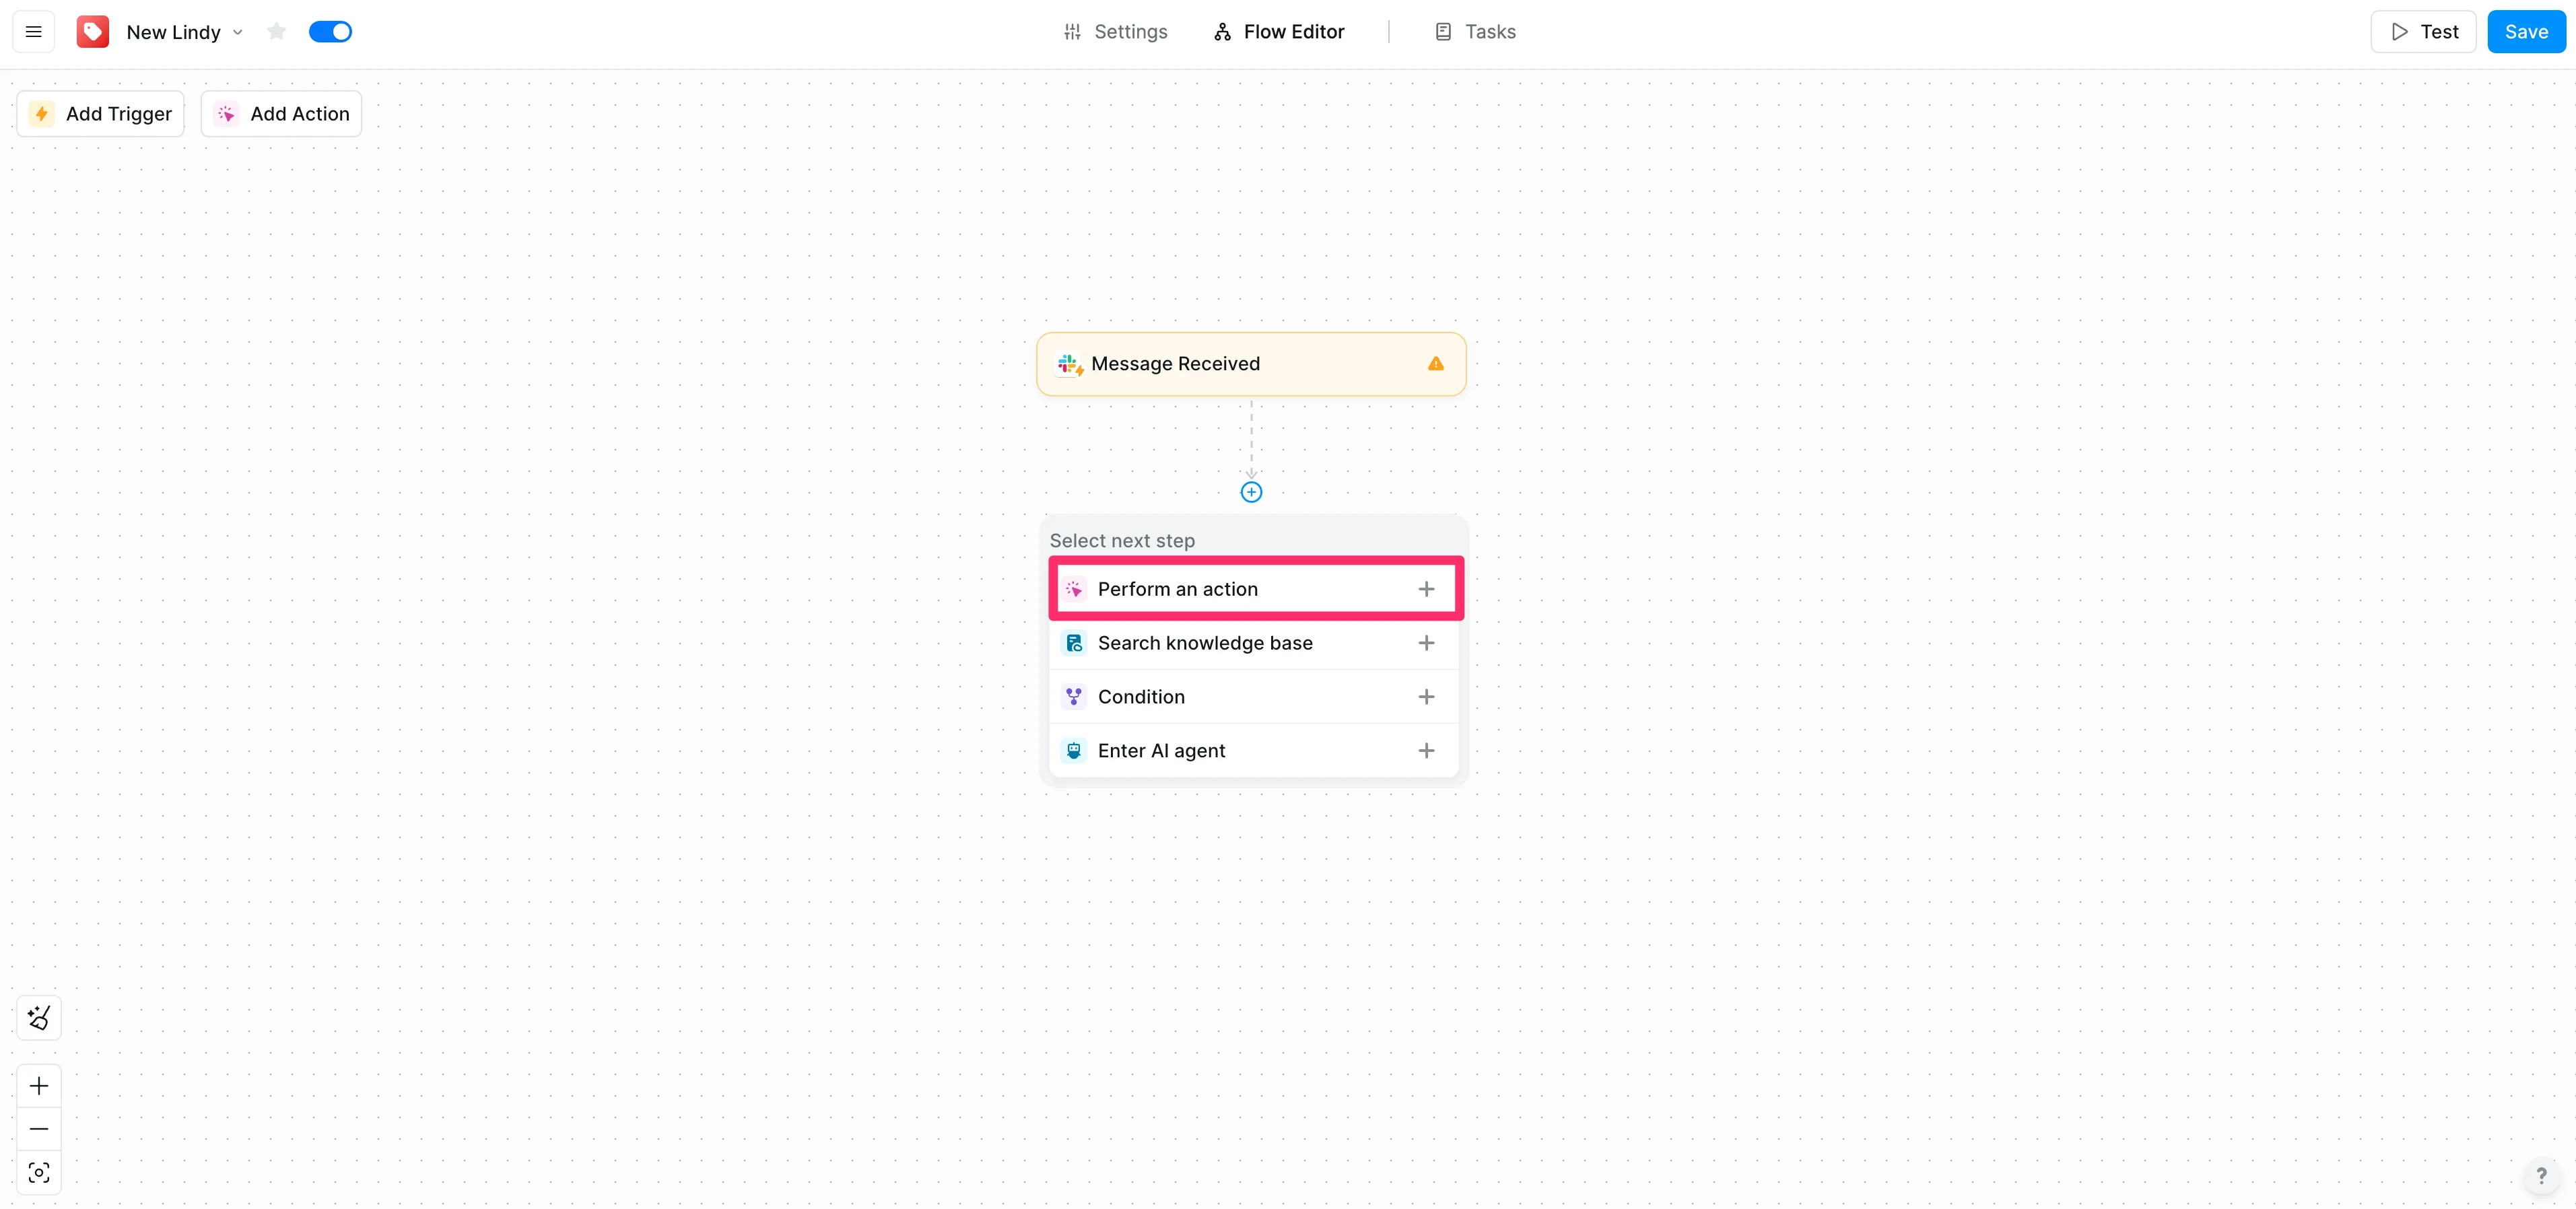
Now that our Slack trigger is set up, we’ll connect our Salesforce CRM to Lindy. To do this, click the “Perform an action” option in the “Select next step” dialog box.
Search for “Salesforce” and select any of the actions available.
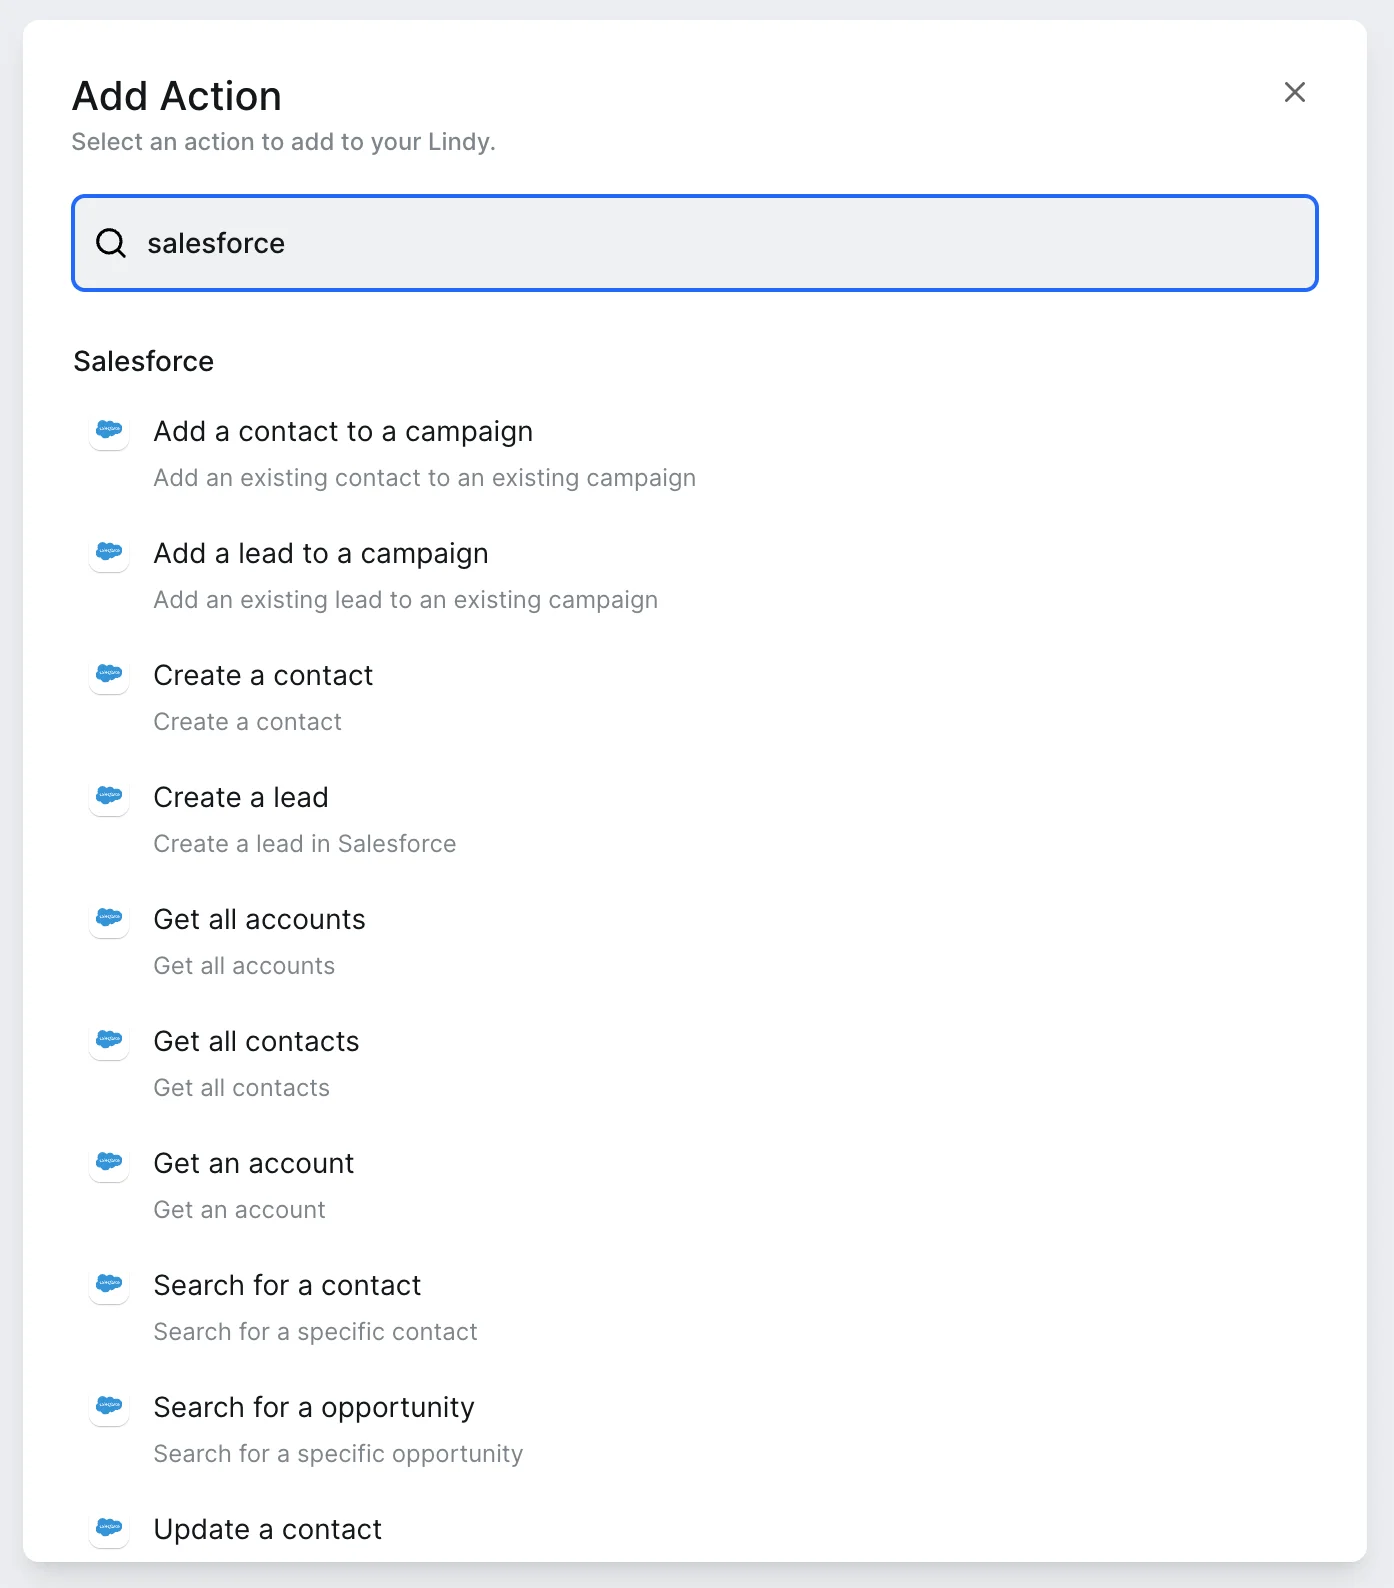
Authorize your Salesforce account in Lindy in the resulting action editor.
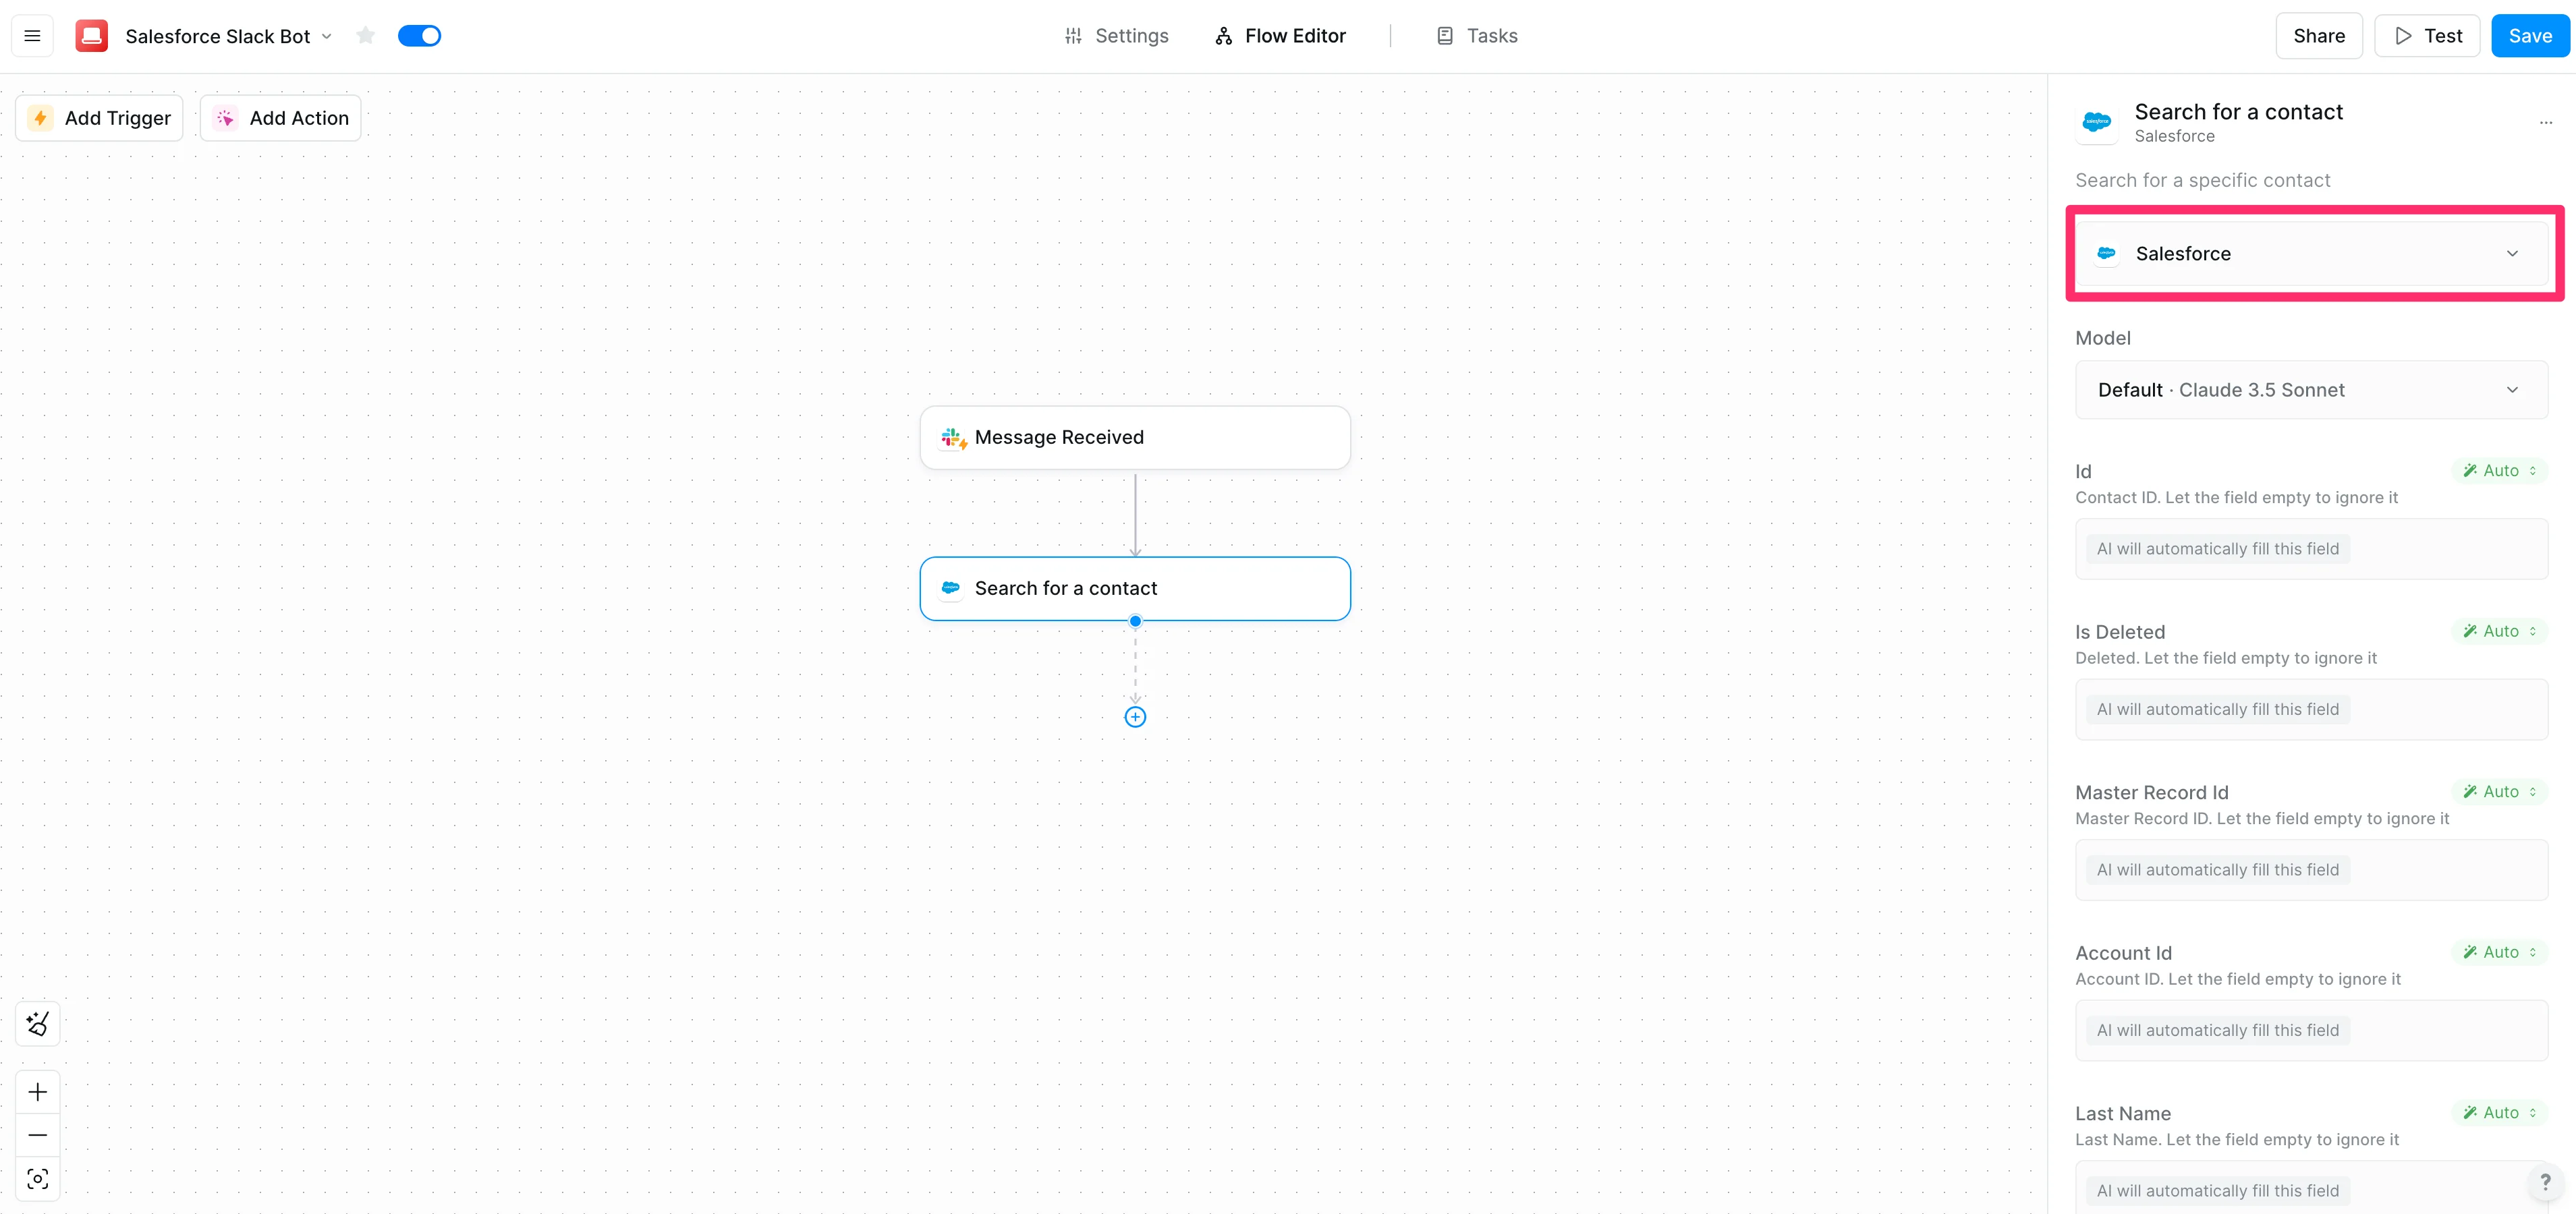
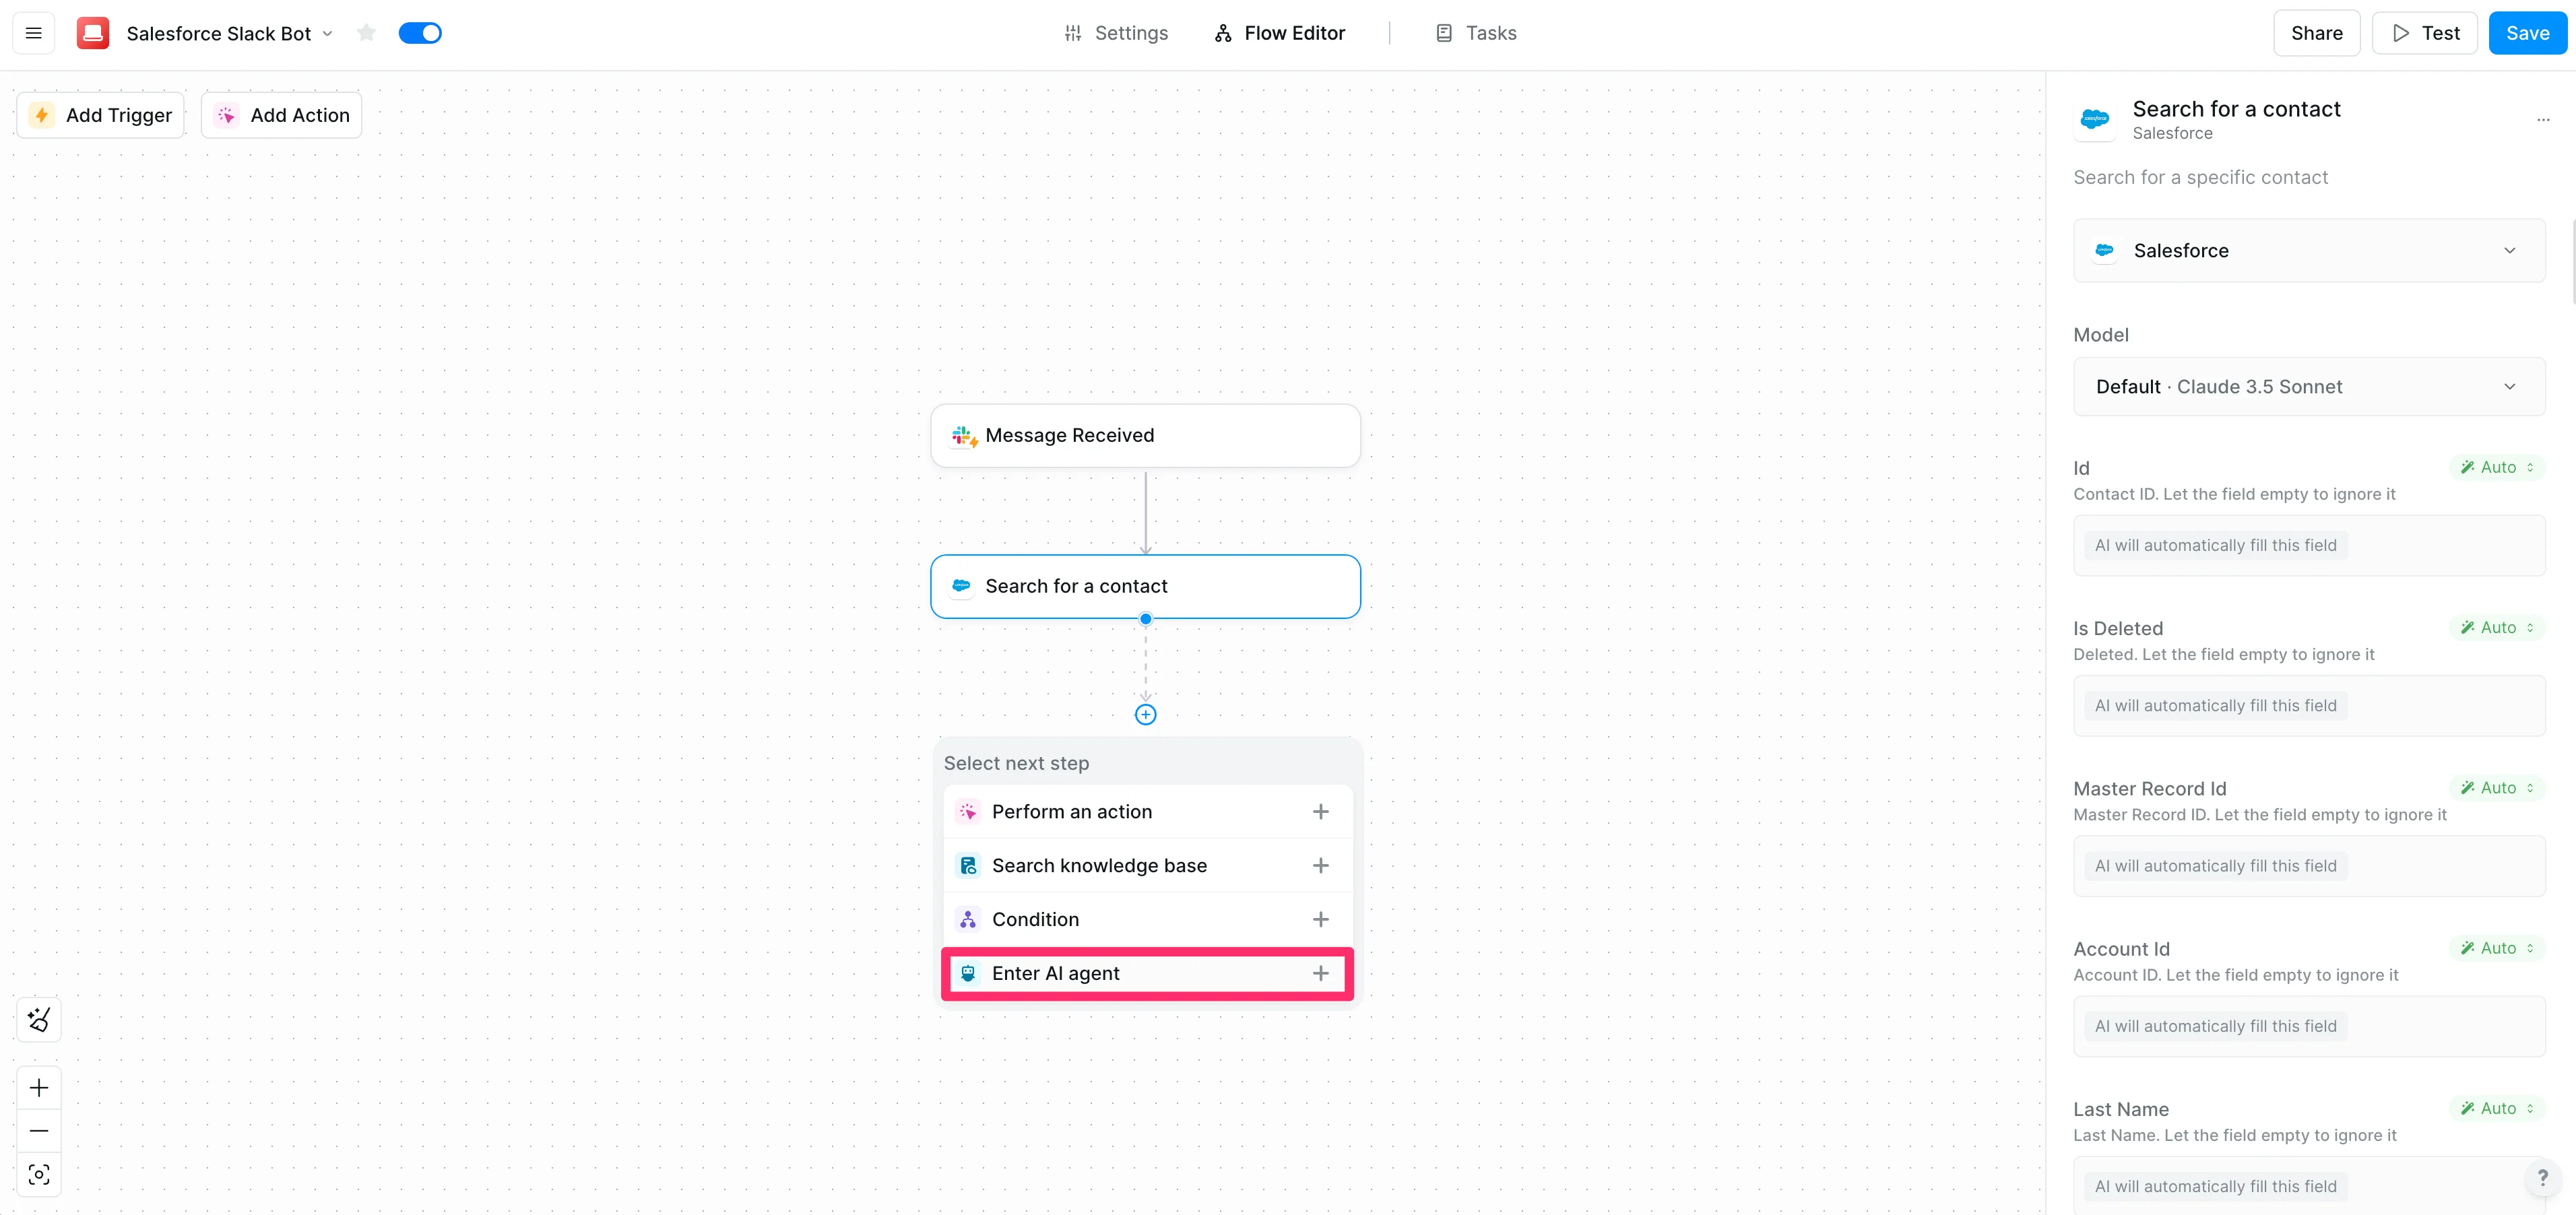
Now, we’ll add an AI Agent step, which will handle all of the CRM querying for us. To do this, after the Salesforce step, click the “+” button in the workflow.
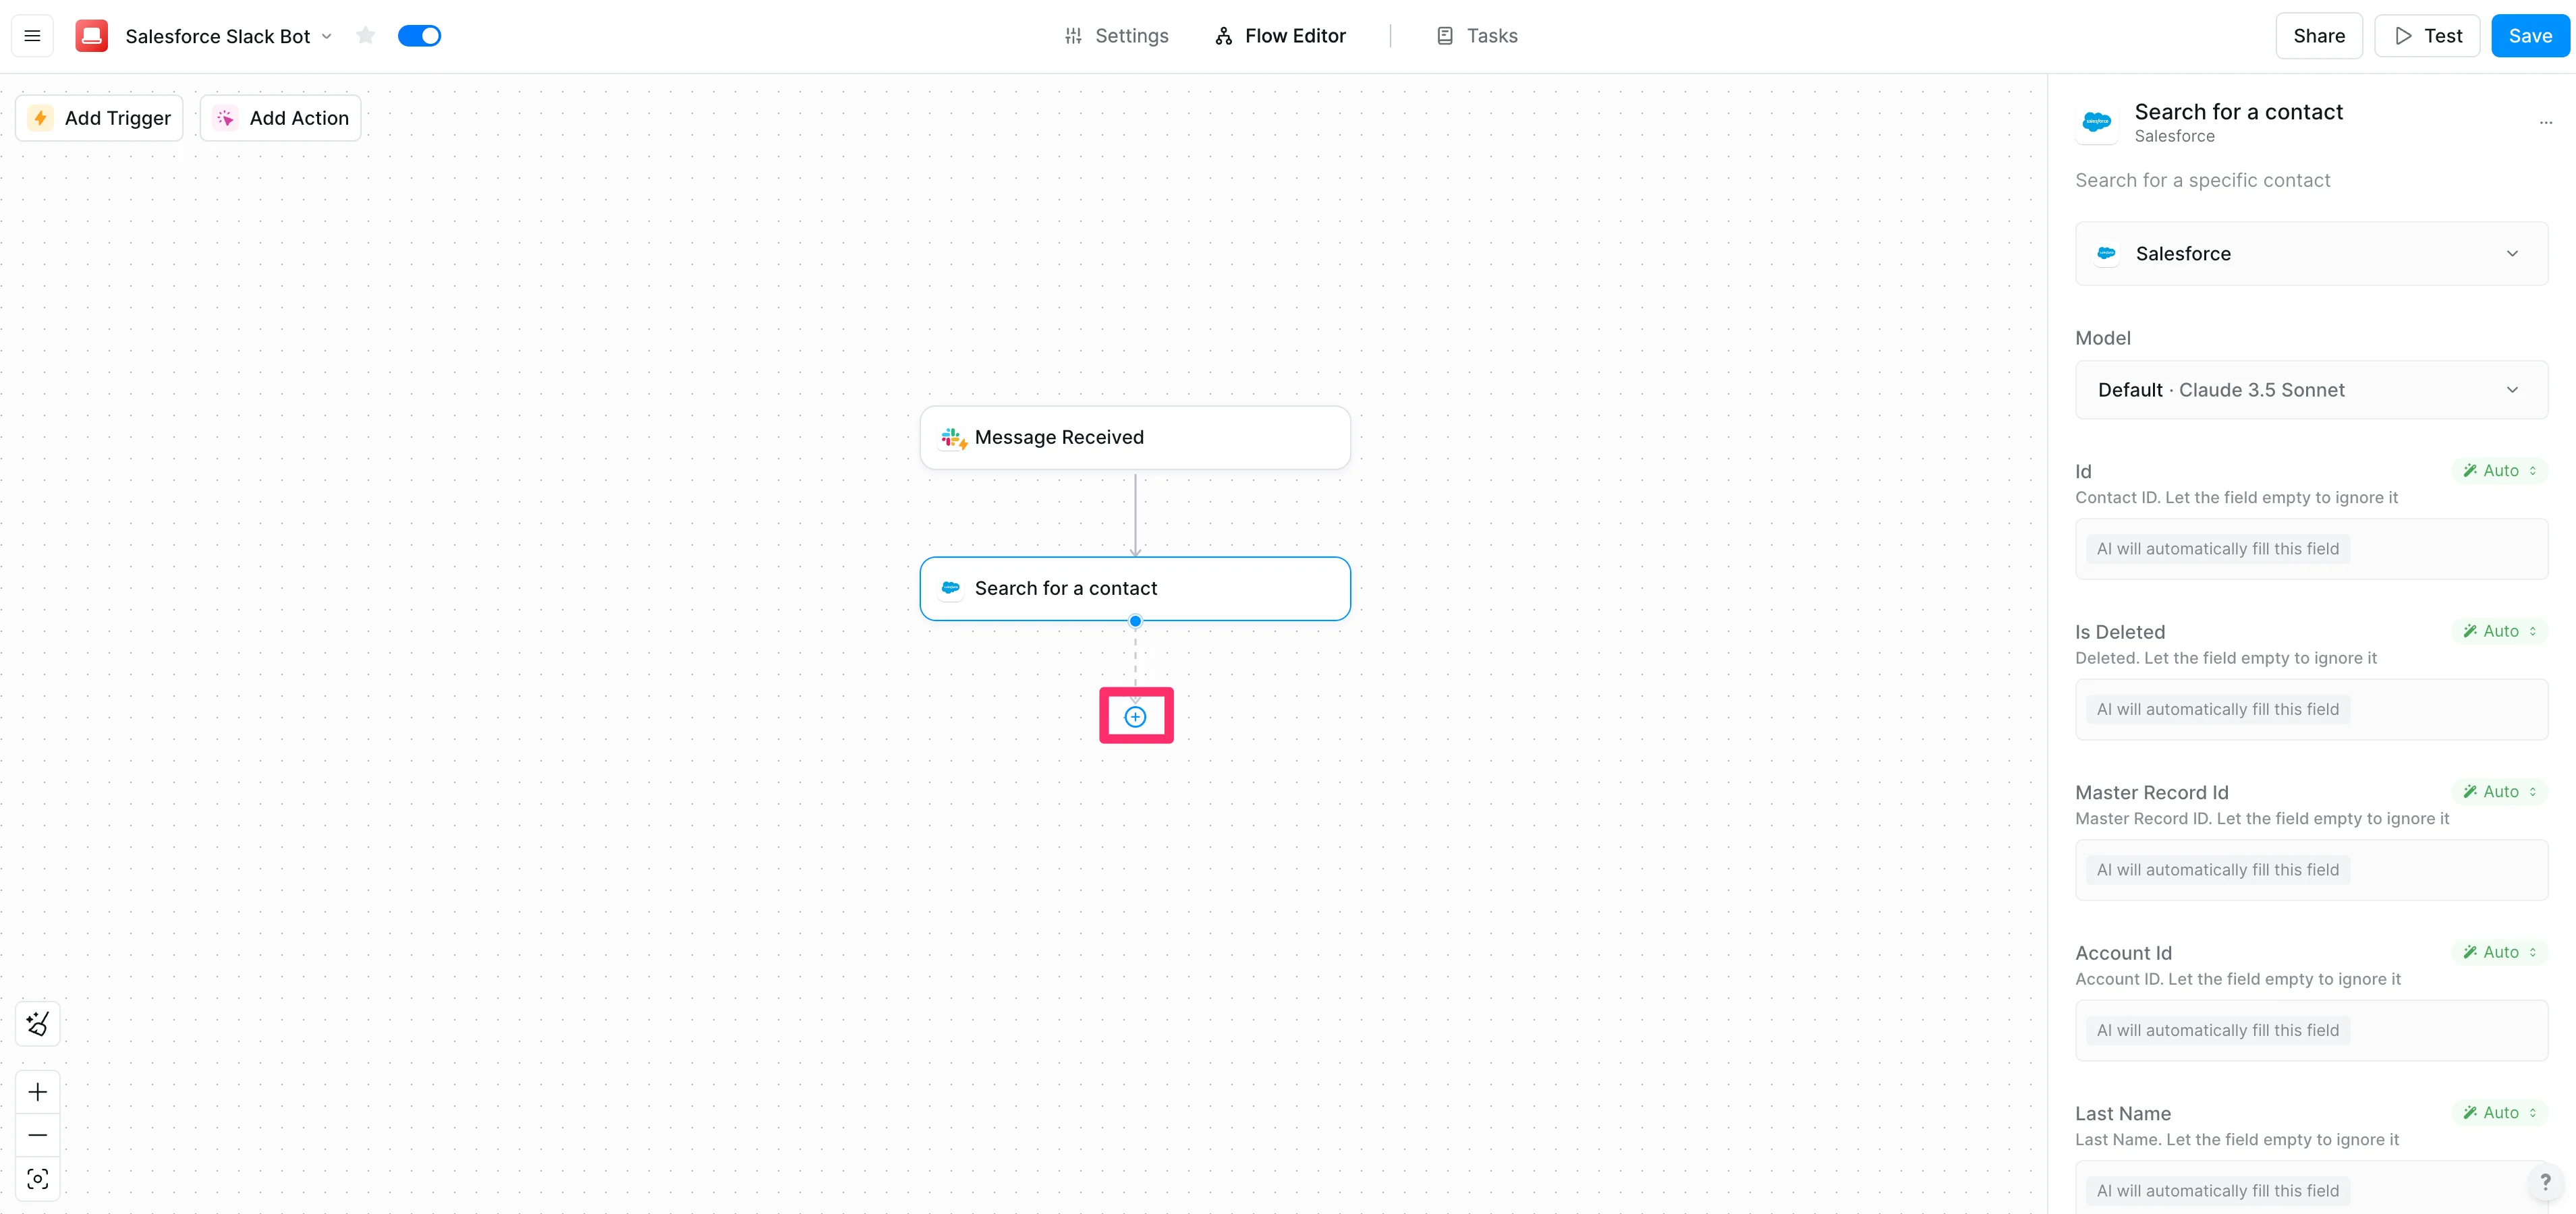
Select the “Enter AI Agent” option.
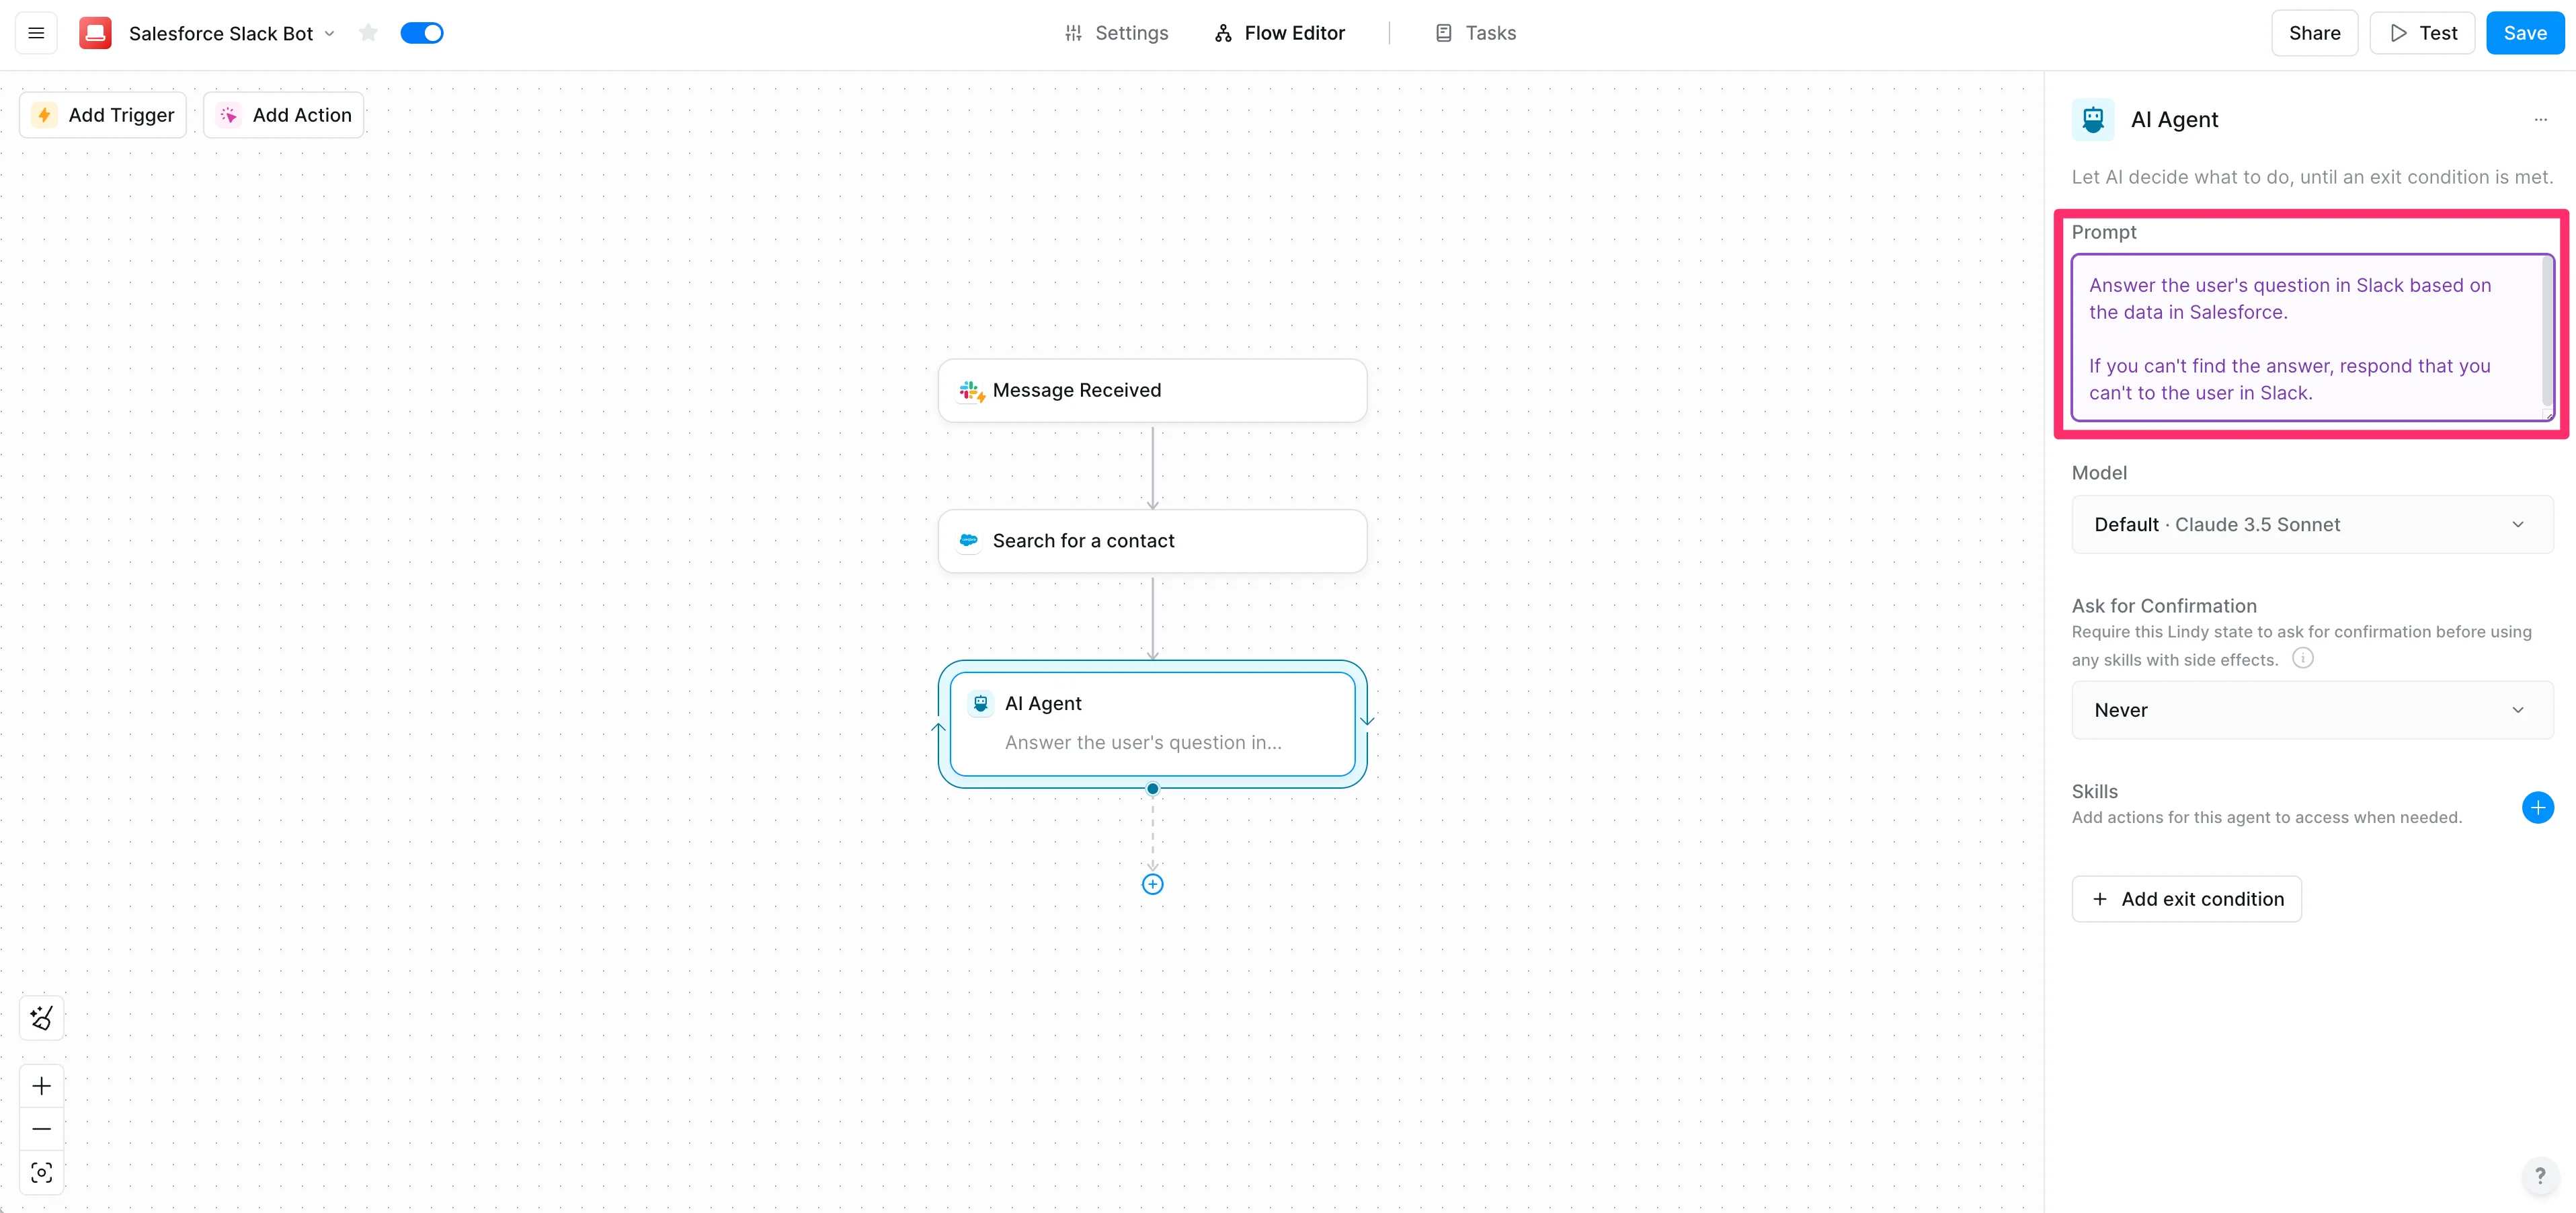
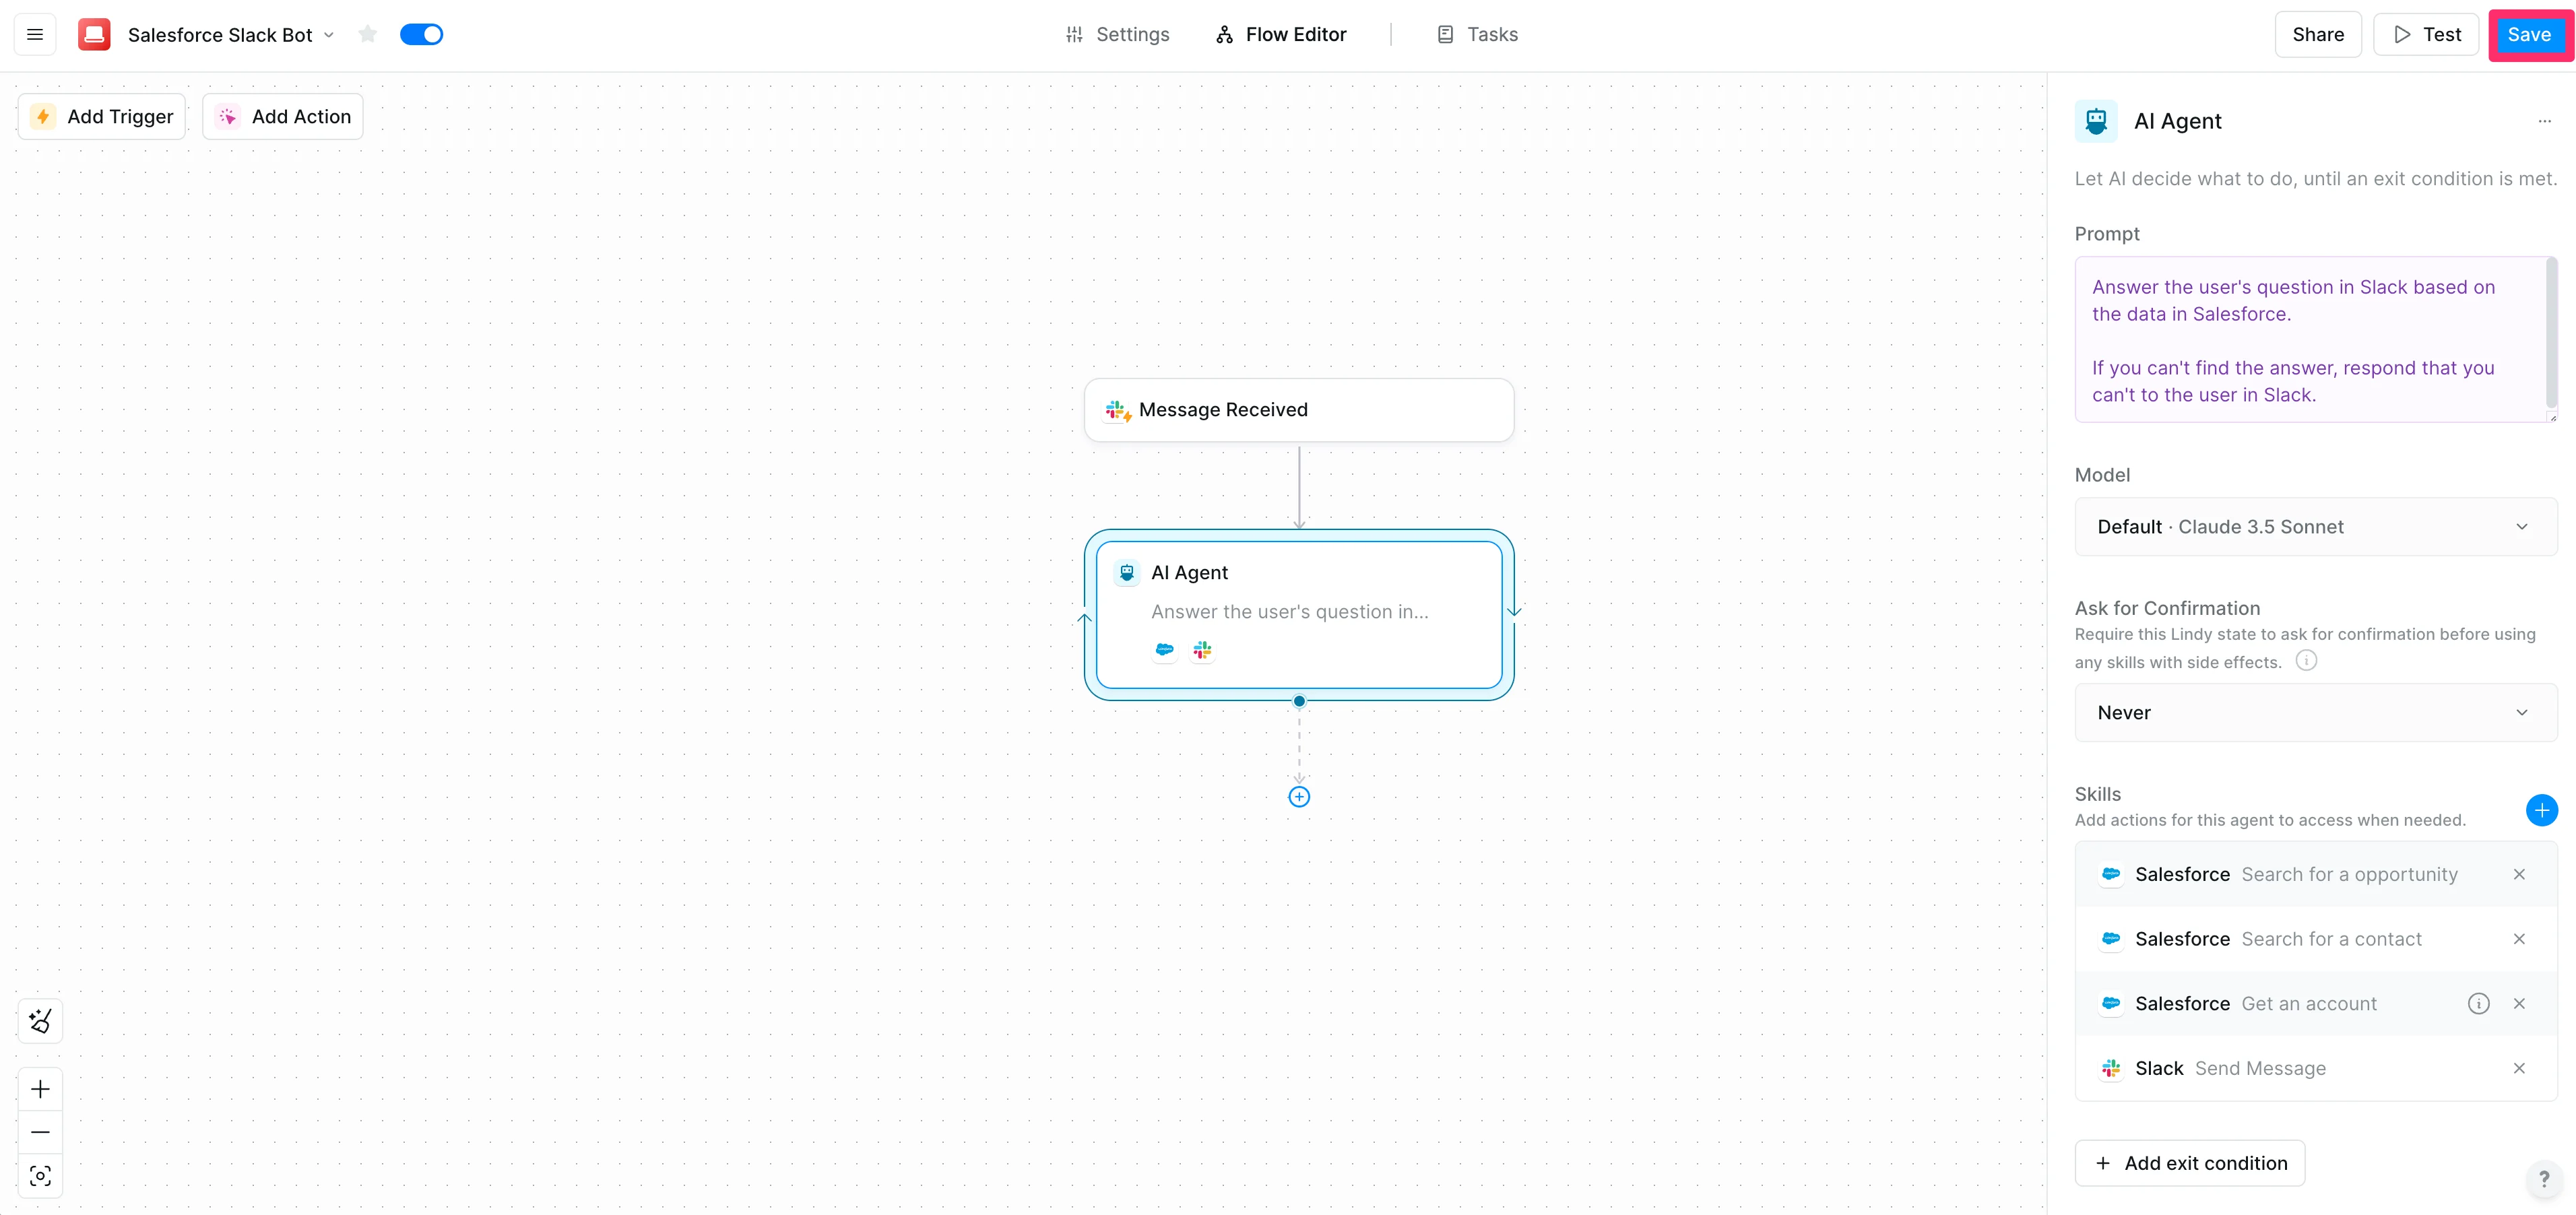
In the resulting action editor, add a prompt of what you want the AI agent to do. We’re going to instruct it simply to answer our questions in Slack based on Salesforce data.
Sample Prompt:
Answer the user's question in Slack based on the data in Salesforce.If you can't find the answer, respond that you can't to the user in Slack.
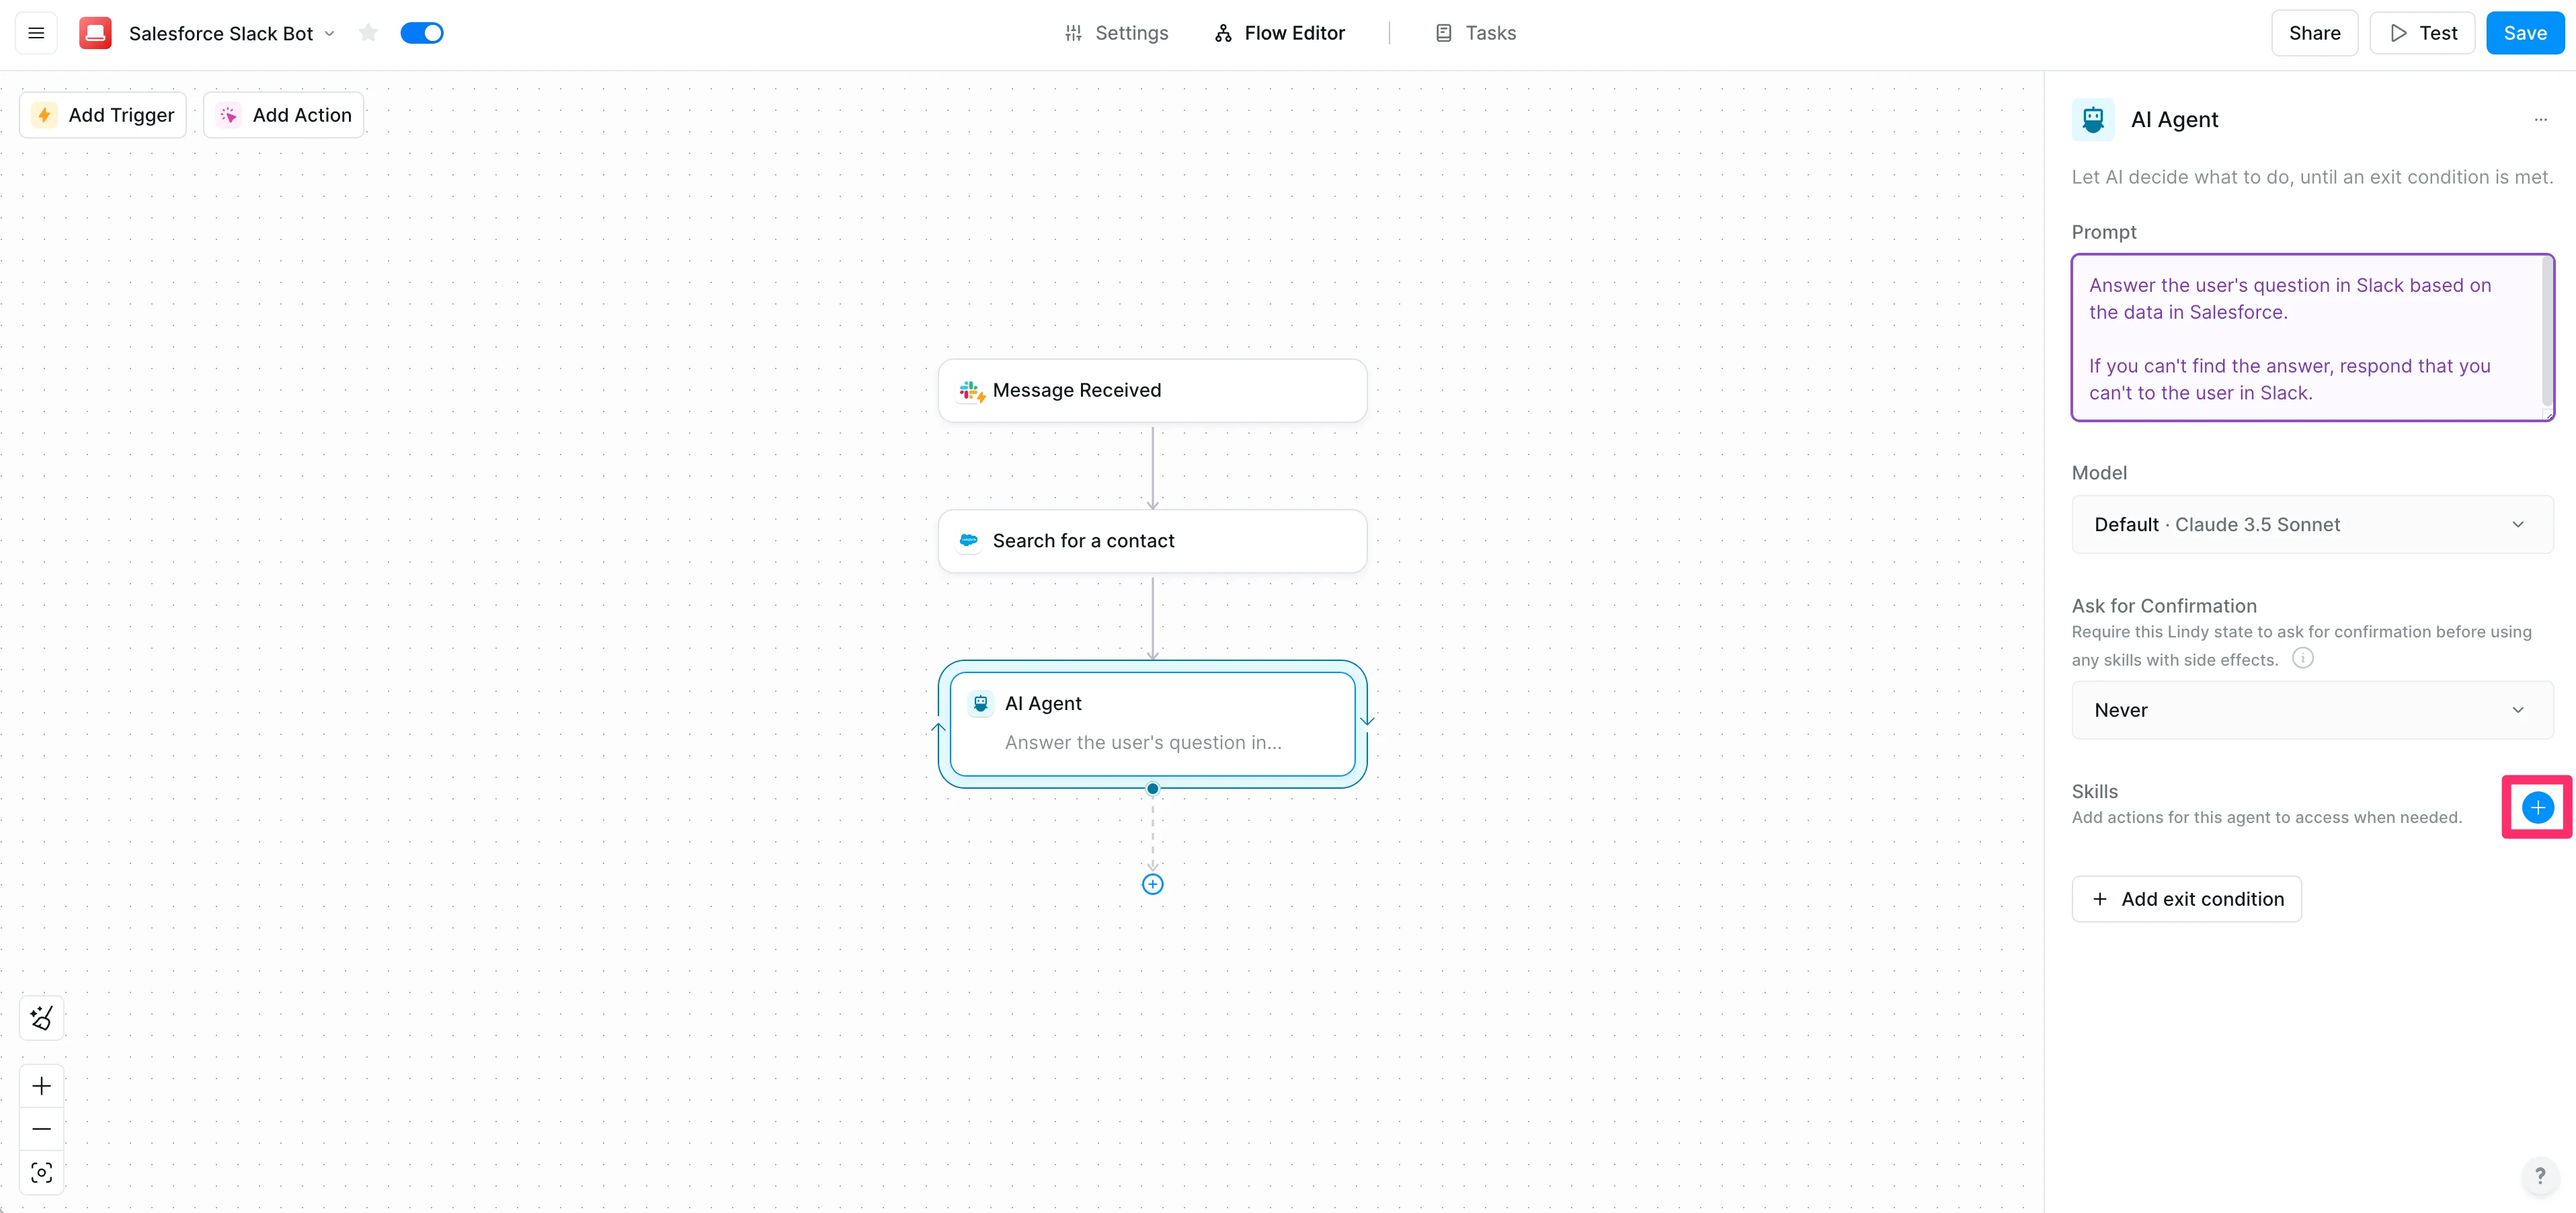
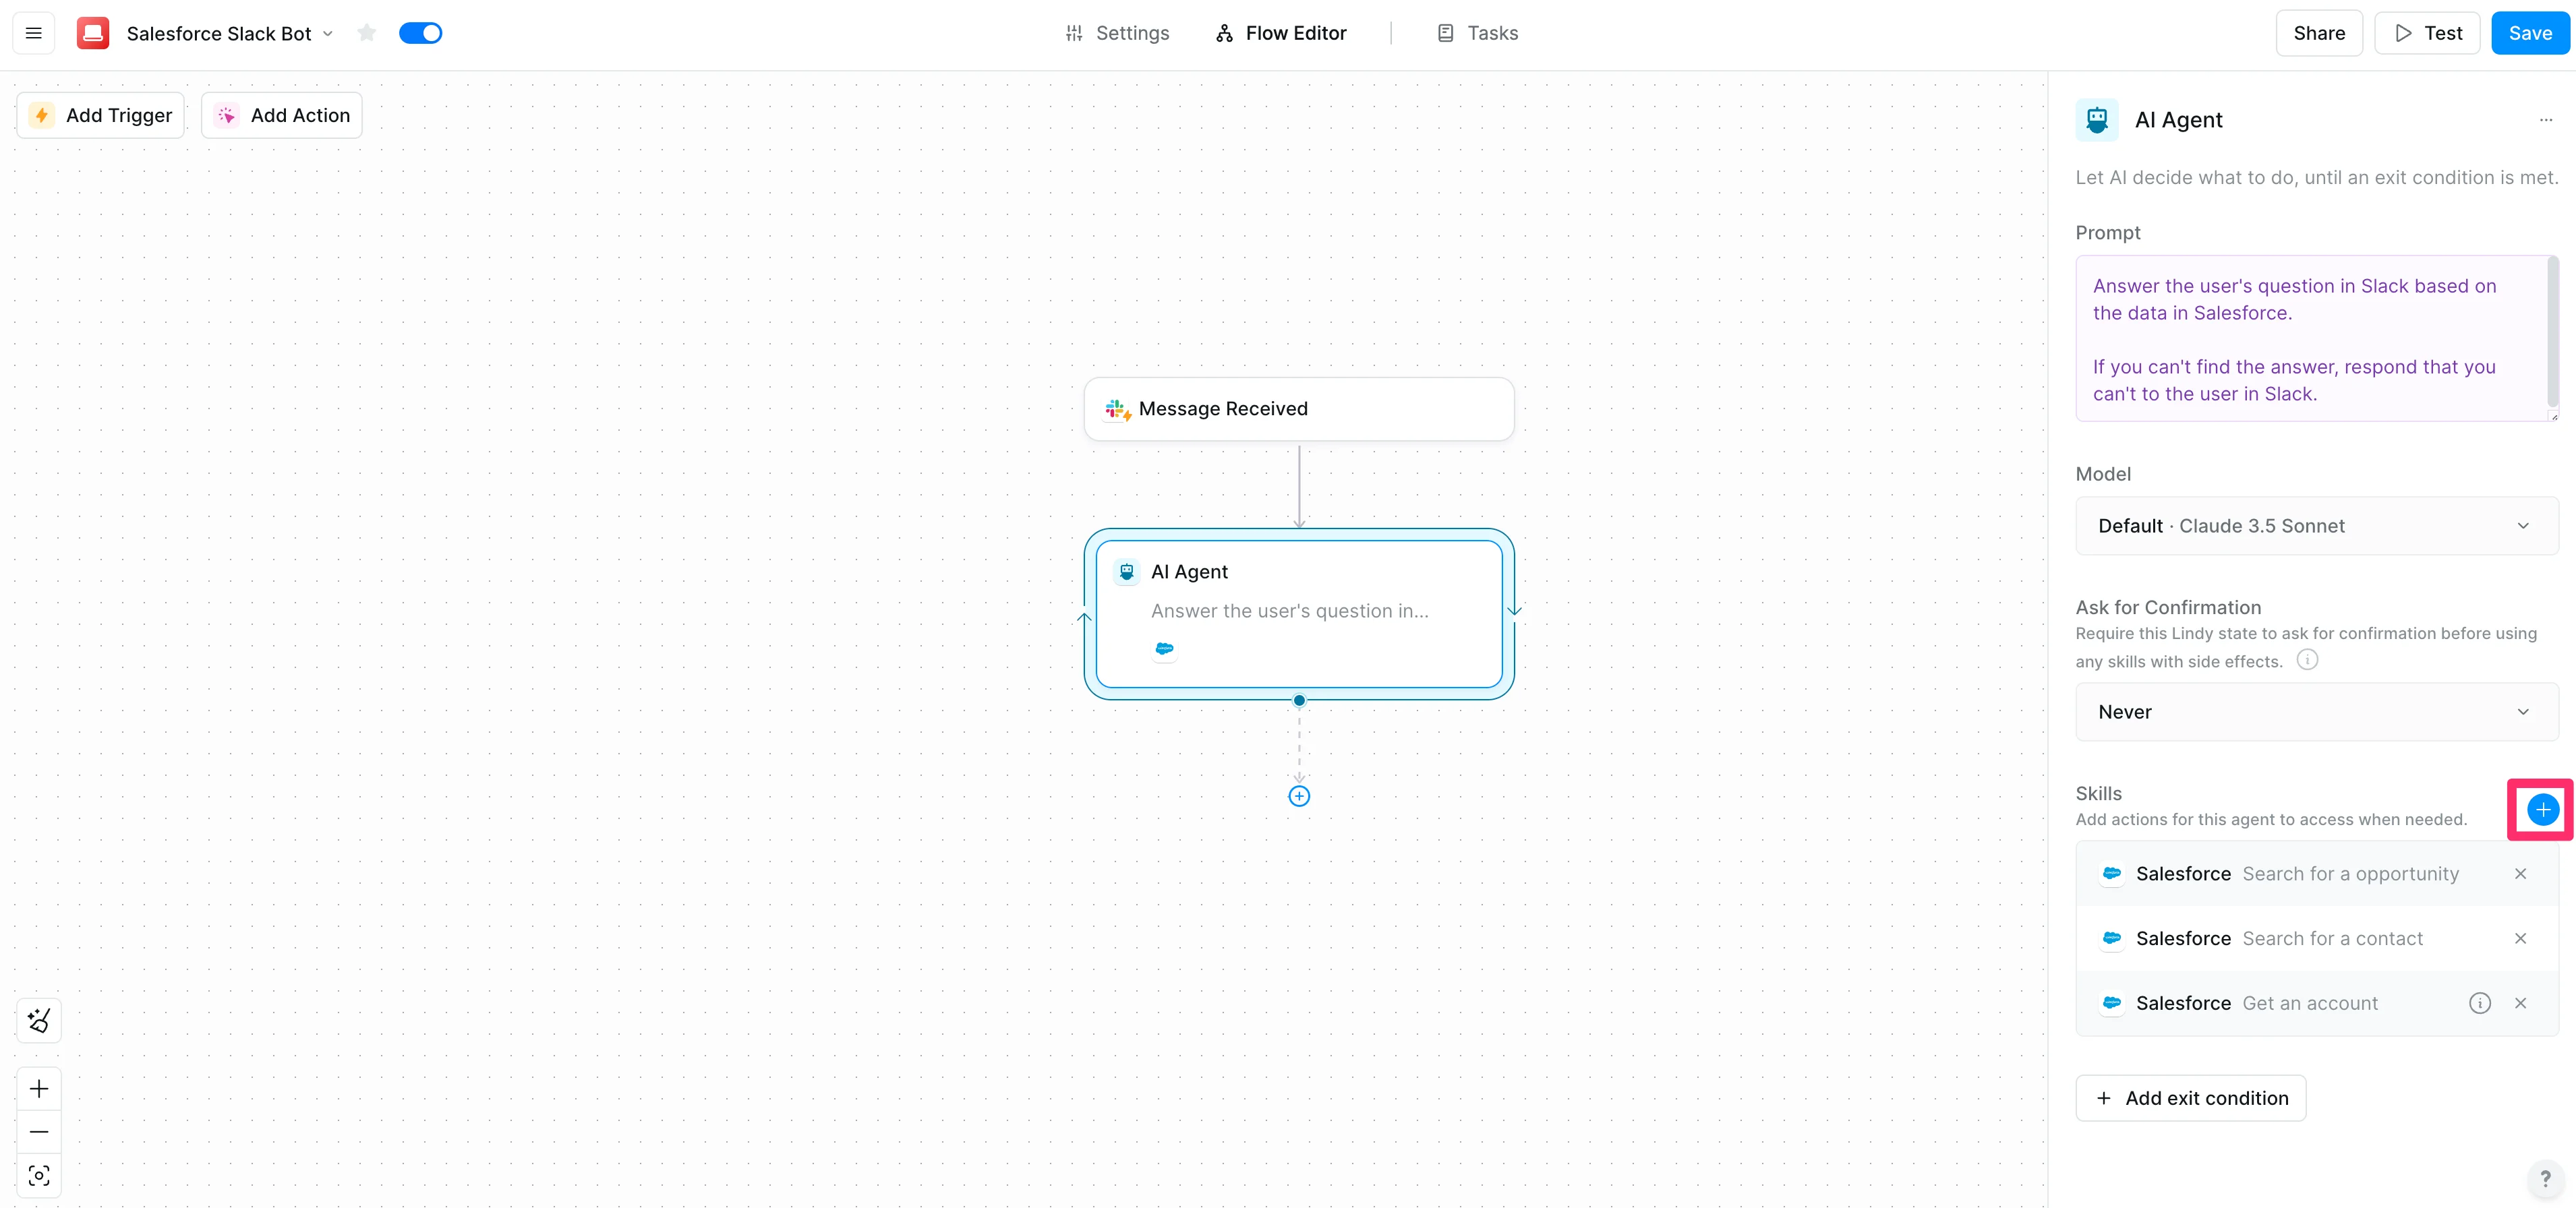
Now, we need to give our AI agent skills. Skills are actions it can perform on our behalf in various apps. To do this, click the “+” button at the bottom of the action editor.
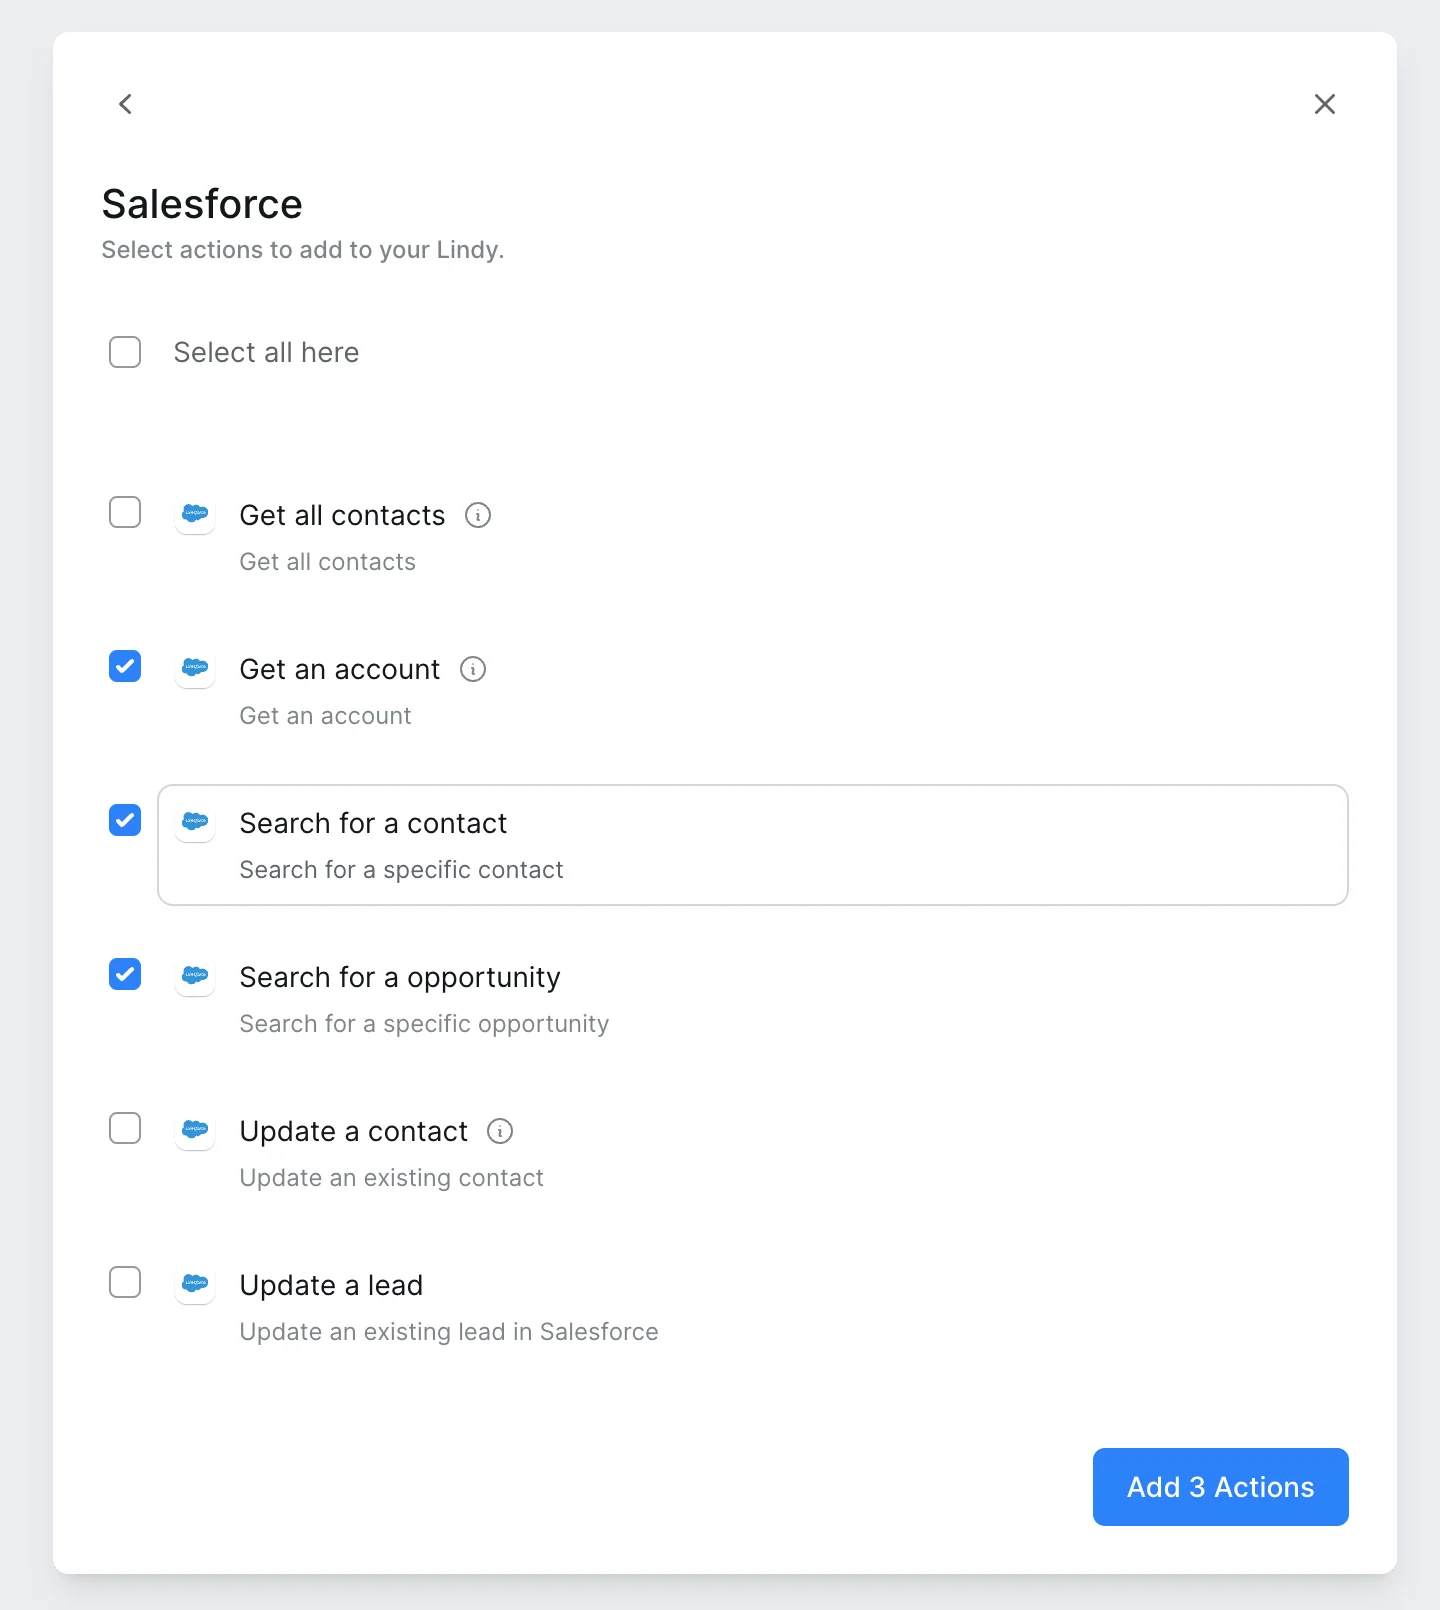
Search and select the Salesforce app and then select all the Salesforce actions you want your AI Agent to be able to perform. For our purposes, we’re going to include the search options and the get account action.
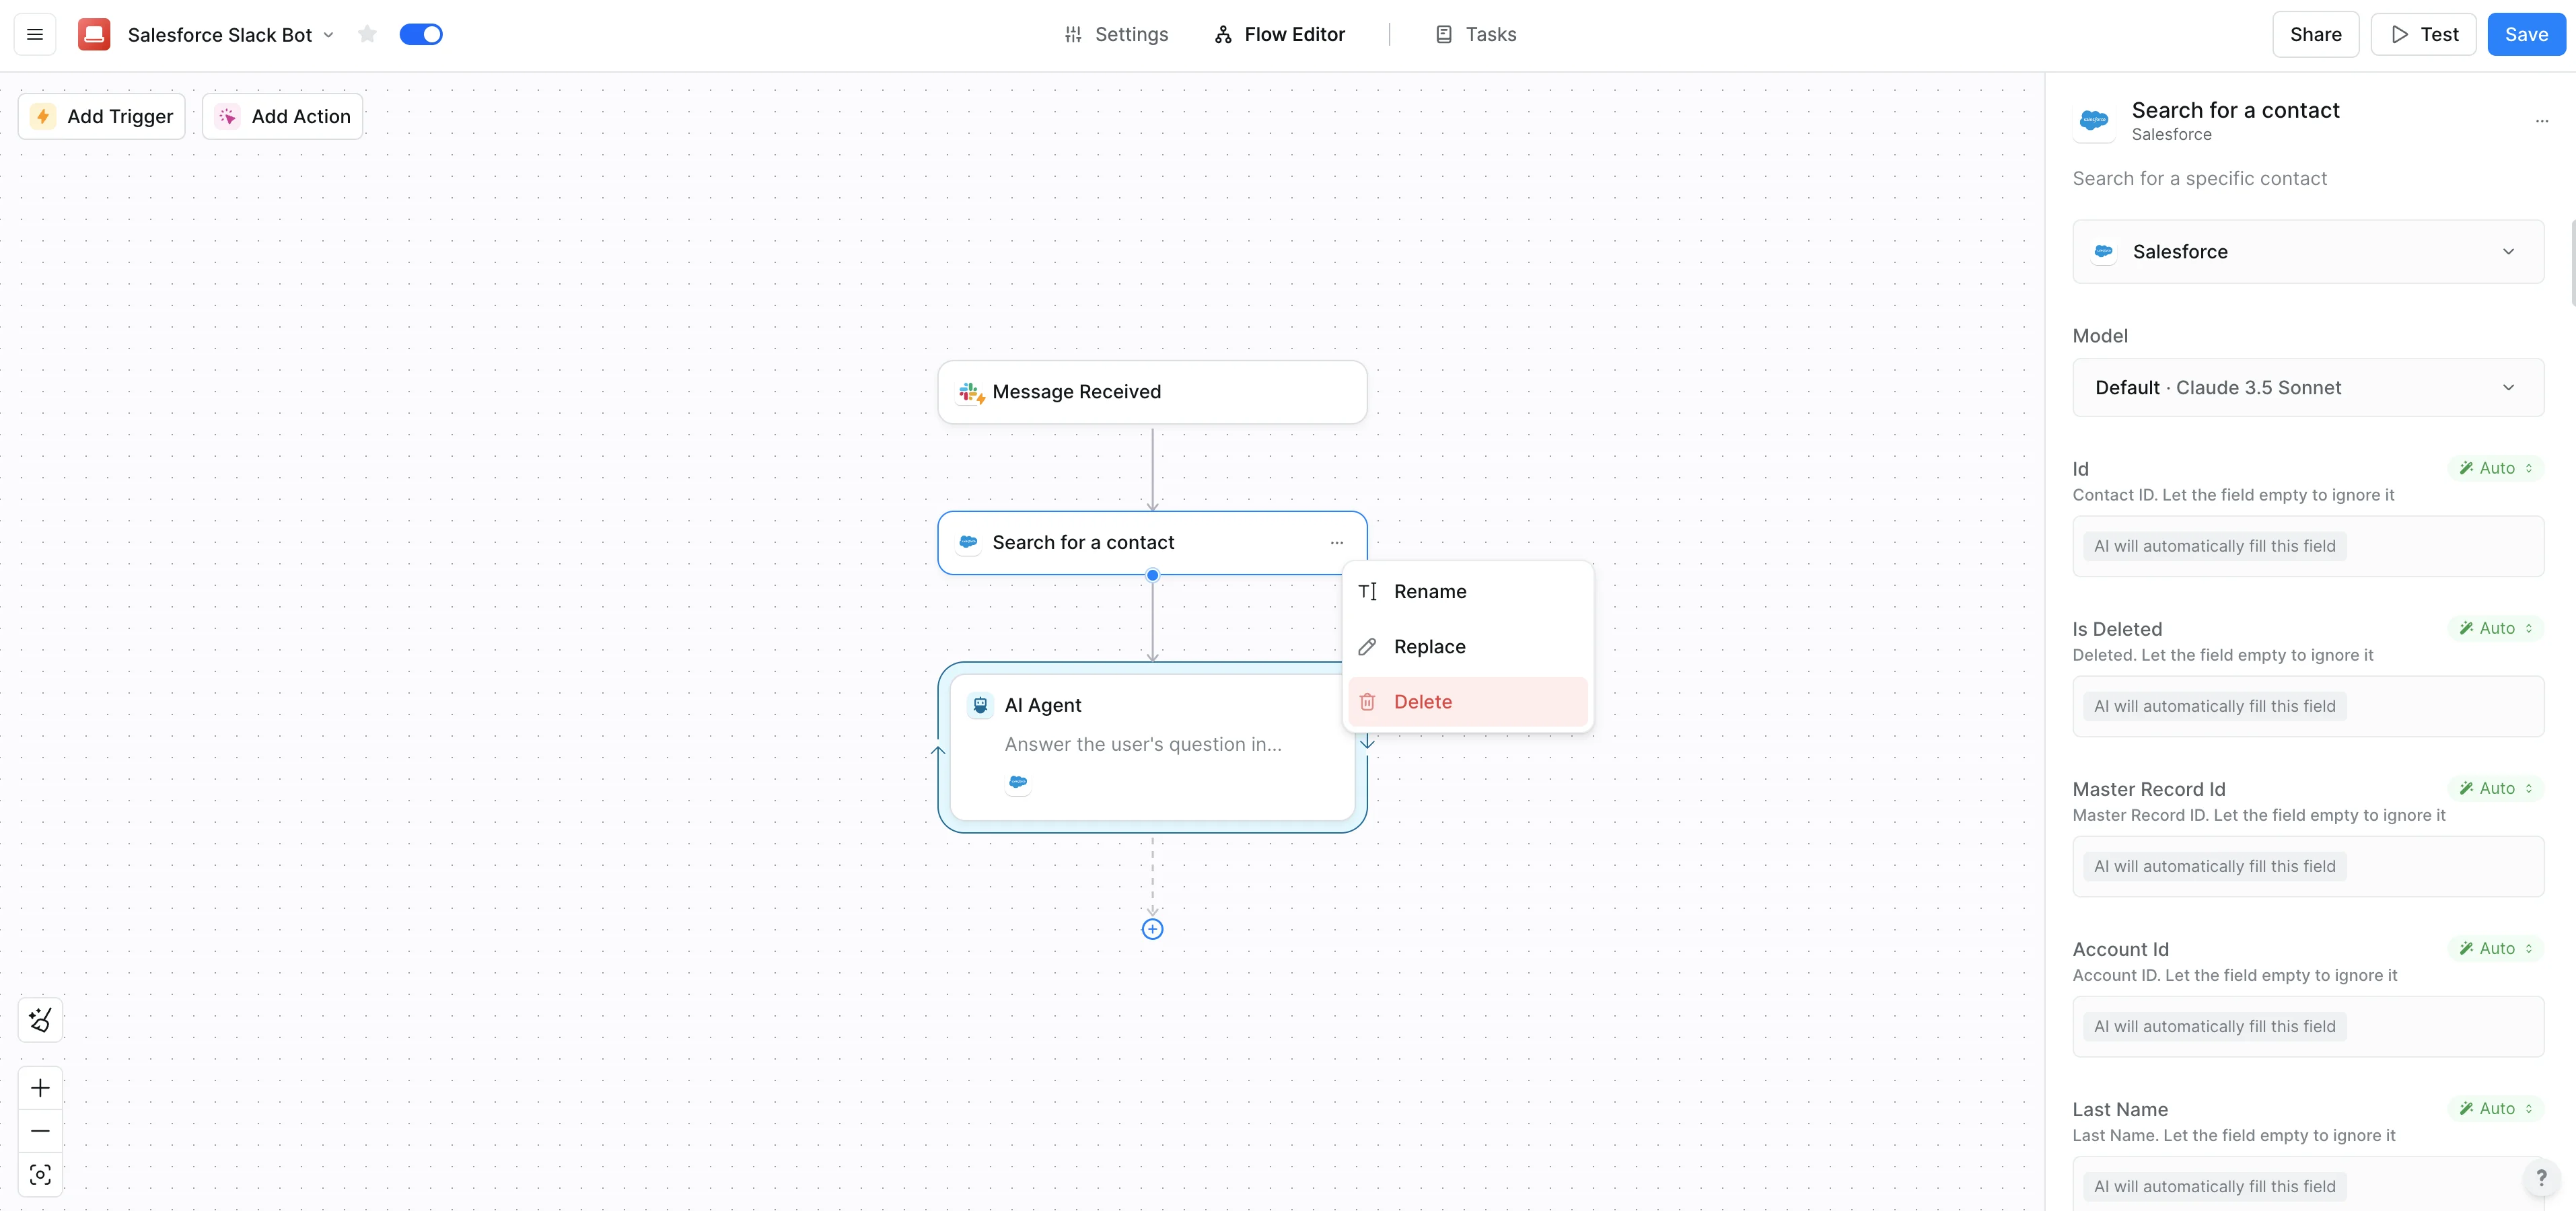
Now, this next step is non-intuitive, but we are going to delete the previous Salesforce step we added by clicking on the three dots icon and clicking the “Delete” option in the dropdown menu.
Step 3: Add Slack response skill
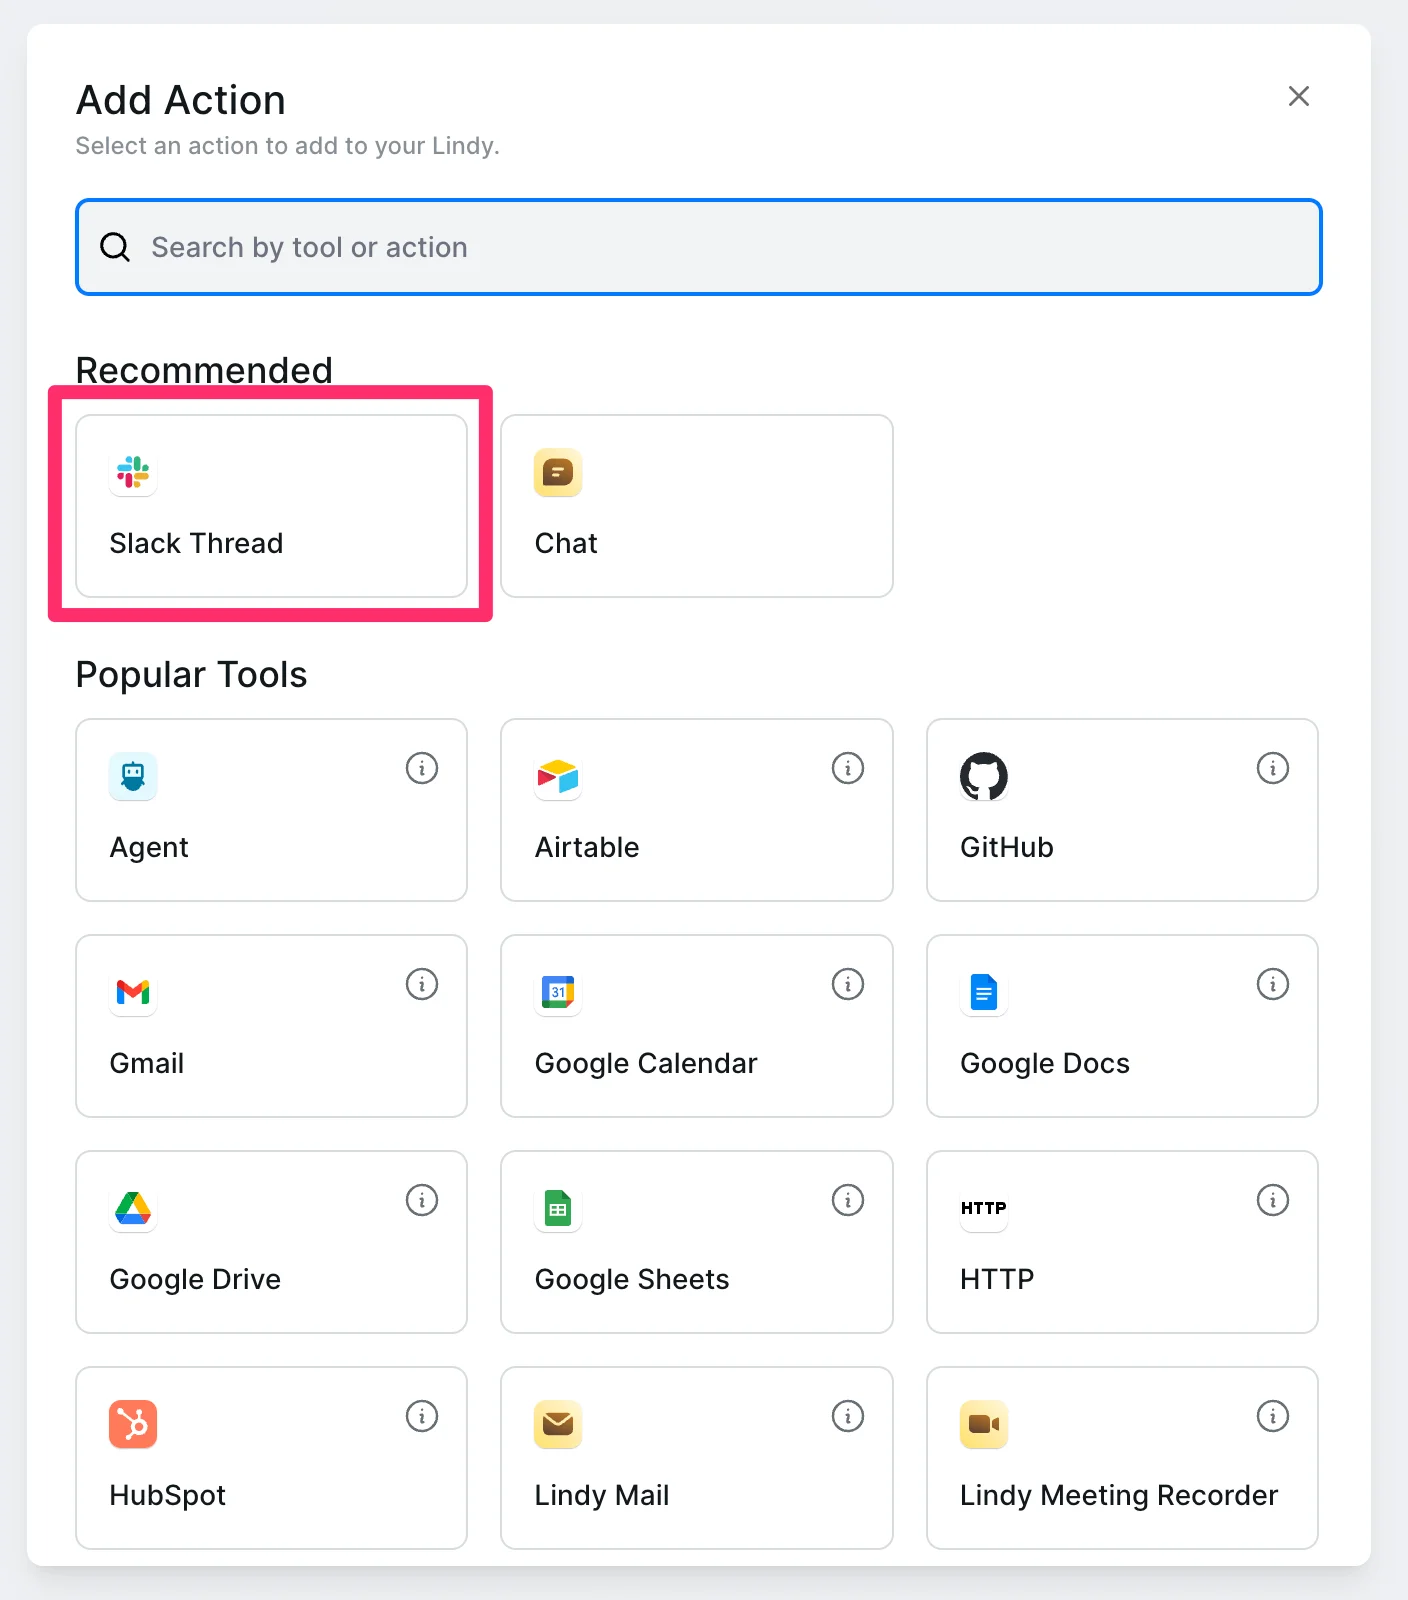
In addition to the Salesforce actions, we need to give our AI agent the ability to respond to us in Slack once it’s retrieved the data. To do this, click the Skills “+” button again.
This time, click the “Slack Thread” option under the Recommended actions in the pop-up window.
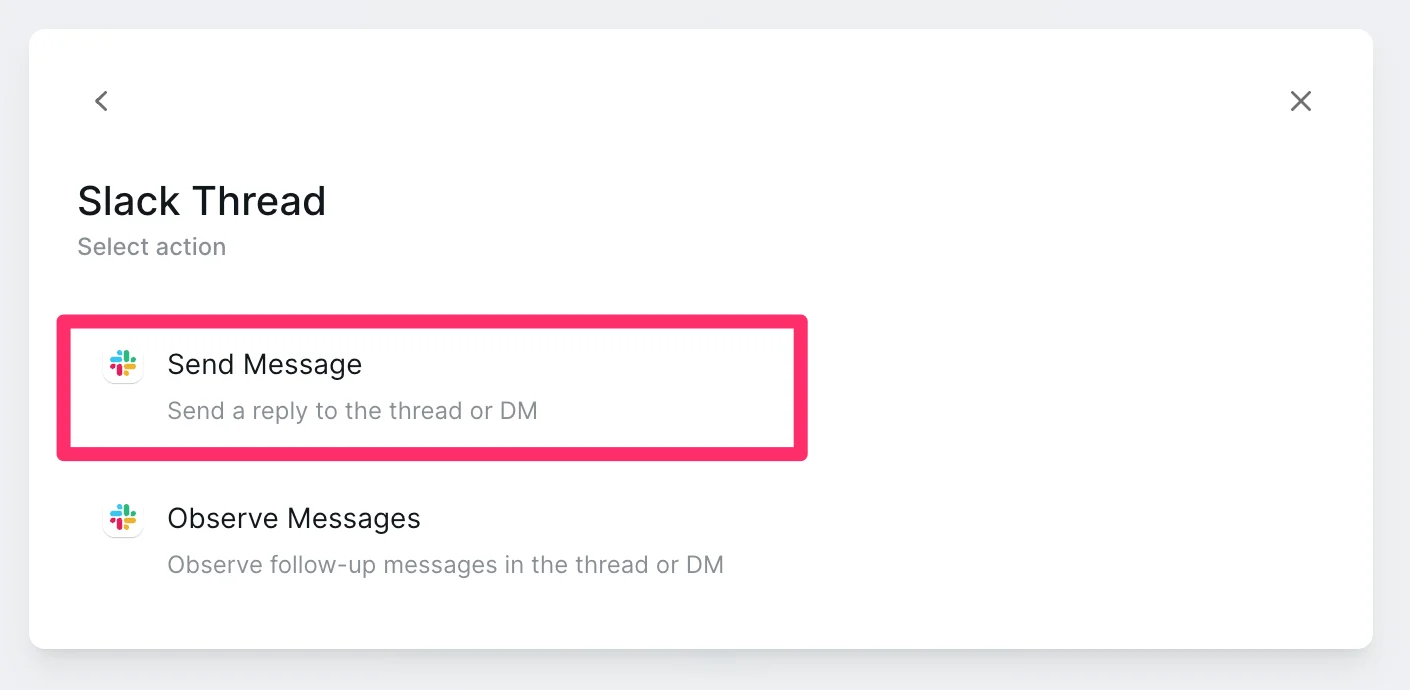
Then, select the “Send Message” option.
Our workflow is now all set up! Click the “Save” button and we’ll be ready to test our workflow.
Step 4: Test the workflow
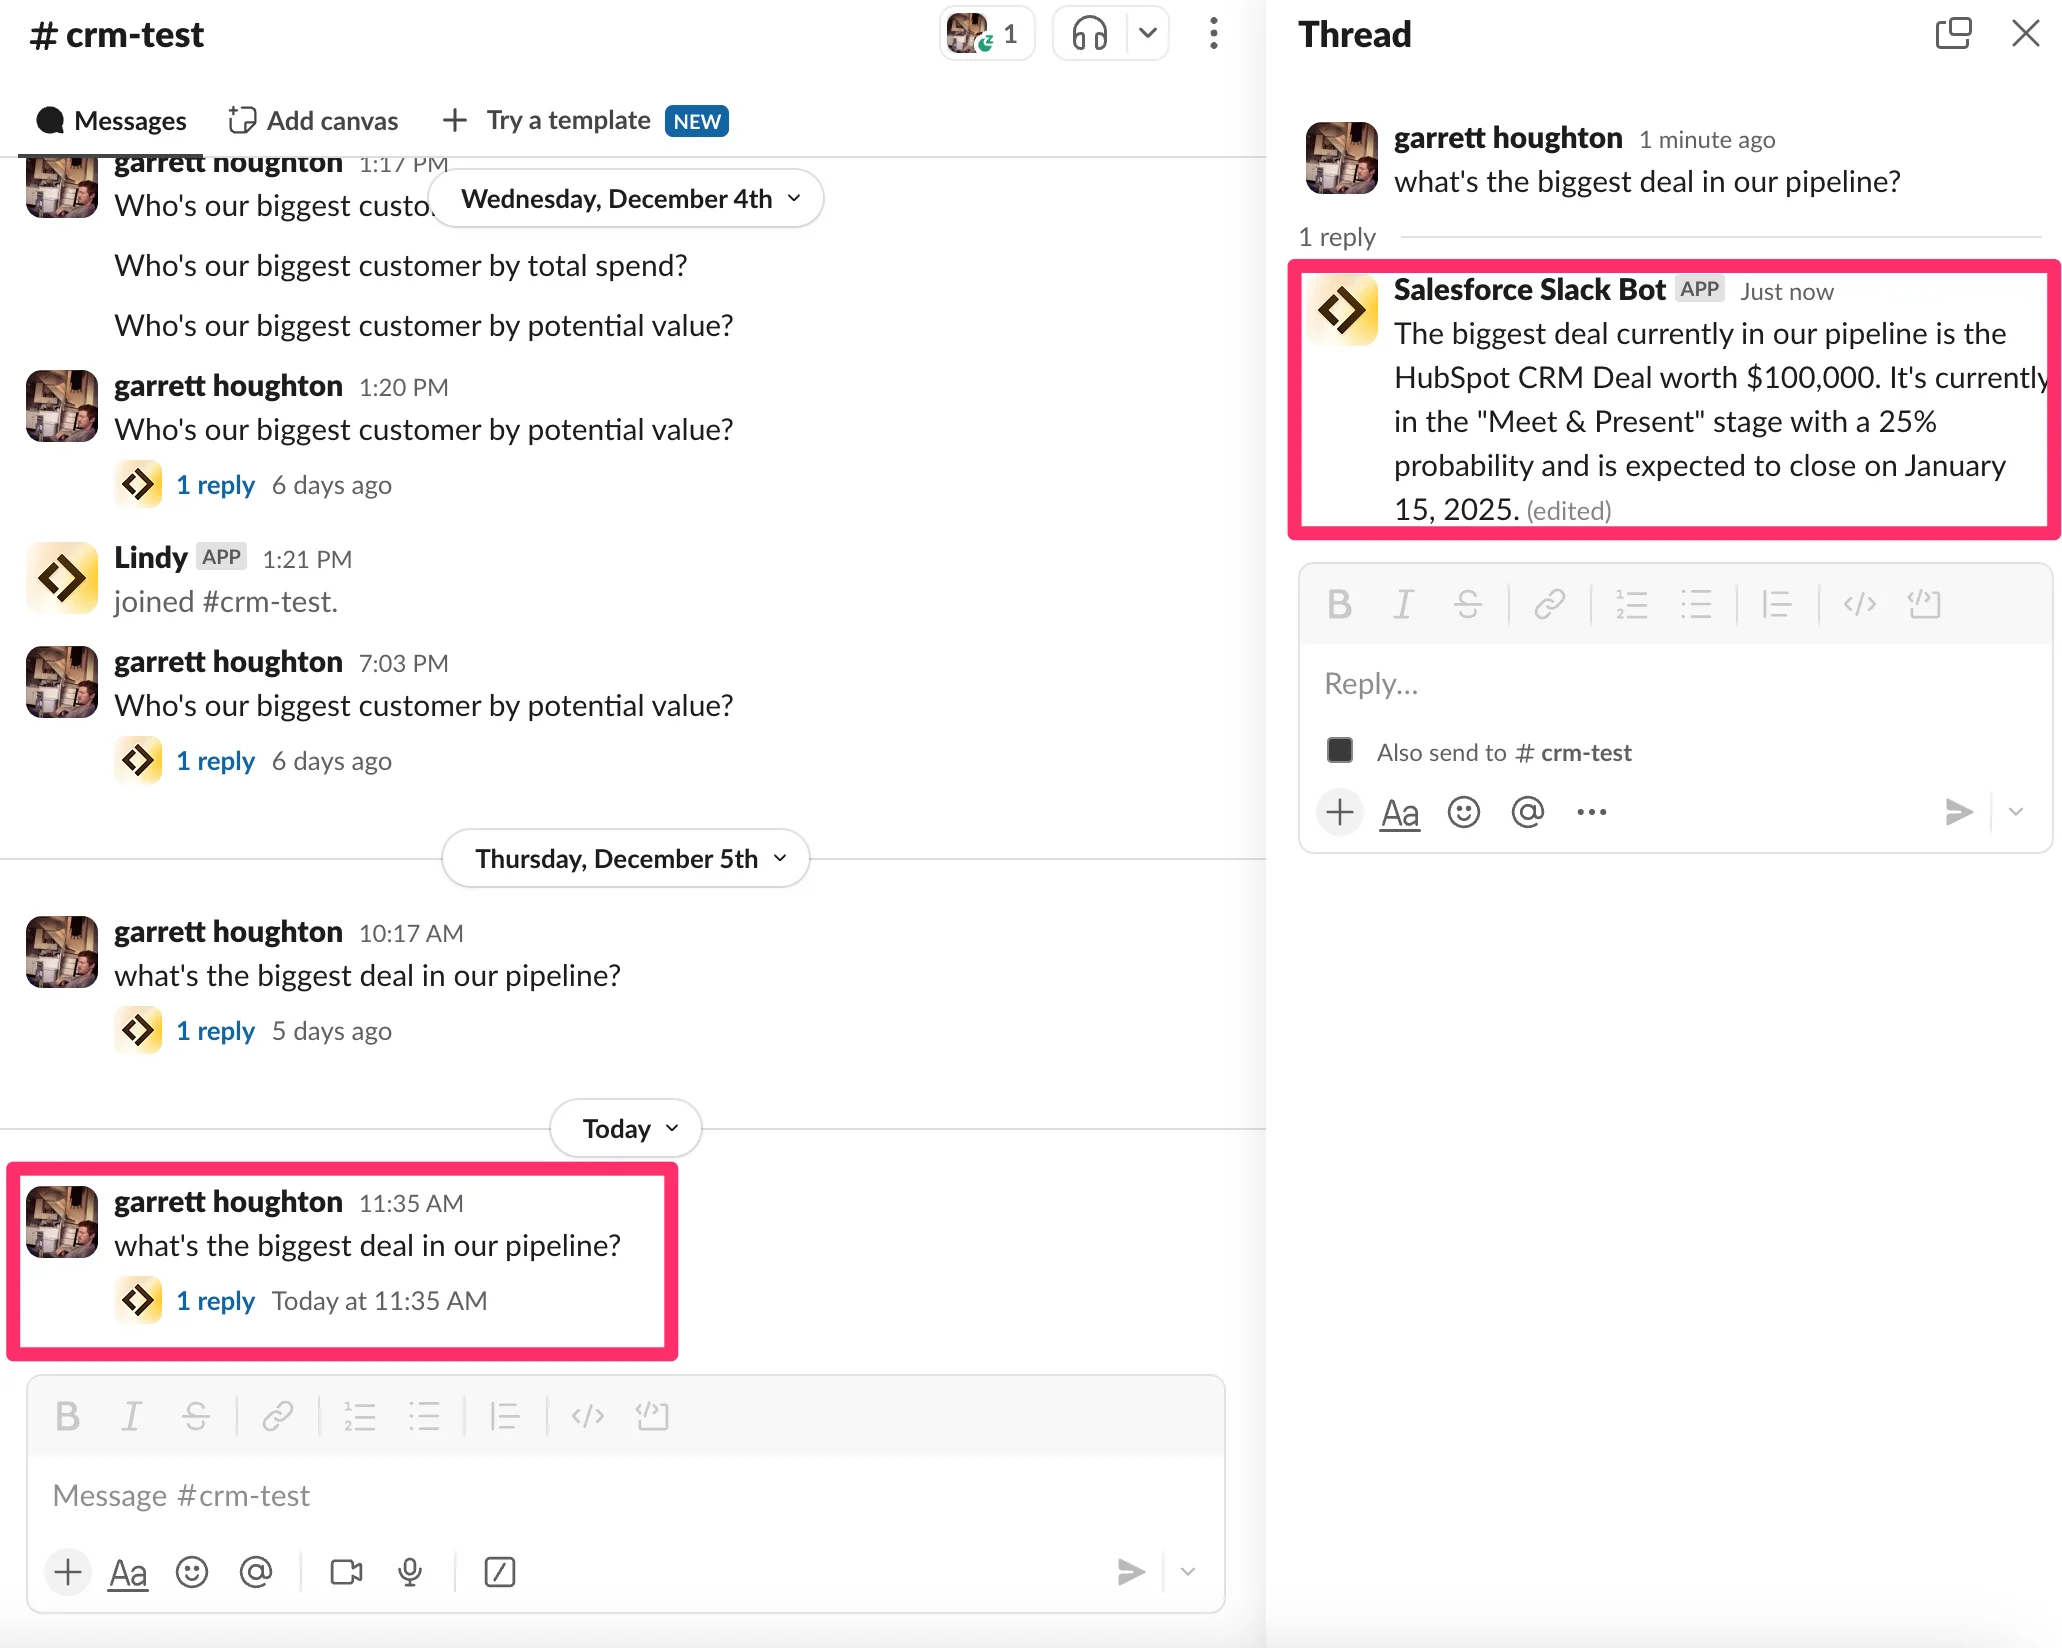
To test your Lindy Slack bot, go into the Slack channel you connected to Lindy and ask a question about your CRM data. Lindy will respond with the answer from your CRM!
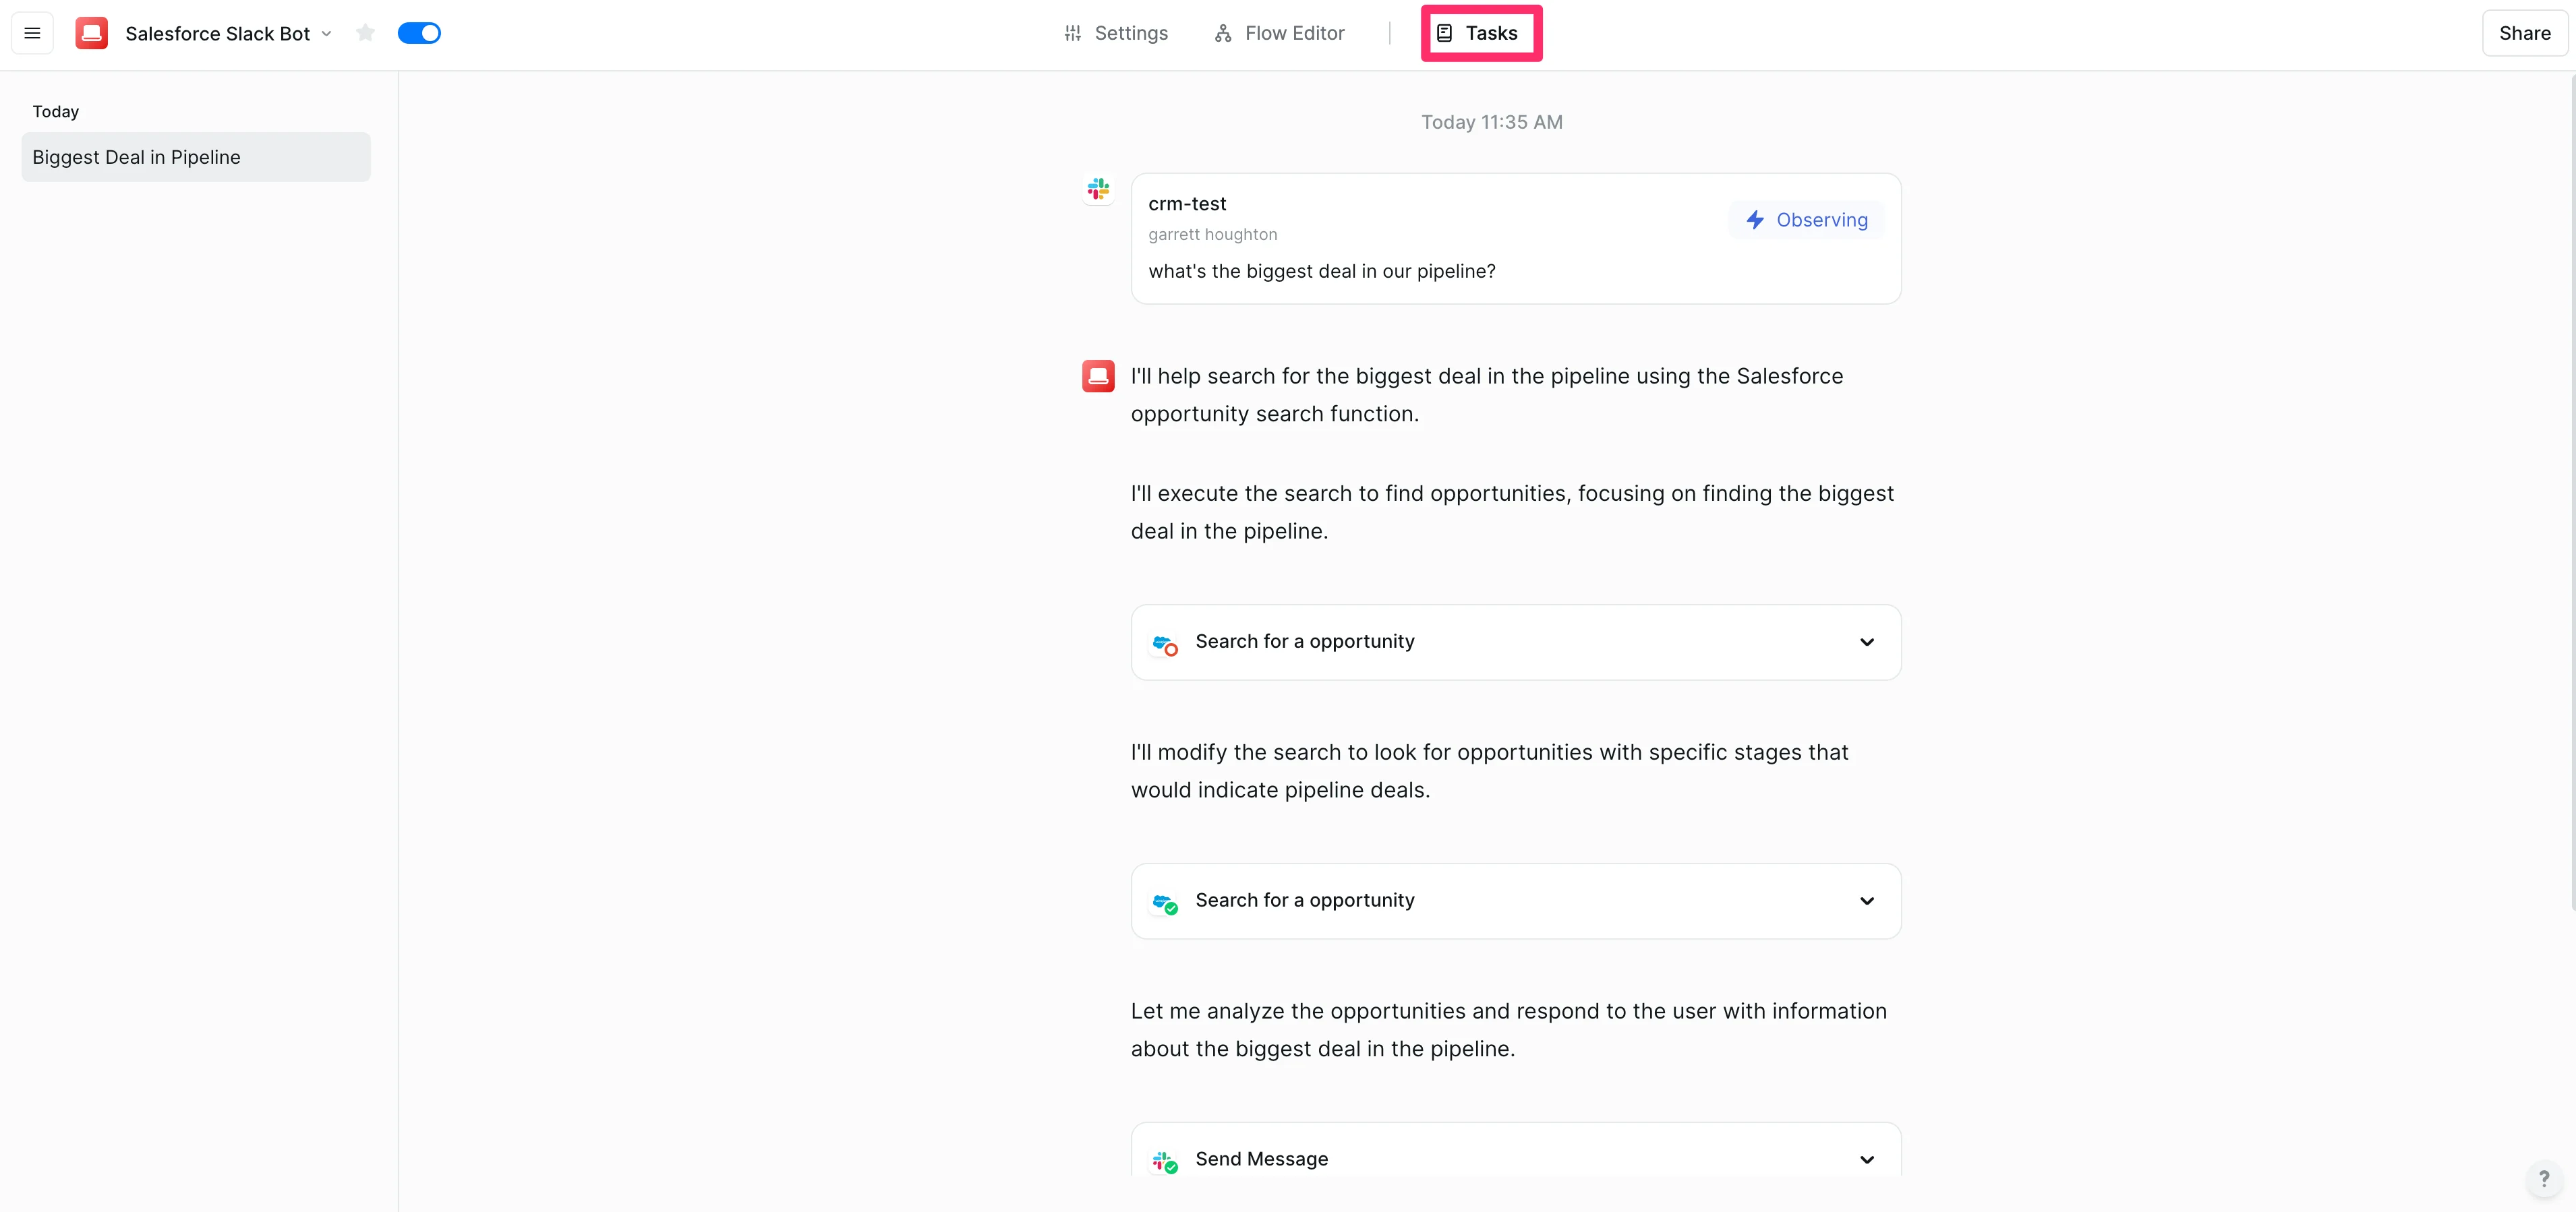
You can also see the full audit trail of steps Lindy took in the “Task” view of the Lindy app.
And that’s it! You can now chat with your CRM data directly from Slack. No more jumping in between apps, pinging colleagues, or scrolling through old messages for CRM data questions.
This tutorial was created by Garrett.