Code your first app using Replit’s AI copilot
Beginners and non-coders, now you can quickly code an app with Replit’s built-in AI.
2024-11-13
If you’ve never learned to code before, the idea of starting can be quite daunting. Hours spent, and plenty of trial and error just to get something working.
AI, however, has changed the game for non-coders. One of its strengths is coding, and it's now possible to say what you want in plain language and get back working code.
But, the code is just one aspect. You also need somewhere to run and host it - and that’s where Replit comes in. It’s a one-stop shop for app building, with AI capabilities baked into its core.
In this tutorial, you will learn how to:
- Create your first project in Replit
- Use the AI copilot to generate code from a prompt
- Run the code to see your app in action
- Have the AI explain parts of the code
- Use the AI copilot to inline edit some of the code
Step 1: Create your first project in Replit
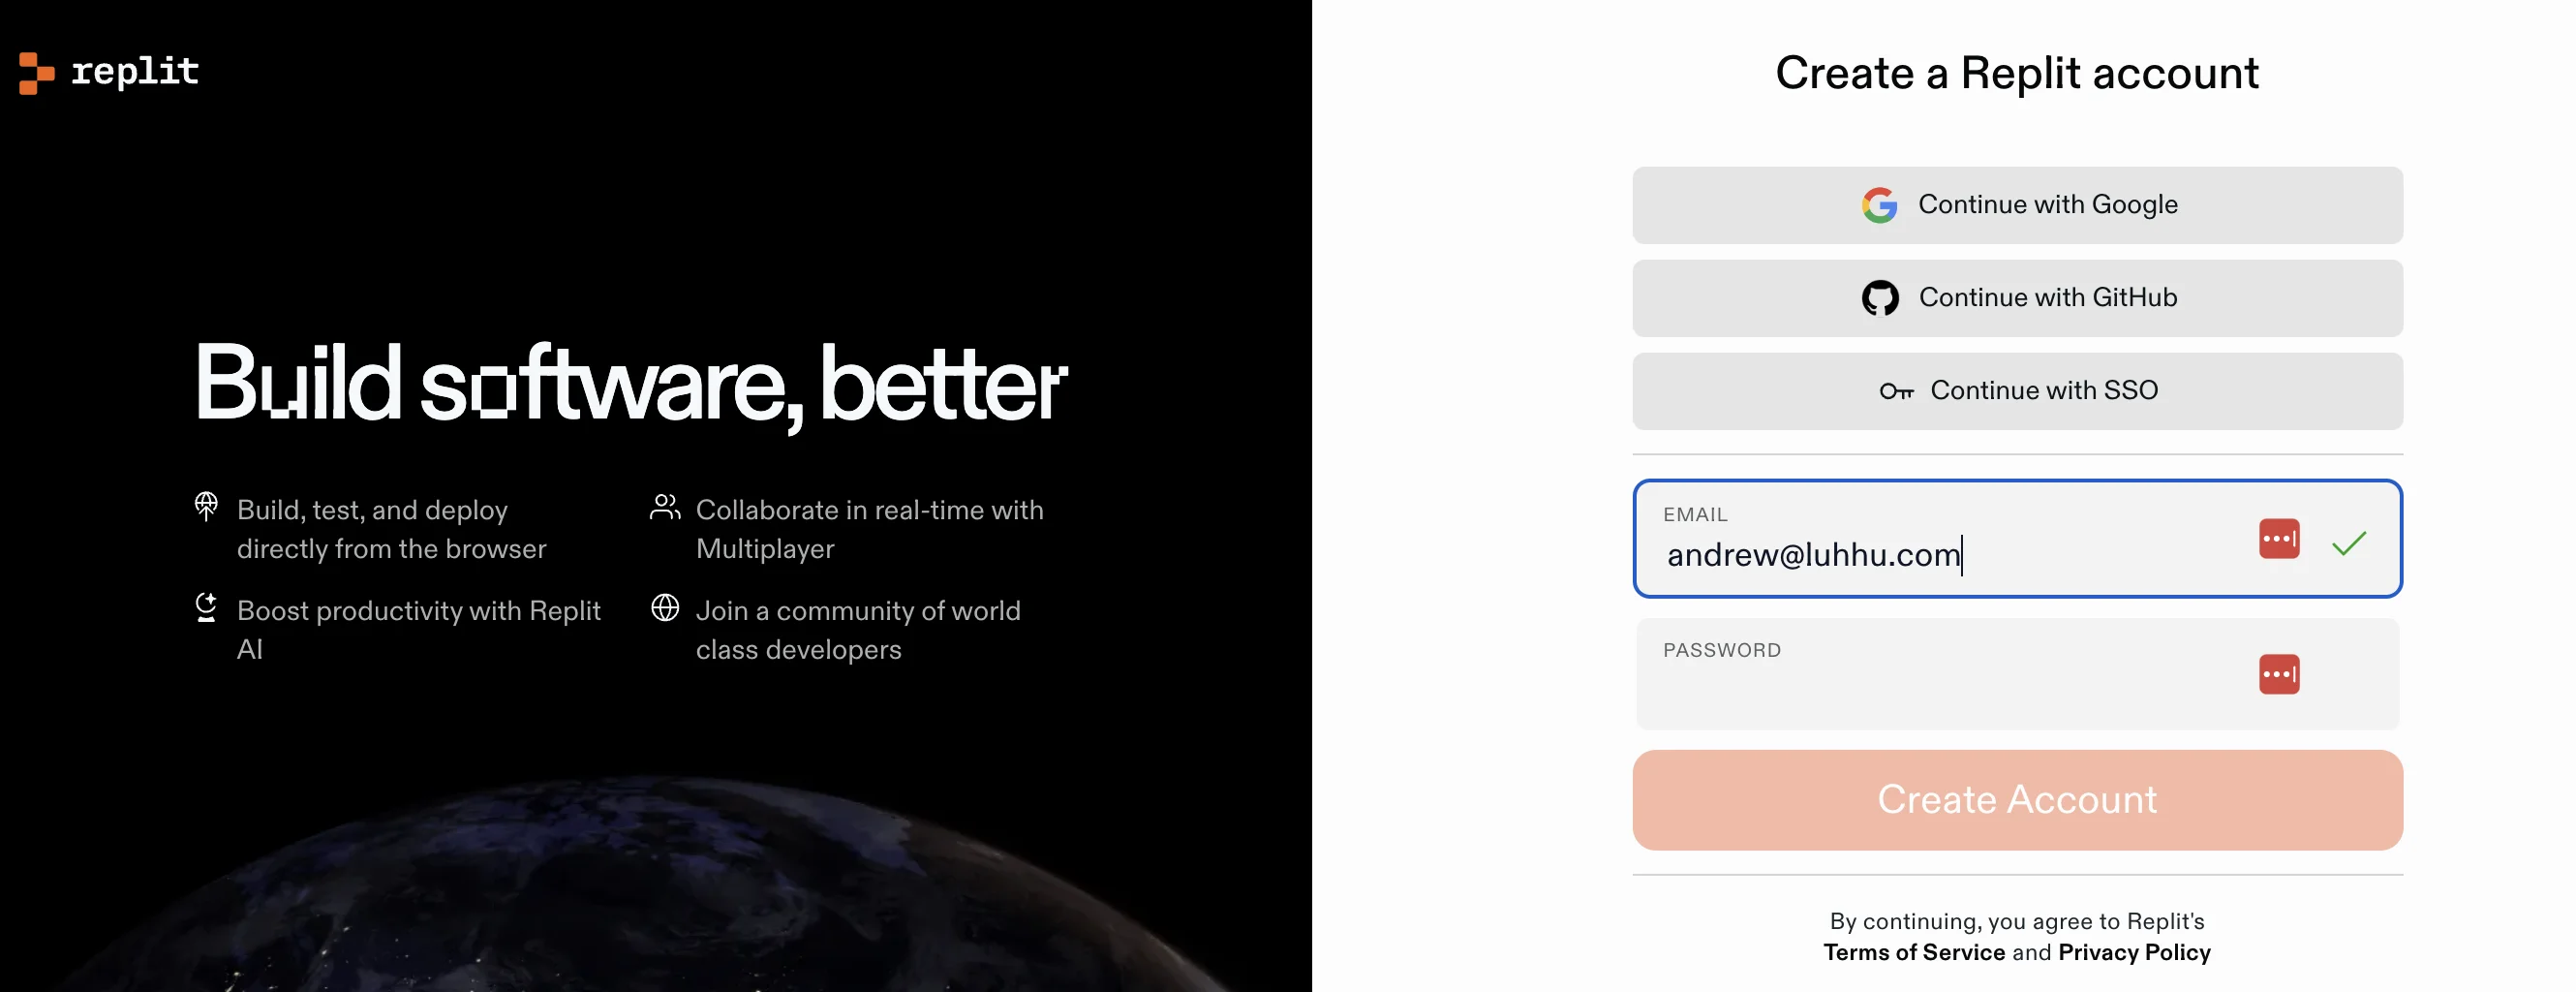
Head over to Replit and create an account. The Free plan is sufficient to experiment with, but if you’re happy to spend $10, then the Core plan gets you access to more advanced AI.
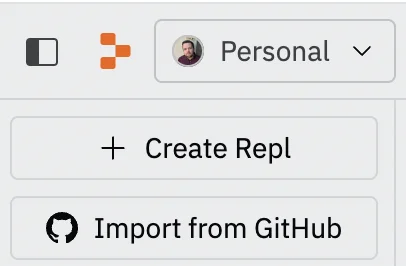
Once you’re signed in, click the “Create Repl” button in the top left corner.
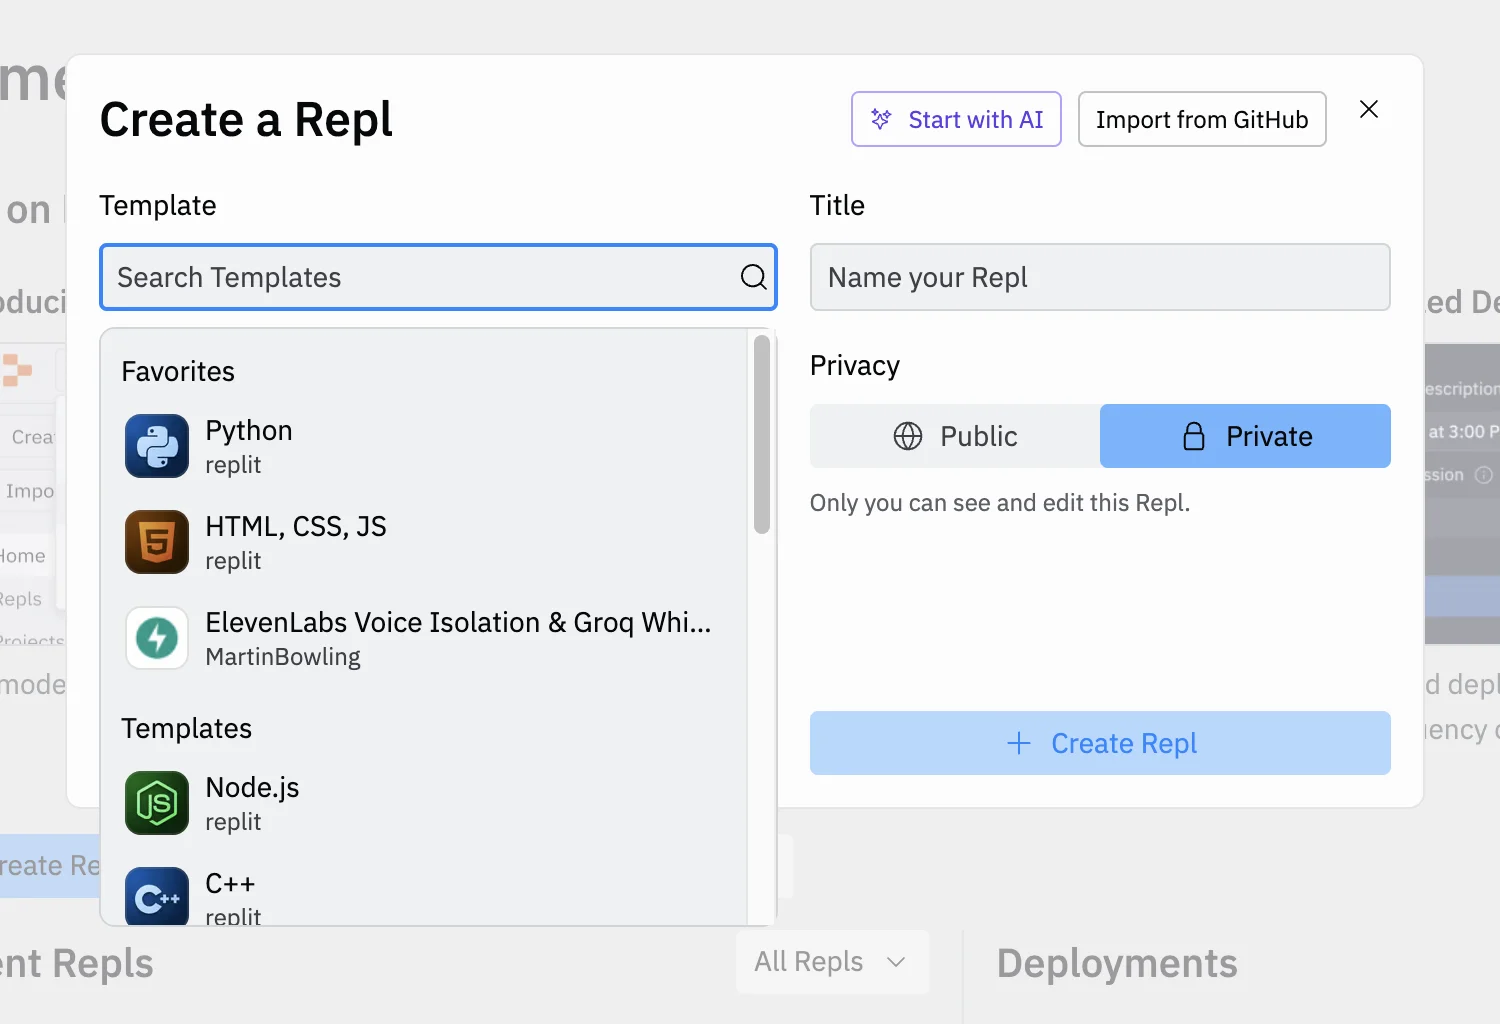
There are many coding languages, but for a beginner looking to get something working quickly, Python is one of the easiest to work with. It also happens to be one of the languages AI is most familiar with.
So, select ‘Python’ from the “Template” dropdown and then give your project a name. By default your project will be private, meaning only you can access it.
The dashboard that opens will be quite daunting at first, but don’t worry, you can ignore more of it right now.
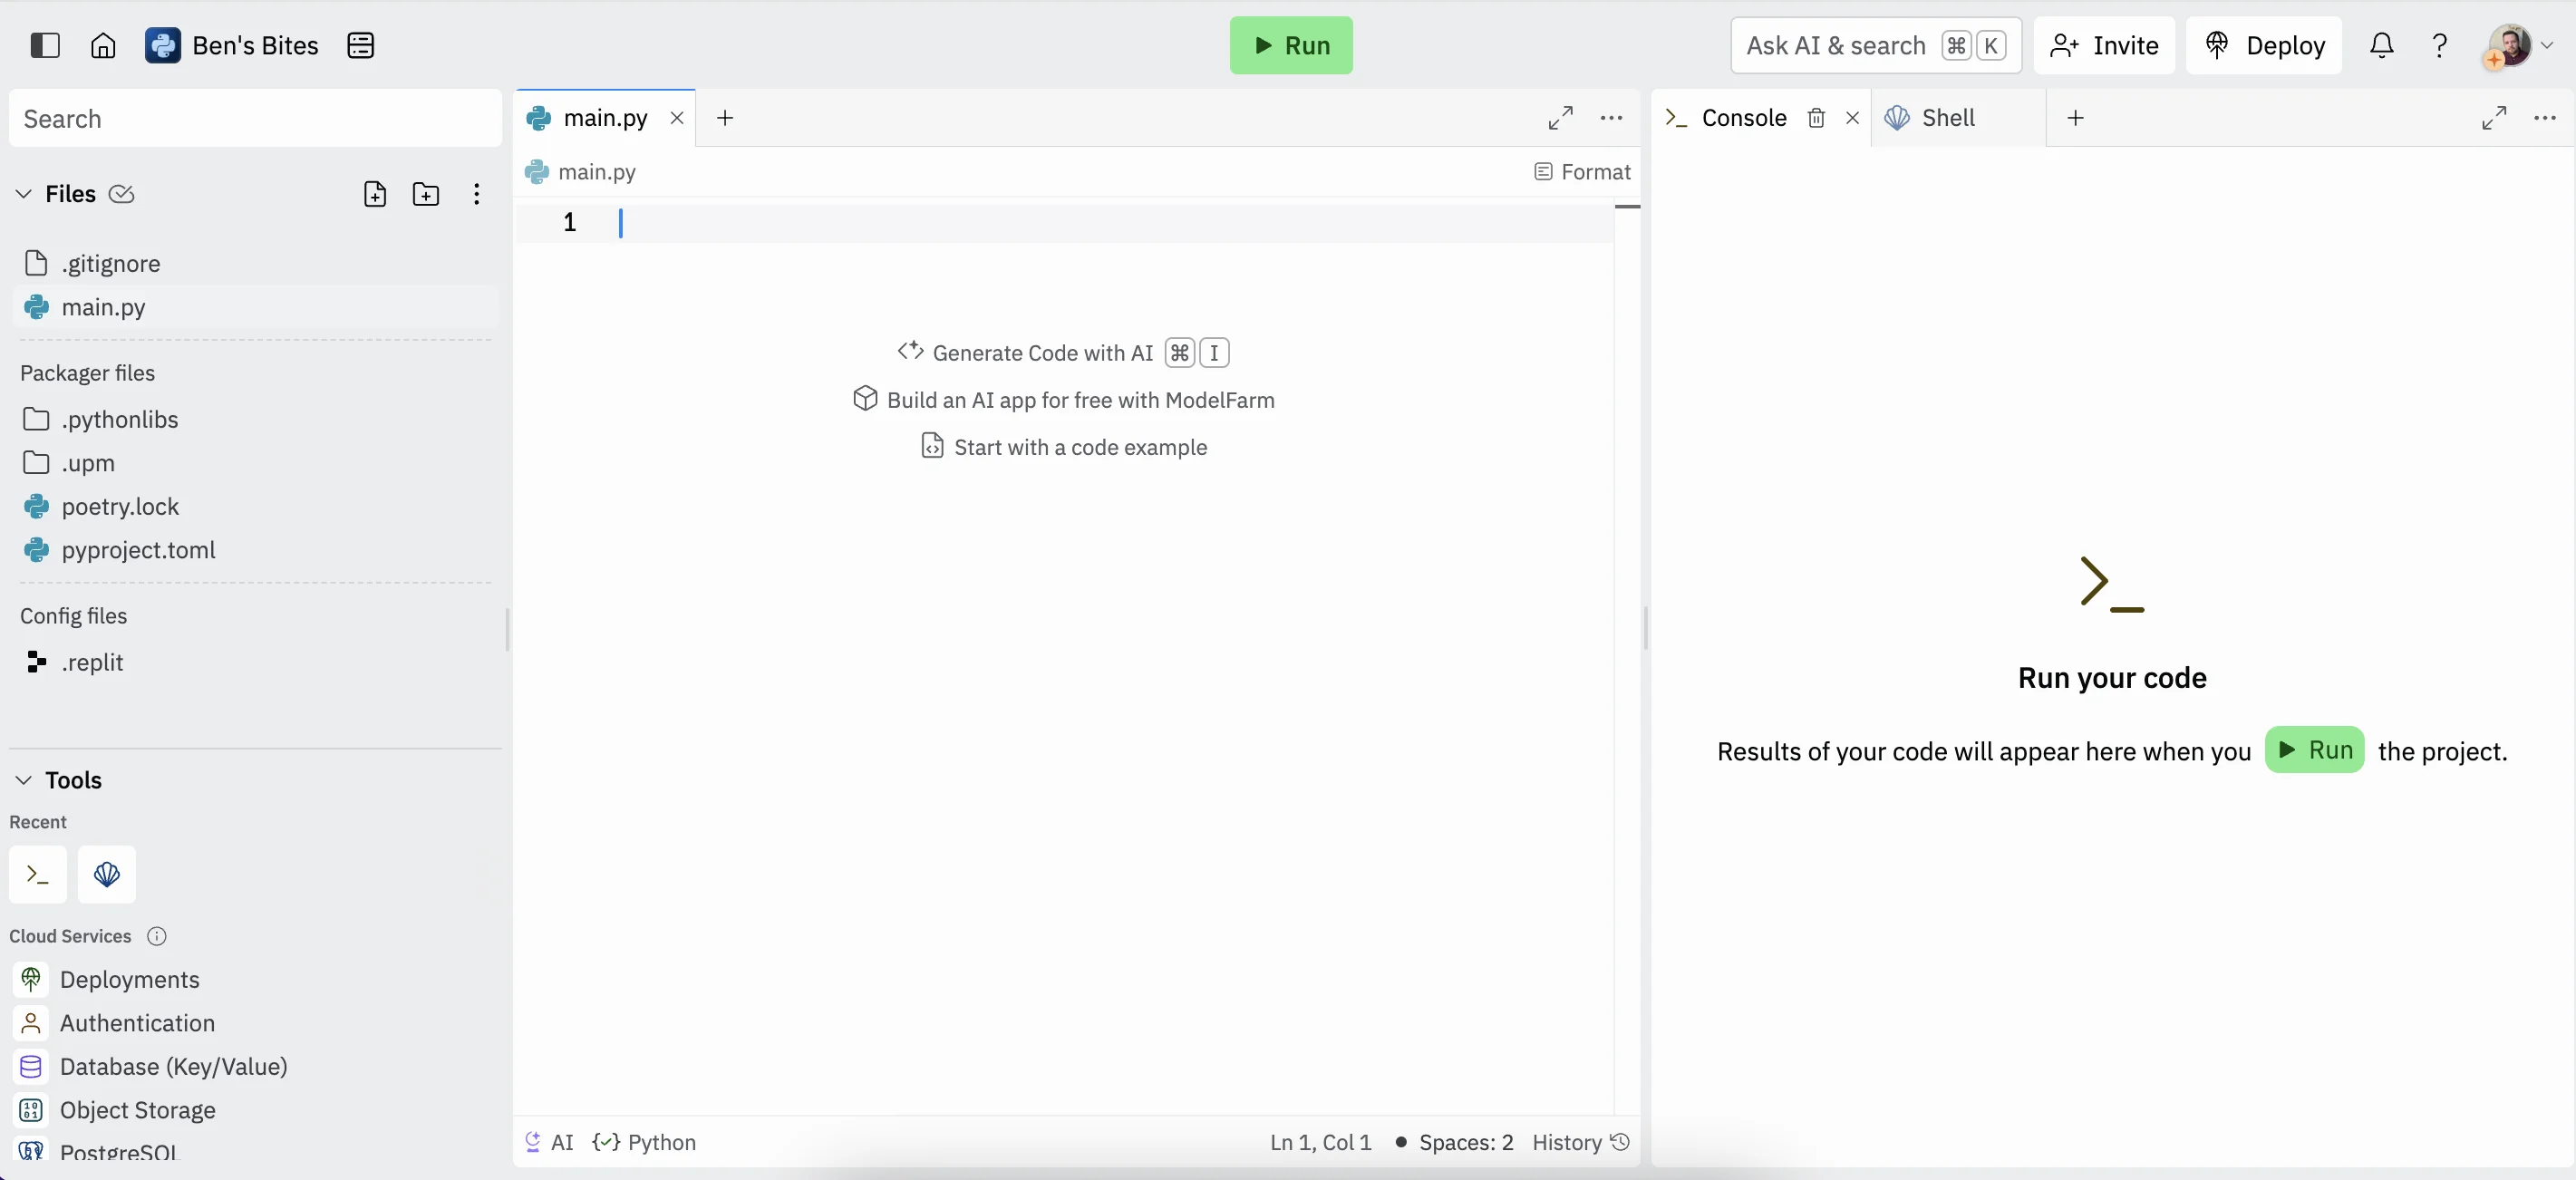
The panel in the center is the more important. This is where you write your code.
You’ll notice that the tab open in this panel is connected to a file listed on the right called “main.py”. Complex projects will typically have multiple files, but in this tutorial, we’ll be doing everything inside this one file.
Step 2: Use the AI copilot to generate code from a prompt
Now, if you know some code you could go ahead and start typing, but as beginners, we’re going to have AI do it for us.
As it says, press Command+I (if you’re on Mac) and you’ll see a prompt input. You can type anything you want here. We’re going to build a simple word and letter counter using this prompt:
Please write me a script that asks for an input sentence in the console and returns aletter and word count.
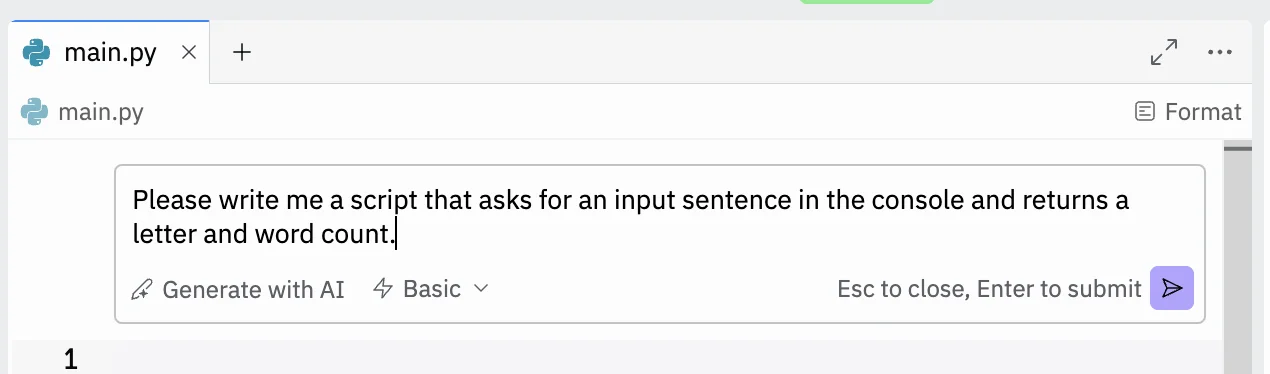
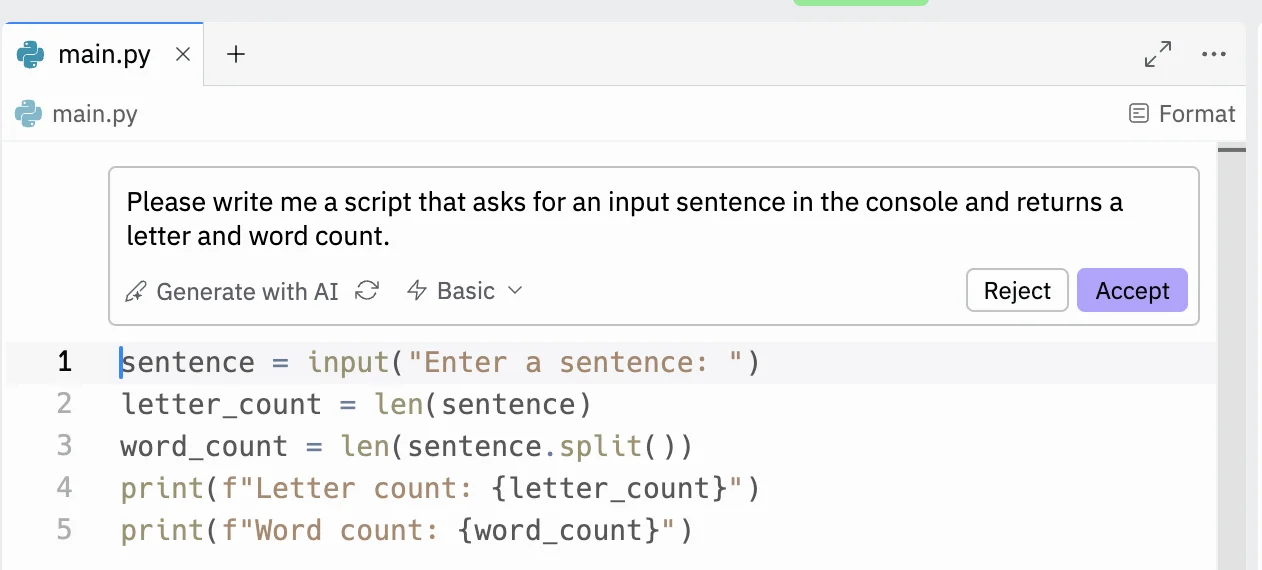
Click the purple arrow on the bottom right and you’ll see your code get written in real time. You can then reject the code or accept the code to save it.
Step 3: Run the code to see your app in action
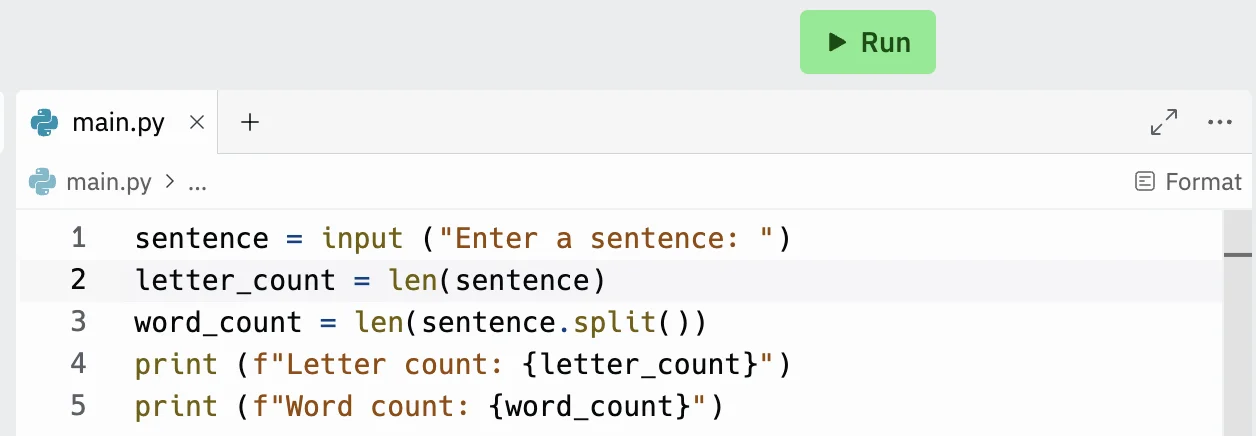
With our code written, let’s run it and see what happens. Click the green “Run” button at the top to do that.
Over on the right, you’ll see the “Console” tab come to life, asking you to input a sentence. For apps like this, the console is where all input and output happens. Its entirely text based (you can use Python to build fully visual apps - but that’s beyond the scope for this tutorial).
Let’s go with something simple like “Ben’s Bites is the best place to learn about AI”.
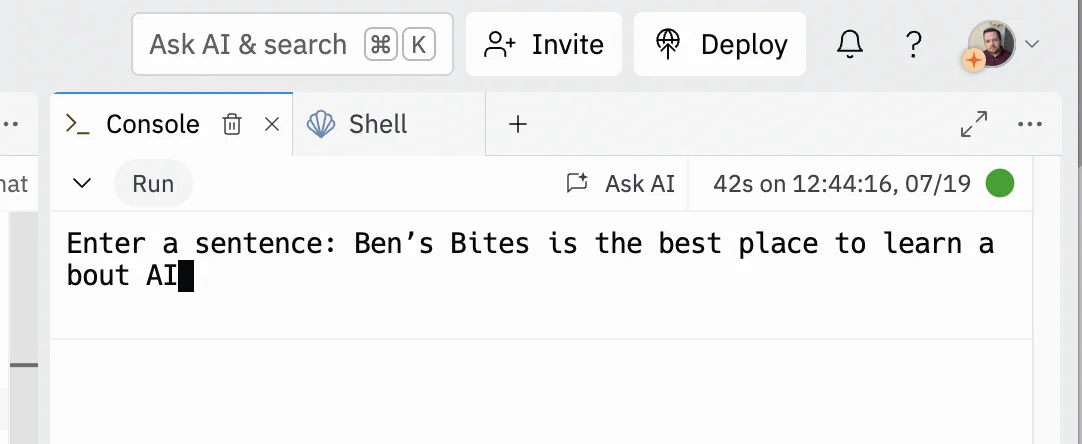
Press enter, and almost instantly you’ll see the result displayed. Numbers look right to me!

Step 4: Have the AI explain parts of the code
Now, as well as writing code, AI is great at explaining code - something particularly useful for beginners who want to learn more about what they’re creating.
To do that, simply go back to the code panel, highlight the line(s) you’re interested in and click the “Explain with AI” button.
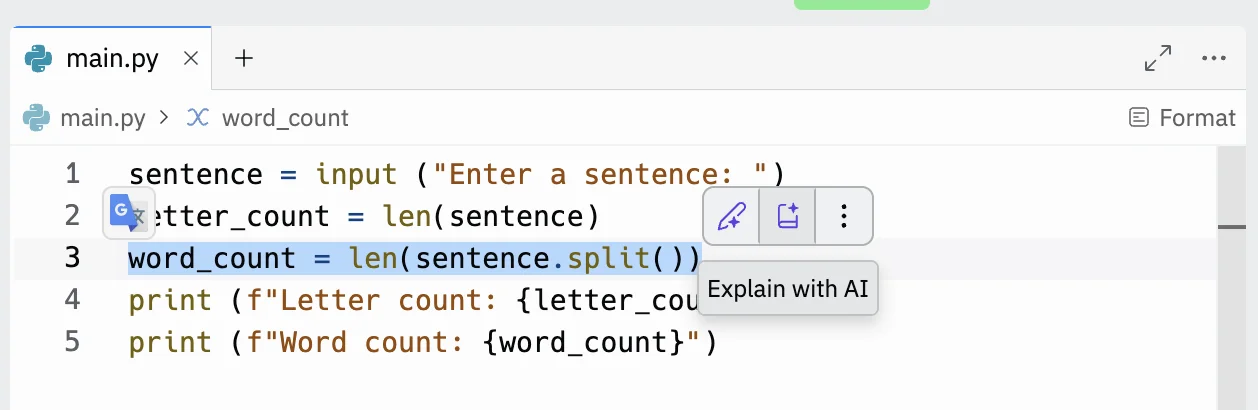
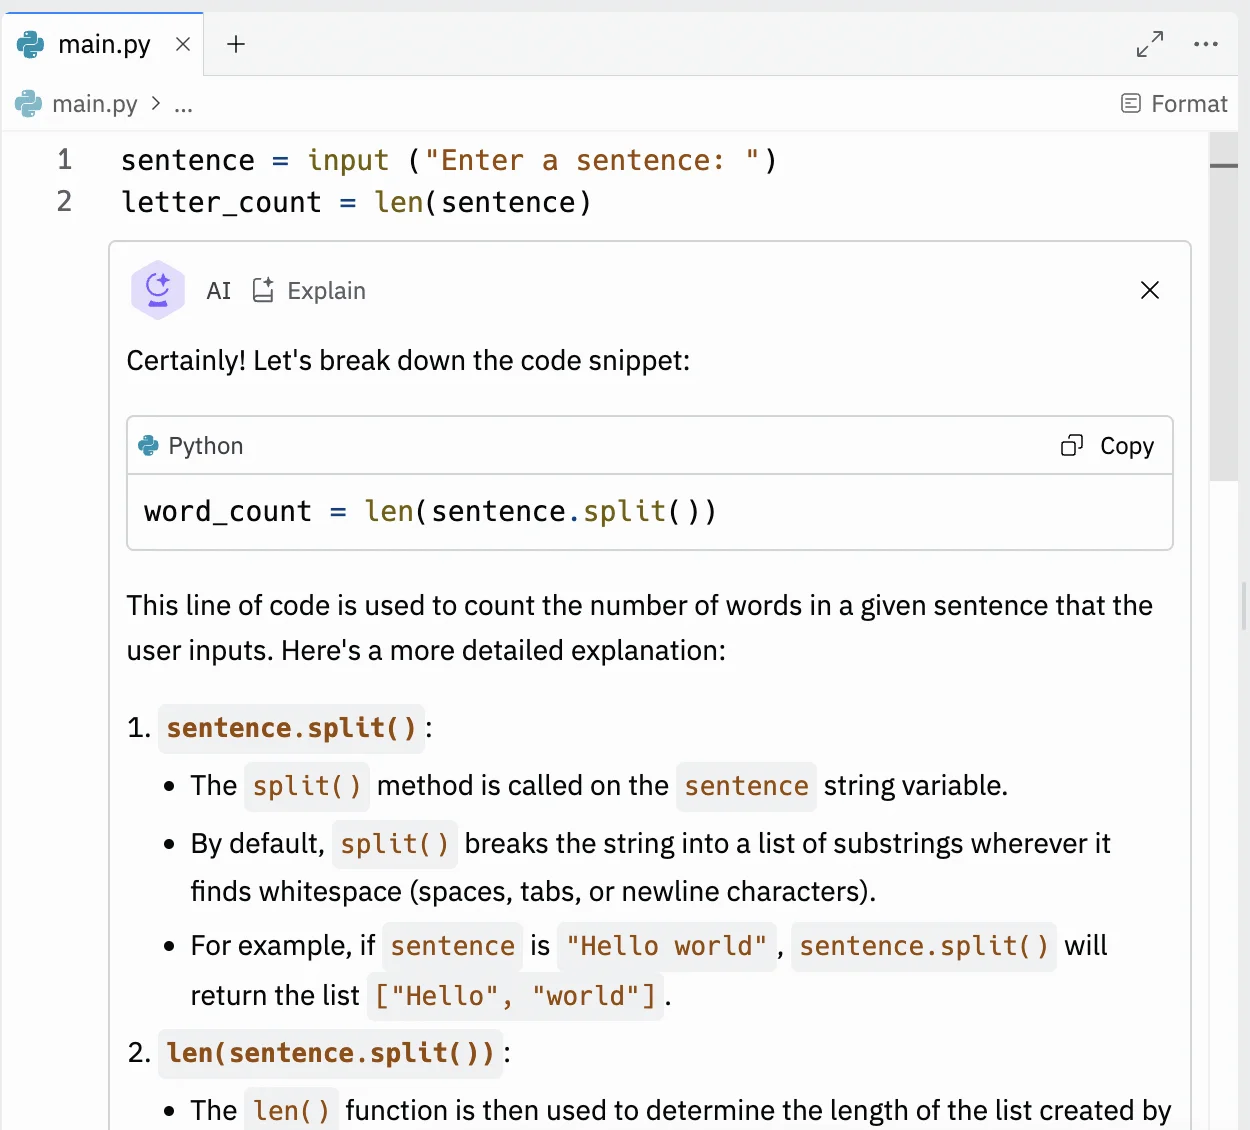
Within a few seconds, you’ll get a full breakdown.
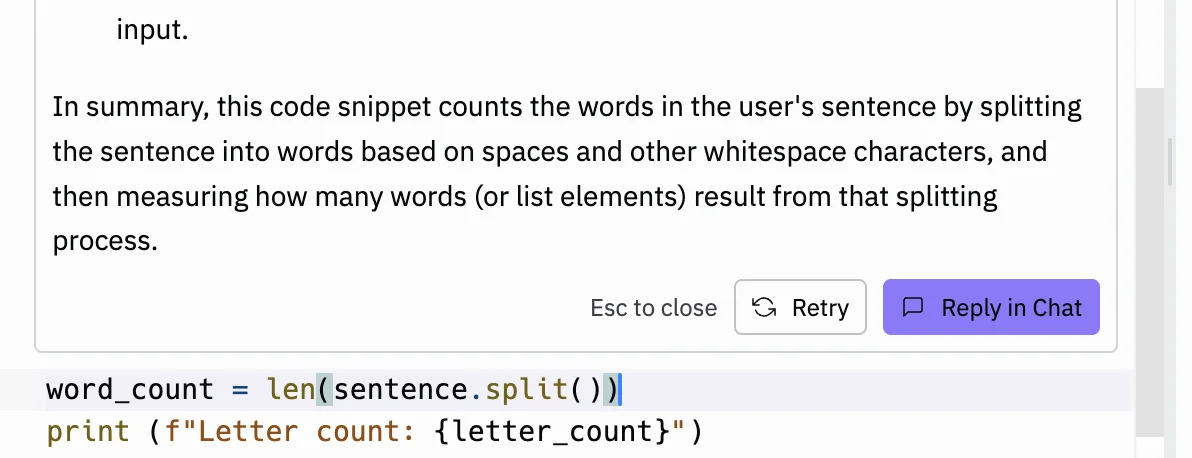
You can also keep chatting with the AI if you have follow-up questions.
Step 5: Use the AI copilot to inline edit some of the code
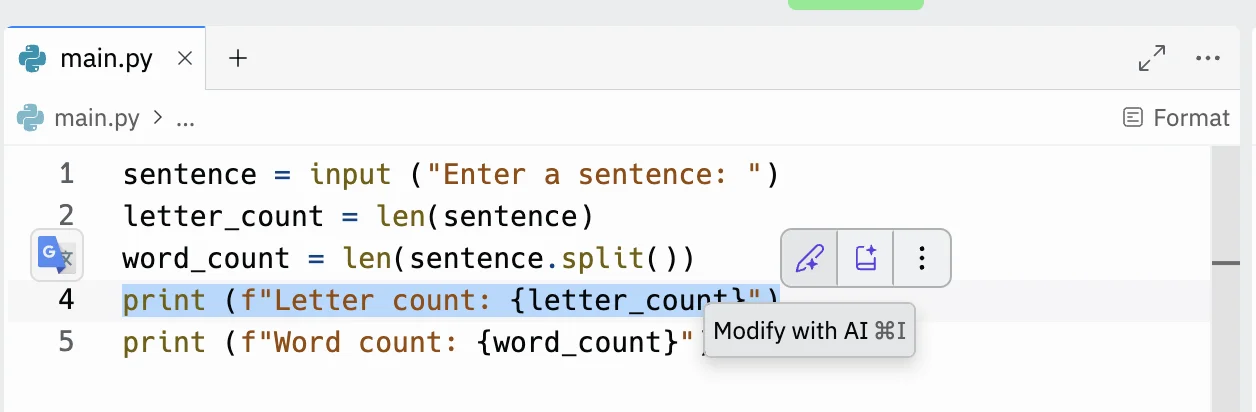
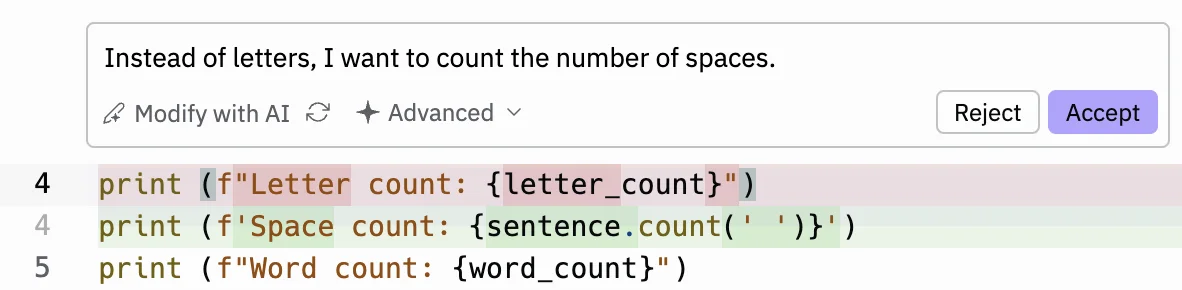
Another use for Replit’s AI is making changes to your existing code. Again, just highlight the part of the code you want to edit and click “Modify with AI”.
As when you originally wrote the code, you’ll be asked for a prompt. AI will write the new code, highlighted in green and show you the code it’s removing, highlighted in red.
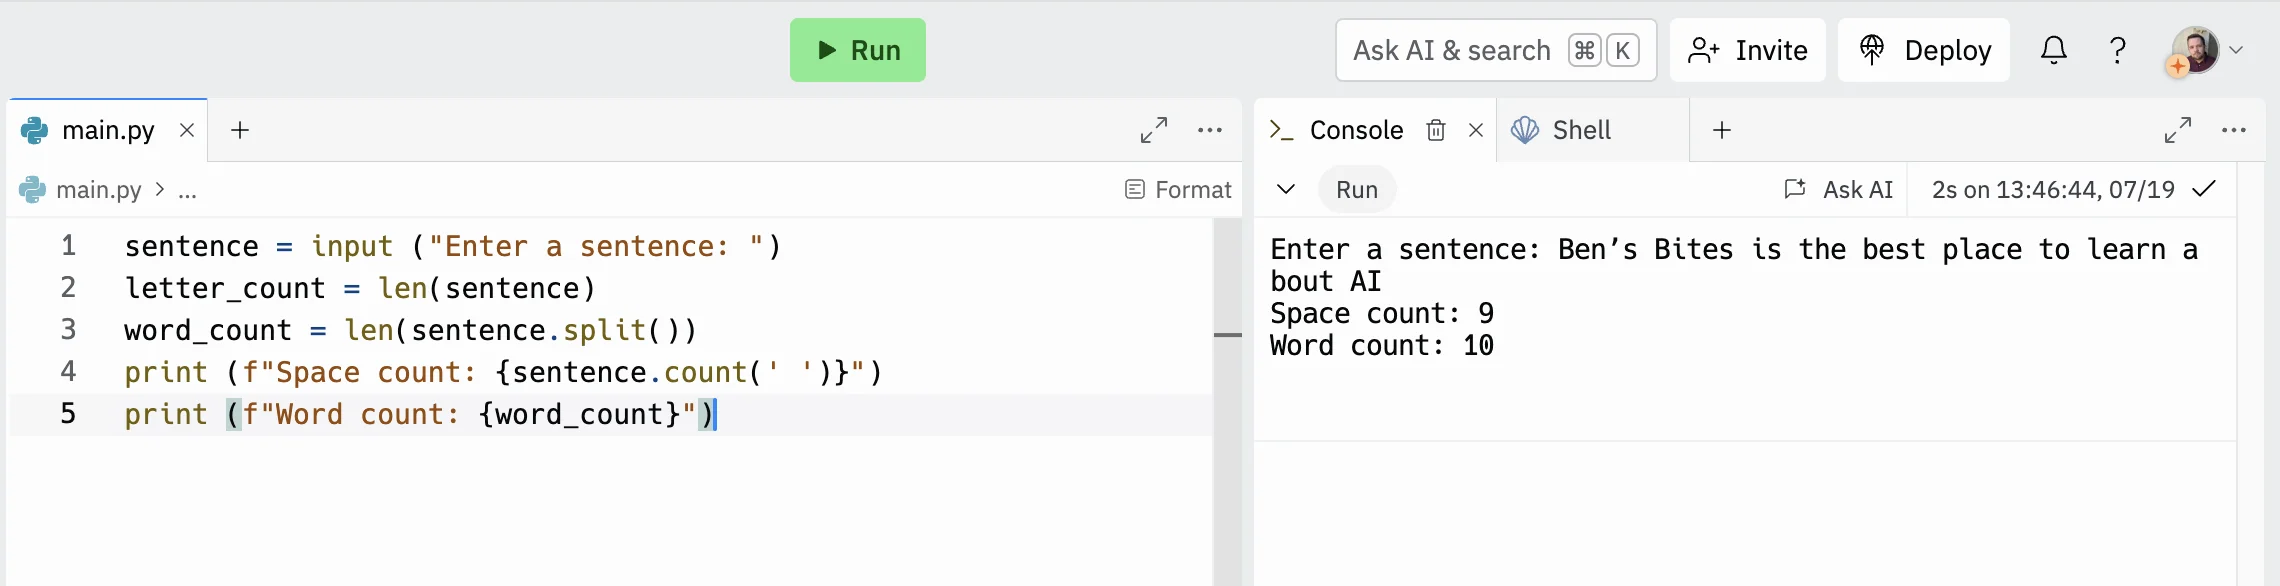
Run the new code again, and you’ll see it works perfectly!
This tutorial was created by Andrew.