Crafting personalized outreach at scale
Automate the creation and delivery of personalized outreach messages to engage leads effectively.
2024-12-20
Welcome to the fourth tutorial in our Building an AI-powered sales funnel course!
Cold outreach can be challenging when trying to maintain personalization at scale. While many CRM and email platforms restrict sending emails without prior consent, specialized cold outreach services like Reply.io offer a solution. In this tutorial, we'll set up and launch a personalized cold email campaign using the enriched lead data we created with Clay in the previous tutorial.
In this tutorial, you'll learn how to:
- Connect Clay with Reply.io
- Configure custom fields for personalized content
- Create and customize cold email sequences
- Launch and monitor your personalized campaign
You'll need:
- Reply.io account (14-day free trial available)
- Clay.com account with enriched leads
- Your business email domain
Let's get to it.
Step 1: Connect Clay with Reply.io
First, we need to establish the connection between Clay and Reply.io to export our enriched leads.

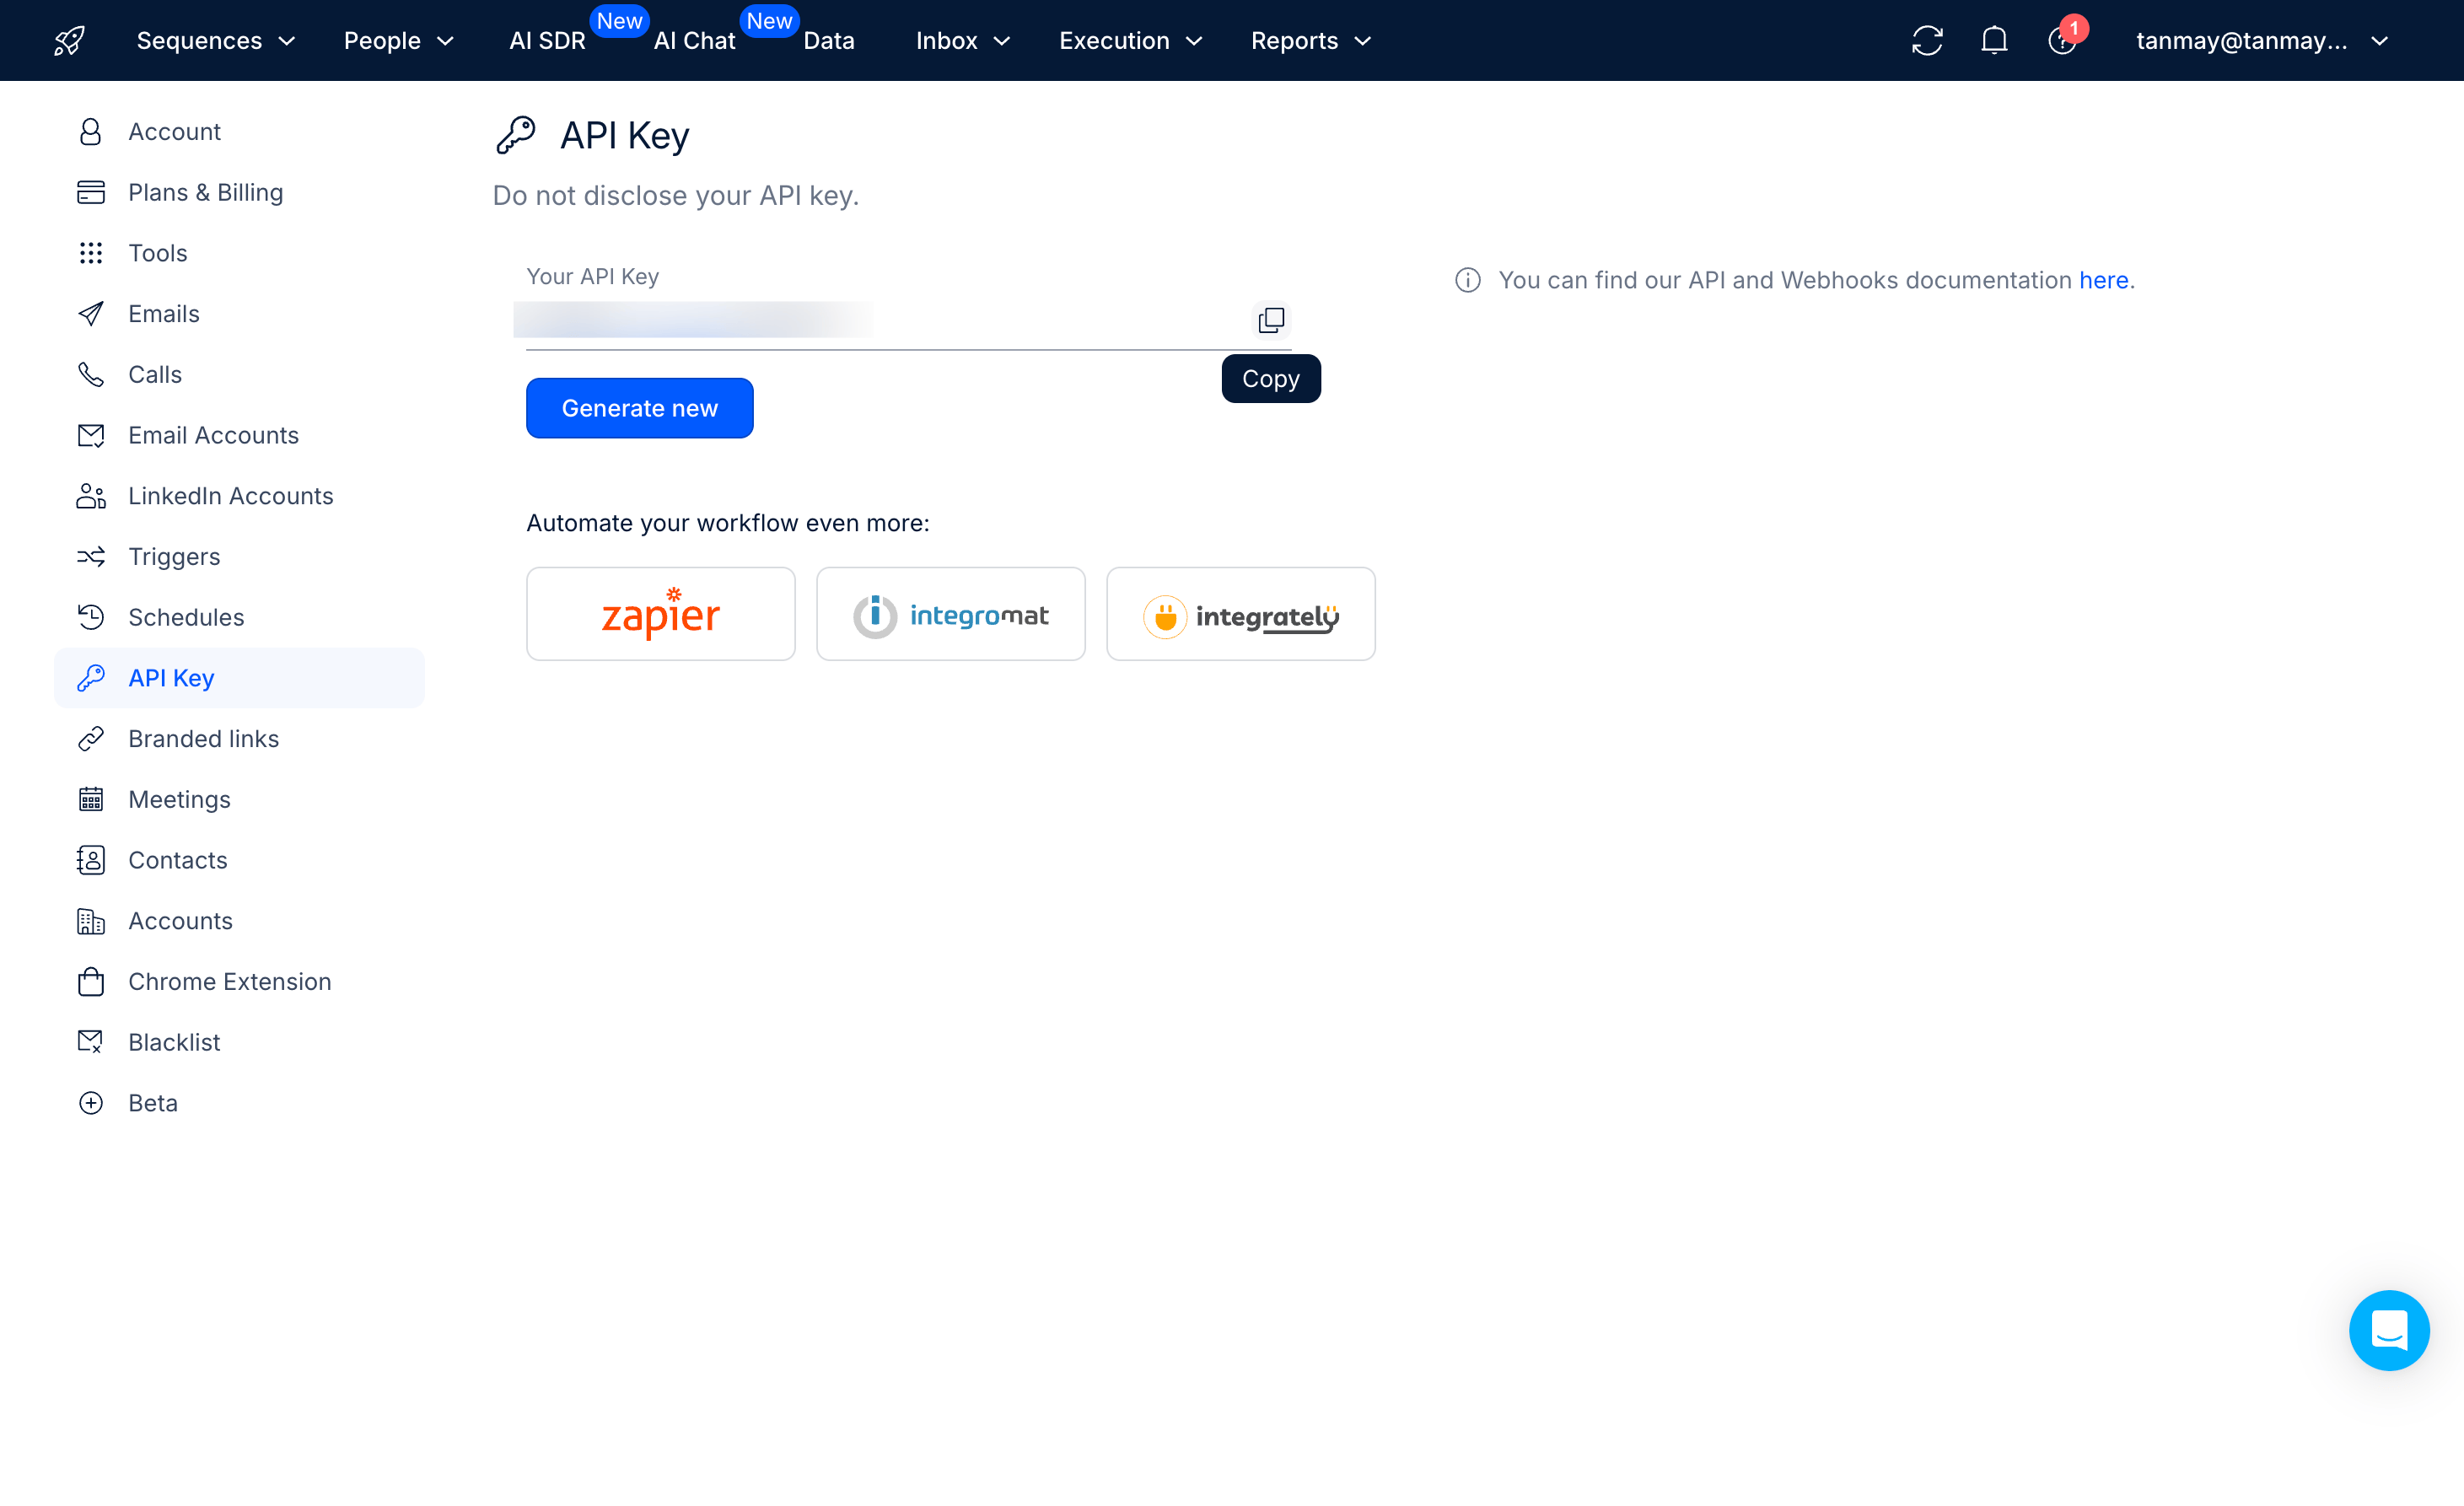
Navigate to Reply.io's settings after creating your account.
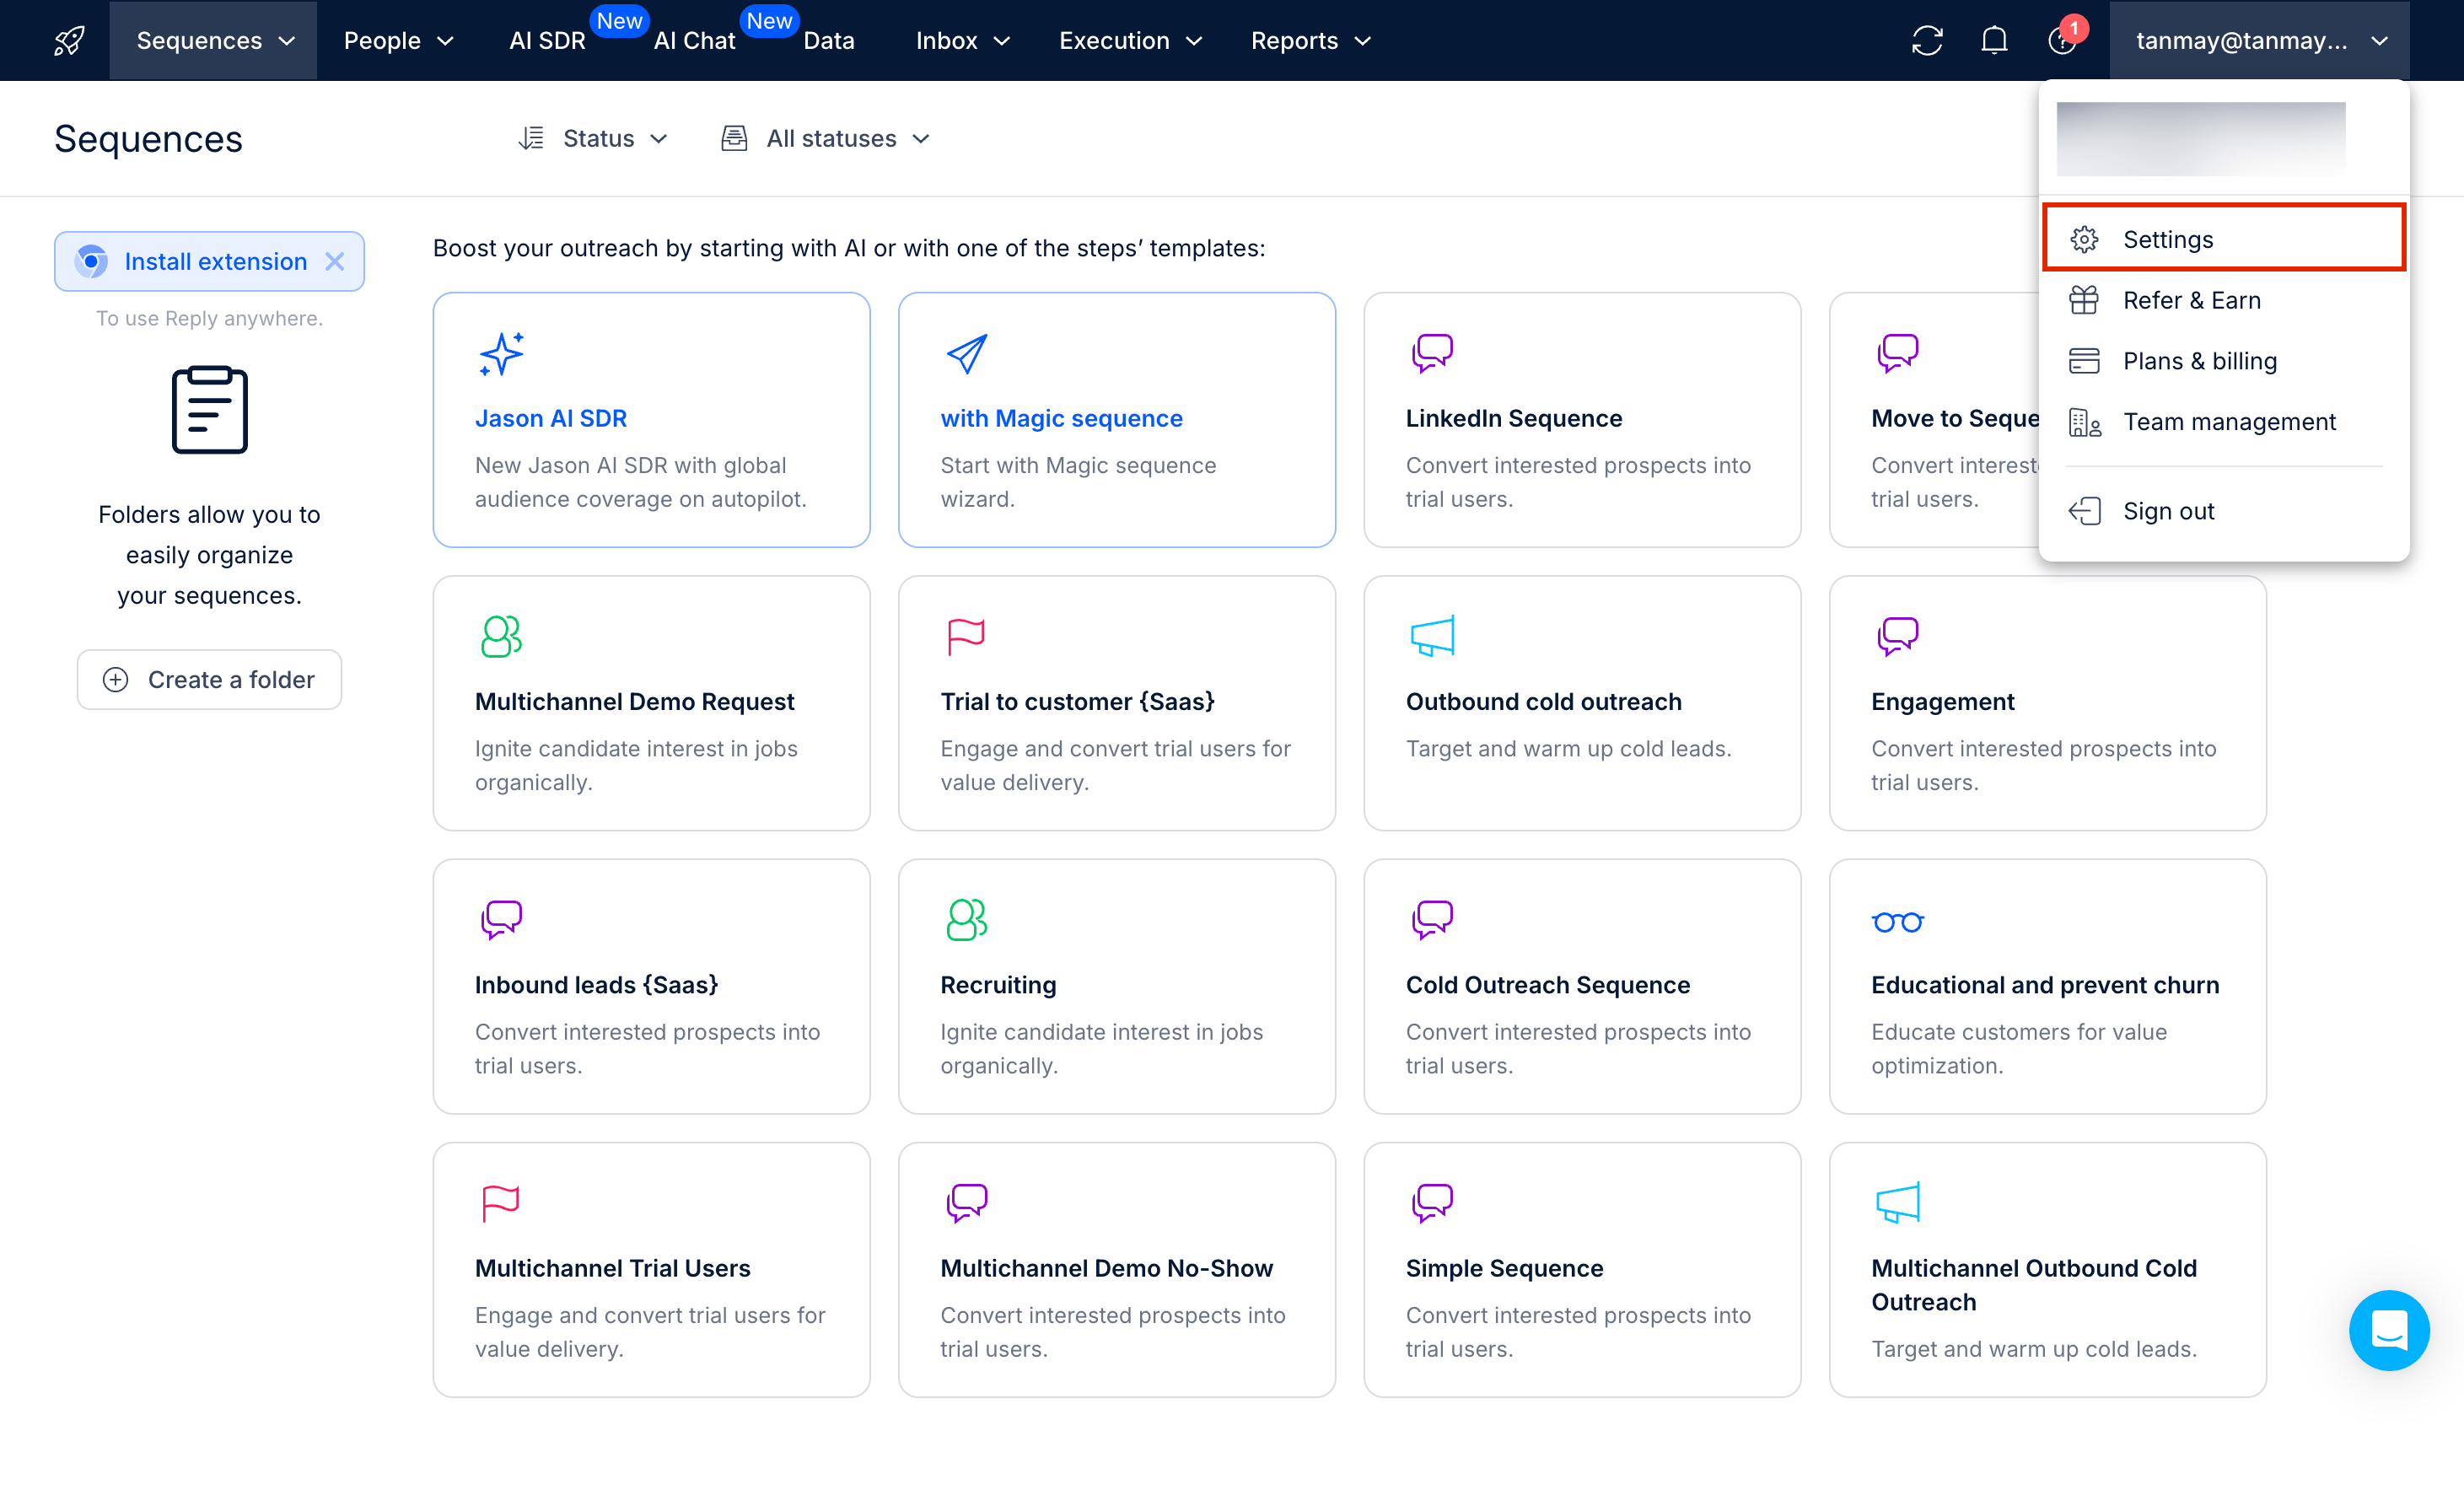
In the API section, locate your API key. This key will allow Clay to send data to Reply.io. Copy the API key from here.
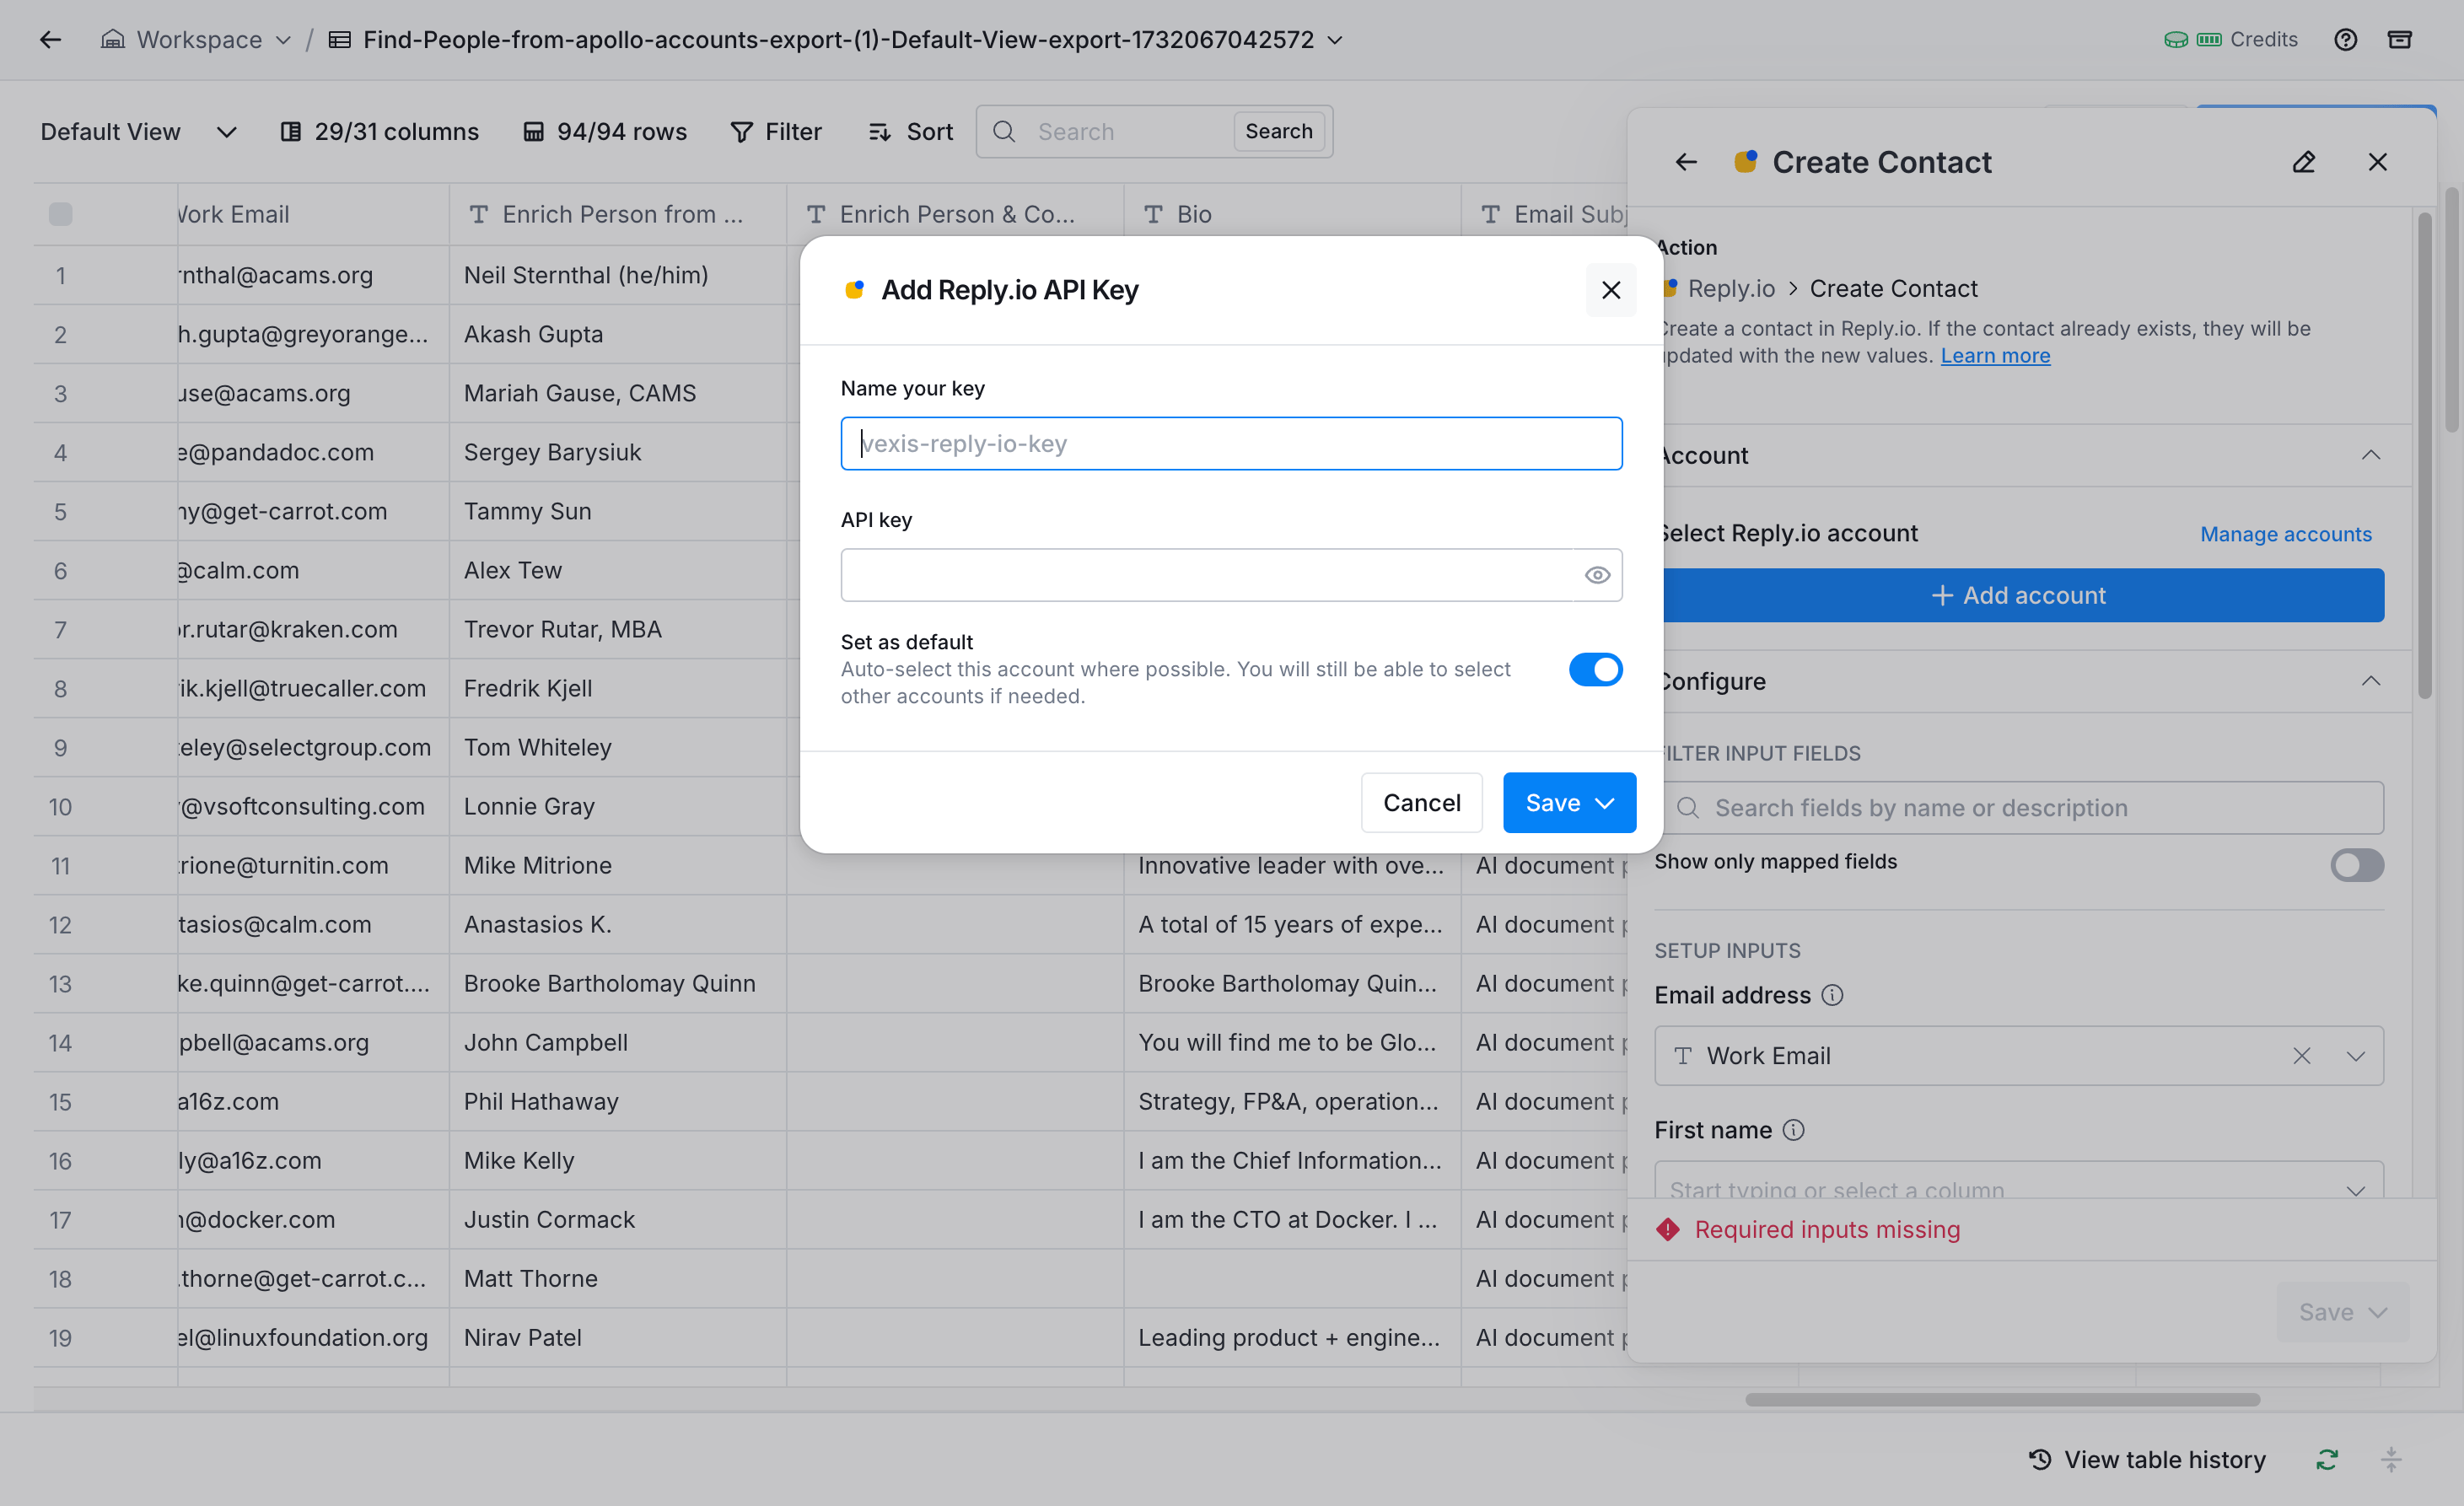
Head back to Clay and find the action step for Reply.io integration.
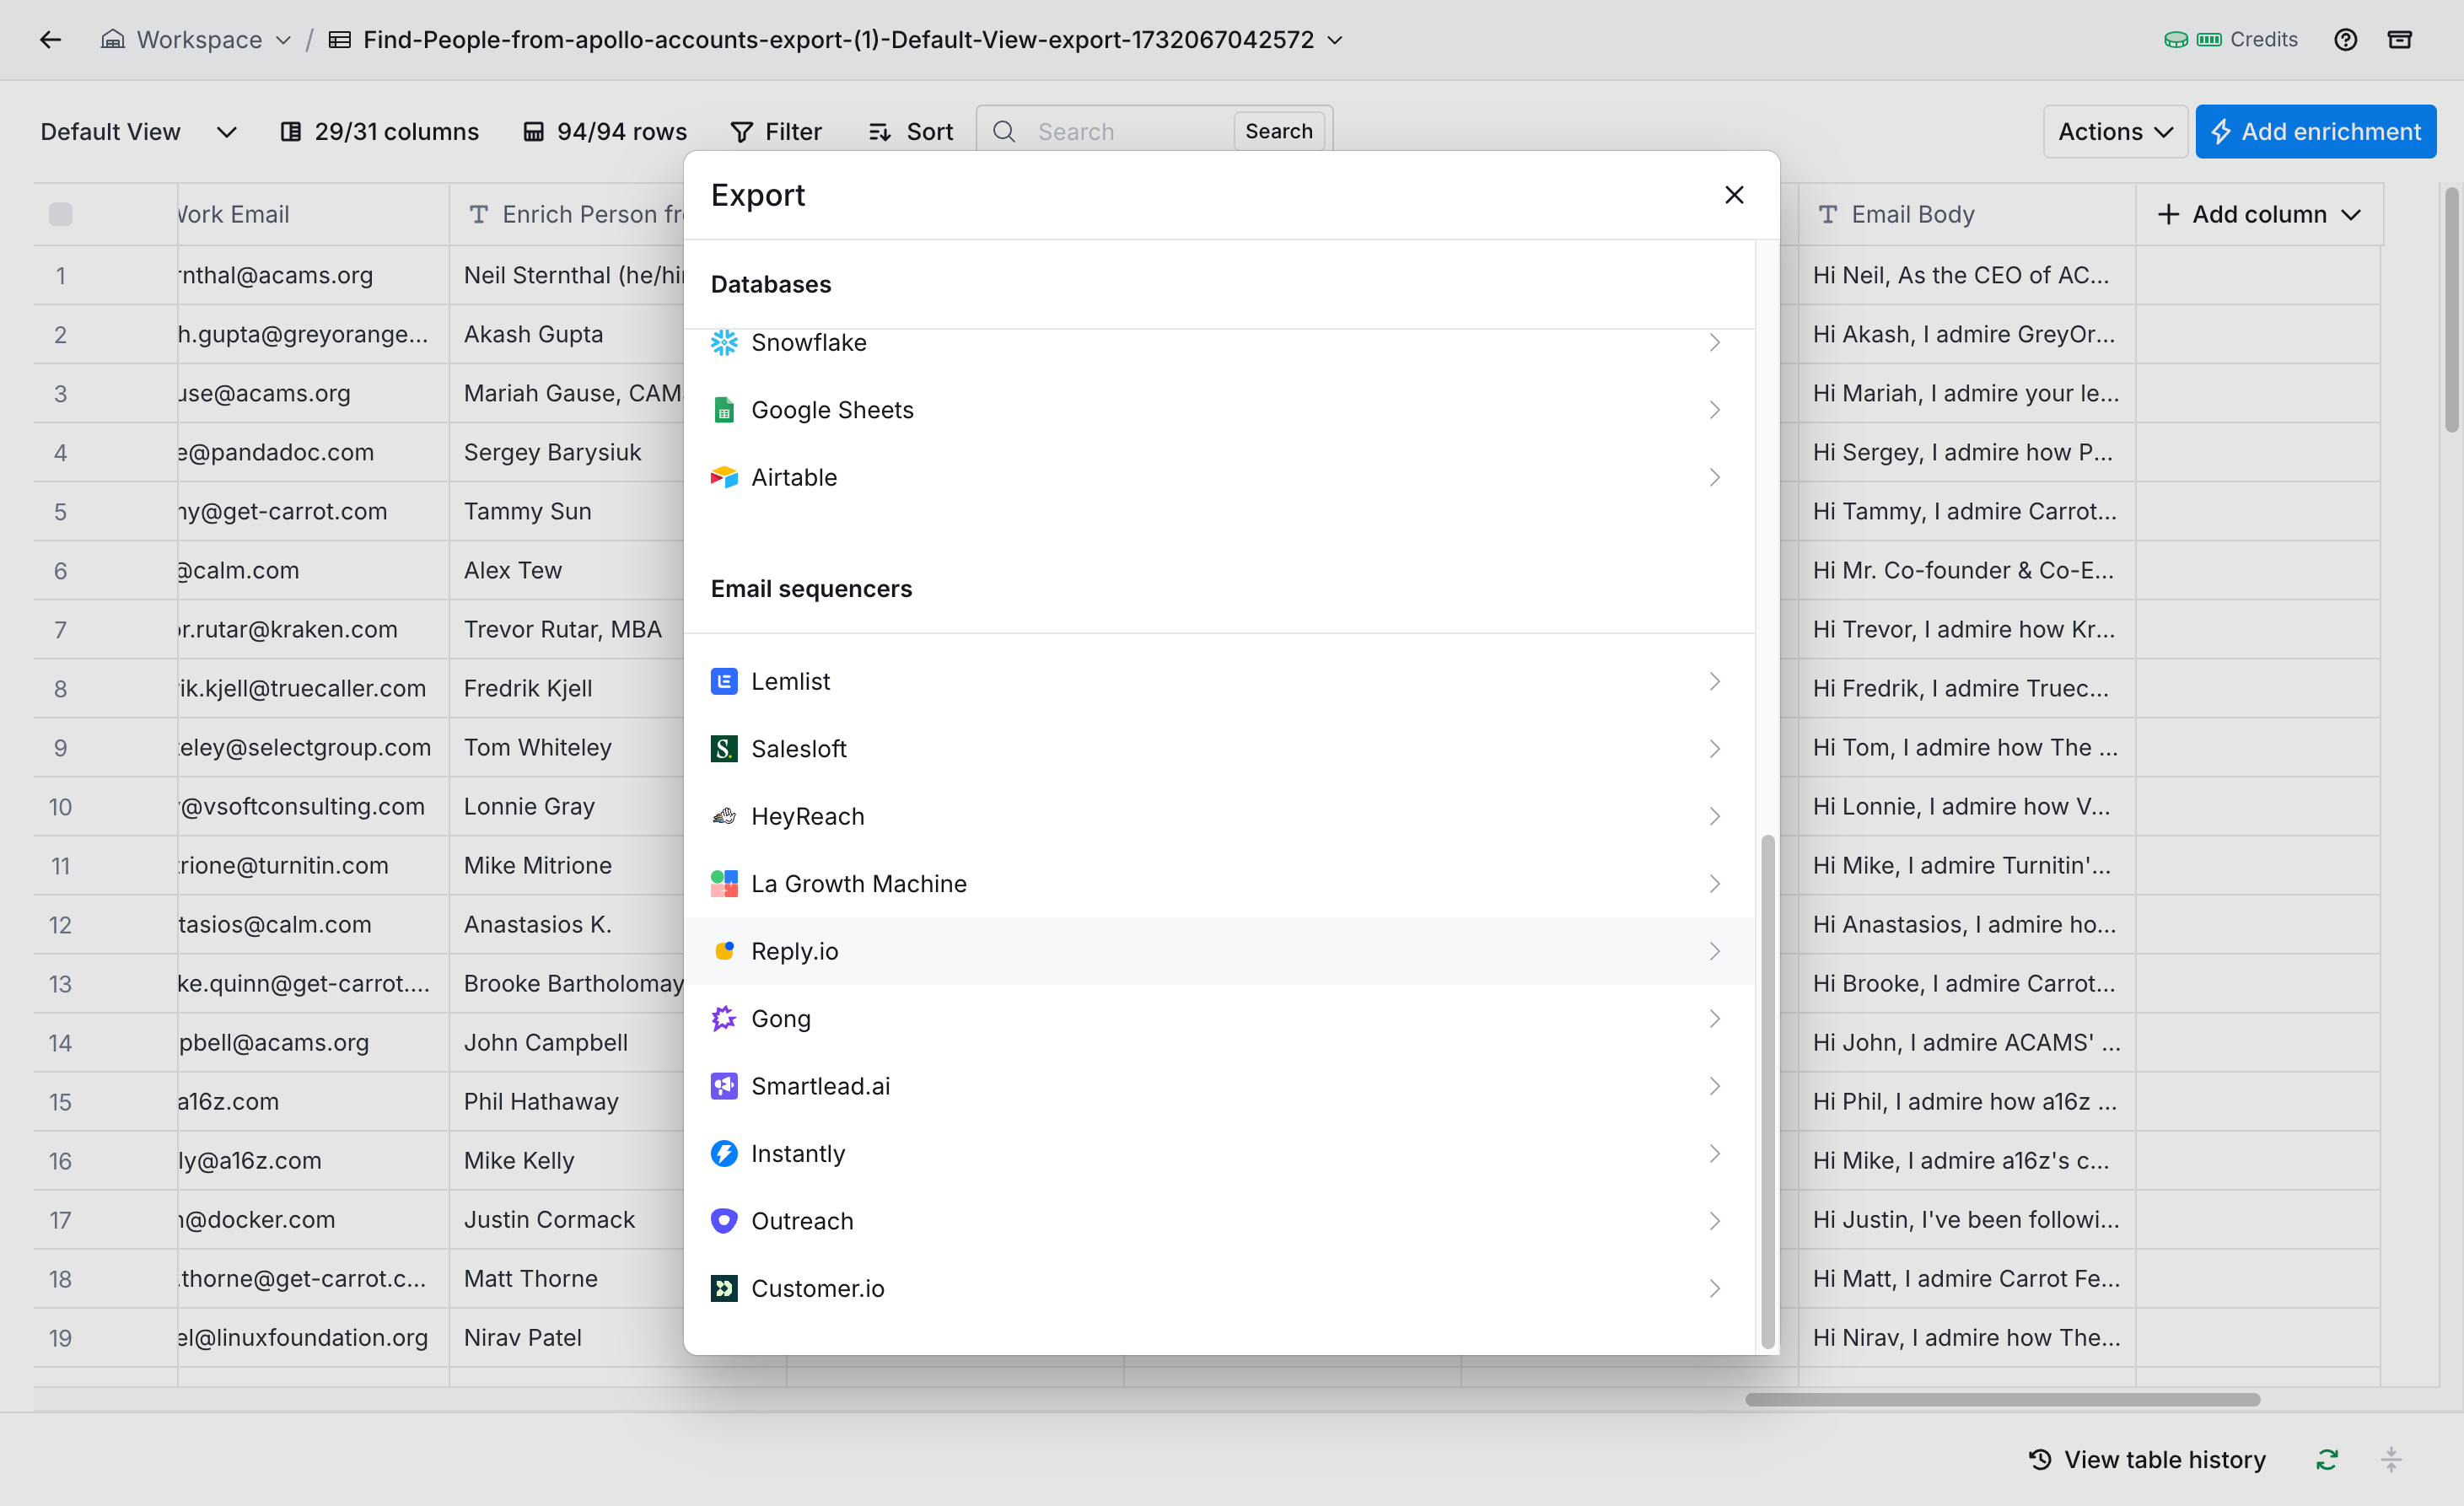
Paste your API key in the designated field to establish the connection between the platforms.
Step 2: Configure custom fields
In Reply.io, custom fields are essential for incorporating our personalized content. Access the Settings menu and navigate to the Contacts tab. Click "Add custom field" to create new text fields for our personalized email subjects and body content.
.png)
Return to Clay and map your enriched data to these custom fields. Include essential information like:
- First Name
- Job title
- LinkedIn URL
- Email subject
- Email body
- LinkedIn bio, etc.
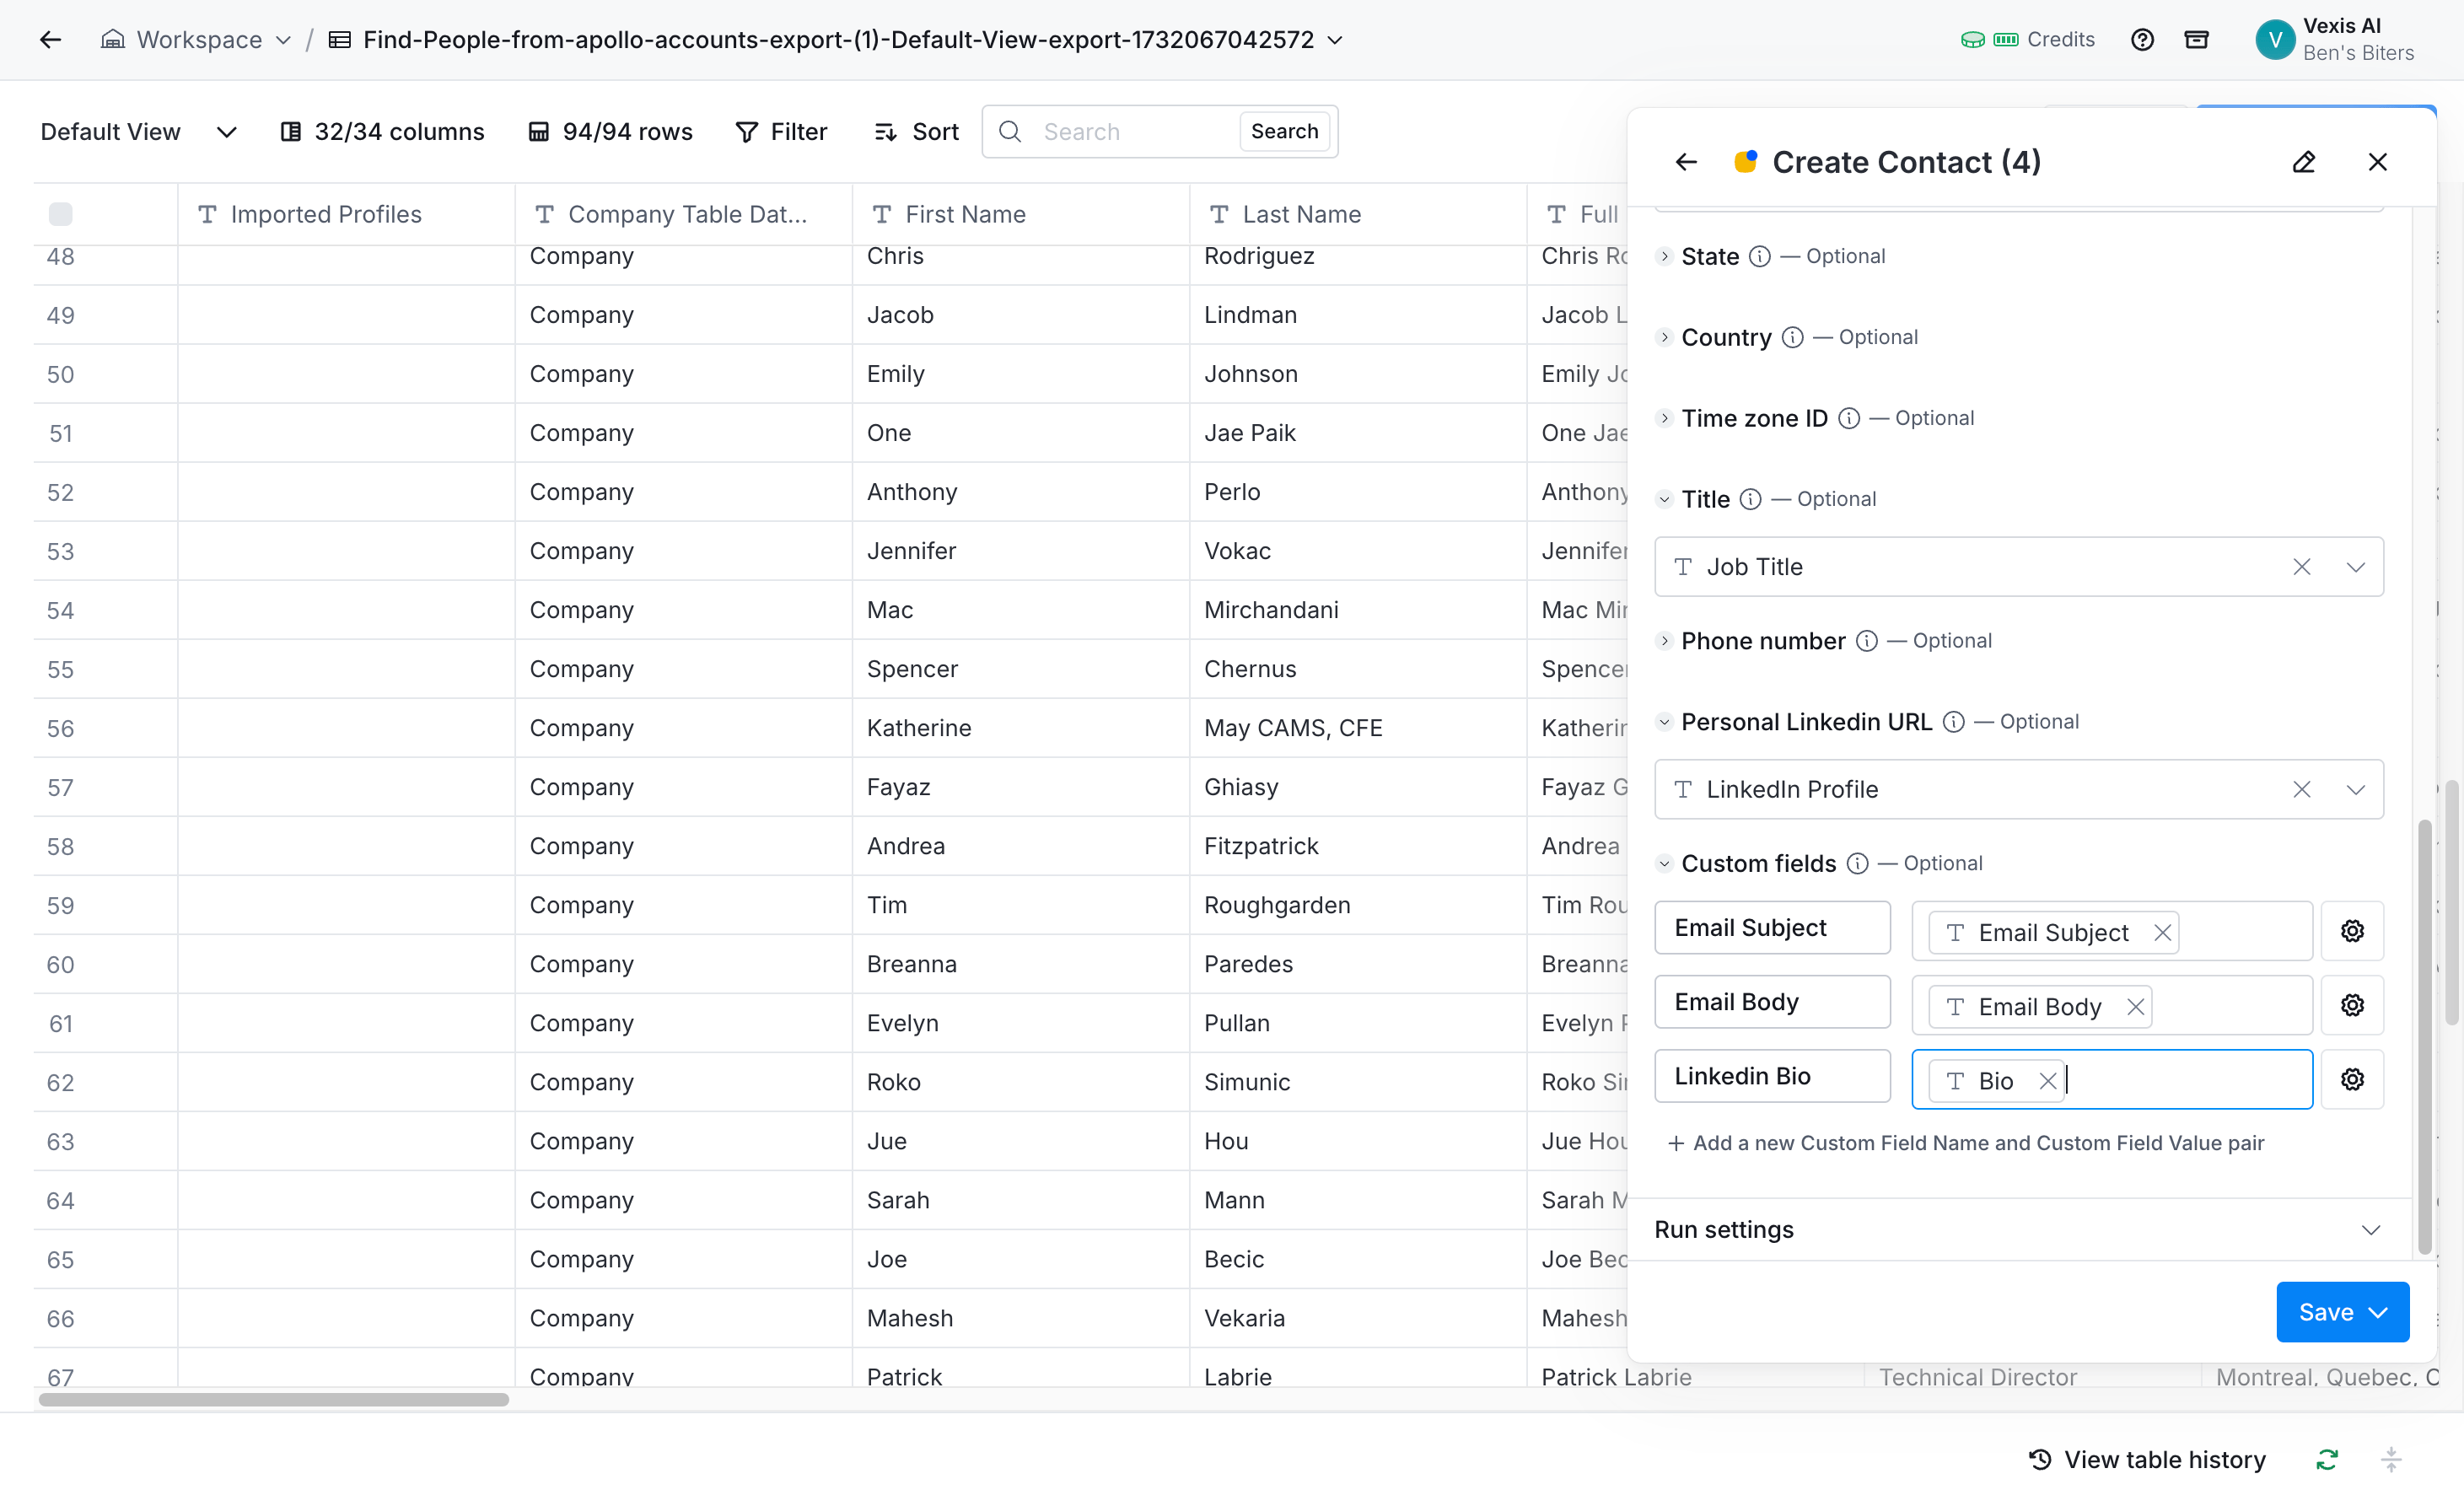
Click on Save and run on all fields to export all our cold outreach leads to Reply.io.
Step 3: Create your cold email campaign
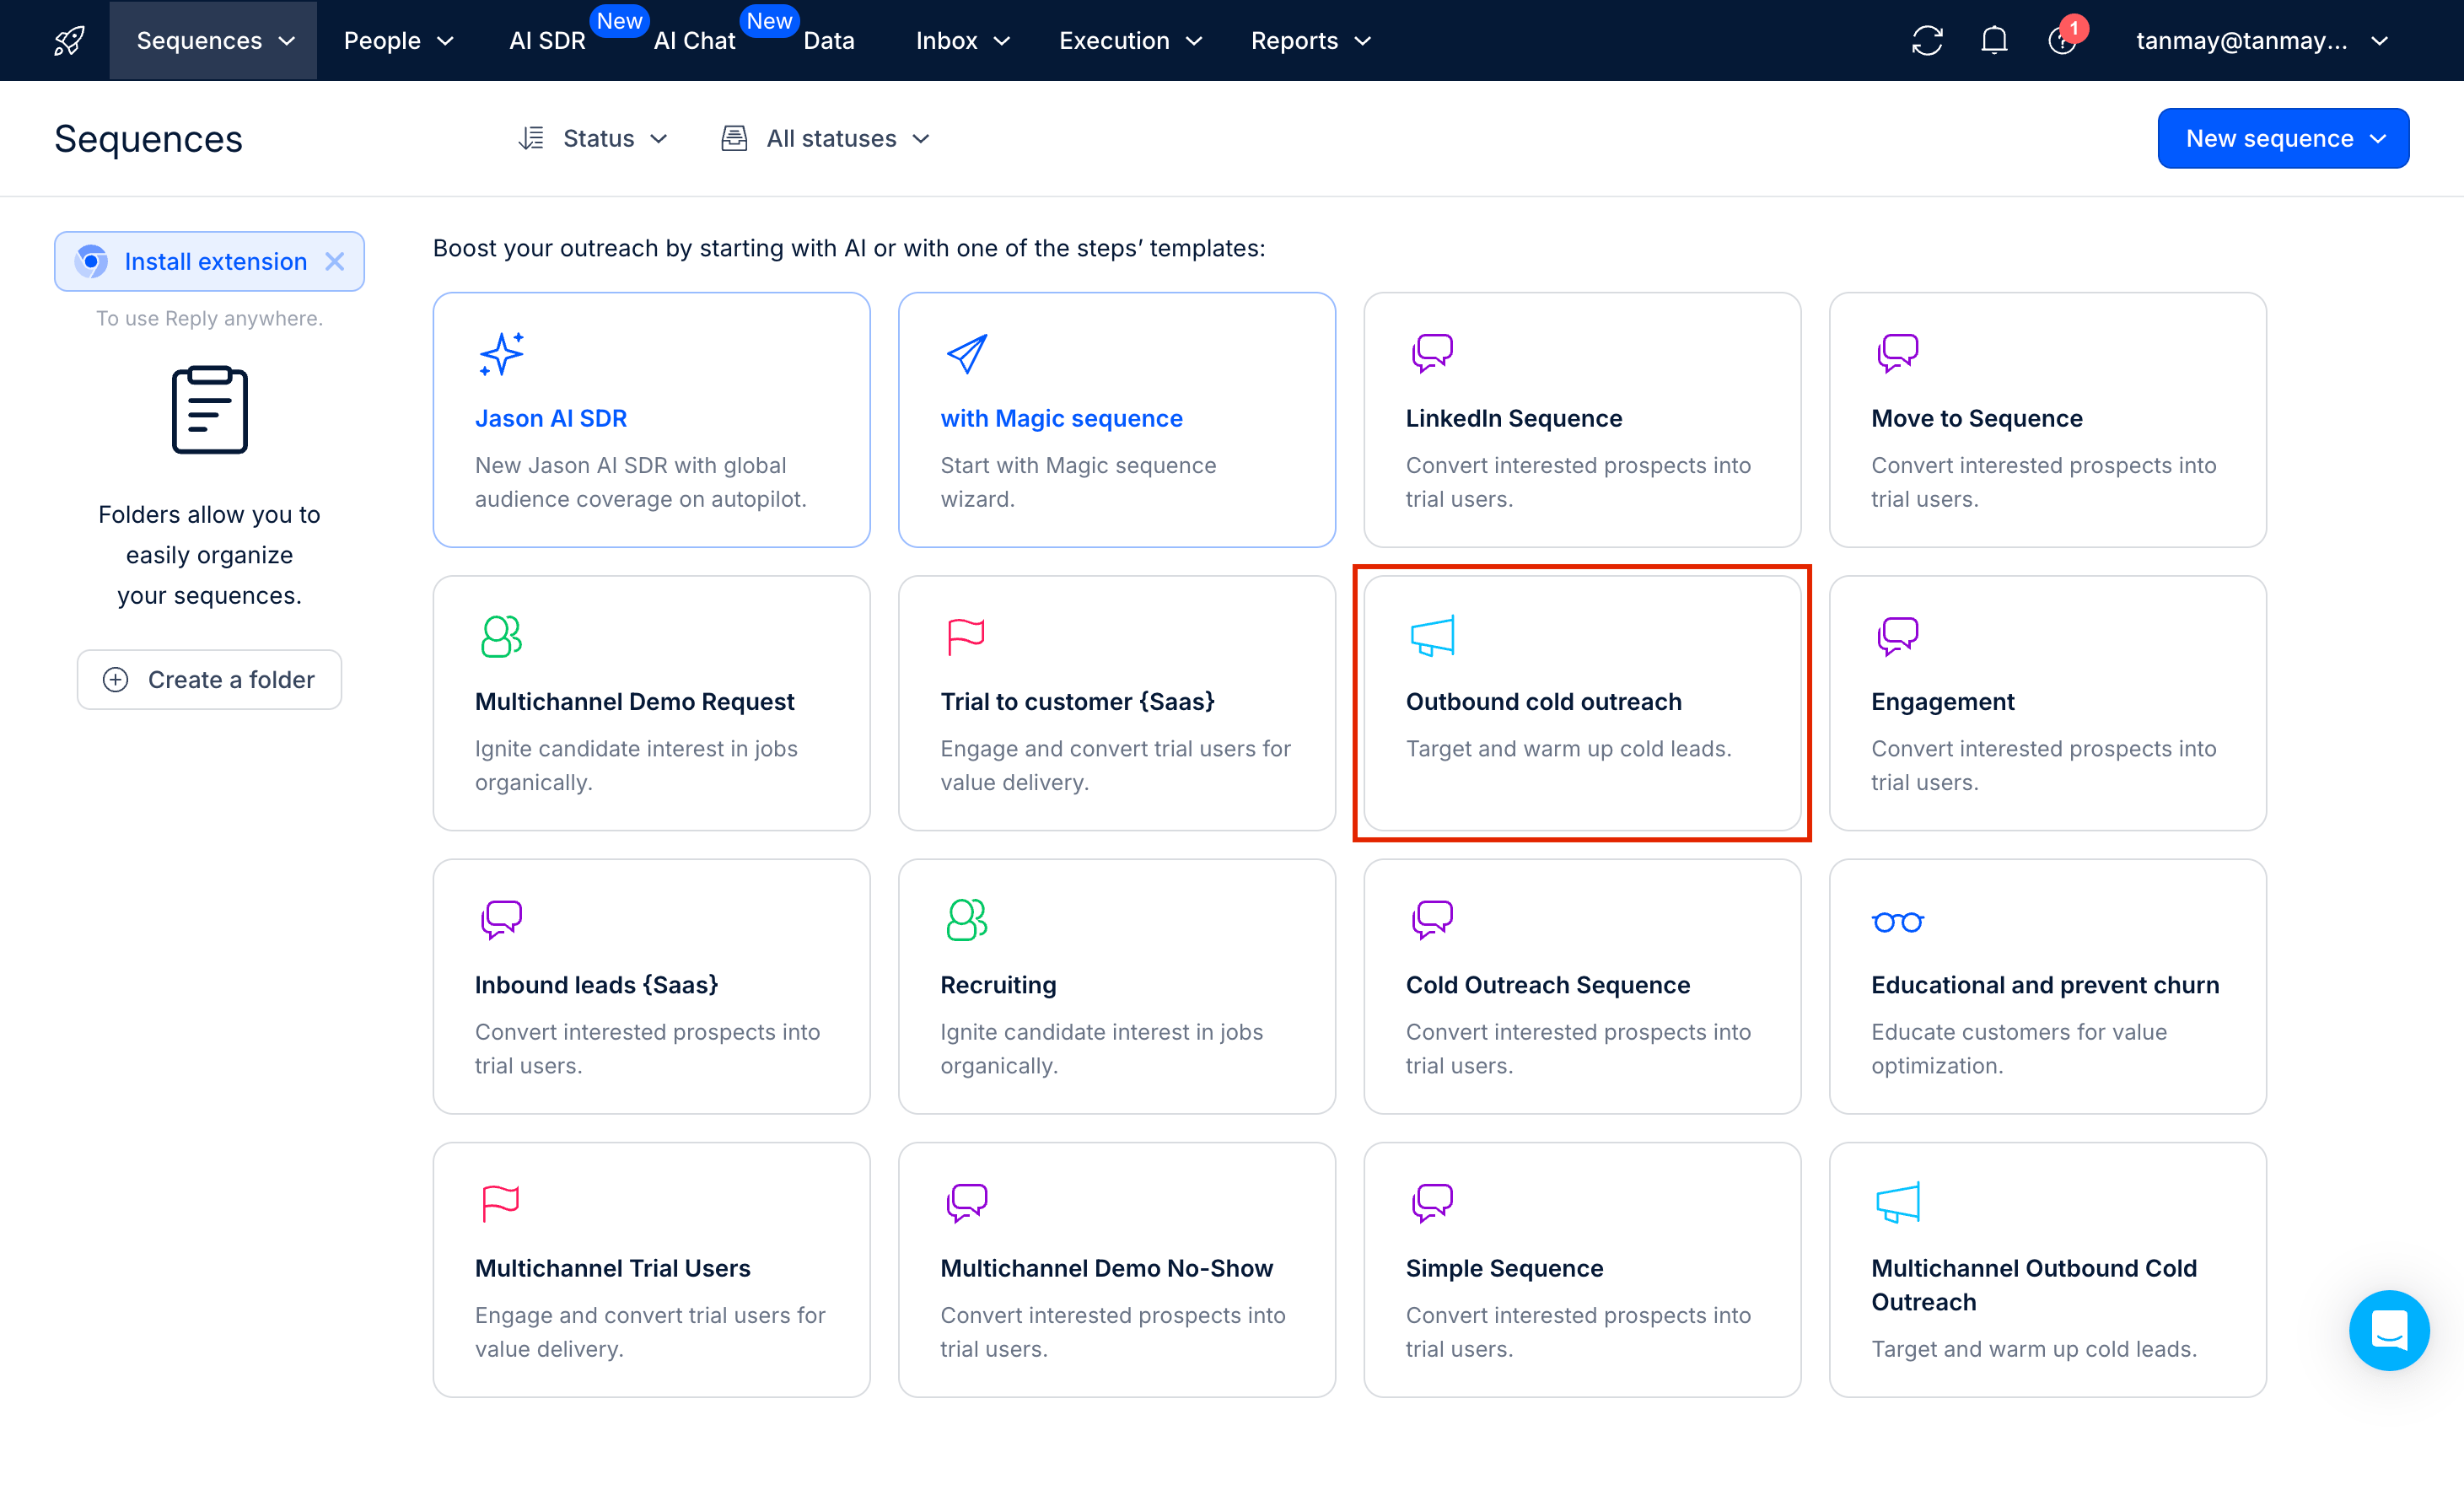
With our data properly mapped, we'll create the campaign structure in Reply.io. Navigate to the Sequences tab and select "outbound cold outreach" to create a new campaign.
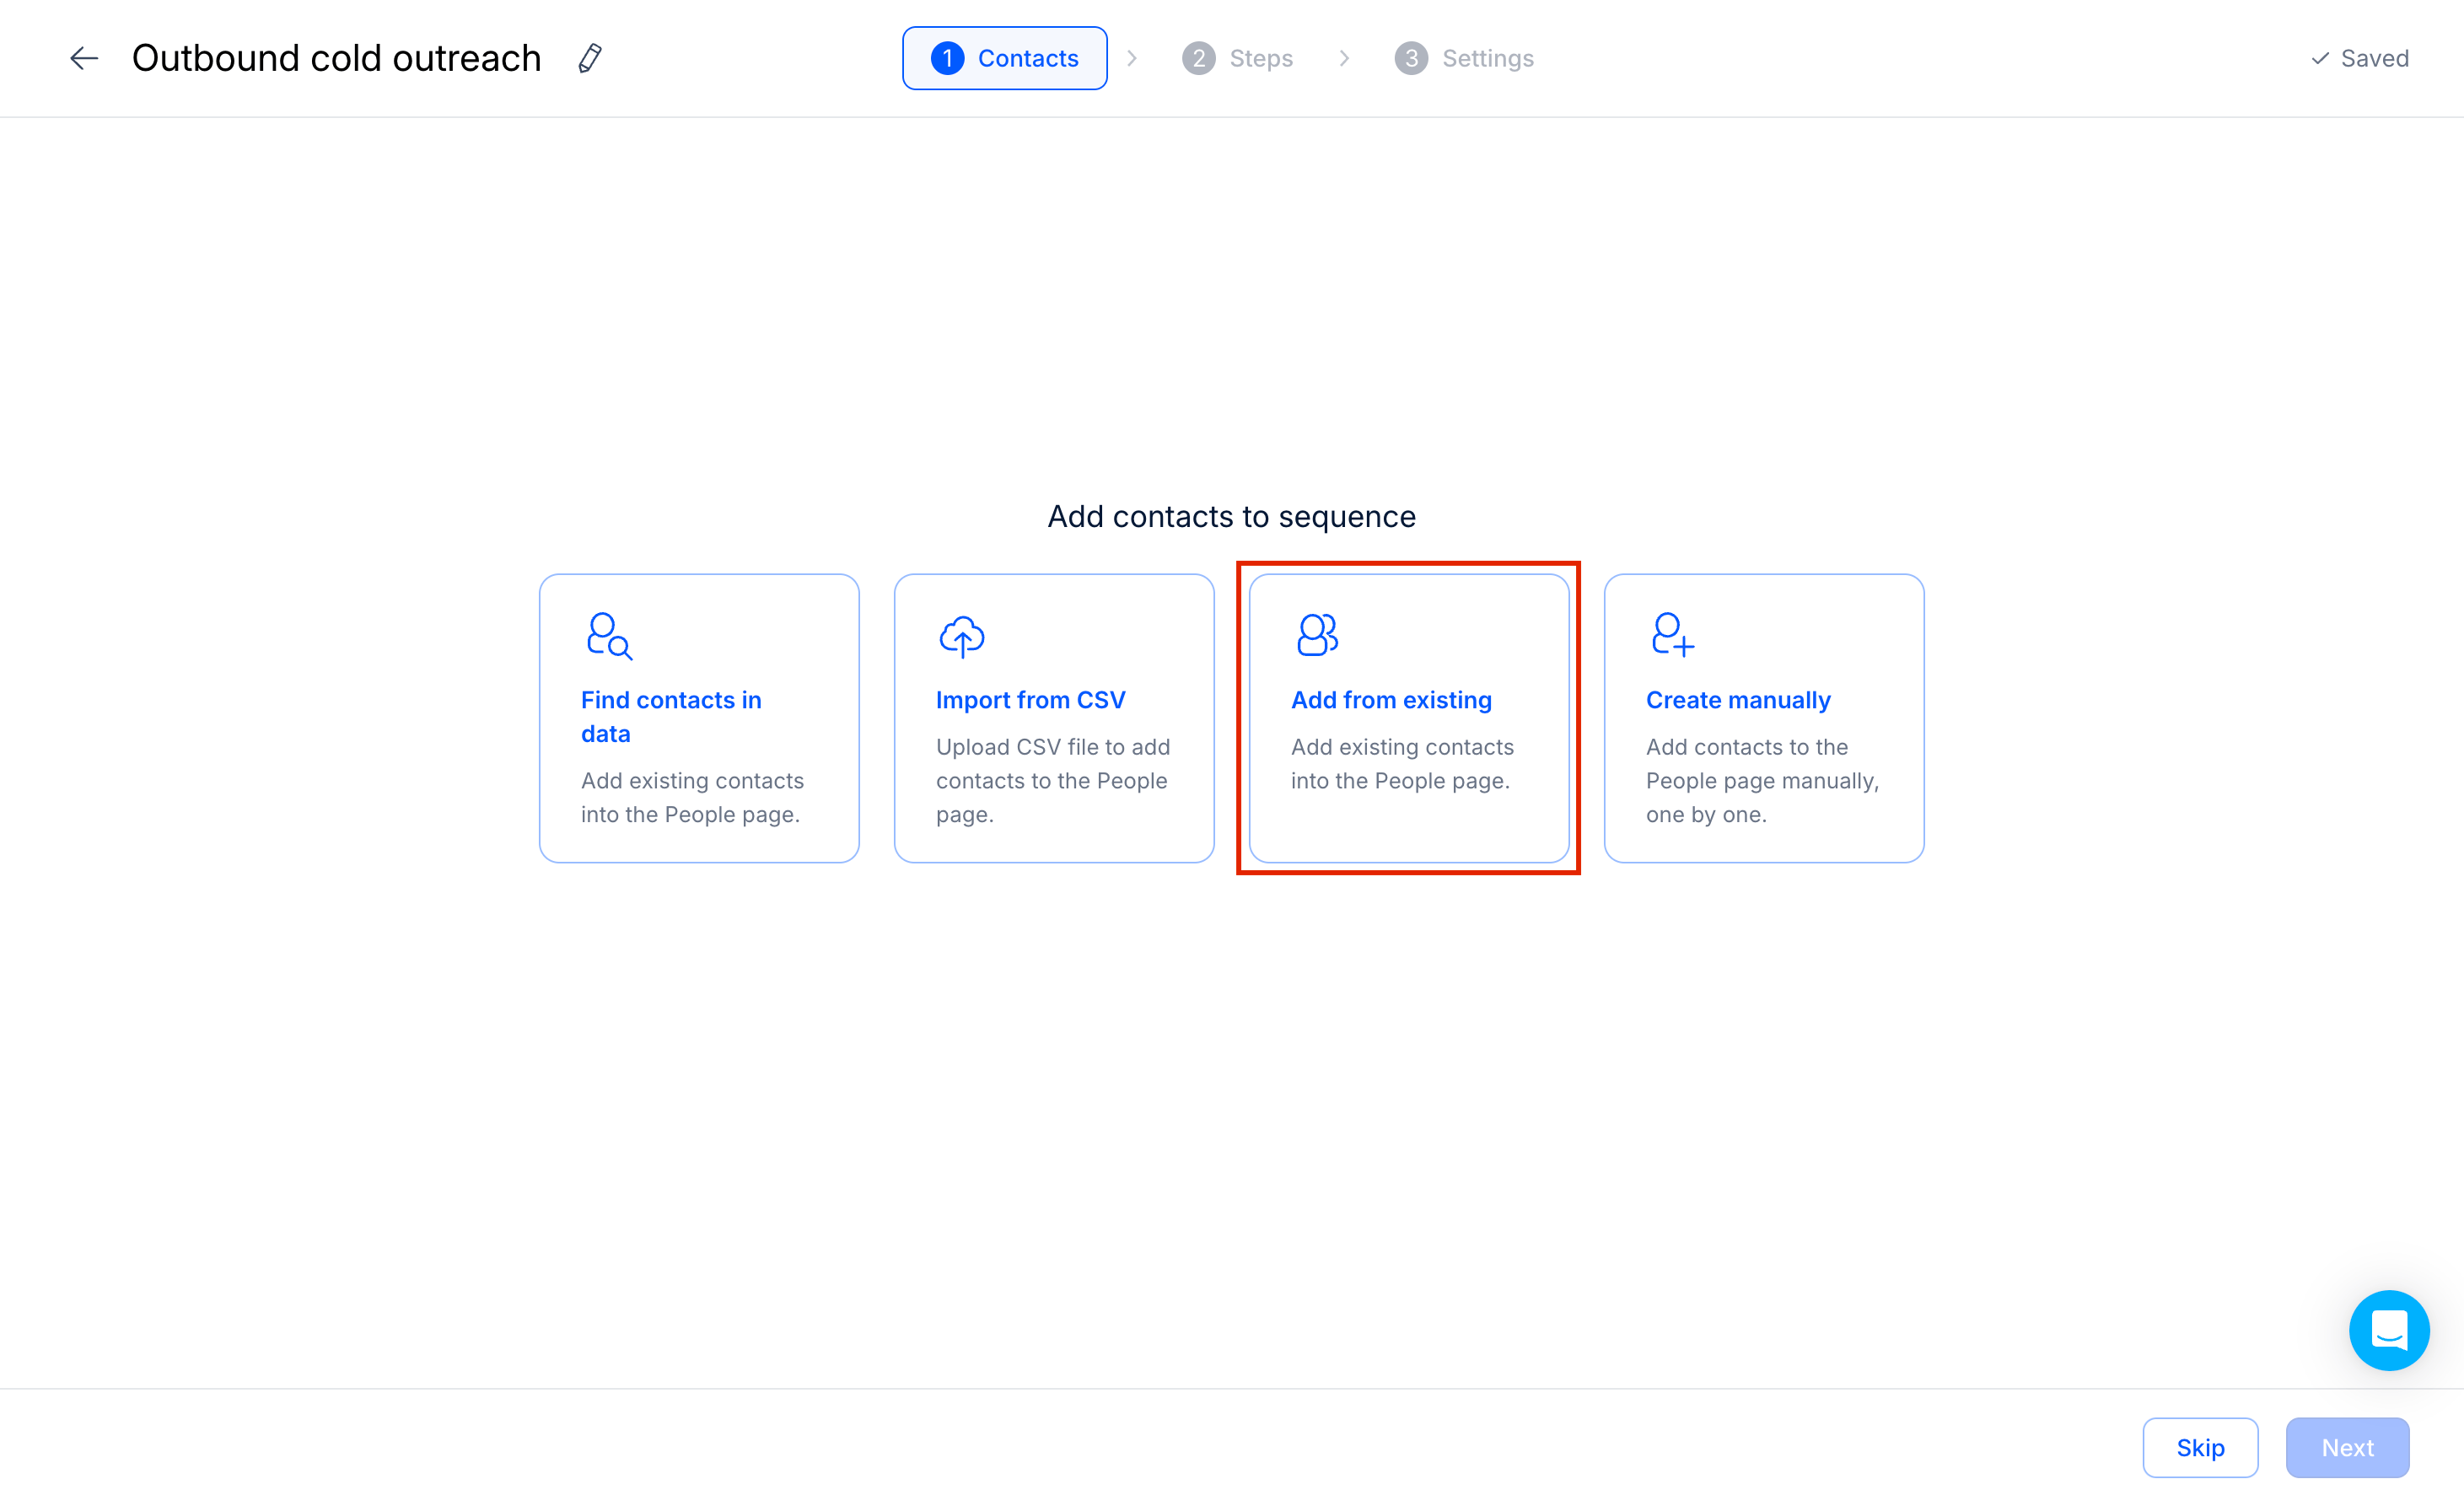
Import your contacts by clicking "Add from existing" and selecting the leads we exported from Clay.
Now, establish your email sequence by setting up:
- Initial outreach email
- Follow-up timing
- Response handling
- A/B testing variants if desired
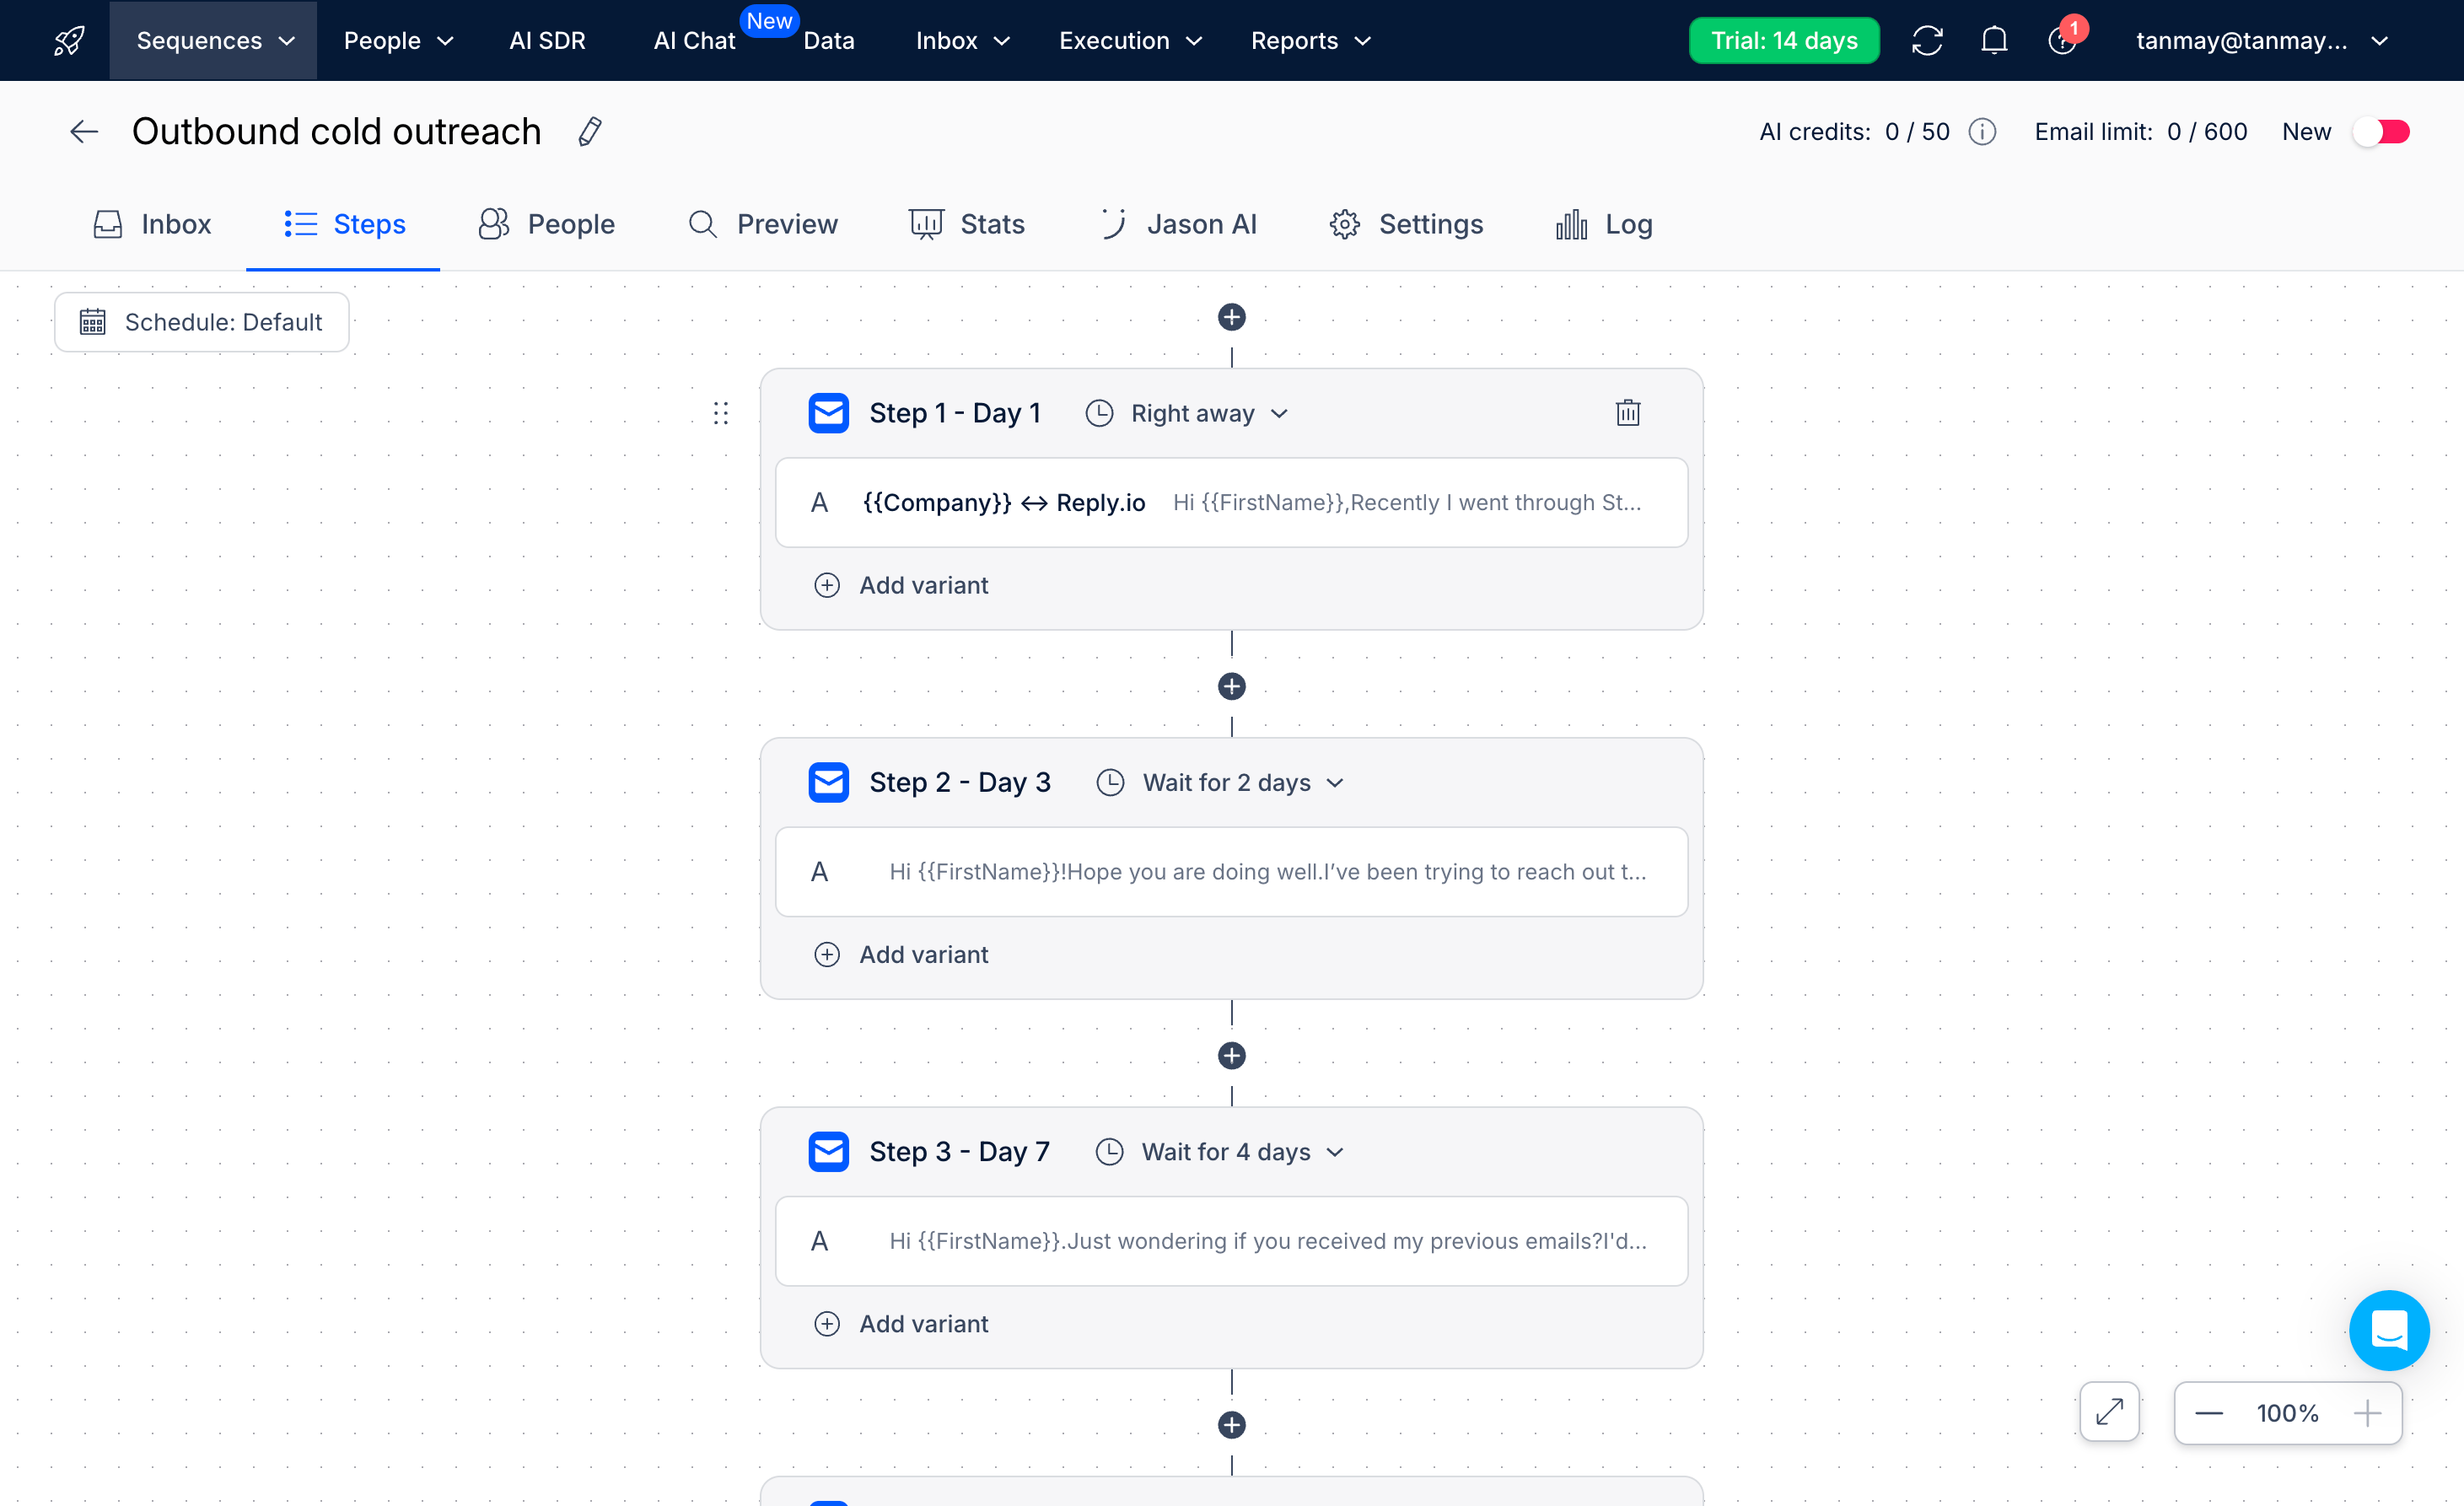
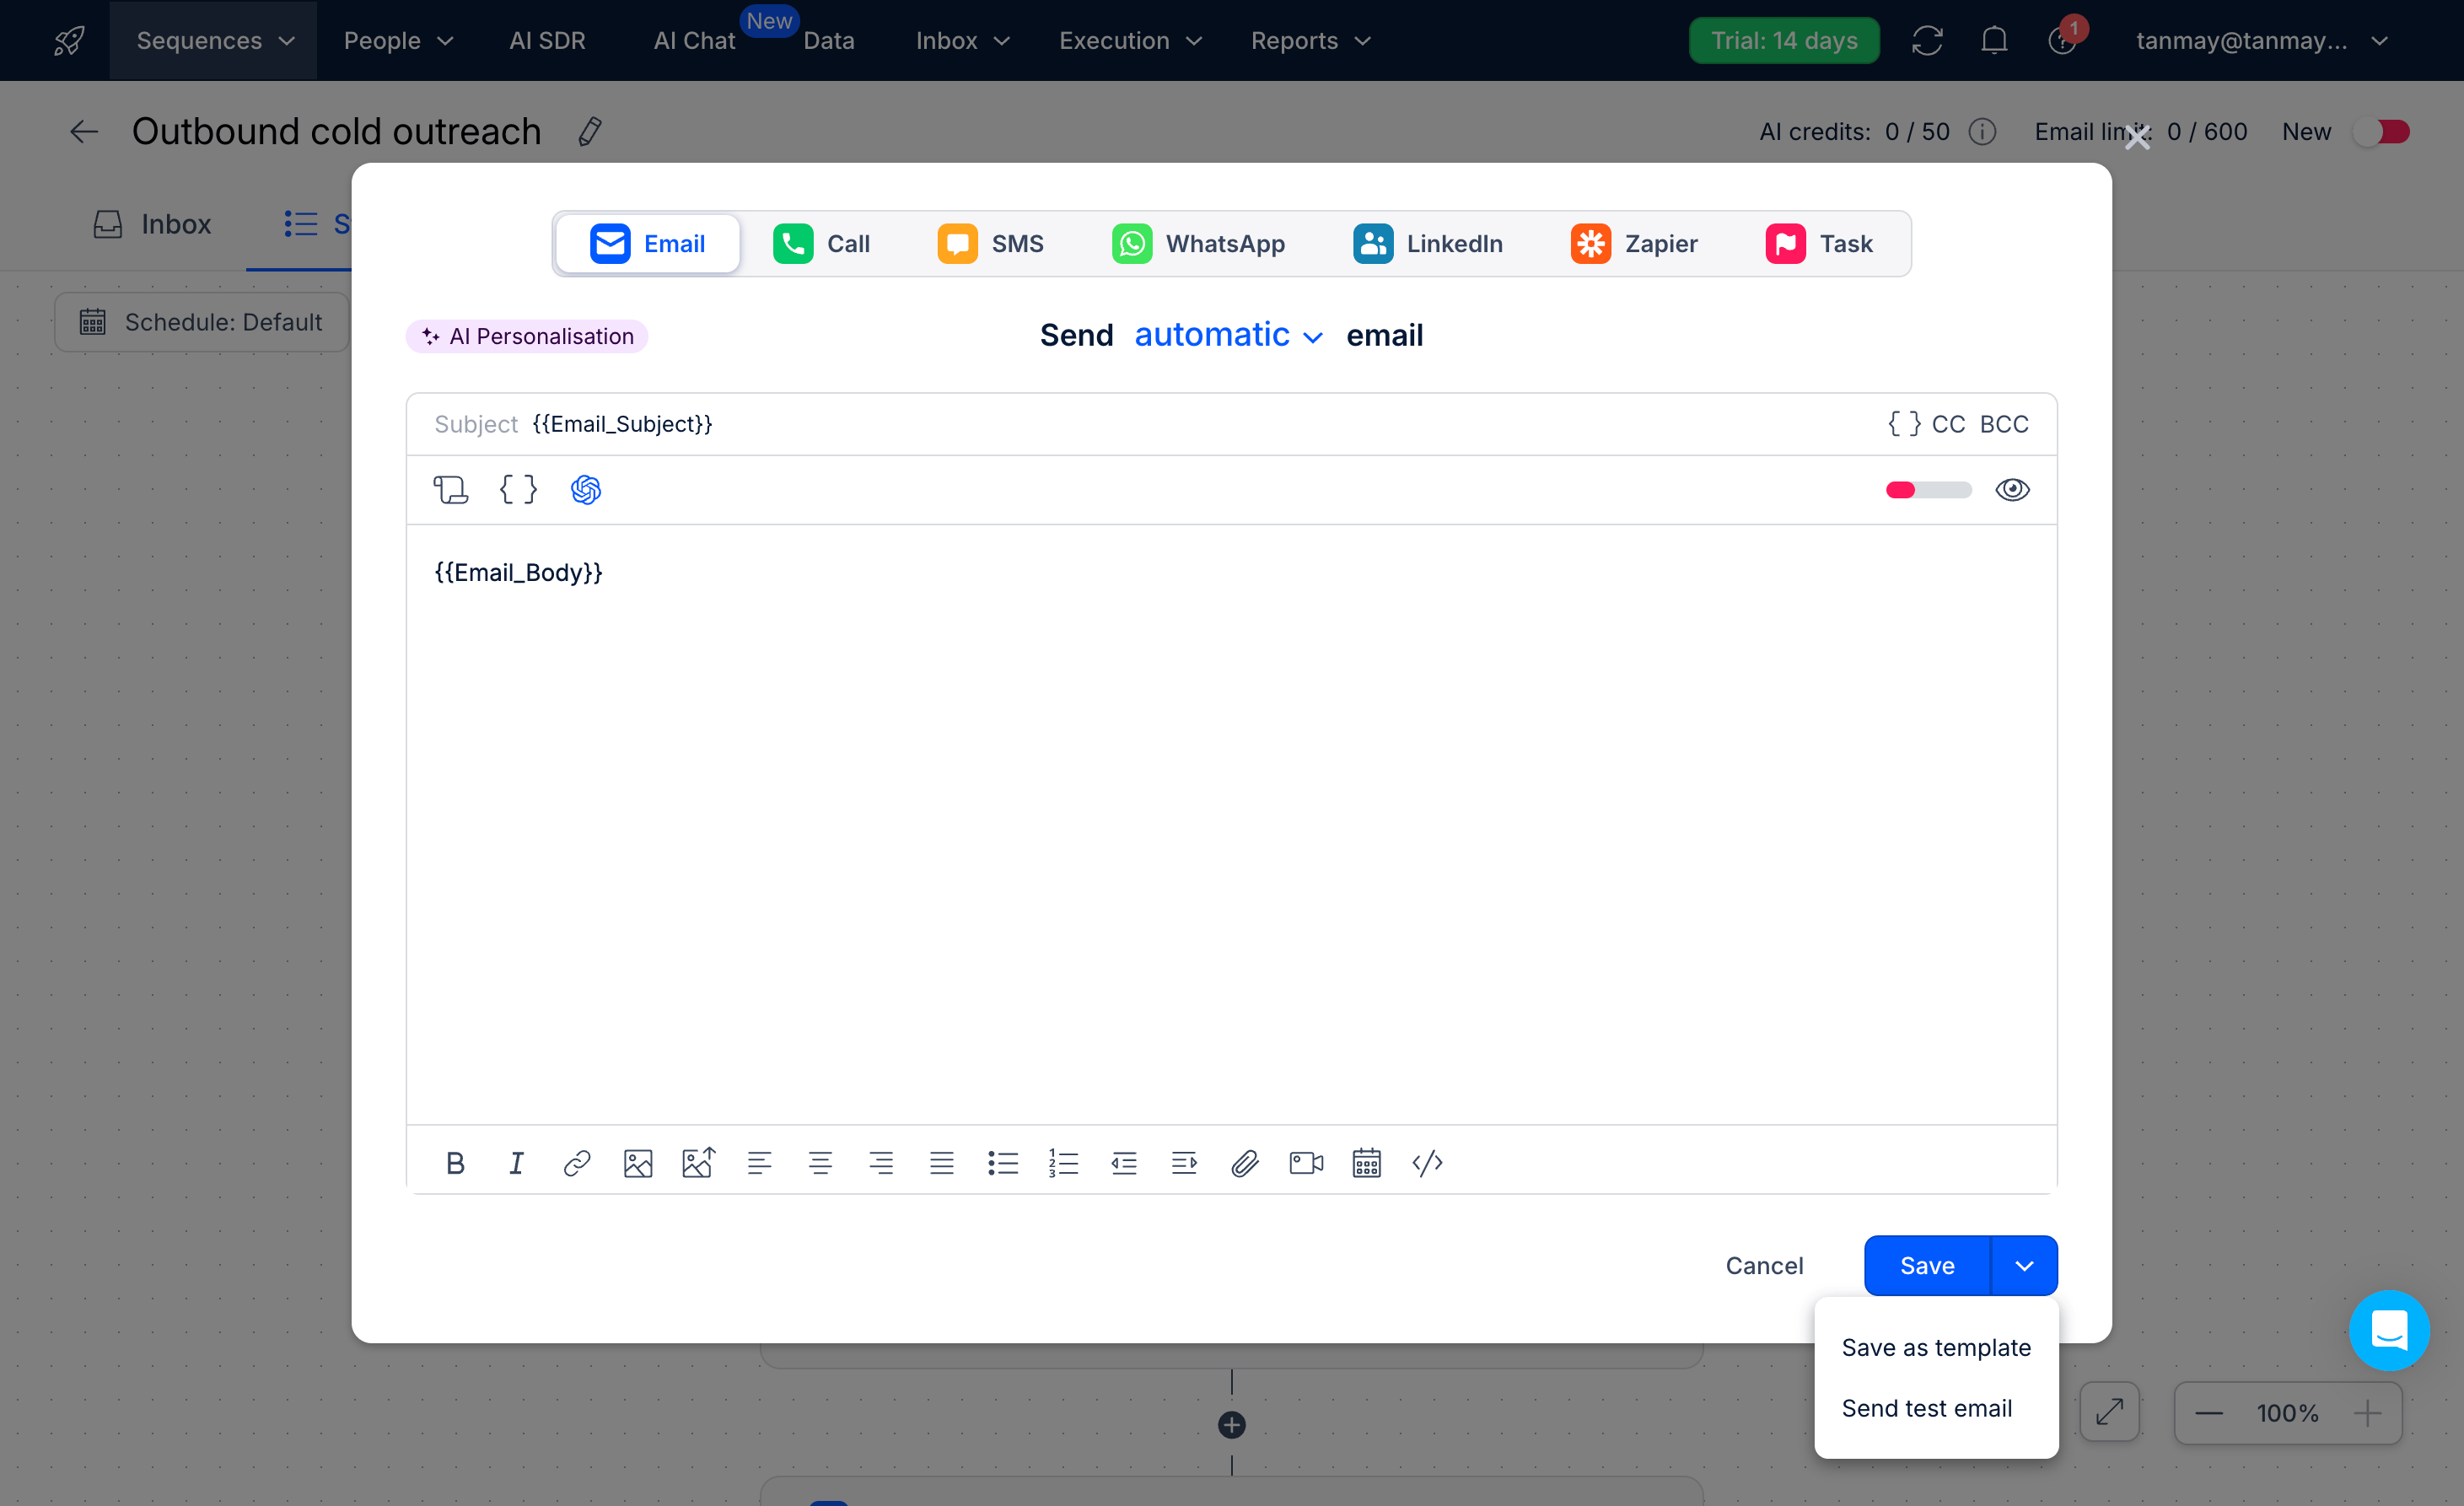
Replace the default email template with your personalized content, mapping the custom fields we created for subject lines and email bodies.
Step 4: Launch your campaign
Before launching, connect your business email account to Reply.io. Remember, you must use a business domain email - free email providers aren't suitable for cold outreach campaigns.


Review your campaign setup by:
- Checking email previews for different contacts
- Verifying all custom fields are mapping correctly
- Confirming email sending schedules

Once everything looks correct, enable your campaign using the toggle in the top right corner. And that’s it! Your personalized cold email campaign will begin reaching out to prospects according to your defined schedule.
In the next tutorial, we'll explore how to track engagement metrics and sync this data with your CRM for comprehensive lead management.
This tutorial was created by Tanmay.