Create a Copilot agent with a knowledge source
Create a custom AI chatbot within your Microsoft 365 workspace that can answer questions on your knowledge sources.
2024-12-09
Welcome! This is the sixth and final lesson of our Learn advanced Copilot 365 features course.
In this tutorial, we’ll work with Microsoft Copilot agents to create a custom AI chatbot that can answer questions by referencing a website knowledge source.
This is a newer Microsoft application and there are many limitations right now on what you can do. But you’ll get to learn the ins and outs of setting up your first Copilot agent—from configuration to deployment—so as more features roll out, you’ll be ready to take advantage of them.
Steps we’ll cover in this tutorial:
- Configure your Copilot agent
- Design, test, and deploy your Copilot agent
- Publish and provision your Copilot agent
You’ll need:
- Microsoft 365 Business Account
- Copilot 365 Subscription
Let’s get started!
Configure your Copilot agent
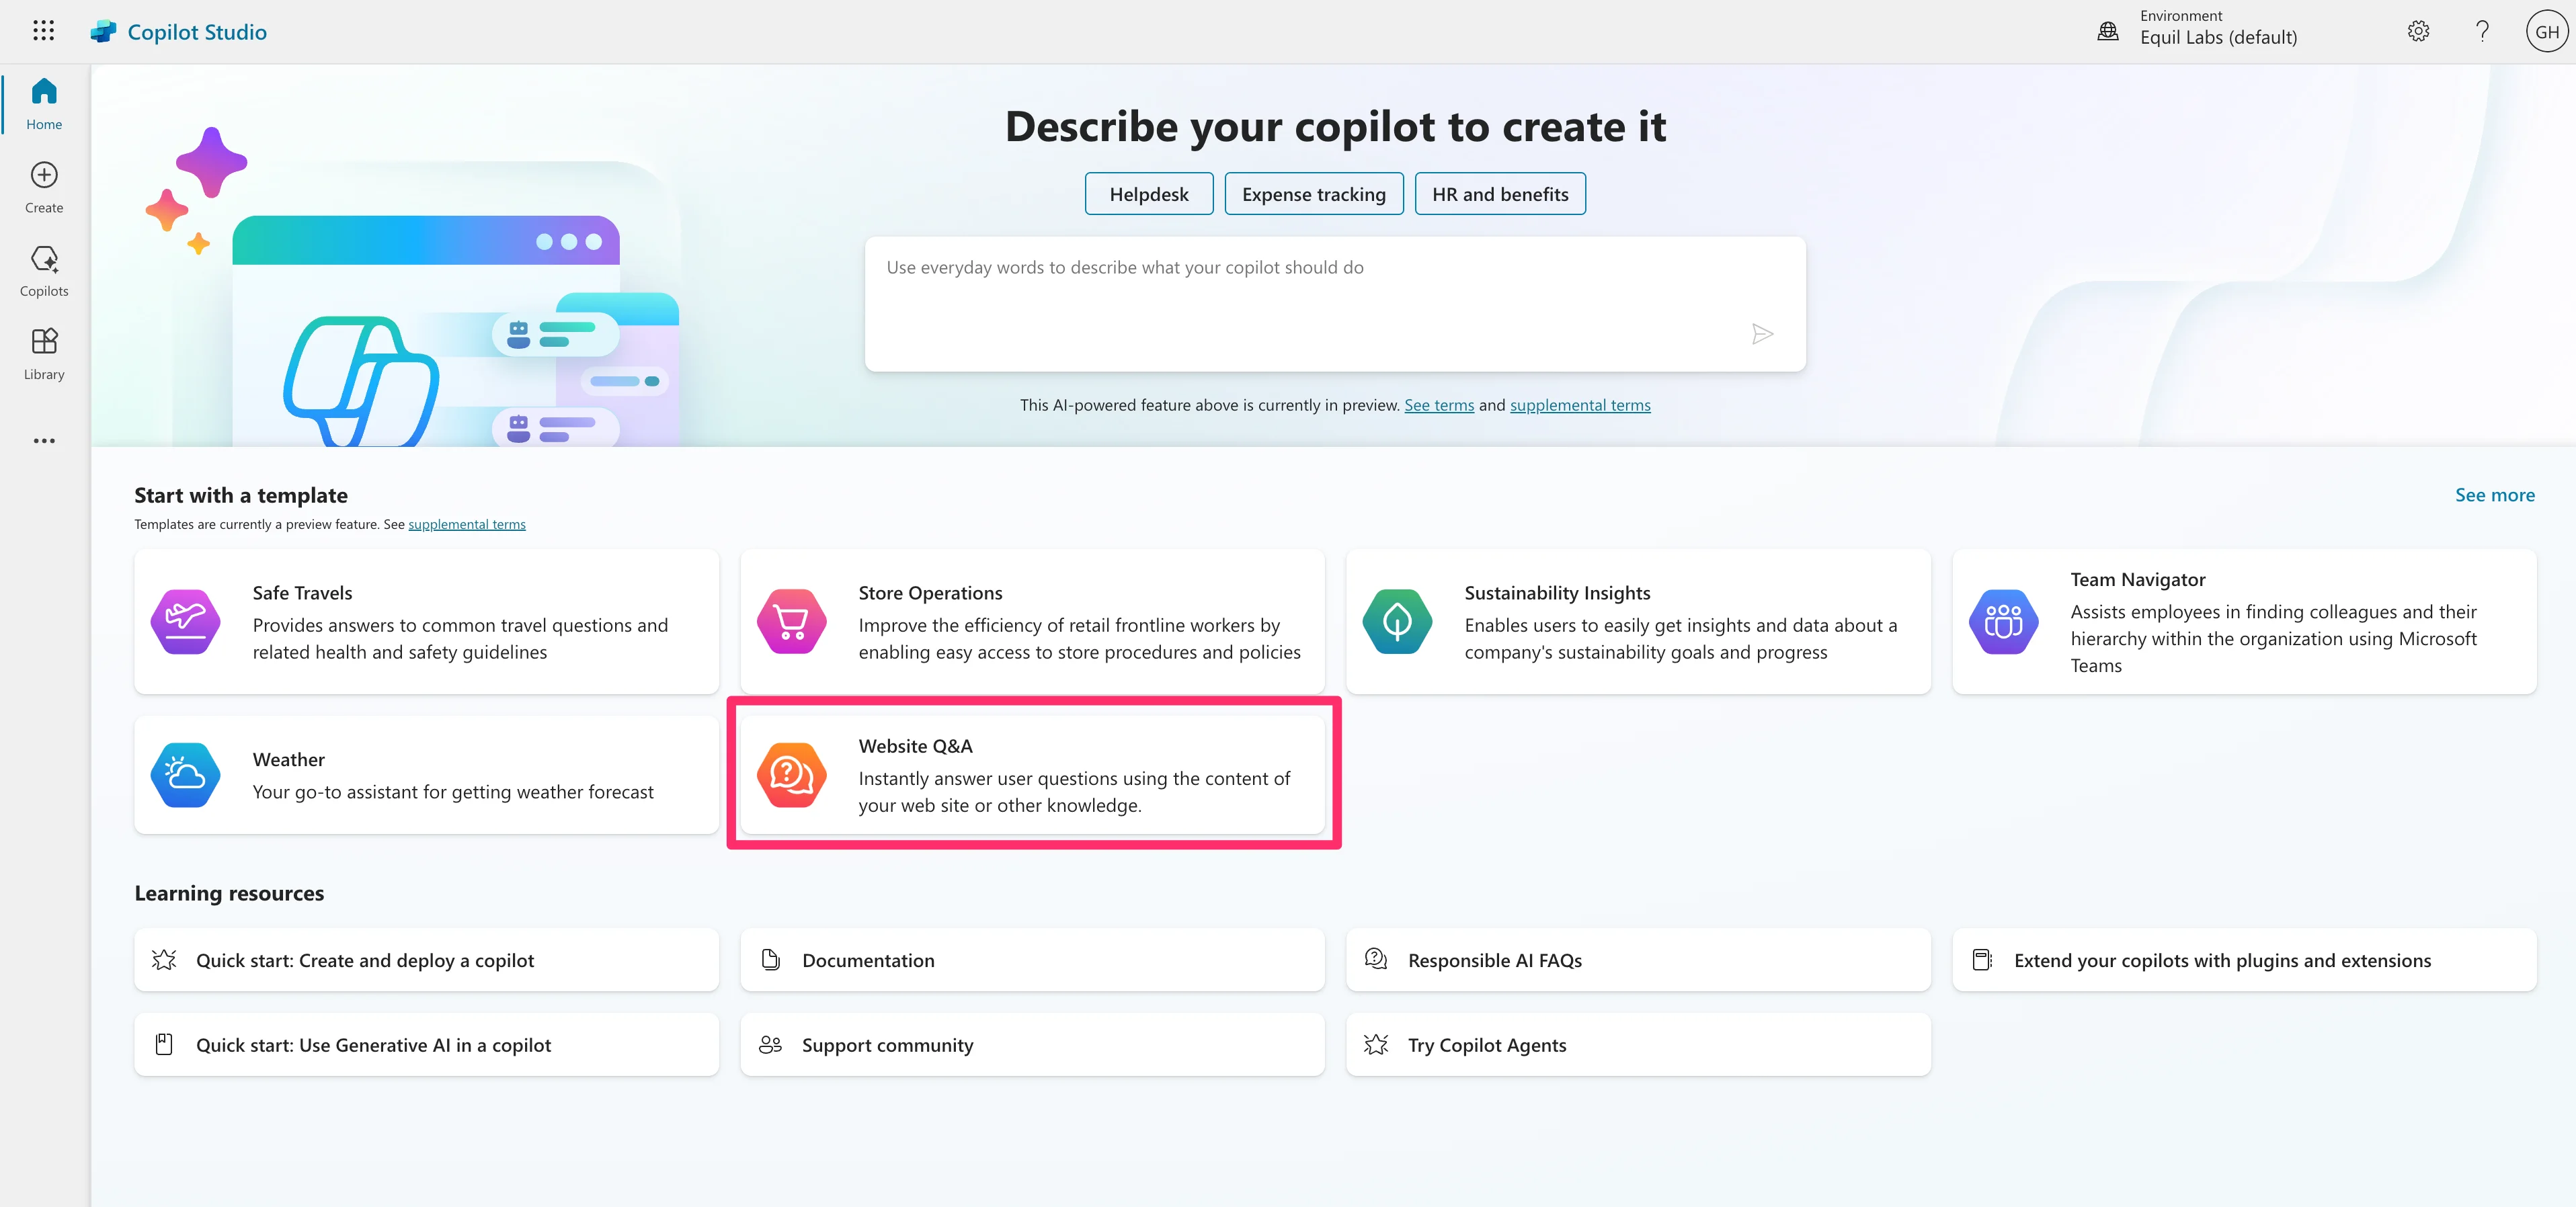
To get started, navigate to Copilot Studio. Since we’re going to create a Copilot agent with a custom knowledge source, we’ll use the “Website Q&A” template.
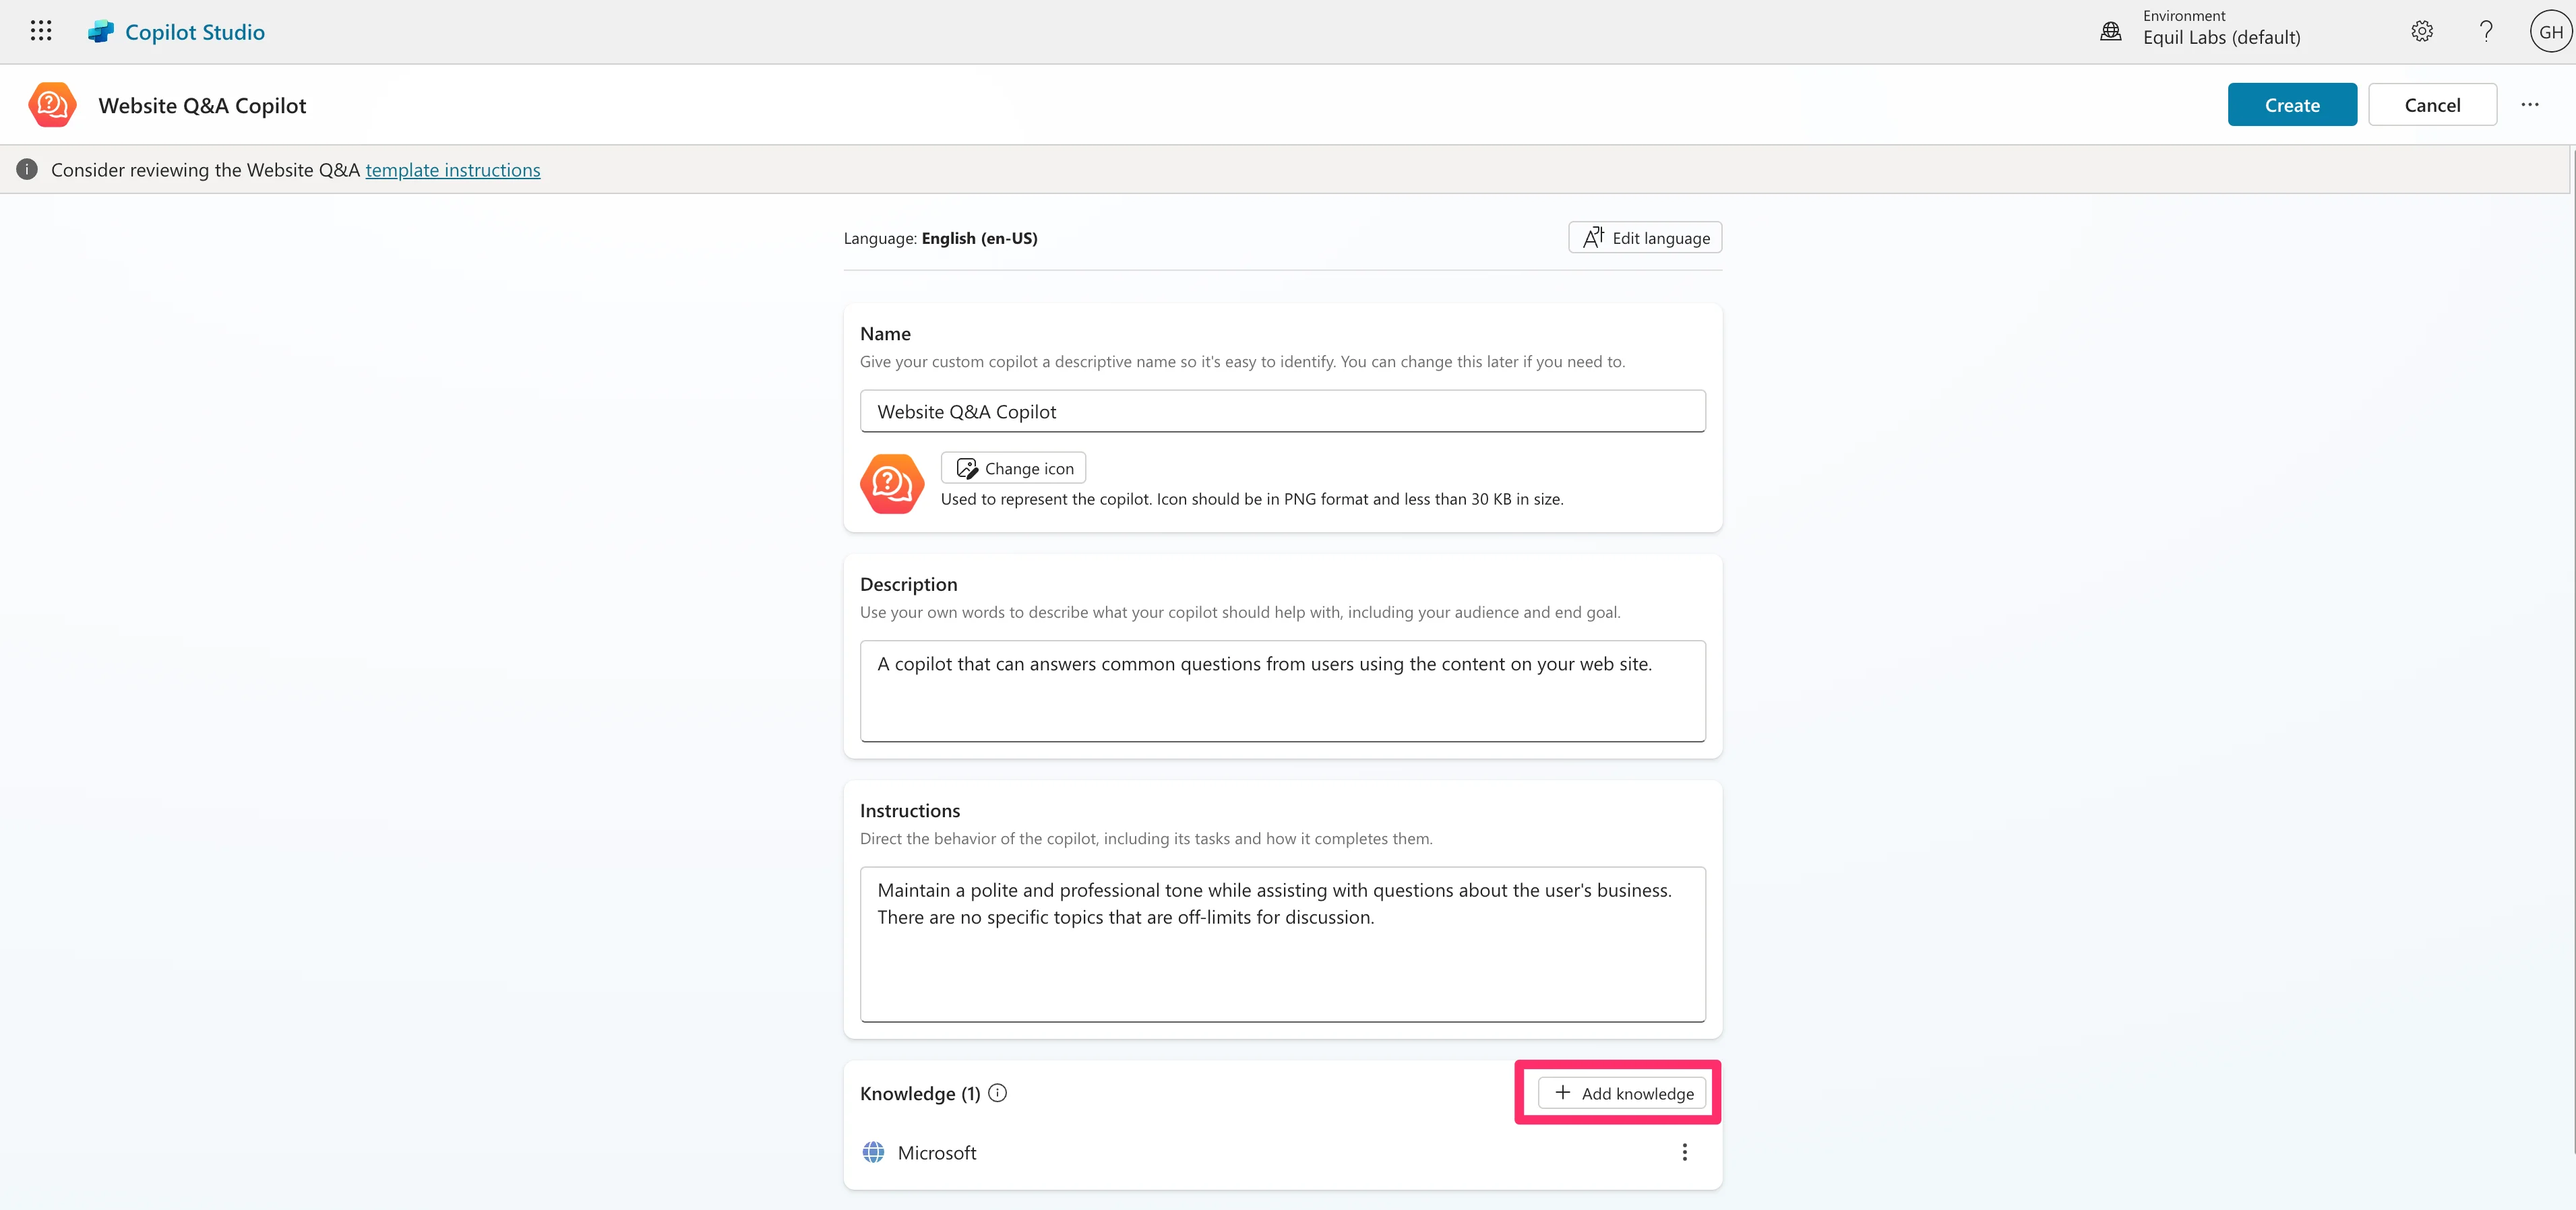
When you select the template, you’ll be taken to the configuration page. Click the “Add knowledge” button at the bottom of the screen to link your website to the agent.
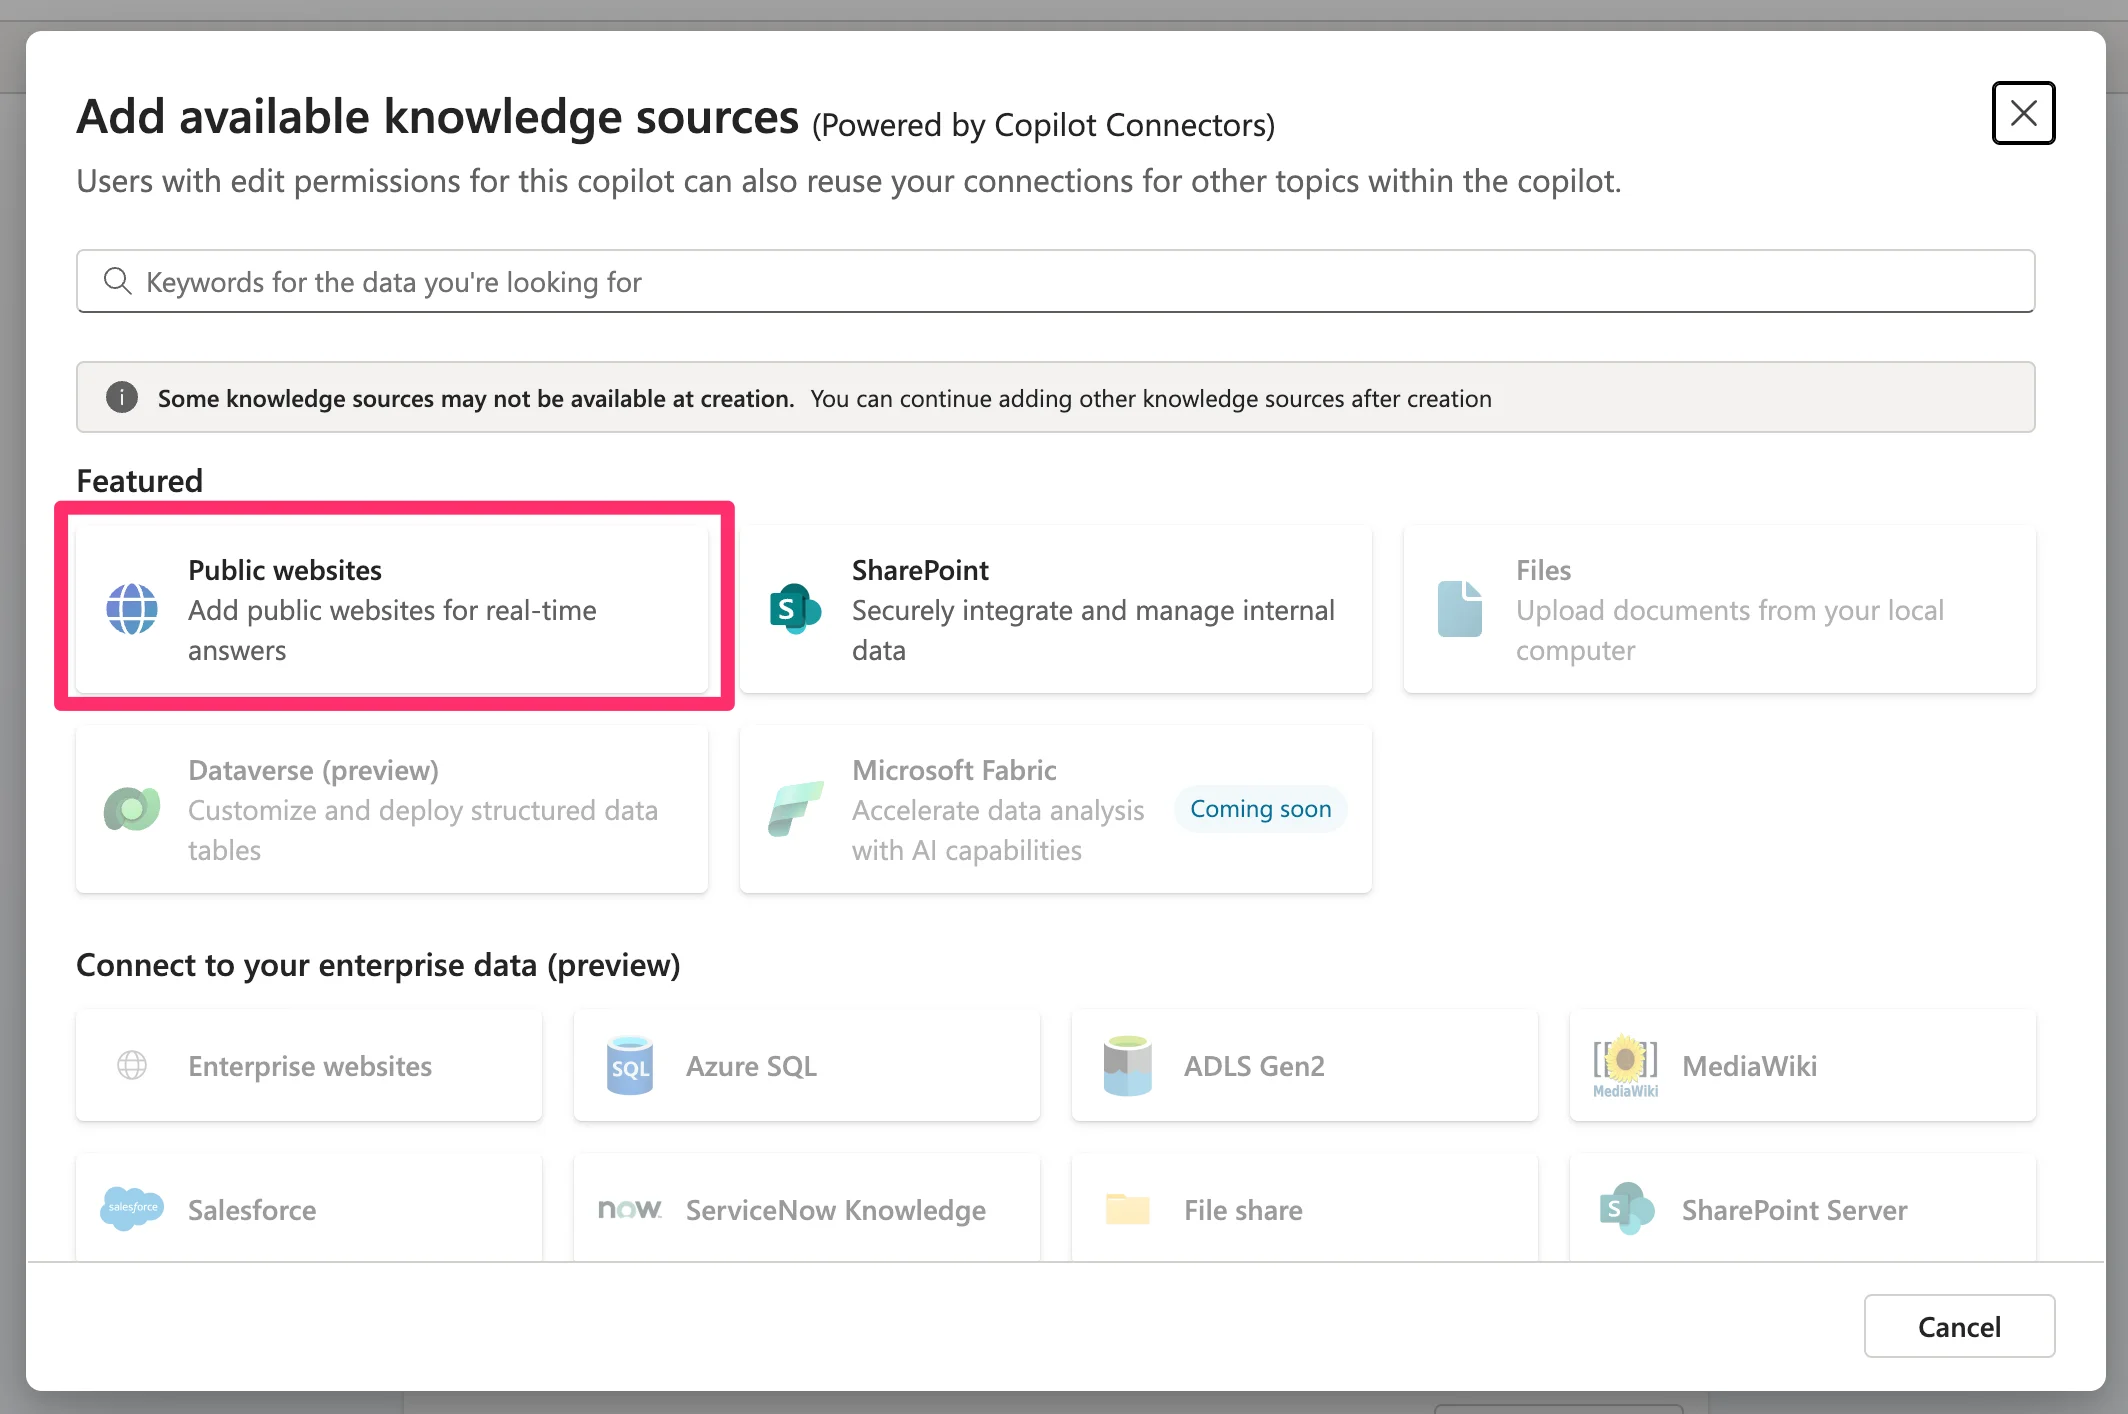
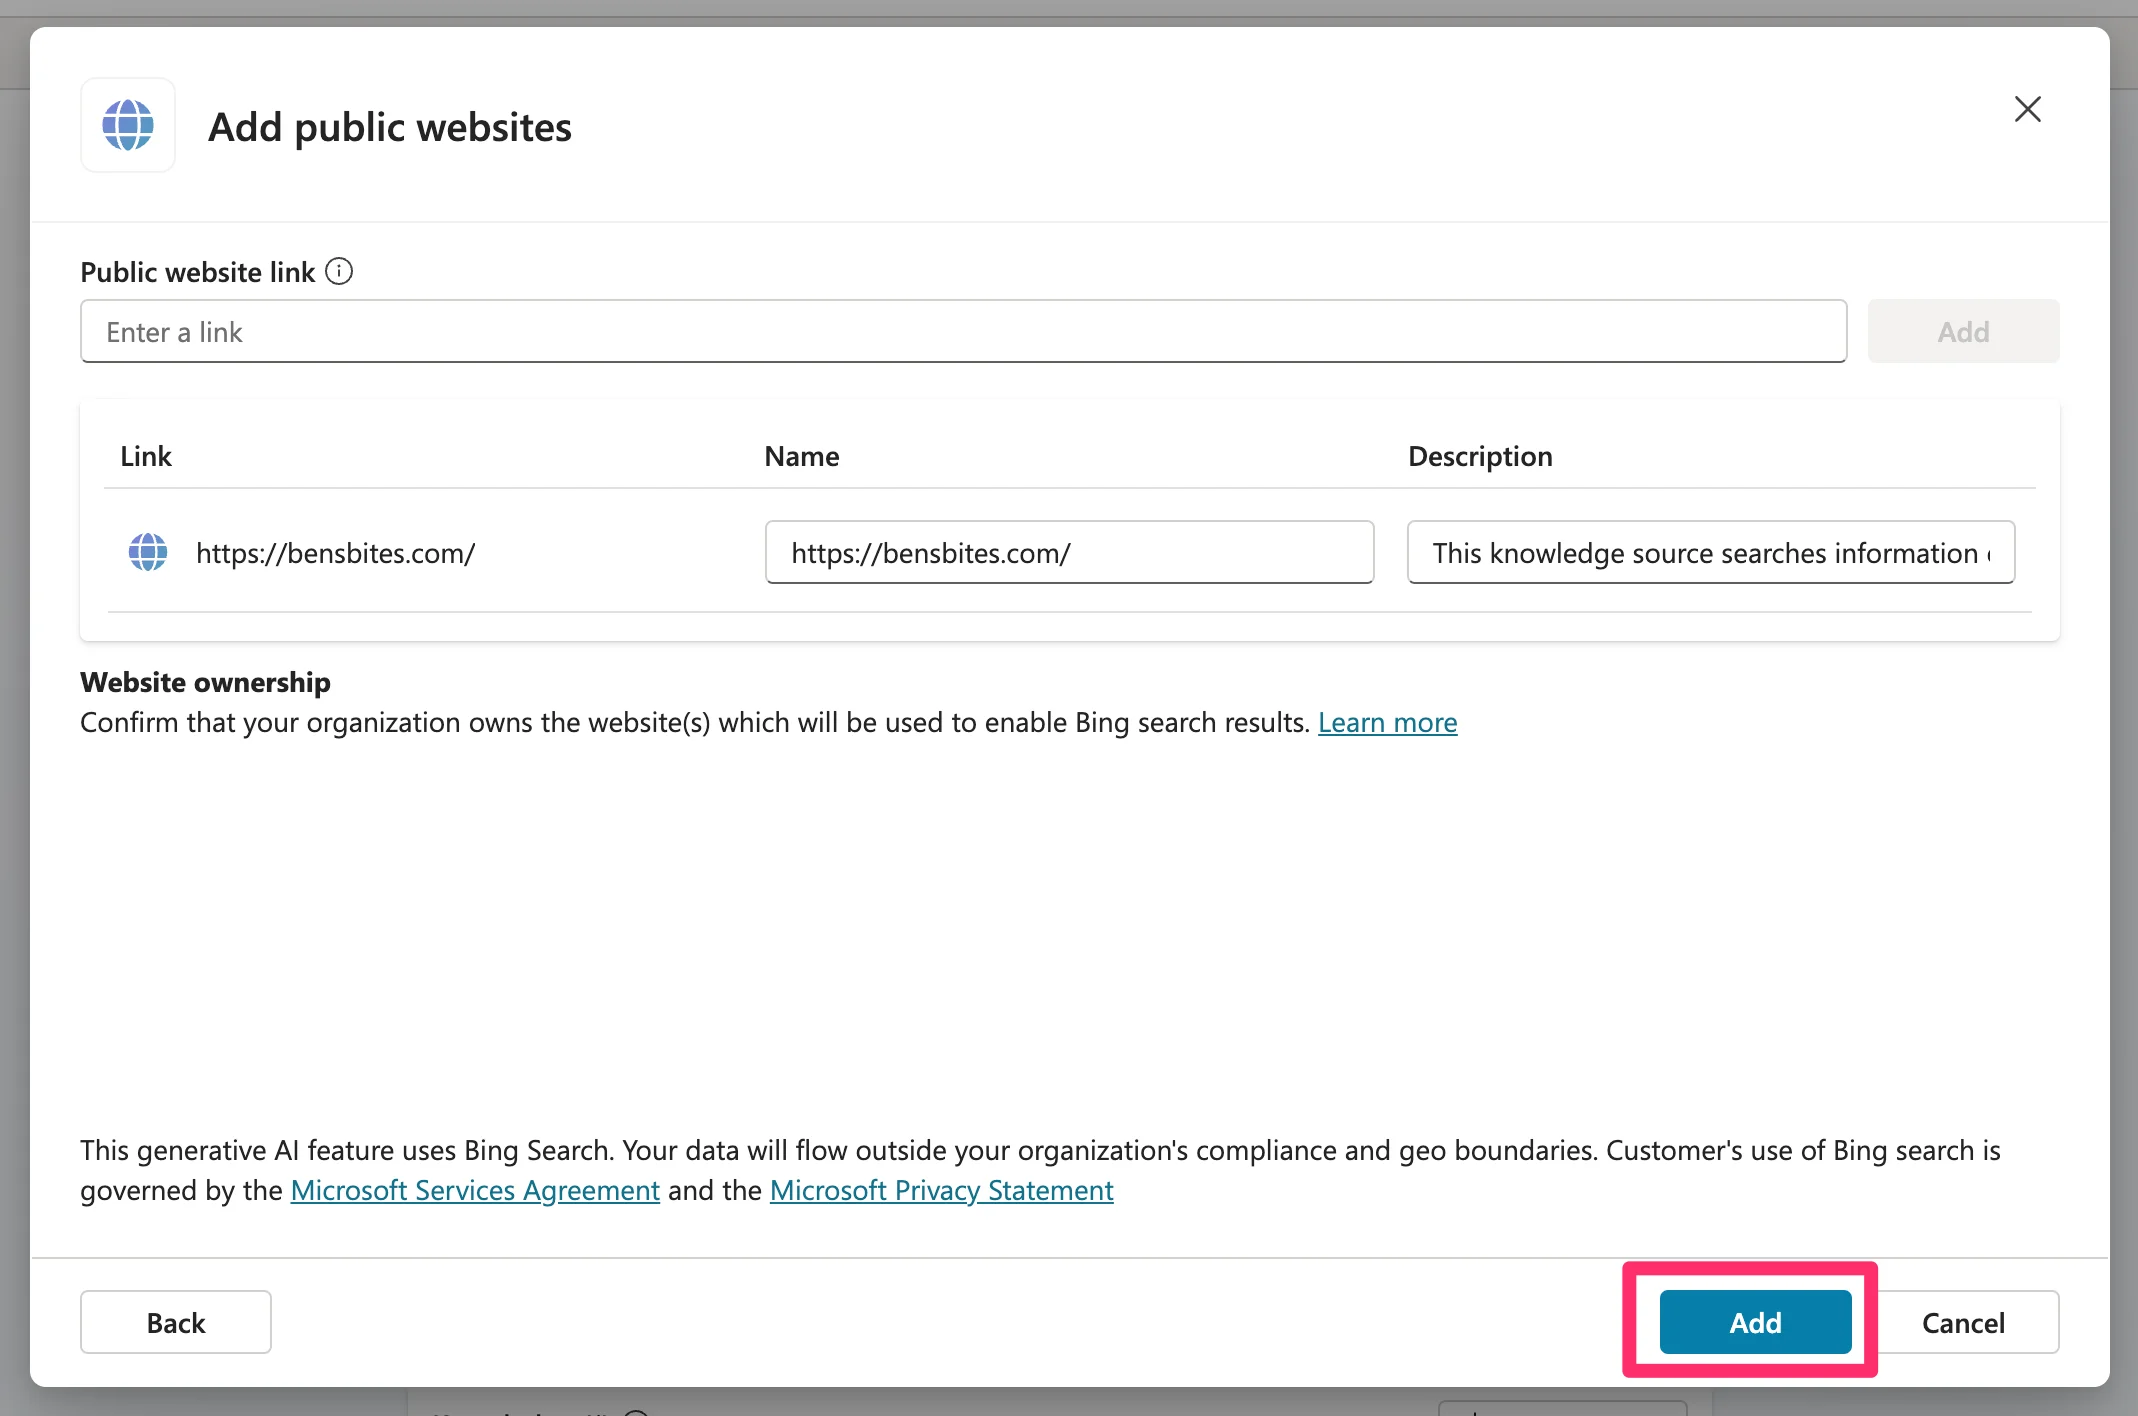
Microsoft only allows public websites and SharePoint sites right now as knowledge sources. We’re going to select the public website option for this tutorial.
Drop in your website link and click the “Add” button to add it as a knowledge source.
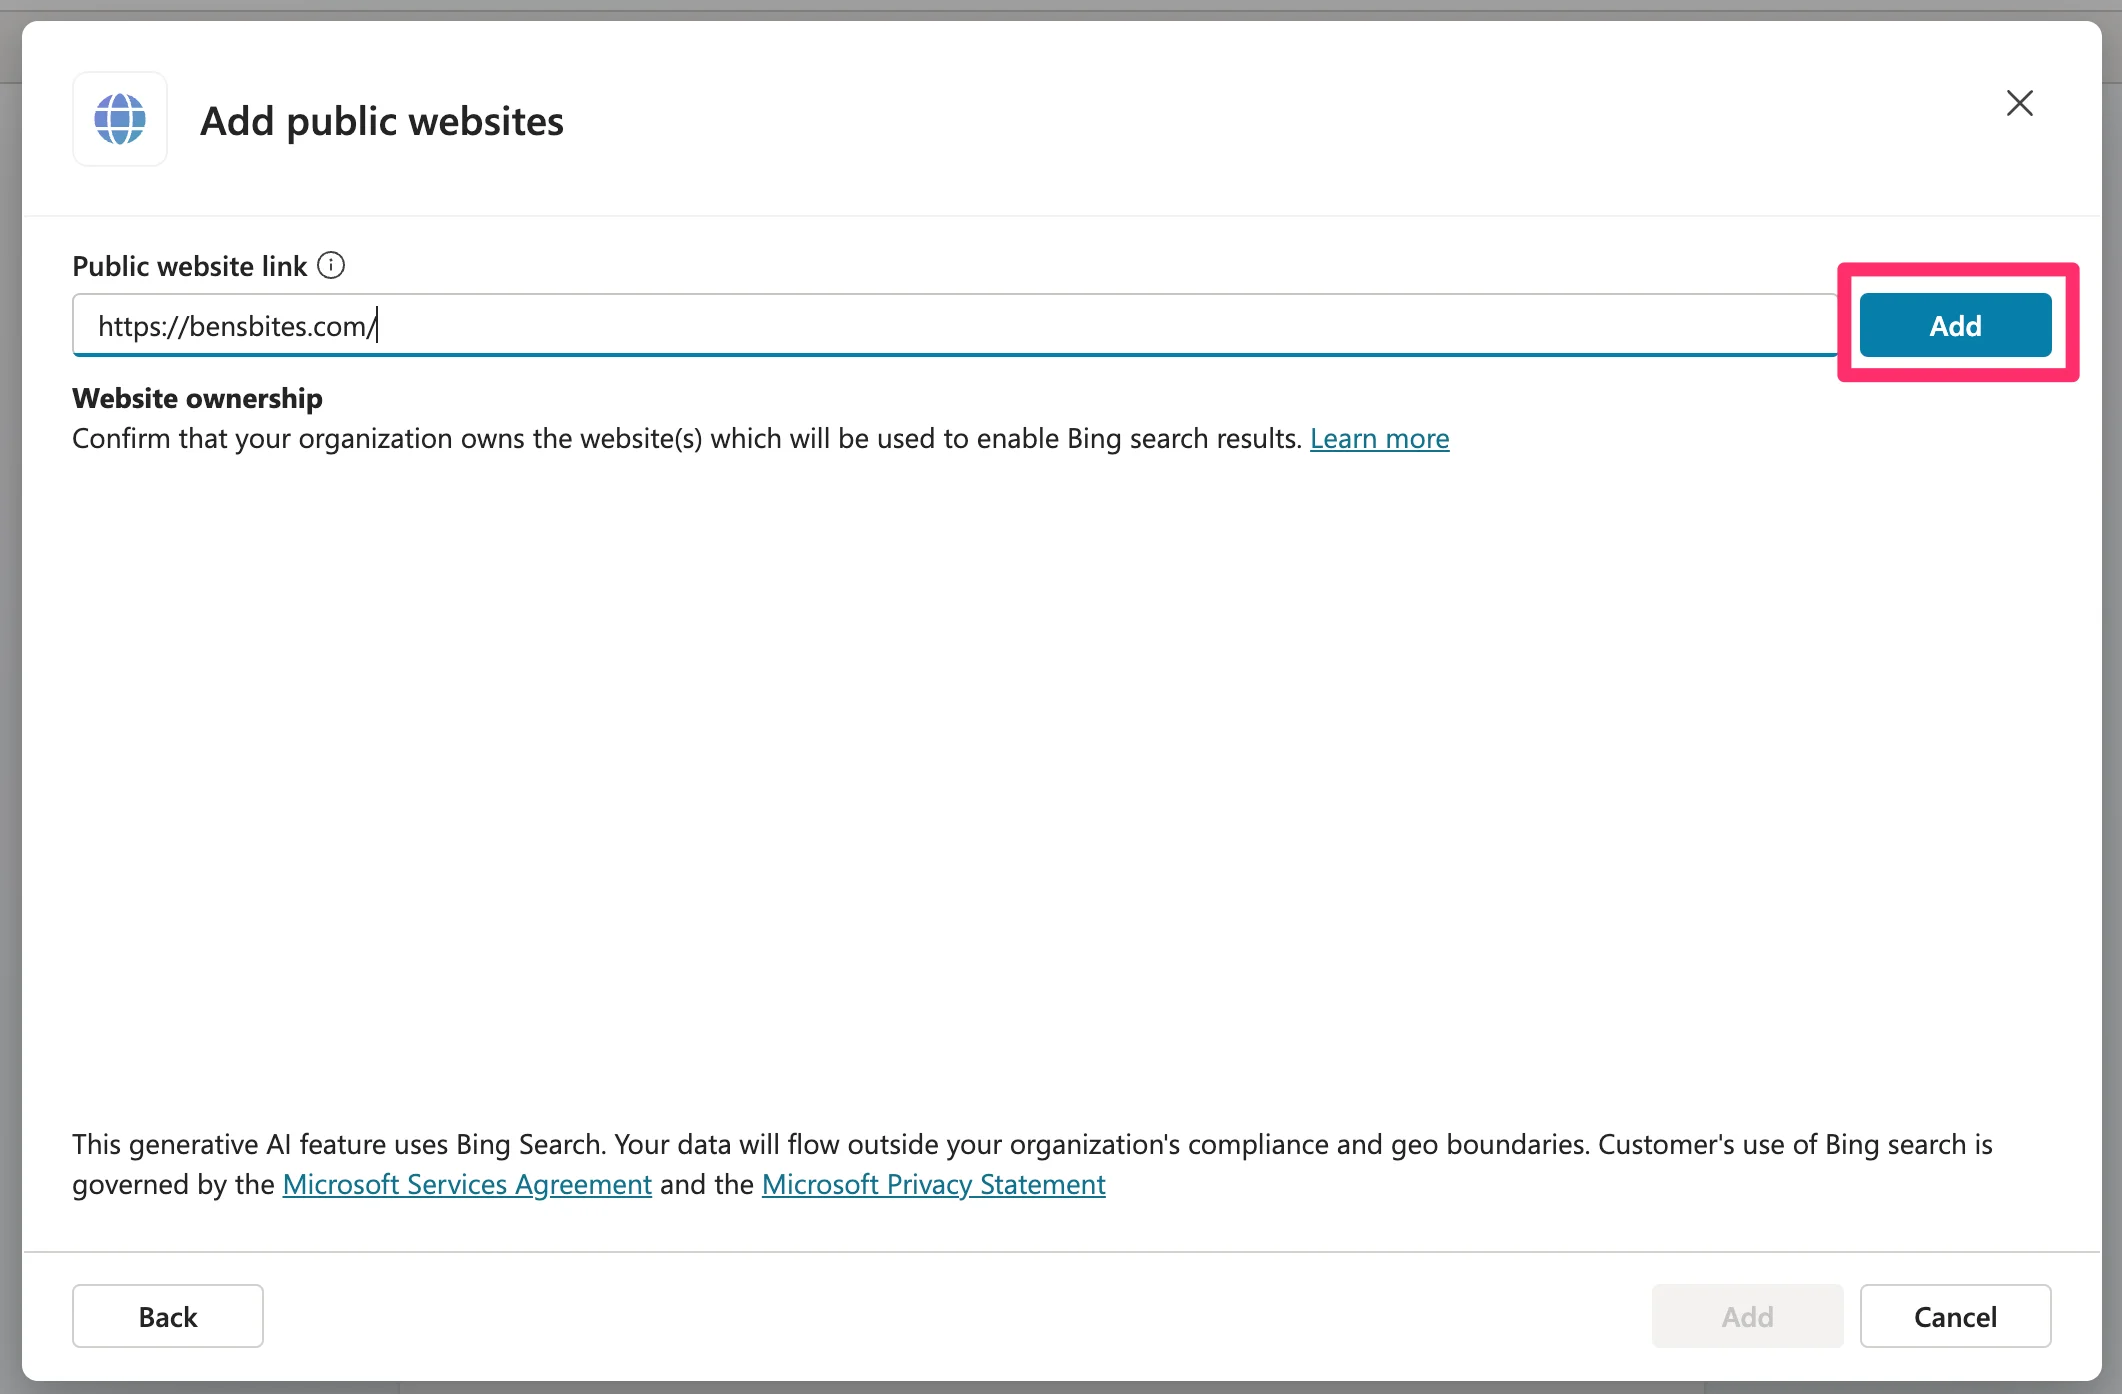
Once it’s added, you’ll need to click the second “Add” button to finalize the process.
Design, test, and deploy your Copilot agent
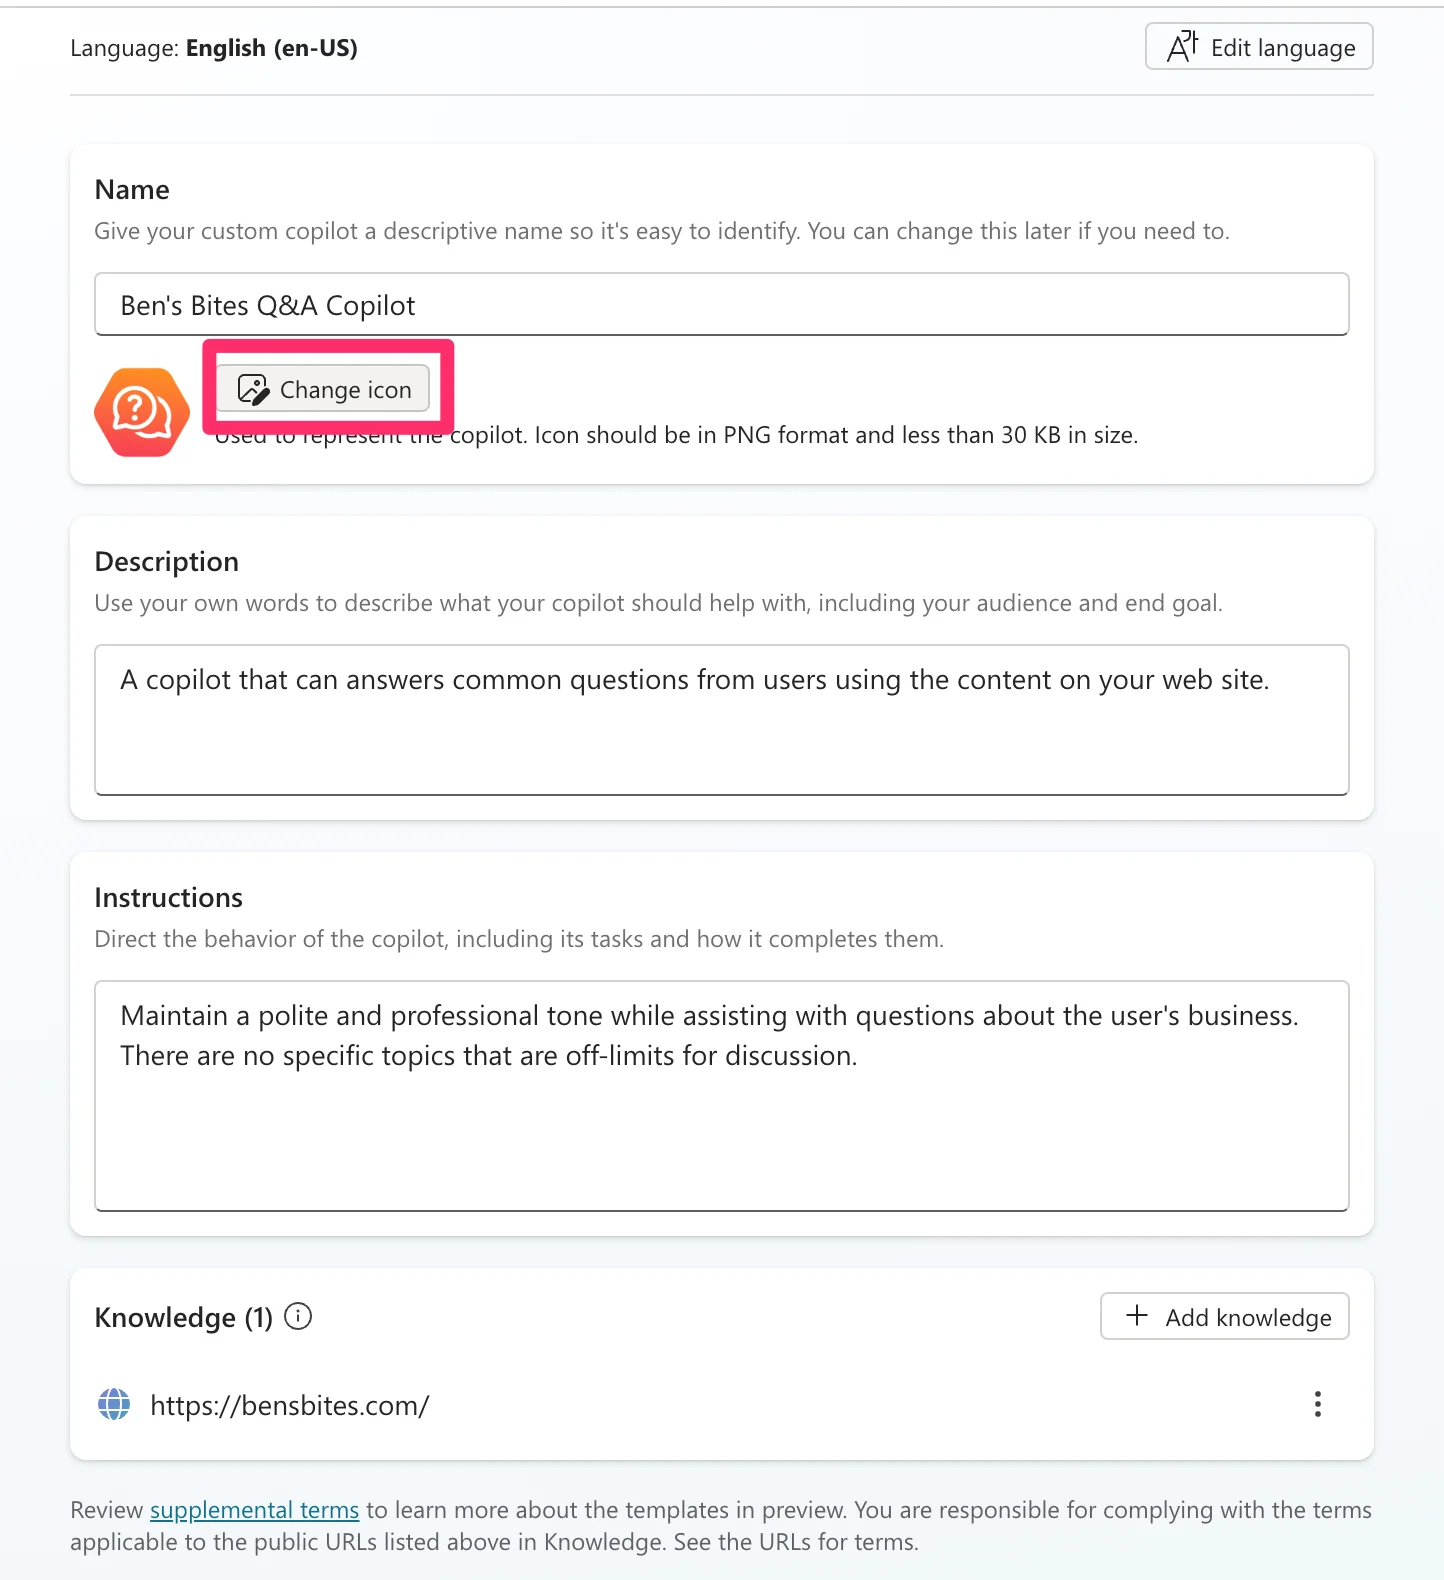
Now that our knowledge source is added, we can design, test, and deploy our Copilot agent. We’re going to add a custom icon for our agent. To do this, click the “Change icon” button at the top of the configuration page and upload an image.
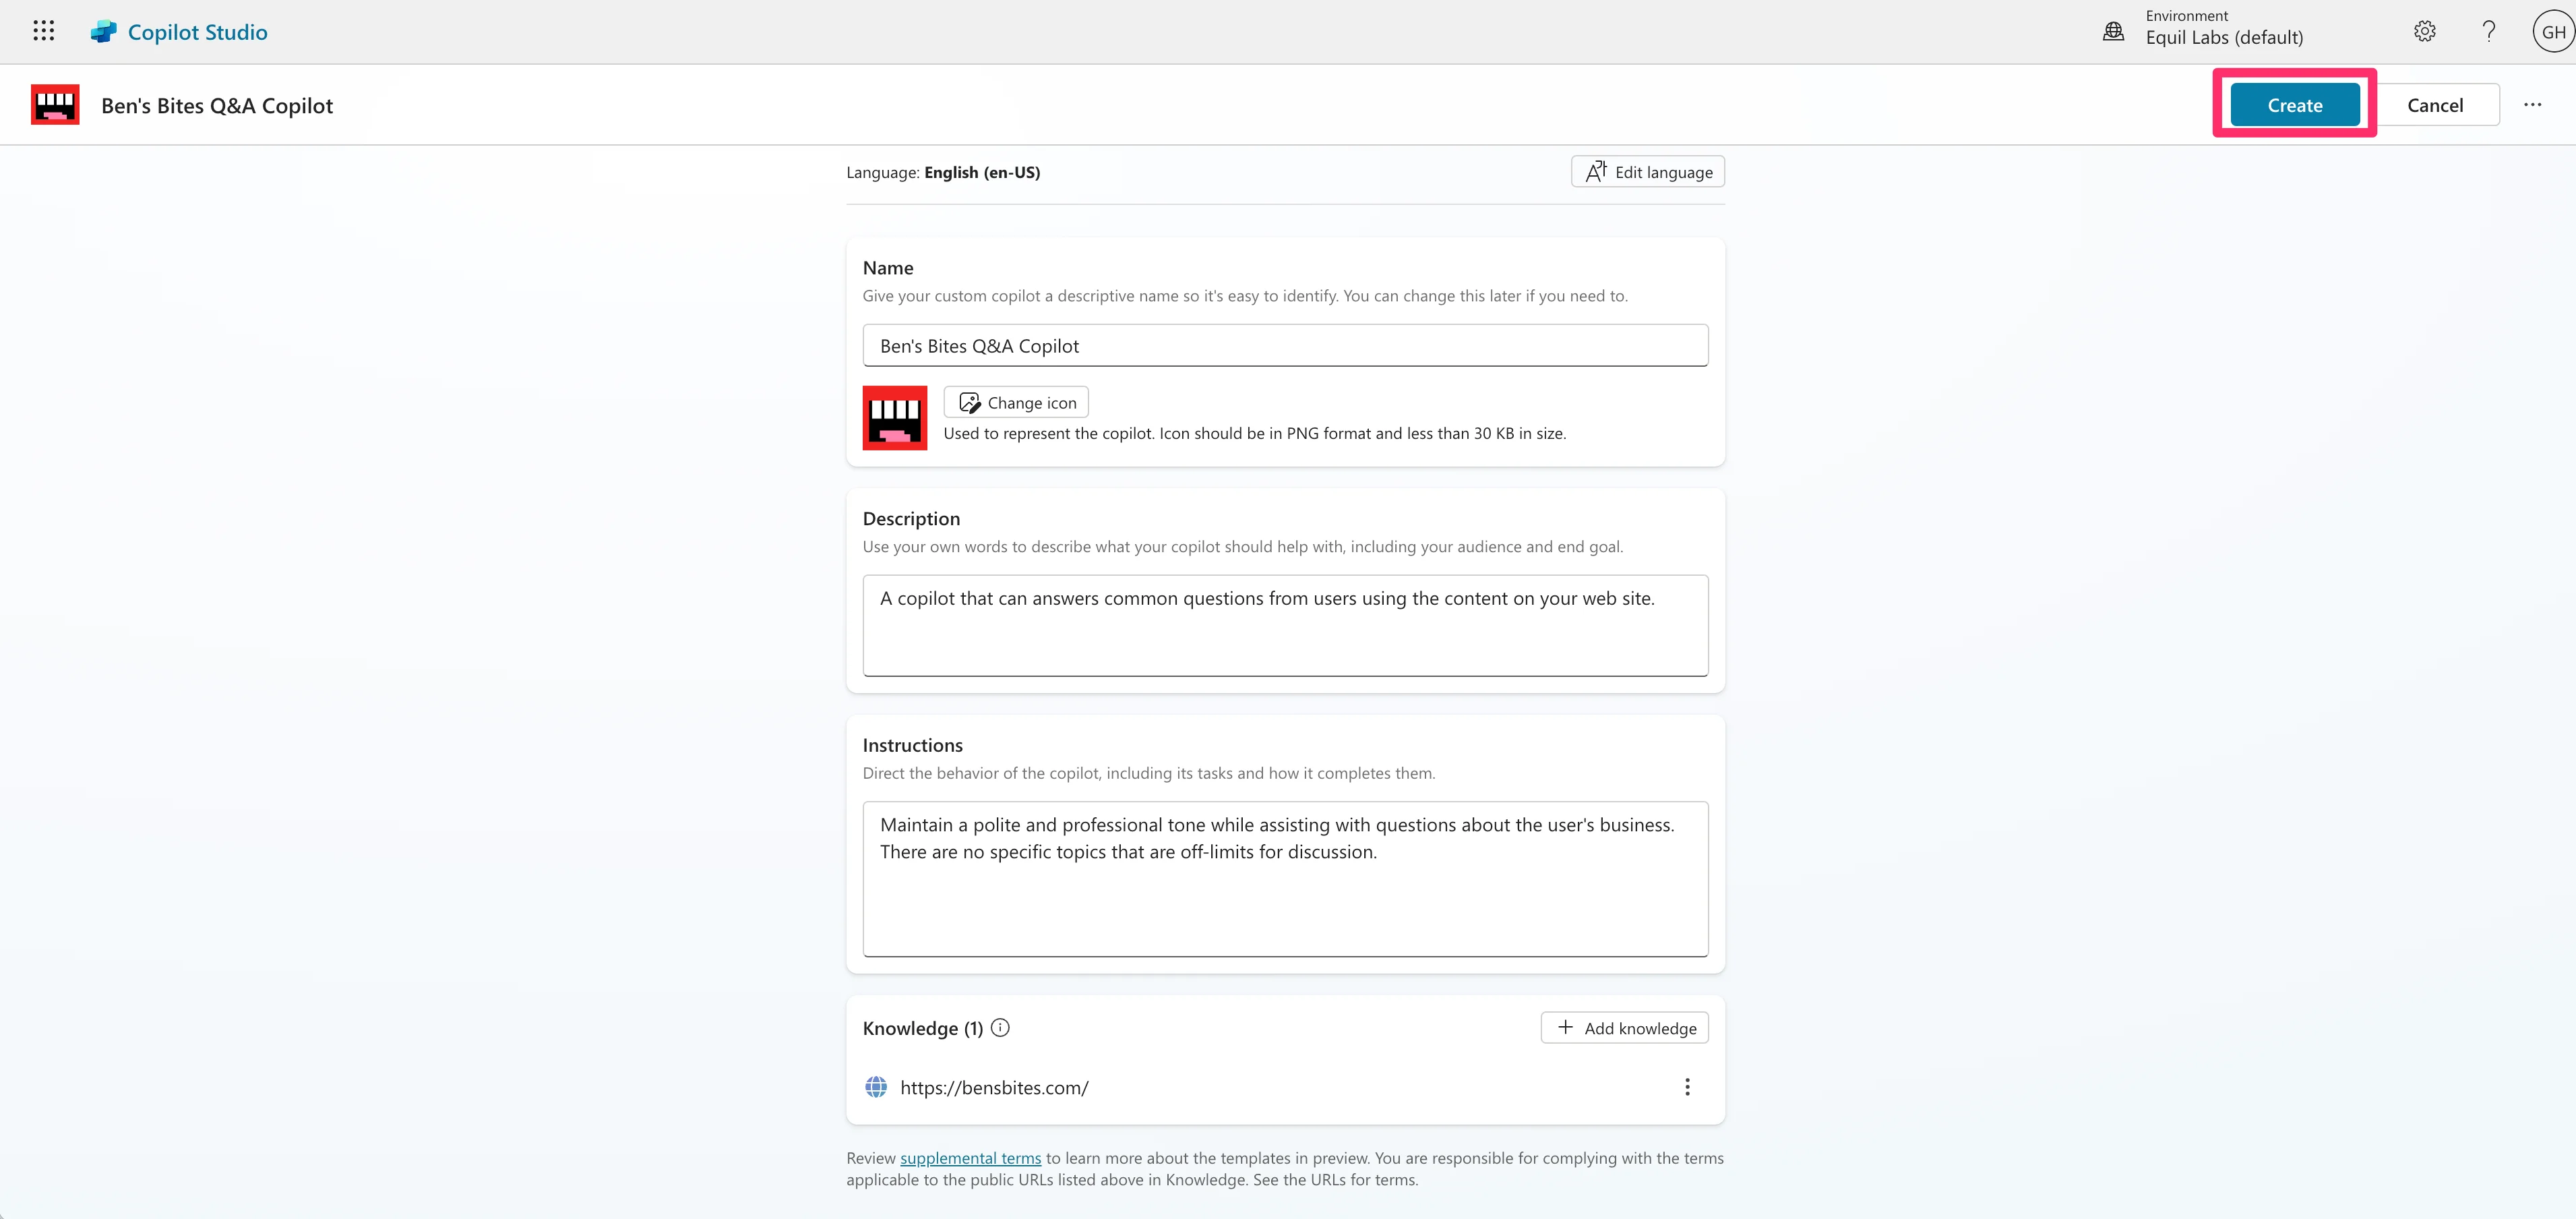
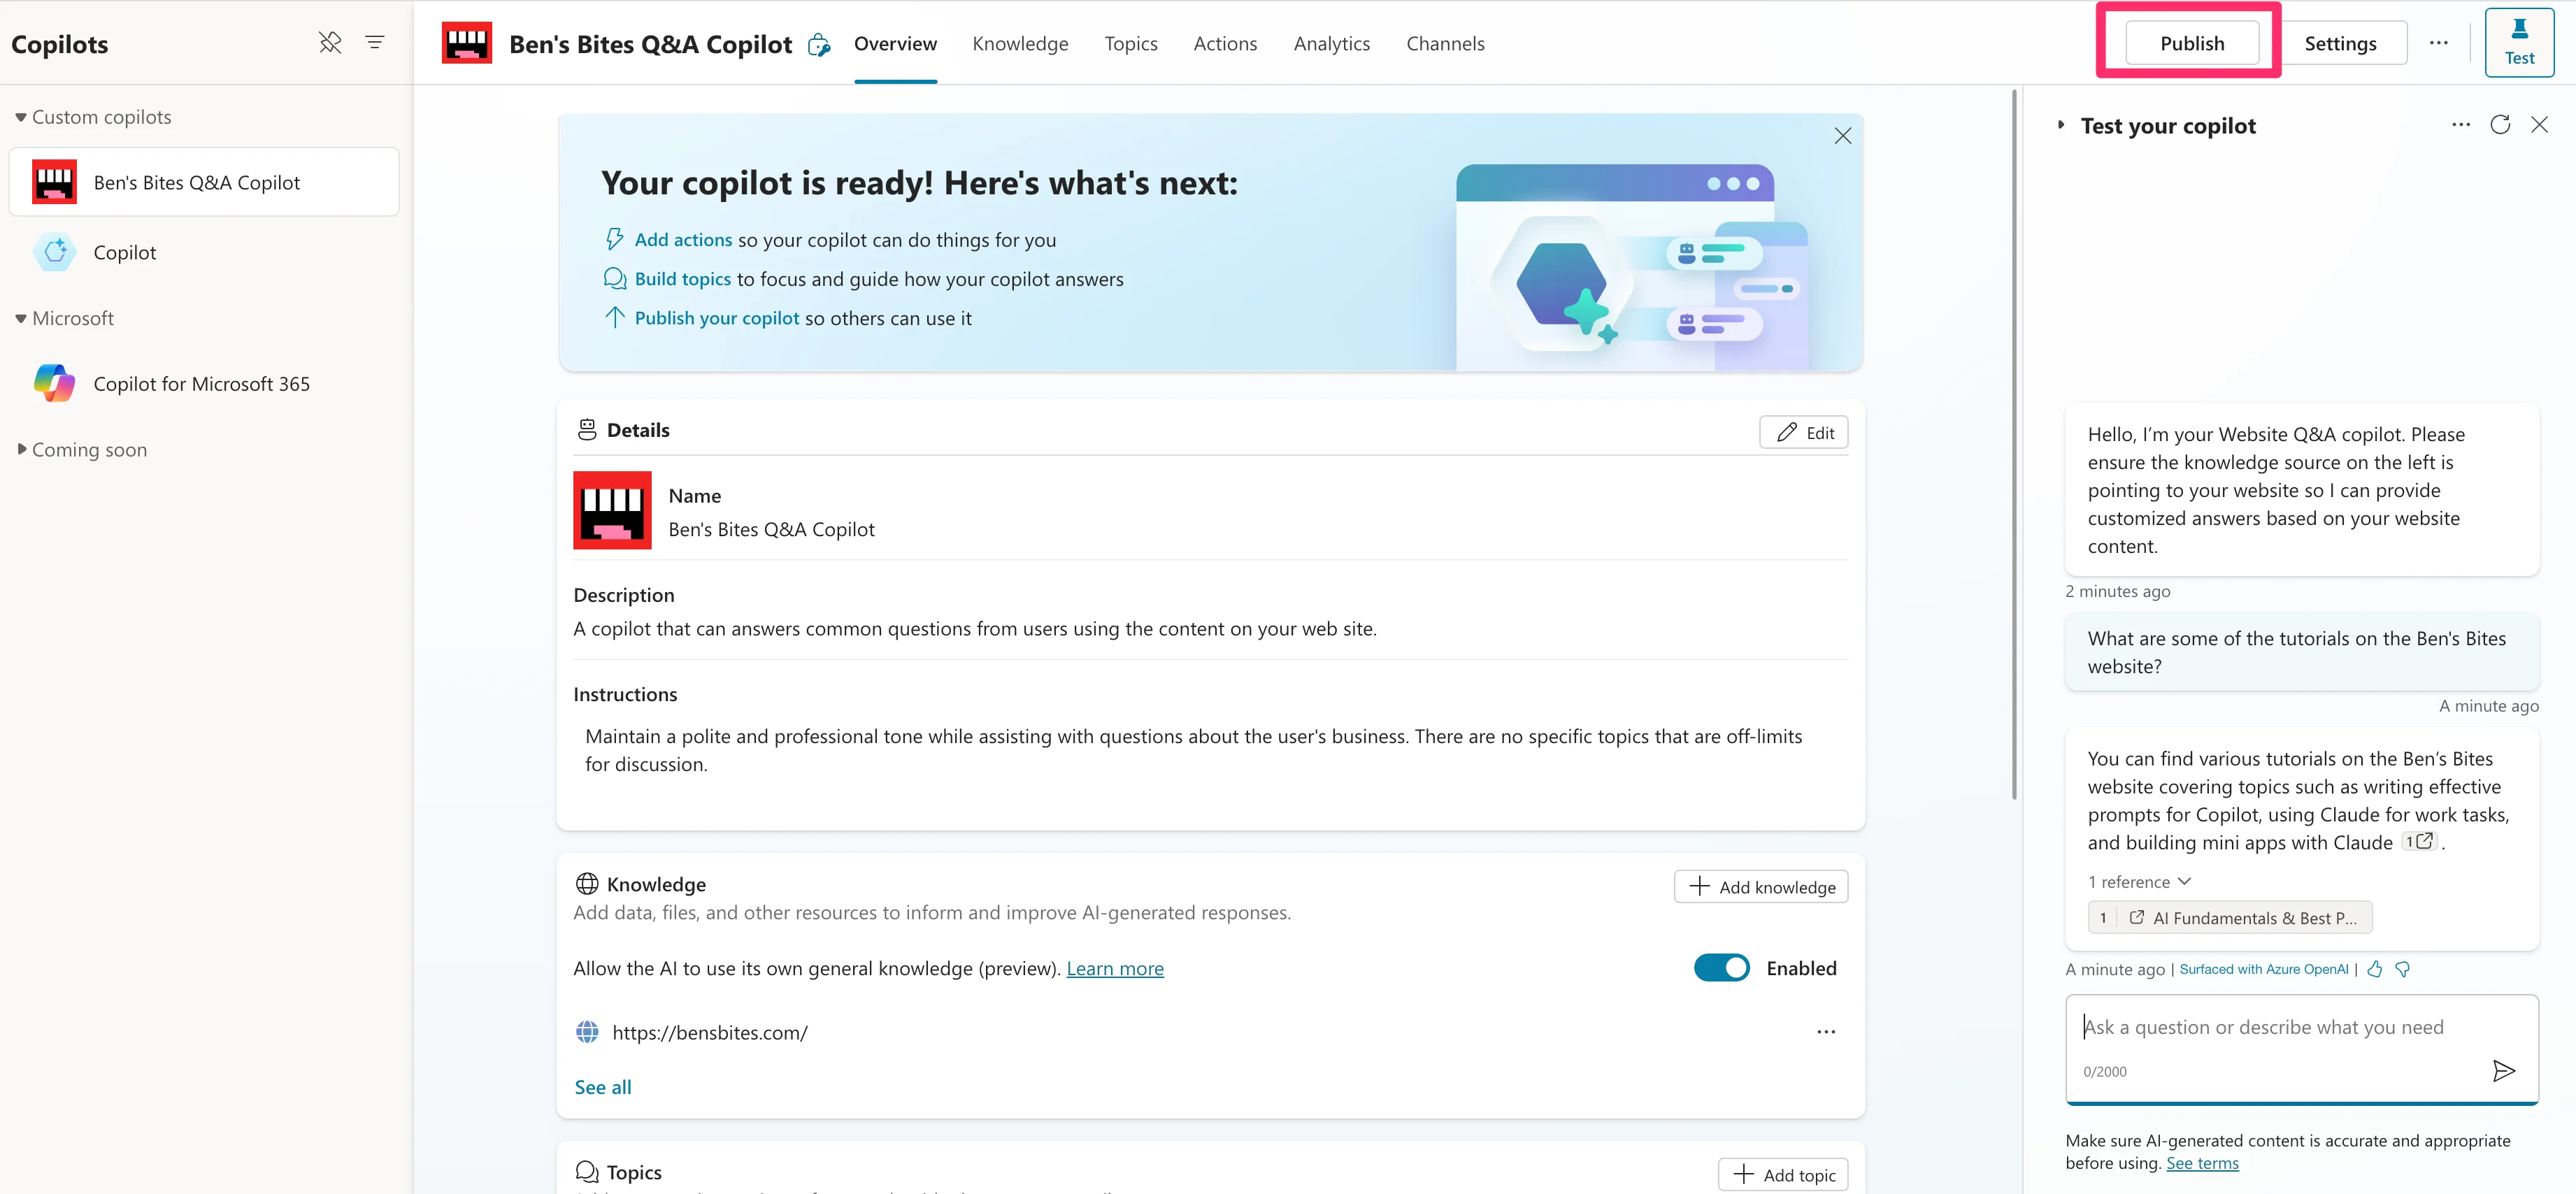
When you’re done finalizing your agent, click the “Create” button in the top right of the page to create the agent. (Note: This will not publish/deploy the agent).
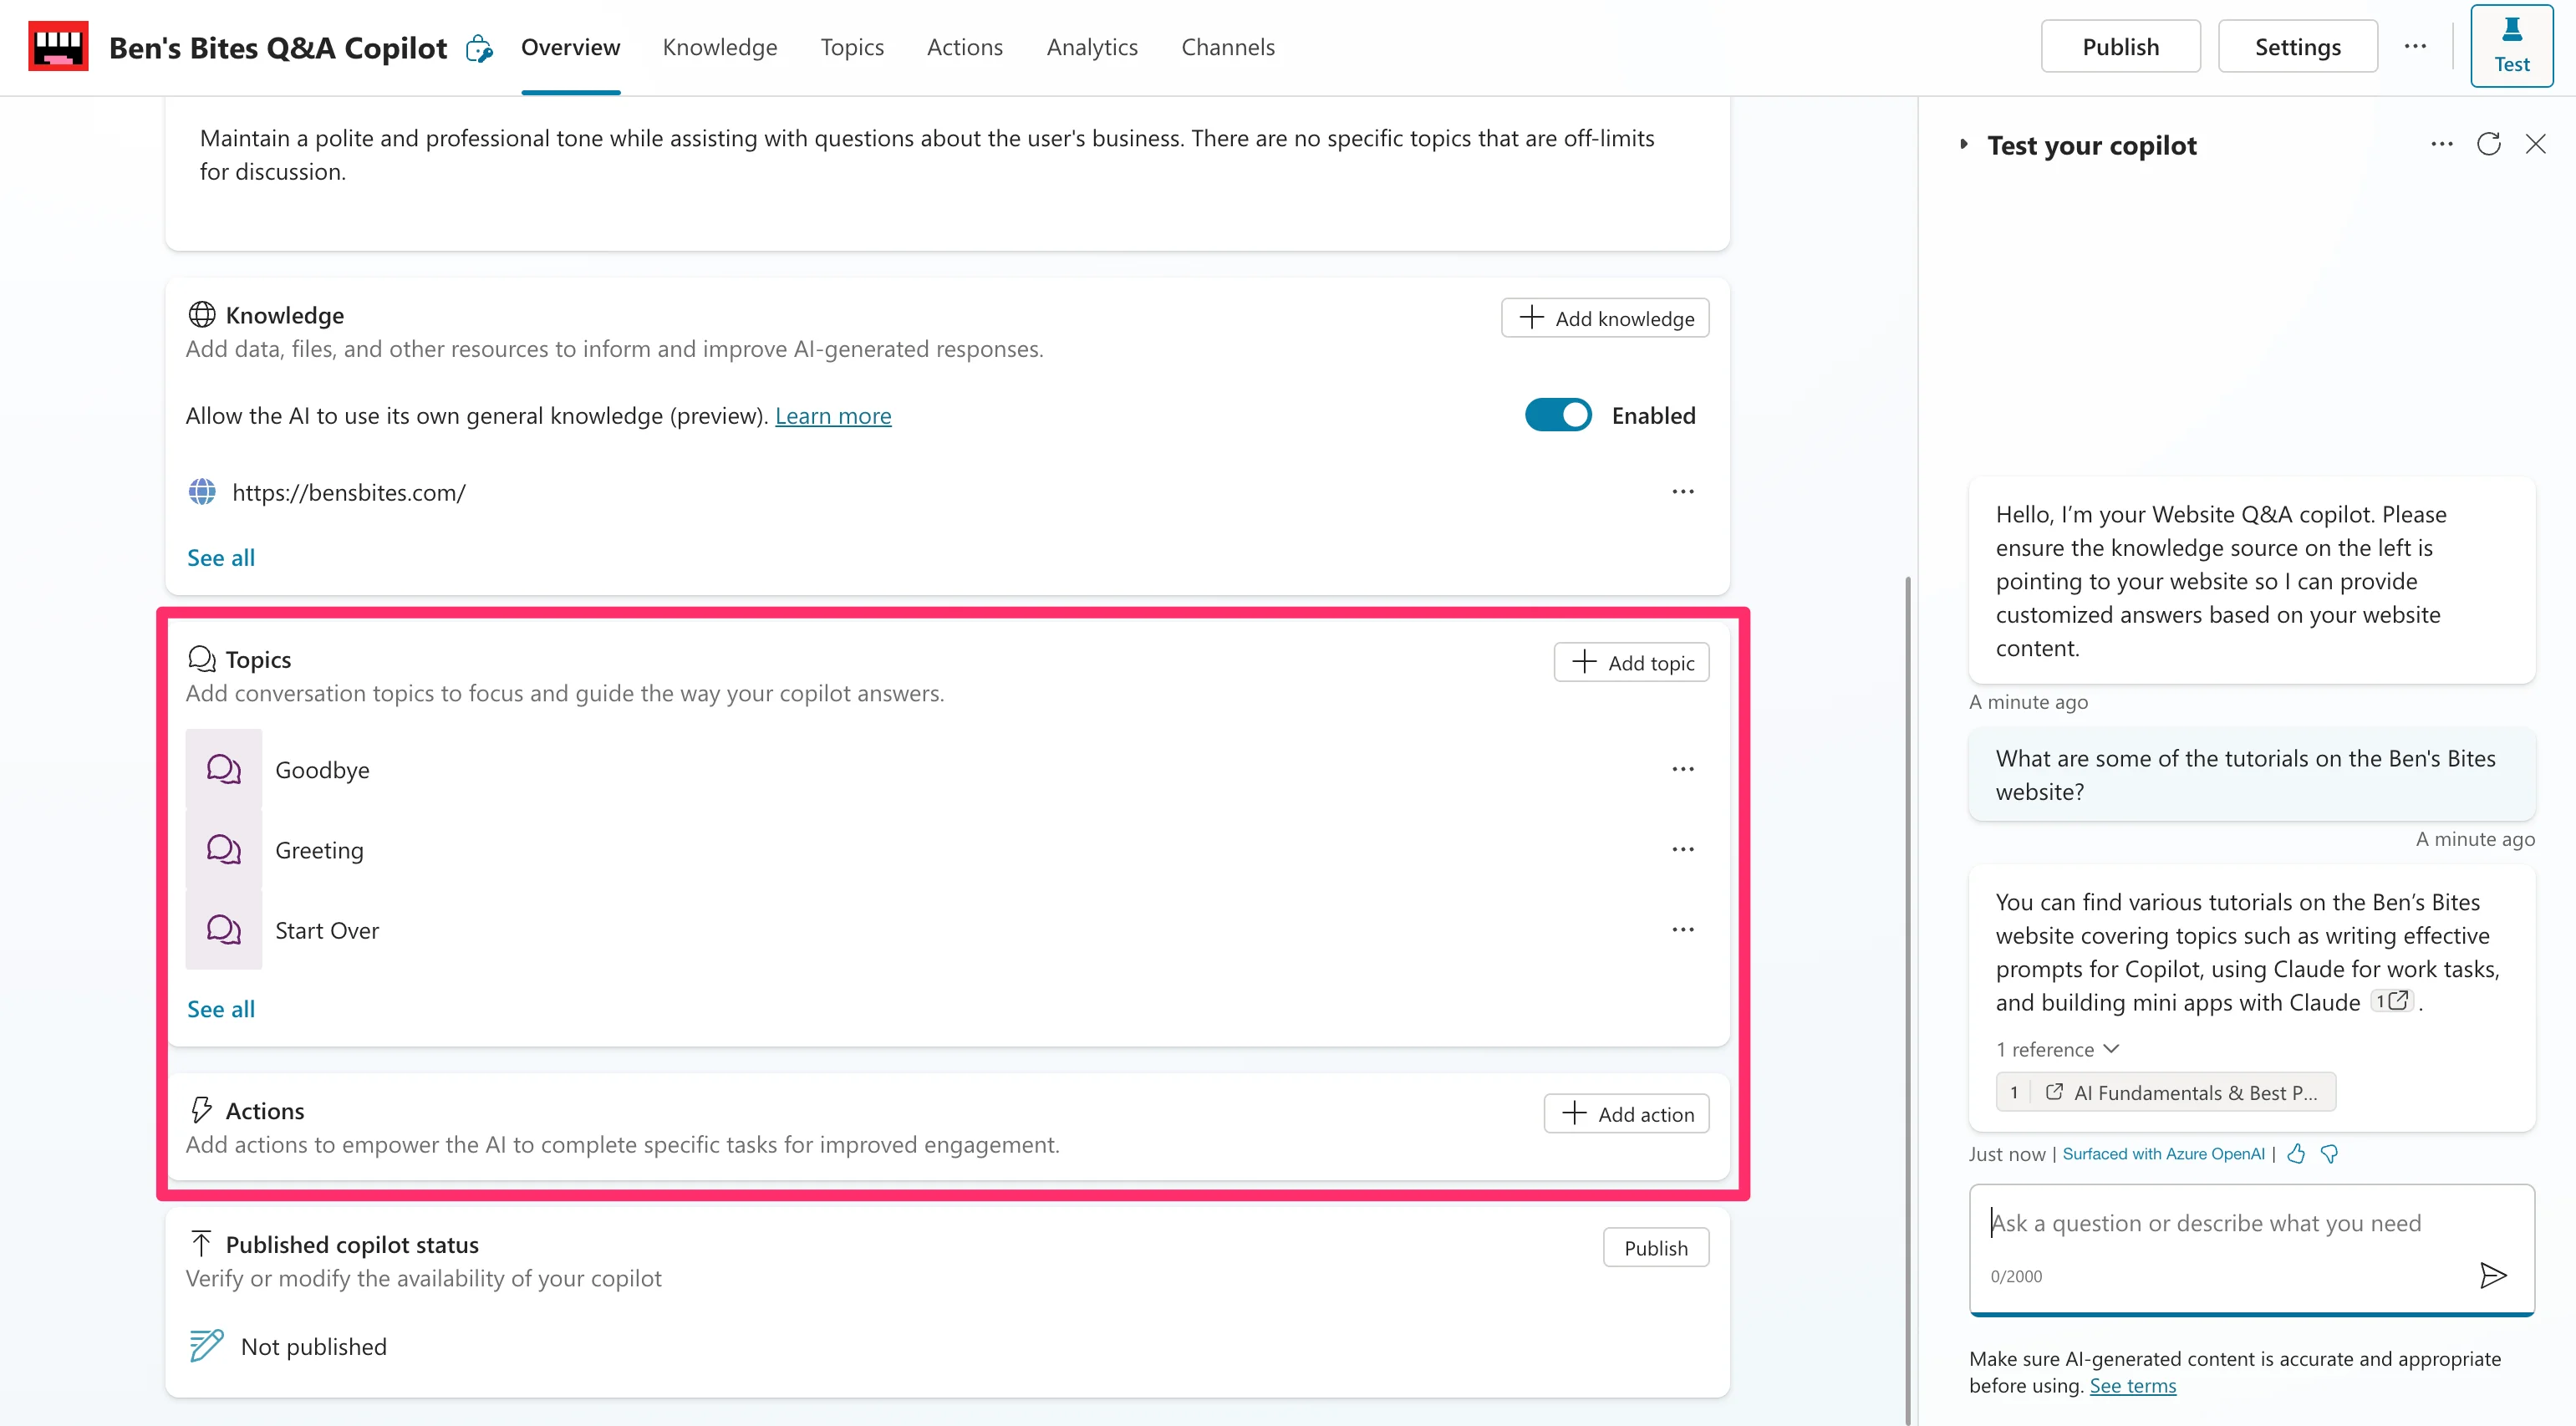
Now, we can test our agent. On the resulting page, send a few sample questions to your agent to test its accuracy and performance.

You can also set Topics and Actions for your agent on this screen.
Publish and provision your Copilot agent
When you’re happy with your Copilot agent, click the “Publish” button in the top right corner of the page to set it live.
You can also configure the agent to be accessible on various platforms. To do this, click the “Channel” tab at the top of the page. We’re going to deploy our AI agent to Microsoft Teams.
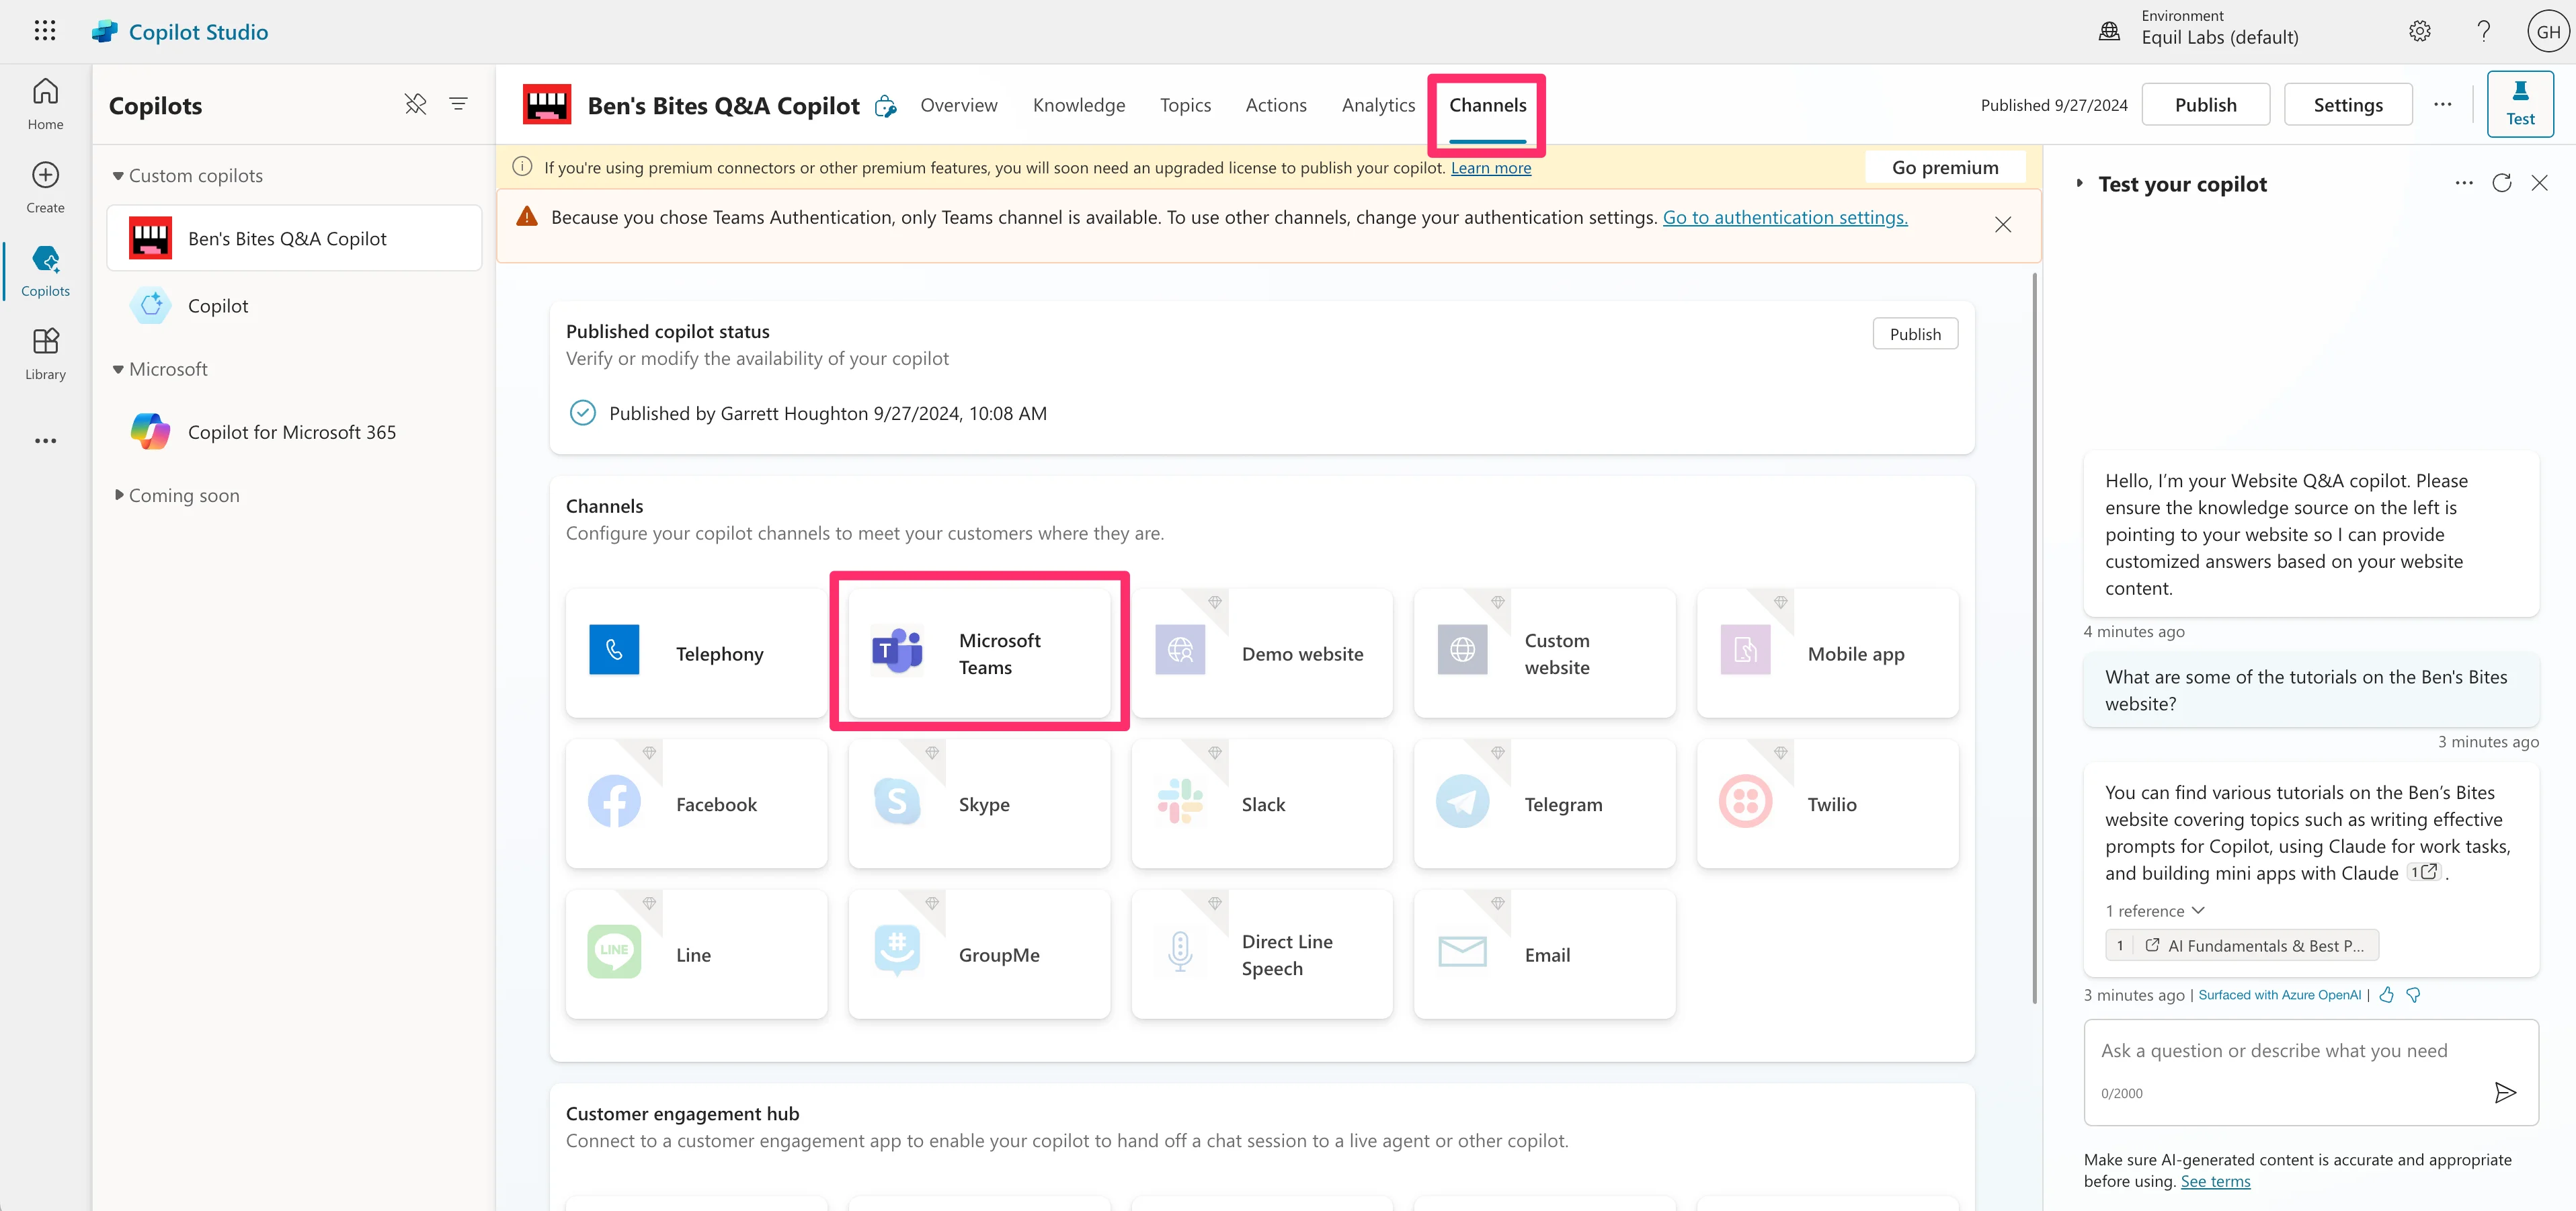
When you click the platform, you’ll be prompted in the resulting side window to enable it for that app. Once done, you can click the “Open copilot” button to access it on that platform.
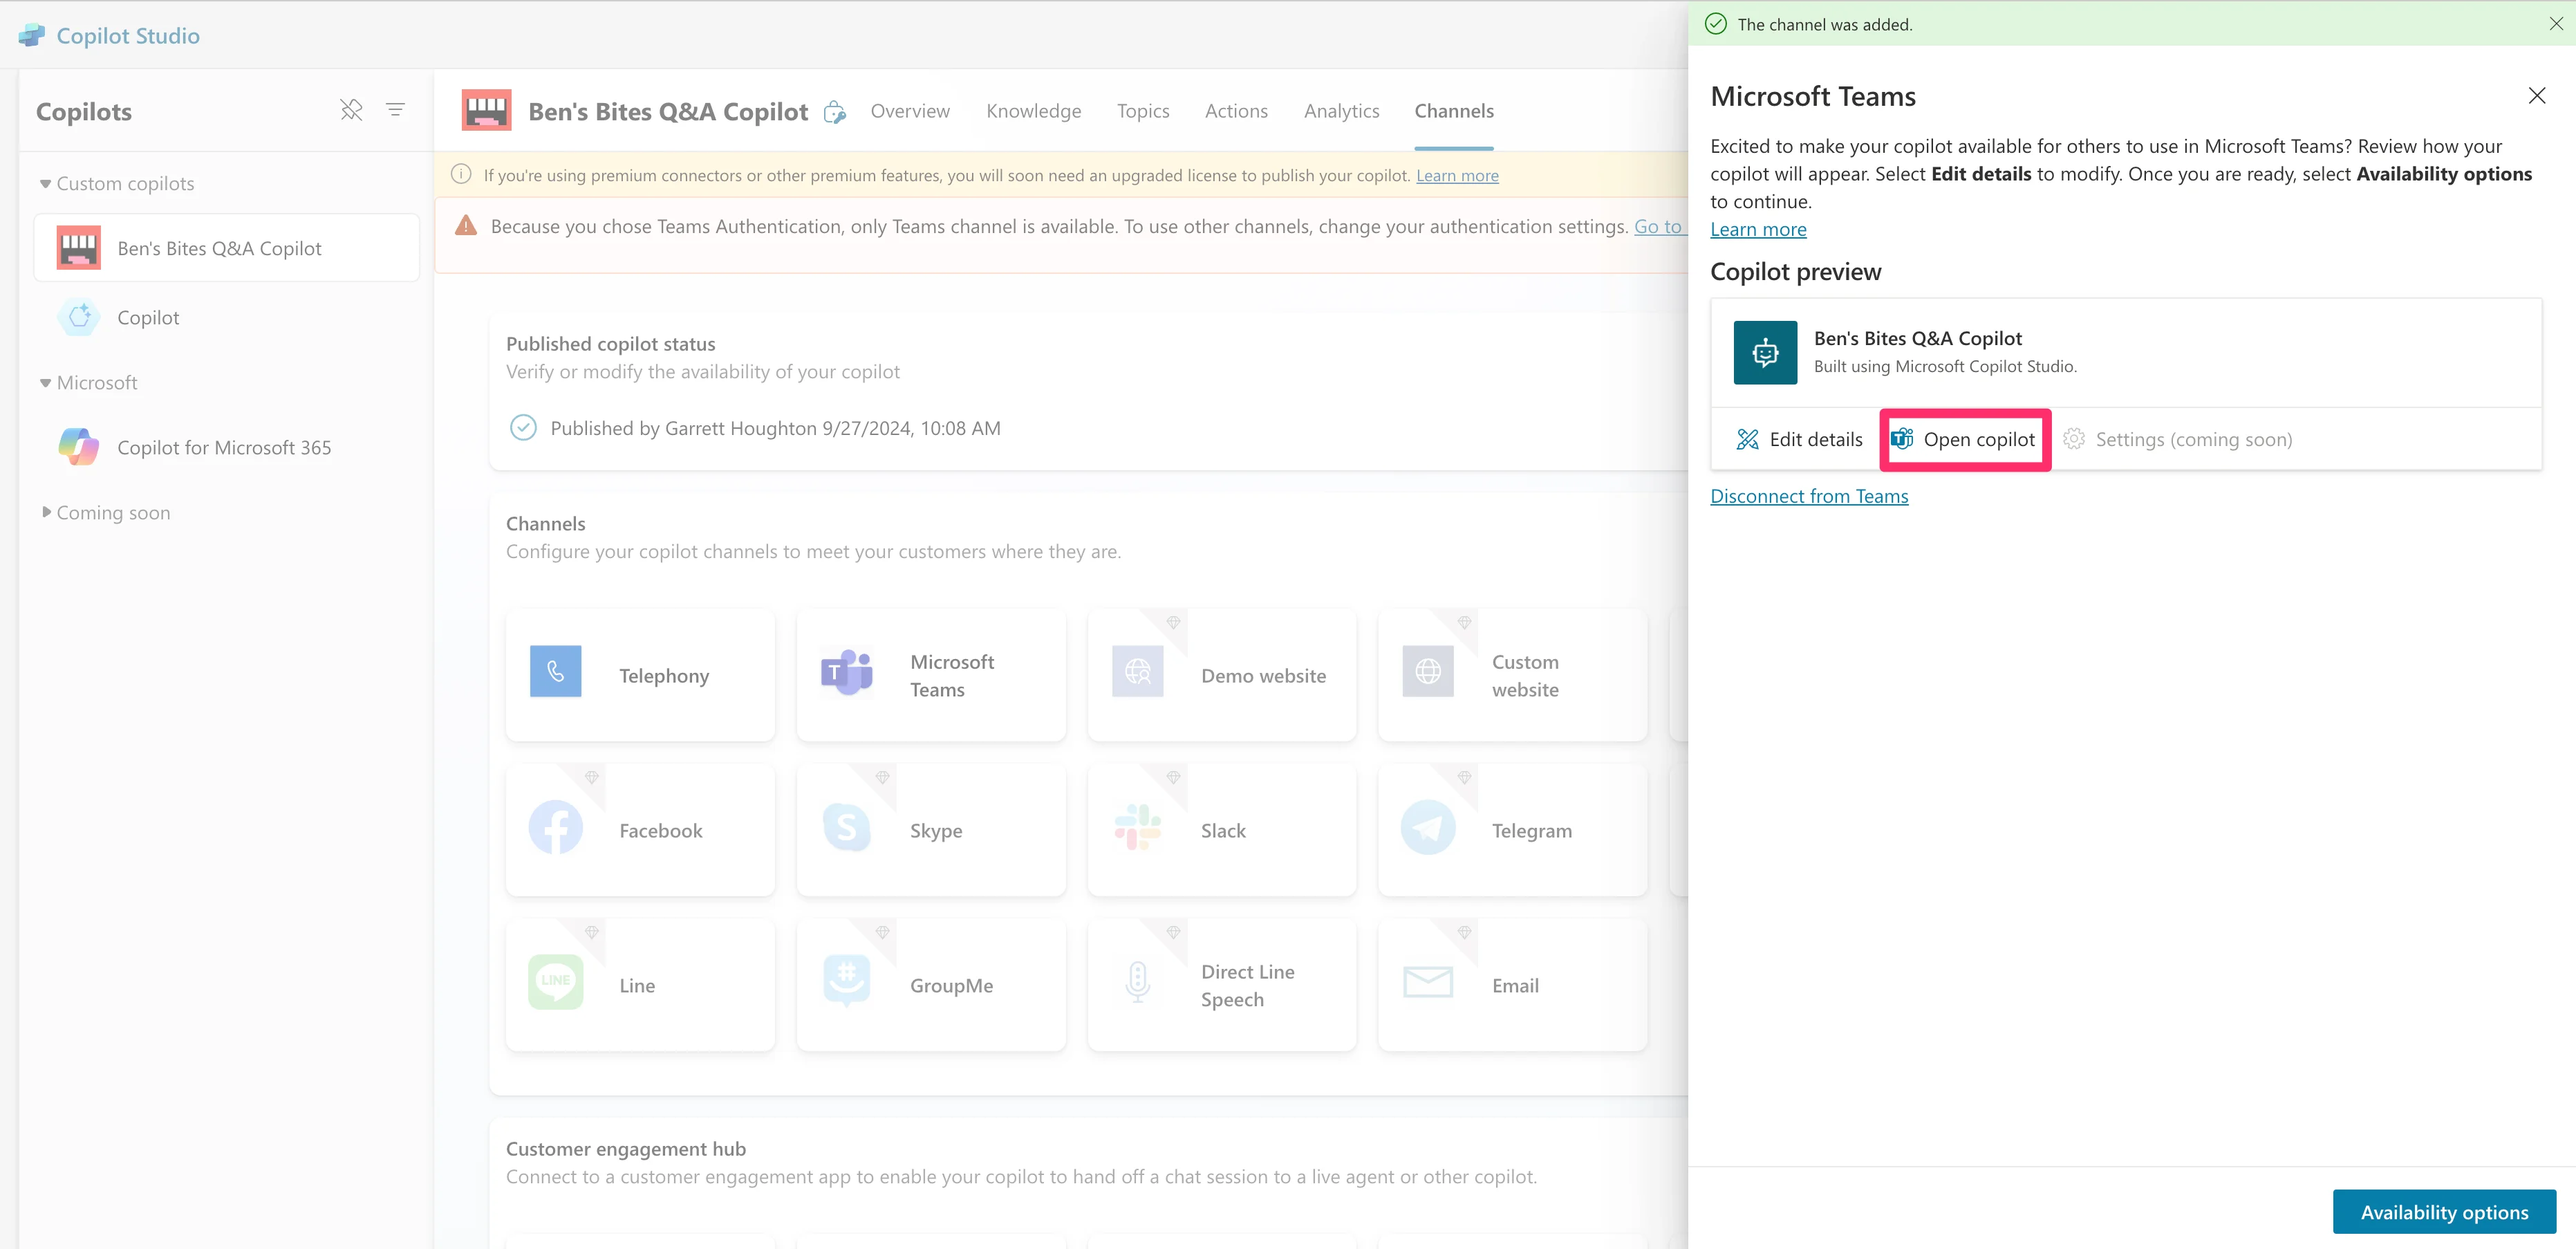
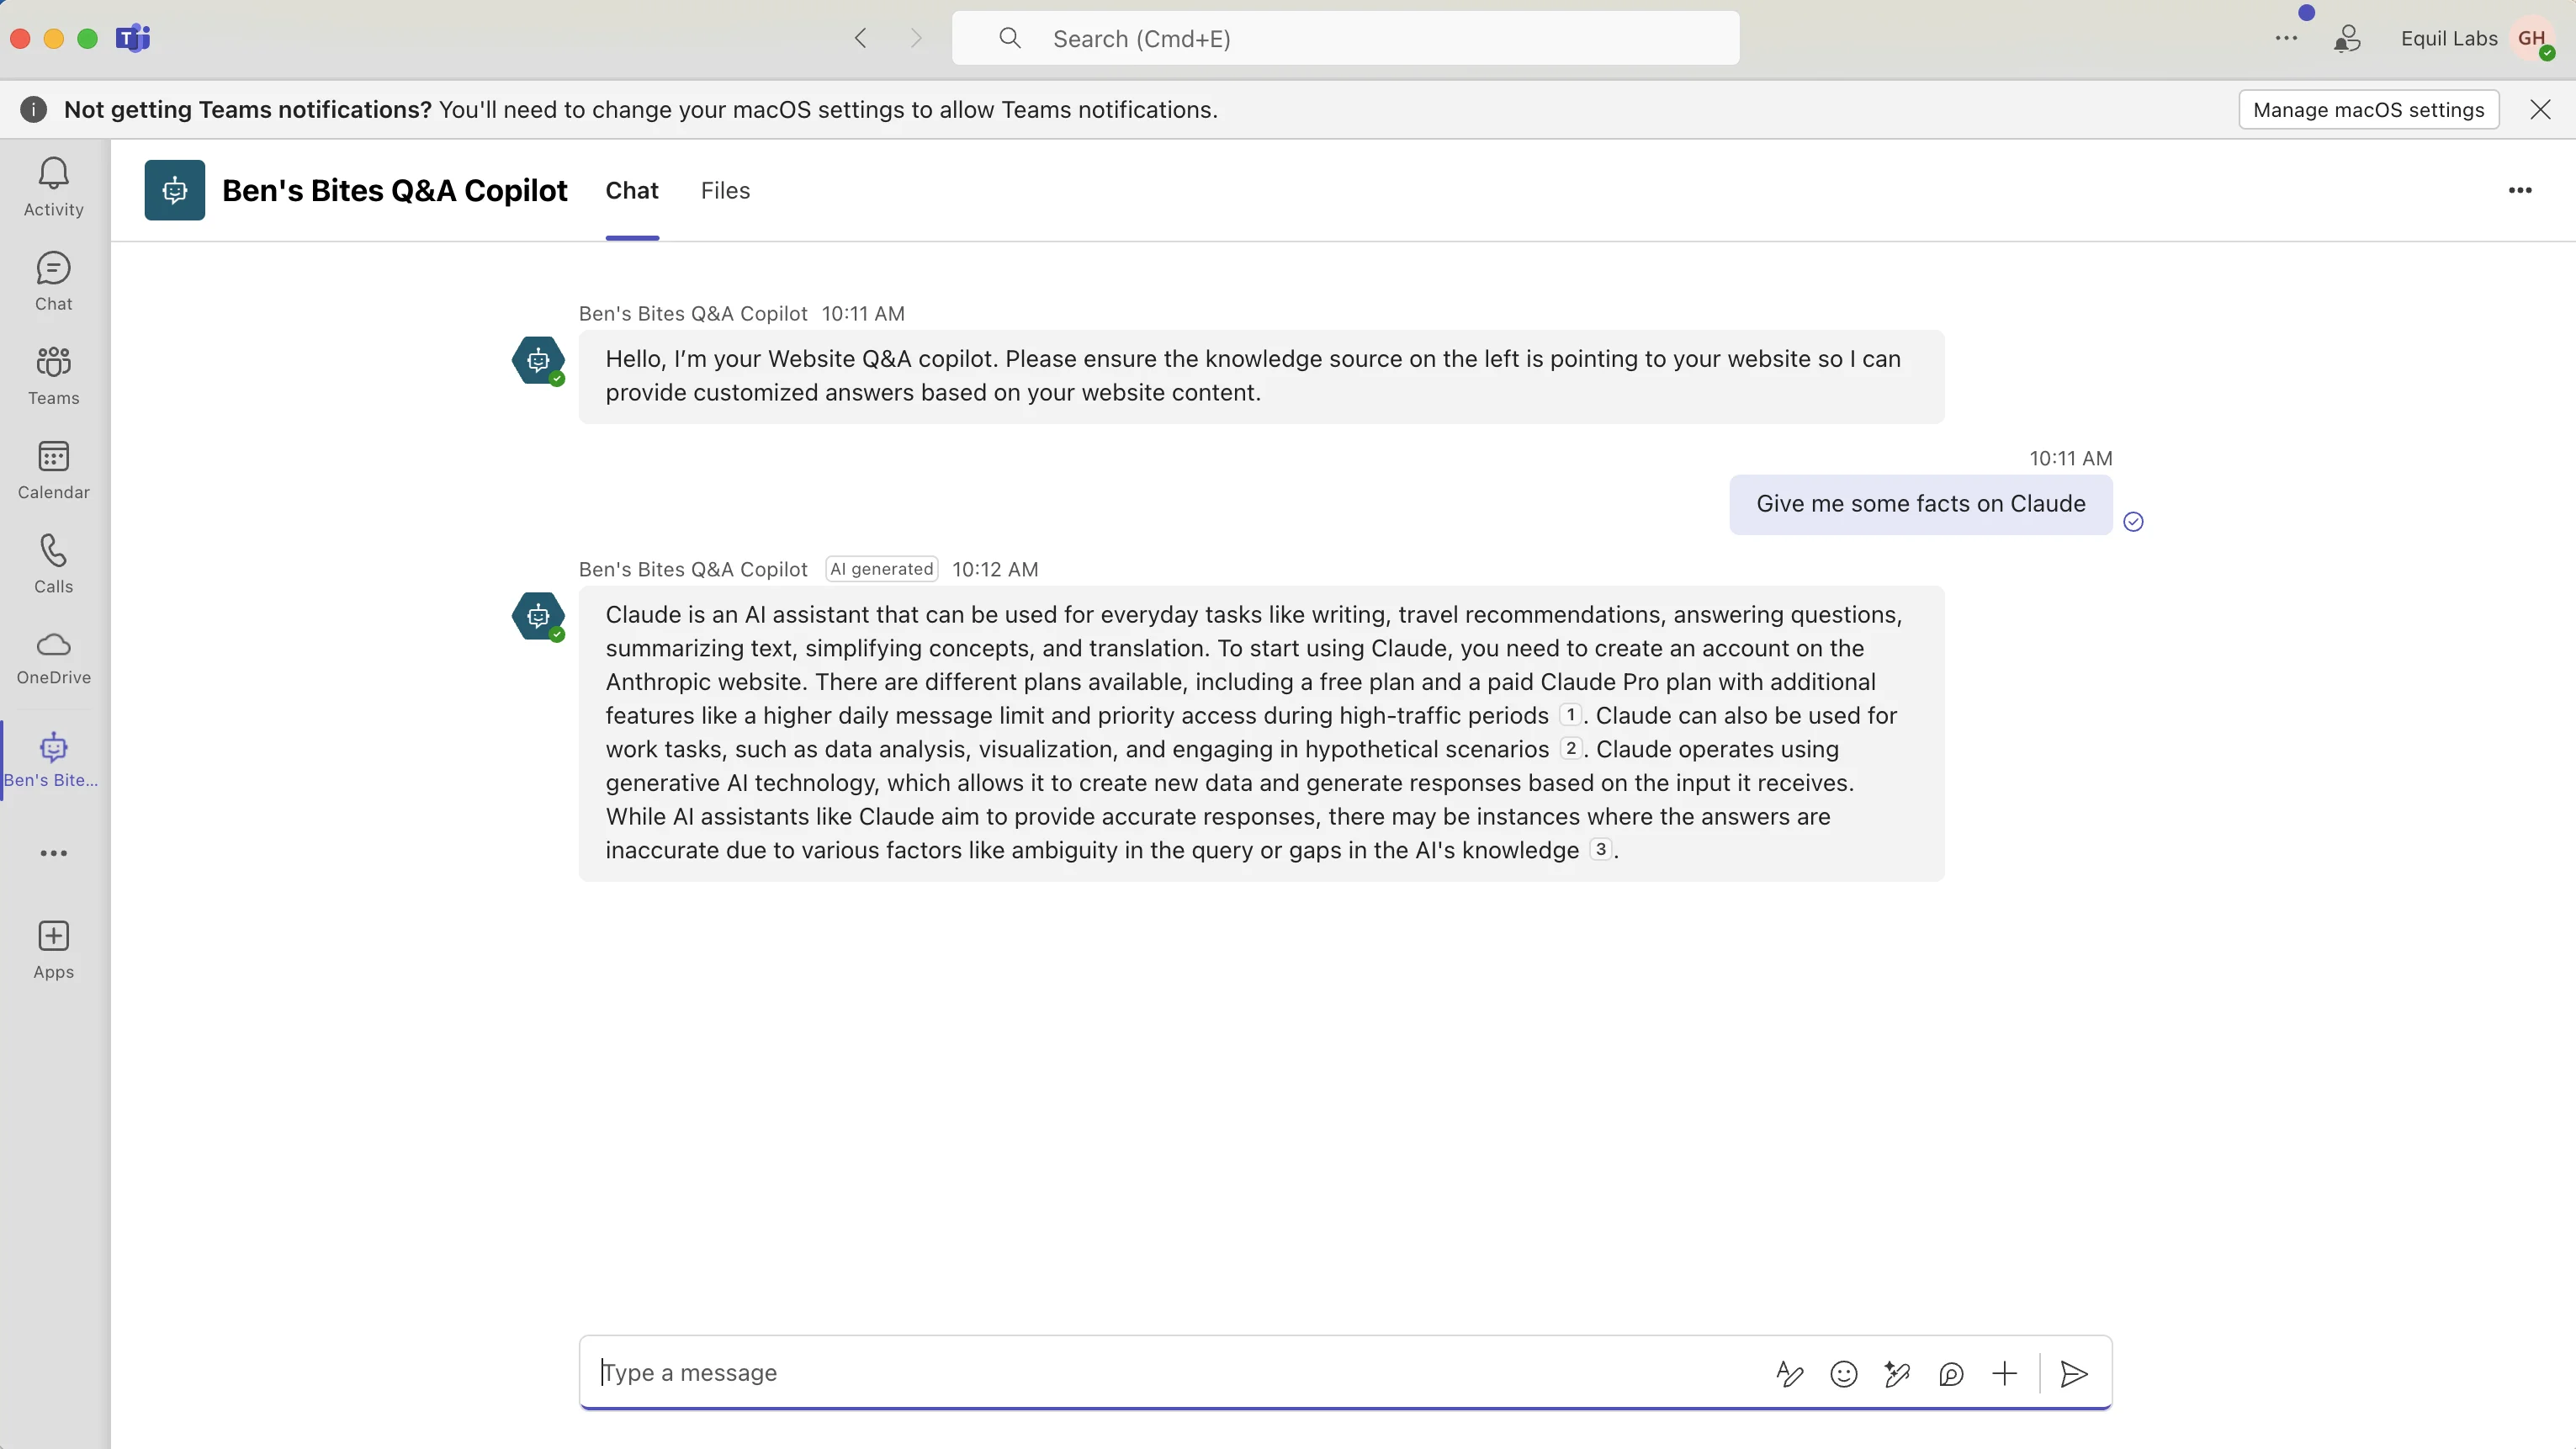
In our example, we’ll be taken to Microsoft Teams, where we can add our AI agent.
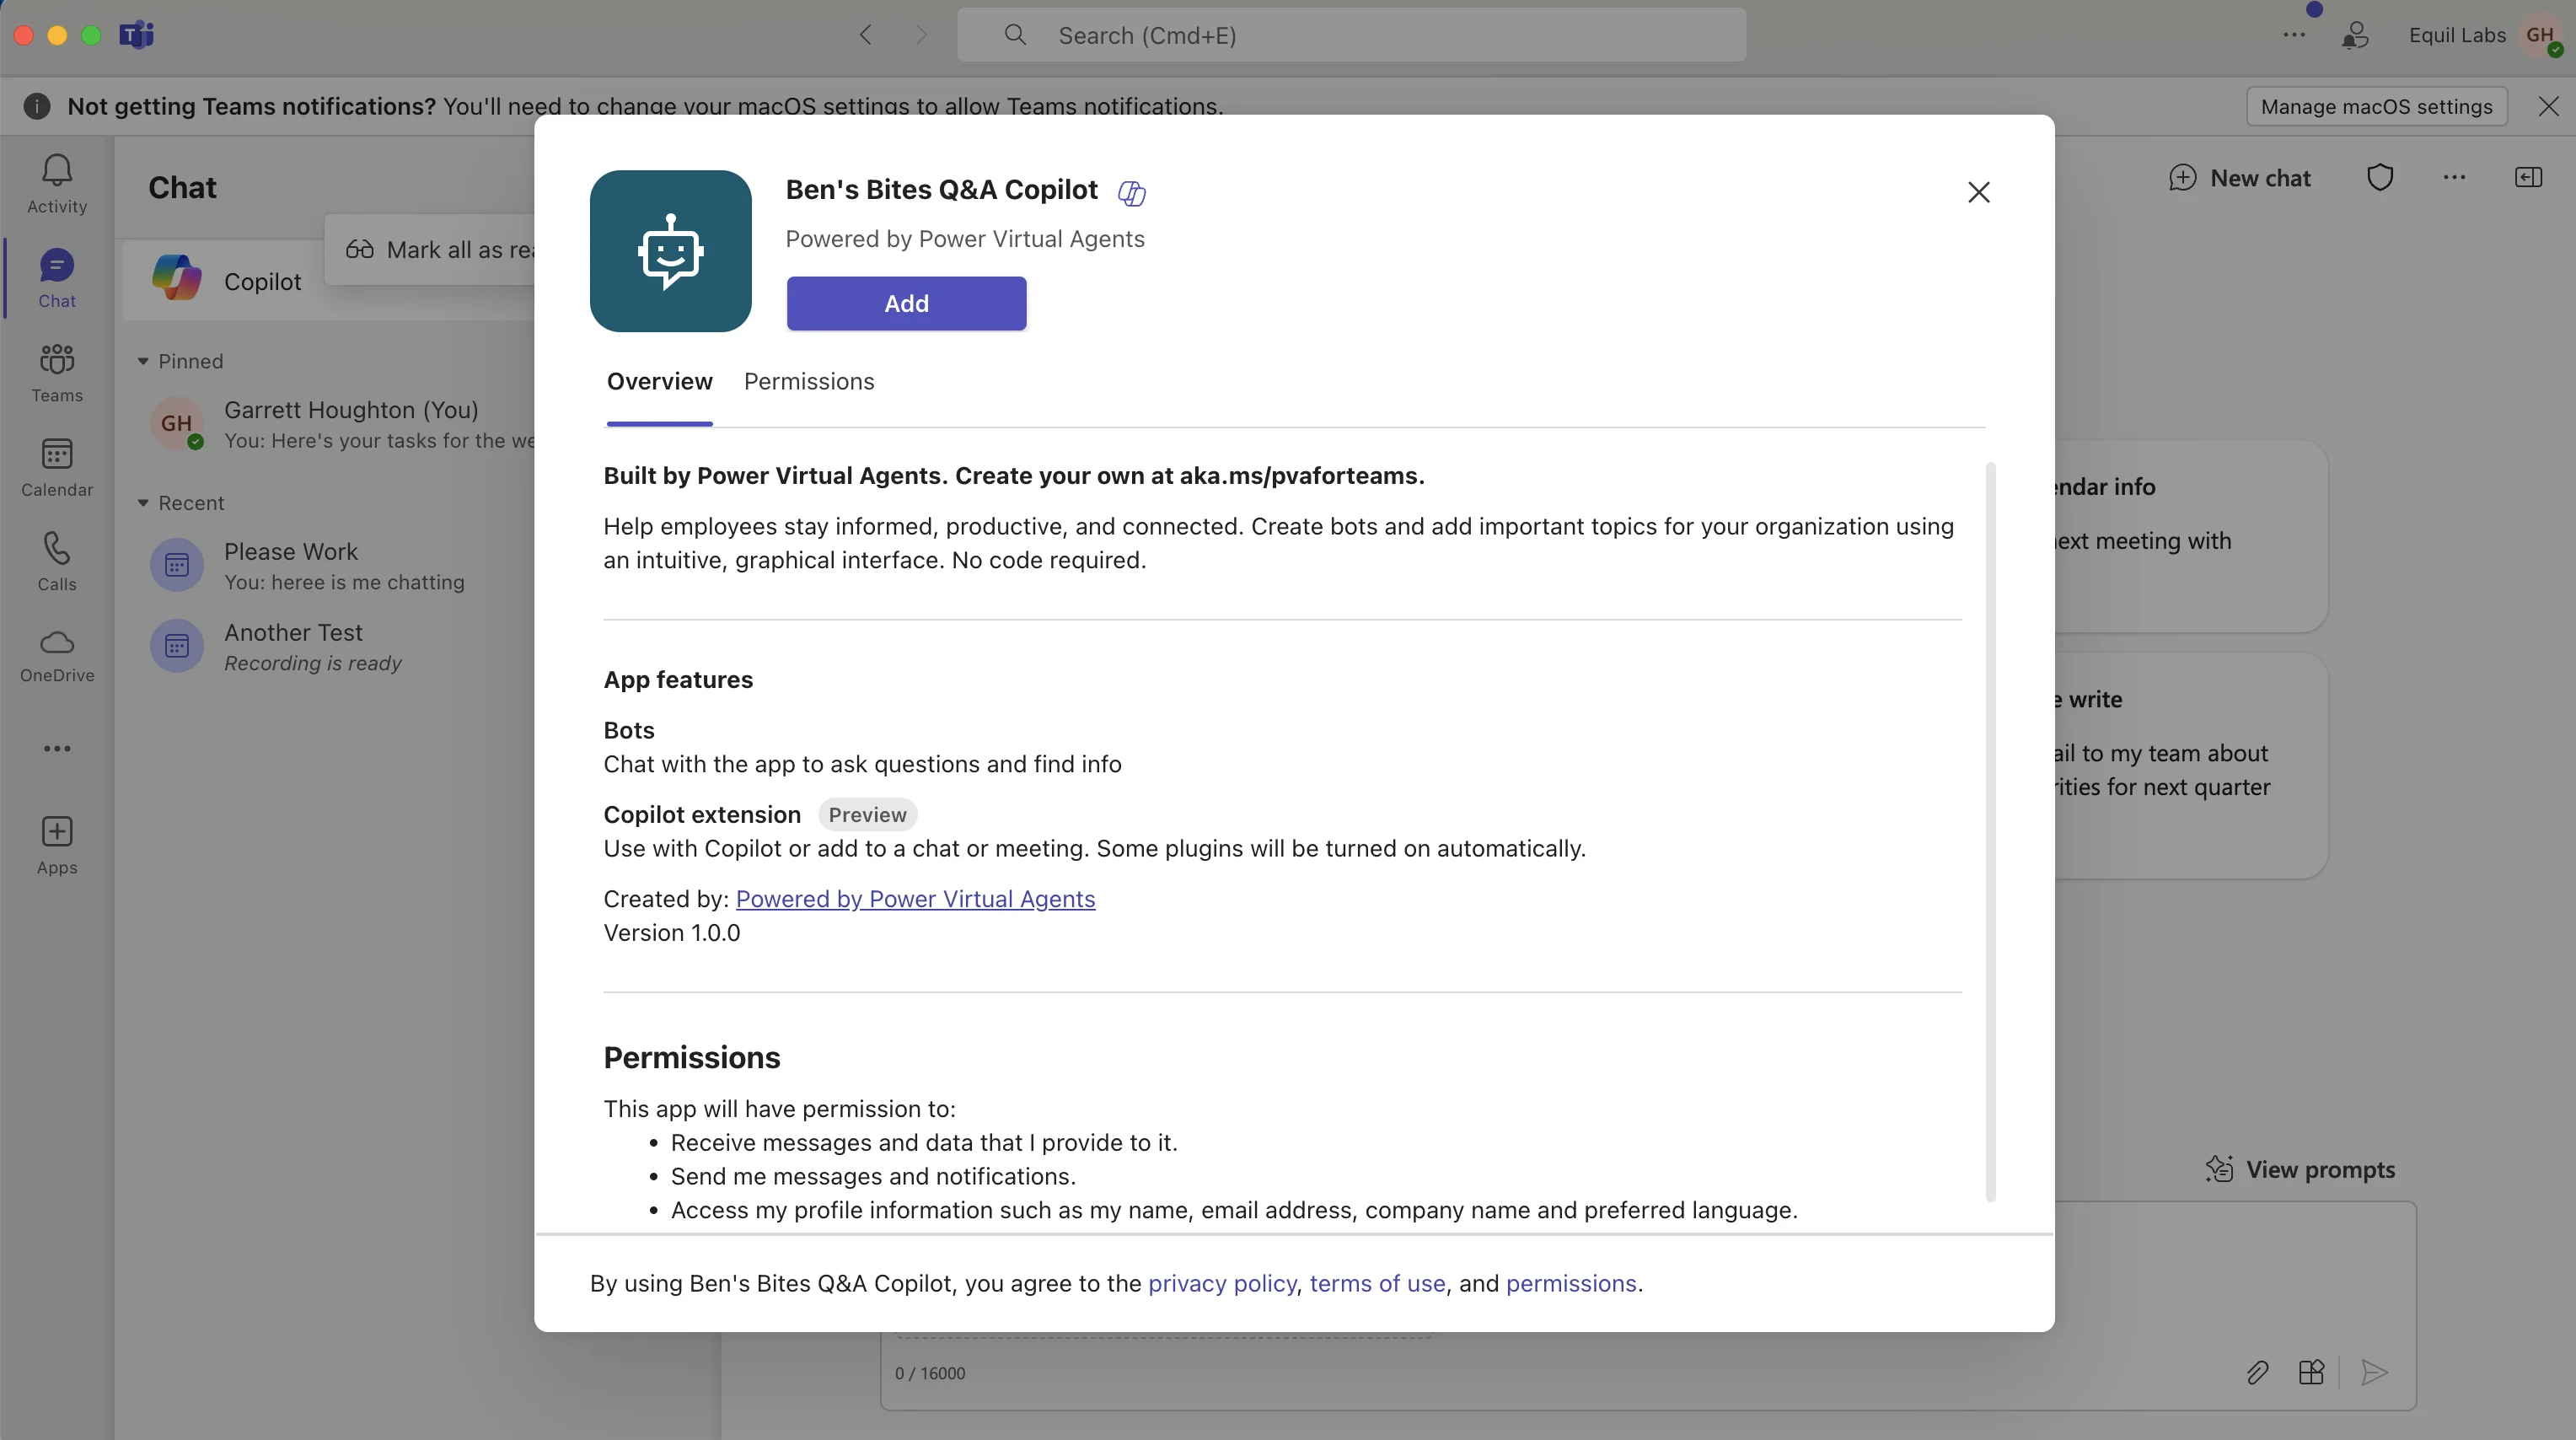
We’ll be able to start chatting with it right from Microsoft Teams!
And that’s it! You’ve created your first Microsoft Copilot agent connected to a knowledge source. The possibilities are endless with this tool. Make sure to explore more of the existing Microsoft Copilot agent templates for further inspiration.
Nice work! You’ve completed our Learn advanced Copilot 365 features course. If you’ve made it this far, you’ll be one of the most advanced Copilot users on your team.
This tutorial was created by Garrett.