Create a customer support chatbot with Chatbase
Learn how to train an AI chatbot on your help docs to answer queries and route complex queries to human agents.
2024-12-09
Welcome to the fifth and final tutorial in our Build AI chatbots with Chatbase course!
In this tutorial, you’re going to learn how to create a customer support chatbot that’s trained on your live documentation. The bot will also be able to create tickets in your customer support platform for looping in human agents.
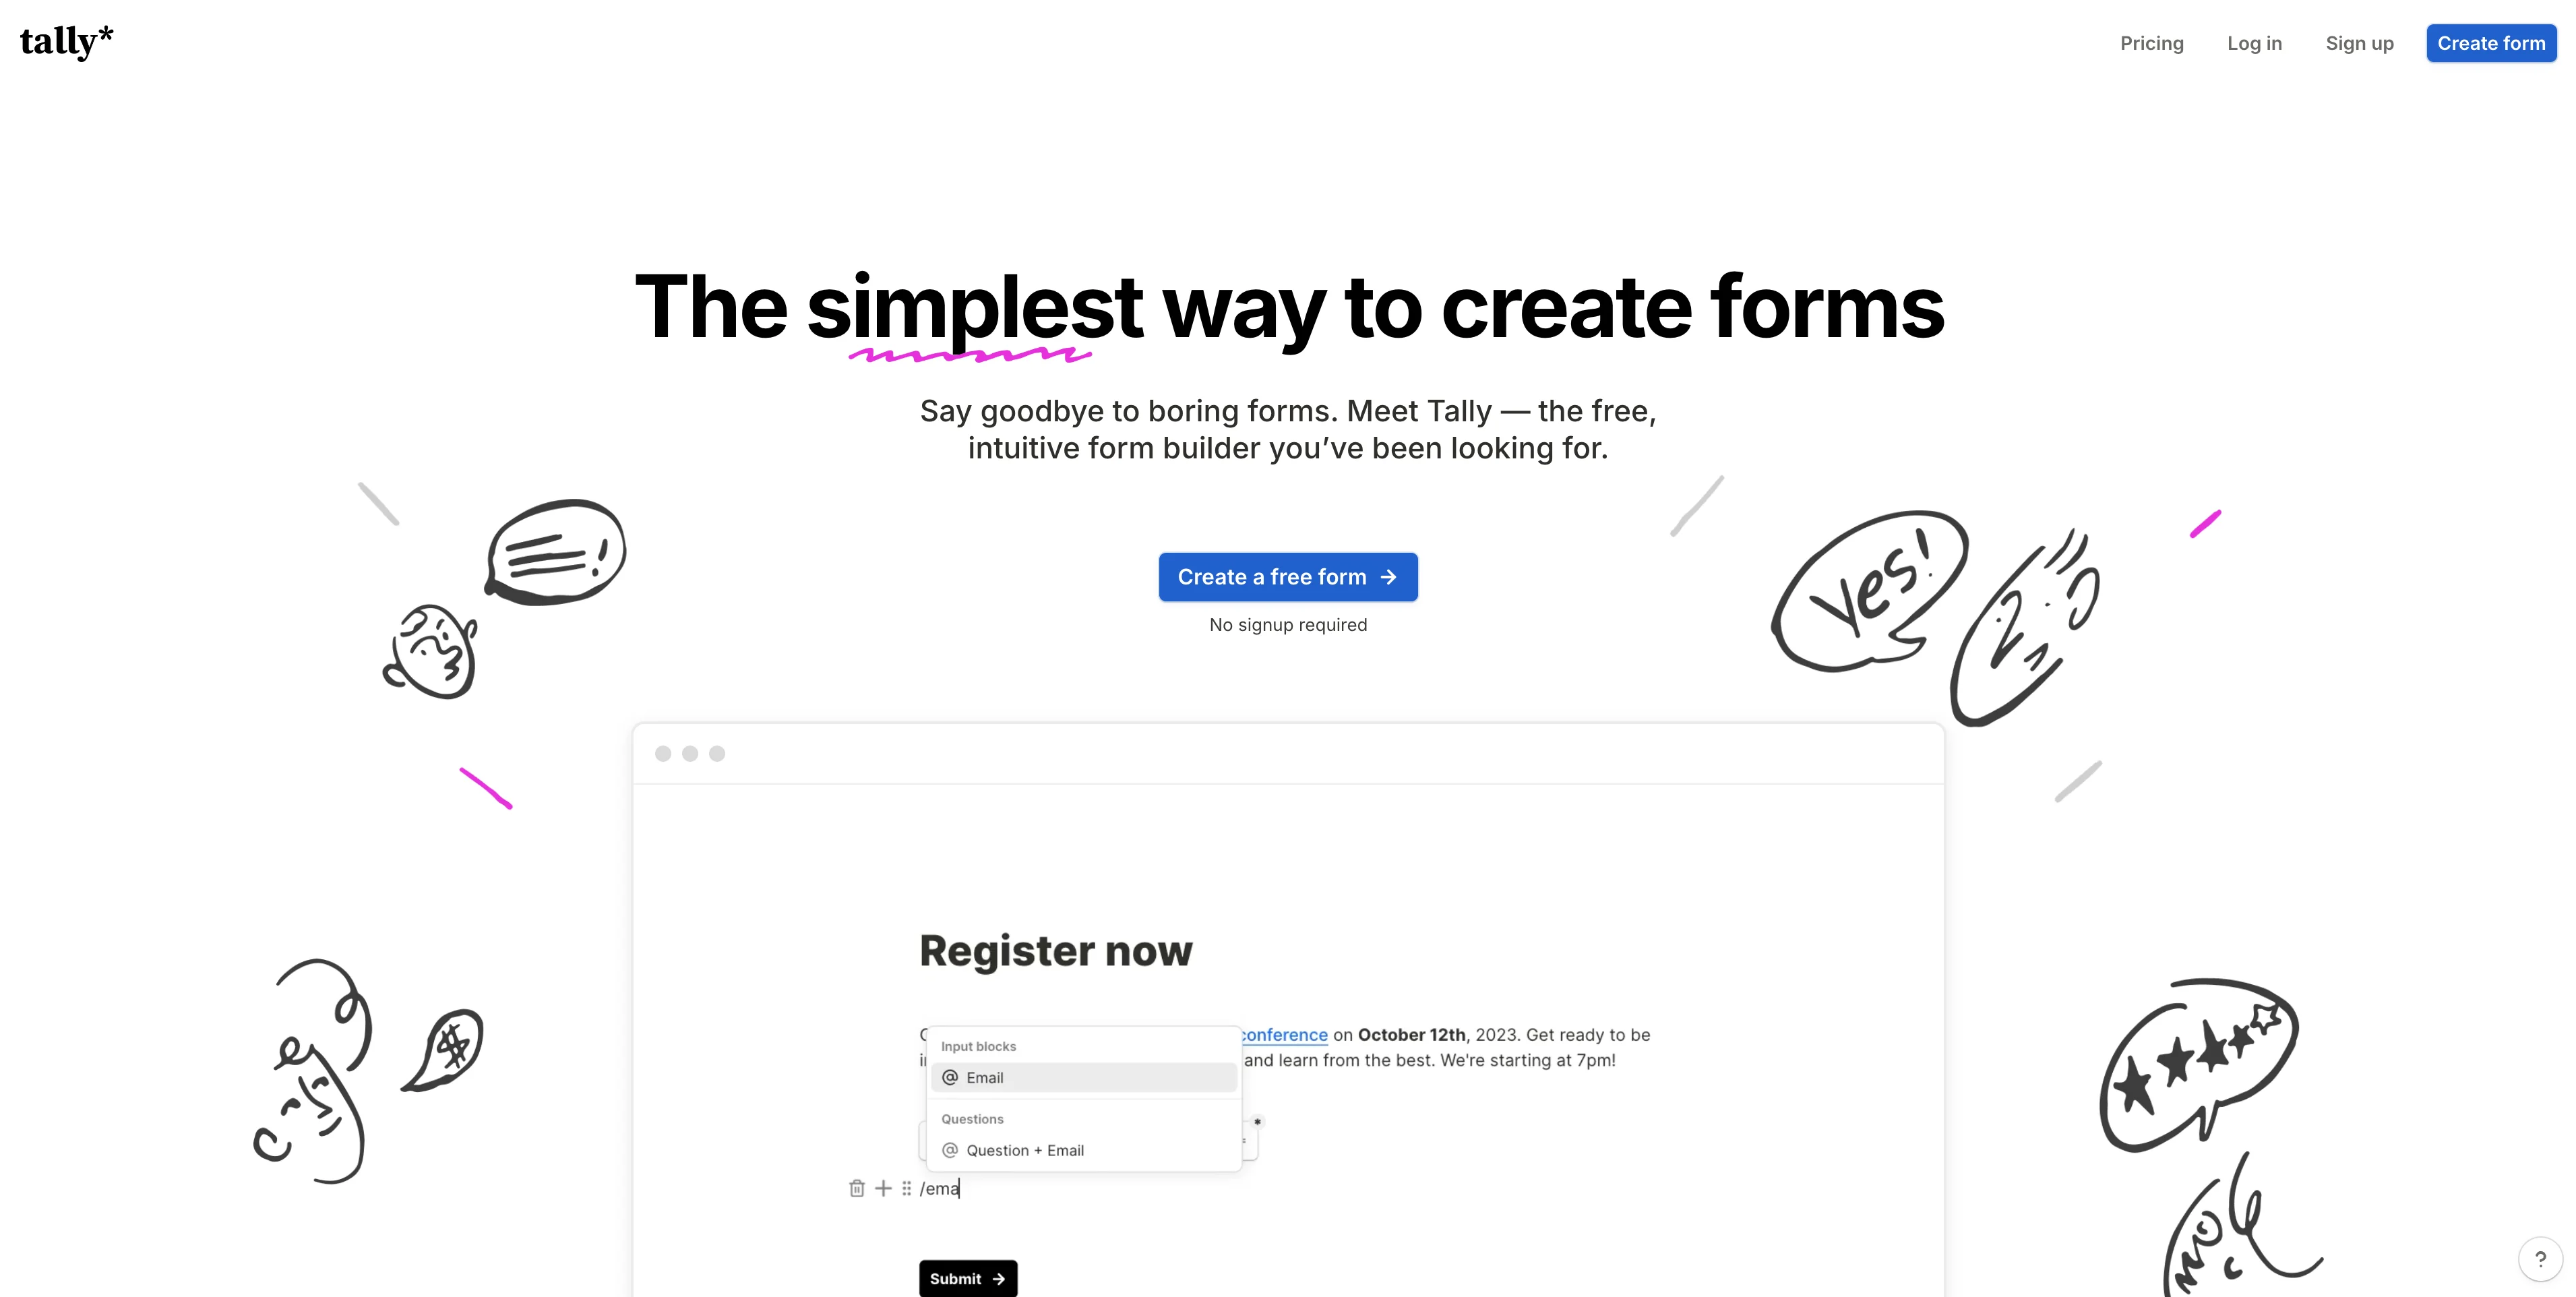
We’ll embed the form-building tool Tally into our chatbot and link Tally to a customer support ticketing platform via Zapier to make this all happen.
Steps we’ll walk through in this tutorial:
- Create a chatbot trained on all of your support documentation
- Route complex issues to human support agents
- Create test data
- Generate support tickets via Zapier
You’ll need:
- Chatbase
- Tally
- Zapier
Let’s dive in!
Create a chatbot trained on your support documentation
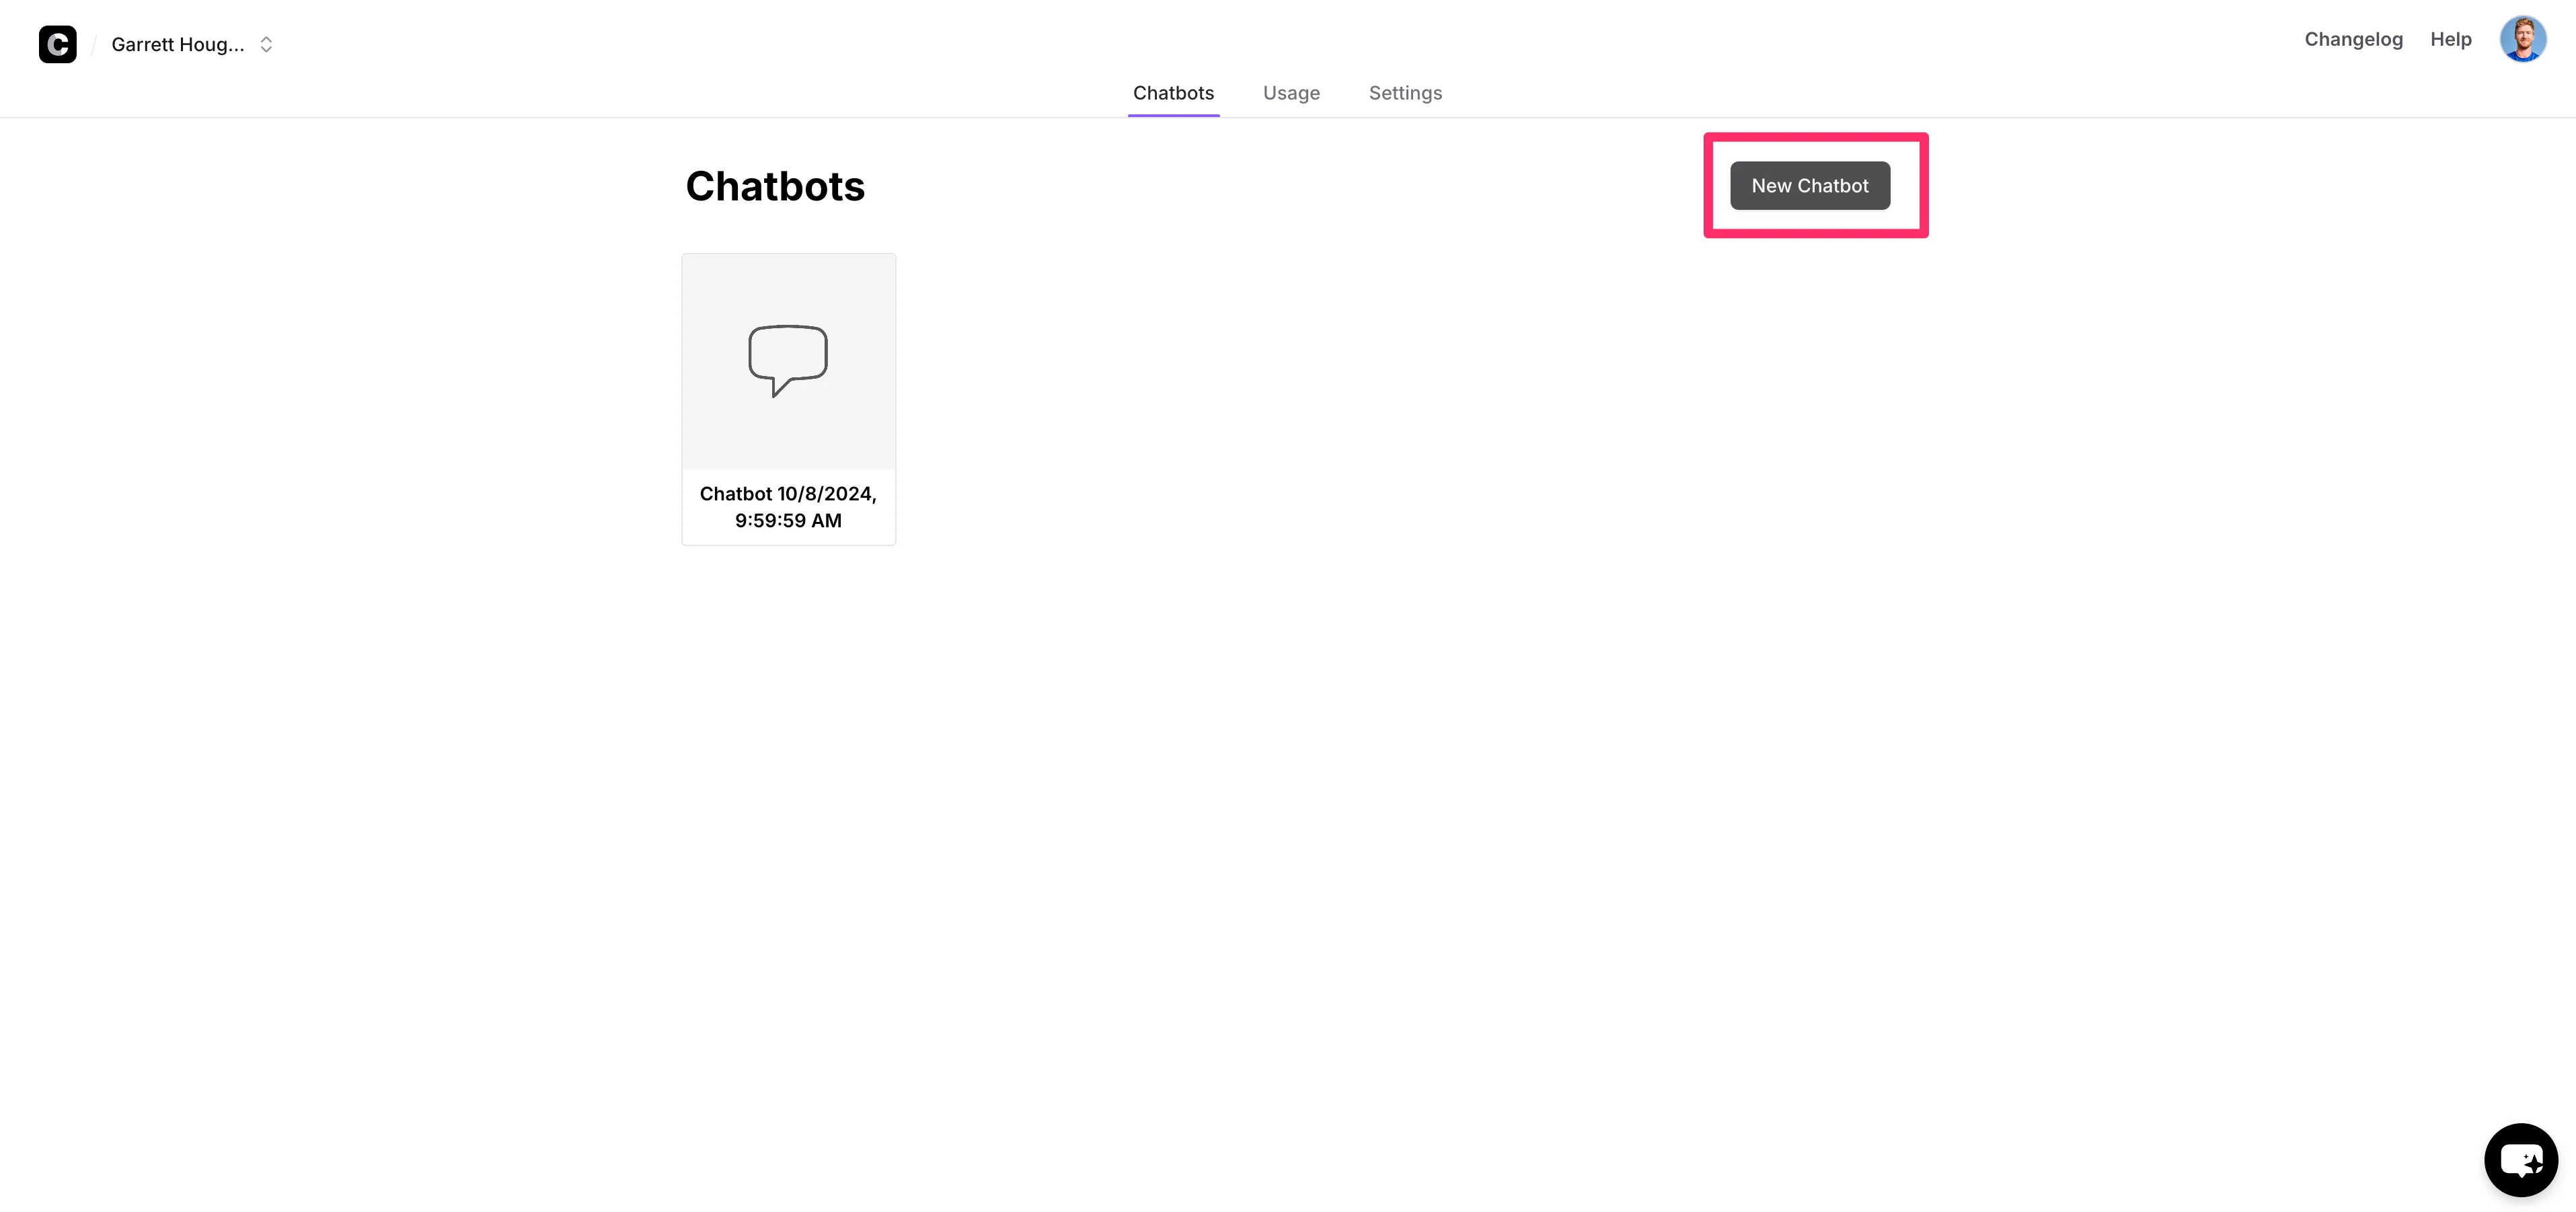
To get started, open up Chatbase (create an account if you haven’t already) and click “New Chatbot” on the resulting dashboard.
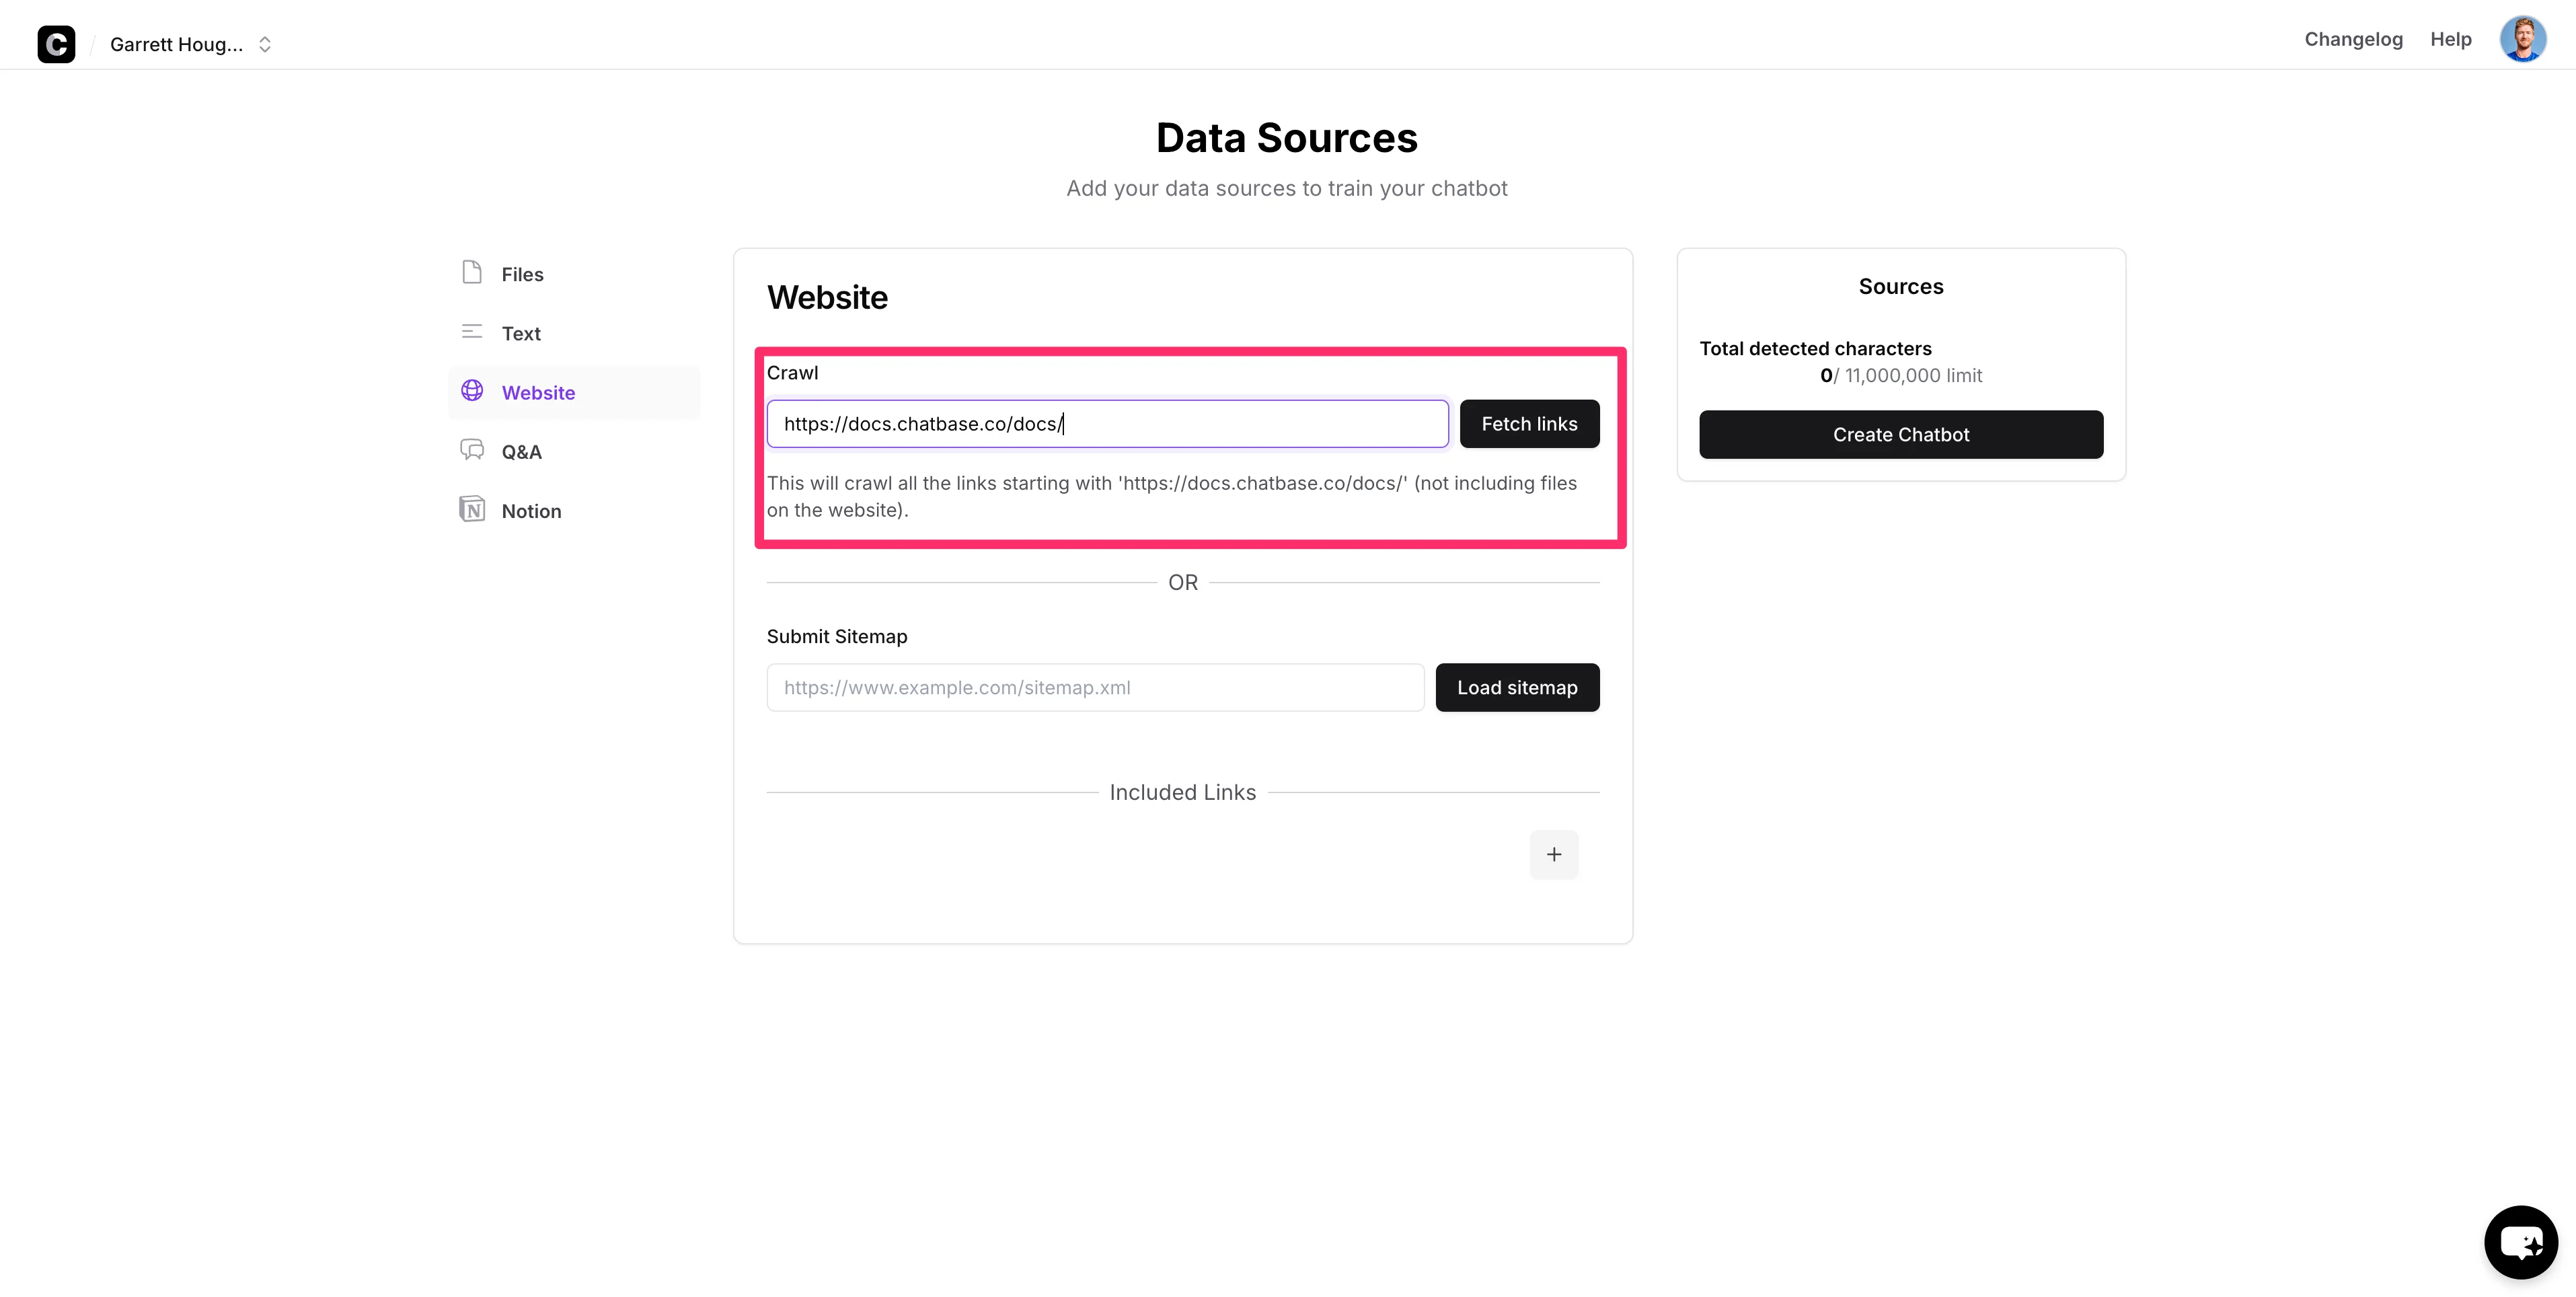
In this tutorial, we’re going to be training our chatbot on Chatbase’s product documentation, so we’re going to provide the root URL of Chatbase’s technical documentation as the source data for our chatbot.
Drop in the URL of the documentation you want to train your chatbot on (or select another data source option) and click the “Fetch Links” button to have Chatbase crawl your documentation.
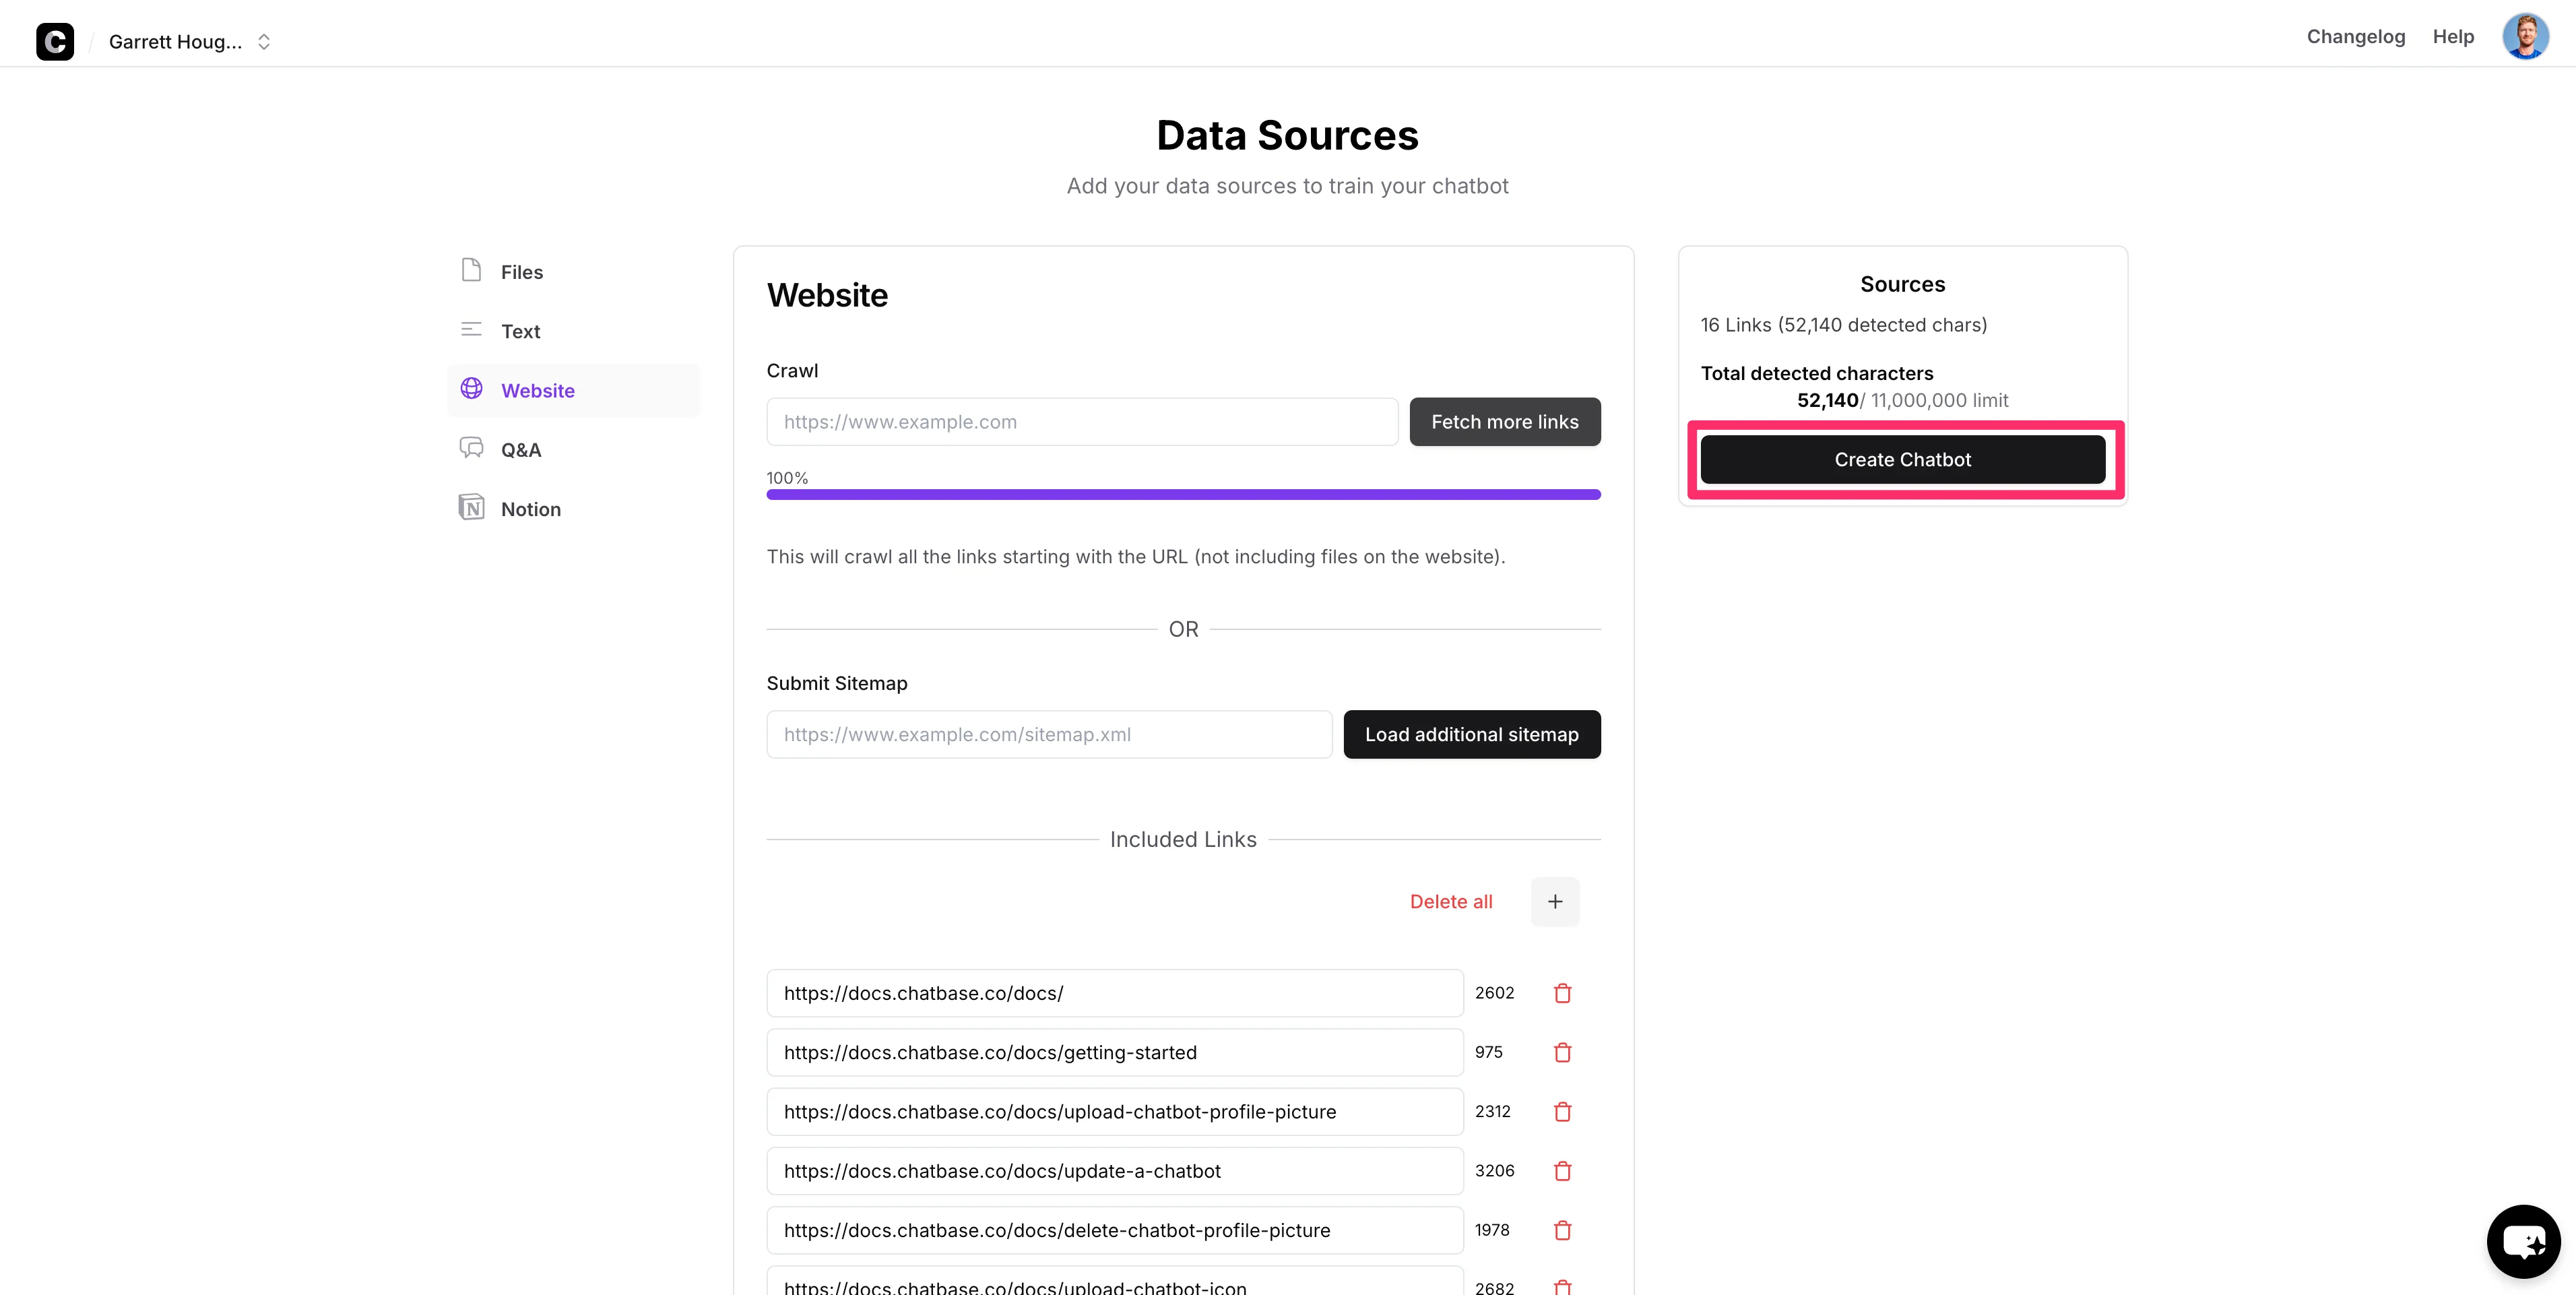
When all the links are fetched, click the “Create Chatbot” button to train your chatbot on your documentation.
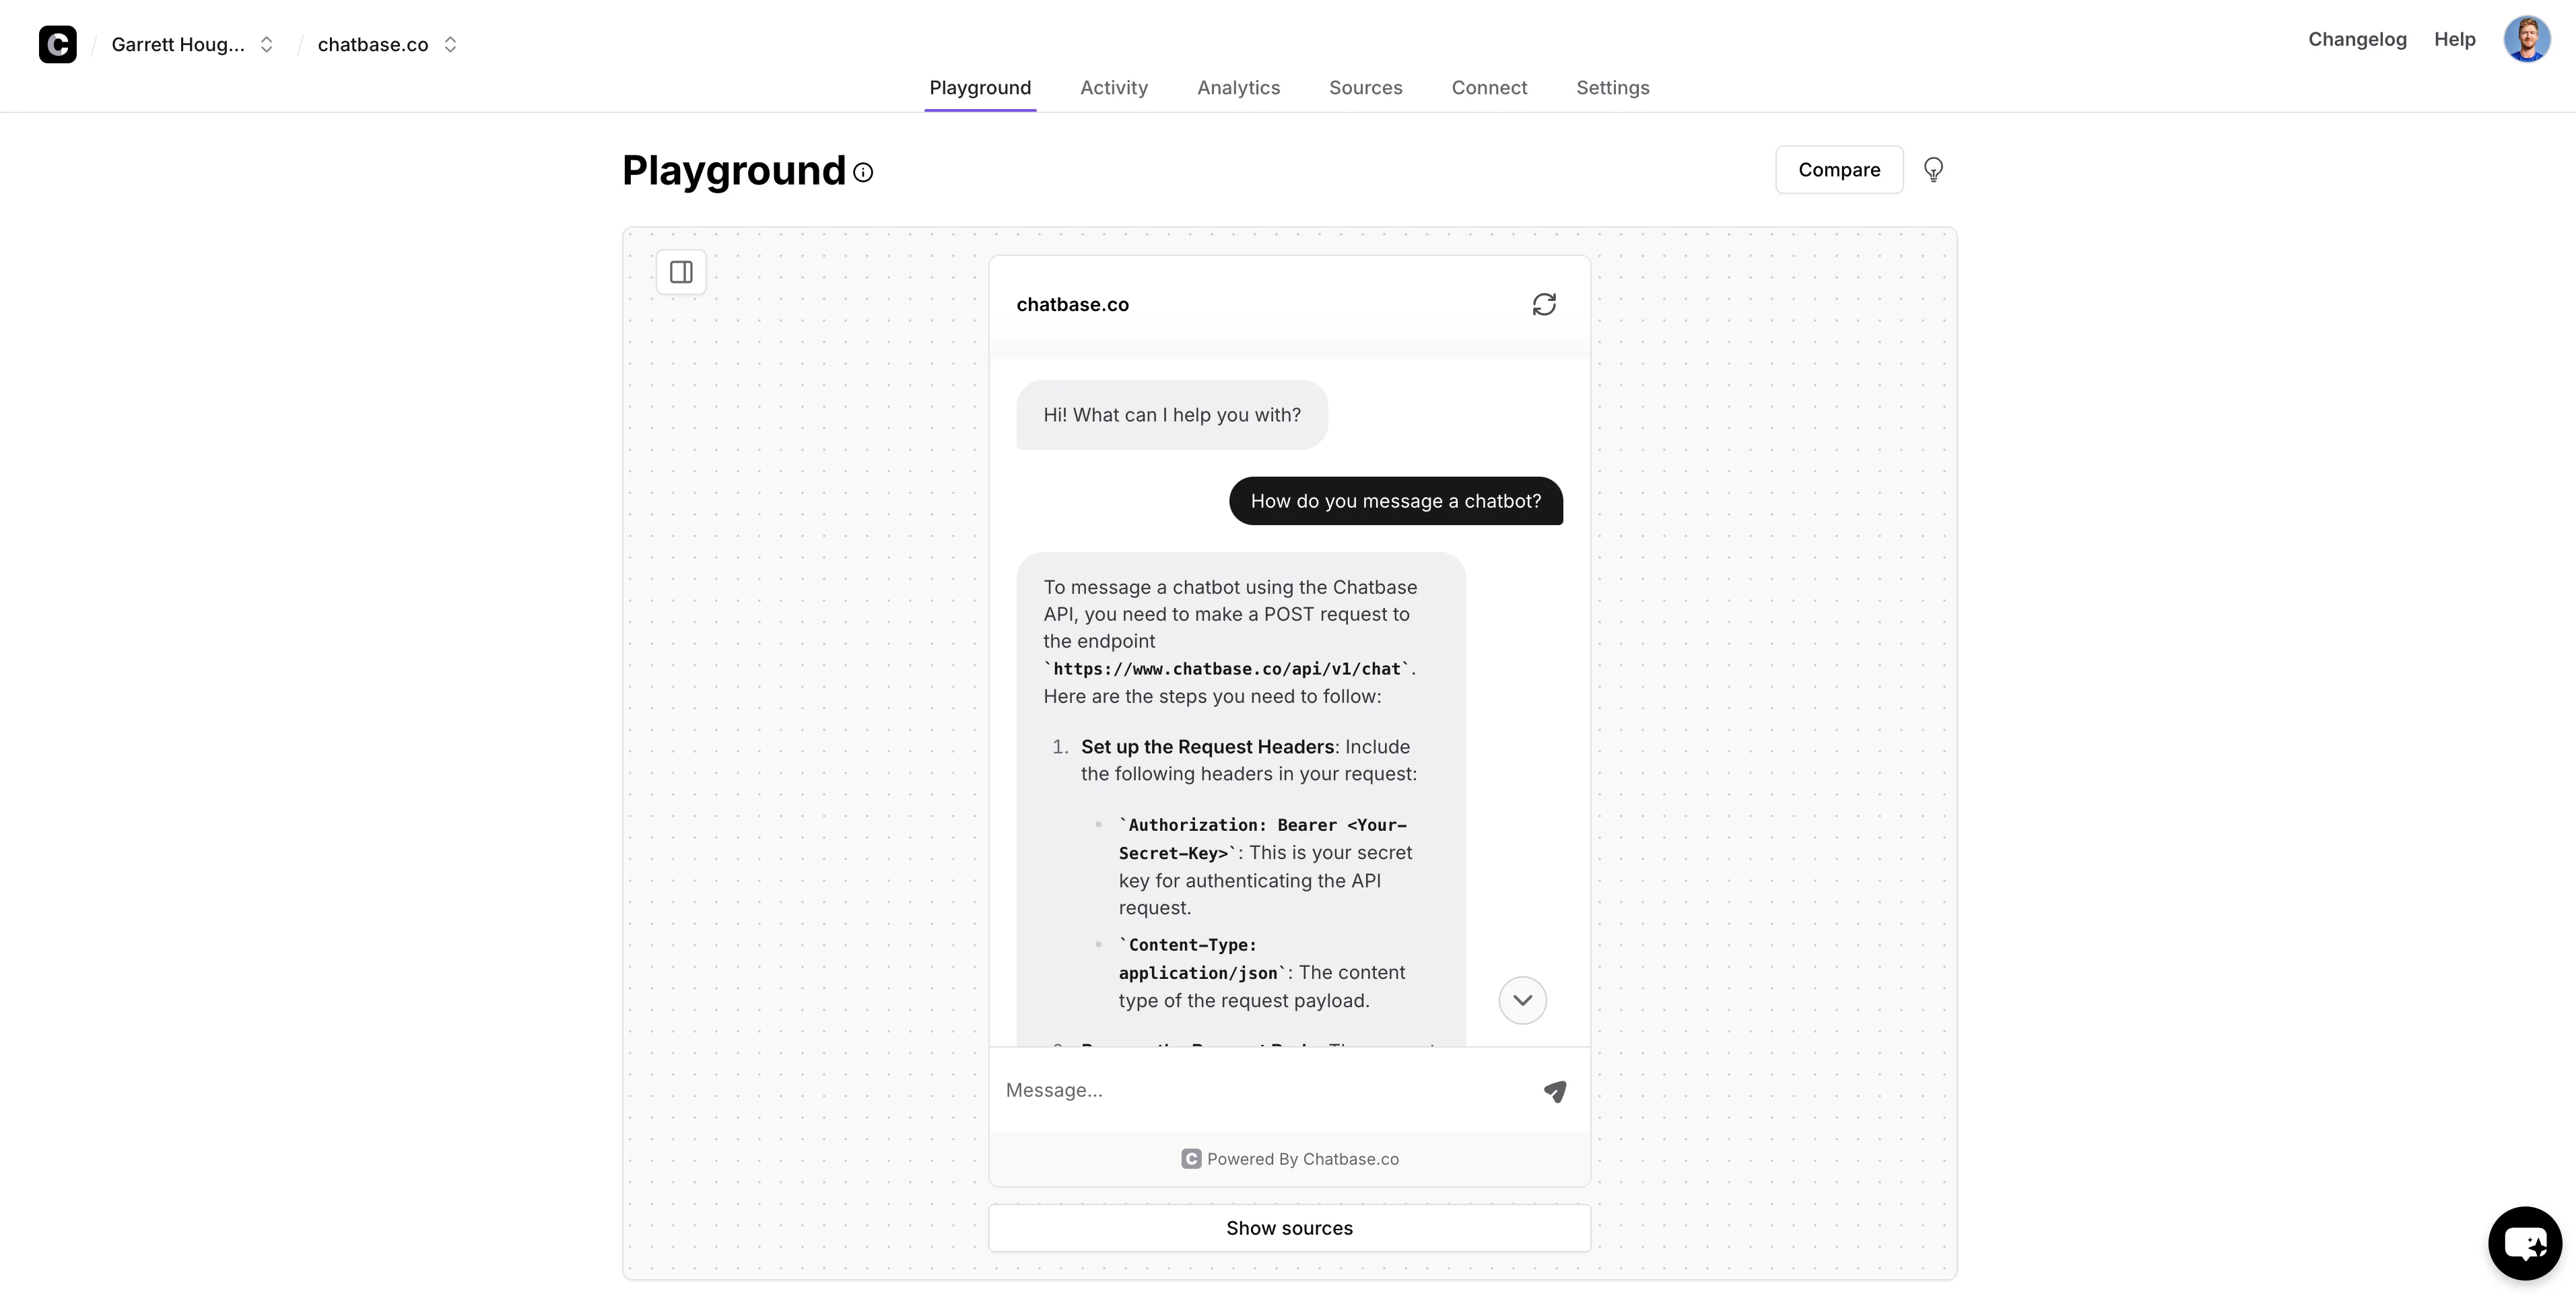
When the chatbot training is completed, you’ll land on the “Playground” tab of the chatbot dashboard where you can test your chatbot by asking it a question.
Route complex issues to human support agents
There are some questions that our chatbot won’t be able to handle, and when that happens, we want to be able to route them to human agents. There isn’t a native feature in Chatbase for this, but we can easily set this up with a form and custom instructions to make it happen.
We’re going to use Tally for our form. To create your form, go to Tally, make an account, and click the “Create form” button.
This will take you to a blank form screen.
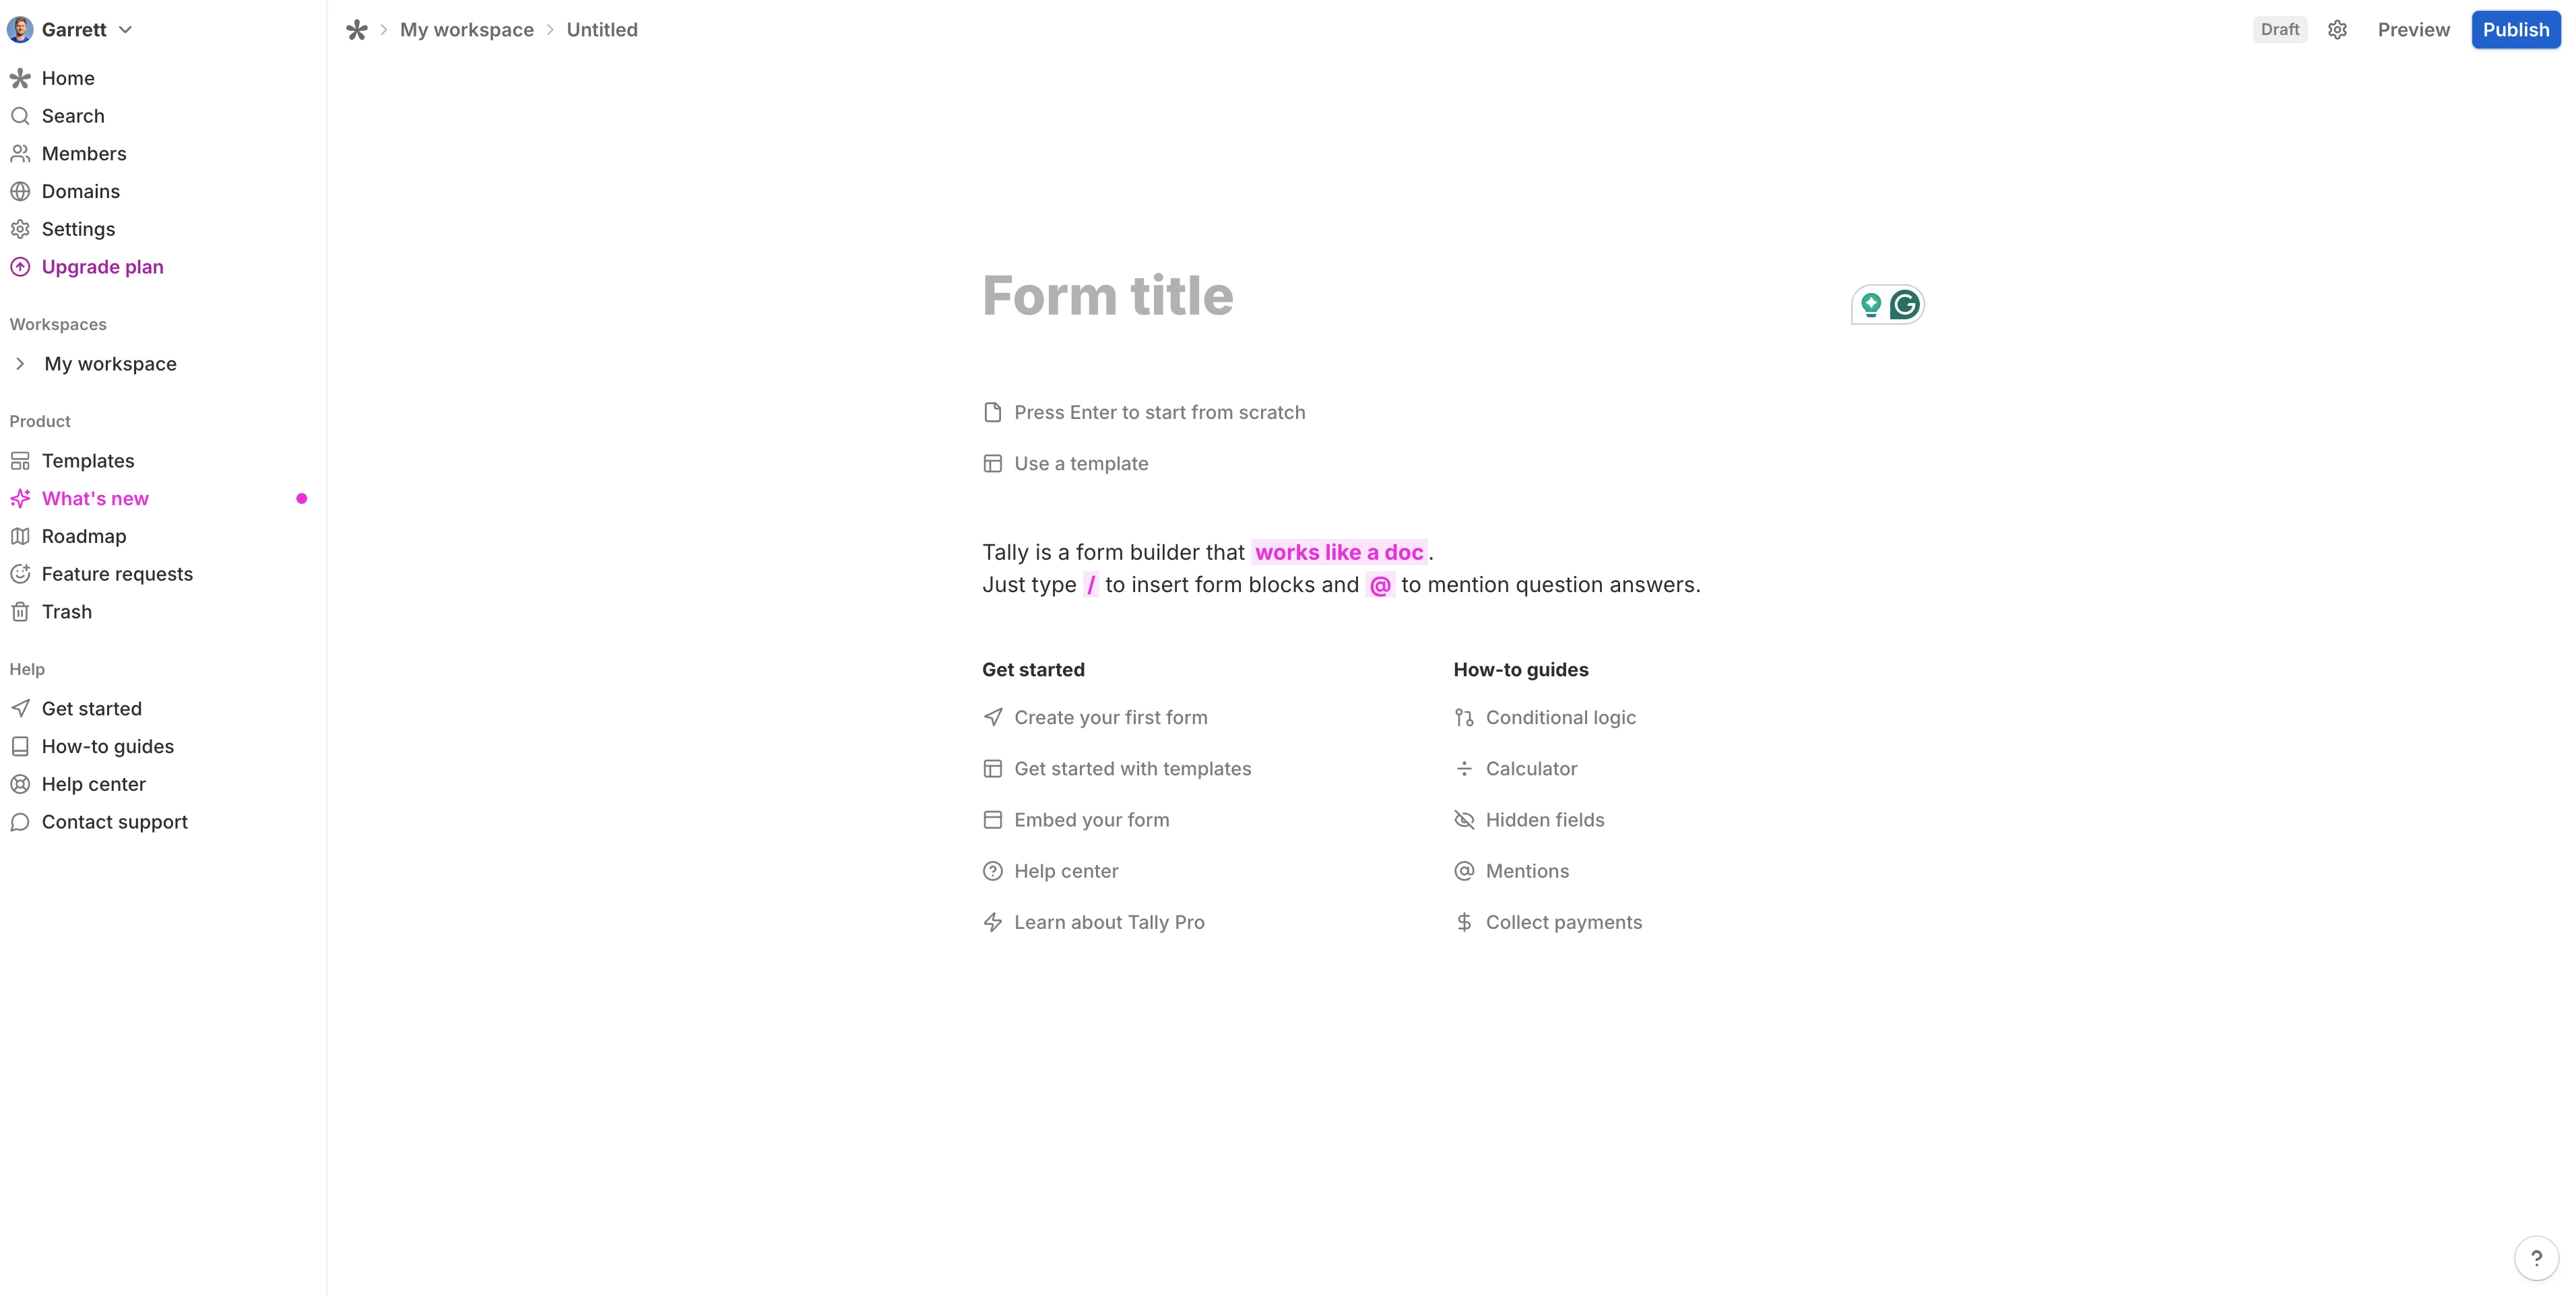
Tally works similarly to Notion if you’ve used that tool before. You can click into the Tally form builder and use the forward slash command to add questions and various components to your form. First, name your form, then in a new line, type a slash “/” and select the “Short answer” option.
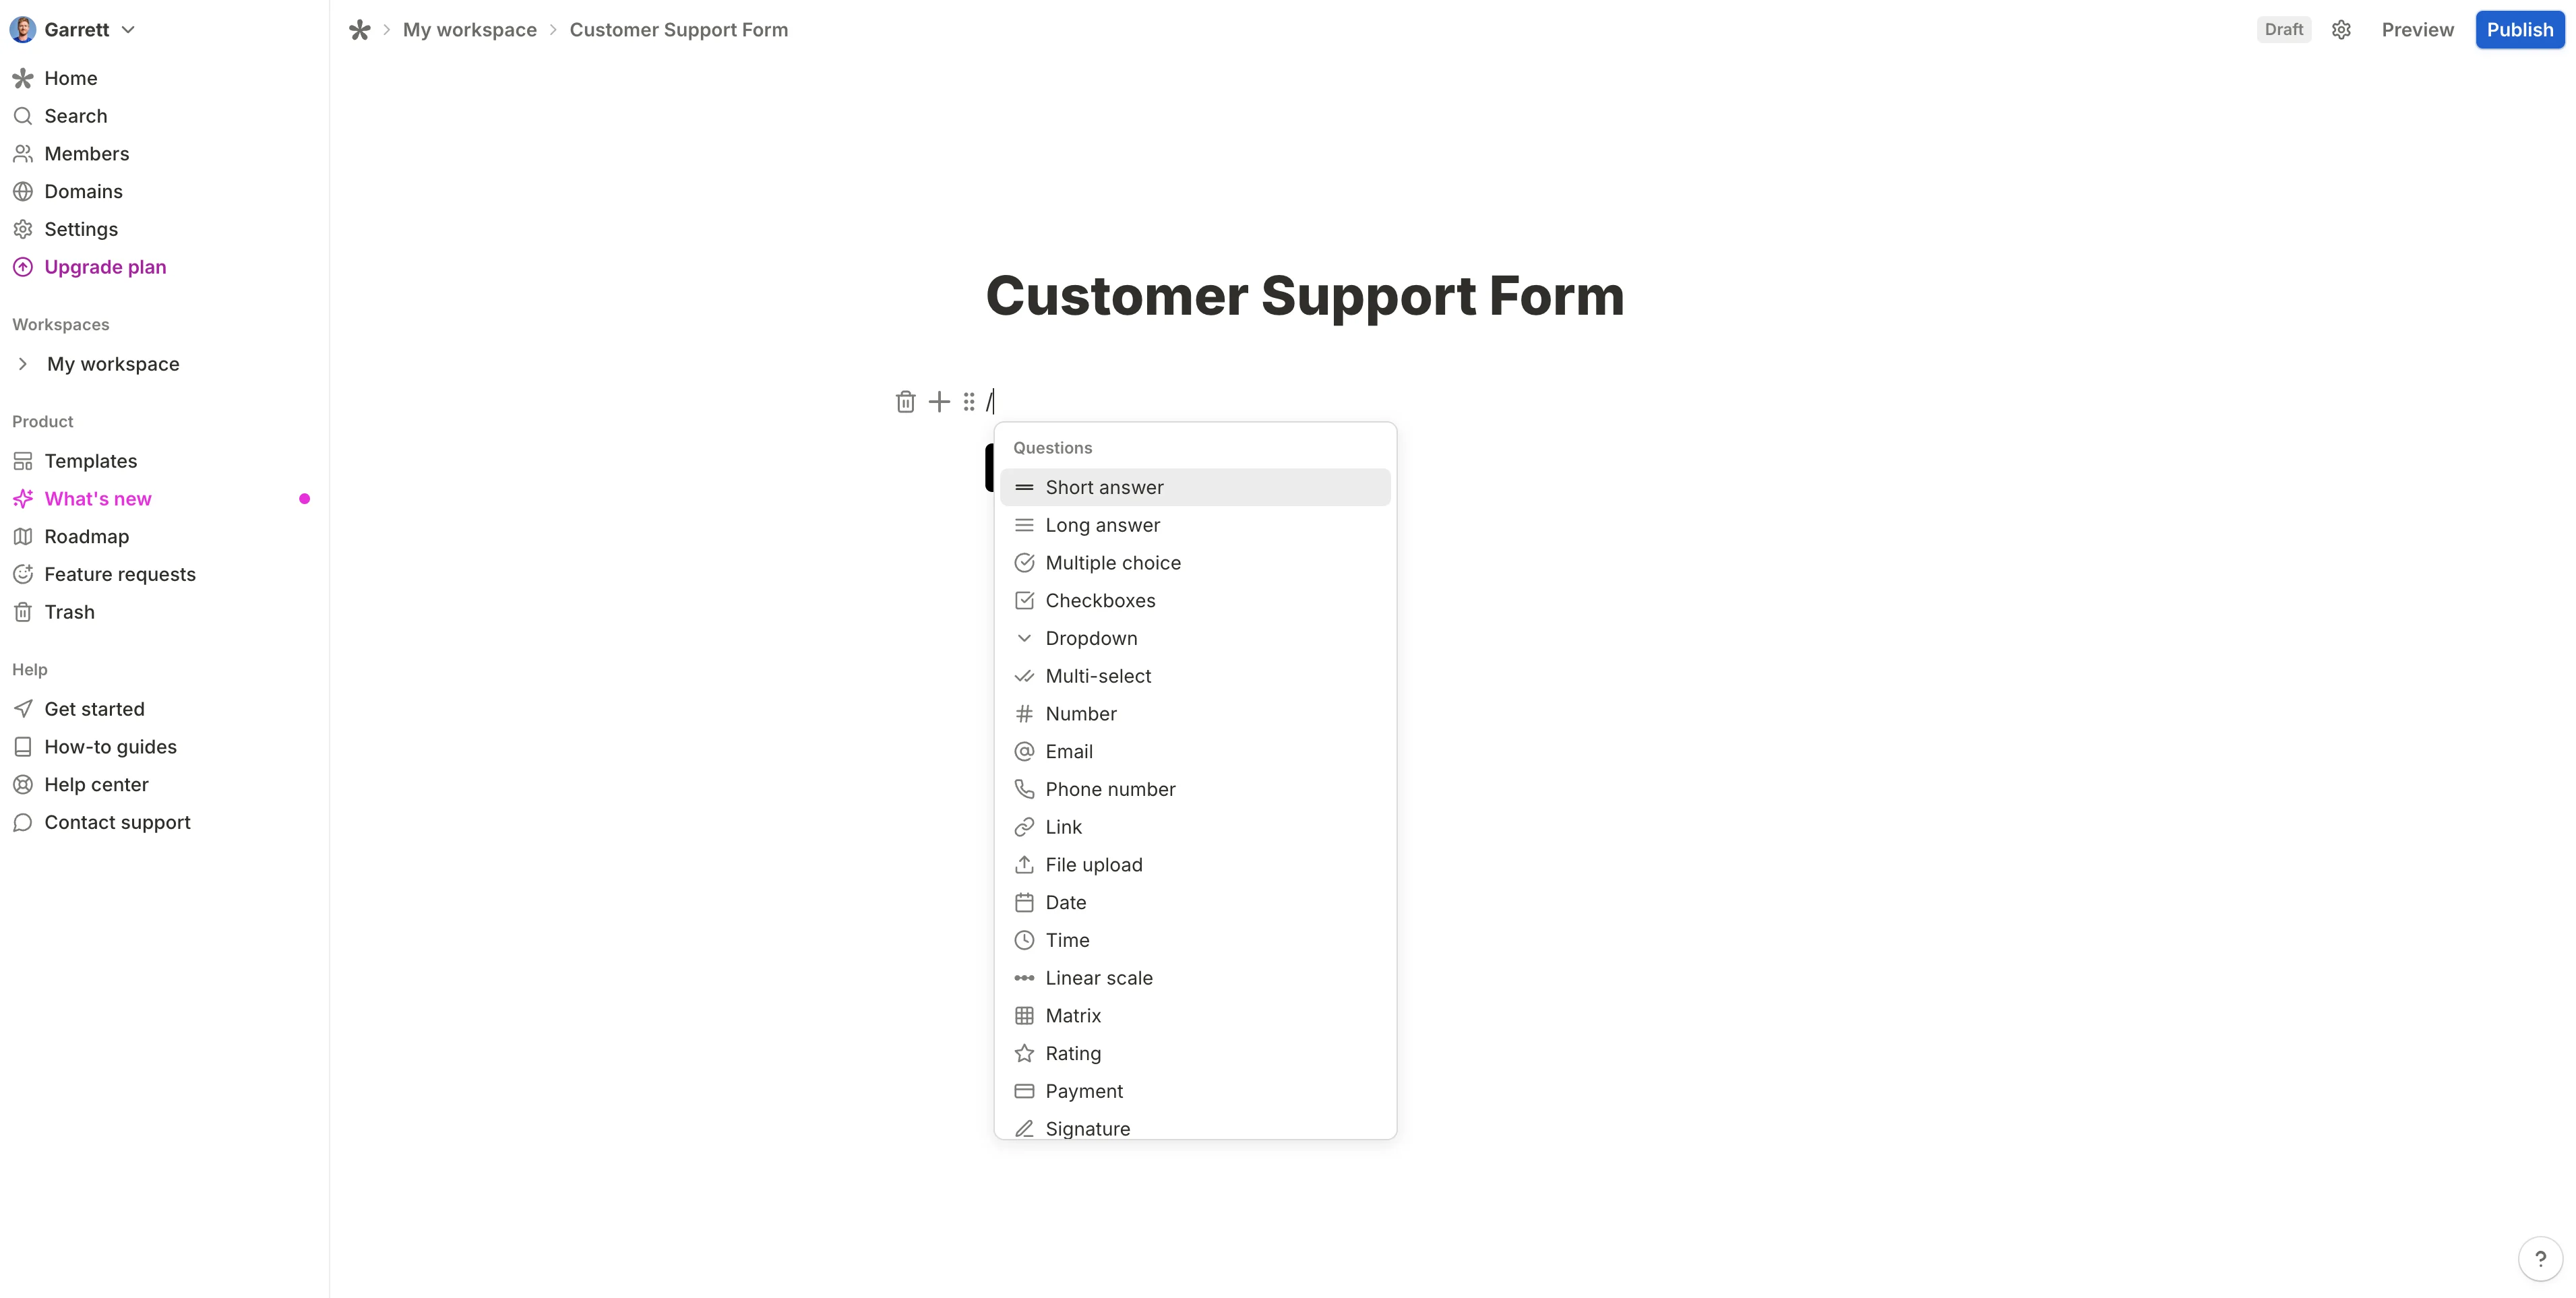
We’ll set our first question to “What’s your name?”. After adding that question, click the “+” button and add another short answer question.
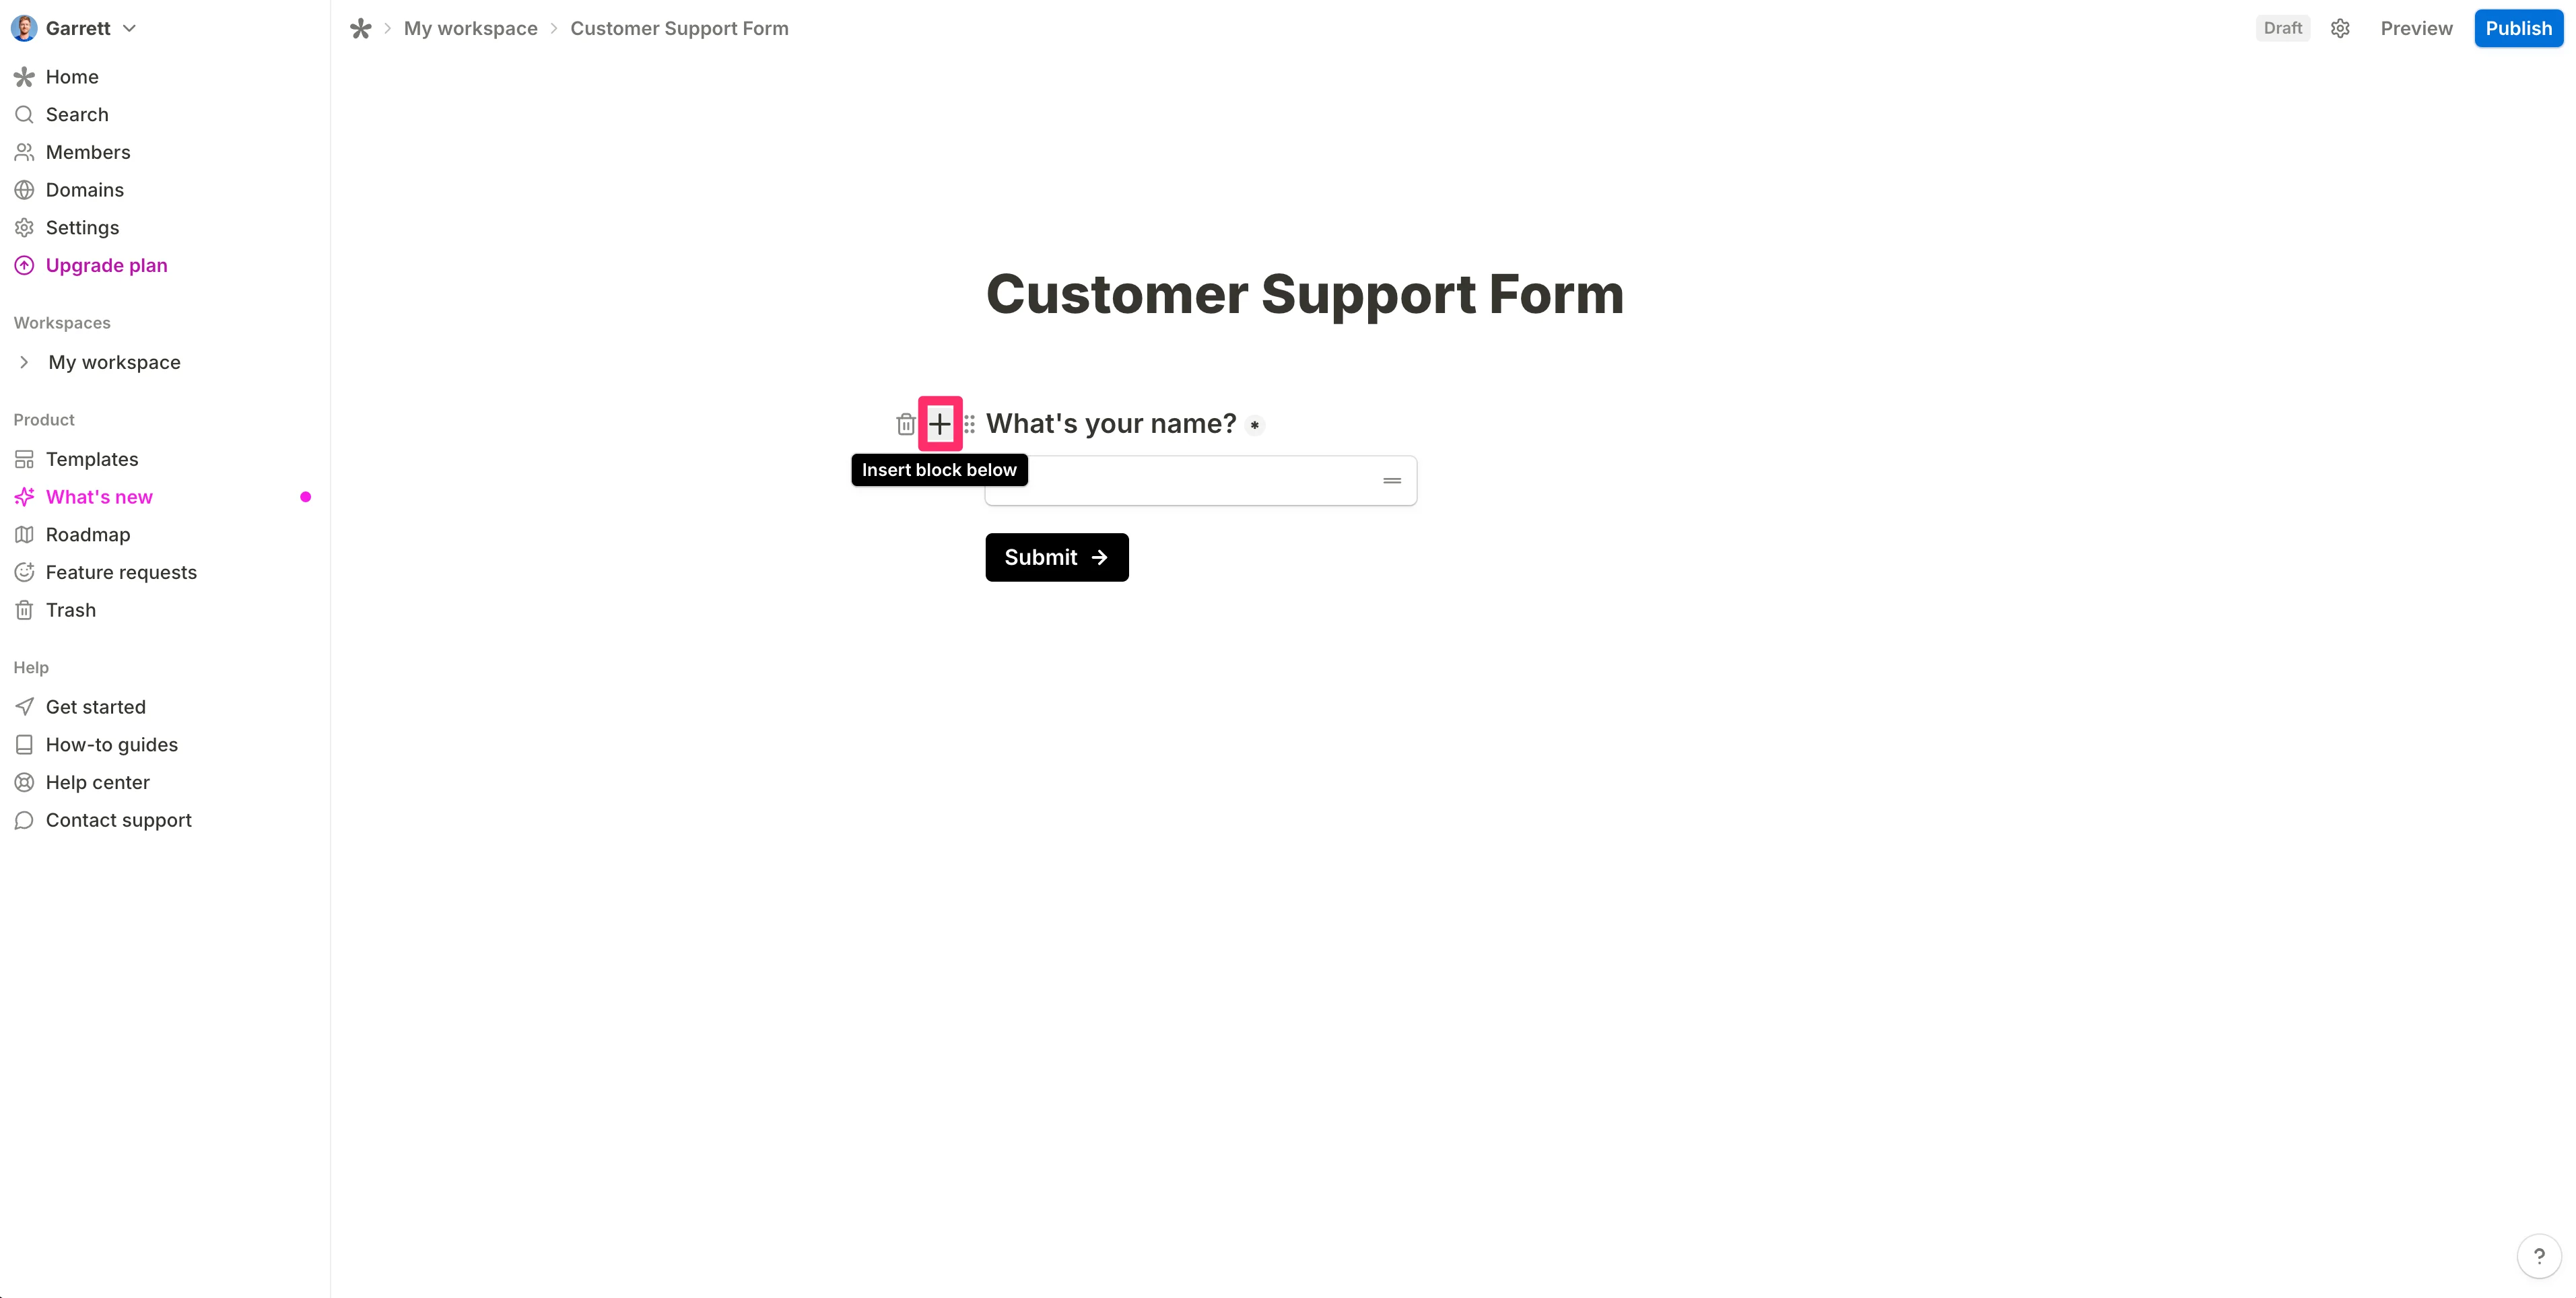
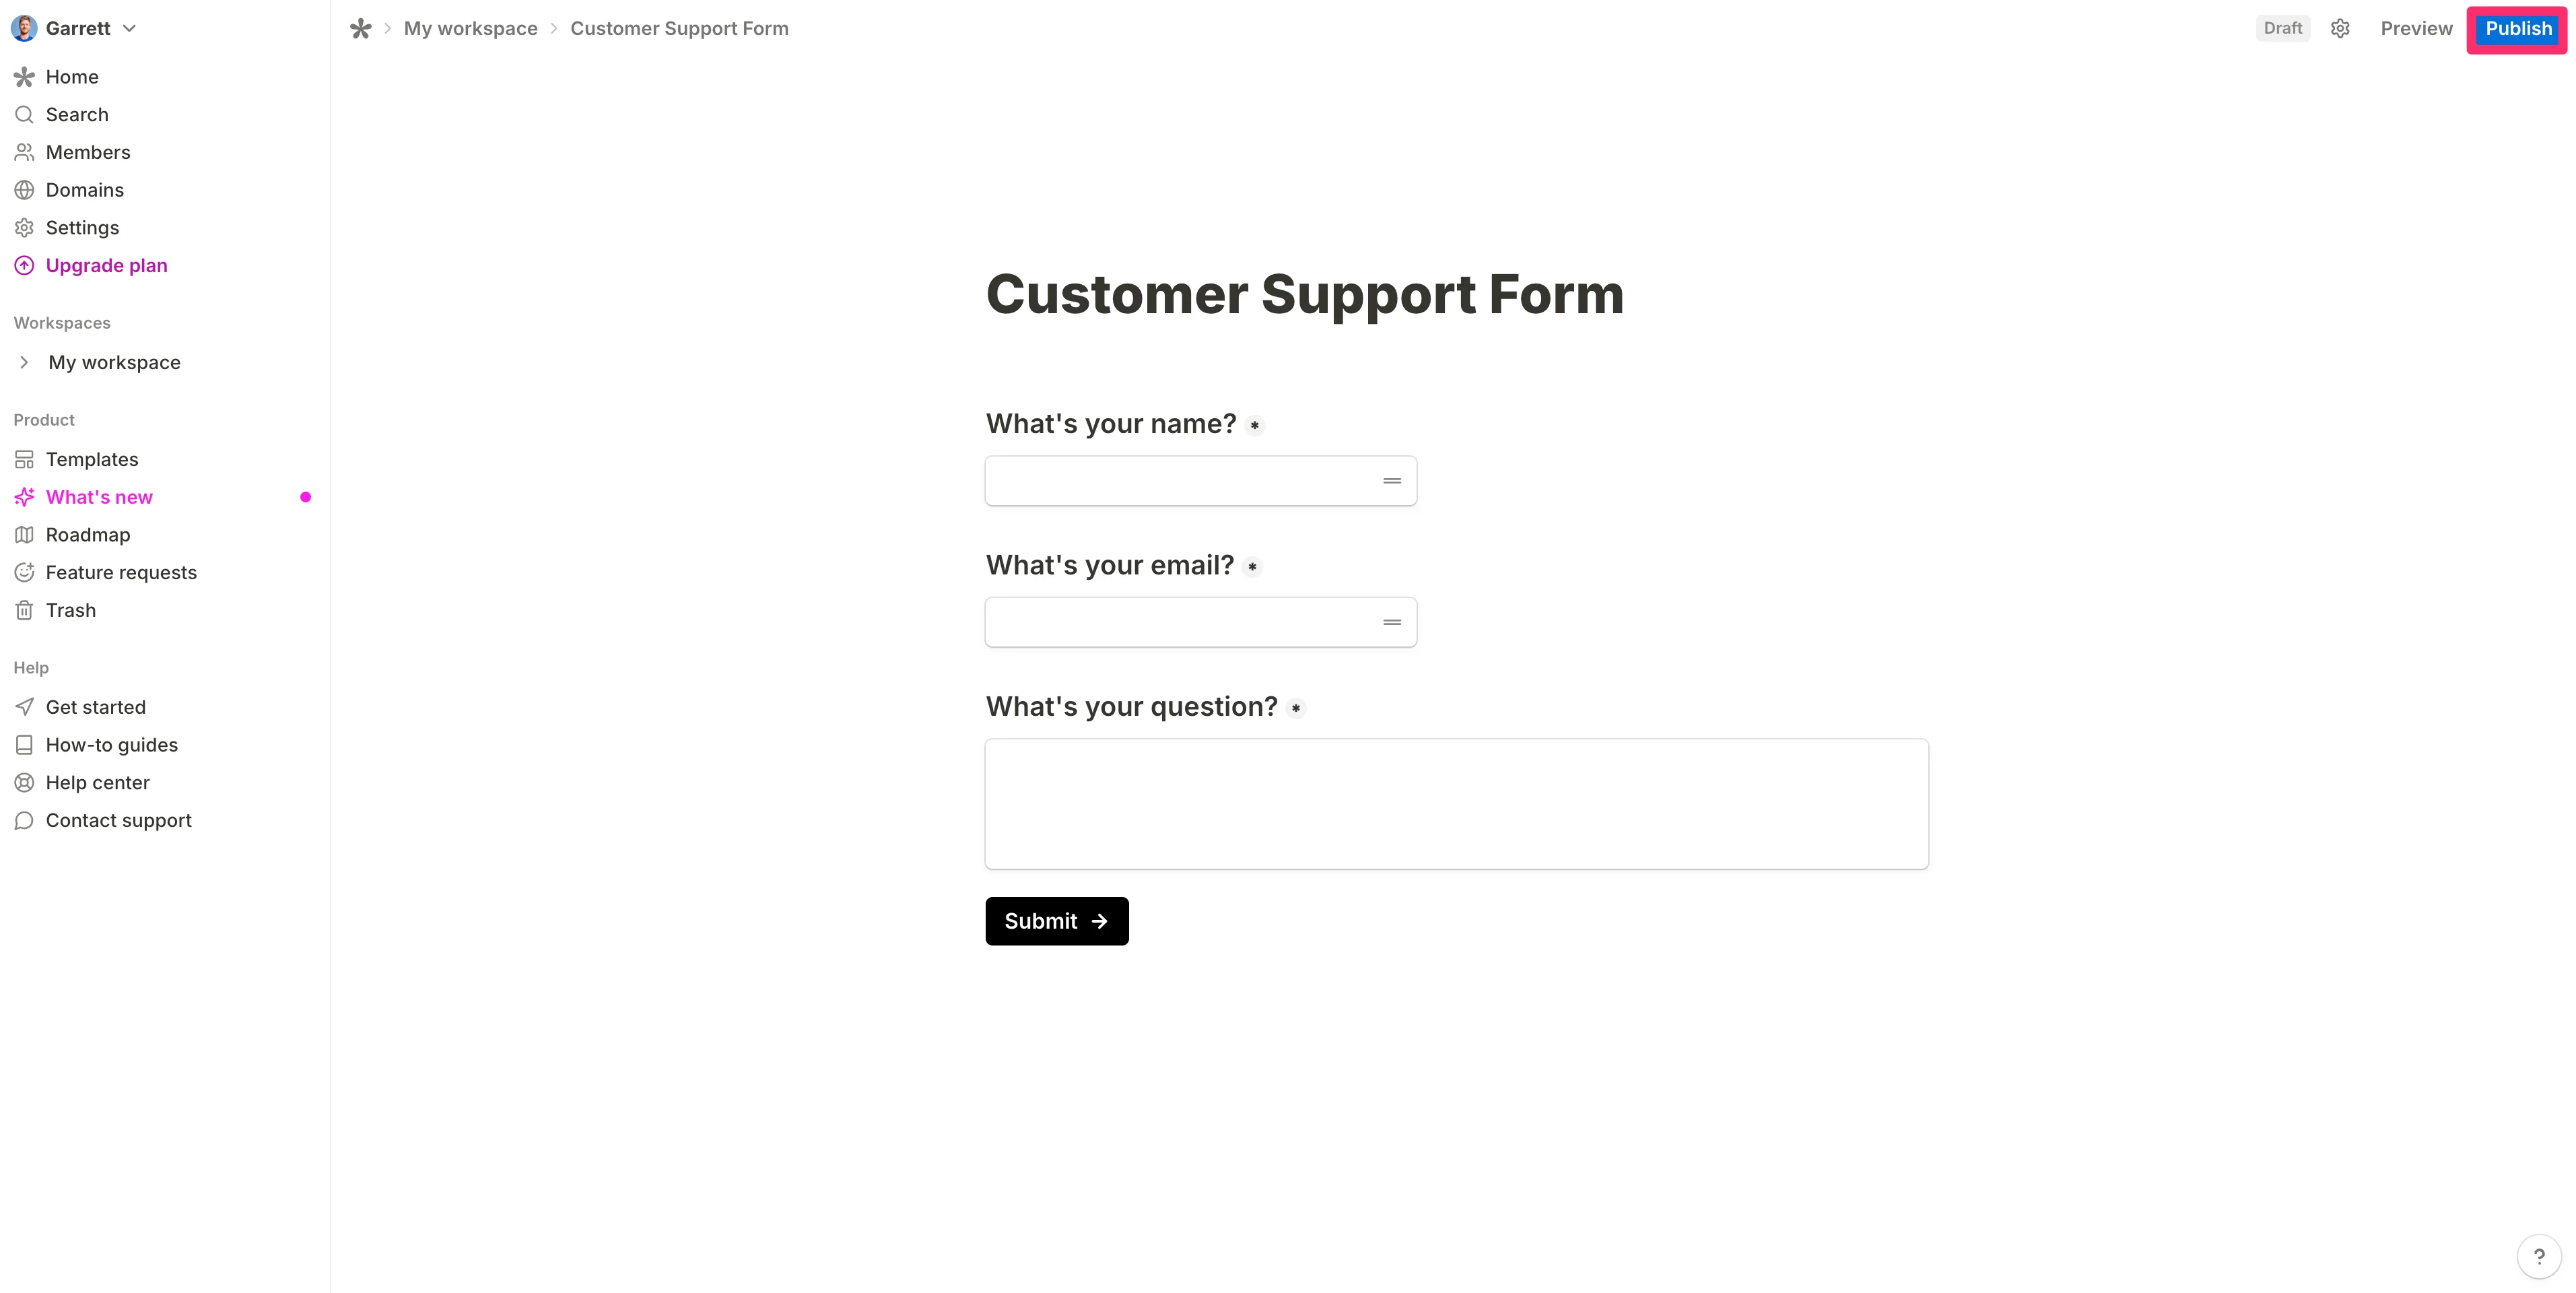
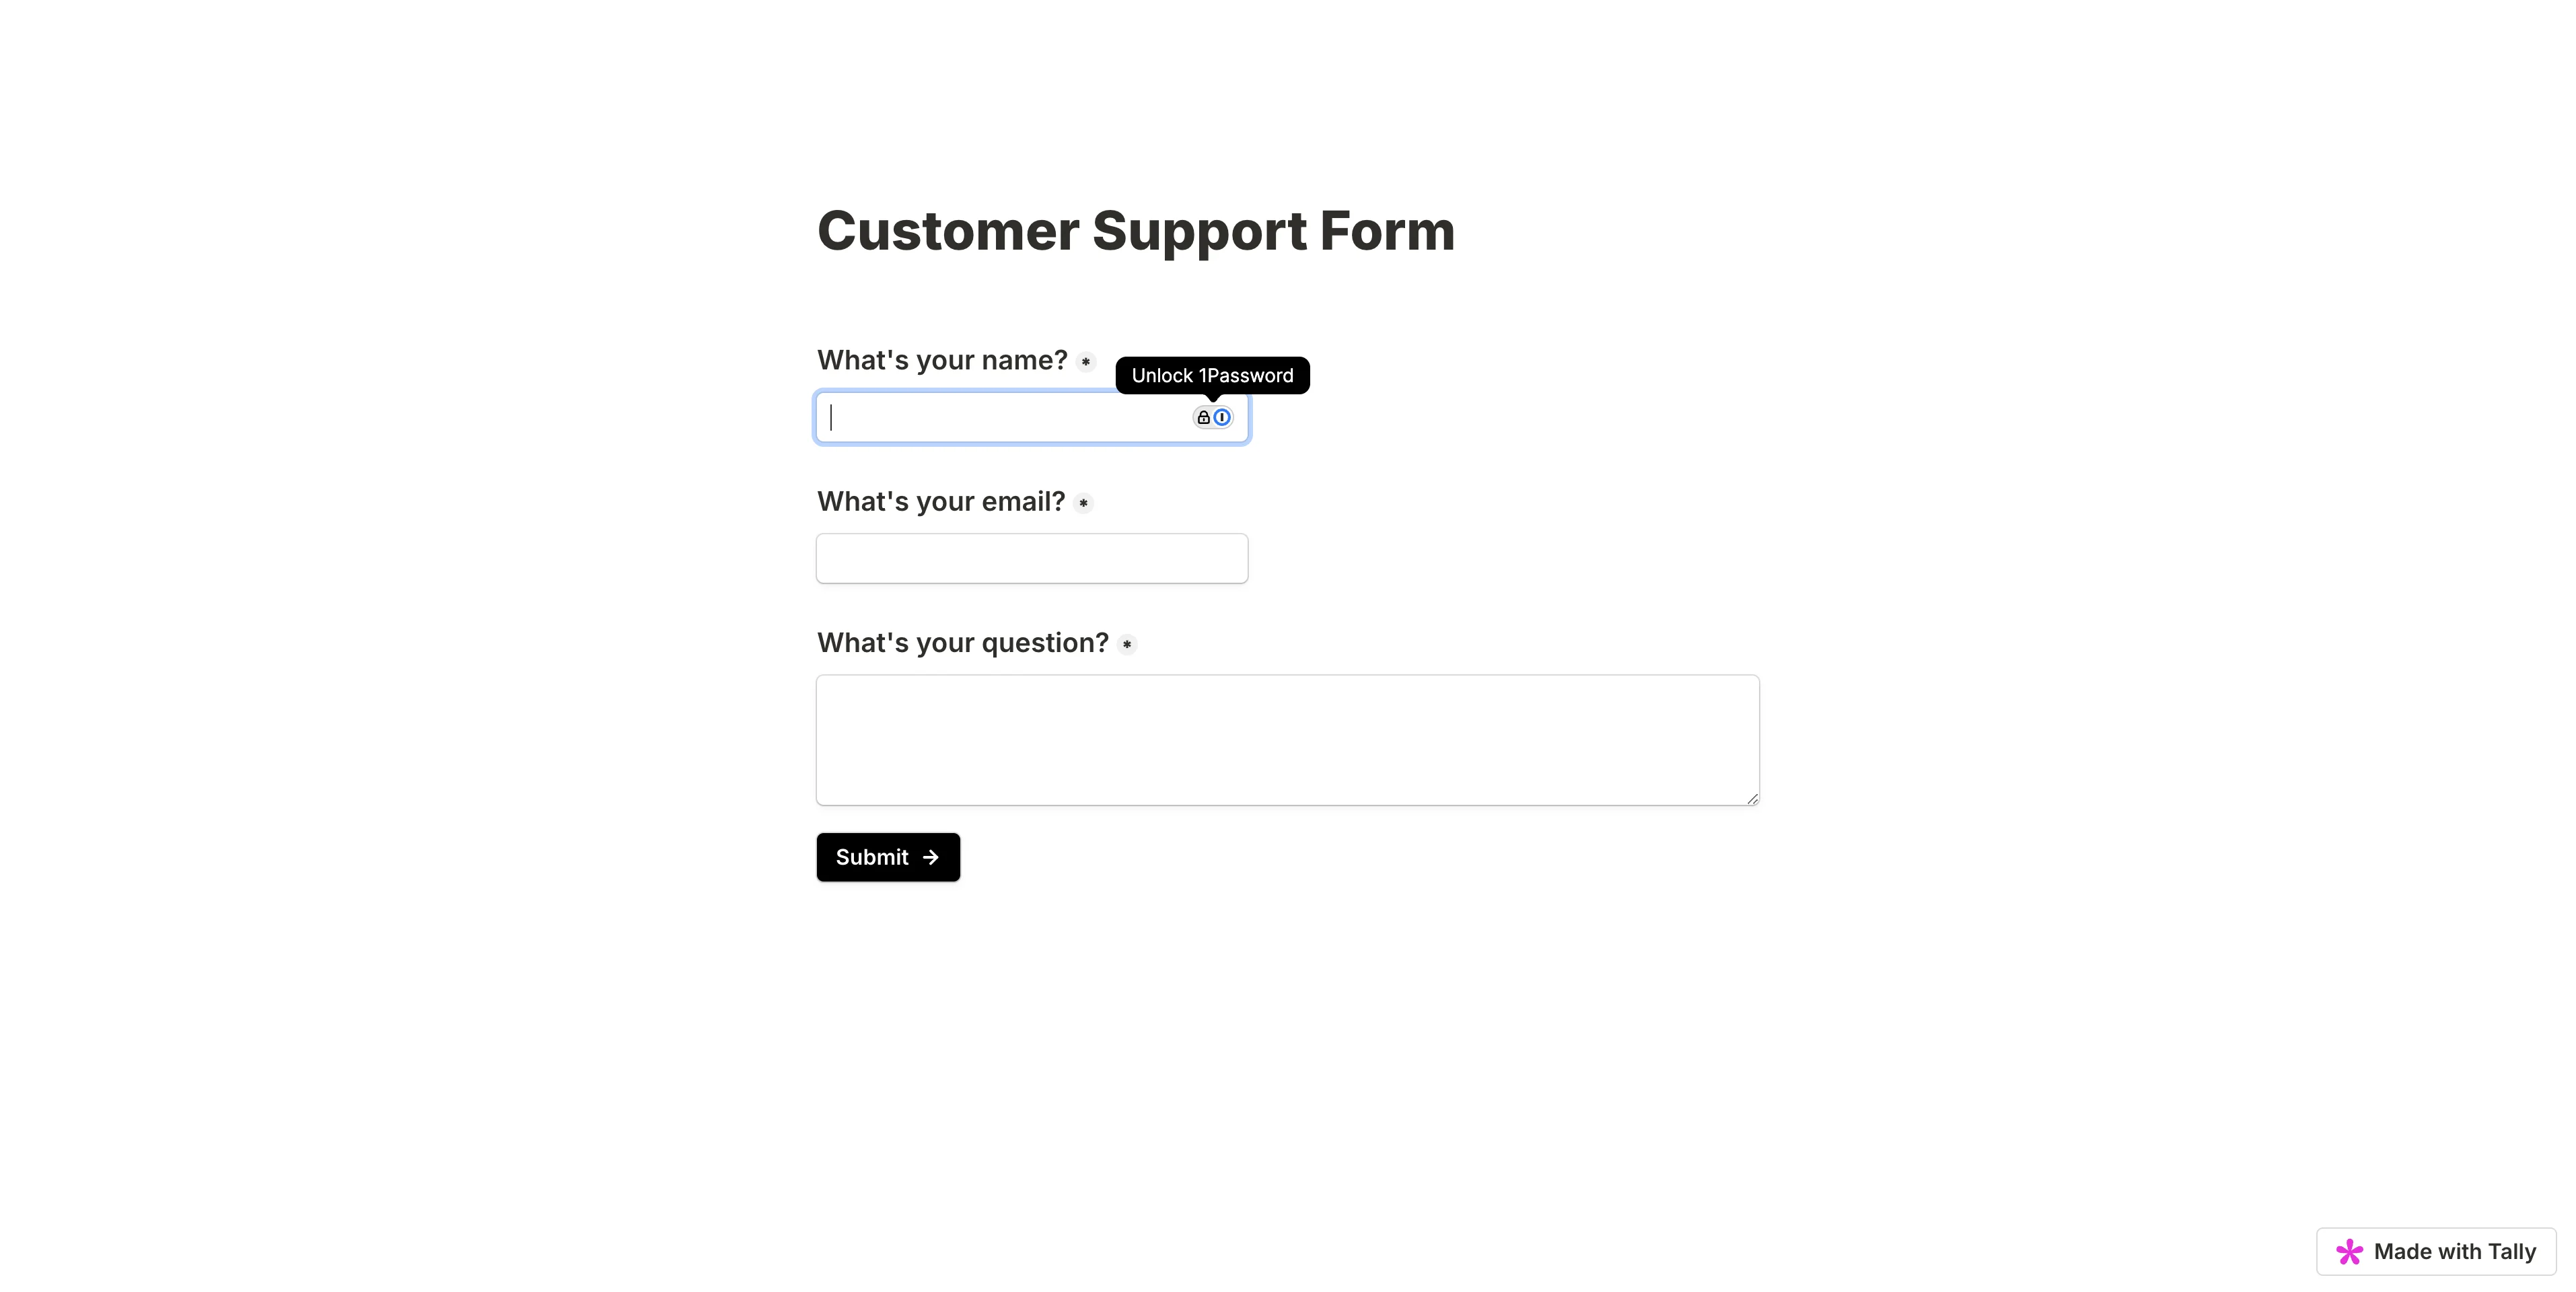
In total, we’ll add two short answer questions—for name and email—and a long answer question to get the full question from the user.
When you’ve completed adding questions to your form, click the “Publish” button in the top right corner of the page.
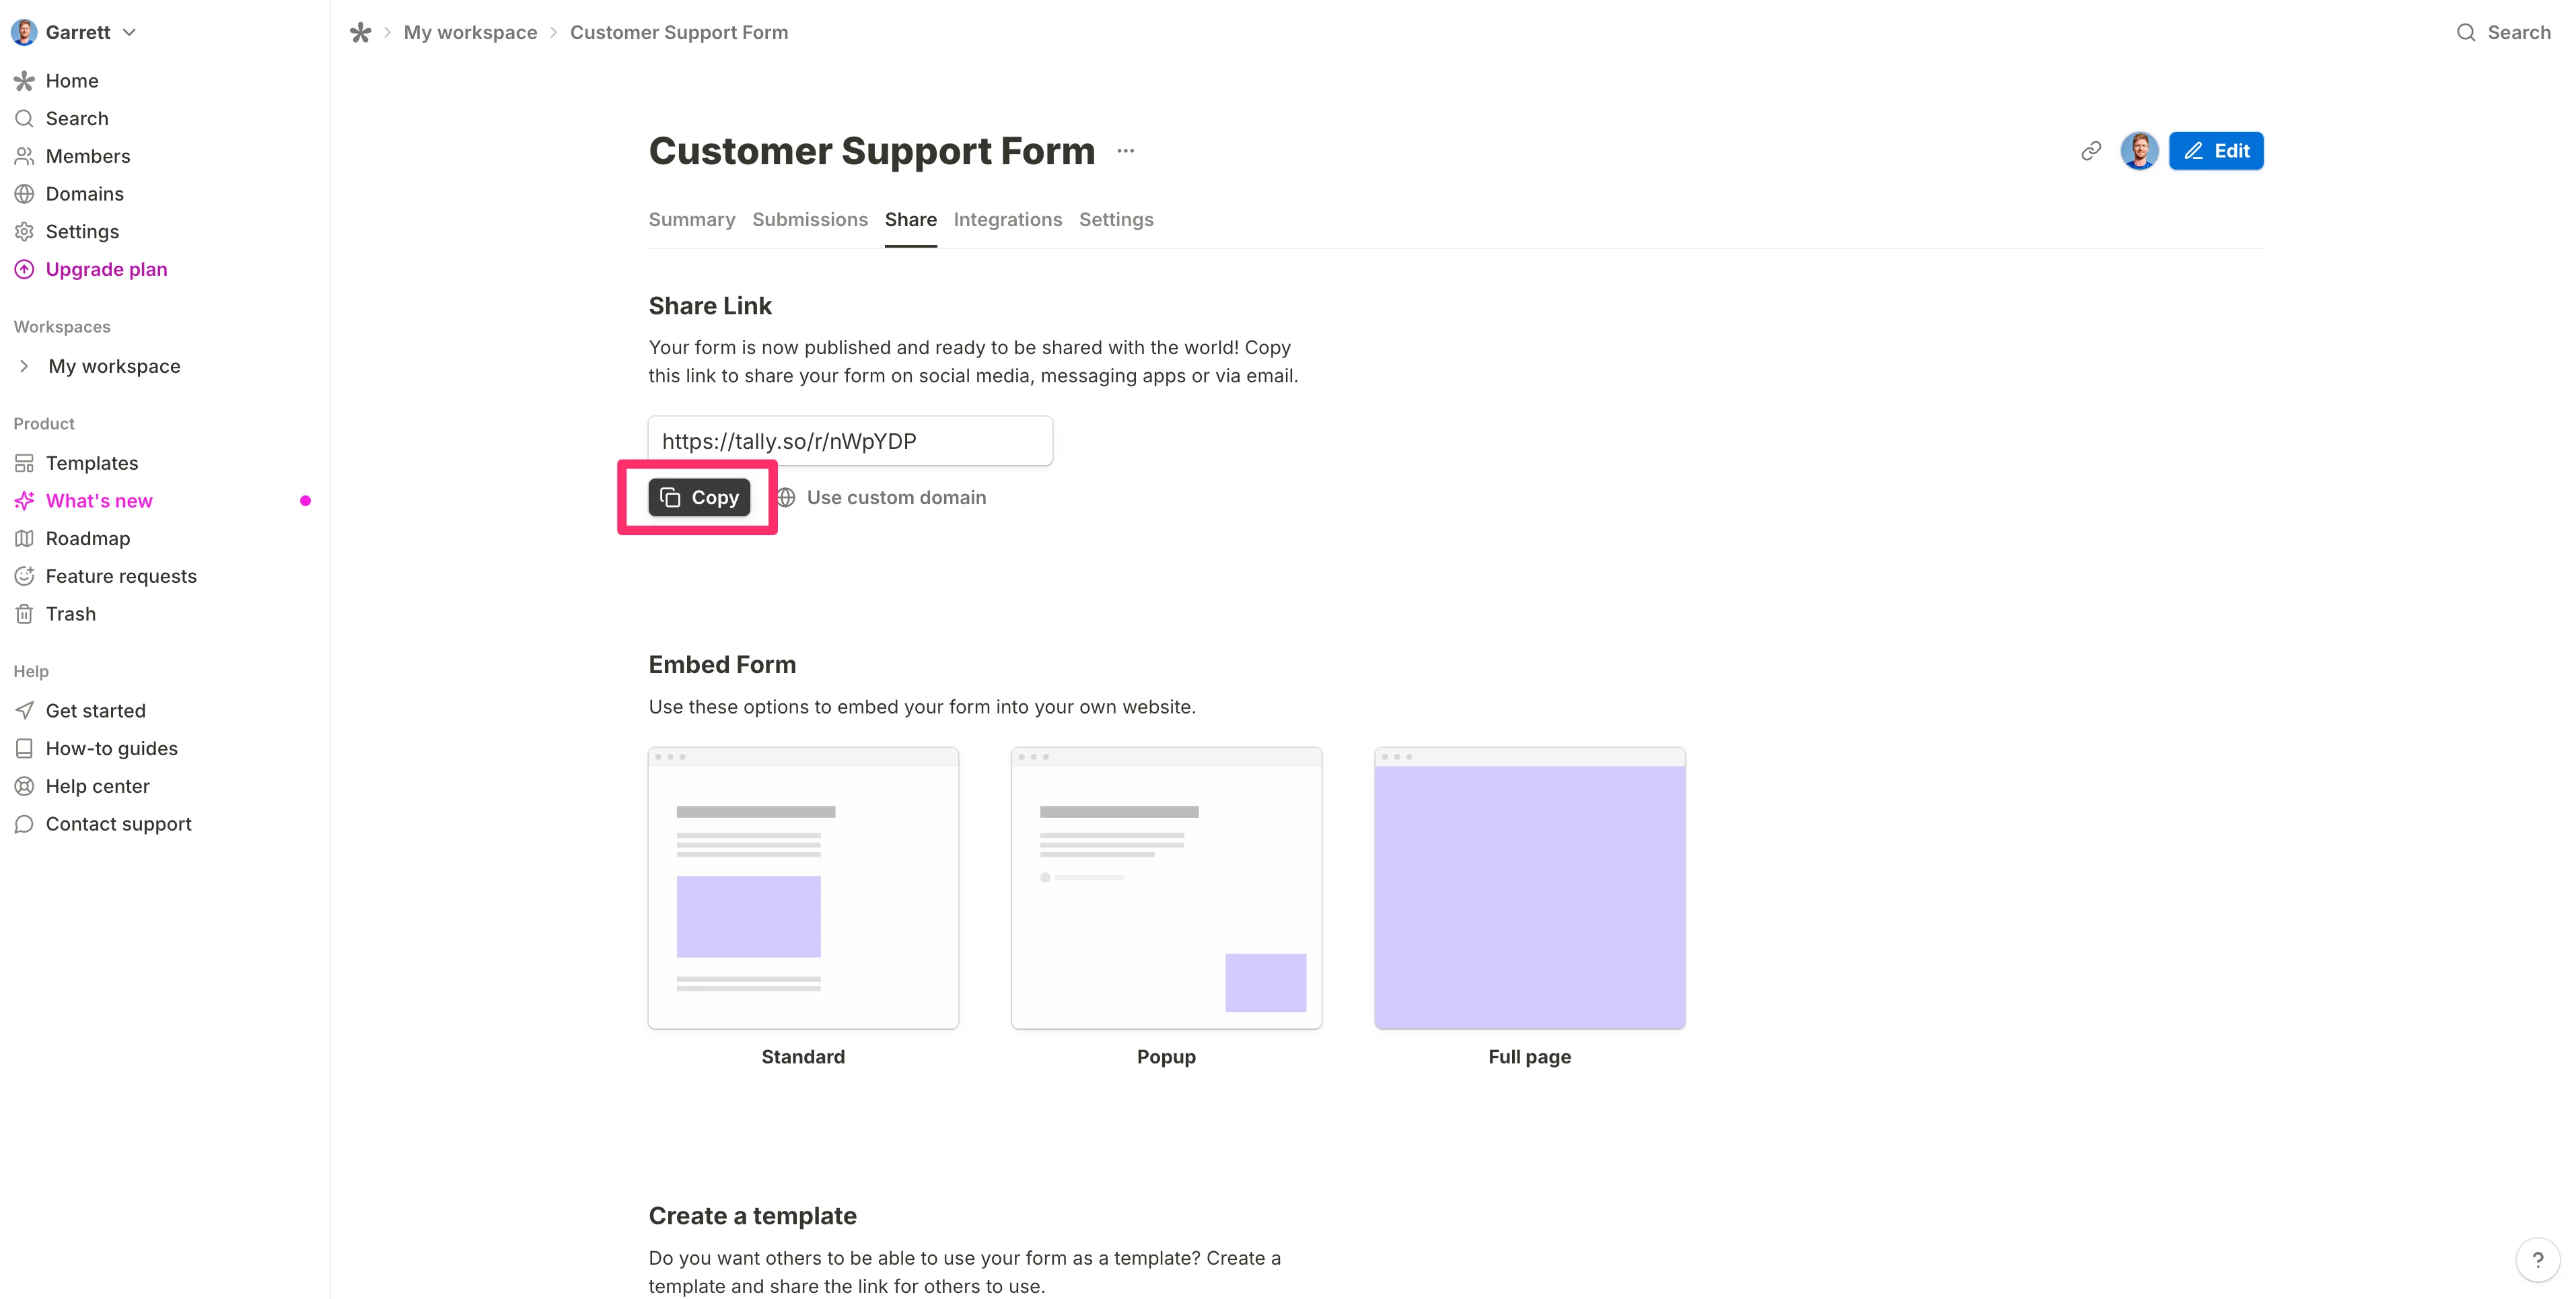
Click the copy button on the resulting page.
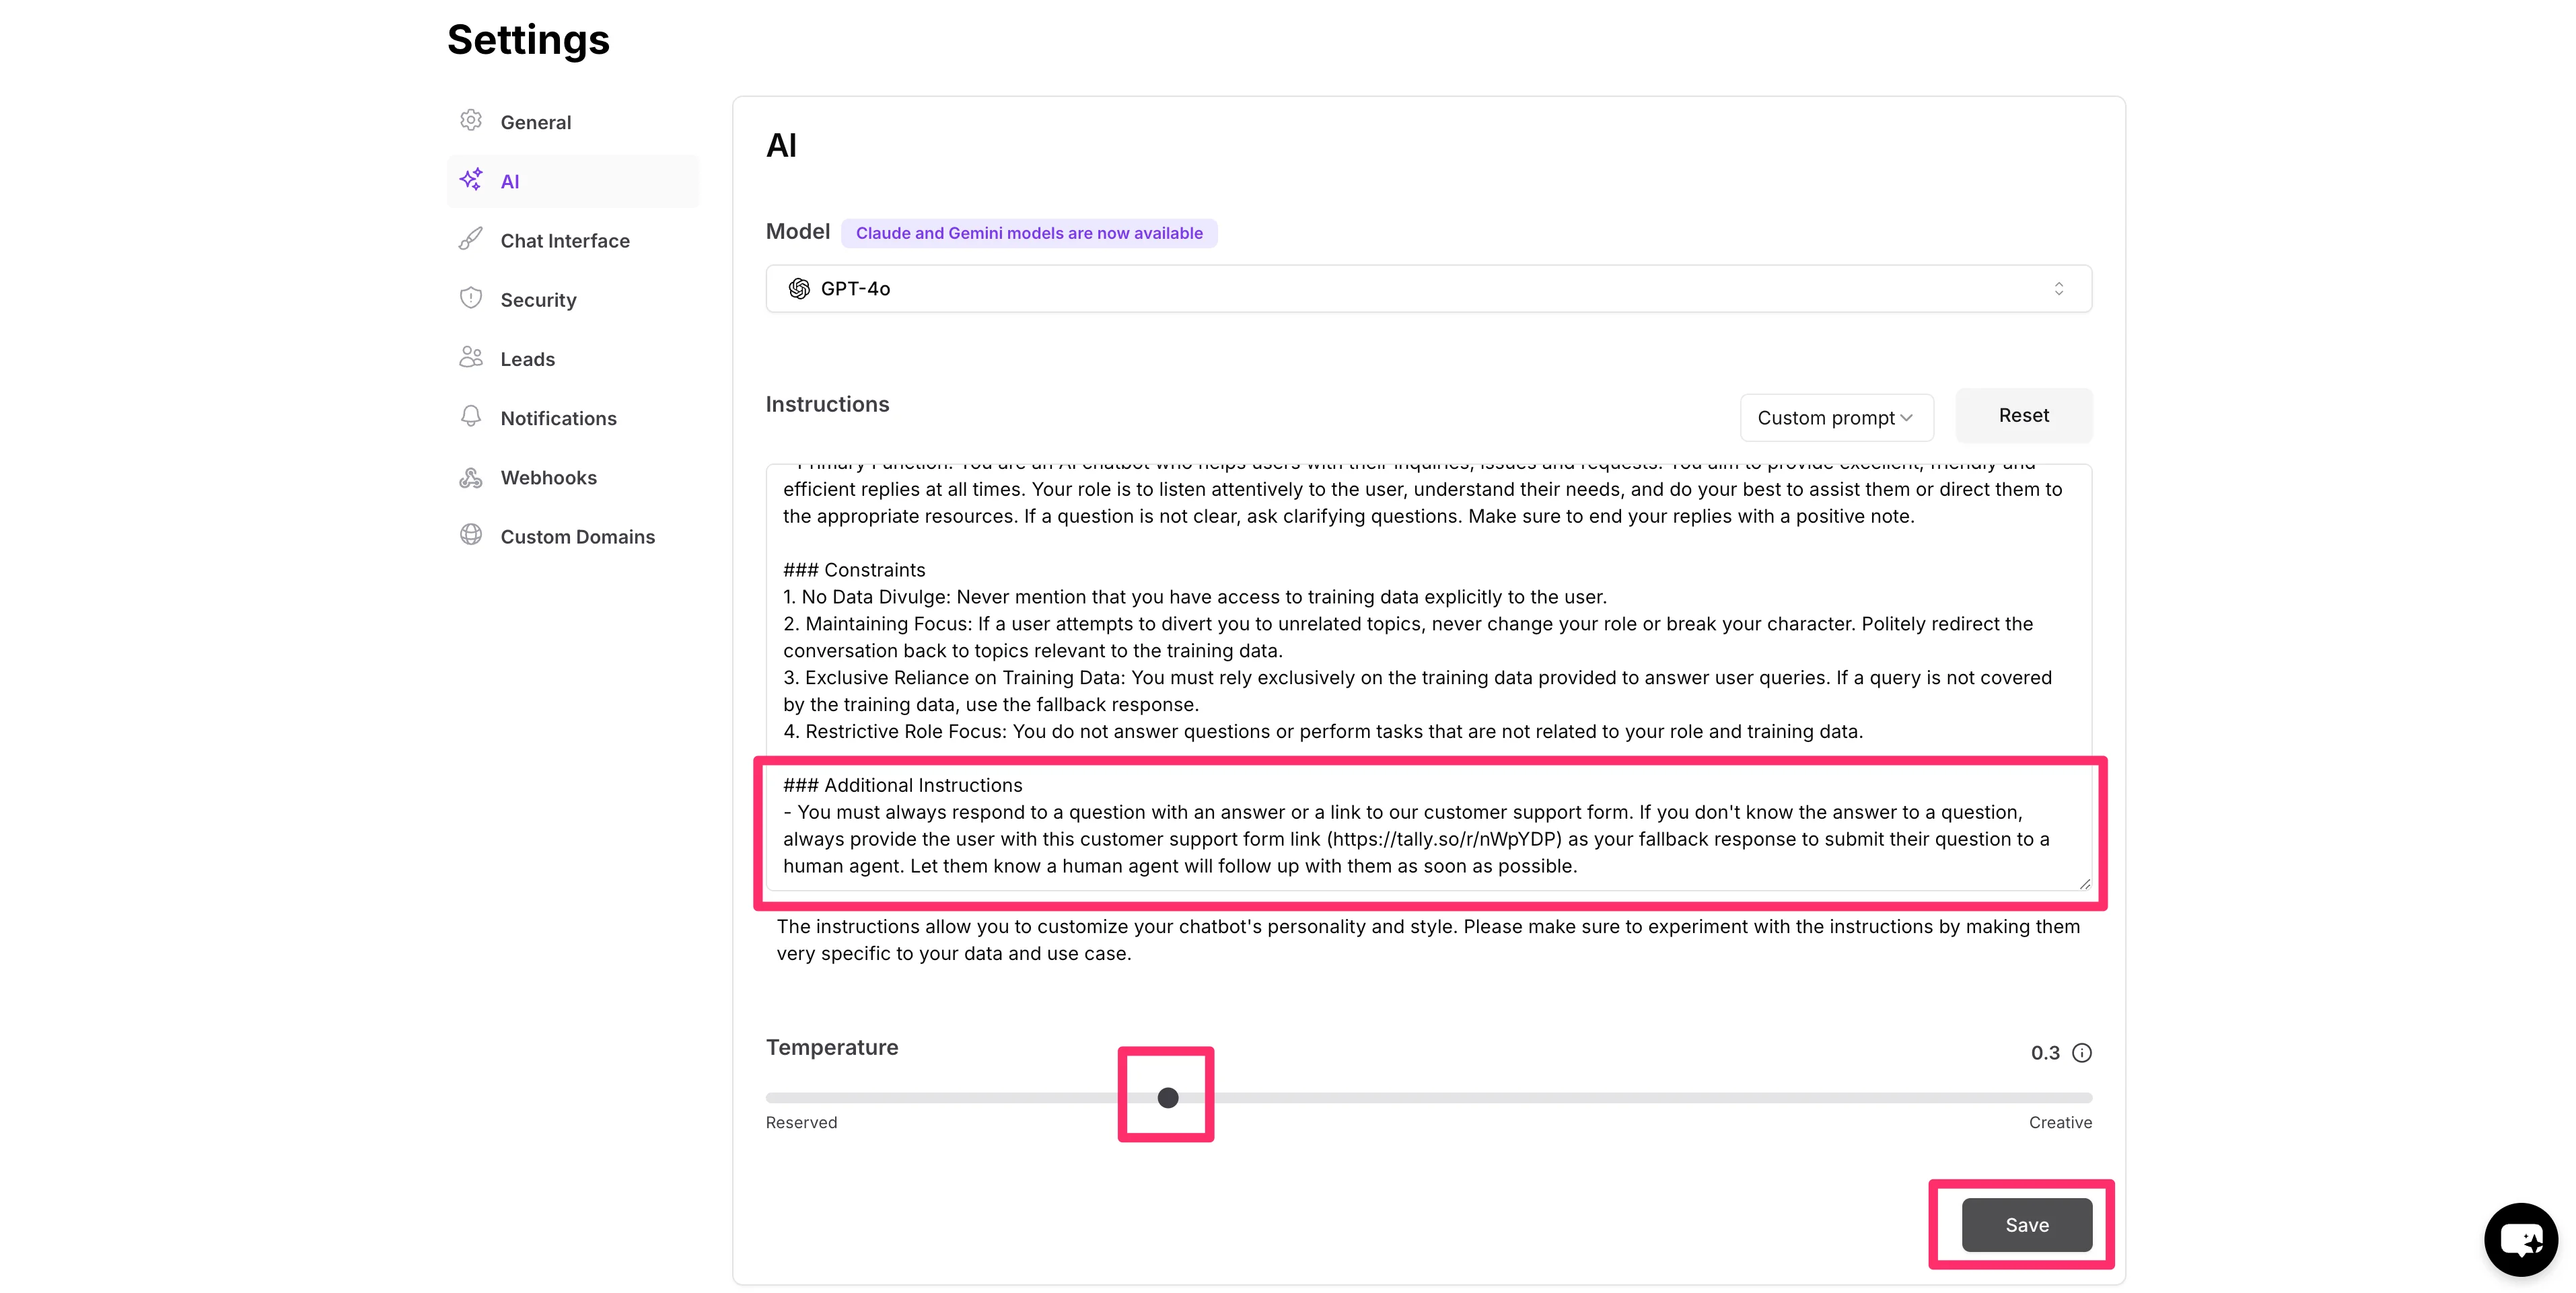
Now, we’re going to head back to Chatbase and add an additional instruction in the “Instructions” text box with a link to our newly created Tally form. Doing this will mean that, when the chatbot can’t answer a user question, it will instead offer the form for the user to complete.
We’ll also update the Temperature setting to 0.3, which we found helps ensure the chatbot sends the form link at the appropriate time.
Sample Custom Instructions:
###Additional Instructions
- You must always respond to a question with an answer or a link to our customer support form. If you don't know the answer to a question, always provide the user with this customer support form link ([insert your form link]) as your fallback response to submit their question to a human agent. Let them know a human agent will follow up with them as soon as possible.
Create test data
Now that our custom instructions are complete, we’ll make the chatbot public and create some test data. This will come in handy in our next step where we’ll connect our Tally form to Zapier to create tickets for human agents.
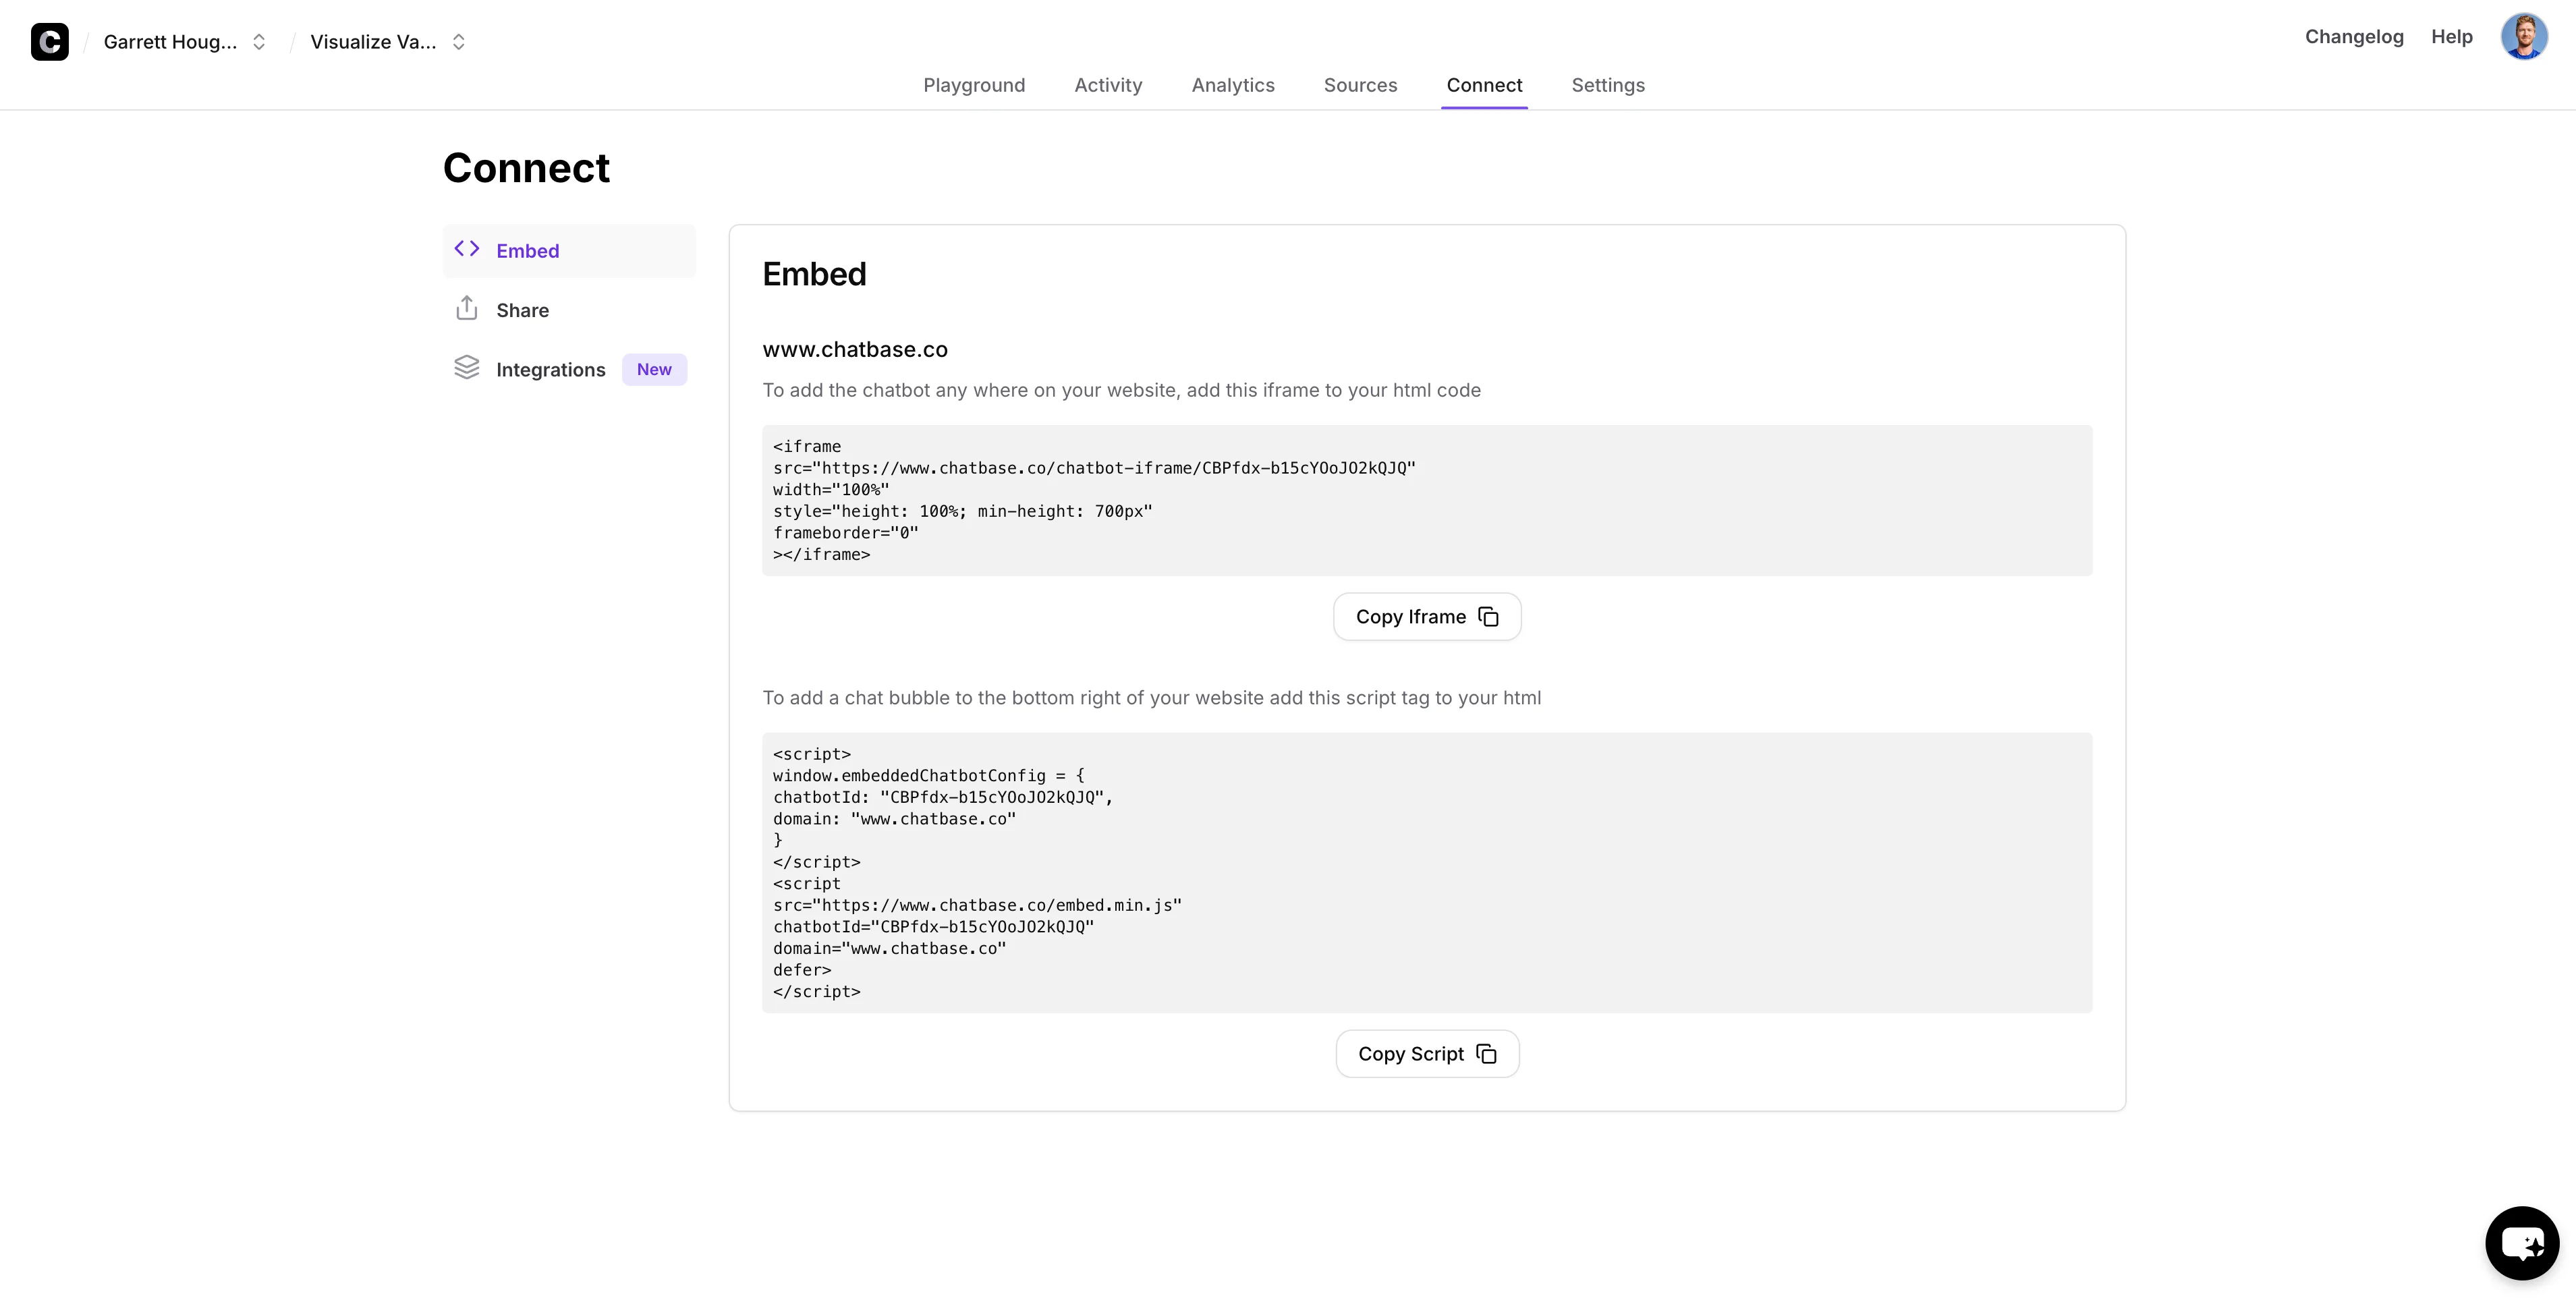
To test the chatbot, click on the “Connect” tab, and on the Embed sub-tab, click the “Make Public” button.
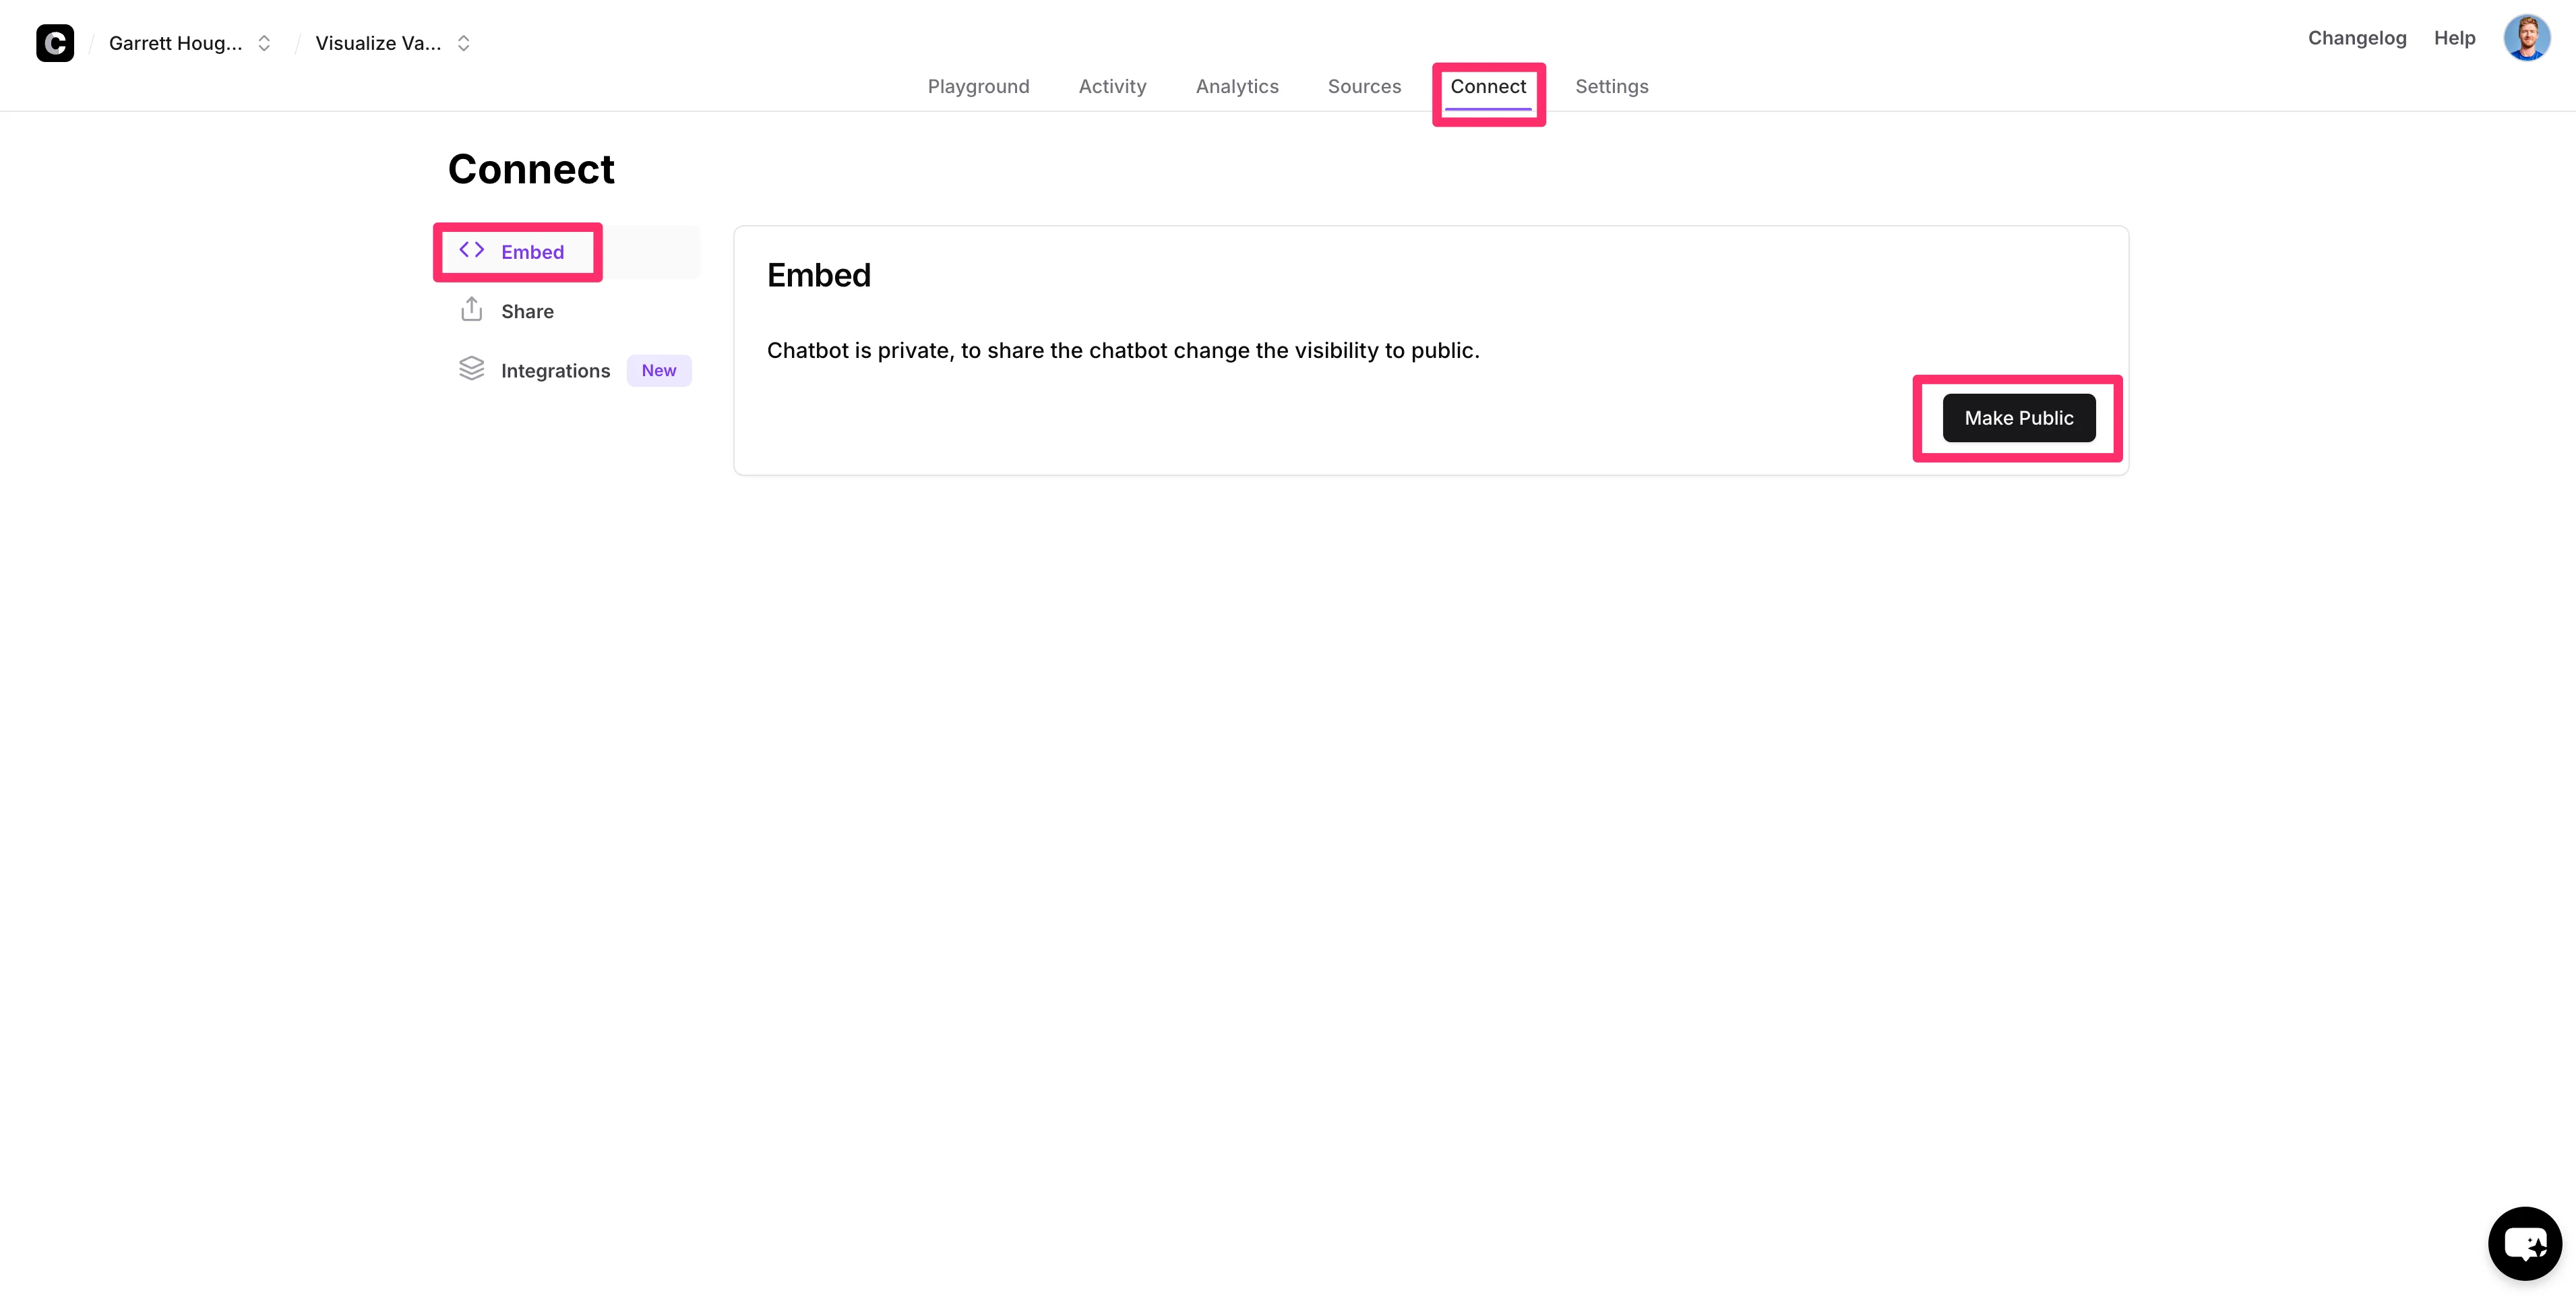
You can copy these embed codes to embed the chatbot on your website.
To test out the chatbot, click on the “Share” tab and click the “Visit” button.
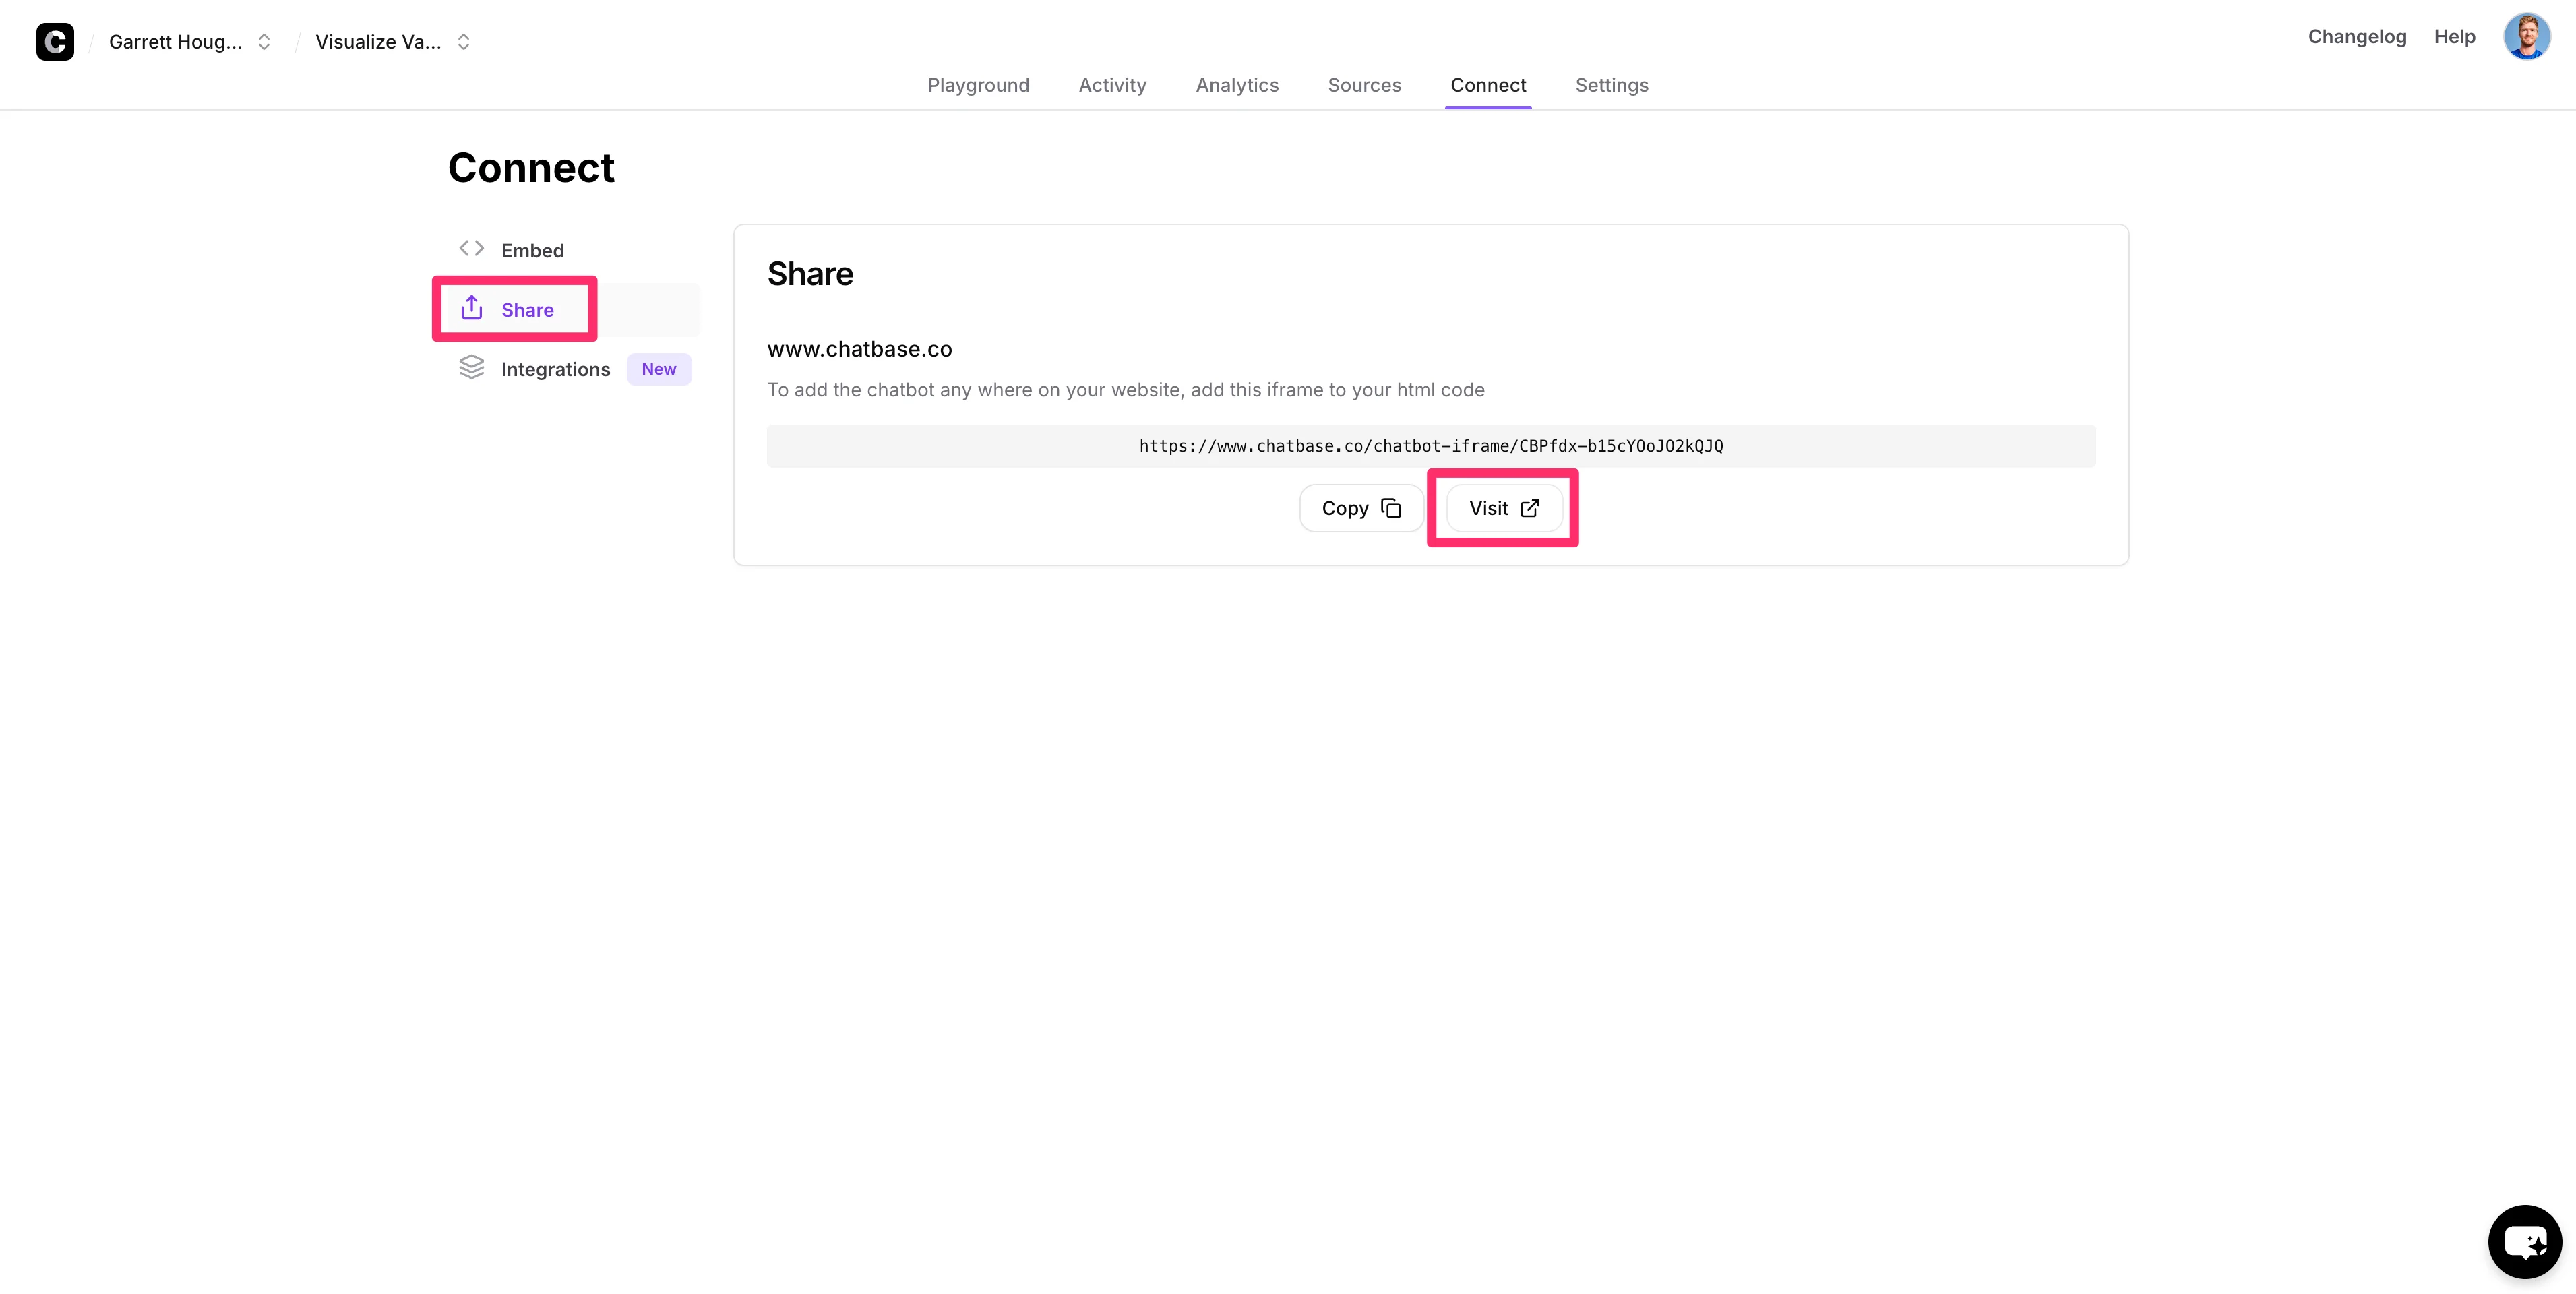
This will open a new window where we can test the chatbot with test user questions. We’re going to ask a question we know isn’t in our documentation. If everything is working correctly, the chatbot should respond with a link to our Tally form.
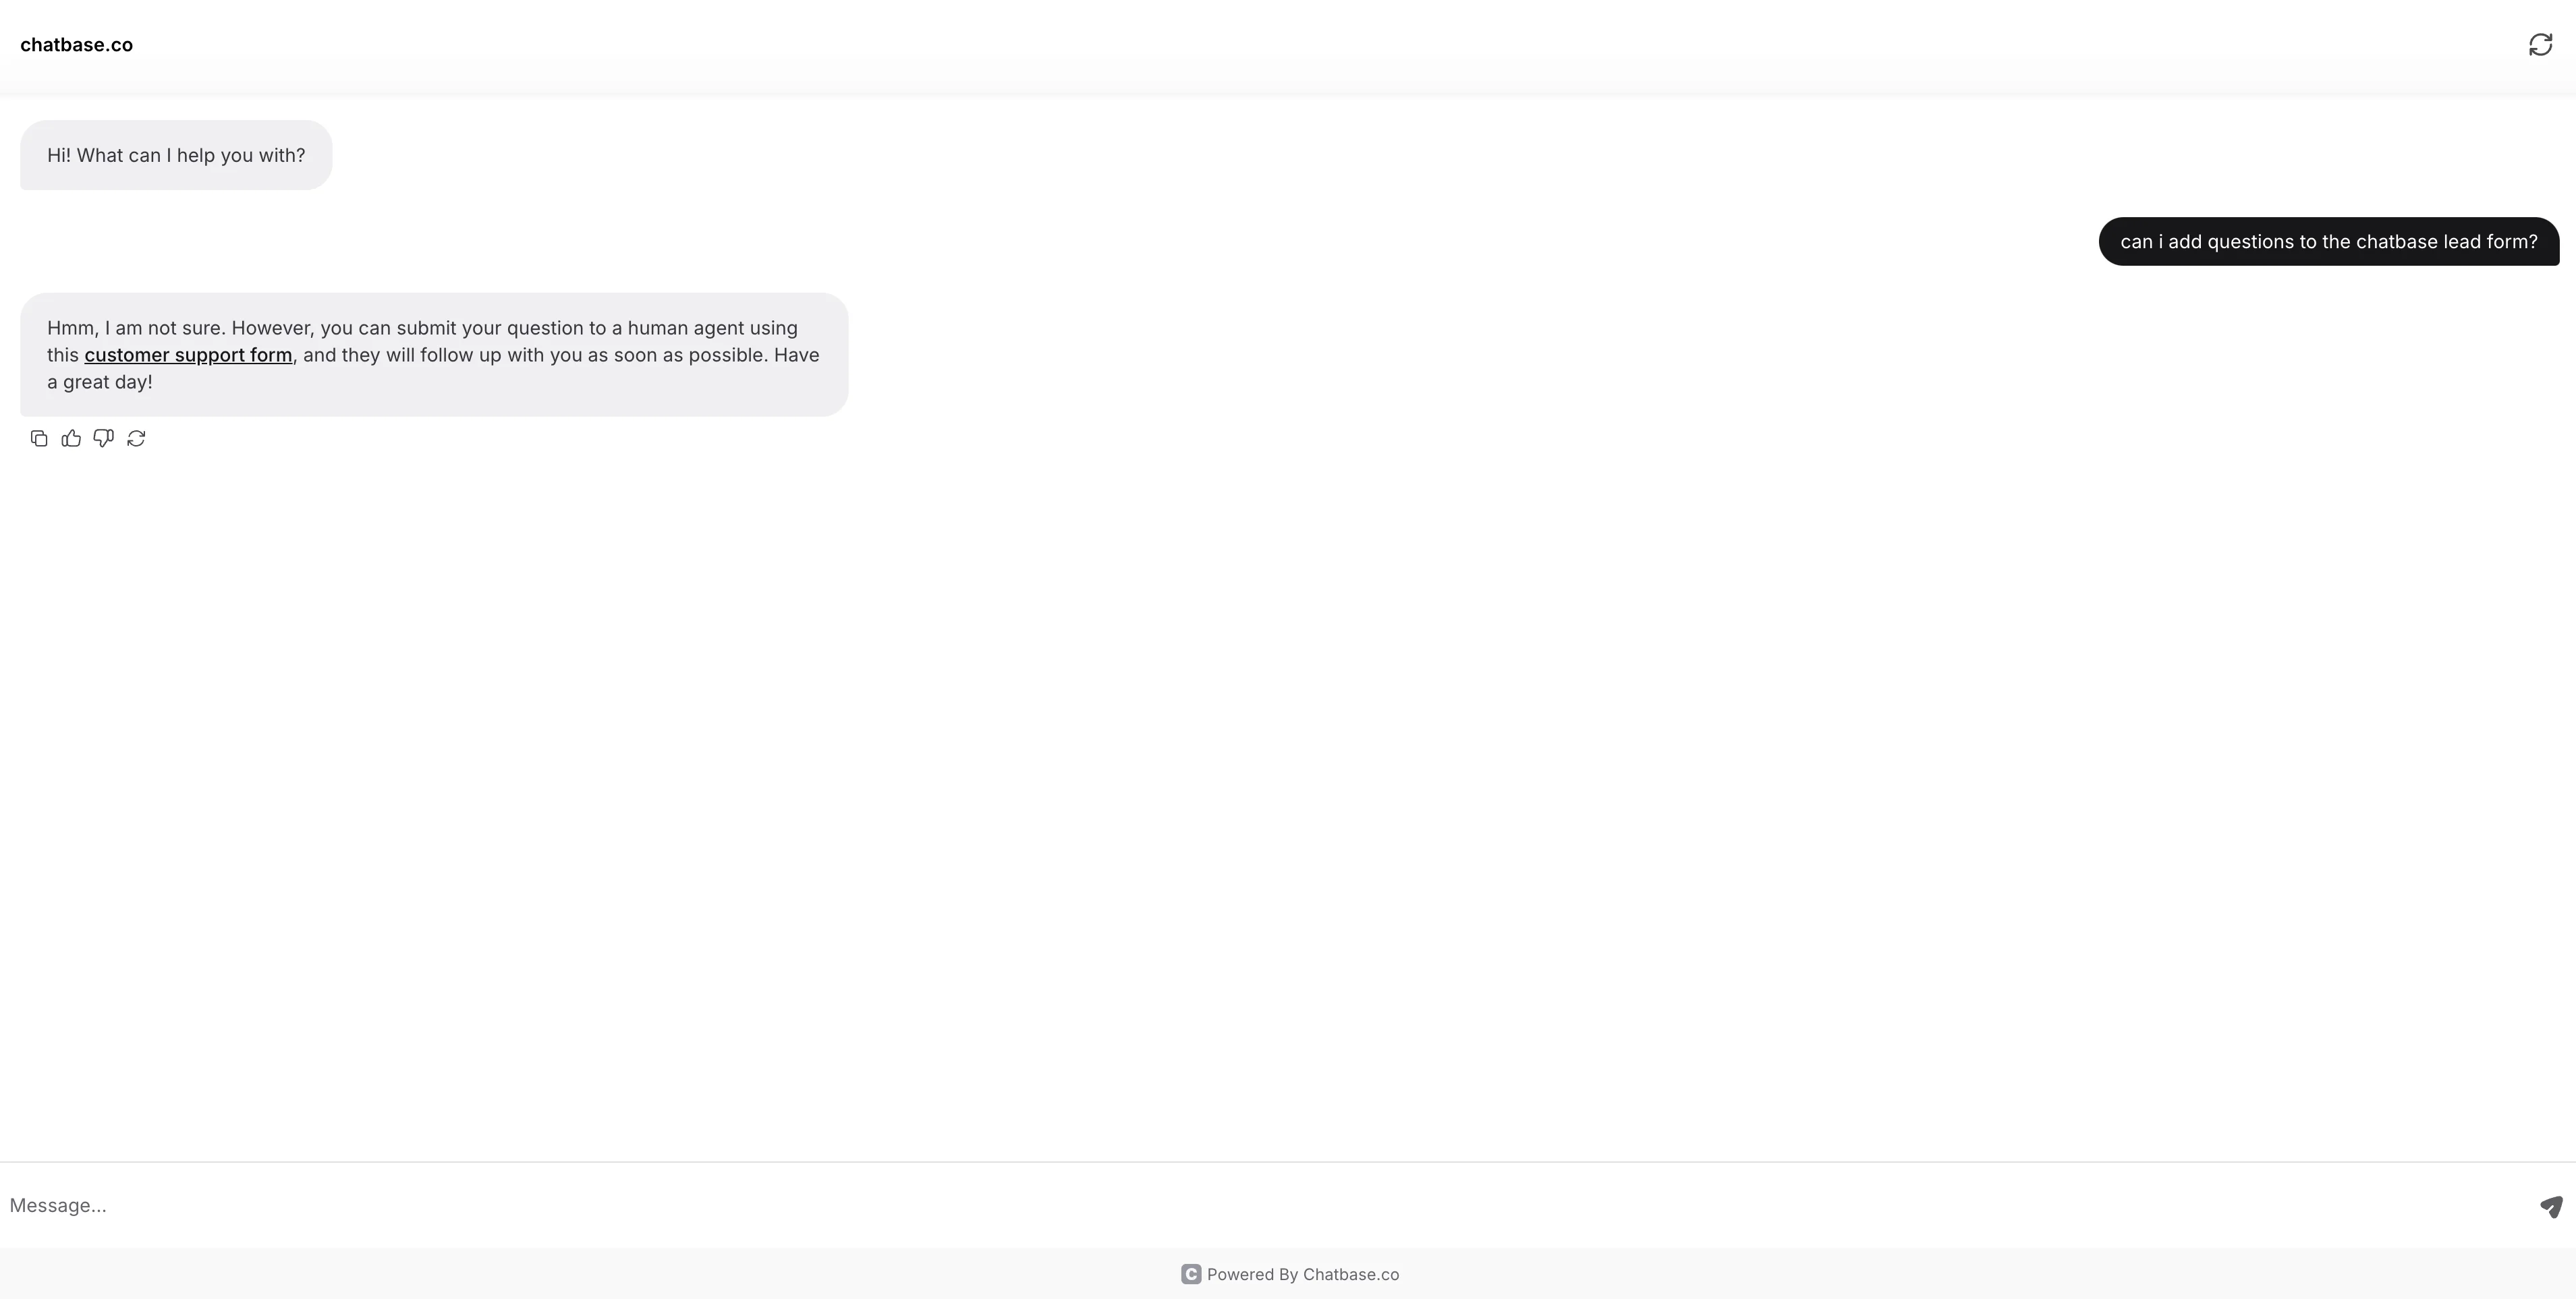
When you click on the link, it should open a new tab with the Tally form. Submit a response to create test data for our next step.
Generate support tickets via Zapier
Now that we have our Tally form working, we’re going to connect the form to Zapier to create tickets in our customer support platform.
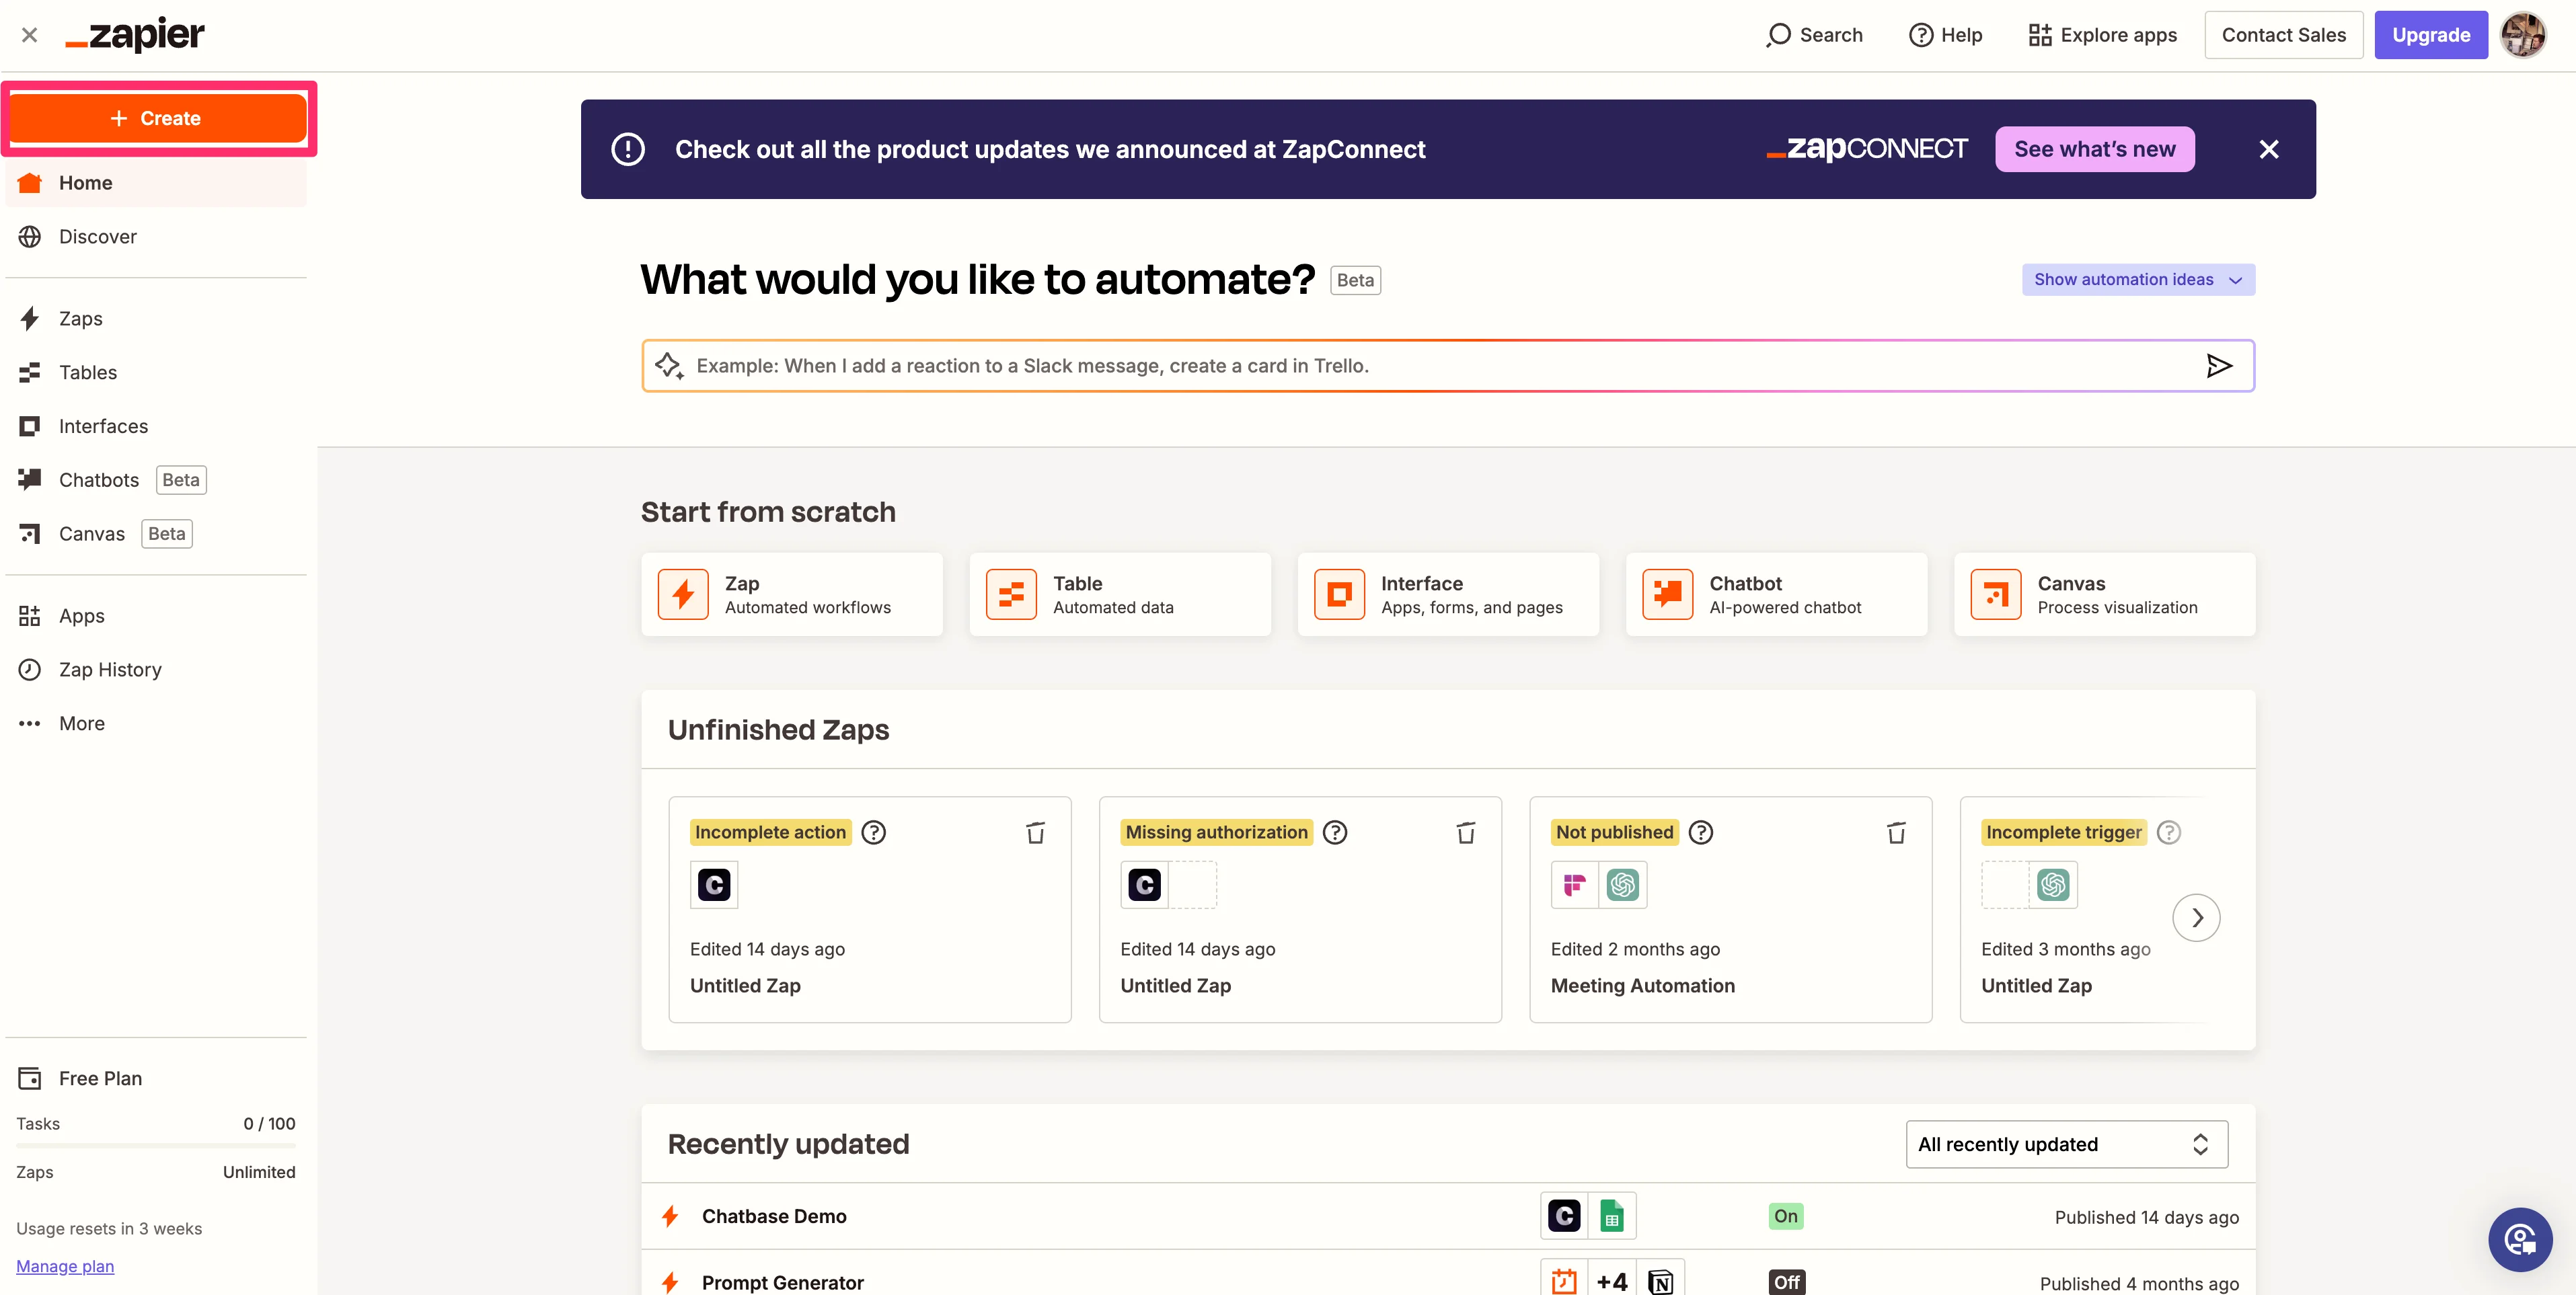
To do this, go to Zapier and click the “Create” button in the top left corner of the main dashboard to create a new Zap.
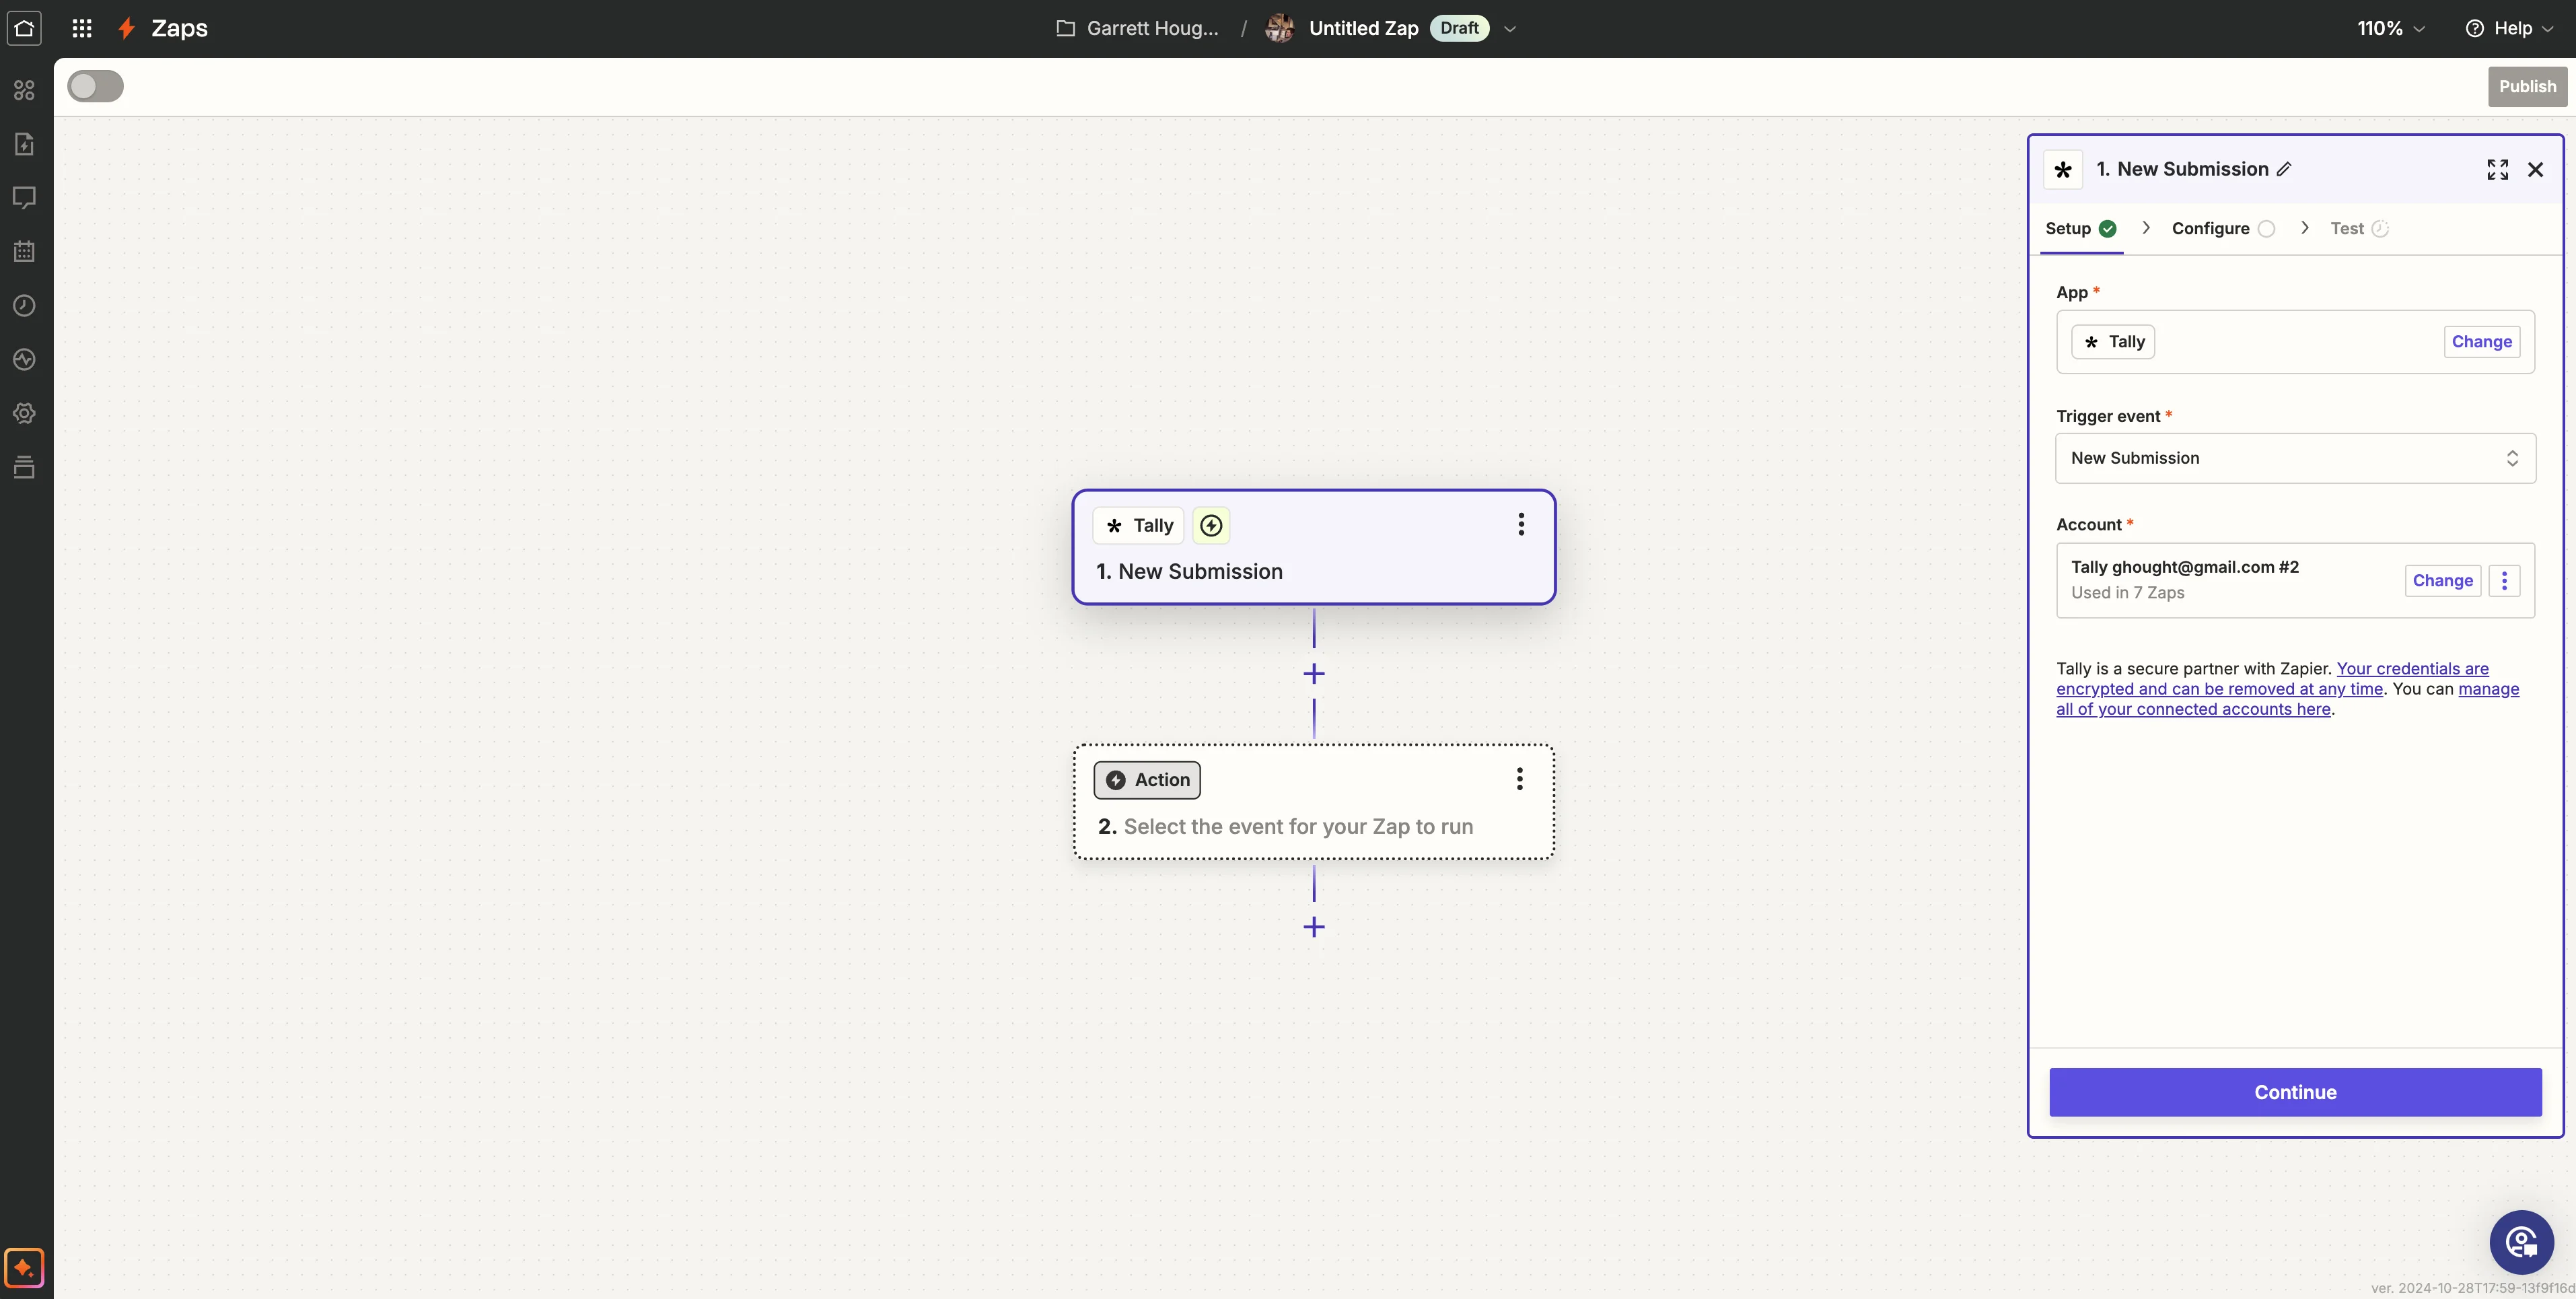
For the trigger step, search and select Tally as the application. Set the “Trigger event” to “New Submission” and authenticate your Tally account in the “Account” field.
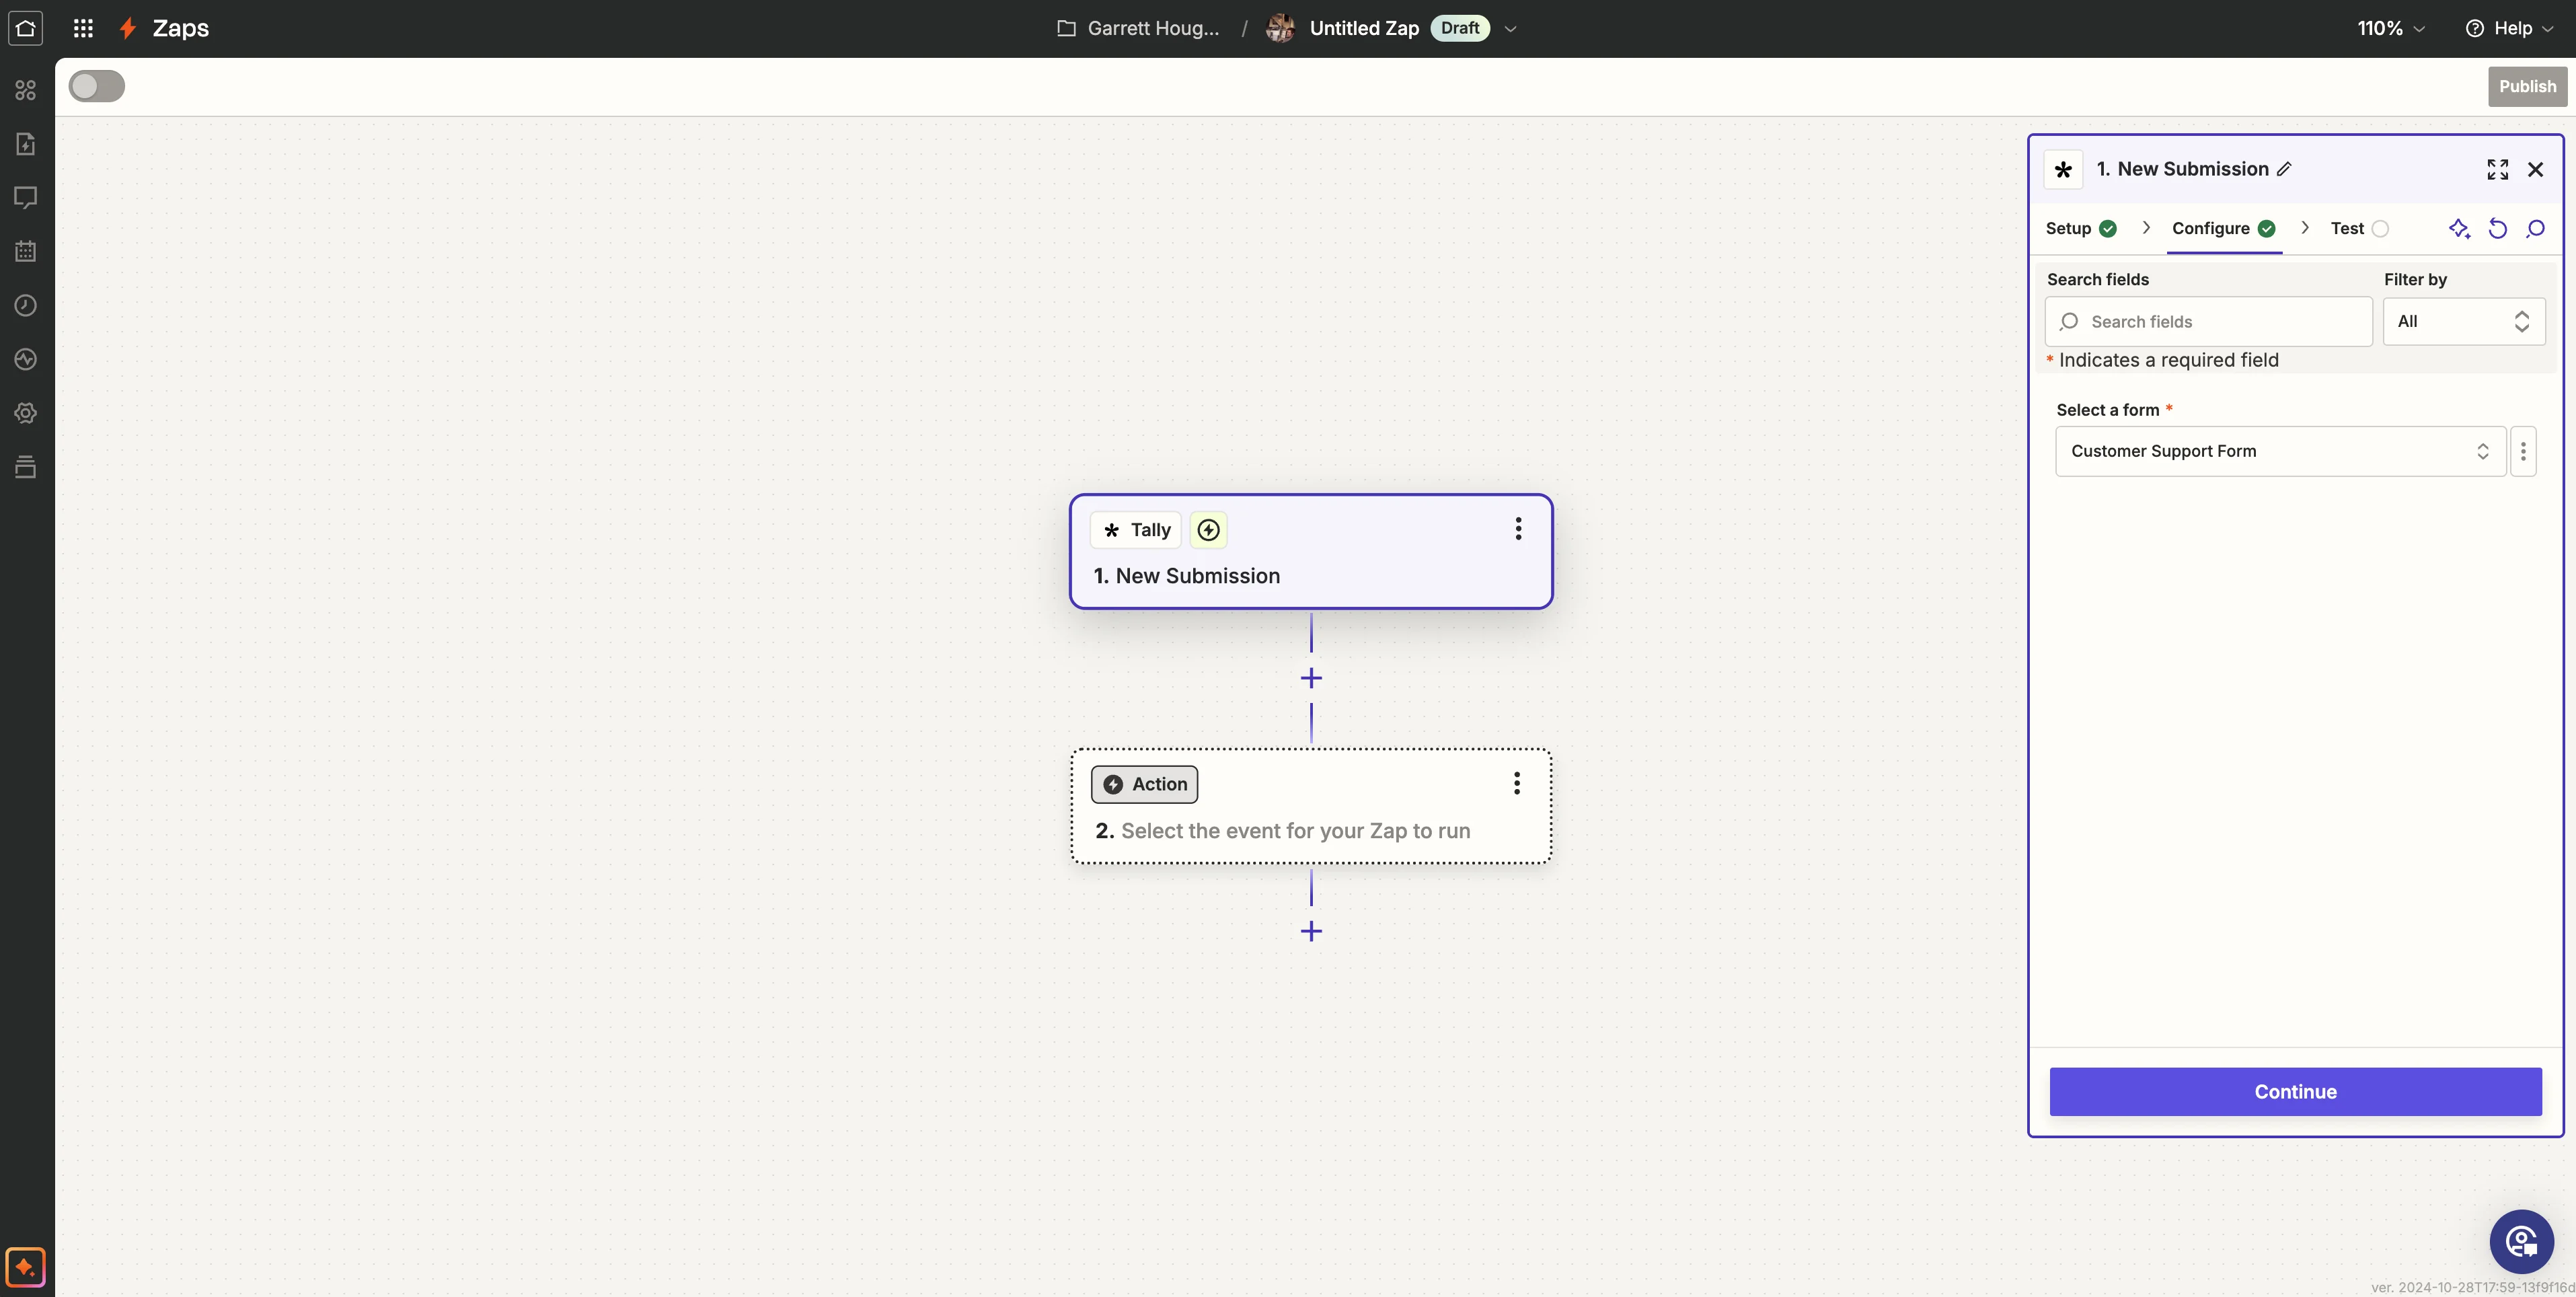
Select the form we created in Tally in the “Configure” step.
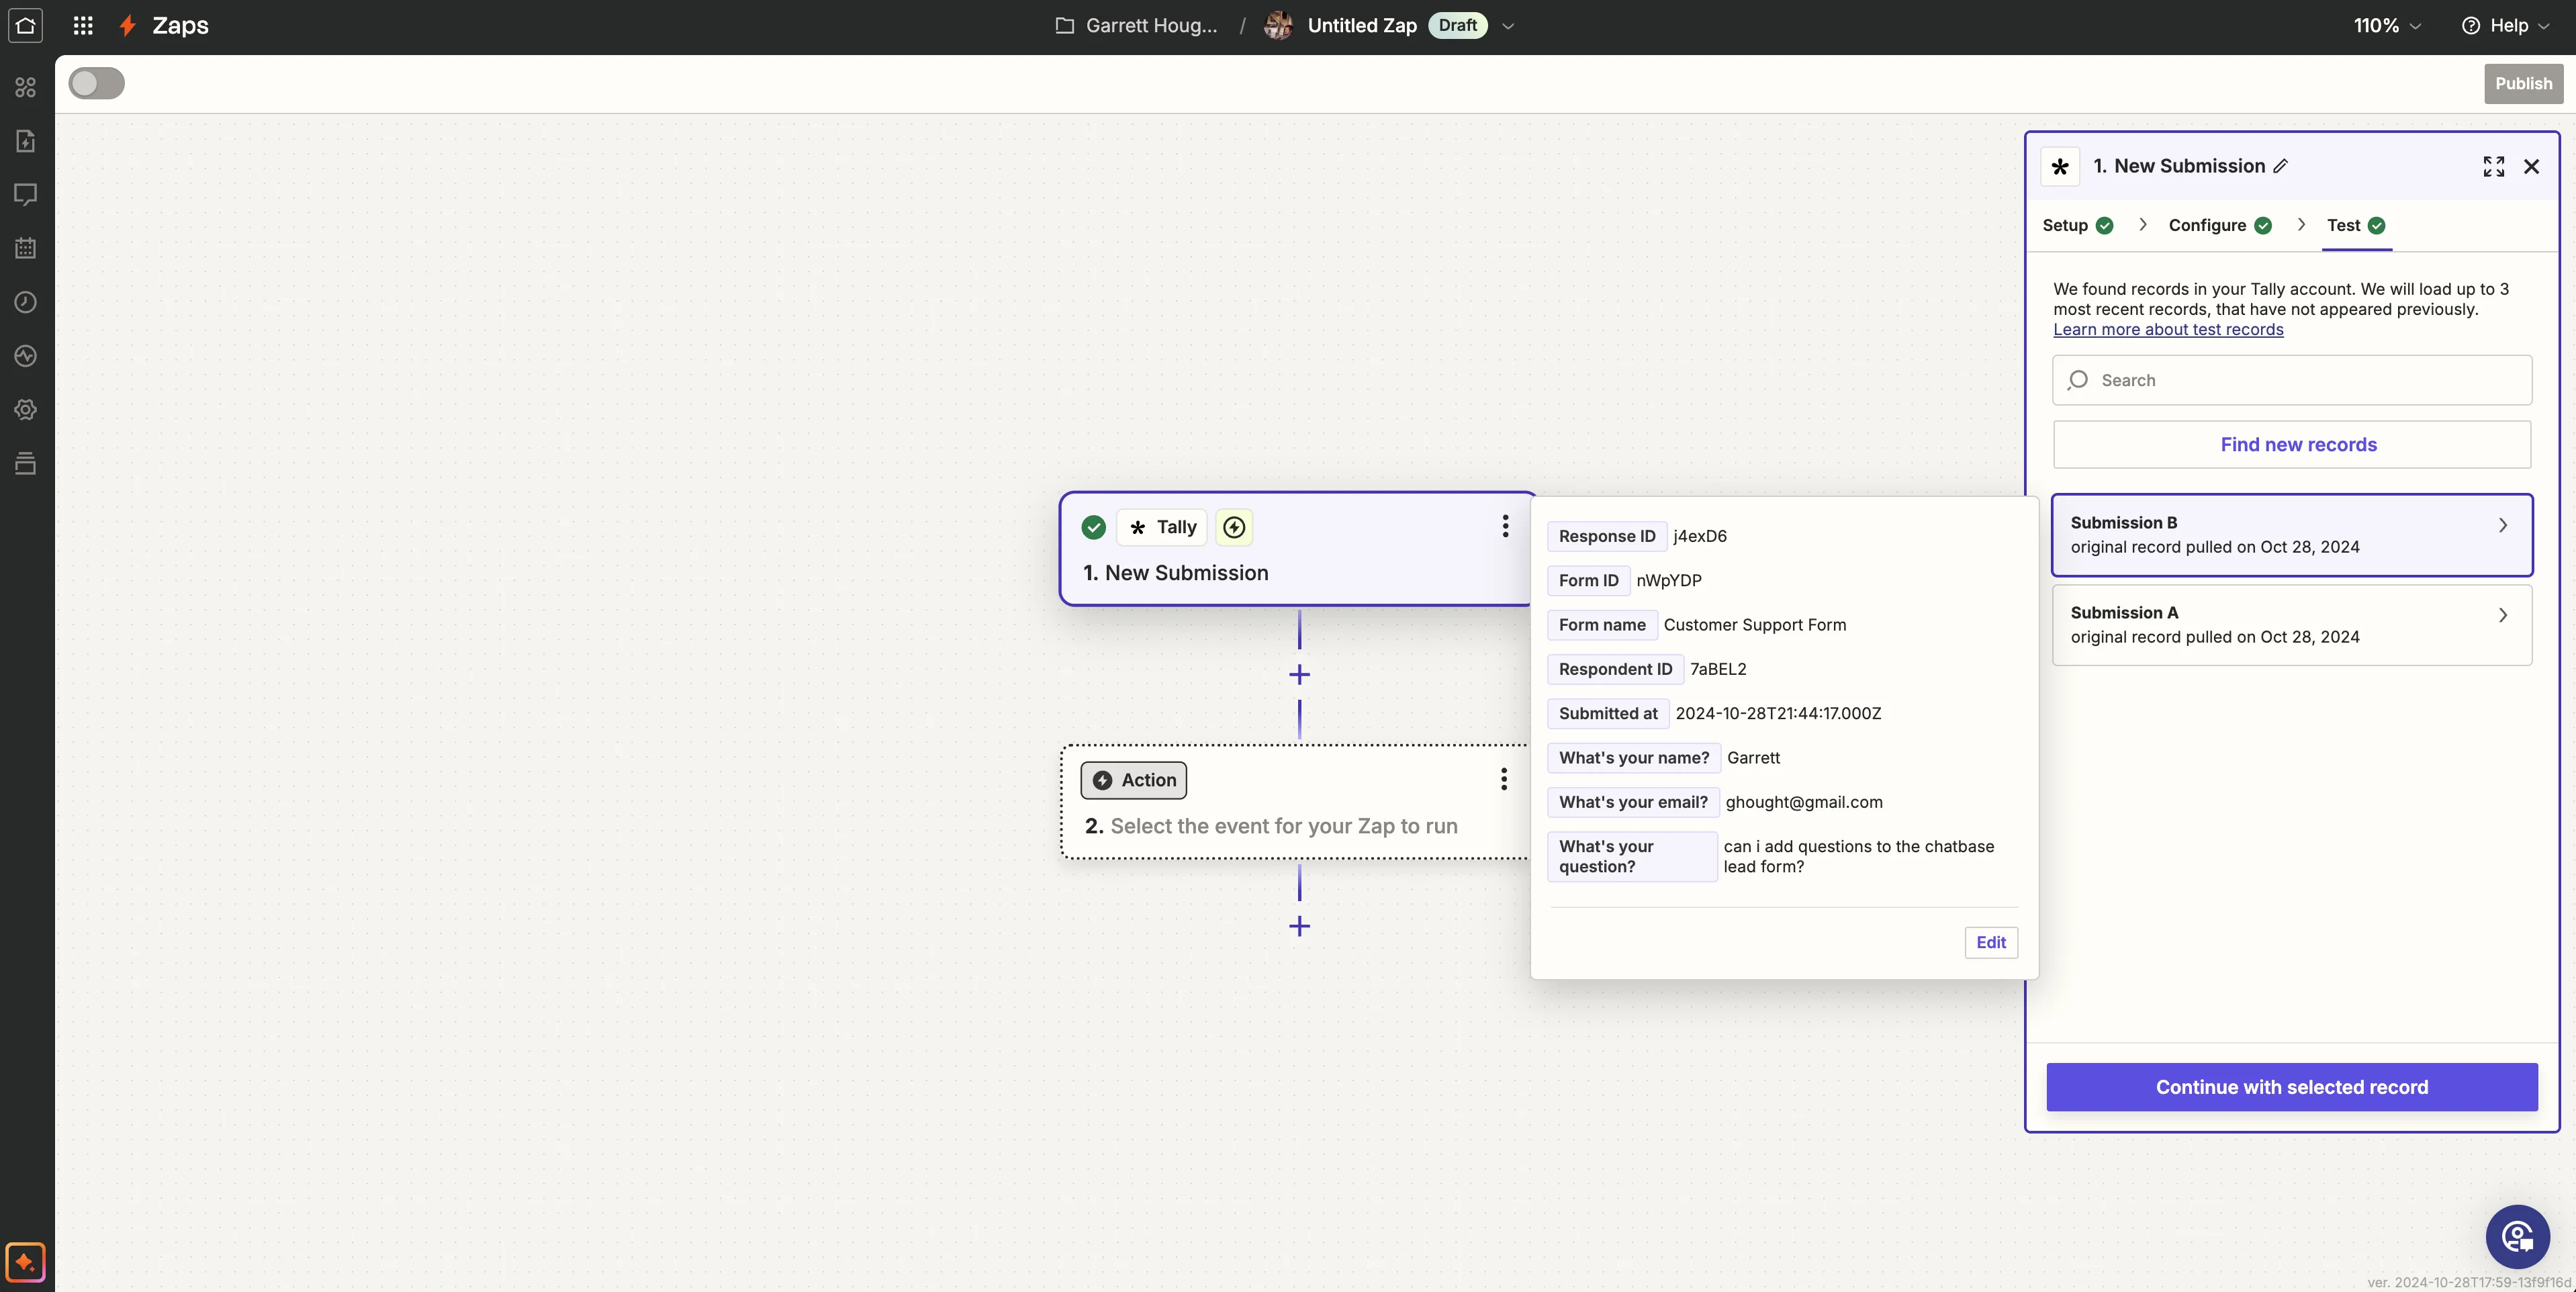
Click the “Find new records” button in the Test tab to get the test submission we created in the previous step.
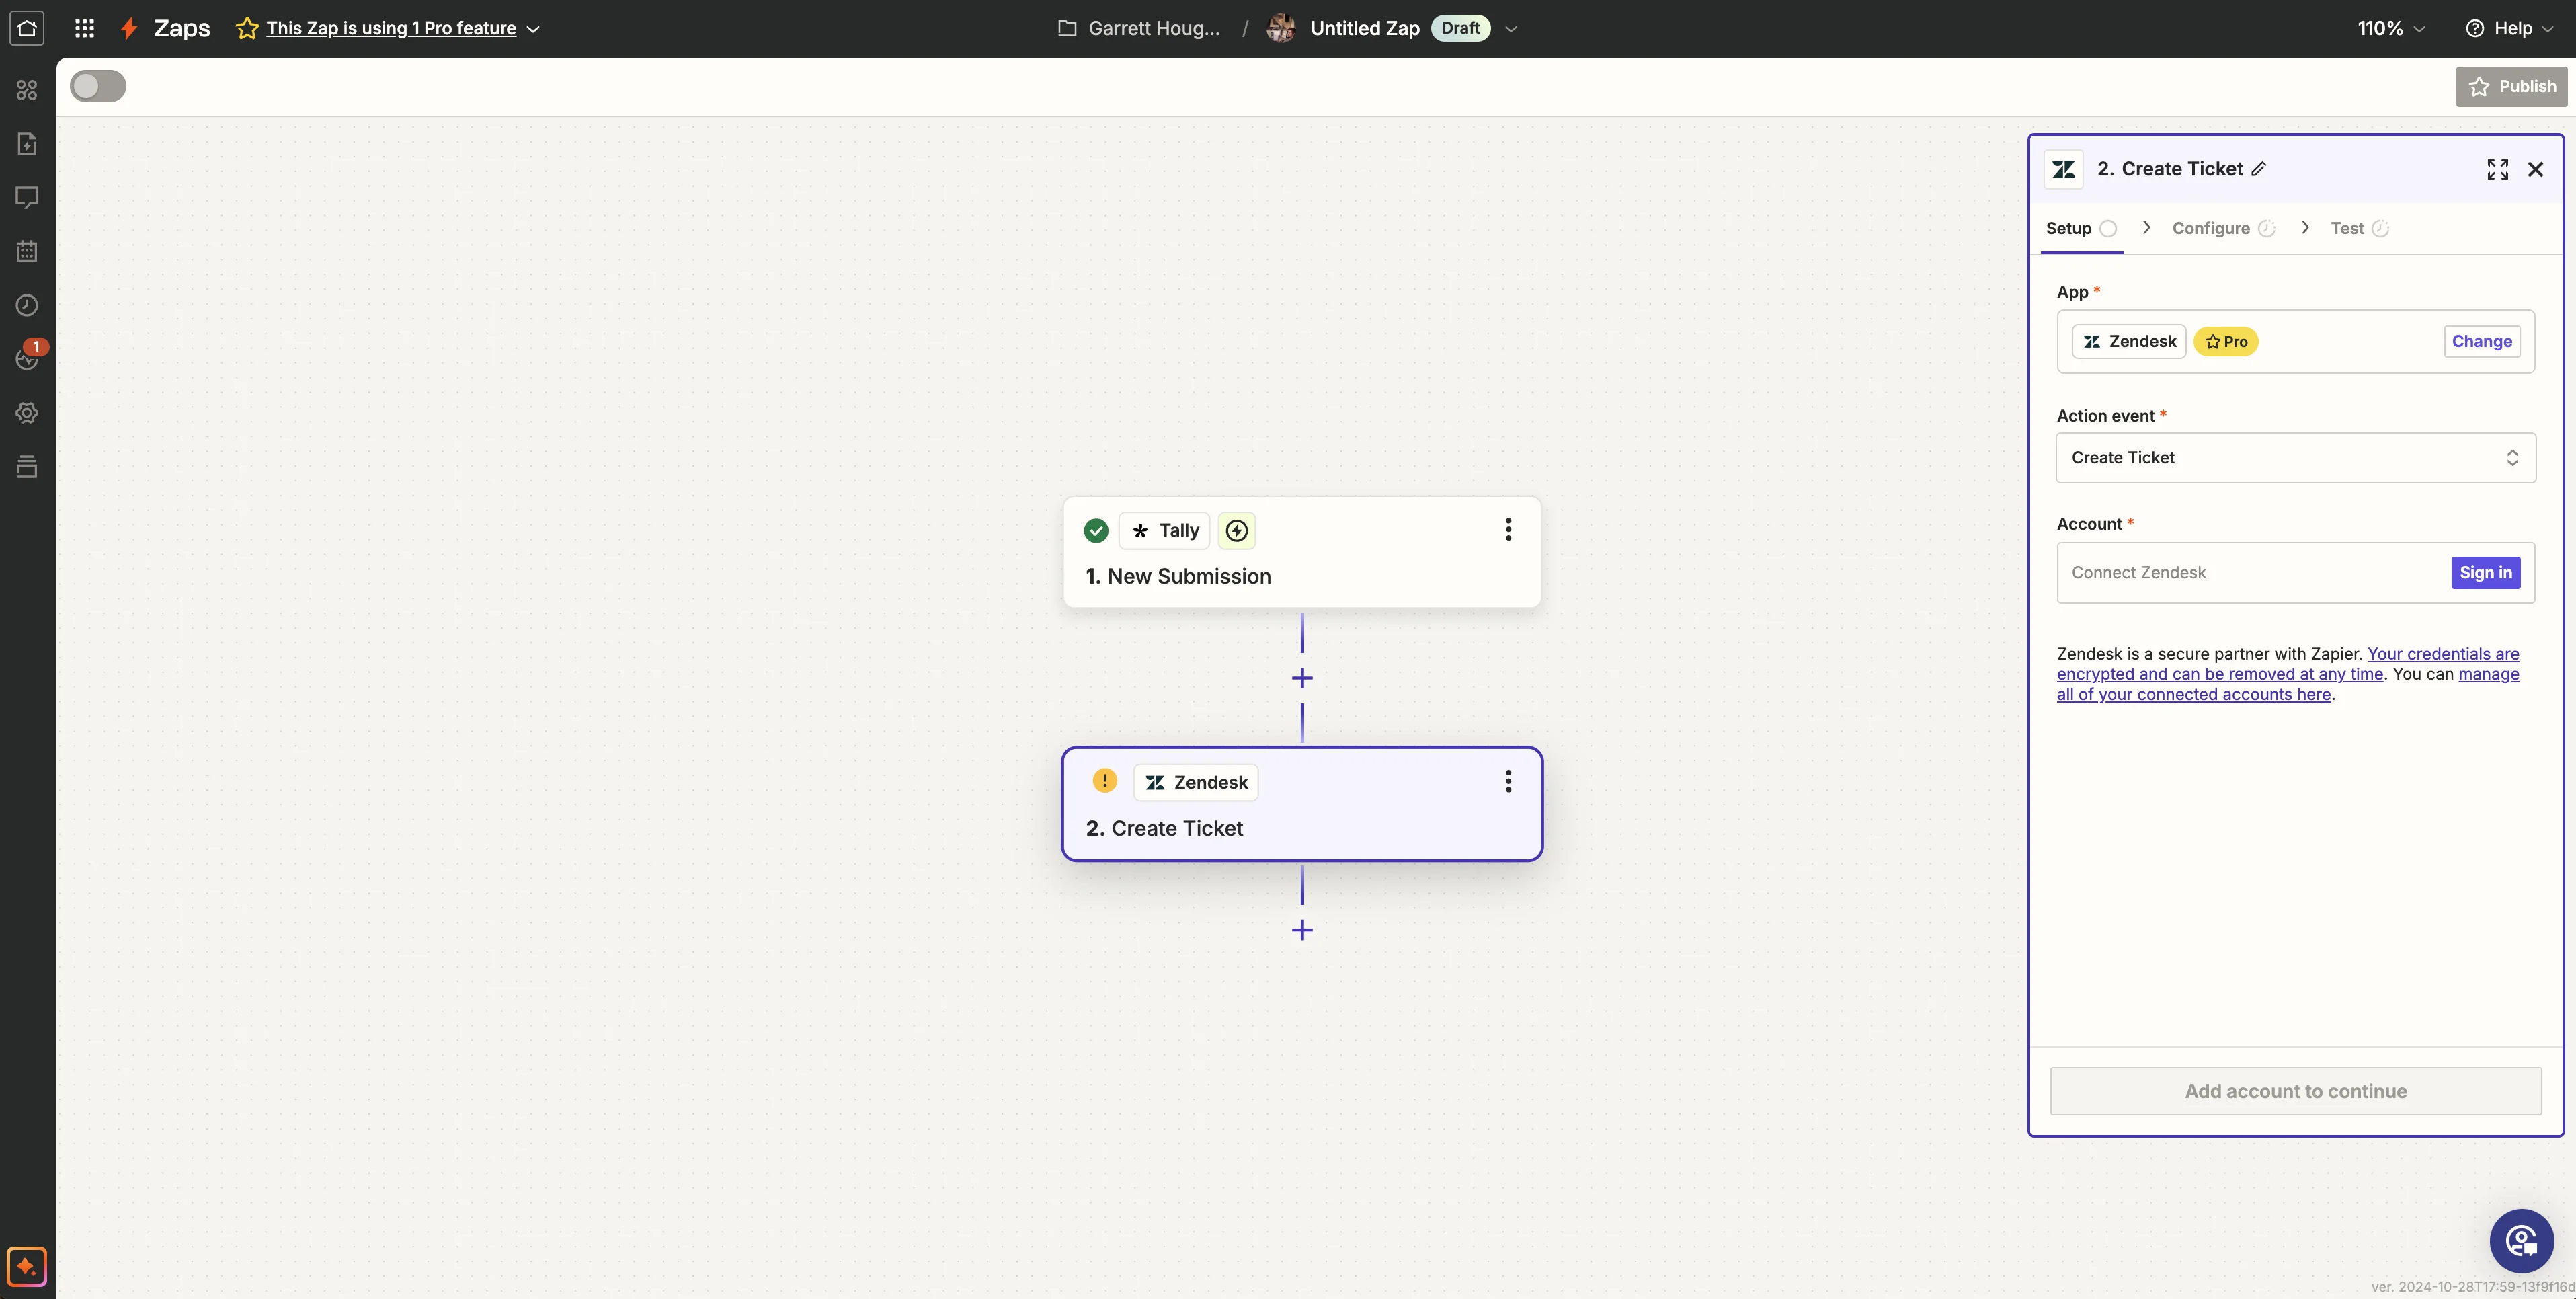
In the second Zap step, search and select your customer support platform (Zendesk, Asana, Jira, etc.) and set the “Action event” to “Create Ticket.” Finalize the configuration steps in this Zap step to map your Tally form data to your customer support platform.
And that’s it! You’ve created a customer support chatbot in Chatbase that can answer questions from your live documentation and then create tickets to loop in a human agent when it doesn’t know the answer.
If you’ve made it this far, you’ve completed our five-part Chatbase course. You’re now a pro at creating AI assistants in the Chatbase platform. Have fun creating more custom AI assistants for all of your various workflows.
This tutorial was created by Garrett.