Create a graphic novel
Learn how to create graphic novel scenes with Claude, Leonardo, and Canva.
2024-11-13
With today’s AI tools, you’re only limited by your imagination with what you can create. If you’ve had dreams of creating you’re own graphic novel, but didn’t know where to start, AI tools can now help you go from a story idea to graphic novel scenes, with consistent characters, scenes, and dialogue.

In this tutorial, we will walk you through the process of:
- Generating scene outlines, dialogue, and image prompts with Claude
- Creating consistent scene and character art in Leonardo AI
- Adding dialogue bubbles in Canva
Let’s dive in.
Step 1: Generate scene outlines, dialogue, and image prompts with Claude
We’re going to partner with Claude to generate scene outlines, descriptions, dialogue/narration, and image prompts, which we’ll eventually use in Leonardo AI, an AI image generation tool.
To get started, we’ll send Claude a detailed prompt to generate this content. Use the example prompt below and customize it according to your needs. Make sure to add your story premise and the number of scenes you want for your graphic novel.
Sample prompt:
You are tasked with creating graphic novel scenes based on a given story premise. Your goal is to bring the story to life through a series of vivid scenes that include descriptions, character dialogue or narration, and image prompts for AI image generation.
Follow these guidelines when creating the graphic novel scenes:
1. Break the story into logical, visually interesting scenes
2. Focus on key moments, character interactions, and plot developments
3. Use a mix of action, dialogue, and narration to convey the story
4. Create diverse and engaging visuals that capture the essence of each scene
Structure each scene as follows:
1. Scene number
2. Scene description: Briefly describe the setting, characters present, and overall mood
3. Dialogue/Narration: Include character dialogue or text narration that advances the story
4. Image prompt: Create a detailed prompt for an AI image generator to visualize the scene
When creating image prompts:
1. Be specific about the scene elements, character appearances, and overall composition
2. Include relevant details such as lighting, perspective, and style
3. Use descriptive language that will help the AI generate an accurate representation of the scene
Format your output as follows:
Scene X
Description of the scene
Character dialogue or text narration
Detailed prompt for AI image generation
Here is the story premise to base your graphic novel scenes on:
[insert story premise]
Here's an example of a properly formatted scene:
Scene 1
Scene Description:
A dimly lit alleyway in a bustling cyberpunk city. Neon signs flicker overhead as our protagonist, a young hacker named Zara, crouches behind a dumpster, her laptop balanced on her knees.
Dialogue Narration:
Zara (whispering): "Just one more firewall to crack, and I'm in. The megacorp won't know what hit them."
Image Prompt:
A narrow alleyway in a futuristic cyberpunk city at night. Neon signs and holographic advertisements illuminate the scene with a blue and pink glow. A young woman with short, neon-blue hair and cybernetic implants crouches behind a metallic dumpster, her face illuminated by the screen of a sleek, futuristic laptop. The atmosphere is tense and secretive.
Create multiple scenes (at least [insert number of scenes]) that tell the story based on the given premise. Be creative and engaging in your scene descriptions, dialogue, and image prompts.
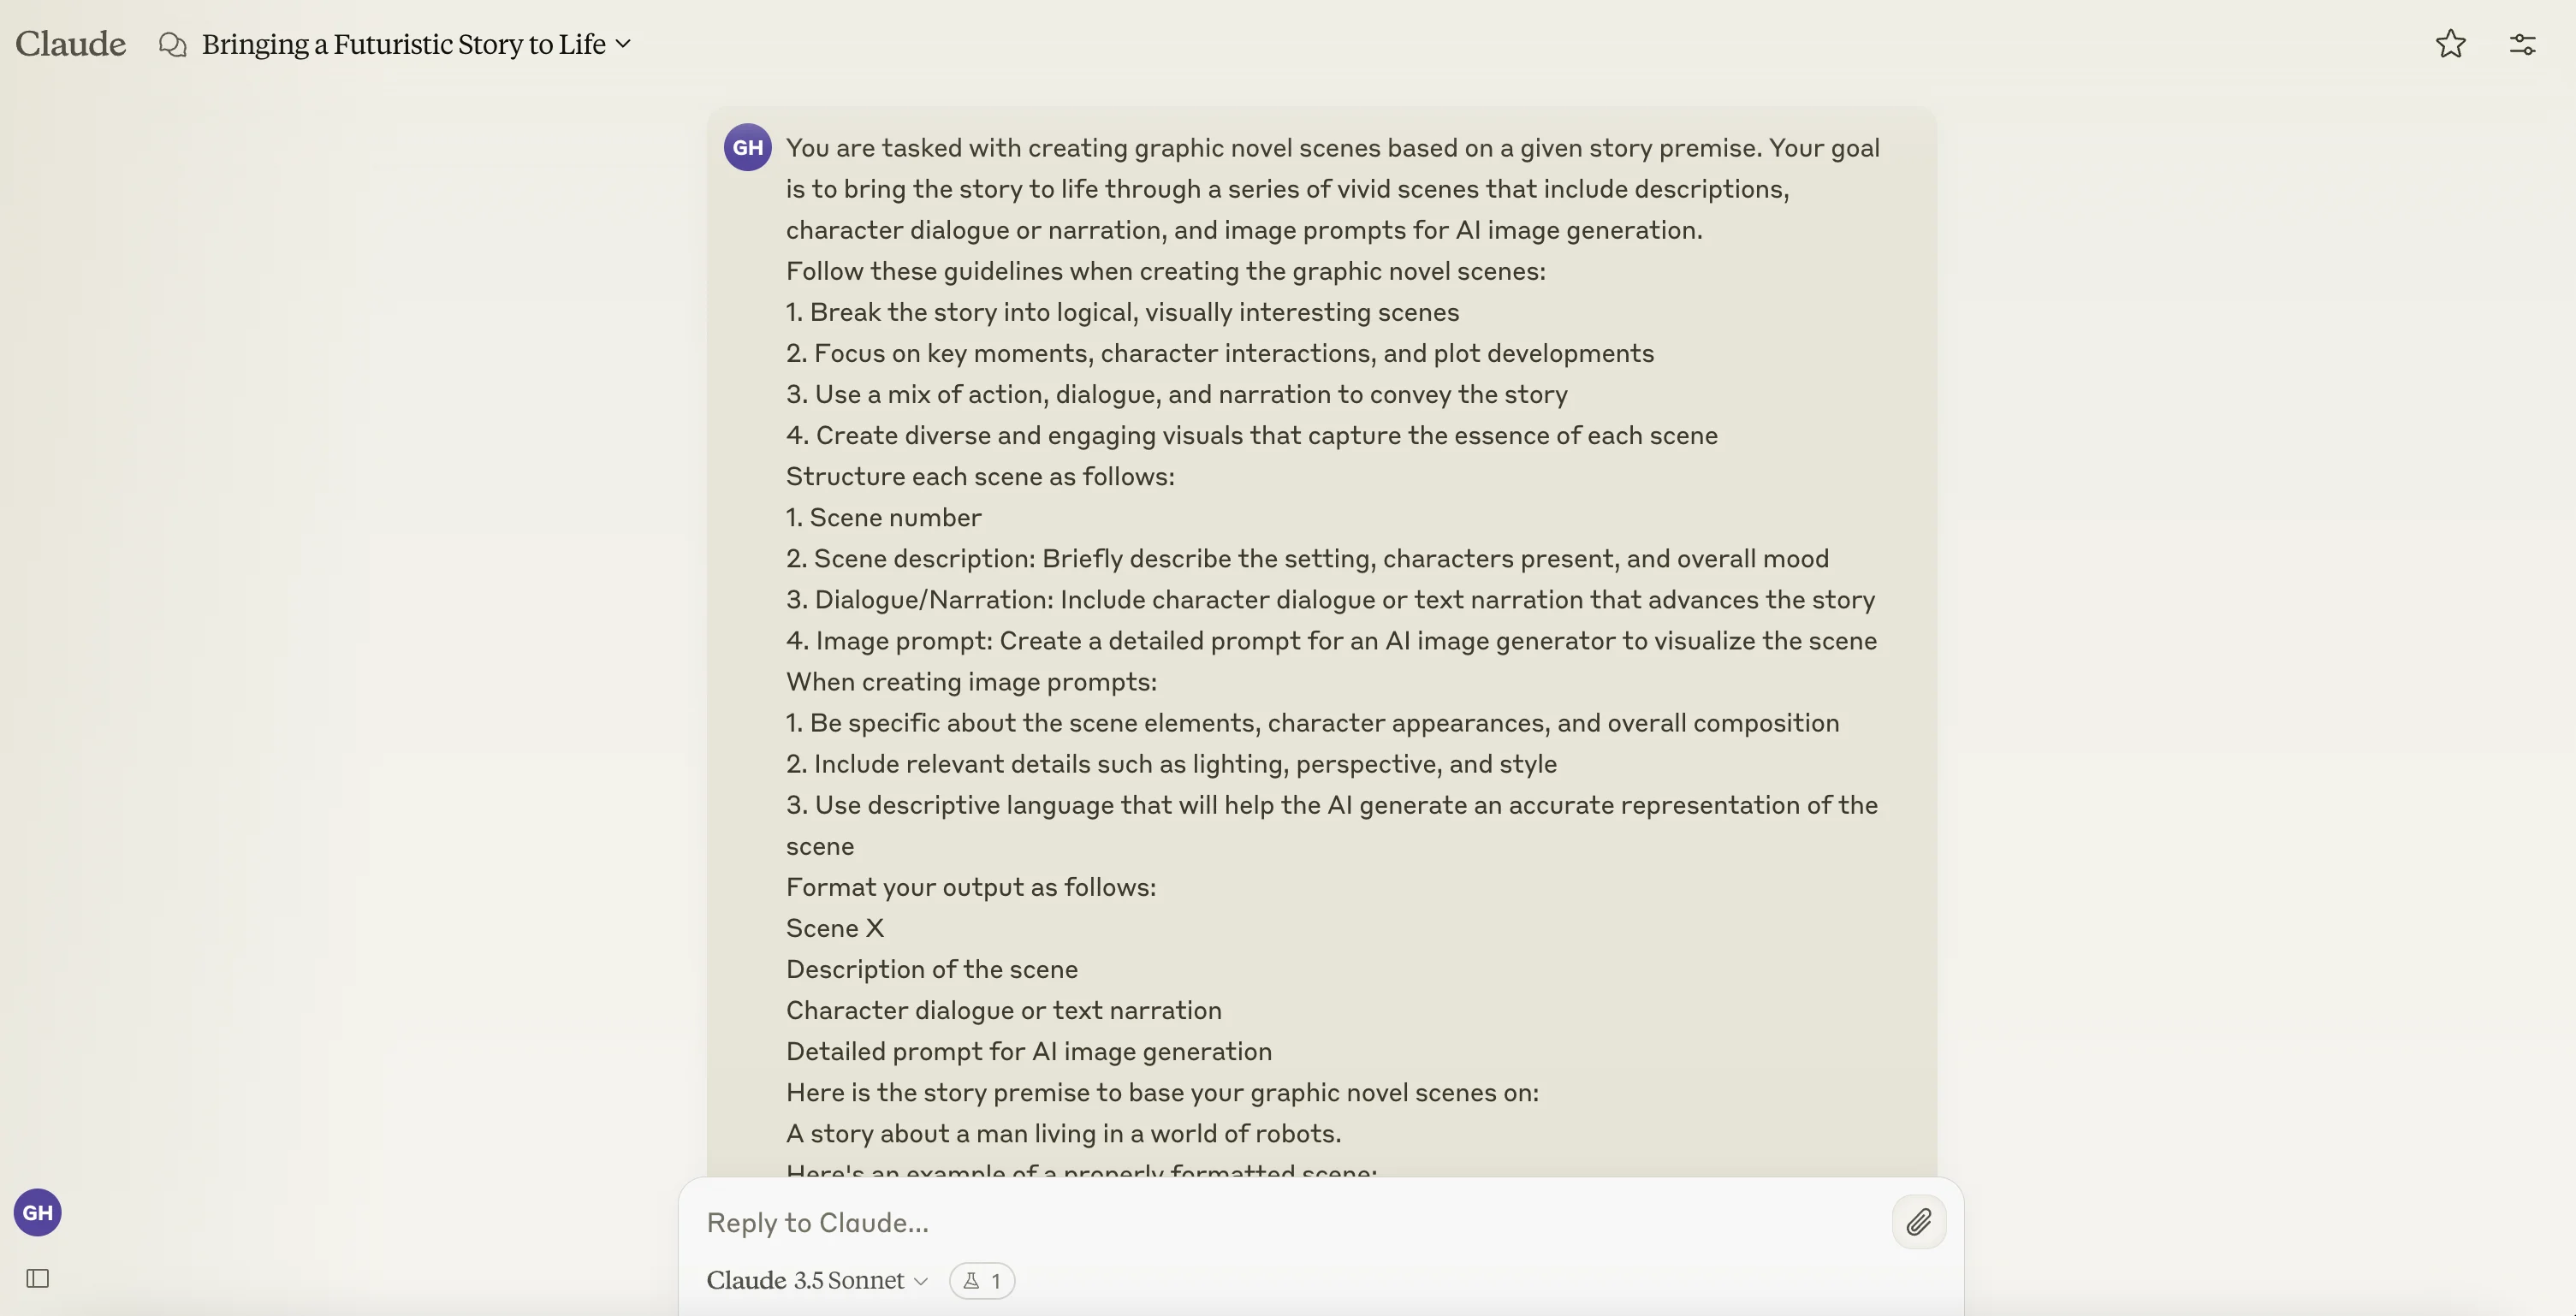
Claude will output the requested information, structured in our requested format.
.webp)
You can request updates to the generated scenes with additional prompts. Once you’re happy with your outline, you can head over to Leonardo AI to start generating scene and character art.
Step 2: Create consistent scene and character art in Leonardo AI
To start with Leonardo AI, you can create a free account; however, to use some of the advanced settings we’ll be using in this tutorial, you’ll need a paid account. Once you’ve created an account, click on the “Image Generation” tab in the left-side navigation.
_(1).webp)
Then, click on the “Preset” dropdown in the top left corner of the screen. We’re going to select the “Anime” preset. This is a good preset for graphic novel art.
.webp)
With the preset selected, we can now update a few additional settings in the left-side editor. We’re going to leave most settings on their defaults. The only change we’re going to make is updating the image dimensions to 1:1, but feel free to edit additional settings based on your desired output.
.webp)
With our image generation settings complete, we can go back to Claude and copy the image prompt for our first scene.
.webp)
Paste the image prompt into the top text box in Leonardo AI and click the “Generate” button to generate your first scene image.
.webp)
In a few seconds, Leonardo AI will output image variants from your prompt.
.webp)
We’re going to click one and download the image file. On this pop-up screen, you can also perform additional actions like upscaling, background removal, and more.
.webp)
Now, we can create an image for our second scene. To get consistent characters and scenes, you need to use a common “Seed” across your image generations. This is vital to create consistent artwork. To do this, click the three dots icon in the top right corner of your first set of image generations and click the “Copy Seed” option in the dropdown.
.webp)
Then, for the settings of your next image generation, scroll down on the left-side navigation, enable the “Use Fixed Seed” option, and drop in the copied seed. You’ll leave this enabled with this same seed for the rest of your image generations.
.webp)
Go back to Claude and copy the image prompt for your next seed.
Add the next prompt to the prompt text box in Leonardo AI and click the Generate button.
.webp)
Leonardo AI will generate the scene art, with multiple variants. It should be relatively consistent in style with your previous generation since we used the fixed seed setting.
.webp)
Repeat the above process for all of your scenes to create all the art you need for your graphic novel.
Step 3: Add dialogue bubbles in Canva
Once all your scenes are created in Leonardo AI, you can download them and take them over to Canva to add dialogue. To do this, create a new blank project in Canva, click on the Uploads option in the left-side navigation, and upload the scenes you generated in Leonardo AI.
.webp)
Click and drag a scene onto the Canva canvas and update the size accordingly.
.webp)
Then, go to the Elements tab and search “comics”.
.webp)
Find the dialogue art you want to use and drag it onto the canvas.
.webp)
Then, go to the “Text” tab, search “comic”, select the Comica text, and drag it on top of your dialogue bubble.
.webp)
Go back to Claude and copy the scene dialogue, paste it into the text box, and resize the text and dialogue bubble so everything fits onto the scene correctly.
.webp)
And that’s it! Repeat this process for all of your scenes and you’ll have everything needed to create a graphic novel from your story idea.
This tutorial was created by Garrett.