Create a sales research agent
Learn how to create a sales research AI agent with Leap AI workflows.
2024-11-13
Zapier and Make (fka Integromat) are the longstanding incumbents of no-code automation and workflow building.
But there is a new group of startups that are taking on the no-code workflow automation space. These newcomers are approaching it from an AI-first design point of view, making it easy for non-developers and developers alike to incorporate AI transformations into their processes or applications.
In this tutorial, we’ll use Leap AI’s workflow builder - one of the new upstarts in this space - to create a sales research agent. The workflow we’ll build can ingest an email and provide background research on a contact, acting as a sales research AI agent for prospecting and lead enrichment. If you’re familiar with Zapier, Leap AI will be easy for you to pick up, as much of the UI/UX design patterns are the same.
Steps we’ll follow in this tutorial:
- Create a workflow and define your inputs
- Customize your research agent prompt
- Define the output format
- Test your research agent
Step 1: Create a workflow and define your inputs
To get started, go to Leap AI’s website and create a free account. You’ll have enough credits with their free account to build and test the workflow for this tutorial.
Once you’ve created an account, you’ll land on Leap AI’s dashboard. We’ll get started by creating our own Workflow from scratch. To do this, click on the Workflows tab in the left-side navigation and click the “New Workflow” button in the top right corner.

When you click the “New Workflow” button, you’ll be taken to the Leap AI workflow builder. If you’ve used Zapier before, this page will look familiar. The triggers and steps for the workflow are on the left side of the page and the step editor is on the right side of the page.
To get started, we’ll click the existing Input trigger and add an input. To do this, click the Input step in the visual workflow builder and then click the “Add Input” button on the right-side panel.

For this tutorial, we’re going to have our AI agent perform research on an email, so for our Input, we’ll define one field, “Email.” To do this, we’ll select “Short Text” as the Input Type and set the Input Label to email. Put a fake email address (like test@email.com) in the Placeholder input.

For the additional settings, we’ll mark the field as required, set the Variable Name to “email”, and leave the rest of the fields blank. When you’ve completed this form input, make sure to click the “Add” button at the bottom of the panel to add this input.

Once you’ve added an input, you’ll see it listed in the right-side panel of the Input step. You can add additional inputs at this point (i.e. company website, first name, last name, etc.) but we are going to just use the single email input.

To test this Input step, click the Test tab in the step editor side panel, enter an email, and click the “Test” button.

Step 2: Customize your research agent prompt
Now that our Input is added, we can add our research agent step. To do this, click the “Add Step” button under the Input step.

In the pop-up window, you’ll see all of the various actions you can add to your workflow. Search for “Research” and select the Research Agent action.

Click on the Research Agent step in your workflow and you’ll notice a pre-defined prompt added in the right side panel.

We’re going to edit this prompt so that it ingests the email variable from step 1. To do this, click into the Prompt text box and remove the existing variables in the prompt (e.g. ‘first_name’, ‘last_name’, etc.). When you click into a text box in the step editor, you’ll see a dropdown modal appear with the option to insert outputs from previous steps. Click on the Input option and then the email item. The full prompt should look like the one below.
Sample prompt:
Enrich this lead by finding everything you can about this person: {{email}}
After gathering data reply with the most likely accurate information in the following format (fill as many as you can, or reply with N/A for each):
- Company Name
- Company Description
- Company Website
- Job Title/Role/Description
- Demographics: Age, Gender, Location, etc..
- Relevant Links (linkedin, twitter, etc)
- Citations/Sources (where you found this information, Title + URL)
- Anything else you think is relevant
Be very specific about what you are looking for. If you don't find anything, reply with N/A.

Once the prompt is set, you can test this step. Click the Test tab in the right side panel and click the “Test” button. This will take the email you inputted from your Input test and run it through the prompt to provide the research output.

You can review the output in the right-side panel. If there are any issues, you can go back to the Action tab to revise and update the prompt. Otherwise, click the “Continue” button to go to the next step.

Step 3: Define the output format
In the last step of this workflow, we need to define the output format. To do this, click on the existing Output step in the workflow builder. We’re going to set the Output Type to “Markdown,” since the AI research agent step is providing an output in a formatted style. This will make it so our output comes out in that formatted style. We’ll label the Output Label as “research”.
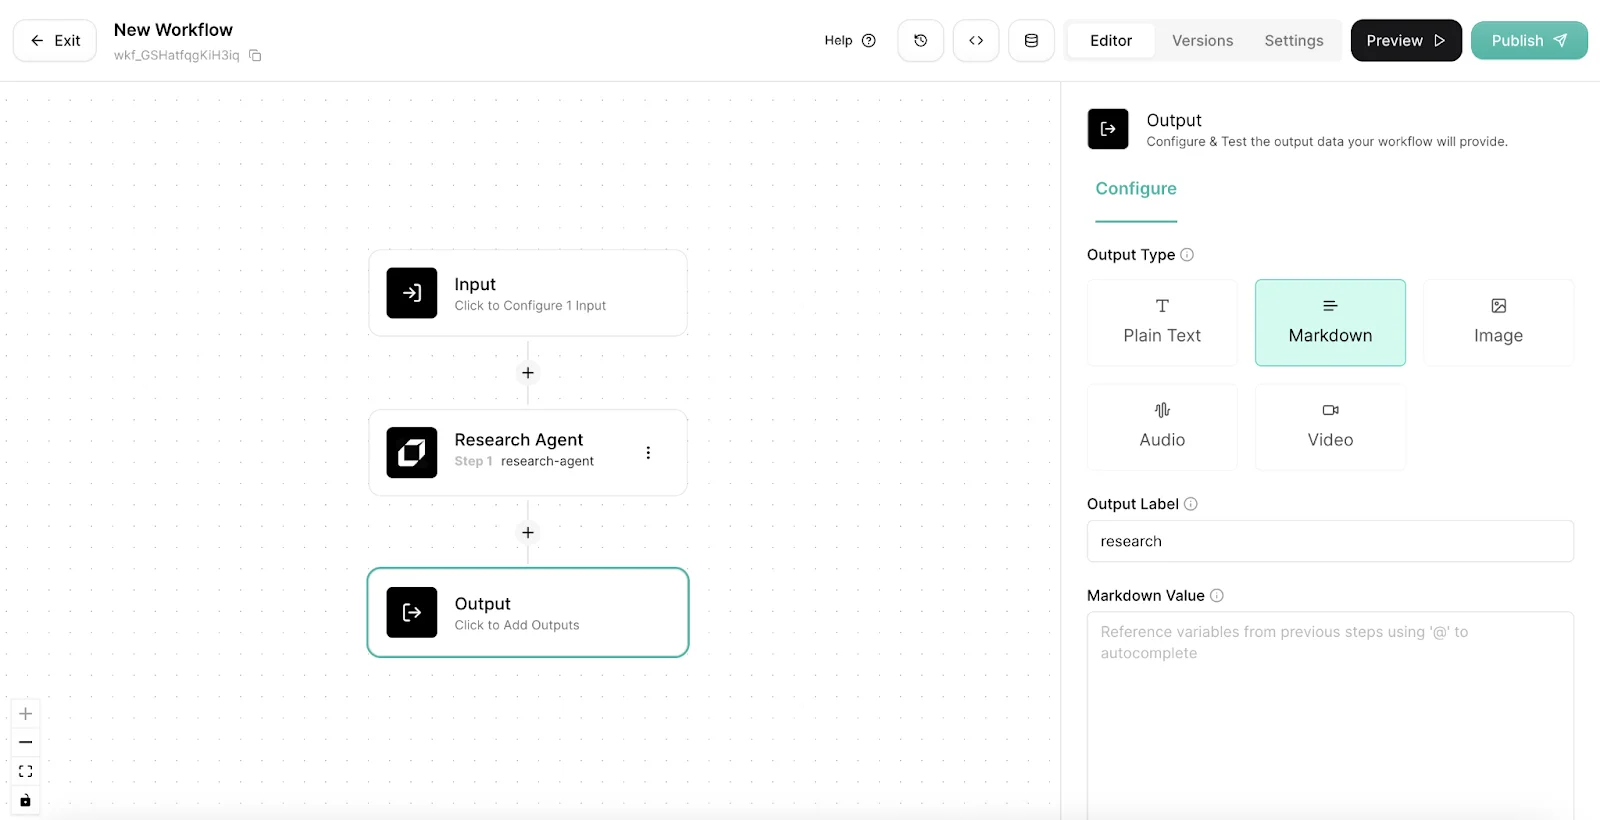
Within the Markdown Value text box, we’re going to input the output variable from our Research Agent step. To do this, click into the text box, scroll down in the variable modal, and select the “output” variable from your Research Agent step.

Once that’s done, click the “Add” button to add the output variable.

You can click on the Preview tab to see the test output.

Step 4: Test your research agent
Our research agent workflow is complete! Now, we can test it. To do that, click the “Preview” button in the top right corner. You can then test the workflow in the right-side panel of the workflow editor like we did during the building process.

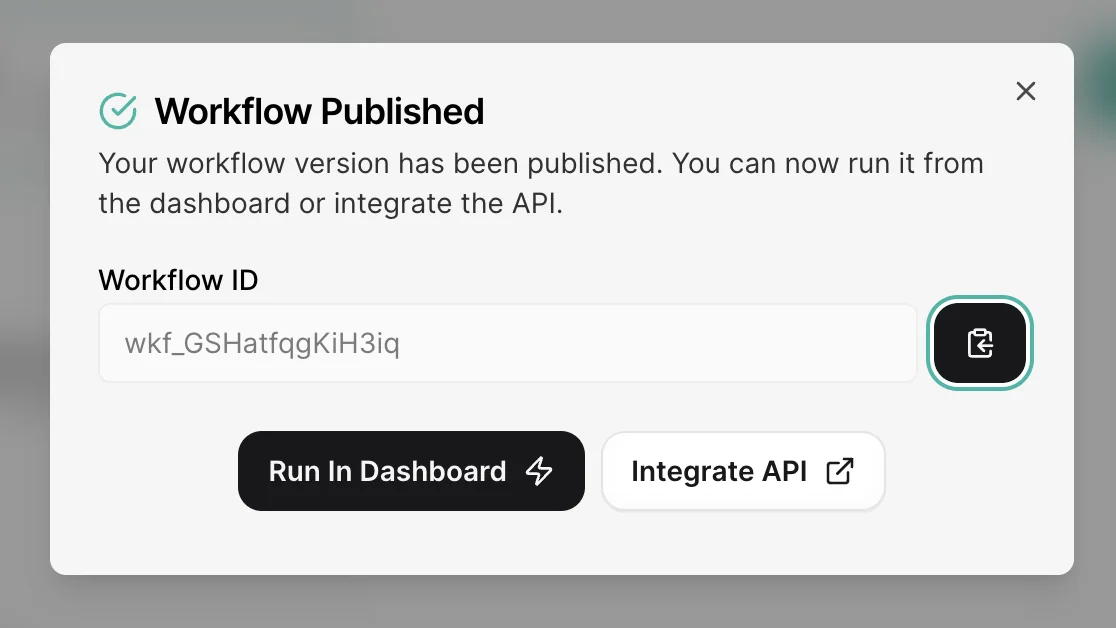
Once you’re happy with your preview tests, we can publish the workflow. To do this, click the “Publish” button in the top right corner of the workflow builder page. We’re going to run it in the Leap AI Dashboard. To do this, click the “Run In Dashboard” button in the resulting pop-up window.
You can run your workflow in three different ways in the Leap AI dashboard: a single run, a bulk run, or via a scheduler. To perform a single run, click the Single Run tab. You’ll see a UI where you can enter your input variables and run the workflow.

For a bulk run, you can upload a CSV of input variables and run them all at once. Leap AI provides a CSV template you can use for formatting purposes.

And that’s it! You’ve got an AI research agent now that you can feed email addresses and get web research back.
This tutorial was created by Garrett.