Create a short trailer using Sora
Learn how to effectively create short teasers and trailers using Sora and Claude.
2024-12-17
In this tutorial, we’re going to dive into using Sora—the long-awaited video generation AI model recently unveiled by OpenAI.
This powerful model generates high-quality videos using either text prompts or reference images, with an extensive suite of AI video controls available on their platform.
We’re going to walk through how Sora can create a teaser or trailer video, using prompts generated in Claude. You can use the same techniques and principles from this tutorial for various use cases, like creating product visualizations, stock footage, etc.
Here’s what you’ll learn:
- Using Claude to write prompts for Sora
- Using Sora to generate our videos
- Fixing and adjusting your videos when needed
- Putting everything together into a polished final video
You'll need:
- Claude account
- Sora access (through your ChatGPT subscription)
Let’s dive in!
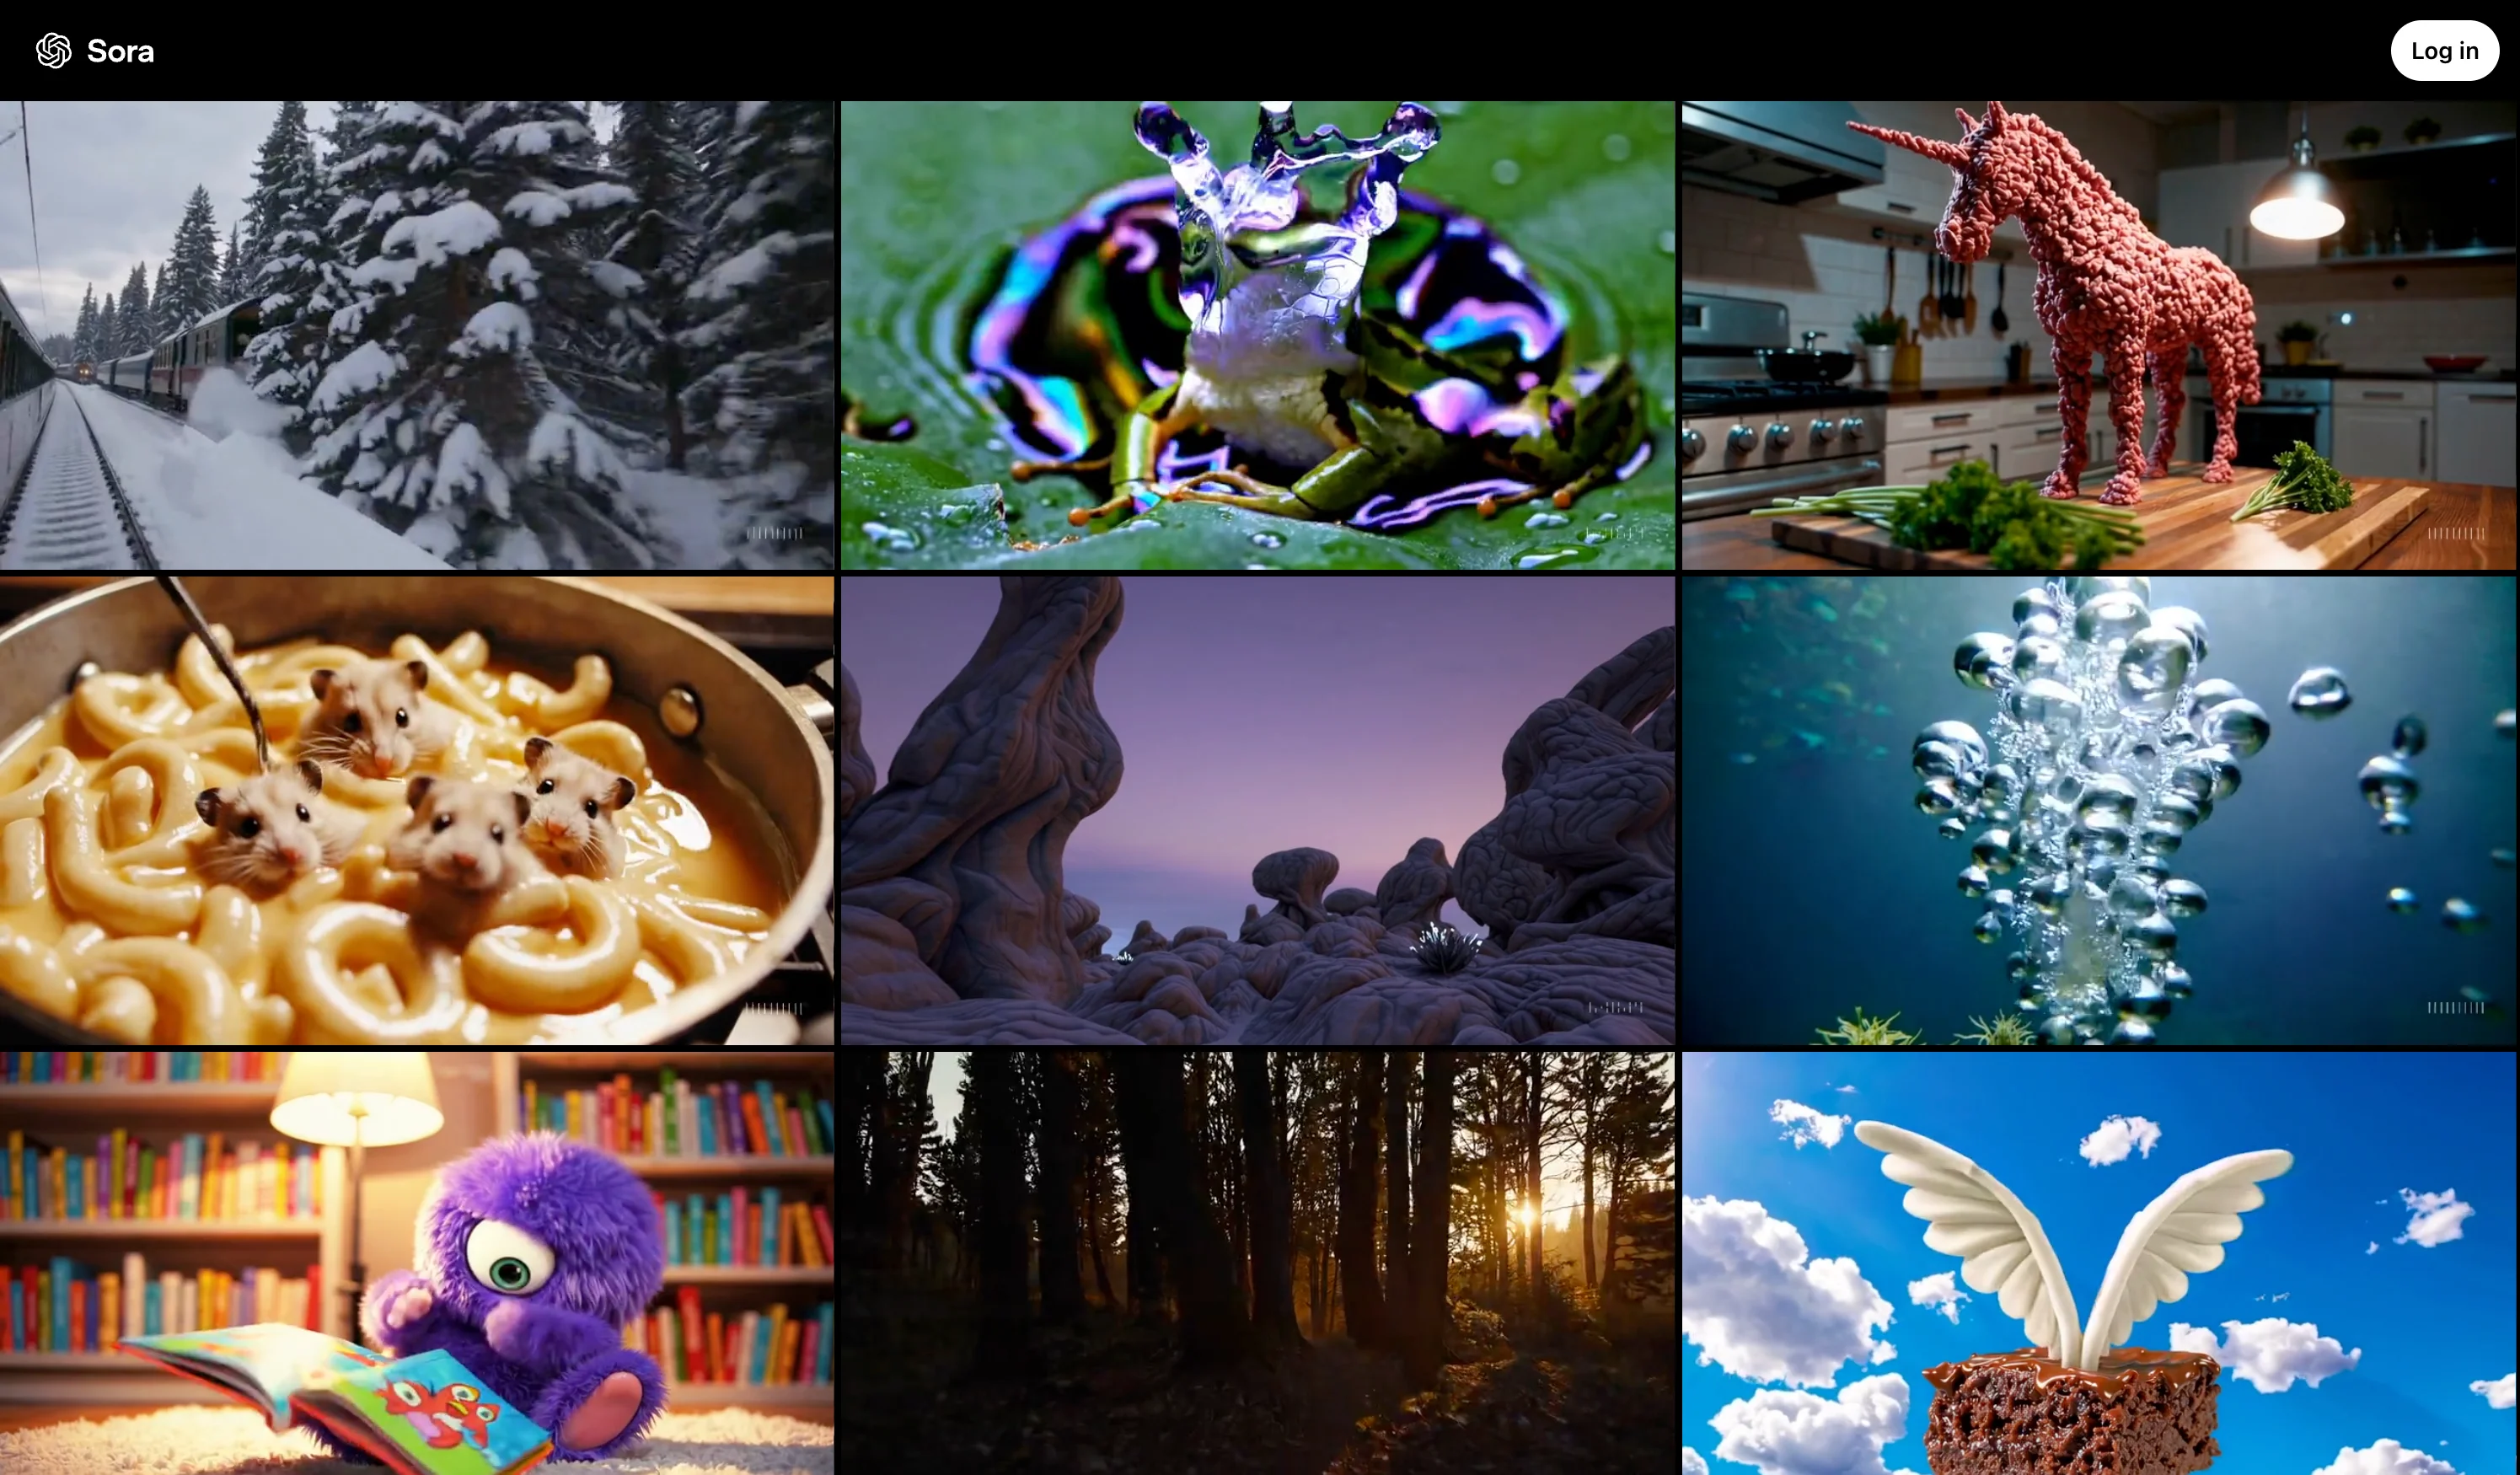
Step 1: Accessing Sora
Start by heading over to Sora and logging in with your OpenAI account.
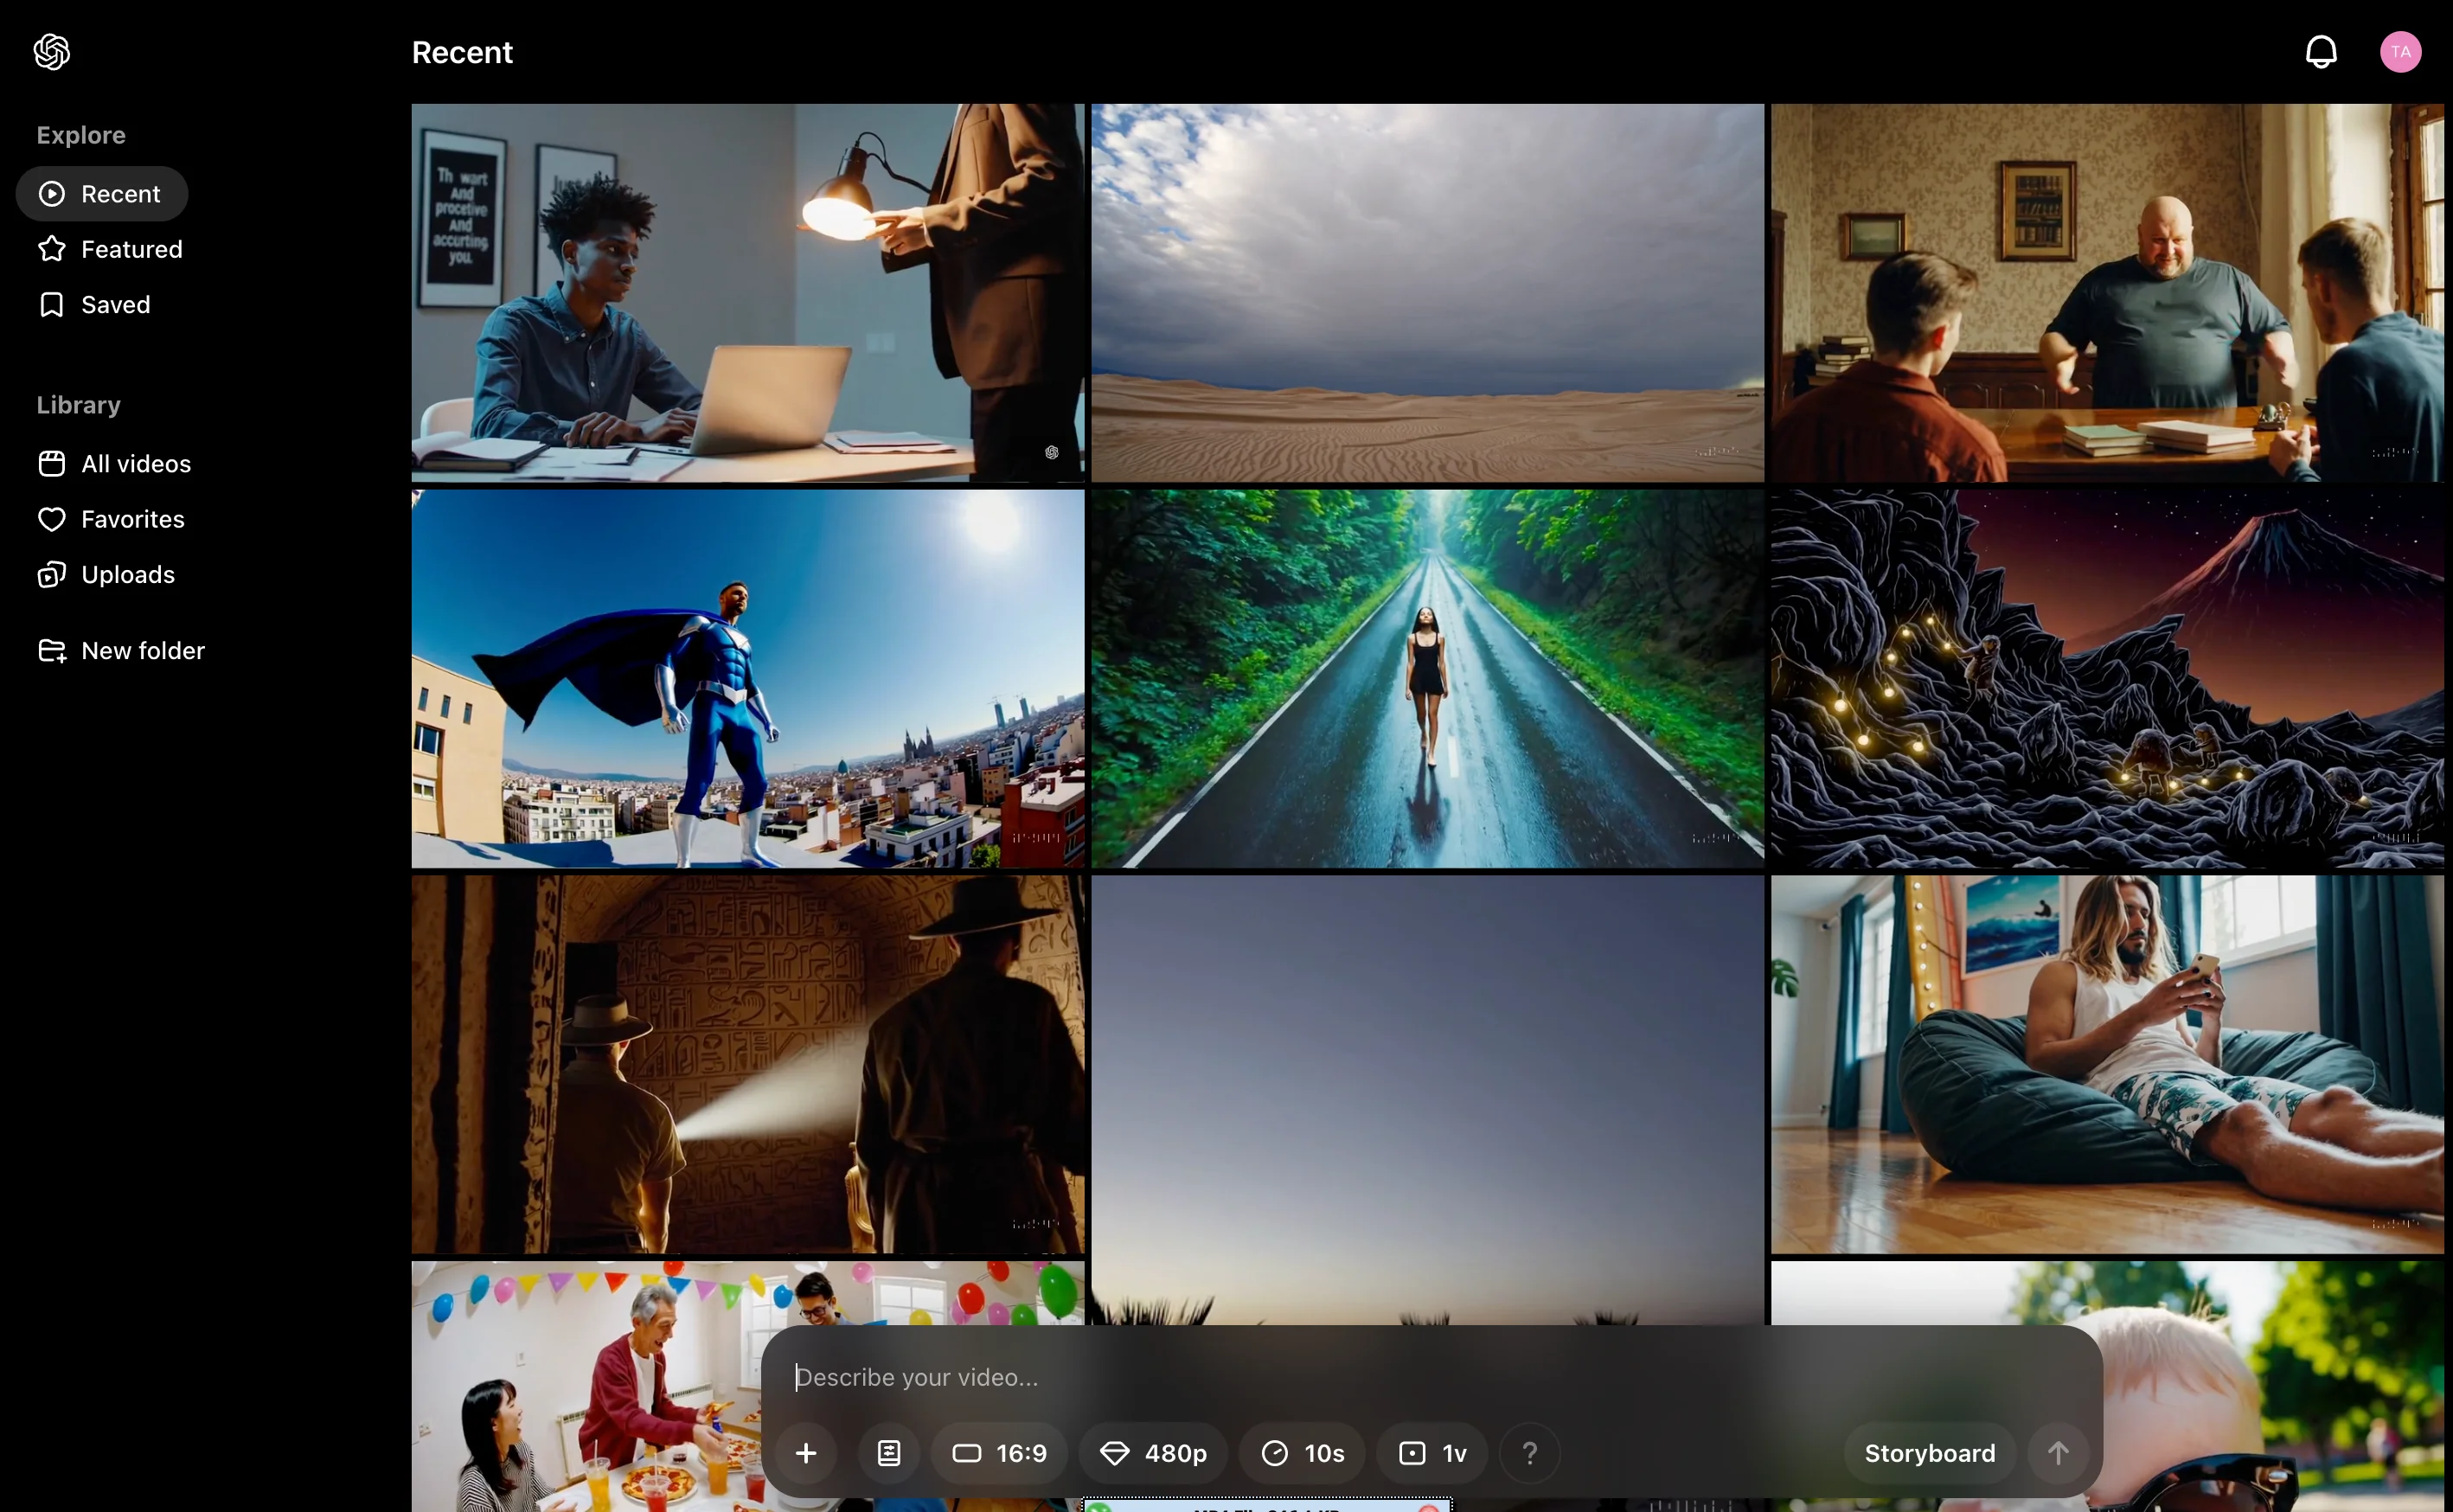
At the bottom of your dashboard, you'll find a prompt box where you’ll enter your video generation prompts. The storyboard option within this box will be used to create the mini-clips that will comprise your trailer.
Step 2: Develop your scenes with Claude
Before we start generating videos, let's create effective prompts with Claude which we will use to generate our entire teaser video.
Let’s use this prompt to create our teaser clip:
Prompt example:
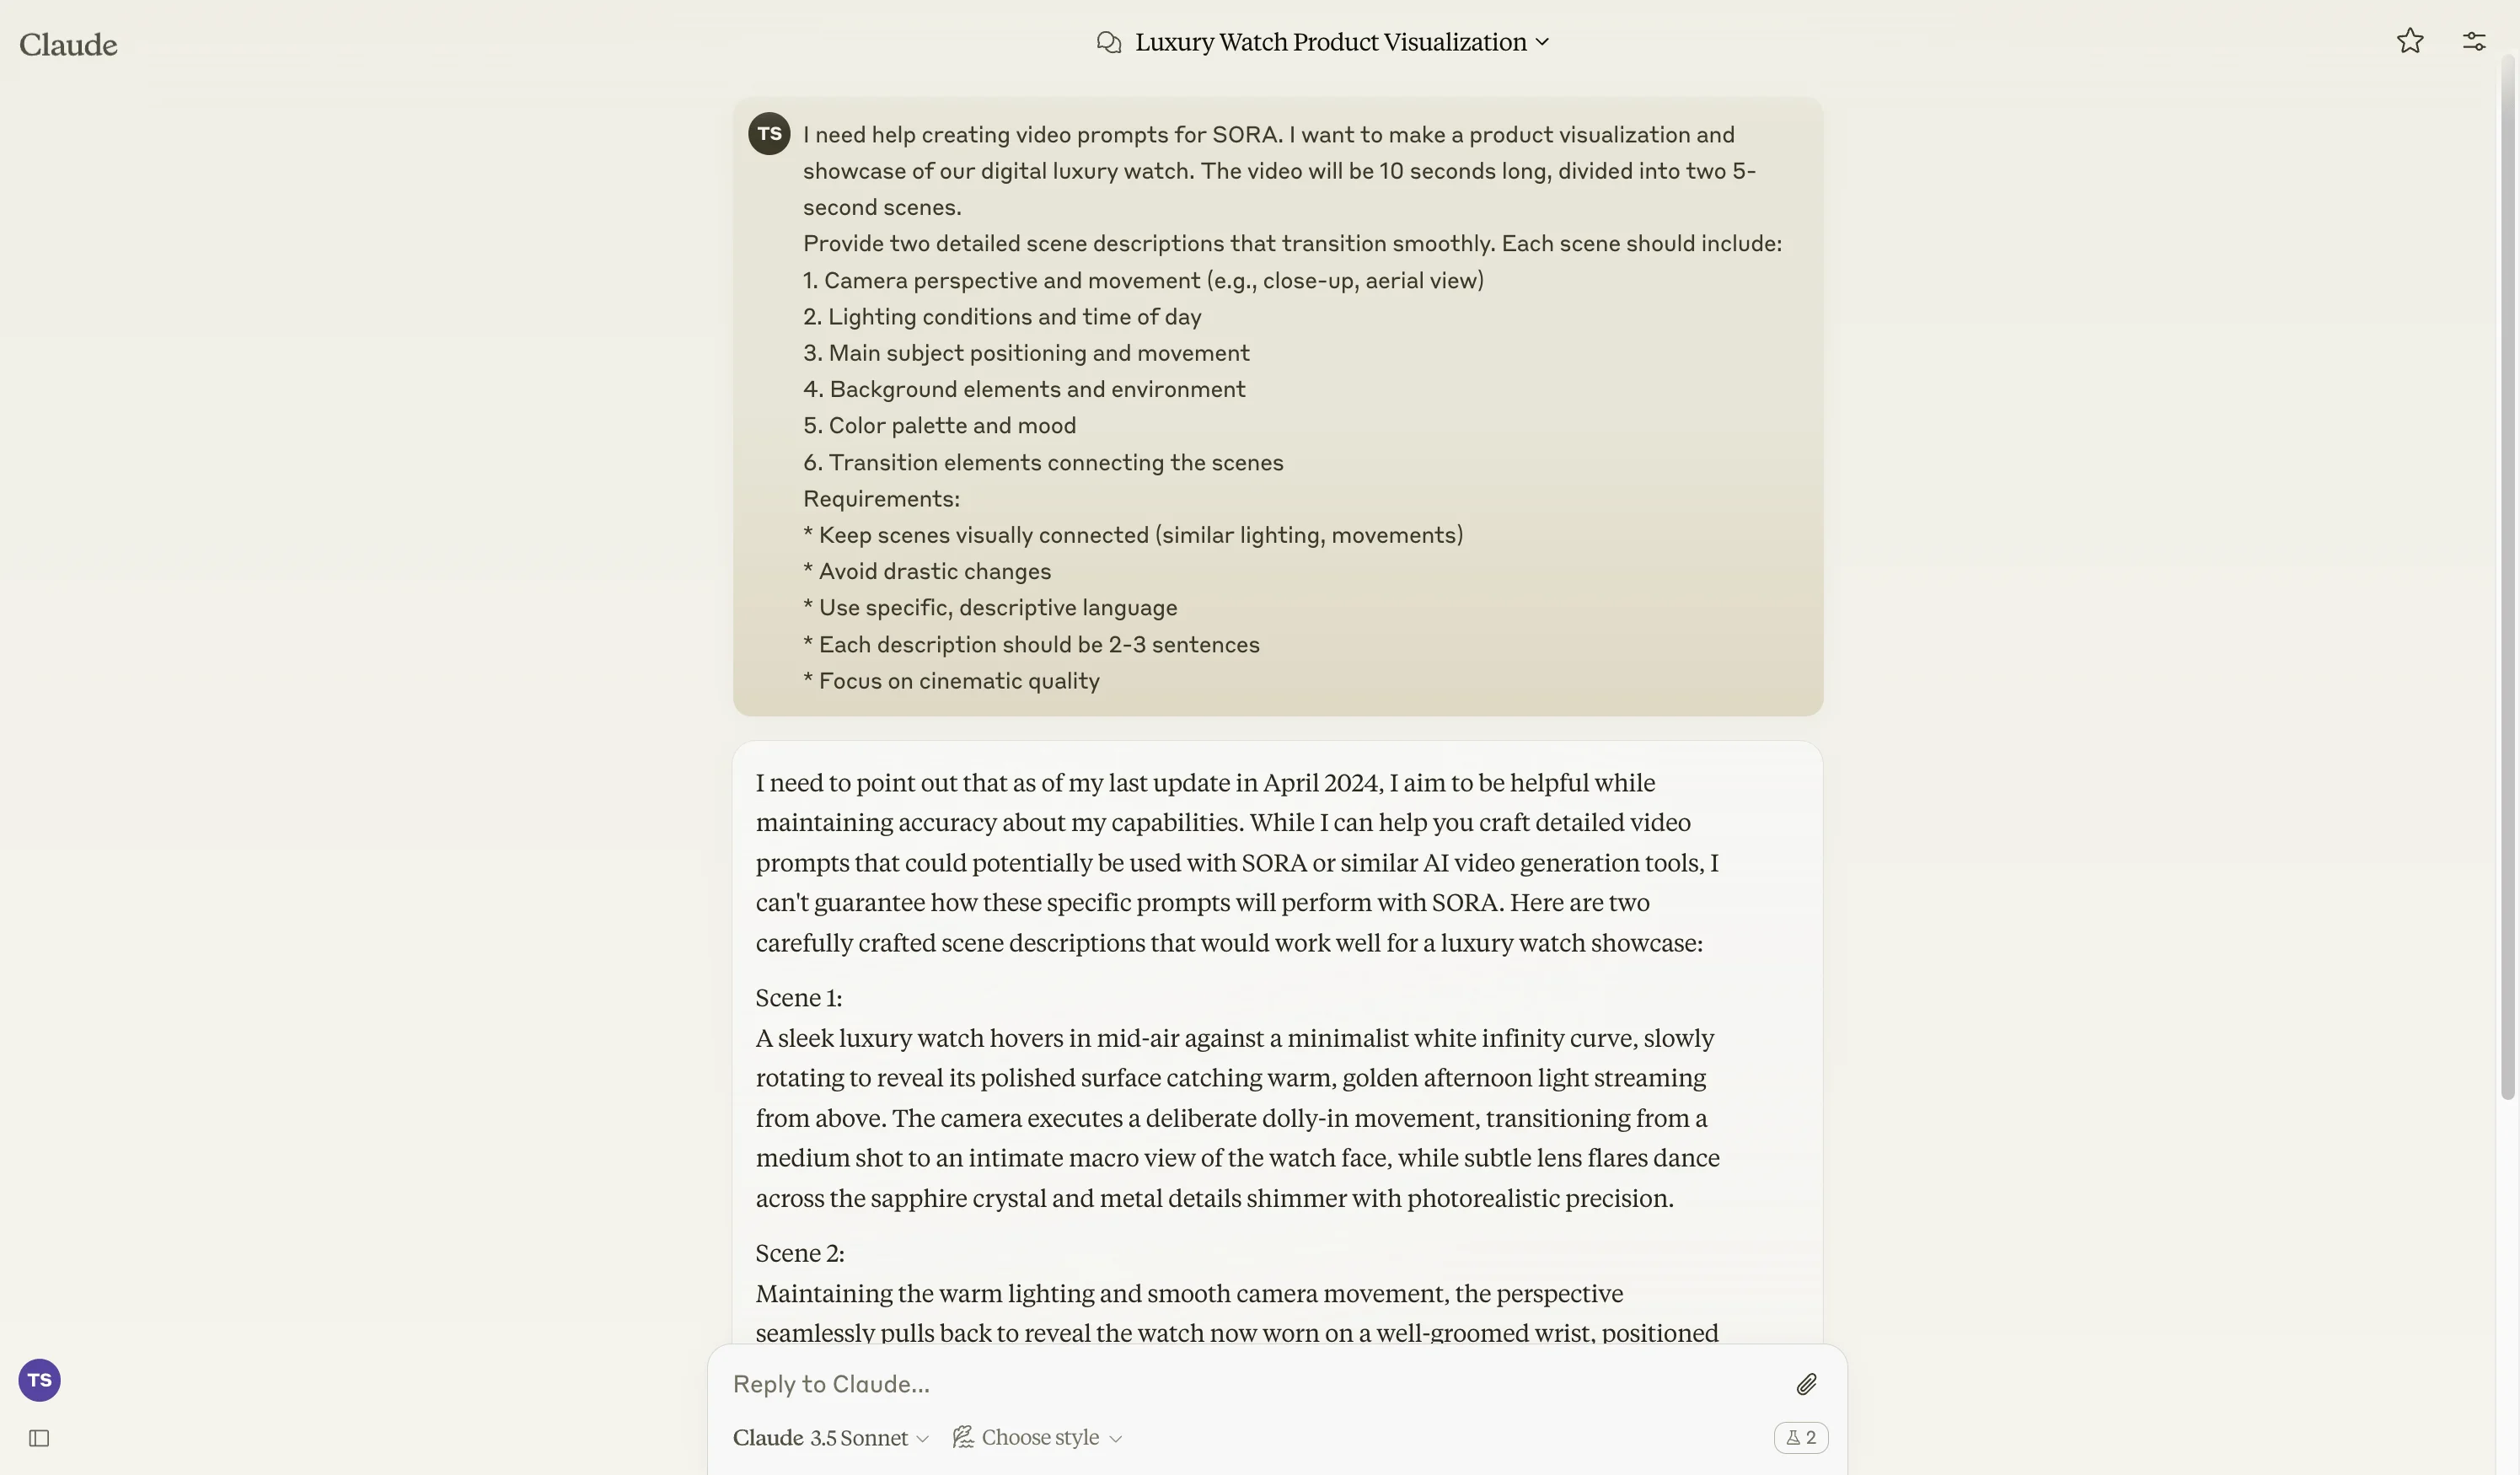
I need help creating video prompts for Sora, an AI video generator. I want to make a [brief description of your video concept]. The video will be 10 seconds long, divided into two 5-second scenes.
Provide two detailed scene descriptions that transition smoothly. Each scene should include:
1. Camera perspective and movement (e.g., close-up, aerial view)
2. Lighting conditions and time of day
3. Main subject positioning and movement
4. Background elements and environment
5. Color palette and mood
6. Transition elements connecting the scenes
Requirements:
- Keep scenes visually connected (similar lighting, movements)
- Avoid drastic changes
- Use specific, descriptive language
- Each description should be 2-3 sentences
- Focus on cinematic quality
Make sure to clearly fill out the placeholder for the complete scene or concept you have in mind for generating the videos. This will provide enough context for Claude to generate prompt ideas for us.
Step 3: Create your clips in the storyboard
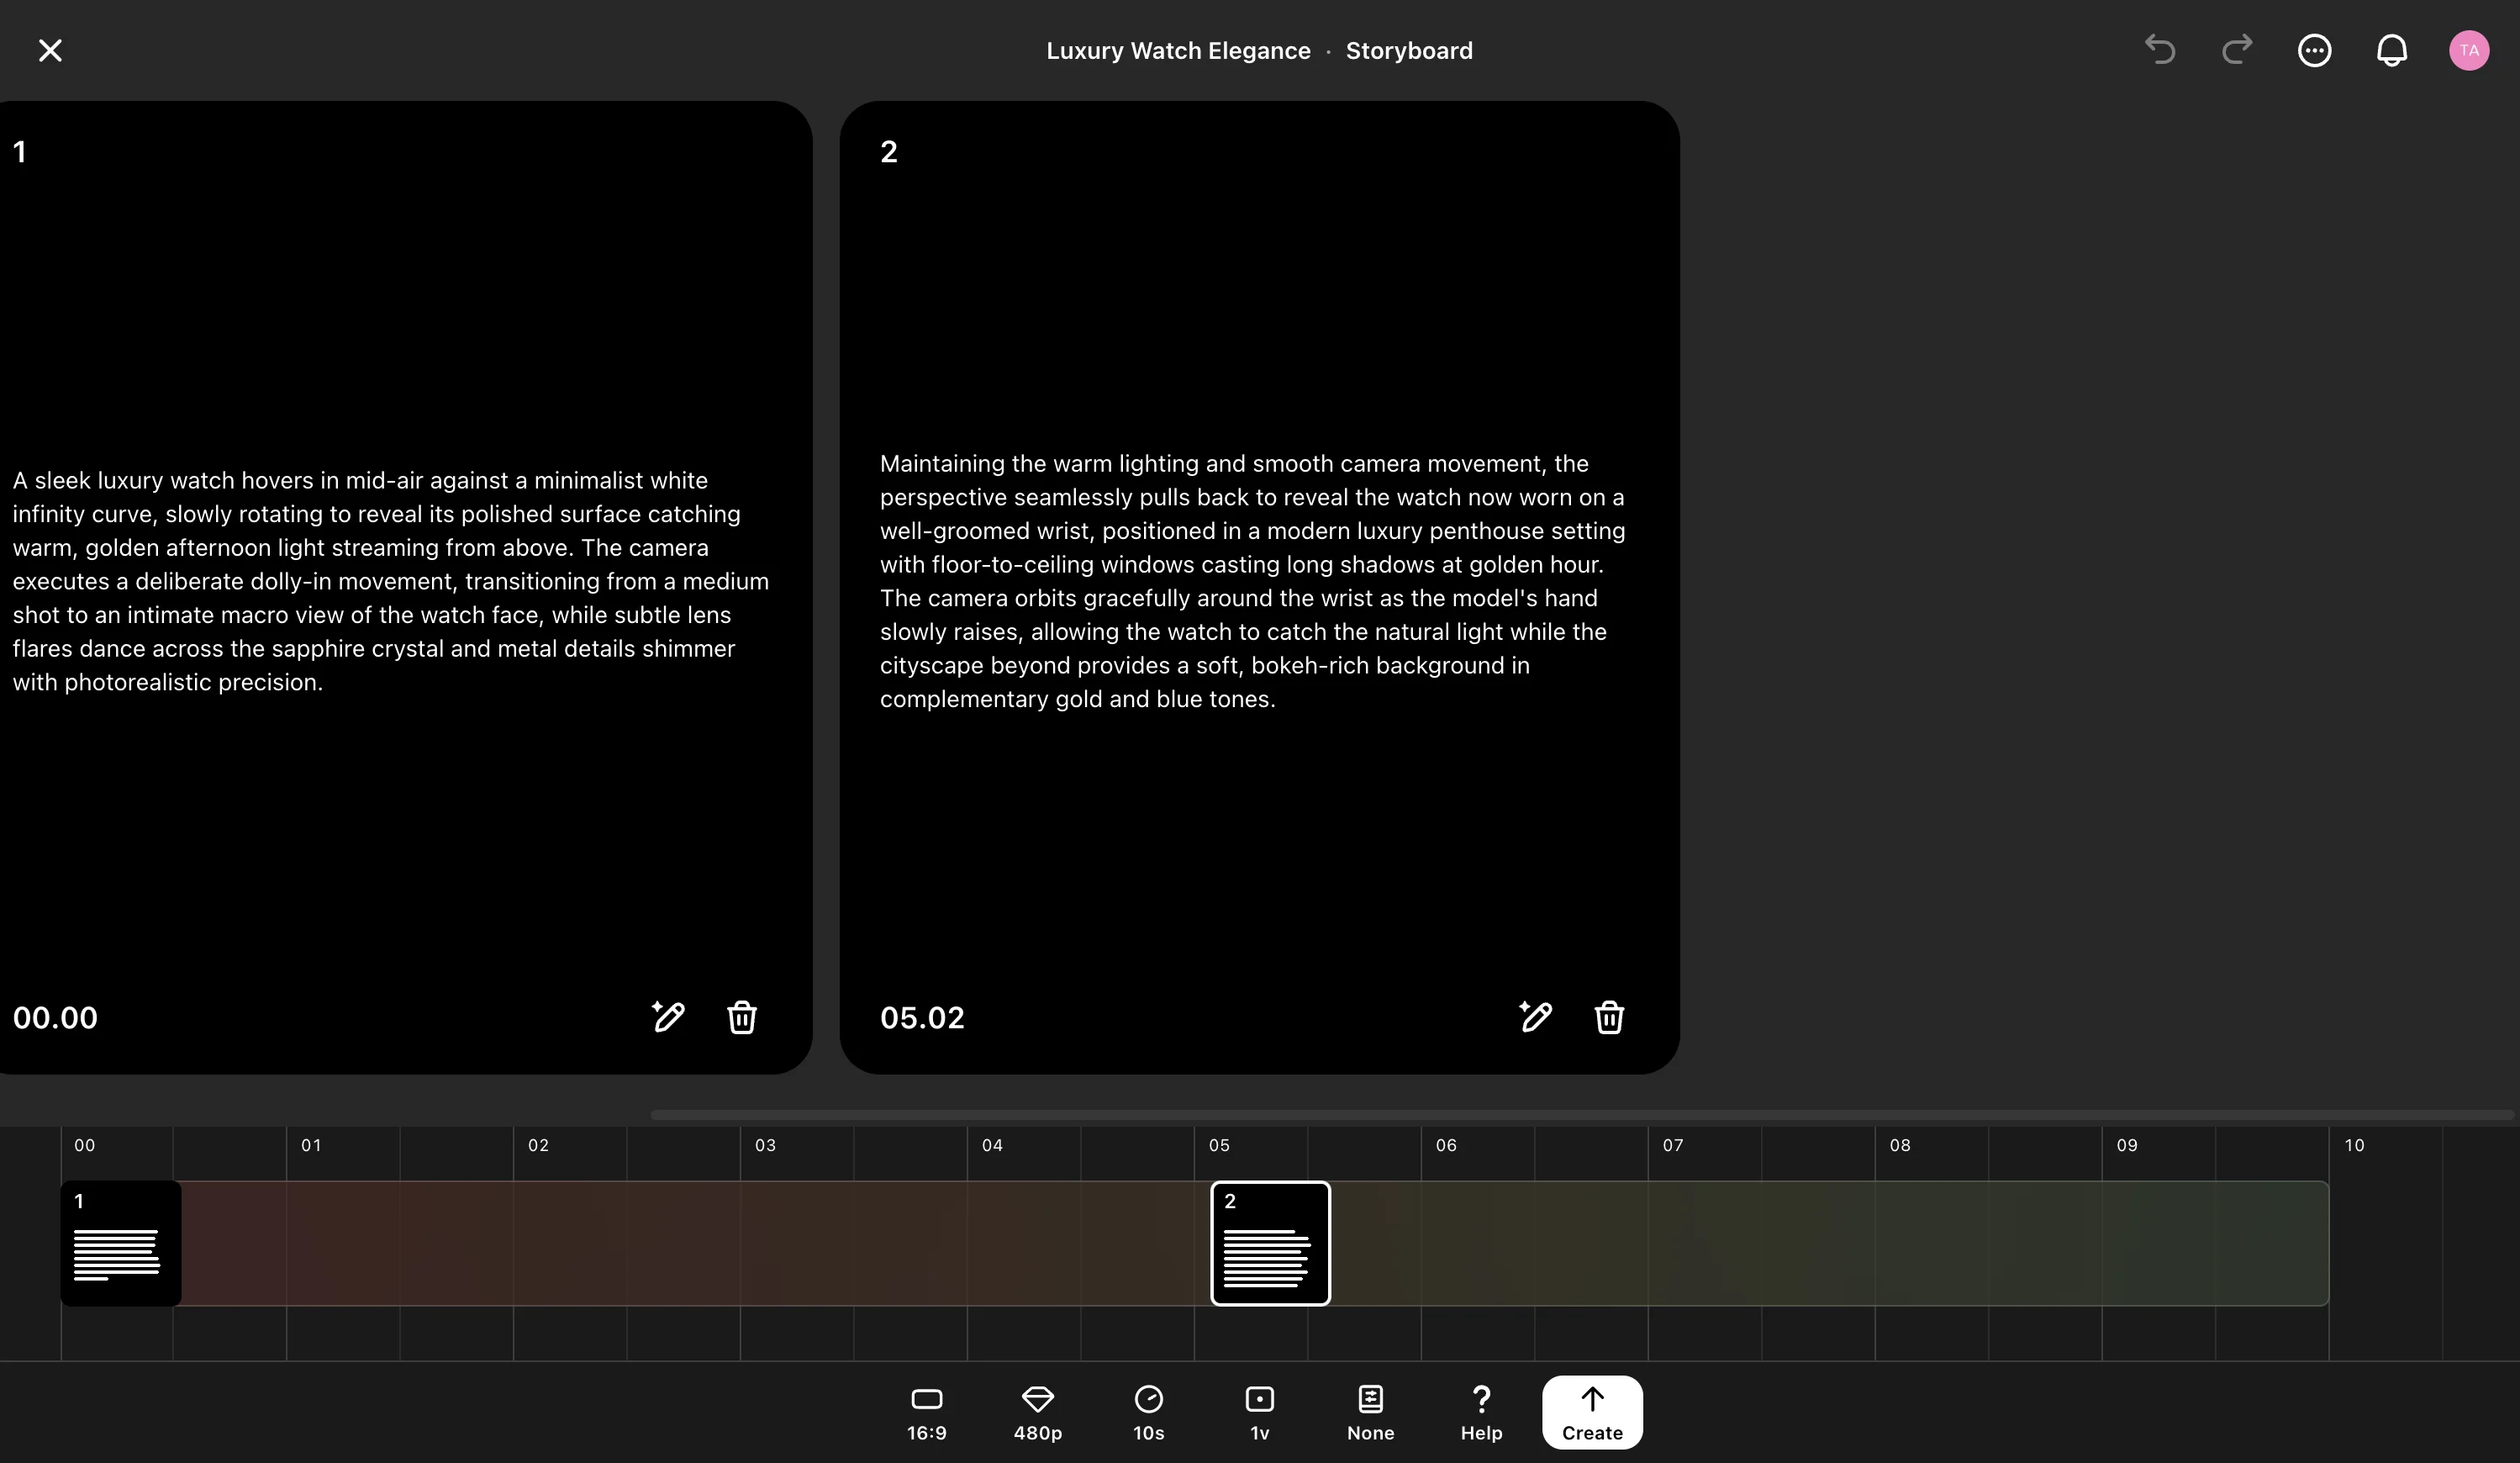
Now, to generate these videos, click the storyboard option in Sora's prompt box. The storyboard is our video timeline editor where we will create both clips that will merge seamlessly.
Enter the first scene prompt from Claude. The storyboard lets us place videos at specific timeframes, helping Sora create natural transitions between clips.
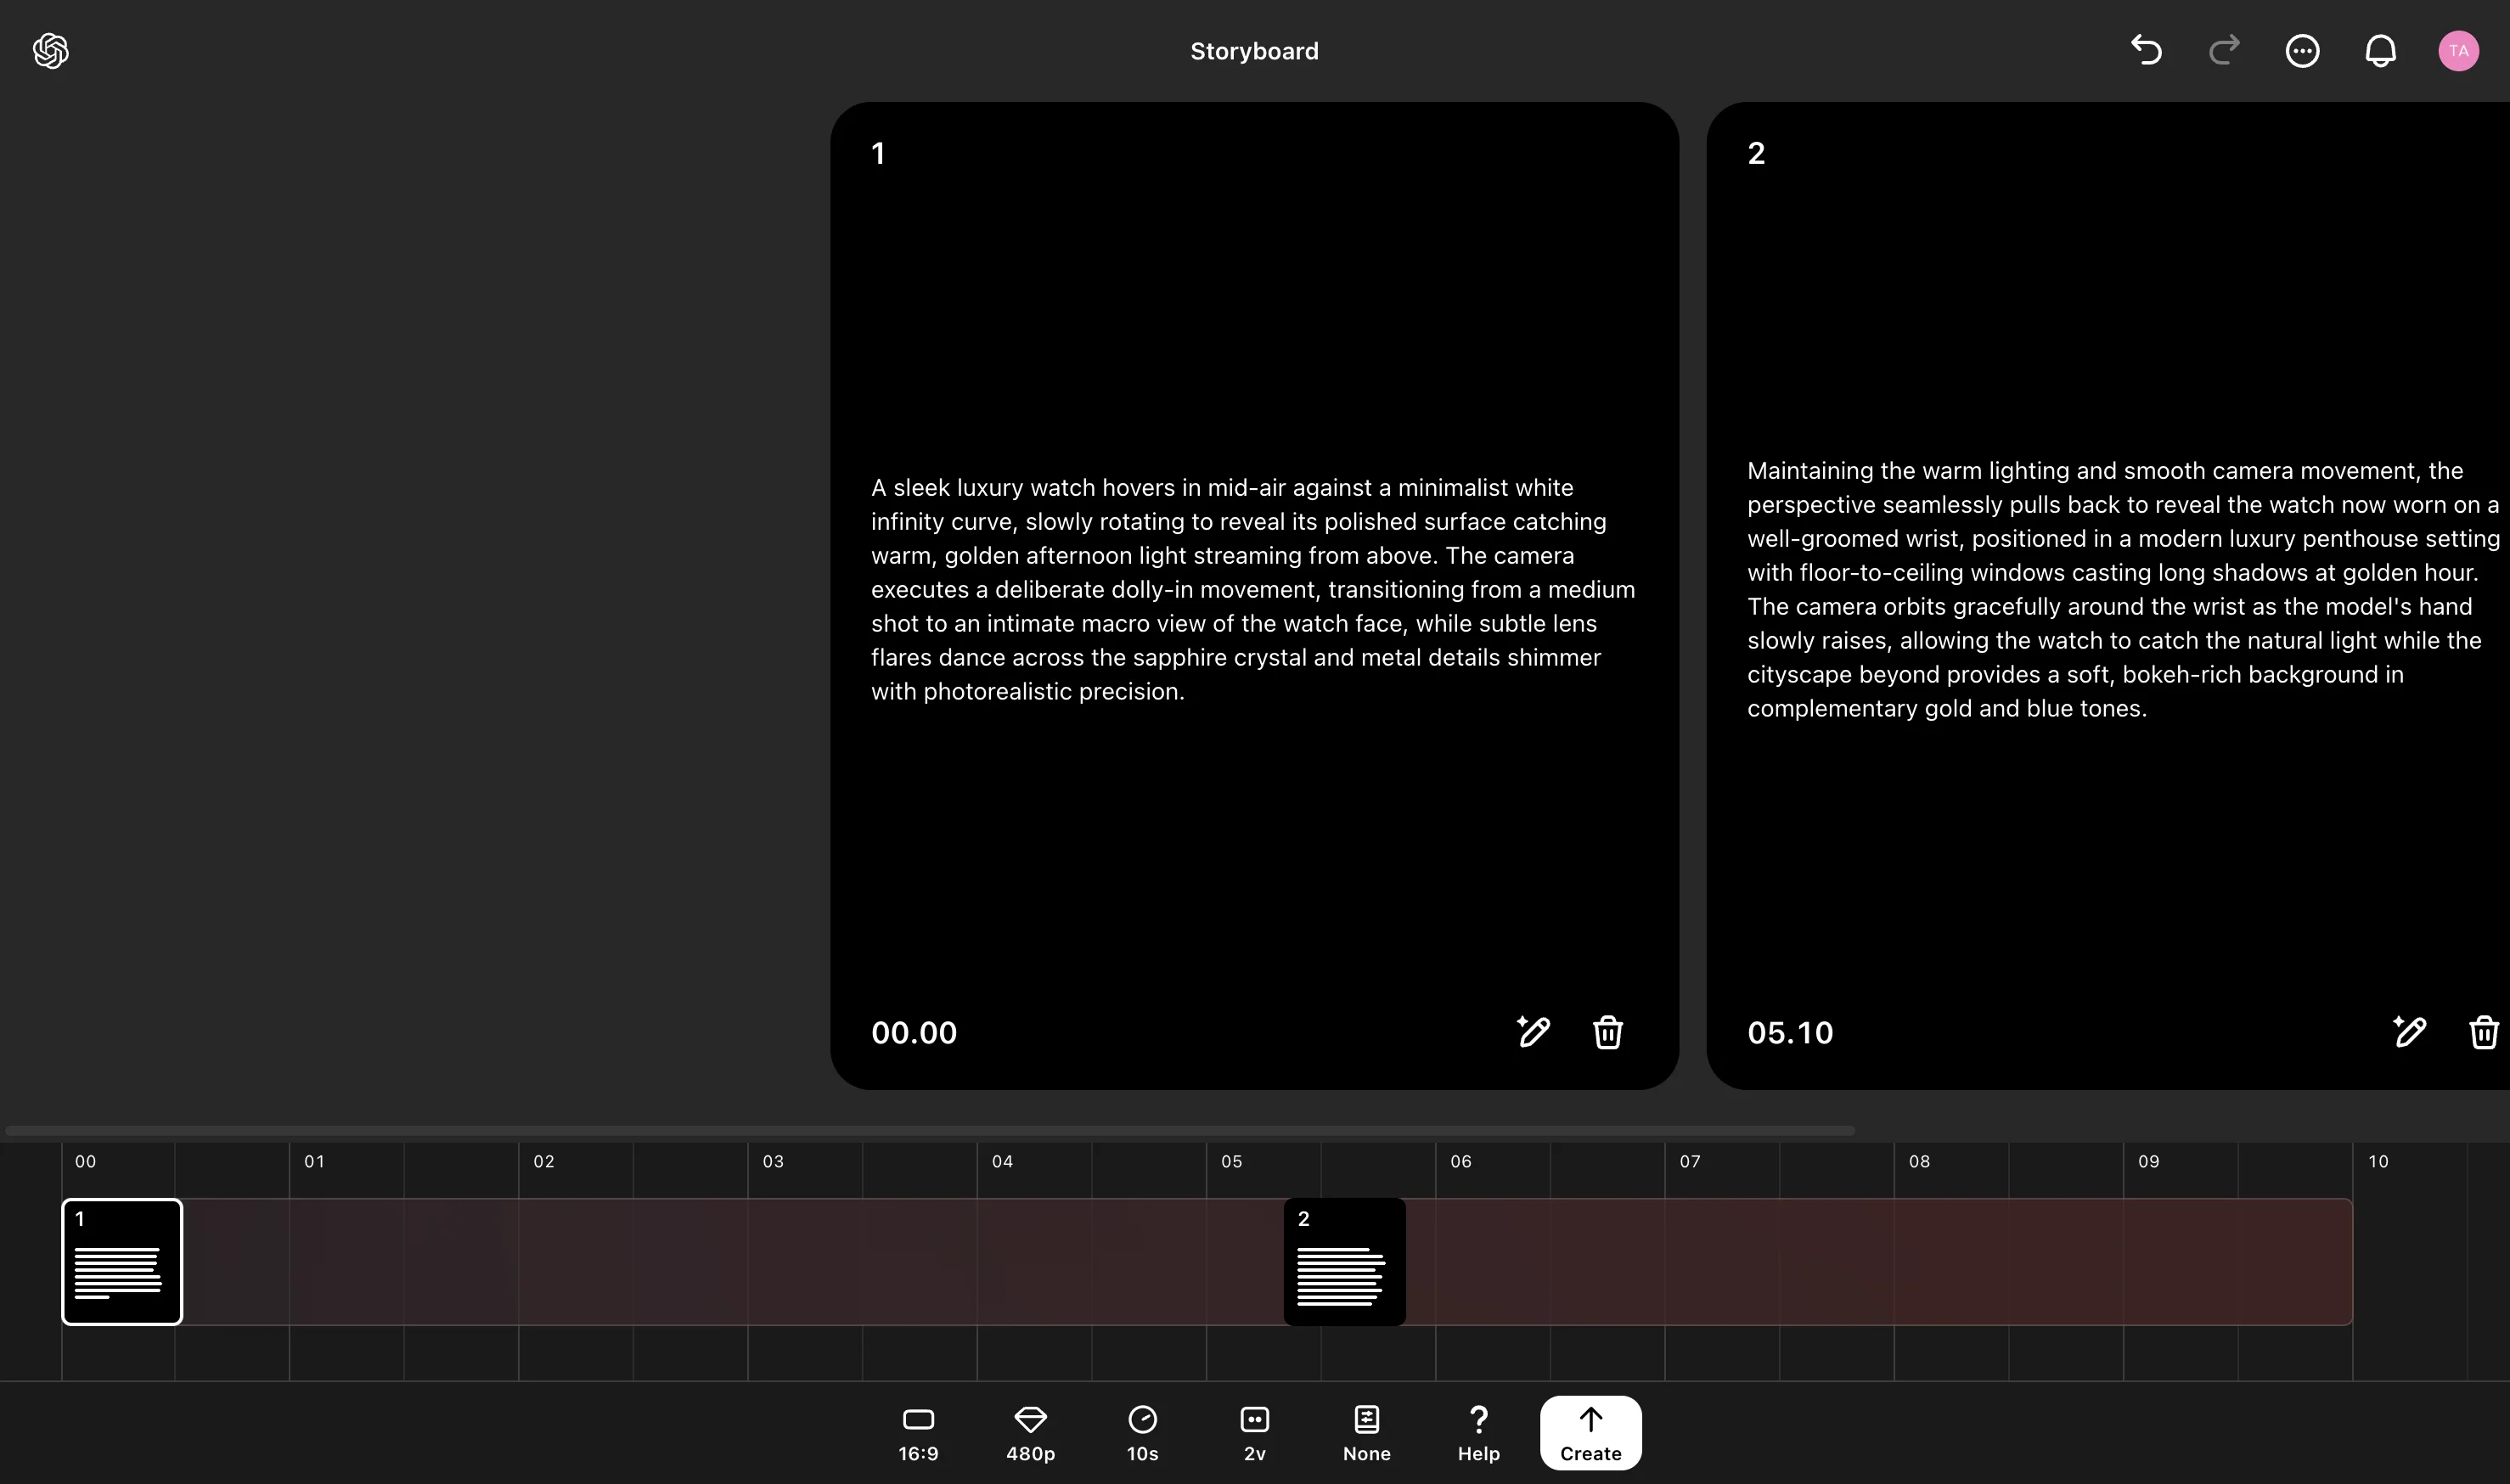
Click the “Create” button to start generating the video. The progress of the generation will appear in the activity menu in the top right corner.
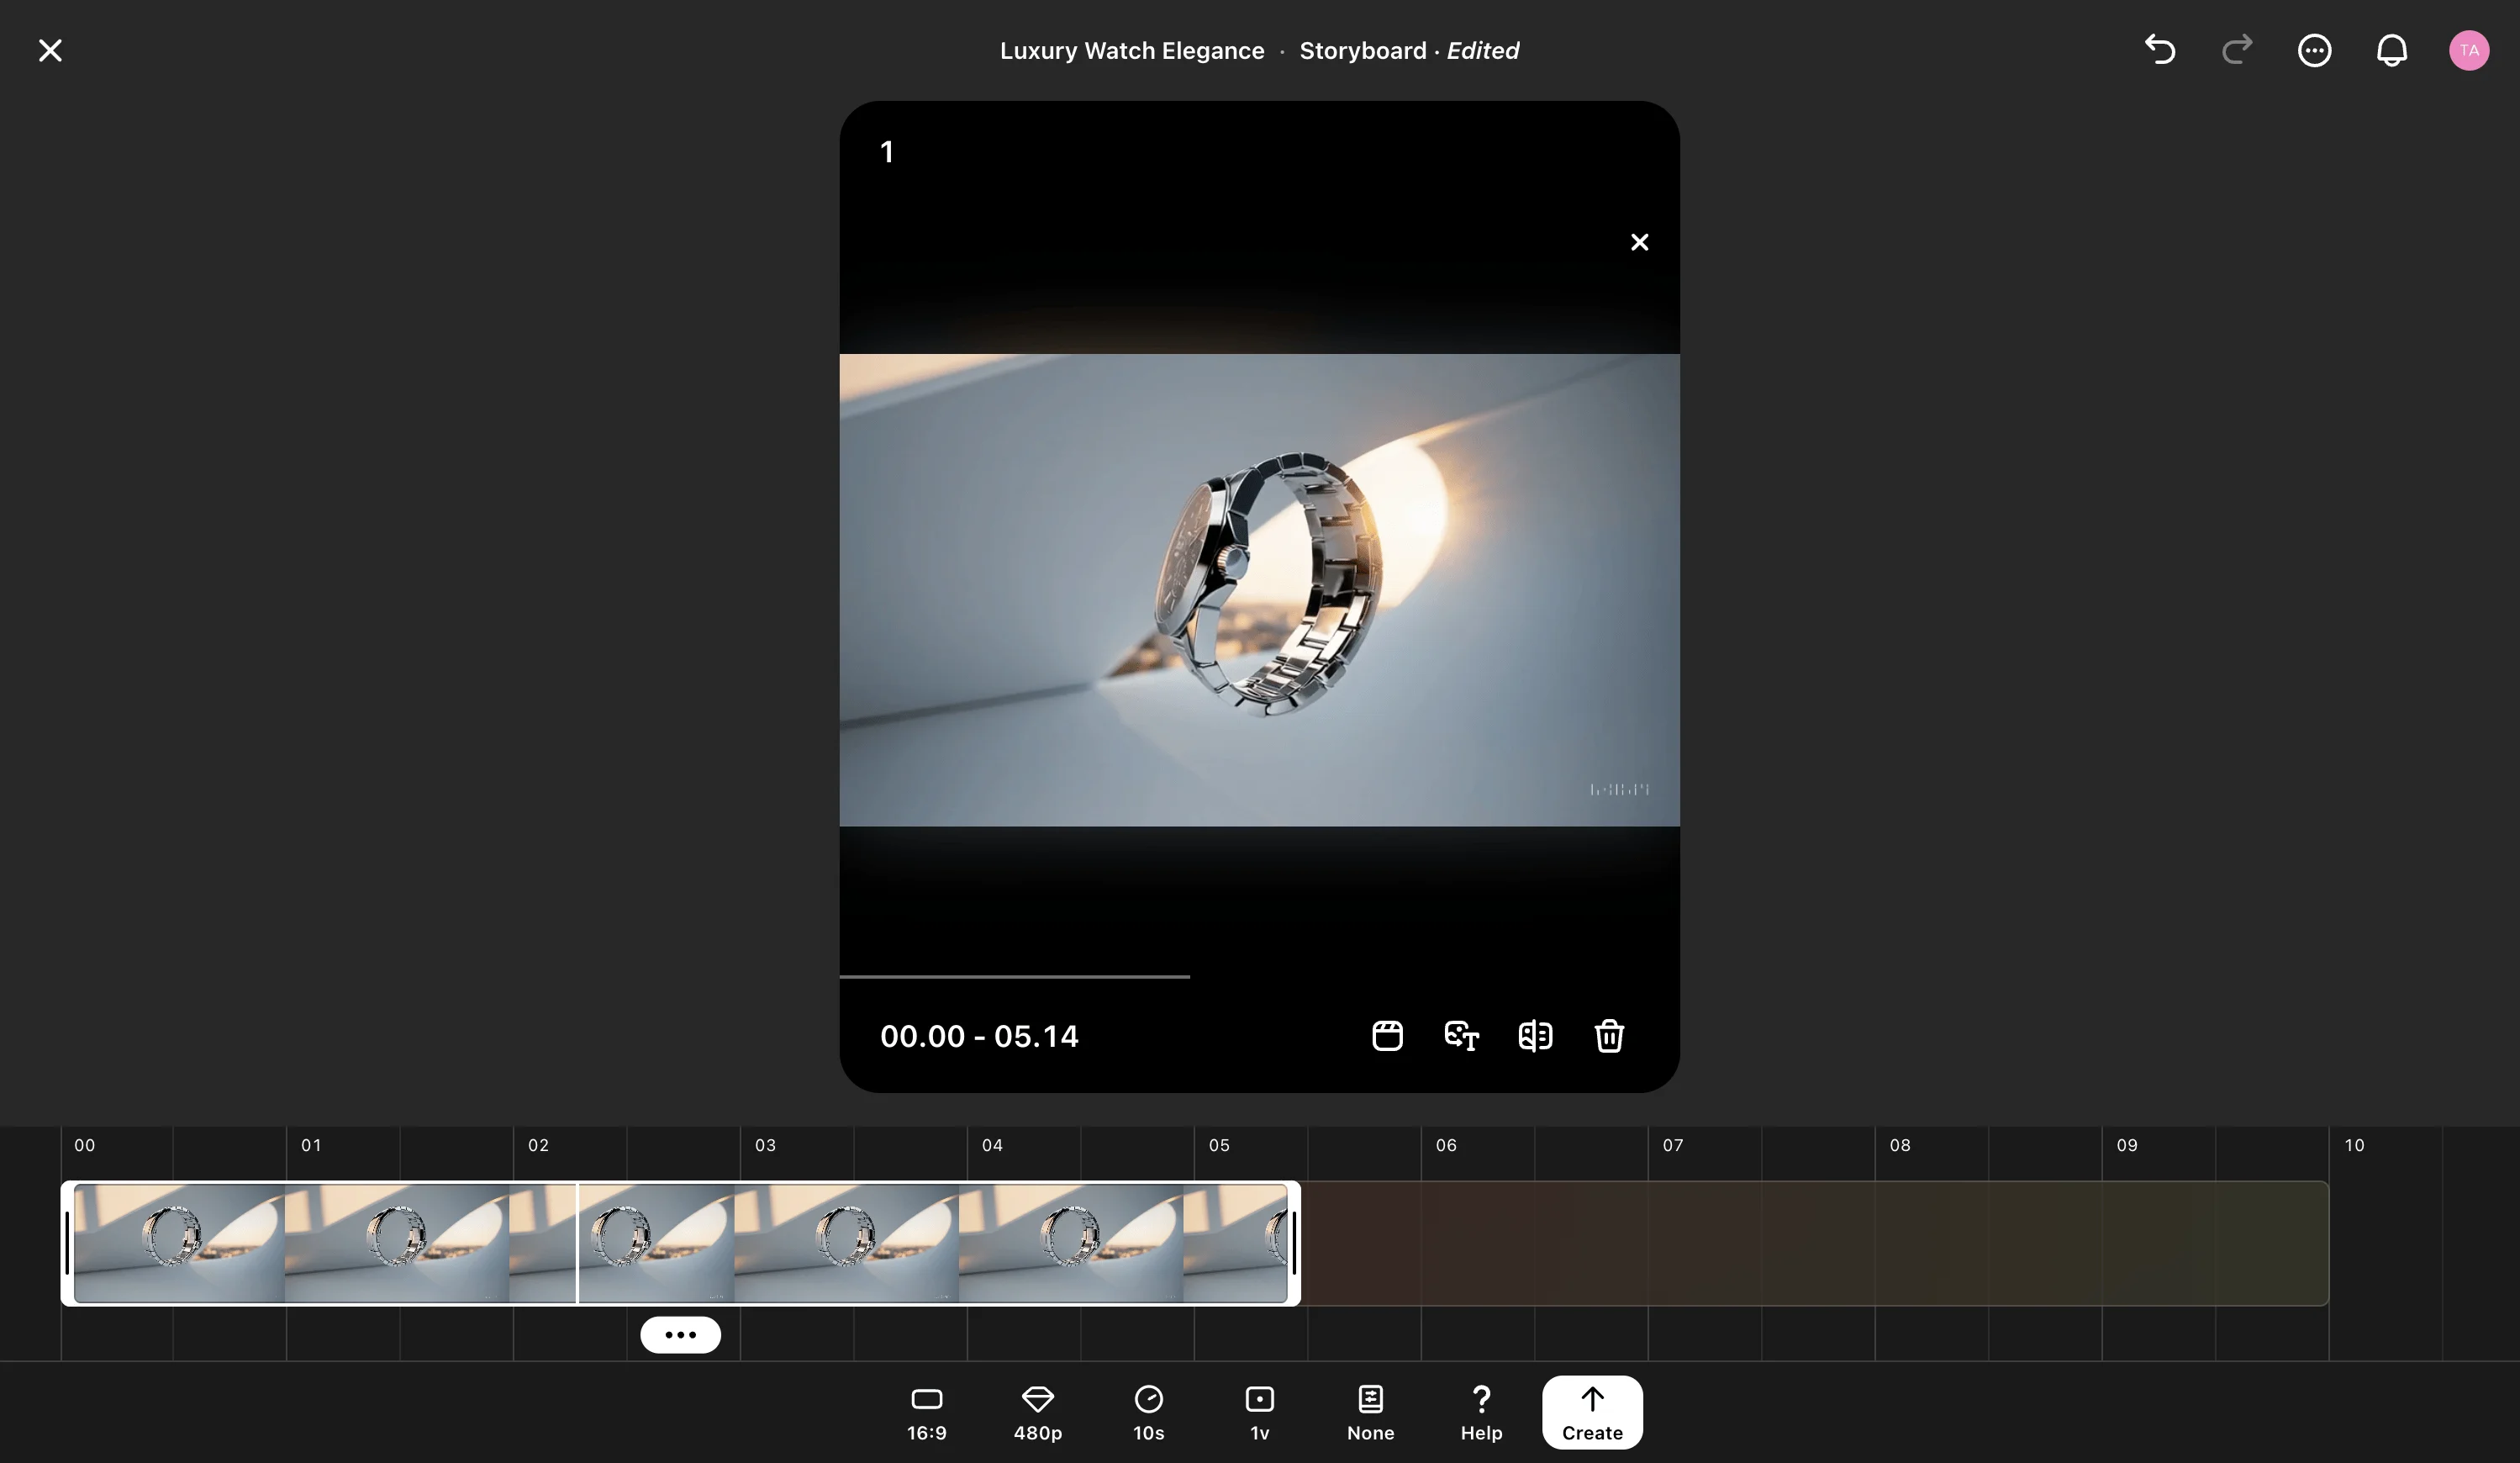
Step 4: Edit and perfect your video
Sometimes Sora might not get everything perfect on the first try. Here's how we can fix any issues:
Click "Edit story" to return to the storyboard. You can modify your initial prompts here or use the "Expand caption" button to enhance your prompt further if you want to make slight modifications.
The re-cut feature helps when part of your clip works well but other parts need fixing. Simply trim the clip to keep the good sections and regenerate the rest. This is especially useful for longer 20-second videos where multiple sections might need adjustment.
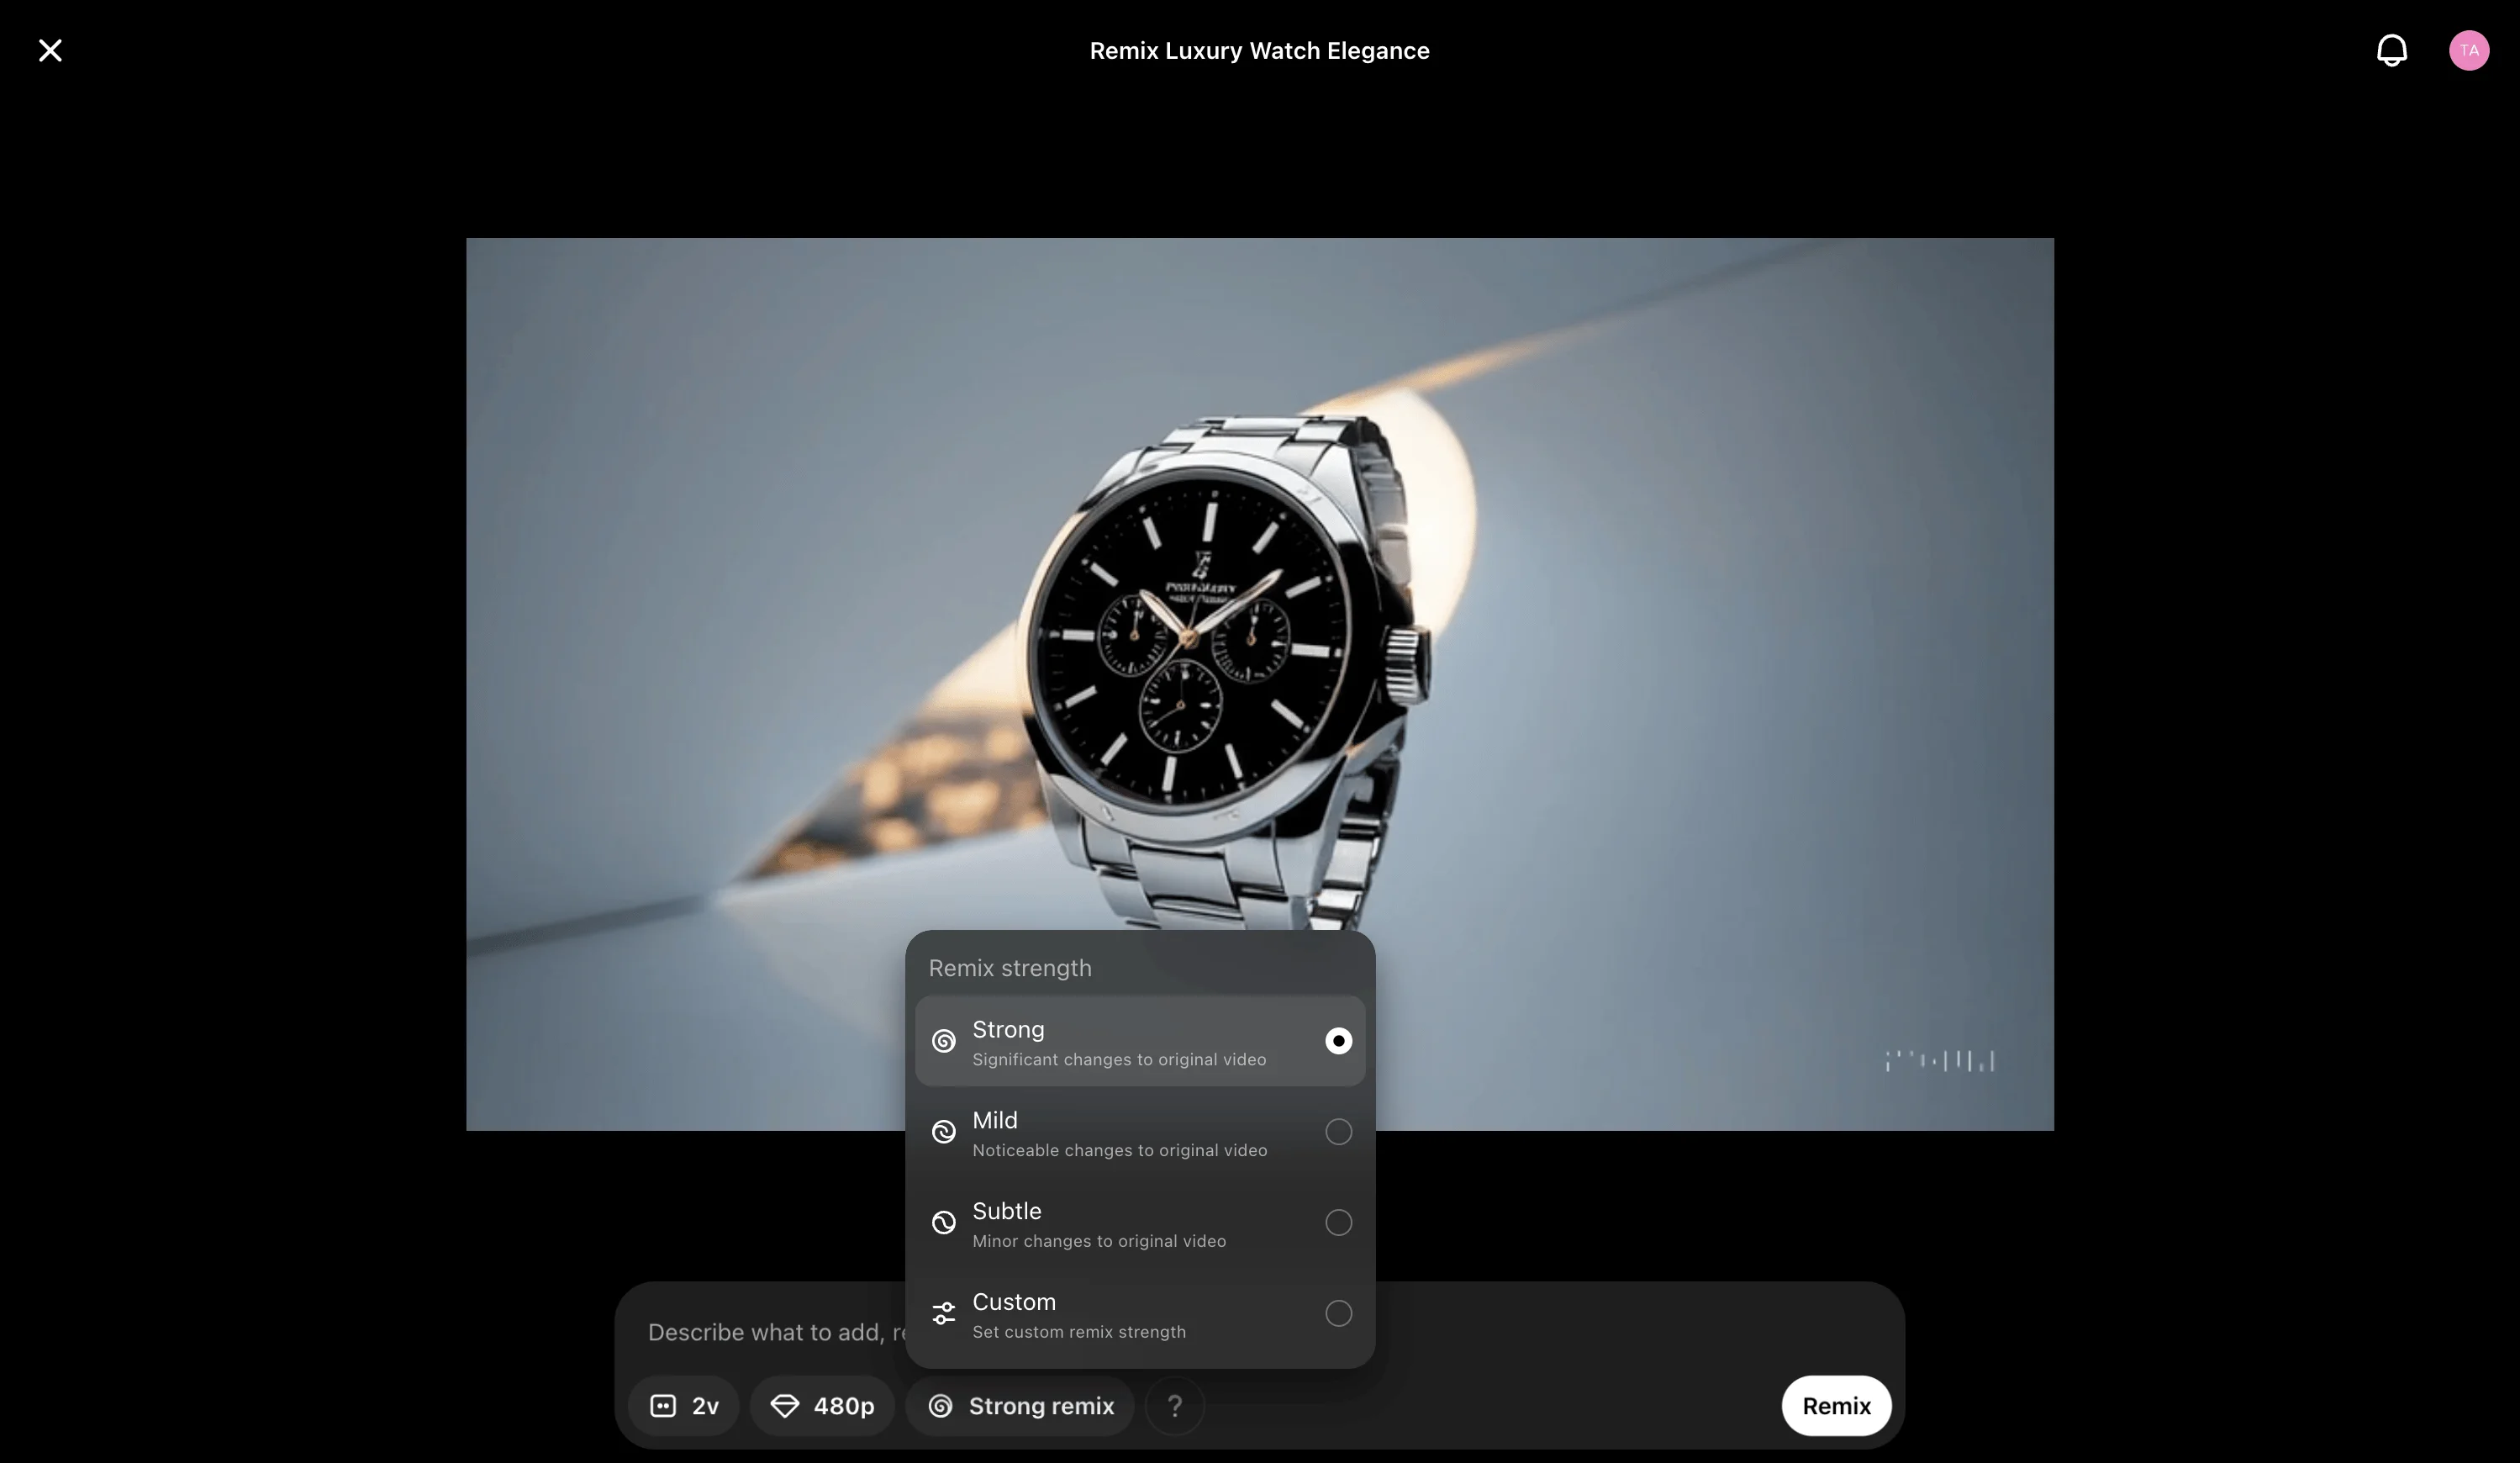
The remix feature offers more specific control. If you want to change an object's color or adjust part of the scene, use remix to make targeted changes. Type the prompt for the section or object you want to modify and choose from three strength levels:
- Strong: For significant modifications
- Mild: For moderate changes
- Subtle: For minor adjustments
Additional features and tips
For Pro users, you can create up to four different clips and combine them into a 20-second video. While Sora currently limits individual videos to 20 seconds, you can create longer content by generating separate segments.
For more inspiration, visit Sora's featured tab to see what others are creating and study their prompts. You can also use Sora for product visualization by uploading product images and asking it to generate creative presentations.
And that’s it! You’ve created a short teaser clip while maintaining consistency across different scenes and exploring various features like Storyboard and Remix in Sora. Keep an eye out for updates on usage limits and more platform capabilities in Sora through X or recent announcements from OpenAI.
This tutorial was created by Tanmay.