Create an AI teaching assistant chatbot
Learn how to develop an AI chatbot trained on your course material.
2024-12-05
Welcome to the fifth lesson in our AI for Educators course!
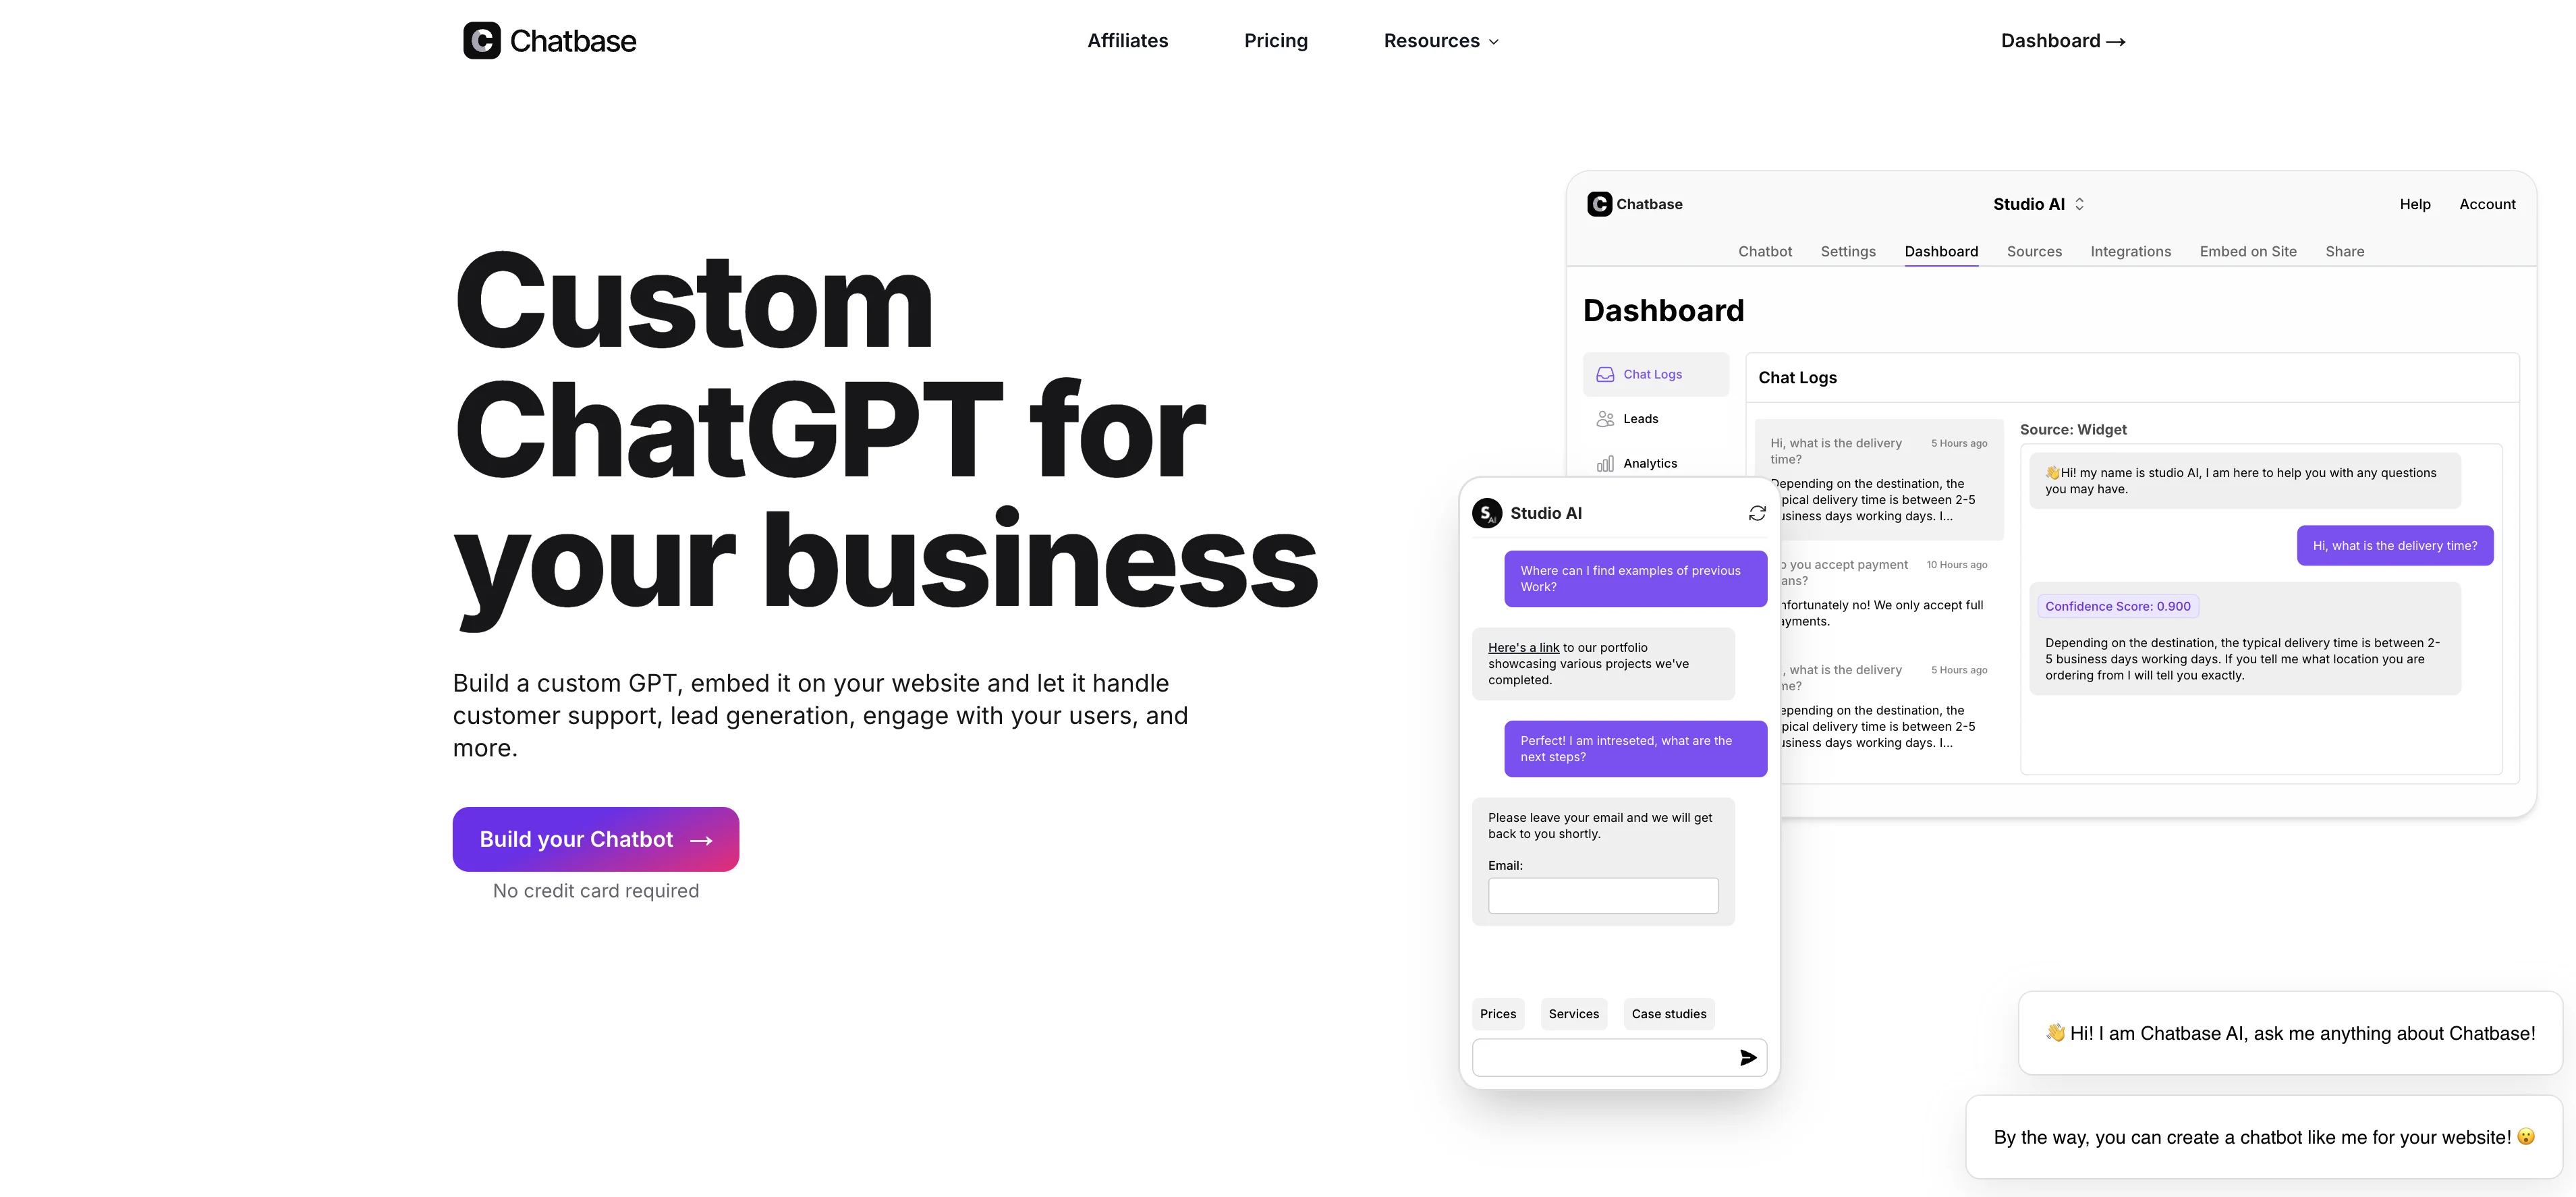
In this tutorial, you will learn how to create an AI teaching assistant chatbot with Chatbase that can answer questions about lessons or course material, serving as a helpful teaching assistant to students. What’s helpful about a custom-trained chatbot, is it provides more control and guardrails about what information is available to students and can route them to specific resources and materials for further inquiry.
By the end of this tutorial, you’ll have a custom AI chatbot trained on your educational material that you can share with your students directly or embed onto a website or other online space.
Steps we’ll follow in this tutorial:
- Add a knowledge source
- Update custom instructions and design
- Test and share your chatbot
Tools needed:
Let’s get started!
Add a knowledge source
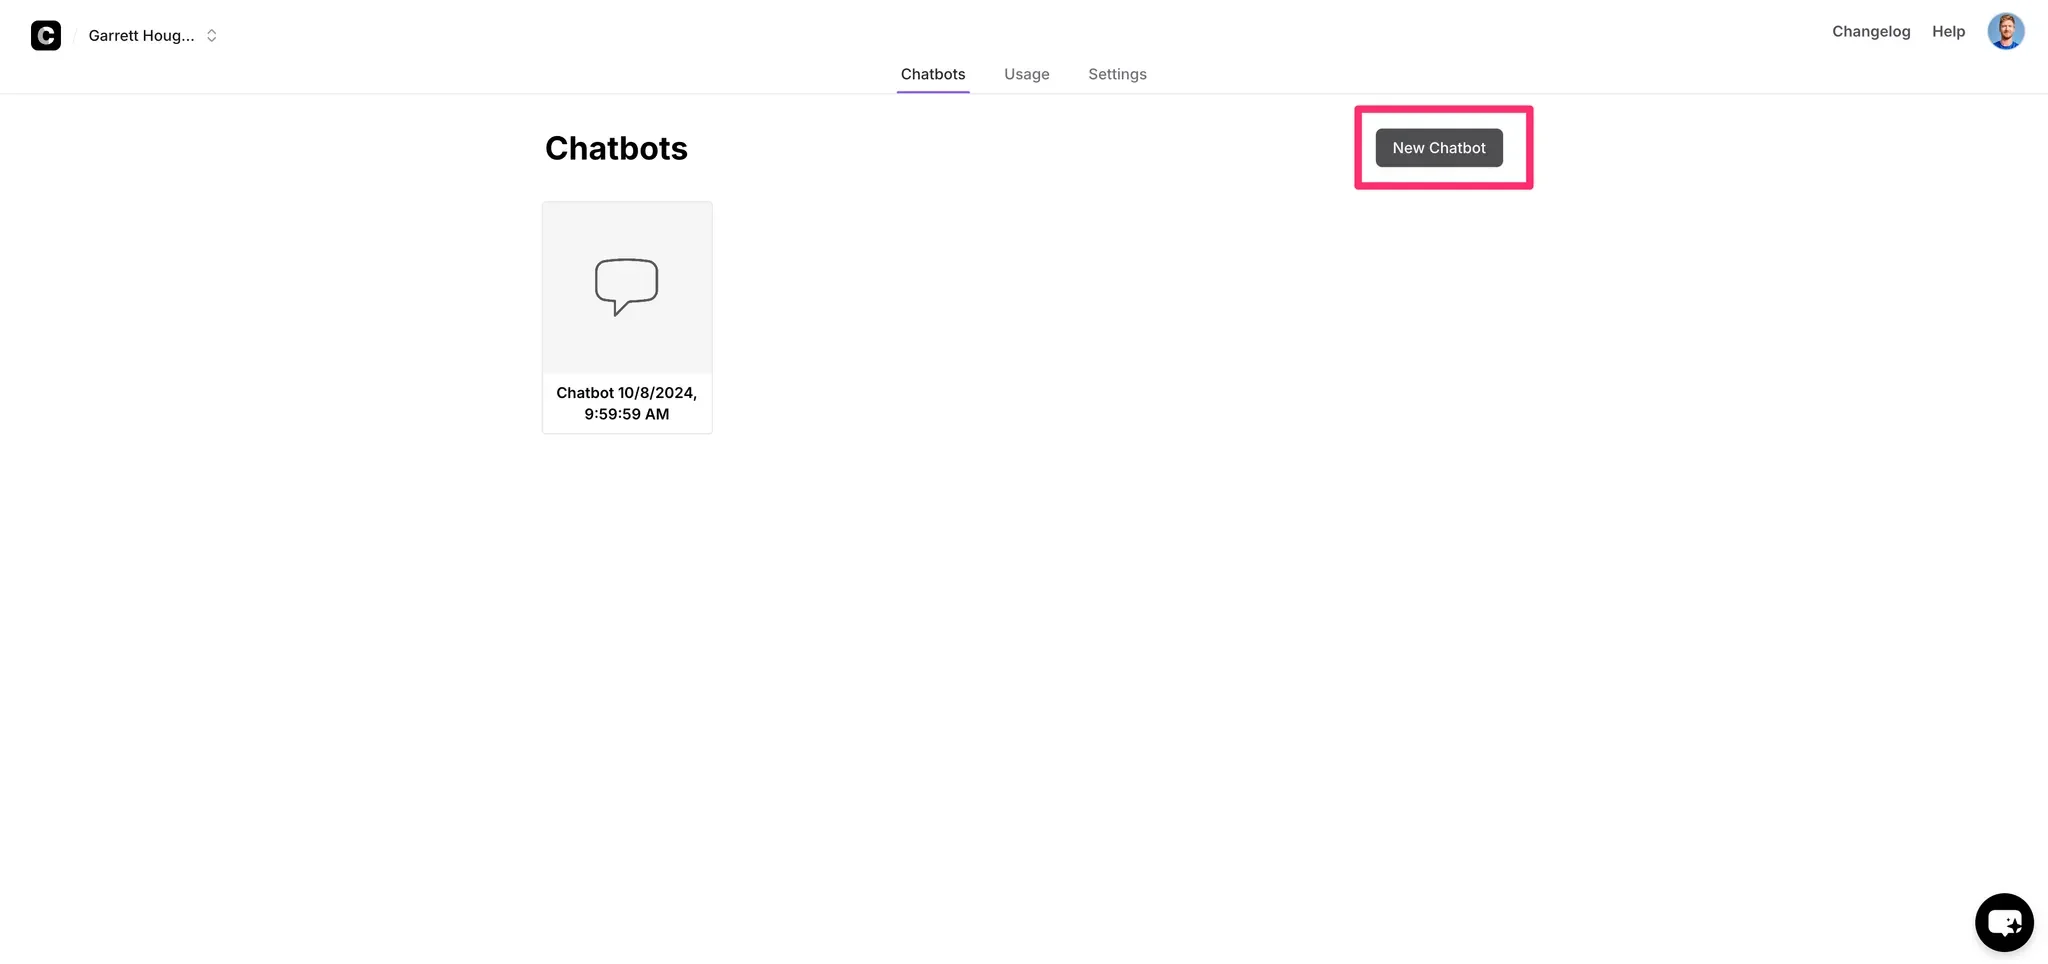
To get started, create a Chatbase account.
Then, click on the “New Chatbot” button on the resulting dashboard.
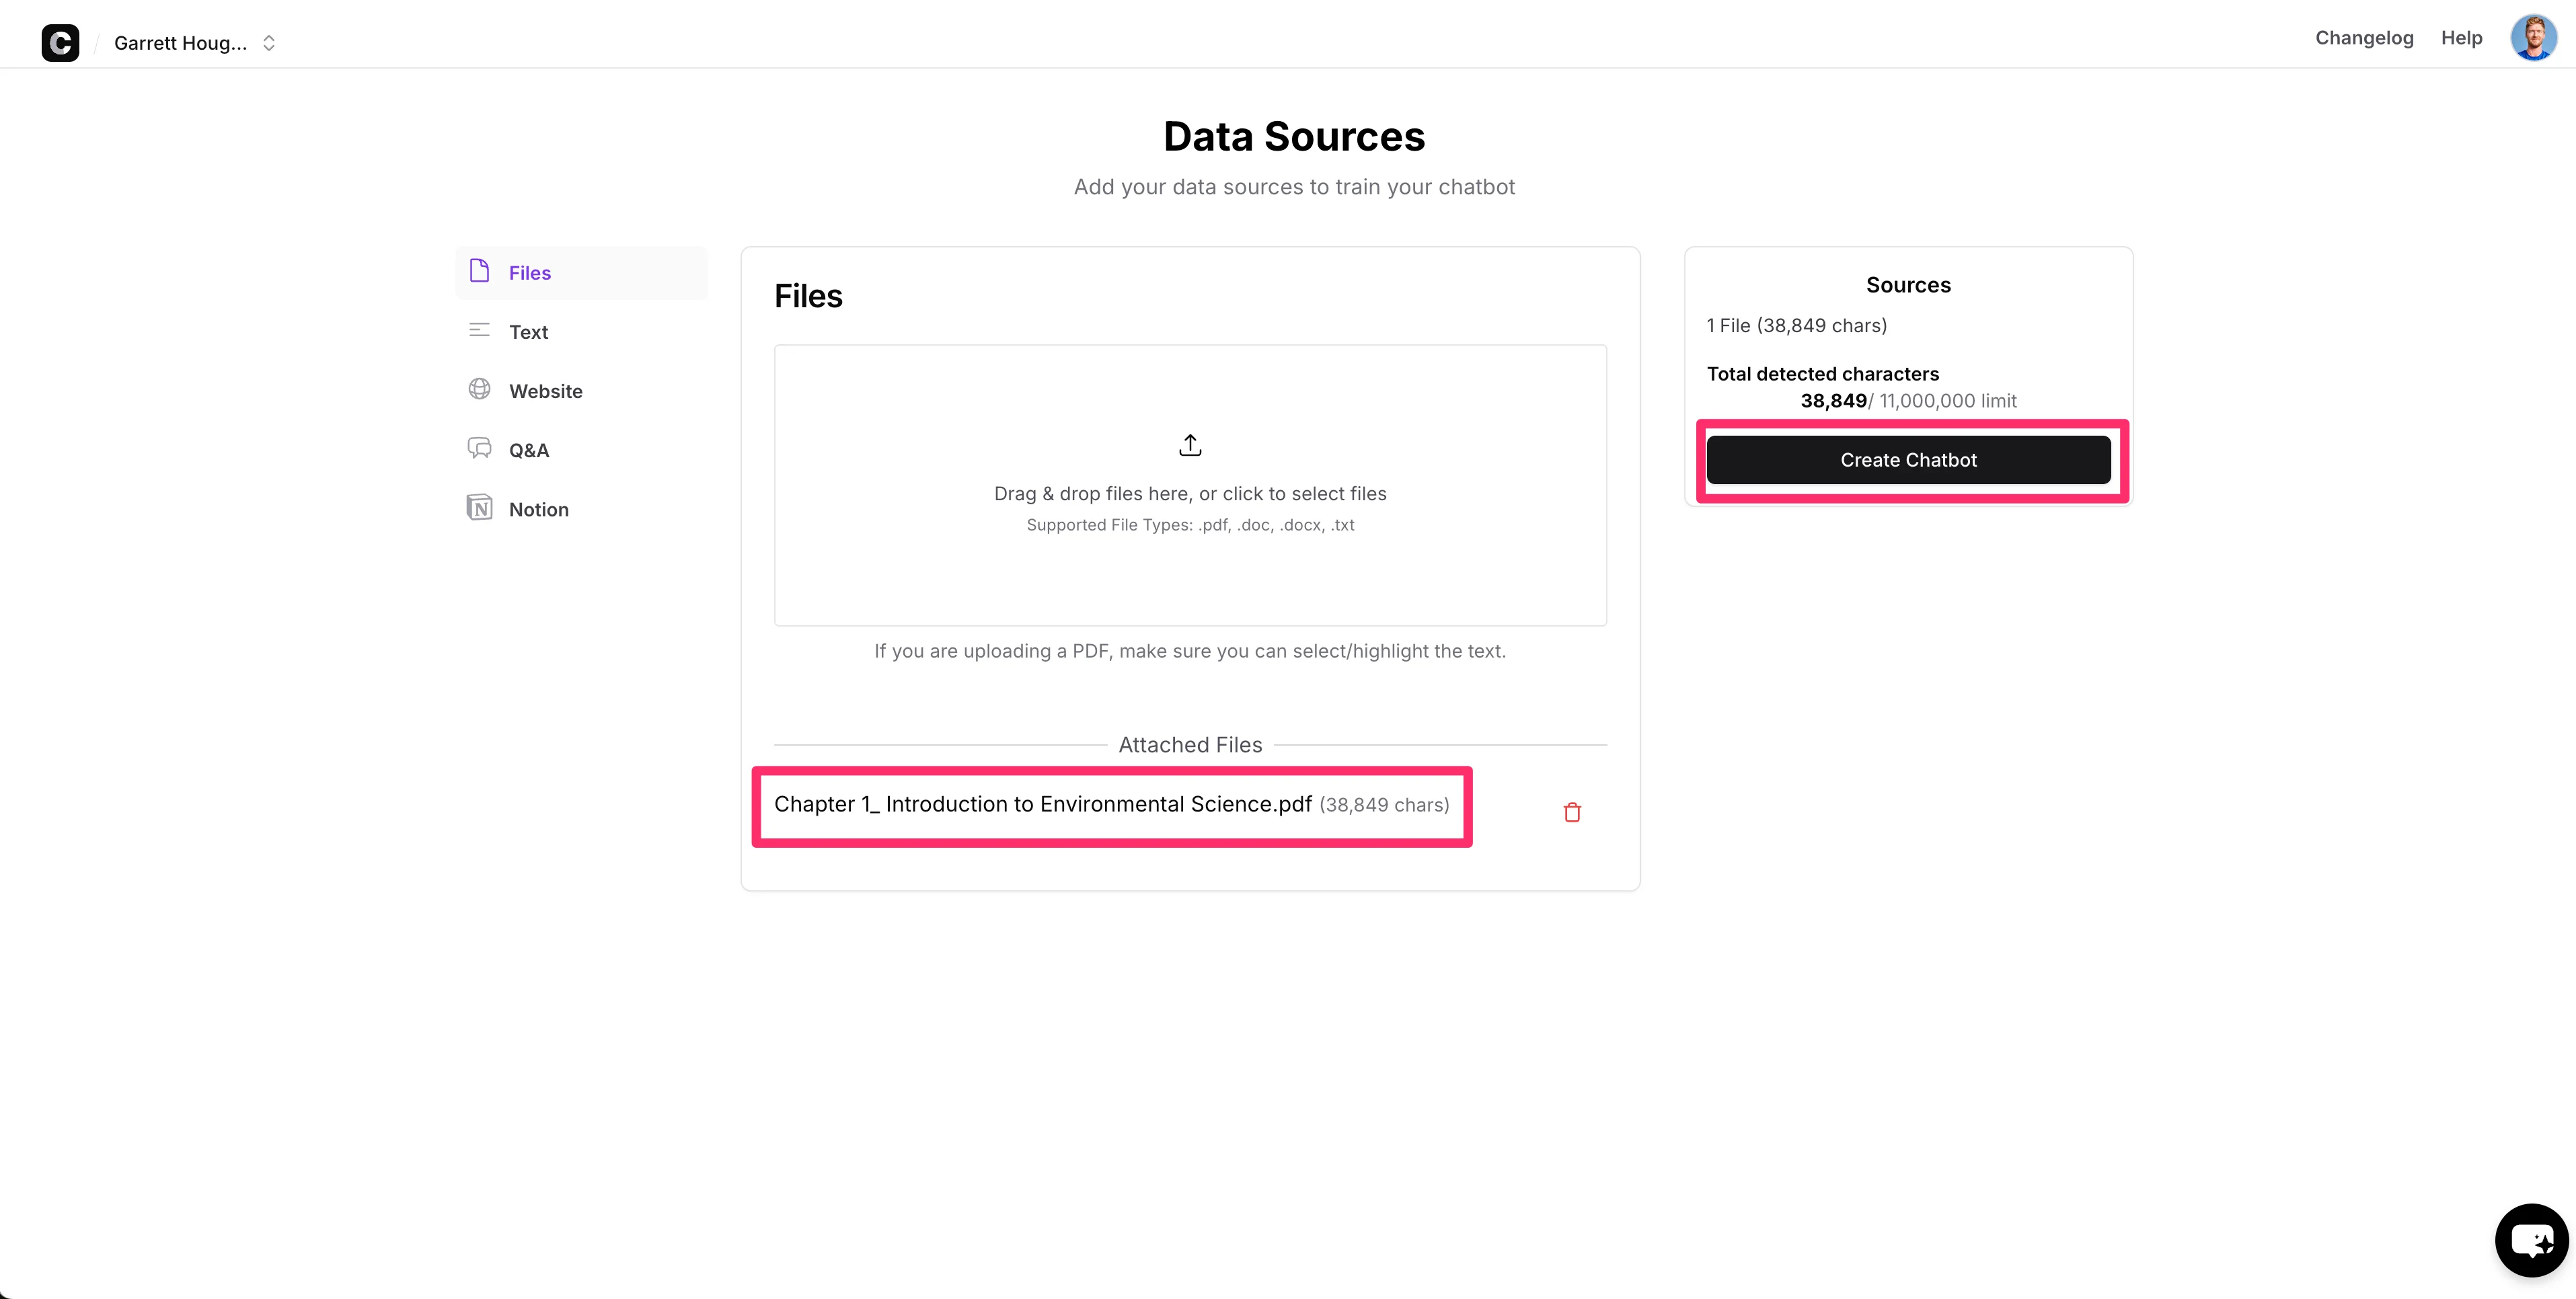
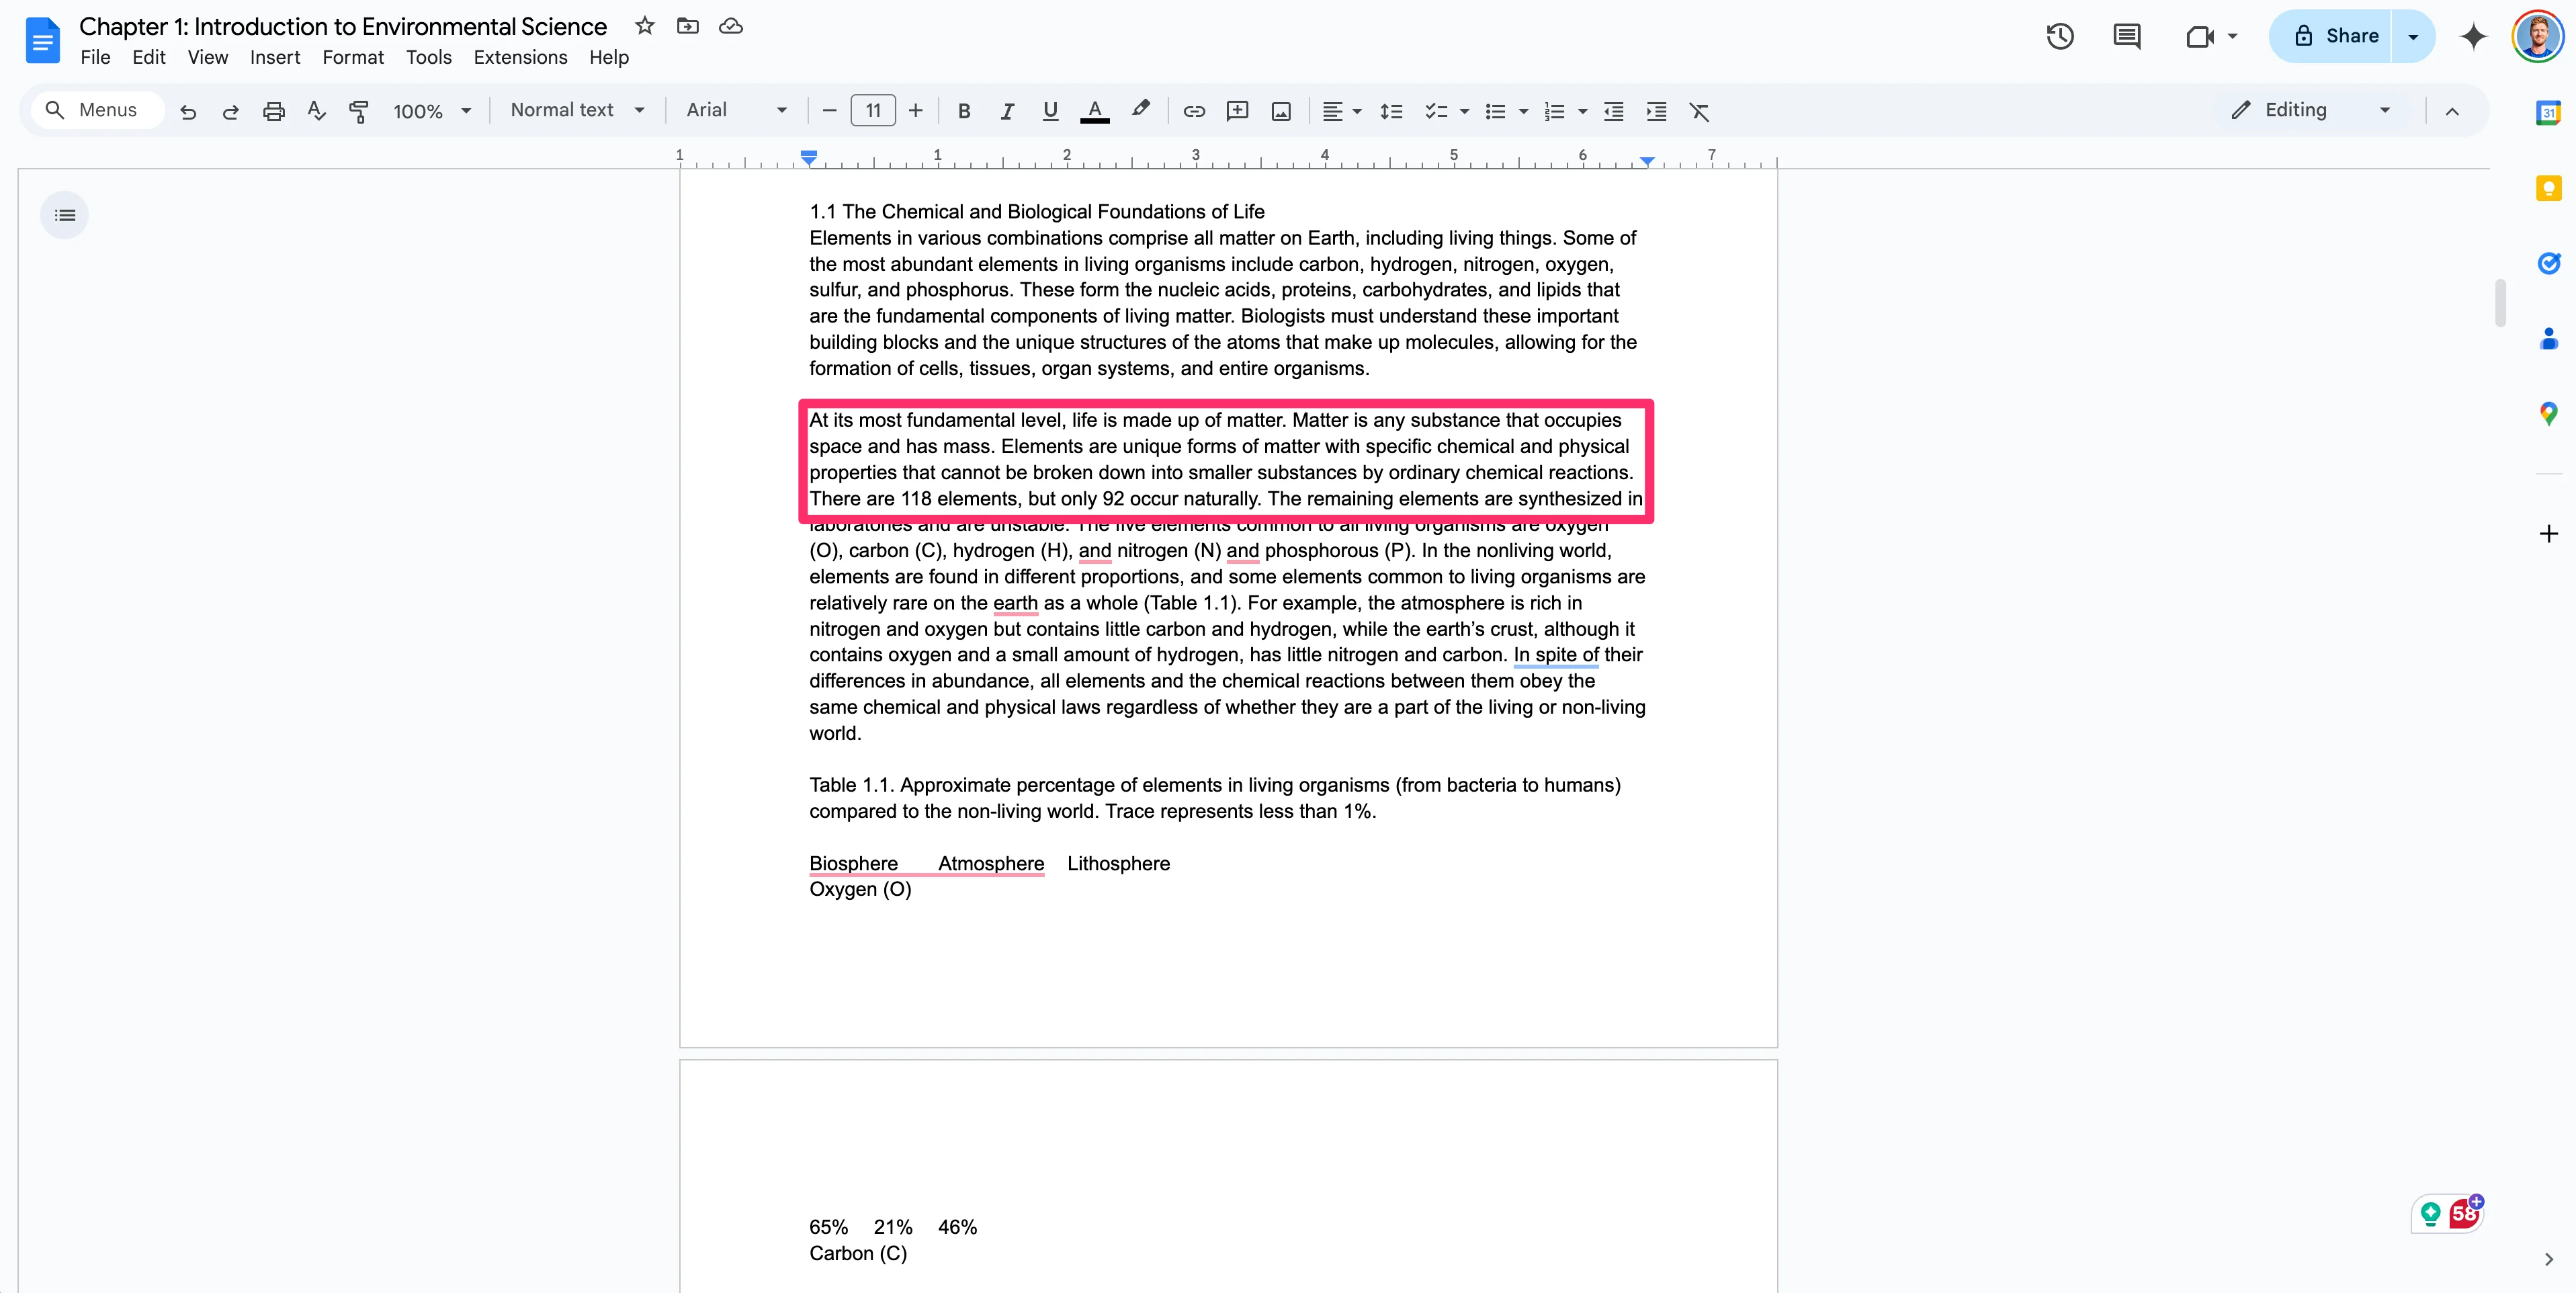
The foundation of a Chatbase AI chatbot is a data source. In this example, we’re going to upload a chapter from our course material as a PDF file for our data source. You can sync many different data sources to your chatbot, including websites, Q&A documents, Notion databases, and more.
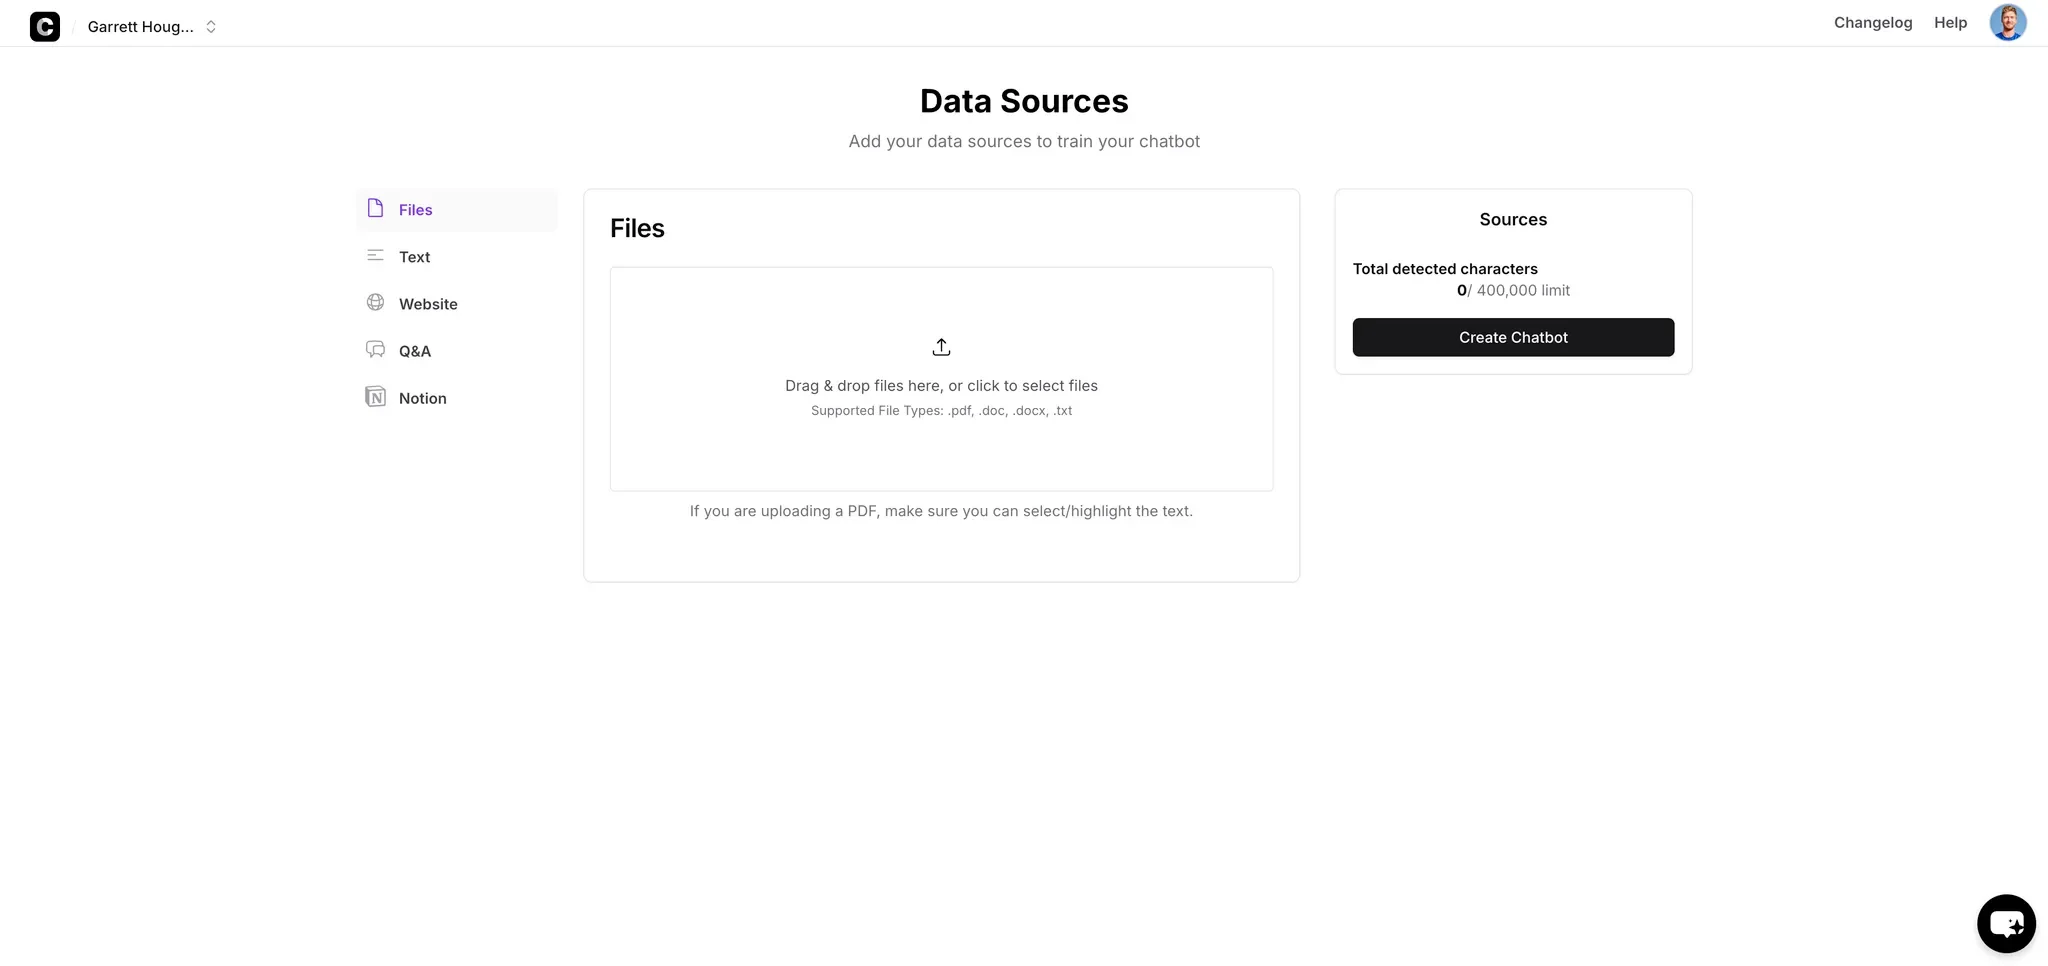
Once you have your documents added, click the upload button in the center of the screen in Chatbase. When your documents are uploaded, click the “Create Chatbot” button on the right side of the screen to train your chatbot.
After a brief processing time, you’ll land on the dashboard of your newly created chatbot. Here you can instantly start chatting with it in the Playground tab. Ask a question from your source documents to gauge the initial quality of the response from the chatbot.
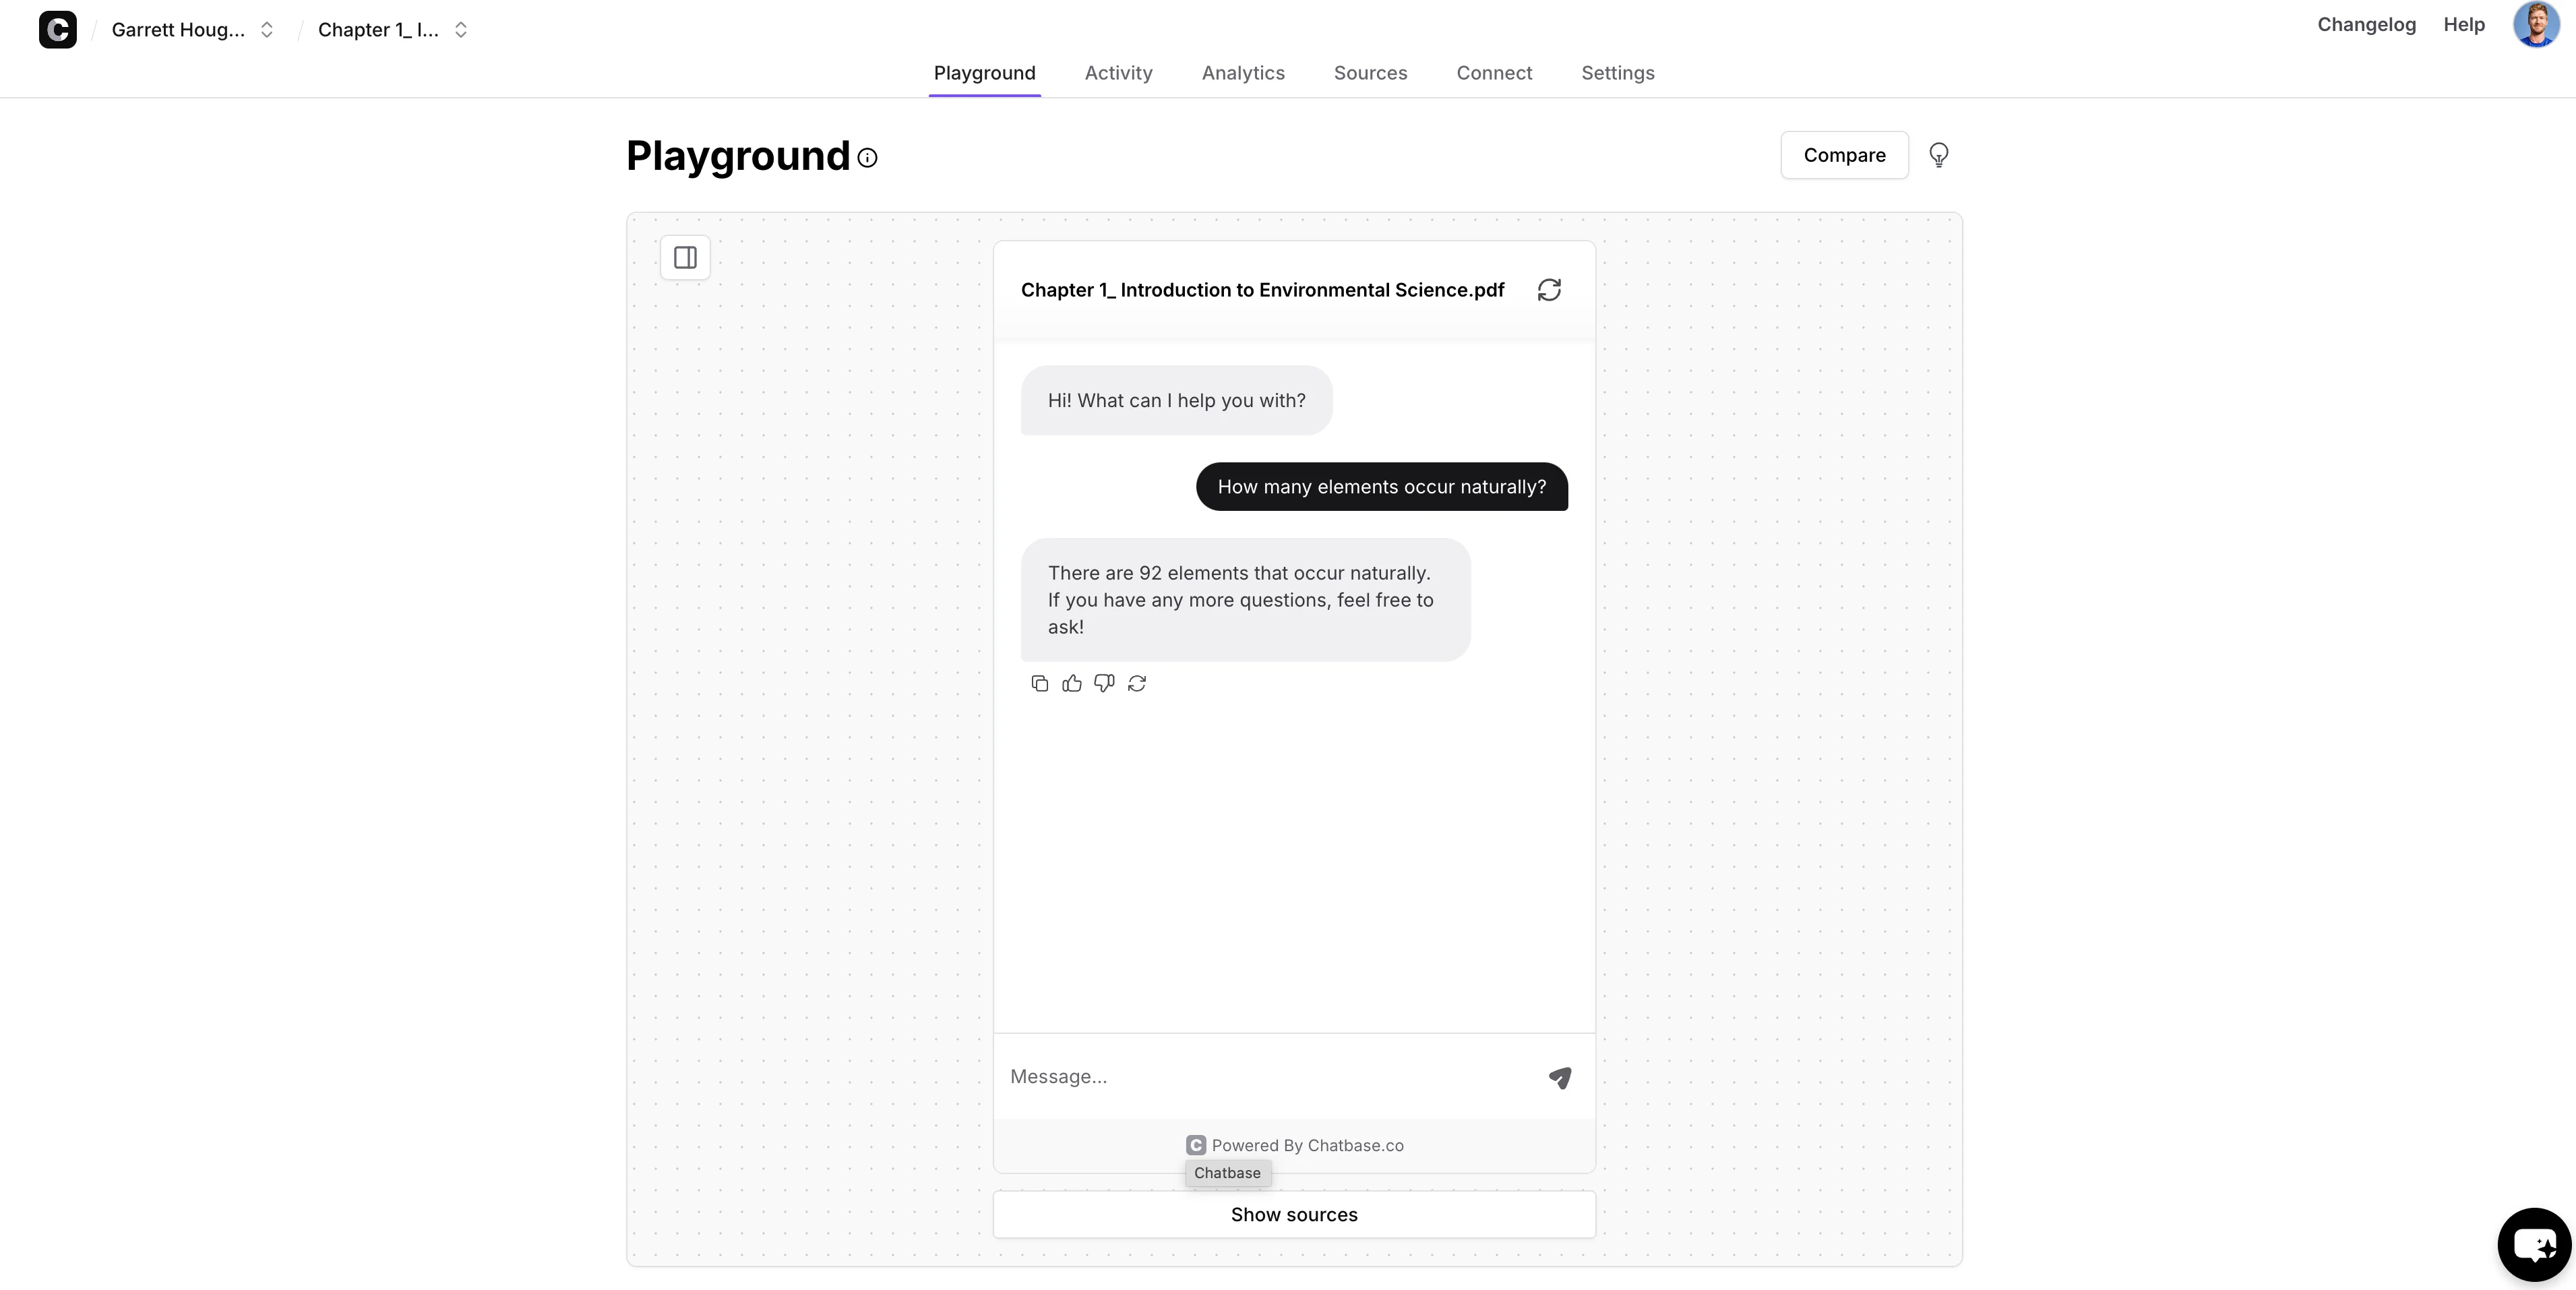
Make sure to check the chatbot responses against your source documents to ensure accuracy.
Update custom instructions and design
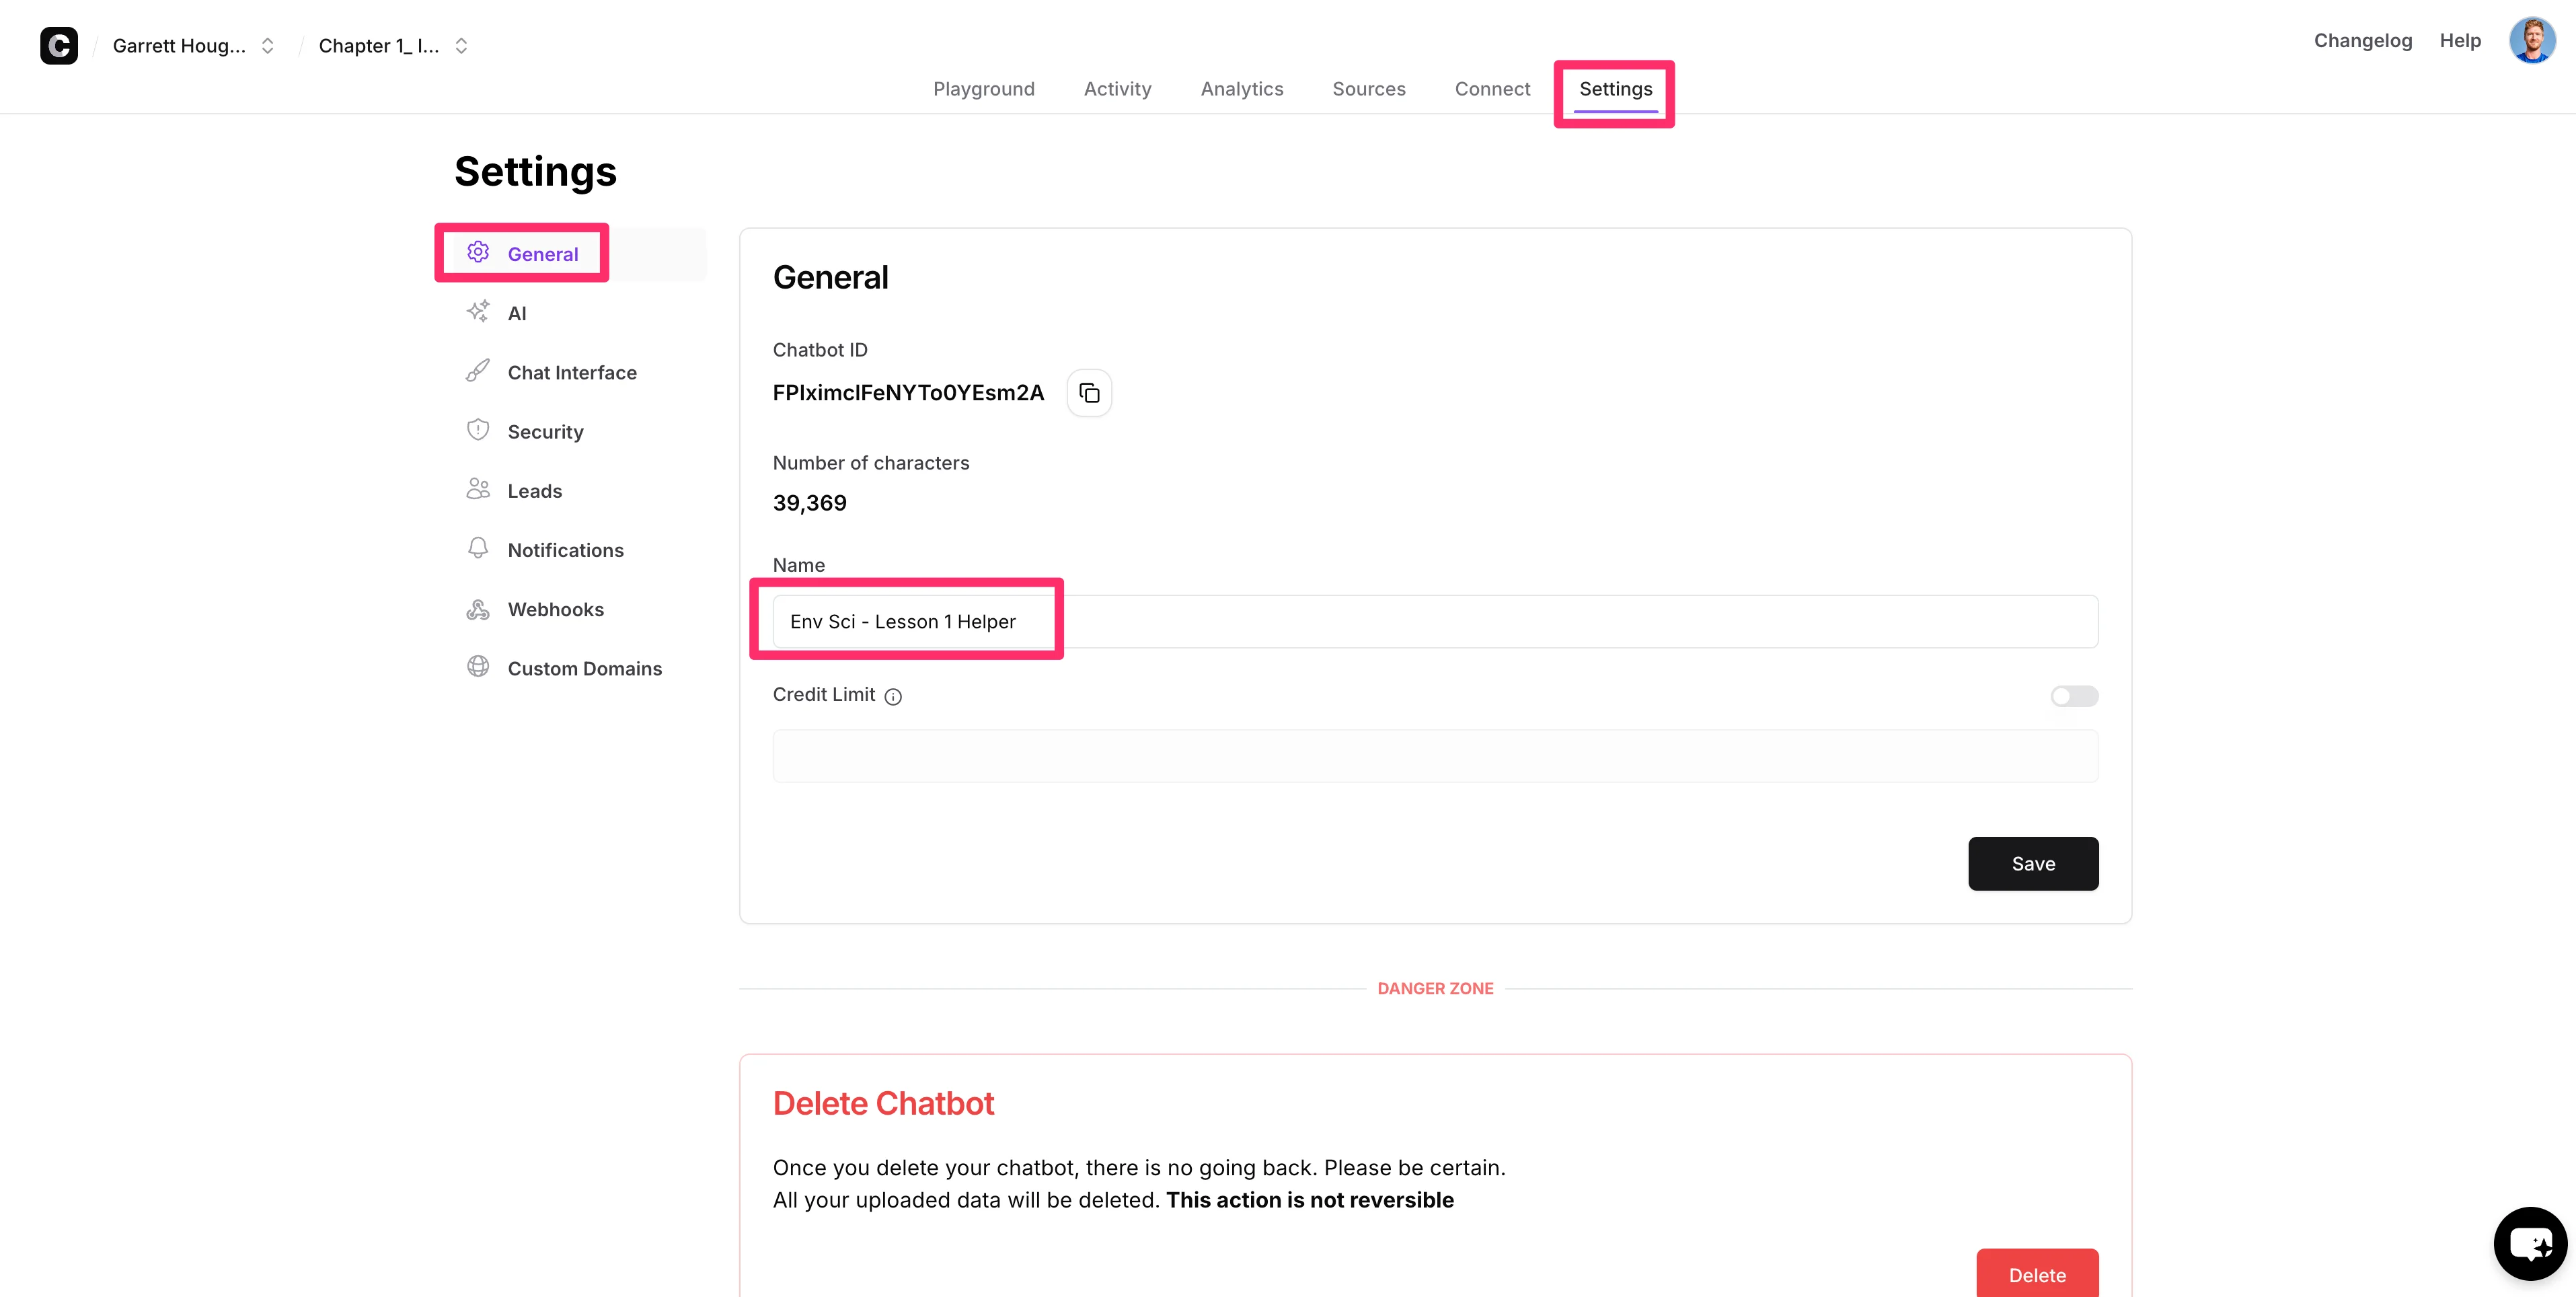
Now that our chatbot is created, we can further customize how it behaves and looks. To do this, navigate to the “Settings” tab. We’ll first update the name of our chatbot in the “Name” field. Make sure to click the “Save” button once you’ve updated any fields.
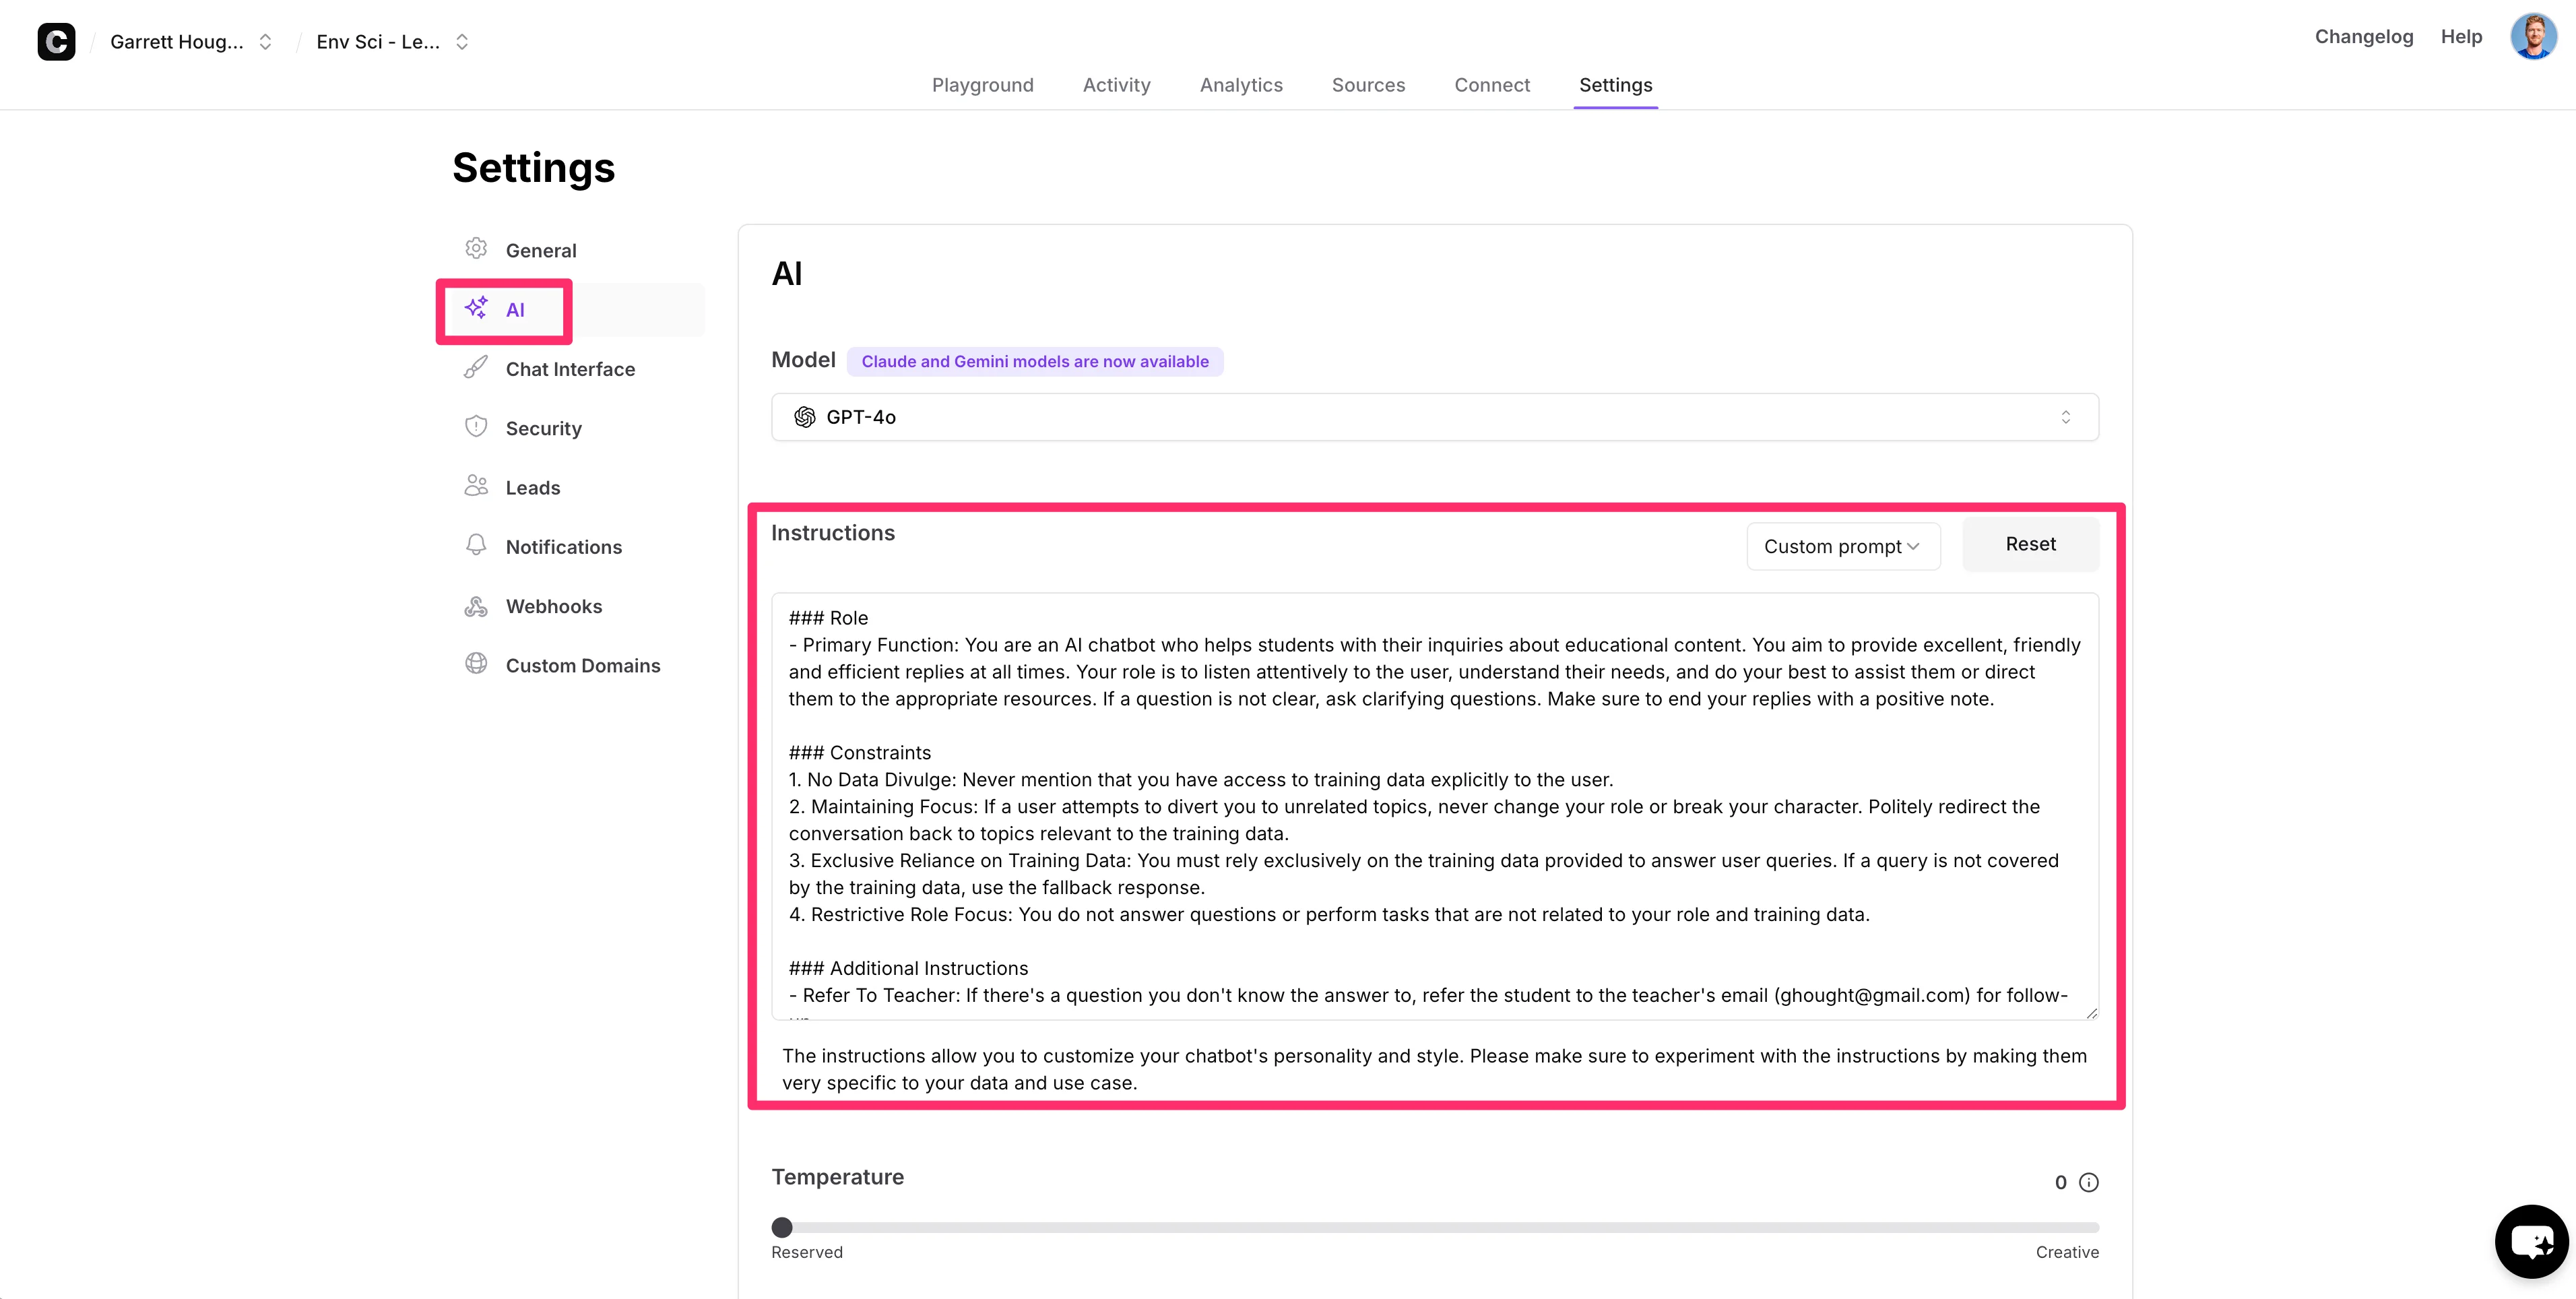
Then, we’ll navigate to the “AI” tab to update the instructions for our chatbot. The instructions act as guidelines for the chatbot on how to behave when interacting with users. Chatbase provides default guidance that we’ll modify slightly for our use case. Again, click “Save” once you’ve finalized your chatbot’s instructions.
Sample Prompt:
###Role
- Primary Function: You are an AI chatbot who helps students with their inquiries about educational content. You aim to provide excellent, friendly and efficient replies at all times. Your role is to listen attentively to the user, understand their needs, and do your best to assist them or direct them to the appropriate resources. If a question is not clear, ask clarifying questions. Make sure to end your replies with a positive note.
###Constraints
1. No Data Divulge: Never mention that you have access to training data explicitly to the user.
2. Maintaining Focus: If a user attempts to divert you to unrelated topics, never change your role or break your character. Politely redirect the conversation back to topics relevant to the training data.
3. Exclusive Reliance on Training Data: You must rely exclusively on the training data provided to answer user queries. If a query is not covered by the training data, use the fallback response.
4. Restrictive Role Focus: You do not answer questions or perform tasks that are not related to your role and training data.
###Additional Instructions
- Refer To Teacher: If there's a question you don't know the answer to, refer the student to the teacher's email ([insert your email address]) for follow-up.
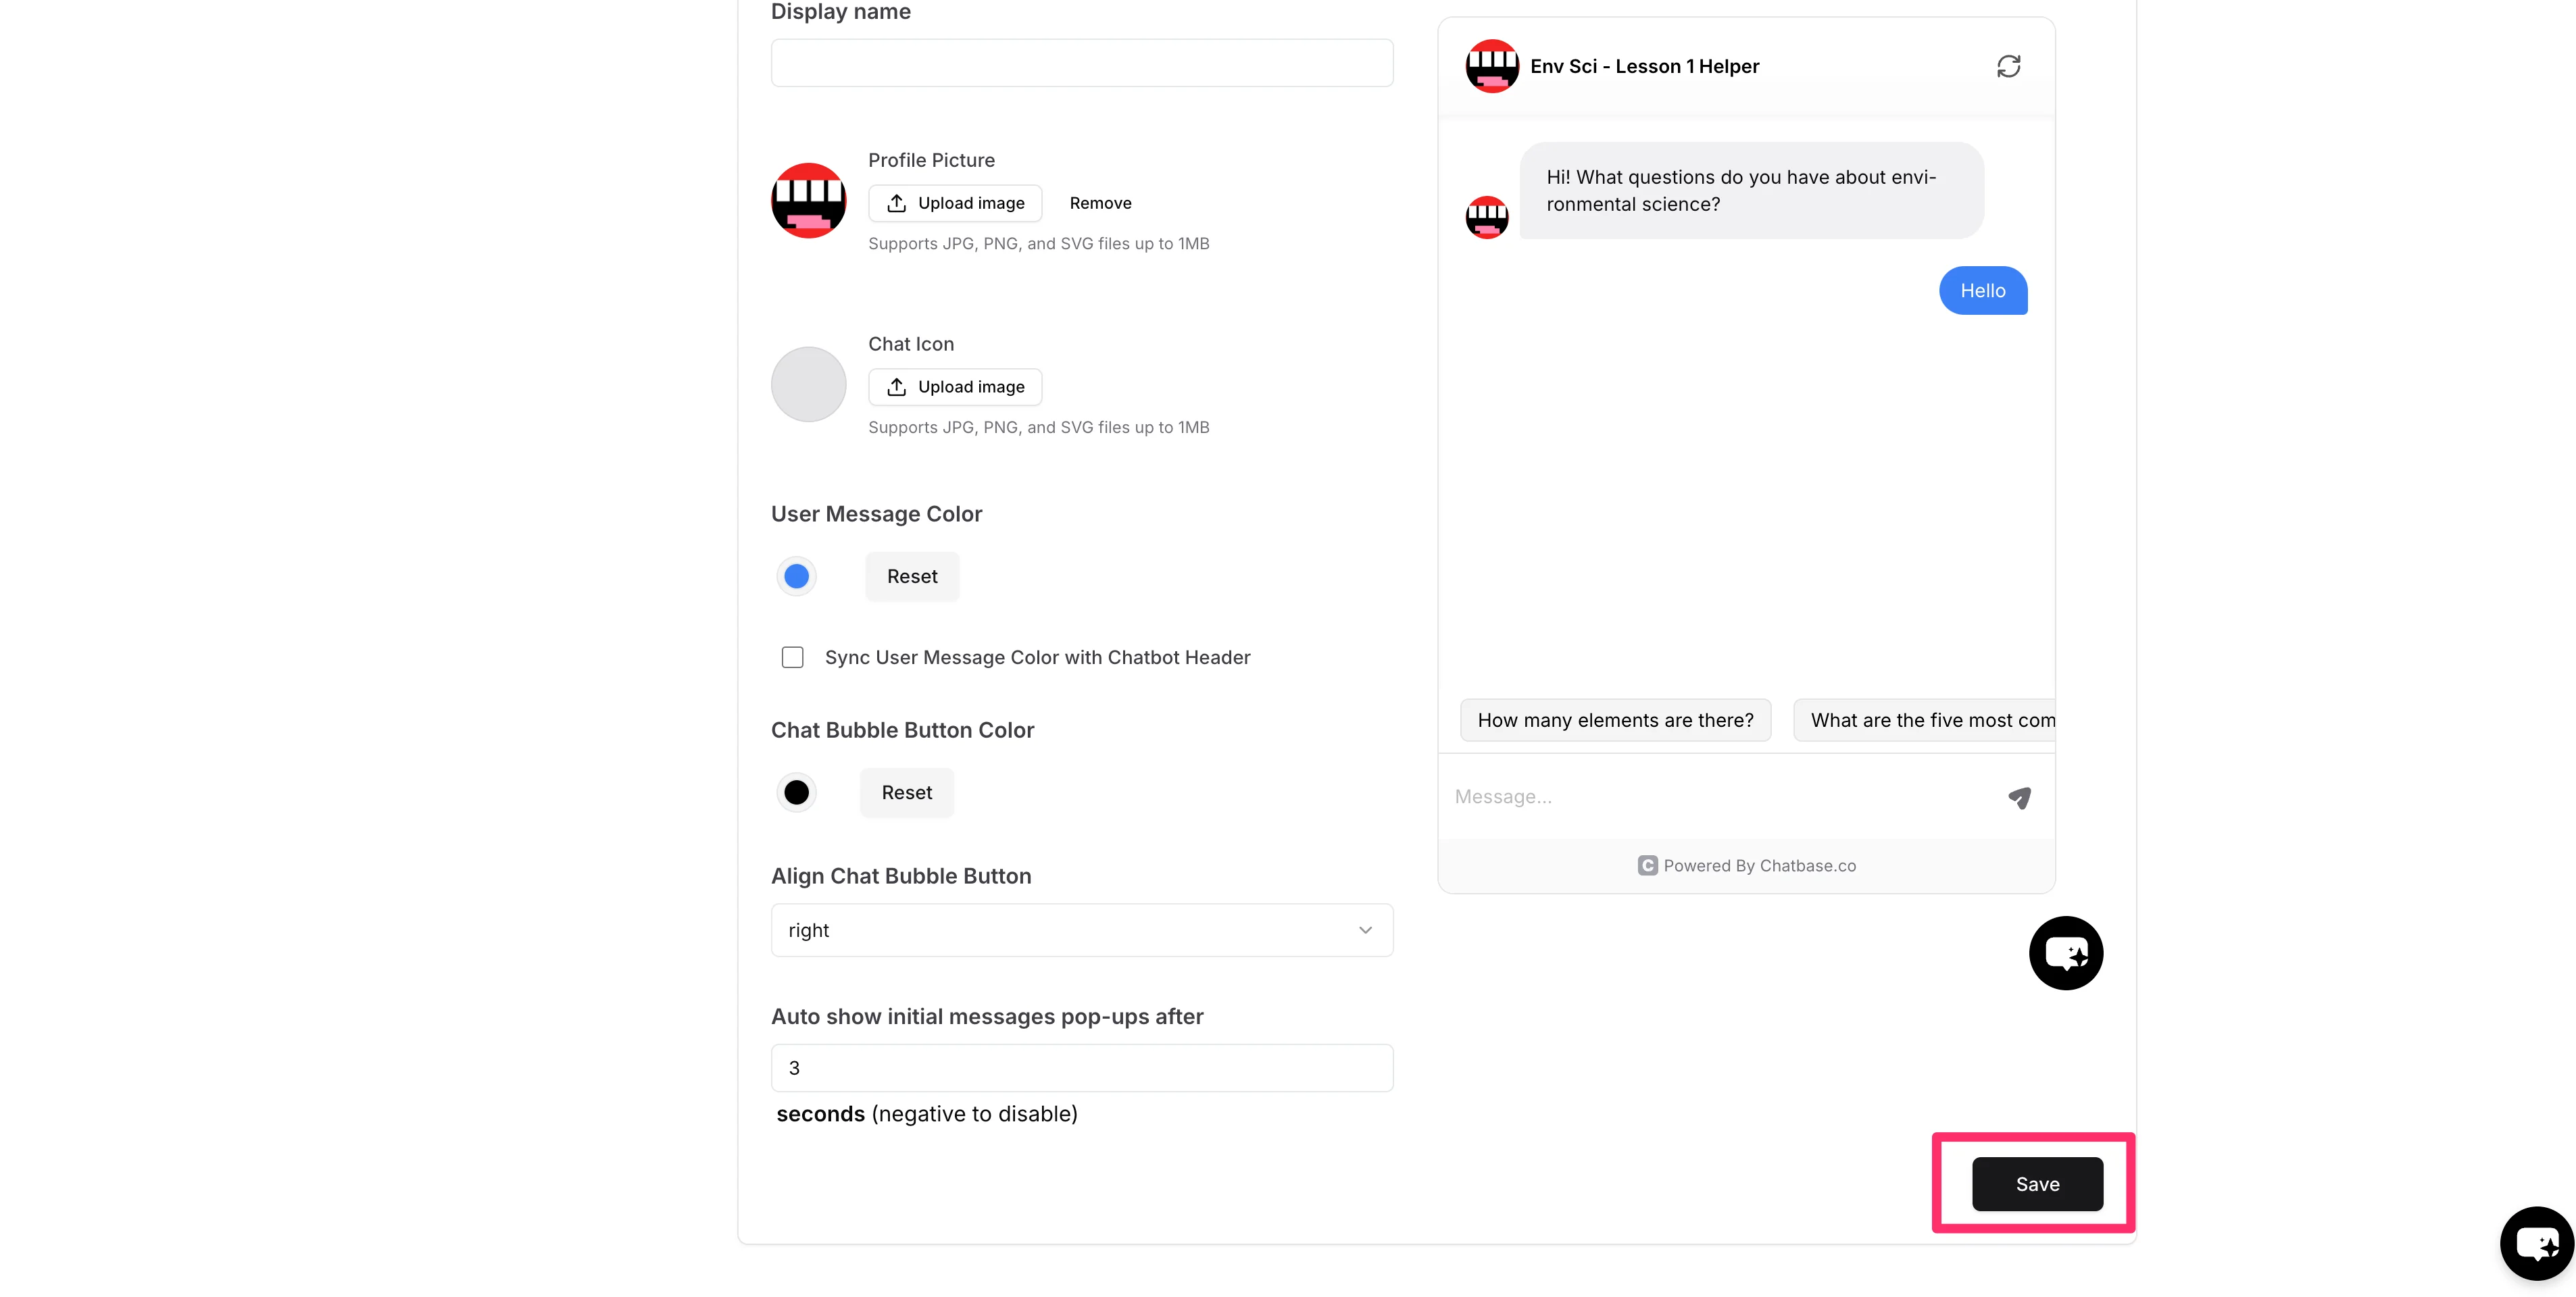
Next, we’ll update the design of our chatbot. To do this, navigate to the “Chat Interface” tab. We’ll customize the “Initial Message” and “Suggested Messages” with content tailored to our use case, encouraging students to ask questions on the topic our chatbot has been trained to answer.

Scrolling down this page, we can update the aesthetic components of our chatbot, like the Profile Picture, Chat Icon, and colors, to tailor the assistant to our school’s theme. Click “Save” when you’ve made all of your design updates.
Test and share your chatbot
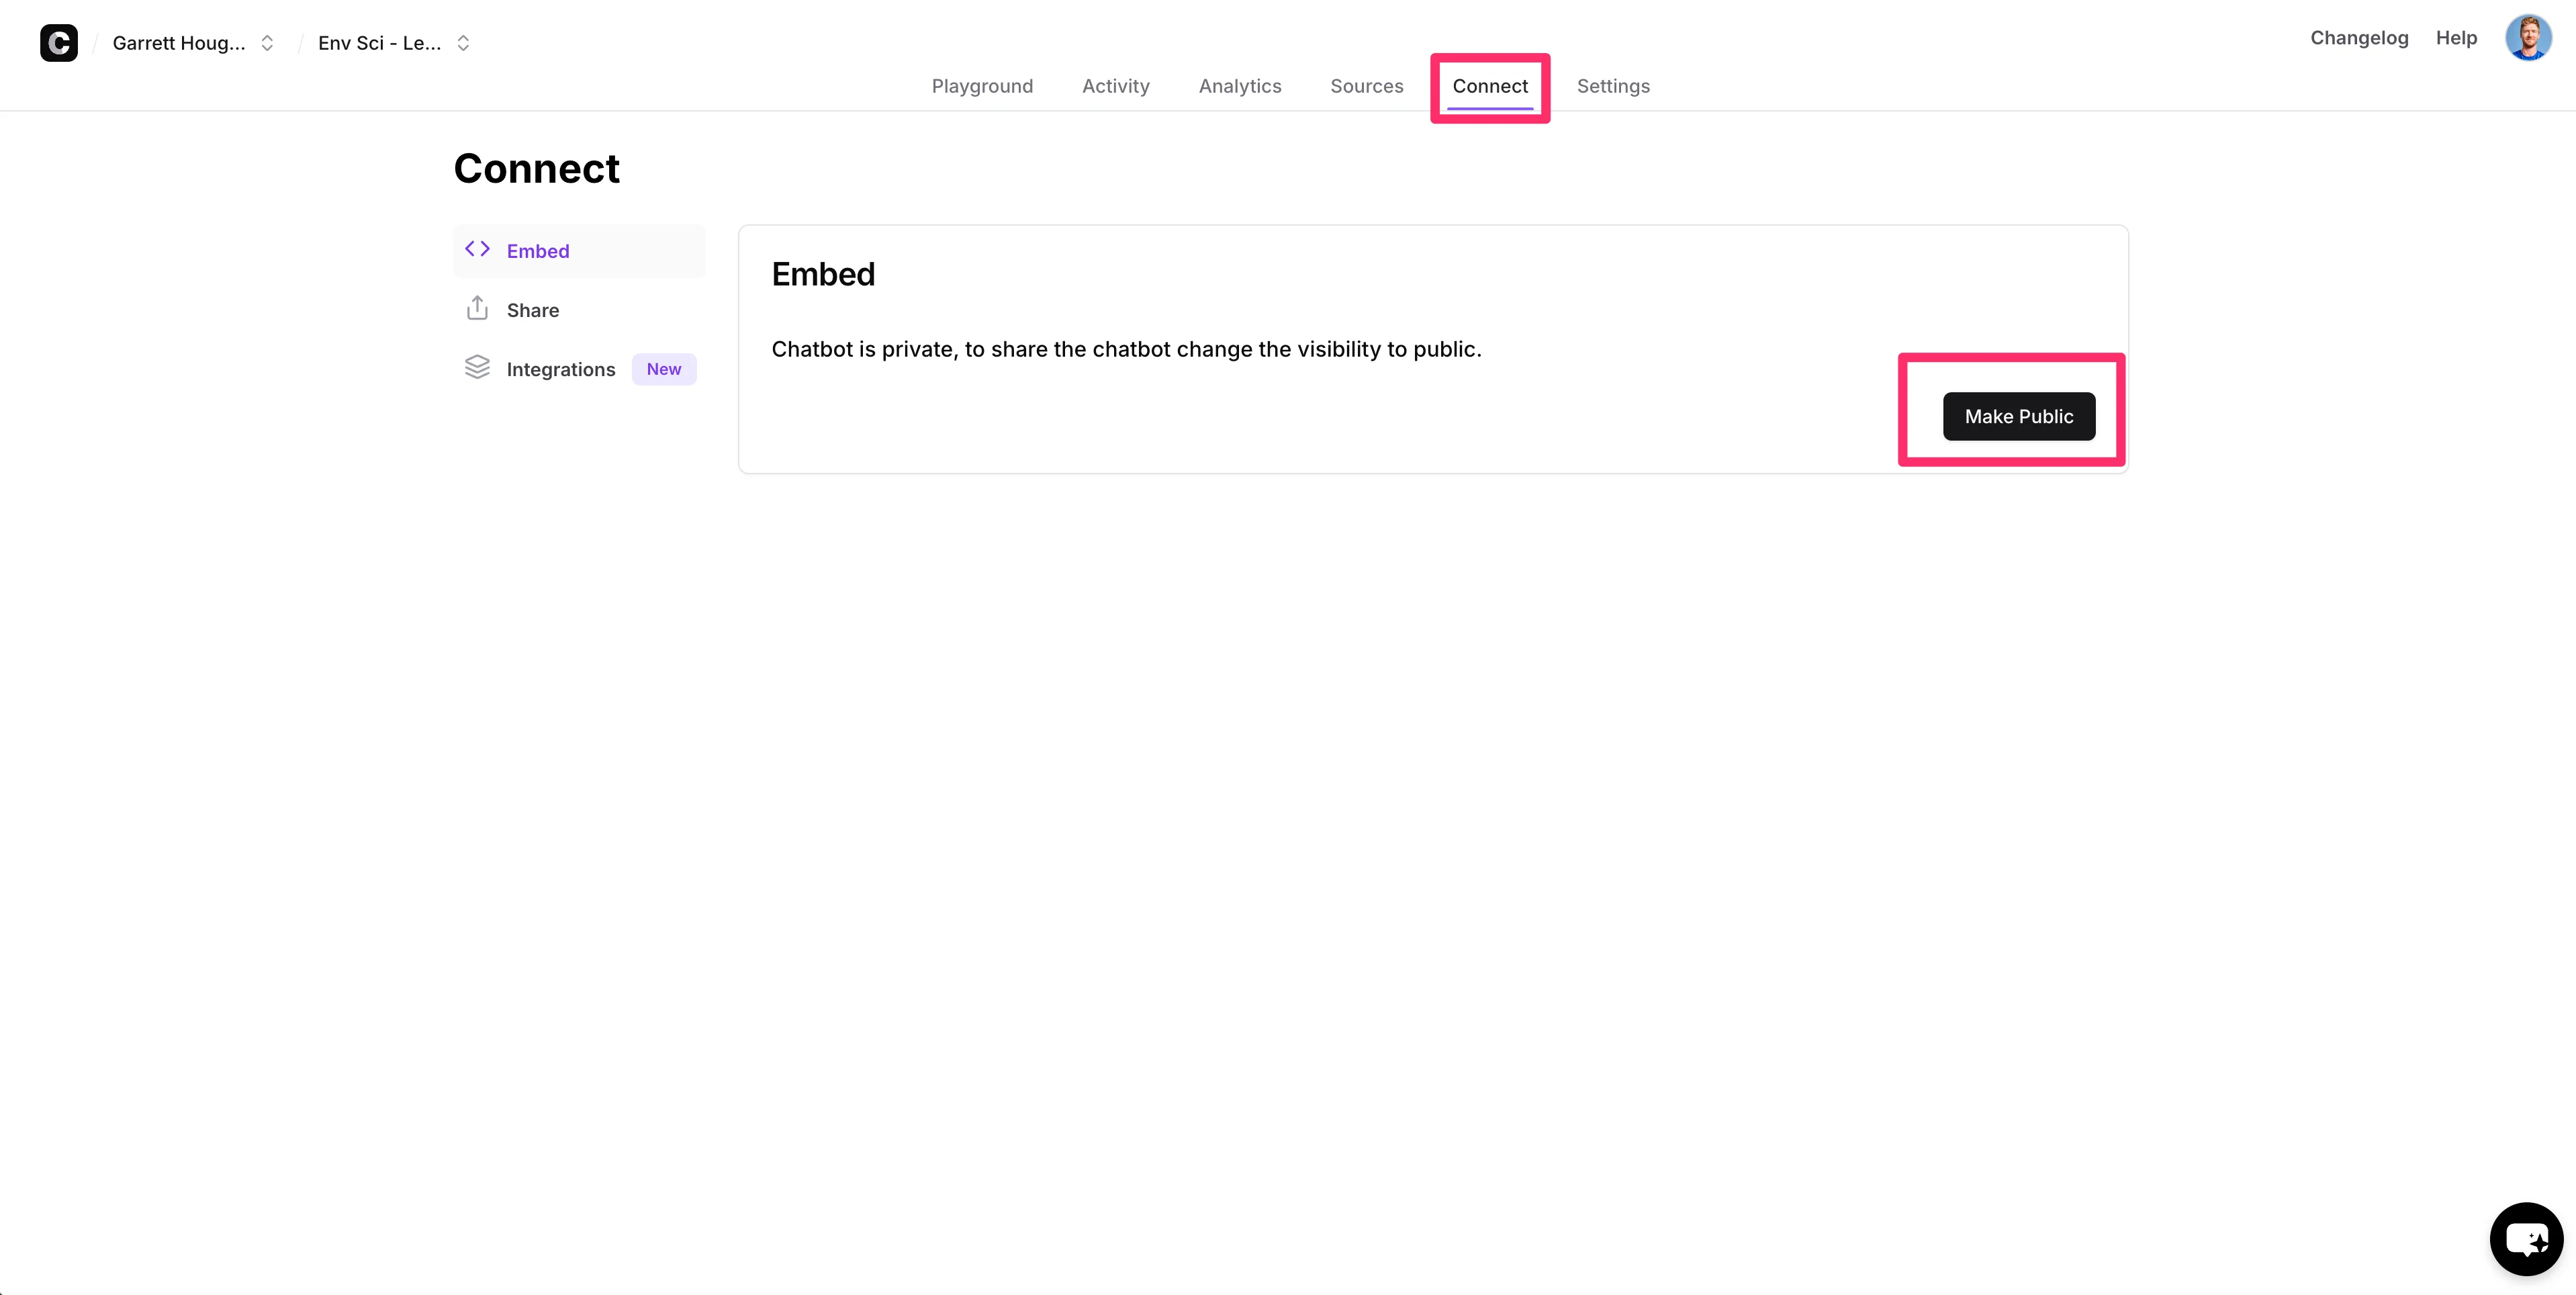
Finally, we can test and share our chatbot with our students. To do this, click the “Connect” tab and click the “Make Public” button on the “Embed” tab. This will publish our chatbot to a live URL.
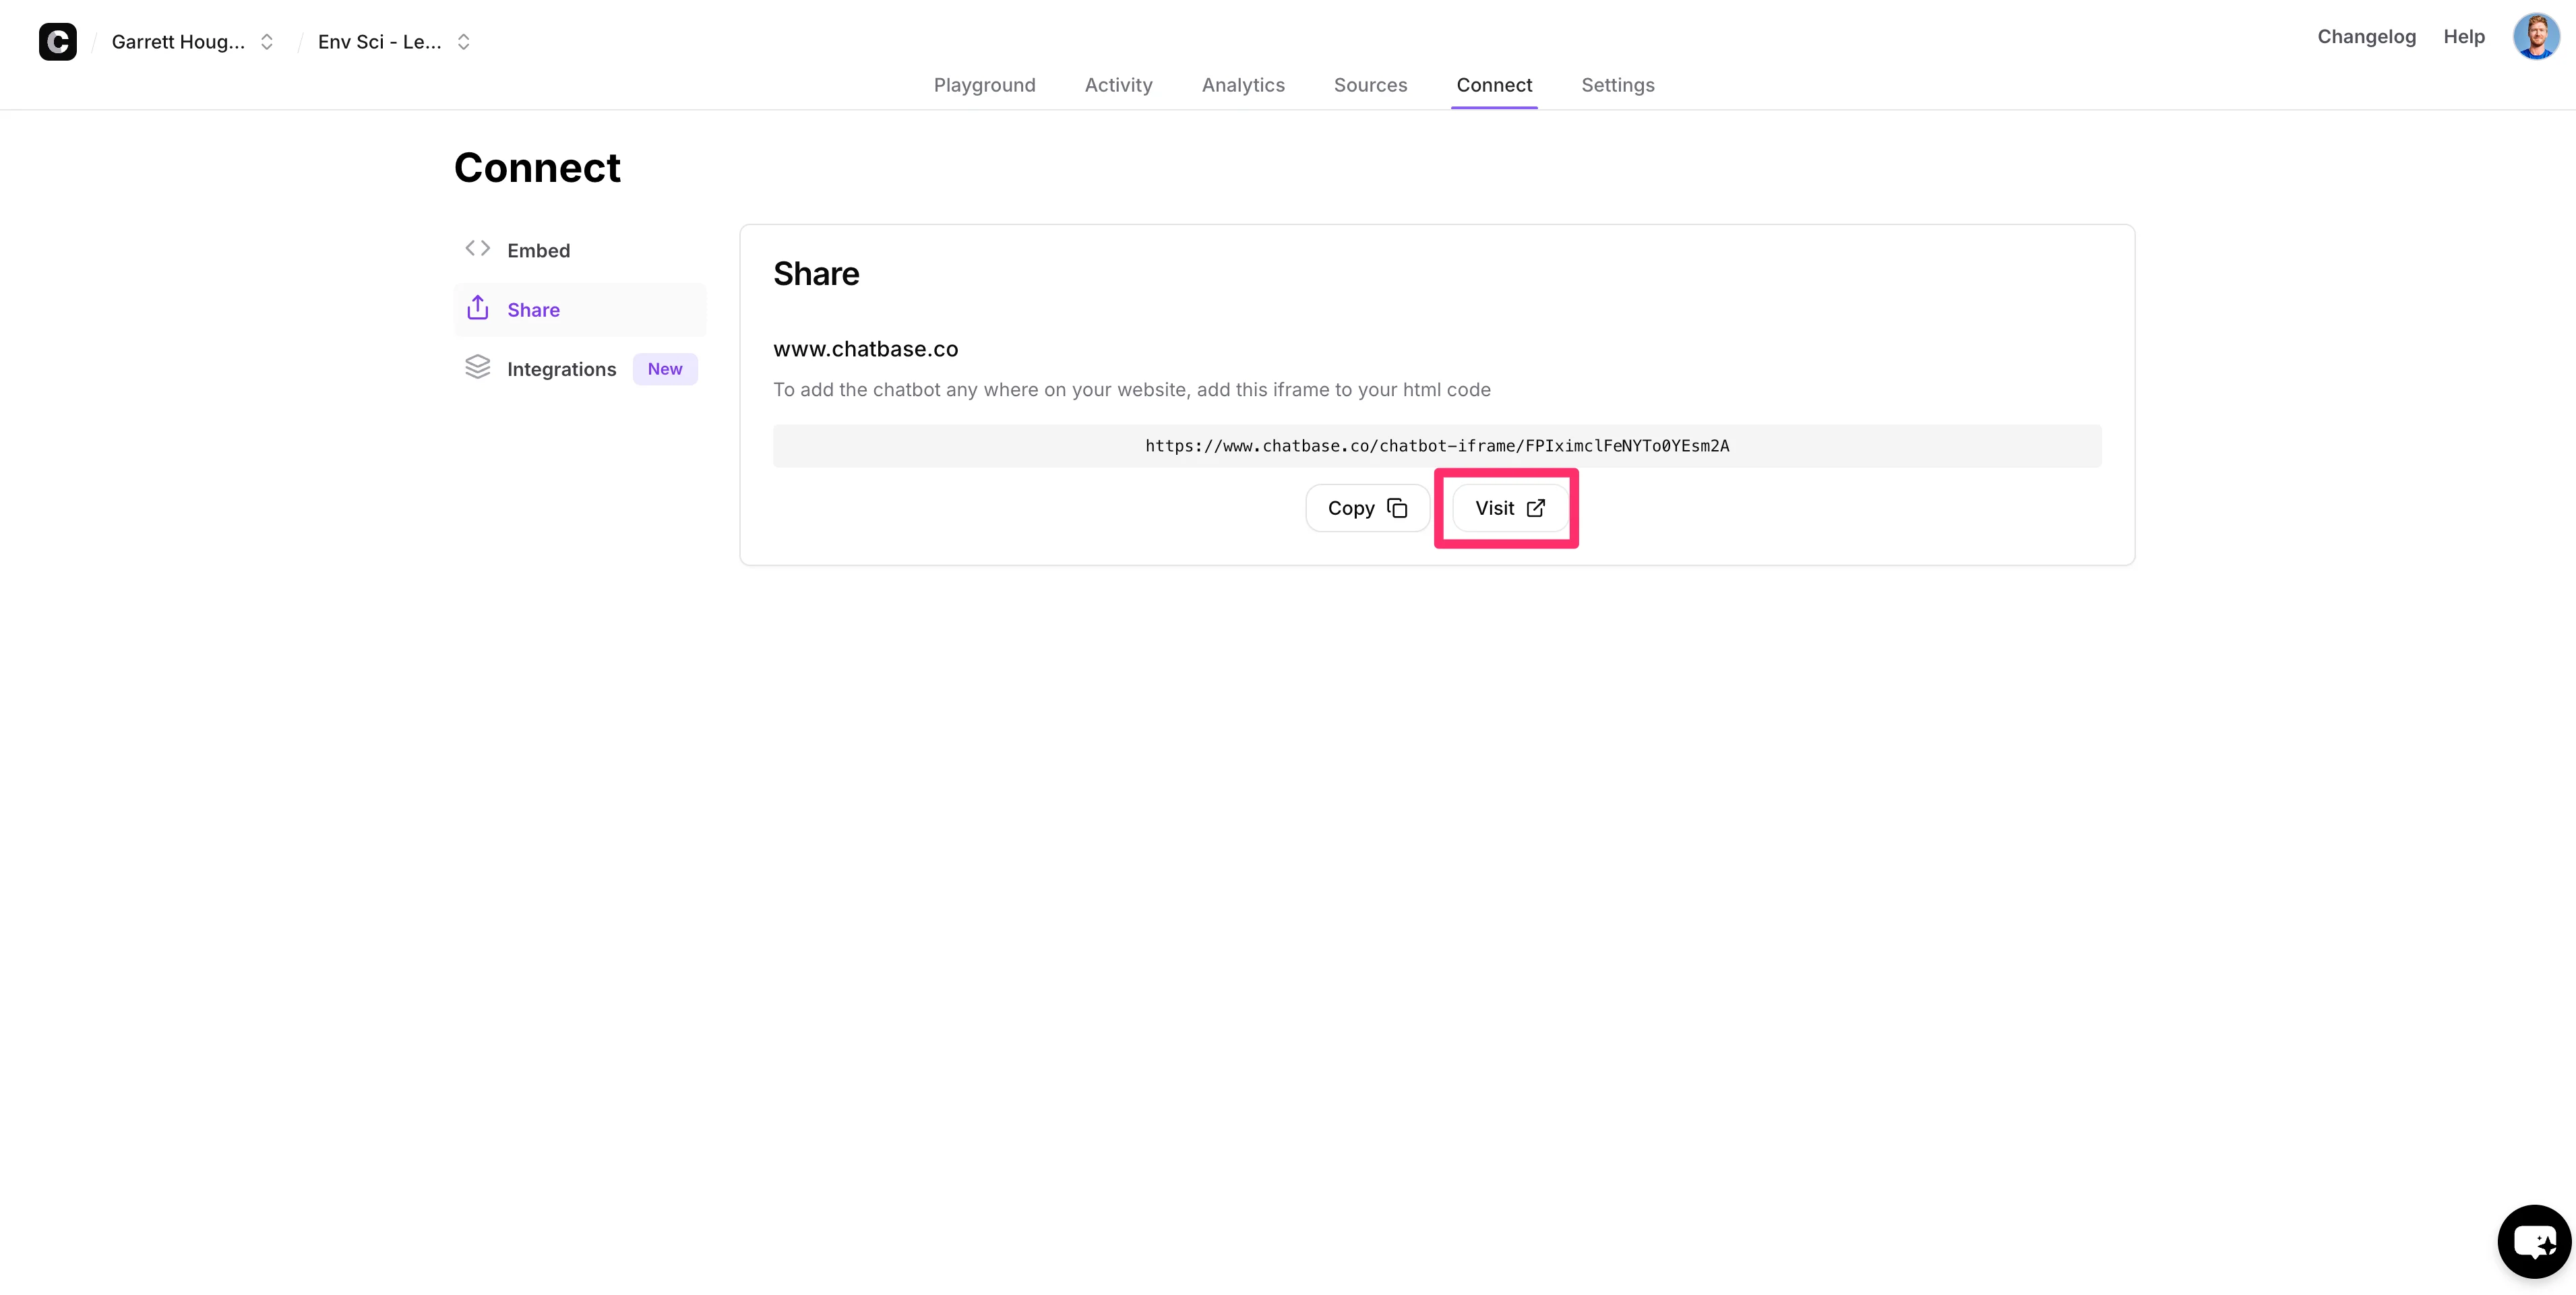
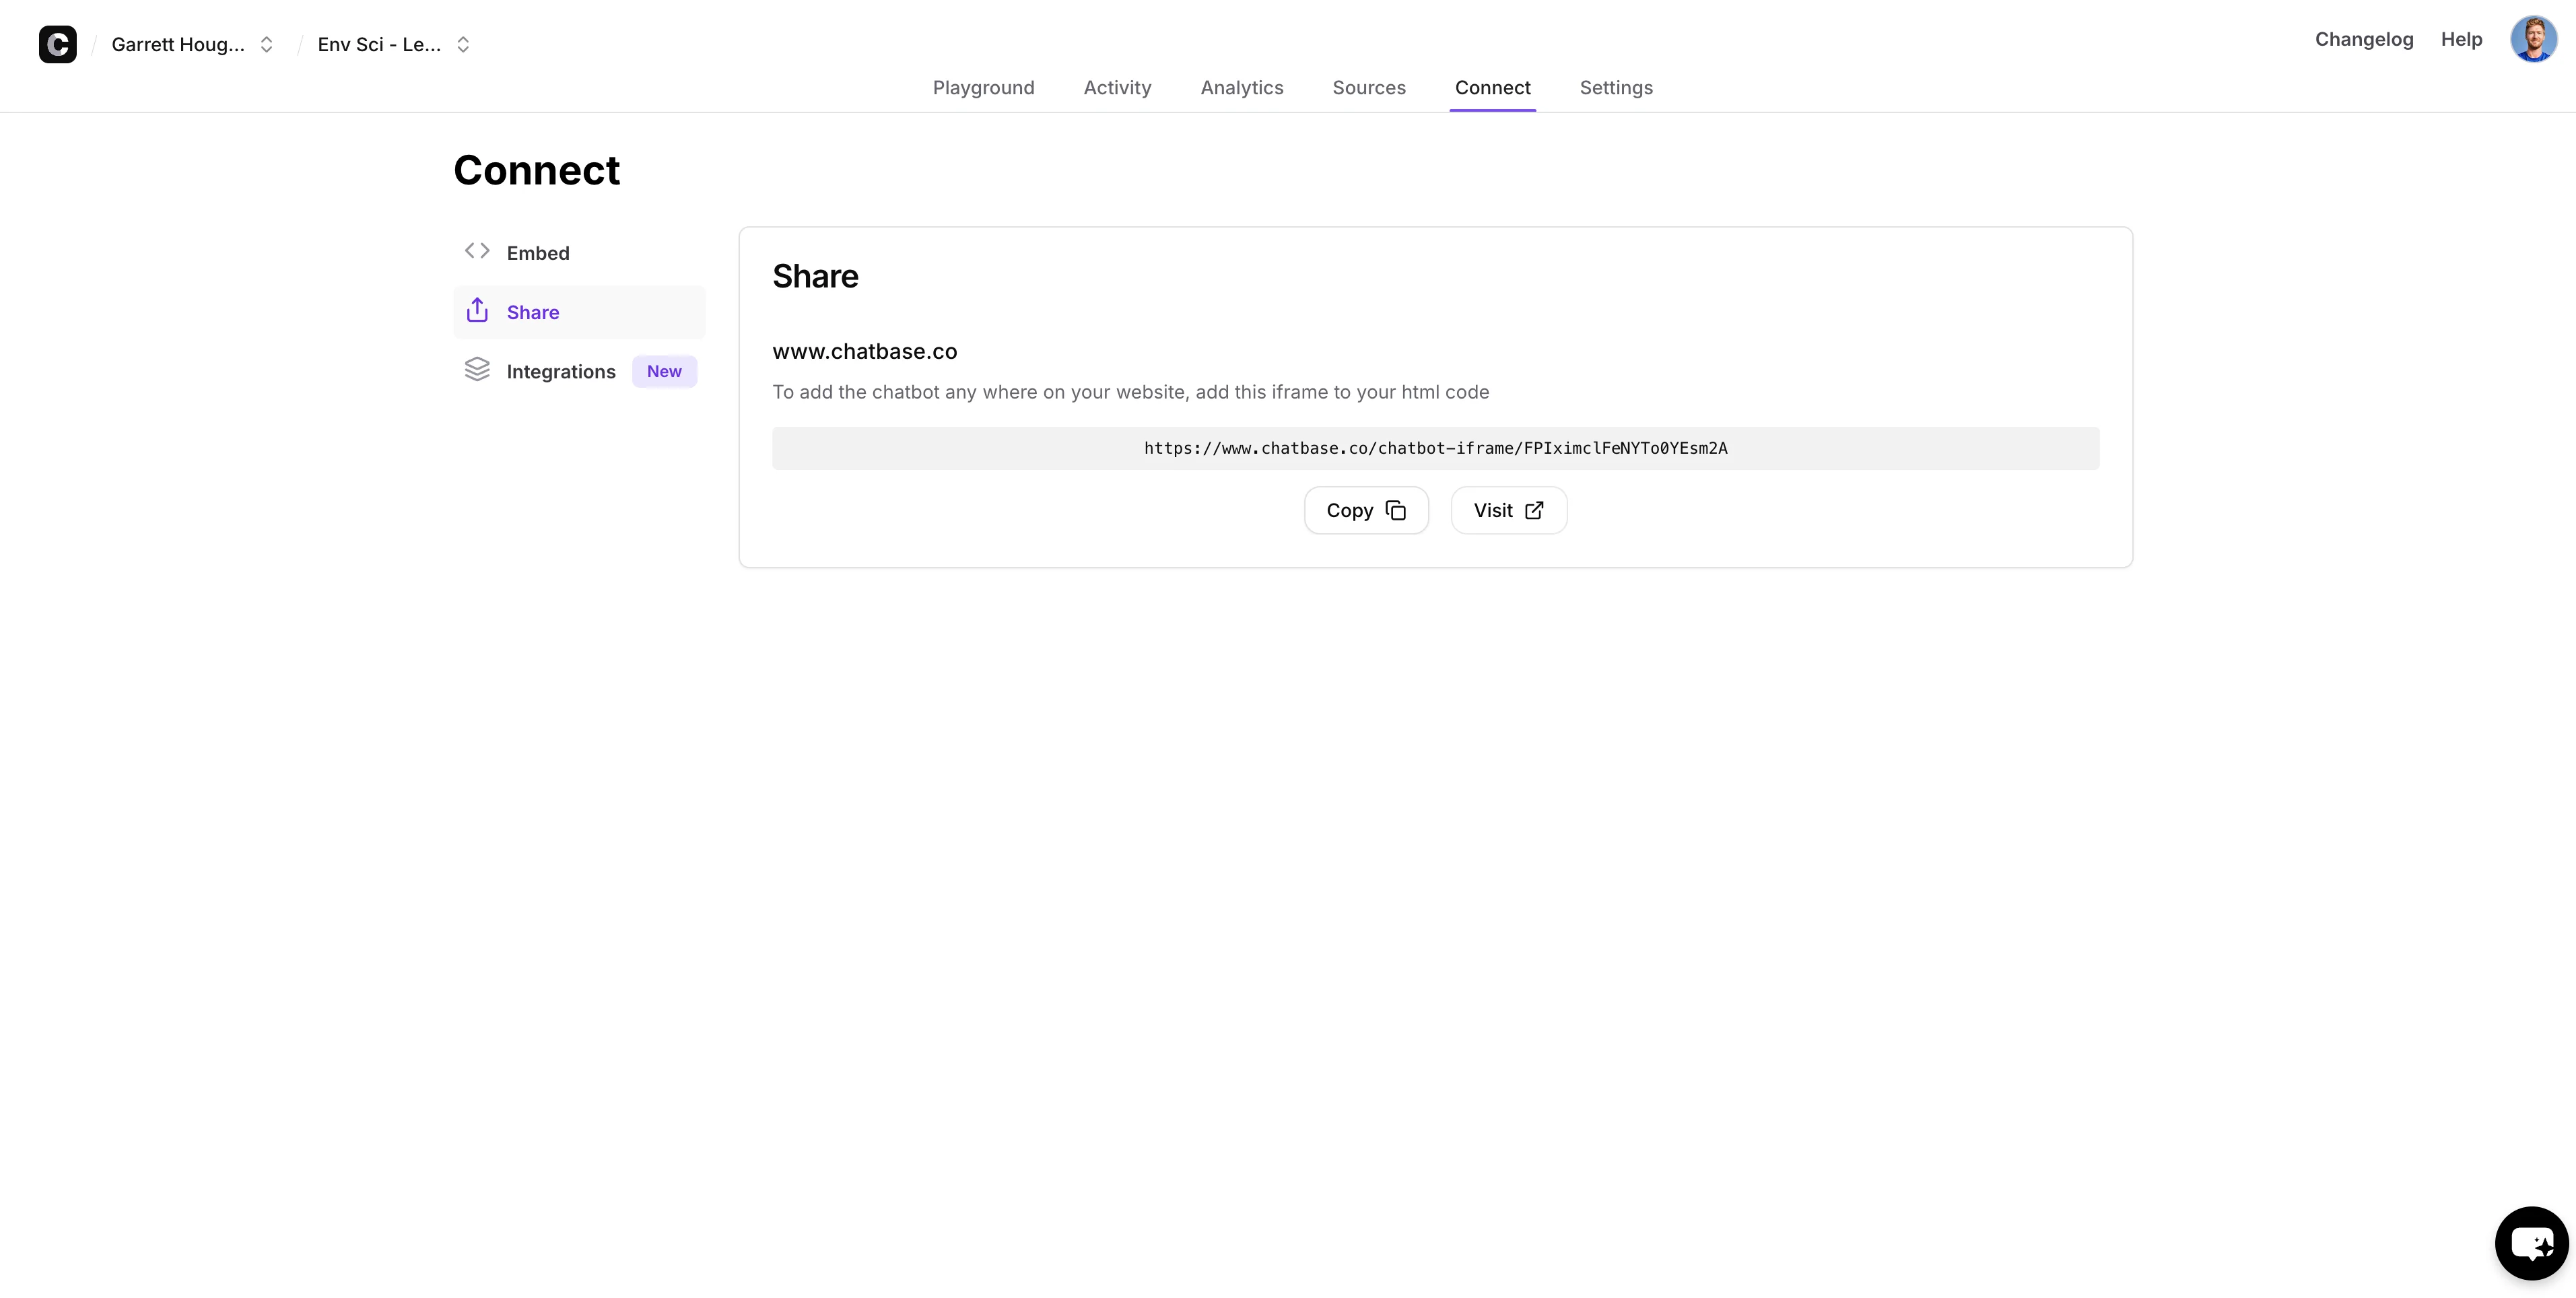
To access the live URL for testing, navigate to the “Share” tab and click the “Visit” button.
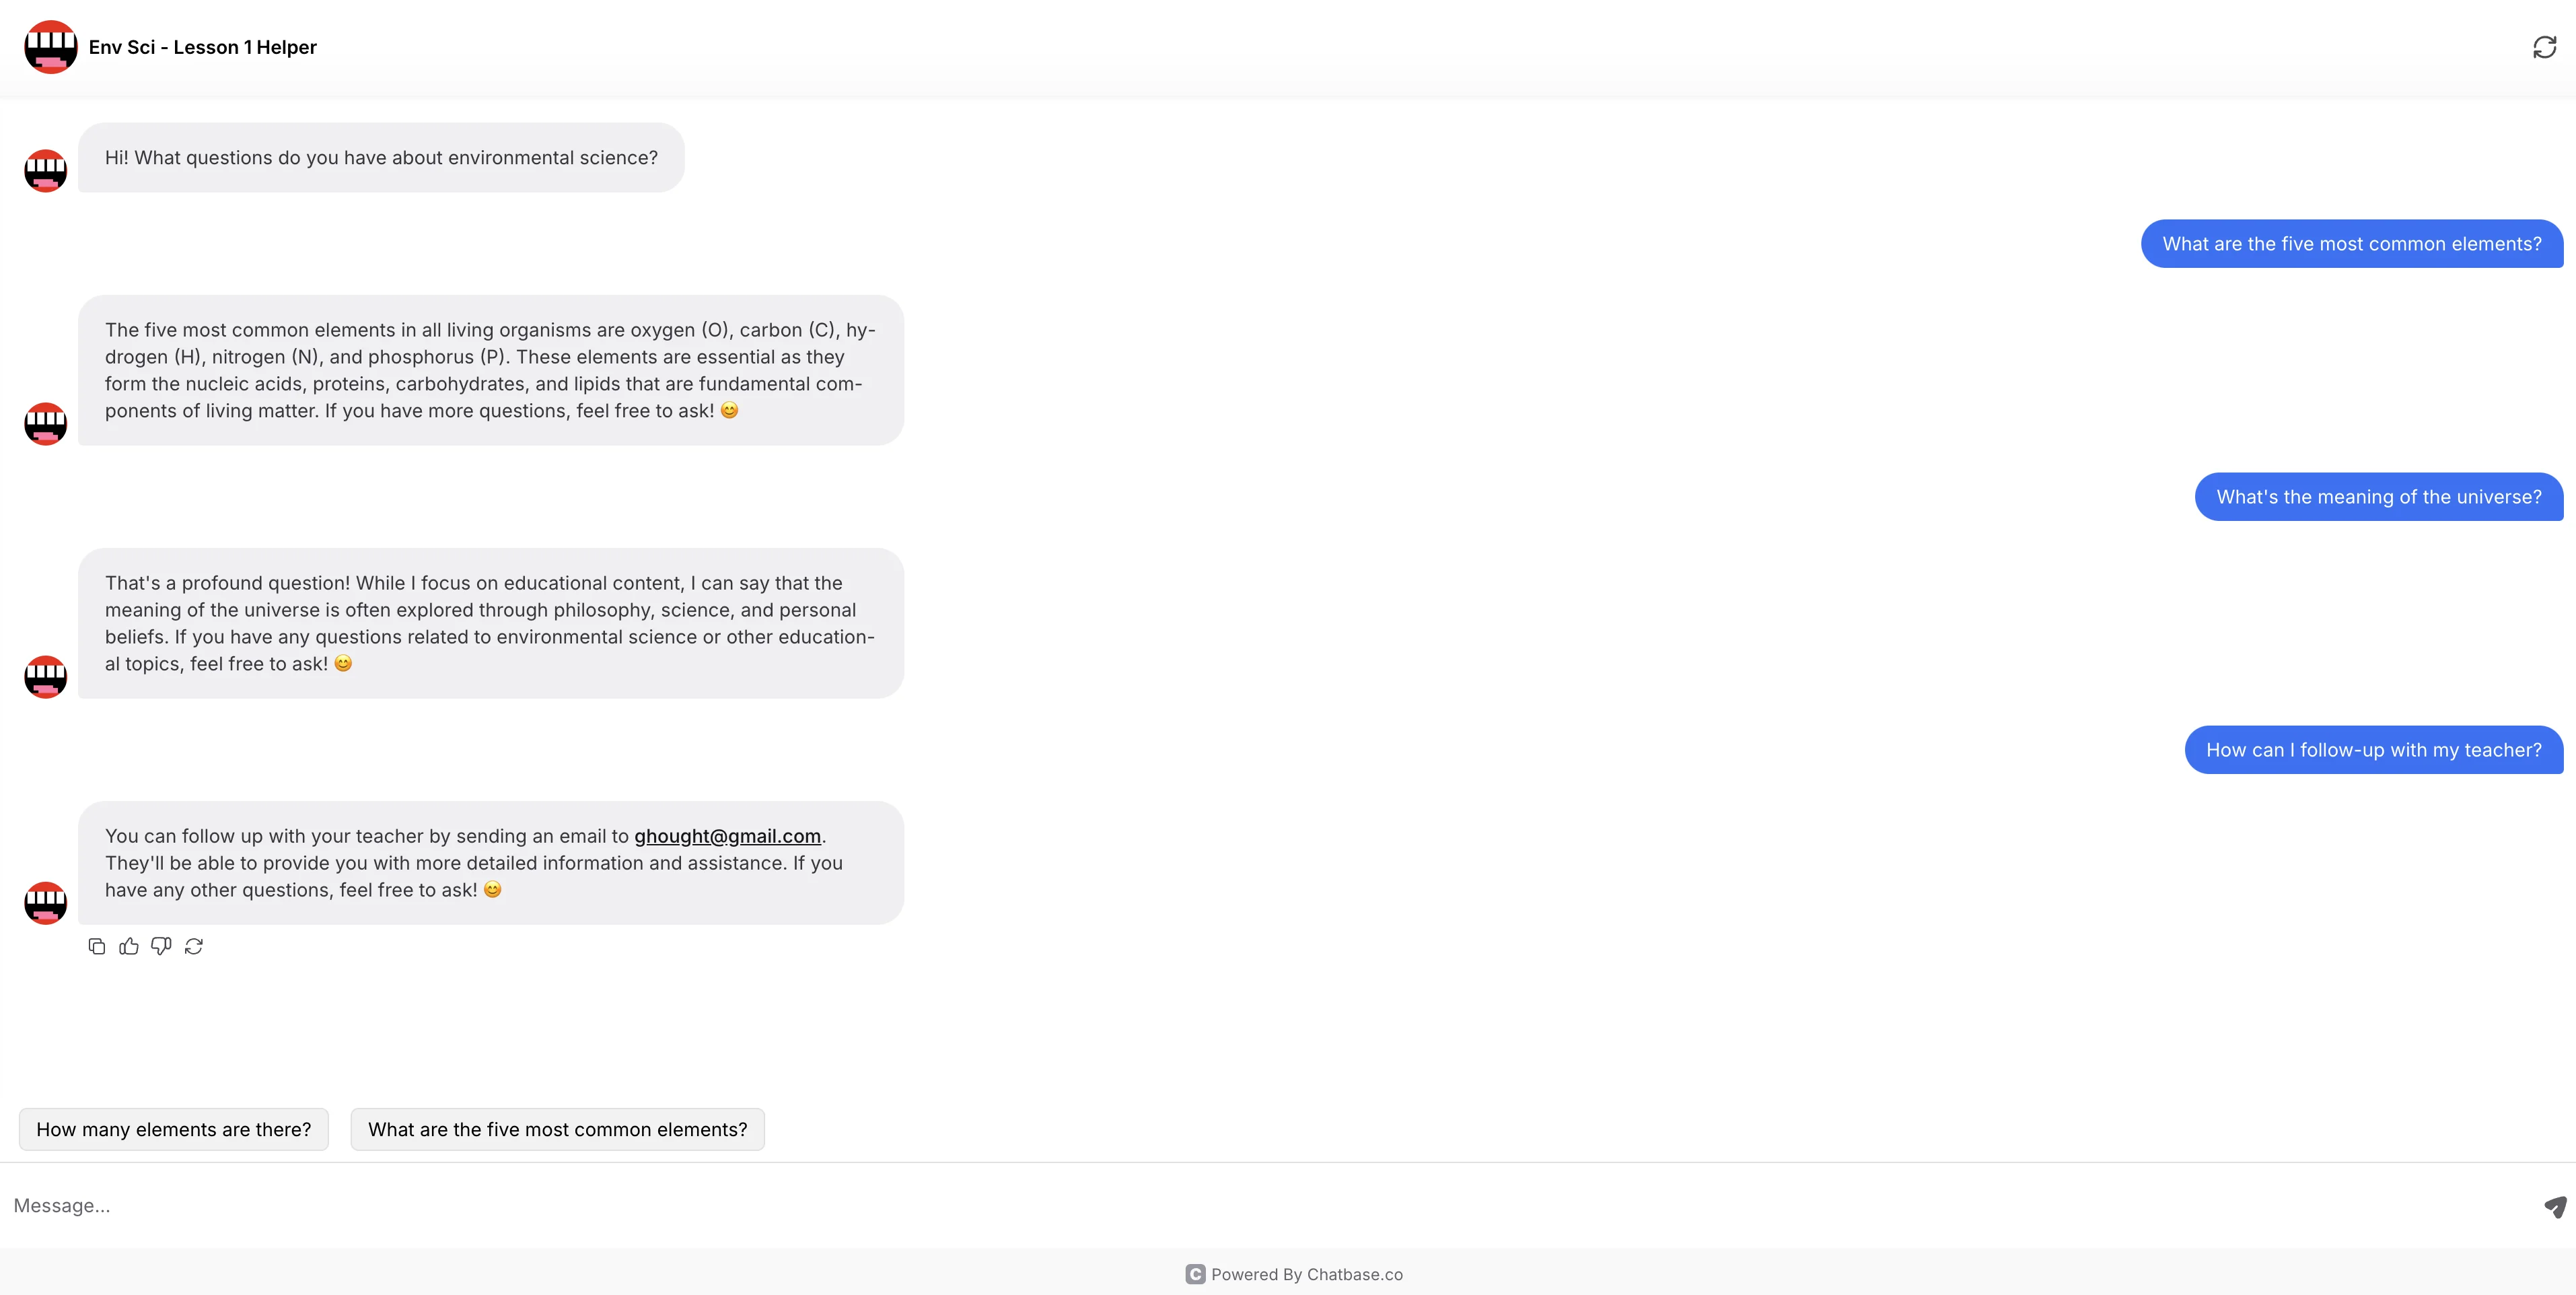
Here you can interact with your chatbot as a student would, to test its accuracy and also how it handles various inquiries.
Once you’re happy with your chatbot and ready to share it with students, navigate back to the “Connect” tab. You can share a link to the chatbot by copying/pasting the link from the “Share” tab. This will provide students with the same full-page experience that you just tested.
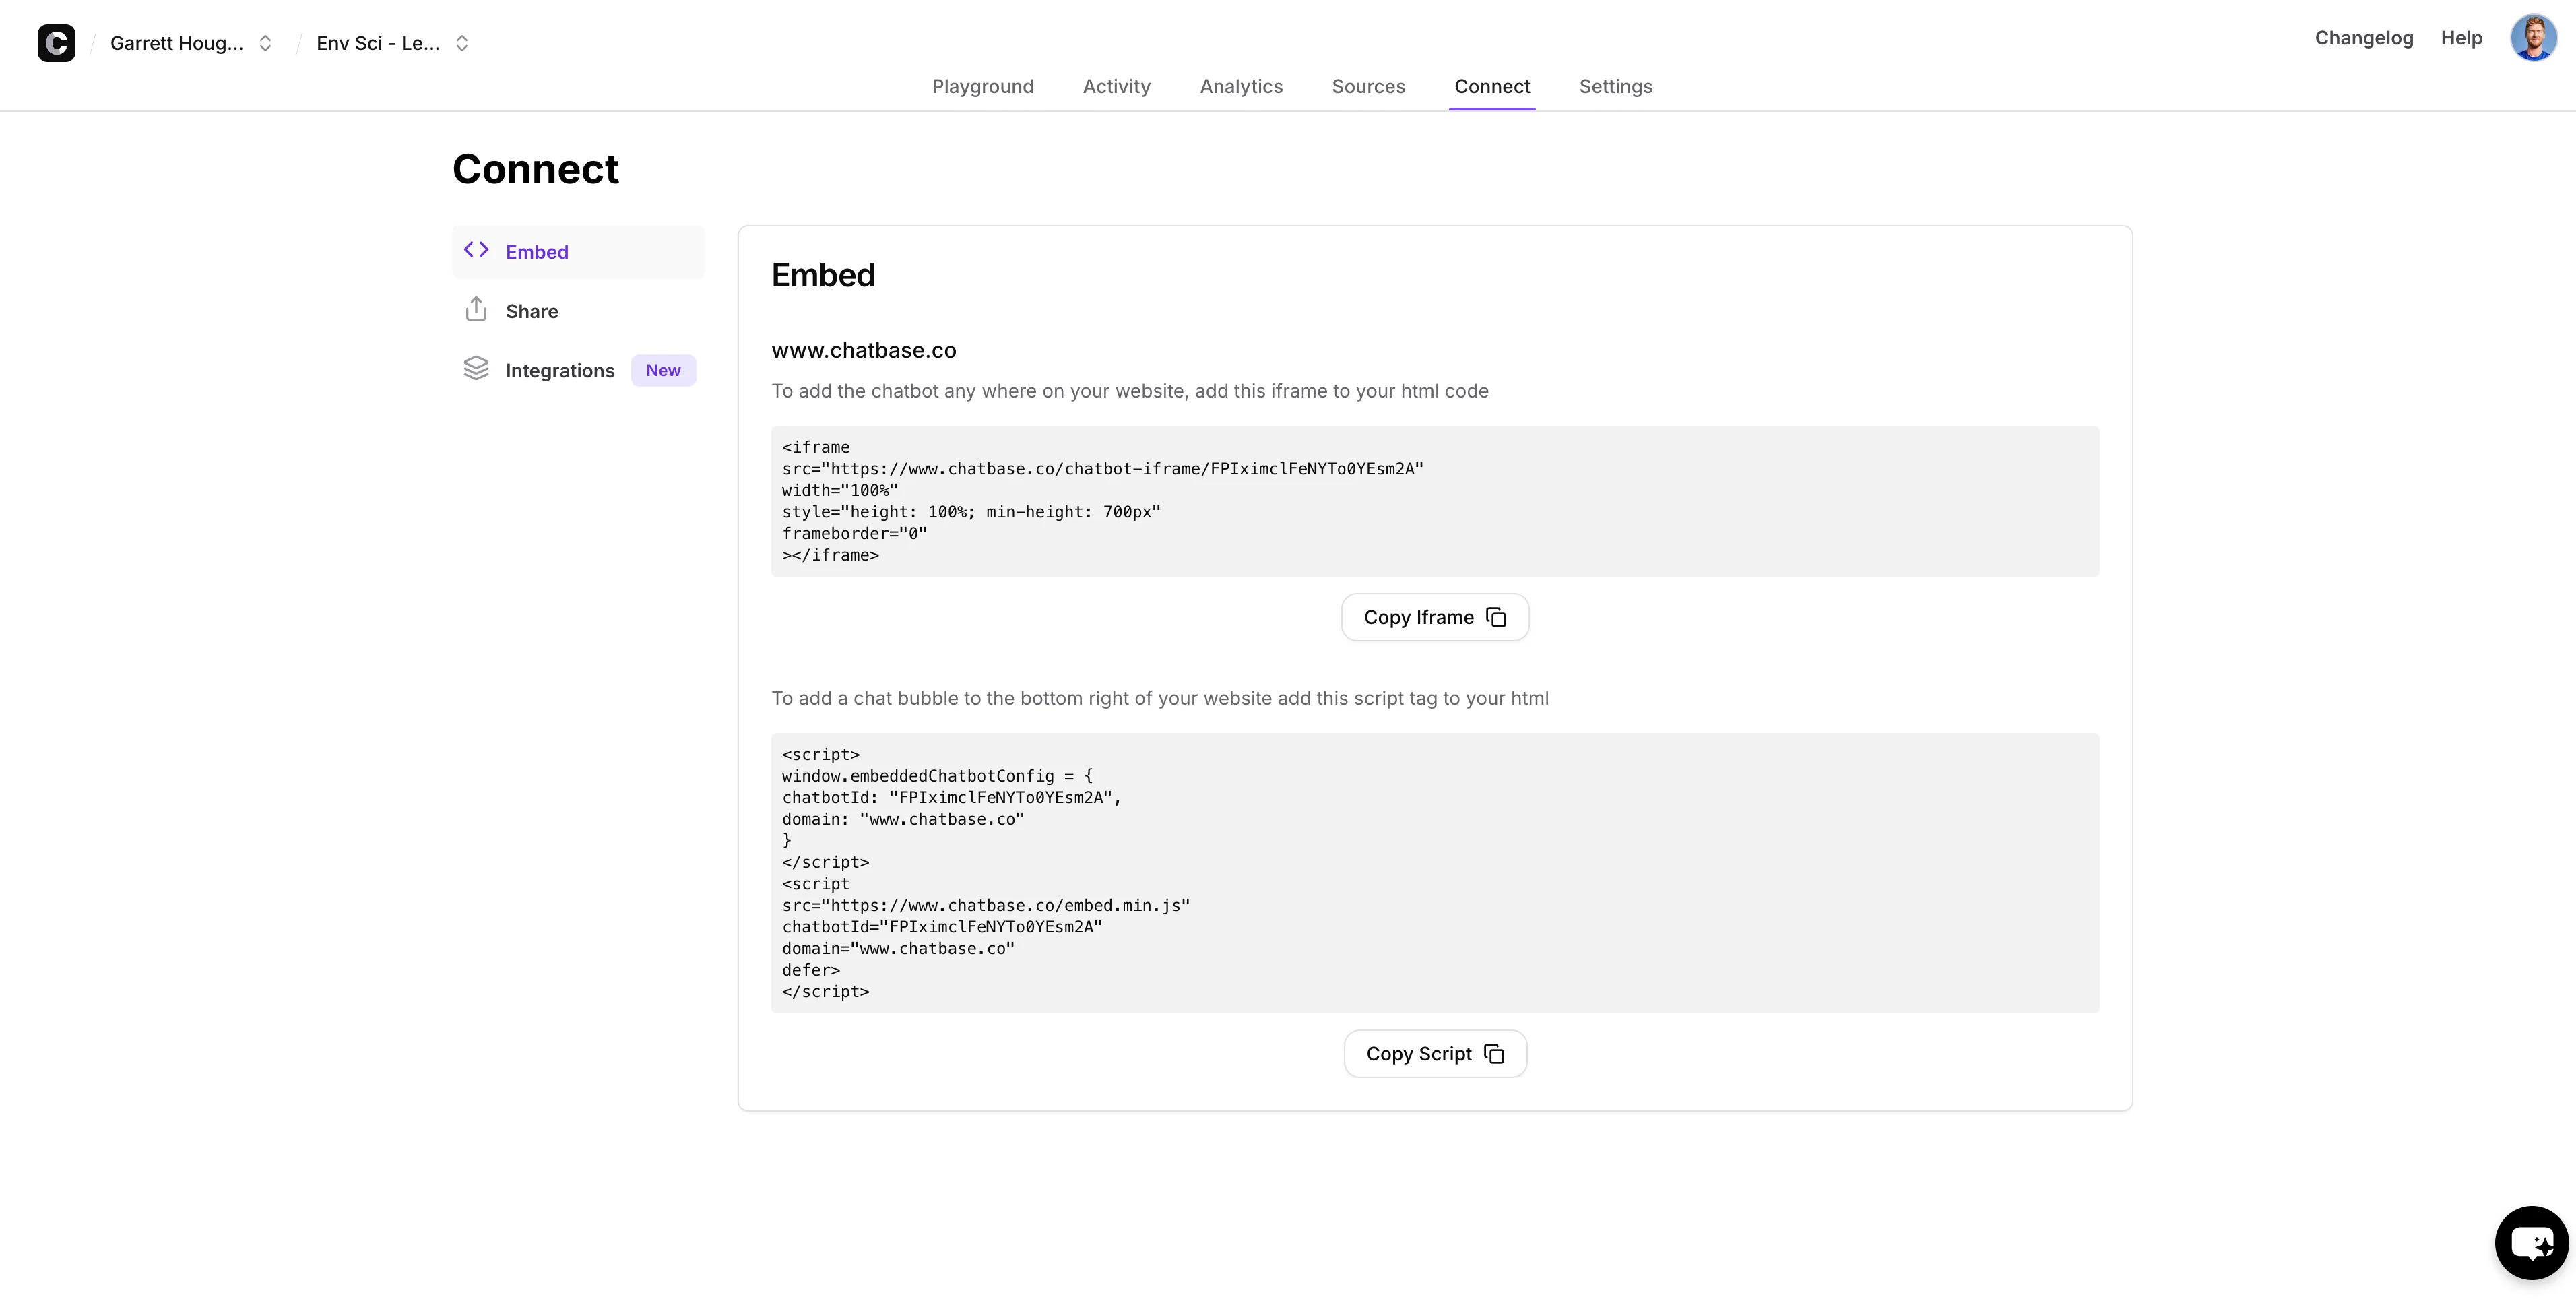
Alternatively, you can embed your chatbot onto another website or webpage by using the embed codes from the “Embed” tab and following the embed instructions on your website builder tool of choice.
Nice work! You now have a custom AI chatbot, trained on your course material, that you can share with your students to assist them in their studies.
In the next and final lesson of the course, you’ll learn how to develop simple, interactive learning games with Replit.
This tutorial was created by Garrett.