Create an automated customer reactivation system
Use Claude and Zapier to identify inactive customers and trigger personalized re-engagement emails.
2024-12-20
Inactive customers represent a significant untapped opportunity for business growth. In this tutorial, we'll create a workflow that automatically identifies inactive customers, and then generates and sends personalized reactivation messages. It will save you time and resources, and significantly improve the effectiveness of your reengagement efforts.
Steps we’ll follow:
- Define and identify inactive customers in your CRM
- Craft effective prompts for AI-generated personalized messages
- Set up a Zapier workflow to automate the reactivation process
- Implement a multi-step reactivation campaign
- Analyze results and iterate for continuous improvement
You'll need:
- Zapier paid account
- CRM software (we'll use HubSpot as an example, but you can adapt for others)
- Anthropic API key (for Claude)
Let's dive in!
Step 1: Define inactive customers and set up data extraction
First, we need to establish criteria for what constitutes an "inactive" customer in your business context. We’re using HubSpot for this tutorial, but you can adapt the steps for others like Salesforce, Pipedrive, or even Google Sheets.

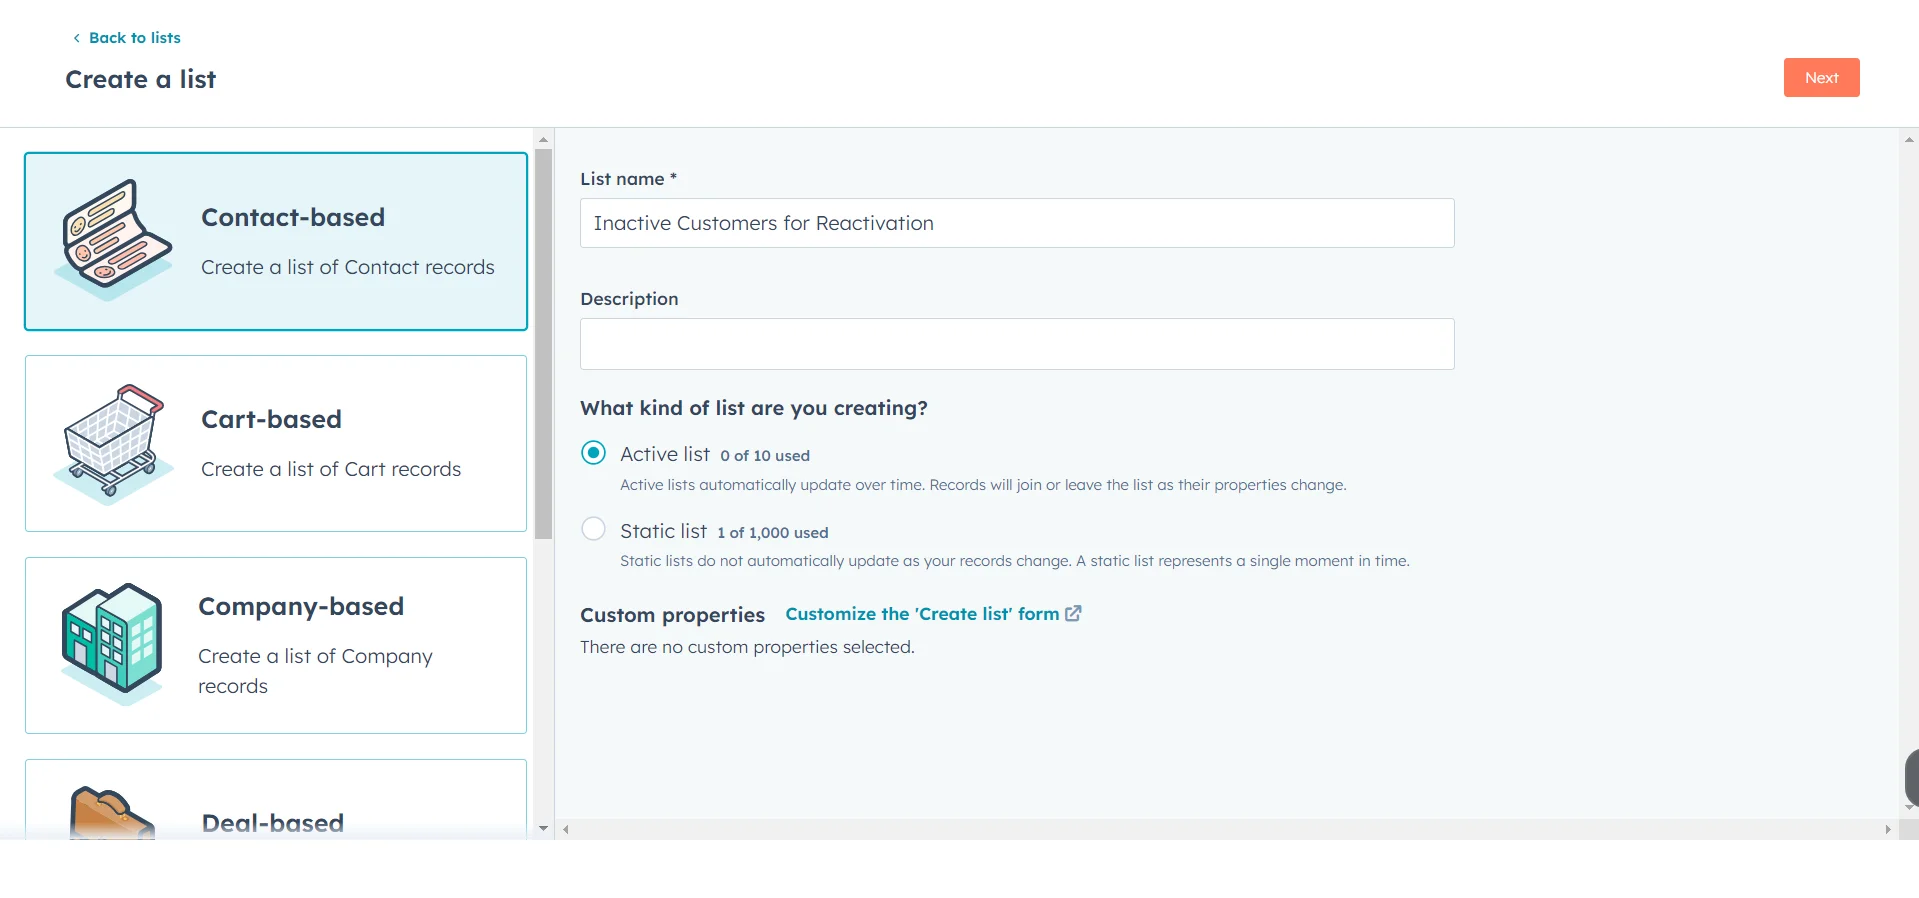
In HubSpot, navigate to the list or segment creation area.
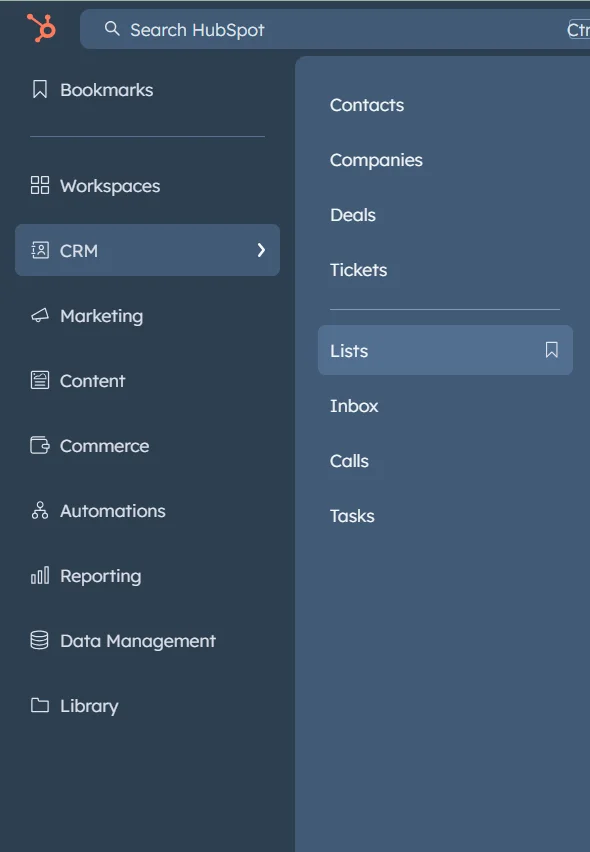
Create a new dynamic list named "Inactive Customers for Reactivation".
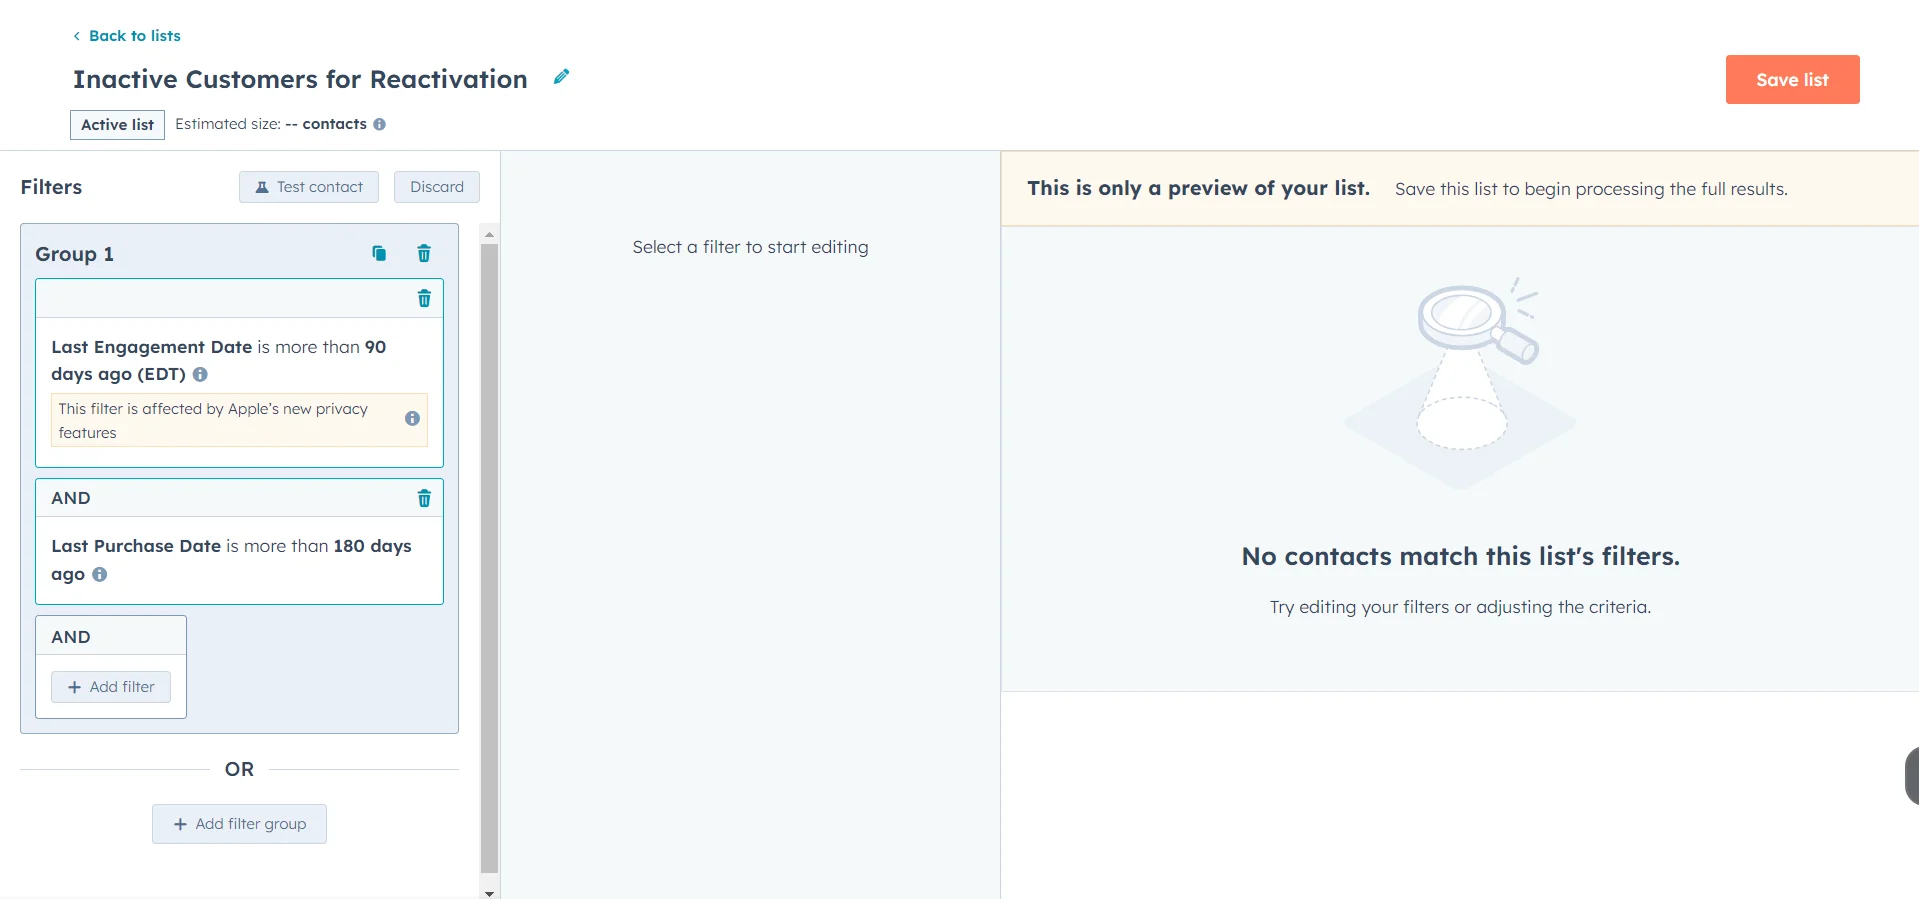
Set your criteria for inactive customers. For example:
- Last engagement date is more than 90 days ago
- Last purchase date is more than 180 days ago
Step 2: Create Claude prompts for personalized messages
Now, let's craft prompts for Claude to generate personalized reactivation messages. The magic of this workflow lies in creating effective prompts that leverage your business knowledge and customer data.
Here's an example of a comprehensive prompt. Replace the [square bracket placeholders] with your unique company information; leave the {curly bracket placeholders} as they are for now:
You are an AI assistant for [Company Name], a [brief company description]. We need to create a personalized email to reengage an inactive customer. Use the following information:
Customer Information:
1. Name: {First Name}
2. Last Purchase Date: {Last Purchase Date}
3. Most Used Product: {Most Used Product}
4. Last Support Topic: {Last Support Topic}
5. Lifetime Value: {Lifetime Value}
Company Information:
1. Our main products/services: [list main products/services]
2. Our unique selling proposition: [brief USP]
3. Recent product updates or new features: [list any relevant updates]
Special Offers (use if applicable):
1. If the customer's most used product is [Product A], offer a 20% discount on their next purchase
2. If the customer's lifetime value is over [$X], offer a free consultation with our product specialist
3. If the last support topic was related to [Topic Y], highlight our improved customer support process
The email should:
1. Address the customer by name and acknowledge their past engagement
2. Express that we've noticed their absence and we miss them
3. Highlight new features or improvements, especially those related to their most used product
4. Address any past issues mentioned in their last support topic, if applicable
5. Include a personalized offer based on their data (using the special offers guidelines above)
6. Emphasize the value they've received from our product/service in the past
7. End with a clear, low-pressure call-to-action to re-engage
The tone should be friendly, personalized, and helpful, not pushy. Limit the email to 50-80 words.
Don’t acknowledge this task in your response.
You can create multiple prompts for different stages of your reactivation campaign. For example, you might have a more casual initial outreach, followed by emails that emphasize different aspects of your product or offer stronger incentives if the customer hasn't responded.
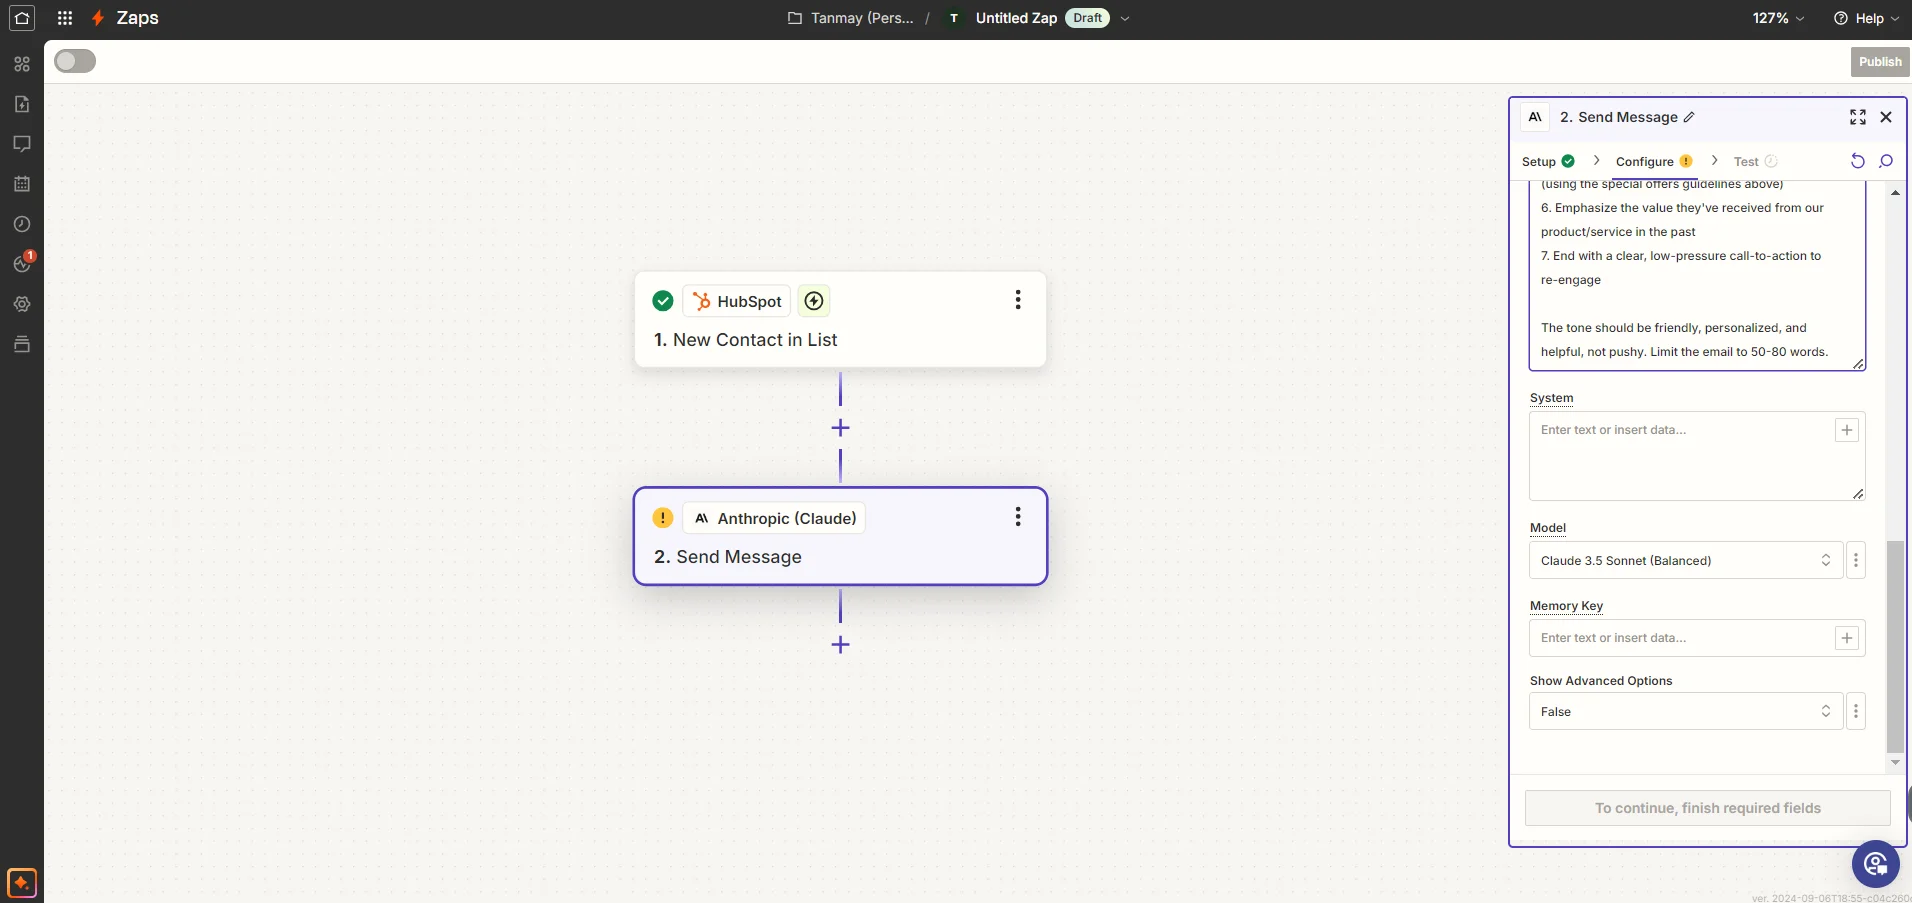
Step 3: Set up Zapier workflow and integrate Claude
Now, let's create a Zapier workflow to automate the process of identifying inactive customers, generating personalized messages, and sending them.
In Zapier, create a new Zap.
Choose your CRM as the trigger app. The trigger event should be "New Contact in List" or similar, depending on your CRM.
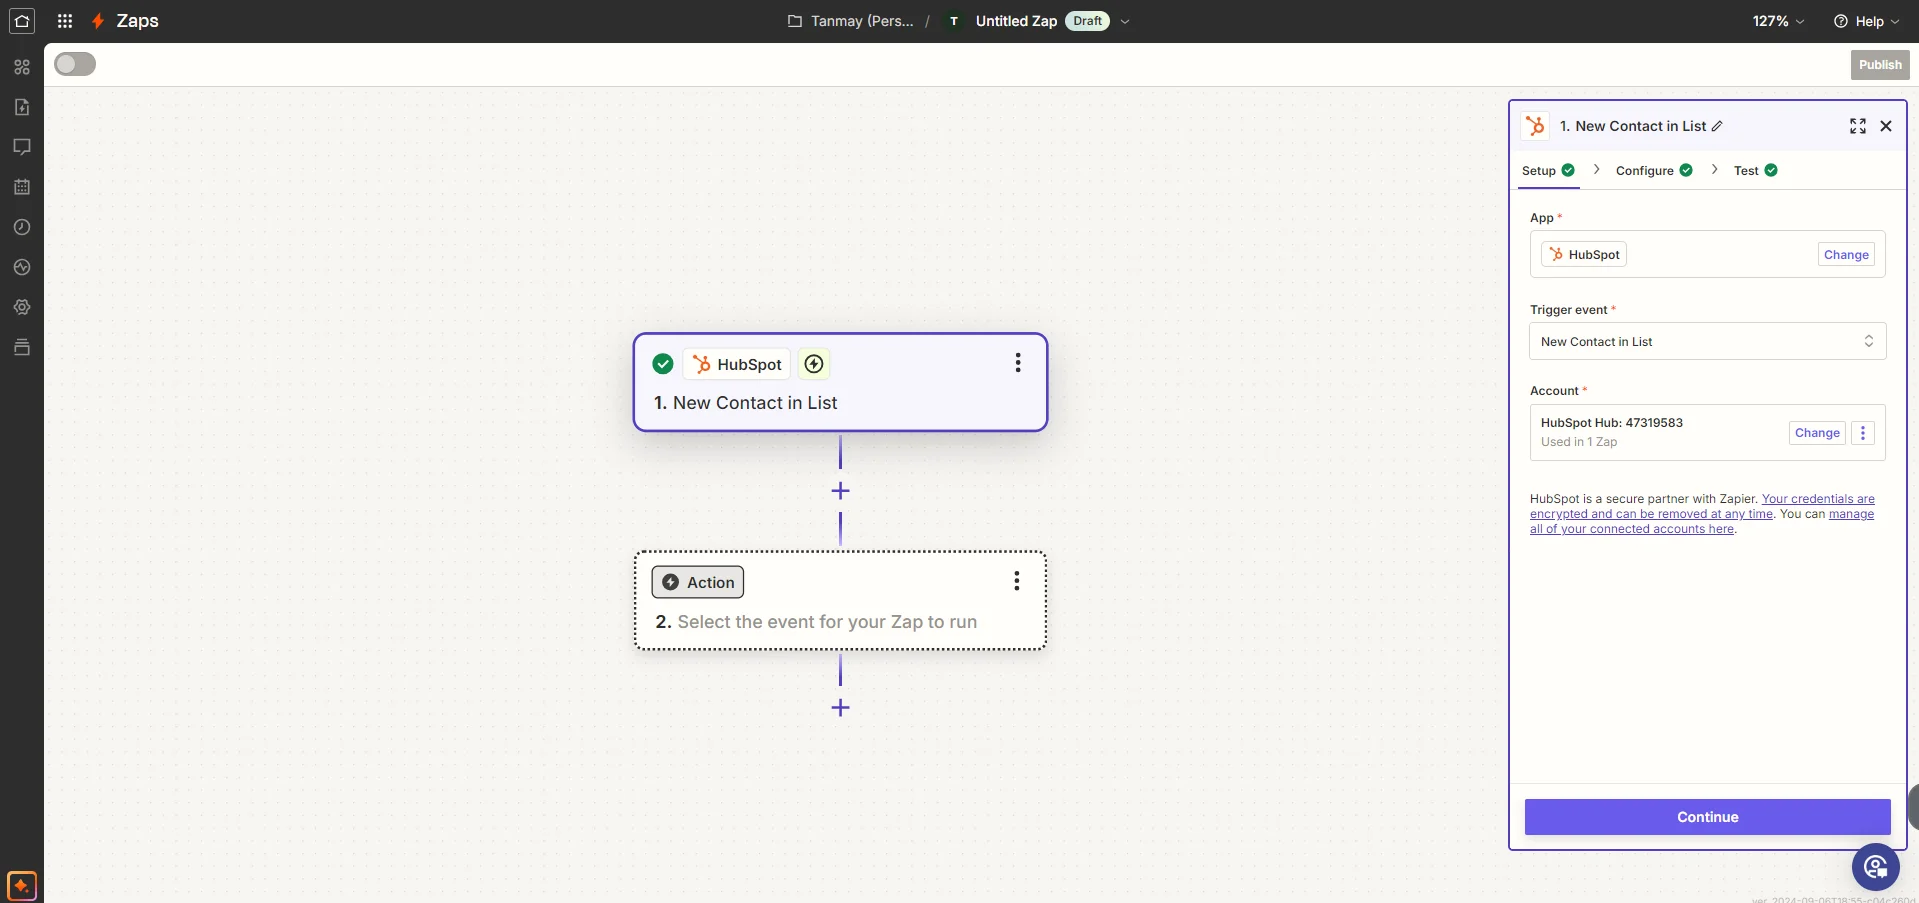
Select your "Inactive Customers for Reactivation" list or segment.
Add an Anthropic step to generate the personalized message using your prompt. In the user message field, copy the entire prompt from Step 2. Replace each {curly bracket placeholder} with the corresponding mapped data from your CRM trigger step of the Zap.
We’ll use Claude 3.5 sonnet to draft the messages. You can select it using the dropdown under model selection.
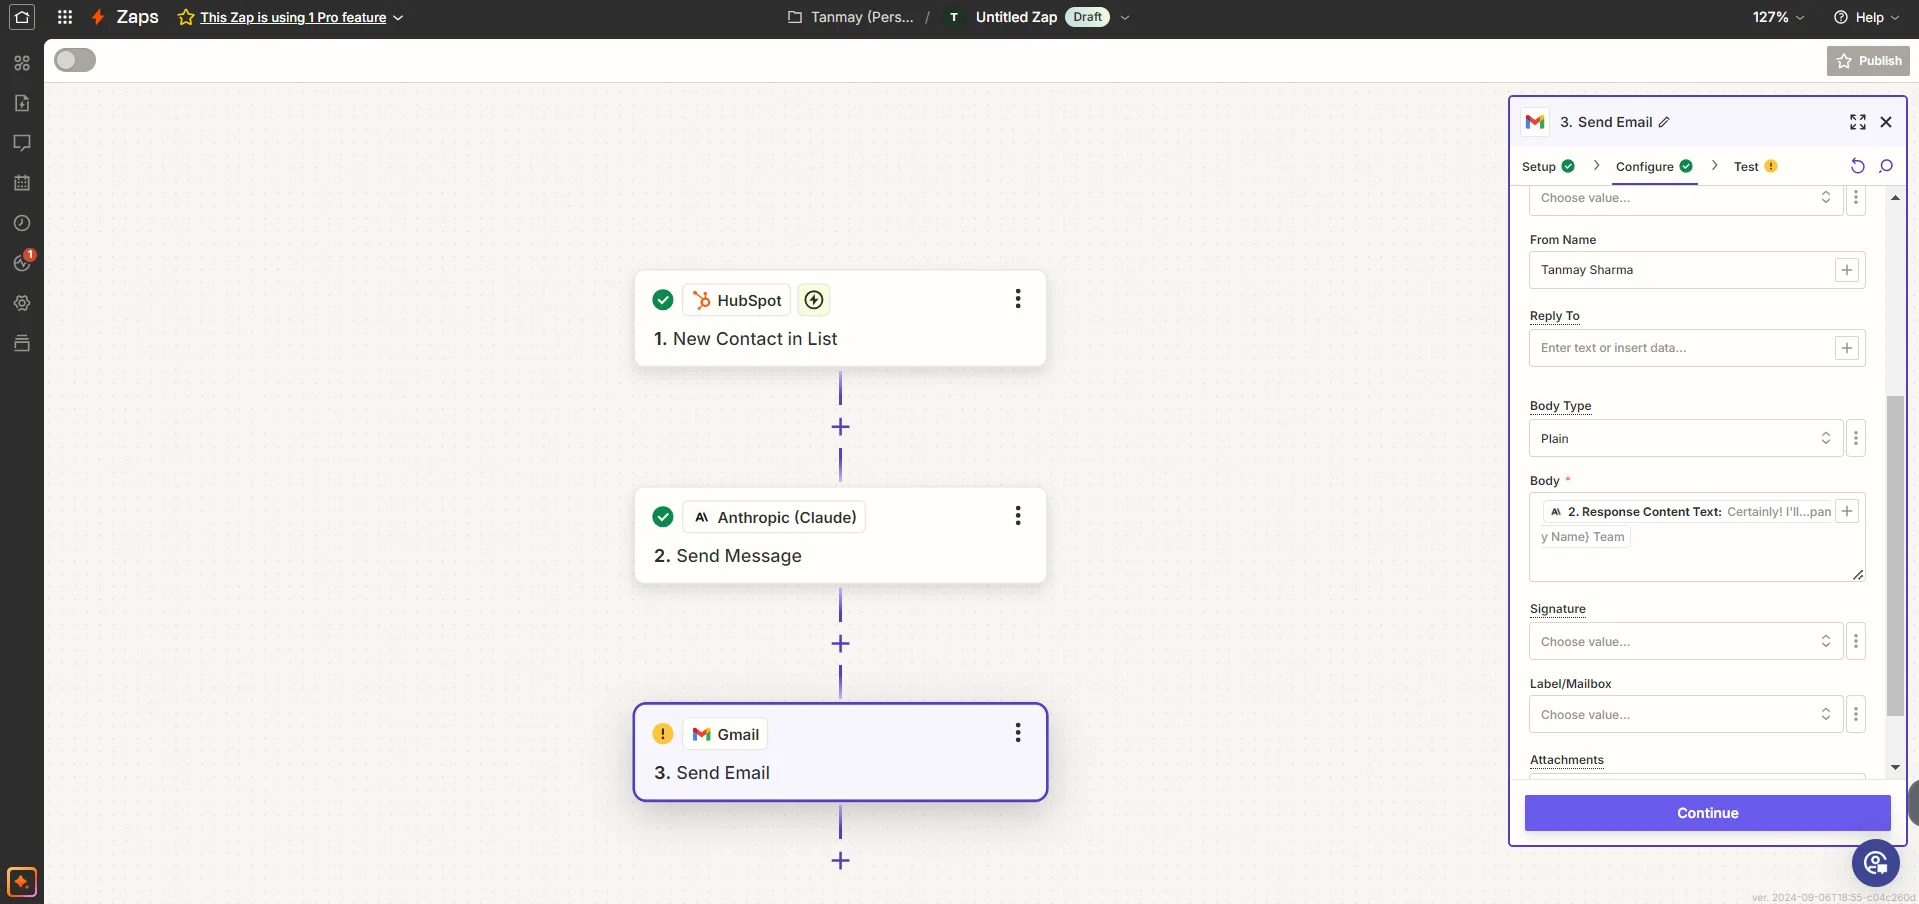
Add an action step to create a new email task or send the email directly, depending on your CRM's capabilities. Or you can make a similar setup inside Zapier tables as we demonstrated in this tutorial.
If you're using Google Sheets instead of CRM software, you can set up a similar Zap using Google Sheets as your trigger app. The trigger could be a new row added to your sheet or a checkbox column being marked.
Step 4: Implement a multi-step campaign
Now let’s see how you can create a multi-step campaign:
In your CRM or email marketing tool, create a new automated email workflow.
Set up the workflow with these steps:
- Trigger: Contact added to "Inactive Customers for Reactivation" list
- Action: Send Email 1 (Initial reactivation email)
- Delay: 7 days
- Condition: If not active, continue; else, end workflow
- Action: Send Email 2 (Follow-up email with stronger incentive)
- Delay: 14 days
- Condition: If not active, continue; else, end workflow
- Action: Send Email 3 (Final attempt email with best offer)
Adjust the timing and number of emails based on your business model and customer preferences. Some businesses might benefit from more frequent, shorter messages, while others might need longer intervals between communications.
Step 5: Analyze results and iterate
To continually improve your reactivation system, set up analytics and reporting.
In your CRM or analytics tool, create a dashboard to track key metrics:
- Reactivation rate
- Email open and click-through rates
- Conversion rate from reactivated to purchasing customer
- Average time to reactivation
- Revenue generated from reactivated customers
Use this data to refine your Claude prompts, adjust your workflow, and optimize your offers.
Regularly review the content of successful reactivation emails. Look for patterns in the language, offers, or information that seems to resonate most with your customers. Use these insights to refine your prompts and improve your overall strategy.
Congratulations! You've now set up an AI-powered customer reactivation system that leverages your CRM's features (or Google Sheets), Claude's natural language capabilities, and Zapier's automation. This system will help you reconnect with inactive customers through highly personalized, timely, and relevant communications.
This tutorial was created by Tanmay.