Create an automated data tagging workflow
Learn how to build a workflow in Julius AI that automatically tags your dataset.
2024-11-13
Data tagging is a crucial step in preparing data for analysis, but it’s often tedious and time-consuming. If you’ve ever found yourself mind-numbingly scrolling through spreadsheets and tagging data, you’re going to be excited about this workflow.
In this tutorial, we'll walk you through the process of setting up a fully automated data tagging workflow using Julius AI. This workflow will allow you to upload a file and provide a set of tags, and Julius will automatically tag your dataset with the best matching tags.
Once created, you can share this workflow with your team or stakeholders, enabling them to perform the same data tagging process with their own data and tags.
Steps we’ll follow in this tutorial:
- Create your data-tagging workflow
- Test your workflow
- Edit and share your workflow
Let’s dive in.
Step 1: Create your data-tagging workflow
Navigate to the Julius AI website and create a free account to get started.
.avif)
You’ll then land on the Julius AI dashboard. Click on the “My Workflows” tab in the left-side navigation.
.avif)
Then, click the “New Workflow” button at the top of the page.
.avif)
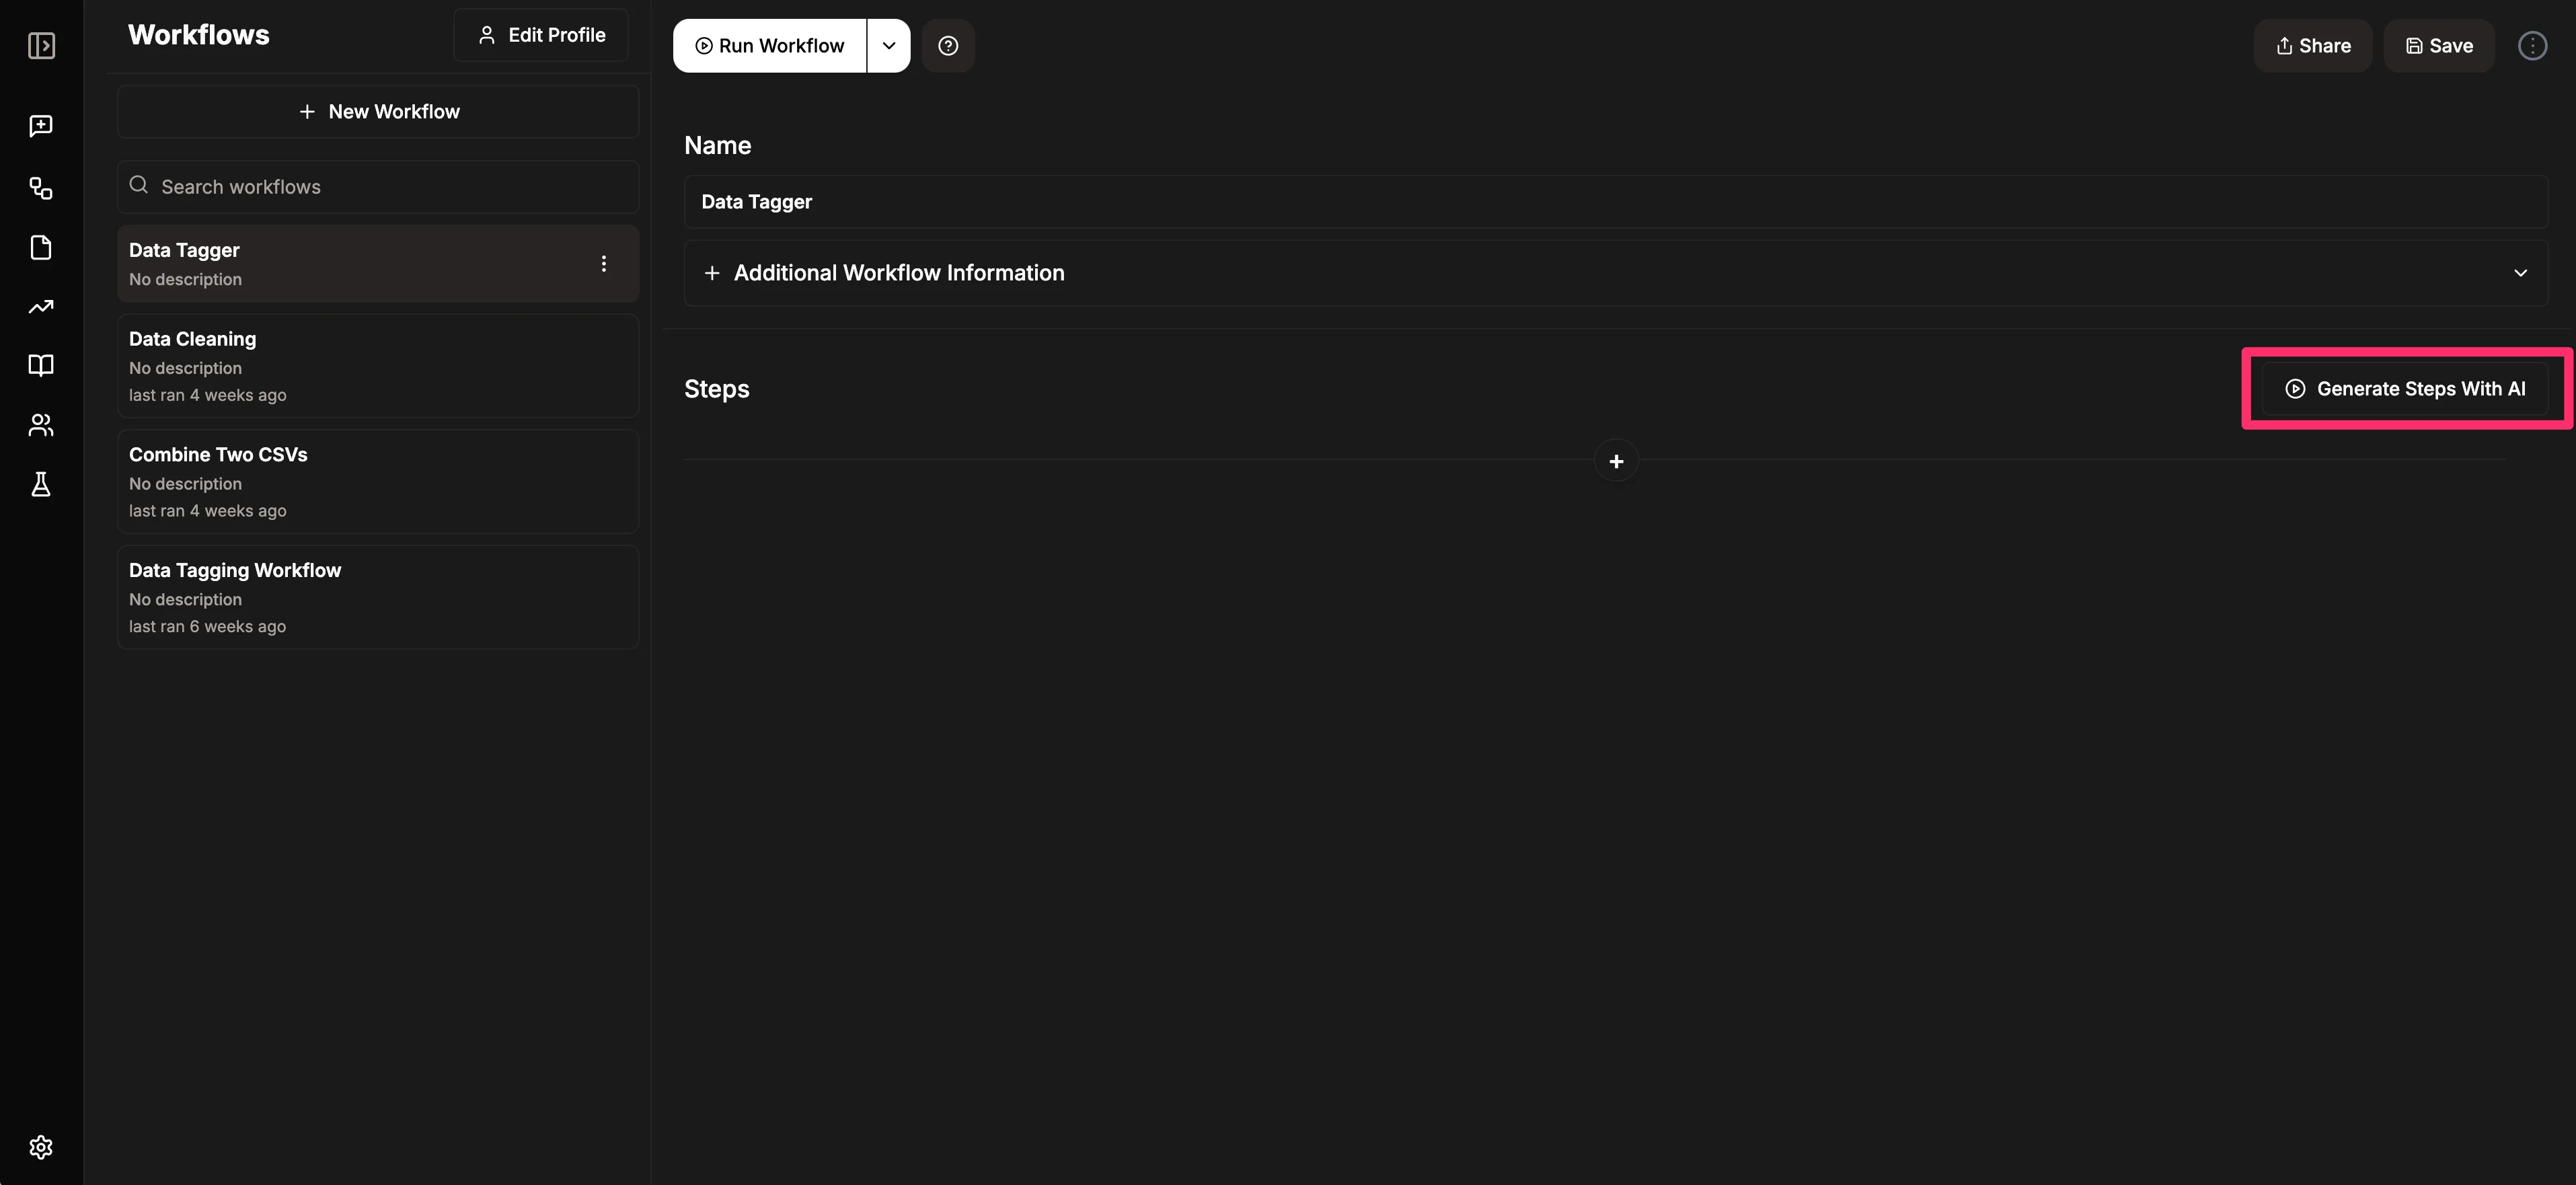
Next, we’ll name our workflow. We’re going to call this one “Data Tagger”. You can add an optional description to your workflow via the “Additional Workflow Information” dropdown. Then, we’ll create our data workflow. To do this, click the “Generate Steps With AI” button.
A text box will appear where you can provide a simple prompt. This will generate all the steps needed to complete the workflow.
Sample prompt:
Add the best-matching tag from the provided list of tags to the "Tag" column of the provided data set of [insert data name].
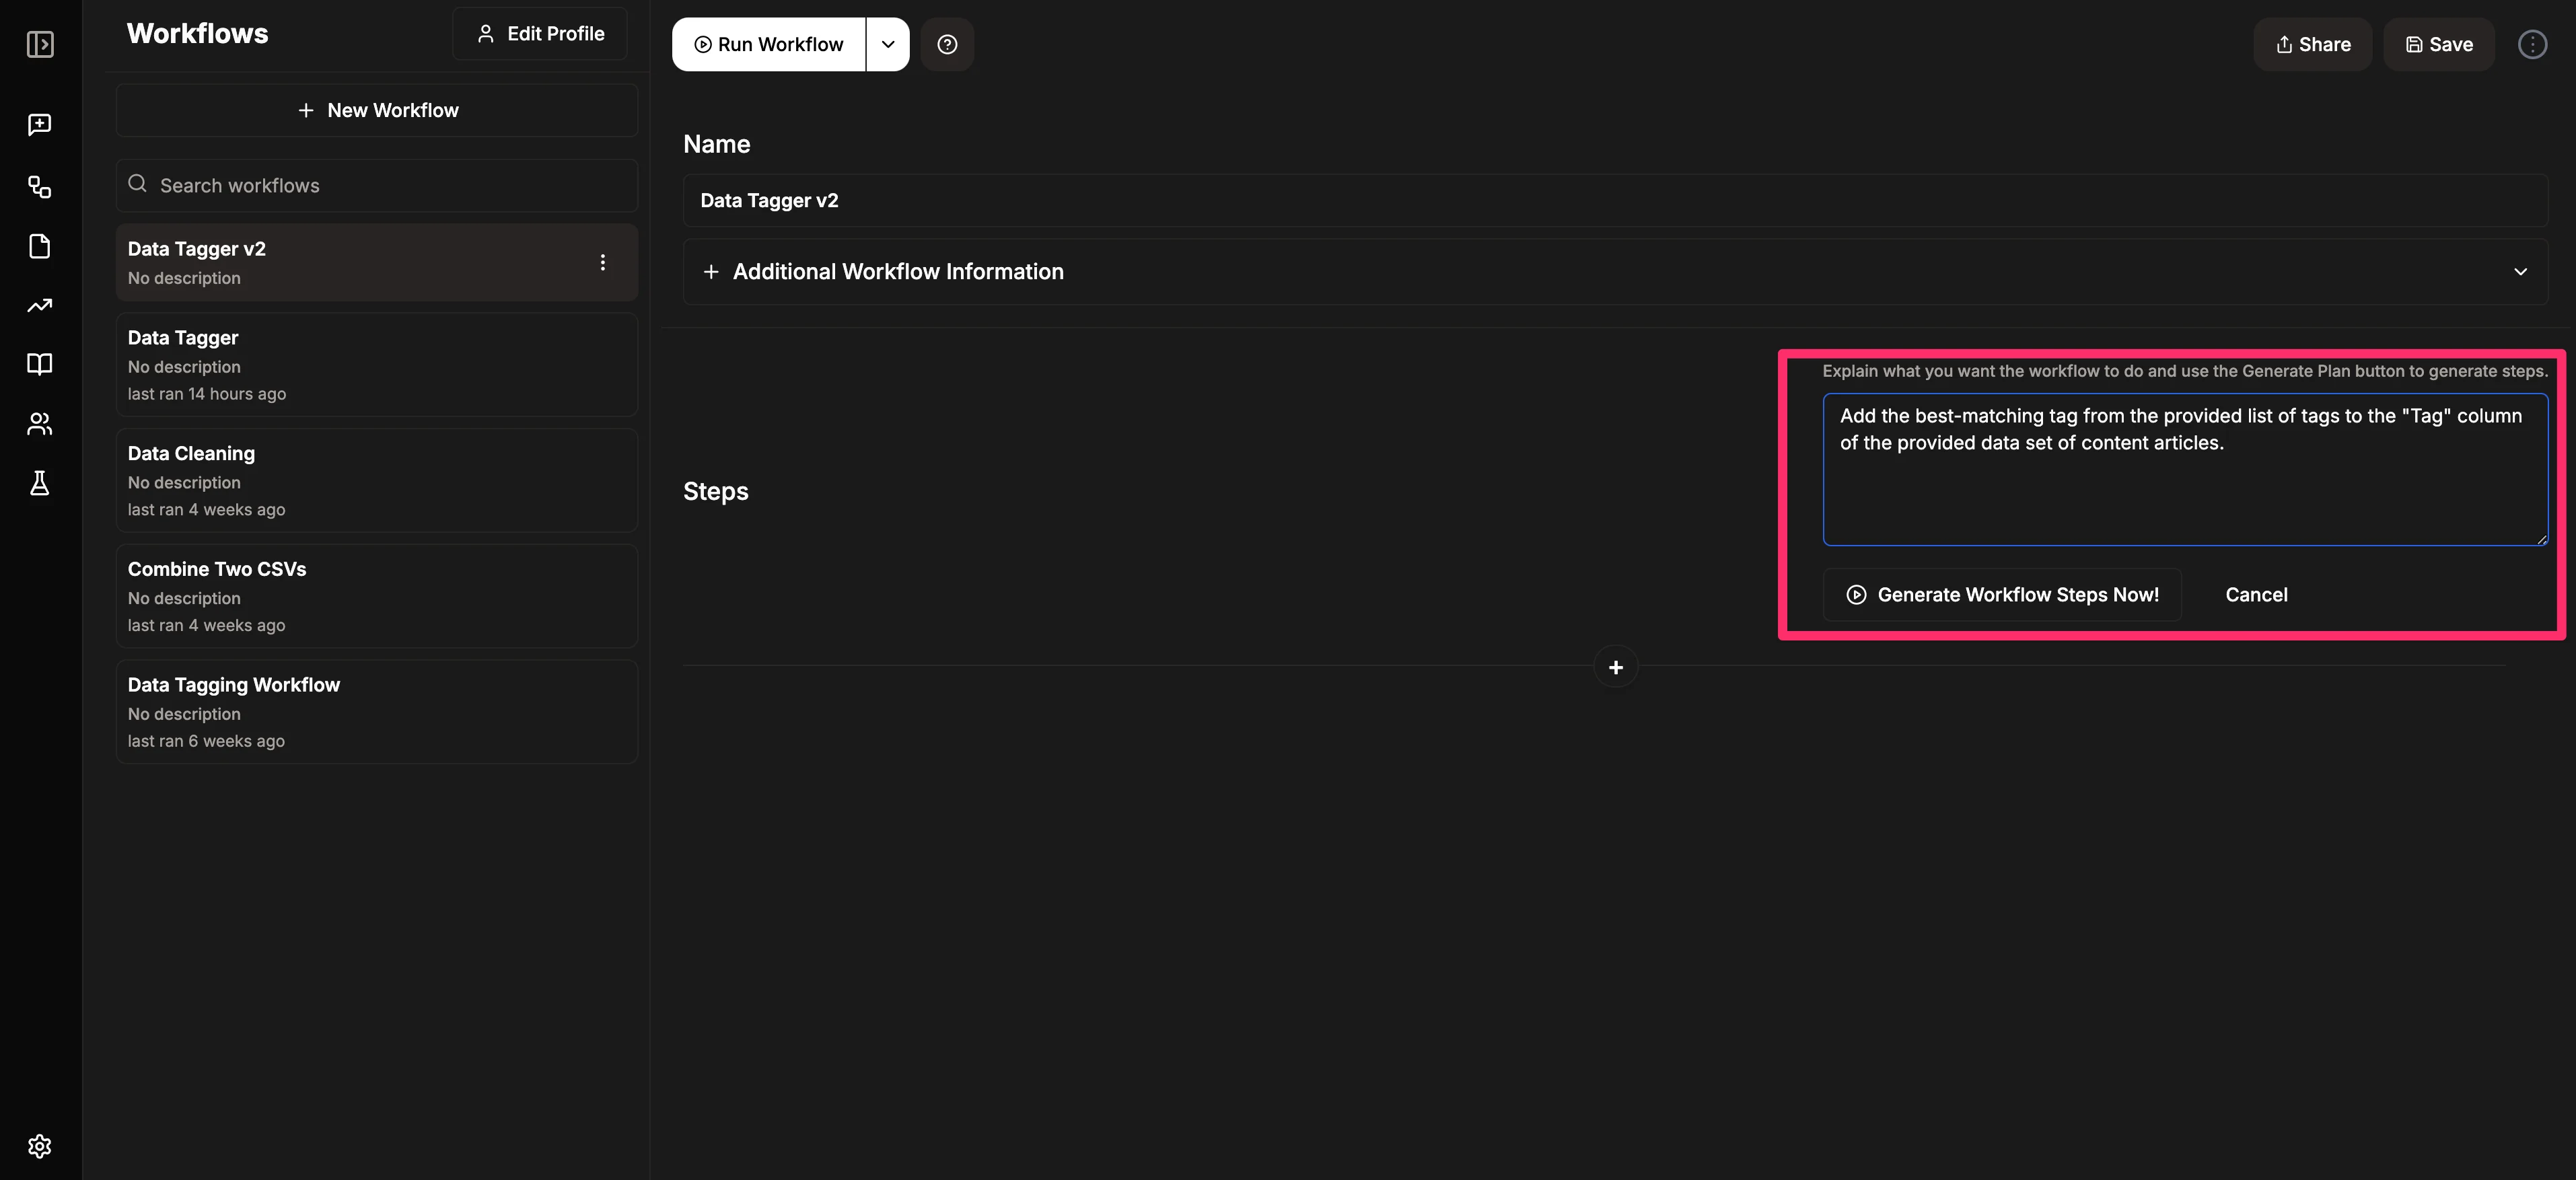
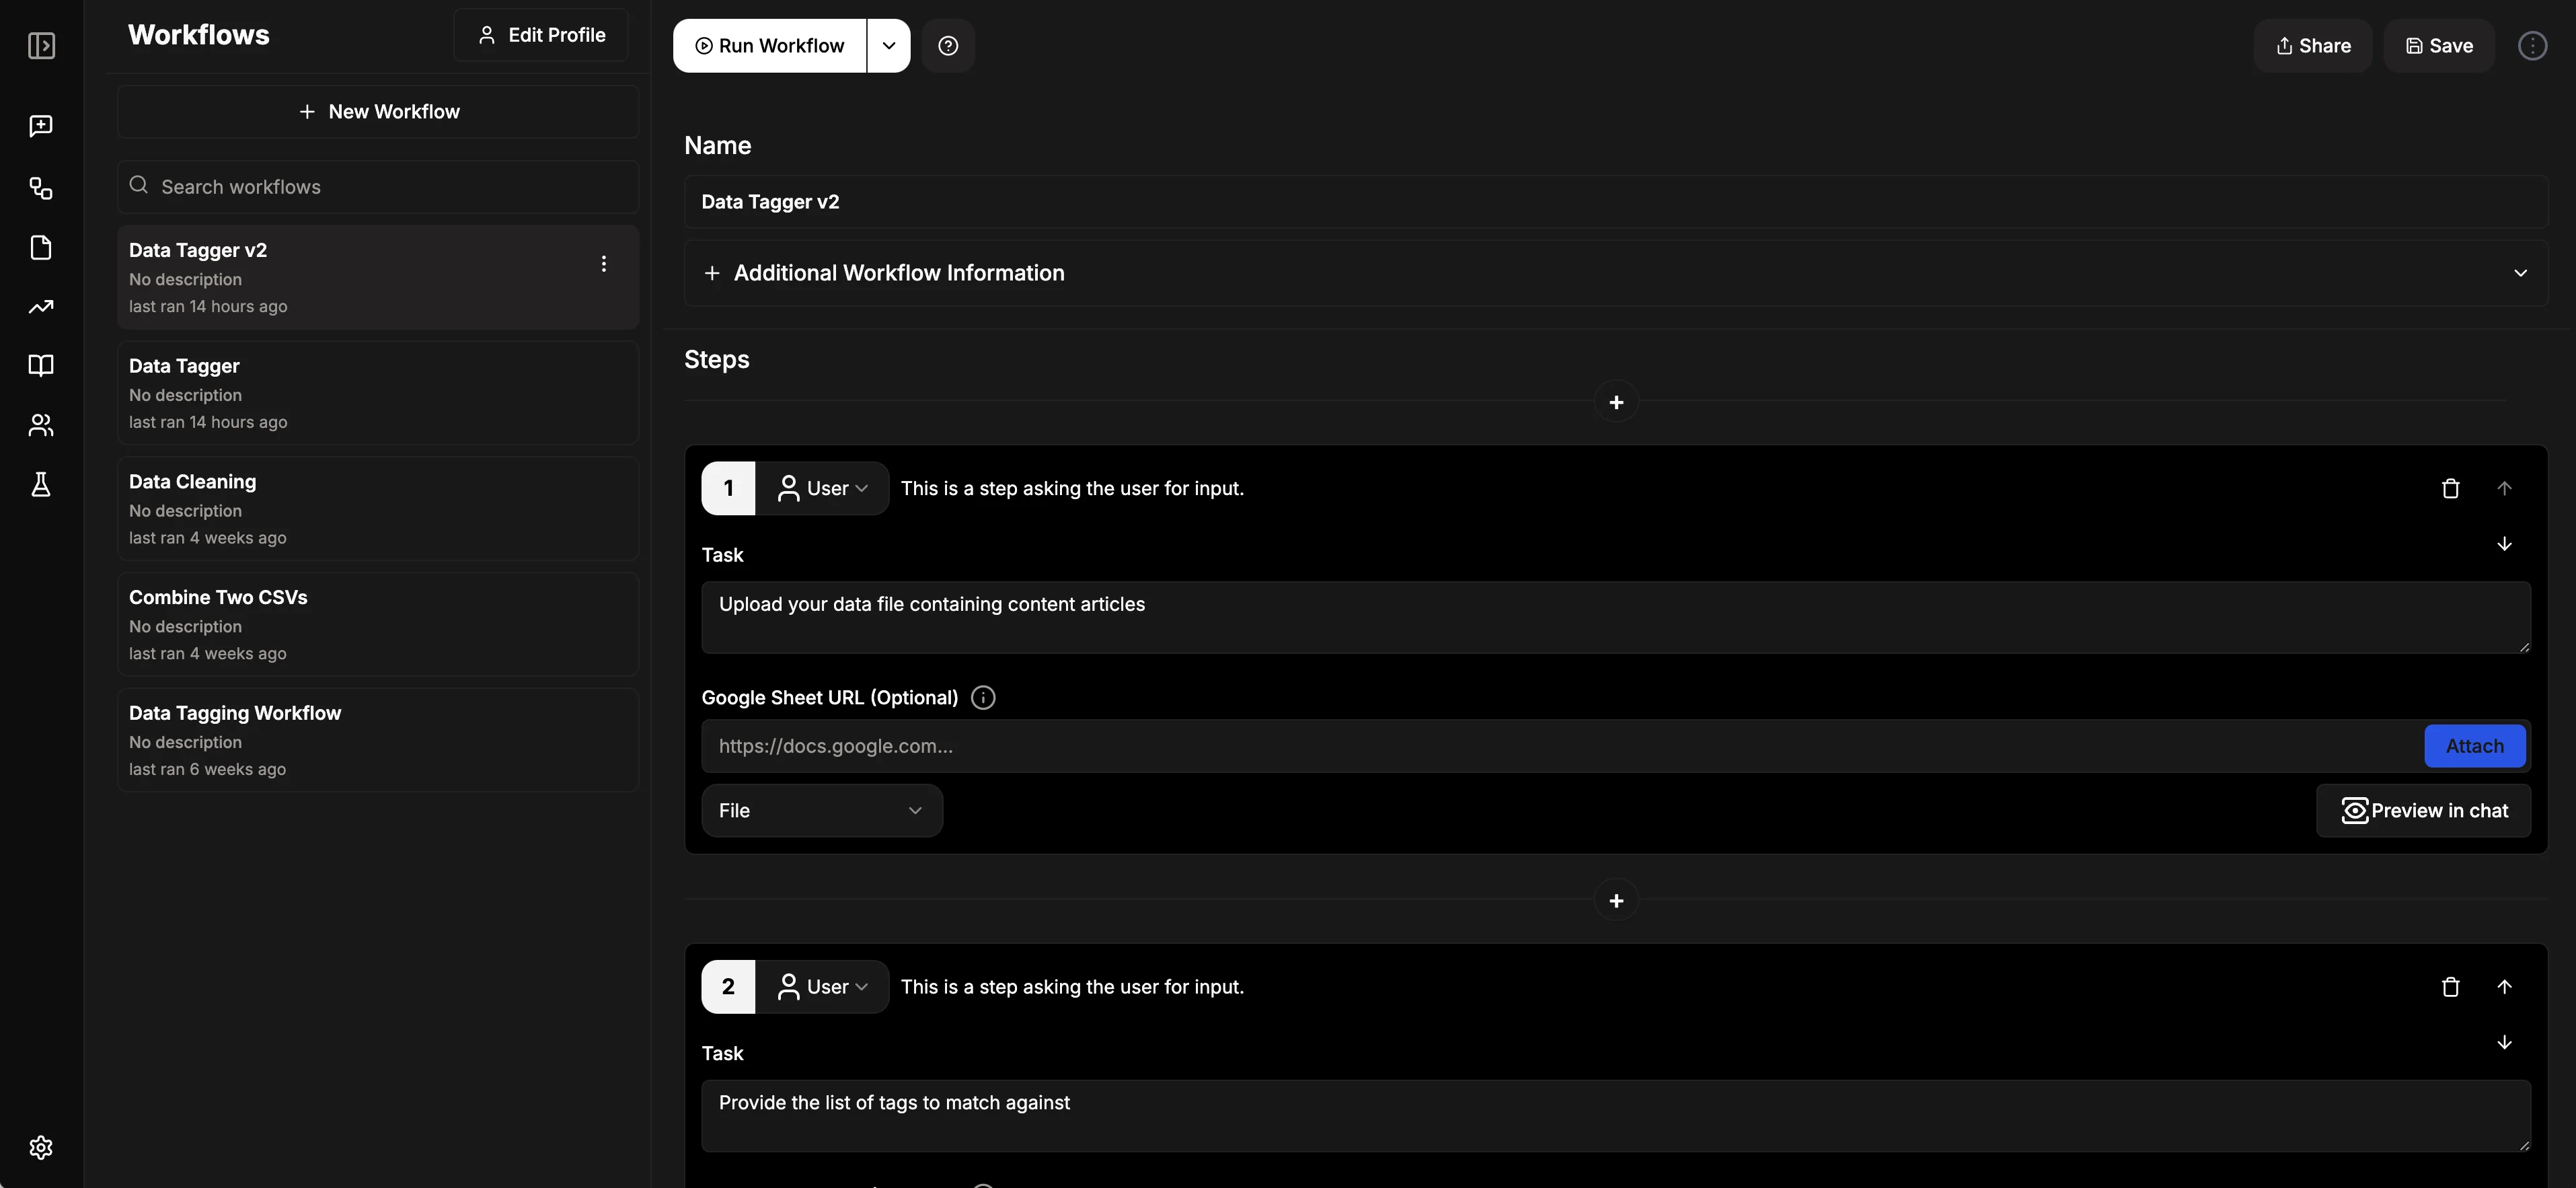
When you're satisfied with your prompt, click the "Generate Workflow Steps Now" button. Julius AI will then create a series of steps that include both user input steps and AI steps.
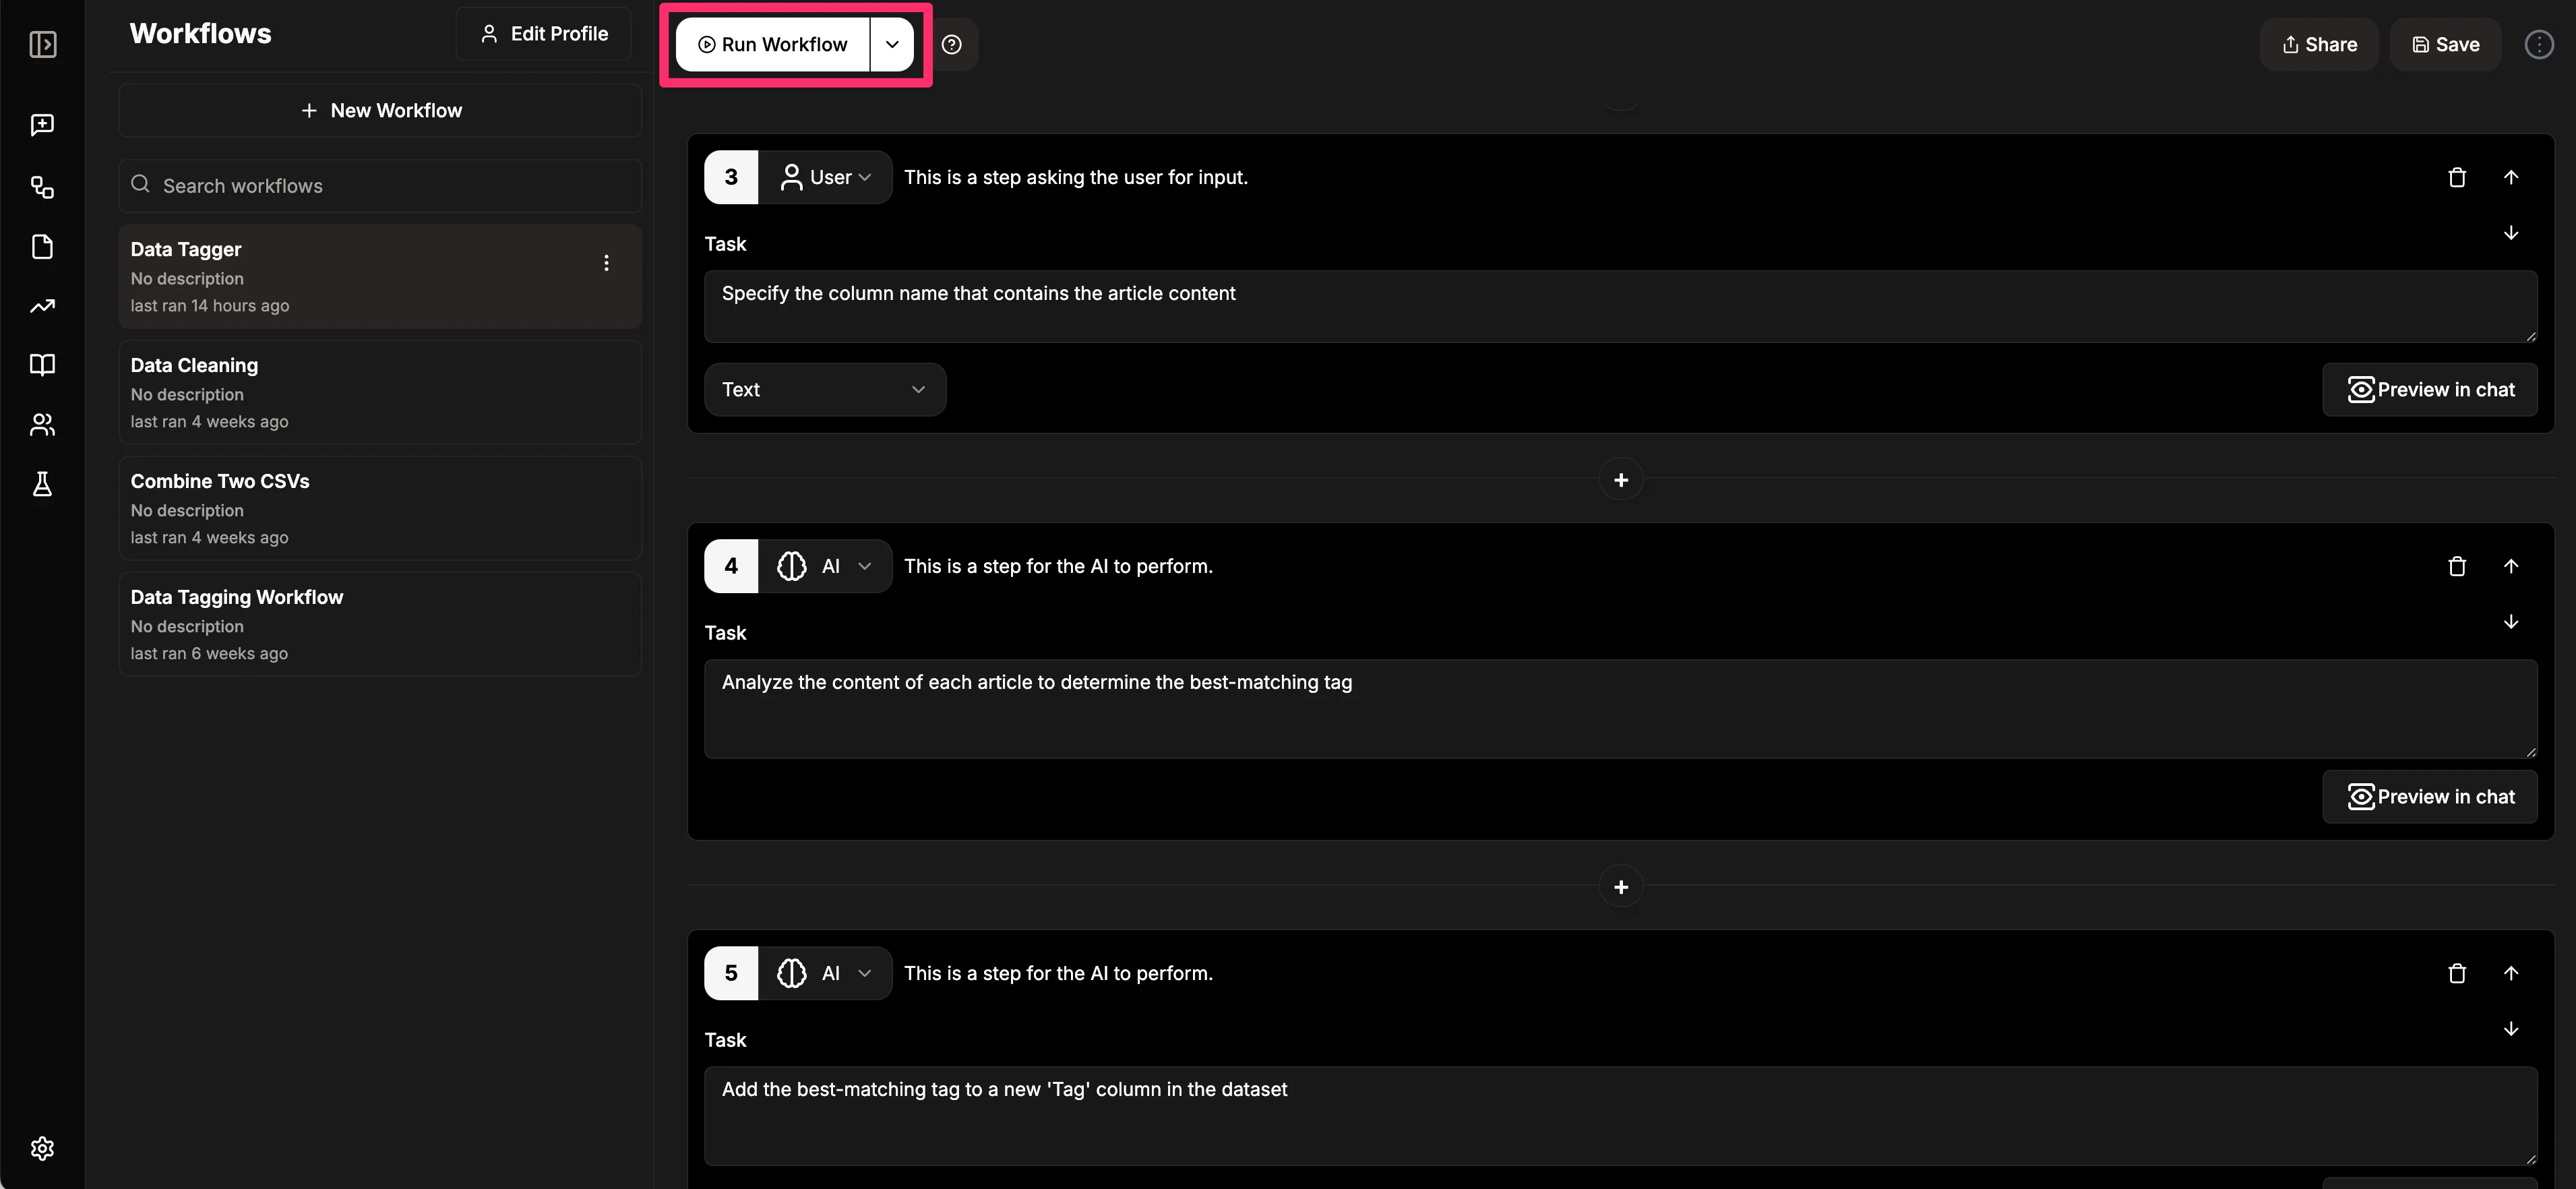
Once you're happy with the workflow steps, click the "Run Workflow" button at the top of the page to test your workflow.
Step 2: Test your workflow
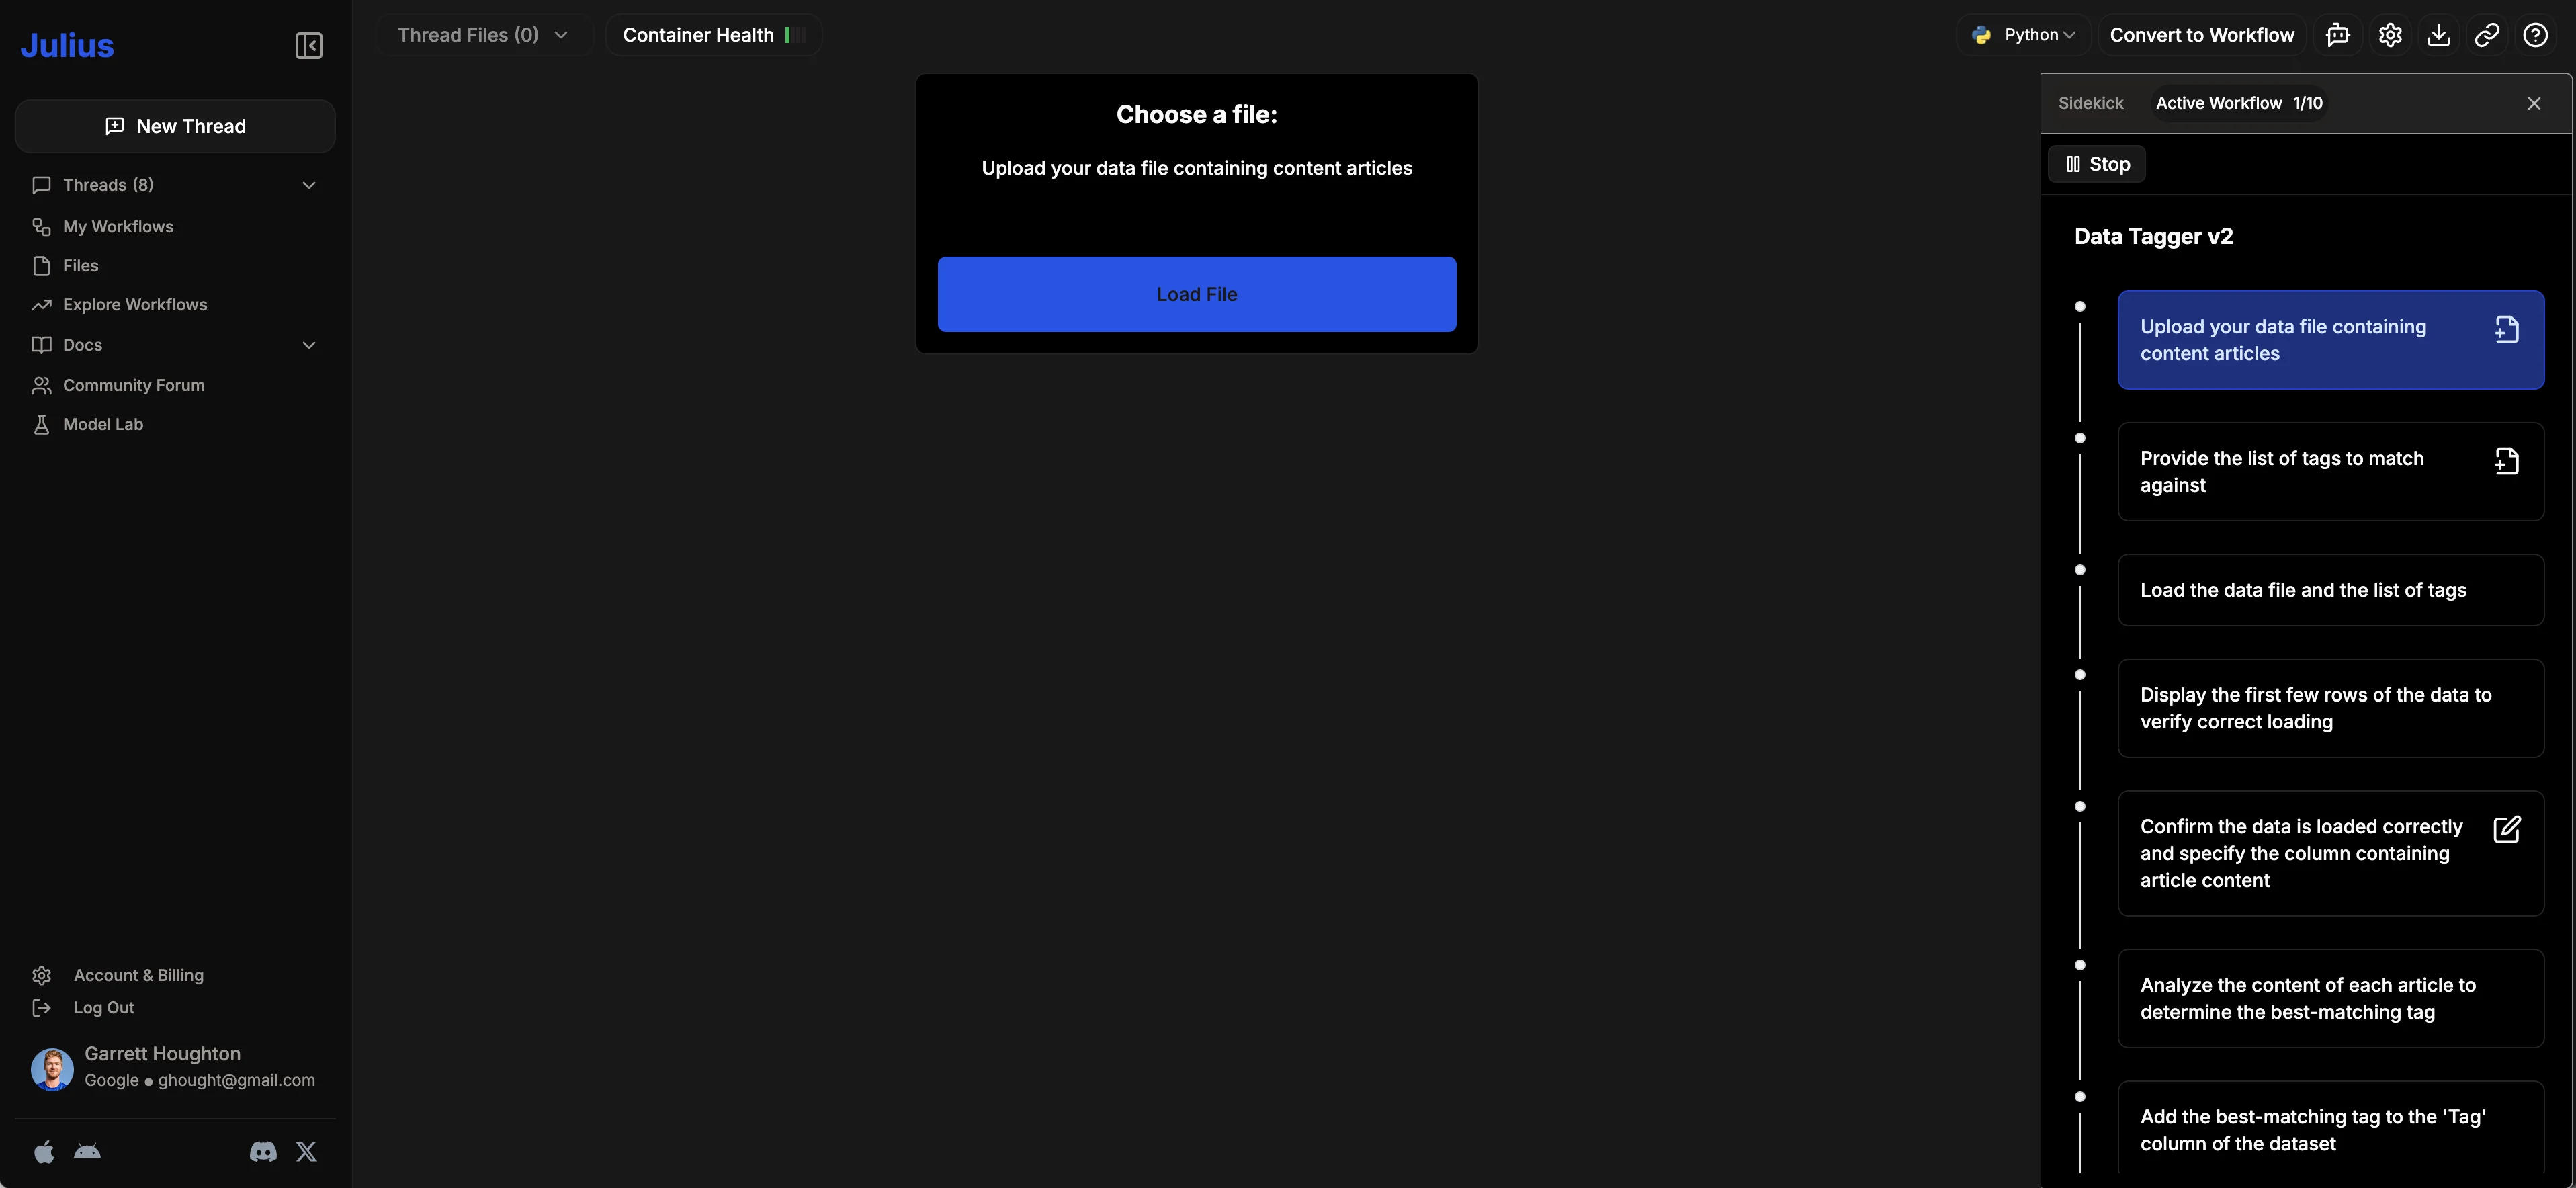
On the Test Workflow page (also known as a Thread), you'll see all the steps in the workflow process on the right side of the screen. The first step in this process will be to load a data file with the data you want tagged. Click the "Load File" button and upload your data.
The next step will also be uploading a file - this time, your list of tags that you want to append to your initial dataset. Click the "Load File" button again and upload your list of tags.

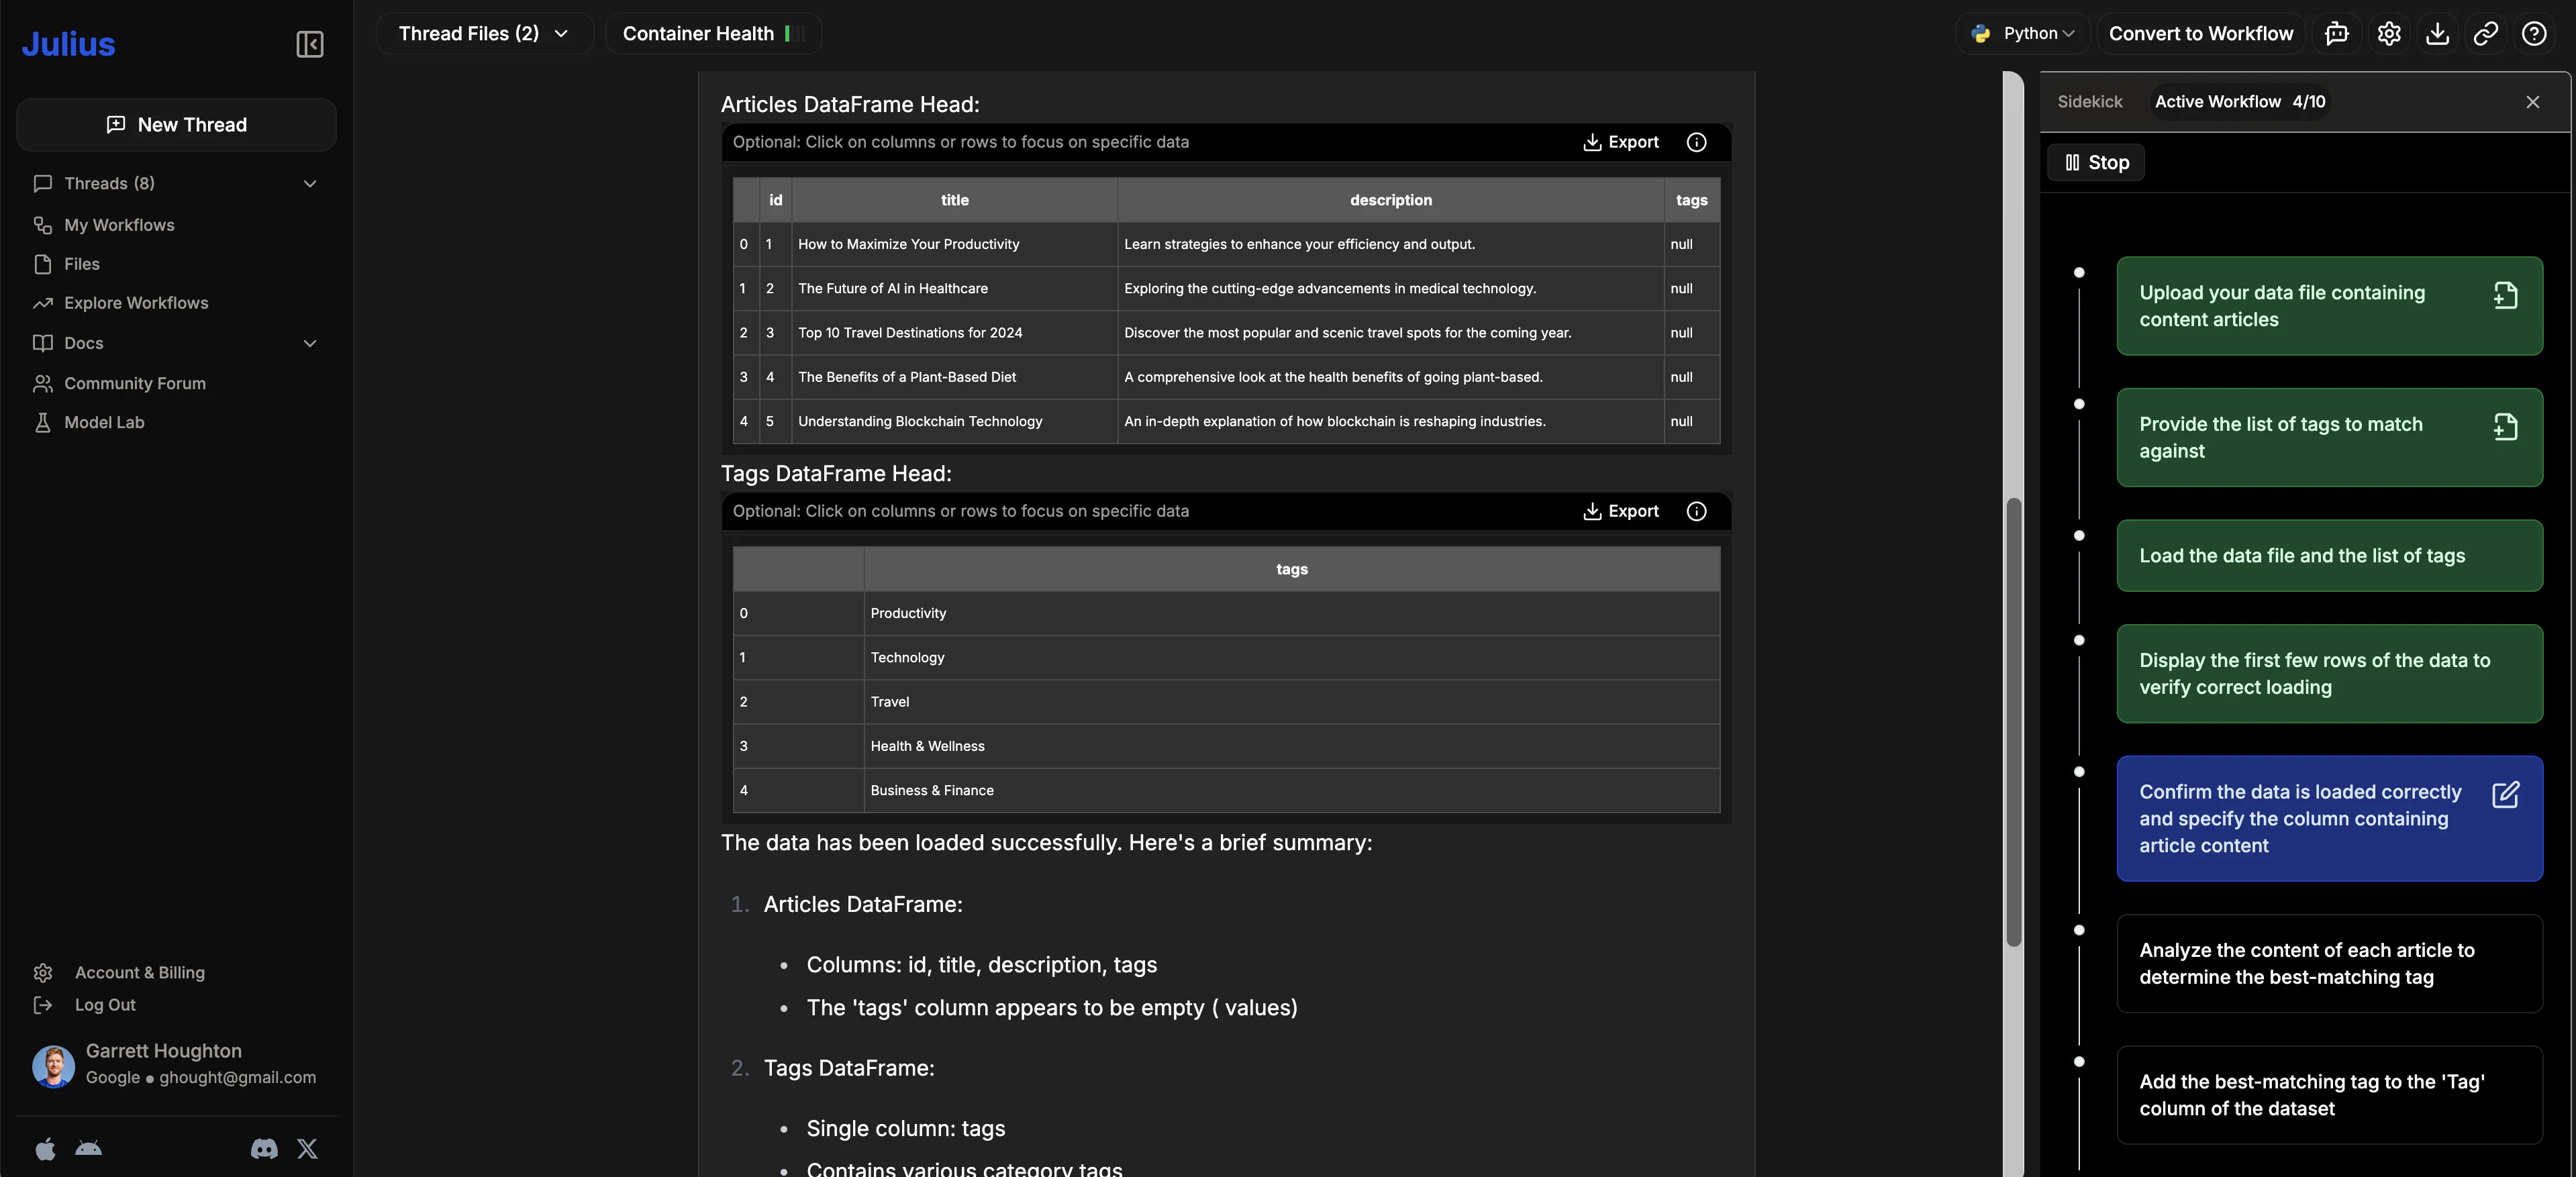
Once your datasets are loaded, Julius will display the first few rows of the data to ensure it has the right data loaded.
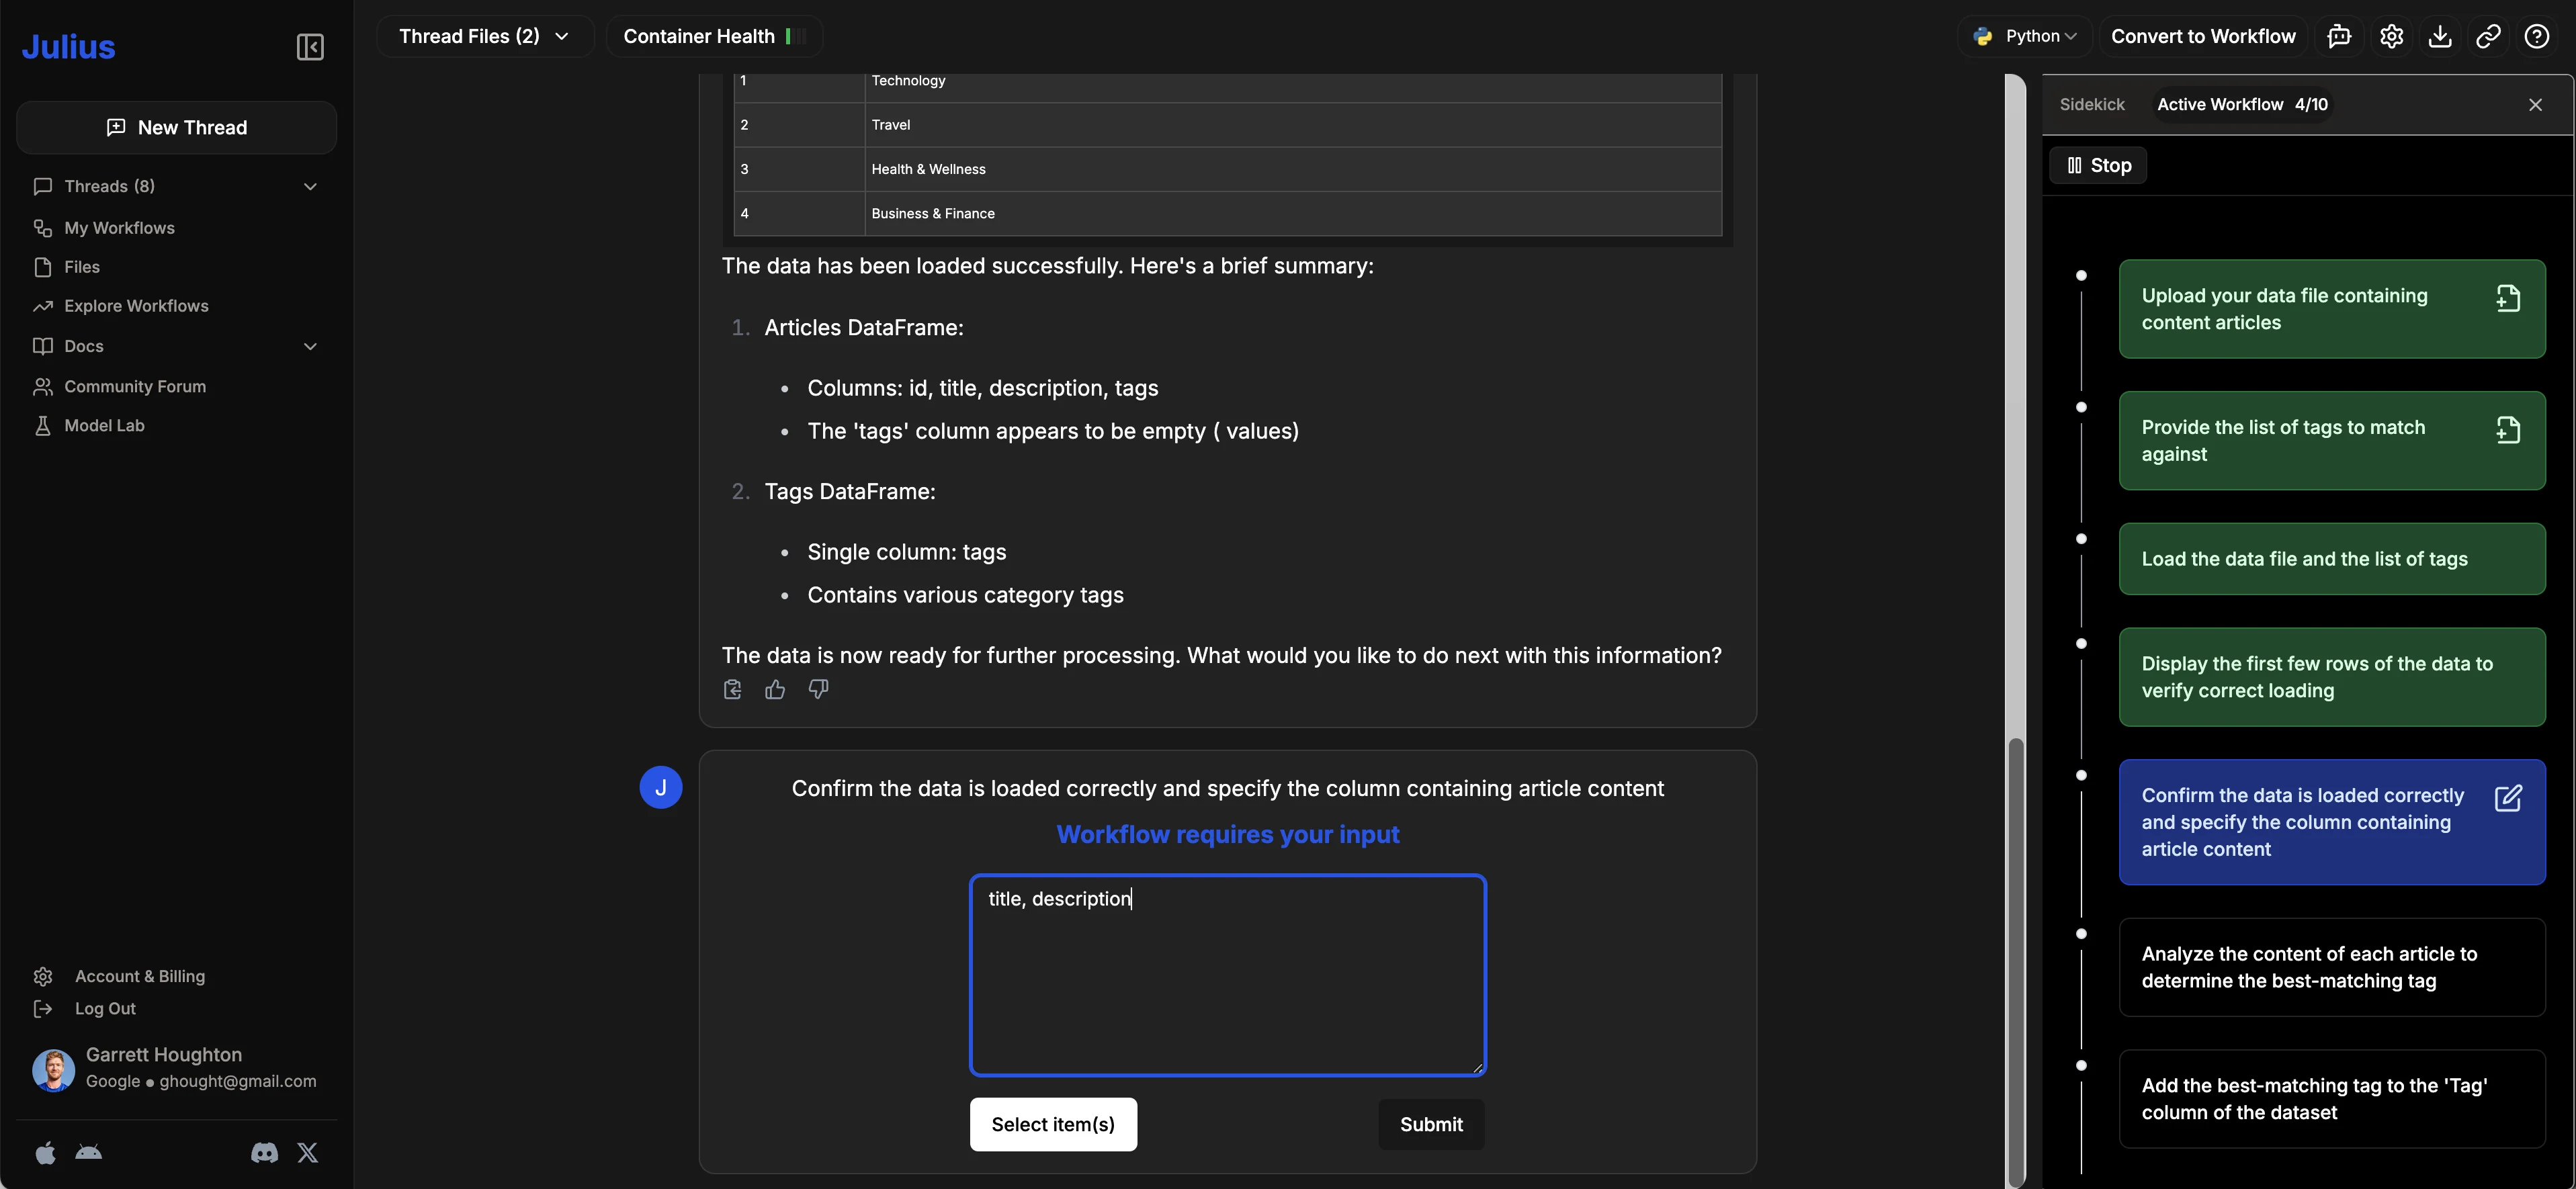
It will then ask you to confirm which columns you want it to reference for tagging. You'll be able to either select the items via the “Select item(s)” button or type in the column headers of your initial dataset that you want it to reference for matching tags. In our example, we'll use the "title" and "description" columns from our dataset. Click the "Submit" button when you've made your selection.
Julius AI will then go through the process of taking the data tags and mapping them to your data. It will provide a full readout and preview of what the data looks like. This helps verify if the tagging was done correctly.
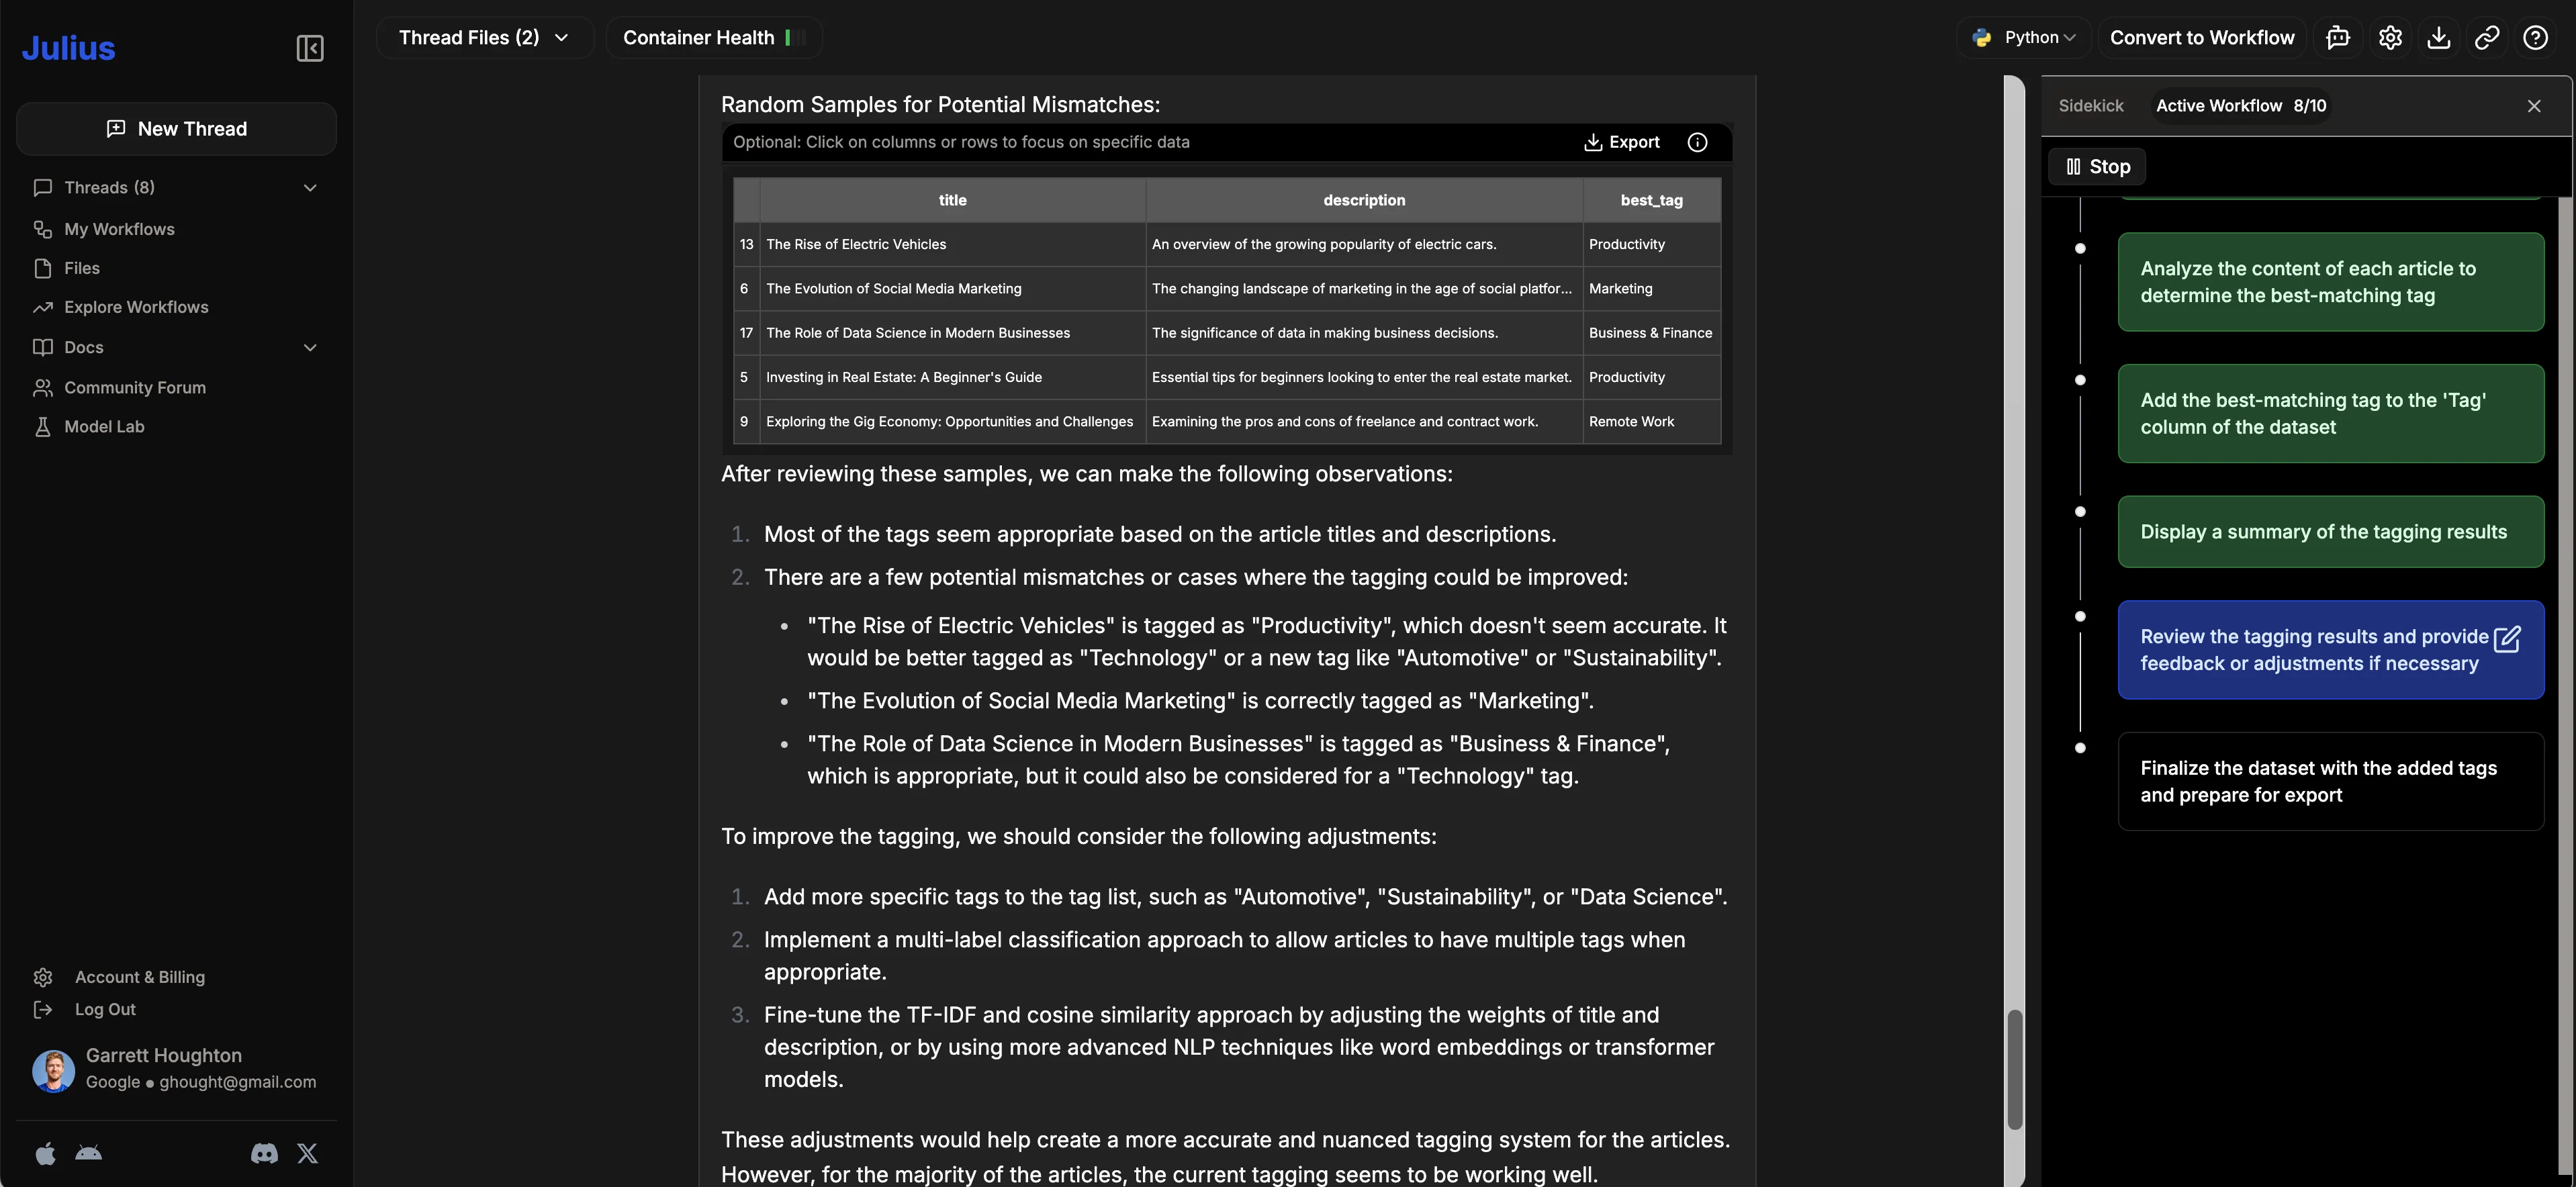
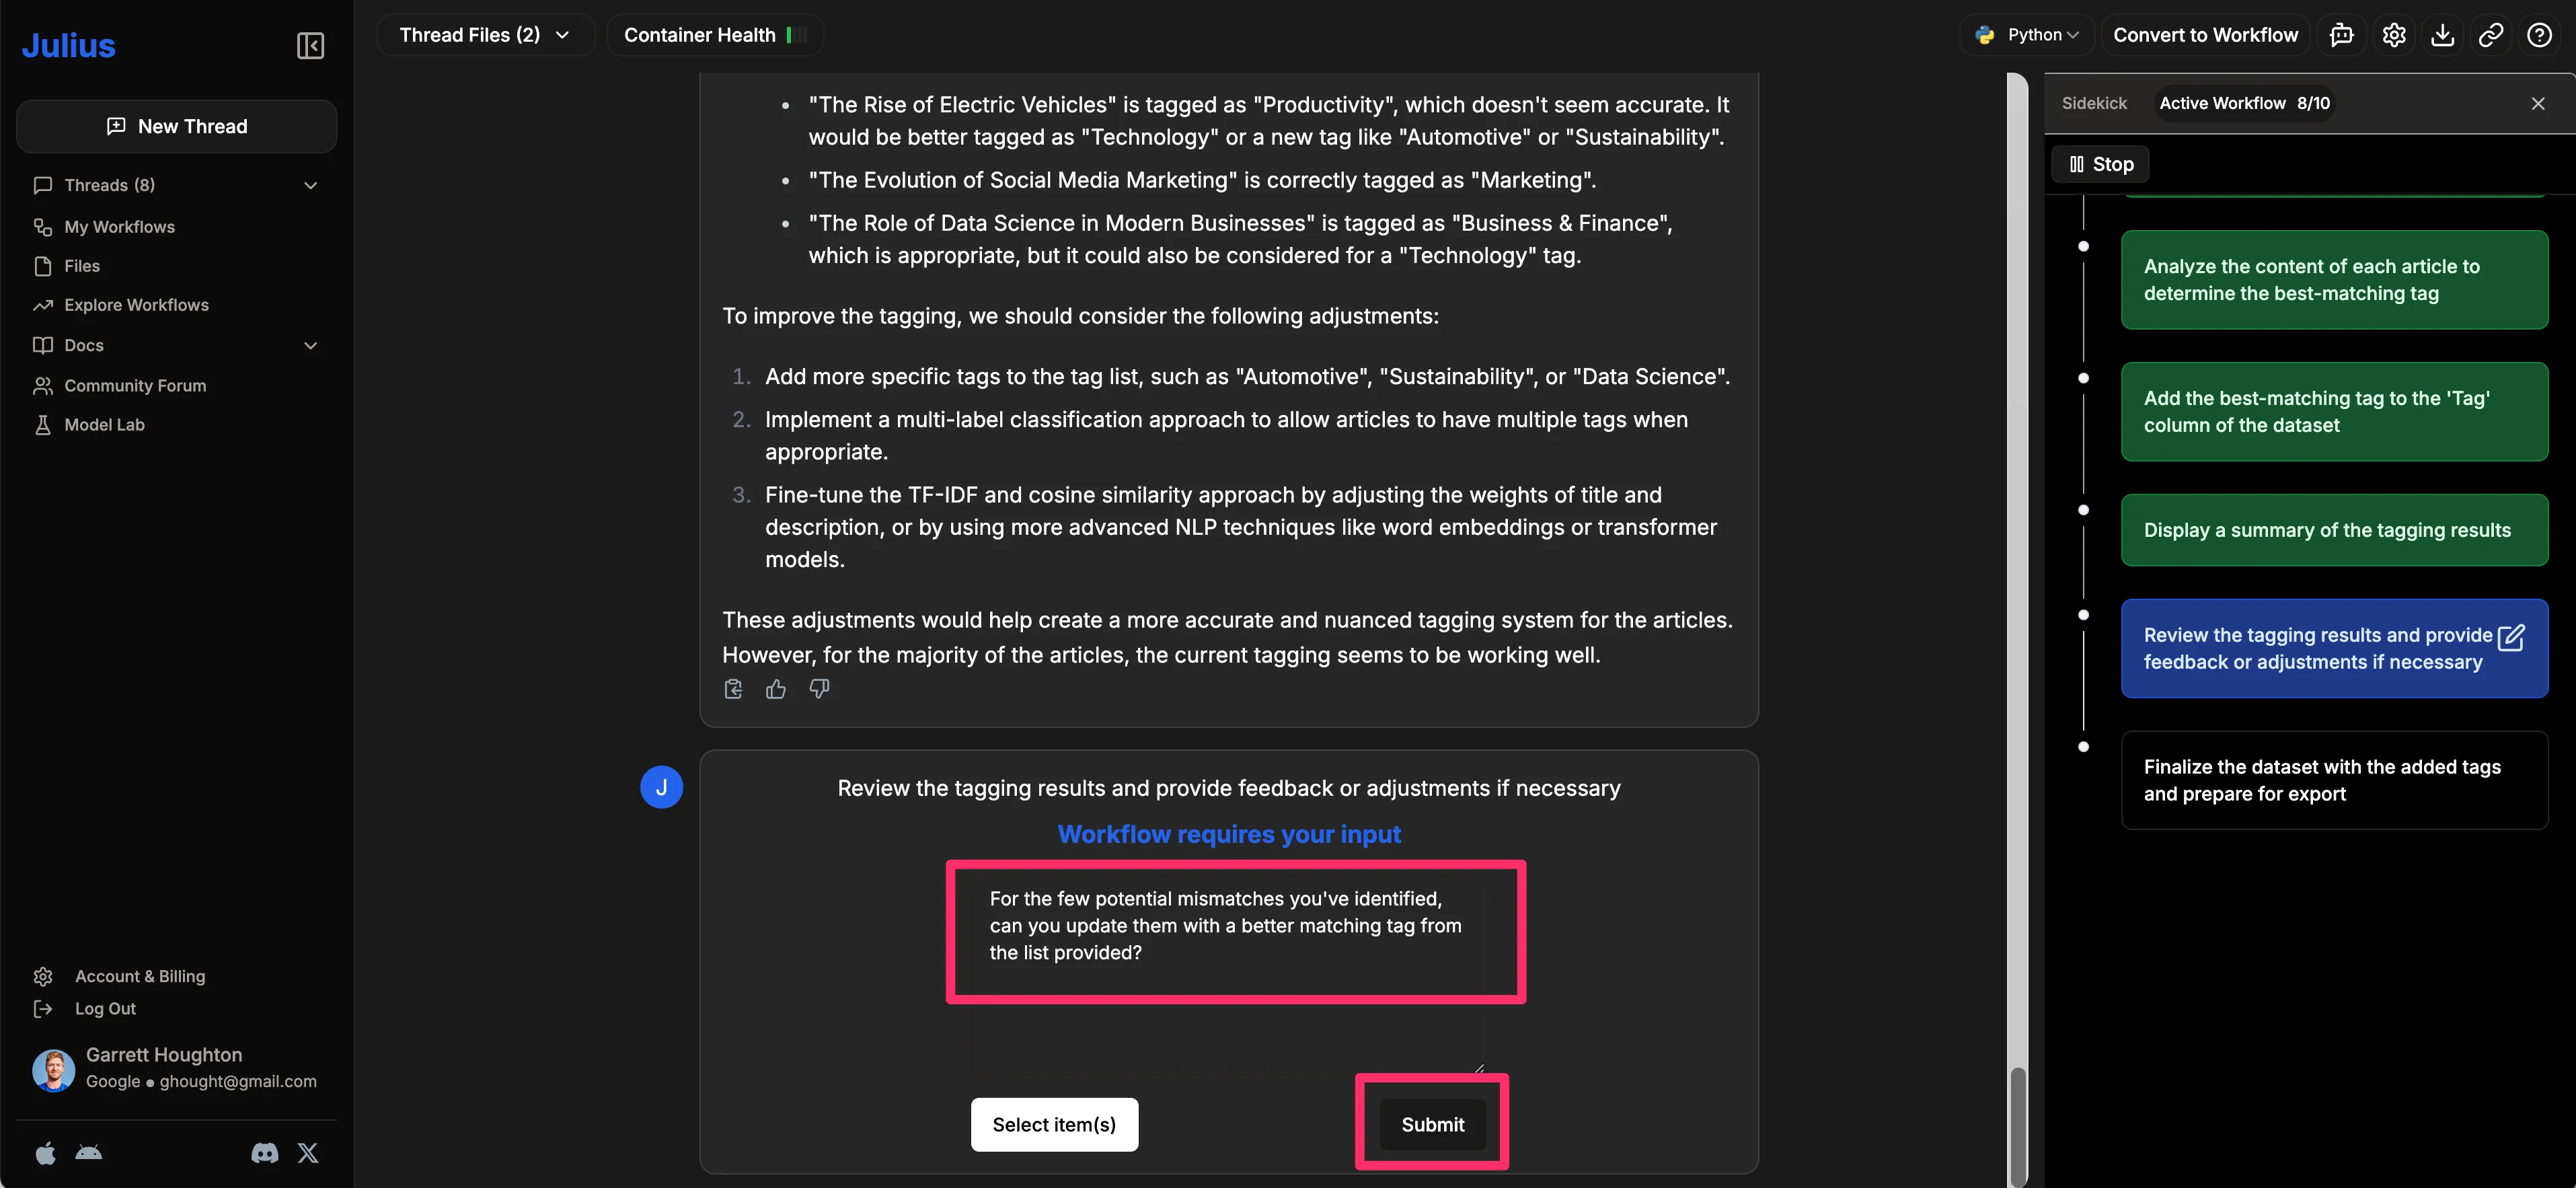
If you notice any errors or potential improvements in the data tagging, you can provide feedback in the second-to-last step. For example, Julius AI flagged some potential mismatches in our readout, so we’ll prompt it to fix those issues.
Sample prompt:
For the few potential mismatches you've identified, can you update them with a better matching tag from the list provided?
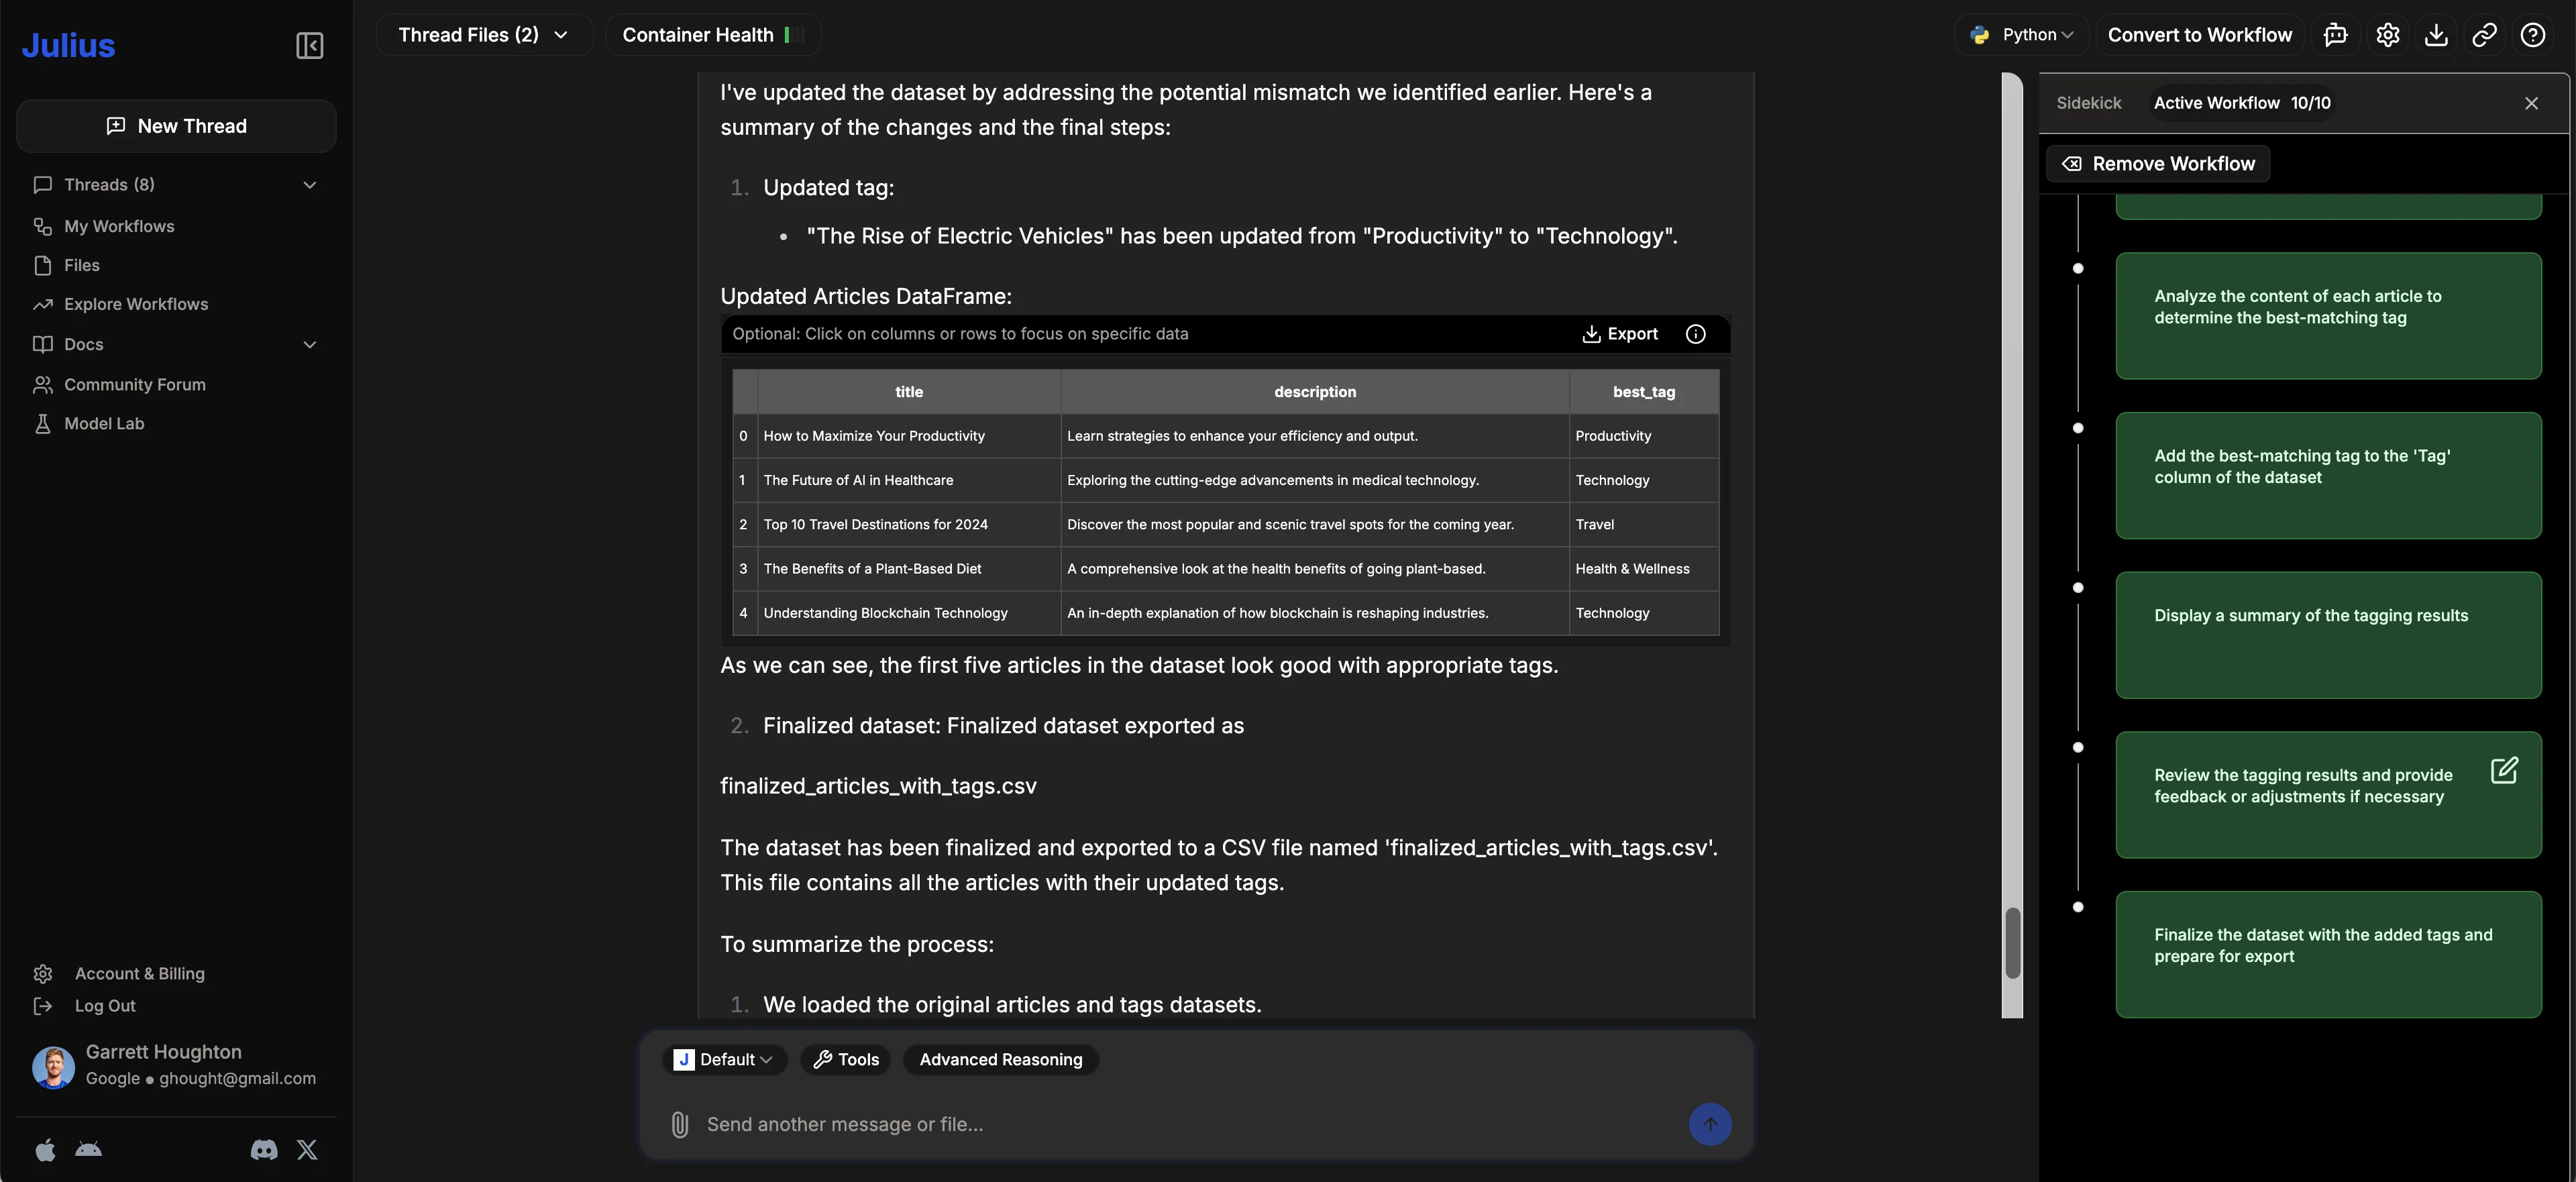
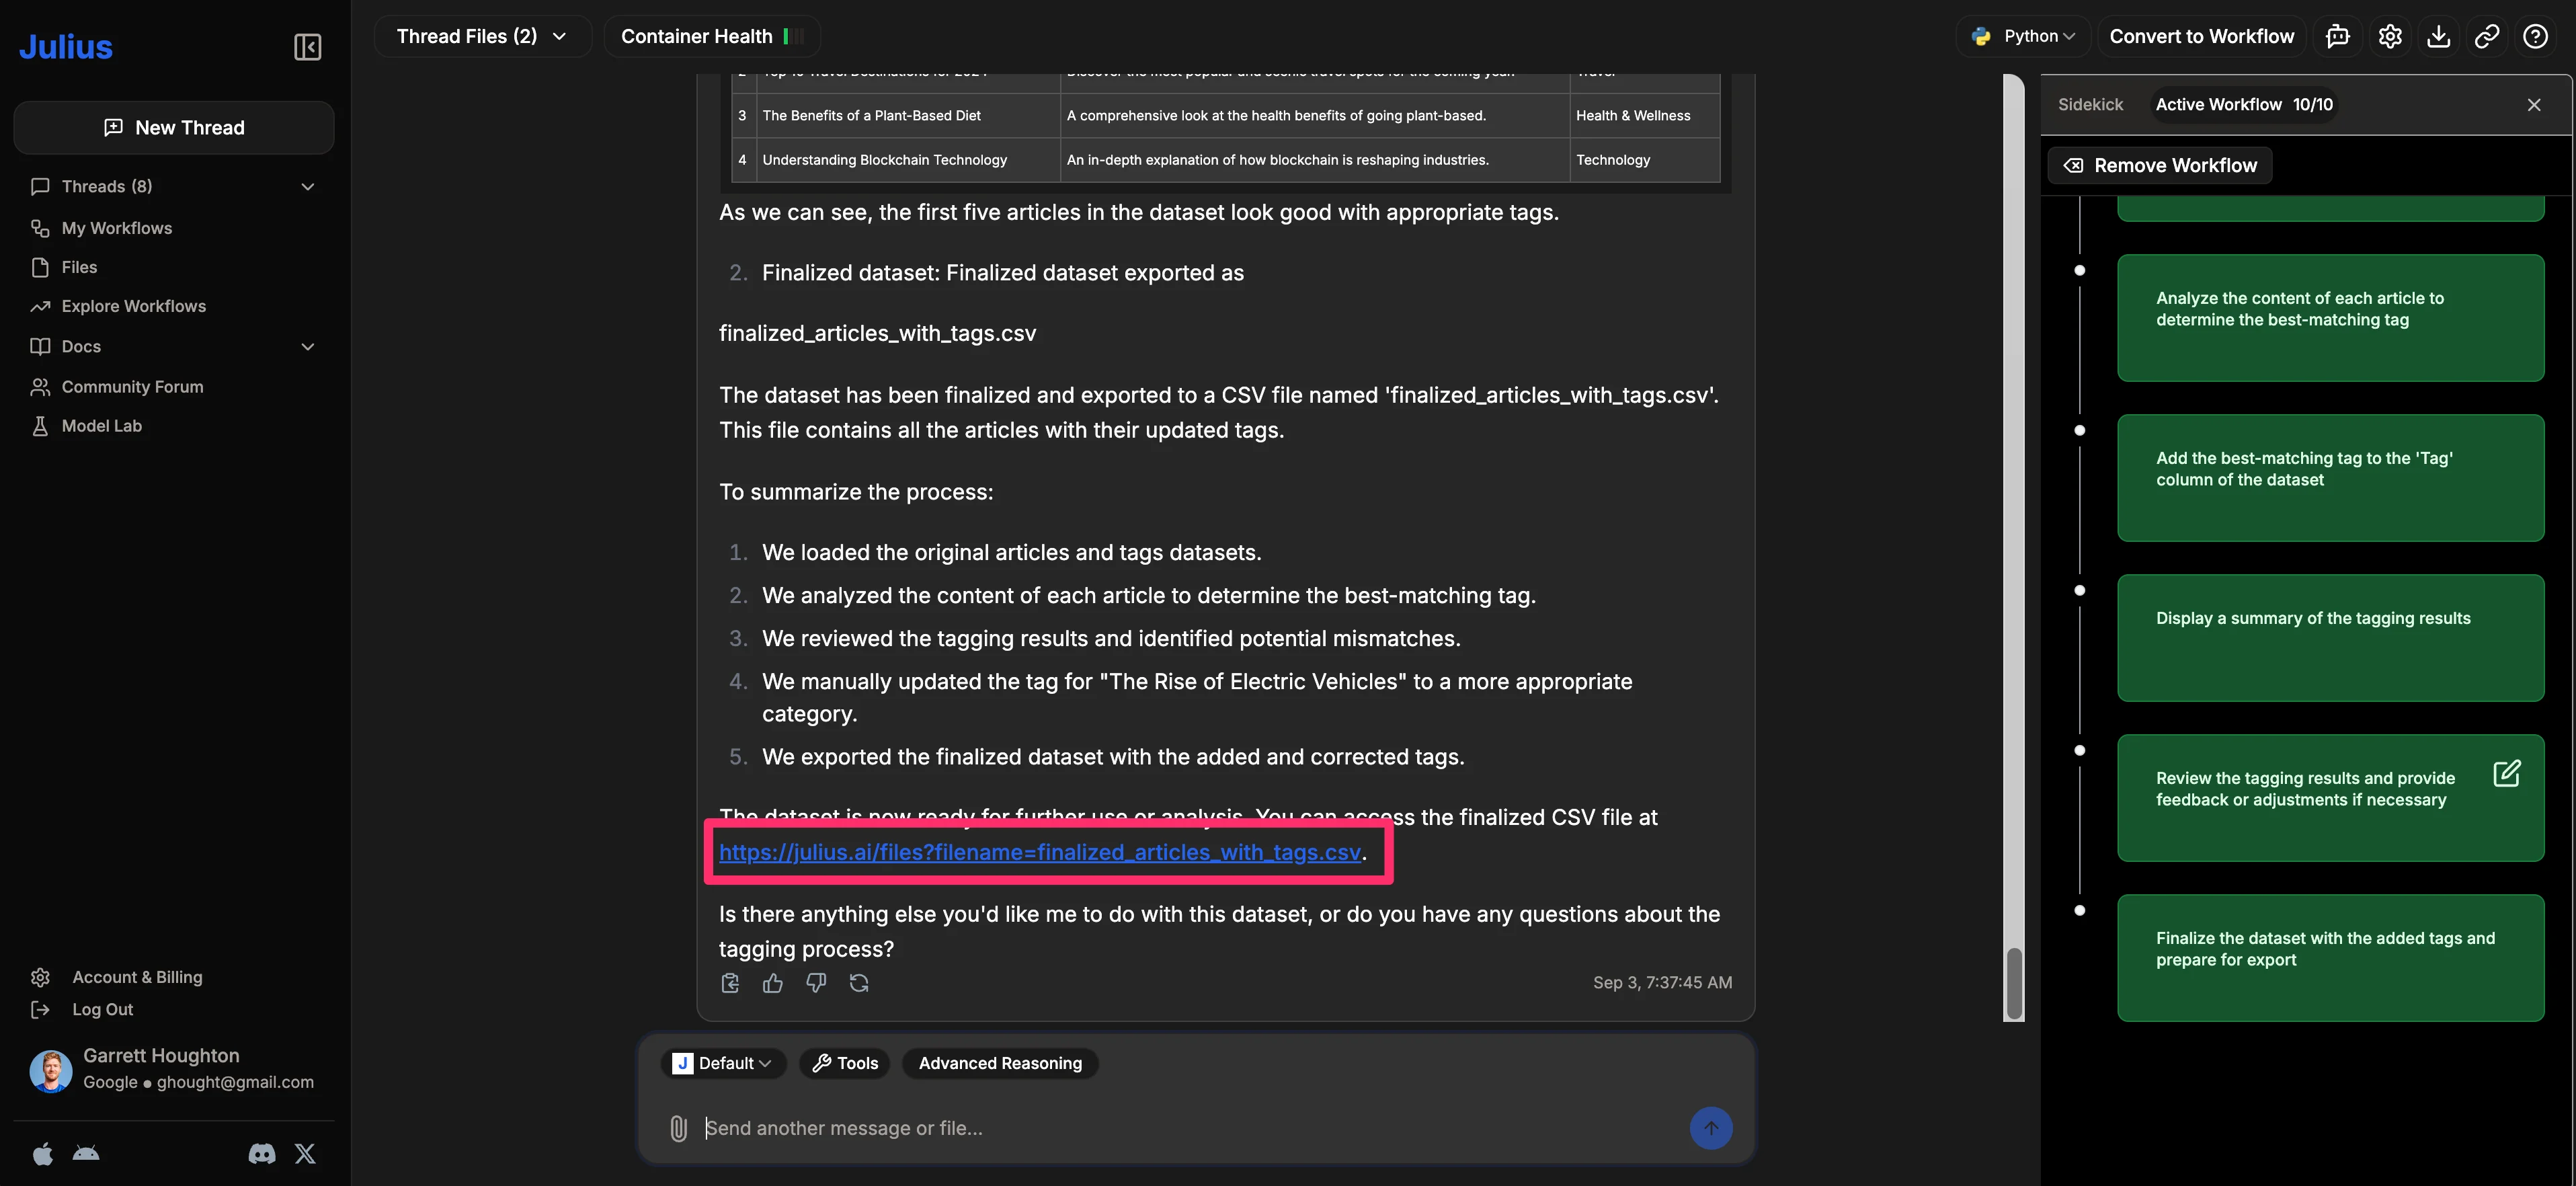
Julius AI will then re-update its tagging of the data based on your feedback and provide a final output and preview.
From there, you can download a CSV file of the updated data with the matching tags.
Step 3: Edit and share your workflow
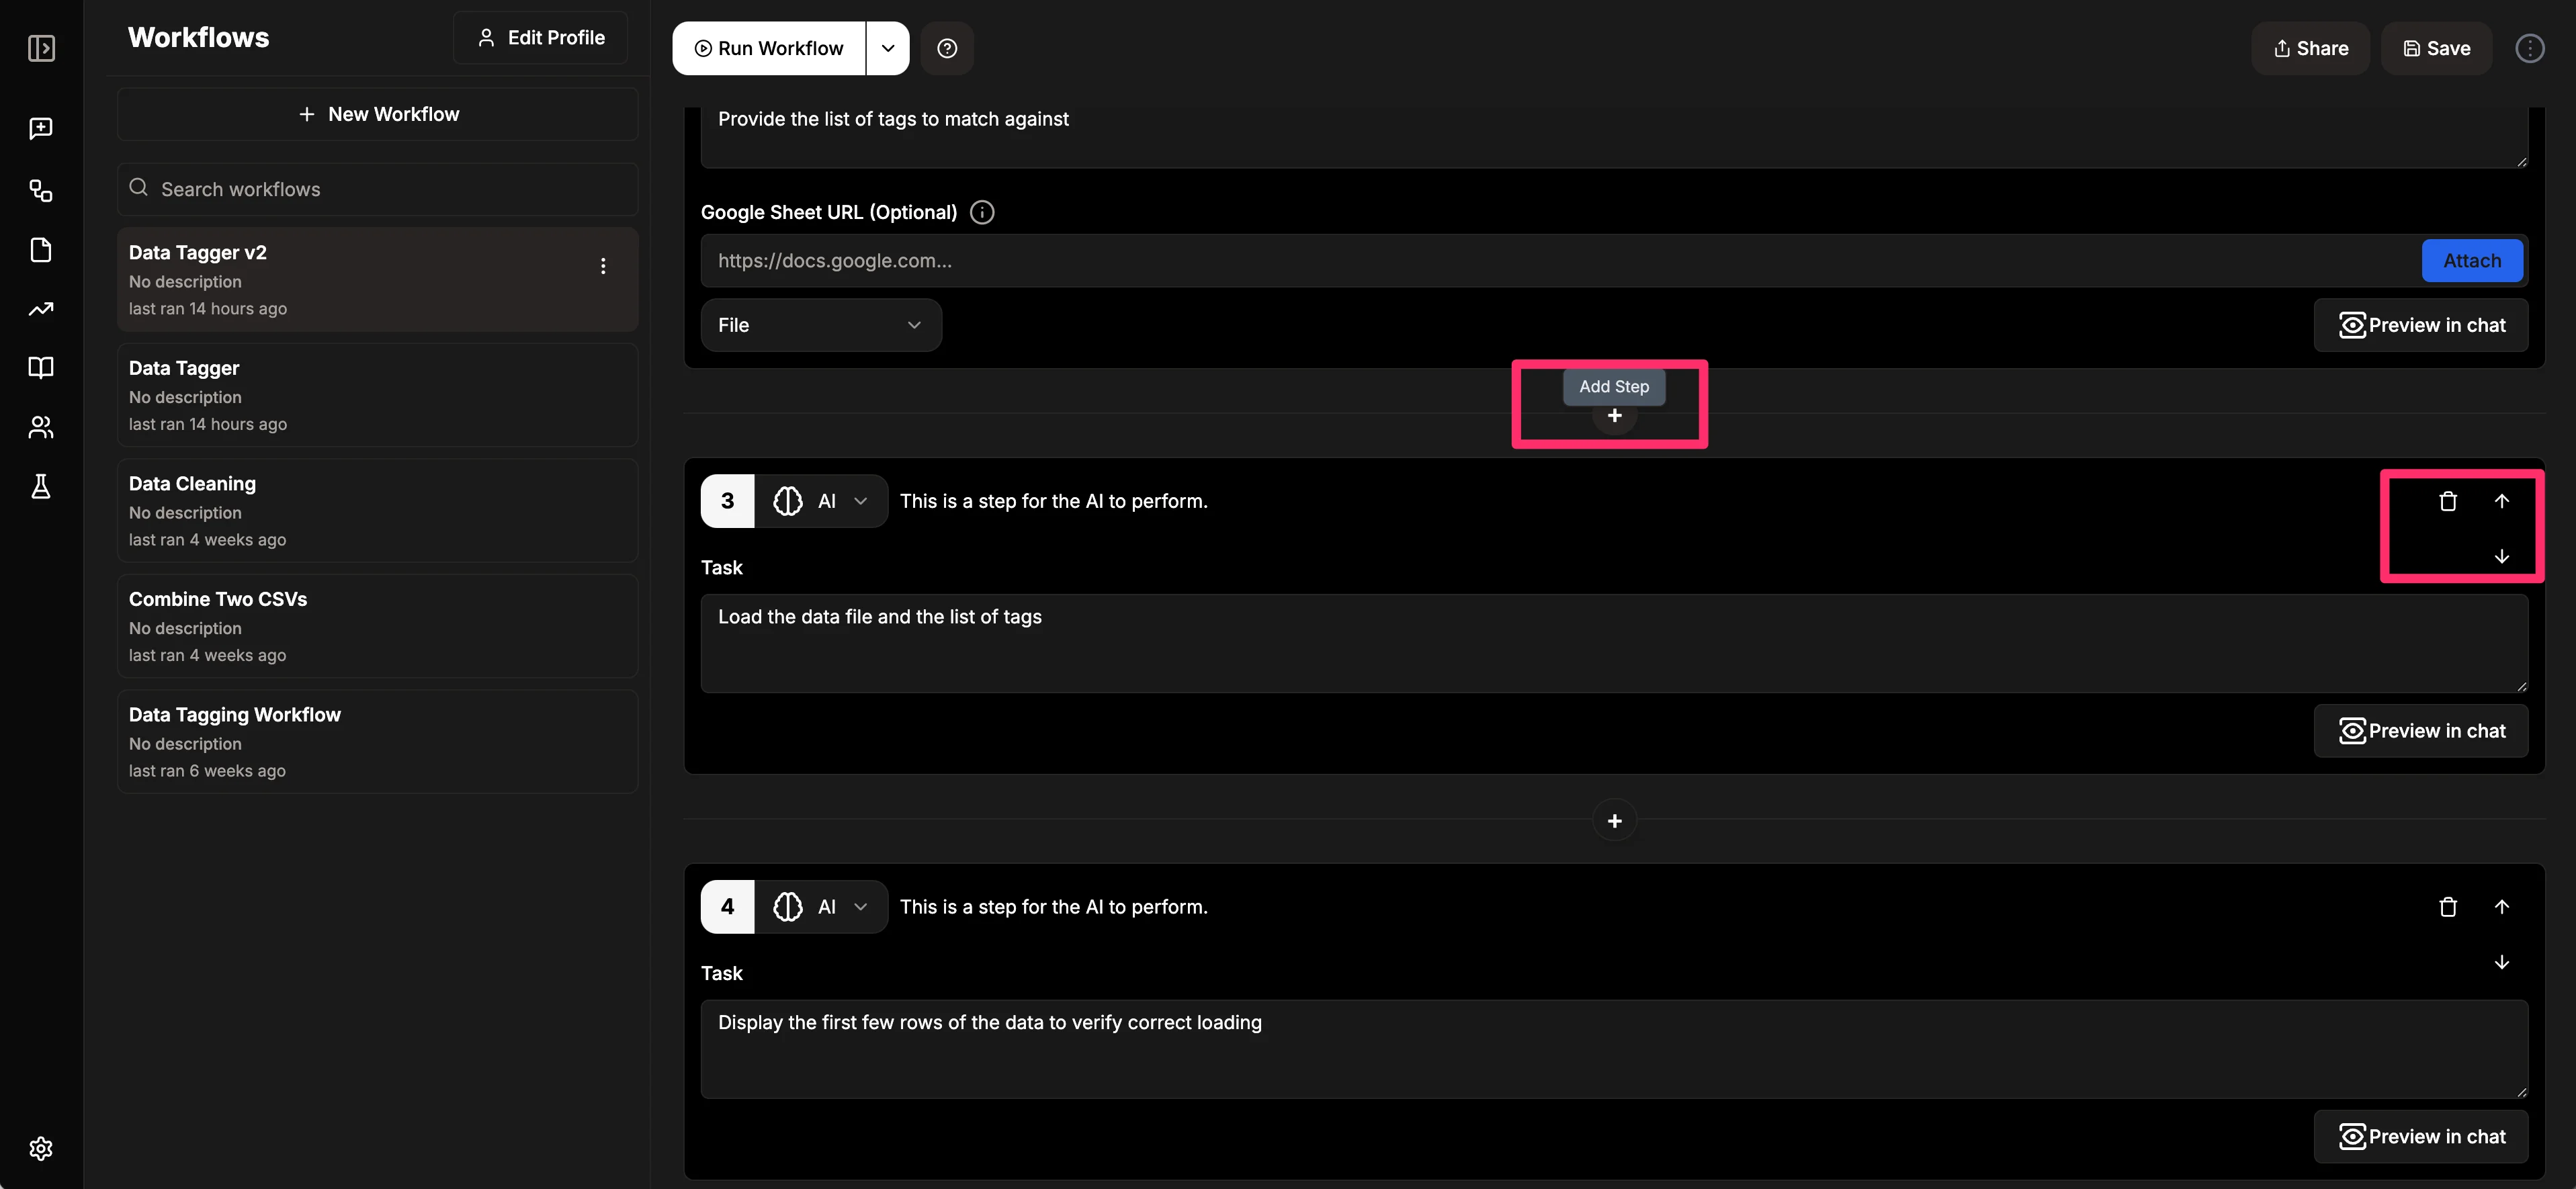
After running through this workflow, if you're happy with everything, you can save and share it. However, you also have the option to edit some of the steps if there is anything that didn't work as well as you wanted. For instance, in the step for providing a list of tags, you can change it from being a file upload to just providing a text list of tags.

You can also add new steps by clicking the "Add Step" button within the Workflow Builder or delete/move steps up and down in the process by clicking the trashcan icon or the up and down arrows on the right side of the Workflow Builder.
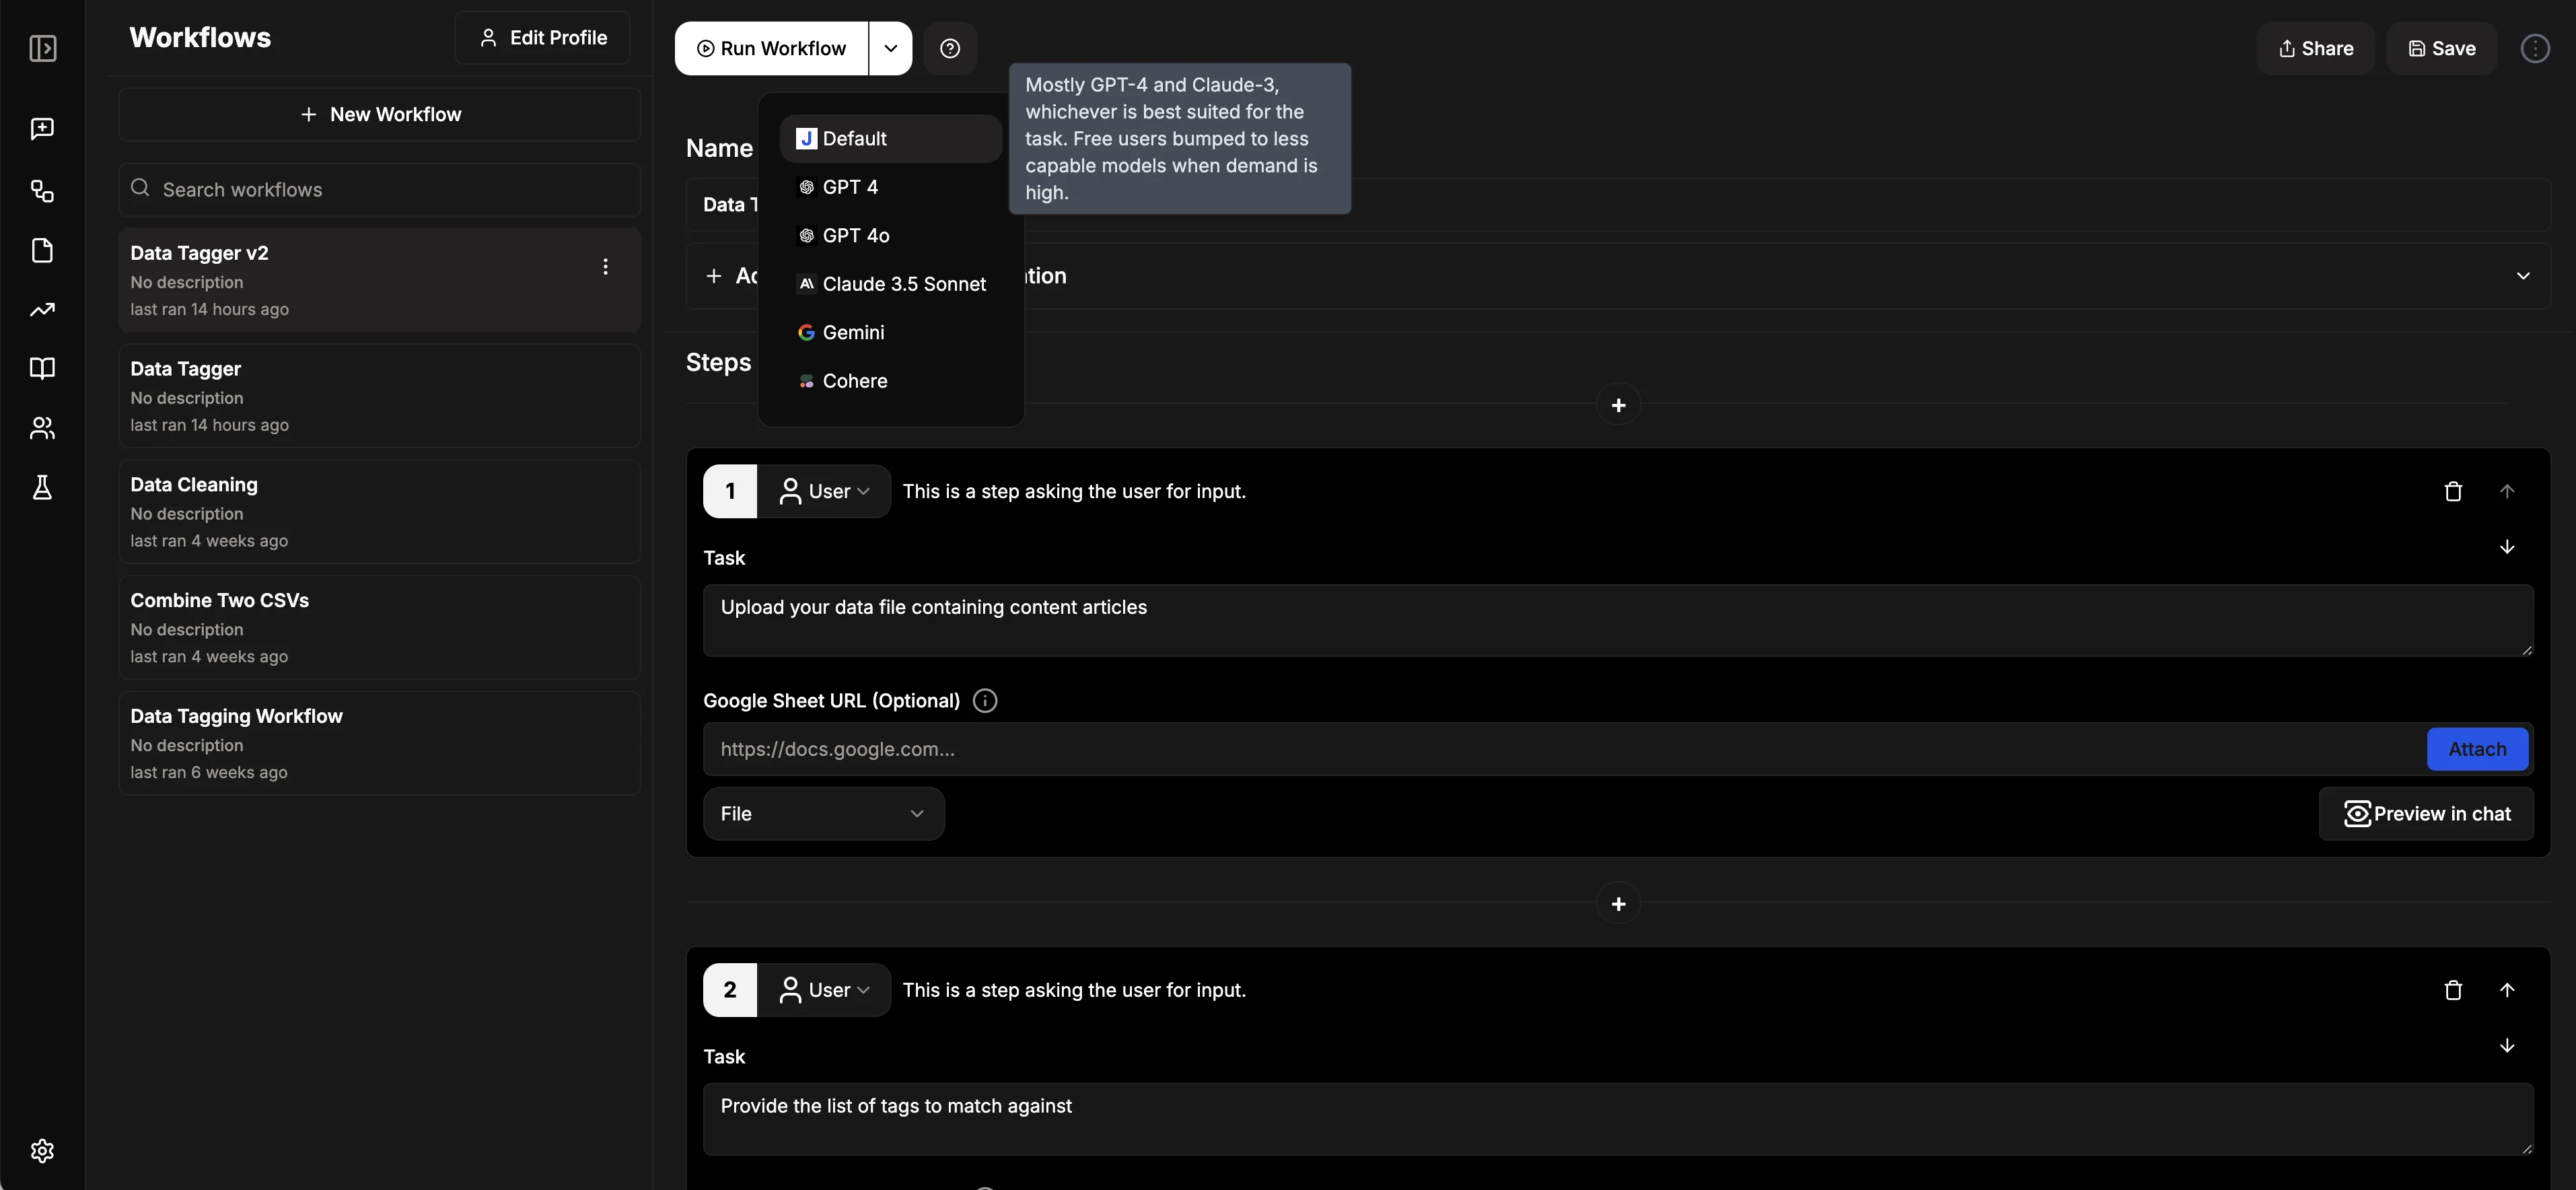
Finally, you can change the AI model powering the workflow. By default, it's set to the Julius default model (a combination of GPT-4 and Claude-3), but you can change it to other provided models if needed.
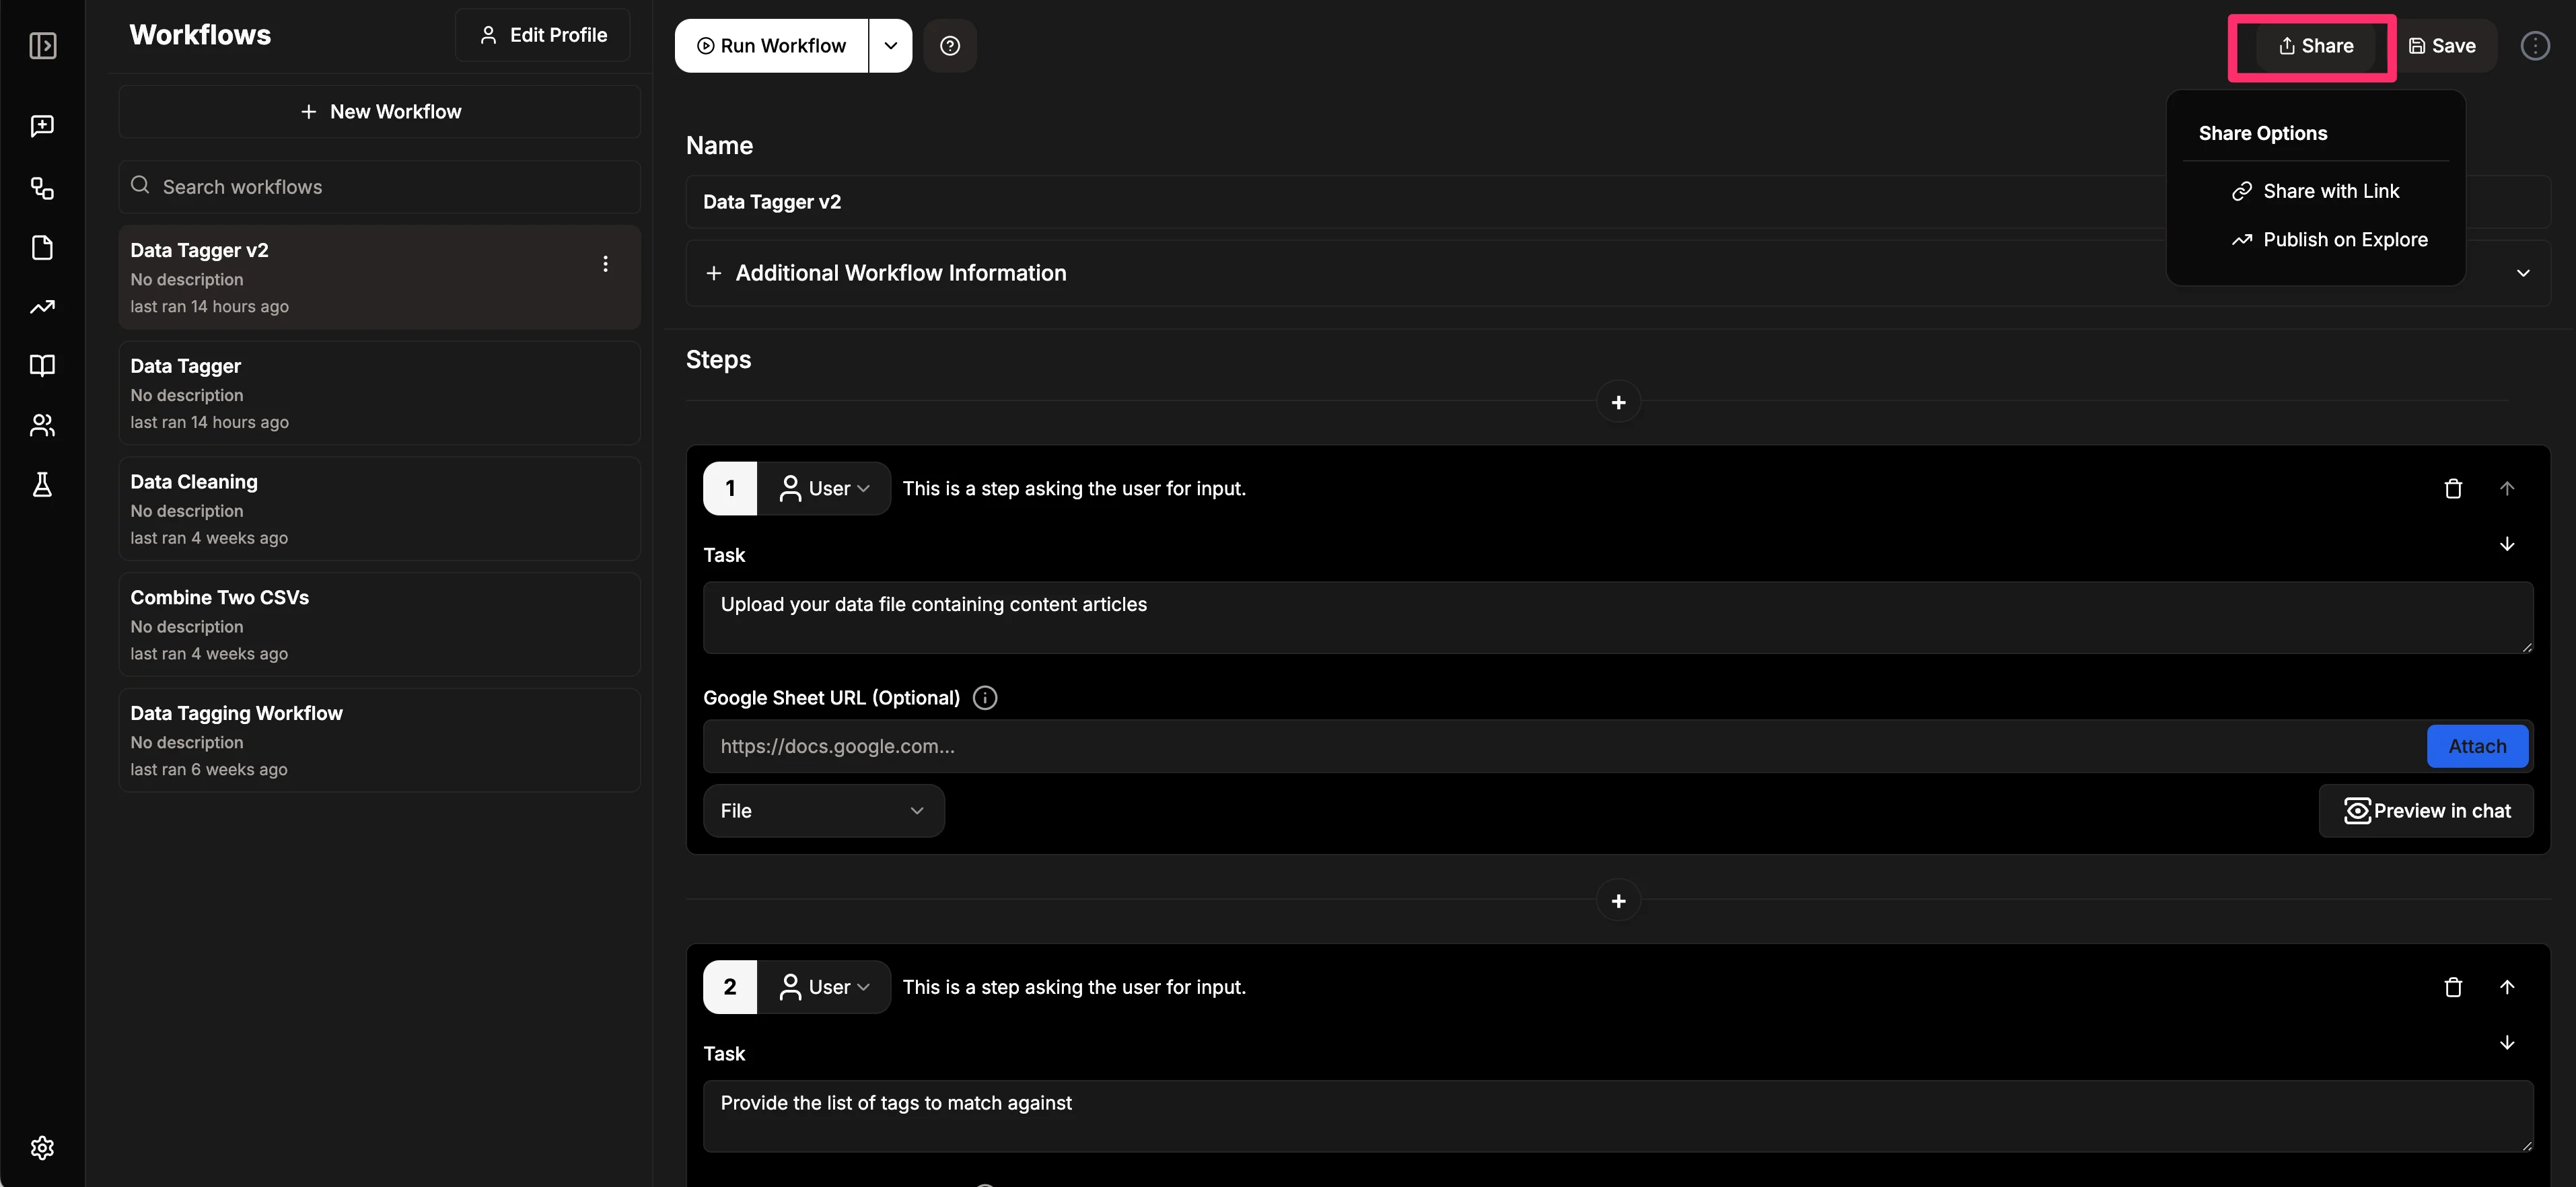
Once you're satisfied with your workflow, you can share it by sharing the link with your team. You even have the option to publish it as a public workflow on the Explore page of Julius AI.
This tutorial was created by Garrett.