Create consistent AI characters with RenderNet
Generate and customize AI characters that maintain consistency across multiple images.
2024-11-13
In this tutorial, we'll walk you through the process of creating an AI character, which will allow you to generate consistent images of a realistic character in various scenes and scenarios.
We'll be using RenderNet, a powerful AI image-generation tool for this process. After completing this tutorial, you’ll have all of the skills needed to create an AI character that you can use for various creative projects, marketing materials, or personal art projects.
Steps we'll follow in this tutorial:
- Upload and customize your character
- Use your character in the RenderNet canvas
- Remix and download your character images
Let’s dive in.
Step 1: Upload and customize your character
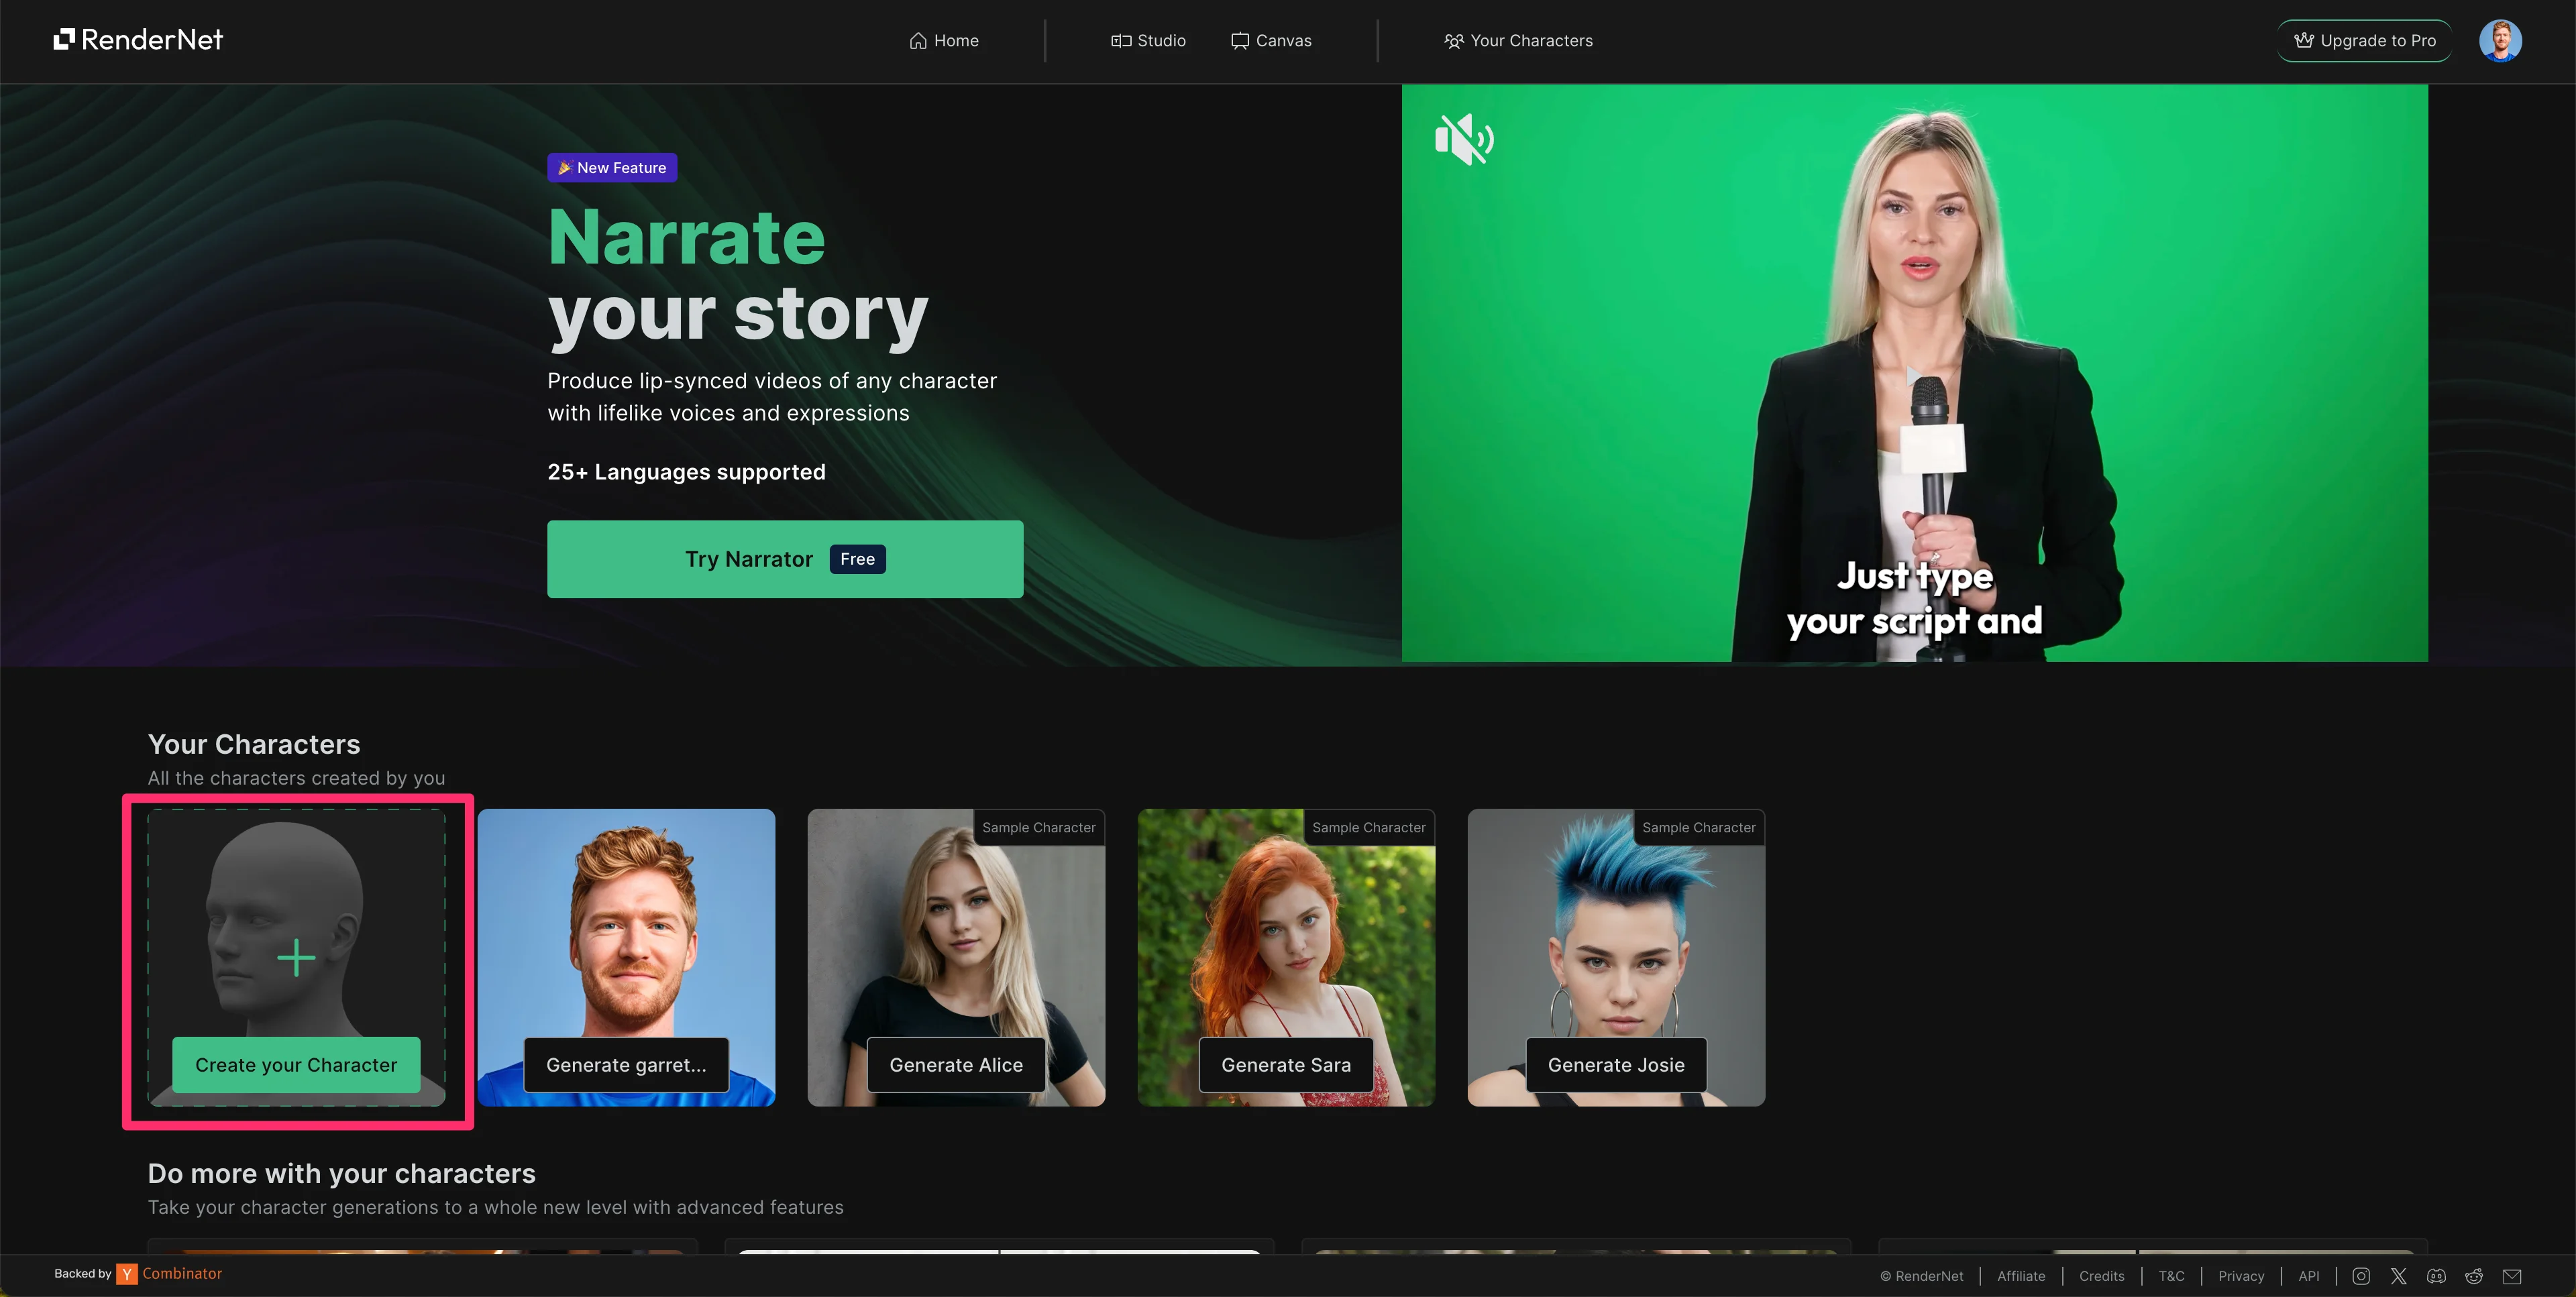
To get started, visit the RenderNet website and click the "Create for free" button to set up your account.

Once you've created your account, you can start creating your own AI character. To do this, click on the "Create your Character" selector at the bottom of the screen.
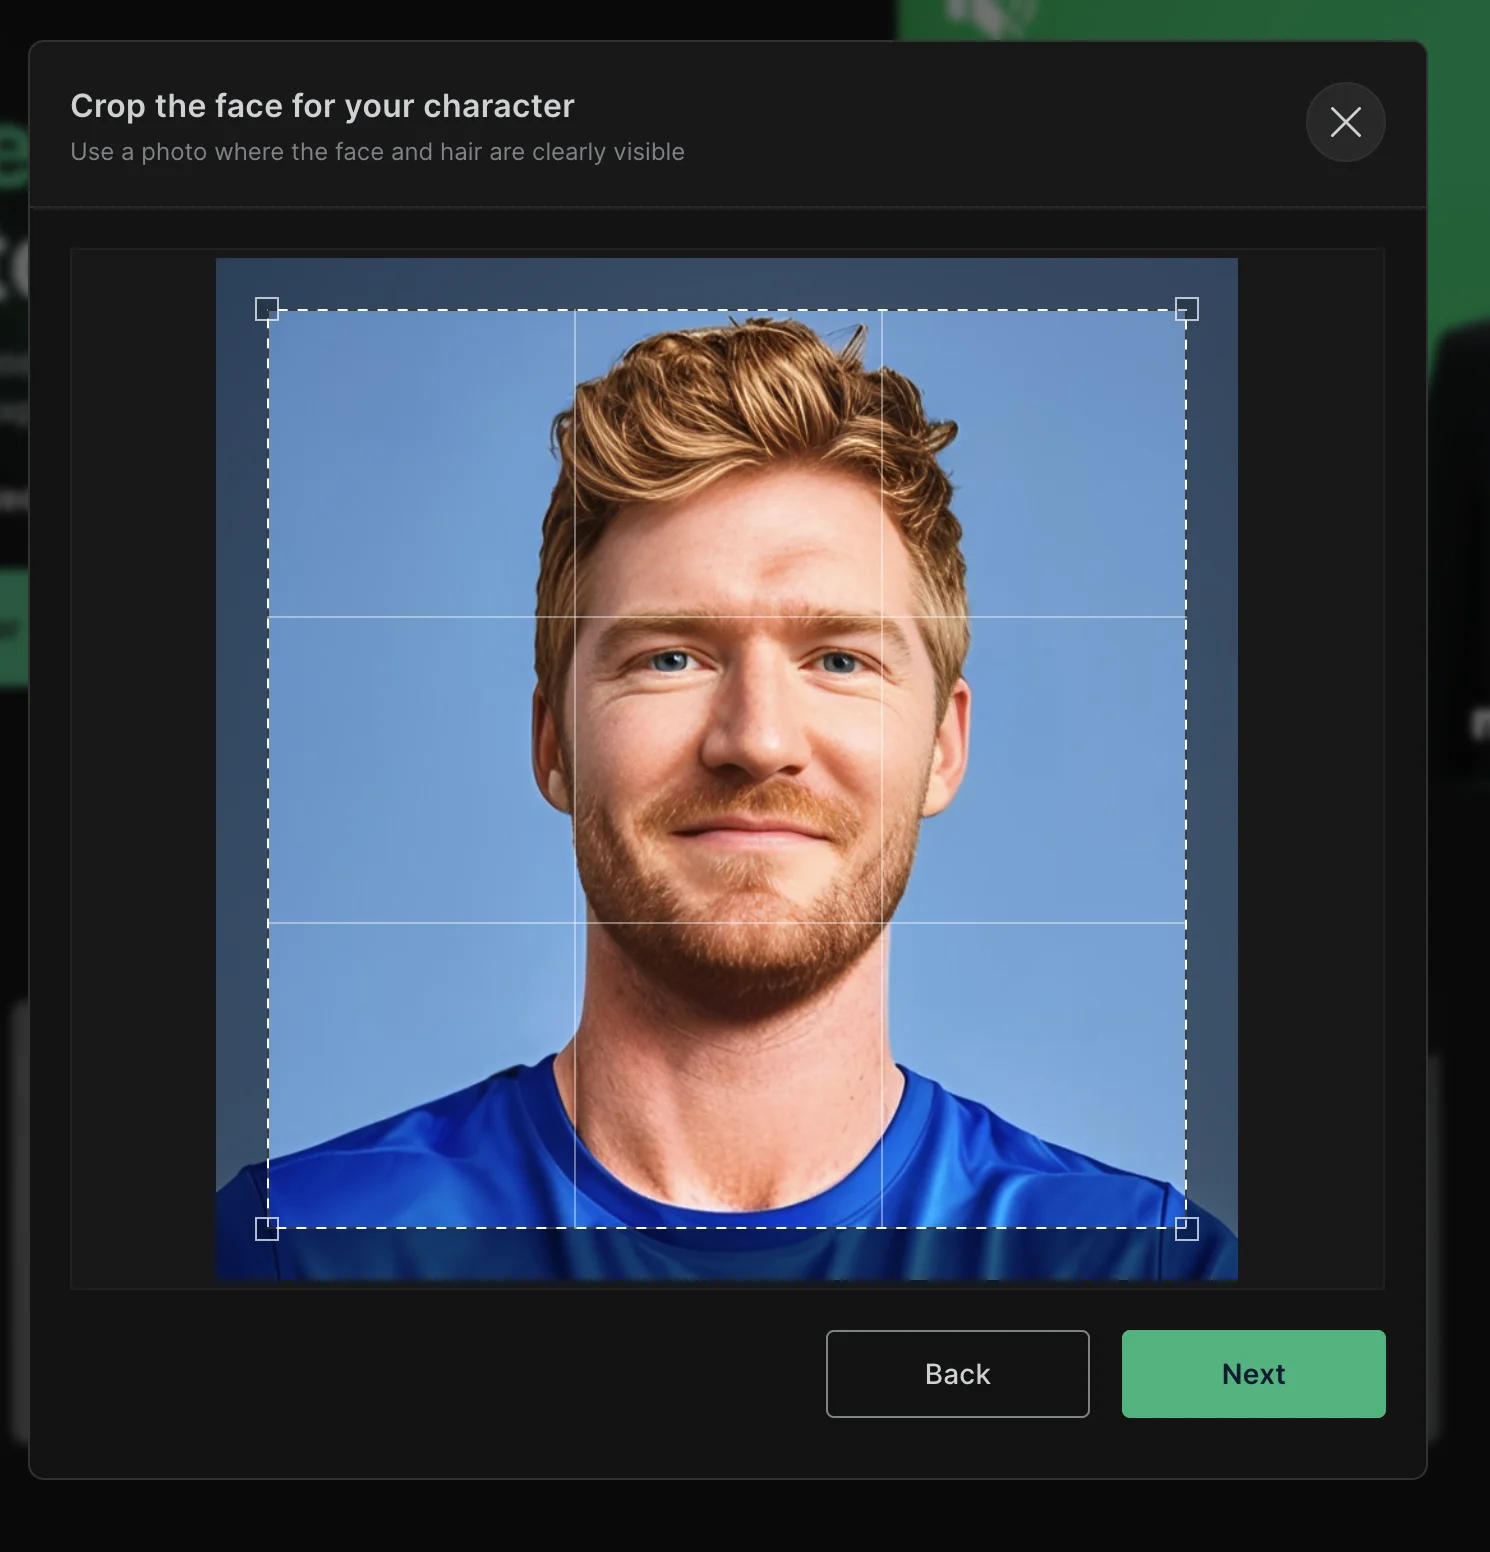
Then, upload an image that you want to base your character on. In this tutorial, we're using a personal photo. Adjust the cropping of your uploaded image as needed.
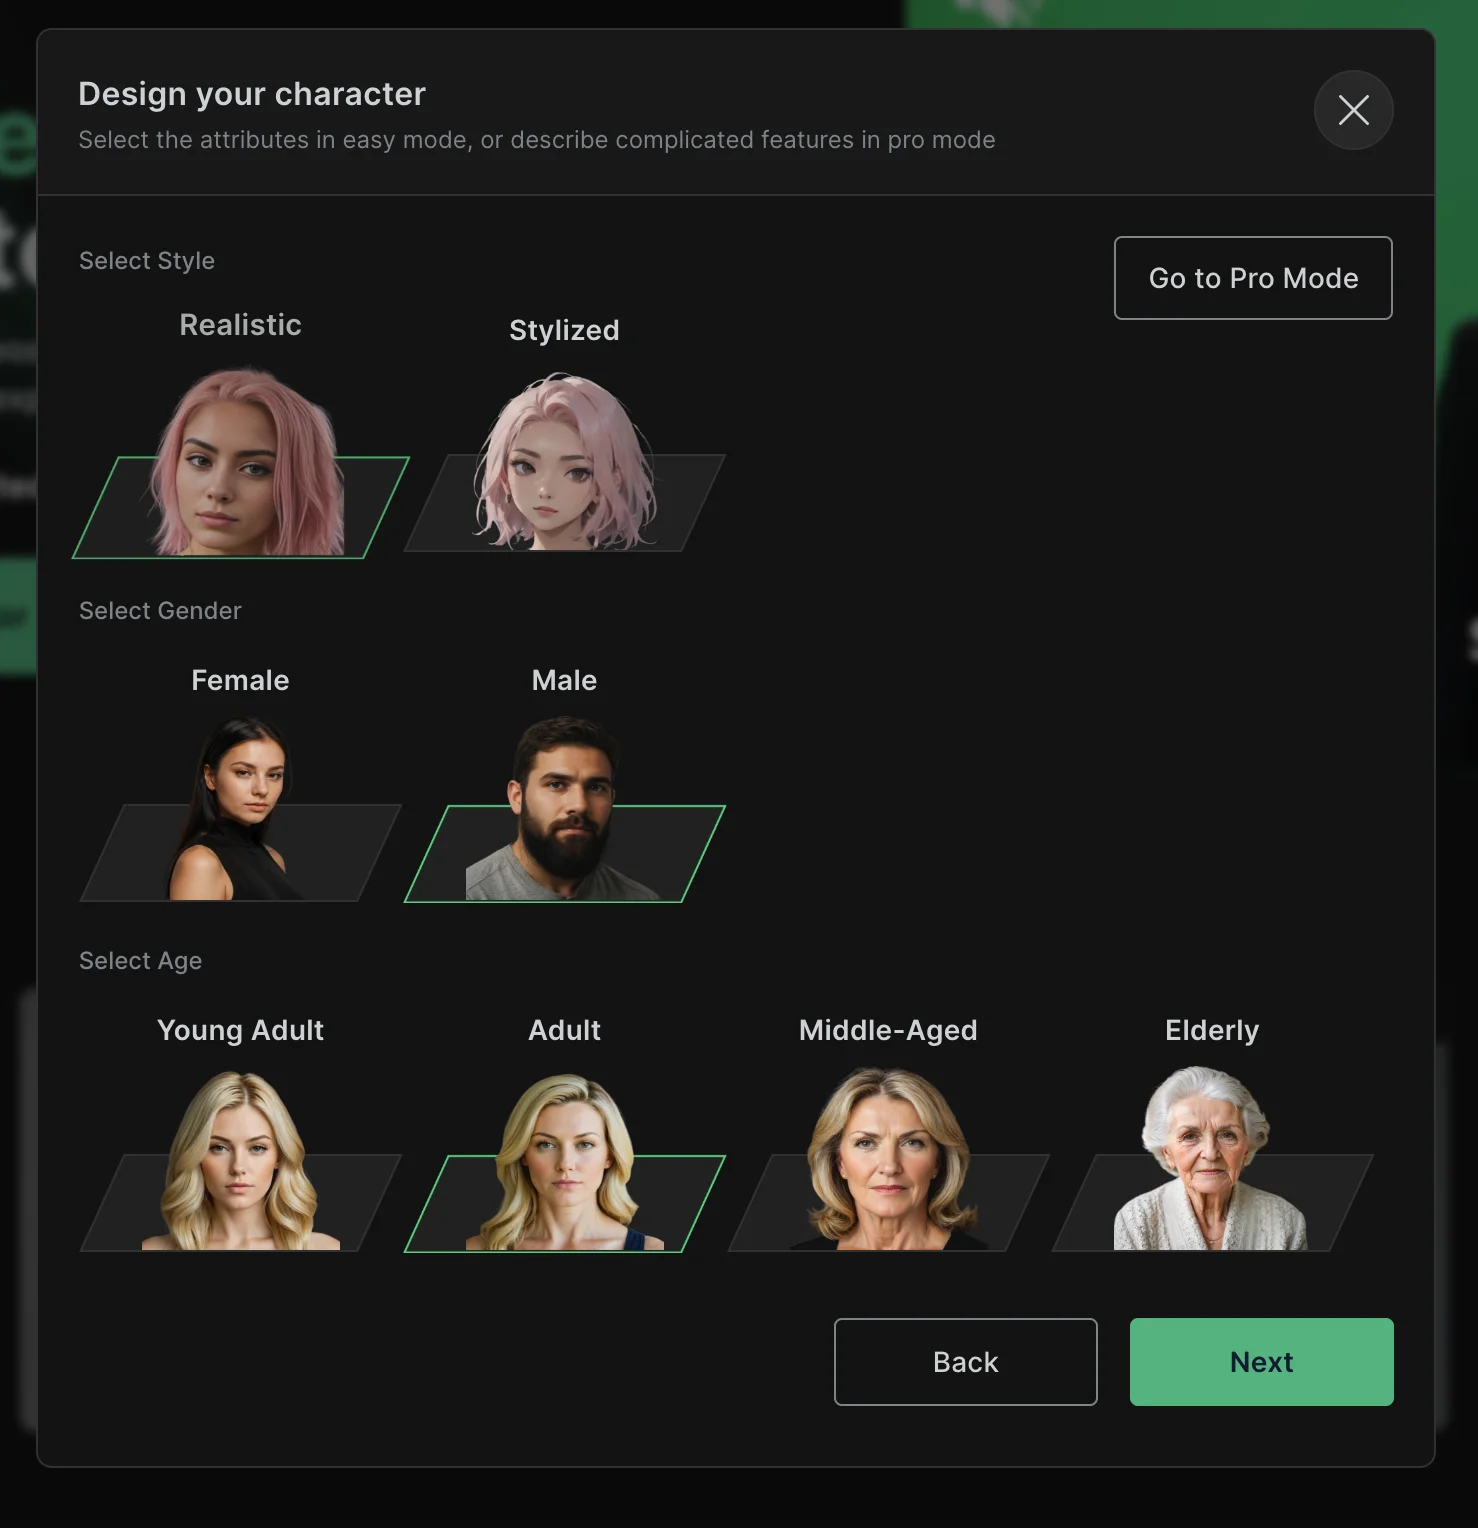
Next, you can select the characteristics of your character, including Style (e.g., realistic), Gender, and Age Group. When you have these set, click "Next" to proceed.
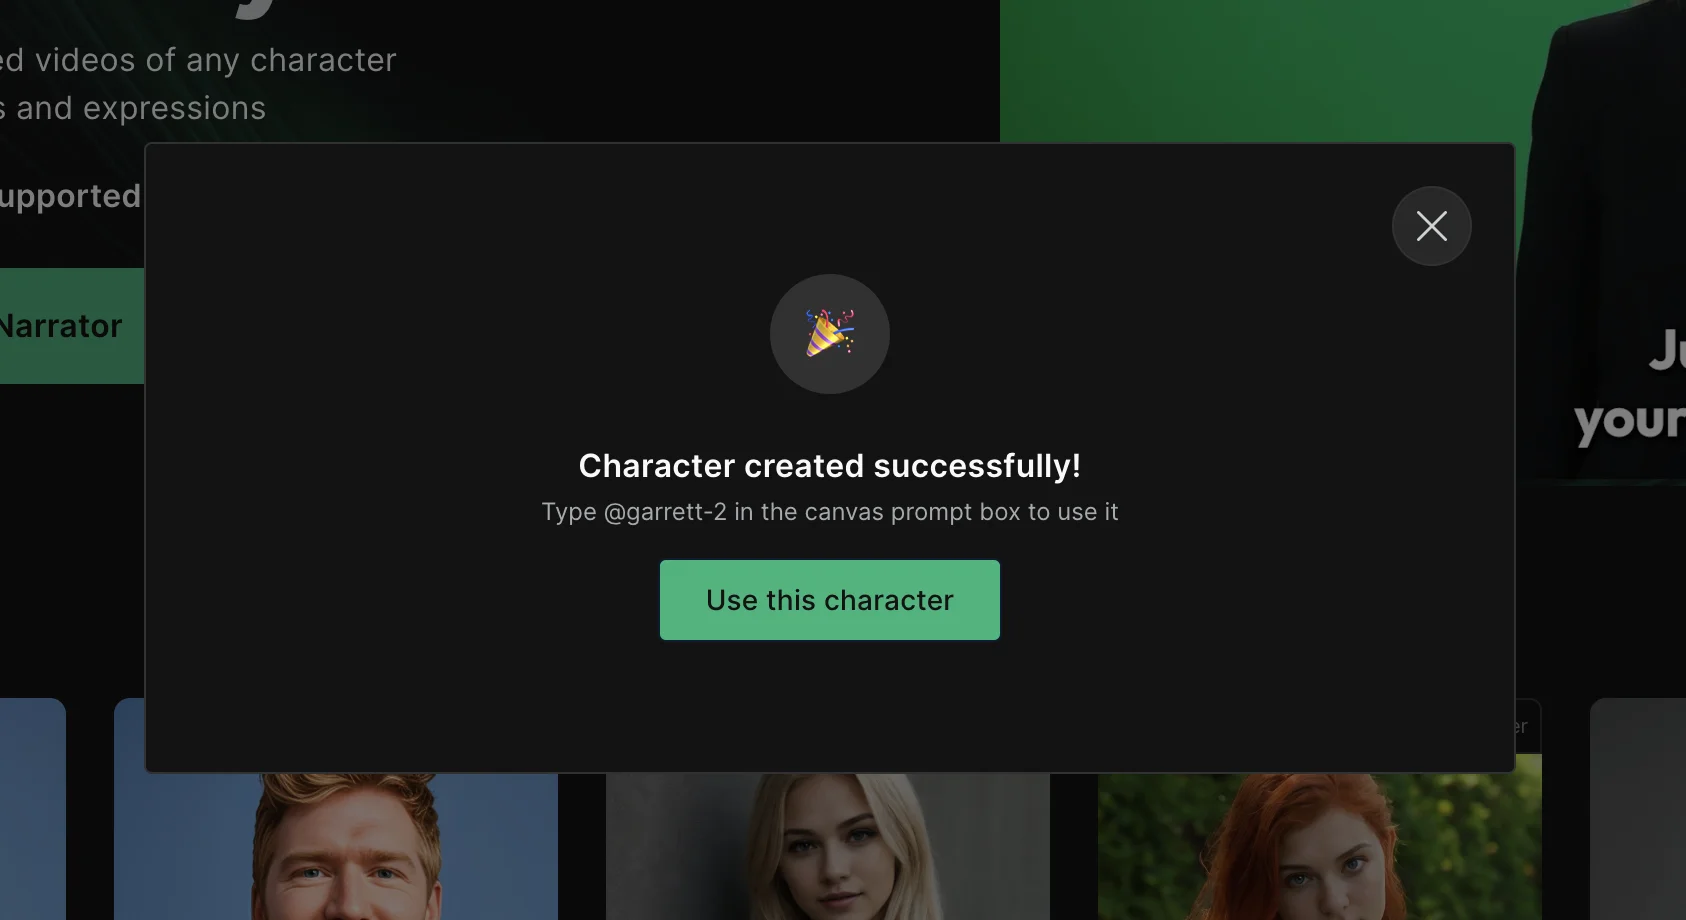
Finally, give your character a name and click the “Done” button. RenderNet will start to generate your character, which only takes a few minutes to complete.

Step 2: Use your character in the RenderNet canvas
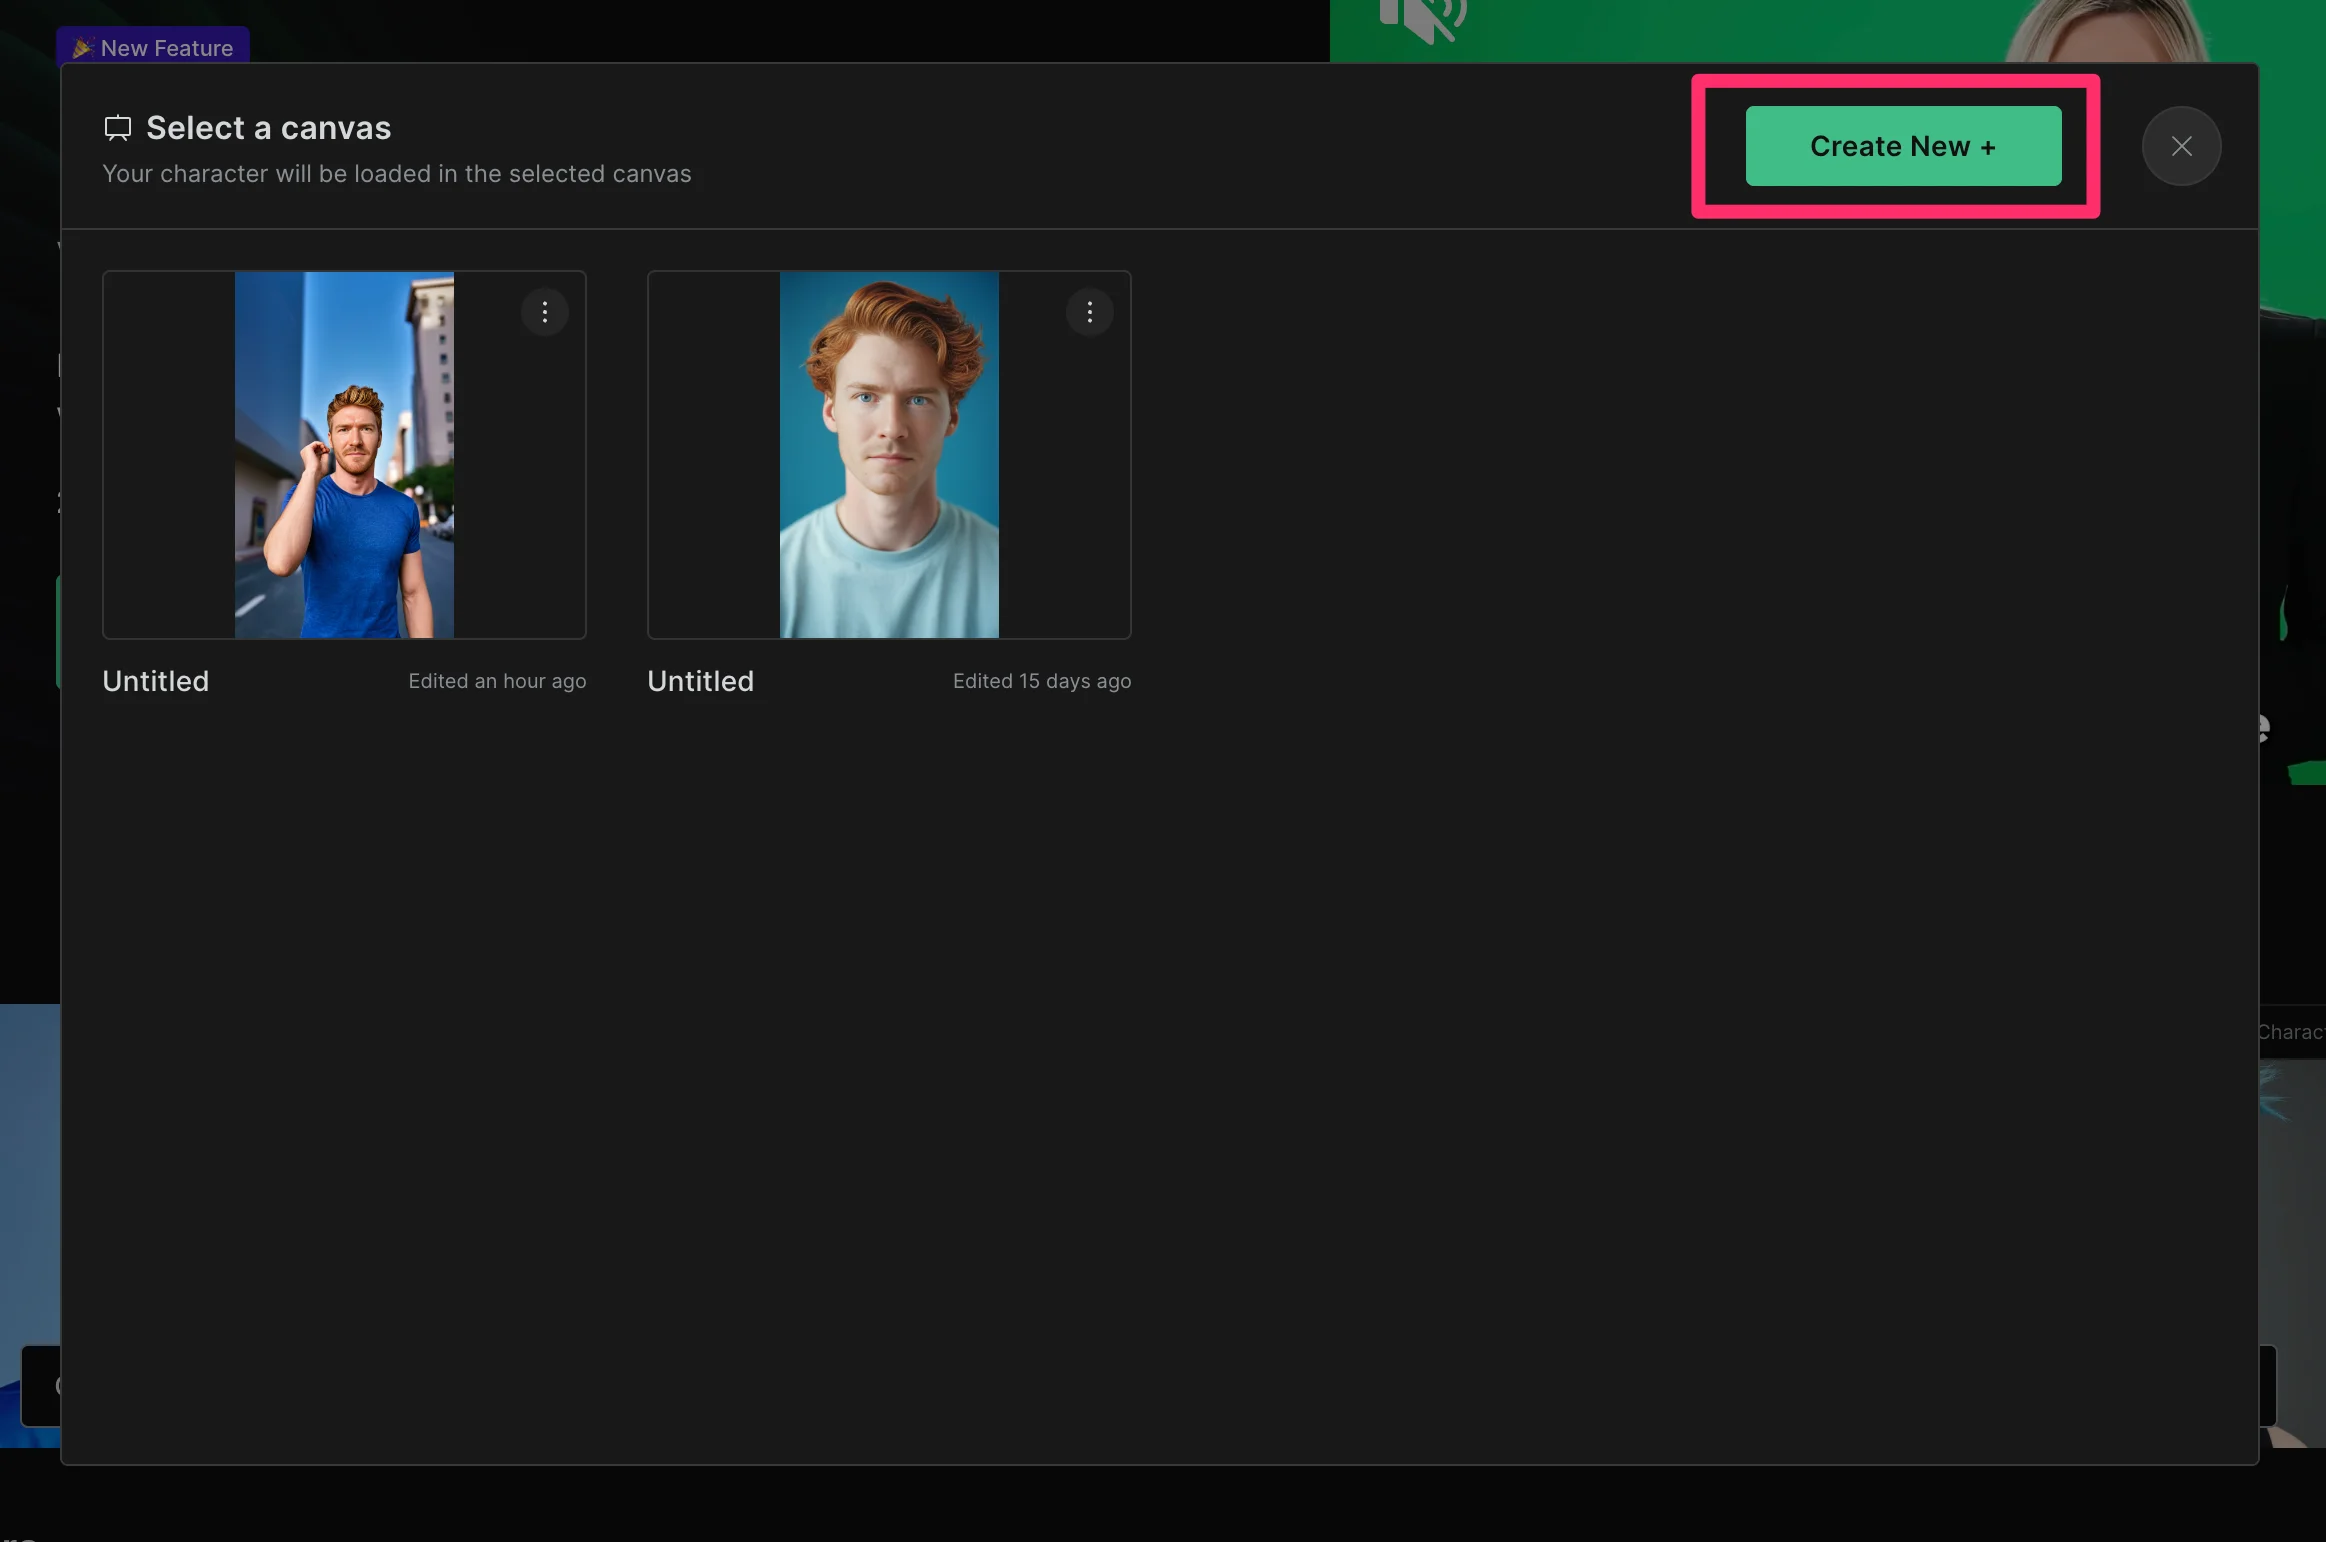
Now that you've created your character, it's time to use it in the RenderNet canvas. Click "Use this character" in the resulting pop-up window to go to the RenderNet canvas.
Then, click the "Create new" button to start a new project.
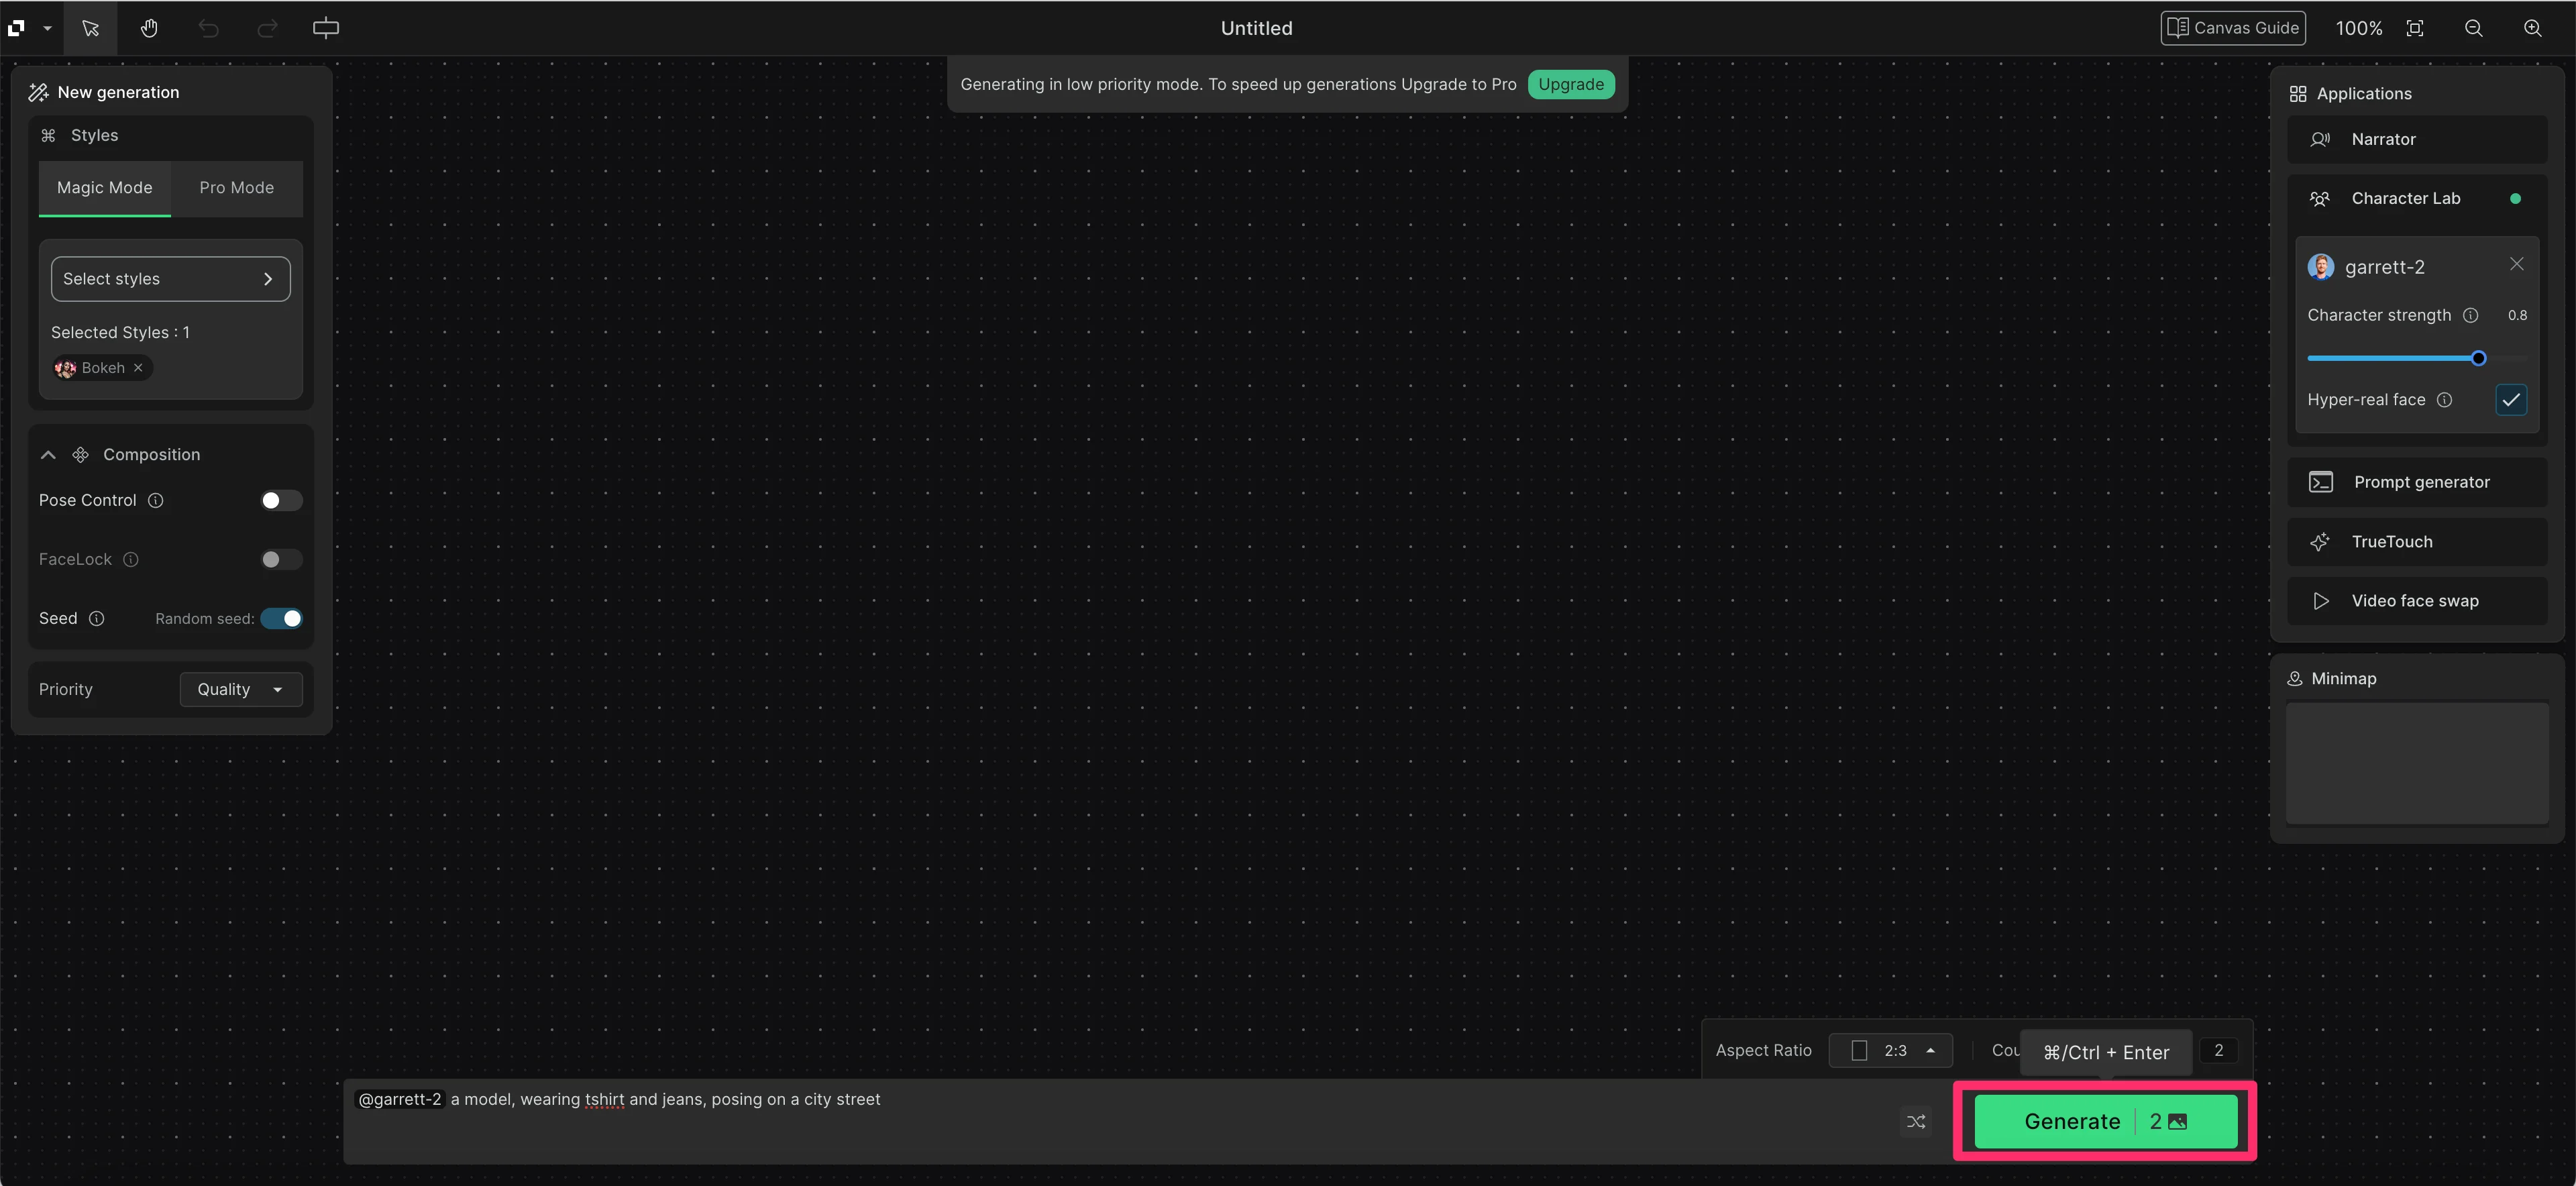
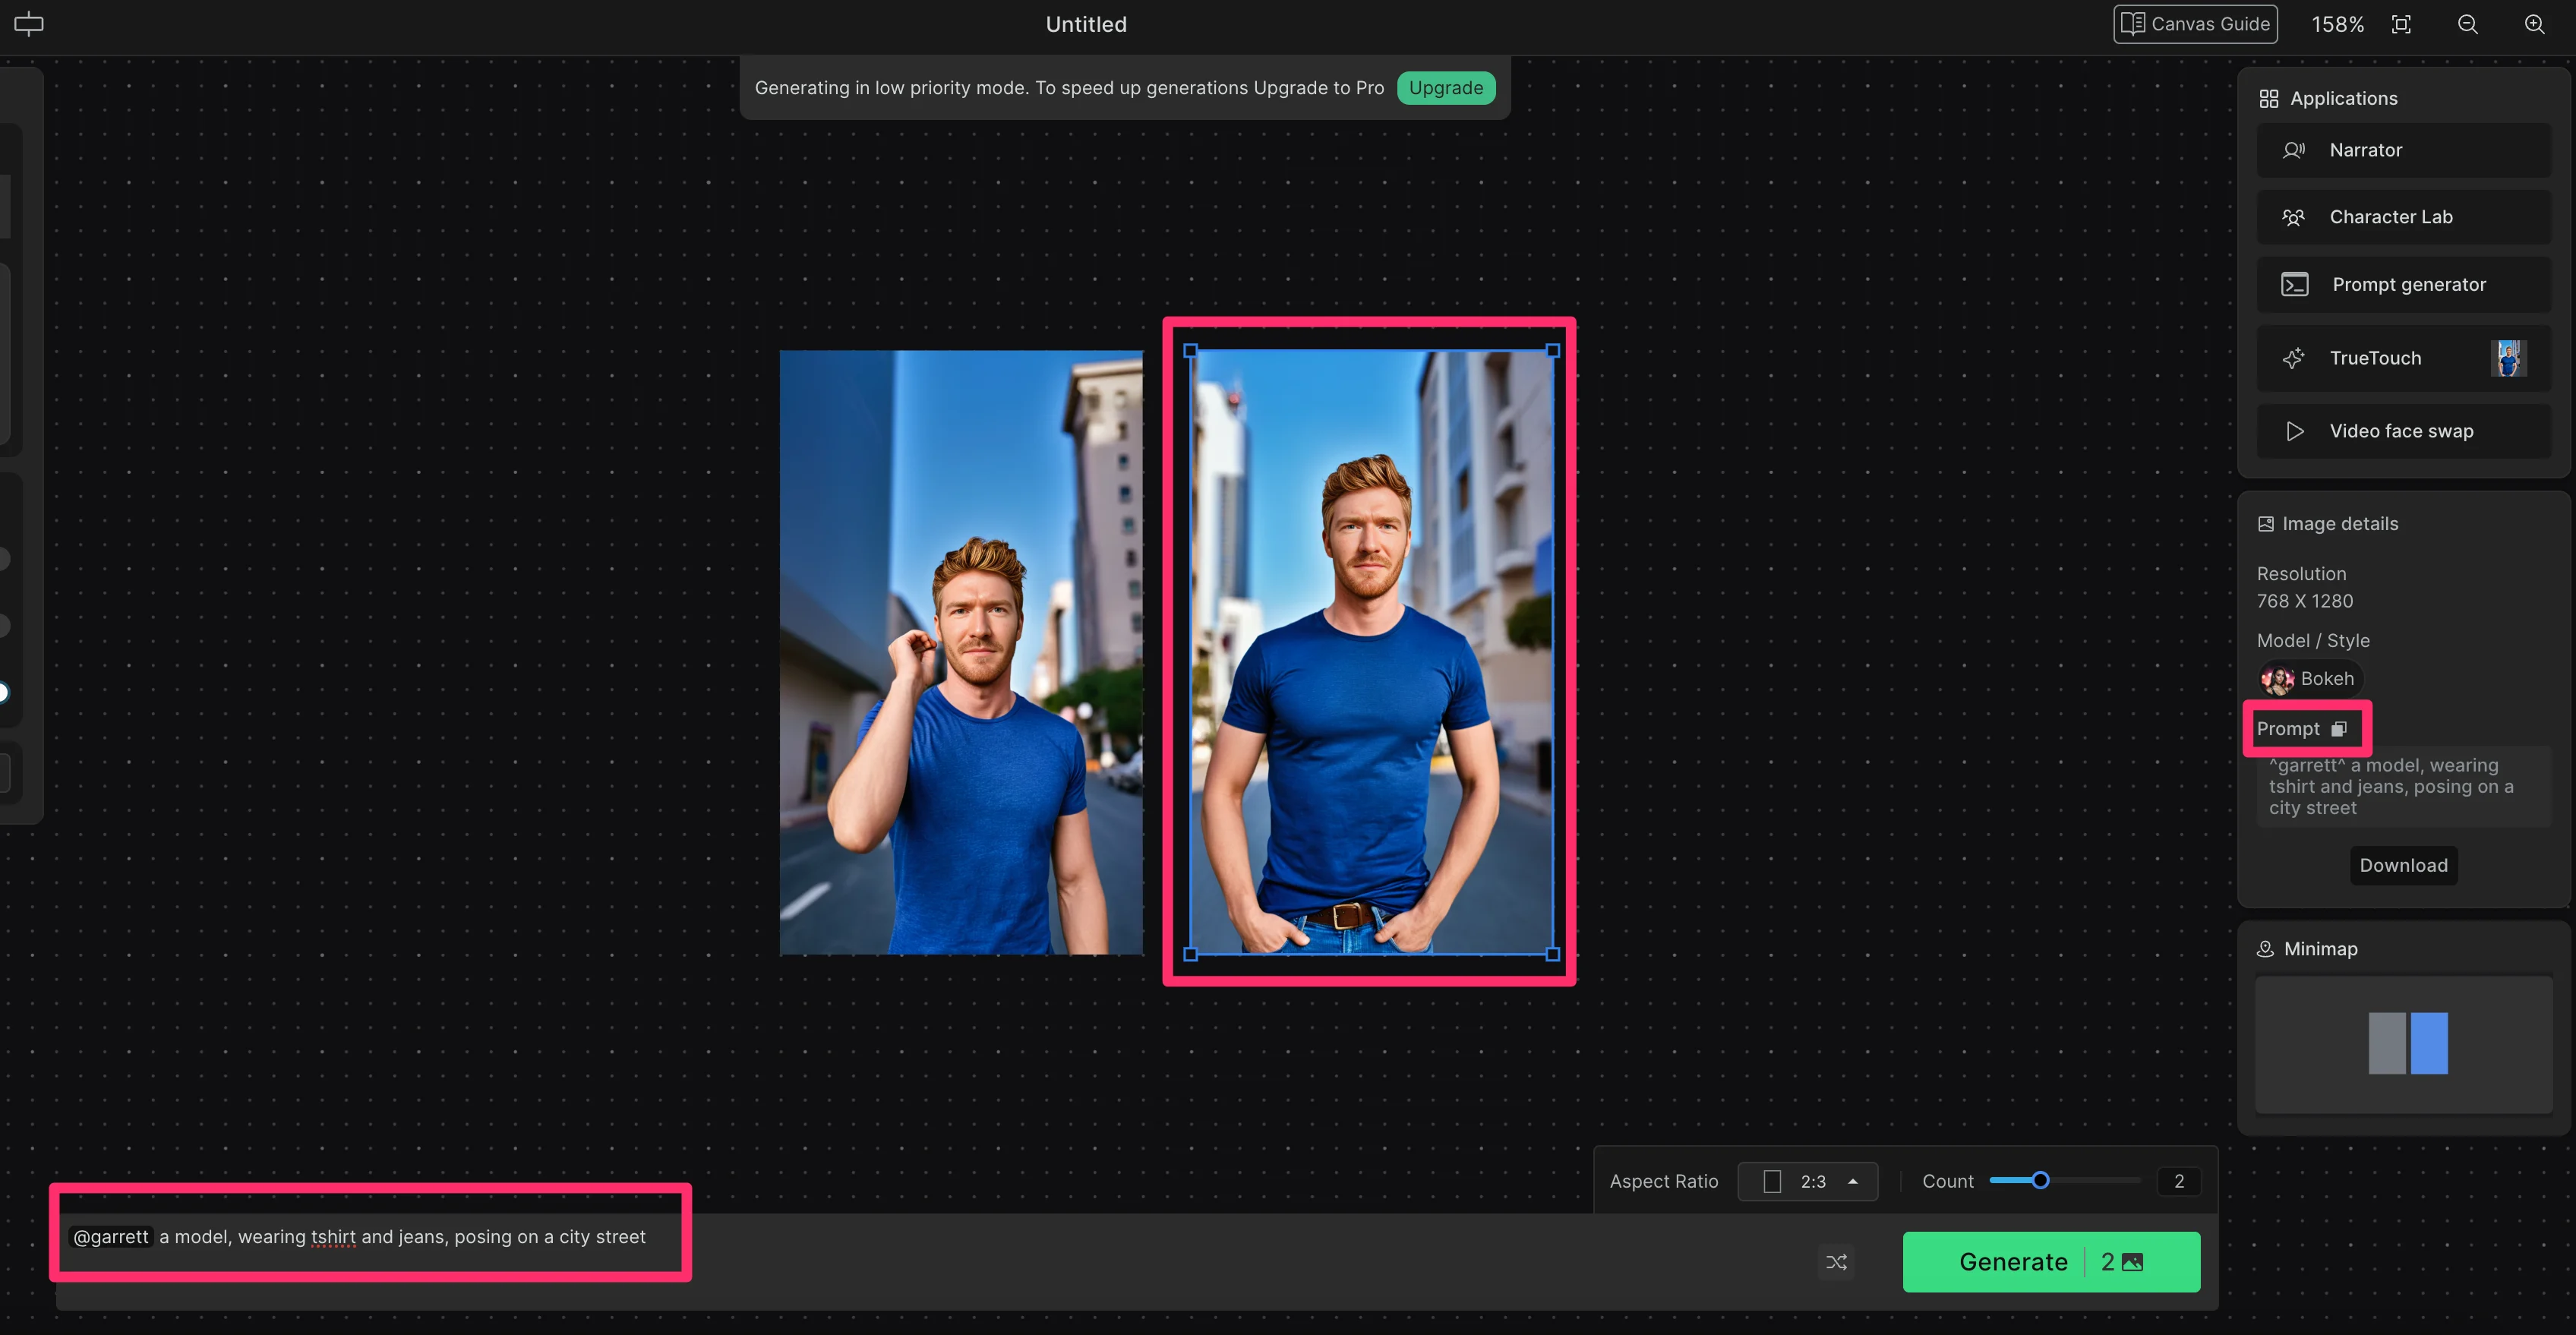
At the bottom of the screen, in the canvas prompt box, describe the scene or situation where you want your character to appear. You can also set the aspect ratio and number of images you want to generate.
Sample Prompt:
[insert model name] a model wearing t-shirts and jeans, posing on a city street.

On the right side of the screen, your created character should appear in the Character Lab section. If not, make sure to select it. In this window, you can also set the character strength, enable the hyper-real face setting, and if you have an upgraded account, use TrueTouch to add an upscaler to your scene images.

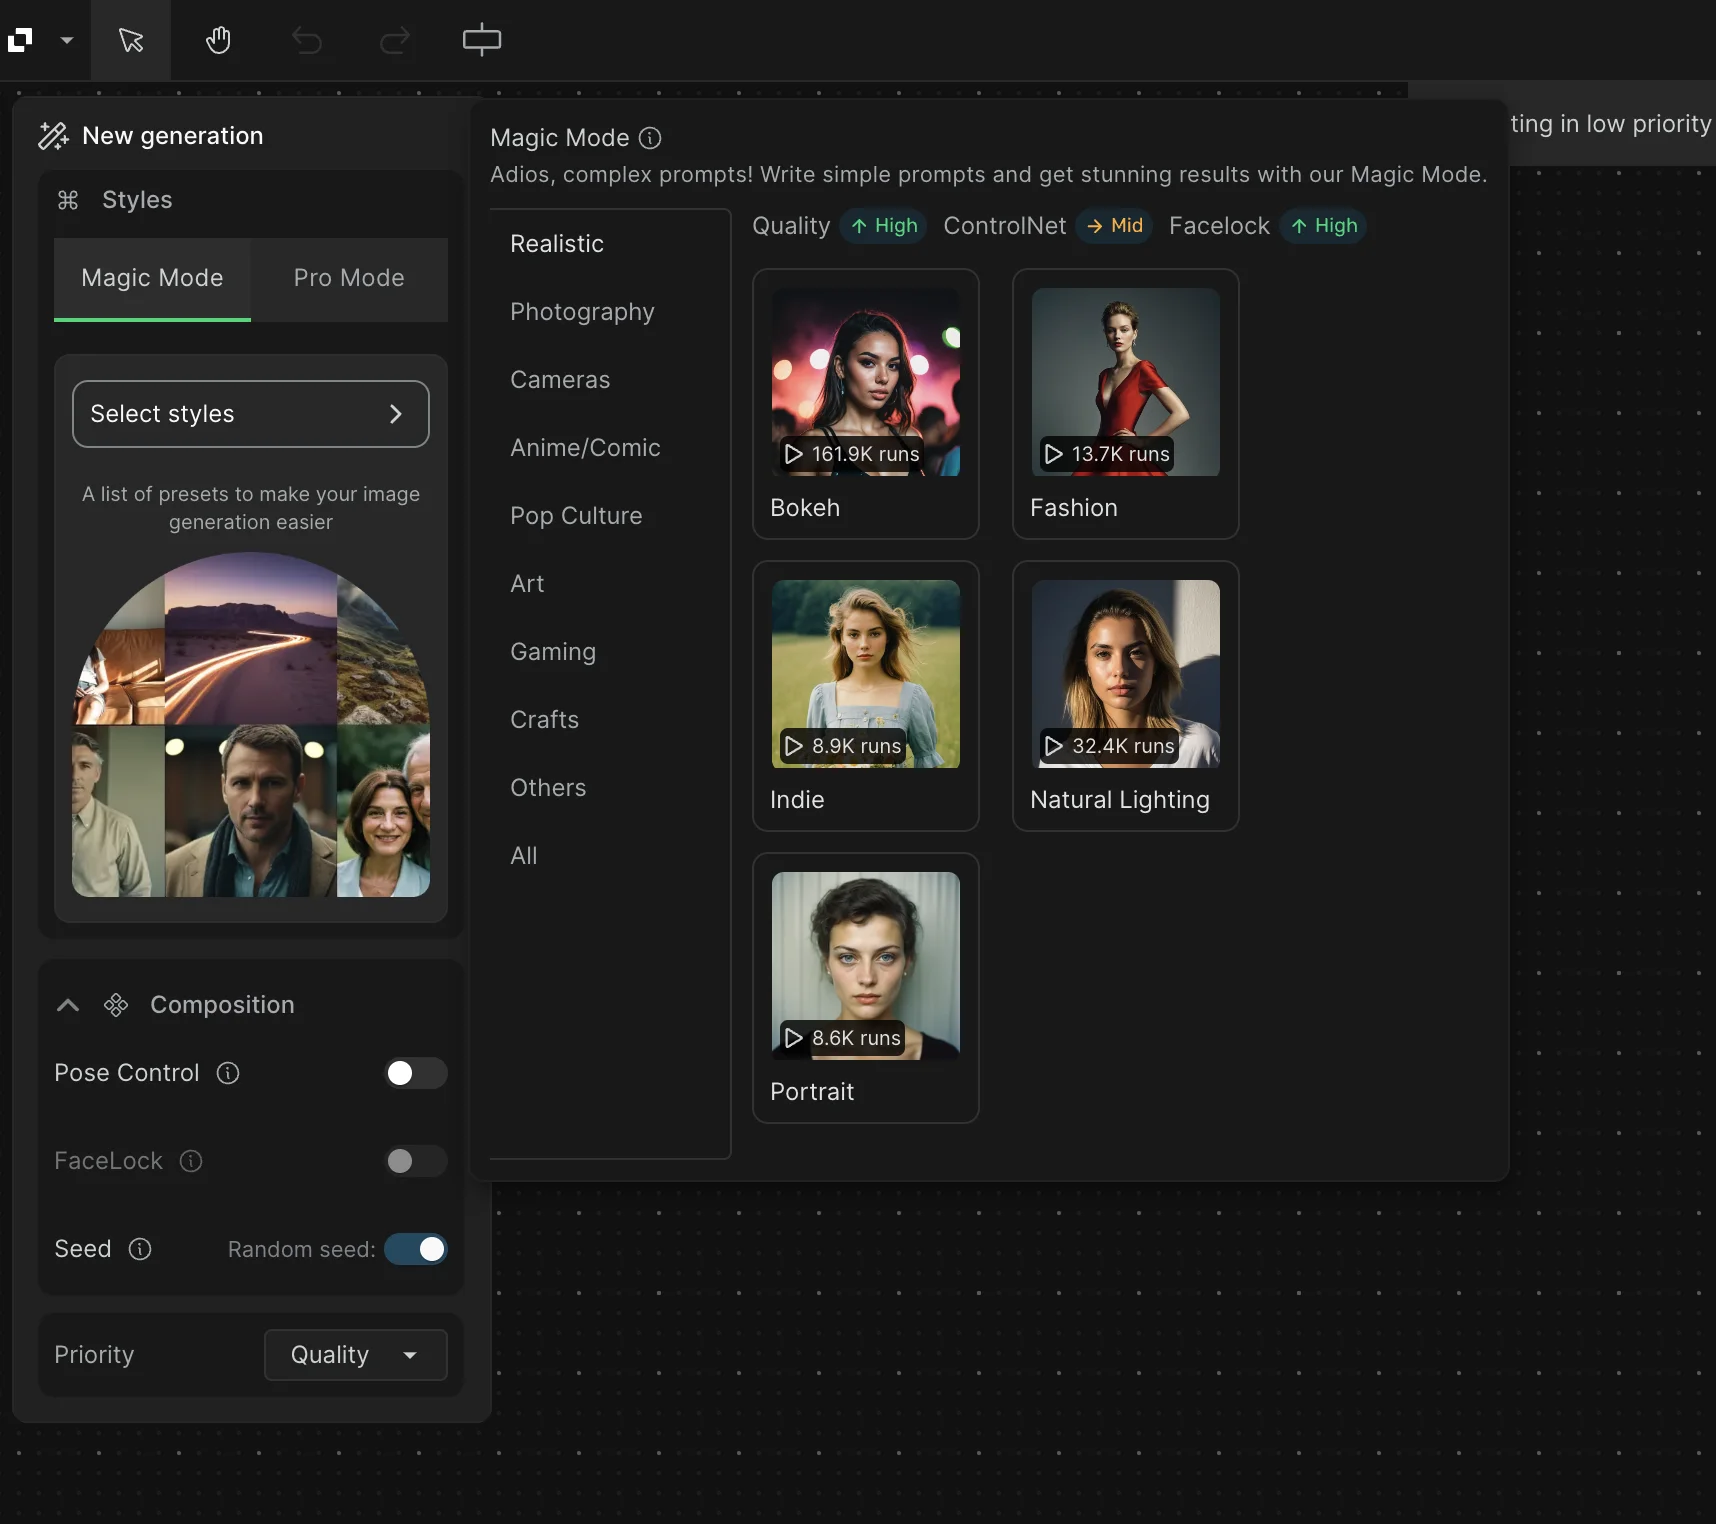
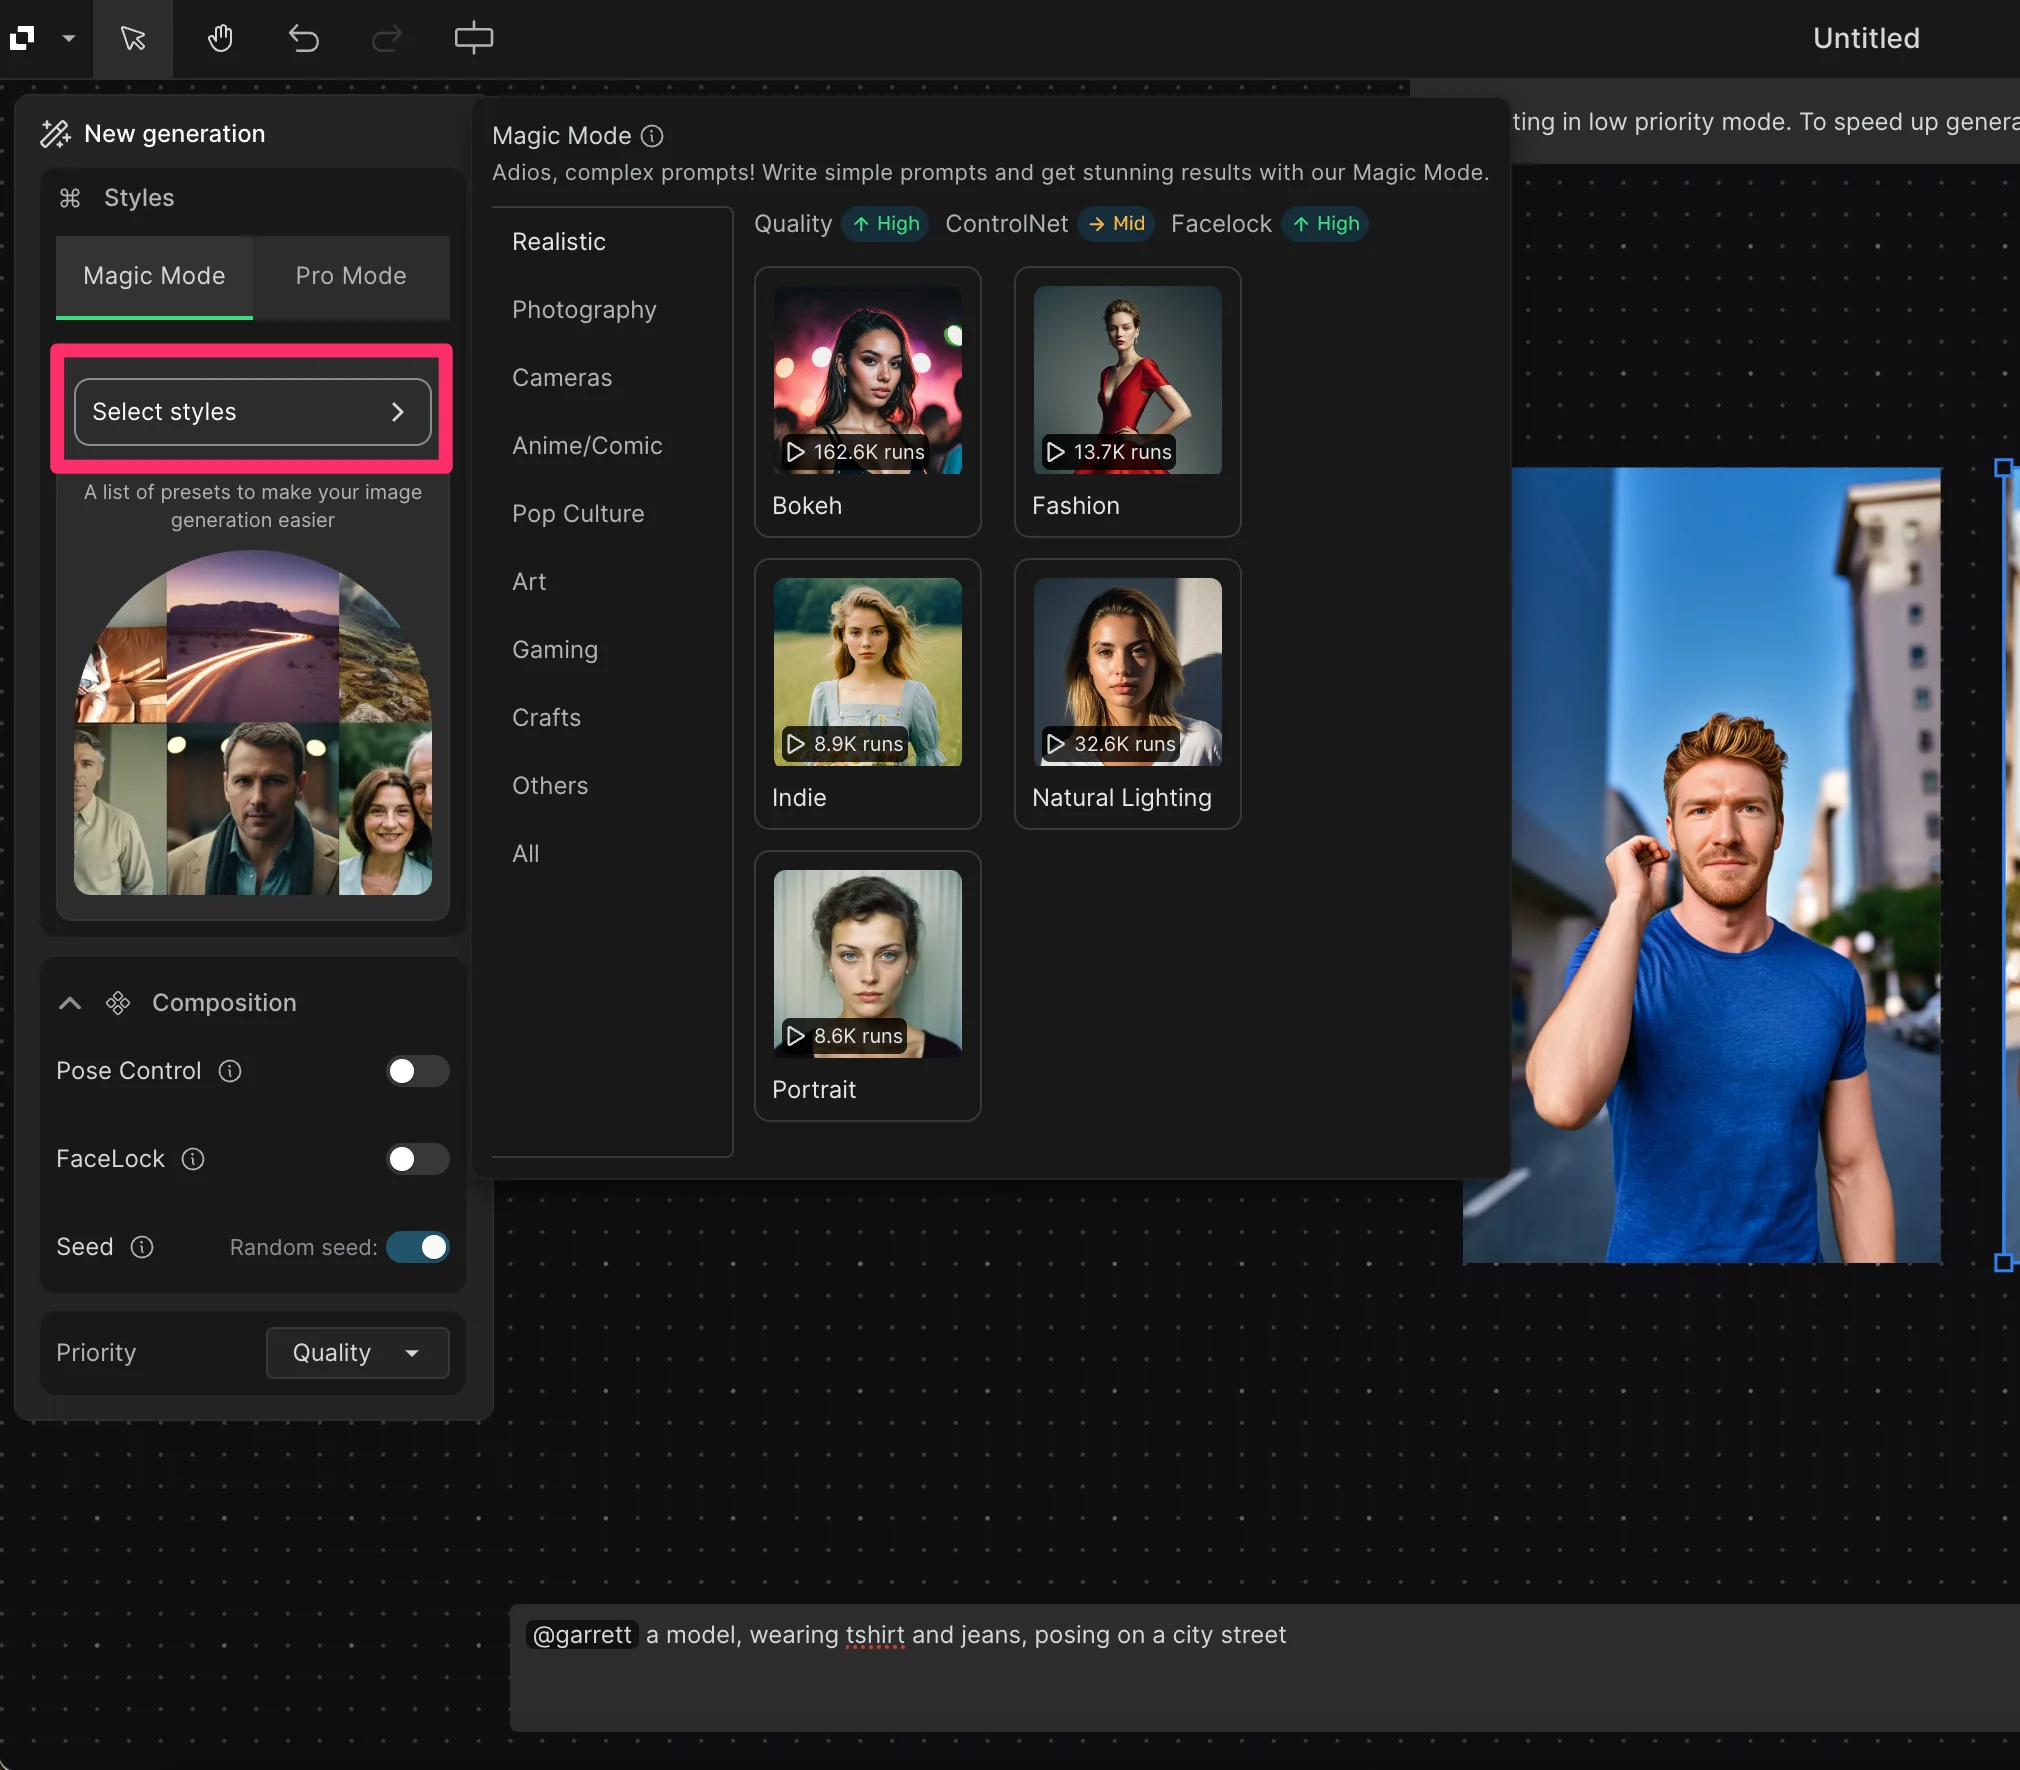
In the left-side menu, you can set your image style as well as the composition. We’re going with the “Bokeh” style, which is the most popular style in the Realistic category.
When all of your settings are complete, click the "Generate" button to create the images based on your prompt, character, and various composition settings.
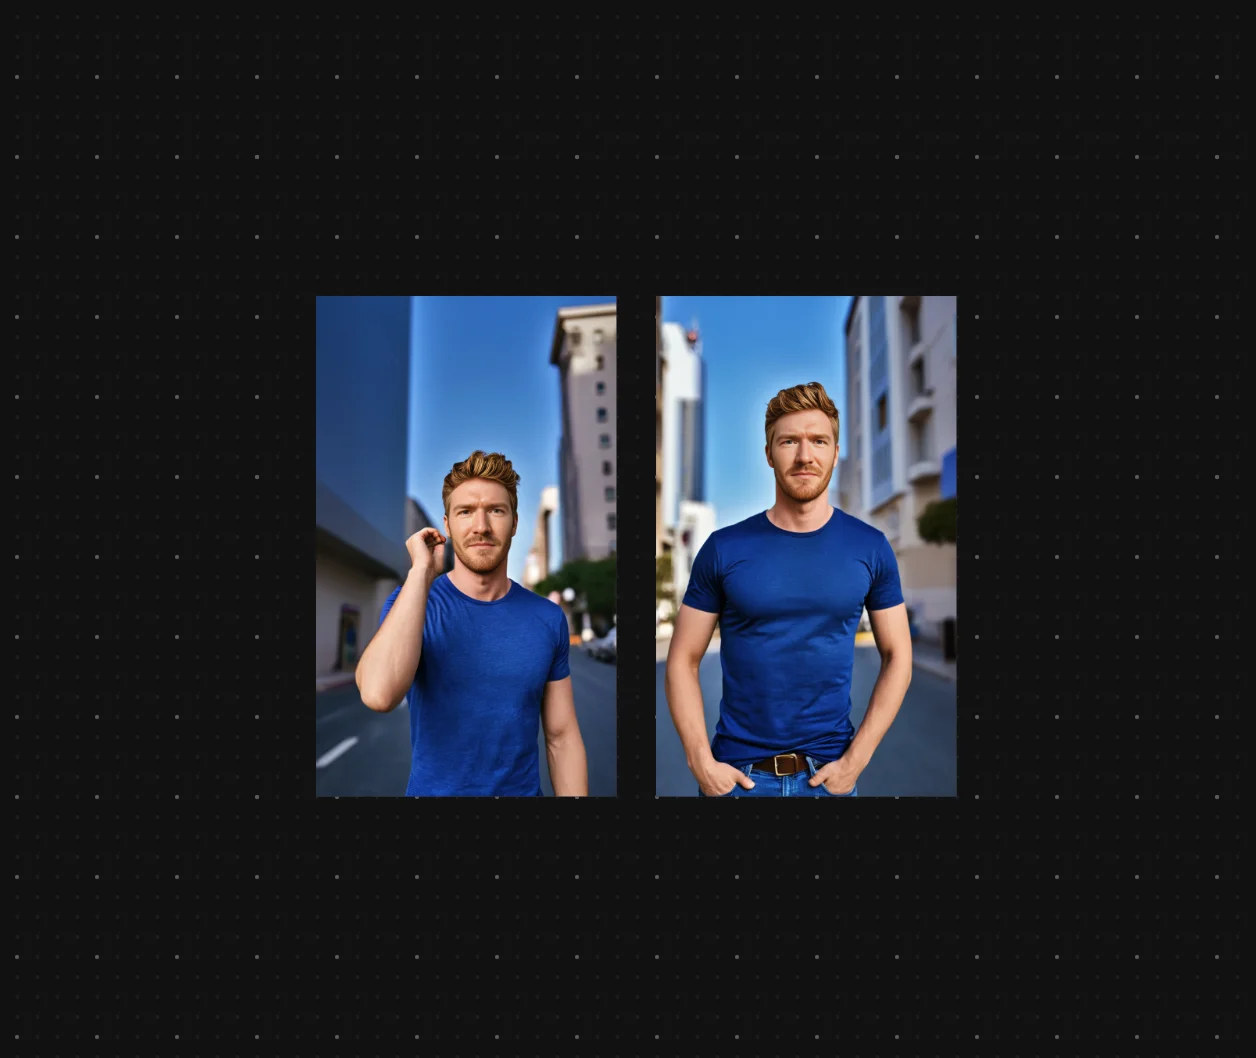
RenderNet will generate your images featuring your character in the described scene.
Step 3: Remix and download your character images
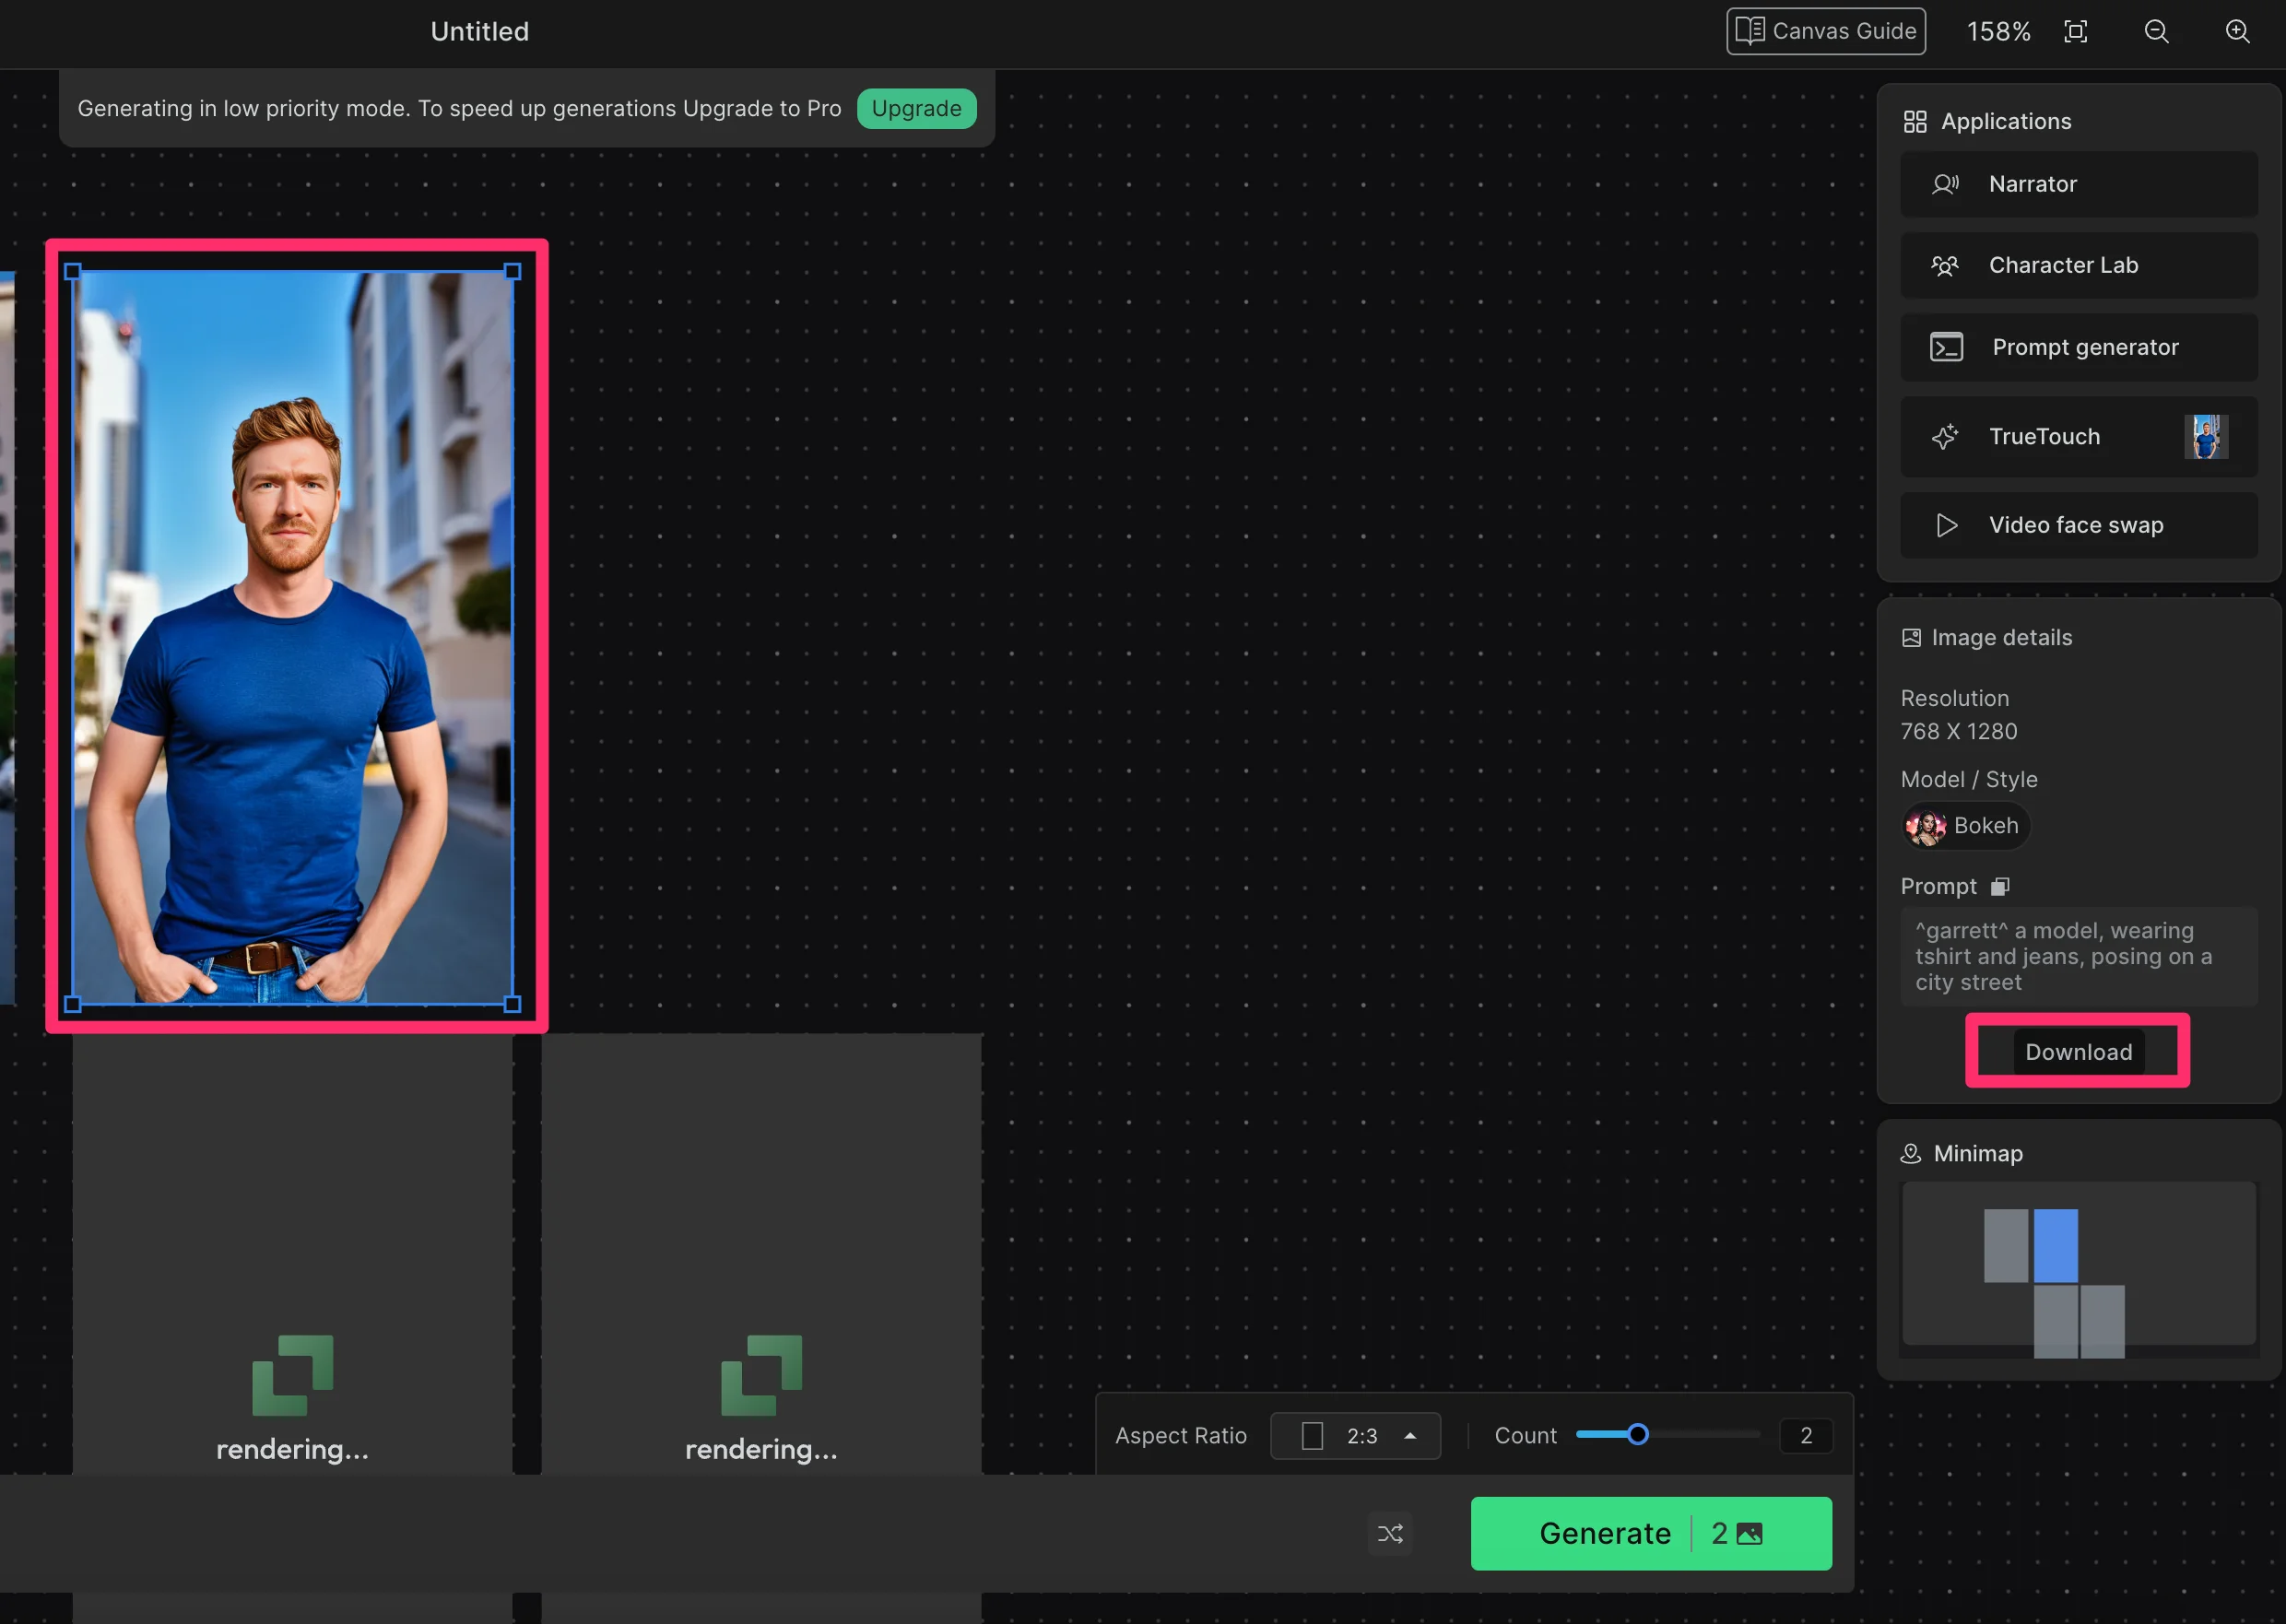
To remix your character into different scenes and styles, click on one of your generated images. The window on the right side of the screen will show the original prompt, which you can copy/paste back into the text box at the bottom of the screen. Edit the prompt to change the scene and look of your character.
You can update the style setting by clicking on the “Select styles” selector in the left-side navigation.
To download your image, click on it in the canvas and click the “Download” button in the right-side Applications window.
And that's it! You've now learned how to create consistent AI characters with RenderNet. Experiment with different prompts, styles, and scenes to explore the full range of options of possibilities with your AI character.
This tutorial was created by Garrett.