Create consistent illustrations for your brand
Use Ilus AI to generate cohesive, on-brand graphic drawings for your marketing materials.
2024-12-20
Whether you're working with freelance artists or an in-house design team, creating consistent, high-quality illustrations for your brand can be a time-consuming and expensive process.
Ilus AI offers a solution to this challenge by allowing you to generate on-brand illustrations quickly and efficiently.
In this tutorial, we'll cover:
- Setting up your Ilus AI account
- Exploring and using pre-made illustration styles
- Developing and training your custom illustration model
- Generating and refining on-brand illustrations
Let’s dive in!
Step 1: Getting started with Ilus AI
To begin your journey with Ilus AI, follow these steps:
1. Visit Ilus.ai and click on "Try for free" to sign up for a new account.
.webp)
2. Fill in your details to create your account. Upon signing up, you'll receive 3 free credits to start with.
3. Once logged in, navigate to the illustration generation dashboard at https://ilus.ai/generate.
.webp)
On the dashboard, you'll see two main tabs:
- Generate: For creating illustrations using pre-made styles
- Fine Tune: For training your own illustration generation model
Step 2: Generating illustrations with pre-made styles
Ilus AI offers three pre-made styles for generating illustrations:
1. Ink Drawing: Best suited for character illustrations
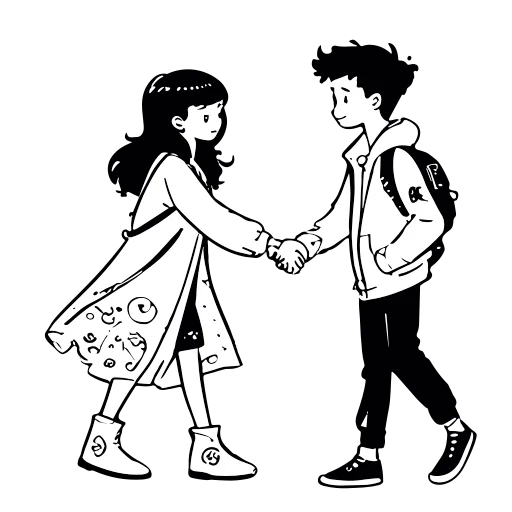
2. Doodle: A versatile style for generating various types of illustrations

3. Flat: Primarily designed for character illustrations but can be used for objects as well

Let's create an illustration using the Flat style:
- In the "Generate" tab, select "Flat" from the style dropdown.
- Choose "Better quality" for more detailed results (note that this may take longer to generate).
- In the prompt field, enter: "A man walking a dog on a sunny day"
- Optional: Use the advanced settings to add negative prompts if there are specific elements you want to exclude.
- Click the "Generate" button to create your illustration.
.webp)
.webp)
Step 3: Fine-tuning your own illustration model
To create consistently styled illustrations that align with your brand, you can fine-tune your own illustration generation model. Here's how:
1. Switch to the "Fine Tune" tab on the dashboard.
.webp)
2. Prepare 5-35 images that represent your desired style or object. Ensure these images:
- Contain only the subject without background noise
- Are in JPEG or PNG format
- Don't exceed 4K resolution
- Have some white space around the edges to prevent cutting off
3. Upload your prepared images to the fine-tuning interface.
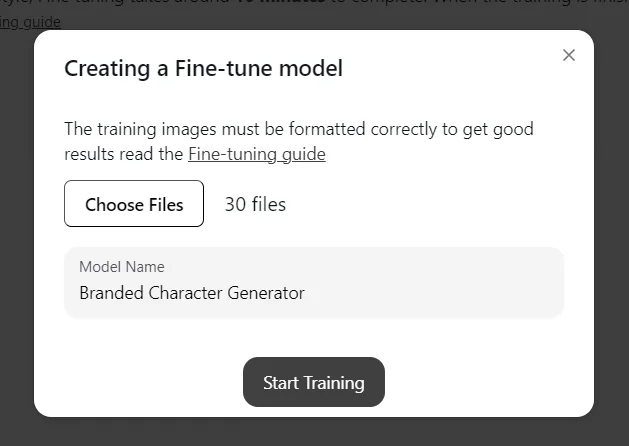
4. Give your model a name and click "Start Training".
The fine-tuning process takes about 10 minutes to complete. Once finished, your new model will be available in the "Generate" tab under the style dropdown.
.webp)
Step 4: Creating consistent, branded illustrations
Now that you've fine-tuned your model, let's use it to create a branded illustration:
- Go back to the "Generate" tab.
- Select your newly created model from the style dropdown.
.webp)
- Enter the same prompt we used earlier: "A man walking a dog on a sunny day".
- Click "Generate" to create your branded illustration.
.webp)
You can now export your illustration in PNG format for free, or in SVG format for 10 credits.
This tutorial was created by Tanmay.