Create content in your brand voice with Claude styles
Tips and tricks for creating and writing with Claude ‘styles’, to automate content creation in your voice.
2024-12-08
AI chatbots like ChatGPT and Claude are great at generating text content, but getting their outputs to match your brand voice and tone can be challenging. The Anthropic team is tackling this problem head-on with the new release of Claude Styles.
Claude Styles lets you customize Claude’s responses to match your communication preferences, tone, and structure. You can create multiple Claude Styles and switch between them within the same chat window.
This feature is similar to other AI content marketing tools, like Spiral or Jasper. But what’s helpful about this new release, is that if you’re an avid Claude user, you now don’t have to go to another tool to support your custom content workflows.
We’ll quickly show you how to access Claude Styles and then dive into how to get the best output results from this new feature.
Steps we’ll follow in this guide:
- Work with Claude's default writing styles
- Best practices for creating a custom style
- Testing and refining your custom style
- Additional use cases for styles
Let’s dive in!
Work with default writing styles
To get started, in a new Claude chat, click on the “Choose style” button at the bottom of the prompt input.
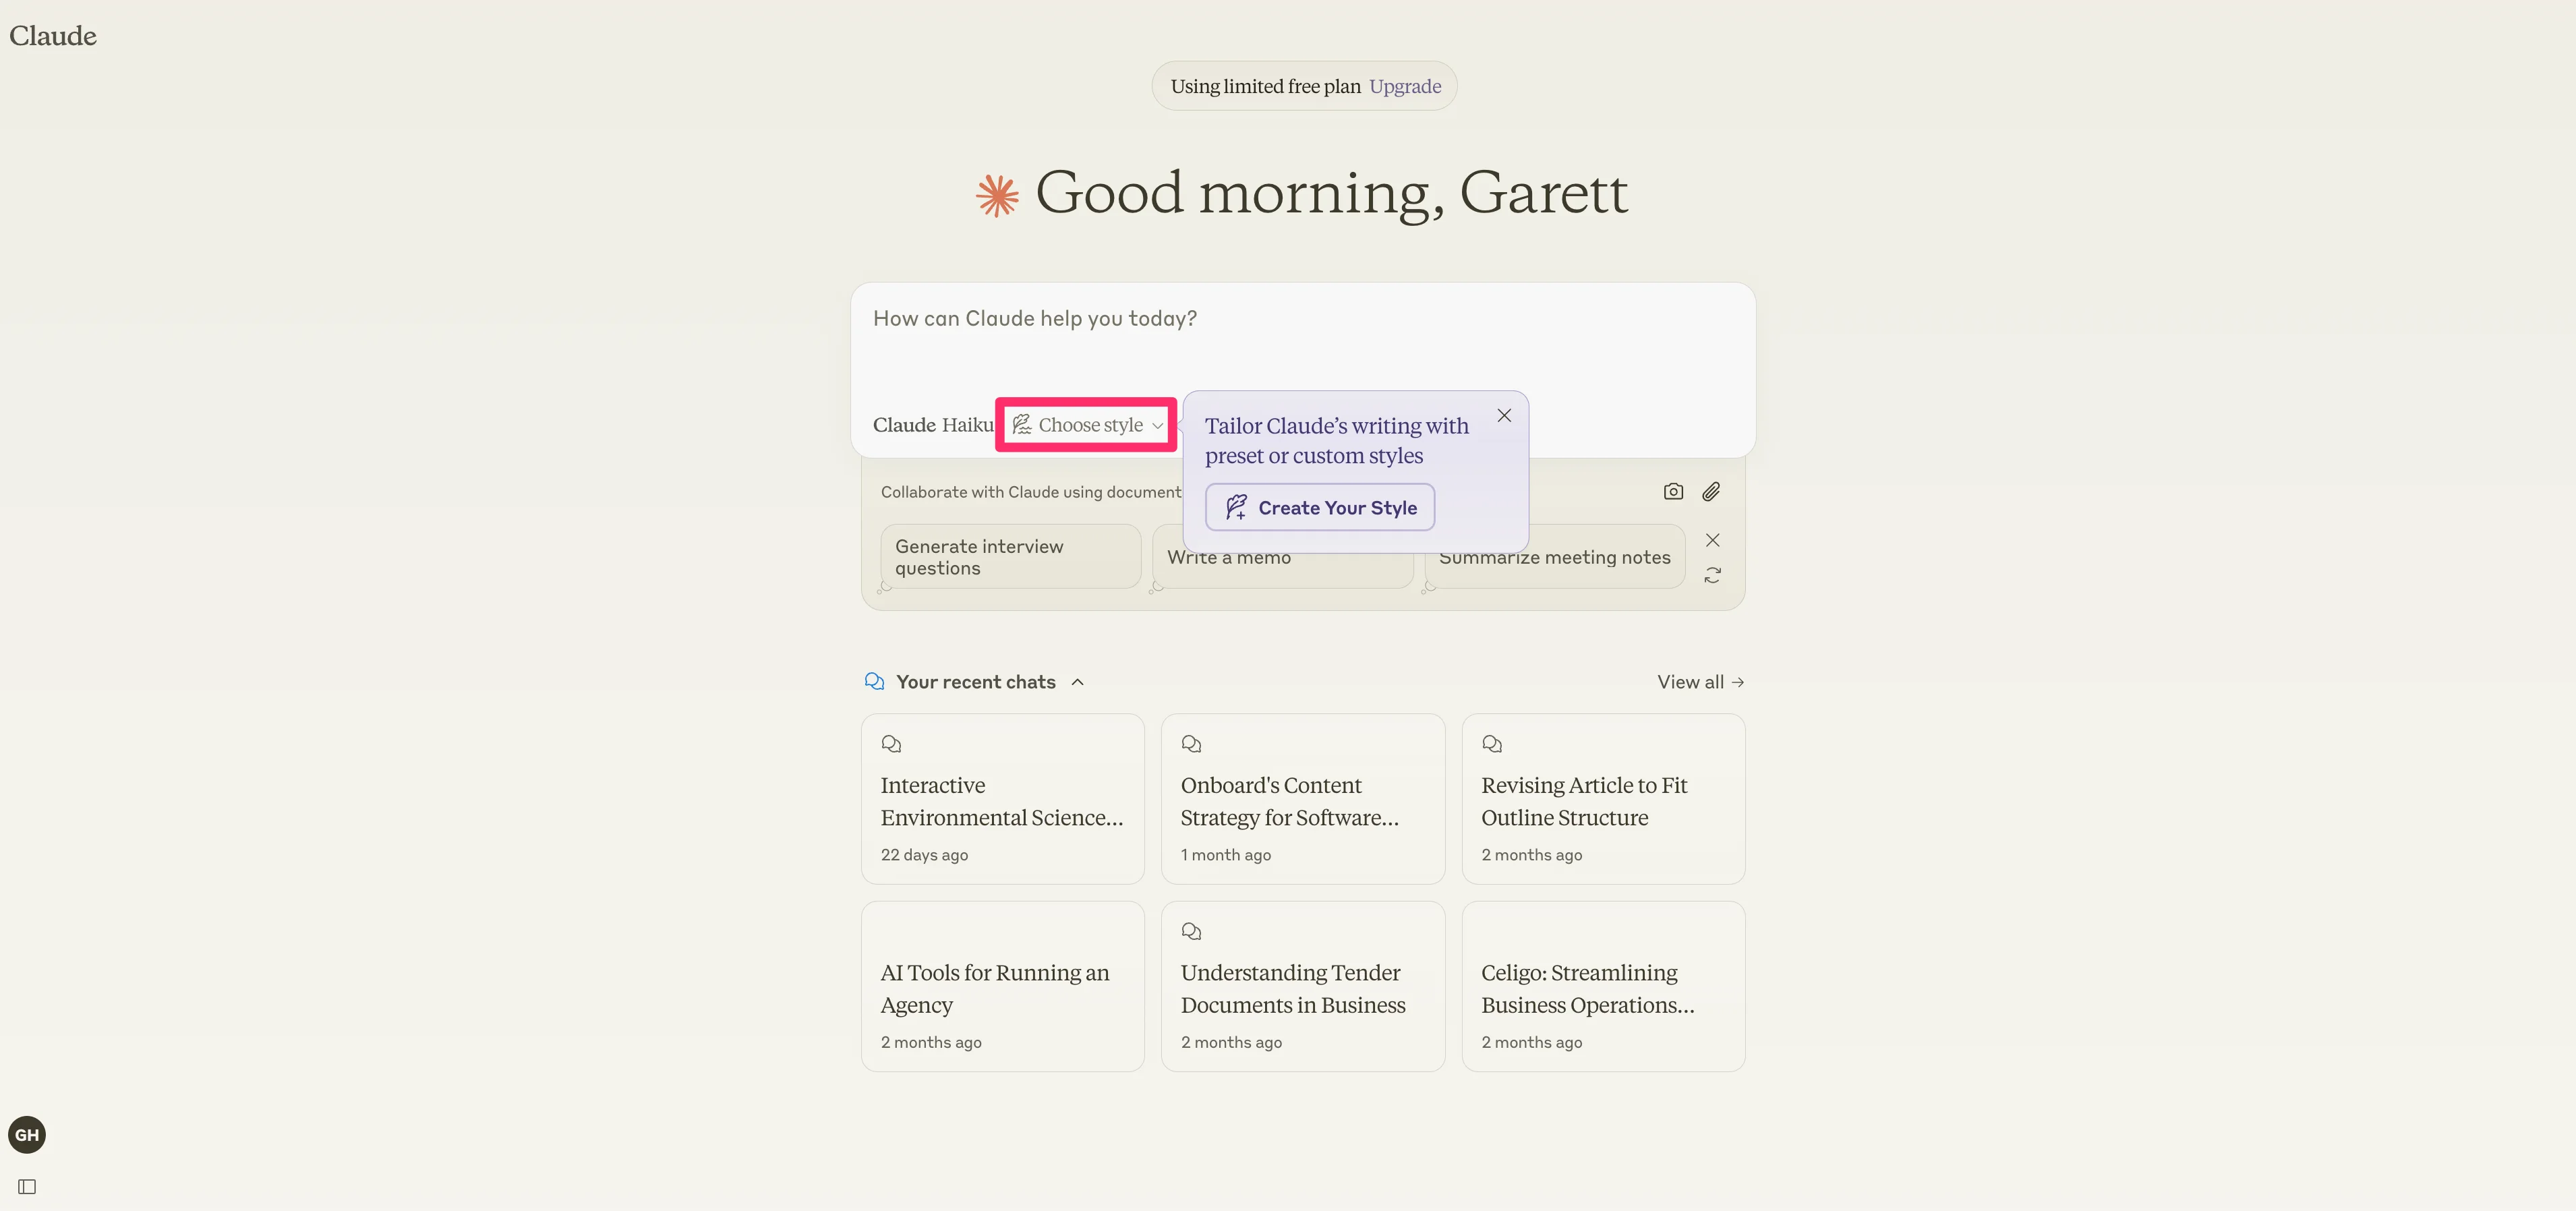
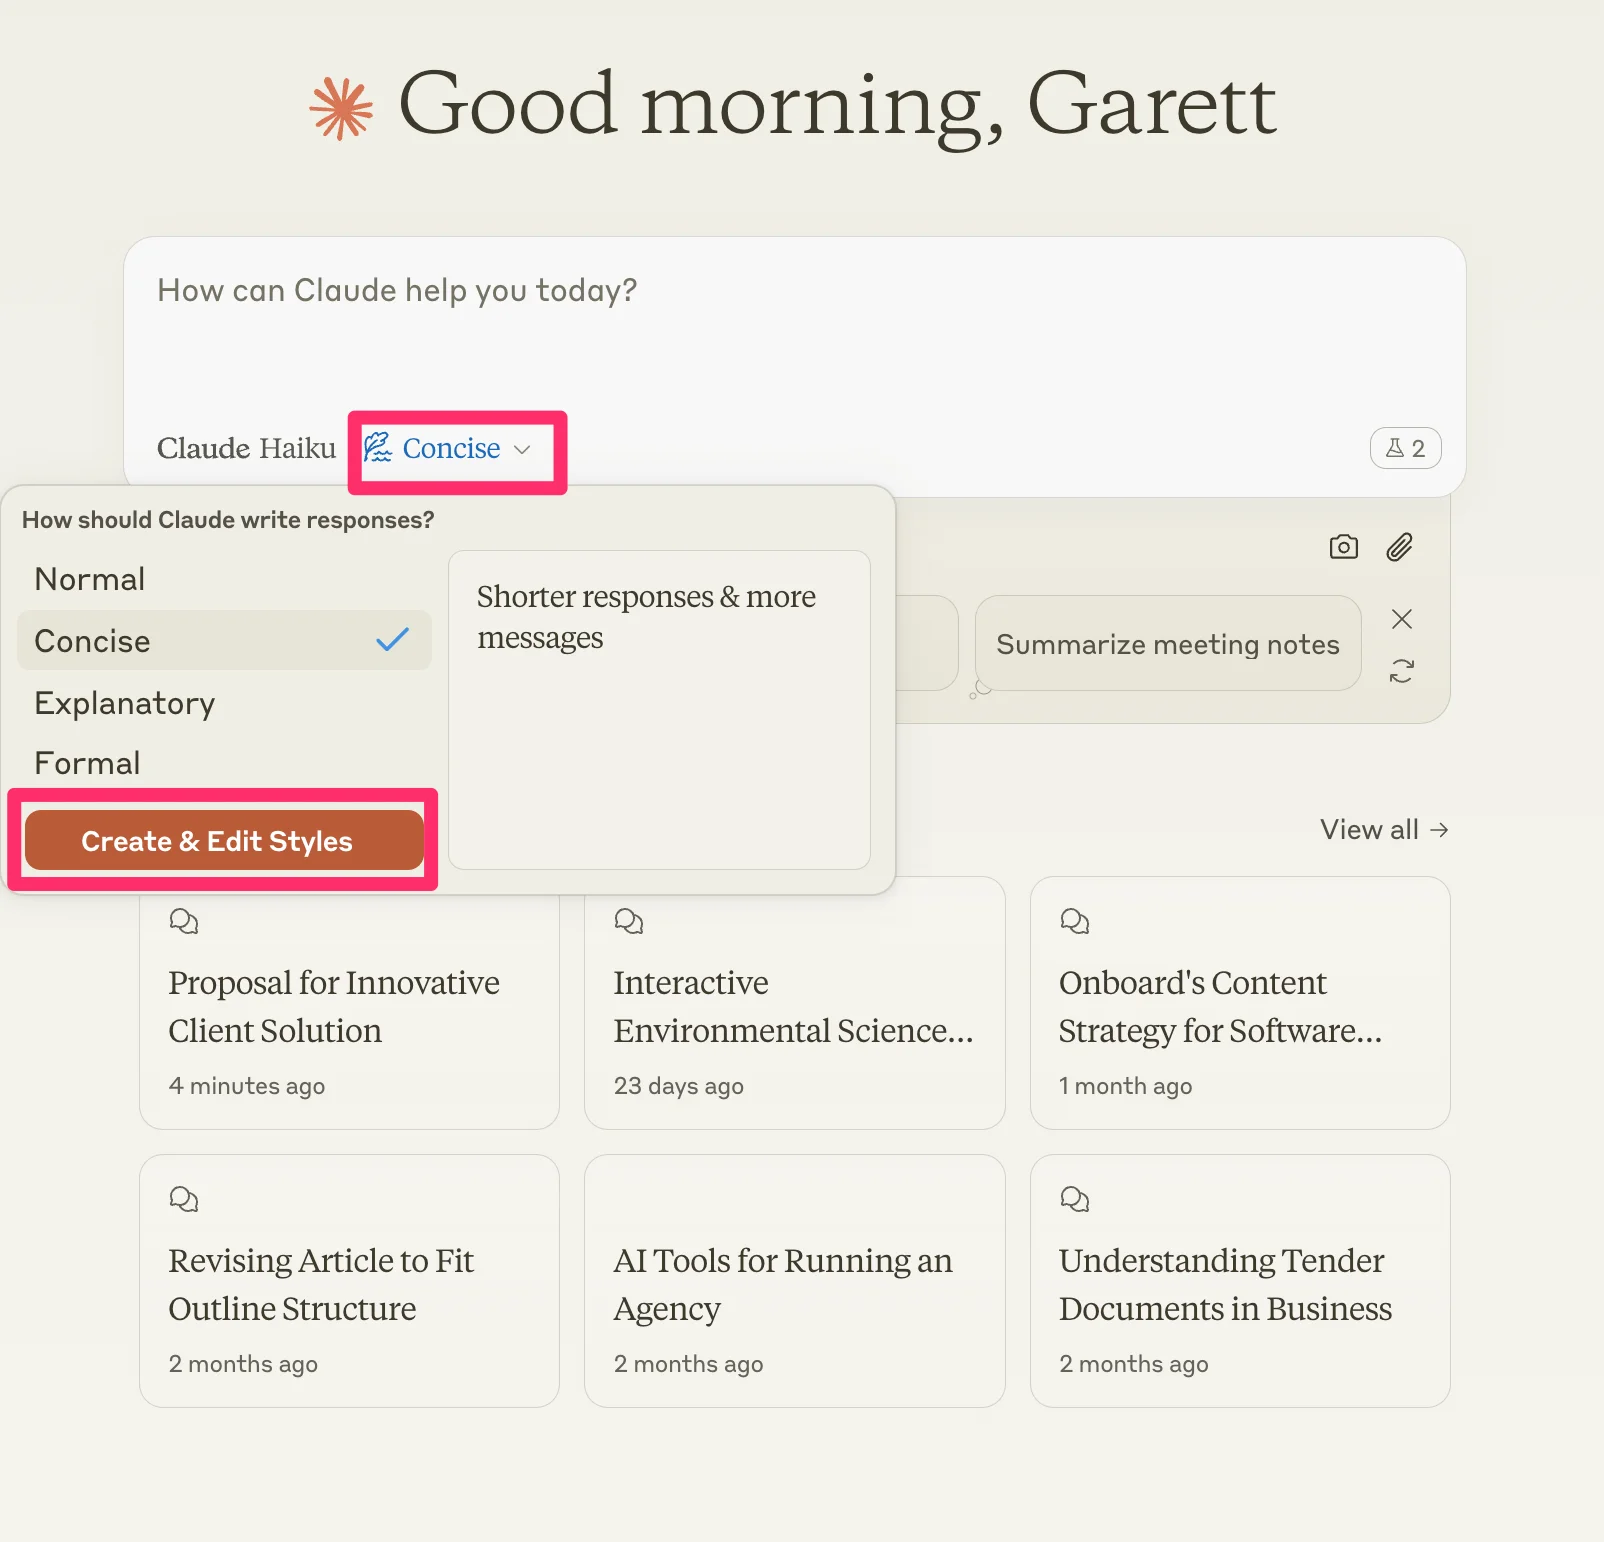
By default, the style will be “Normal.” You can choose between other preset styles, including Concise, Explanatory, and Formal.
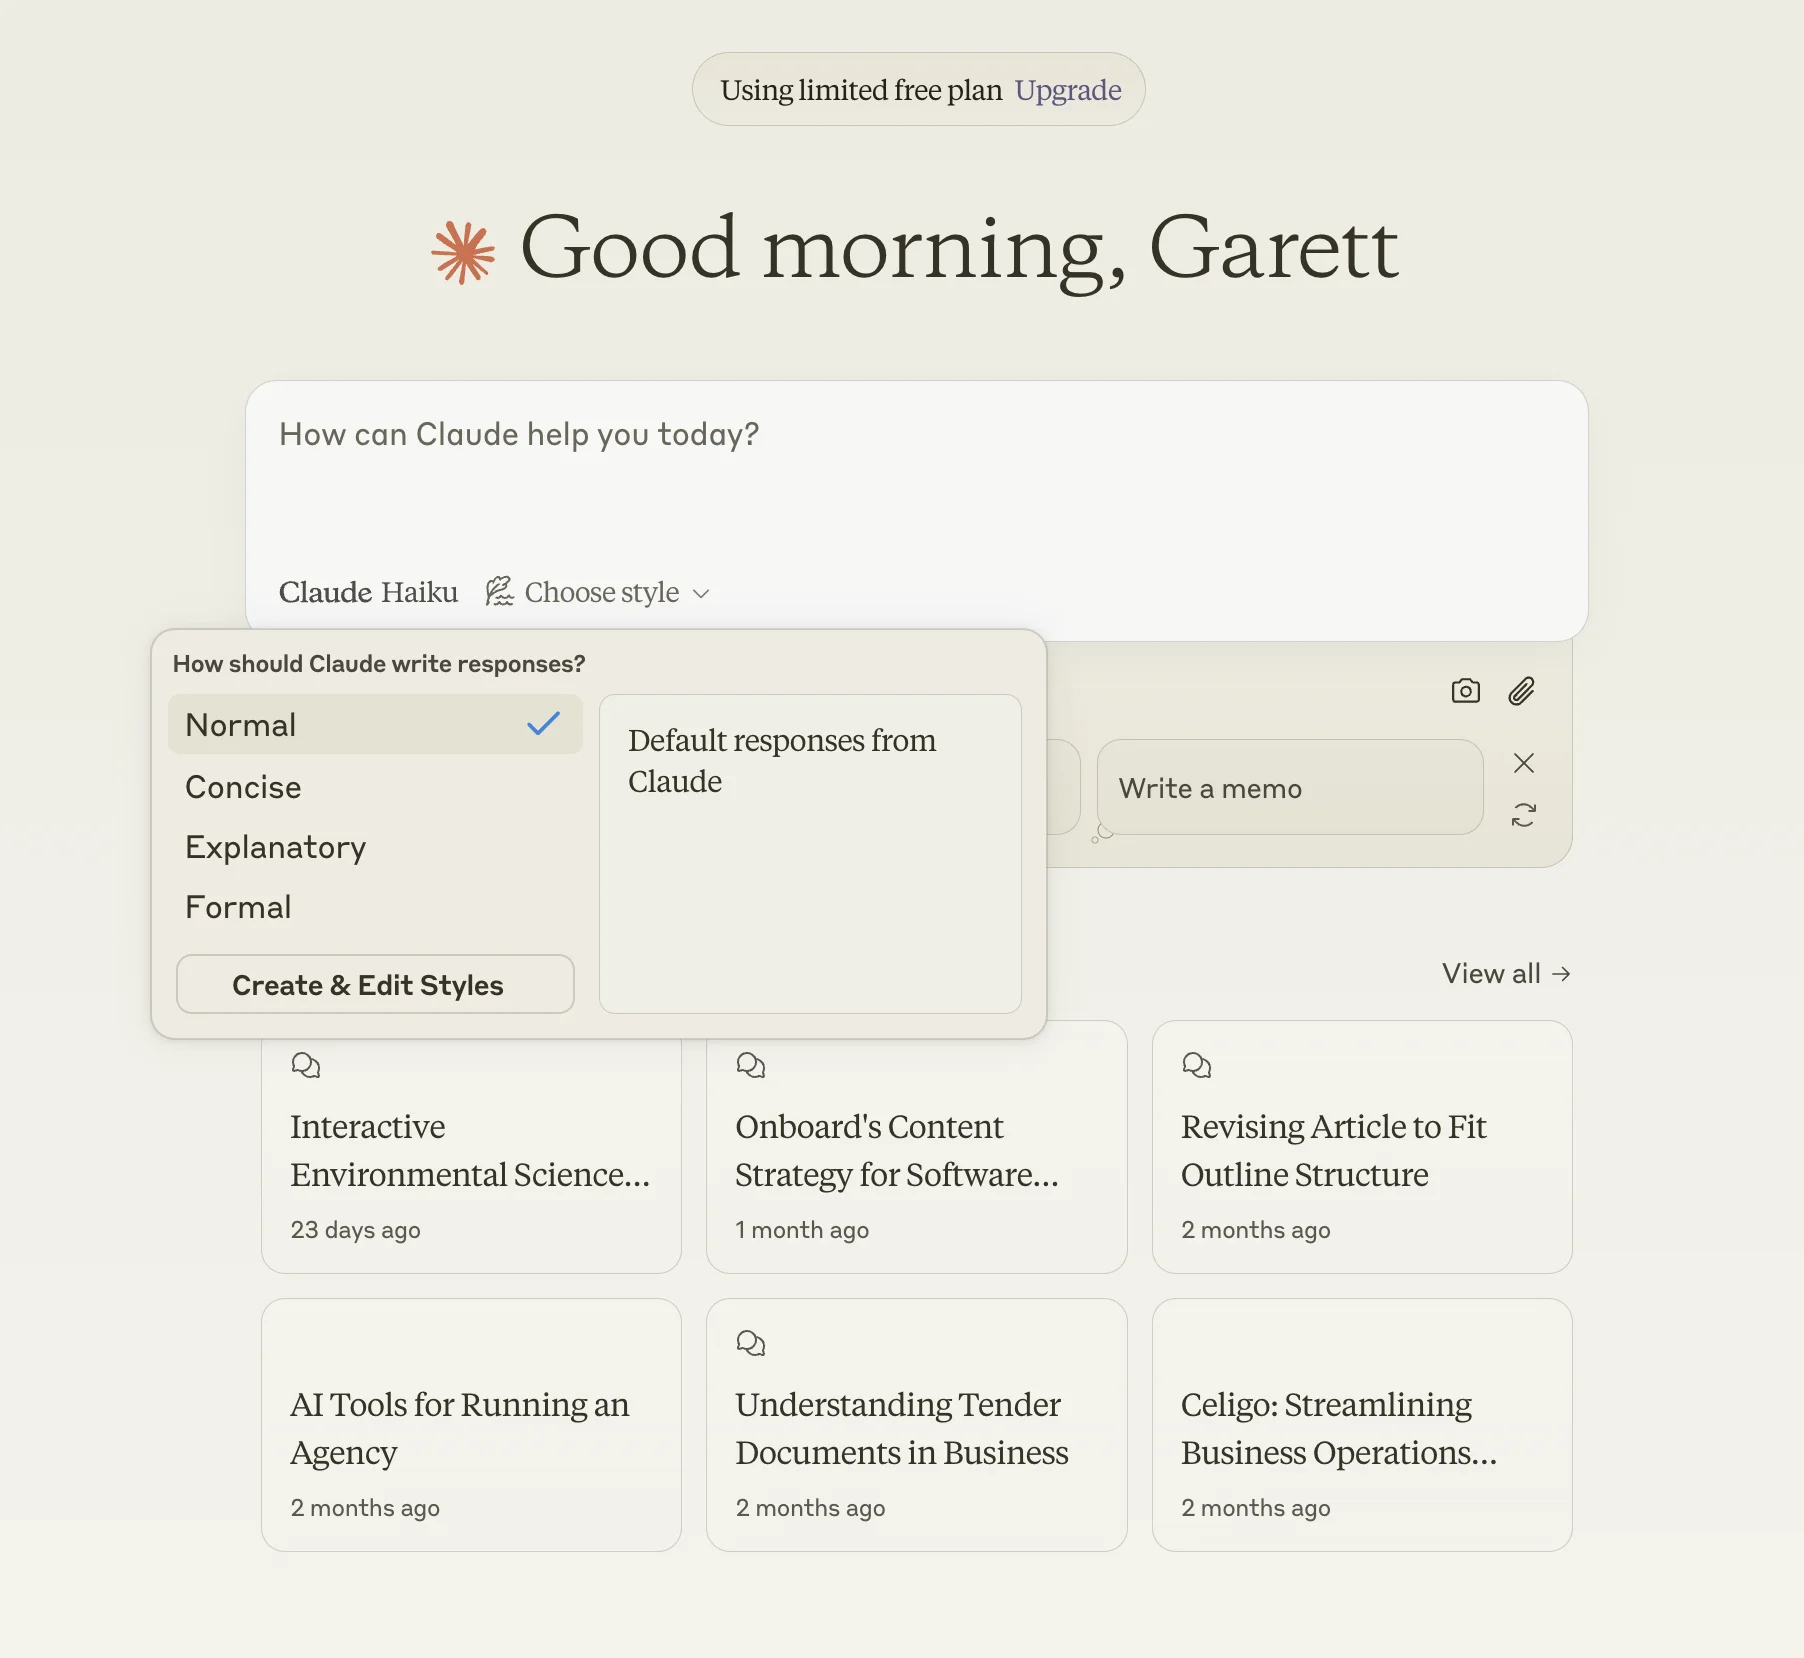
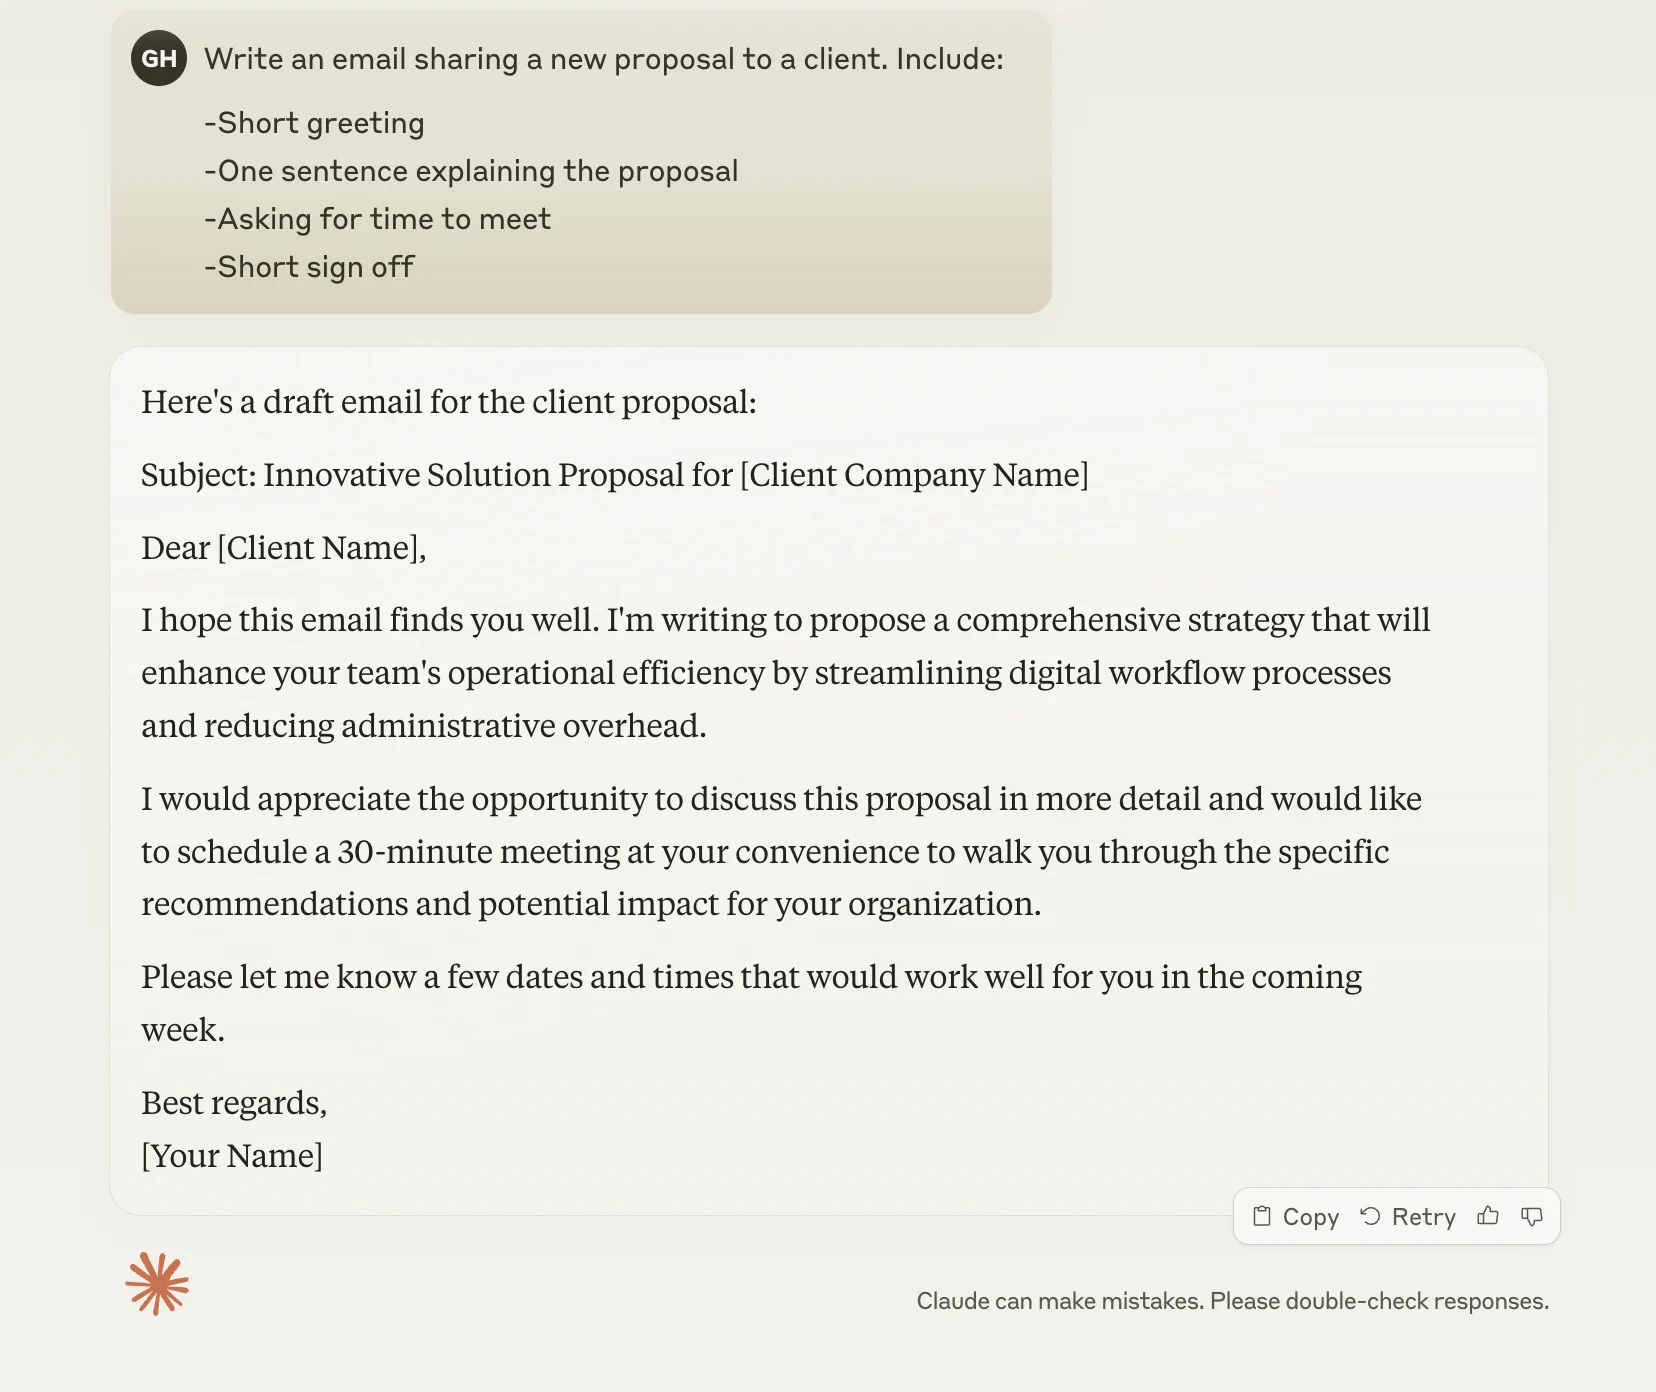
We’re going to select the “Formal” style for this example.
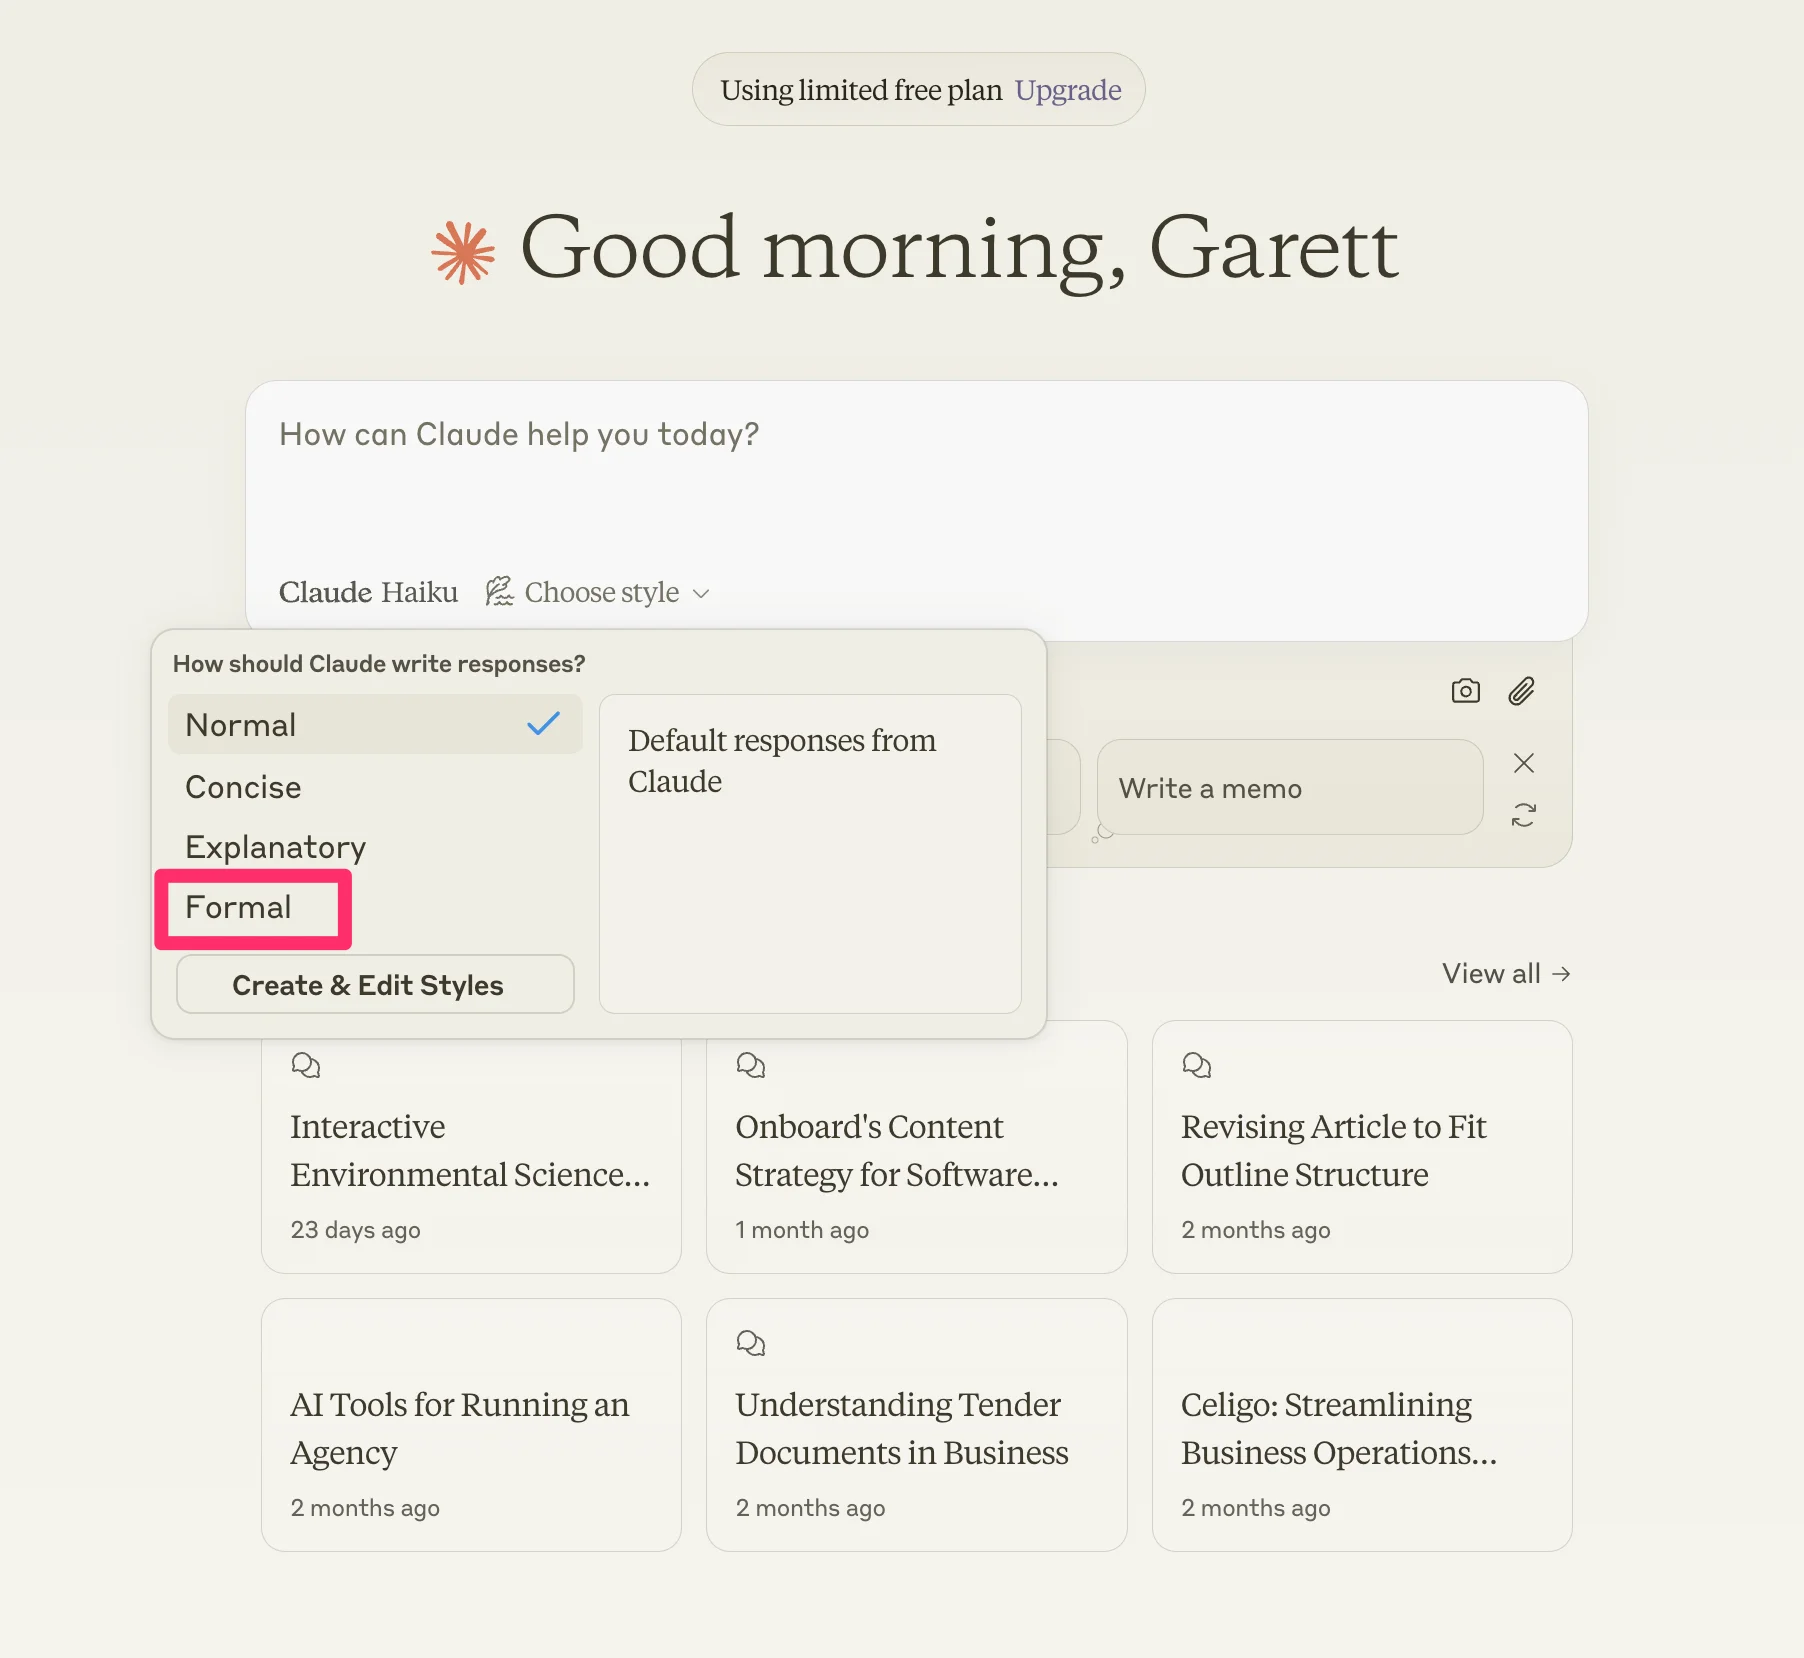
Now, we’ll write a prompt to generate an email for a client. You’ll see the “Formal” style selected in blue at the bottom of the prompt input.
Sample Prompt:
Write an email sharing a new proposal to a client. Include:-Short greeting
-One sentence explaining the proposal
-Asking for time to meet
-Short sign off
Claude will generate the content in a more formal voice than its default settings.
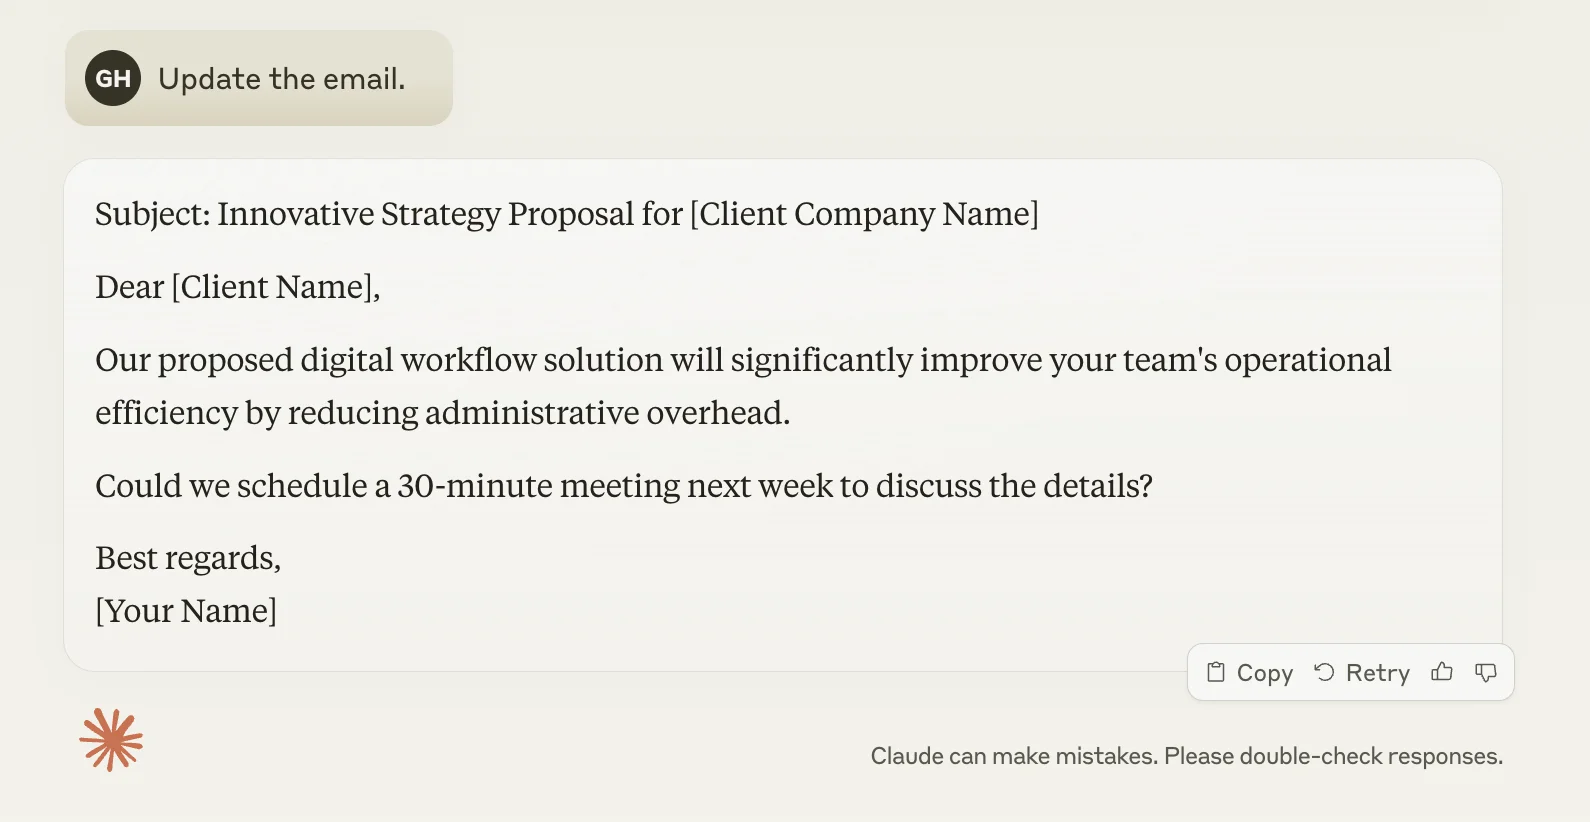
Within this same chat, you can toggle between other styles. We’ll update from “Formal” to “Concise,” and ask Claude to update the email in the same thread.
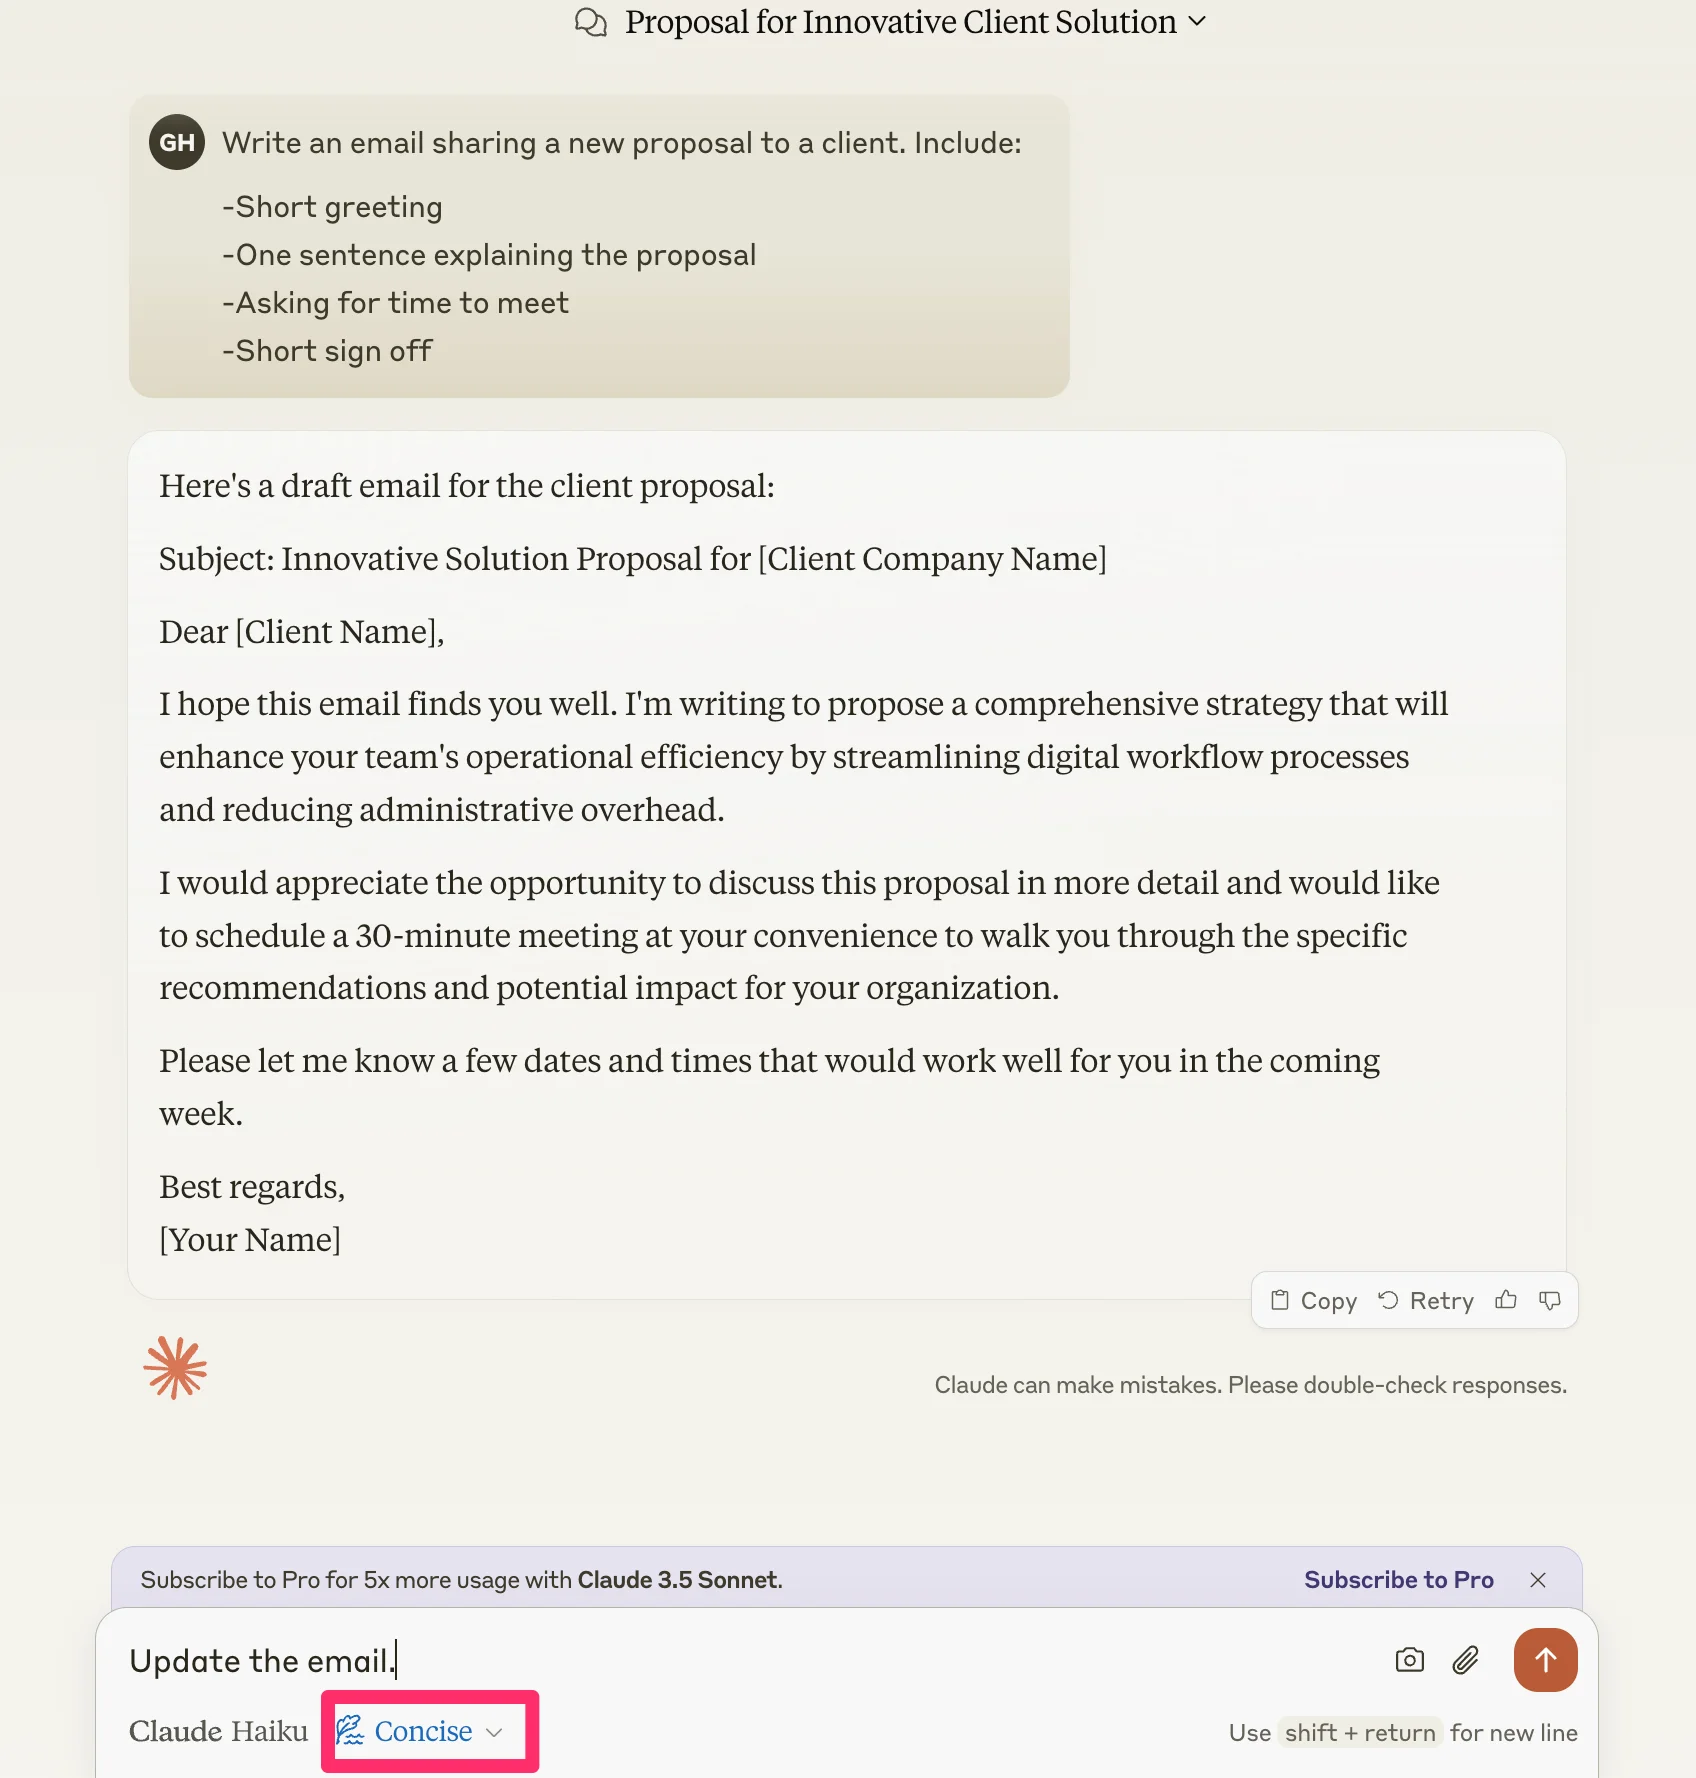
As expected, Claude will generate a much more terse email draft.
Best practices for creating a custom style
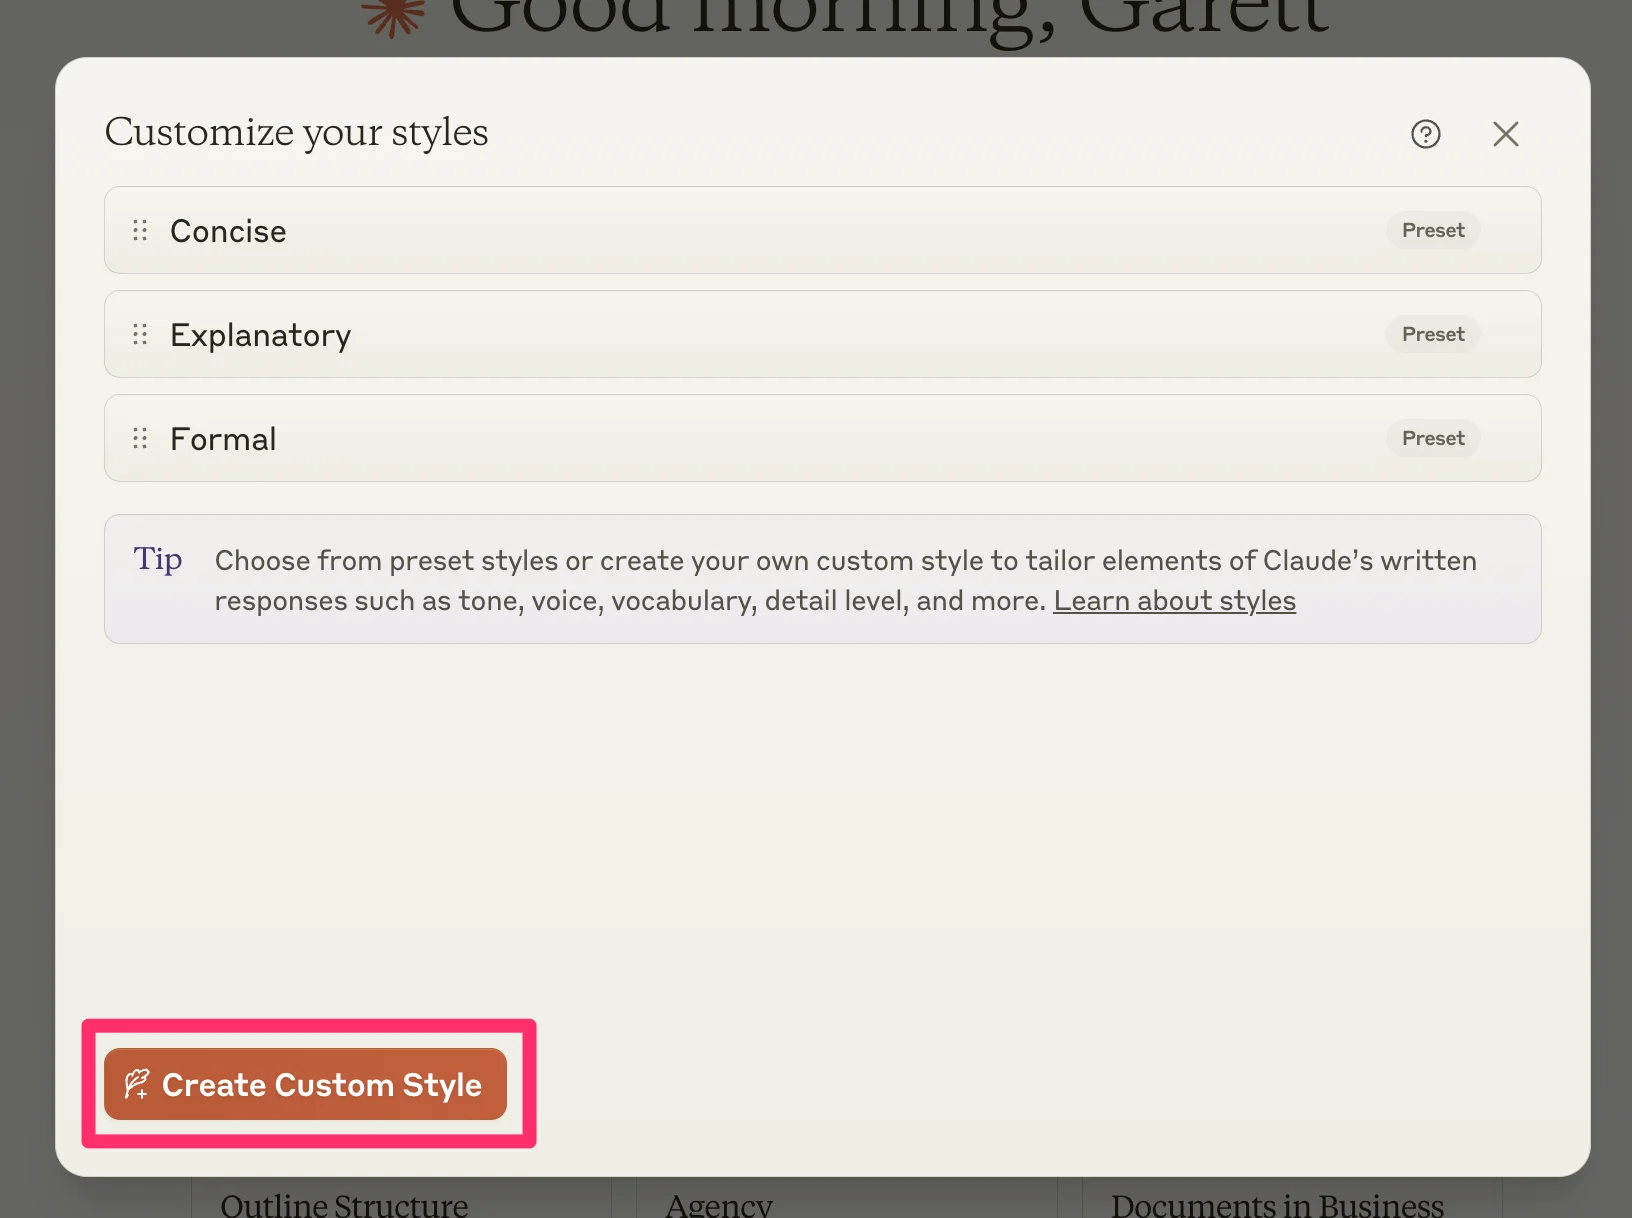
In addition to preset styles, we can create and edit custom styles with this feature. This is where Claude Styles shines.
For this tutorial, we’re going to create a custom style that matches the voice and tone of Justin Welsh’s LinkedIn posts. To do this, start a fresh thread with Claude, click the style dropdown, and click the “Create & Edit Styles” button.
Then, click the “Create Custom Style” button in the resulting window.
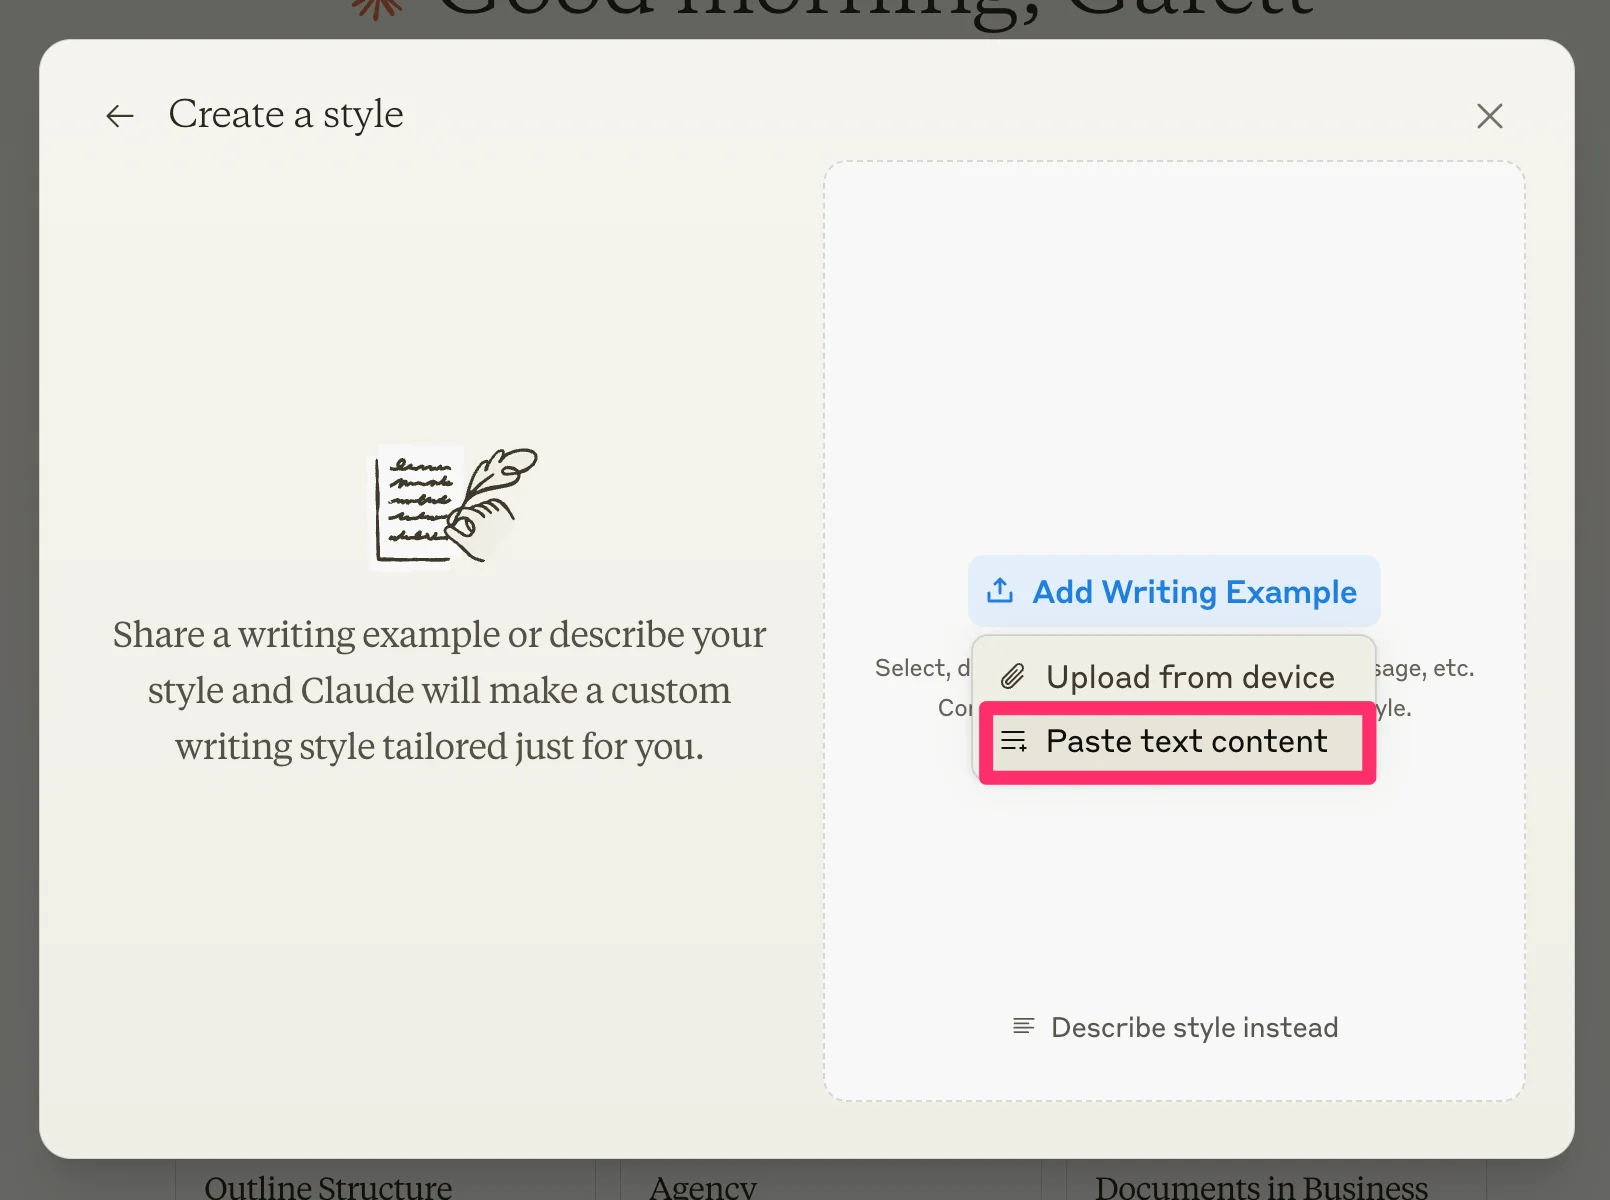
Here you have two options: ‘Add Writing Example’ or ‘Describe style instead’. We strongly recommend adding writing examples rather than describing what style you want—the AI is much more likely to be able to write in your preferred style when it’s mimicking examples.
For this tutorial, we’re going to copy across posts from Justin’s LinkedIn feed as writing examples.
Click “Add Writing Example” and select either the “Upload from device” or “Paste text content” option. We’re going to paste the writing examples directly.
When your writing examples are added, click the “Create Style” button.

Claude will name your style and provide you with a summary description. From here, you can test your style with a canned prompt, including options like a short story, customer email, or product review.
We’ve found these previews not to be very helpful, as they didn’t match the content output we were going for. Better to skip these previews and test your custom style directly in a new thread with Claude. To do this, click the “Use Style” button to test the style with a custom prompt.
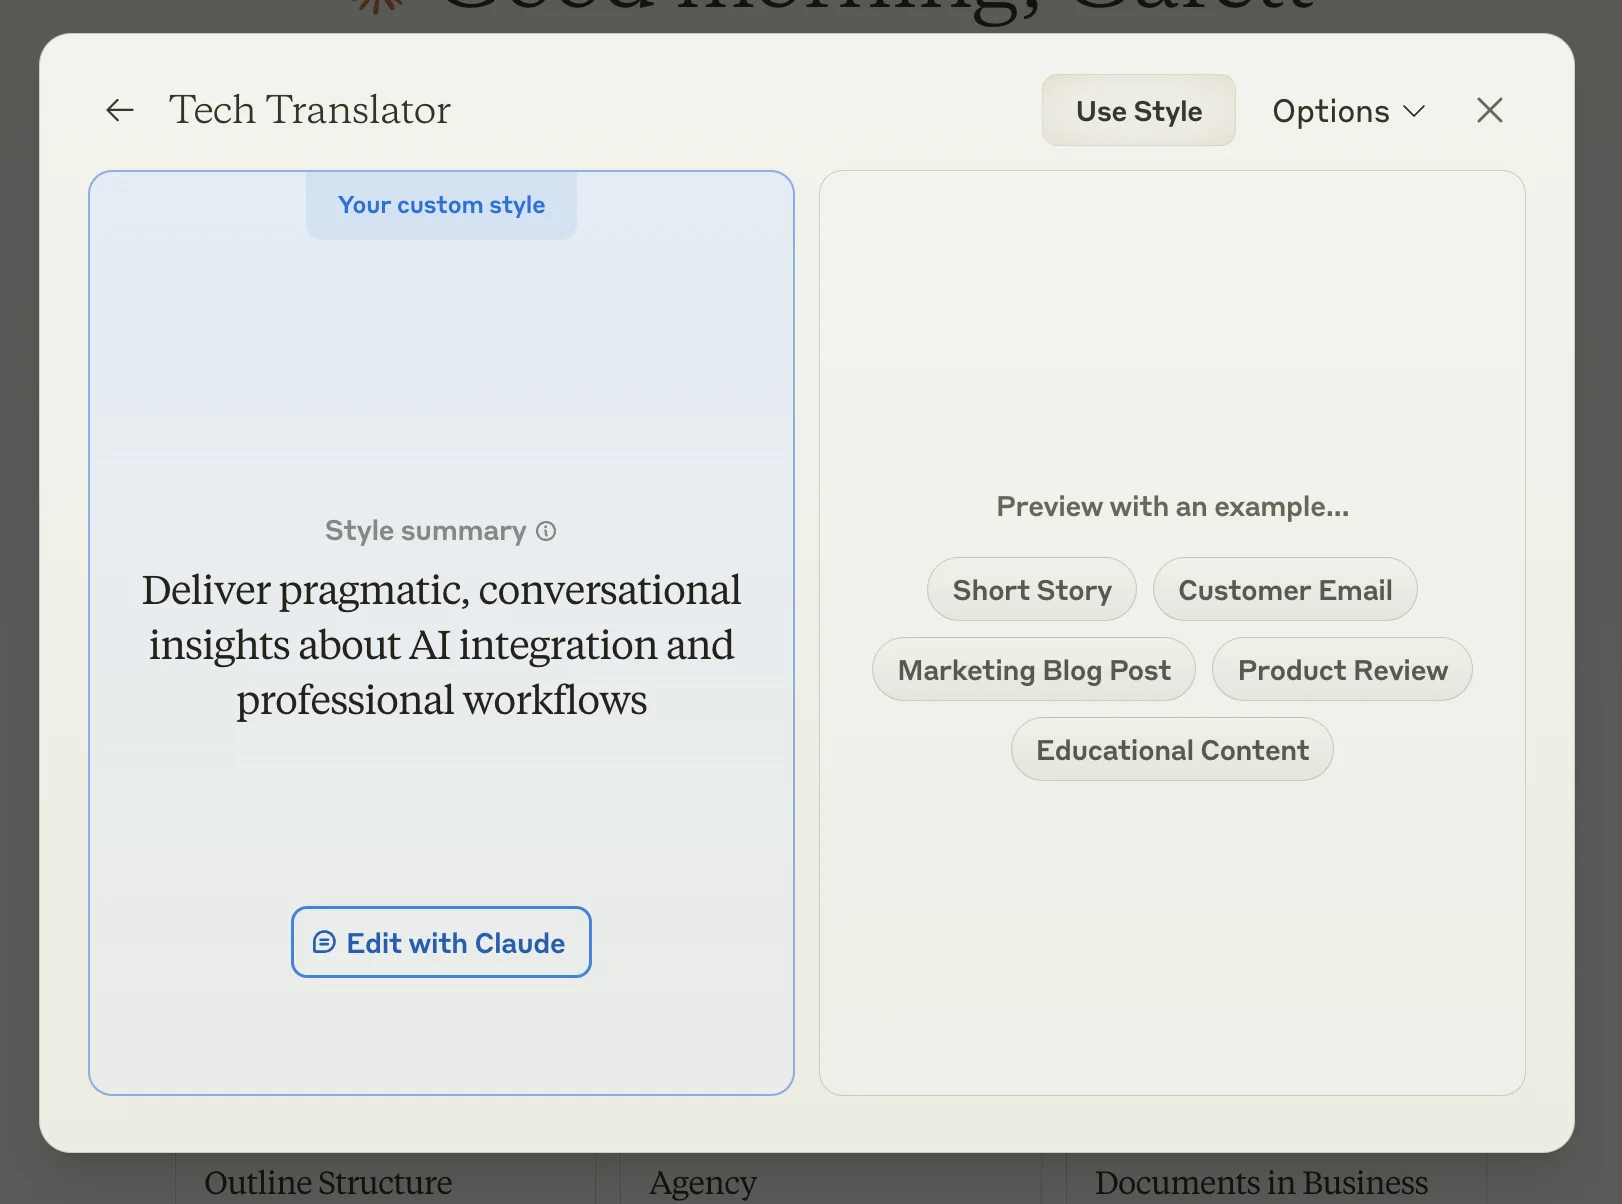
There’s an option here to ‘Edit with Claude’, which lets us further customize the writing style. We’ll show you how to do that a little later; first, we’ll test out our style to see how it’s working.
Testing and refining your custom style
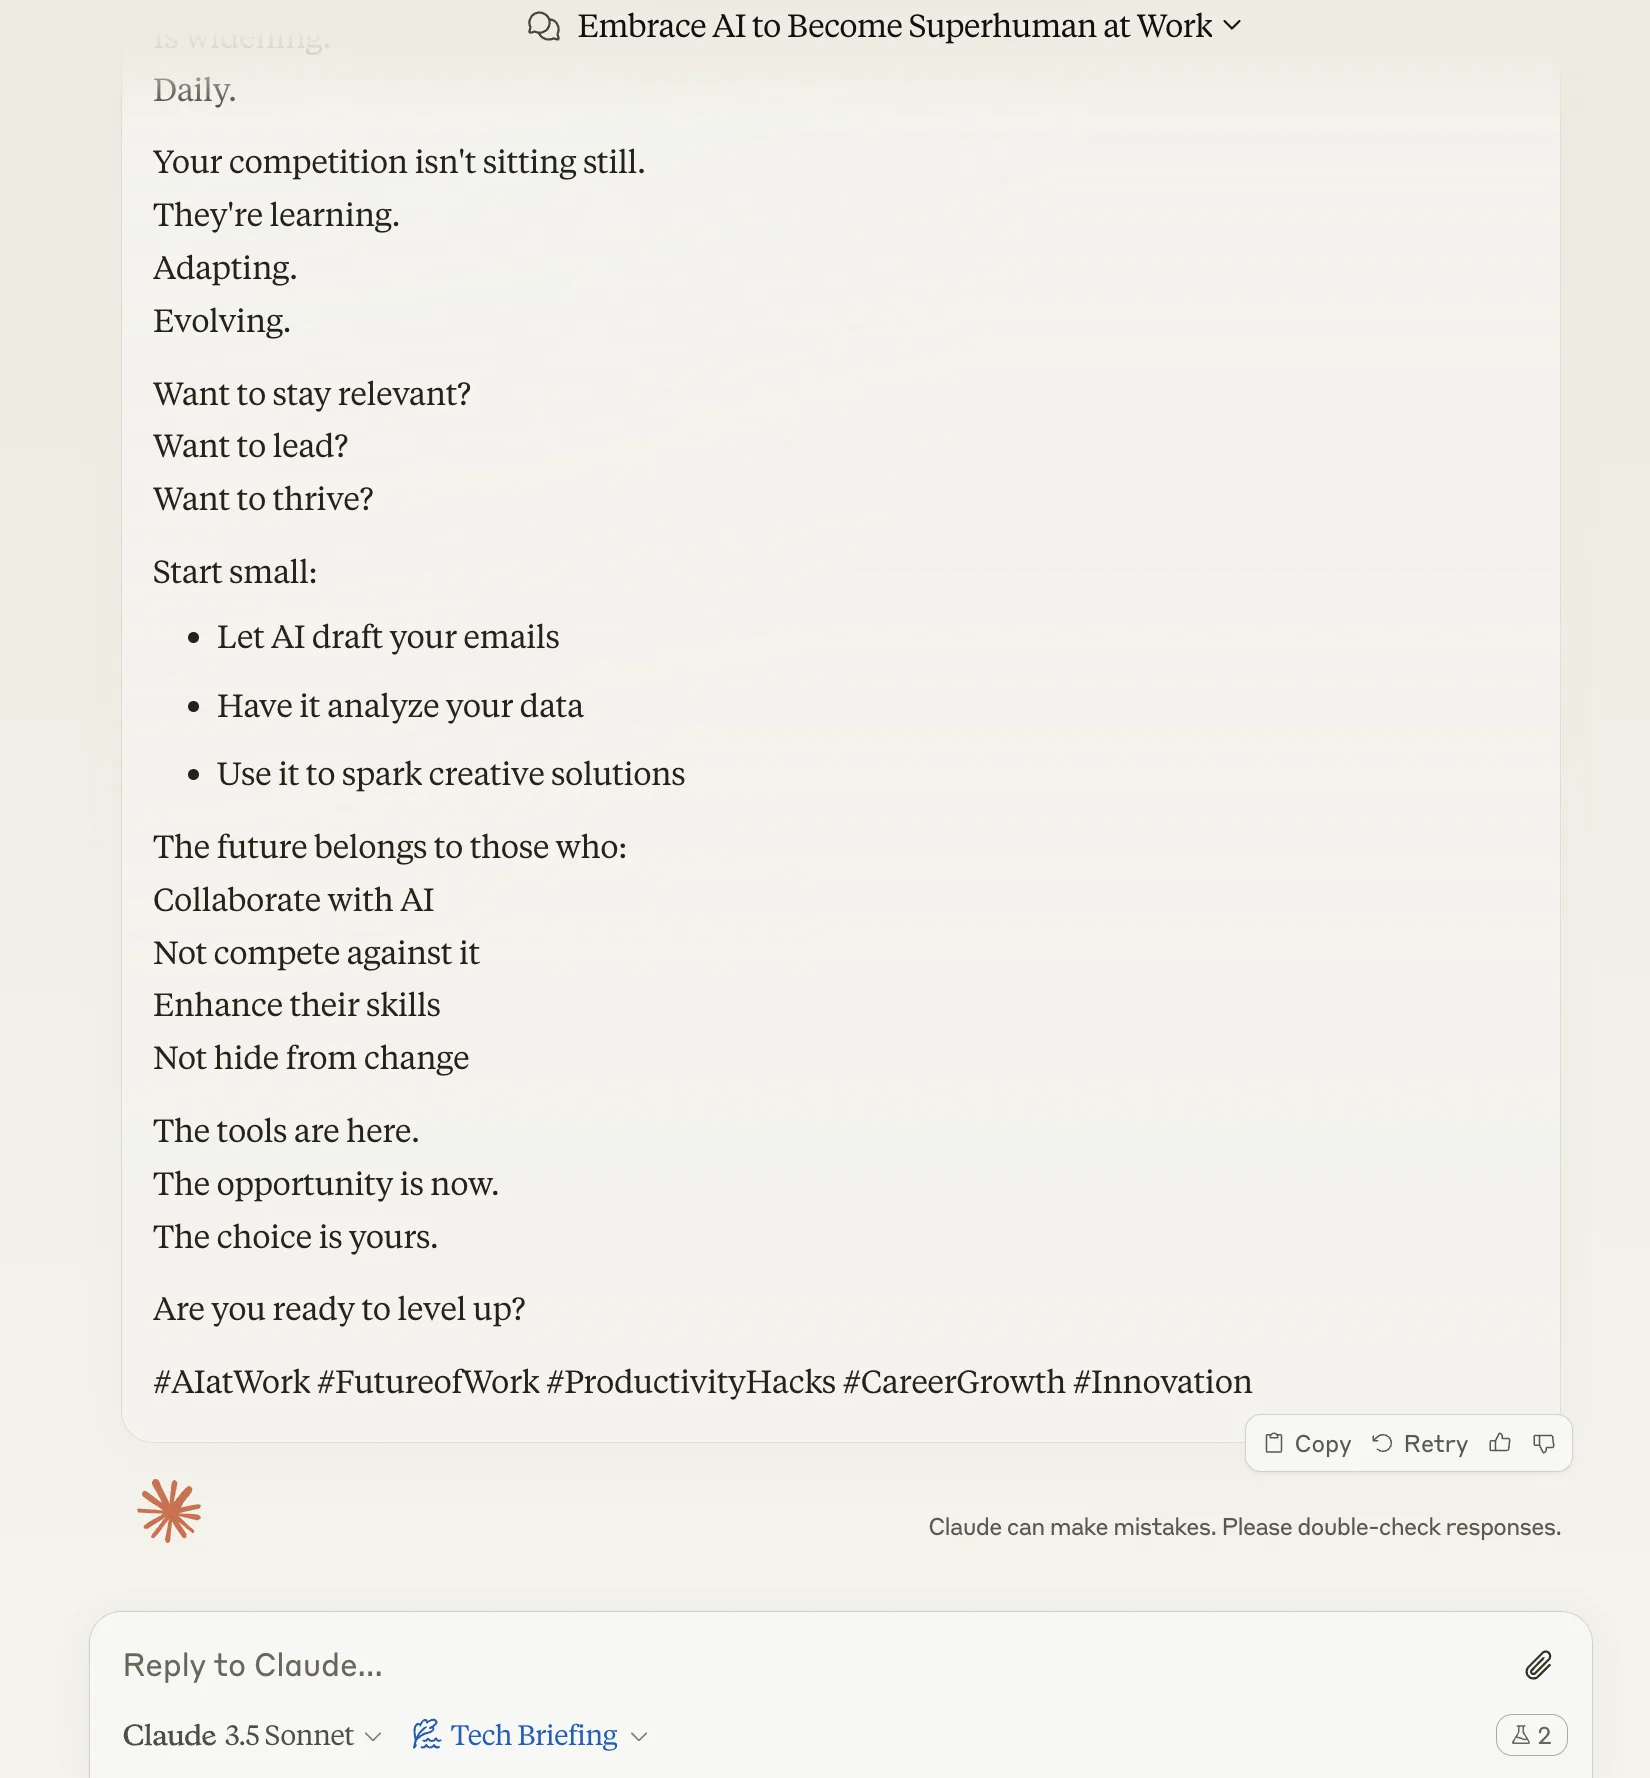
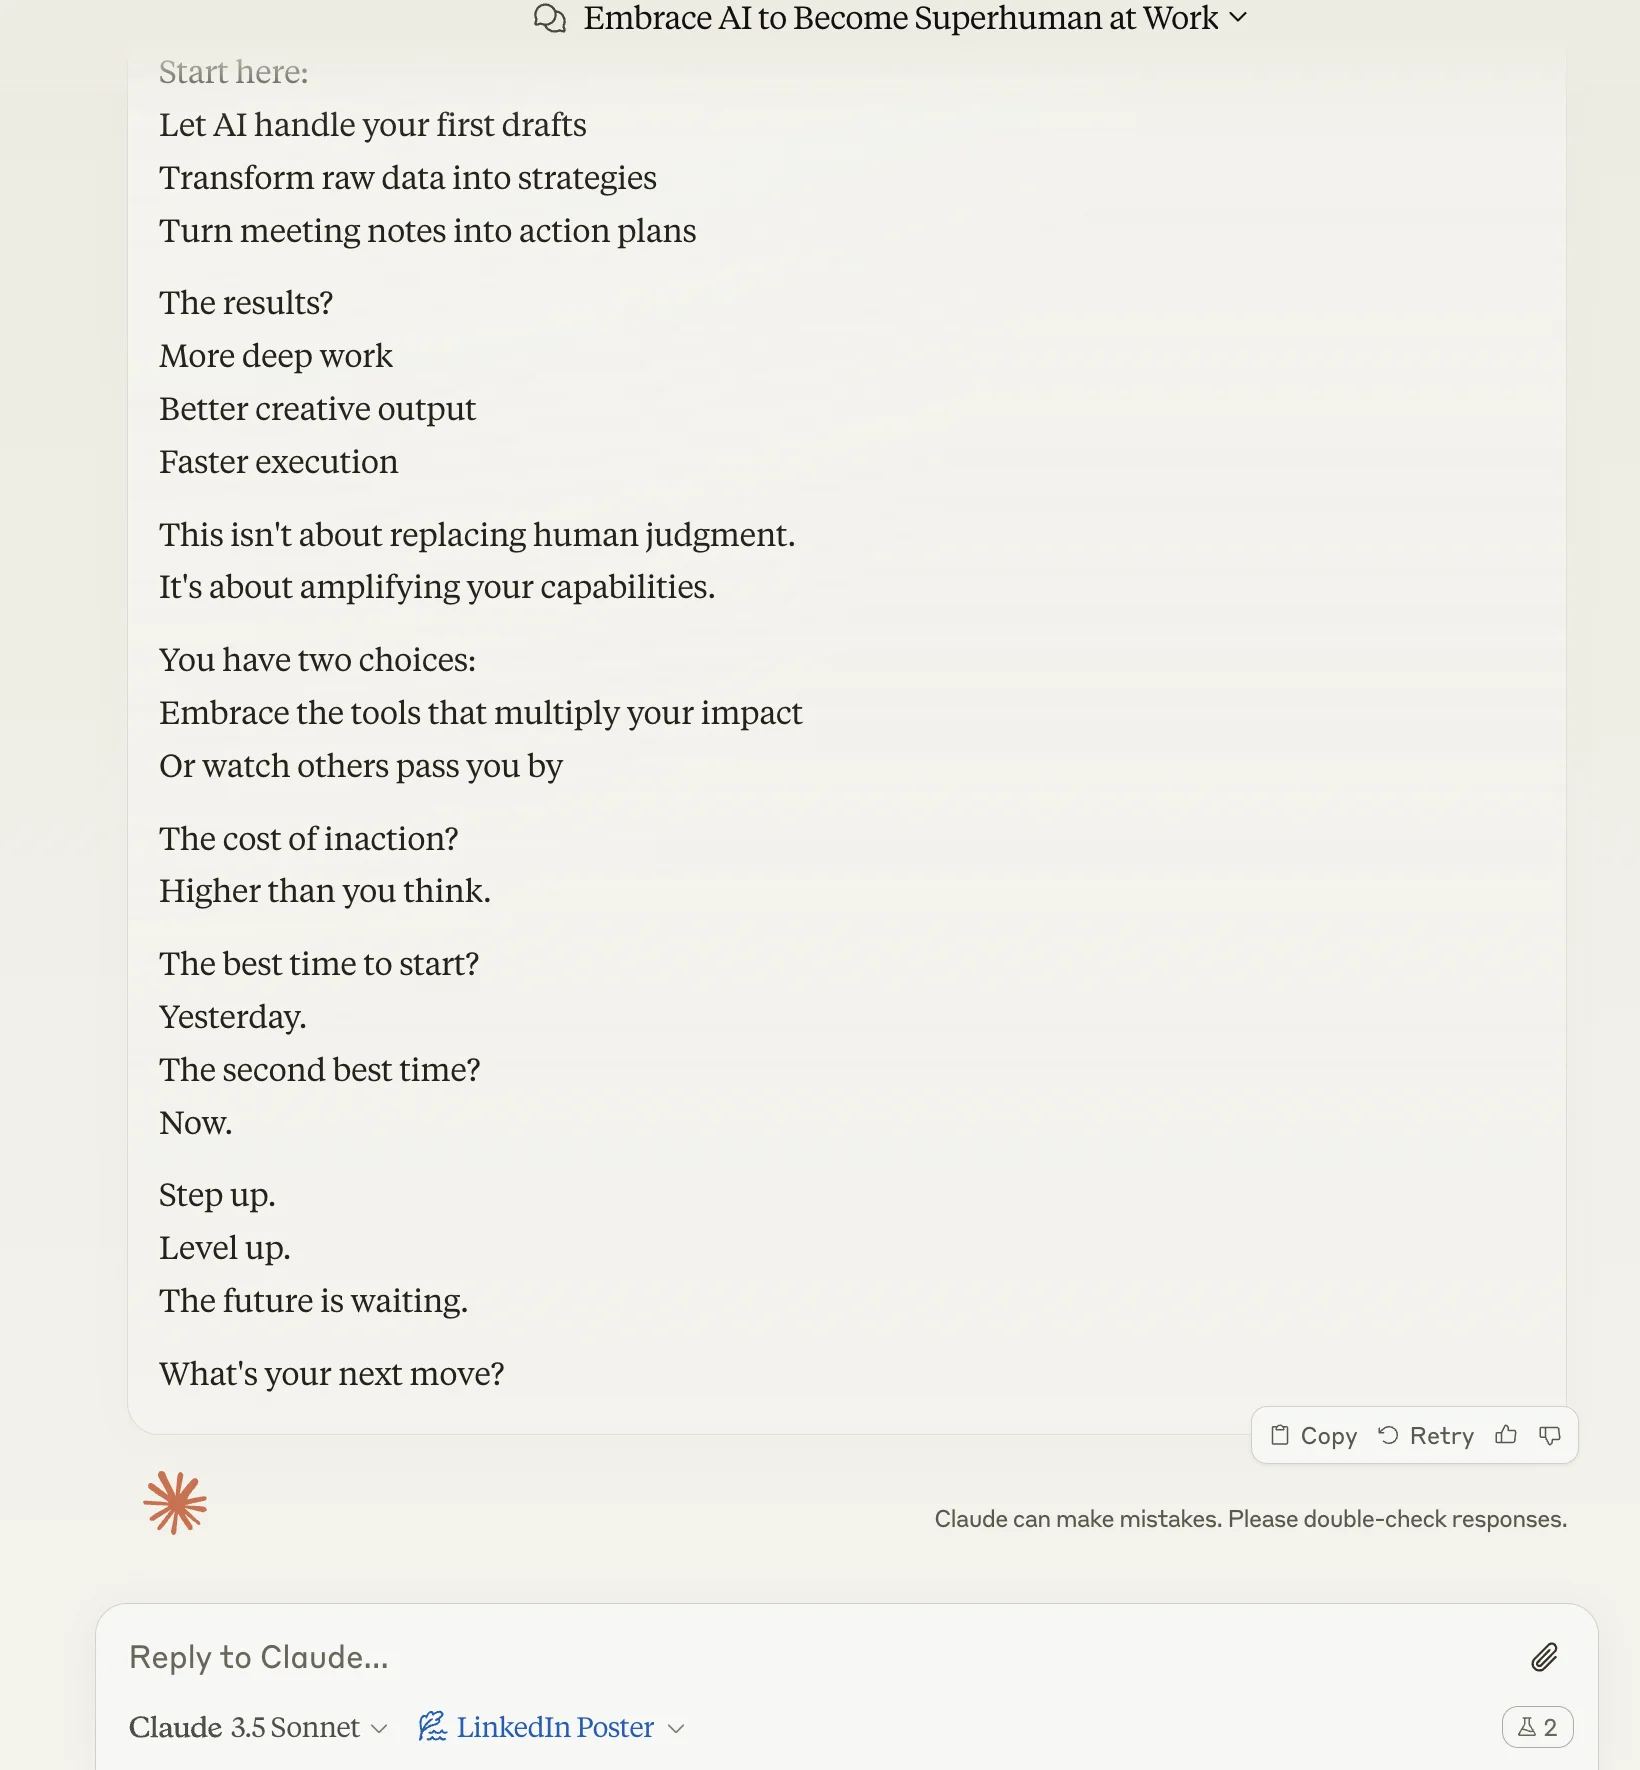
After clicking “Use Style”, prompt Claude with a simple request for the output you’re looking for (a LinkedIn post, in our case). The simpler the prompt the better here.
Sample Prompt:
Write a LinkedIn post about why you should use AI tools at work.
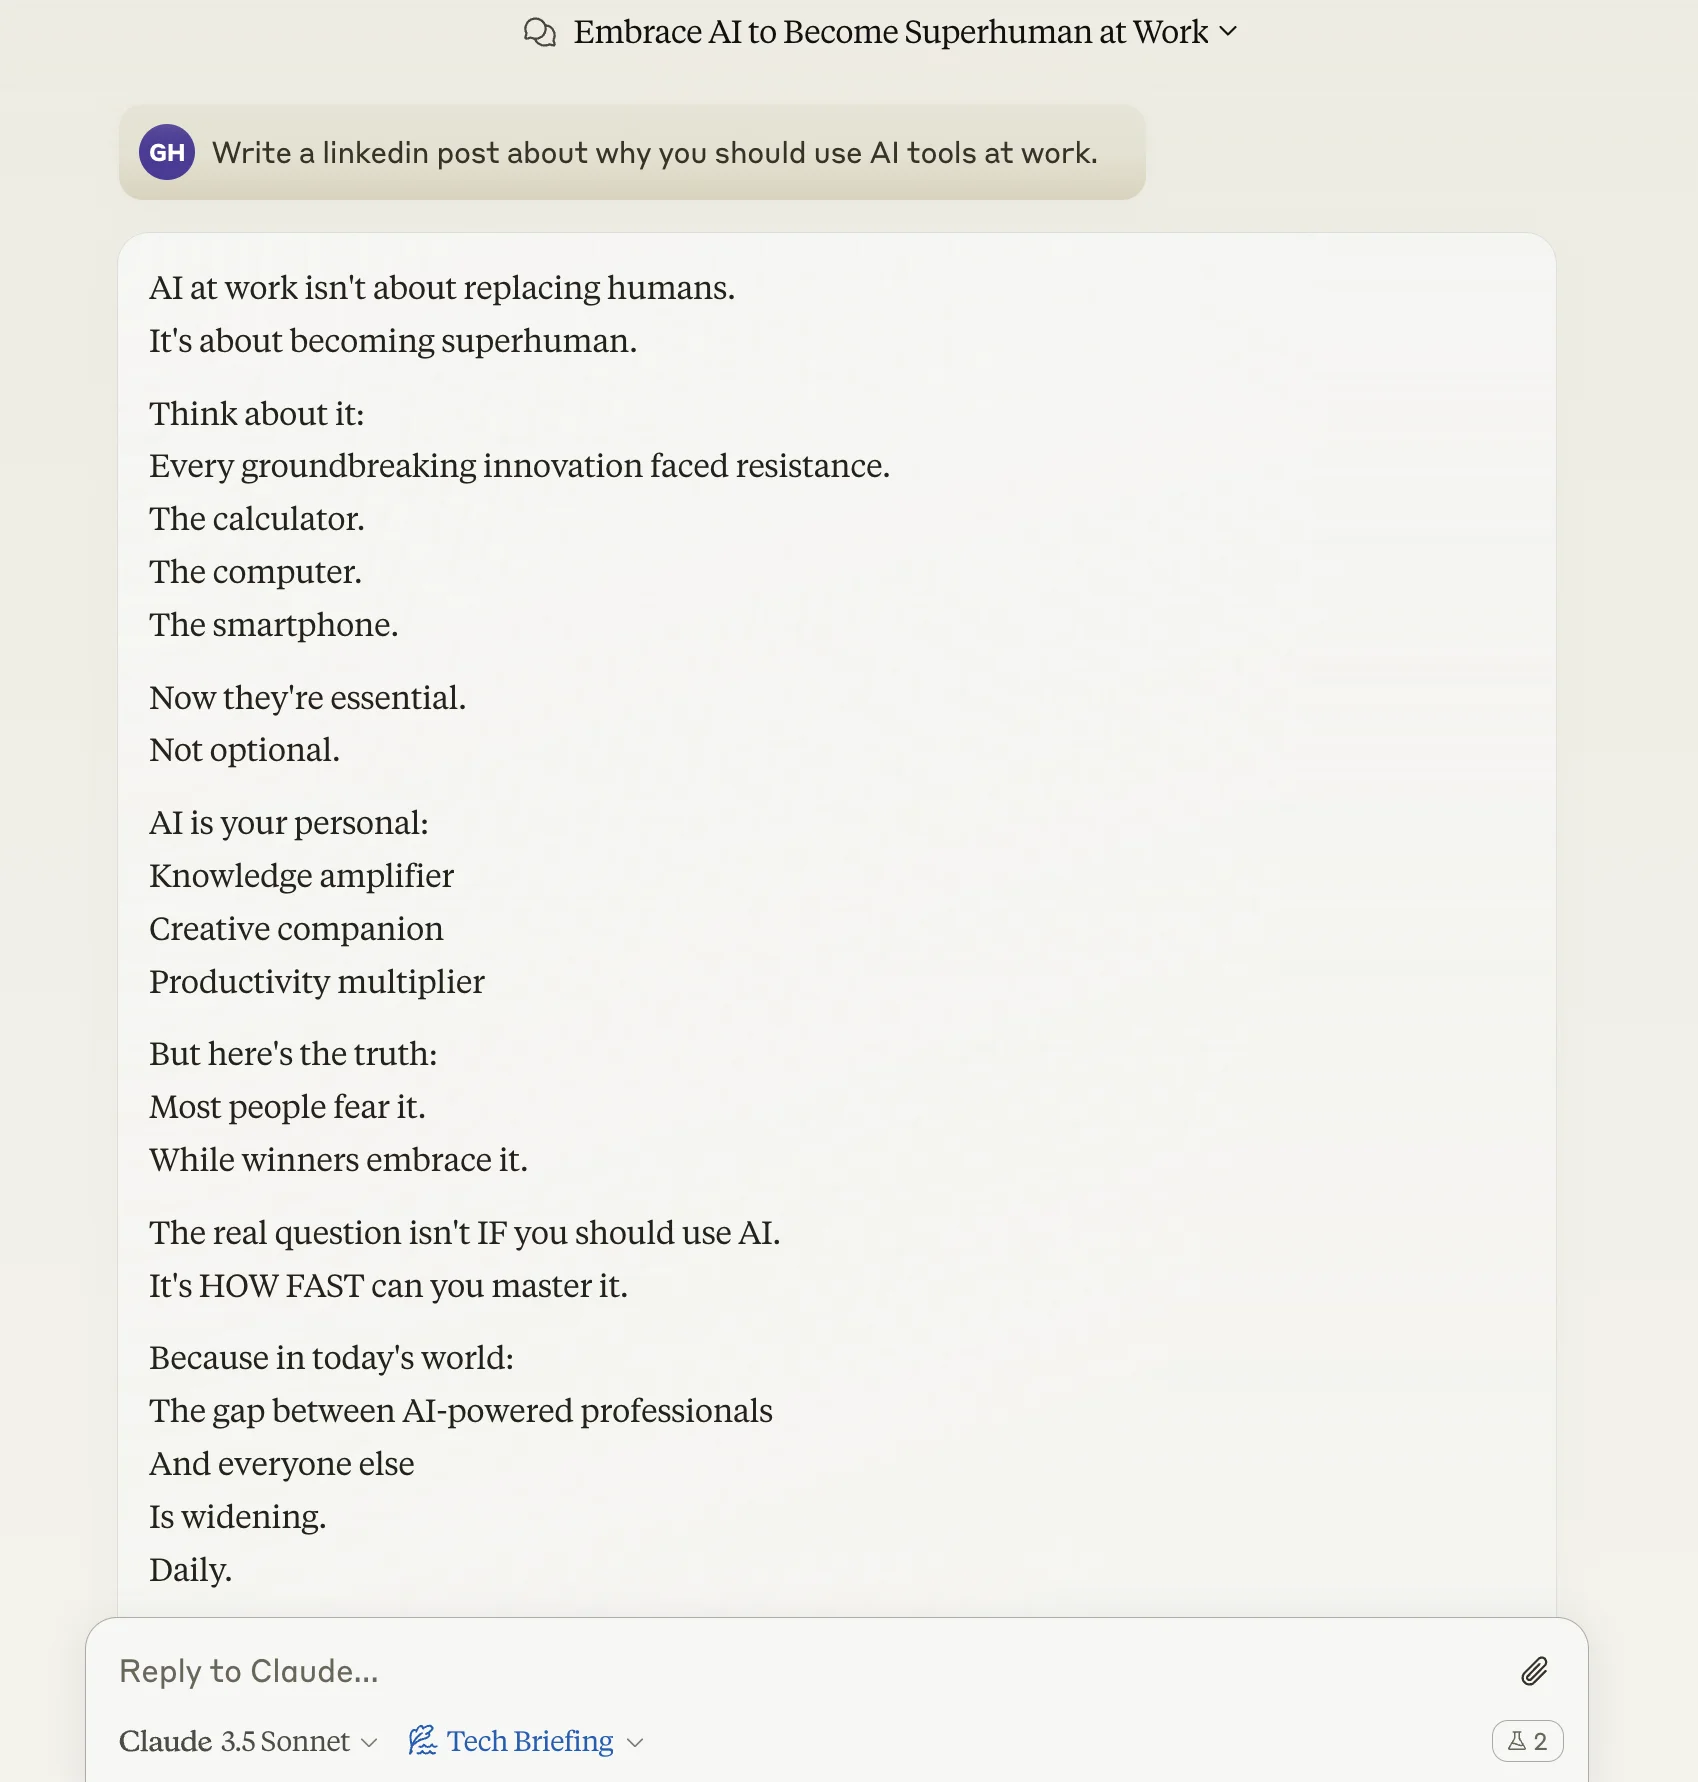
This output is good, but at the bottom of the post, Claude added hashtags, which we don’t want. We can edit our custom style to make sure these aren’t included moving forward.
To do this, navigate back to the custom styles window and click on the style you want to edit.
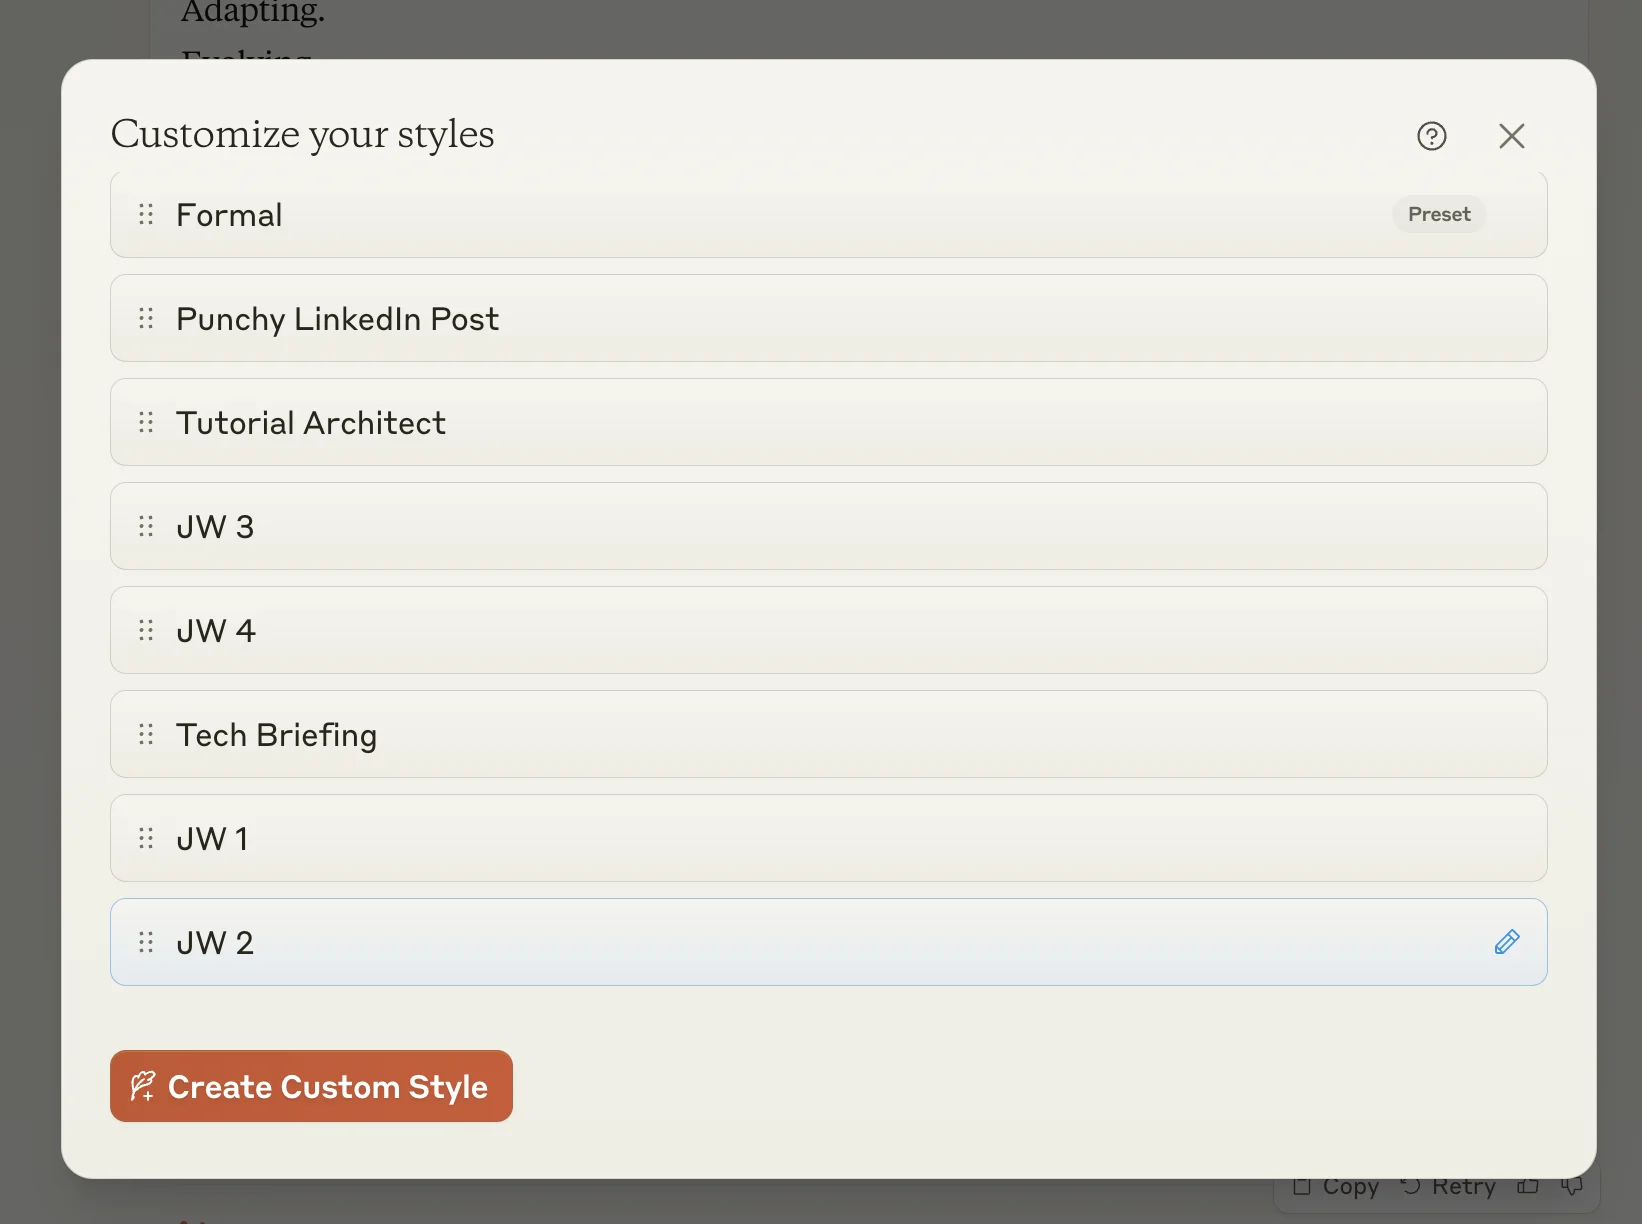
Rather than using the “Edit with Claude” option, we recommend editing the style manually. This gives you much more control and allows you to tweak the style in a nuanced fashion. To do this, click the “Options” dropdown and select “Edit style manually”.
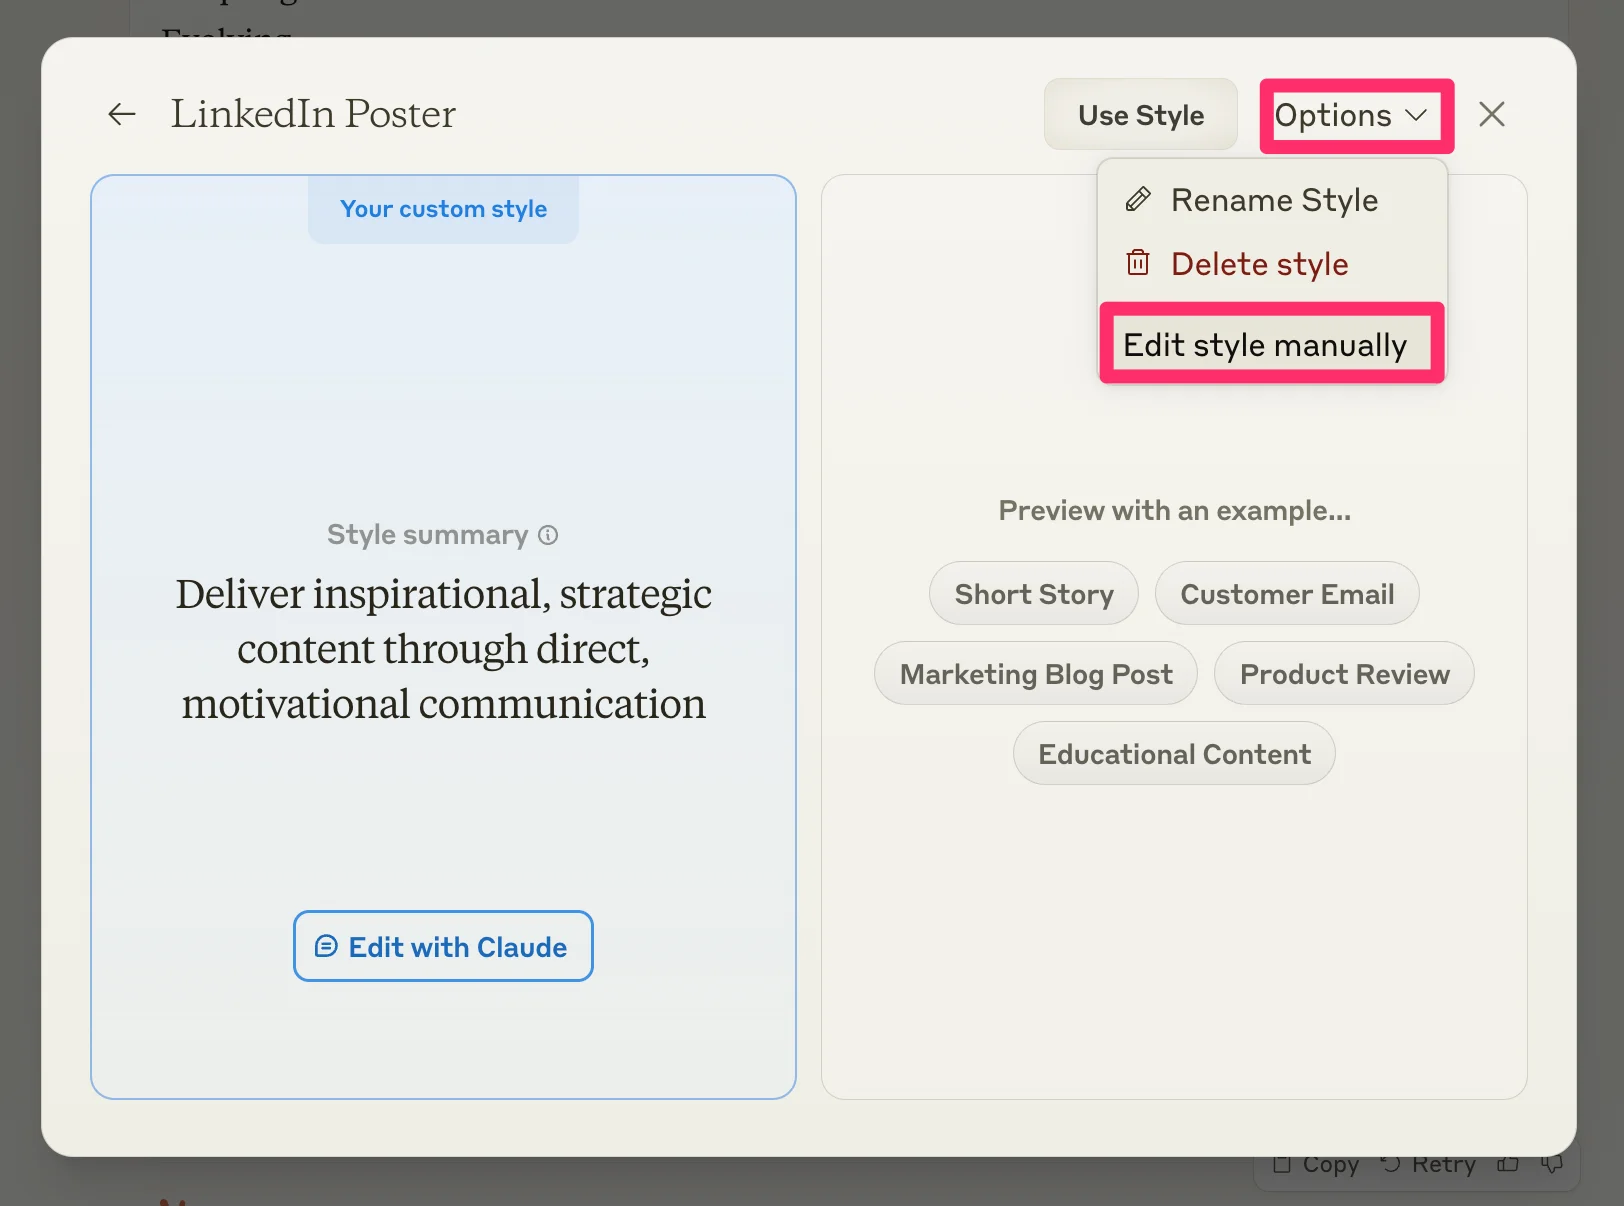
On the resulting page, you’ll see the instructions that inform your custom style, which typically consists of a paragraph describing the style and then generated examples below. You can edit the description like we’ve done here to not include hashtags, and also tweak the writing examples if needed.
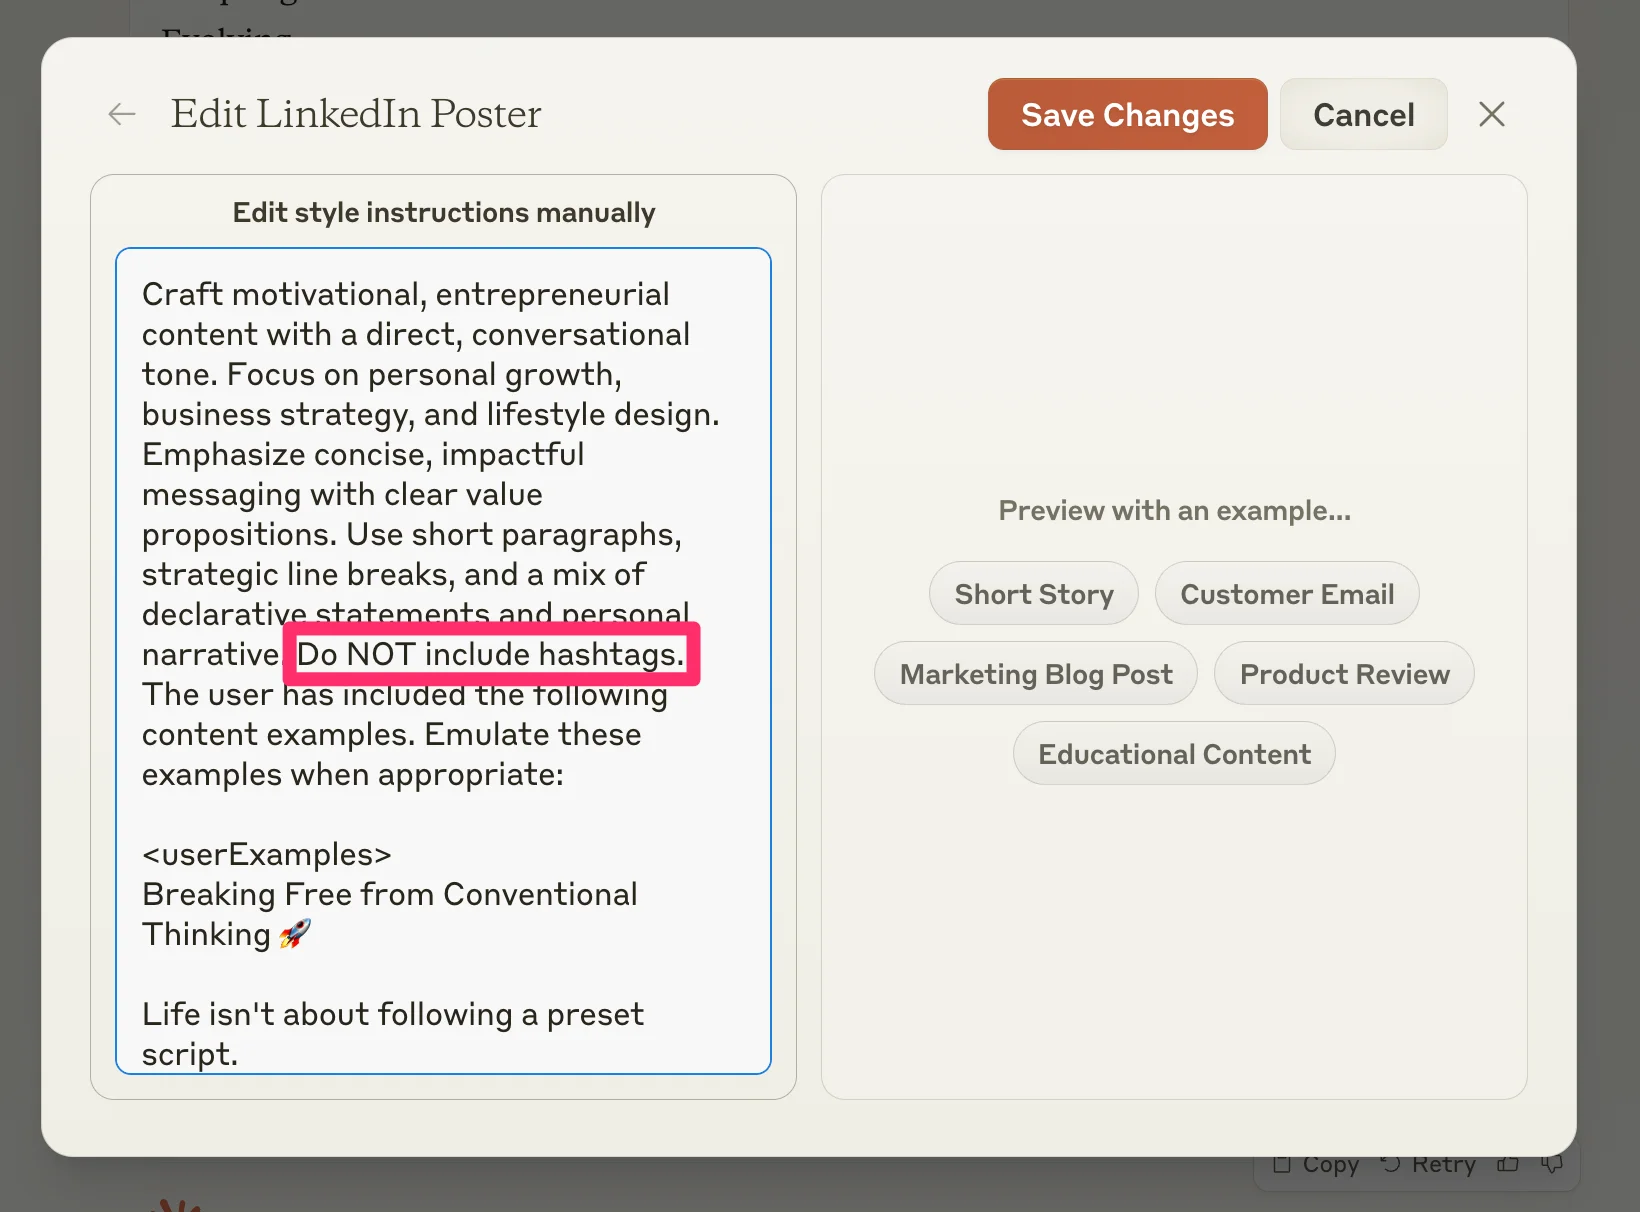
Save your changes and hop back into a thread with Claude to re-test the style. You’ll get content that now takes in your style edits, without having to ask for it within your prompt.
Additional use cases for styles
And that’s it! You now know how to best use Claude Styles, working with both the preset style options and the best practices for creating a custom style from previous writing examples.
There are loads of other ways you can use styles in Claude, including:
- Converting content into different formats: Create a style that is trained on your blog post content that can transform your notes into blog posts that match your voice and structure.
- Writing content in different brand voices: Create a style for the various brands you manage, each one trained on different content from each brand or their respective brand guidelines.
- Ghostwriting content for various clients: Upload samples of past client work and train a separate style for each client you work with.
- Extending creative work in your own style: Provide examples of your own essays, articles, or reports, and have Claude generate these artifacts from simple prompts.
This tutorial was created by Garrett.