Create custom graphics for websites and presentations
Learn how to use Recraft to turn your brand colors into custom graphics for your next project.
2024-11-13
Creating on-brand, custom graphics for websites or presentations can be a time-consuming and painful process. Whether you’re searching across large libraries of existing graphics or creating custom ones from scratch, there are many manual steps in making icons, vector art, and more for your company or brand.
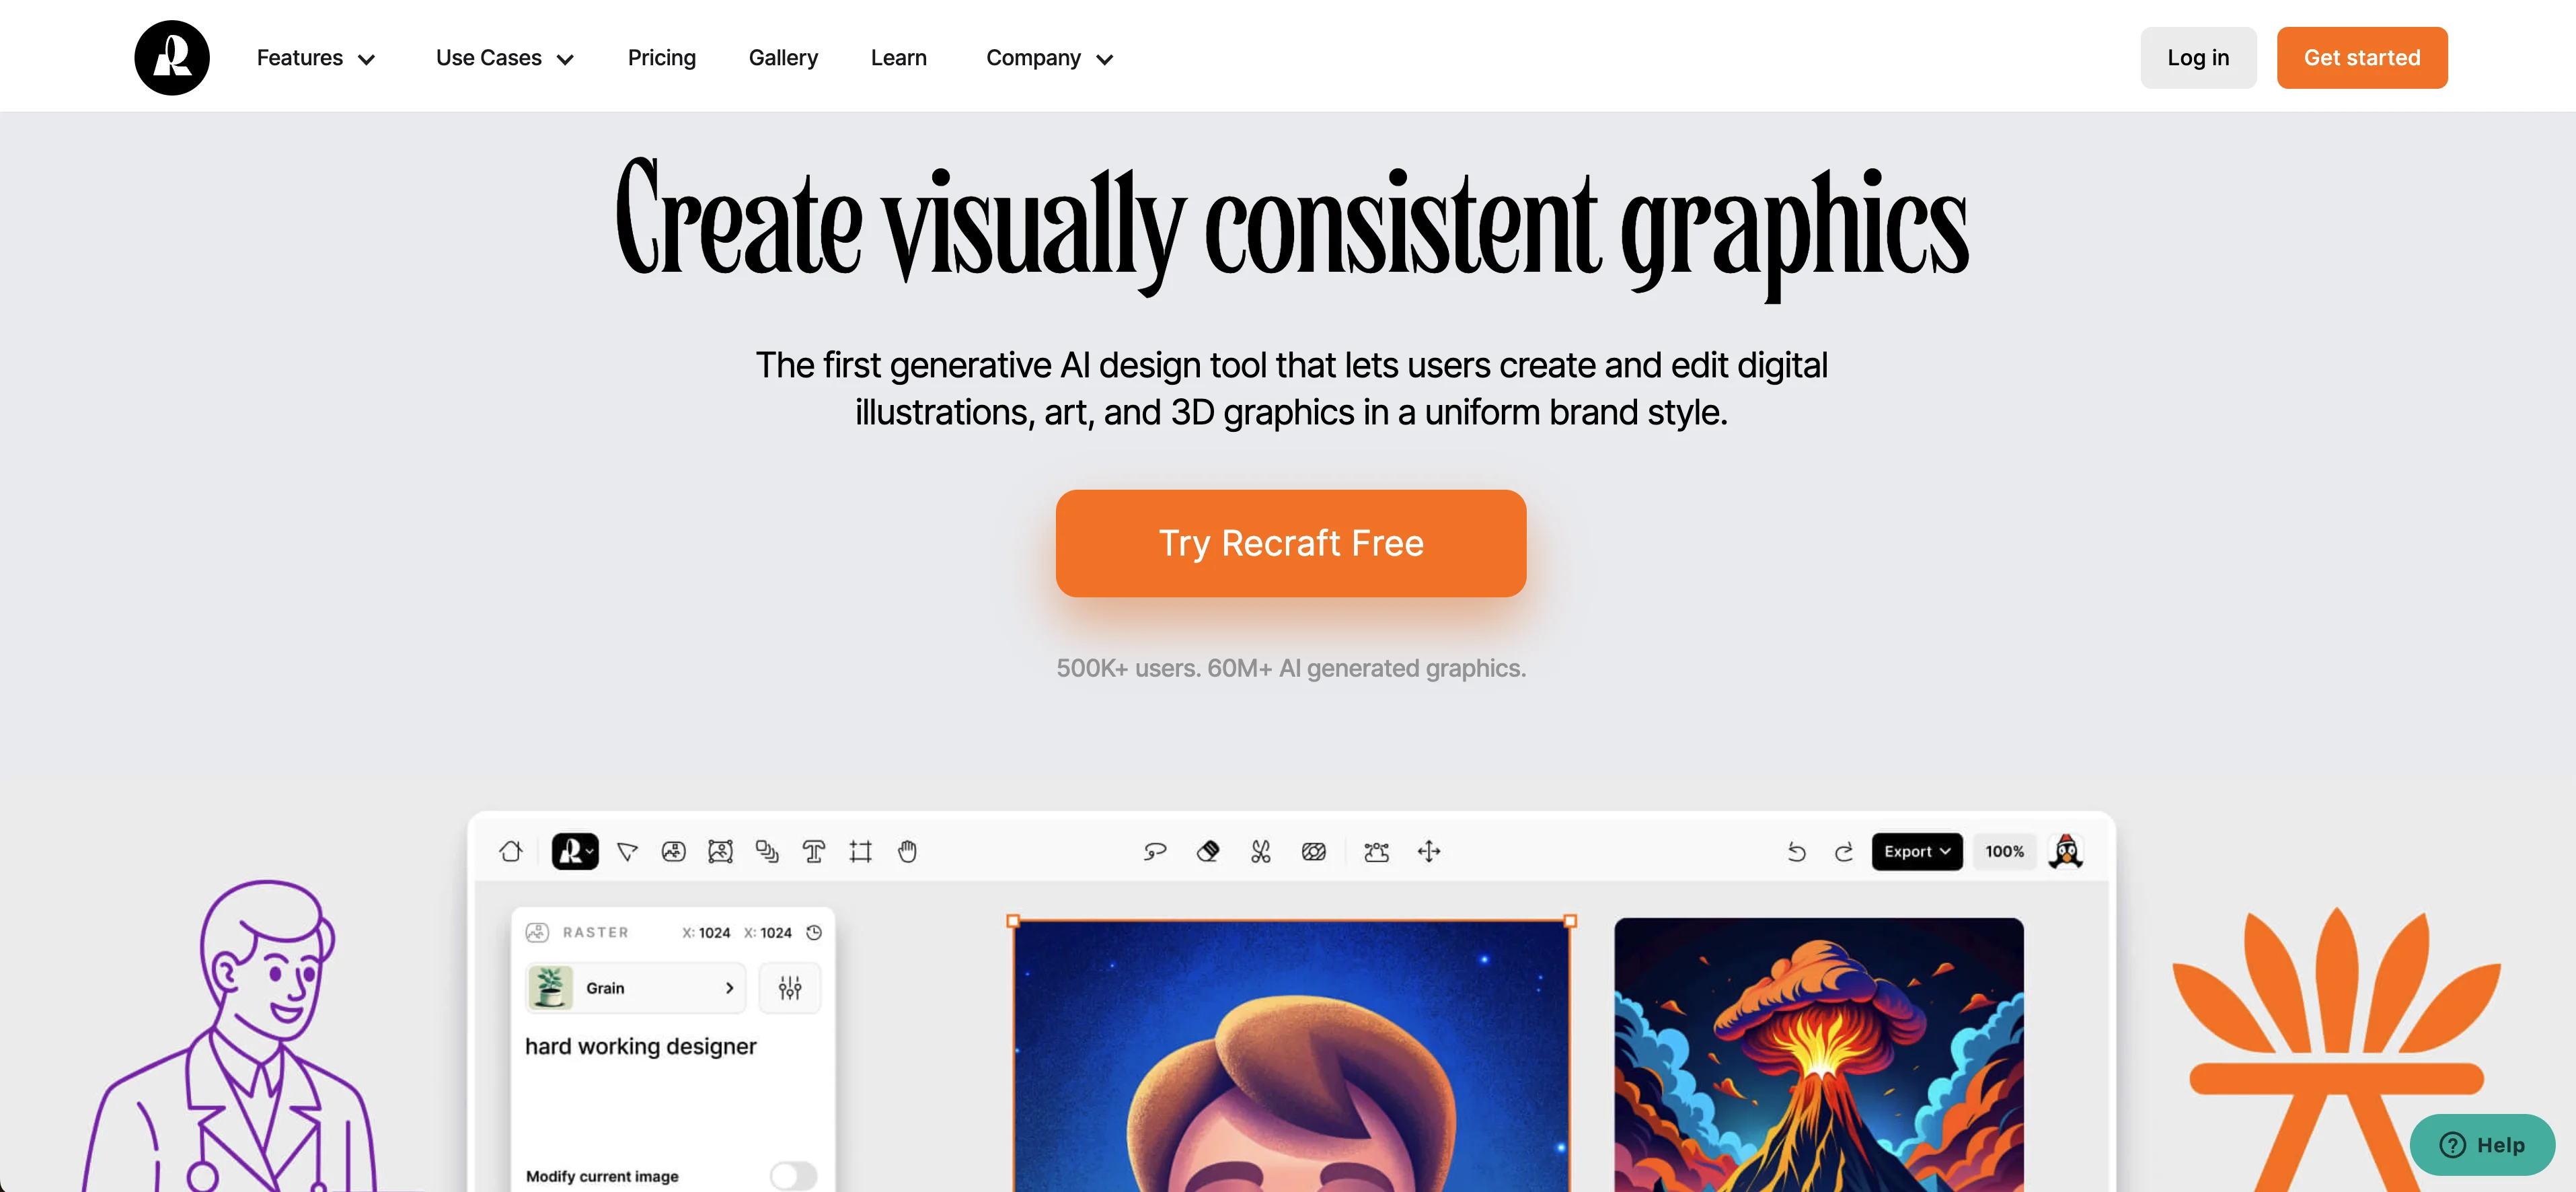
But this has gotten much easier with the help of Recraft, a generative AI design tool that lets you create and edit digital illustrations, art, and 3D graphics in a uniform brand style. It sets itself massively apart from tools like DALL-E, Midjourney and the like, by having a full suite of design tools available in tandem with its generative AI features.
In this tutorial, we will upload the Ben’s Bites logo and create custom icons in our brand colors from a reference image, a prompt, and a few style selections.
Steps we’ll follow in this tutorial:
- Create a color palette to match your brand colors
- Select an art style, add a prompt, and generate the vector image
- Edit your vector image
- Export your image
Step 1: Create a color palette to match your brand colors
To start, go to Recraft and create a free account.

Create a new project from the Project dashboard.
.webp)
Select “Vector image” from the options in the left-side window.
.webp)
From here, we’ll click on the color palette icon to create our color palette. Simply upload a reference image and Recraft will extract the colors and make a custom color palette. We’re going to upload the Ben’s Bites logo for this example.
.webp)
As you can see, it pulled out black, white, and pink as the layer colors, and red as the background color. You can edit and add colors from this screen manually as well.
.webp)
Step 2: Select an art style, add a prompt, and generate the vector image
Now that our colors are set, we can select an art style for our image. To do this, click on the “Vector Art” bubble. A window will appear with many art-style options.
.webp)
We’re going to create an icon, so we’ll click on the Icon tab and select the first option in this window.
.webp)
With the art style and colors set, all we have left to do is add our prompt and click the “Recraft” button to generate our image. We’re going to create a robot face icon.
.webp)
Once you generate your image, Recraft will present you with multiple options that you can use. We’re going to go with the first robot icon generated.
.webp)
Step 3: Edit the vector image
With our icon created, we can now edit it. The’ll start with the colors, swapping the pink color out for red. To do this, click the colors at the bottom of the editor window.
.webp)
Click on the “Swatches” tab and click on the pink color swatch to switch it to red.
.webp)
And voila! Just like that, our icon's main color has been updated from pink to red.
.webp)
Recraft also has an eraser tool that lets you highlight anything on your image to erase. To use the eraser tool, click the eraser icon at the top of the page.
.webp)
We’re going to remove the antenna at the top of the robot face, so we’ll draw a circle around that area and click the “Delete area” button.
.webp)
And just like that, the antenna area has been removed. Recraft will save your original generation too, so you can toggle between the original or your current edited version.
.webp)
Step 4: Export your image
Once you’re happy with all of your edits, you can click the “Export” button at the top right of the page to export your image in various file formats.
.webp)
Now you know how to use Recraft to create custom icons, images, and illustrations for your future projects. There’s a lot more this tool can do, so have fun exploring all the art styles and editing options in the platform.
This tutorial was created by Garrett.