Create custom video captions effortlessly
Create accurate and customized captions for your videos.
2024-11-13
In this tutorial, you'll learn how to use Captions AI to:
- Upload and process a video for auto-captioning
- Customize caption styles to match your brand
- Fine-tune caption timing and accuracy
- Export your captioned video in the perfect format for any platform
If you’re looking to significantly reduce the time it takes to create captions for videos, this tutorial is for you.
Let's dive in.
Step 1: Upload and process your video
Begin by signing up for a Captions.ai account and accessing the dashboard. This is where our captioning journey starts.
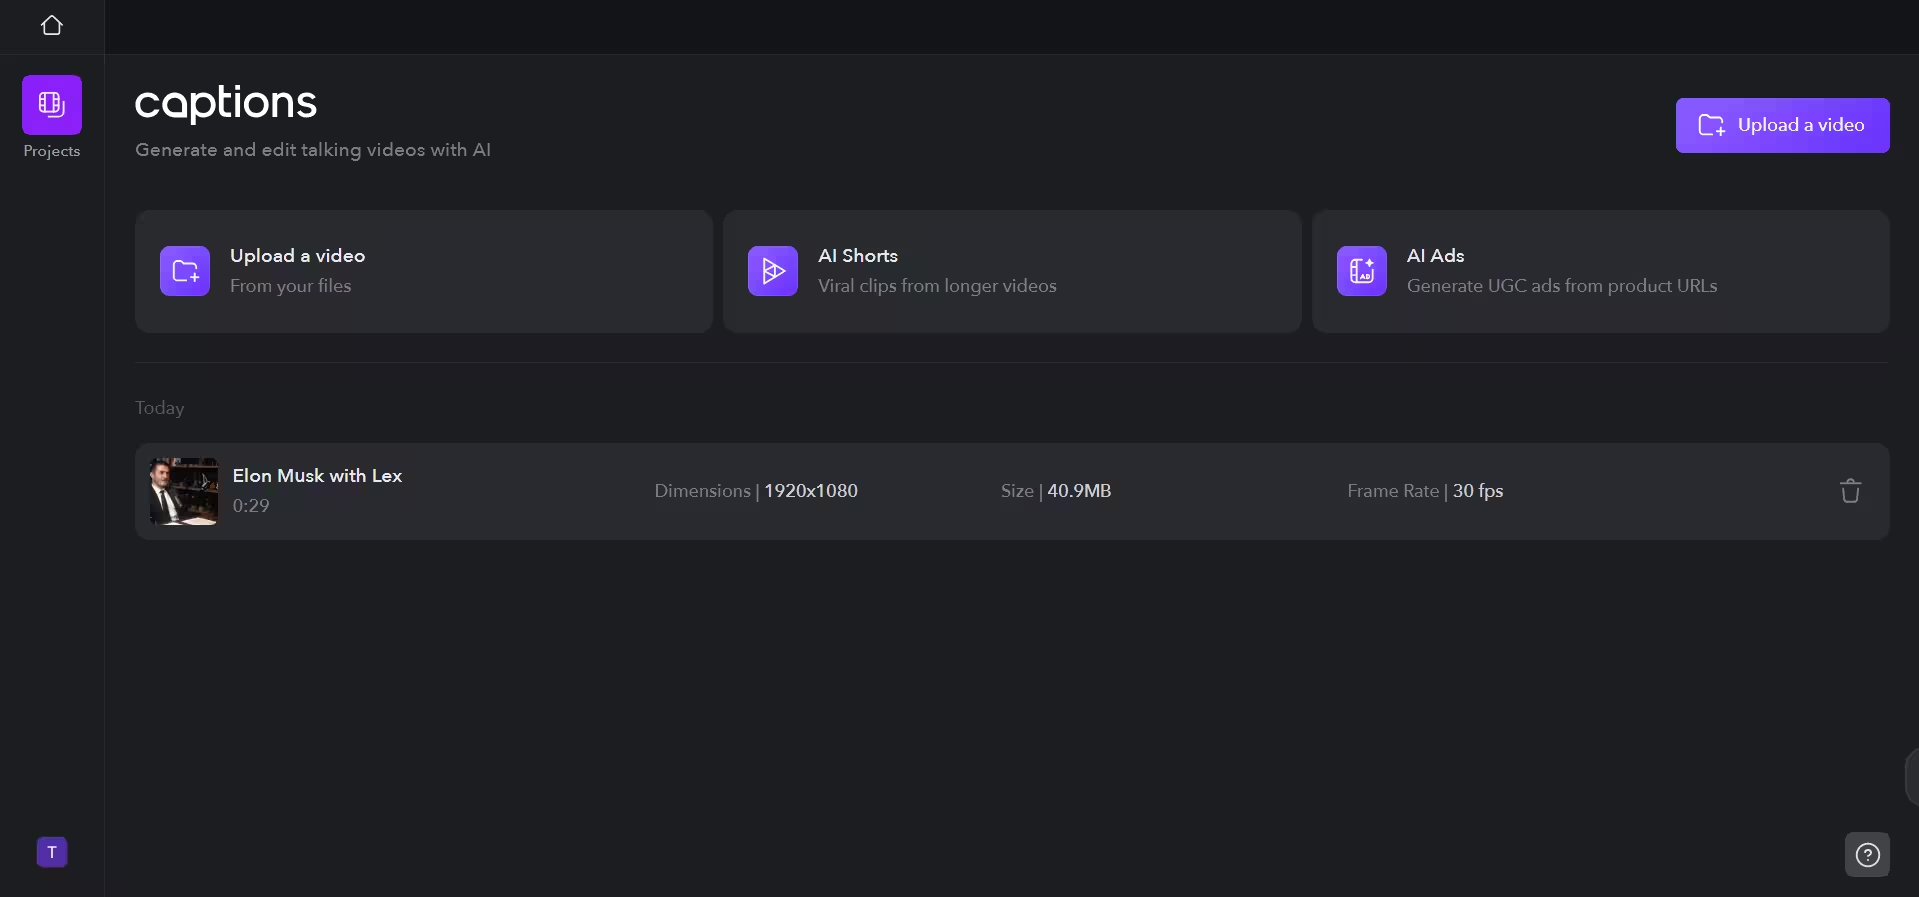
After signing up and getting on to the dashboard, click "Upload a video" button and select your video file.

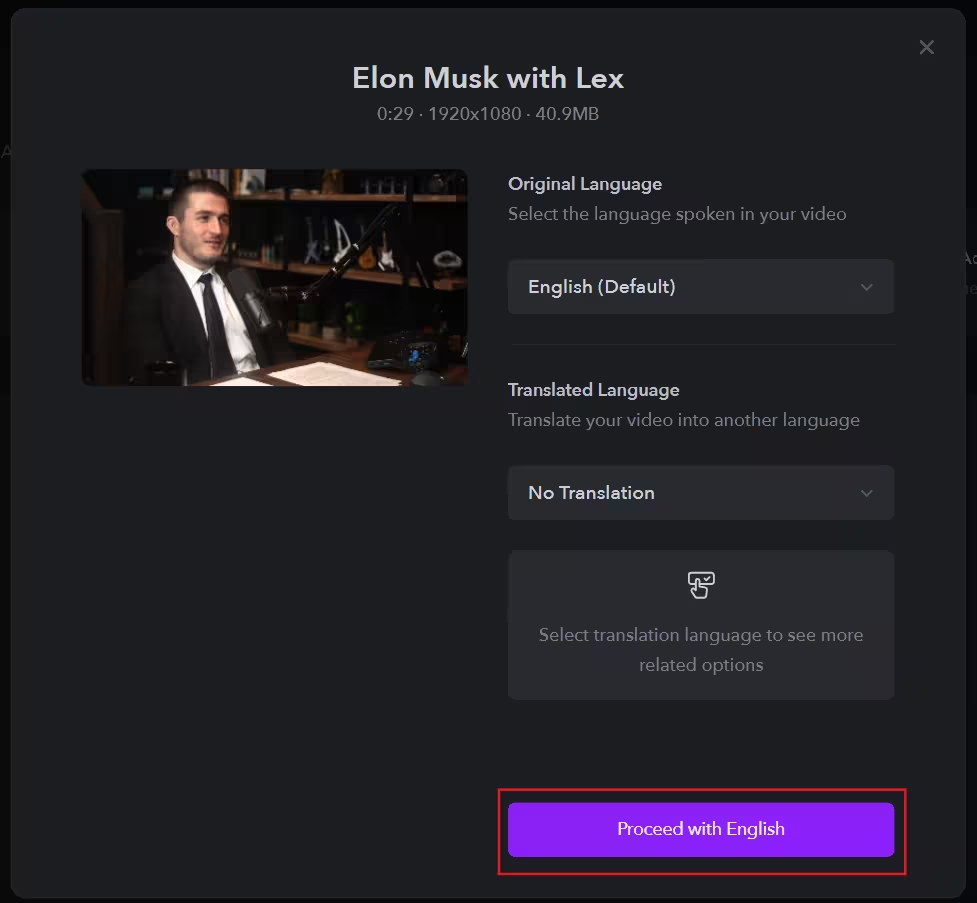
Specify the original language of the video. If desired, select a language for translation, or leave it as "No translation". Click "Proceed" to start the auto-captioning process.
The processing time depends on your video length. Once complete, click on the video file project to enter the editor interface.
Step 2: Customize your captions
Now it's time to make your captions visually appealing and on-brand.
In the left sidebar, navigate to the Templates tab. Explore the pre-made caption styles, hovering over each to preview. Select a template that complements your content and brand.
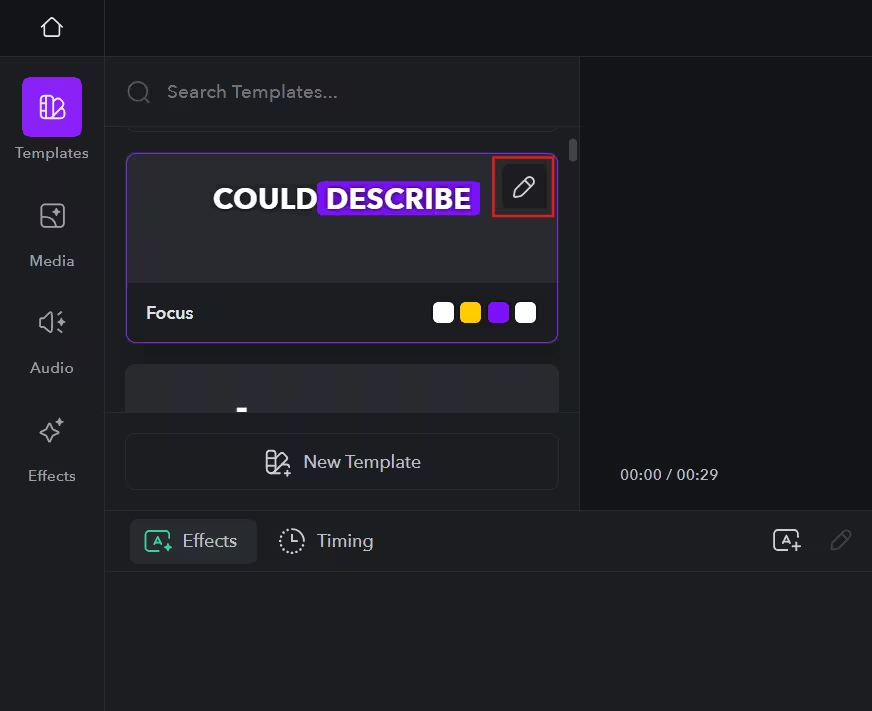
Click the edit (pencil) button in the top right corner of your chosen template.
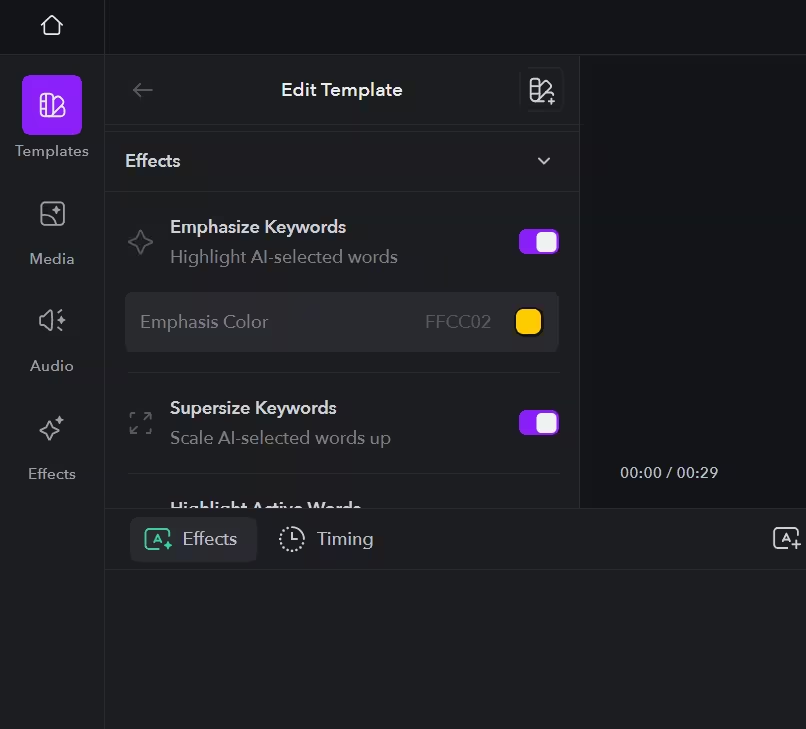
Now you can customize every aspect of your captions:
- Adjust font styles, text colors, and sizes
- Modify stroke color and add shadow effects
- Choose to hide punctuation for a cleaner look
- Set colors for emphasized keywords
- Try the supersize option for maximum impact on key words
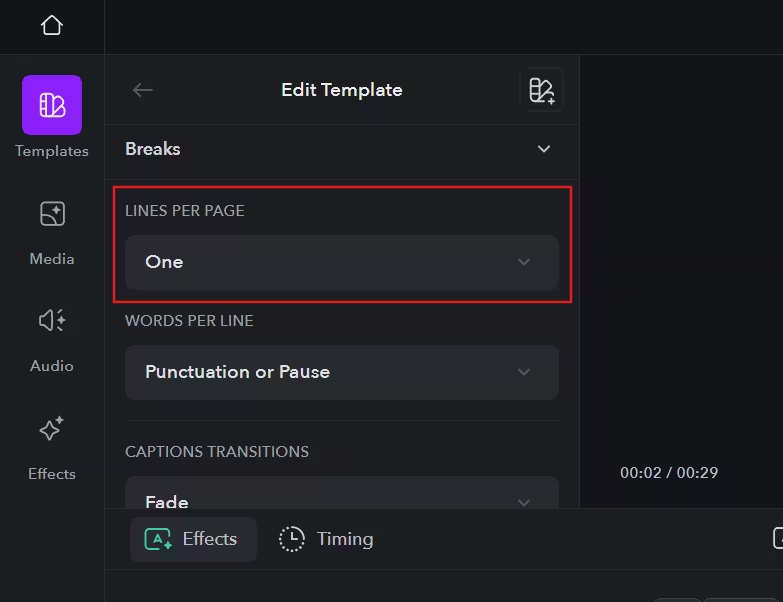
In the template settings, you can also adjust the number of lines per caption. Setting it to one line creates a more dynamic feel, while more lines allow for longer-lasting captions.
Step 4: Fine-tune your captions
With your captions looking great, it's time to perfect their timing and accuracy.
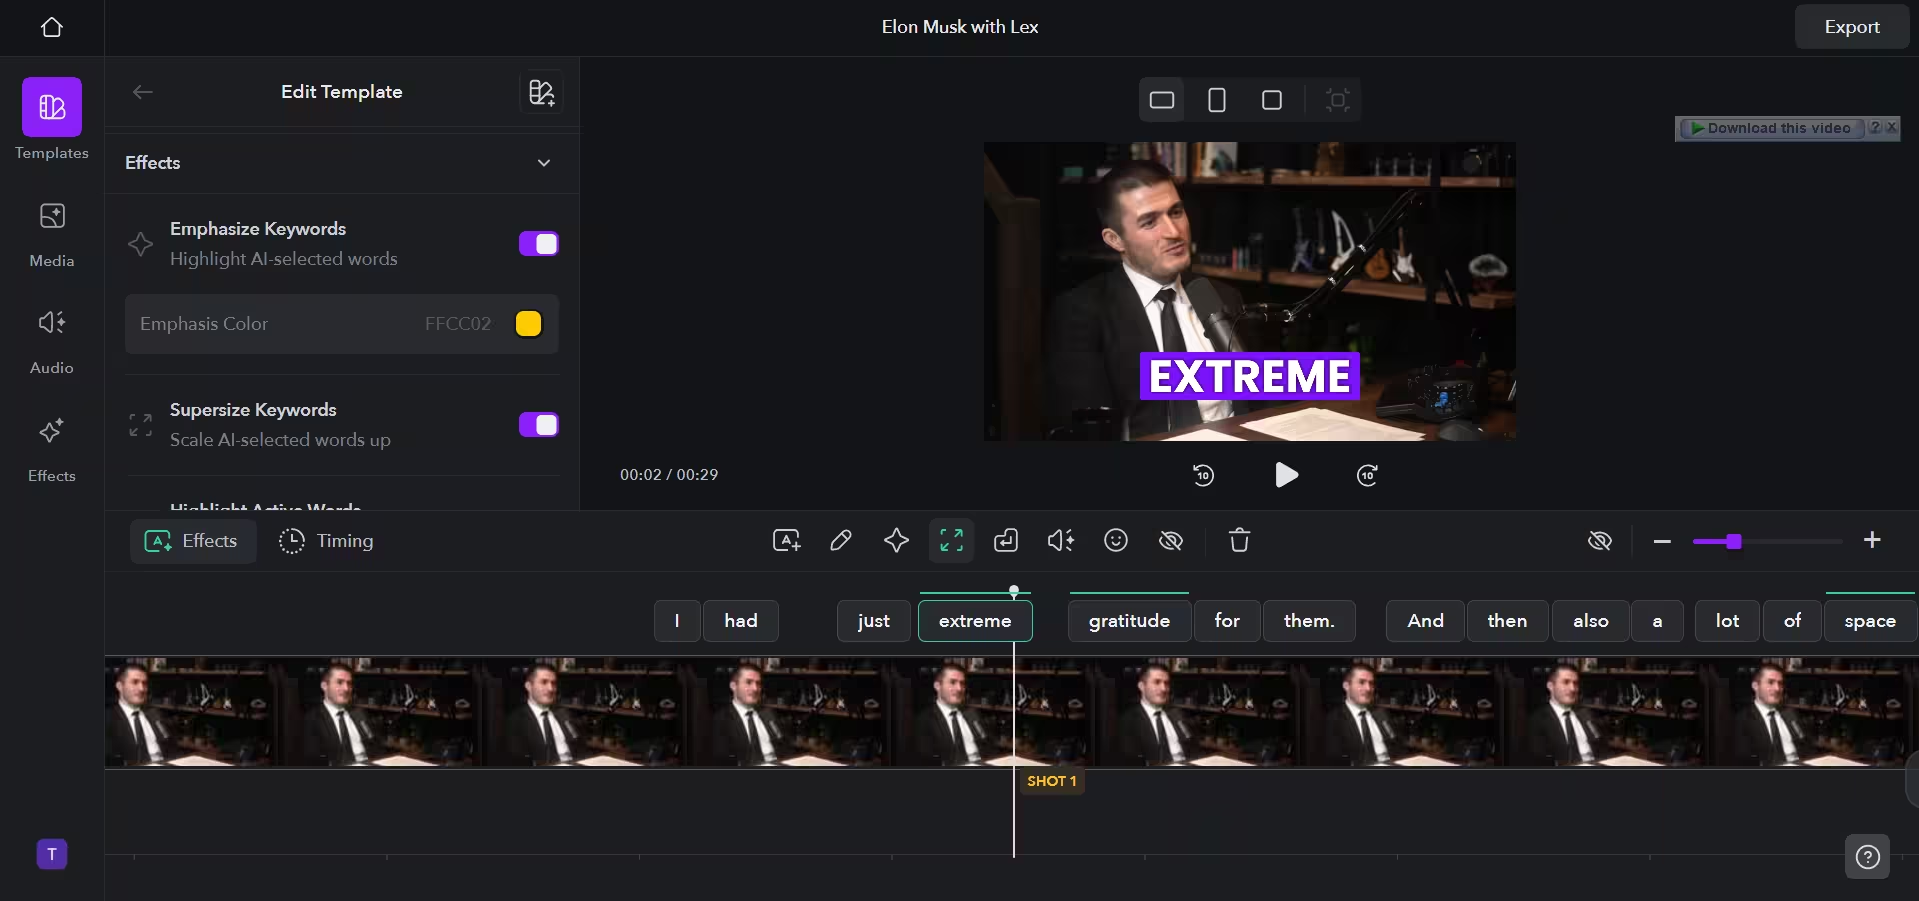
In the timeline at the bottom of the editor, locate the transcript for your captions. Review the auto-generated text for accuracy and make any necessary corrections.
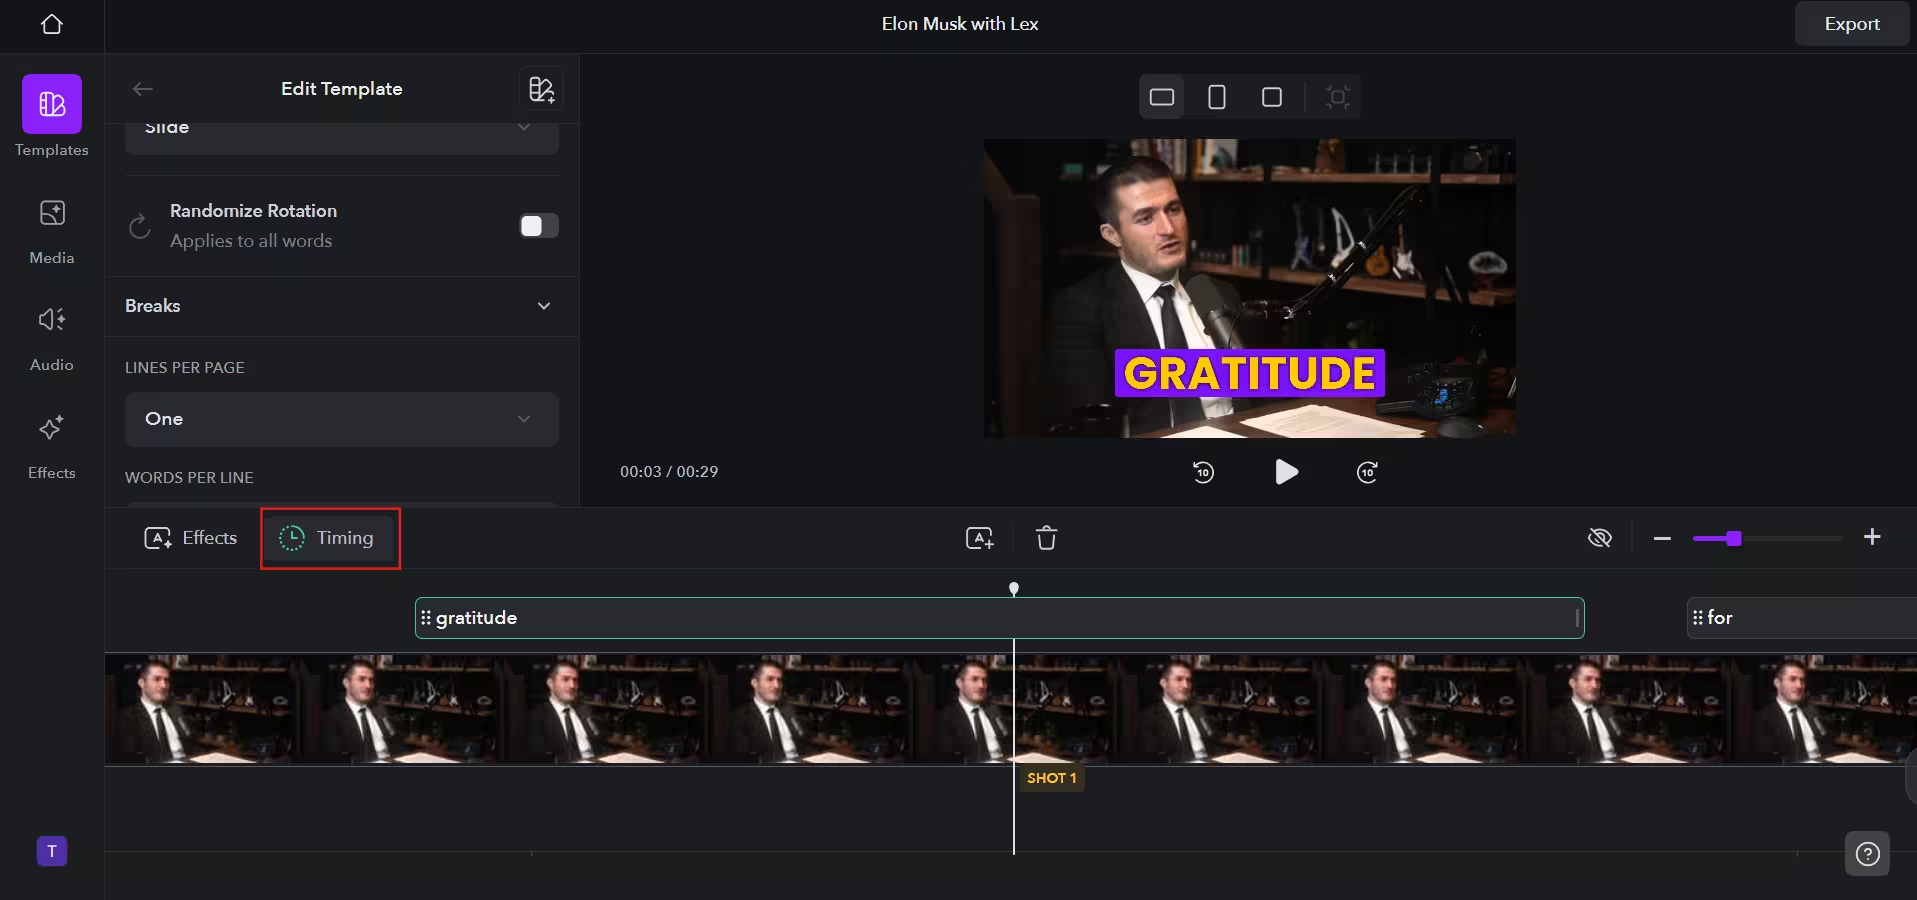
Toggle to the timing tab in the timeline. Adjust how long each caption appears on screen as needed.
Step 4: Export your masterpiece
We're almost done! Before exporting, make sure your video is in the ideal format for your target platform.
Click on the aspect ratio option above the video preview box. Choose the appropriate dimensions.

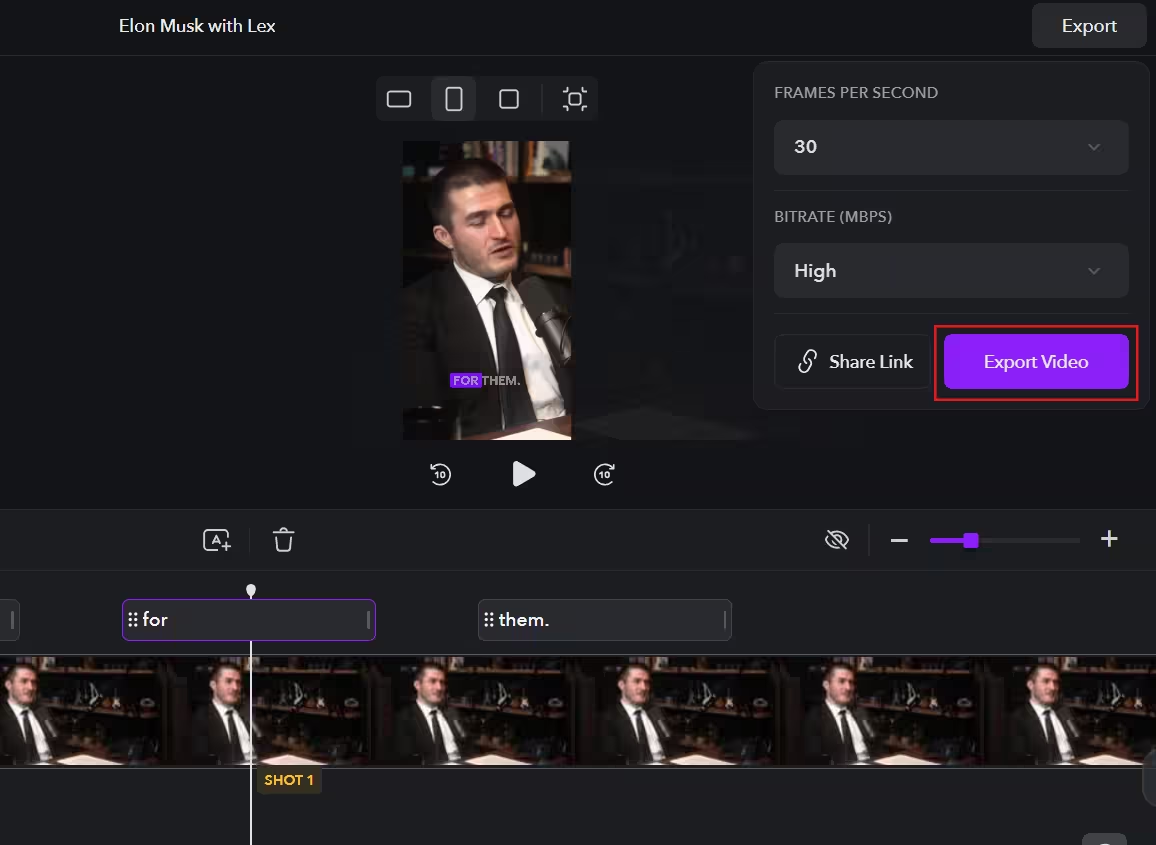
Click the "Export" button in the top right corner. Fine-tune your export settings, including fps and bitrate. Hit the export button to generate your final captioned video.
This tutorial was created by Tanmay.