Create product images in bulk for your e-commerce store
Learn how to use AI photo editing tool Photoroom to spin up e-commerce product images.
2024-11-13
Creating product images for your e-commerce store can be a manual and laborious process, especially if you want to create high-quality, stylized product images with consistent backgrounds. This is even tougher if you don’t have access to a professional studio. But with Photoroom’s AI backgrounds, image templates, and bulk processing features, you can drastically speed up this process on a much smaller budget.
In this tutorial, we’ll use Photoroom to auto-remove product photo backgrounds, generate a consistent image background, turn these settings into a template, and then bulk-process similar product photos to create consistent backgrounds in minutes for your e-commerce store. With the ability to process 50 photos at a time with Photoroom, you can go from a product photo to selling products faster than ever.
Steps we’ll follow in this tutorial:
- Auto-remove product background with AI
- Auto-generate product background with AI
- Turn photo settings into a template
- Bulk process your product photos
Step 1: Auto-remove product background with AI
To get started, go to Photoroom and create an account. Note, that for this tutorial, you’ll need a Pro account, but you can start with a 7-day free trial.

The first thing we want to do is use a single product to create a photo style for all of the product photos we will batch-process with Photoroom. To do this, we’ll start by uploading a single product photo. Click the “Select a photo” button on the Create page in Photoroom to do this.

In this tutorial, we’ll be working with shoe images. When you upload your photo, you’ll notice that Photoroom automatically separates the product image from the background, creating separate layers for each of these objects. It will also update the background to a white color. To change the background, you can click on the background layer in the right-side panel.

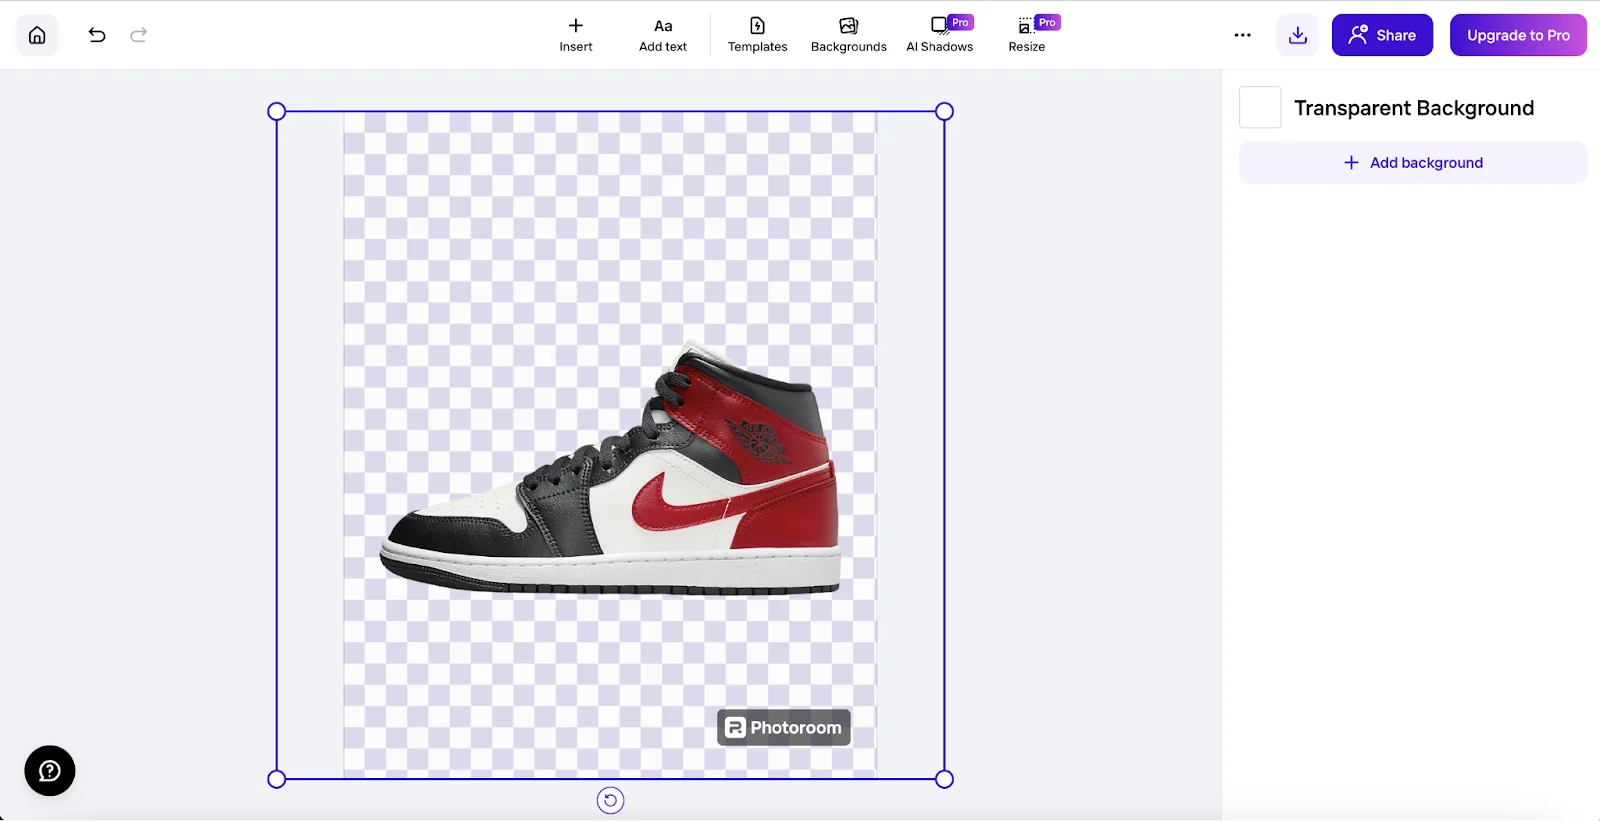
We’re going to remove the background. To do this, click the “Erase” button.

This will update the photo to have a transparent background.
Step 2: Auto-generate backgrounds with AI
Now that the background is removed, we can add an AI background to our product photo. To do this, click the Backgrounds icon on the top of the screen and select AI Backgrounds.

Photoroom will provide a list of pre-set themes in the right-side window, including location backgrounds like Beach, Water, Mountains, and more. You can select one of these themes to see a range of stylistic options within that theme. We’re going to select “Concrete countertop.”

Within the theme, you’ll see four options that you can select from. We’ll go with the first option in the list. Alternatively, if you don’t like any of the options, you can generate four more variants within the theme by clicking the “Generate 4 more” button.

When you select an option, your photo will update with the new AI-generated background.

You can also create your own background or edit the existing theme variant from a prompt. To do this, click the “Create a background” button in the right-side panel.

In this window, click on the Manual tab. In this tab, Photoroom will expose the prompt and negative prompt that you can edit or tweak if you want to change the AI-generated background. We’re going to leave the background as is without editing the prompt.

Step 3: Turn photo settings into a template
Now that we have our background set, we can turn this photo design into a template. The first thing we want to do is set the product object as a replaceable object in the template. To do this, click back out of the background layer and click into the object layer in the right-side window, for us this is our “Shoe” layer.

At the top of the resulting window is a “Replaceable object” setting, toggle this on. This will let Photoroom know that this object is an element of your design that should be automatically replaced by an image when a template is applied.

Once that is set, we can create the template by clicking the three dots icon in the top right corner of the screen and selecting the “Turn into Template” option.

A pop-up will appear where you can name and create your template.

Once that’s done, you can navigate back to the Photoroom dashboard, click on the Templates option in the left-side navigation and you should see your newly created template.

Step 4: Bulk process your products
Now that your product template is created, we can bulk-process product images using that template. To do this, click on the “Batch” button on the left-side navigation and click on the “Select up to 50 images” button.

We’ll select a few product photos from our computer.

Once the images load in Photoroom, you’ll see that the backgrounds have been removed and replaced with a white background color, just like the single photo editing experience.

Now that the images are loaded, we can select our previously made template and apply it to all of our product photos. To do this, click the “Select template” button and select your recently created template.

And voila! All of your product photos will be updated with the newly created AI-generated background. You can click the “Download your images” button to bulk download all of your updated product images.

This tutorial was created by Garrett.