Create quizzes and automate grading
How to use AI to generative interactive quizzes from course content and automate the grading process.
2024-12-05
Welcome to the fourth lesson in our AI for Educators course!
In this lesson, you’ll learn how to create quiz content from course materials, how to transform that quiz content into an interactive, digital quiz, and finally, how to set up a semi-automated quiz grading workflow. We’ll be working with ChatGPT and Typeform in this tutorial; however, you can use your favorite quiz-making tool of choice.
Steps we’ll follow in this tutorial:
- Create a quiz outline from the lesson content
- Auto-create a digital quiz form
- Edit and publish your quiz
- Grade quiz submissions
Tools needed:
Let’s get started!
Create a quiz outline from the lesson content
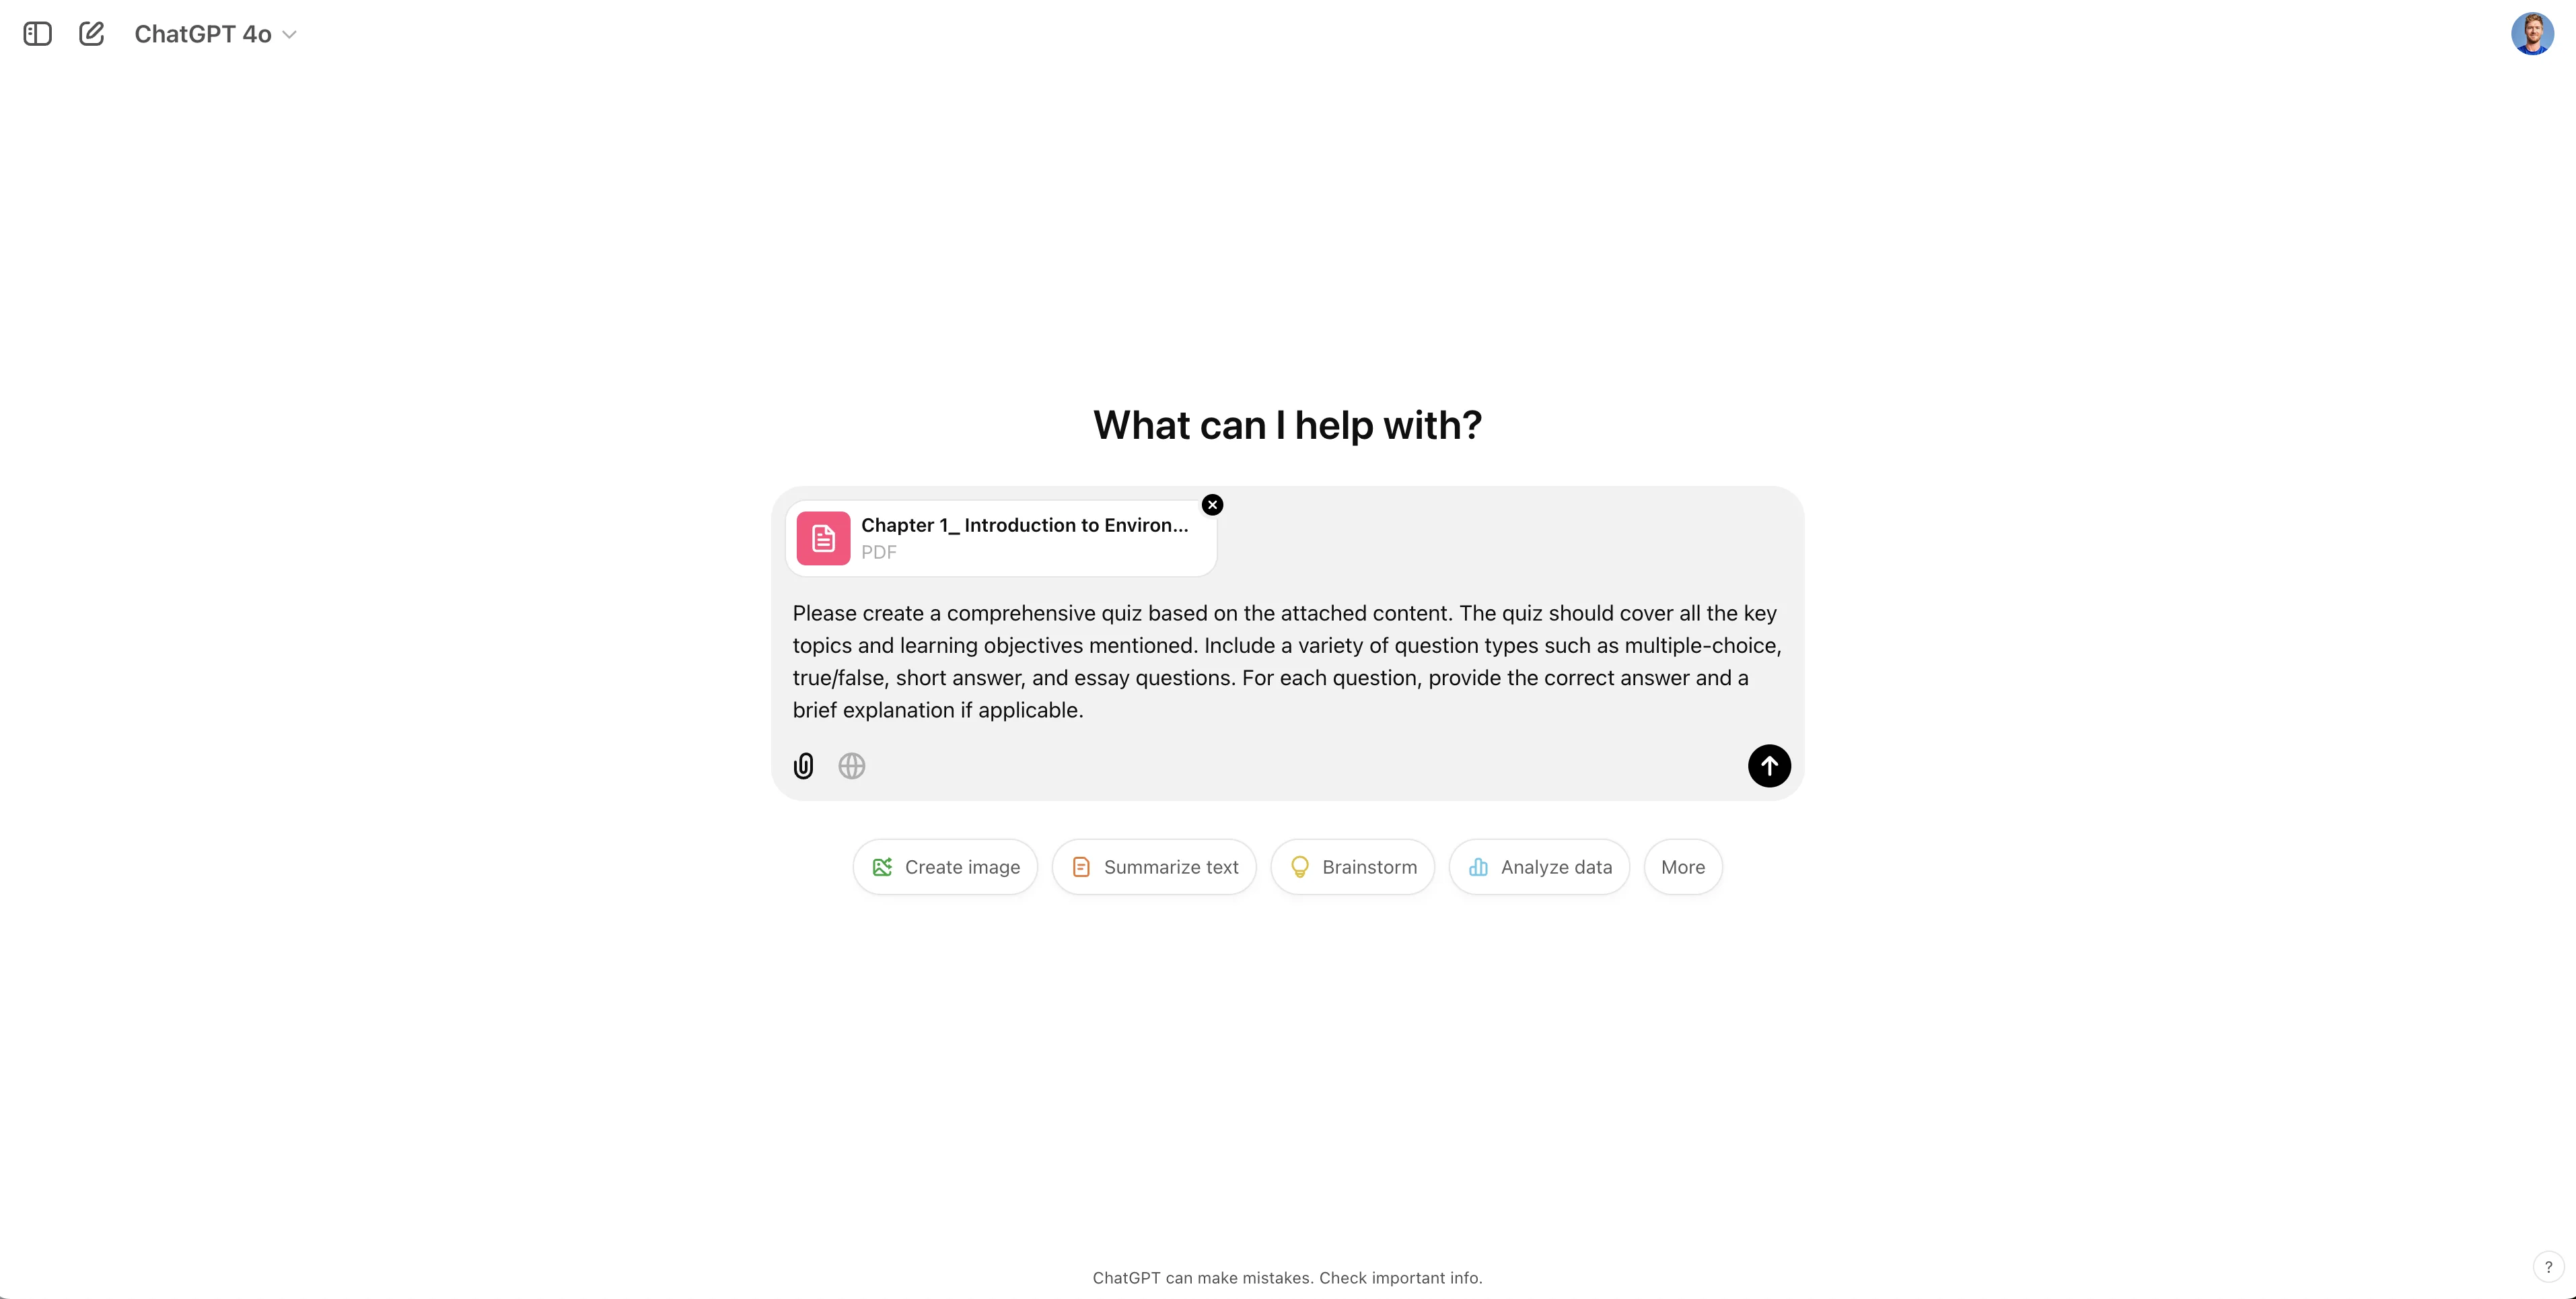
To get started, we’re going to create a new thread with ChatGPT and prompt it to create a quiz based on an attached piece of content. This attachment could be your lesson plan or presentation from our earlier tutorials in this course, chapters from a textbook, or another source file. In this prompt, we’re not only asking for the quiz questions but the answers and explanations as well.
Sample Prompt:
Please create a comprehensive quiz based on the attached content. The quiz should cover all the key topics and learning objectives mentioned. Include a variety of question types such as multiple-choice, true/false, short answer, and essay questions. For each question, provide the correct answer and a brief explanation if applicable.
[attach lesson content]
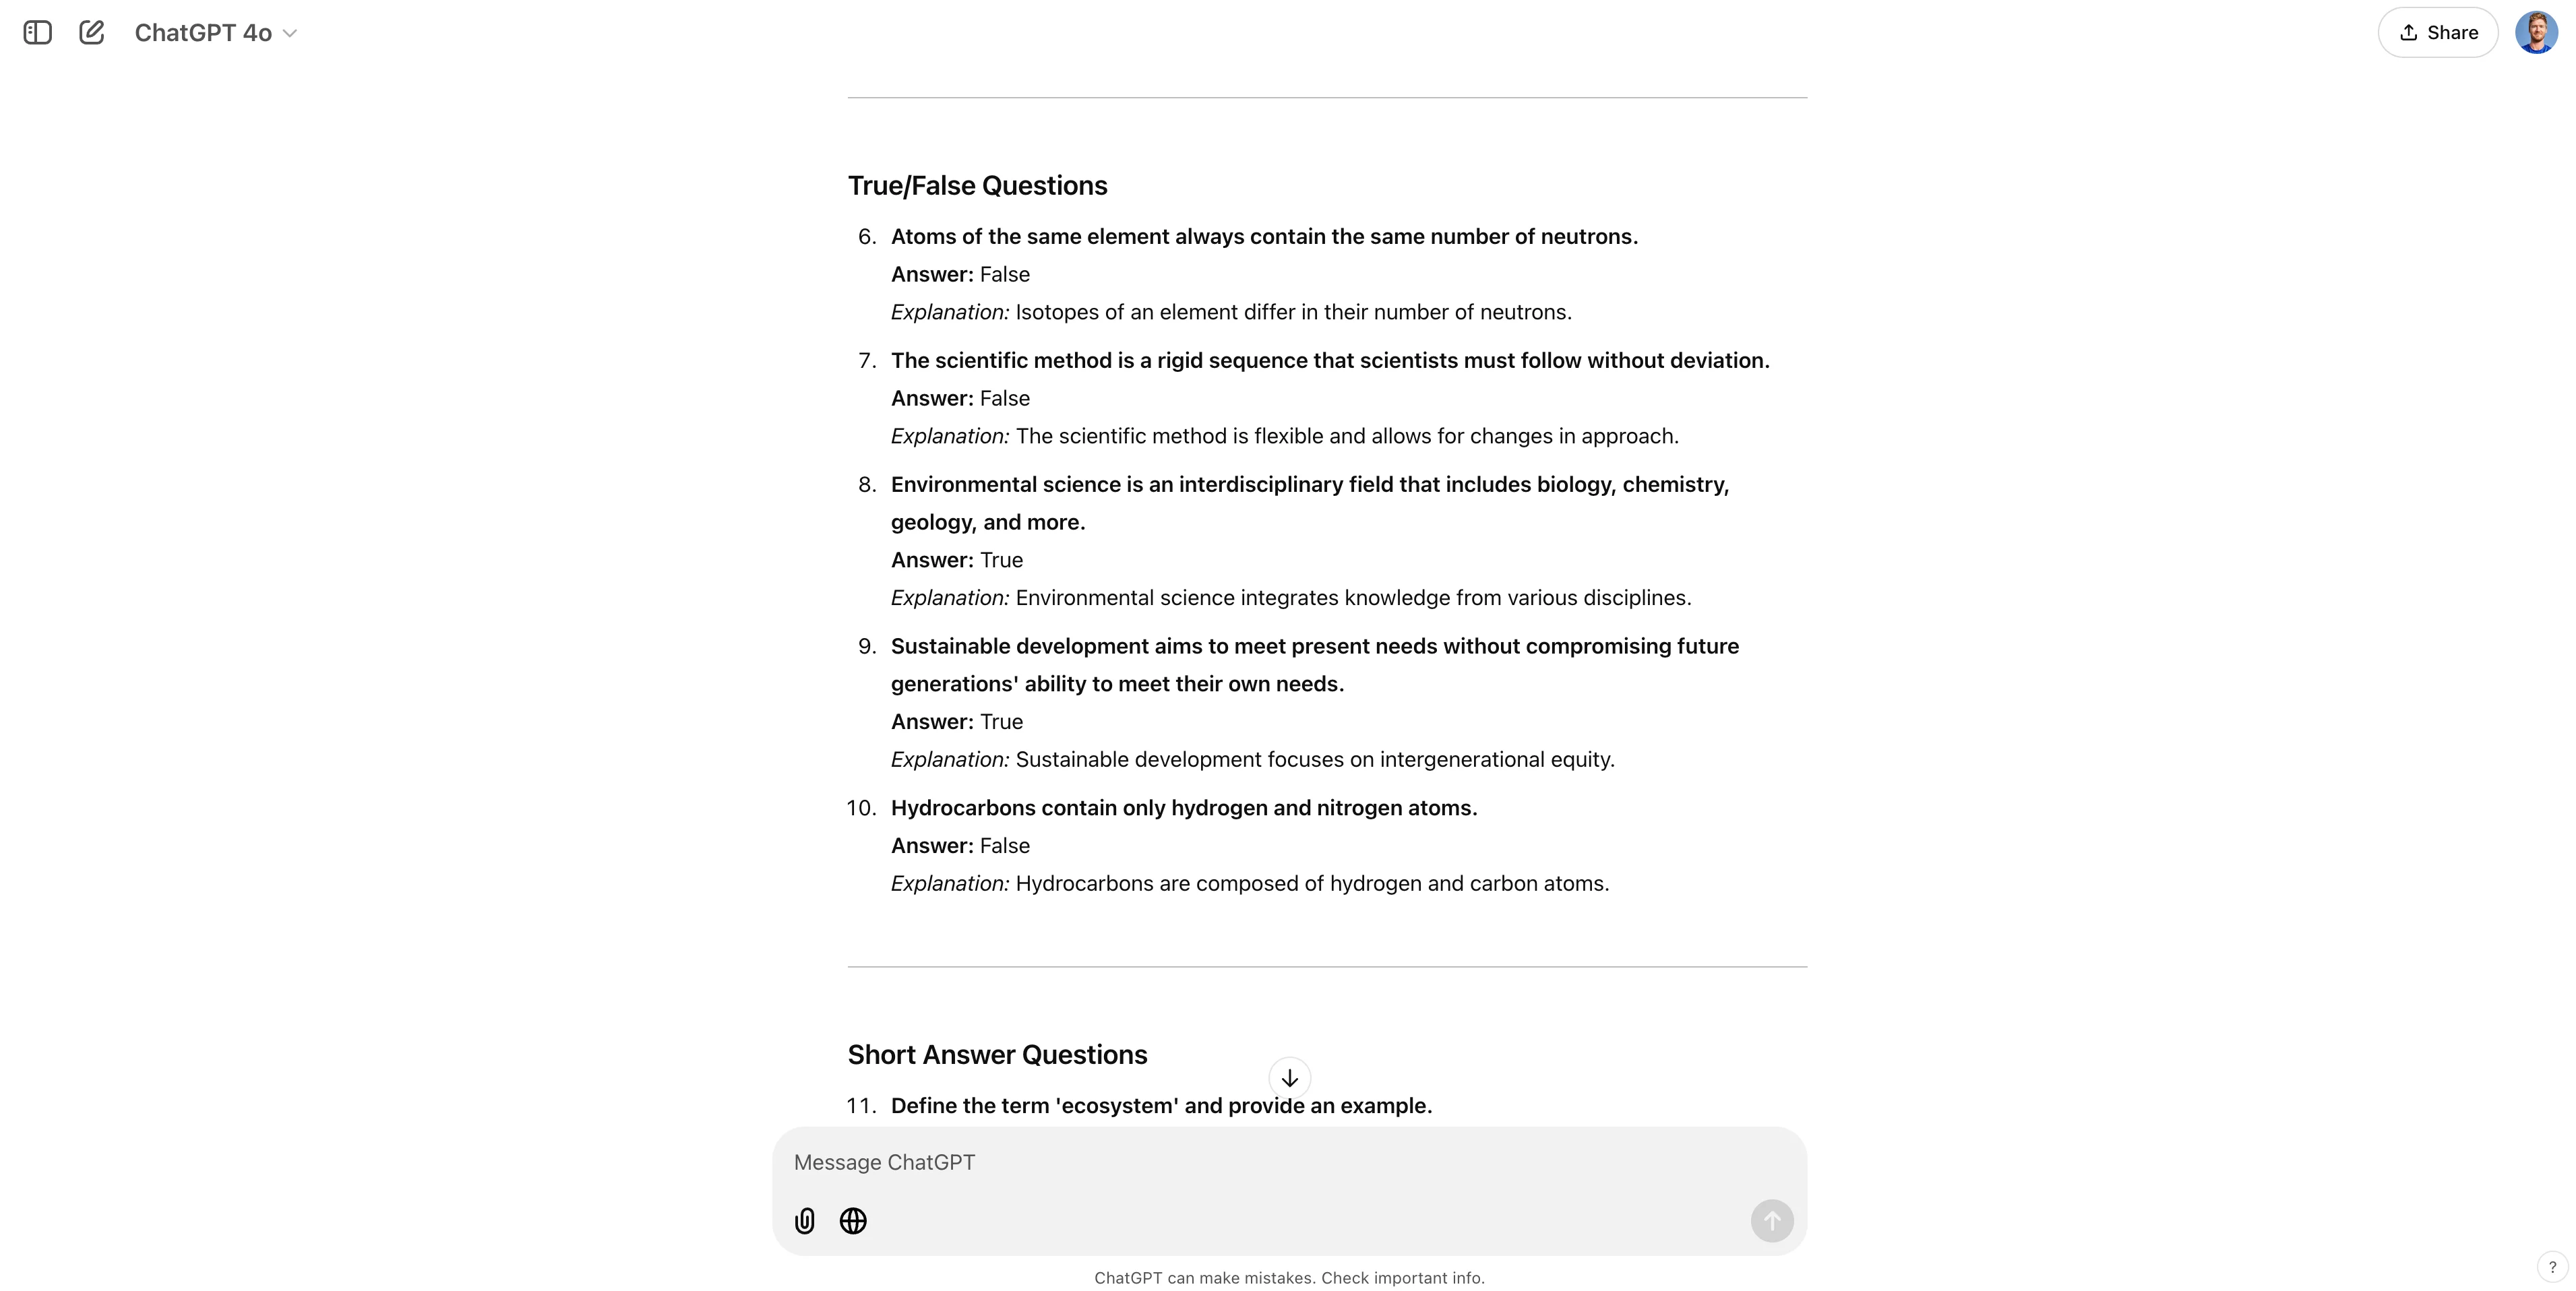
ChatGPT will generate a comprehensive quiz with all the parameters requested in the prompt.
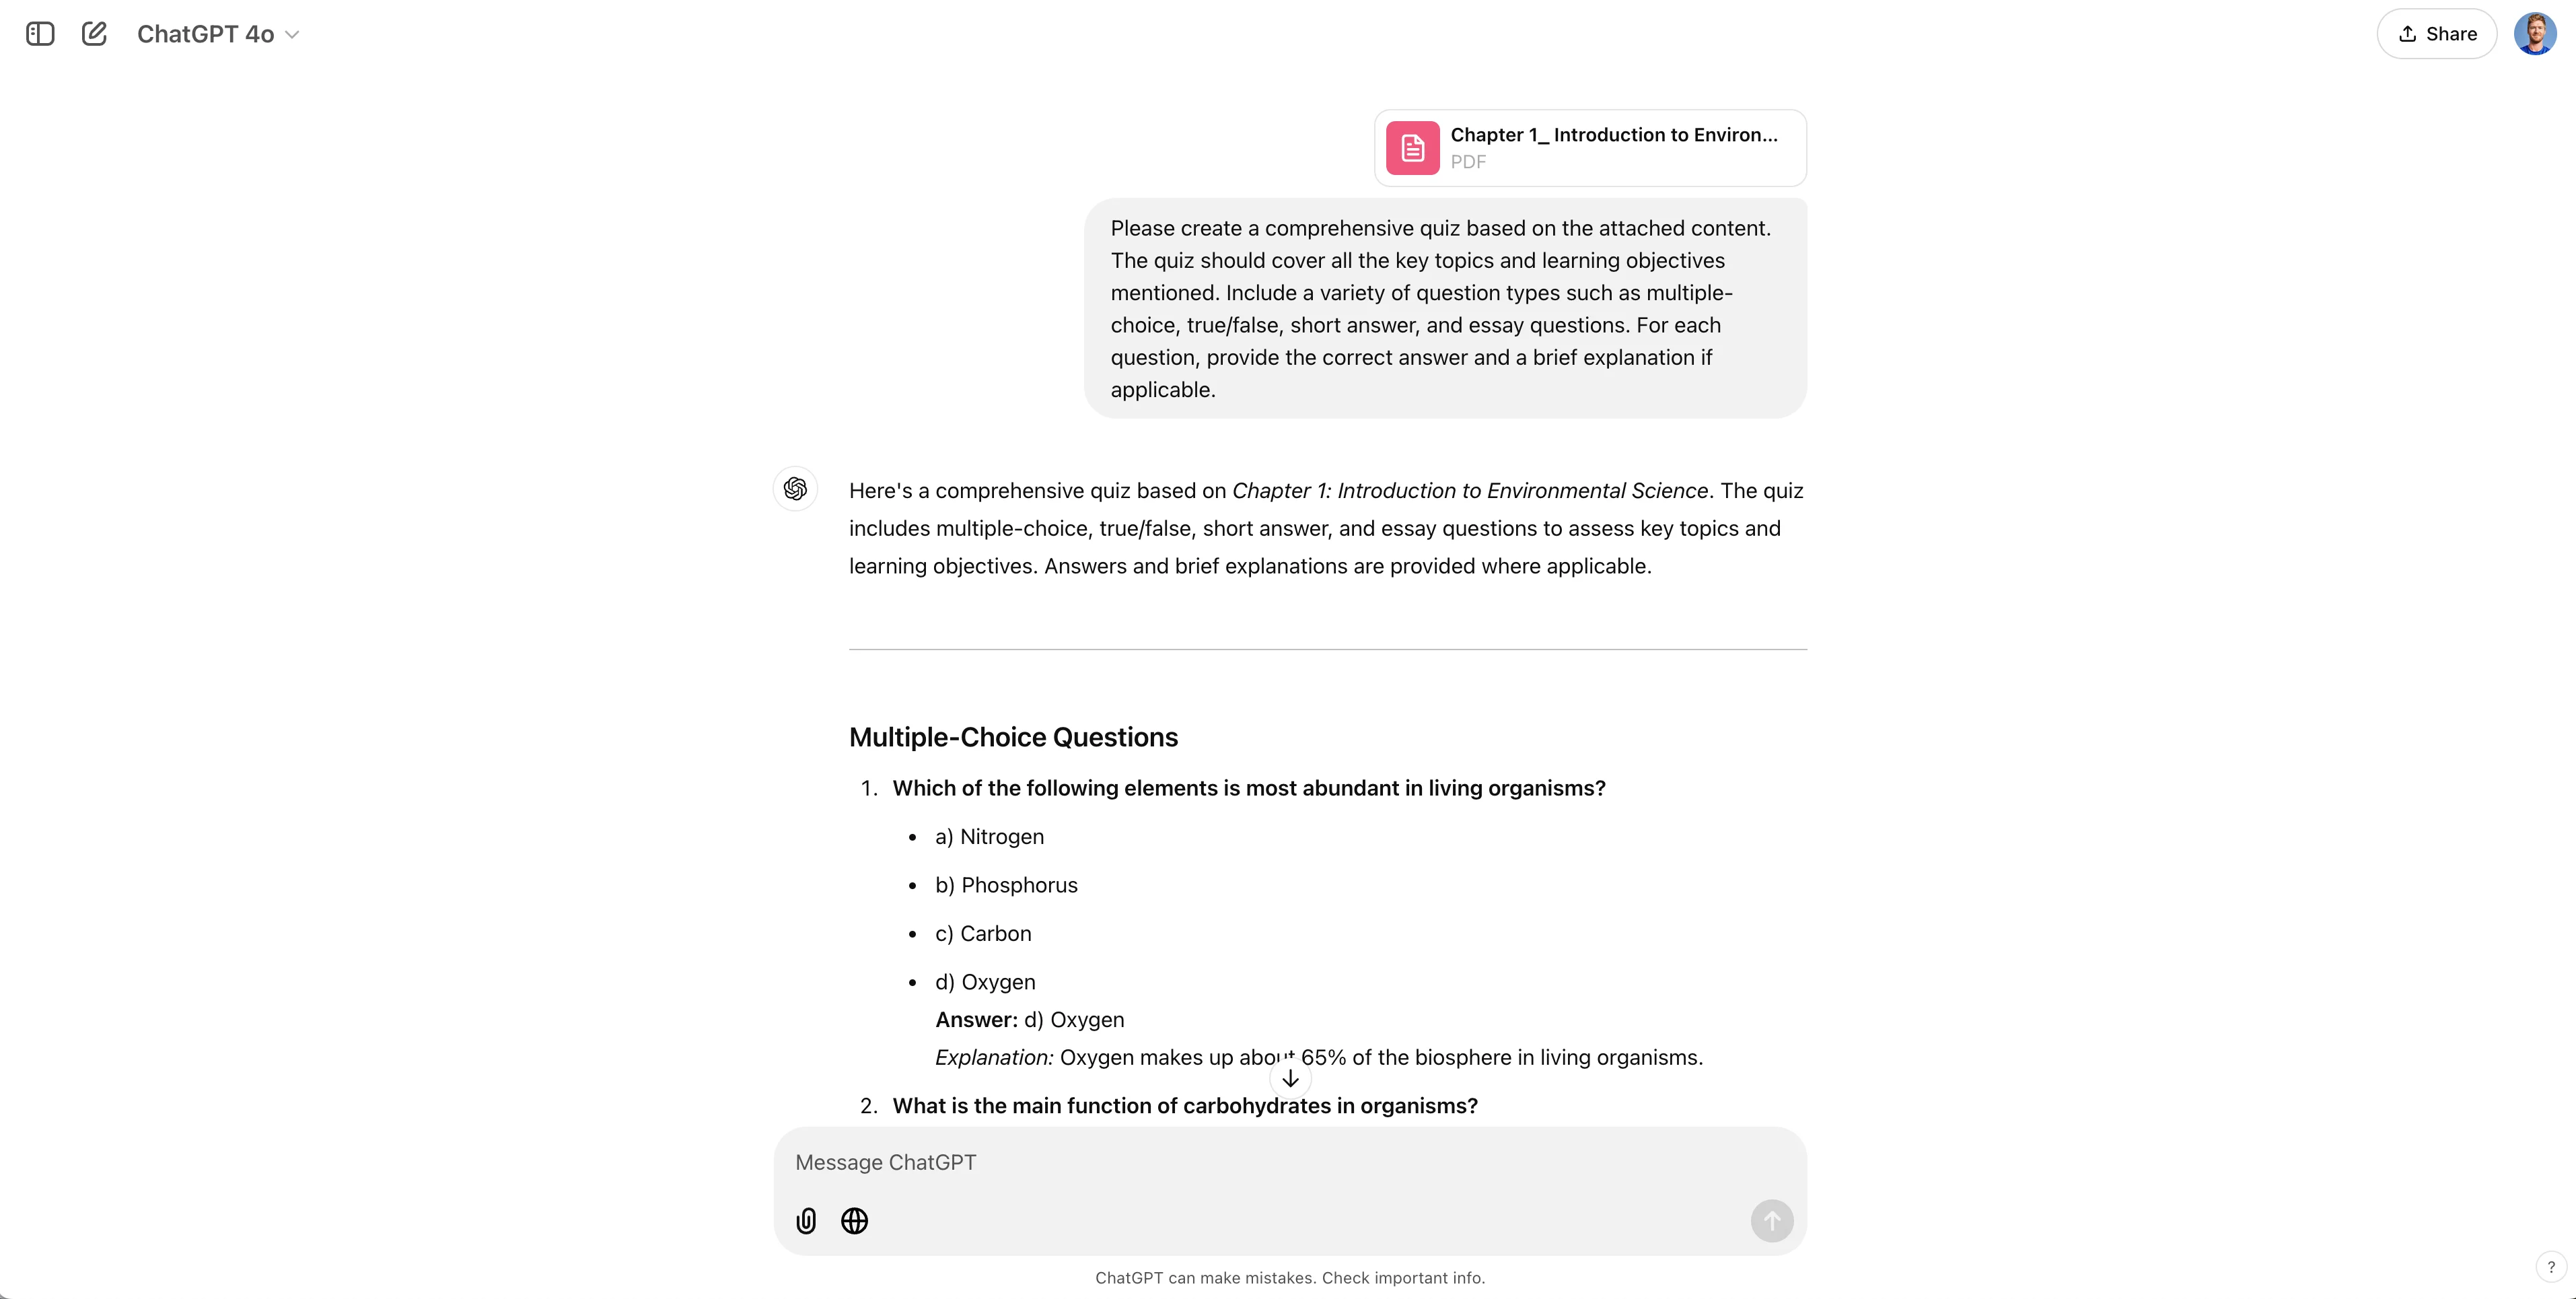
Scroll down to review all the sections. You can follow up with revision requests to the quiz, asking for questions to be modified, removed, or added.
Auto-create a digital quiz form
Once you’re happy with your quiz outline, we can have ChatGPT create a sanitized version with just the questions that we can use for creating our digital quiz form. To do this, we’ll prompt ChatGPT to provide just the questions and multiple-choice options for our quiz.
Sample Prompt:
I am going to create an online form with these questions and answers. Provide just the questions and multiple choice options for this quiz.
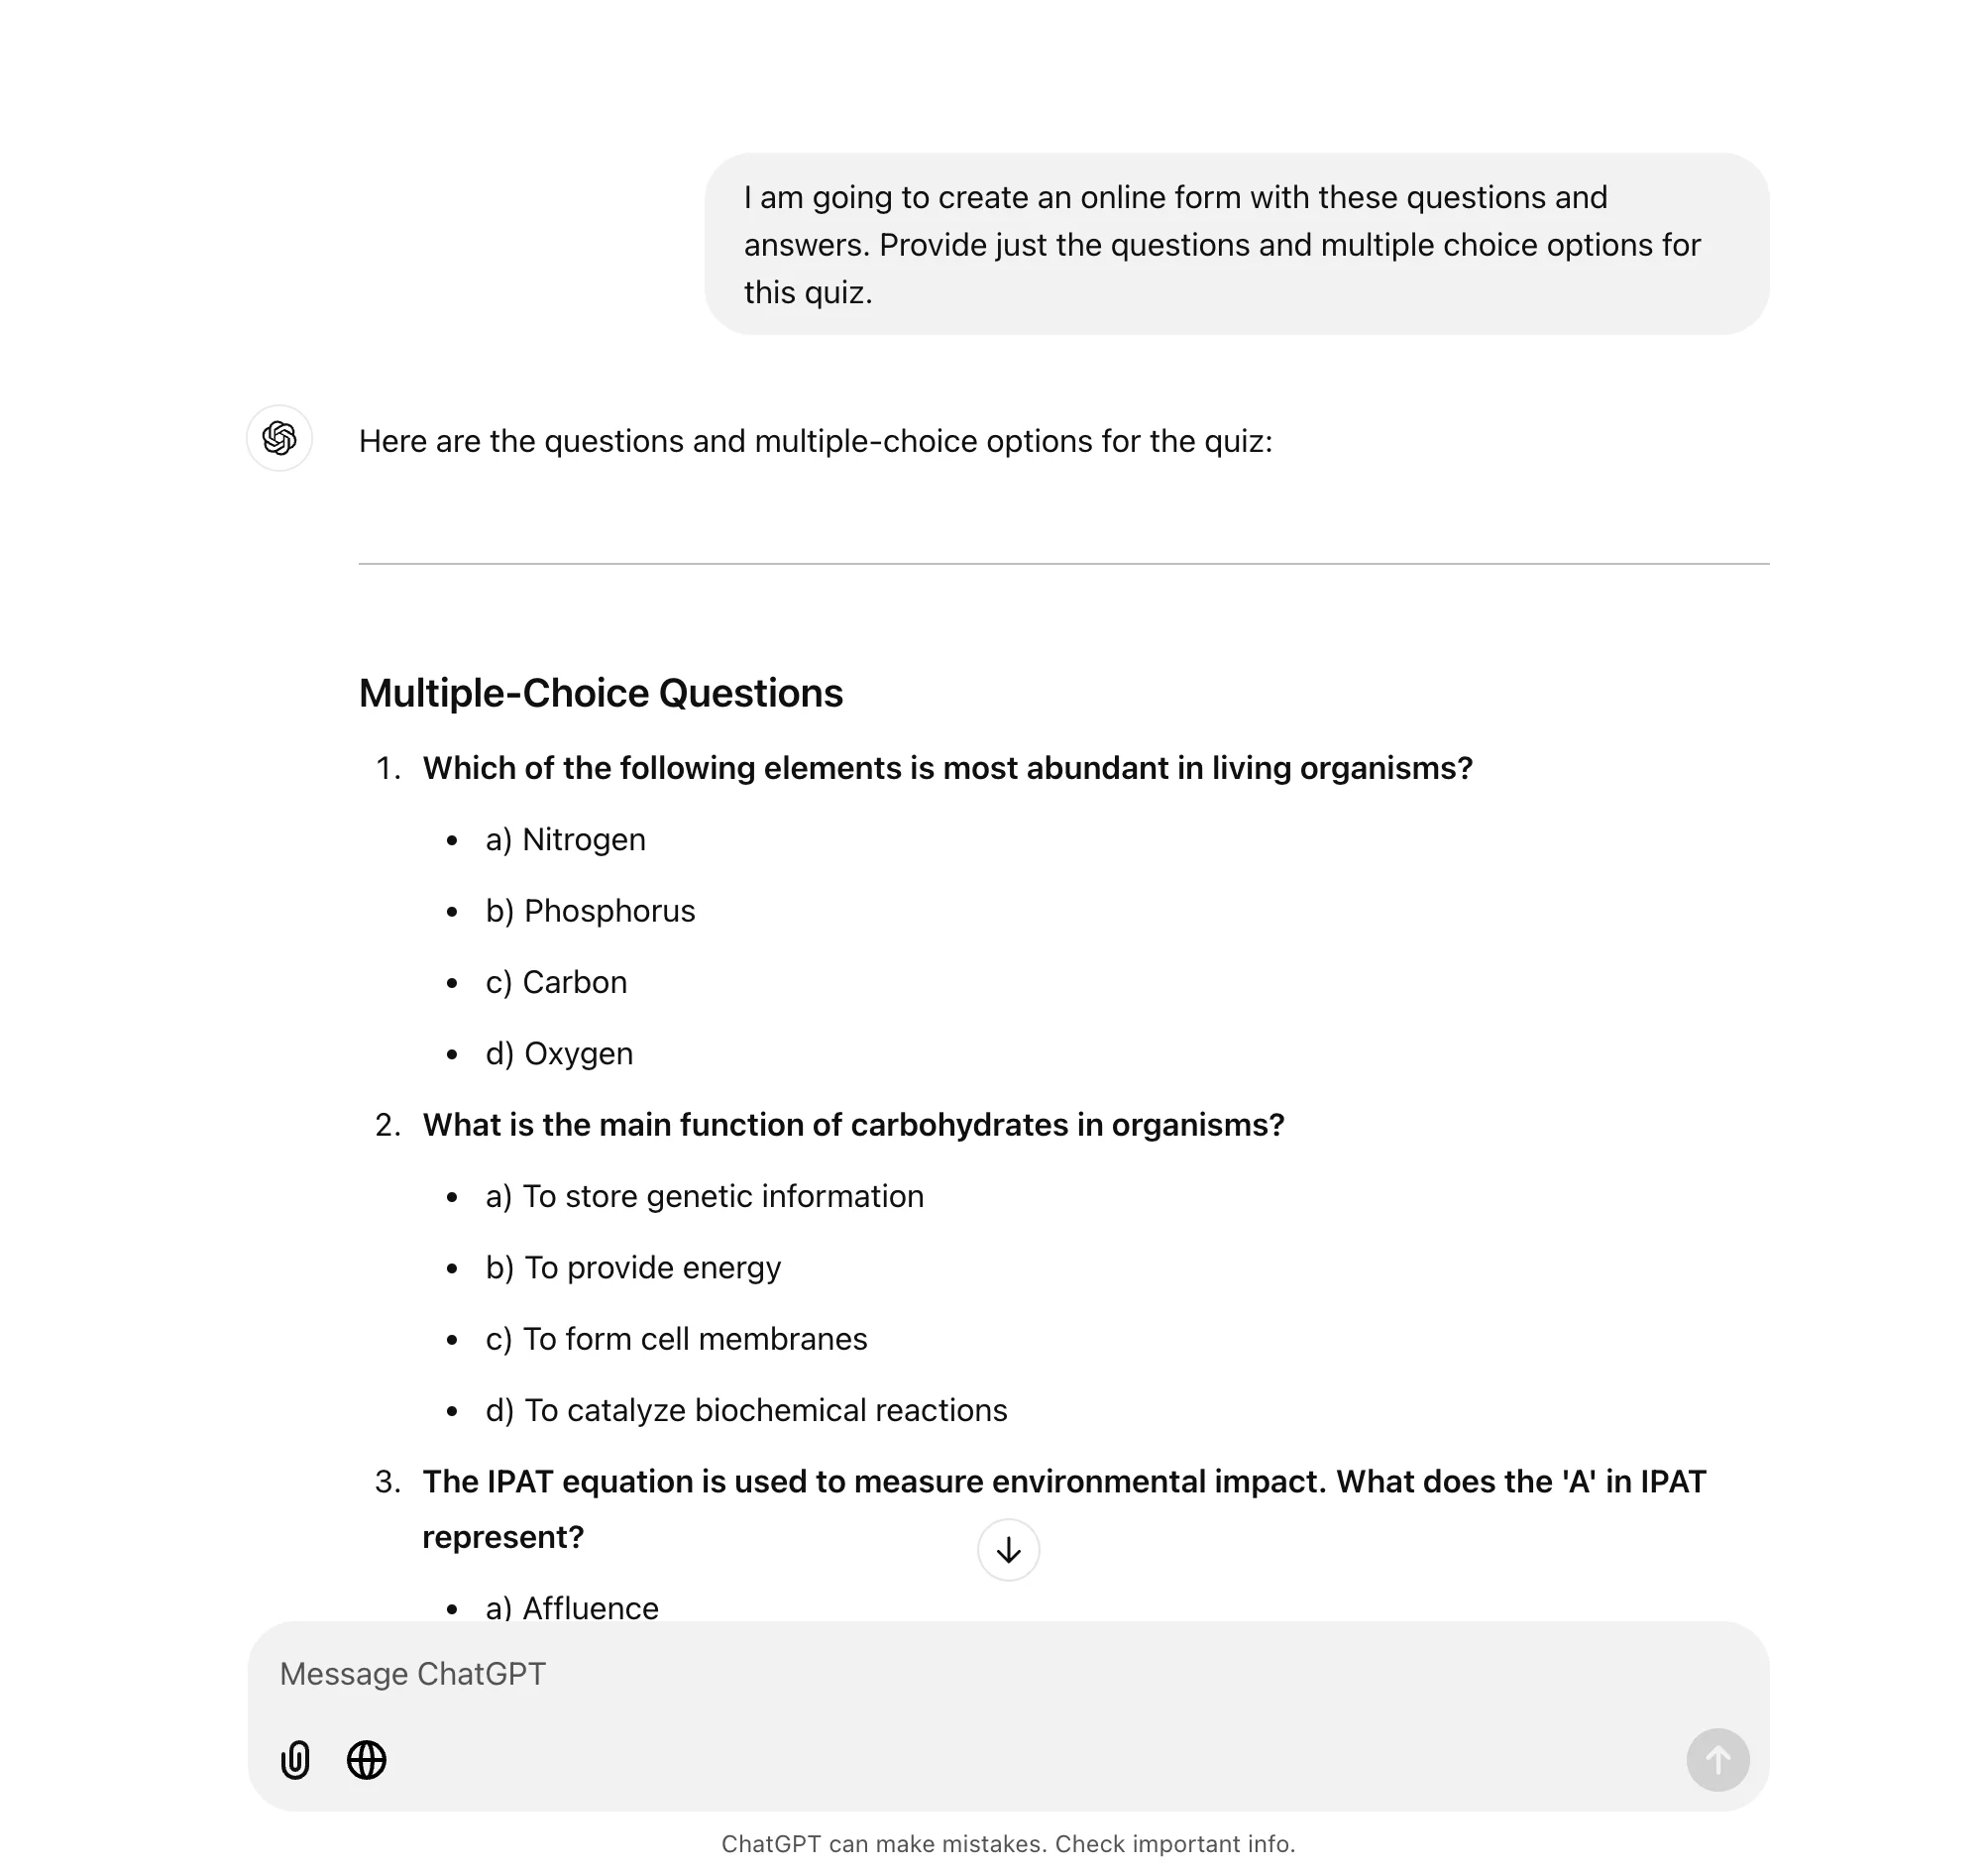
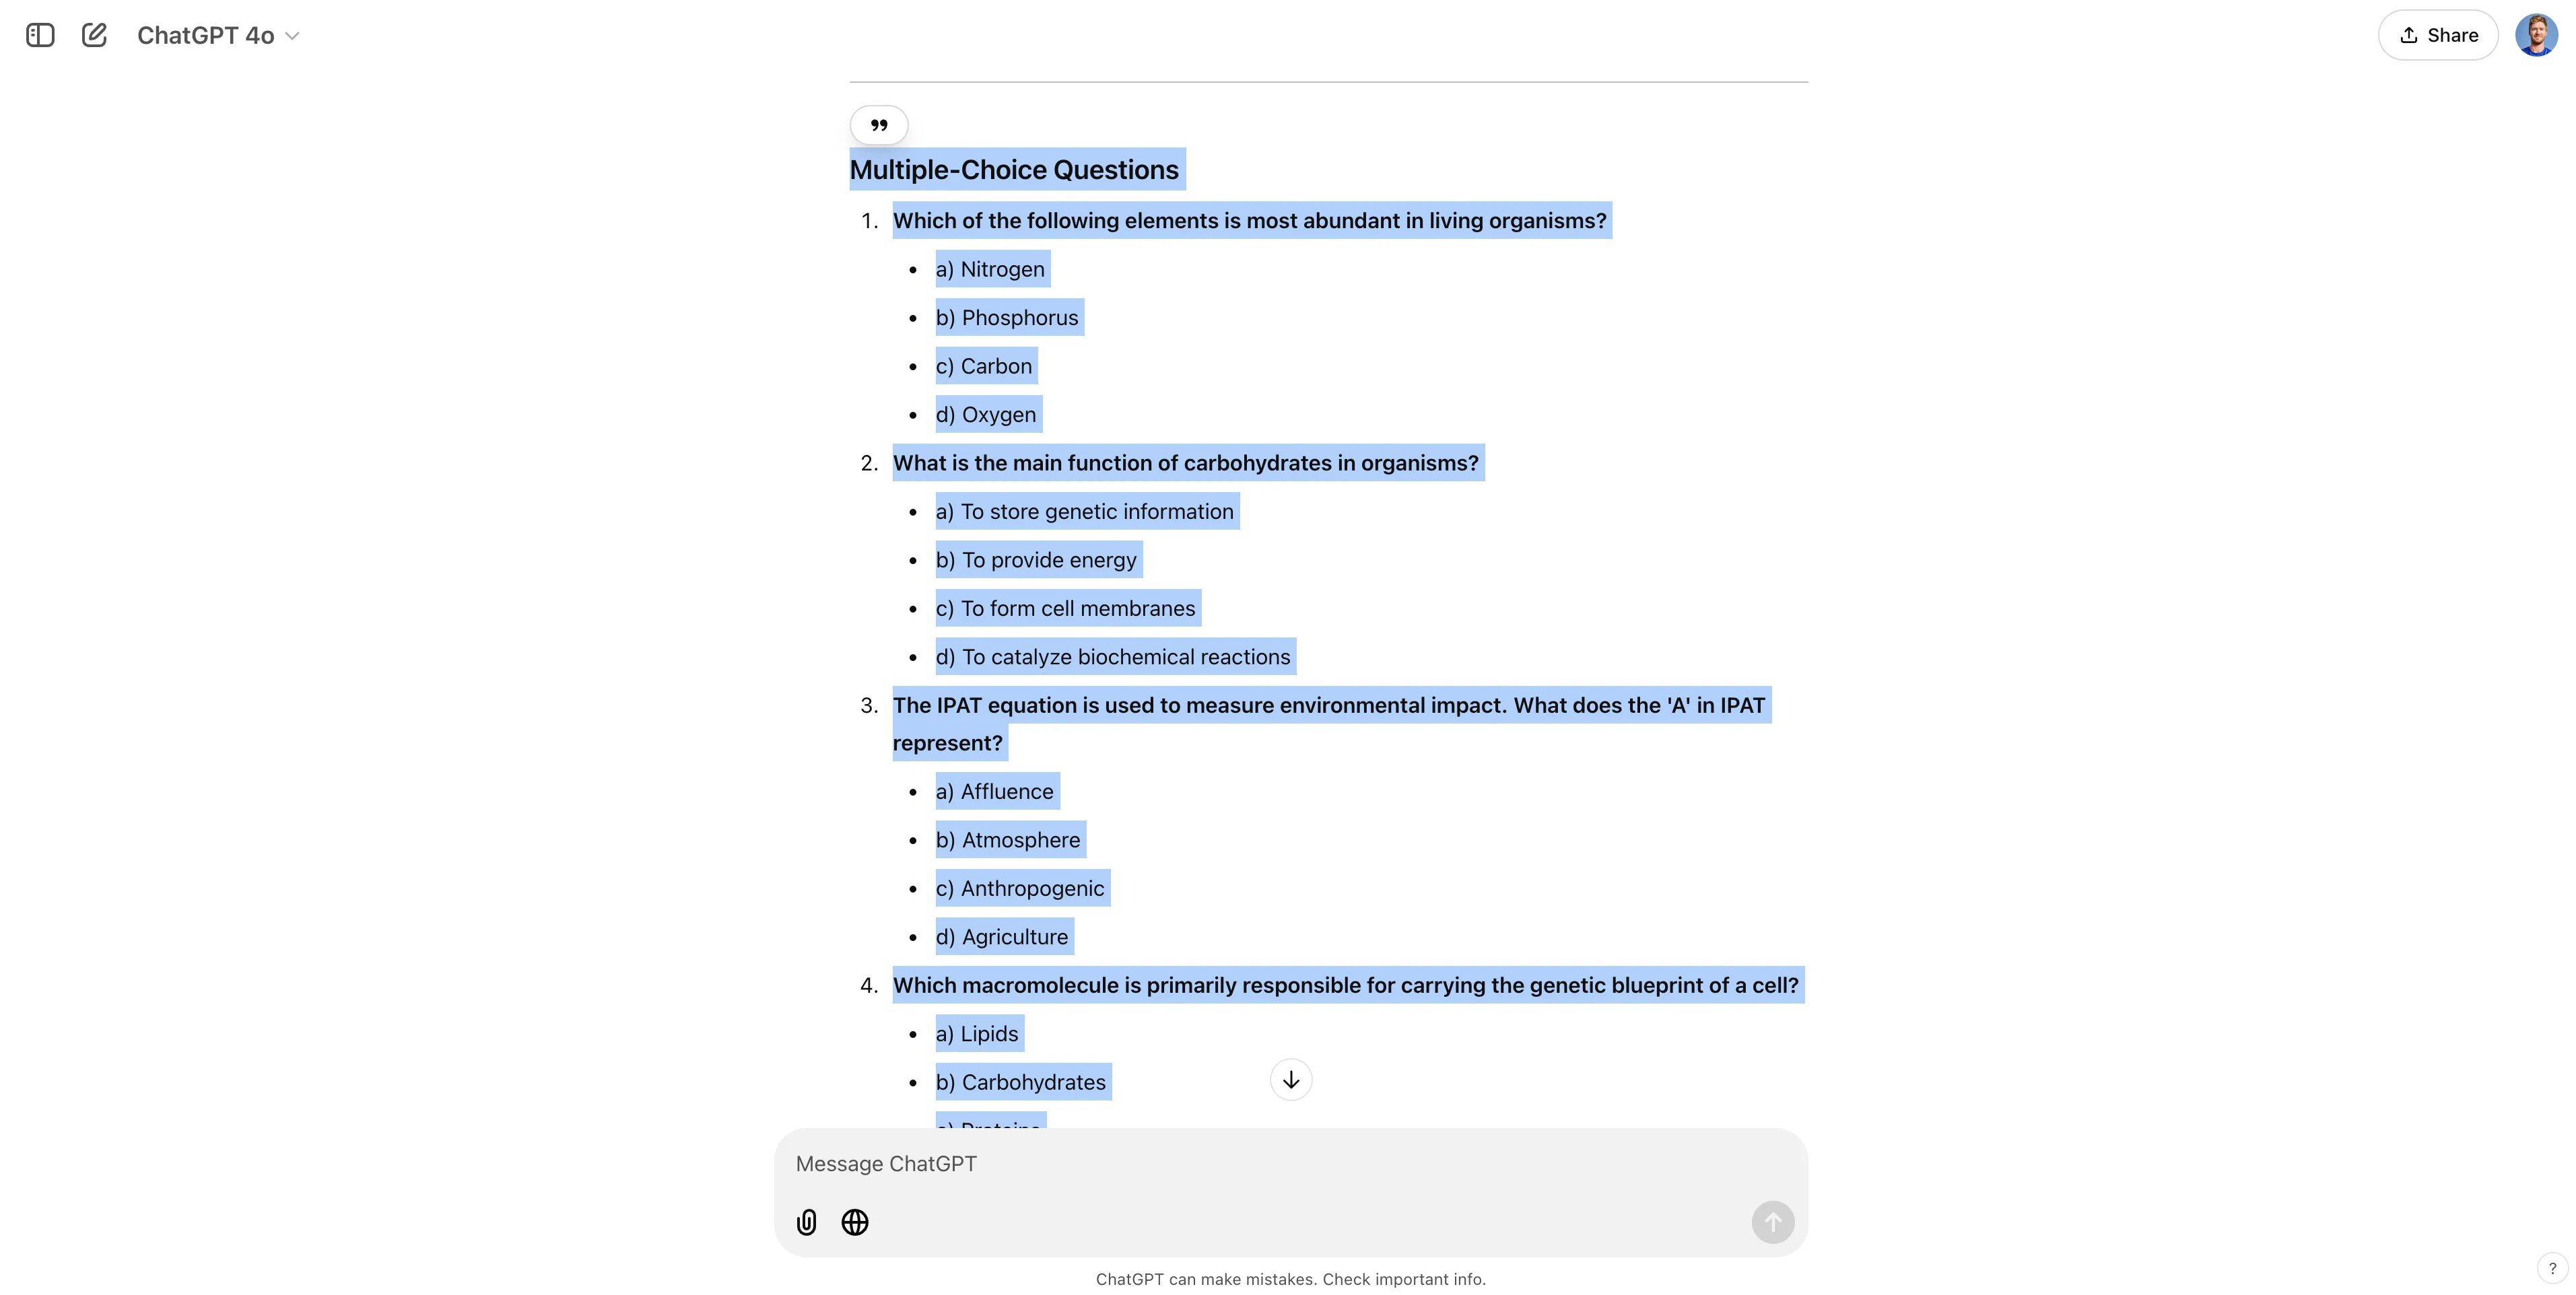
ChatGPT will output our questions in this format. Highlight all of the questions and question options and copy the content.
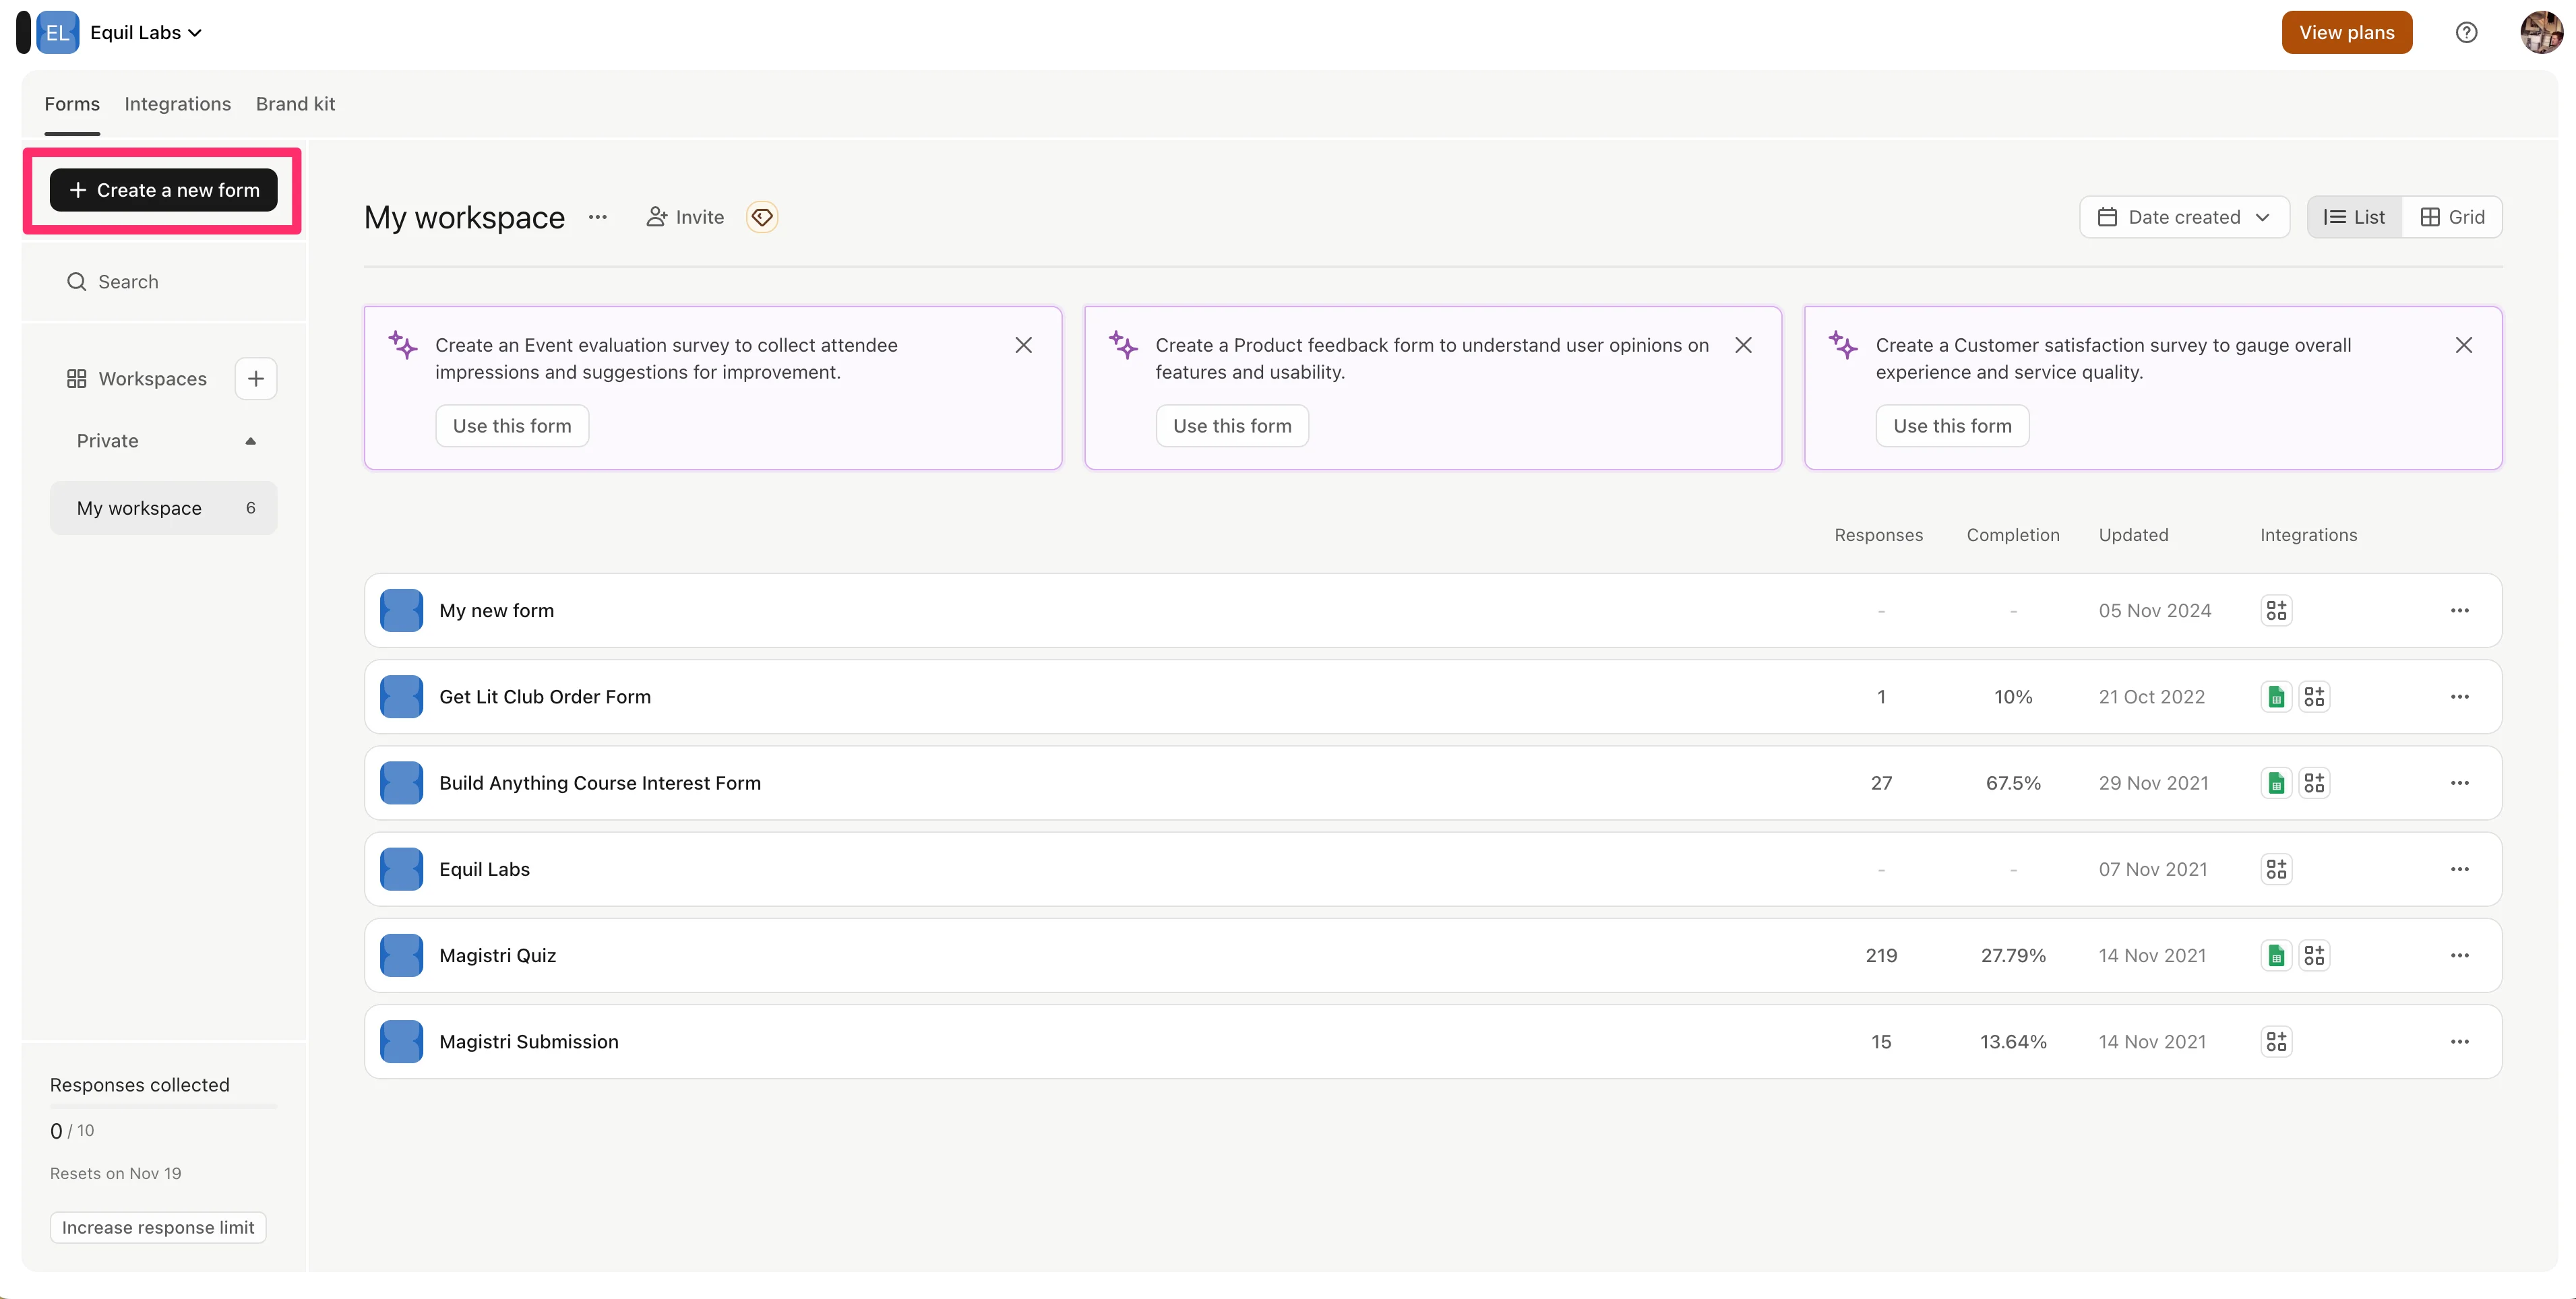
Now, we’ll head over to Typeform to create our digital quiz form. Create a free Typeform account (if you don’t already have one), and when you land on the workspace dashboard, click the “Create a new form” button.
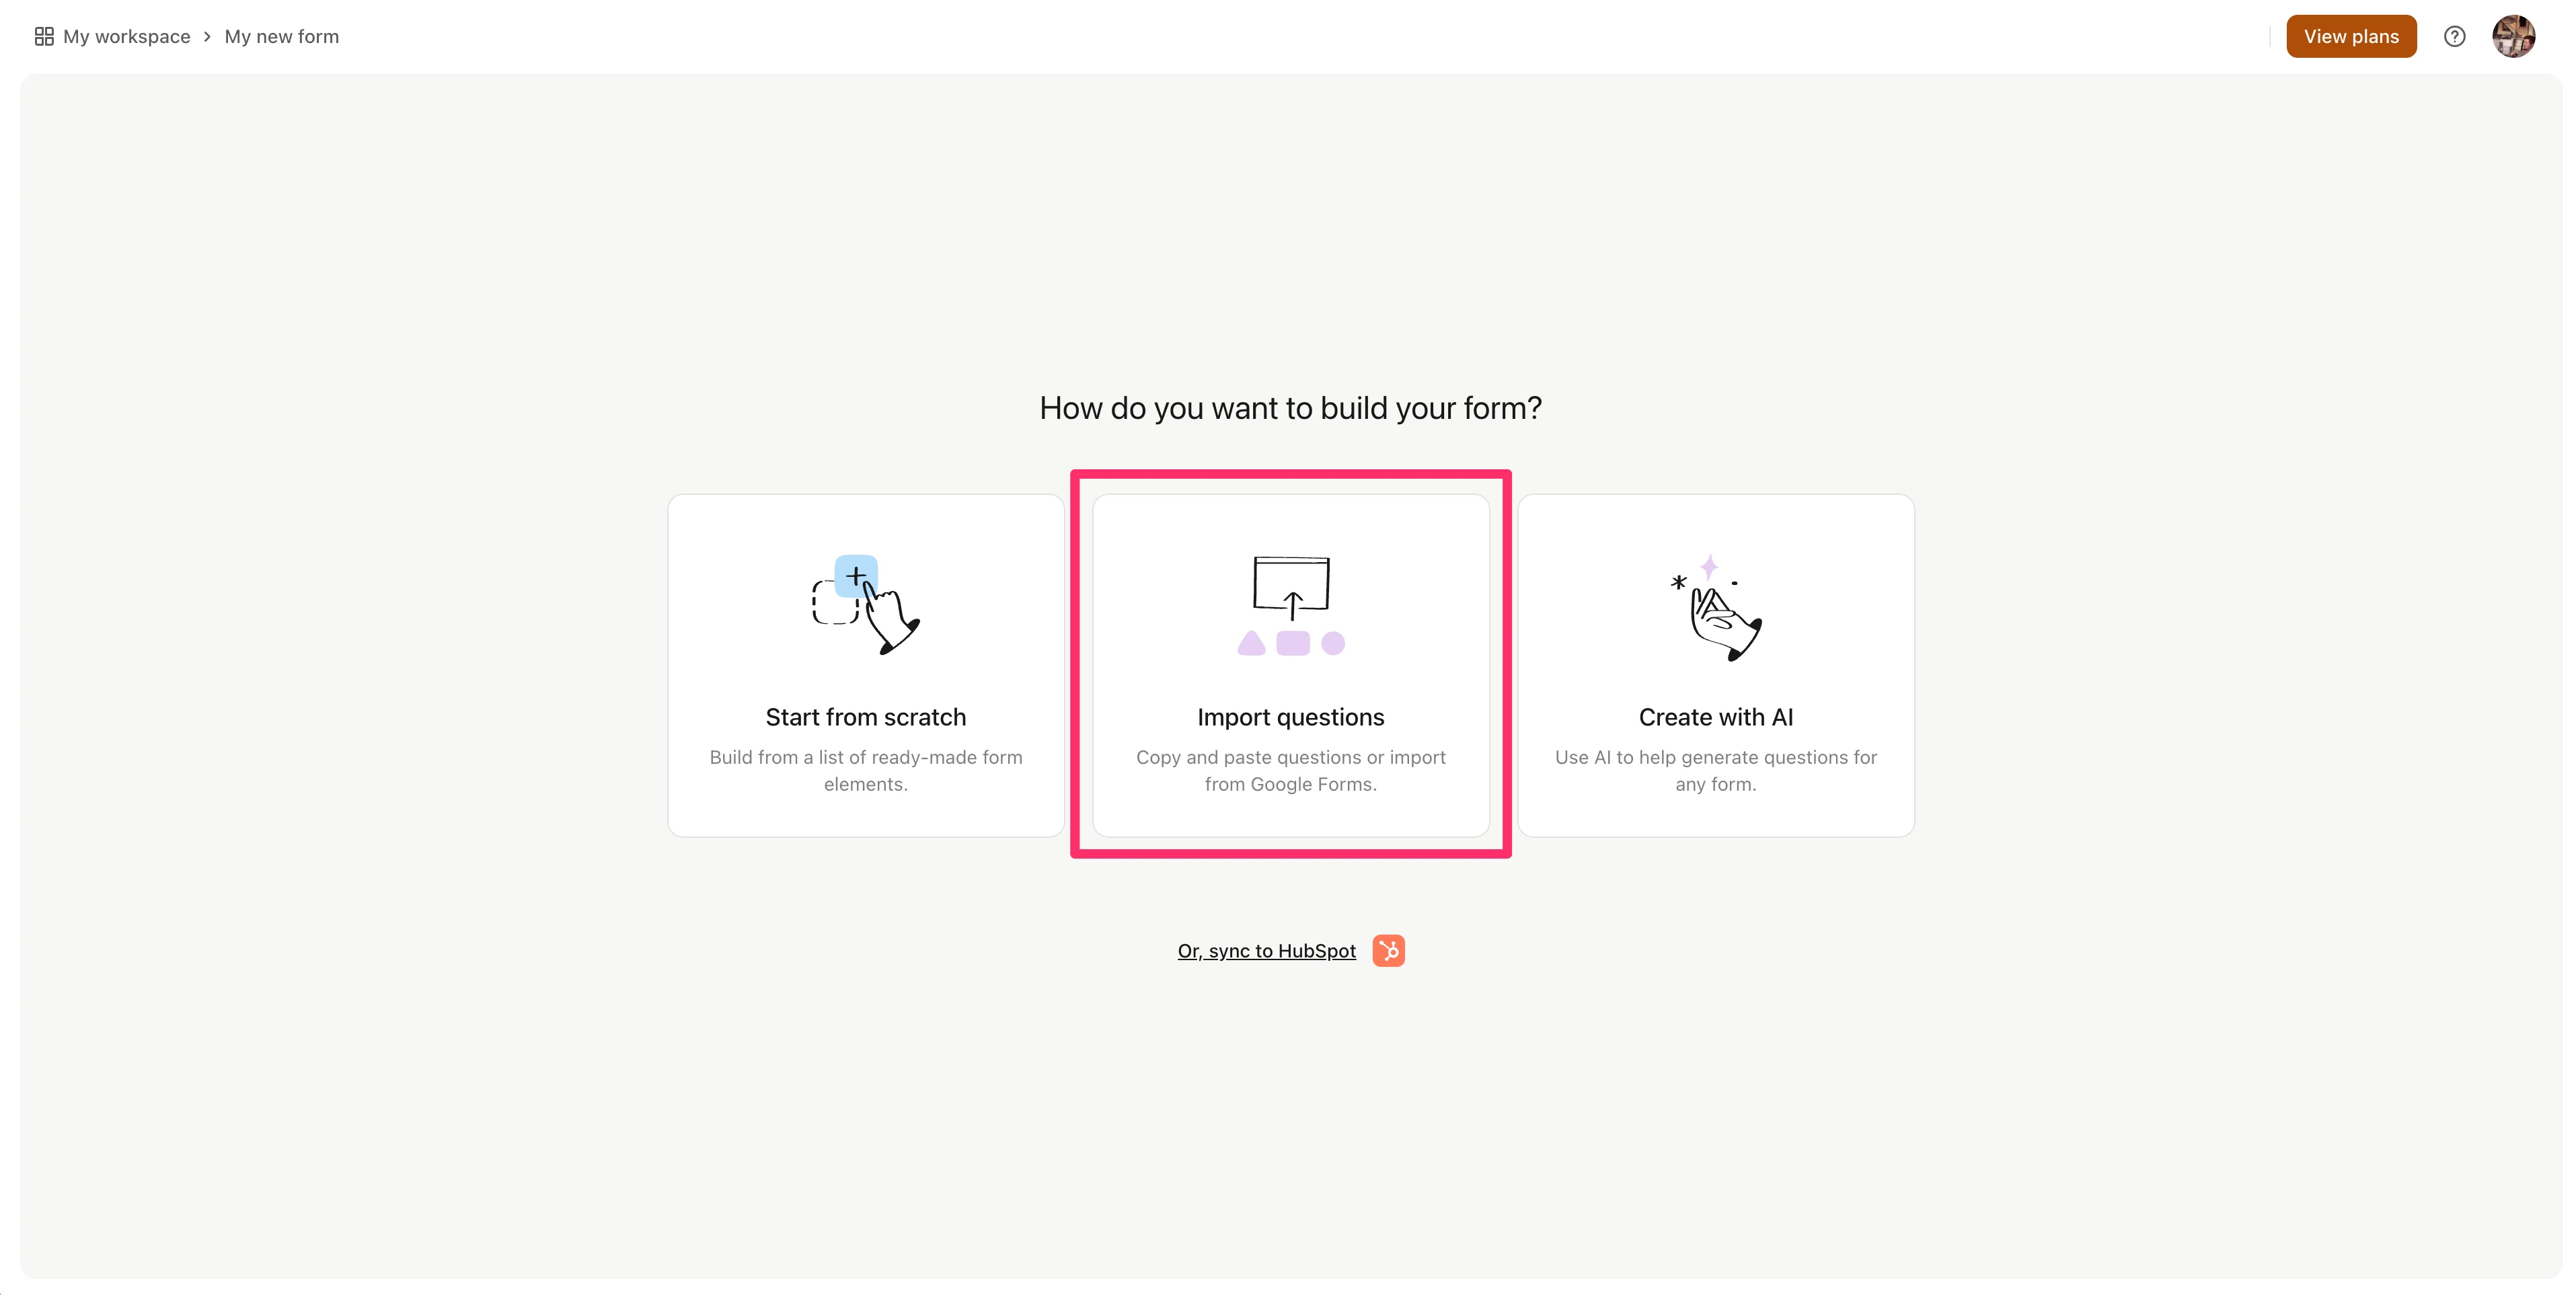
Click the “Import questions” option on the resulting screen.
In the text box in the pop-up window, paste the full set of question and question contents that we copied from ChatGPT. You can leave in the question type section headers (e.g. “Multiple-Choice Questions”) like we’ve done in our example. After you’ve pasted in the content, click the “Import questions” button.
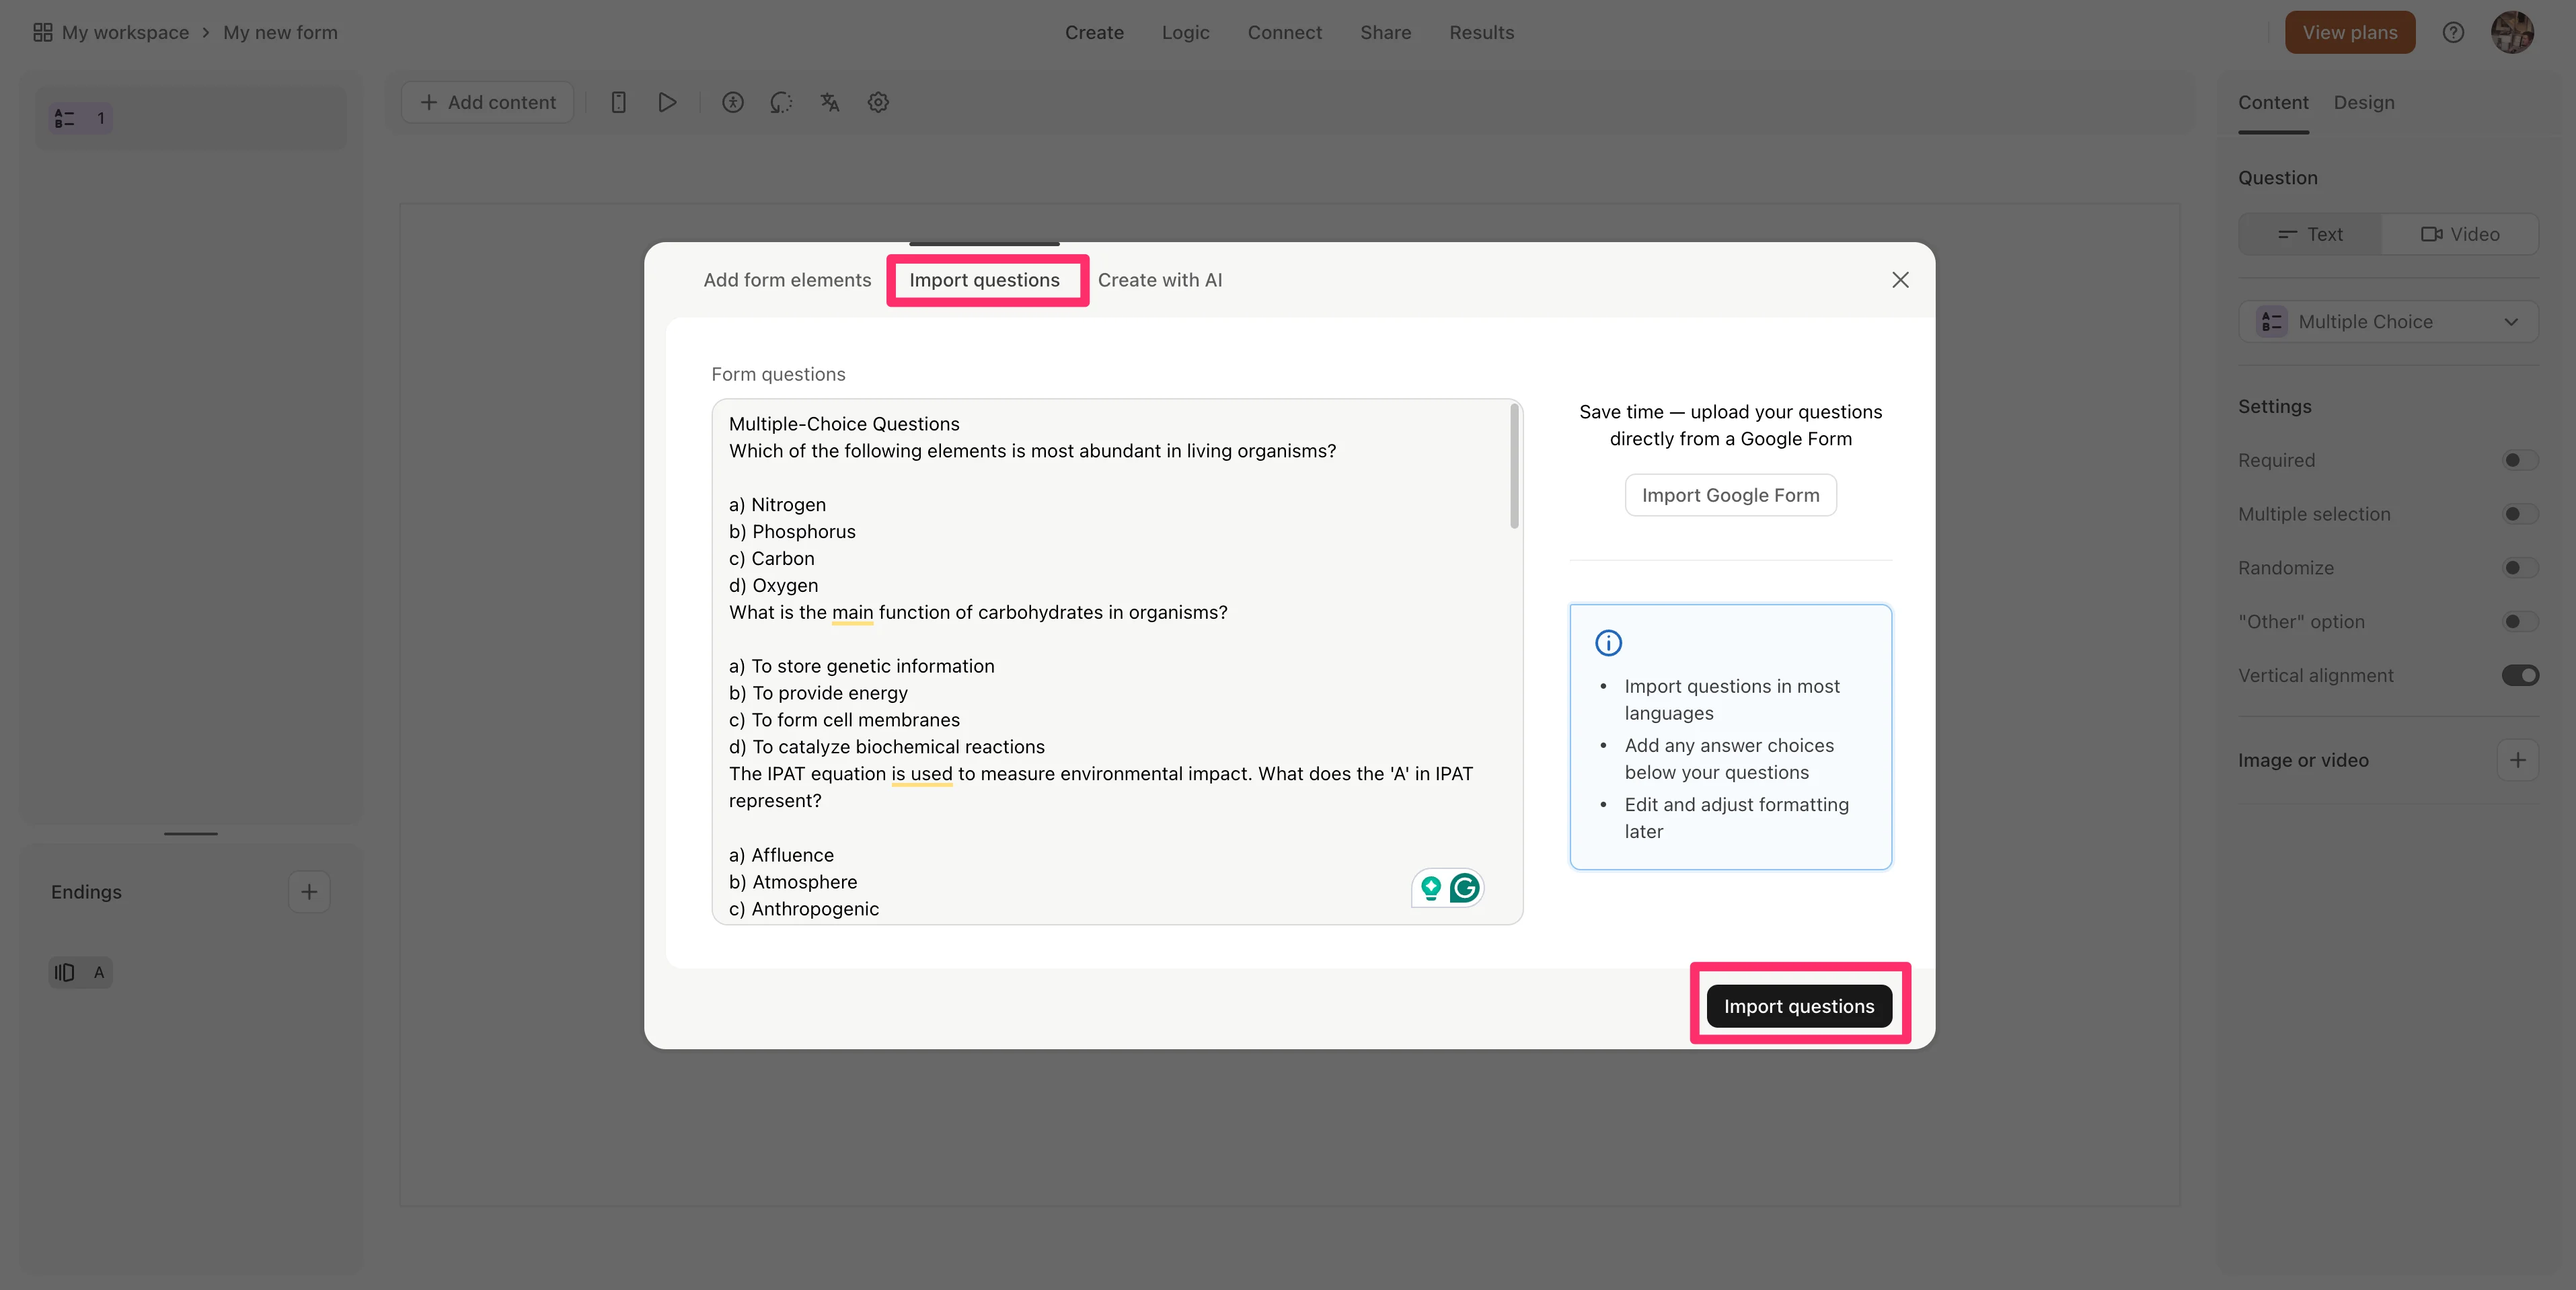
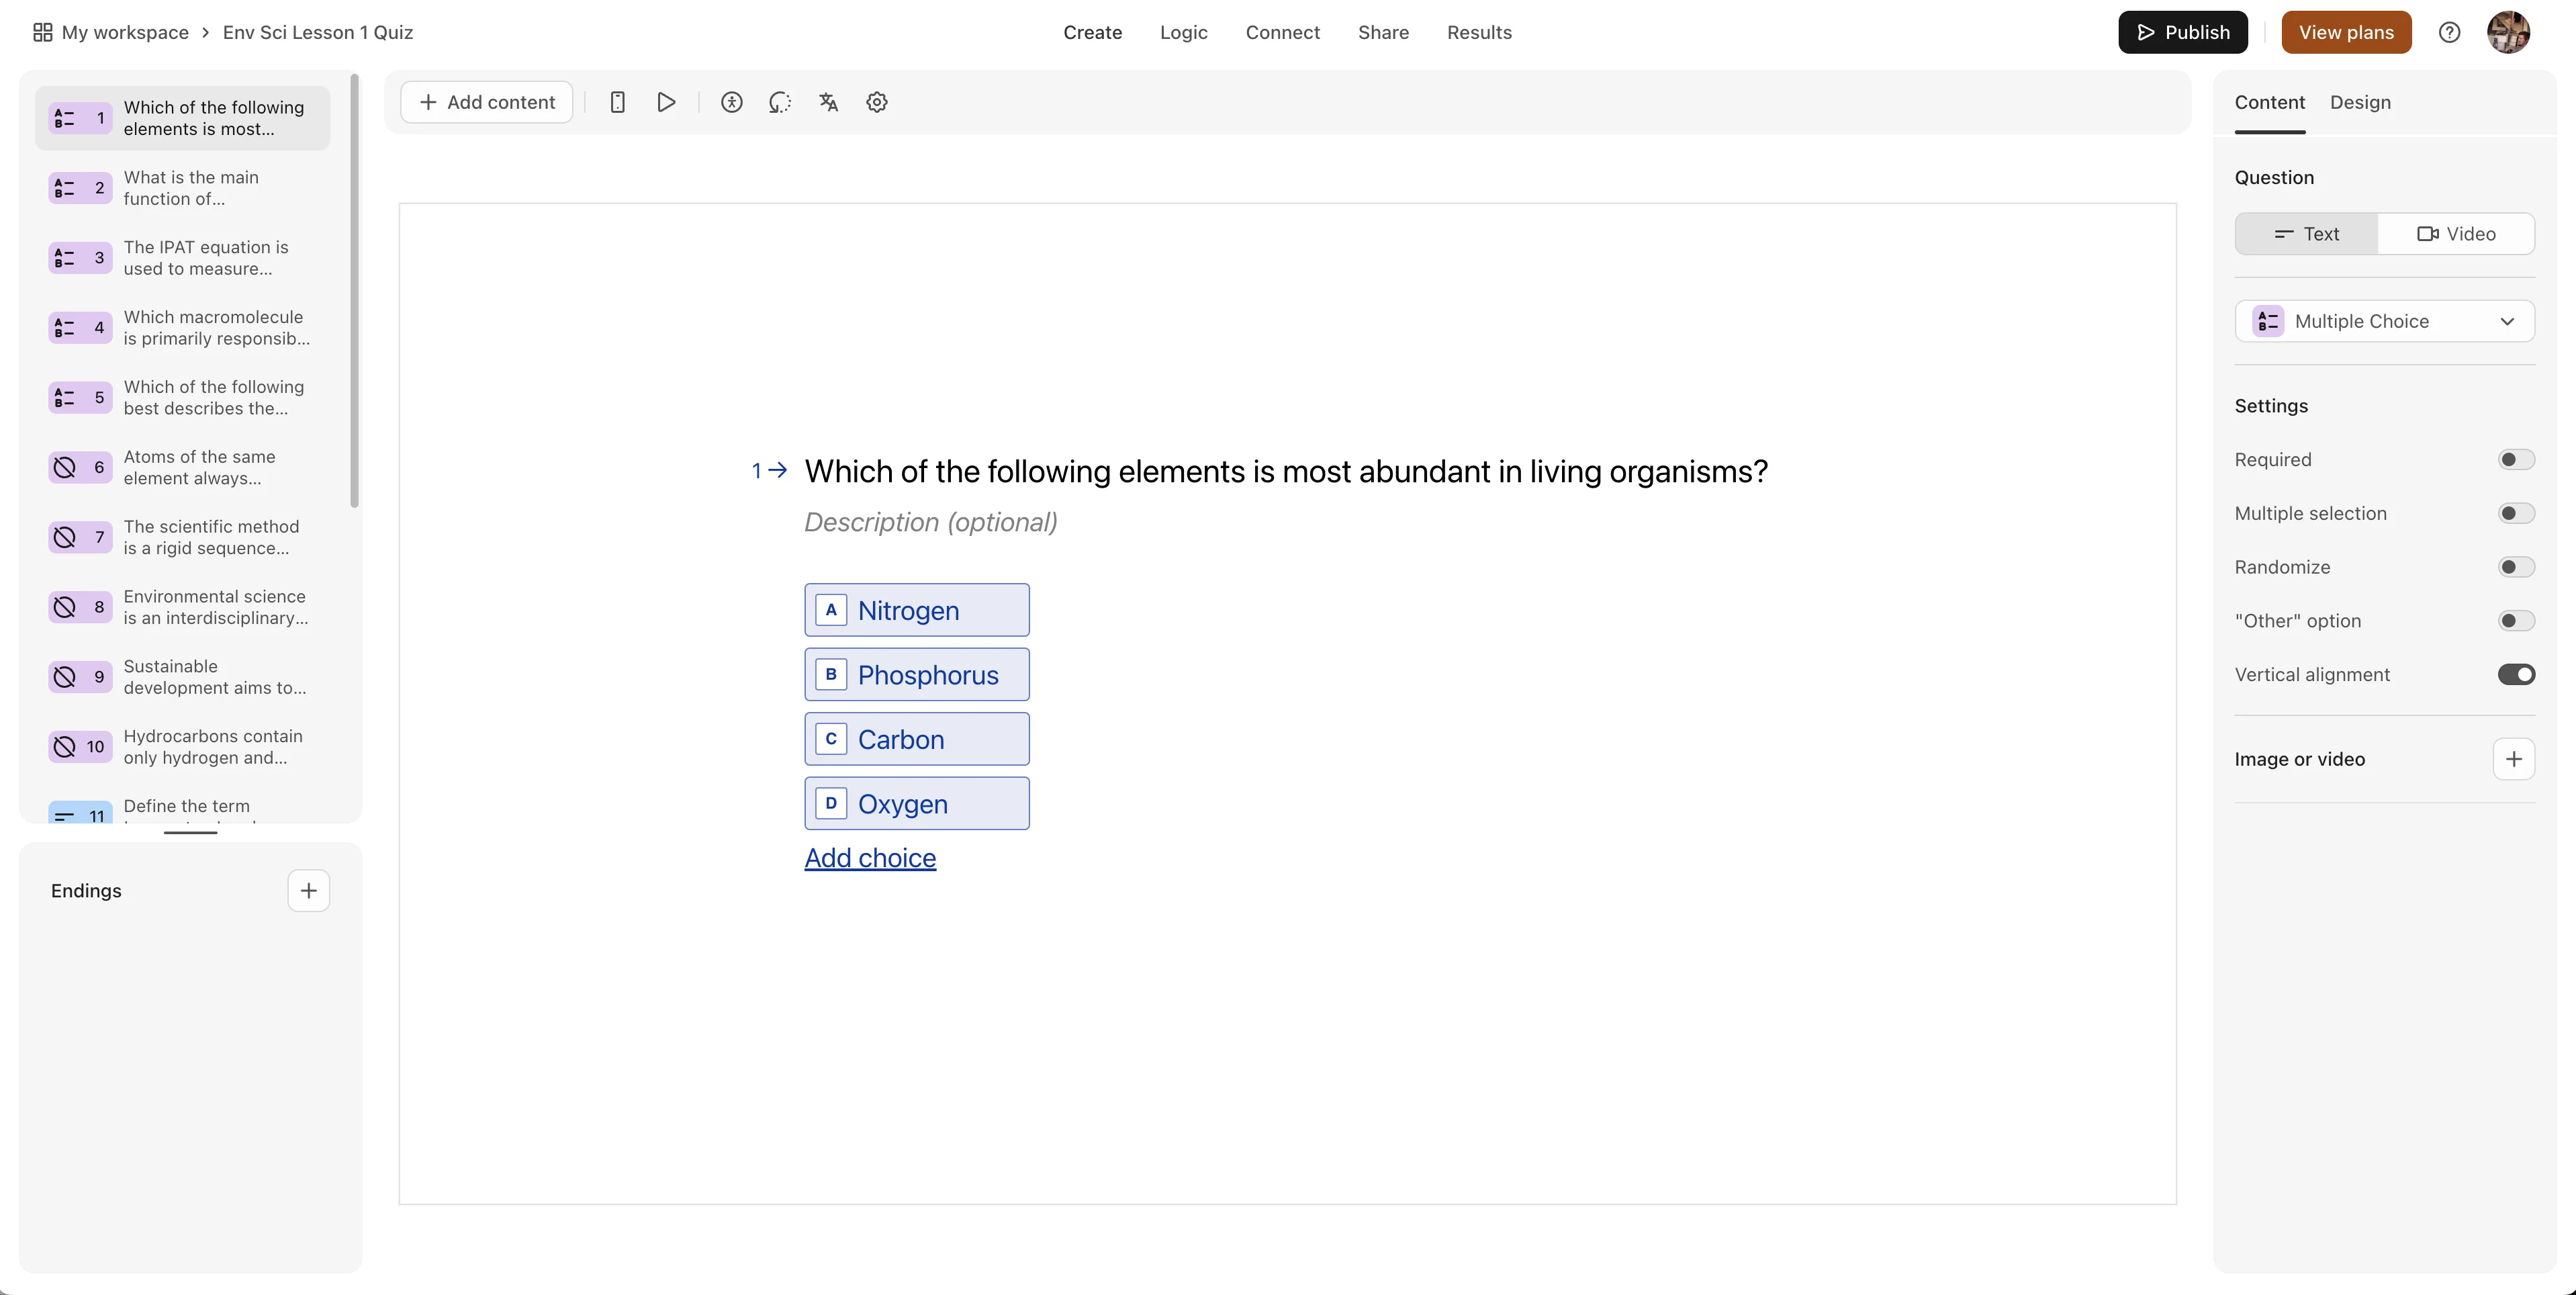
In less than a minute, Typeform will generate the entire quiz with all questions and question options.
Edit and publish your quiz
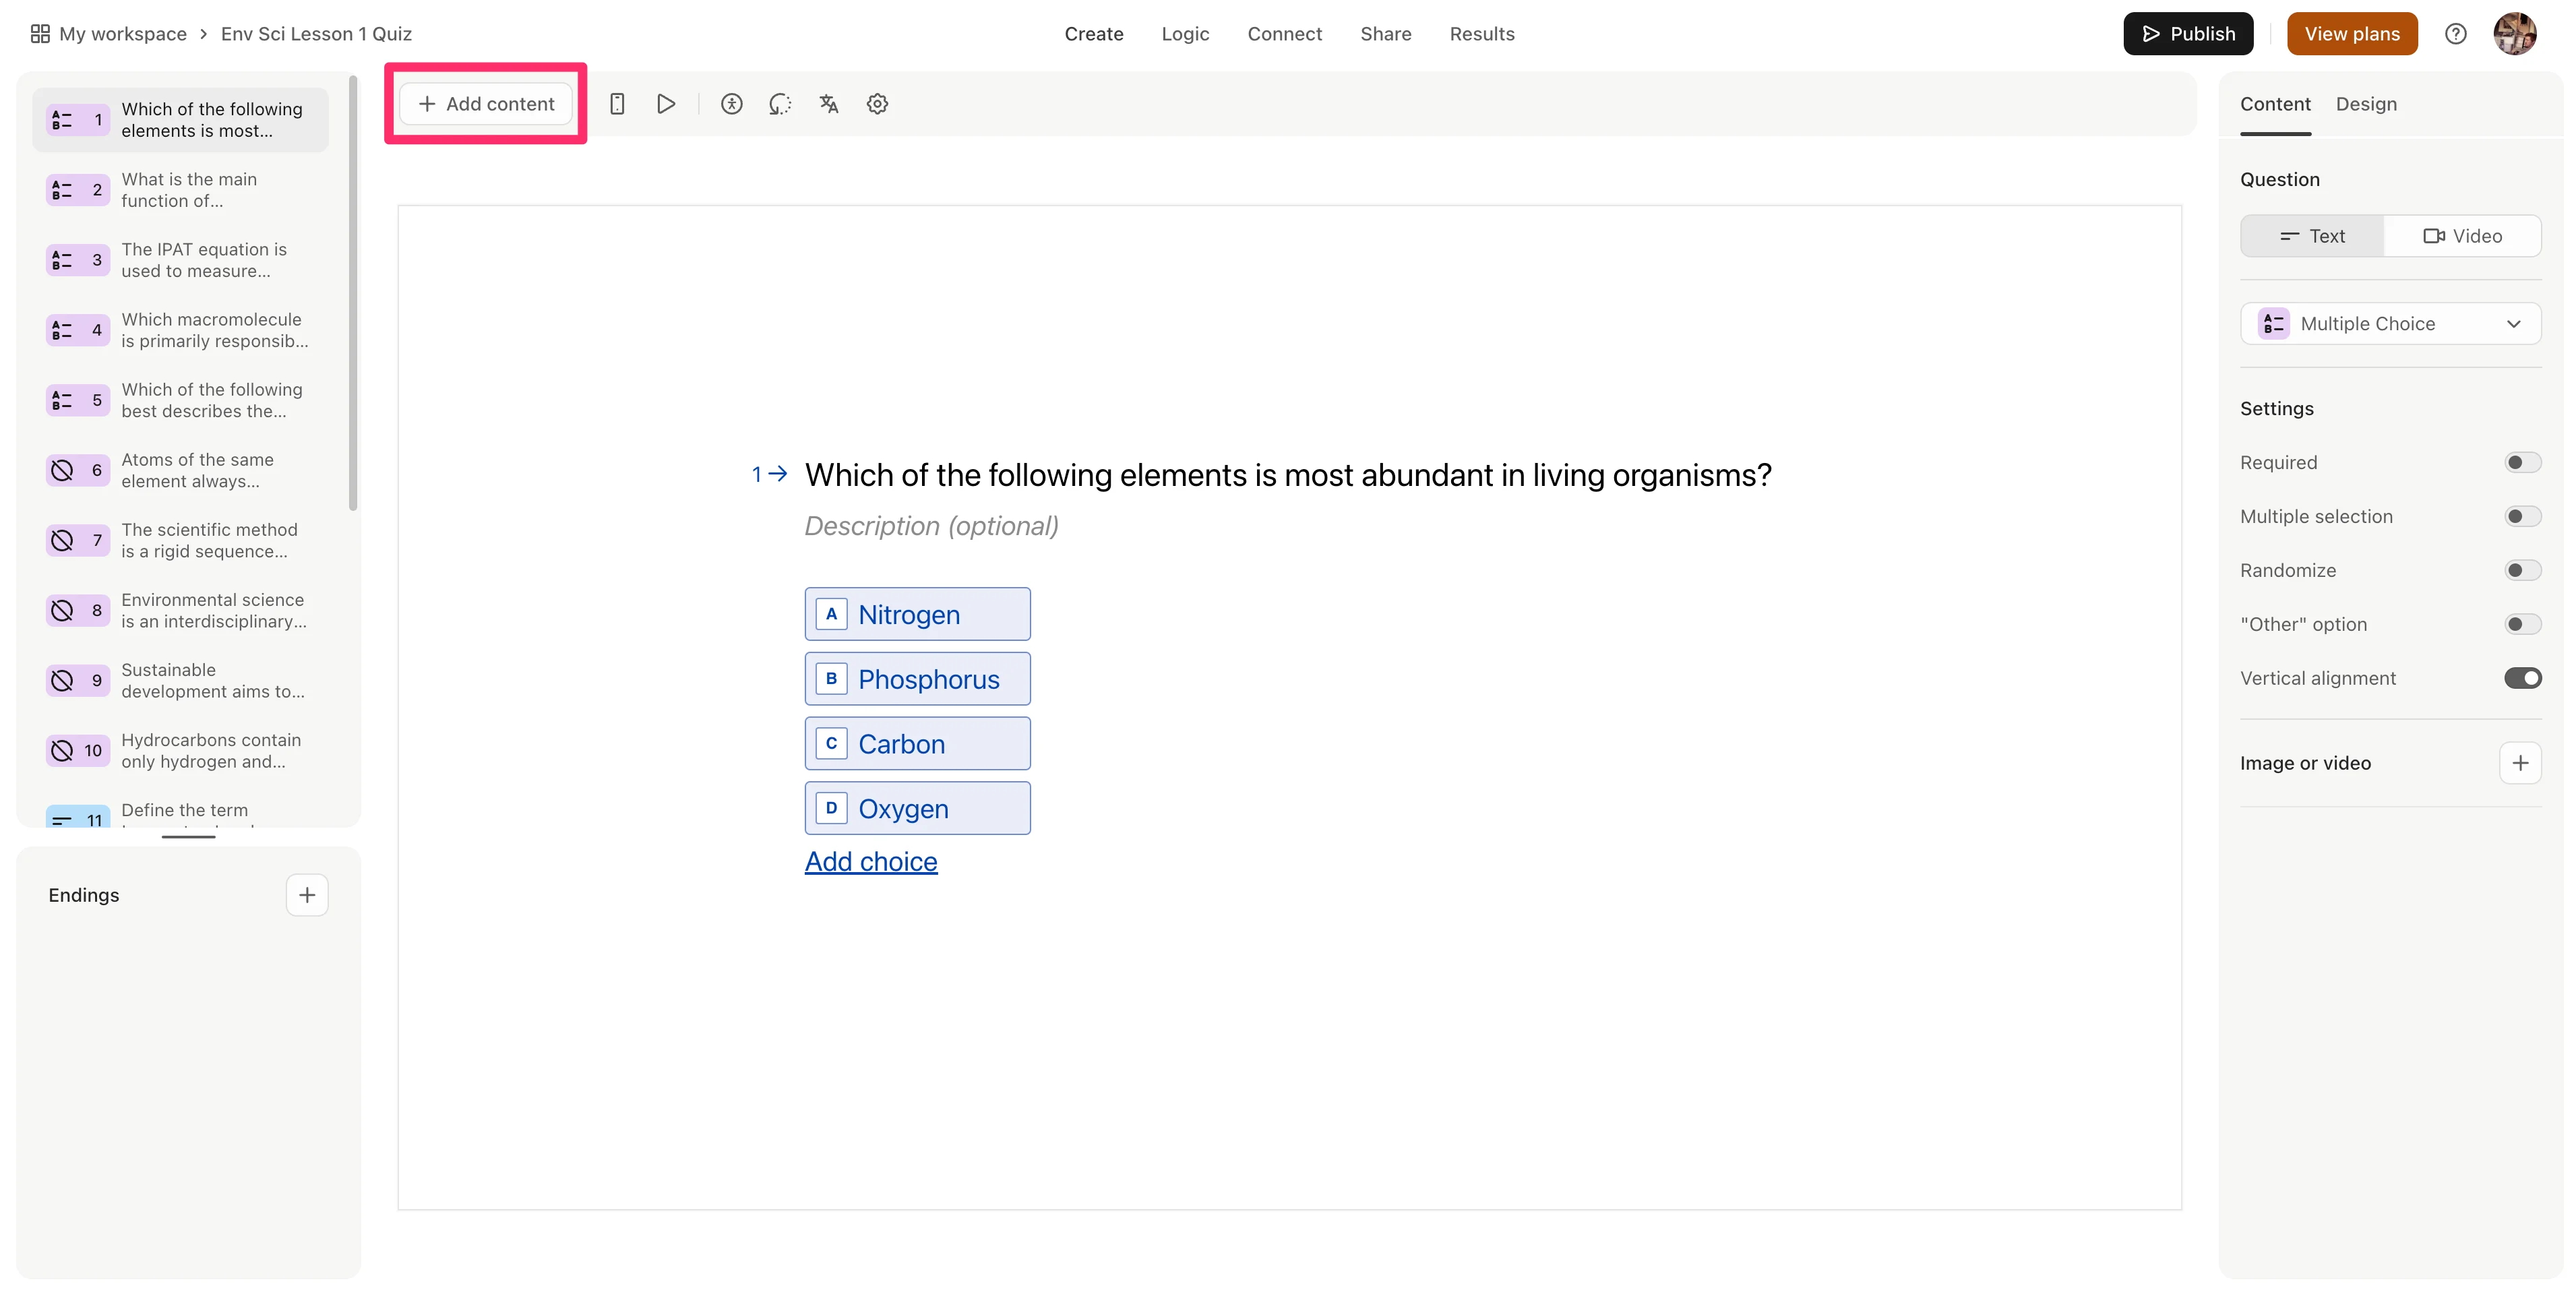
We need to add questions to capture the students’ names on the quiz. To do this, click the “Add content” button.
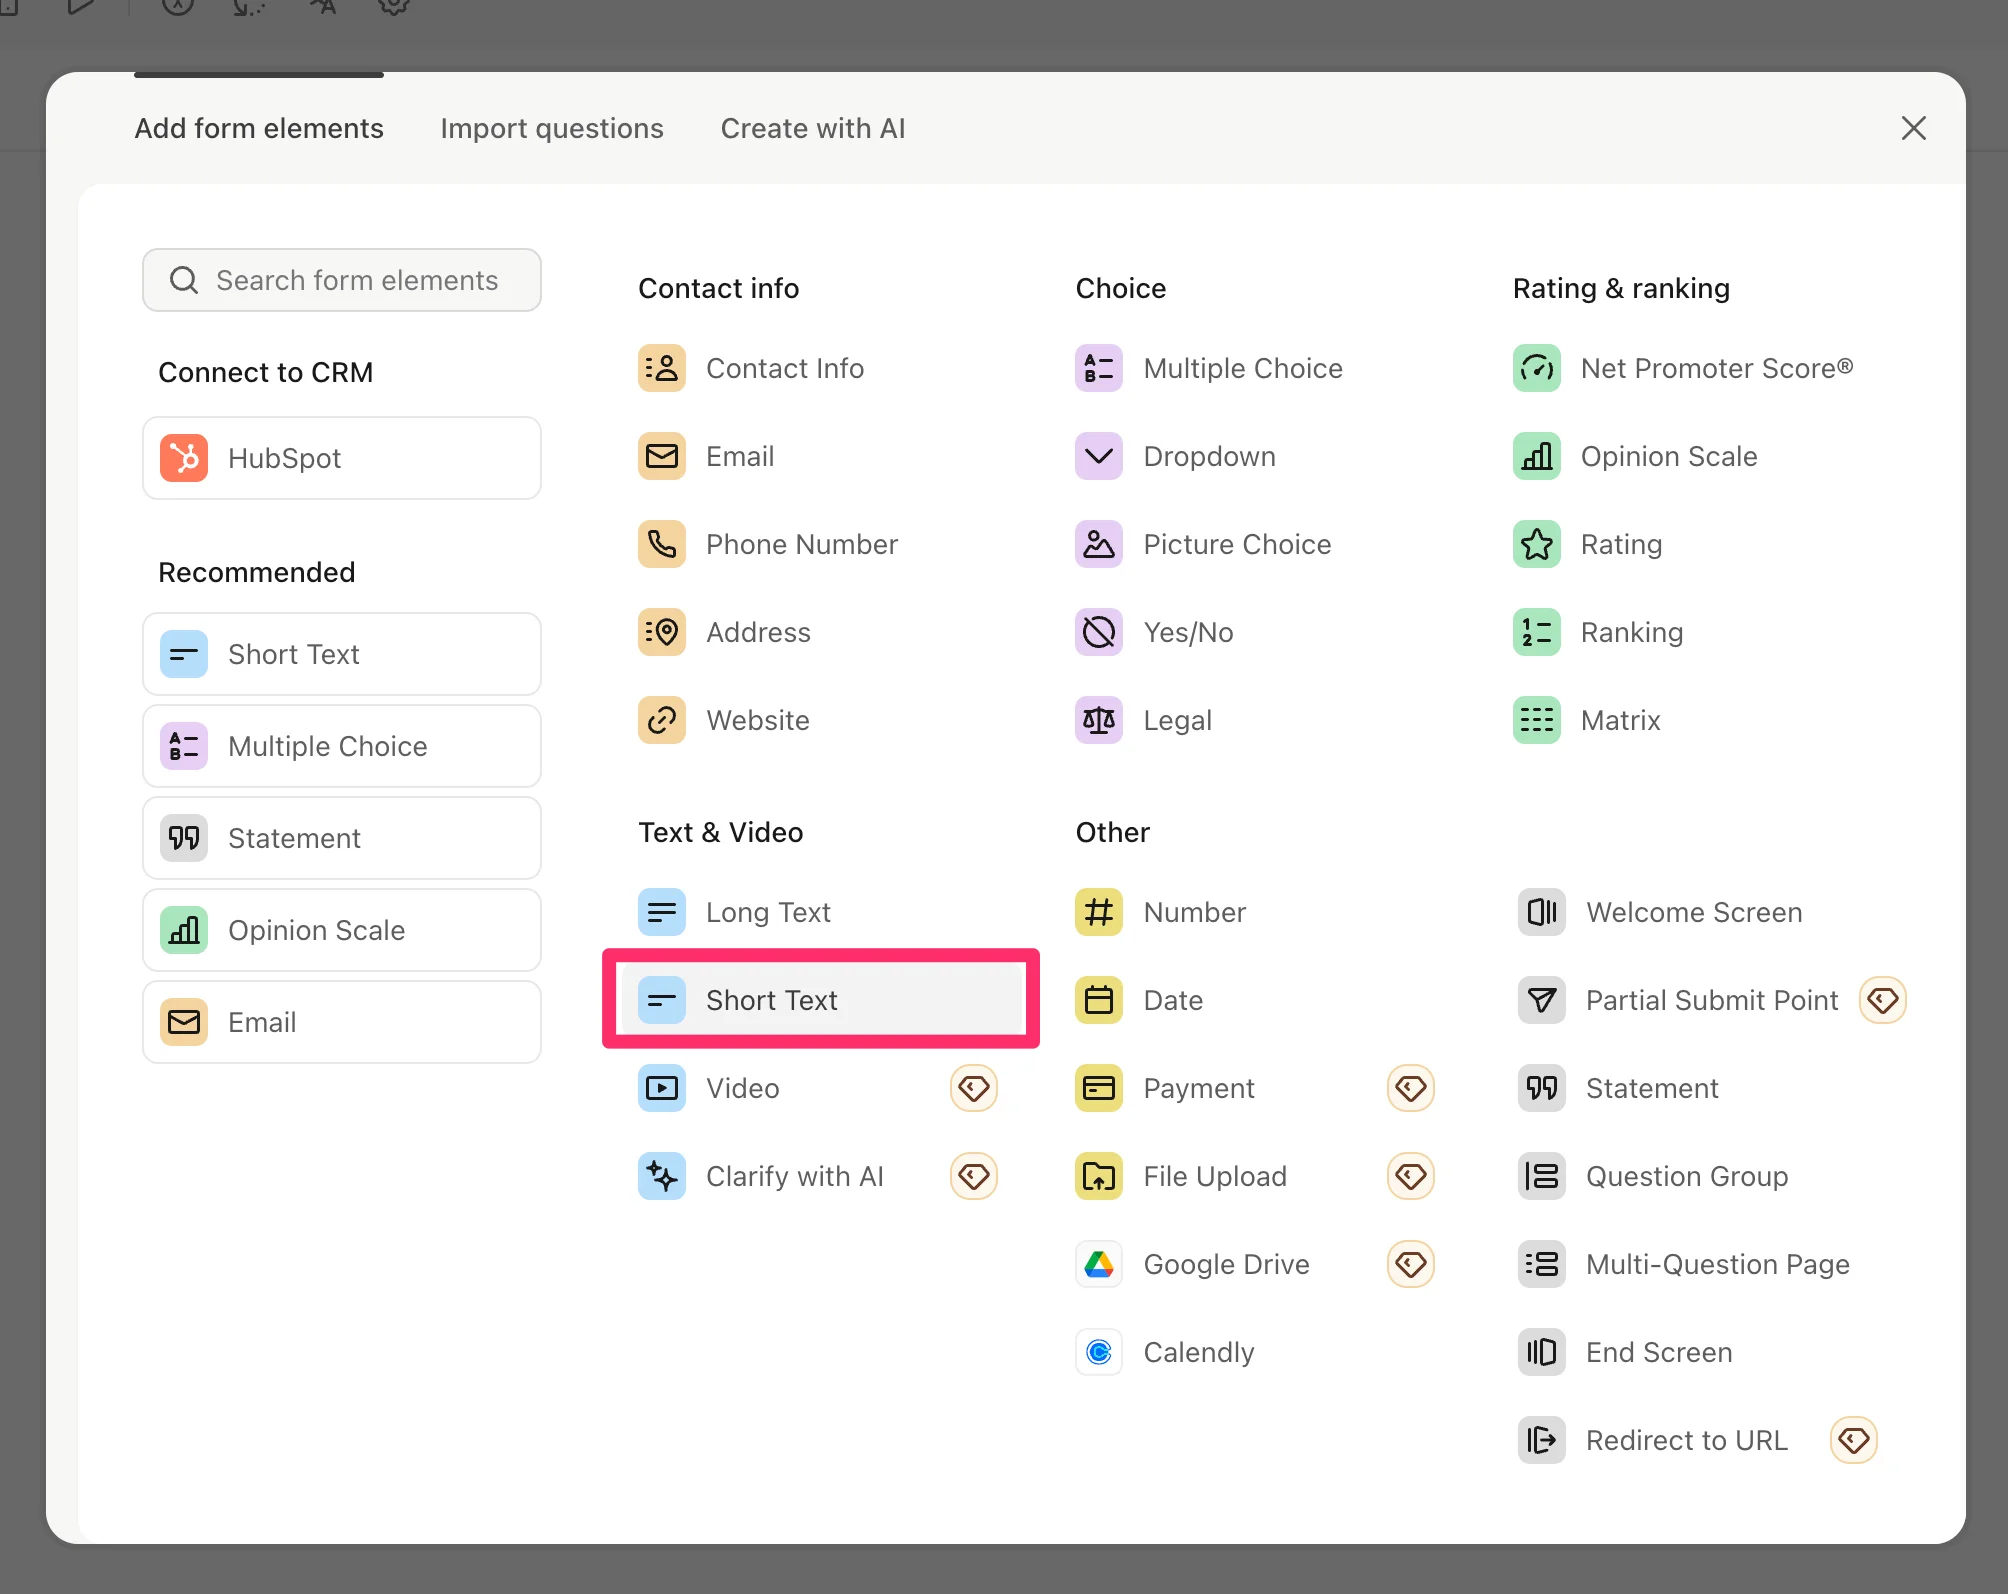
Select the “Short Text” option in the resulting pop-up window.
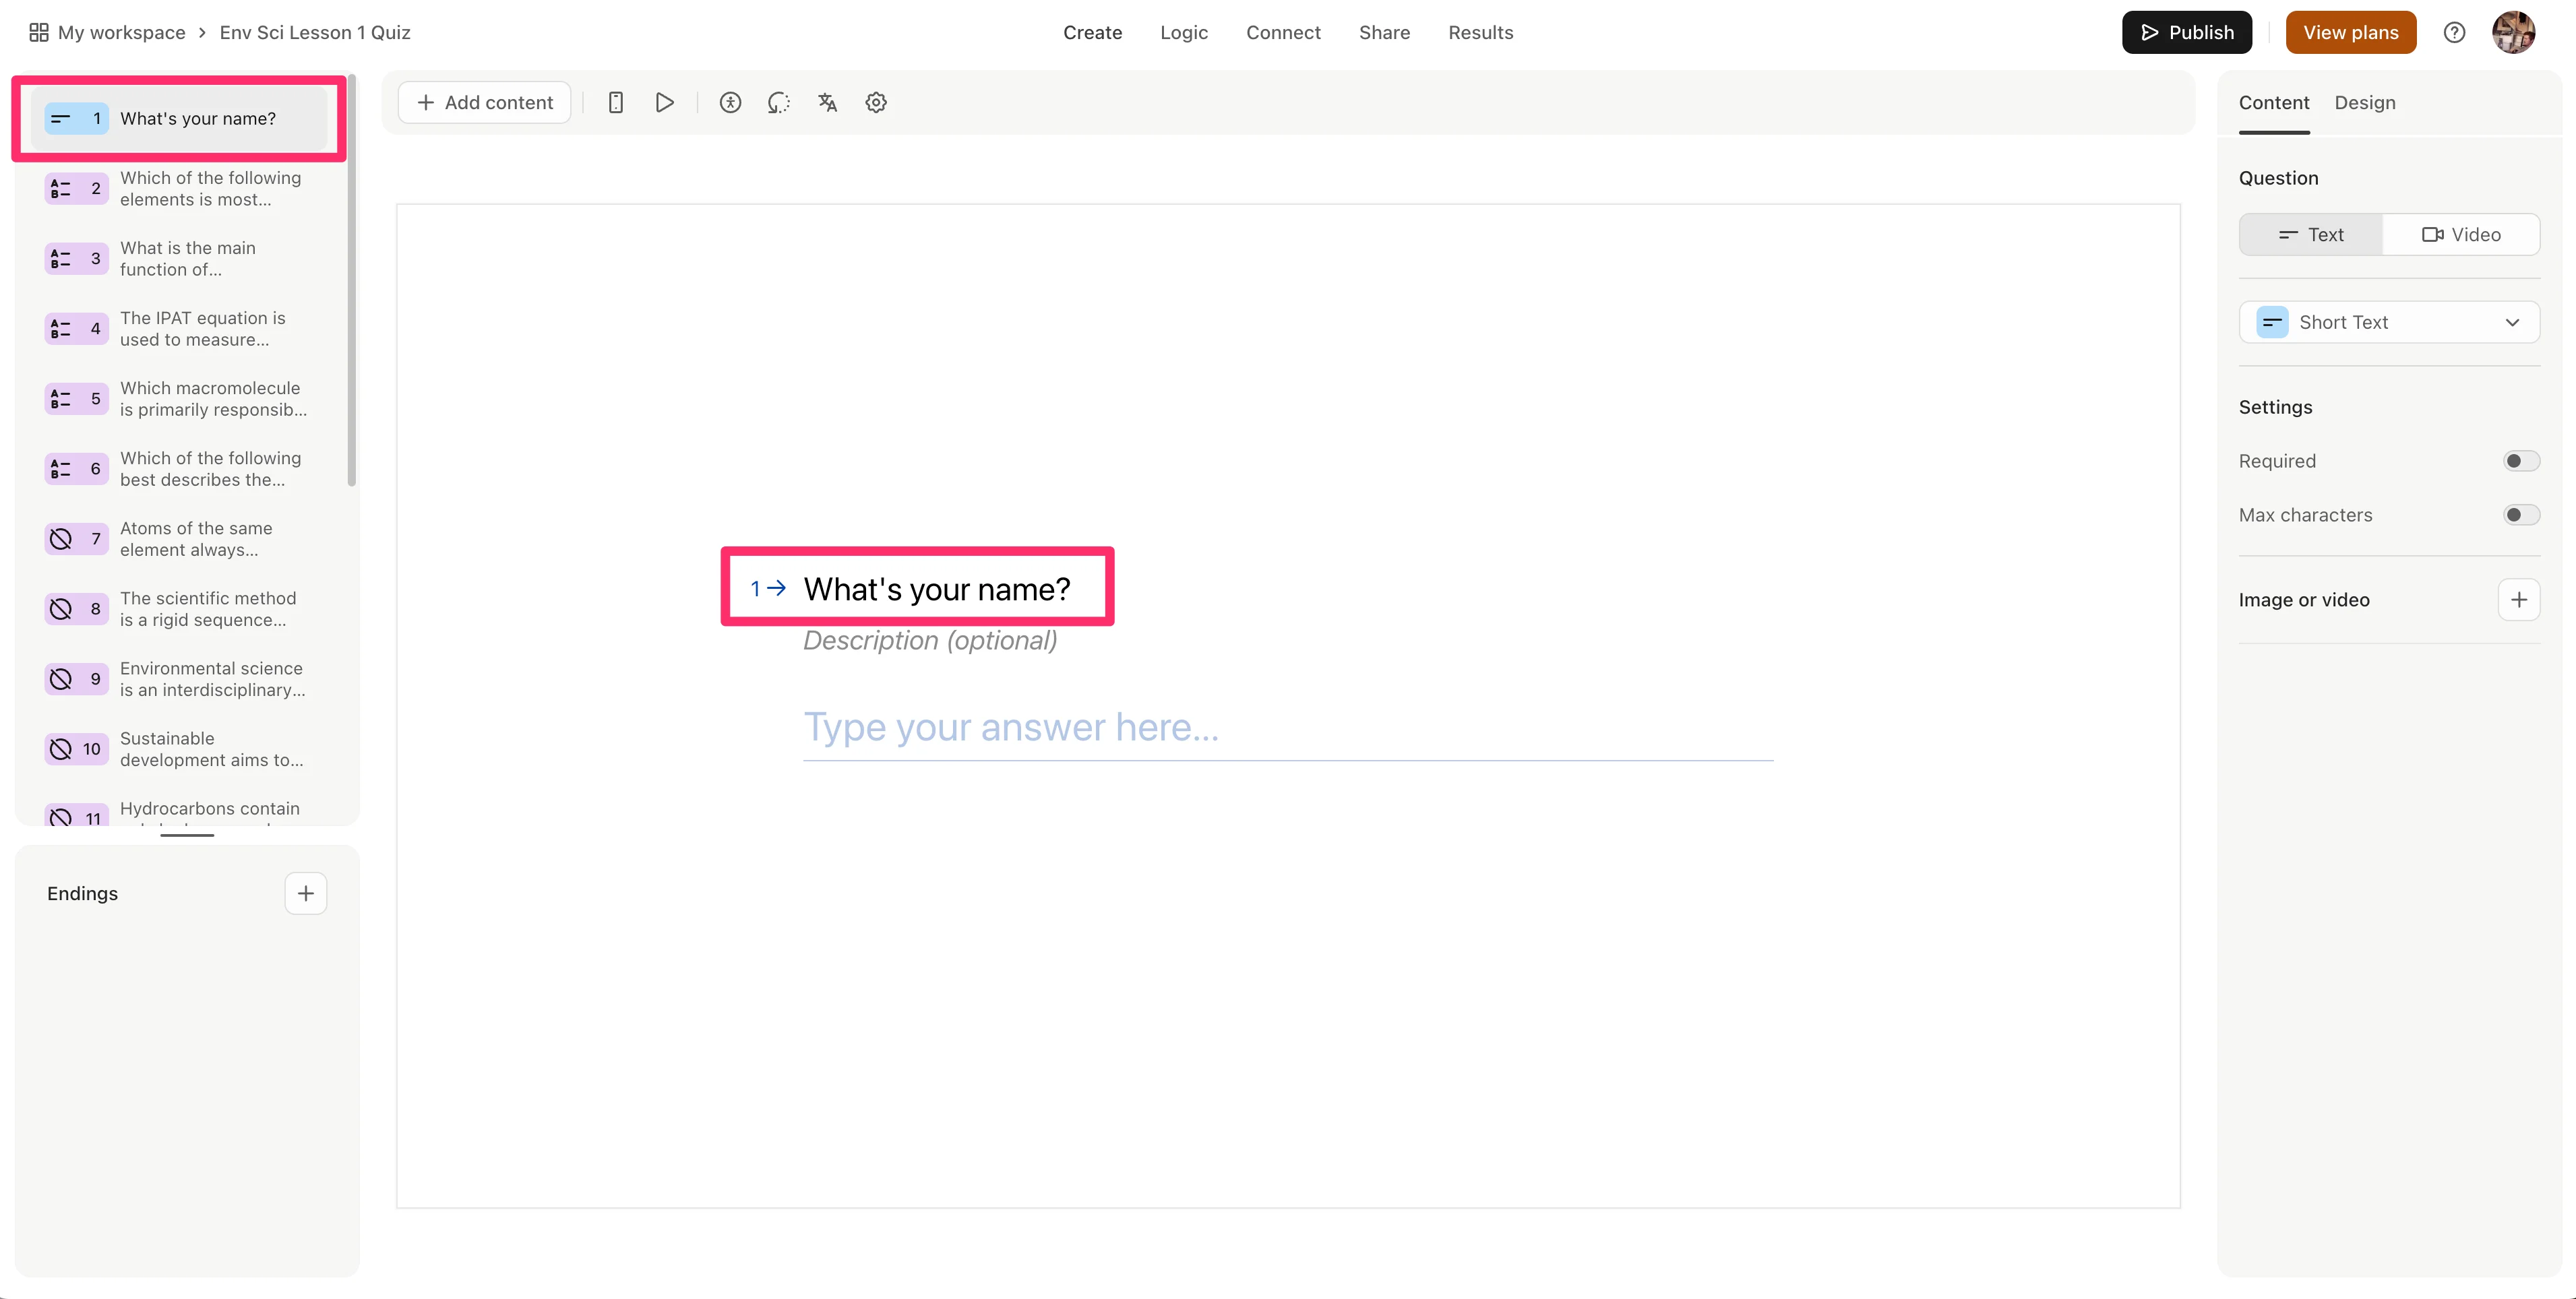
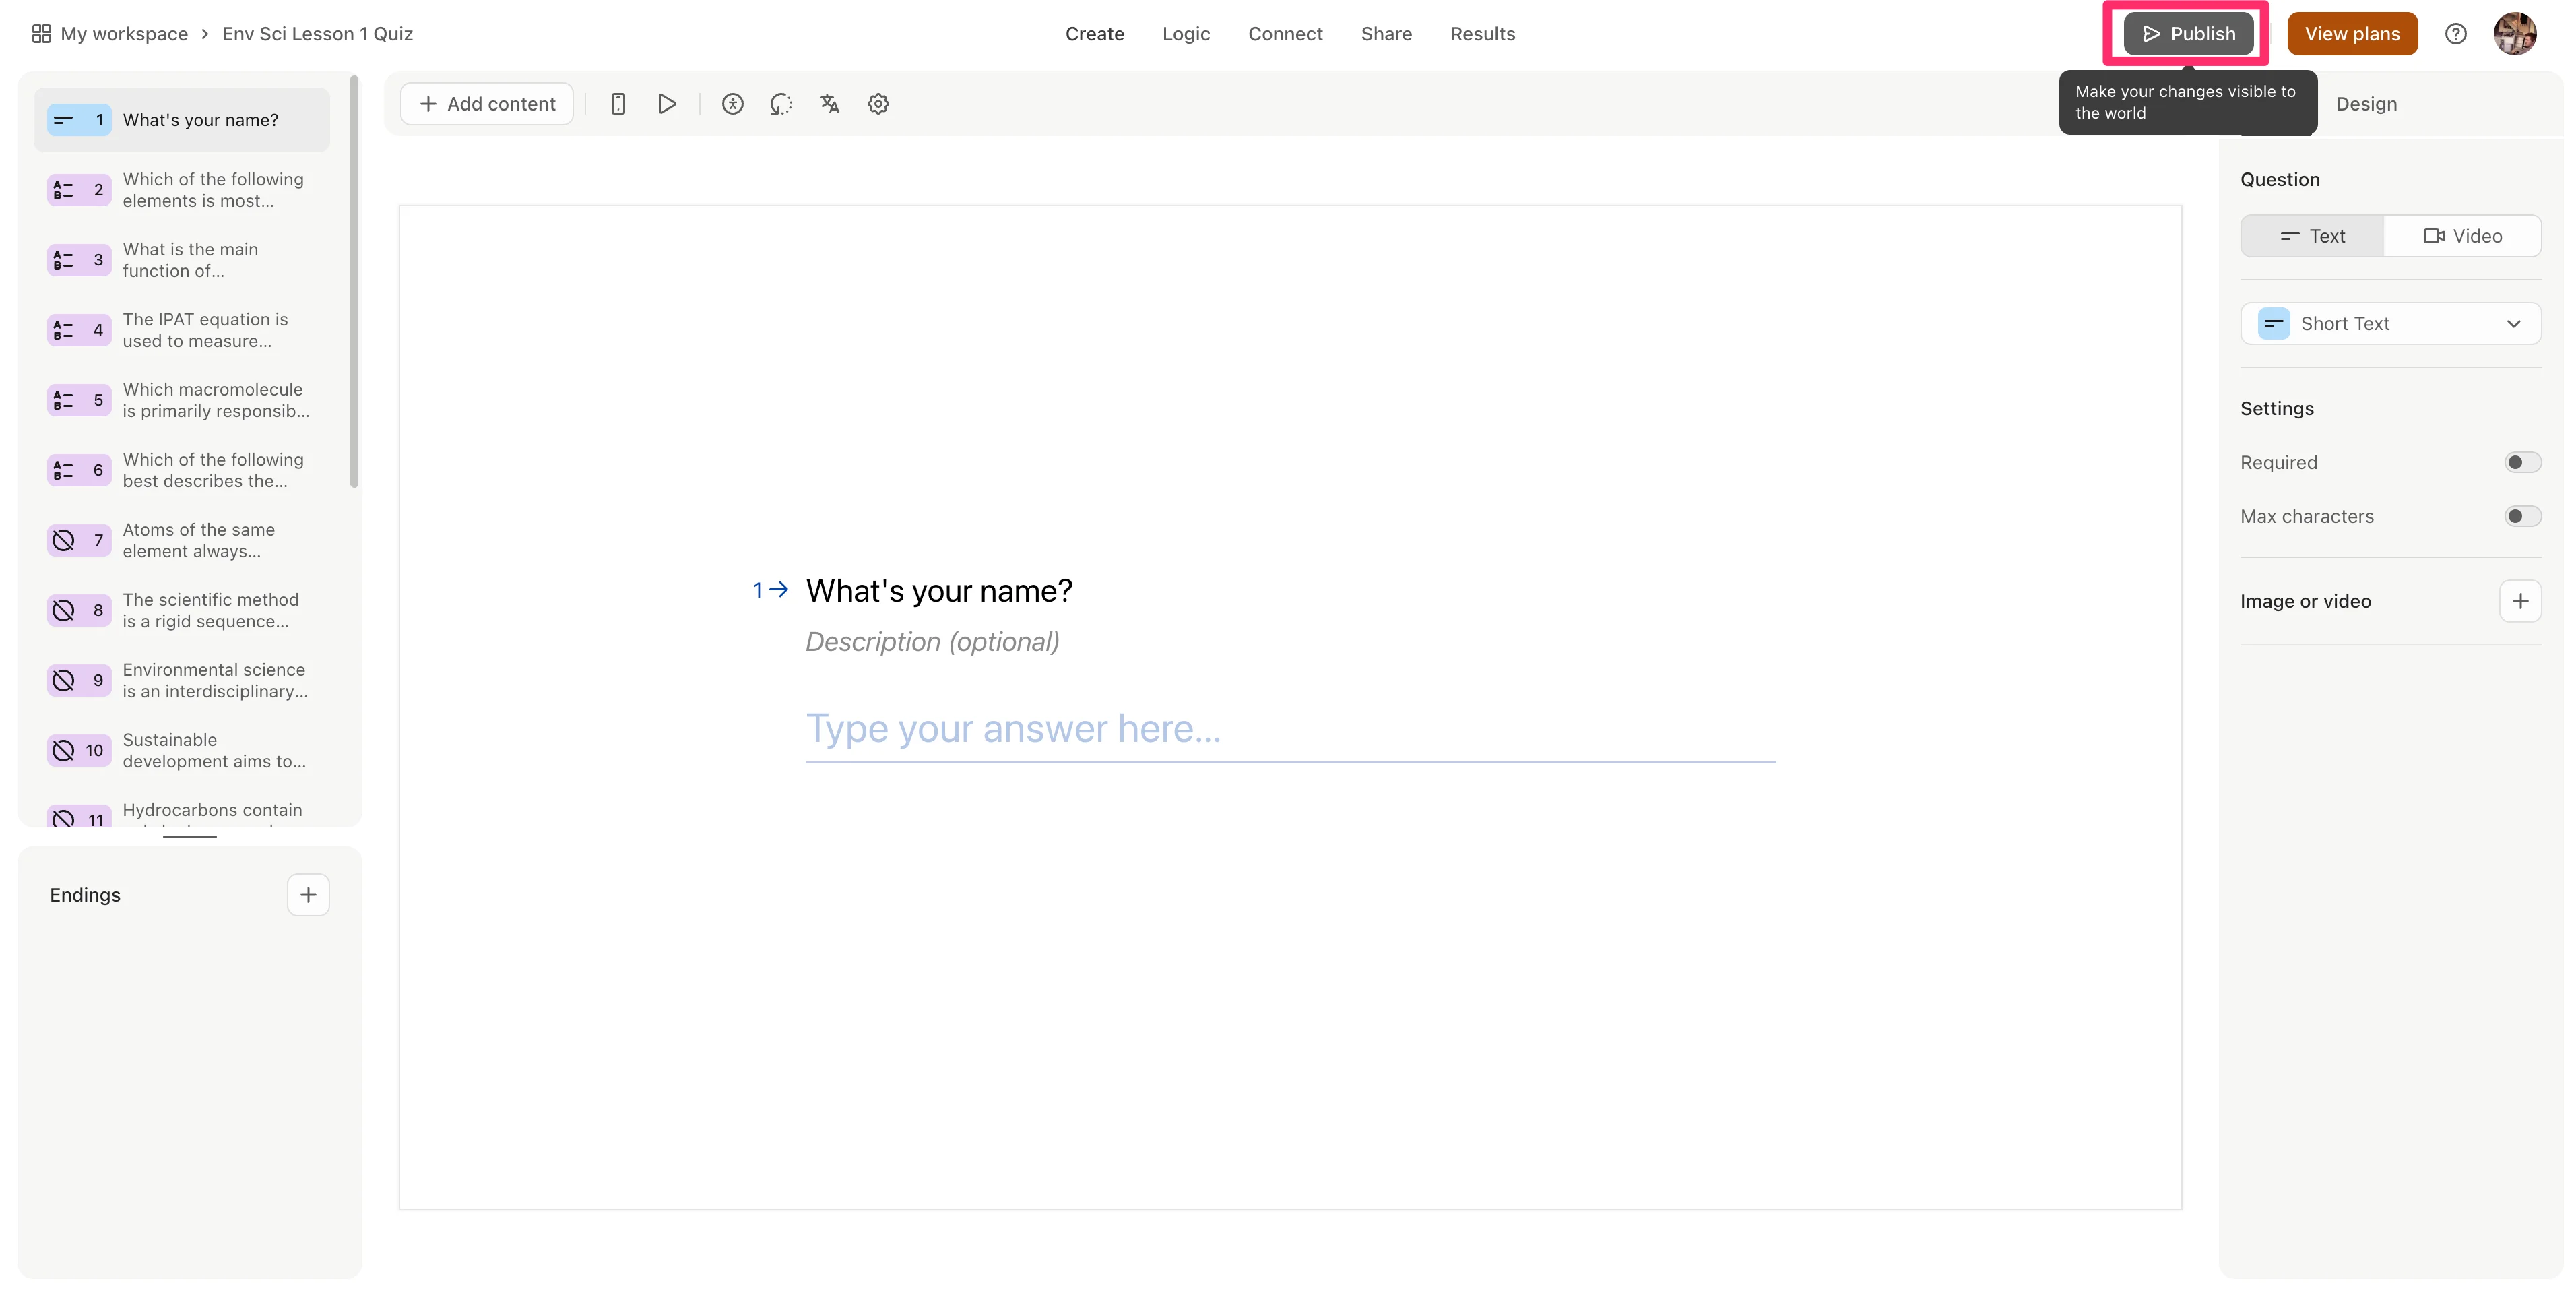
Update the question text to capture the information you need, we’re going to update it to “What’s your name?”. Then, click and drag the question to the top of the list of questions in the left-side question outline. This will make this question the first in the quiz.
Once your quiz is finalized, click the “Publish” button in the top right corner of the screen.
Grade quiz submissions
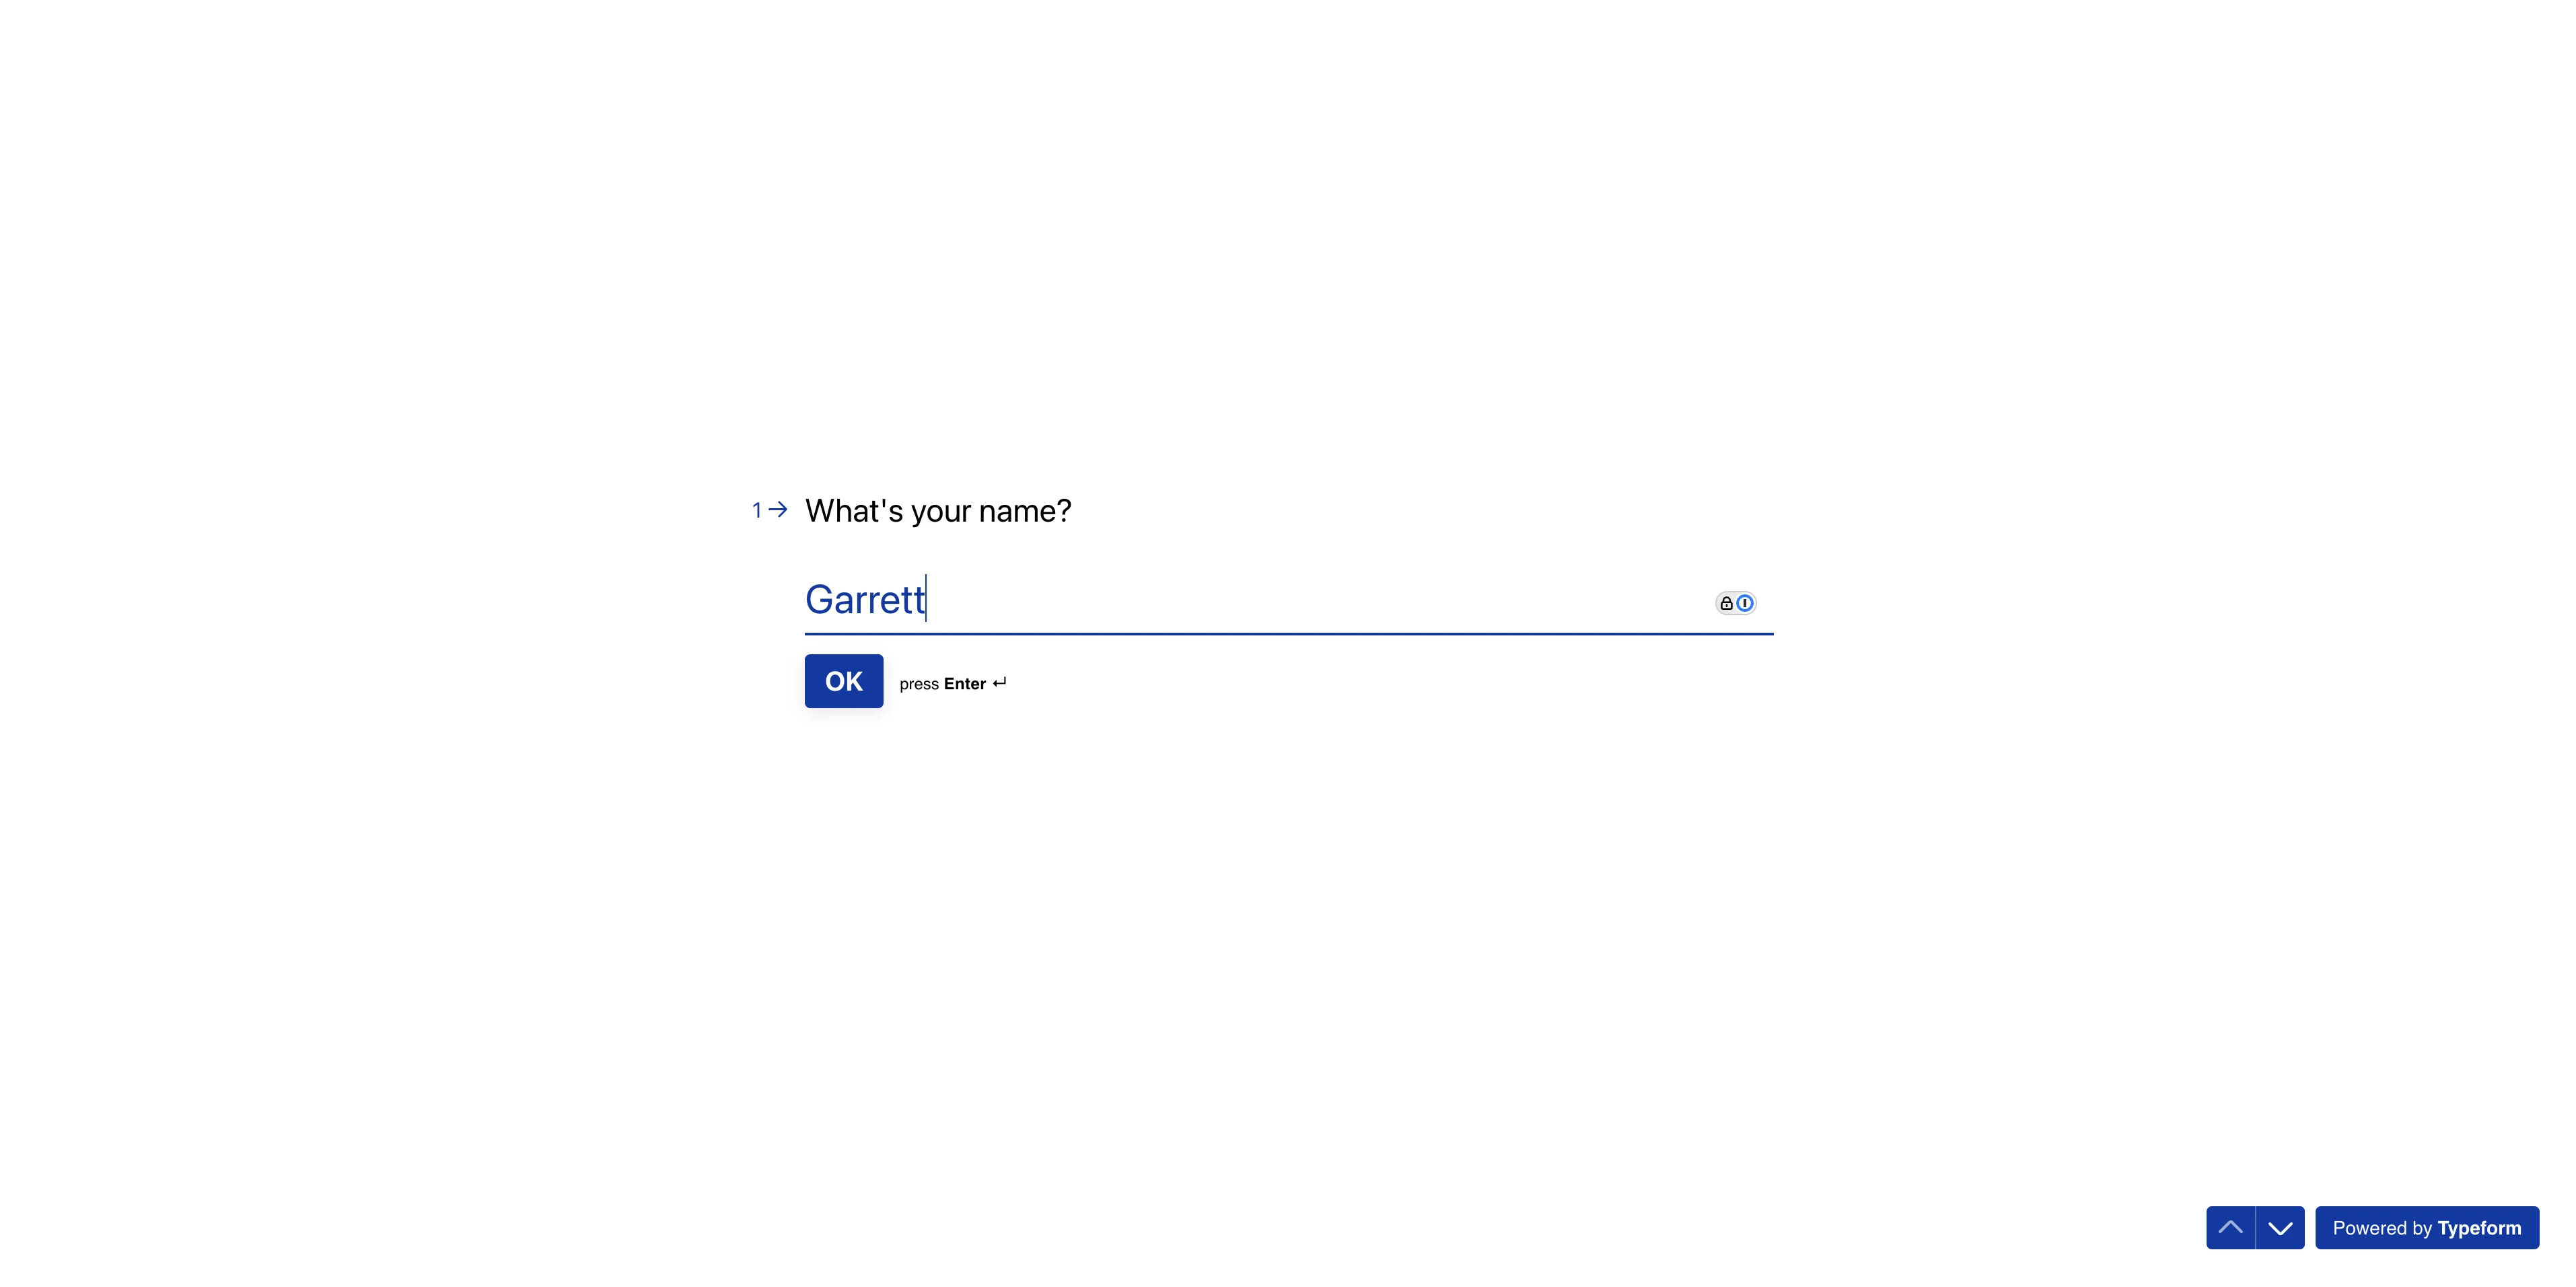
Now that our quiz is published, we can submit a test quiz so we can create an automated grading workflow. To do this, open the form on a new screen and complete the quiz.
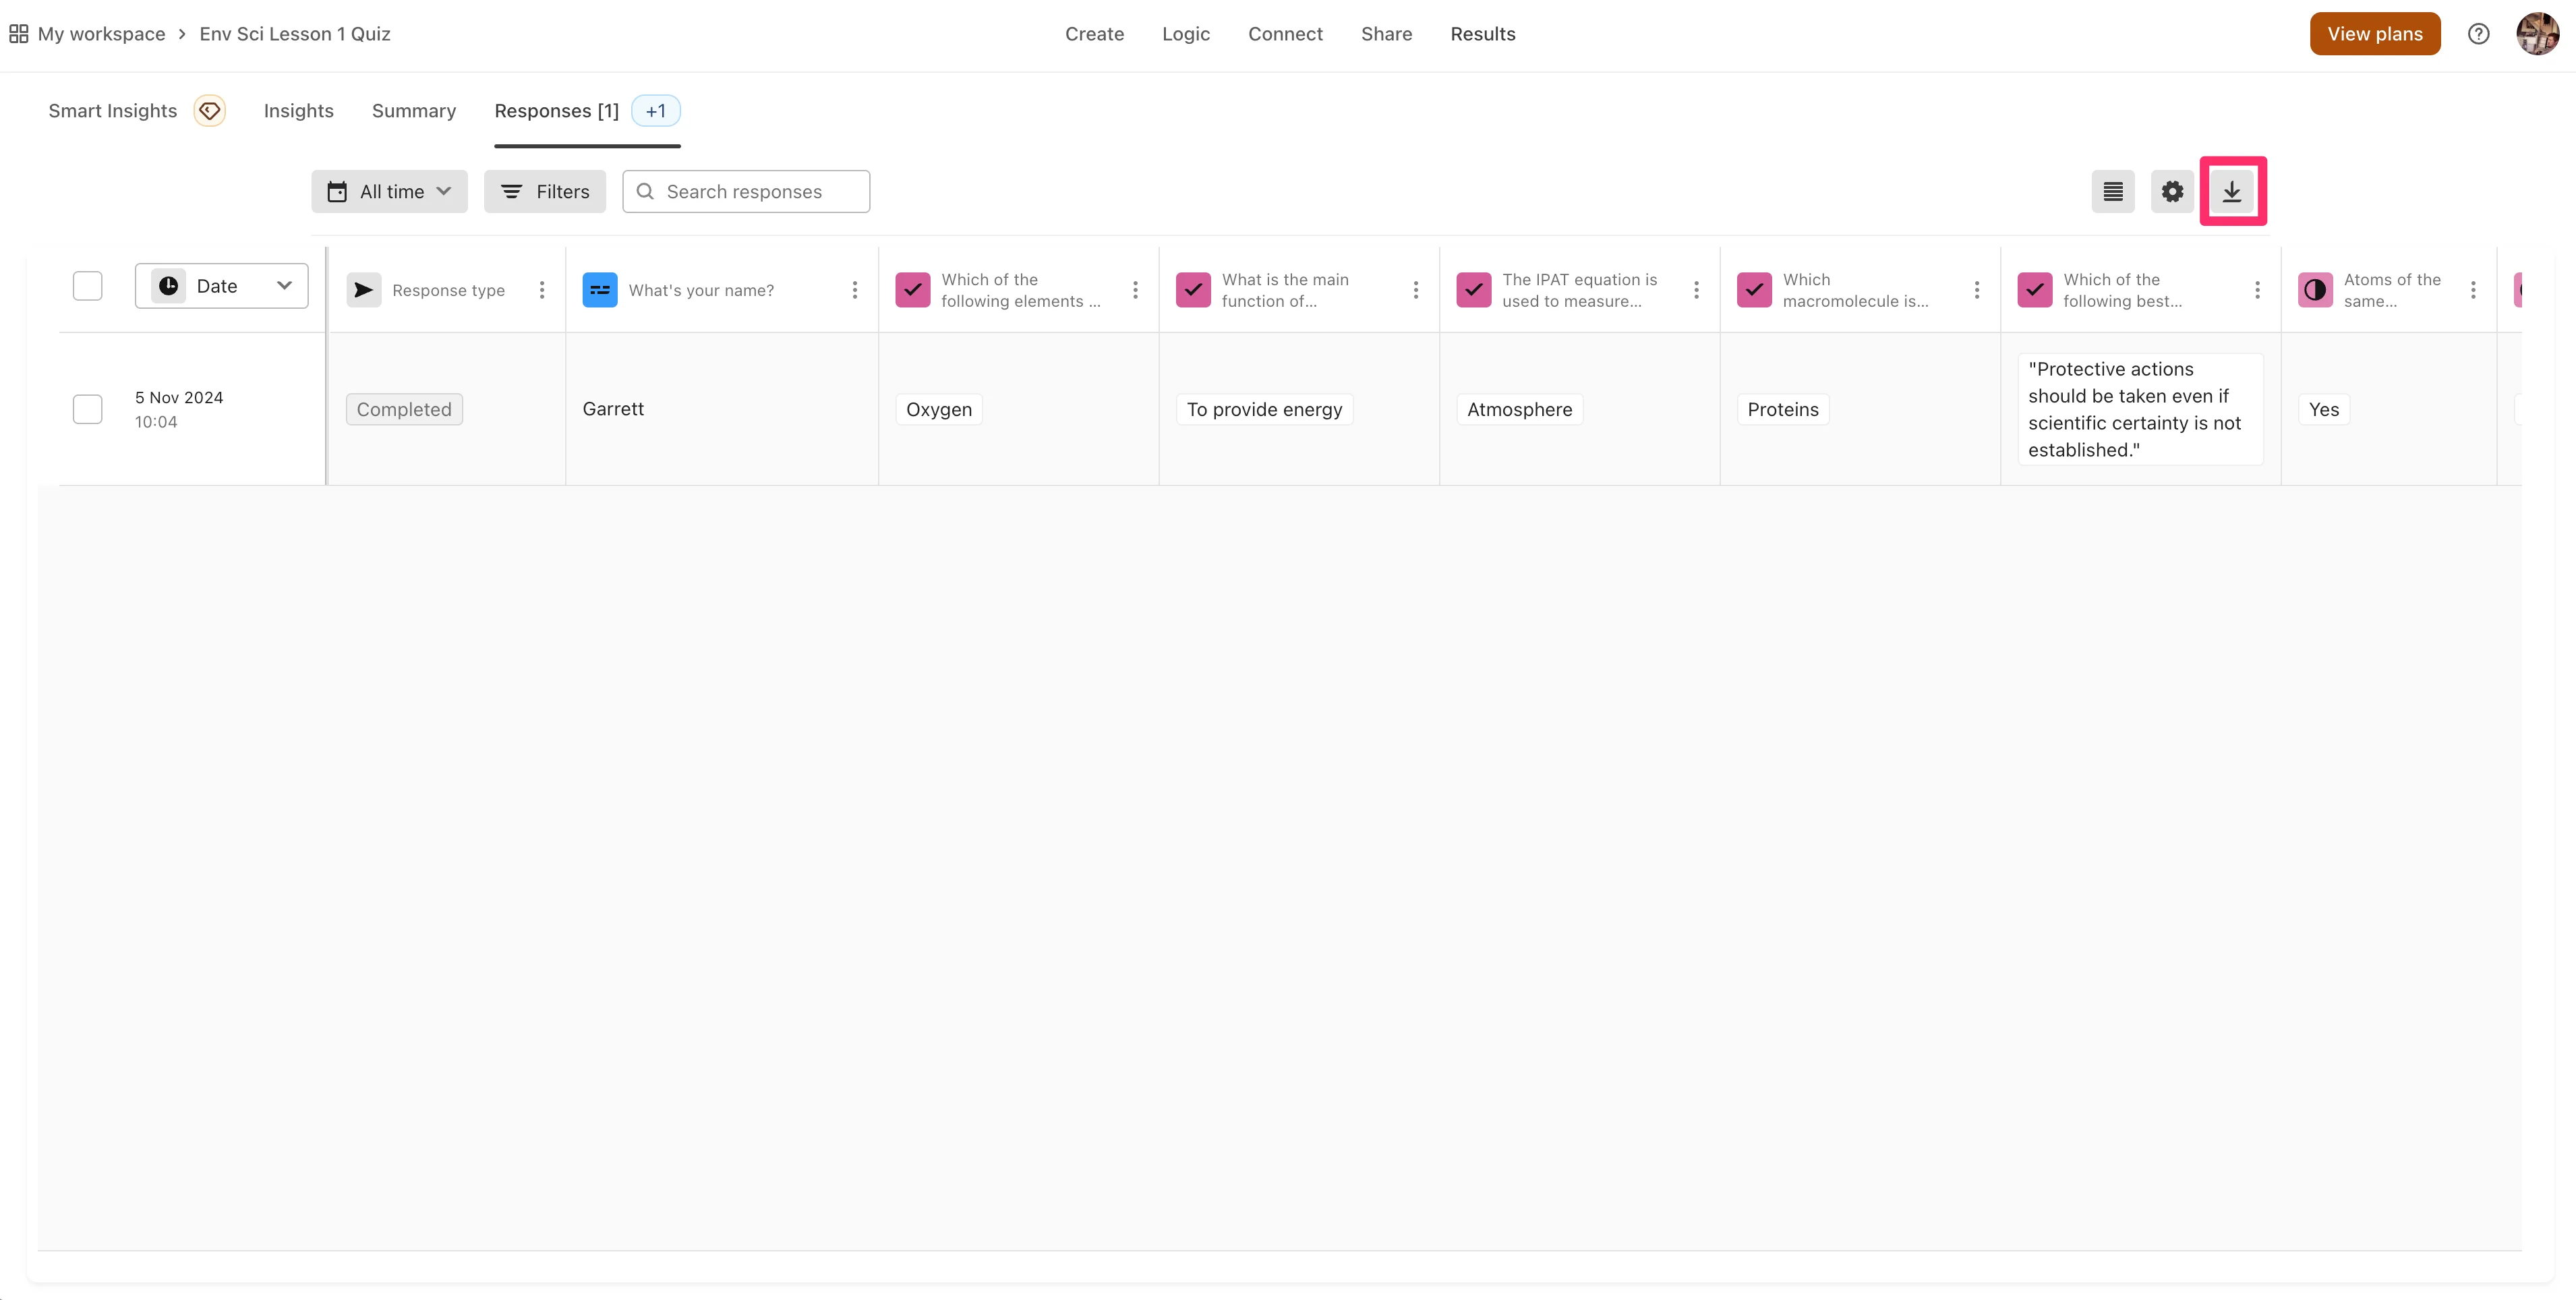
Once you’ve completed a submission, back in the Typeform form builder page, click on the “Results” tab. You should see your test submission. Click the download button in the top right corner.
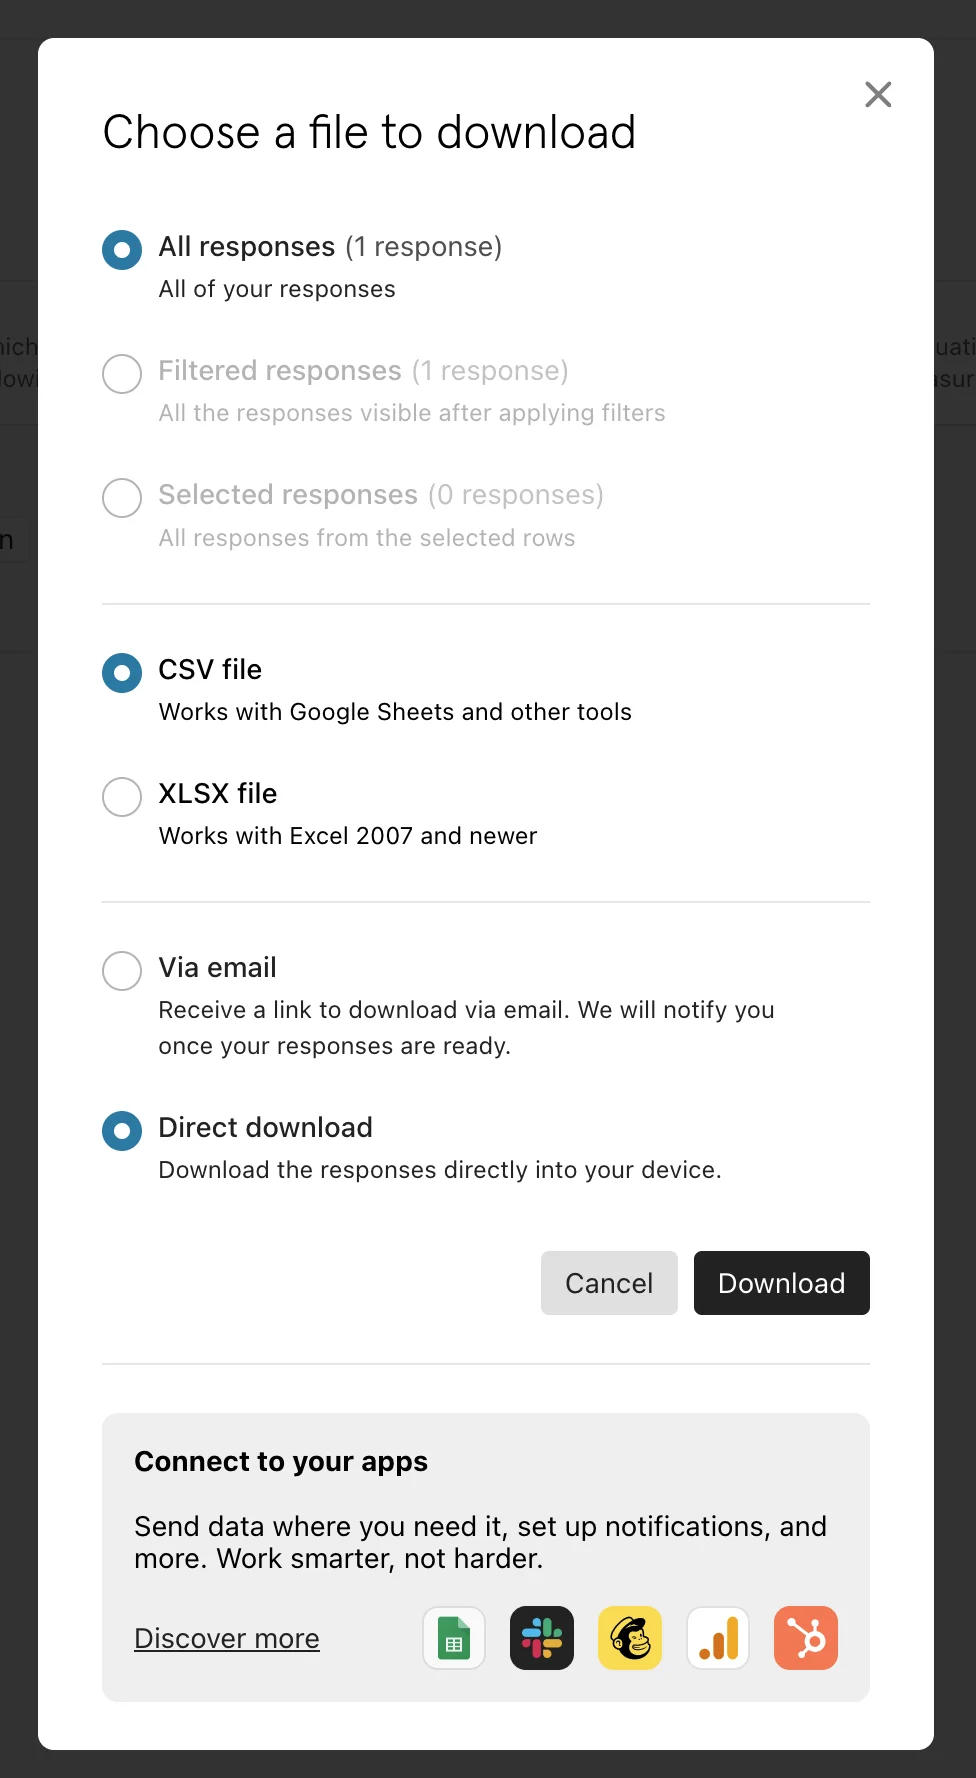
Select your preferred download options in the resulting pop-up window and download the file.
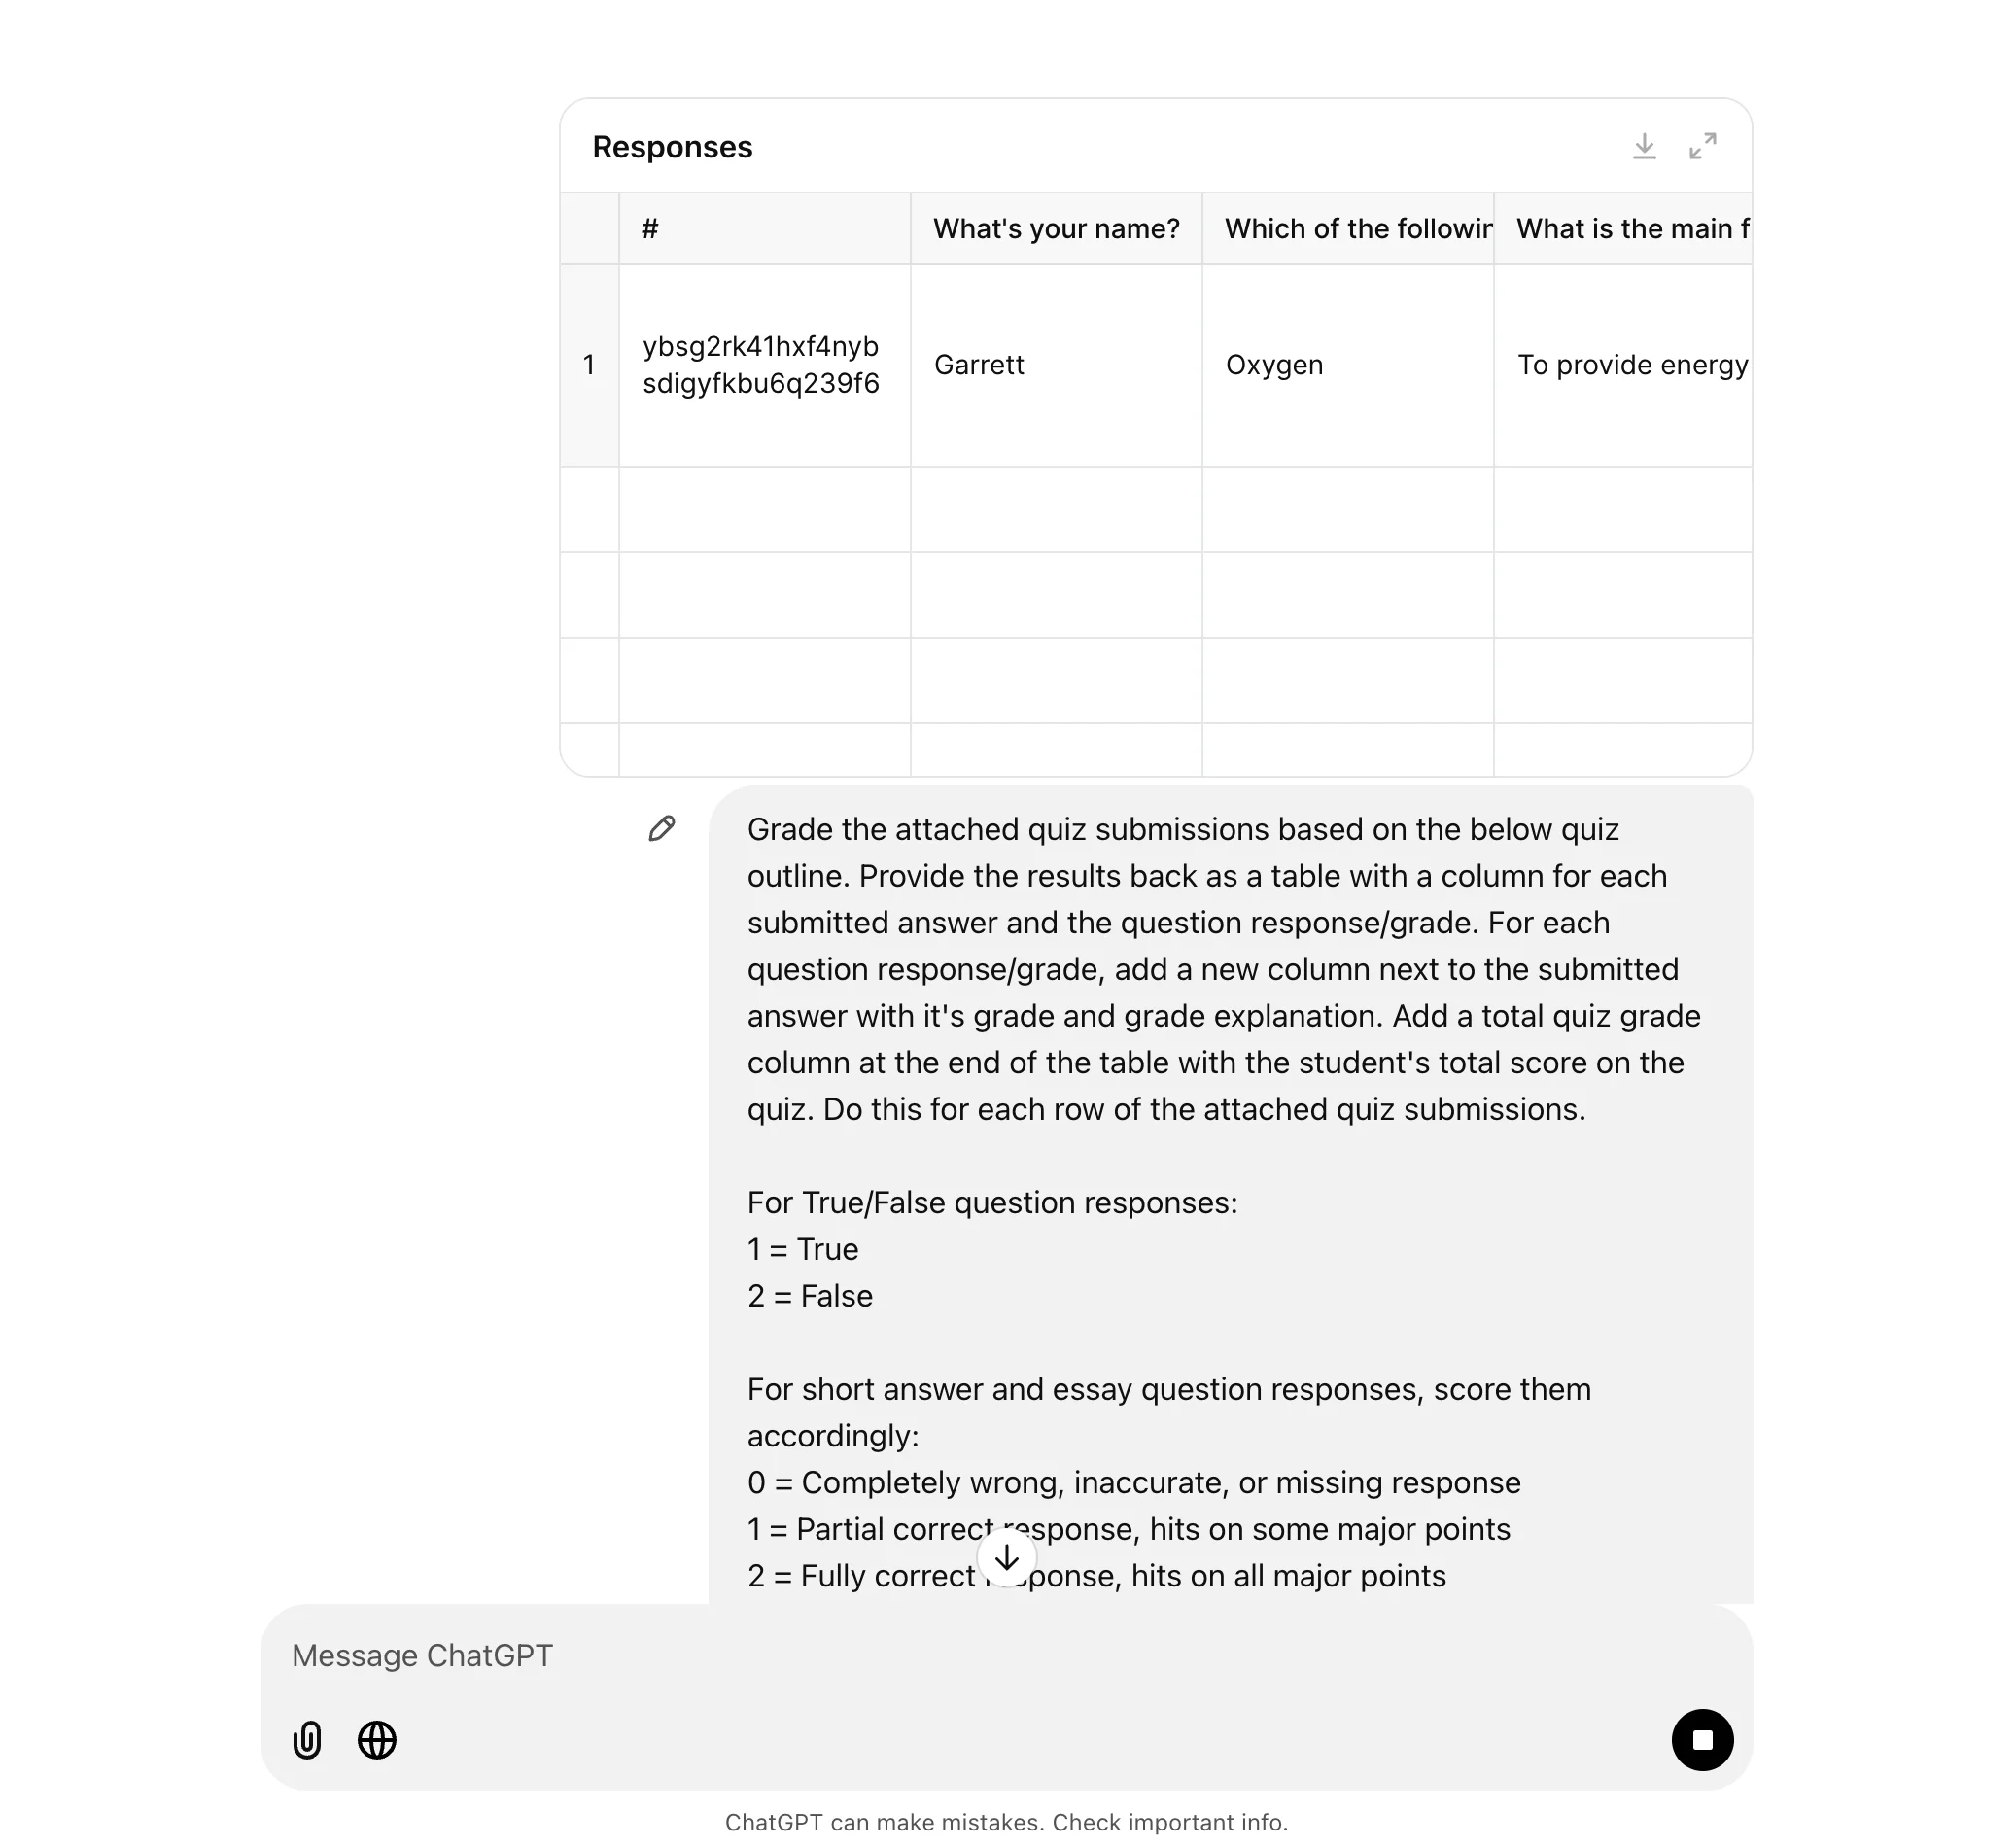
Then, we’ll navigate to ChatGPT to have it grade our quiz submissions. To do this, we’ll provide clear instructions on how ChatGPT should grade the quiz submissions, we’ll upload the quiz submissions file from Typeform, and we’ll paste our initial quiz outline from ChatGPT at the bottom of the prompt so it has a rubric to grade the quizzes.
Sample Prompt:
Grade the attached quiz submissions based on the below quiz outline. Provide the results back as a table with a column for each submitted answer and the question response/grade. For each question response/grade, add a new column next to the submitted answer with it's grade and grade explanation. Add a total quiz grade column at the end of the table with the student's total score on the quiz. Do this for each row of the attached quiz submissions.For True/False question responses:
1 = True
2 = False
For short answer and essay question responses, score them accordingly:
0 = Completely wrong, inaccurate, or missing response
1 = Partial correct response, hits on some major points
2 = Fully correct response, hits on all major points
[attach quiz results file]
[insert quiz outline]
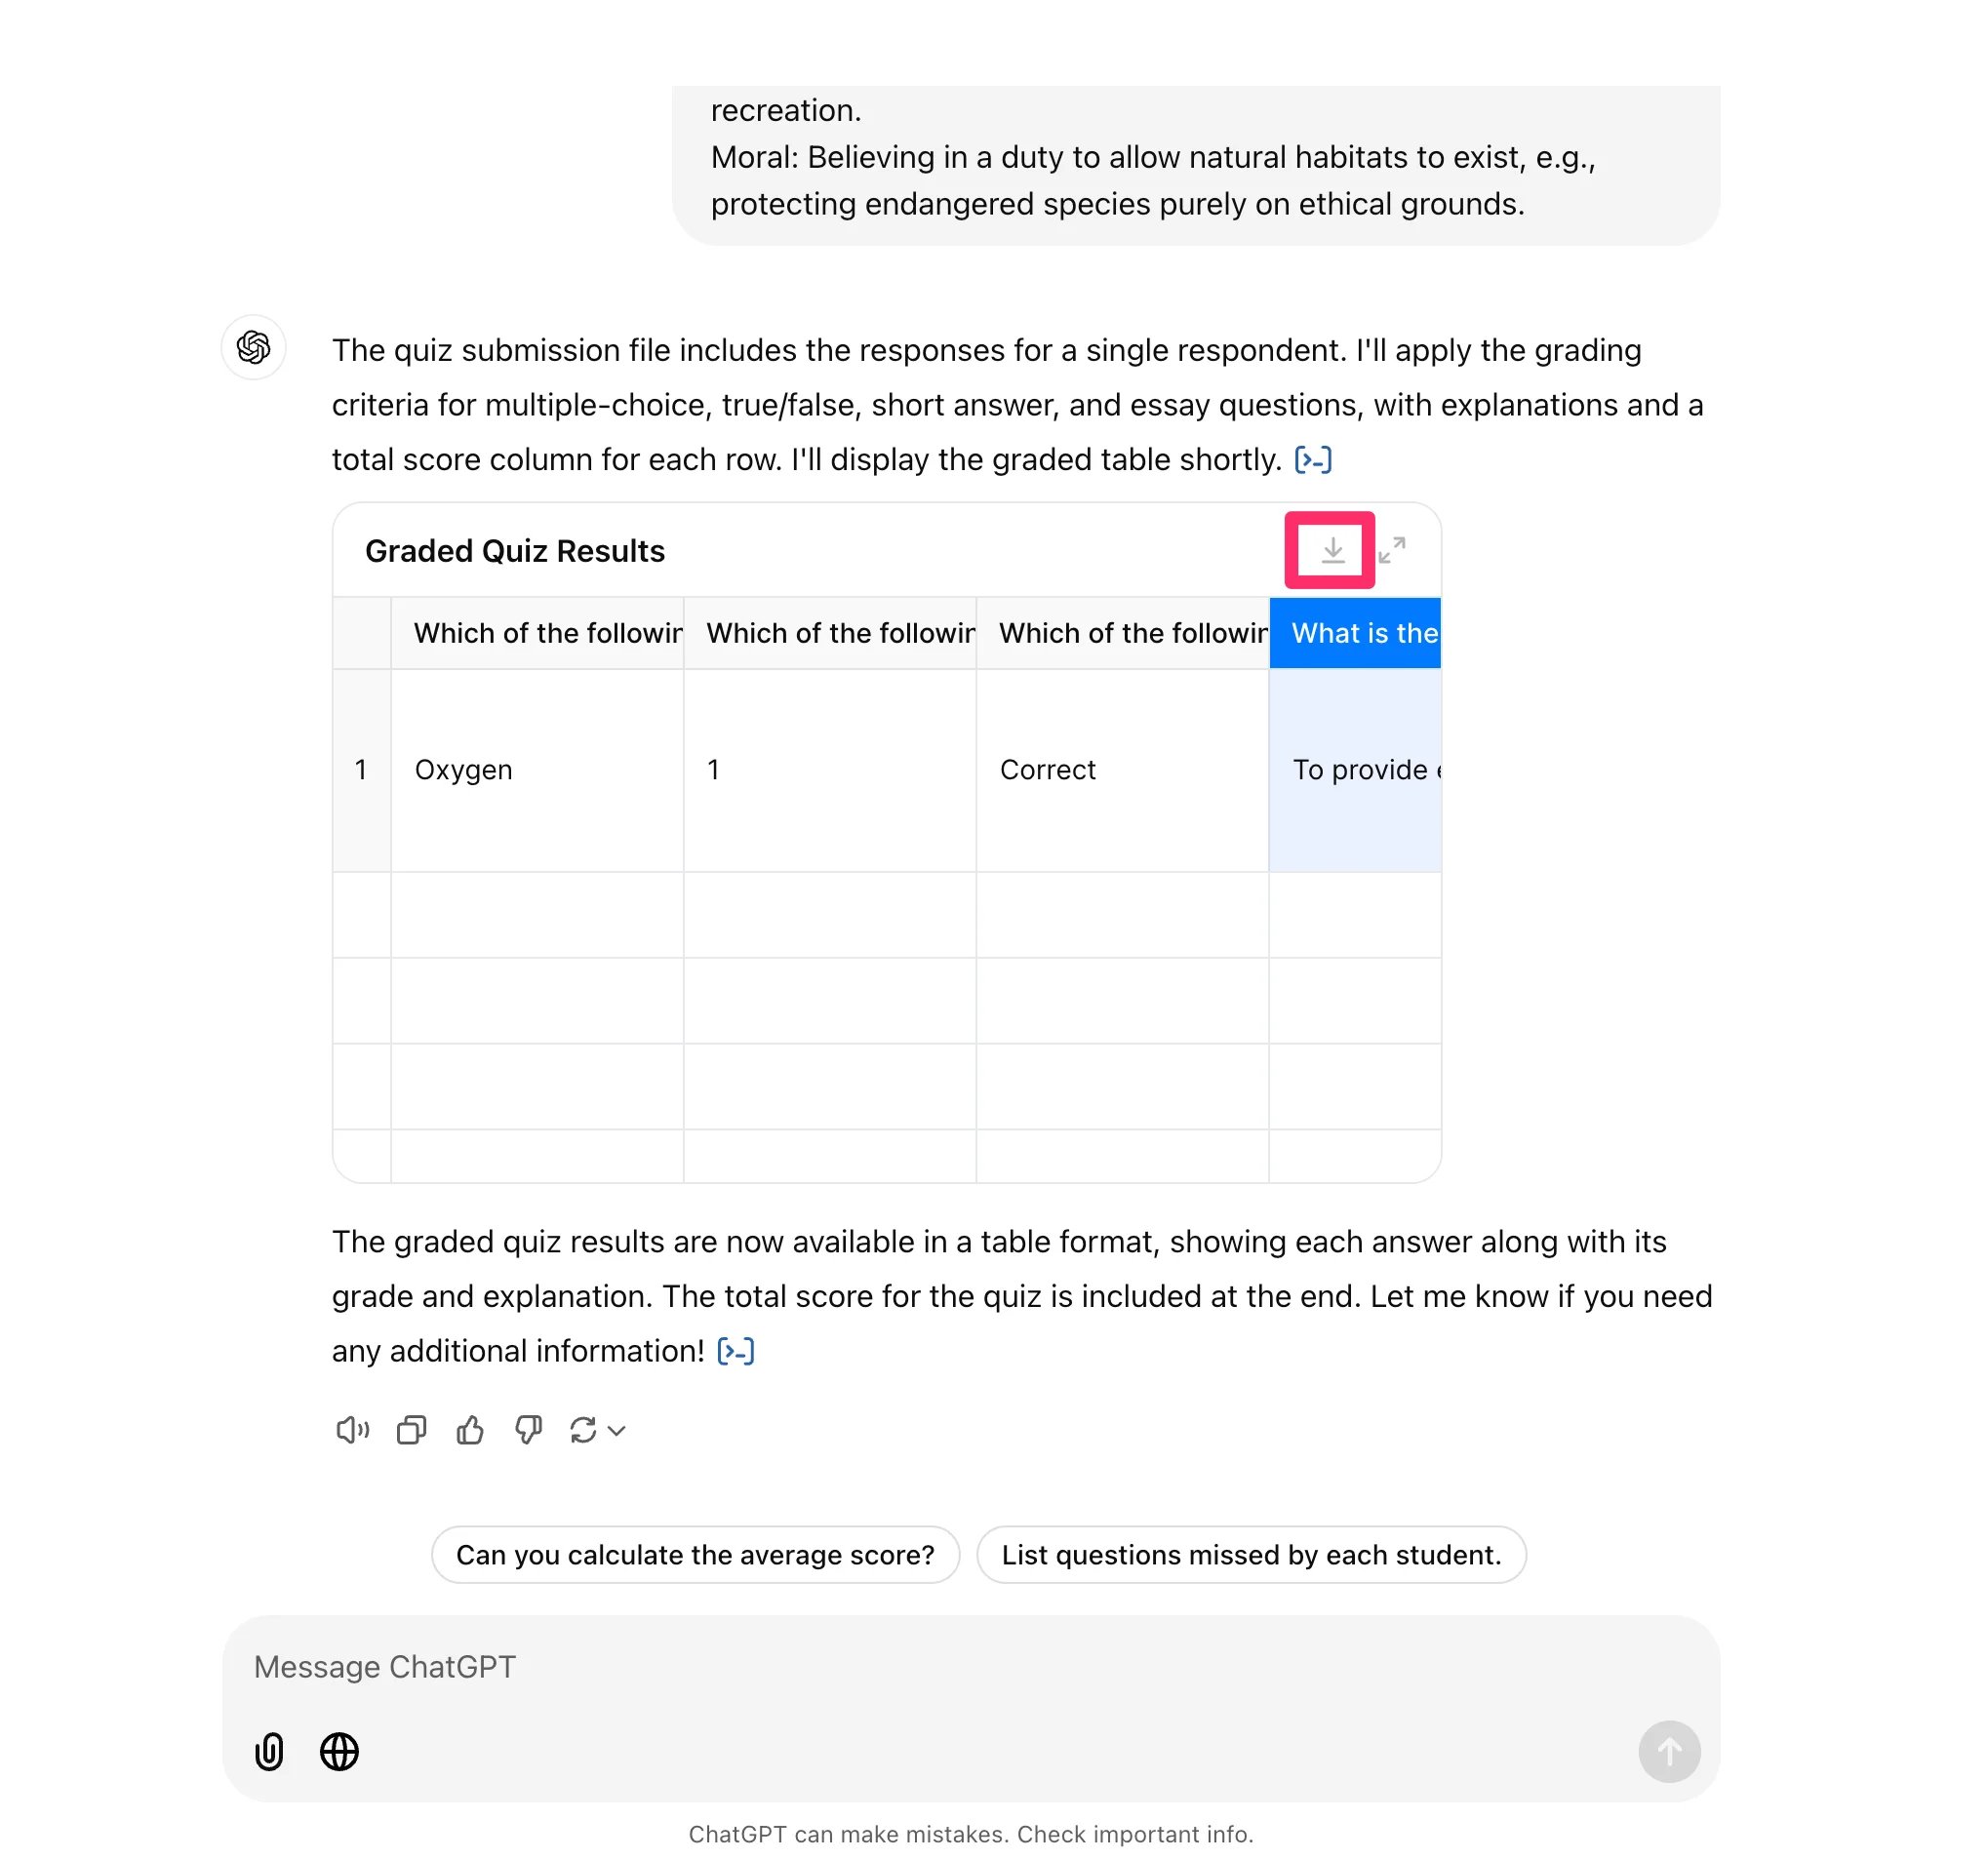
If you followed our prompt, ChatGPT will respond with a table that includes the quiz submissions, a column with the grade for each question, a column for the rationale for the grade for each question, and a total quiz grade. You can click the download icon to download the results as a CSV file, which you can review in a tool like Excel or Google Sheets.
And that’s it! You now have a process to go from a quiz outline to an interactive digital quiz in Tyeform, and a workflow to speed up the grading process with ChatGPT.
In the next lesson of the course, you’ll learn how to develop an AI assistant chatbot, trained on course material, that you can share with your students to assist them with their studies.
This tutorial was created by Garrett.