Create stylized team headshots in bulk
How to bulk-create stylized team headshots using Photoroom.
2024-11-13
With Photoroom's AI-driven tools, you can effortlessly create high-quality, stylized team portraits on a signifcantly smaller budget compared to using a professional studio.
In this tutorial, we’ll use Photoroom to transform your team's photos. You'll learn how to:
- Upload a portrait, auto-remove the background, and stylize
- Add a branded color background
- Upload a logo
- Turn photo settings into a template
- Bulk process your team’s photos
With Photoroom, creating polished team portraits is easier and faster than ever.
Step 1: Upload a portrait, auto-remove the background, and stylize
To get started, go to Photoroom and create an account. Note, that to perform some of the steps in this tutorial, you’ll need a Pro account, but you can start with a 7-day free trial.

The first thing we want to do is use a single portrait to create a photo style for all of the team photos we will batch-process with Photoroom.
To do this, we’ll start by uploading a single portrait photo. Click the “Select a photo” button on the Create page in Photoroom to do this.

When you upload your photo, you’ll notice that Photoroom automatically separates the portrait image from the background, creating separate layers for each of these objects. It will also update the background to a white color.
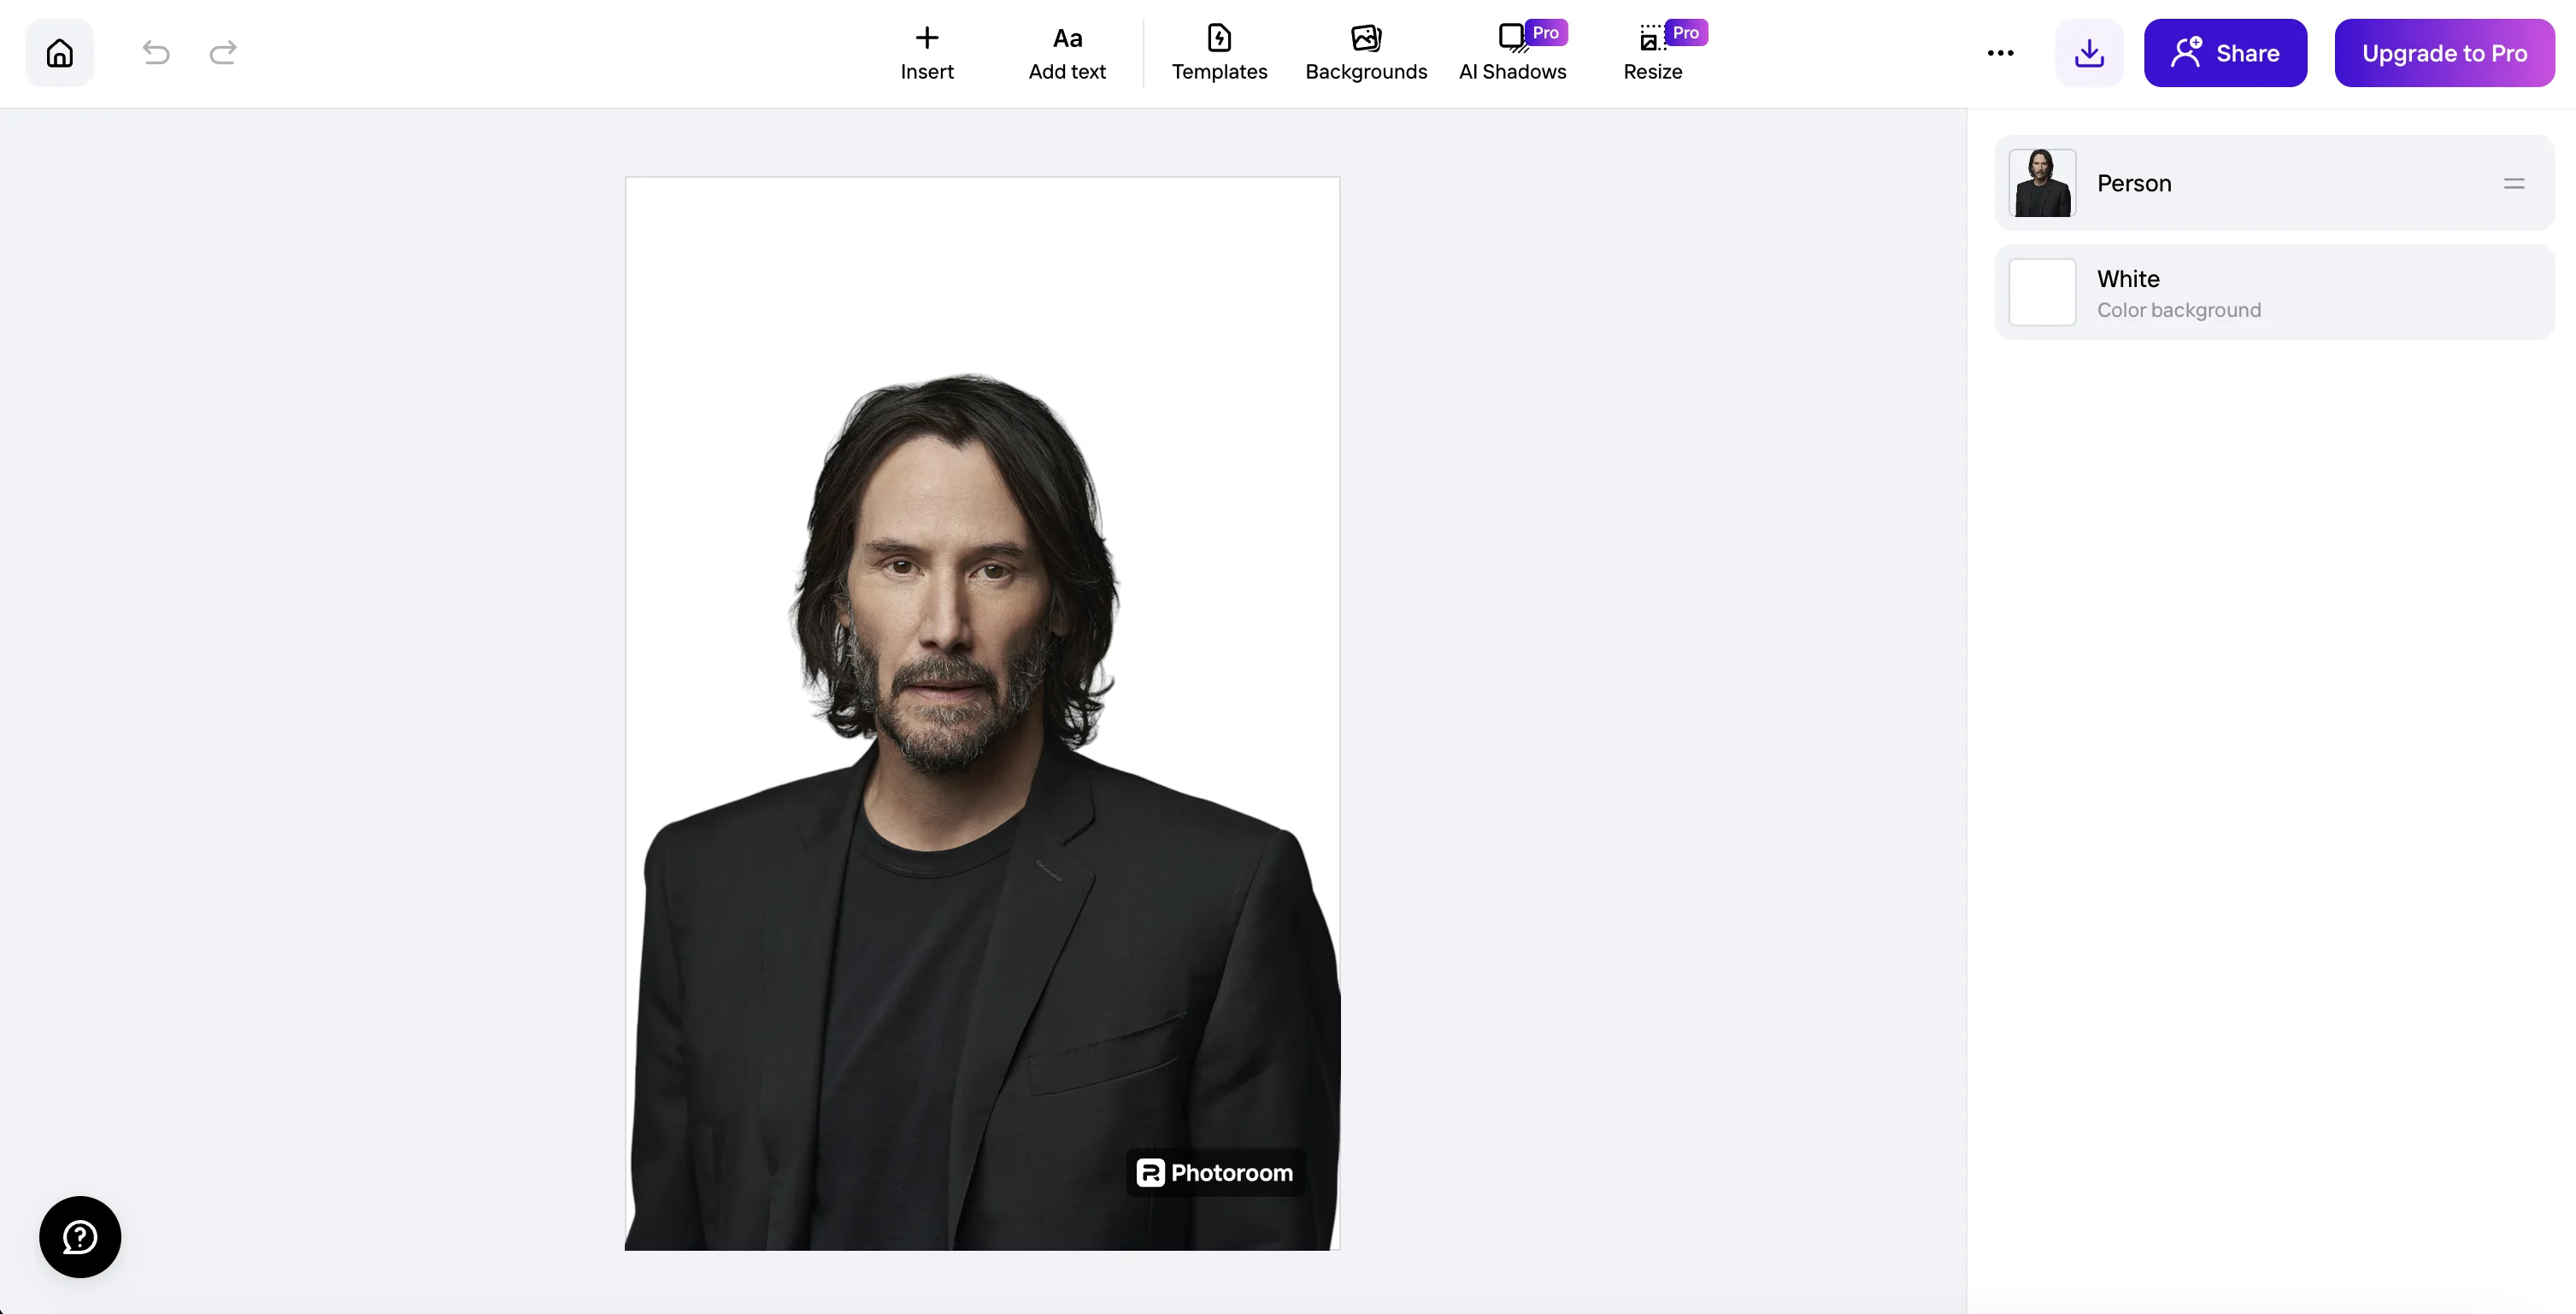
To stylize the portrait, you can click on the “Person” layer in the right-side panel.
.webp)
We’re going to set our portrait to black and white. To do this, click on the “Filter” toggle and select the “Mono” option.
.webp)
Step 2: Add a branded color background
Now that our portrait is stylized, we can update the background to match our brand. To do this, click the Templates tab in the top navigation.
.webp)
Photoroom will provide a list of pre-set themes in the right-side window, including location backgrounds and various textures. You can select one of these themes to see a range of stylistic options within that theme.
We’re going to scroll to the “Profile Pics” section and select a red-colored circle background.
.webp)
Step 3: Upload a logo
Now that our portrait is stylized and we have a branded background, we’re going to upload our logo to the portrait. To do this, click the “Insert” tab in the top navigation.
.webp)
Then, click the “select an image” option from the right-side panel.
.webp)
We’ve uploaded the Ben’s Bites logo. As you can see, it doesn’t look right. That’s because Photoroom automatically tried to cut out the background from the logo. We can fix this by clicking the “Edit Cutout” button in the right-side panel.
.webp)
Then, select the “No cutout” option in the pop-up window and apply this setting.
.webp)
Now that our logo is looking good, we can resize it and place it on the portrait.
.webp)
Step 4: Turn photo settings into a template
Now that we have our portrait structure complete, we can turn this design into a template. We can create the template by clicking the three dots icon in the top right corner of the screen and selecting the “Turn into Template” option.
.webp)
A pop-up will appear where you can name and create your template.
.webp)
Once that’s done, you can navigate back to the Photoroom dashboard, click on the Templates option in the left-side navigation and you should see your newly created template.
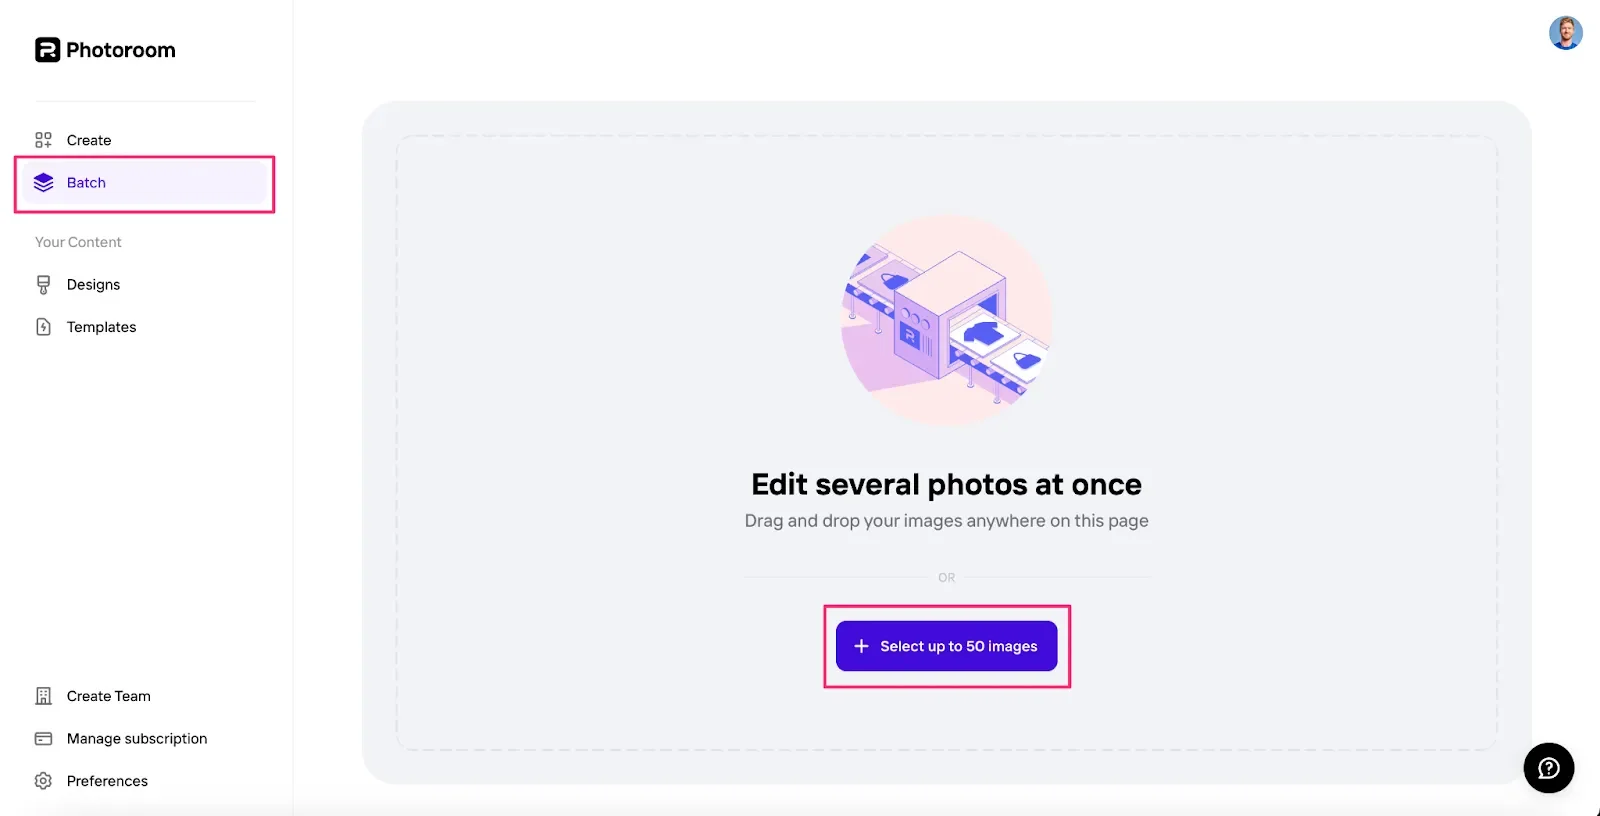
Step 5: Bulk process your team portraits
Now that your template is created, we can bulk-process your team images using that template. To do this, click on the “Batch” button on the left-side navigation and click on the “Select up to 50 images” button.
We’ll select a few portrait photos from our computer. Once the images load in Photoroom, you’ll see that the backgrounds have been removed and replaced with a white background color, just like the single photo editing experience.
.webp)
Now that the images are loaded, we can select our previously made template and apply it to all of our new portraits. To do this, click the “Select template” button and select your recently created template.
.webp)
And voila! All of your team photos will be updated with the newly created template. You can click the “Download your images” button to bulk download all of your updated product images.
.webp)
This tutorial was created by Garrett.