Create your own “talk to PDF” app
Learn how to build a simple app to query PDF documents using Replit and AI.
2024-11-13
You’ve probably seen lots of ‘talk to your PDF’ style apps popping up recently.
They can be costly - so we’re going to show you how you can build your own for pretty much free, using Replit, OpenAI and a tool called LlamaIndex.
In this tutorial you will learn how to:
- Create an app in Replit with LlamaIndex and test it.
- Update the code with Replit’s AI copilot to input your own questions.
- Create a web UI for the app to make it easier to use.
You’ll need:
- Replit account.
- OpenAI Platform account and at least $10 of credit. Note: this is separate from their ChatGPT app.
Let’s see how it’s done.
Step 1: Create an app in Replit with LlamaIndex and test it
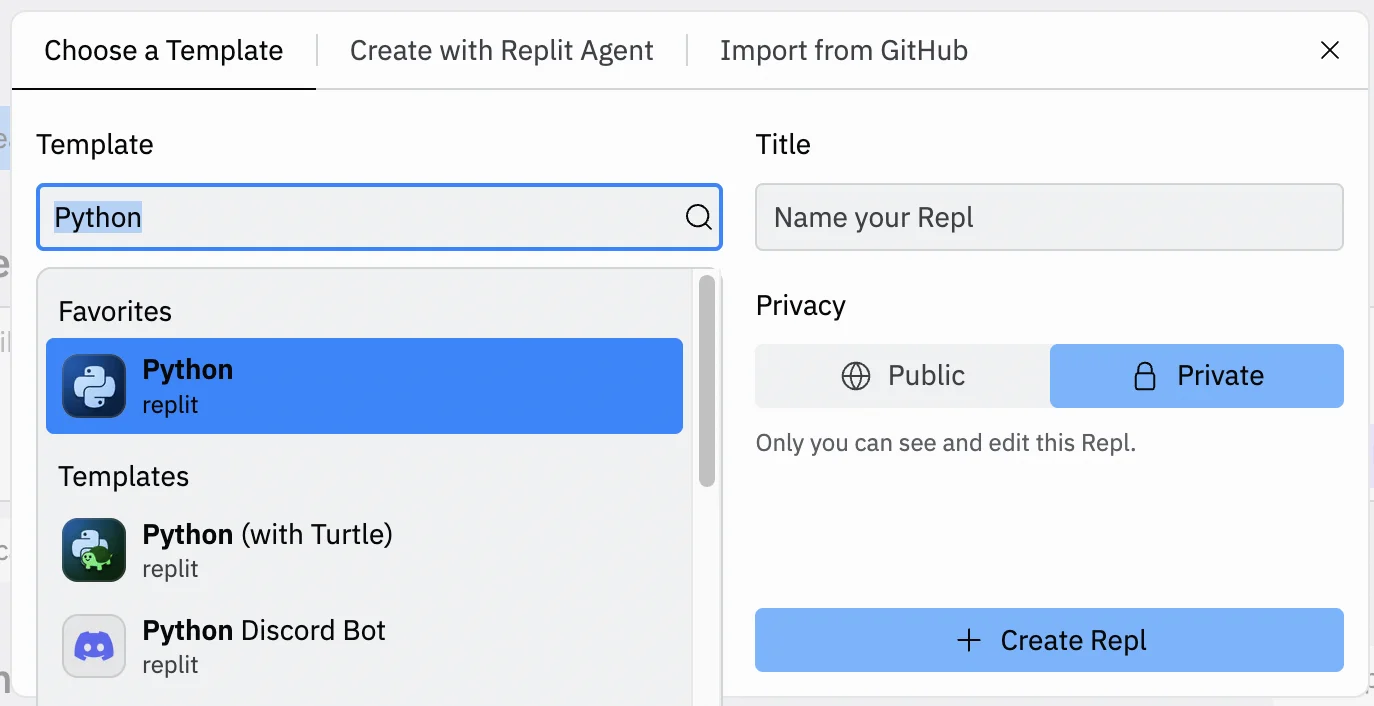
Go to the Replit dashboard and click the “Create Repl” button in the top left corner.
In the panel that appears, select “Python” from the ‘Template’ dropdown and give your Repl a title. You can also decide whether you want it public or private.
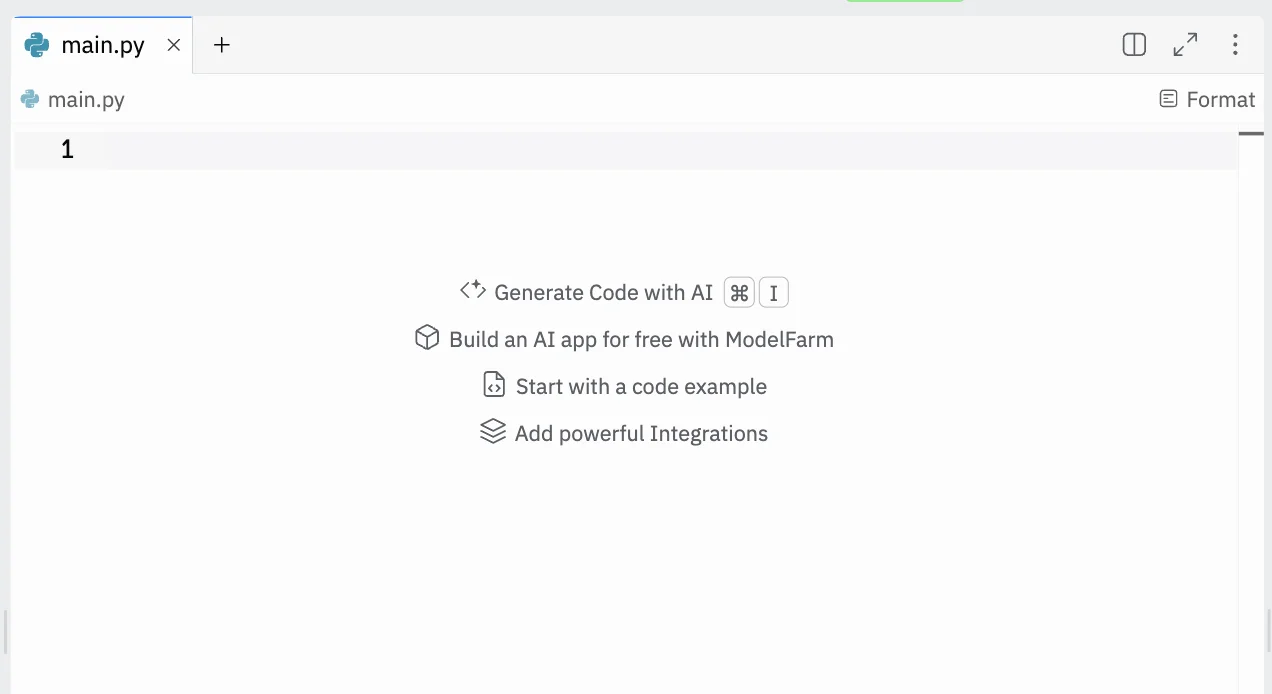
In the centre panel, you’ll see a blank canvas ready for some code.
On the LlamaIndex website, they have a get-started guide that shows you how you can use it to build an app with just 5 lines of code. We’ll be using it: https://docs.llamaindex.ai/en/stable/#getting-started
But before we get to coding, in the right column in Replit, switch to the “Shell” tab, type the following command and press enter.
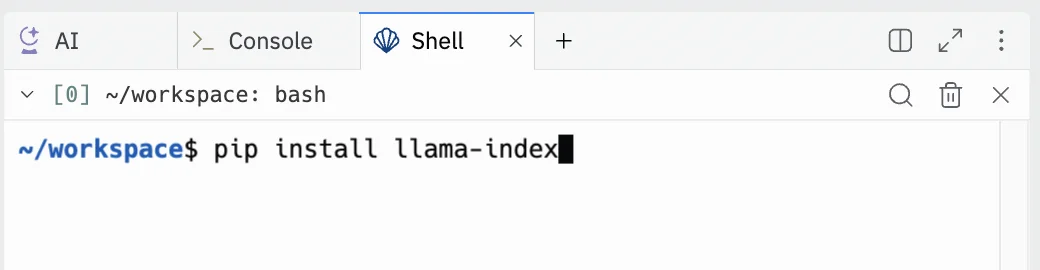
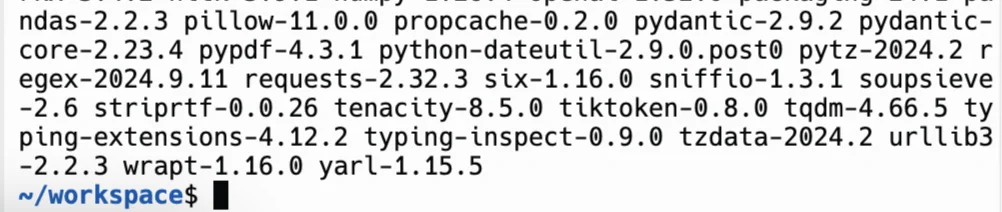
You’ll see a bunch of text appear - this is Replit installing the LlamaIndex app into our project so we can use it.
It’ll take 5-10 seconds to complete and look like this when it’s done.
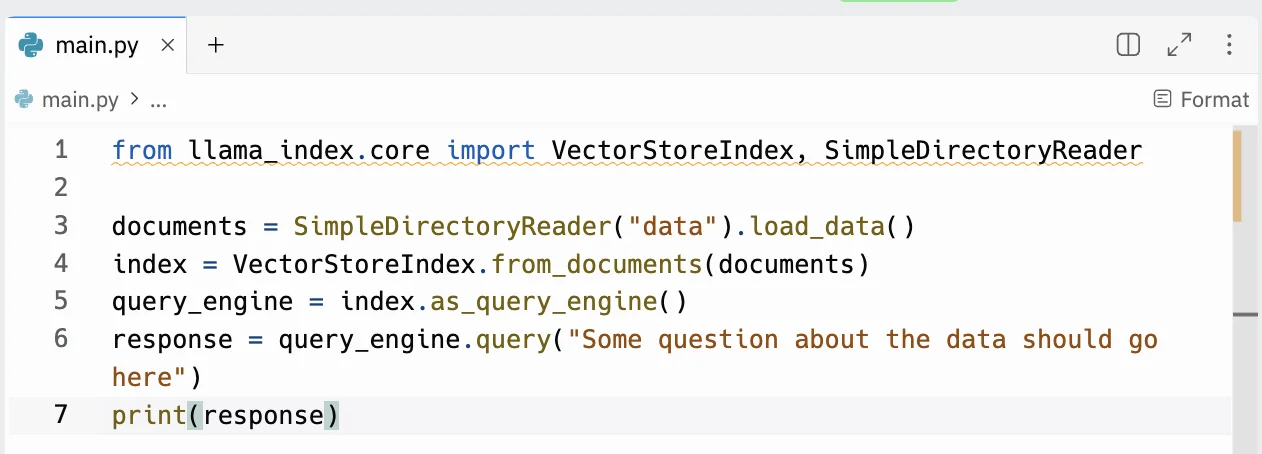
Next, copy the following code from the Llamaindex guide:
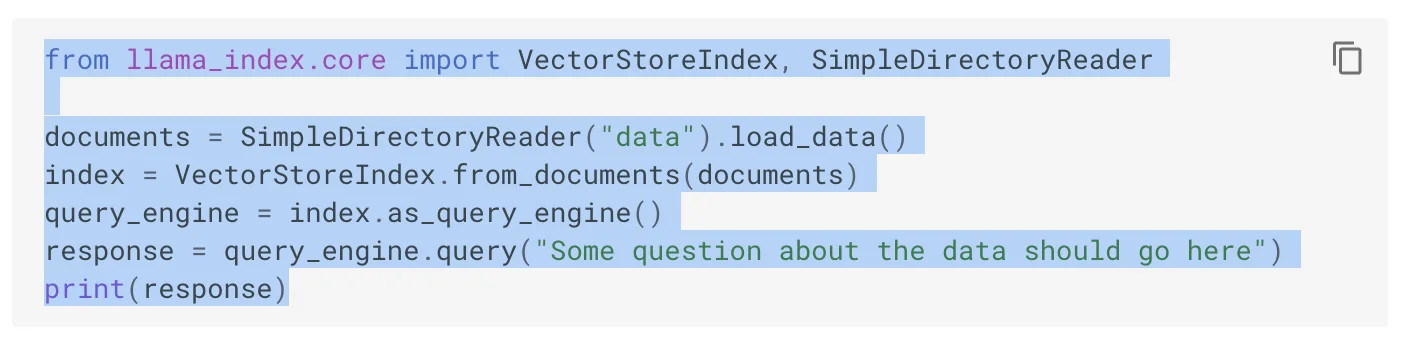
And paste it into the centre column in Replit.
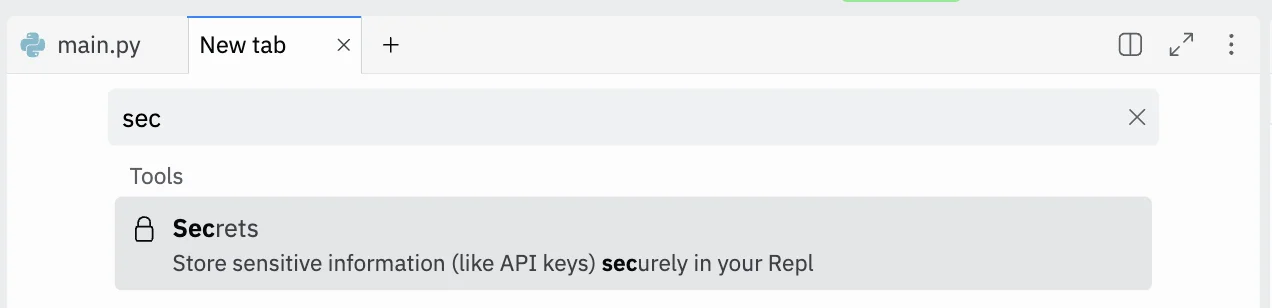
Now, click the “+” icon to open a new tab, then find and click “Secrets”
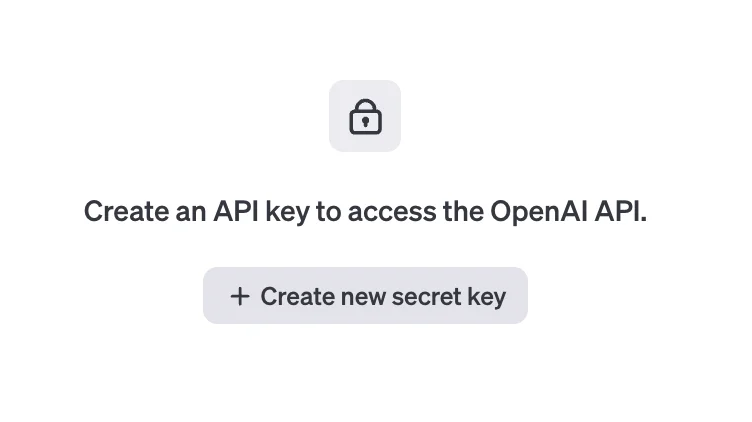
Create a new secret called OPENAI_API_KEY and paste in yours. Click “Add Secret” to save it.

You can find/create one on the OpenAI website here: https://platform.openai.com/api-keys
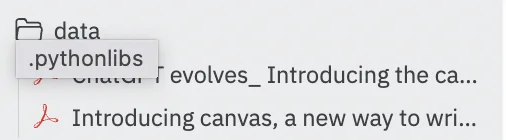
Lastly, in the left column in Replit, click the new folder icon and then create a new folder called “data”.
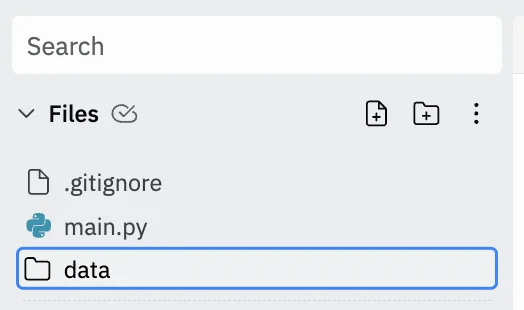
In this folder, you should upload the files you want the AI to have access to. They can be in any standard format: .pdf, .docx, .txt etc. And it can be one file or several.
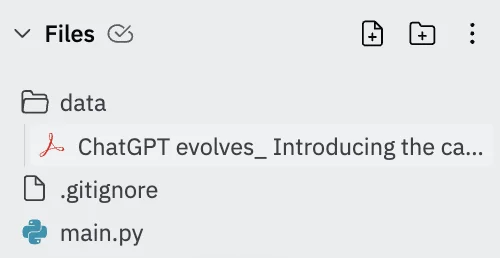
For this tutorial I downloaded the following Ben’s Bites blog post as a PDF and uploaded it: /blog/chatgpt-evolves-introducing-the-canvas-feature/
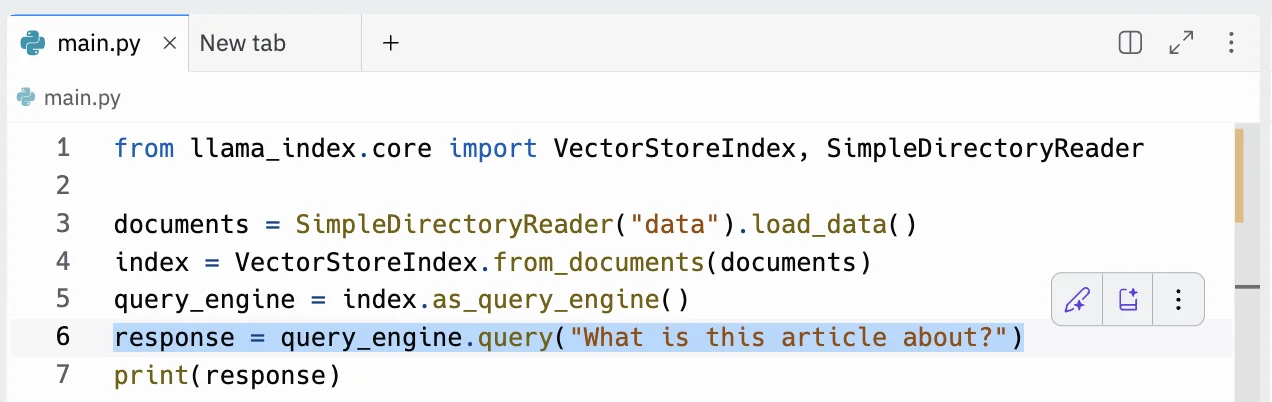
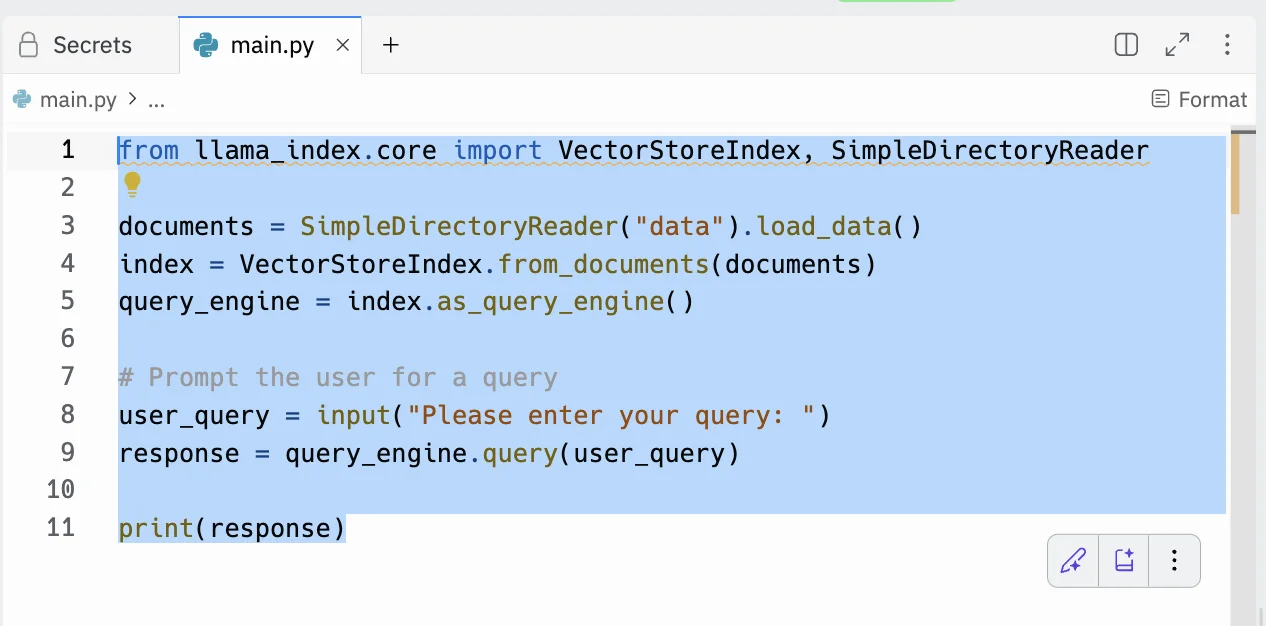
Looking back at the code, you’ll see the question we’re going to ask the AI is hardcoded.
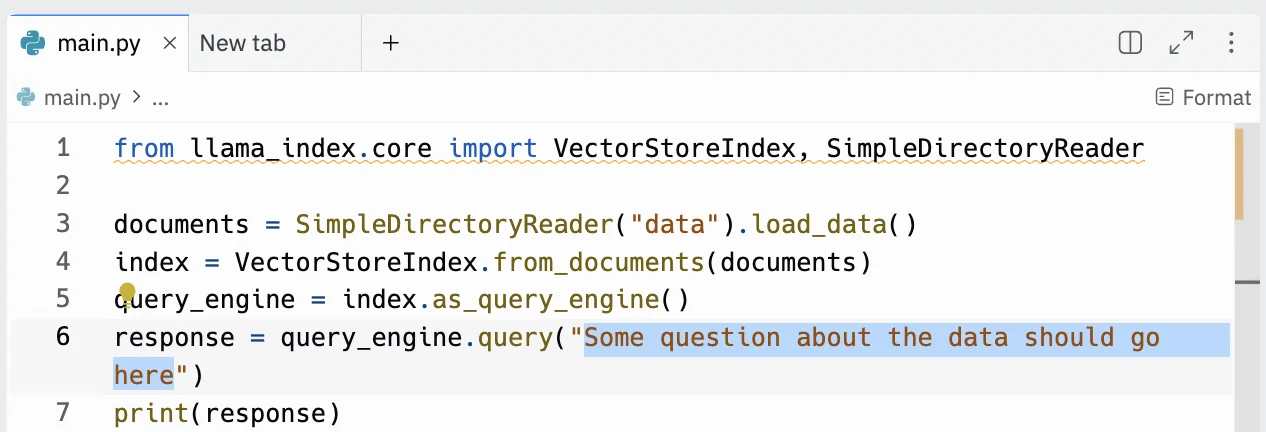
Let’s change it to “What is this article about?”
When you’re ready, click the “Run” button at the top. Then look over at the “Console” tab in right column.
For 5-10 seconds it’ll be blank. In the background LlamaIndex is parsing the document(s) in the “data” folder, creating embeddings for them using the OpenAI API, then querying those embeddings with our question.
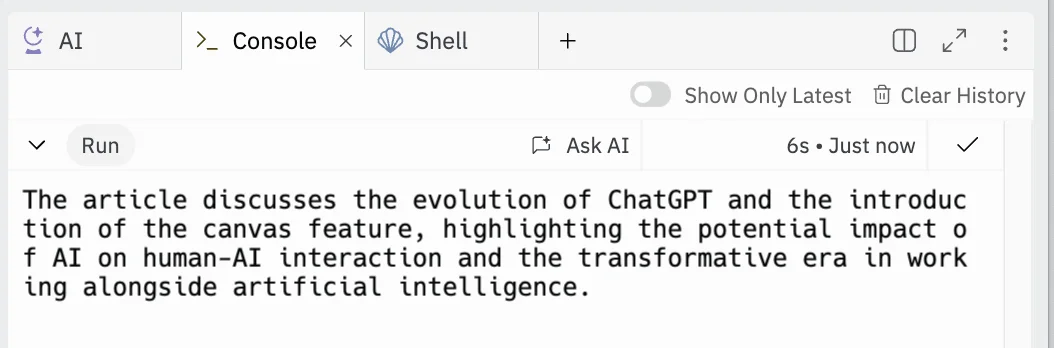
Eventually, a response will appear. For a brief summary, this is good.
Step 2: Update the code with Replit’s AI copilot to input questions
Right now, it’s not very convenient to have to edit the code with each question we want to ask. So let’s edit the code so we can input our question every time we run the code.
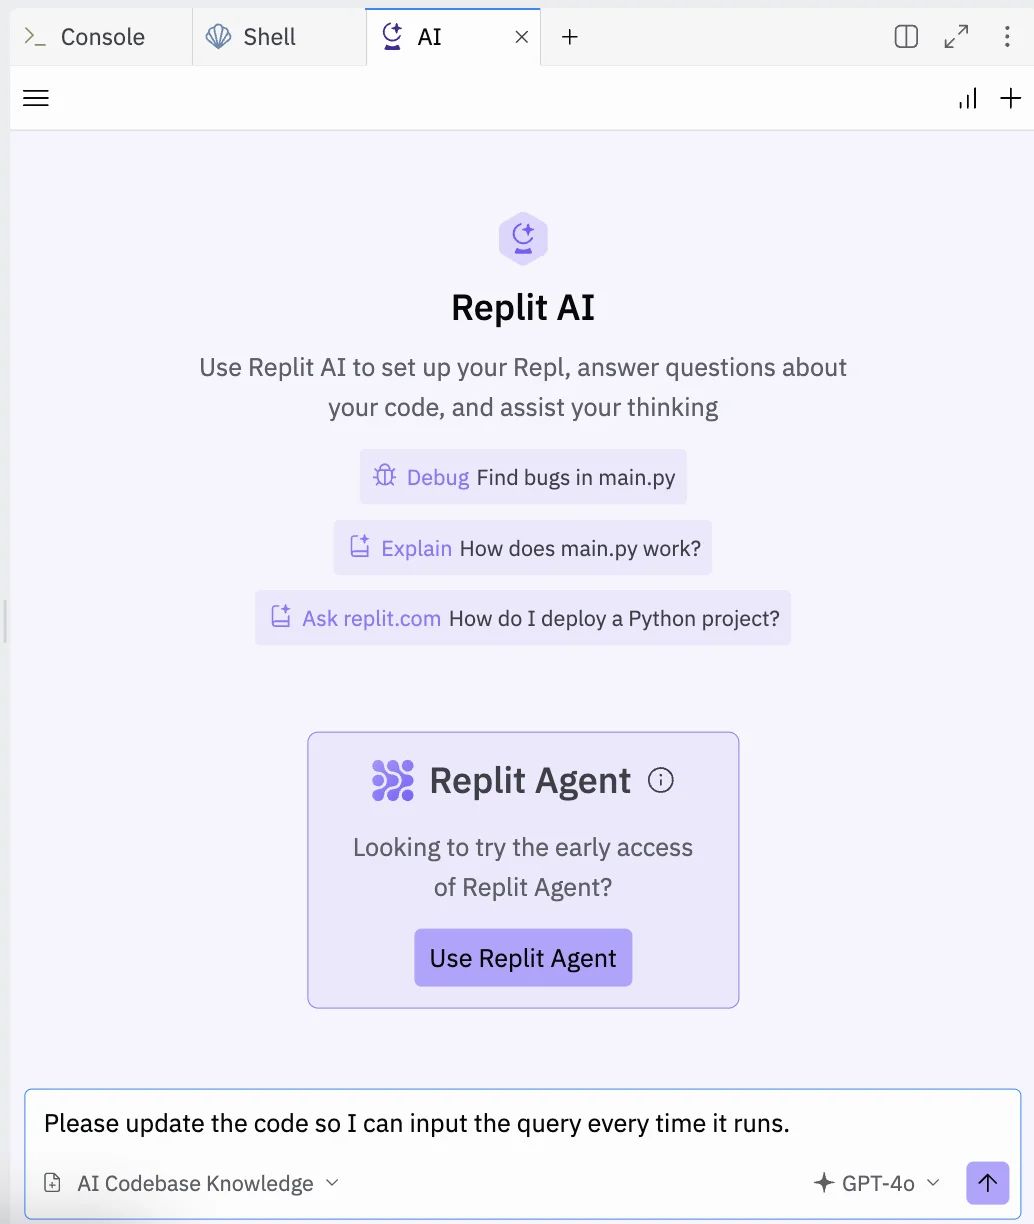
But, as we’re not coders, let’s ask Replit’s AI to make the change for us.
In the right column, switch to the AI tab and then use the following prompt:
Please update the code so I can input the query every time it runs.
Wait a few seconds and Replit AI will give you some updated code to use.

Copy it and replace the code in the centre column with the new code.
Then, go ahead and run it again.
This time it asks us to input our query. Let’s go with “Summarise how to use Canva”.

A few seconds later we’ve got our response - and it’s accurate!

Step 3: Create a web UI for the app to make it easier to use
This is working well, but it’s still pretty hard to use. So let’s ask Replit to turn this into a small web app.
Go back to the “AI” tab and use this prompt:
It works. But, this is pretty hard to use.
Can we turn this into a small web app, where I can control and see what files I have uploaded to the "data" folder, and where I can input my query, see the response, and then reset for another.
.webp)
Another short wait and we’ve got some new code to use.

Run it again and you’ll see something like this.

It’s basic but easier to use.
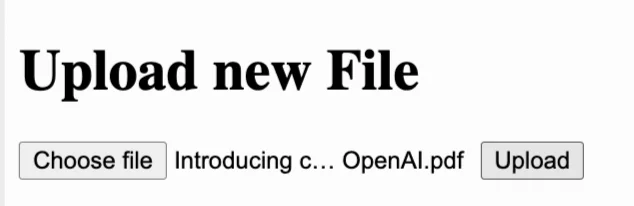
Let’s first try adding another file. I found another article about ChatGPT canvas and downloaded it as a PDF: https://openai.com/index/introducing-canvas/
I then select and upload it via our app.
And, it’s there!

And, to confirm, we can also see it in the “data” folder on the left.
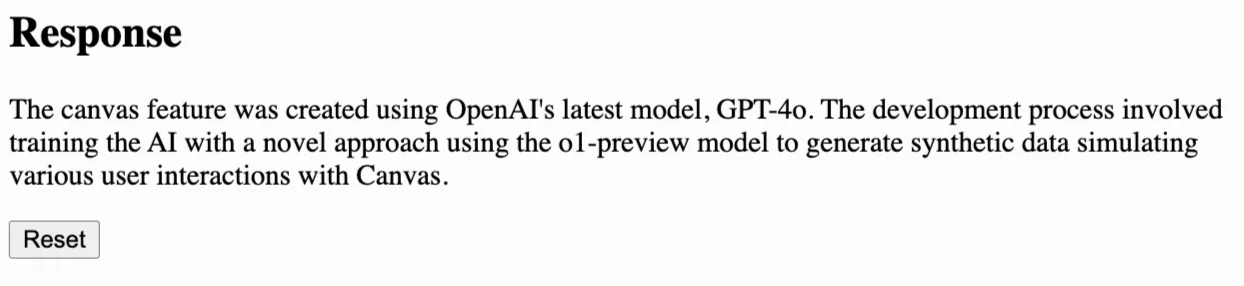
Now let’s ask a question. "How was Canvas created?”.
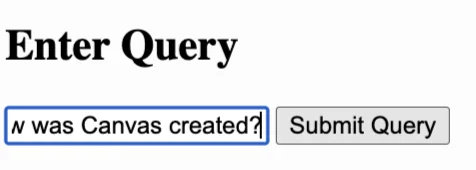
Submit the query and after a few seconds we have our response.
If you’ve been following along, you might be wondering: can’t I just upload a PDF to a chatbot like ChatGPT and ask questions about the contents? You can, but building your own Replit app has several advantages:
- You only pay for the OpenAI API usage - super cheap and definitely more cost-effective than ChatGPT Plus or Claude Pro
- You have full control over the application and can modify it however needed
- You can maintain a persistent collection of documents in the "data" folder
- You can query across multiple documents simultaneously without having to re-upload them for each conversation
- You can build exactly the interface you want
- You could further customise this to add features specific to your needs
This tutorial was created by Andrew.