Design branded merch
Learn how to design branded merch for your brand or company with Recraft.
2024-11-13
Designing company or brand merch can be a painful and time-consuming experience, whether you’re working in a wholesale manufacturer’s clunky mockup generator web tool or trying to put something together in Figma from scratch.
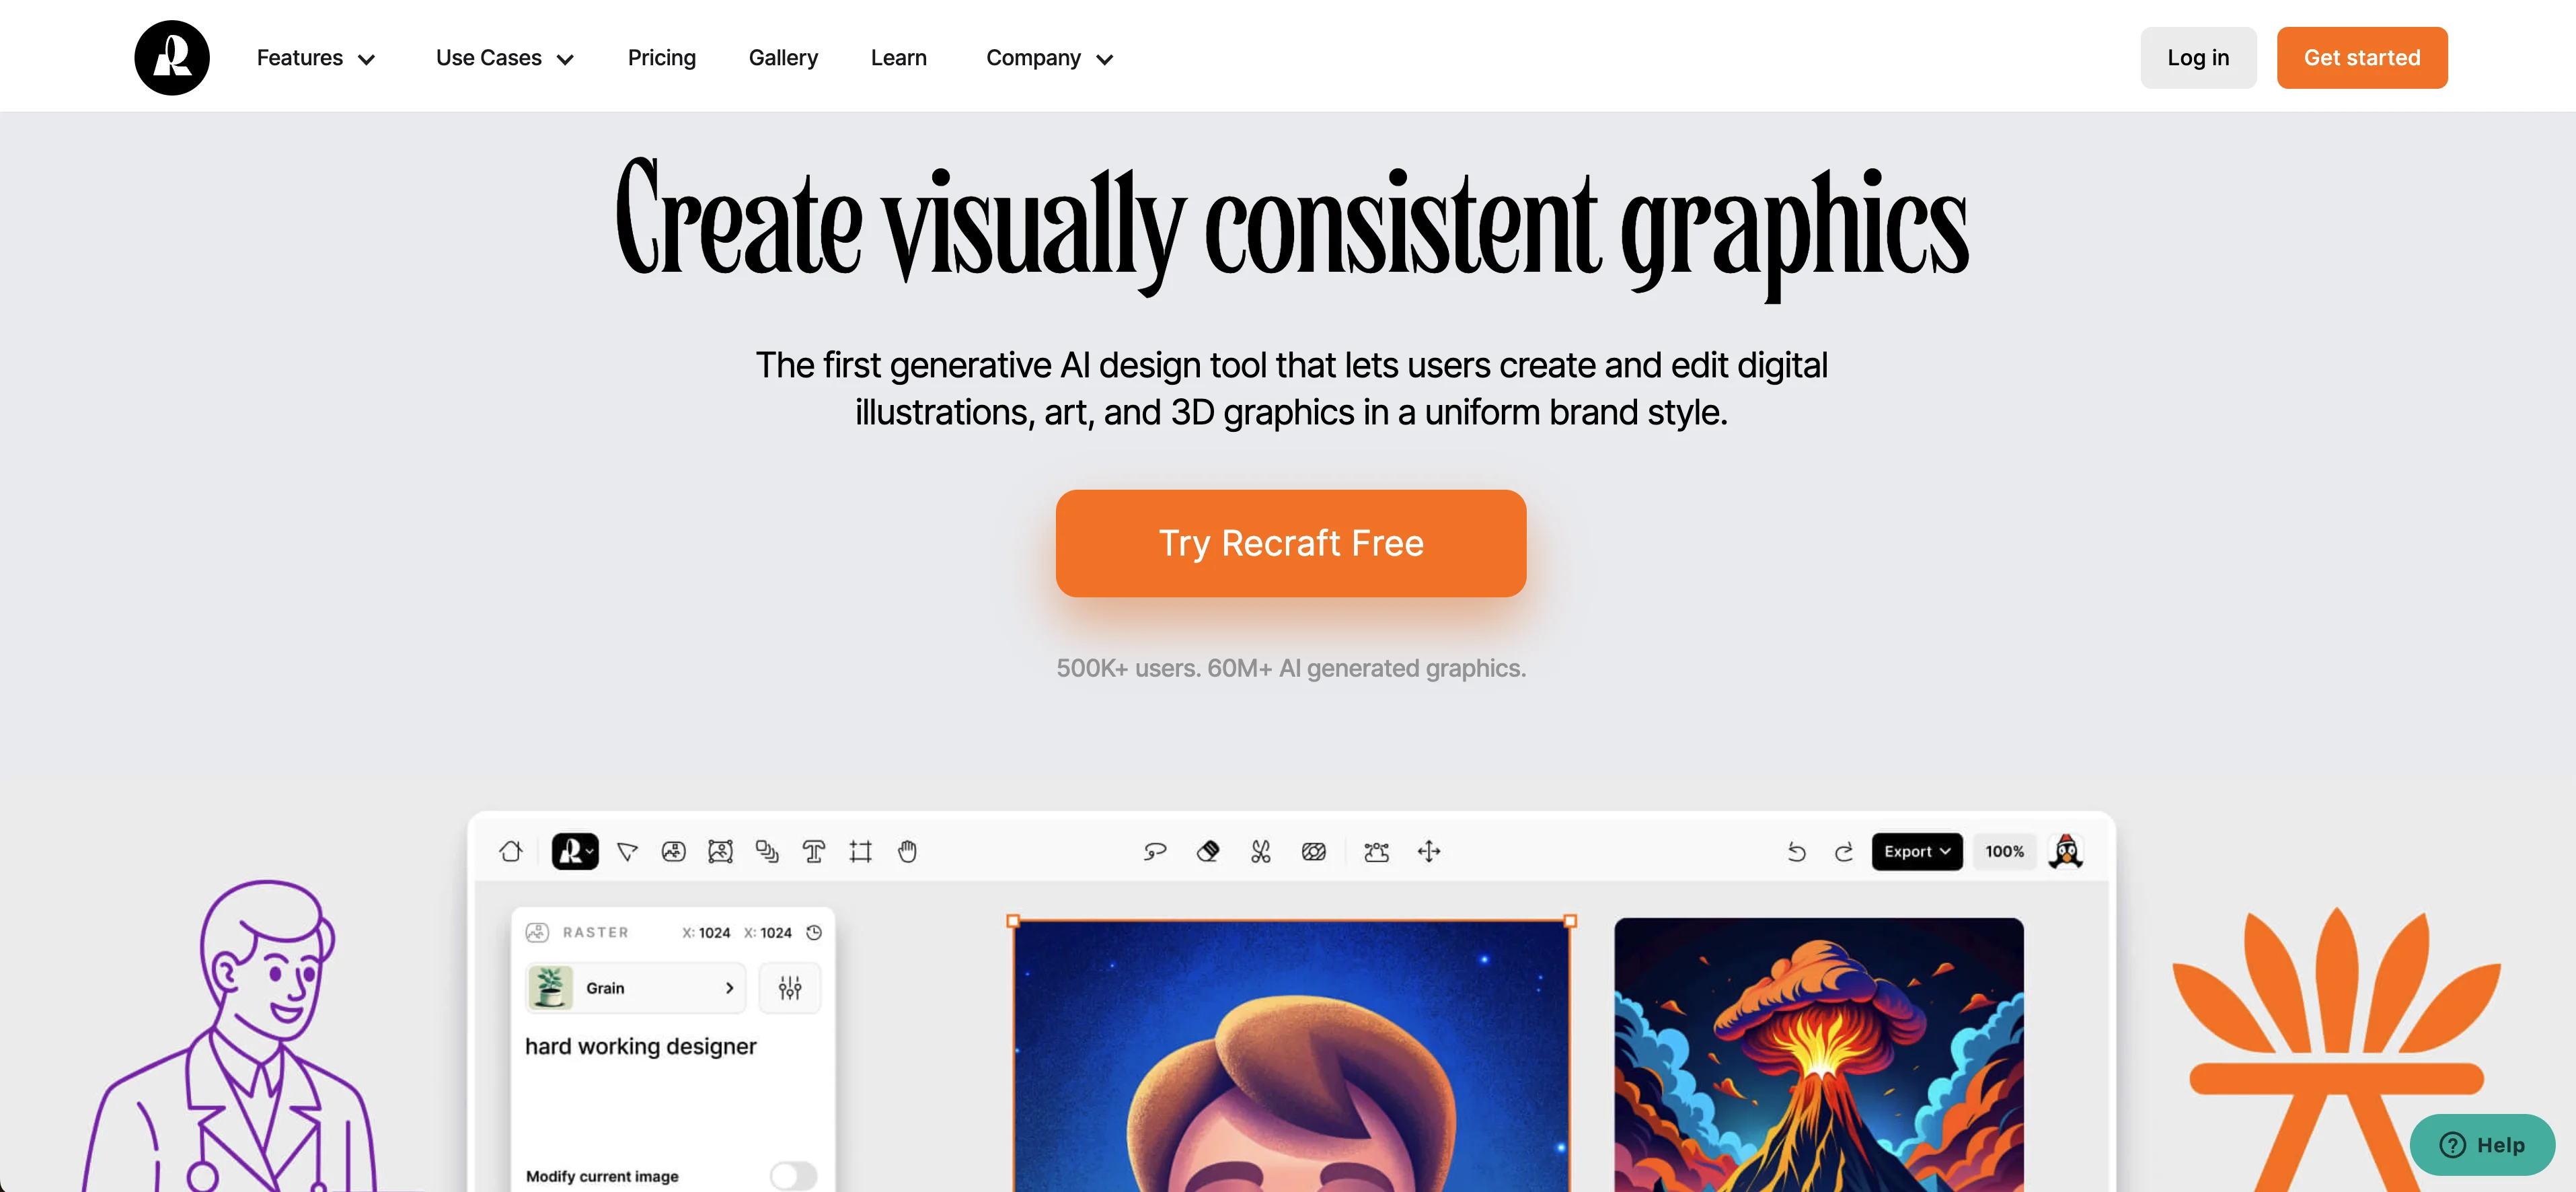
But this has gotten much easier with the help of Recraft - a generative AI design tool that lets you create and edit digital illustrations, art, and 3D graphics in a uniform brand style. It sets itself massively apart from tools like DALL-E and Midjourney by having a full suite of design tools available in tandem with its generative AI features.
In this tutorial, we will design branded merch for Ben’s Bites by uploading the Ben’s Bites logo and combining it with a prompt-generated t-shirt mockup.
Steps we’ll follow in this tutorial:
- Create a color palette to match your brand colors
- Generate a mockup and upload your brand images
- Combine your elements and export
Step 1: Create a color palette to match your brand colors
To start, go to Recraft and create a free account.
Create a new project from the Project dashboard.
.webp)
Select “Mockup” from the options in the left-side window.
.webp)
We want to make sure the mockup is in our brand colors, so we’re going to upload the Ben’s Bites logo as a reference image and Recraft will extract the colors from our image and make a custom color palette for our Project. To do this, click on the art palette icon and then click “import from image”.
.webp)
As you can see, it pulled out black, white, and pink as the layer colors, and red as the background color. You can edit and add colors from this screen manually as well.
.webp)
Step 2: Generate a mockup and upload your brand images
Now that we have the color palette set, we can generate a mockup image and upload our logo to the Project. To do this, we’ll start with a prompt. We’re going to create a t-shirt for our branded merch, so we’re going to prompt Recraft to generate a simple, white t-shirt. To do this, add your prompt to the textbox and then click “Recraft”.
Sample Prompt:
white t-shirt
.webp)
As you can see, Recraft has generated a white t-shirt with a branded red-color background. It also automatically added a vector art box on top of the t-shirt, where we could prompt Recraft to generate original art.
.webp)
However, we want to upload our logo to the t-shirt, so instead of adding a prompt to the current image box, click the upload image icon in the top navigation to upload your logo.
.webp)
With our logo uploaded, we need to re-size it to fit on the t-shirt. You can do this by changing the width and height numbers in the left-side editor or clicking on the image itself and resizing. Make sure to also delete the vector image box that is on the t-shirt, as we no longer need it.
.webp)
Step 3: Combine your elements and export
Now that our logo is re-sized, we can drag it onto our t-shirt mockup to combine the images.
.webp)
Once you’re happy with your design, you can click on your mockup and select the “Export” button in the top right corner of the screen to export it as a PNG or JPG file.
.webp)
This tutorial was created by Garrett.