Design lesson slides
Use AI to create fully-designed presentations for your lessons with Gamma.
2024-12-05
Welcome to the third lesson in our AI for Educators course!
In this lesson, you’ll learn how to use the AI presentation tool Gamma to create beautiful slides of your lesson plan content—zero design skills needed! We’ll take the lesson plan content we created in the previous tutorial with ChatGPT, drop it into Gamma, and in seconds, have lux-looking slides with web images ready to present in your classroom.
Steps we’ll follow in this tutorial:
- Generate slide content from a lesson plan
- Create lesson slides
- Edit the lesson presentation
- Export and present the lesson slides
Tools needed:
- ChatGPT
Let’s get started!
Generate slide content from a lesson plan
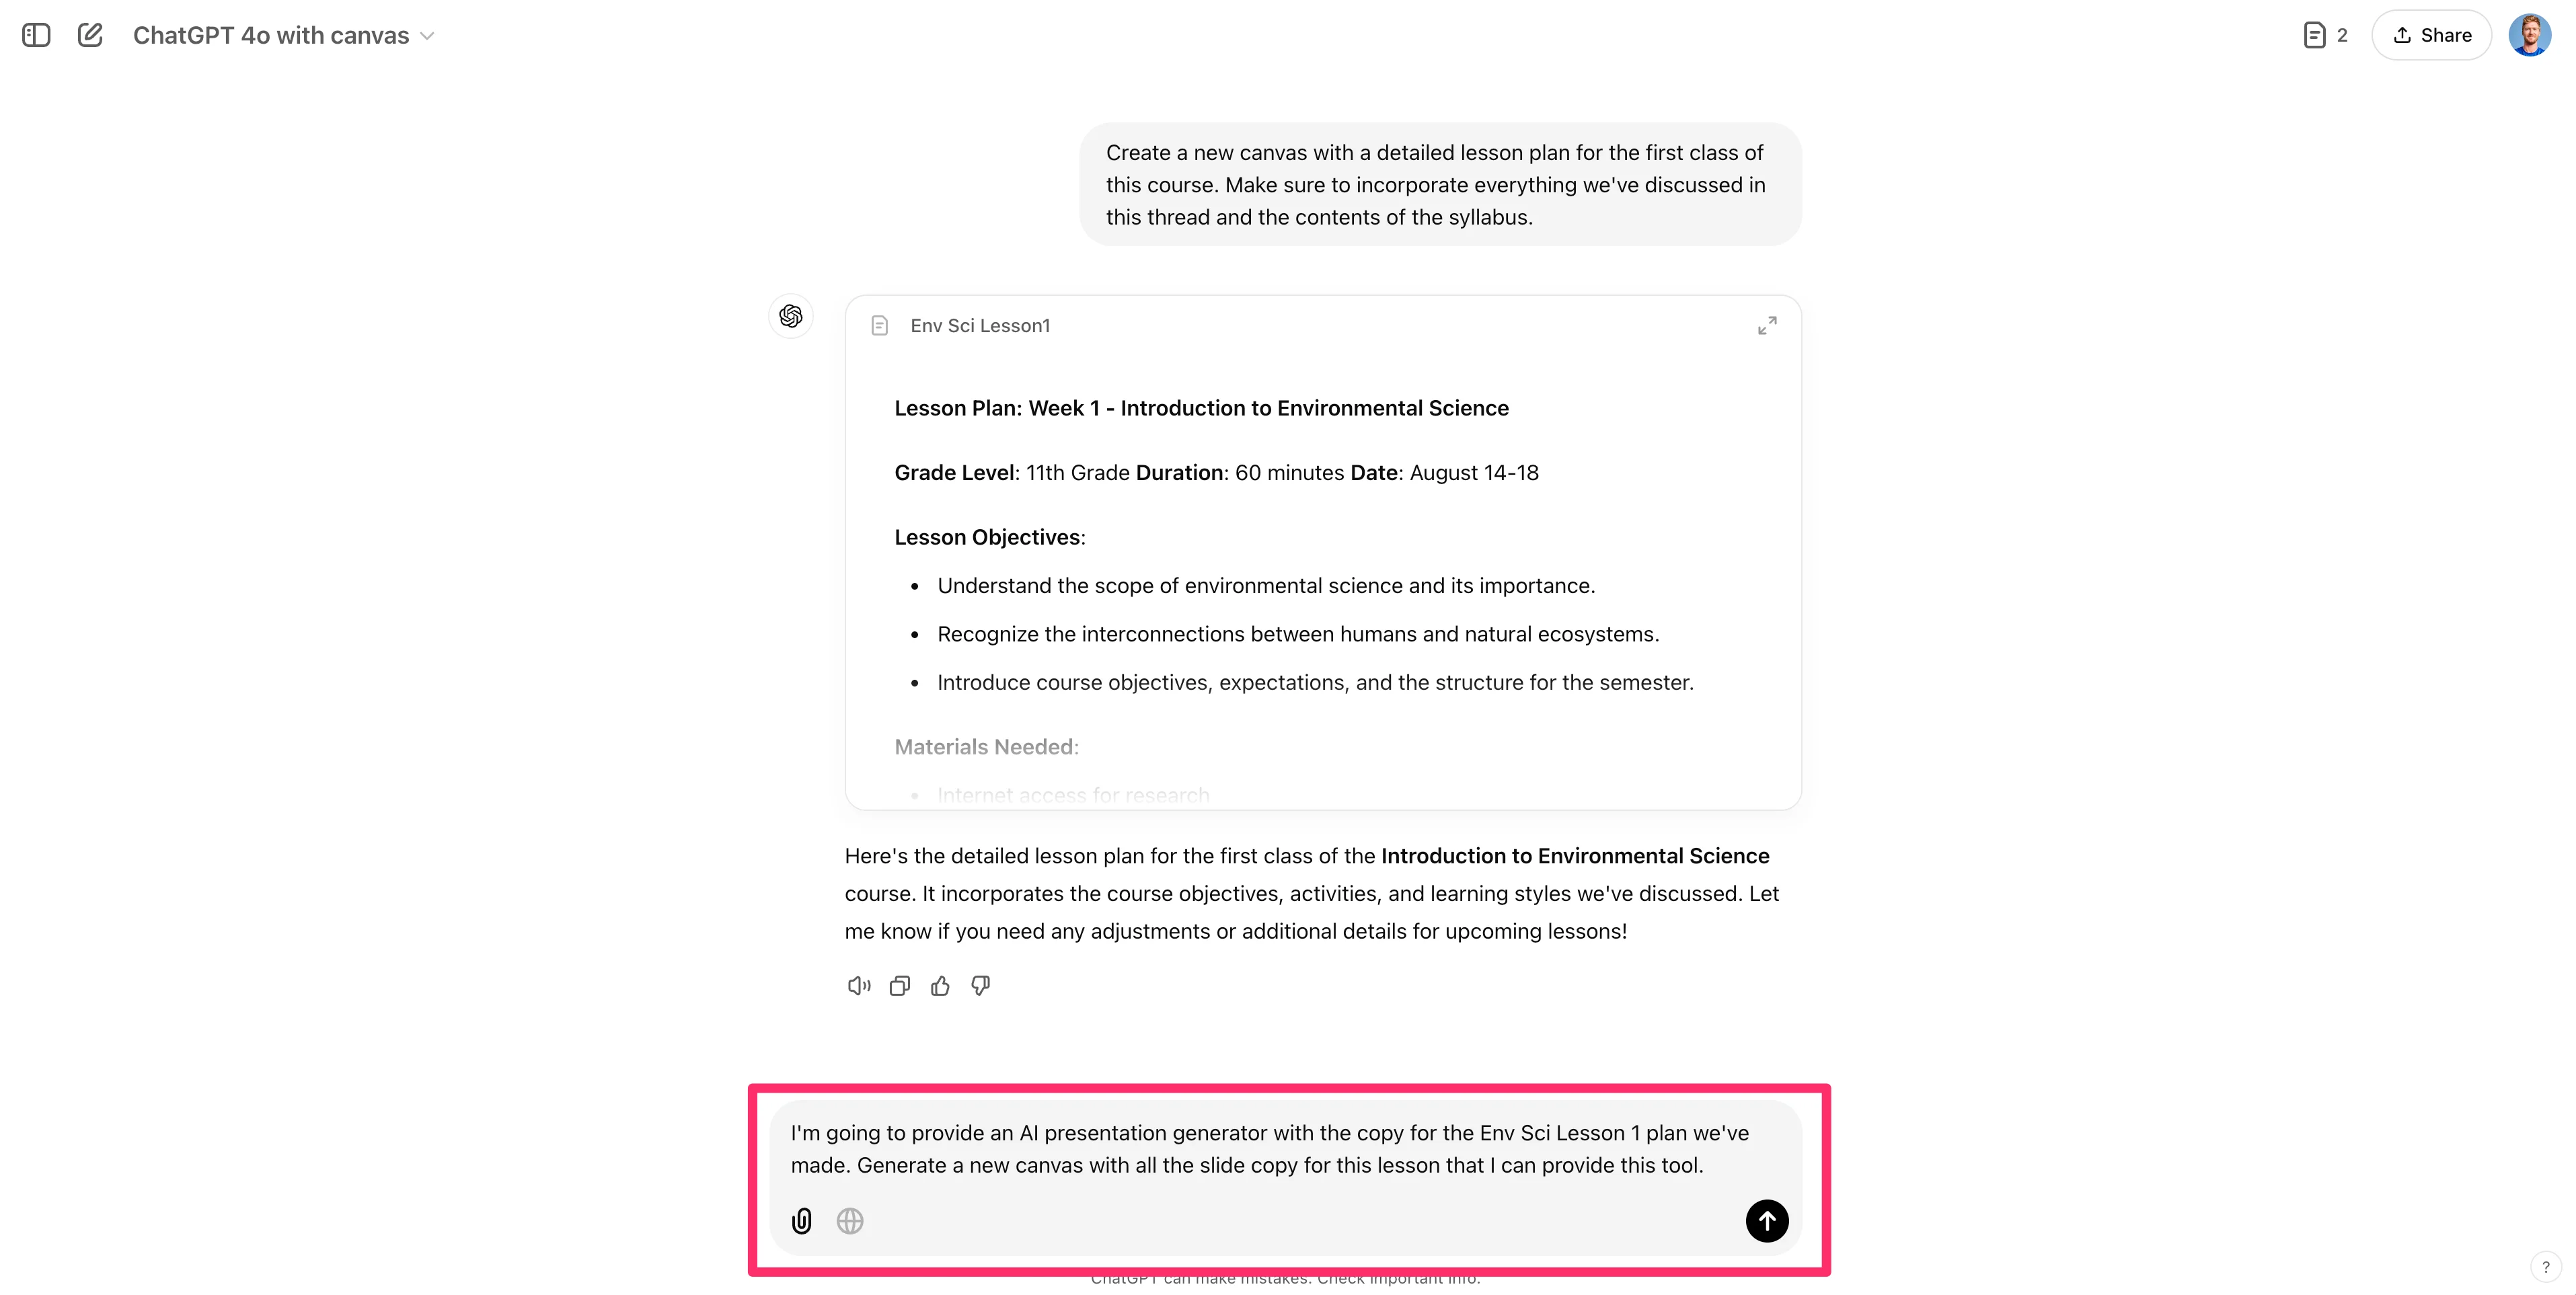
To get started, we will go back to the ChatGPT thread from the previous tutorial where we created our syllabus and lesson plan. In this thread, we will ask ChatGPT to generate a slide copy for our first lesson.
Sample Prompt:
I'm going to provide an AI presentation generator with a copy of the Env Sci Lesson 1 plan we've made. Generate a new canvas with all the slide copies for this lesson that I can provide this tool.
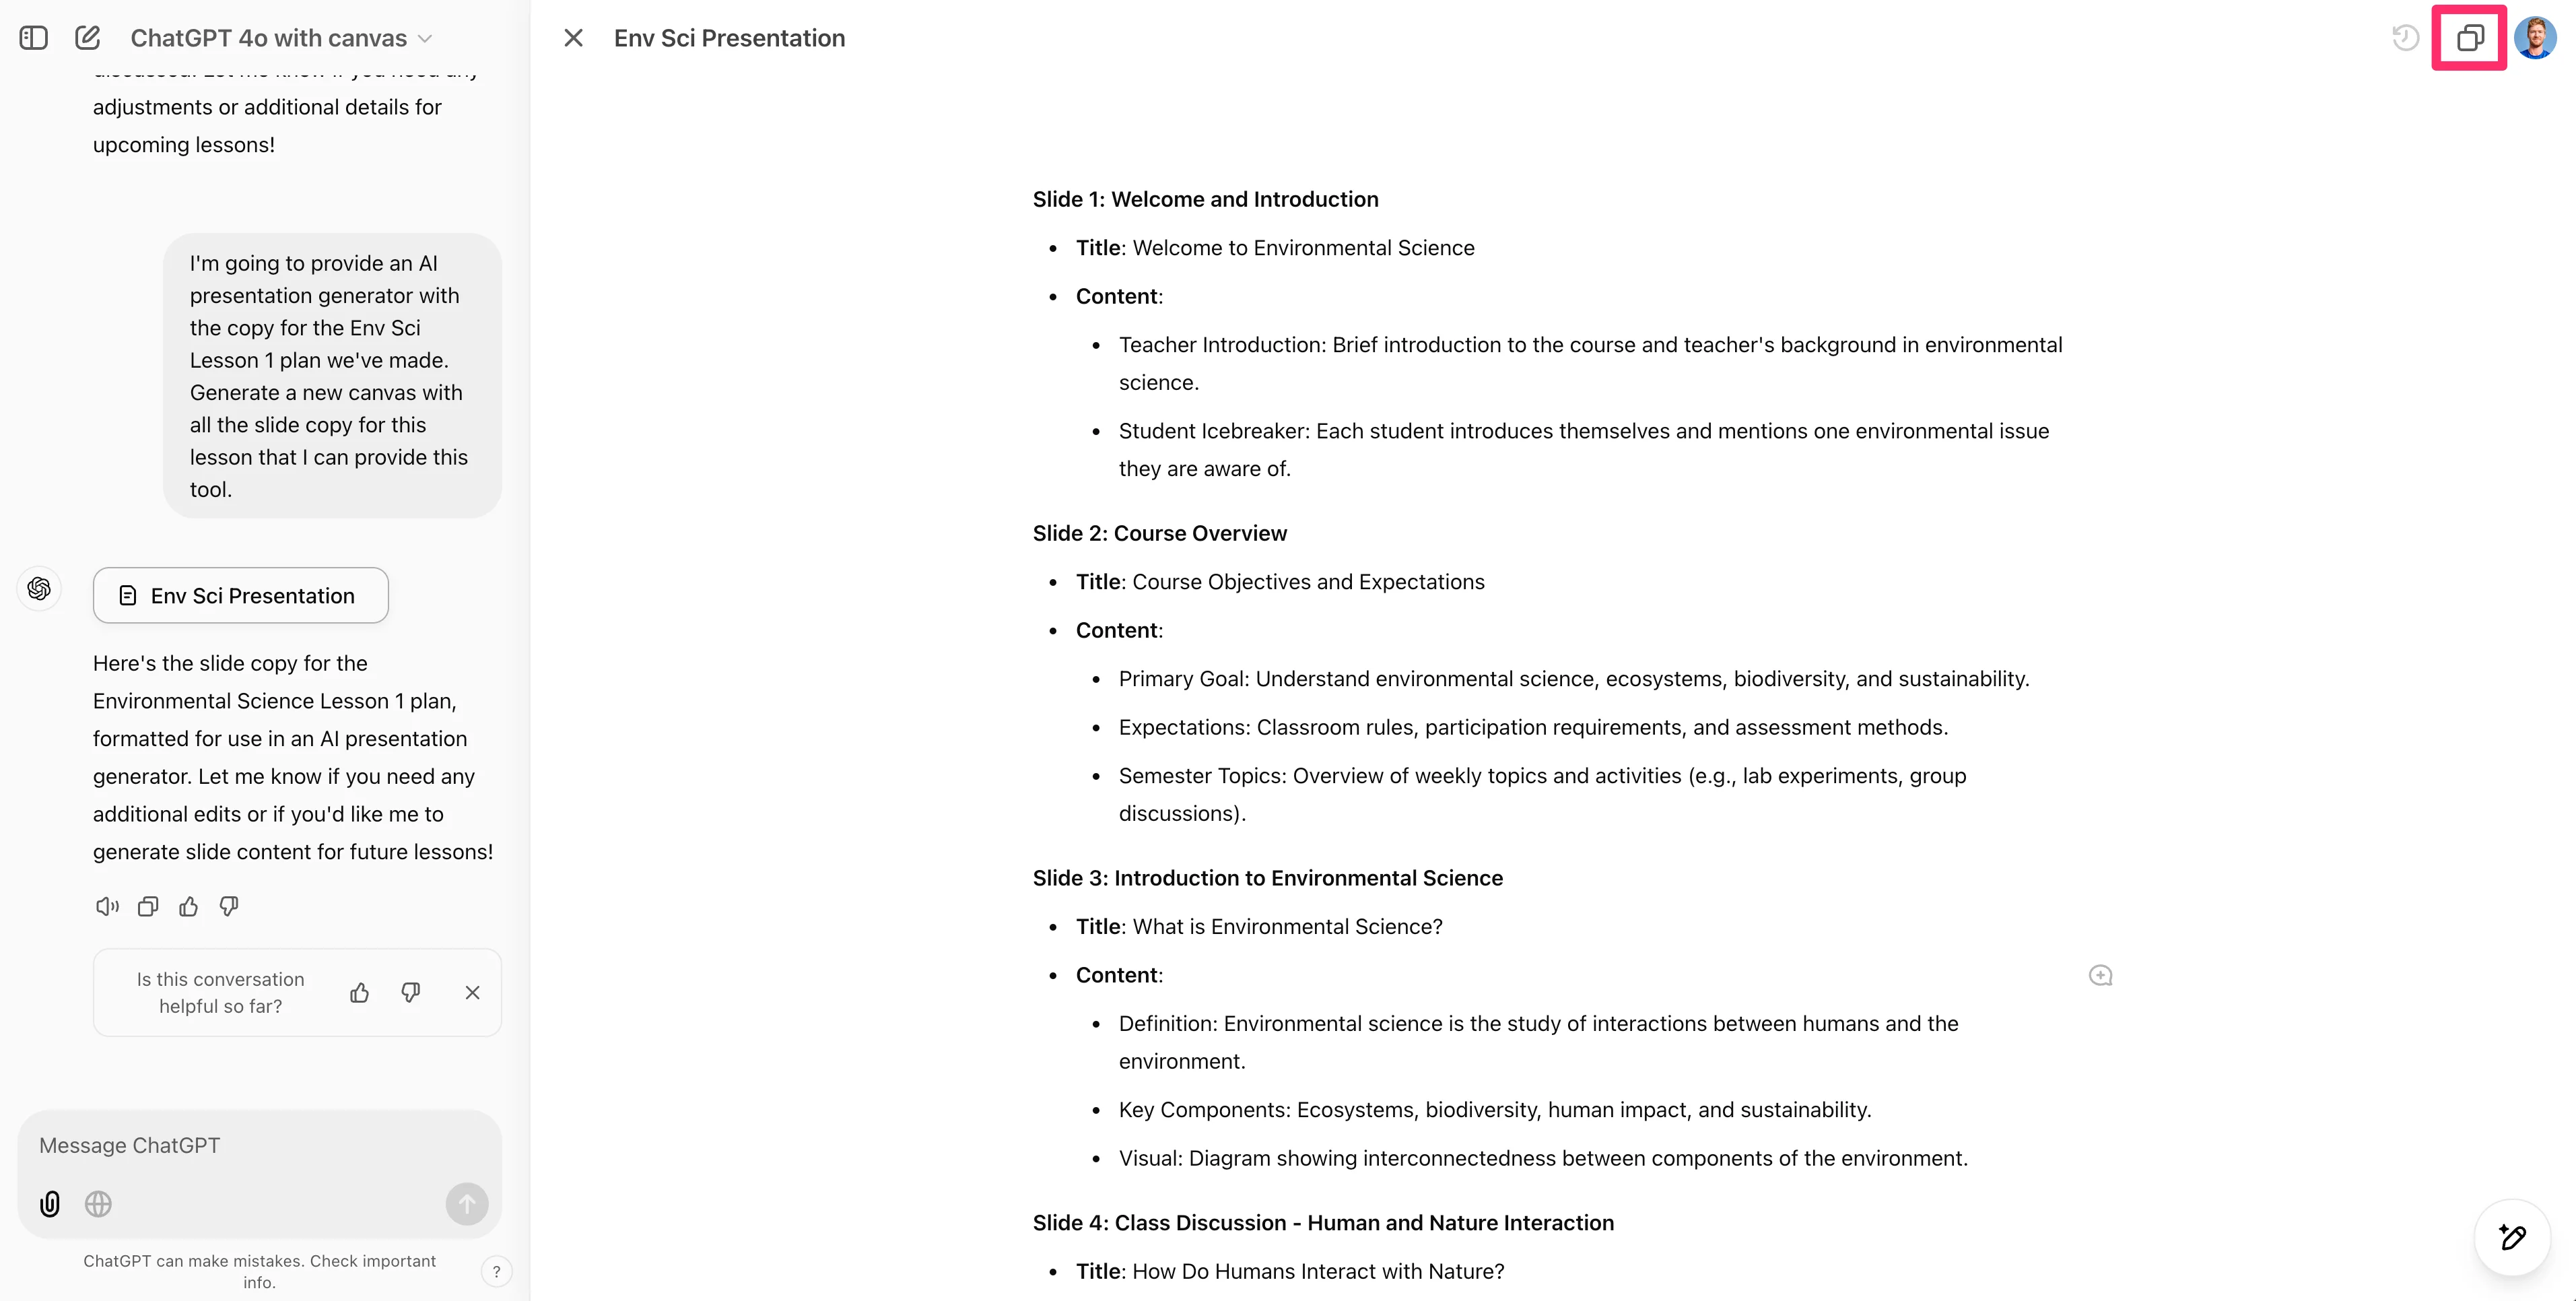
It’ll generate another canvas with the slide content. Click the “Copy” button in the top right corner of the screen to copy all of the content.
Create lesson slides
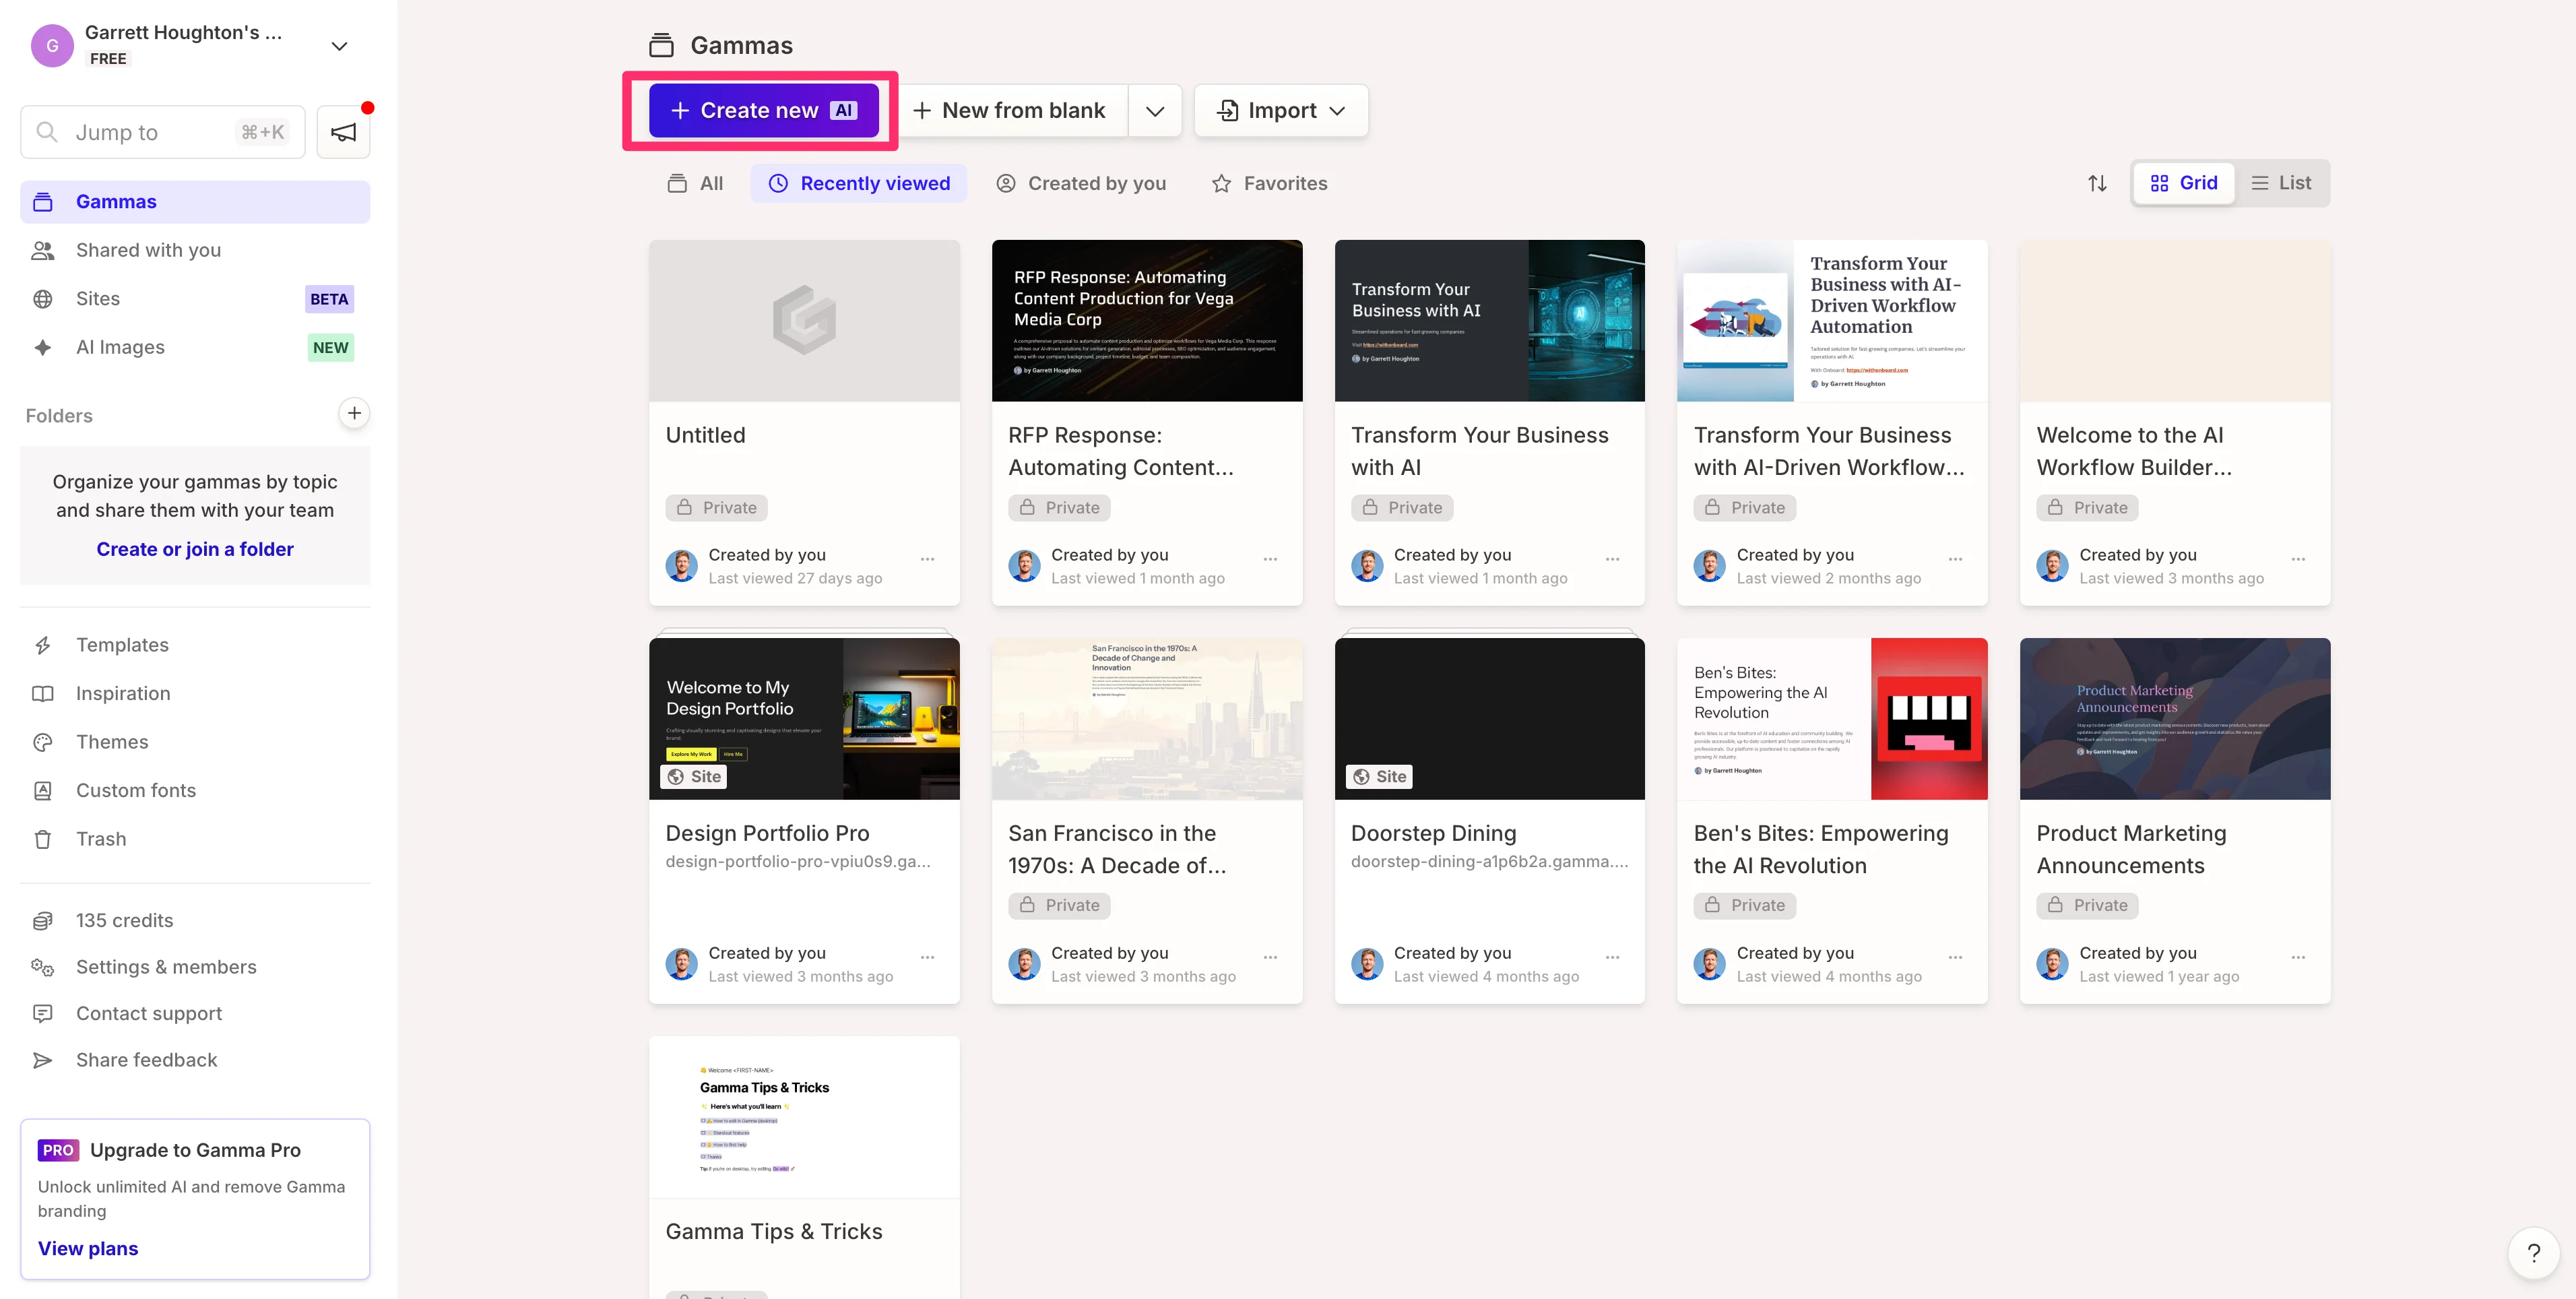
Now that we have our slide content, we’ll head to Gamma. Create an account if you don’t already have one (you can do everything in this tutorial with a free account). Once your account is created, click the “Create new AI” button in your dashboard.
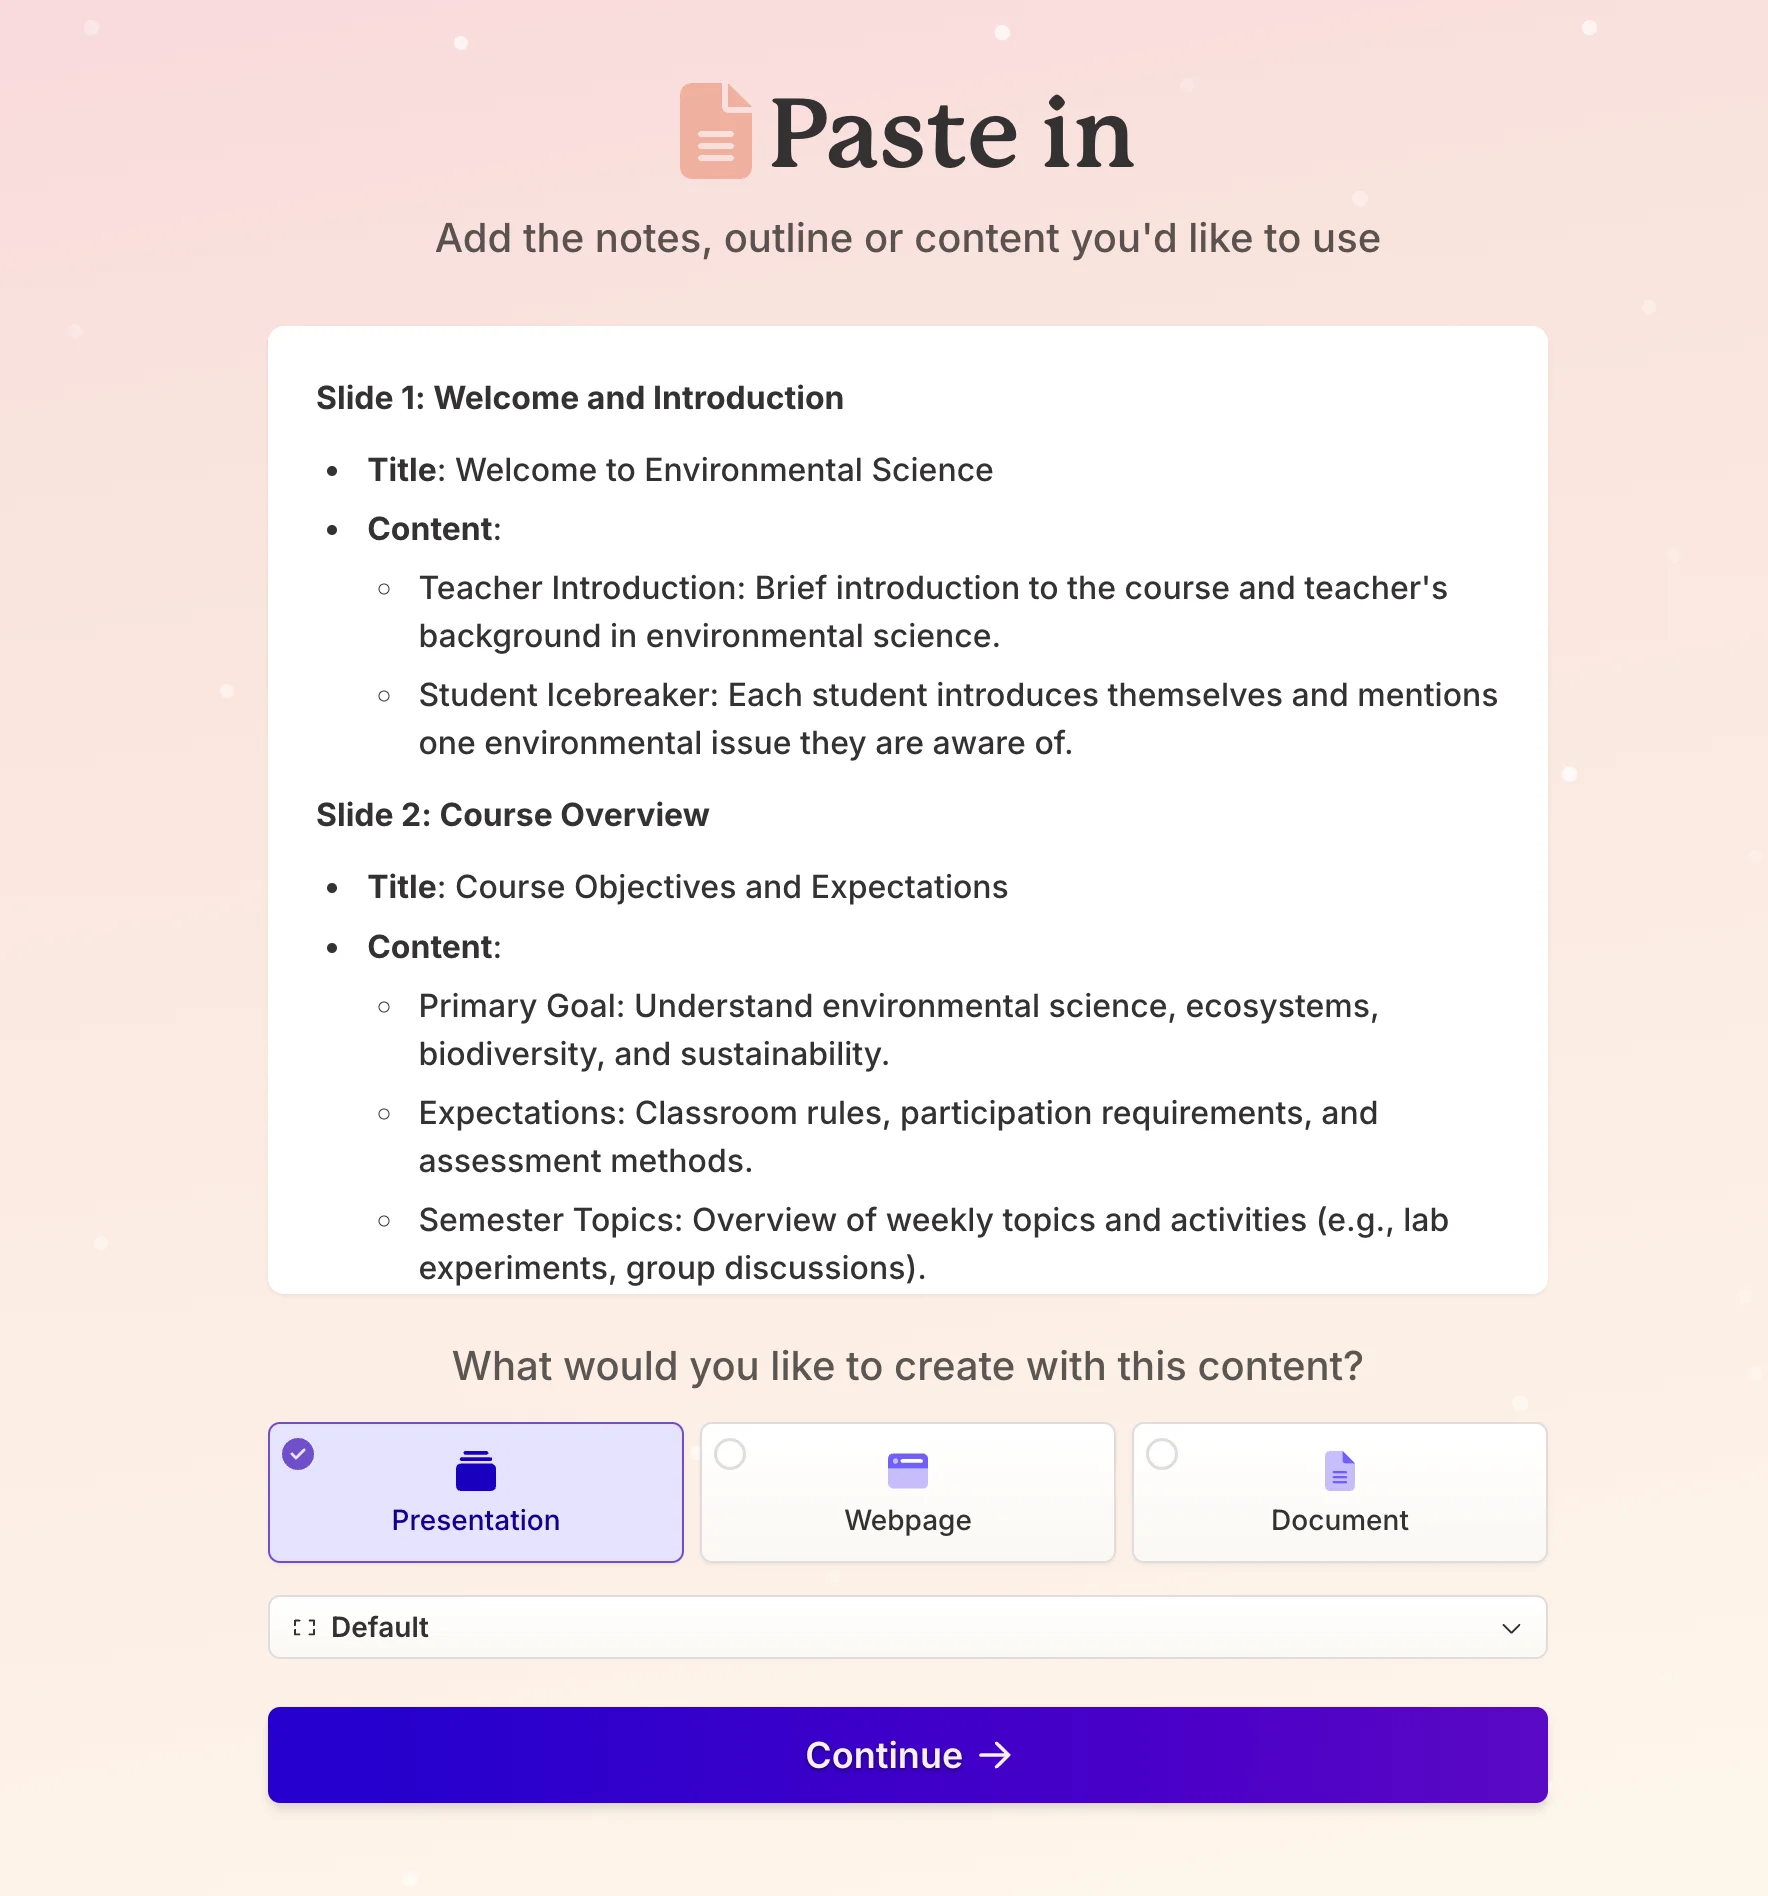
Then, click the “Paste in text” option.
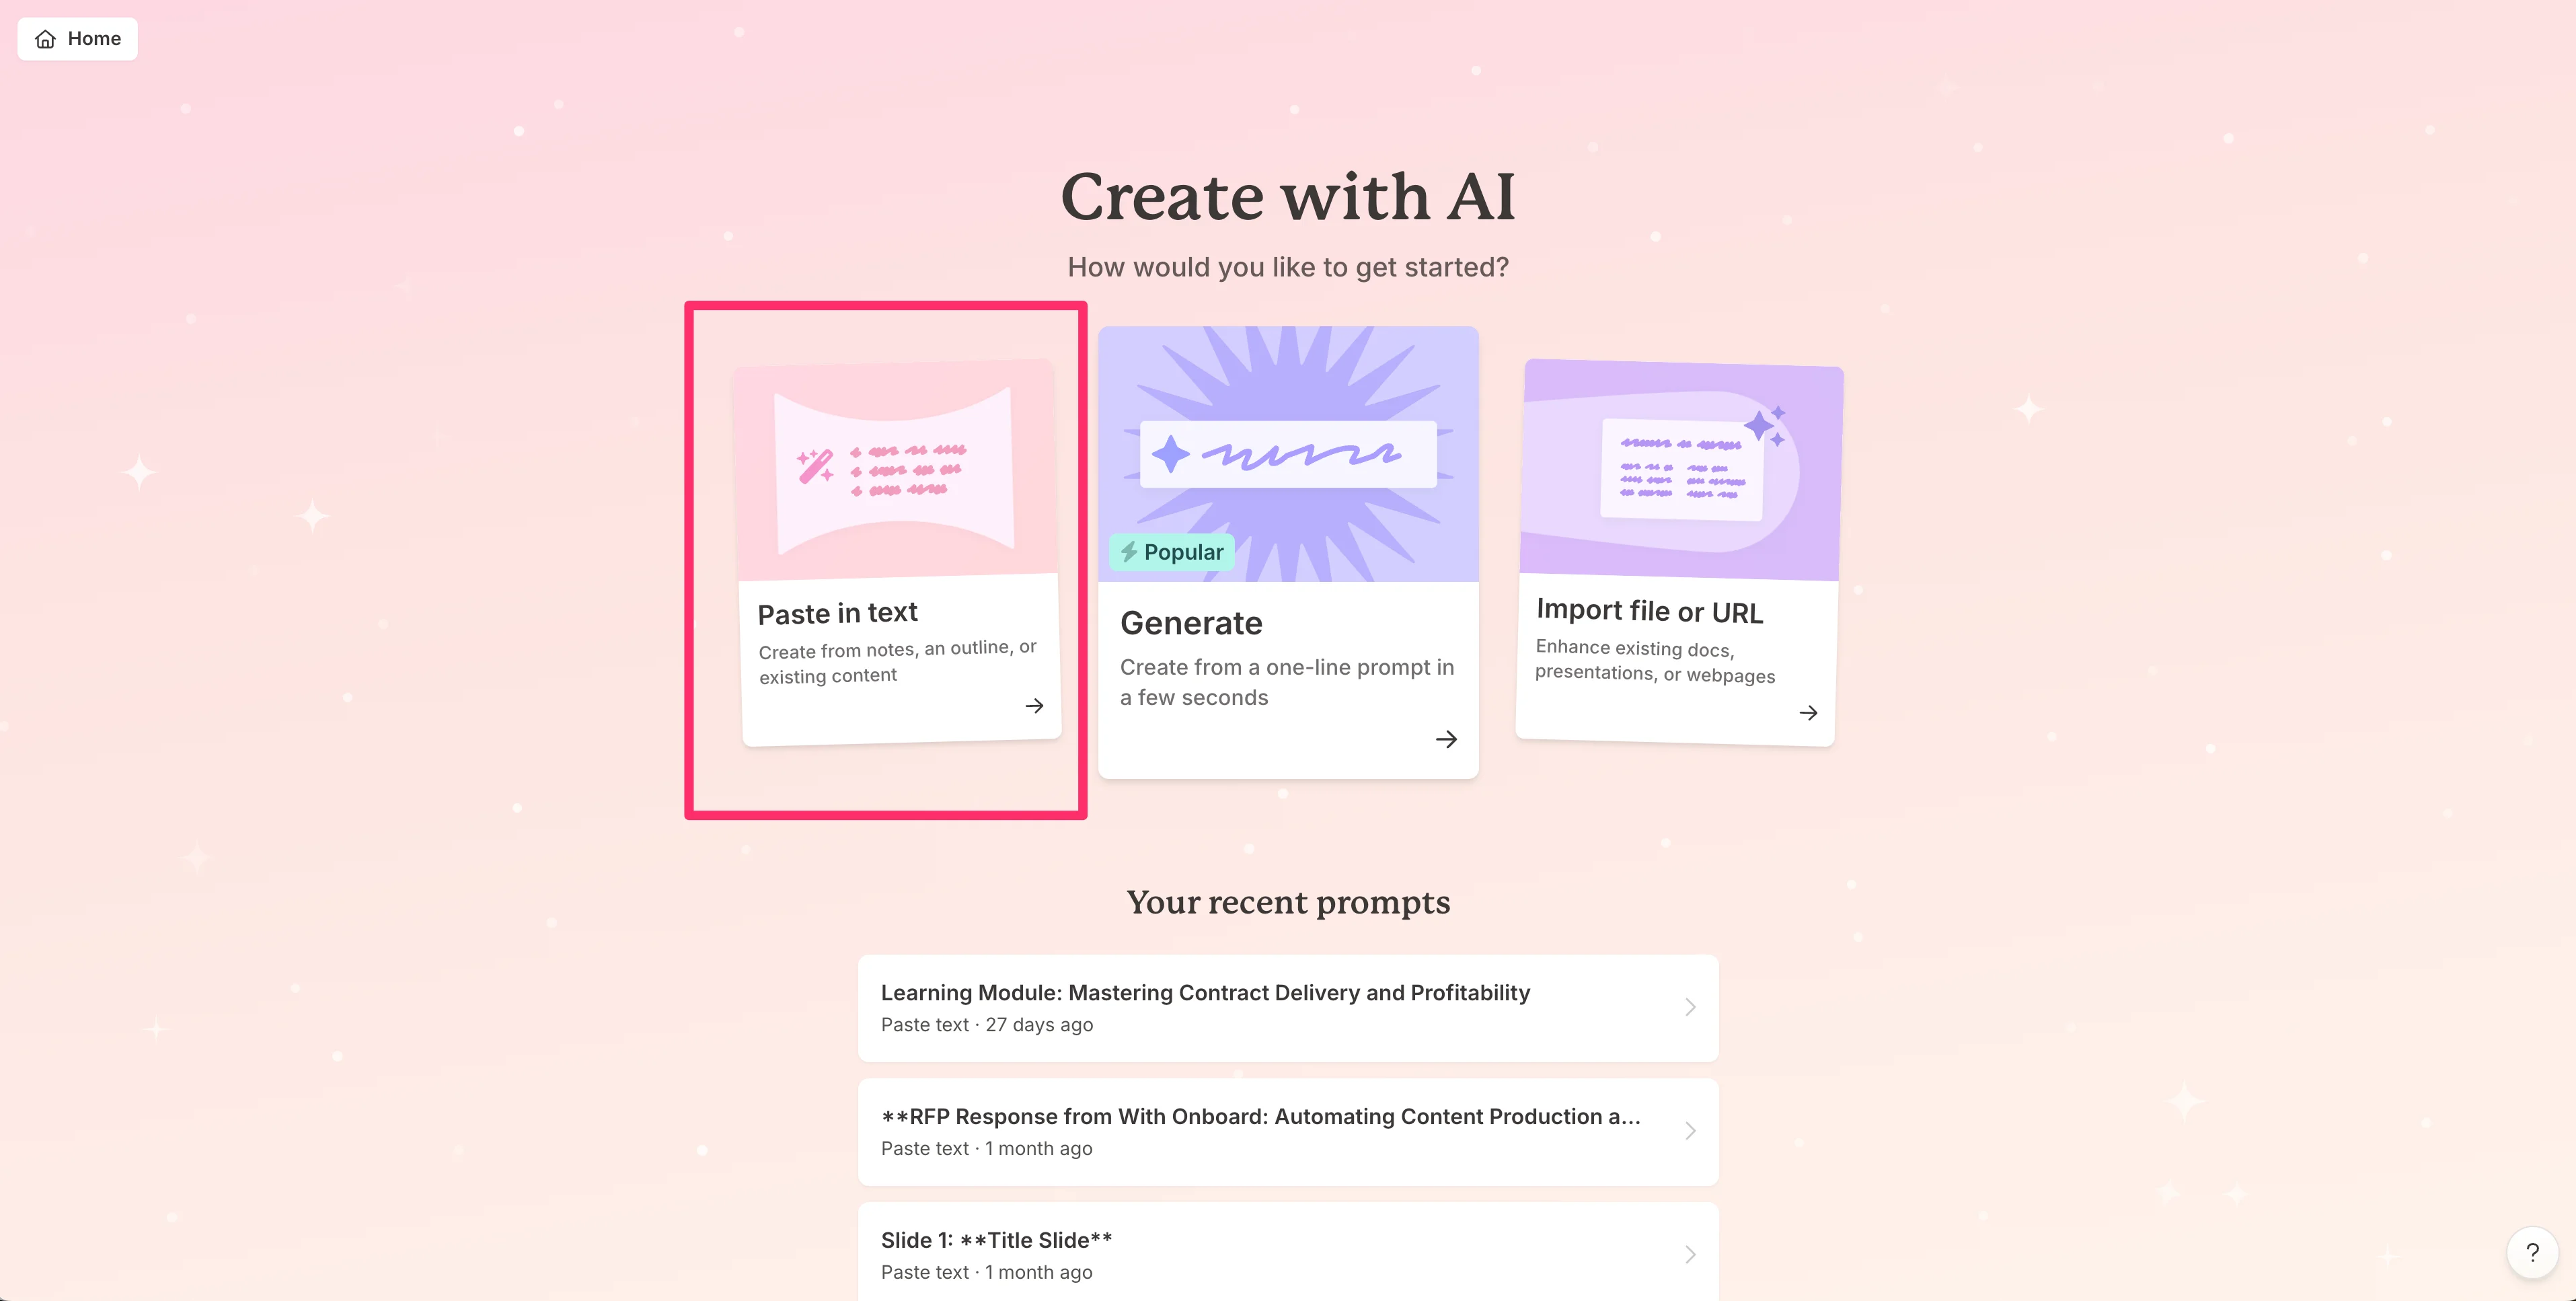
Paste in the content from your ChatGPT canvas, select the “Presentation” option, and click the “Continue” button.
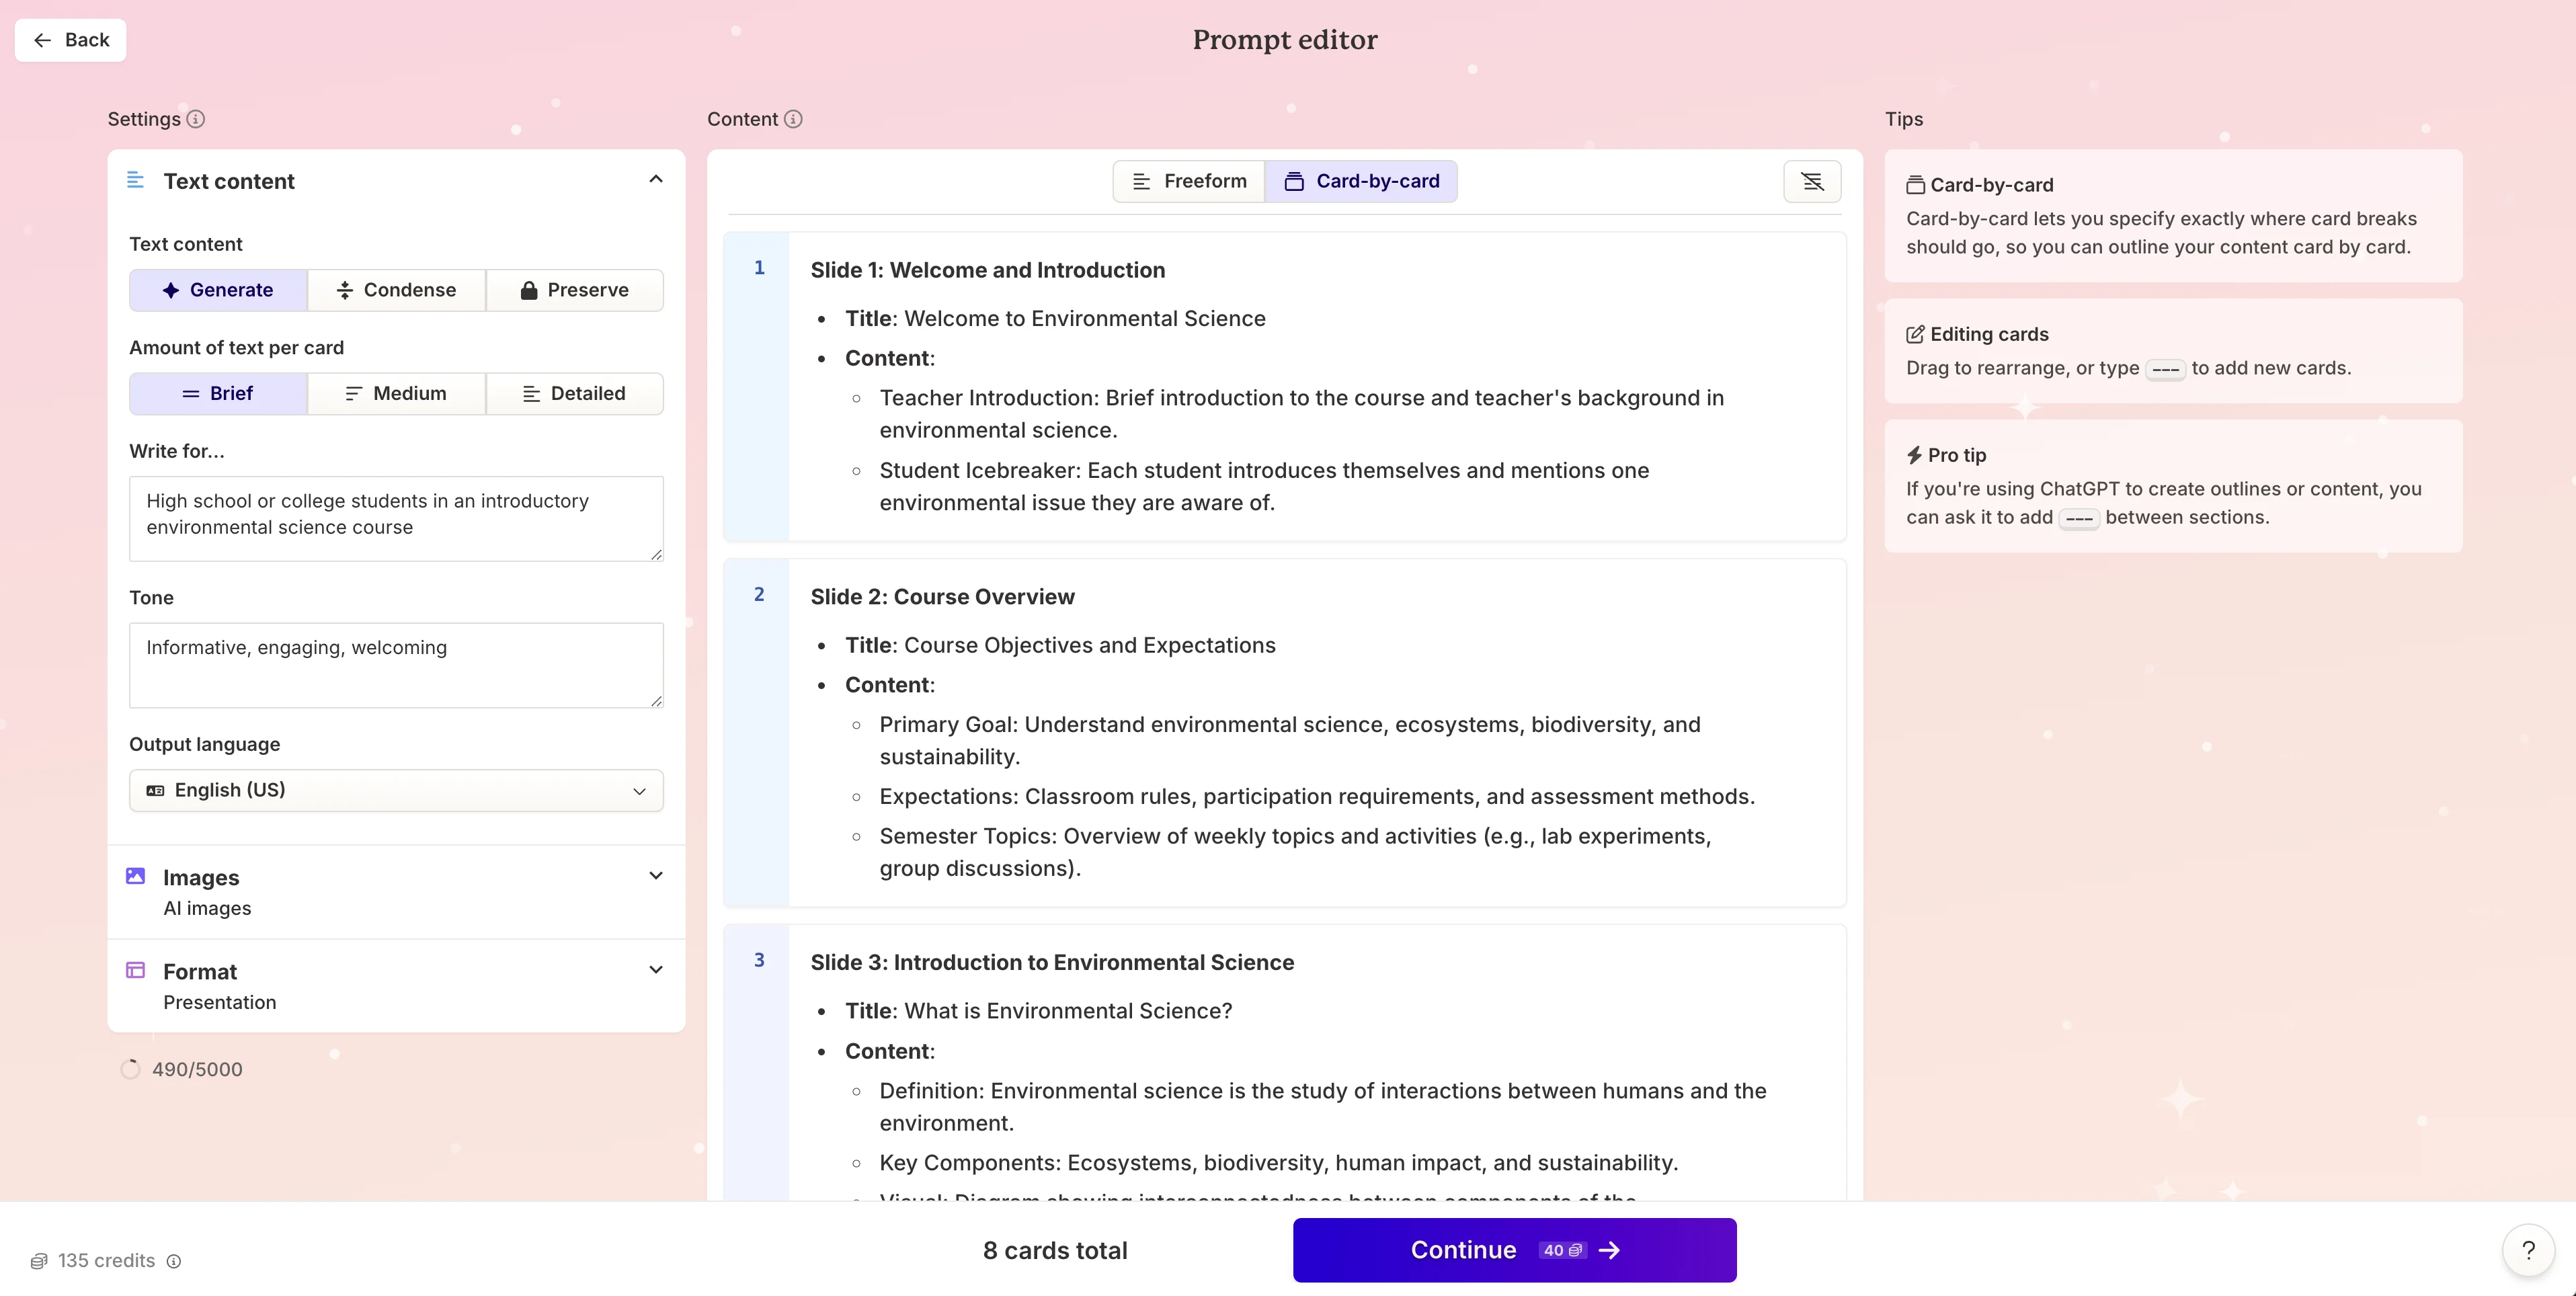
This will take us to the prompt editor within Gamma. We’re going to make a few adjustments here so that our slides turn out exactly how we expect. To start, click the “Card-by-card” option at the top of the page, and then click the “Scissors” button to have Gamma automatically detect where the card divides should be in the presentation.

The output of this update should break our text content into eight cards.
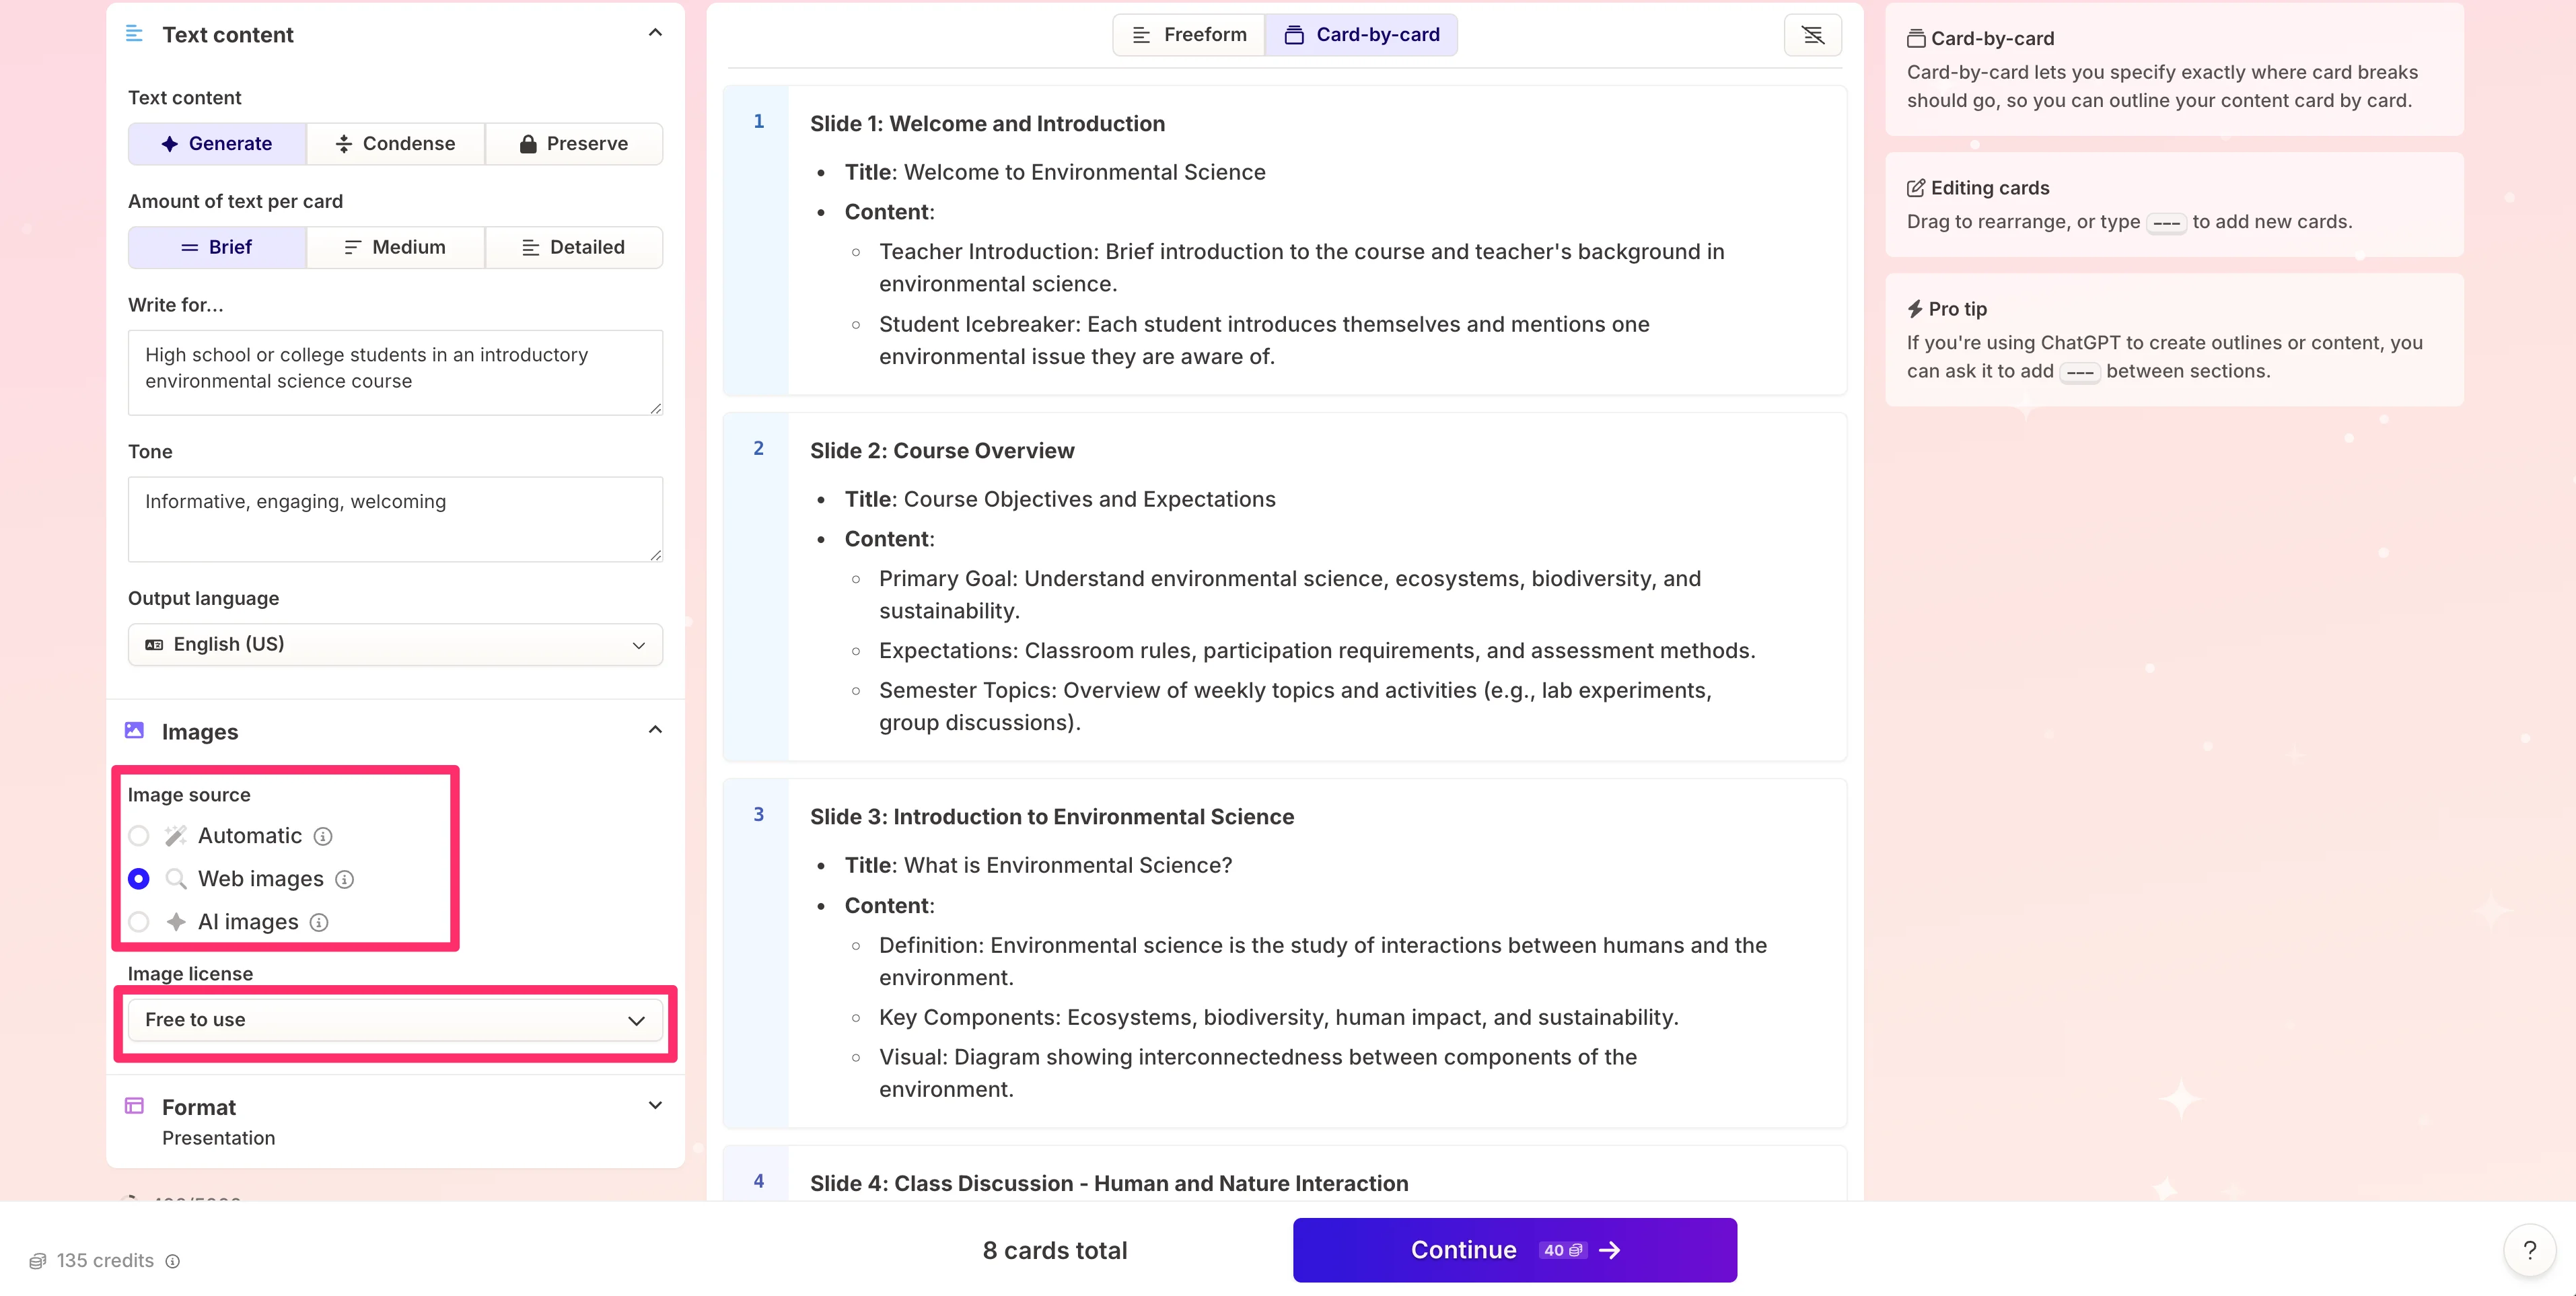
The only other update we’ll make is to change the image source for our presentation from “AI images” to “Web images”. We’ll also update the image license to “Free to use”. When you’ve completed this, click the “Continue” button. Note, that you can make additional updates on this page to match your preferences, but we’re going to leave the rest of the settings to their default values.
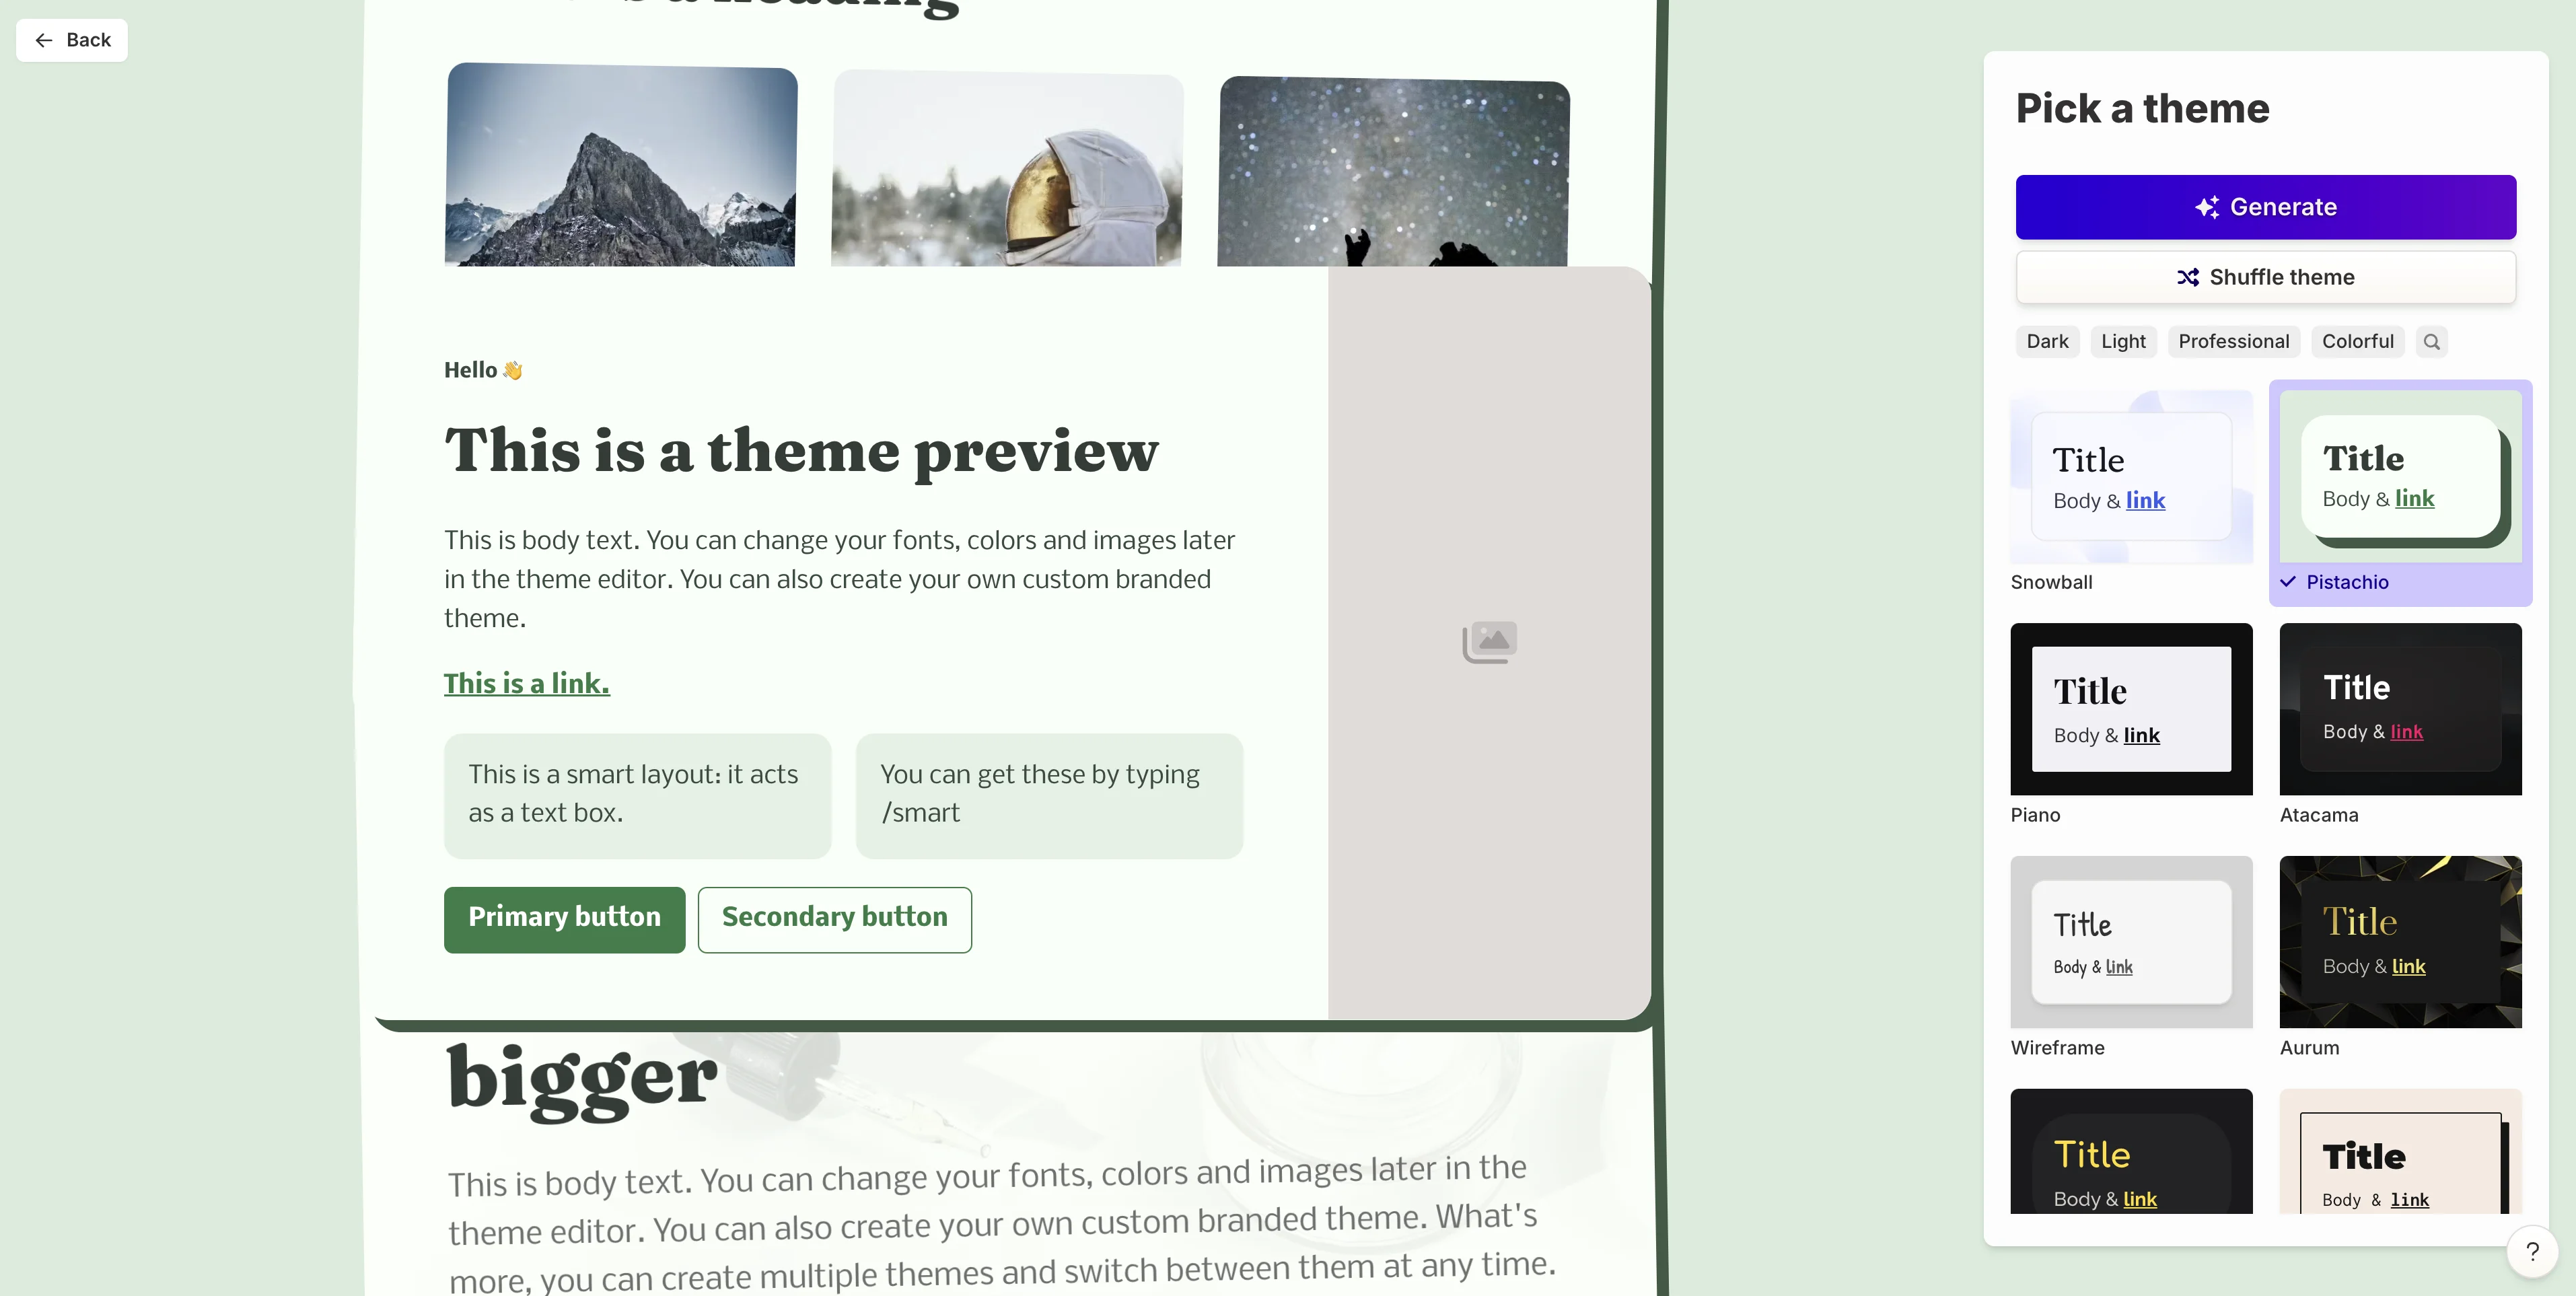
With these updates made, you’ll be taken to a new screen where you can select your presentation theme and then generate the initial set of slides. Click the “Generate” button once you’ve selected your theme.
Edit the lesson presentation
Gamma will then generate all the slides, in the theme we selected, with all the content we provided in the prompt editing step.
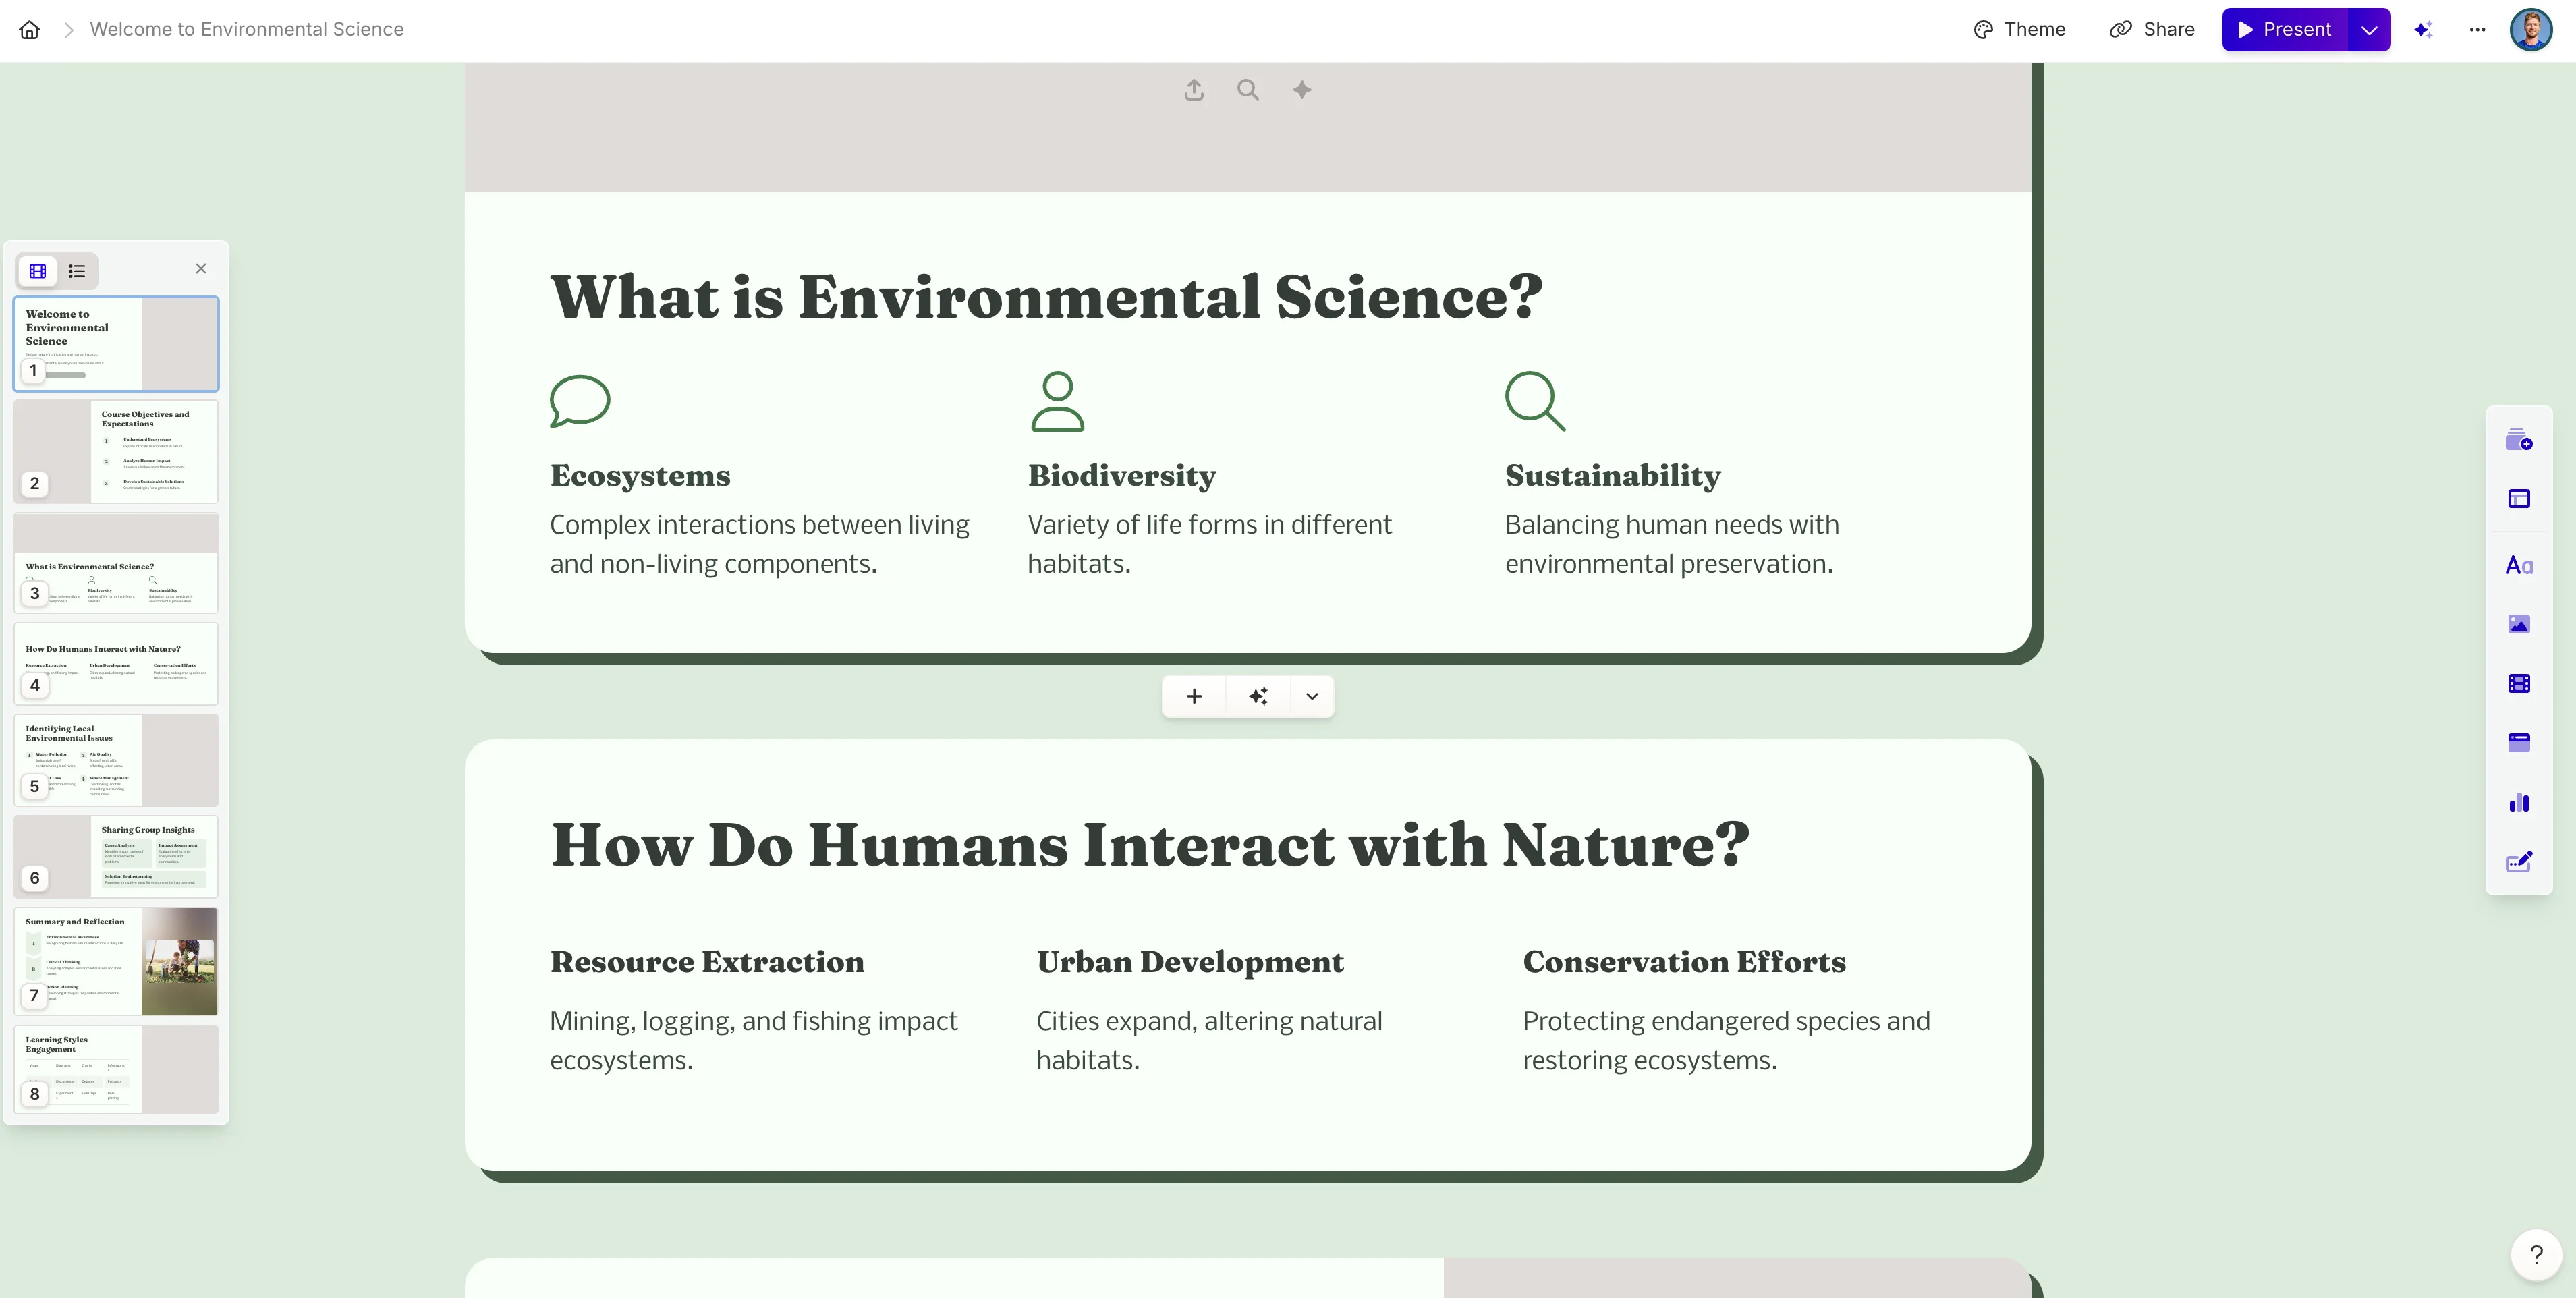
Gamma provides many tools for updating and editing the slides. For instance, you can add new images or replace images with their image selector. To add web images, click the magnifying glass icon.
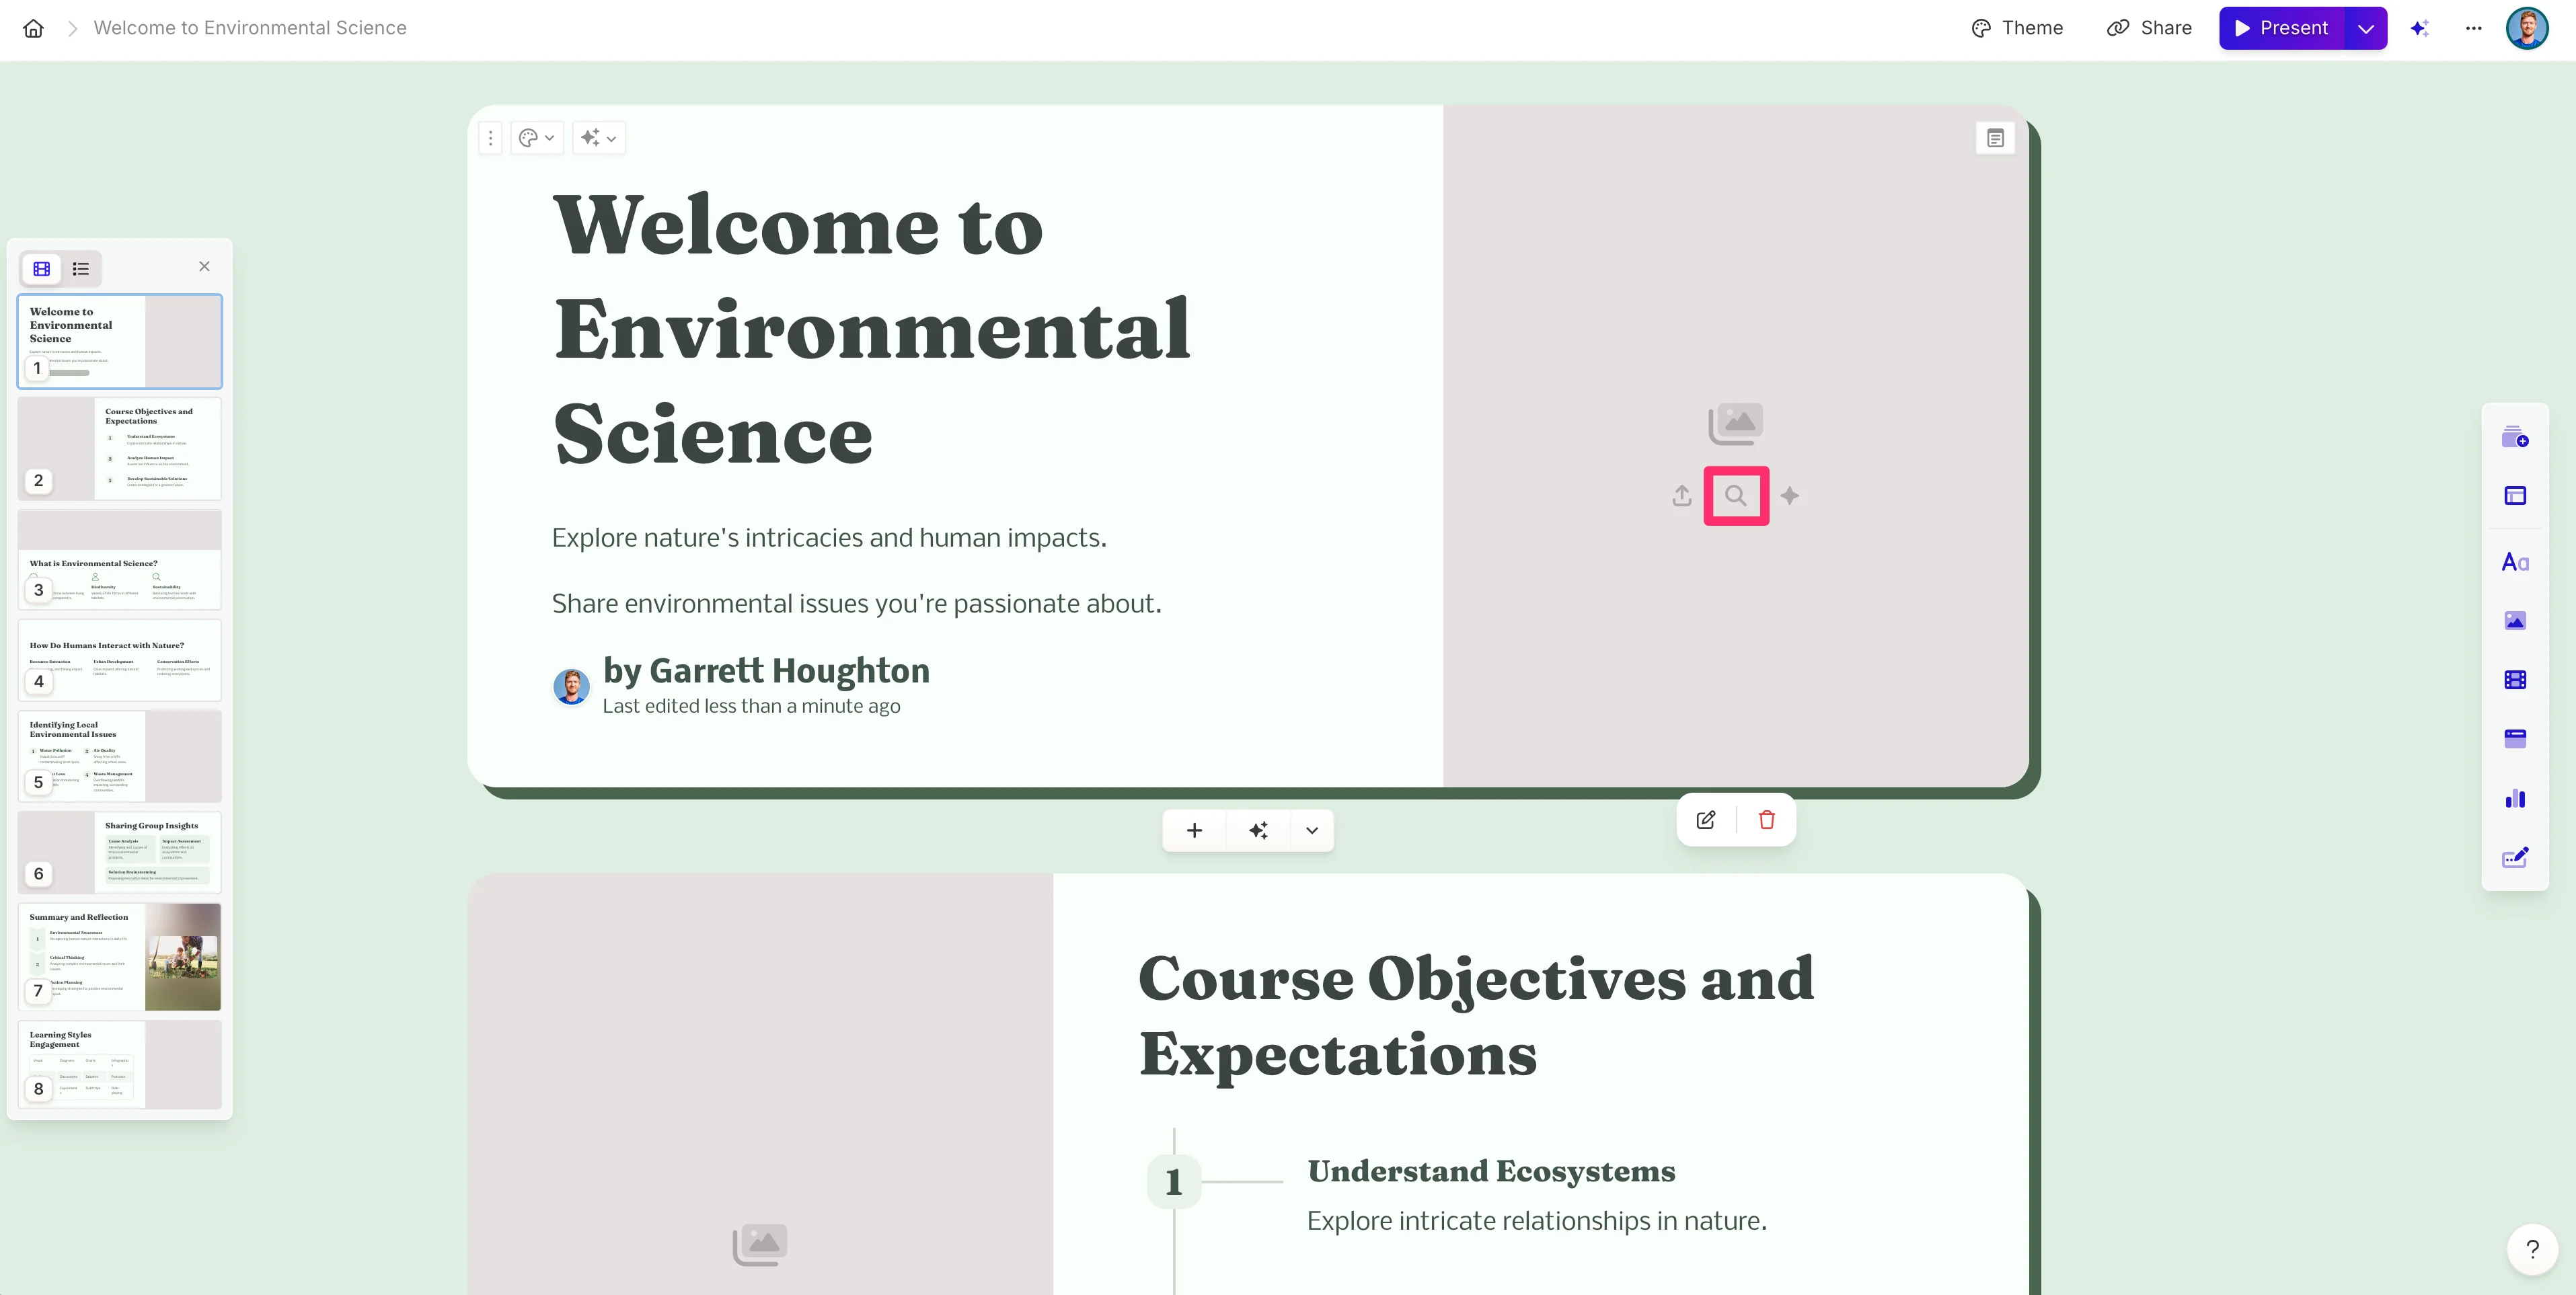
And then search and select the image you want to insert into your slide.

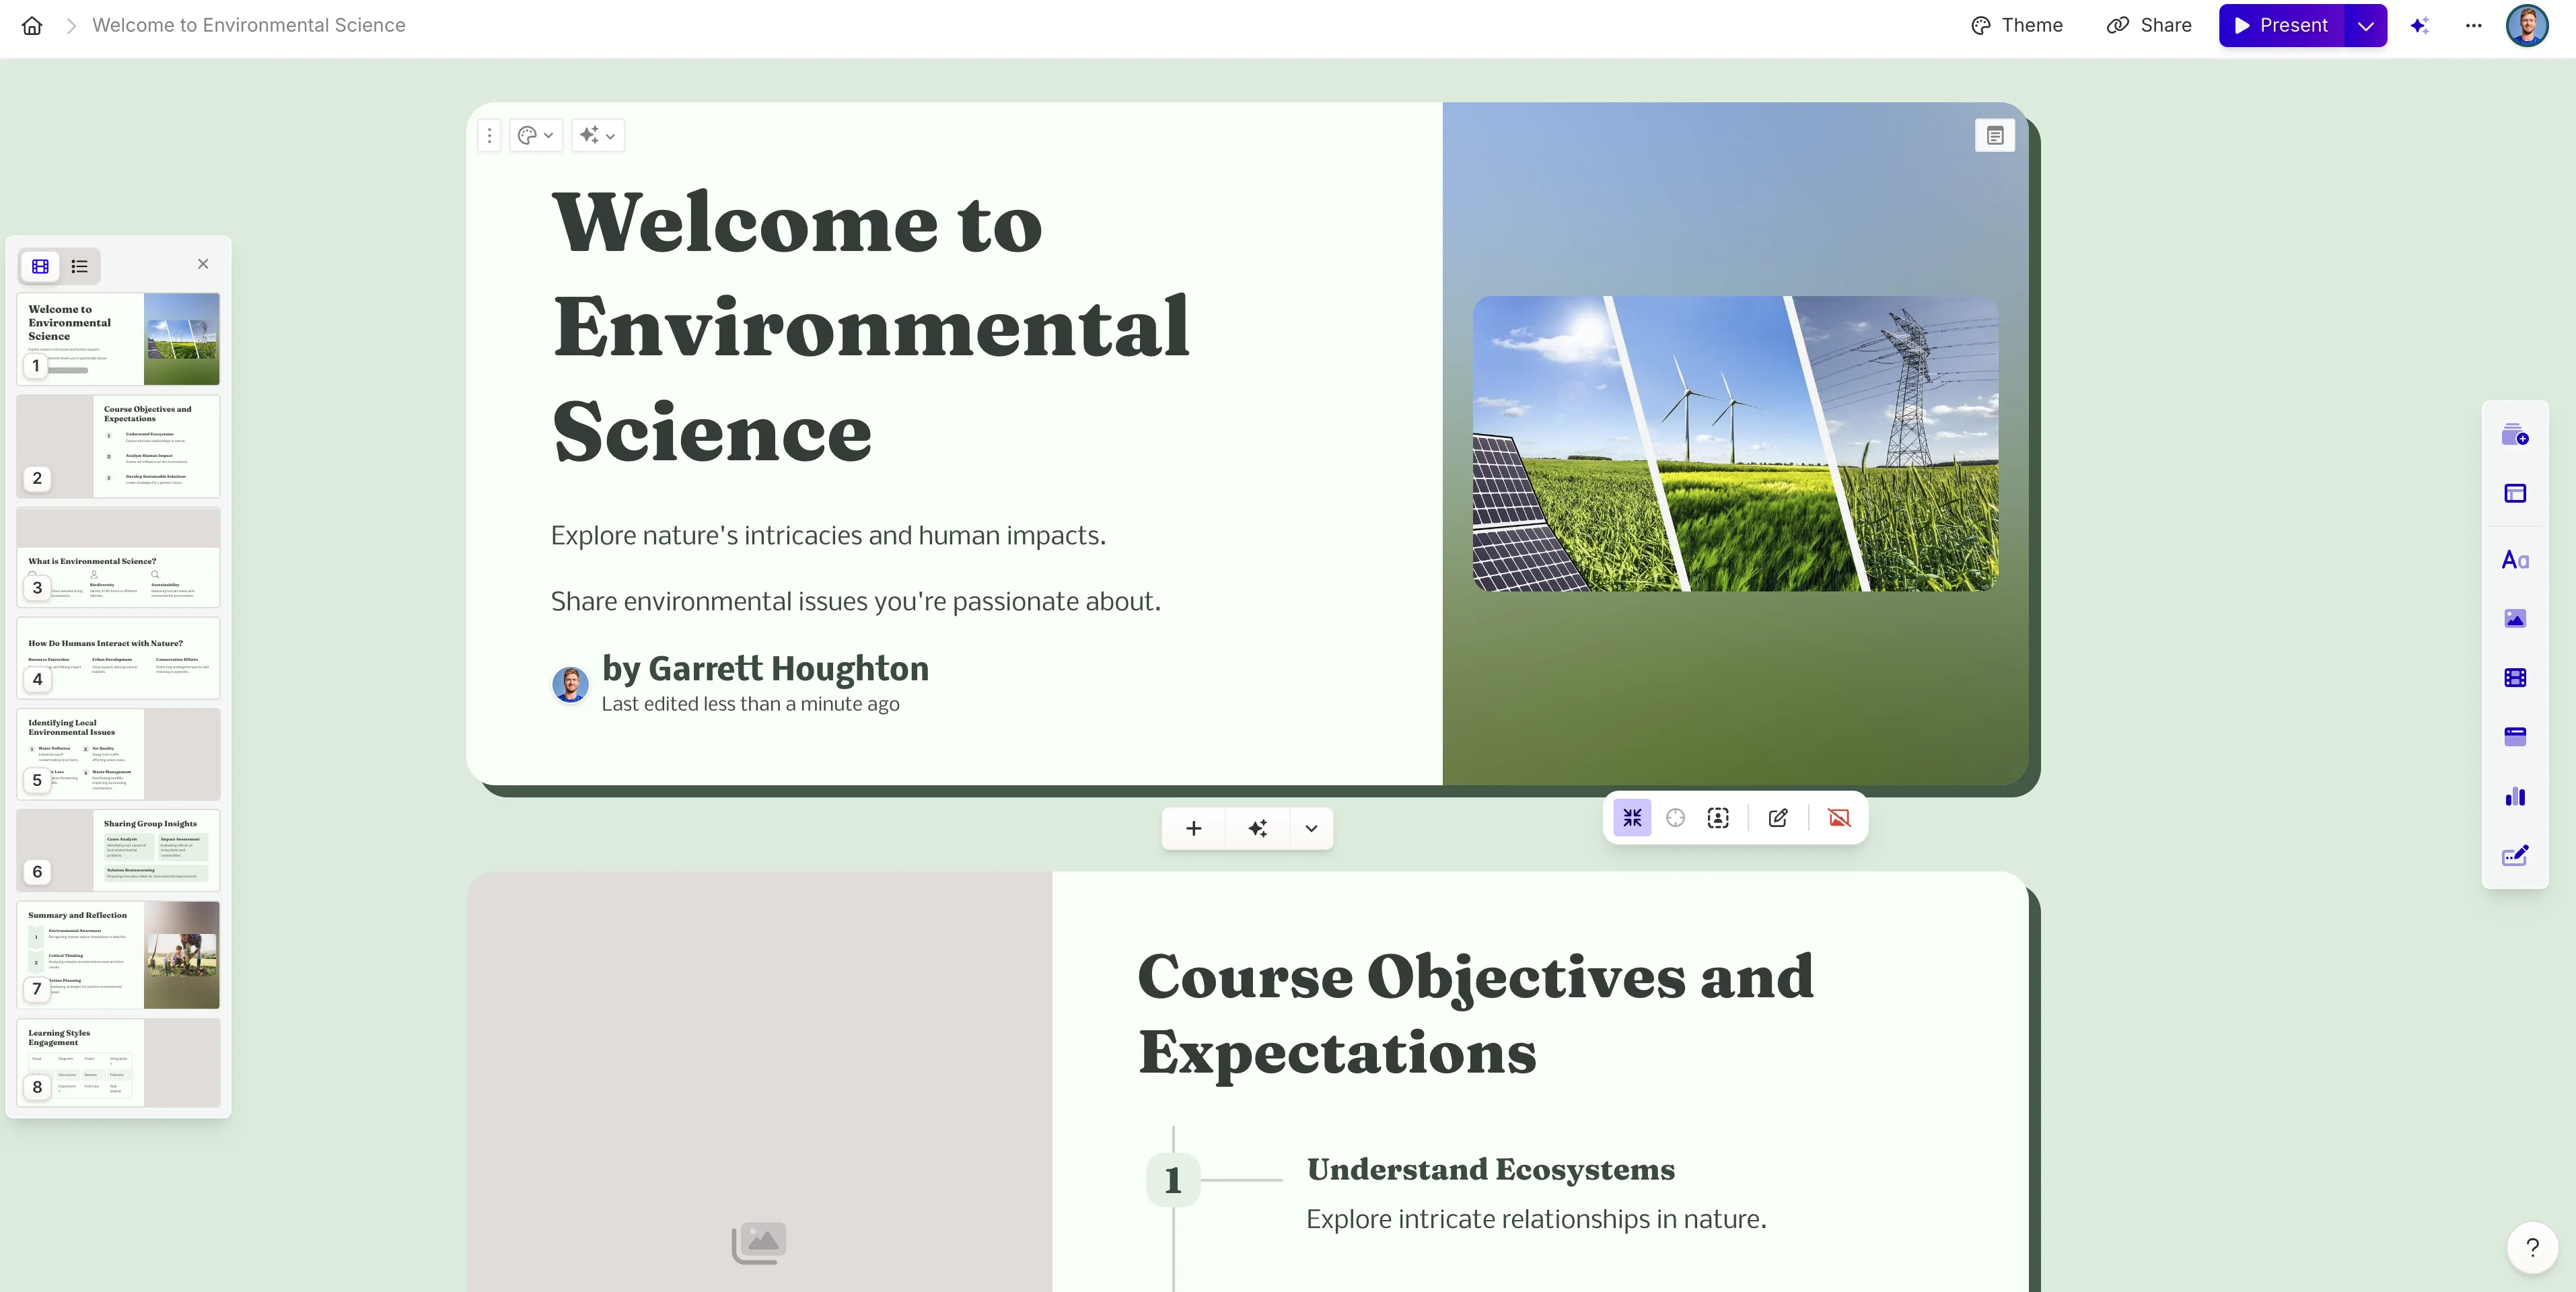
Gamma will insert the image and add matting to make the image look stunning on the slide. You can update the image by clicking on it and selecting additional edit options.
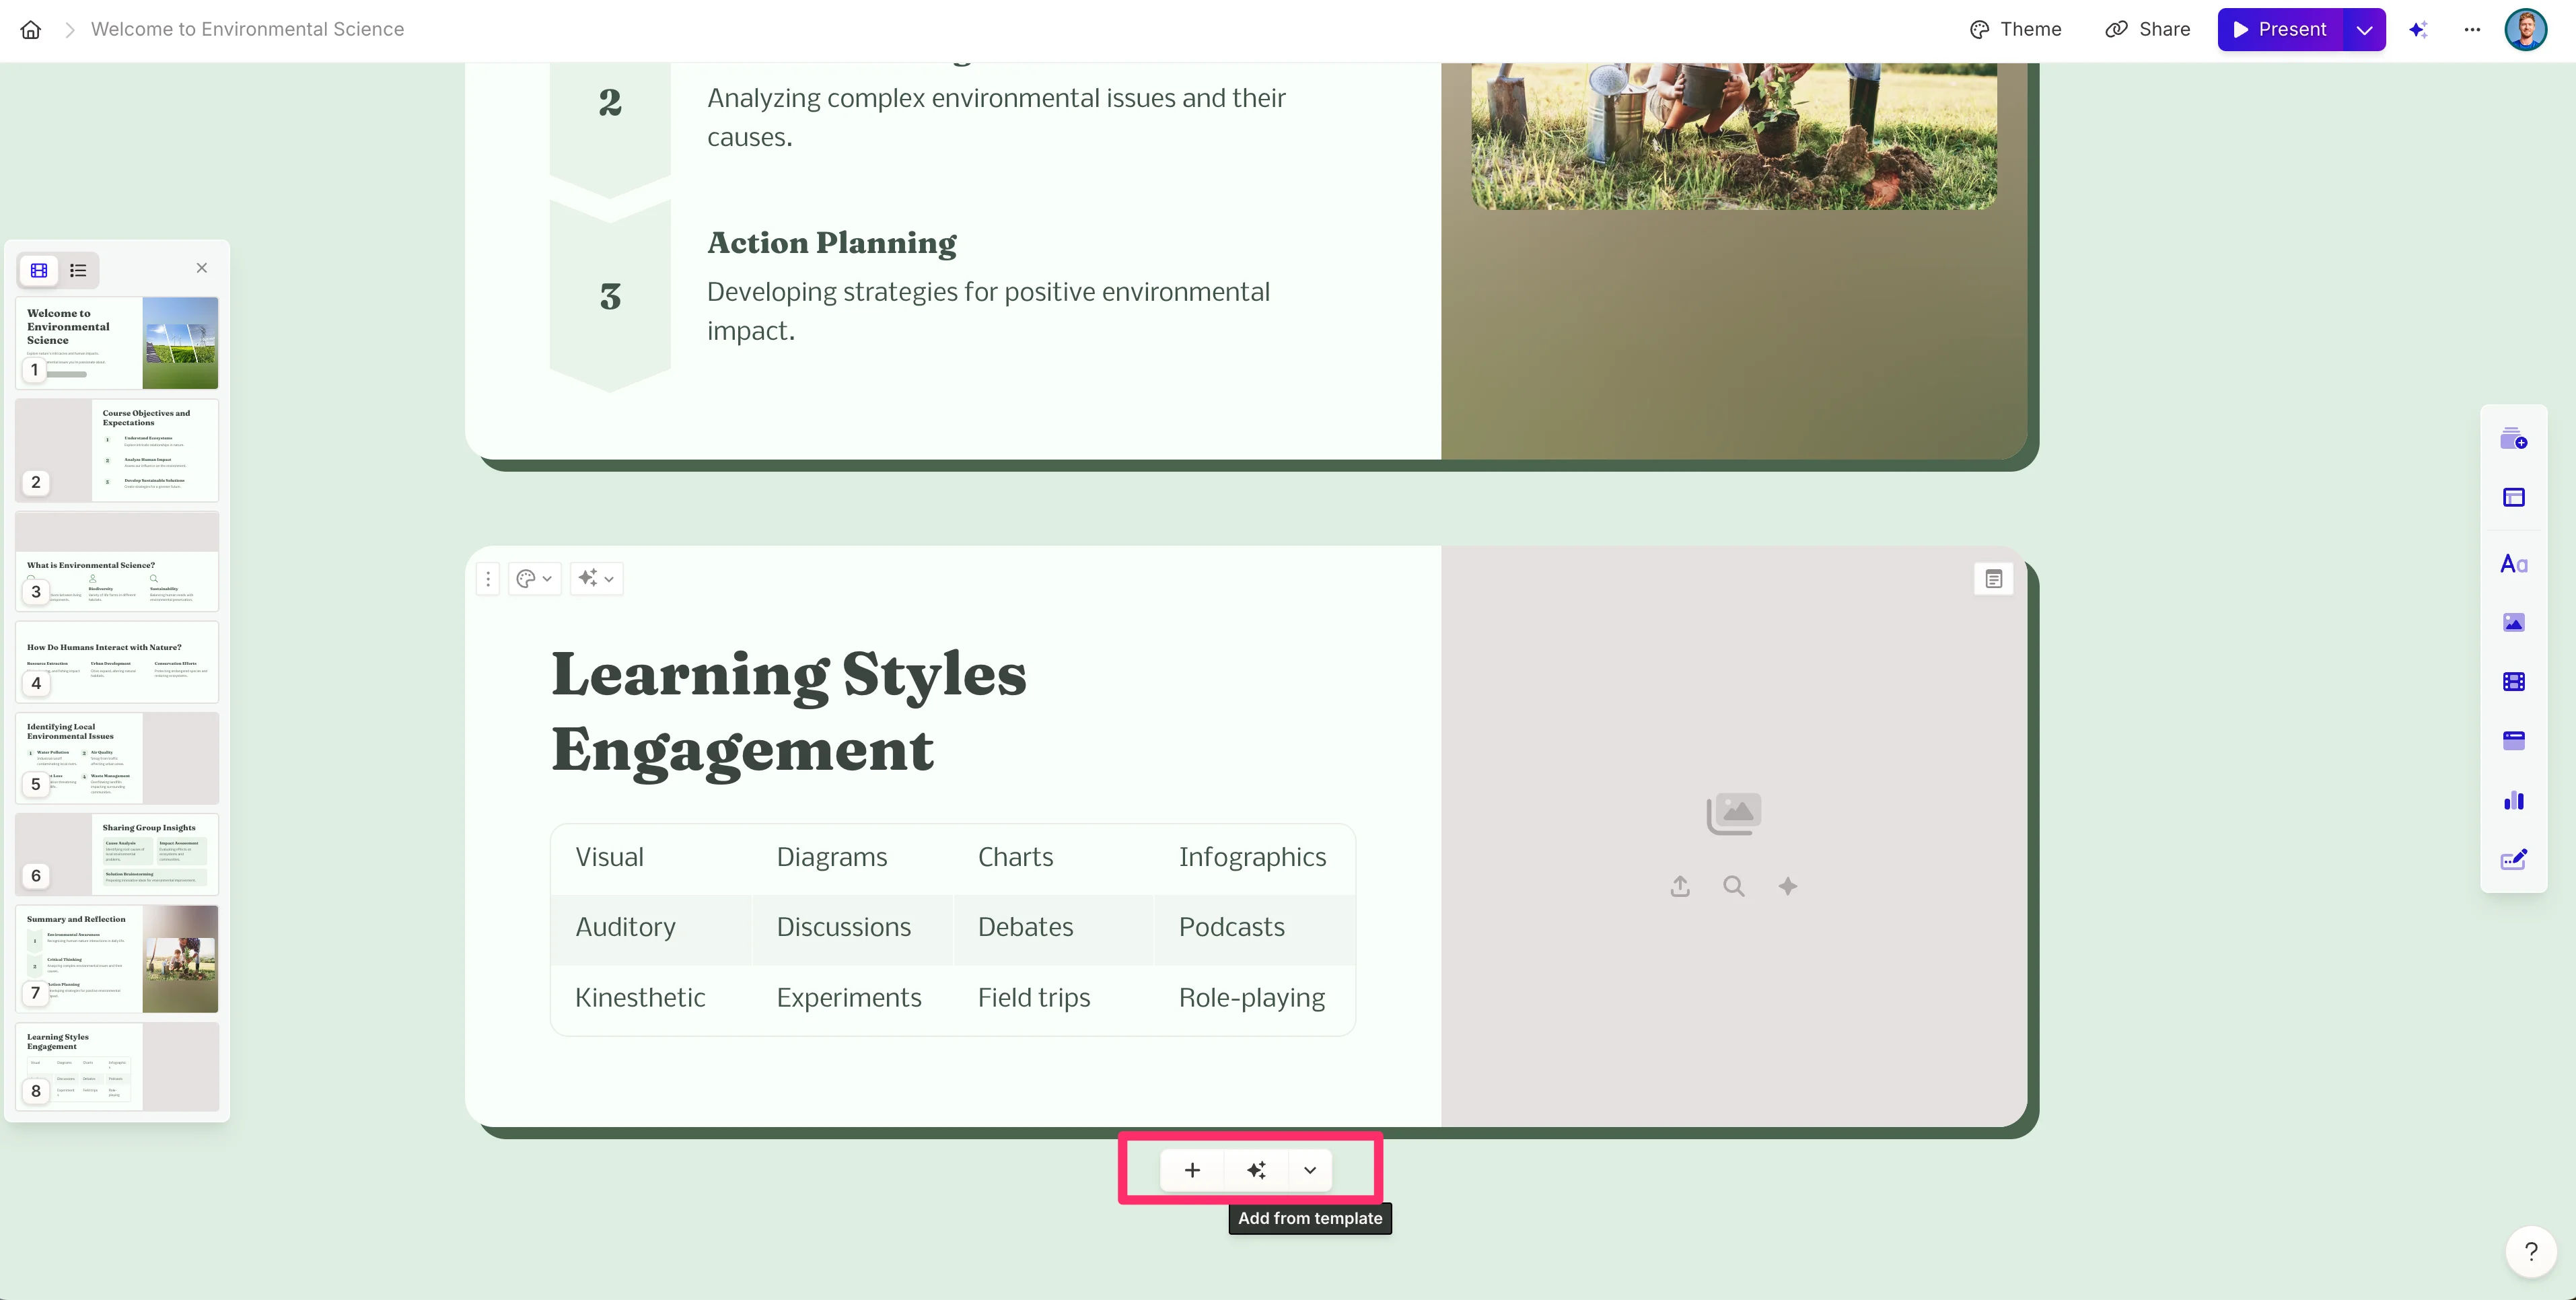
Additionally, you can add more slides by clicking on the pop-up menu at the bottom of the presentation or between slides.
Export and present the lesson slides
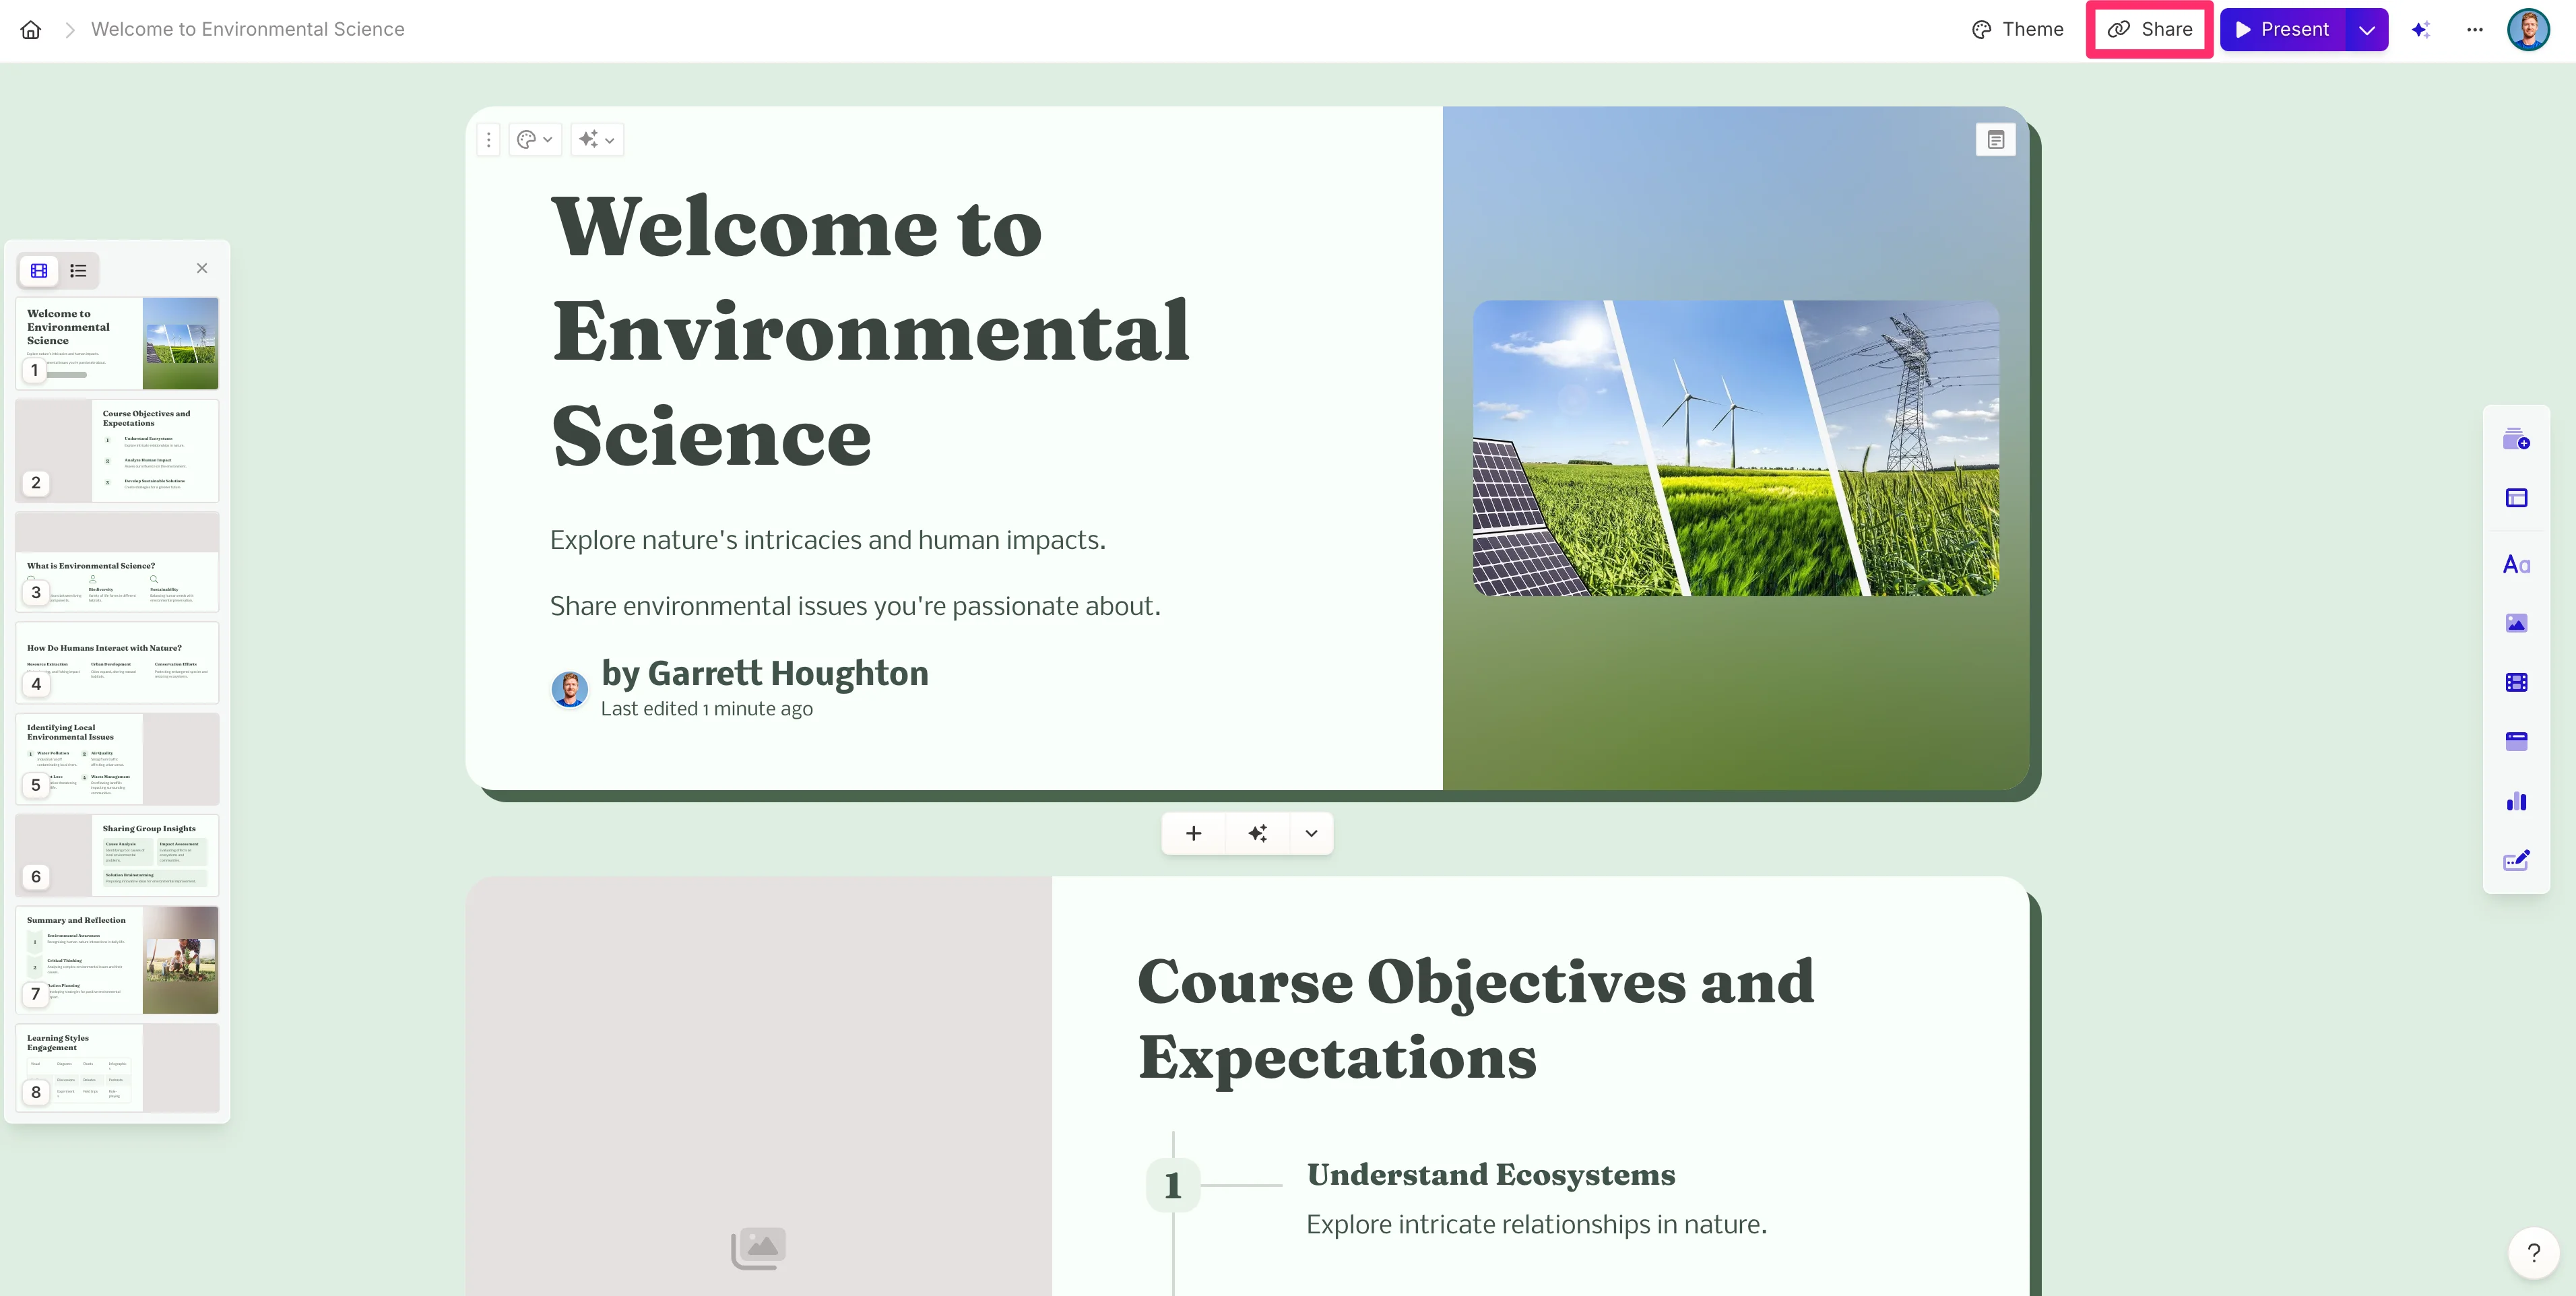
Once you’re happy with your slides, you can export and present them in a variety of ways. If you want to export the slides, click the “Share” button in the top right corner of the page.
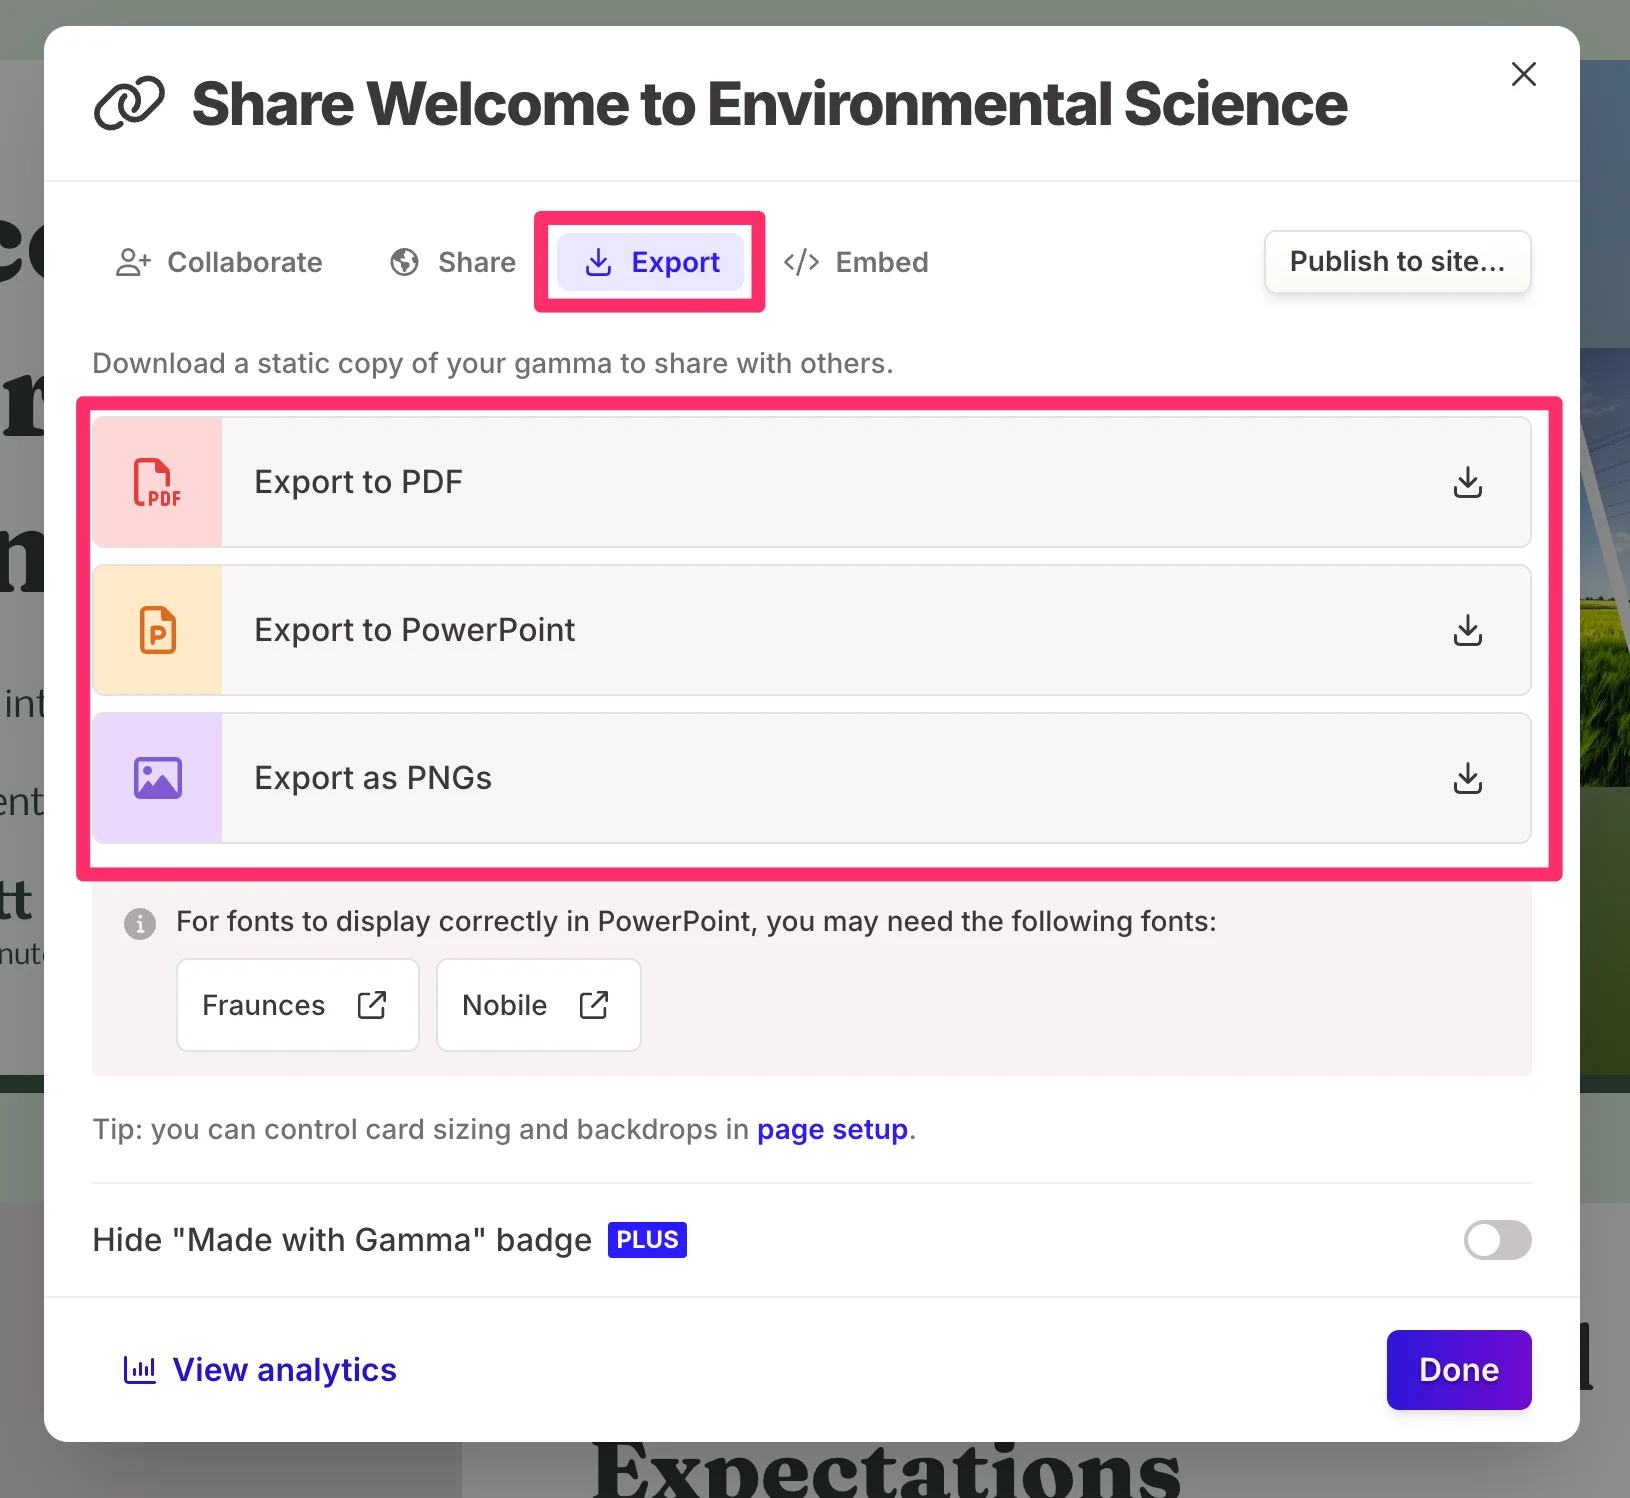
Then, click the “Export” tab and select the option of export you want to download.
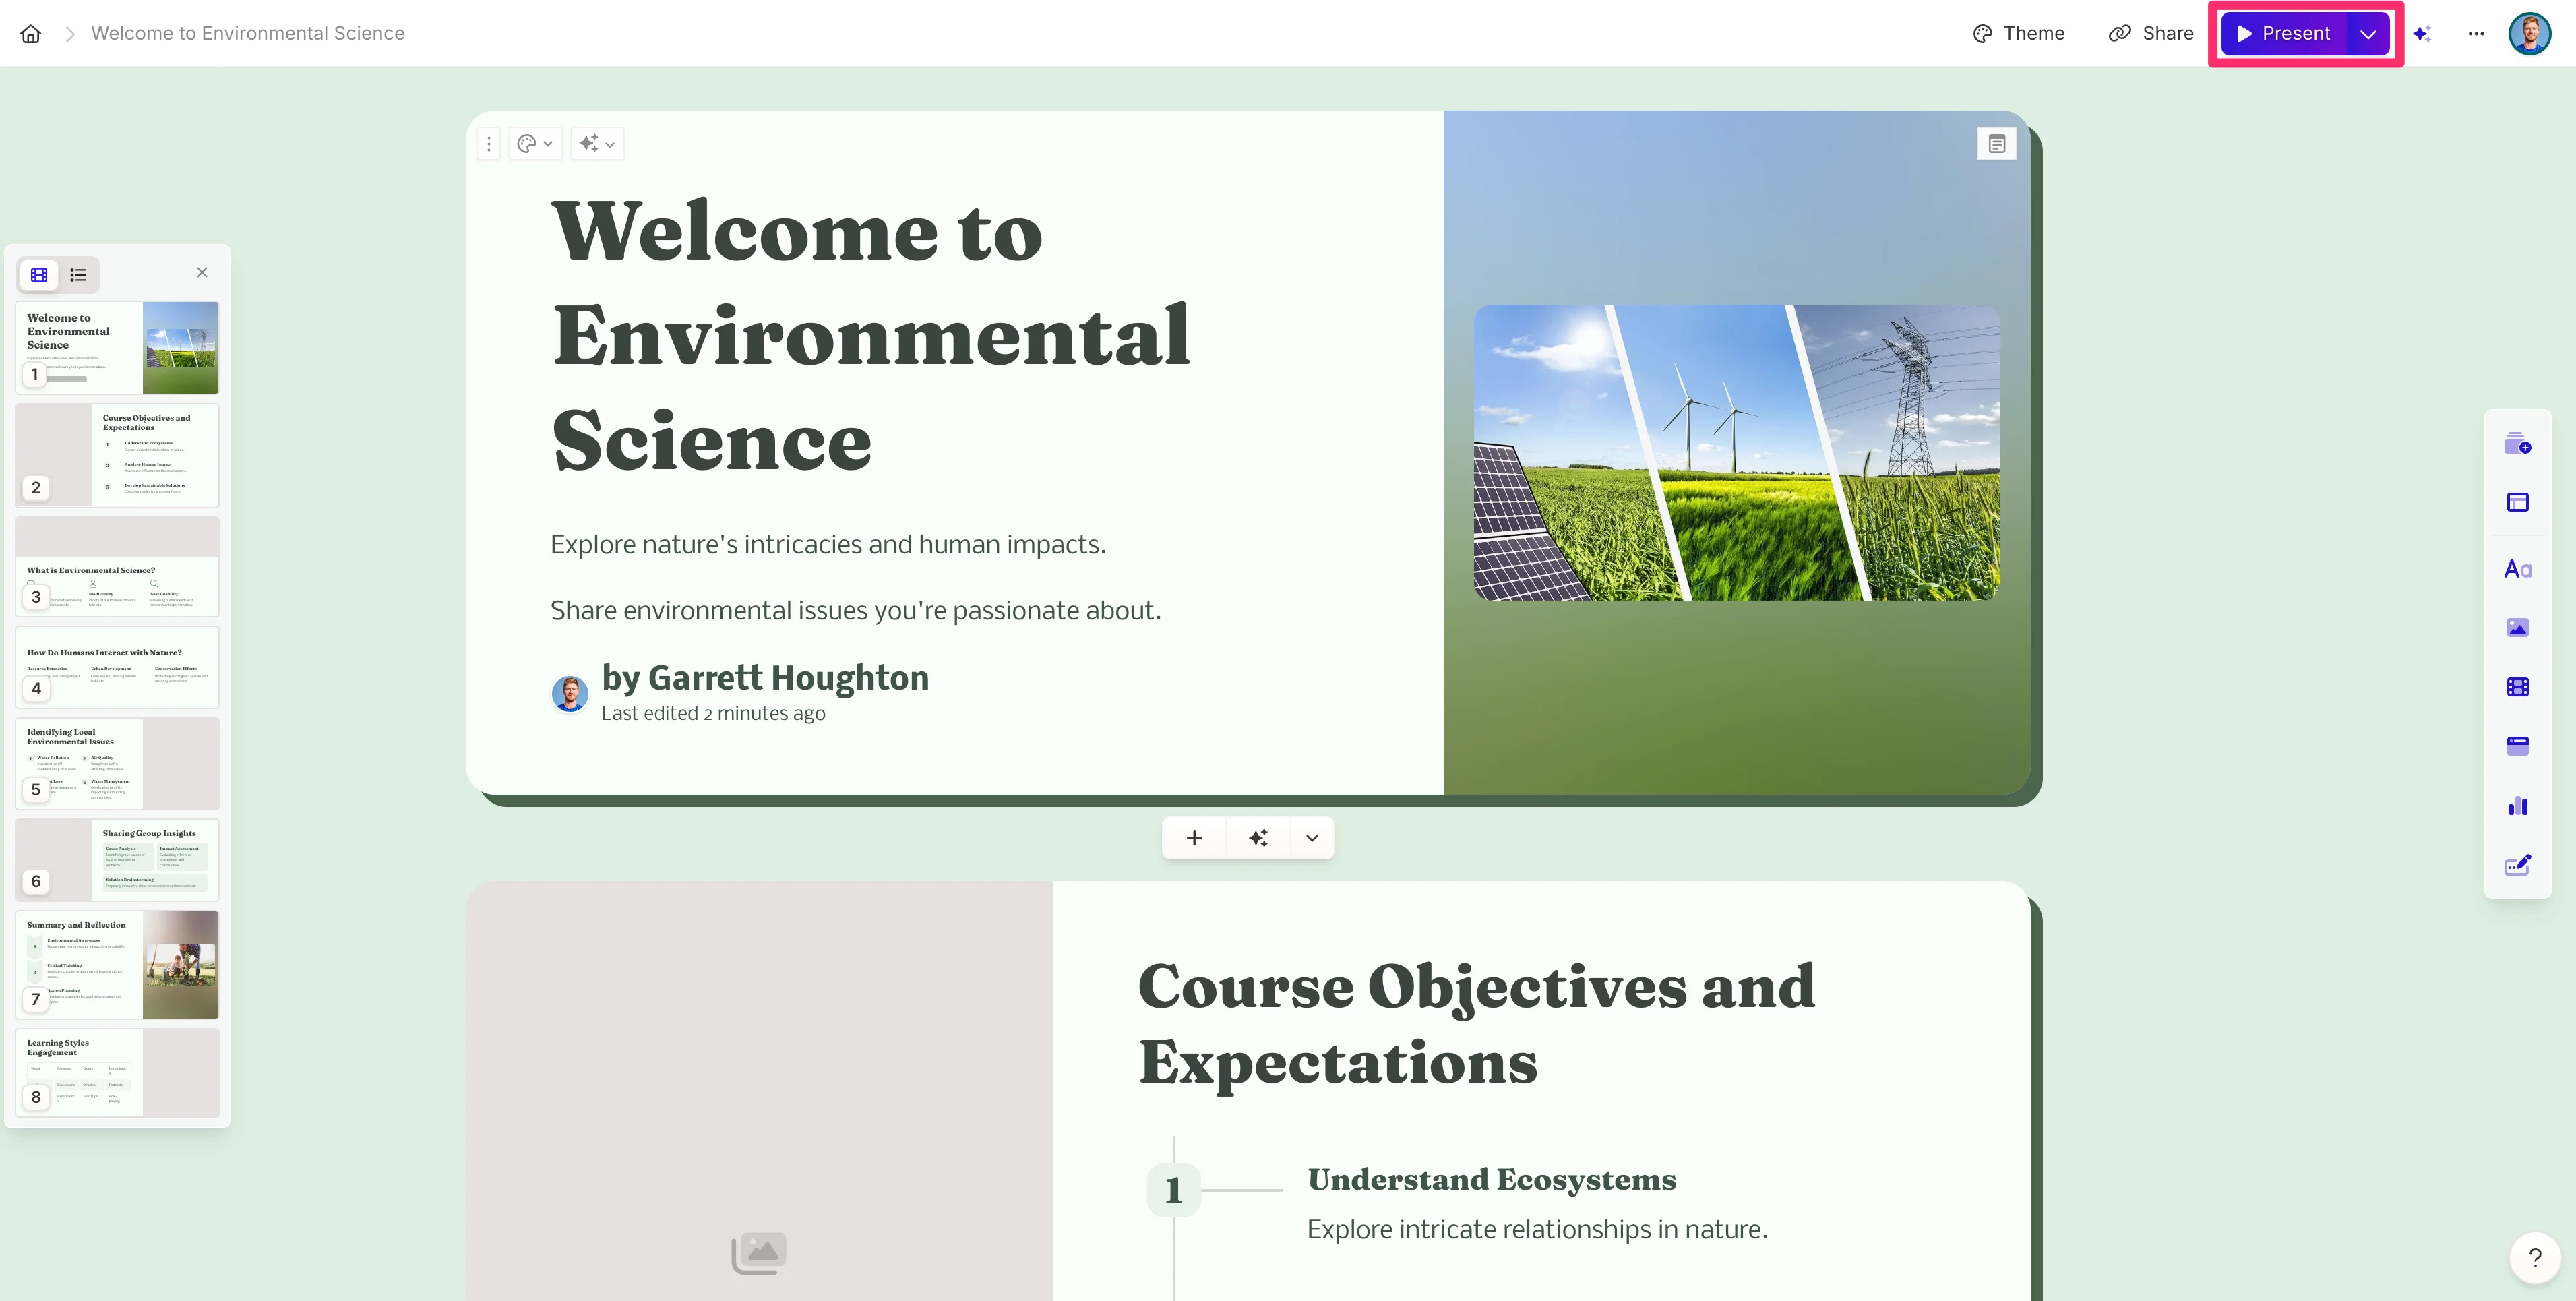
You can also present the slides directly from Gamma by clicking the “Present” button.
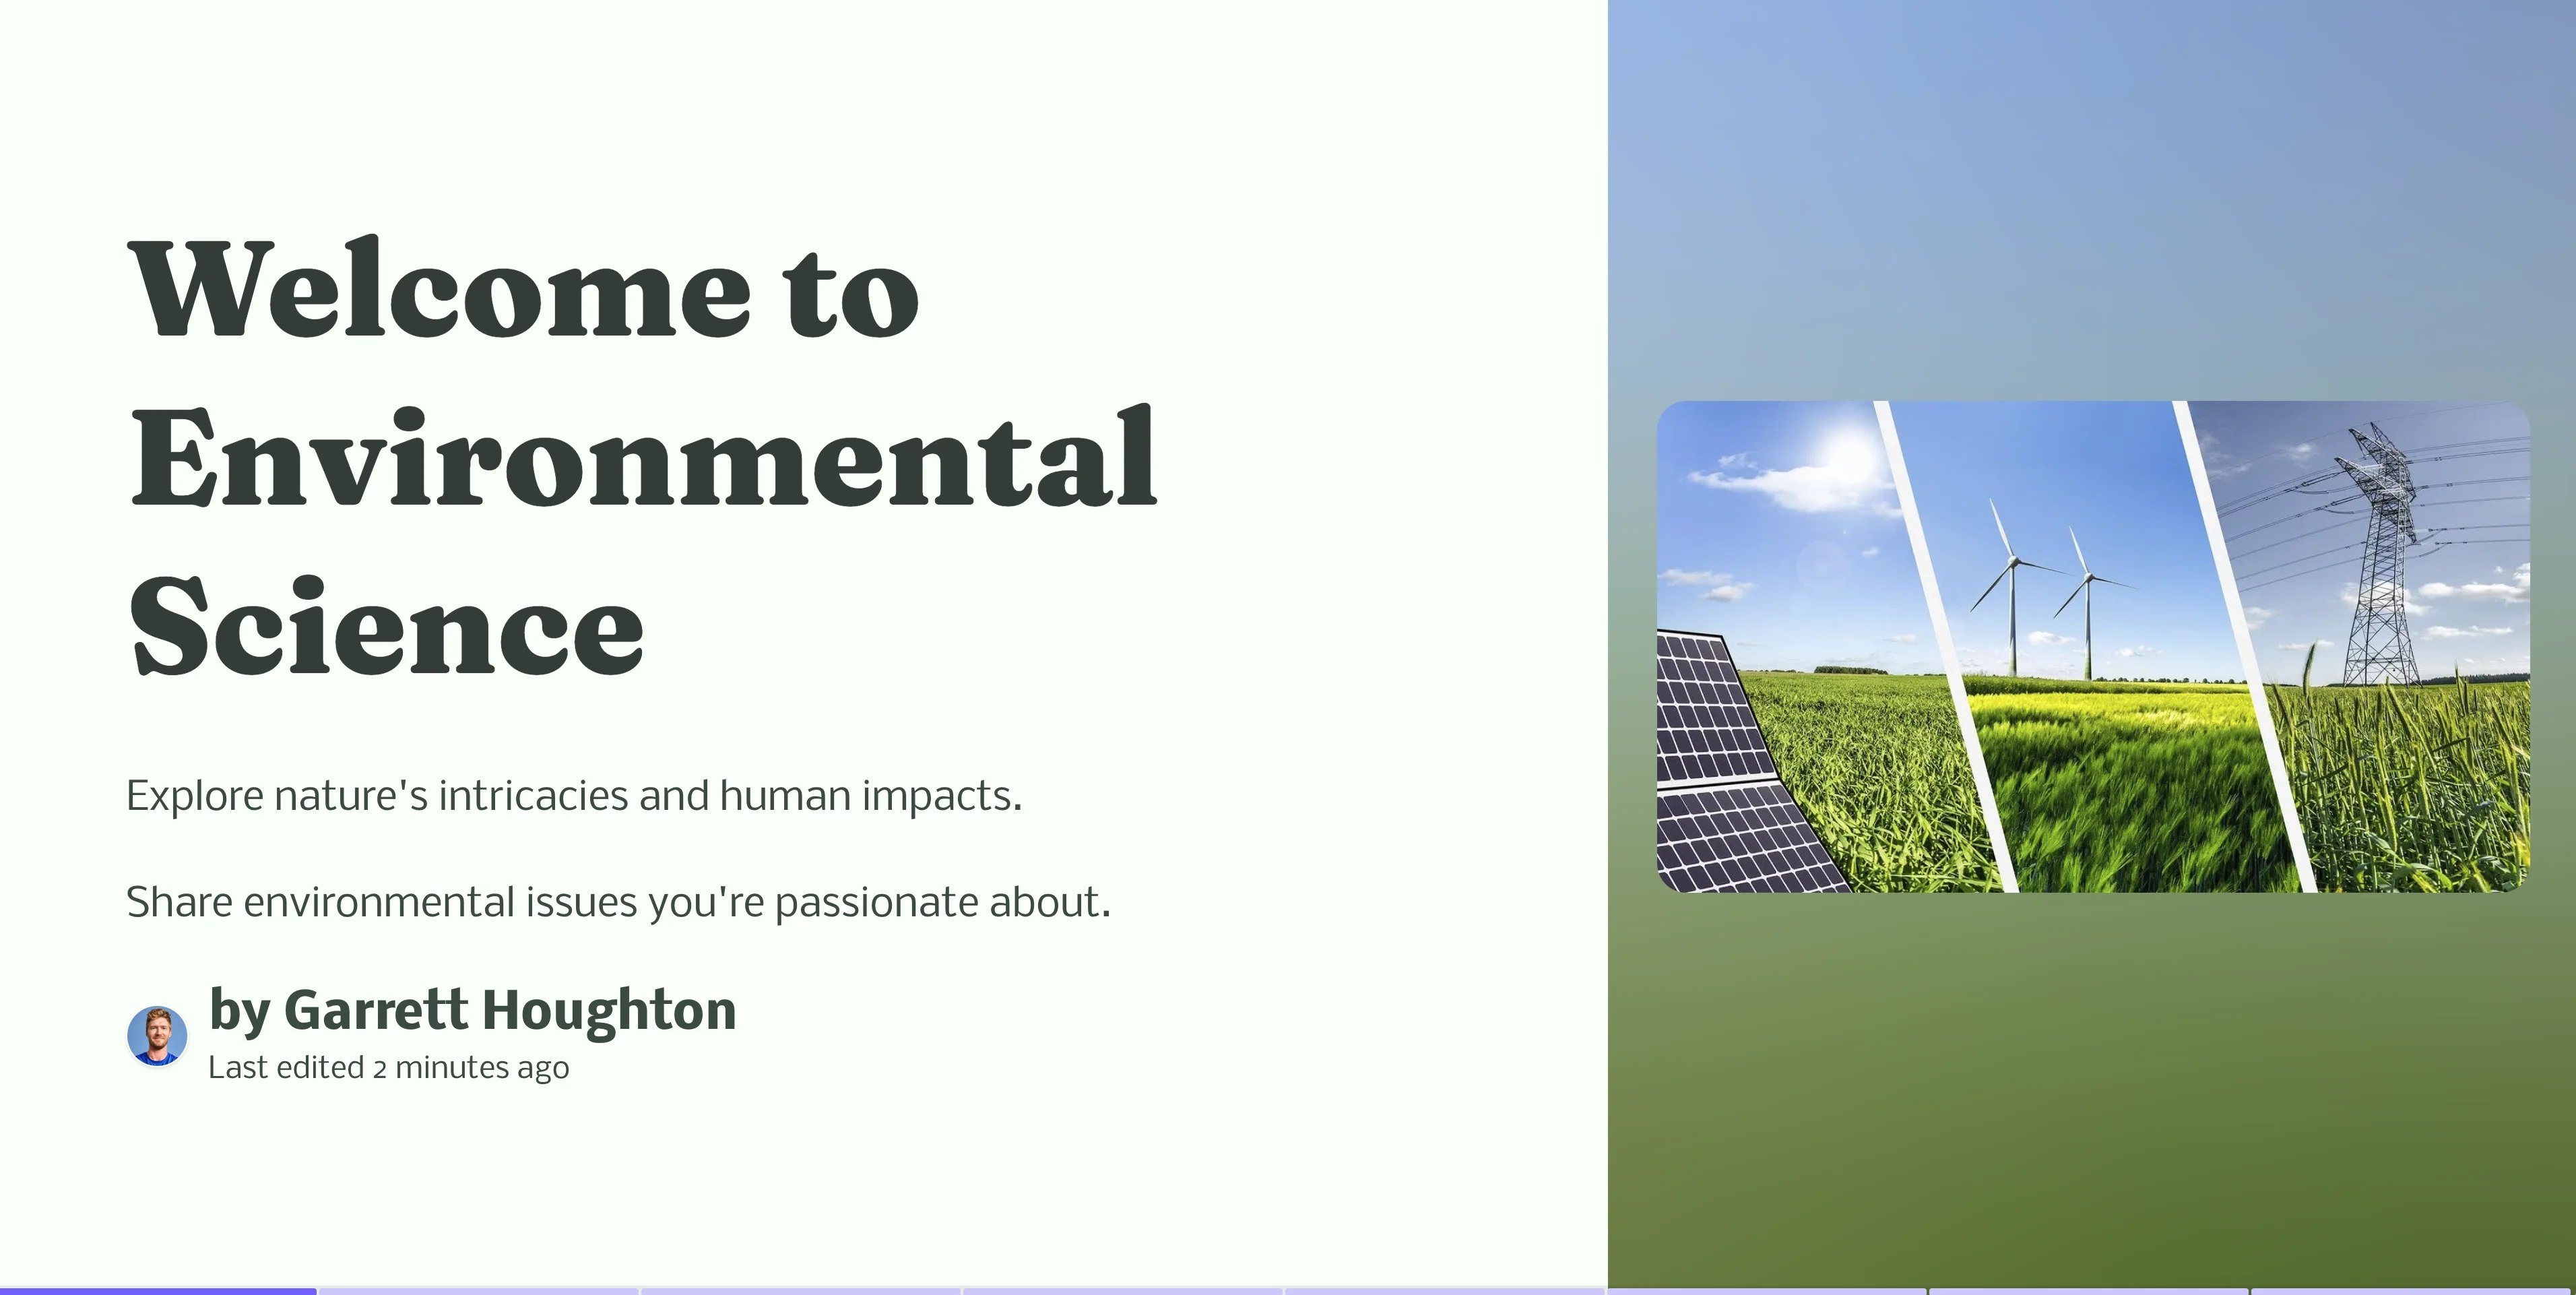
This will open a fullscreen experience where you can toggle through the slides with your keyboard or mouse.
And that’s it! If you made it this far, you went from your lesson plan content to a fully designed lesson presentation.
In the next lesson, you’ll learn how to create quizzes and exams (and grade them!) with ChatGPT.
This tutorial was created by Garrett.