Develop an AI-powered blog content calendar
Use AI to develop a blog content plan for your business and automate writing posts.
2024-11-13
One of the keys to a successful marketing strategy is good quality and consistent content output. But, managing the planning and publishing of new content on a schedule can be demanding, particularly if you’re an indie maker or a small team.
Thankfully, you can now use AI to do the hard work.
In this tutorial, we’re going to imagine you’re running a boutique ecommerce business that sells eco-friendly, luxury dog treats. You’ve got a small, loyal following of customers but want to expand our customer base with content that both educates and entices potential new buyers.
In this tutorial you’ll learn how to:
- Get ChatGPT to create your content strategy
- Turn your content strategy into an Airtable
- Use Zapier + ChatGPT to draft content on a schedule
Step 1: Get ChatGPT to create your content strategy
There was a time when creating a content plan and coming up with ideas would have taken hours, but one area where AI excels is coming up with detailed plans based on just a little bit of prompting.
Go to ChatGPT and try the following prompt:
I'm running a boutique e-commerce business that sells eco-friendly, luxury dog treats. We’ve got a small, loyal following of customers but want to expand our customer base with content that both educates and entices potential new buyers.
Overview of content:
1. I want to run the strategy over 3 months, with each month having its own broad theme
2. I want to publish a new blog post each week with a topic that fits the theme
Please create a plan of themes, blog titles and bog summaries for further planning.

Within a few seconds, you should receive something like this.
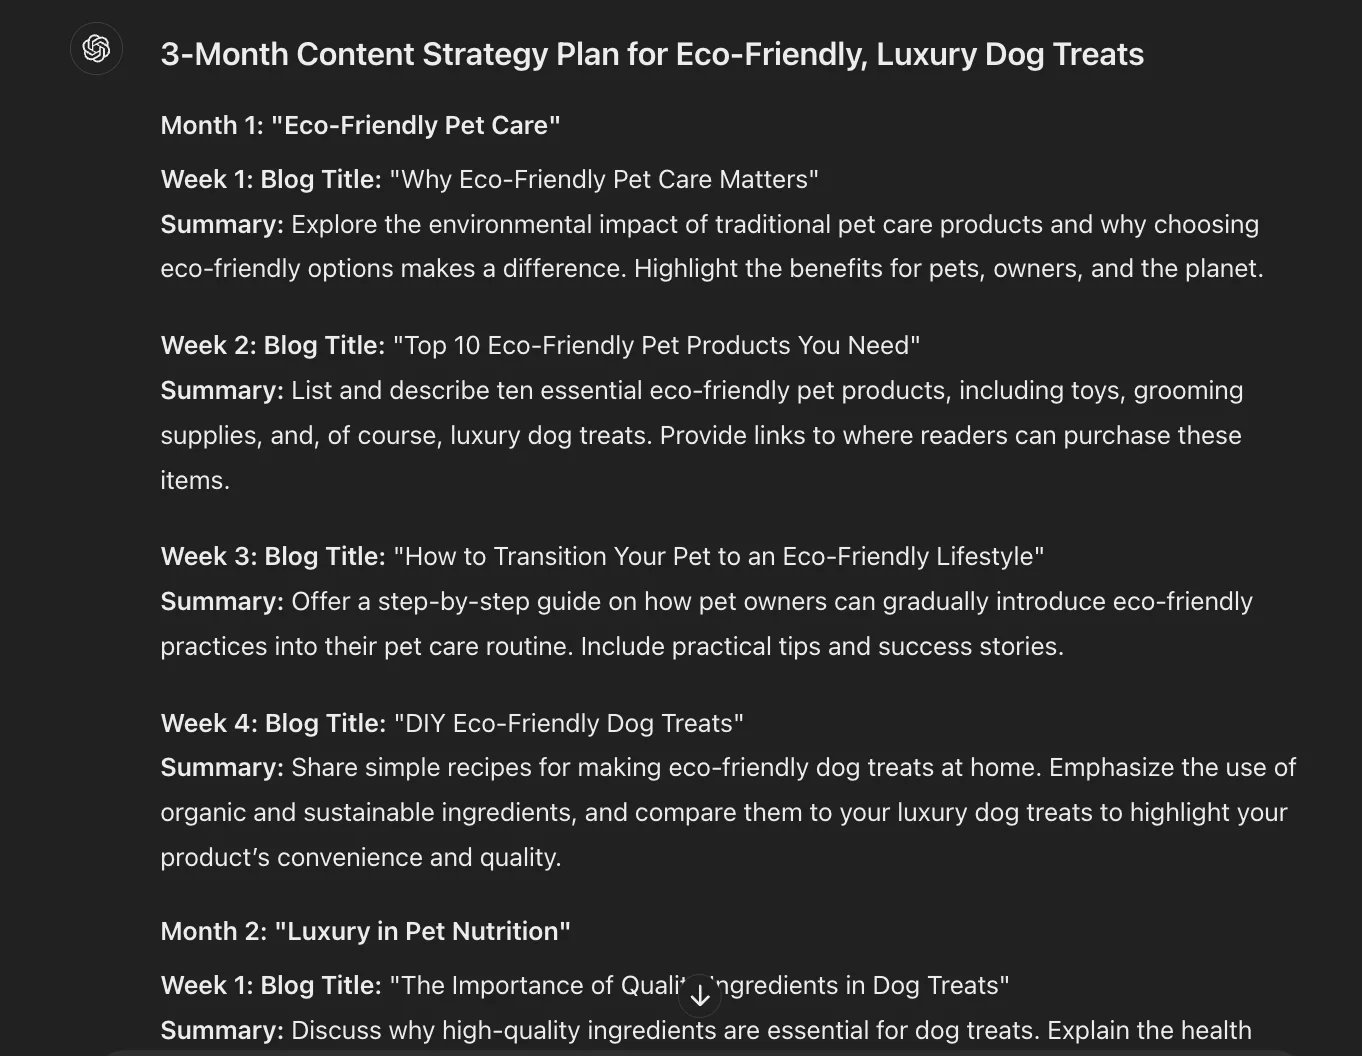
So far so good - at first glance these are some great ideas for content. If you’ve got specific edits you want to make or other ideas you want to explore you can tell ChatGPT this in a reply and it’ll make updates.
Step 2: Turn your content strategy into an Airtable
The next step is to turn this plan into an Airtable which we can use for our content calendar.
Another handy feature of ChatGPT is the ability to create and export data in a variety of formats. Here, we’ll ask ChatGPT to turn our content strategy into a spreadsheet which we can then download and import into Airtable.
To do this, use the following prompt.
Thanks, can you turn this into a planning spreadsheet for me - just 4 columns - week (go with 1-16) title, summary, theme

Click the download icon and save the resulting spreadsheet somewhere on your computer.
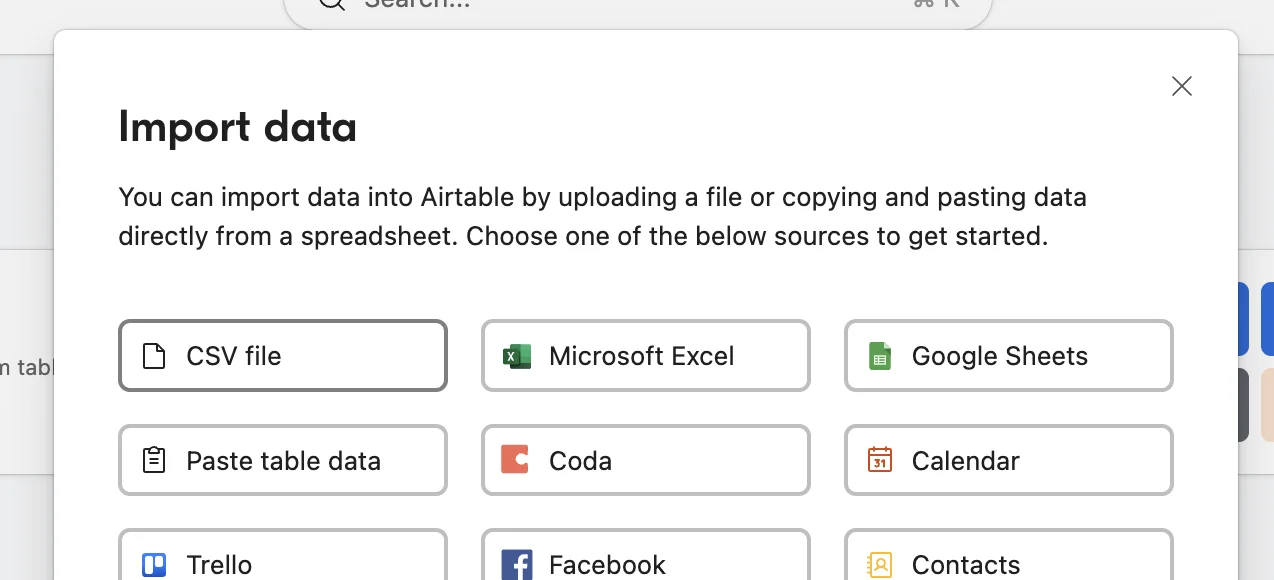
Next, head over to Airtable and use the “Quickly upload” feature to create a new Airtable base.

Select “CSV file”.
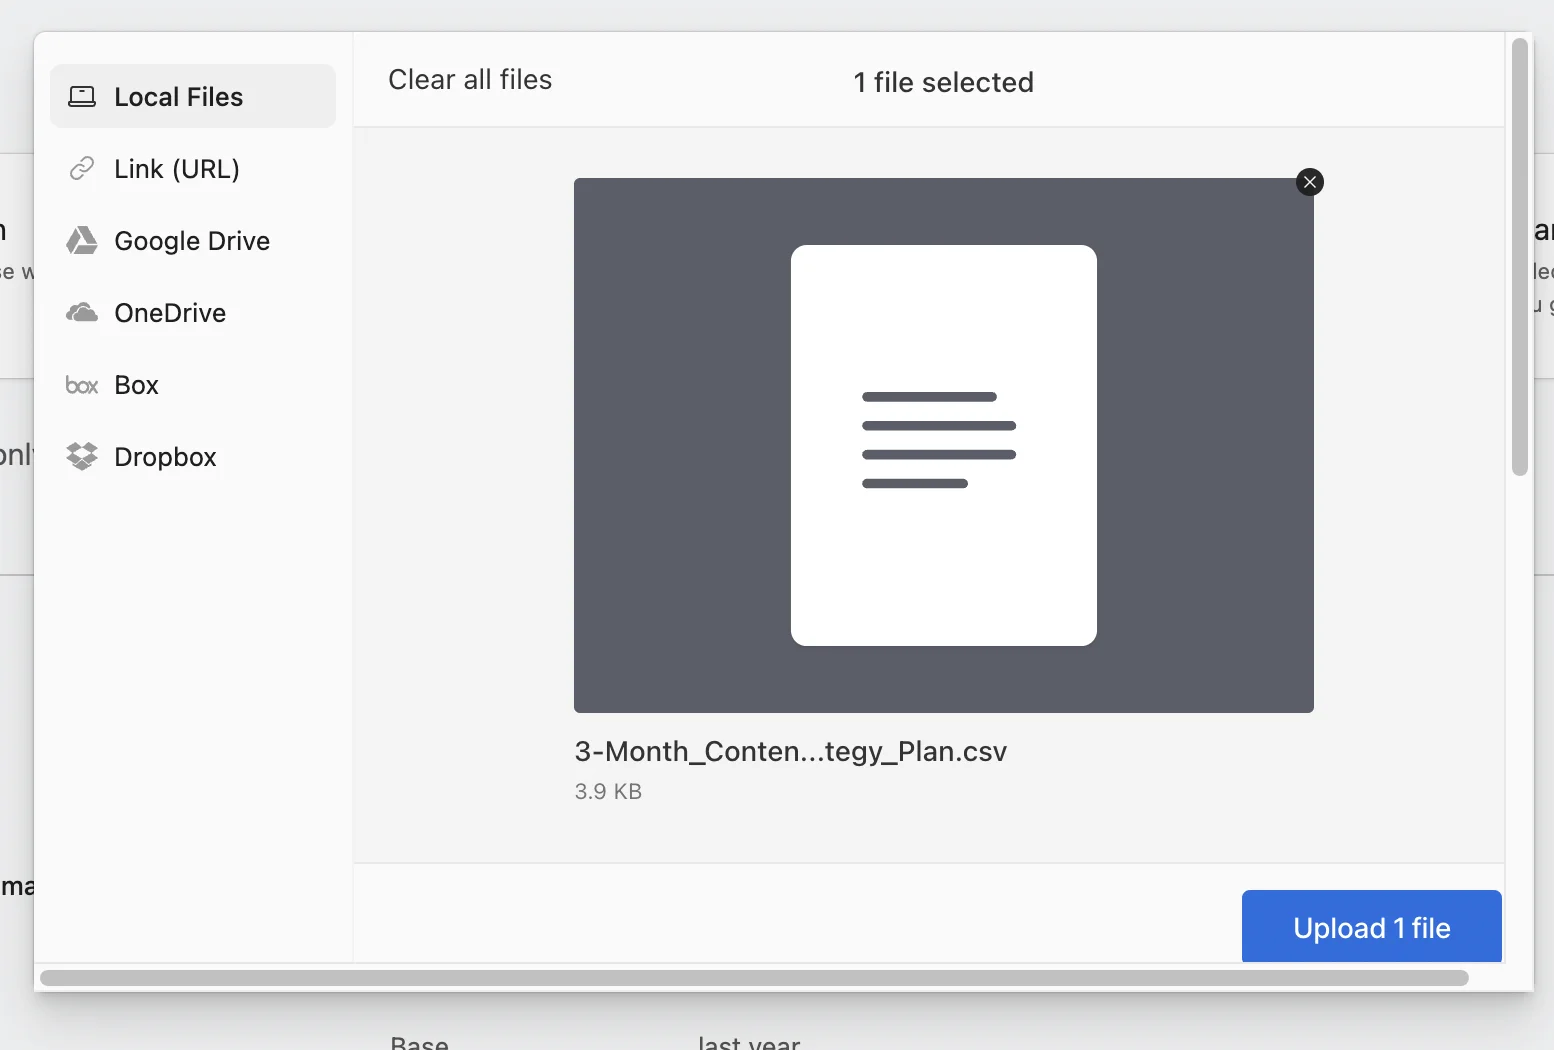
Then upload the file you downloaded from ChatGPT.
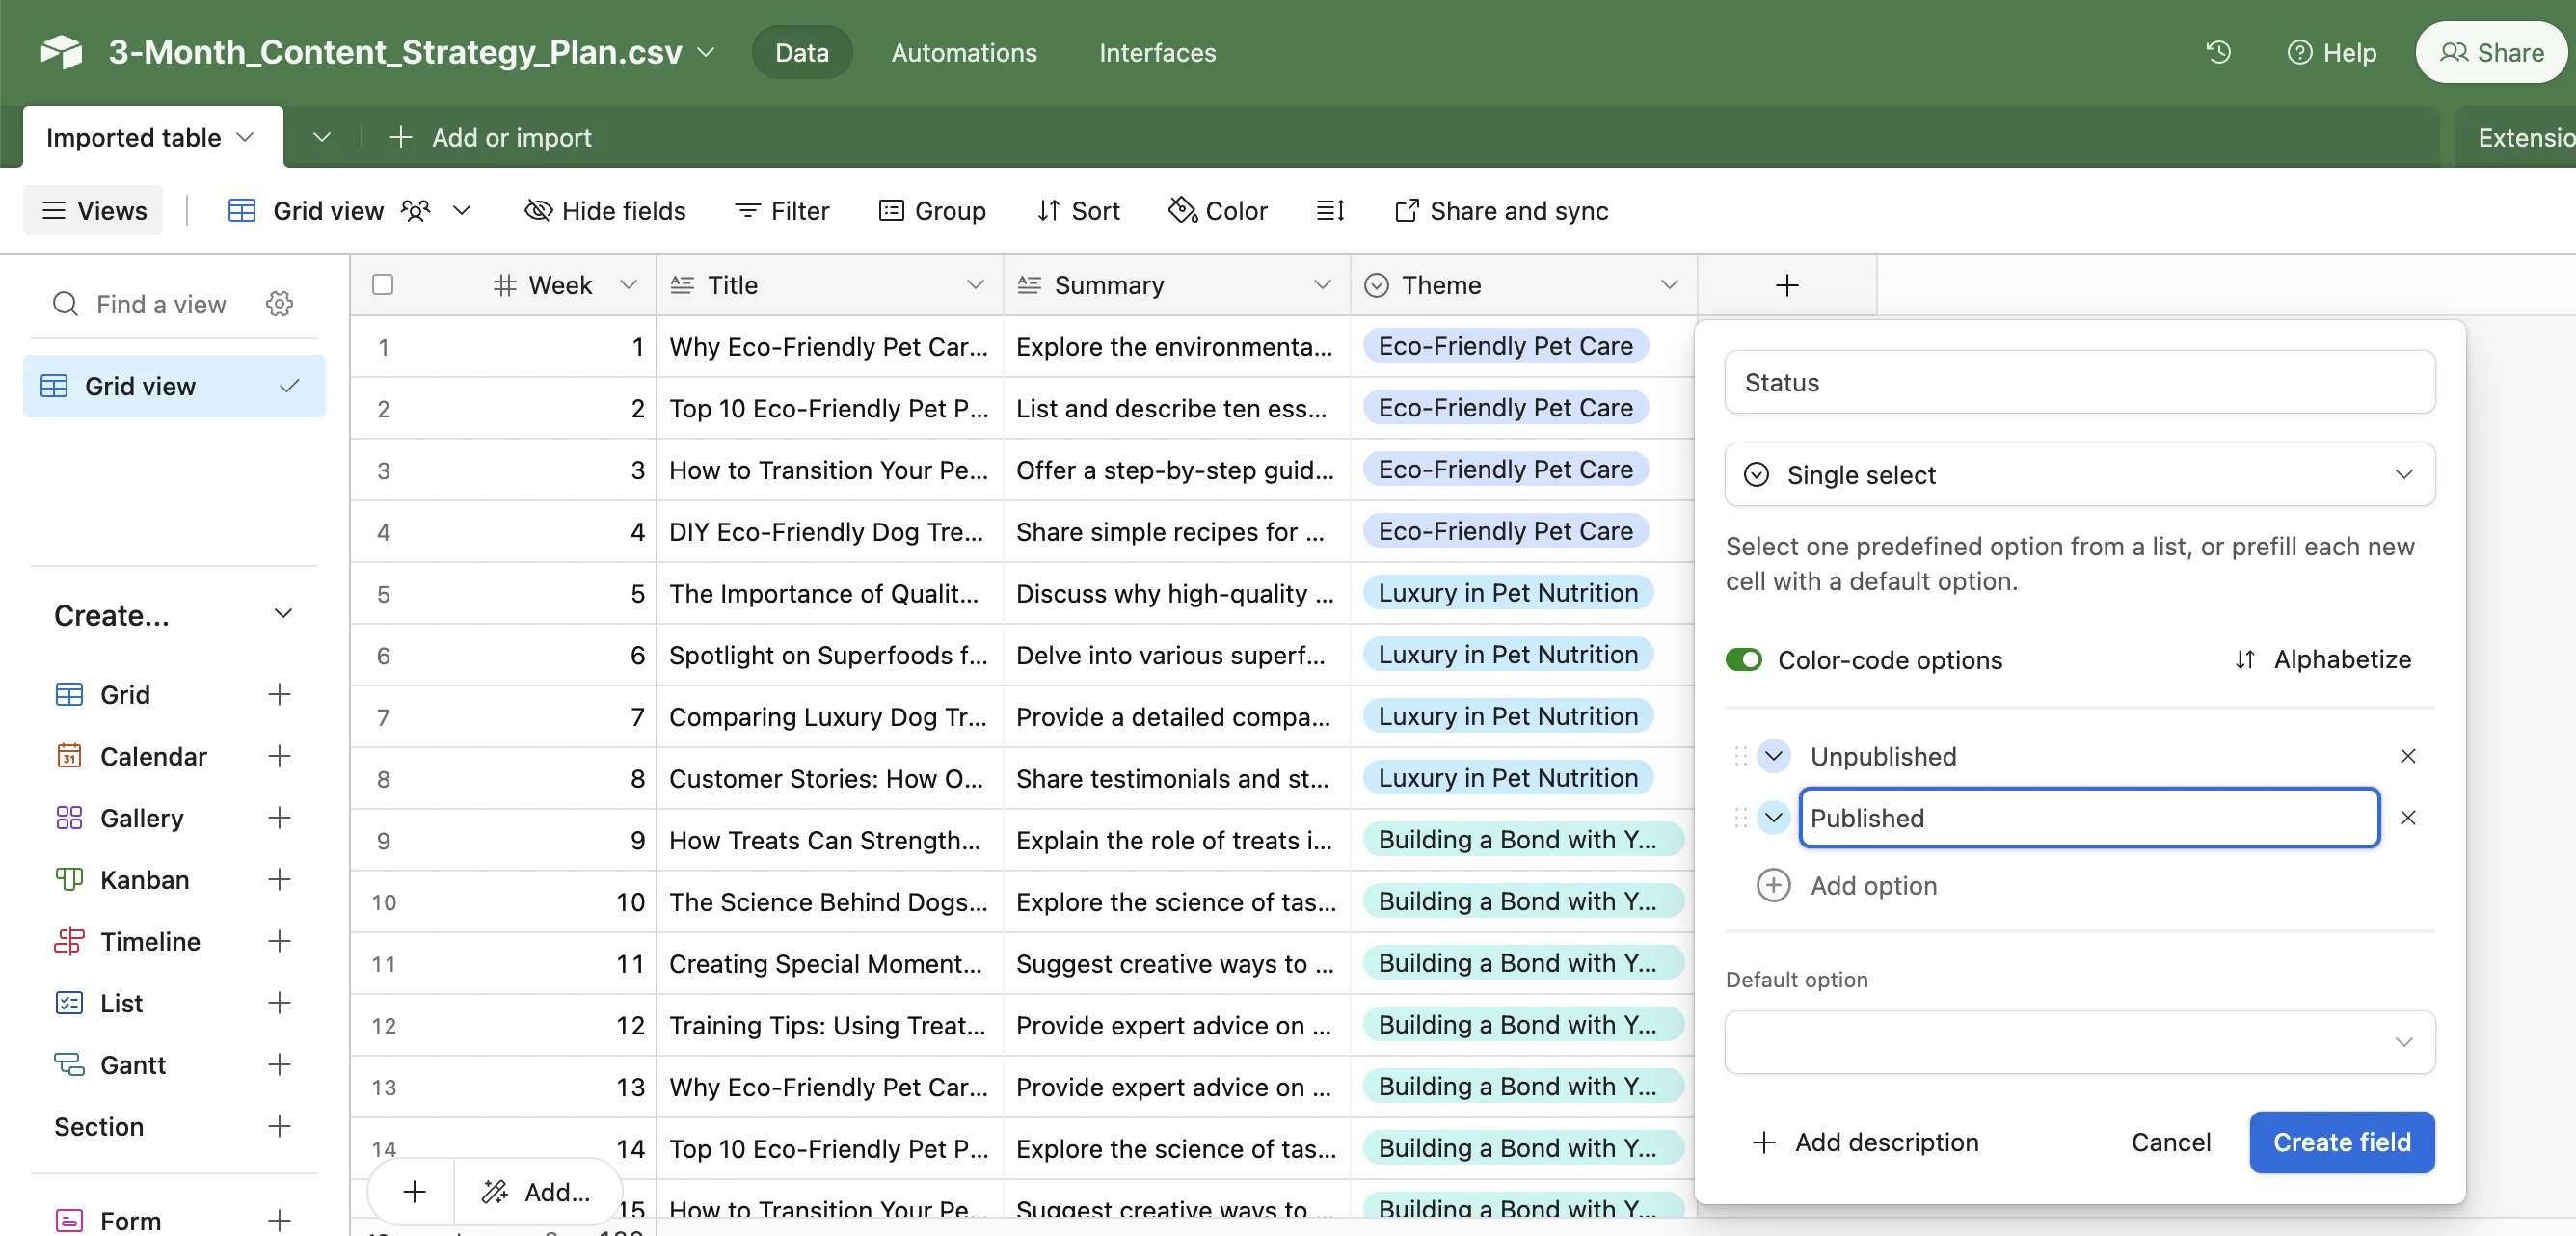
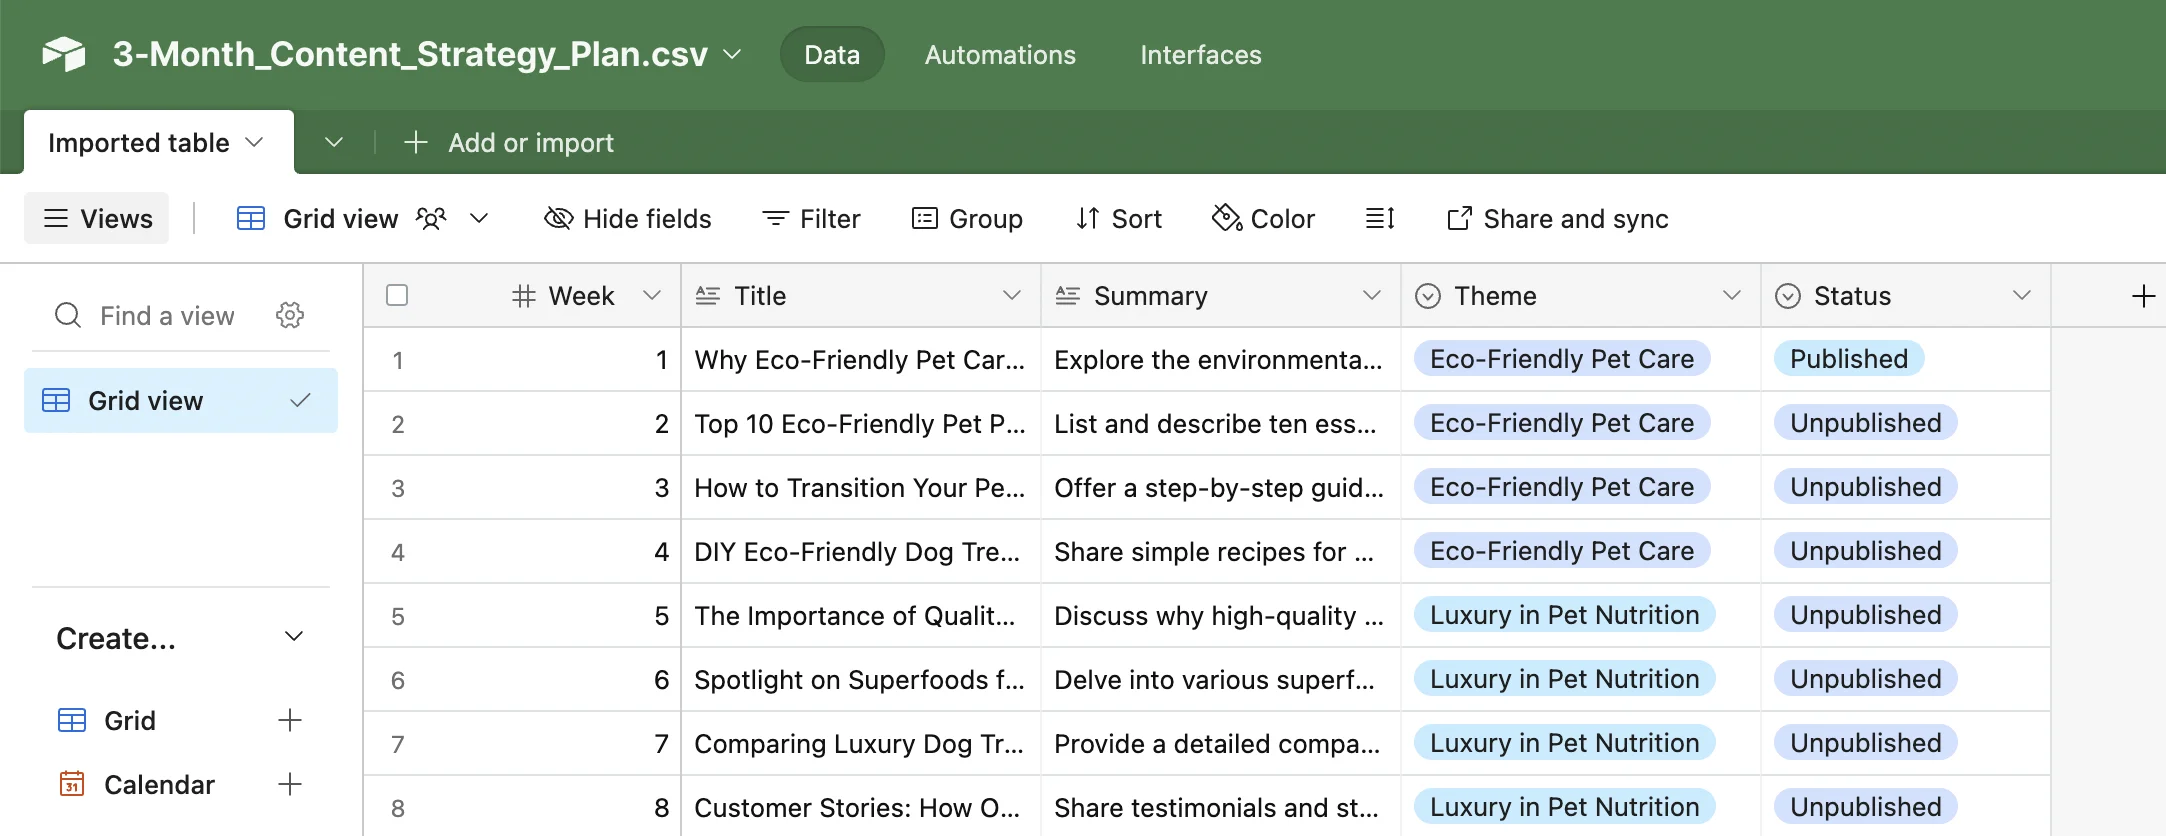
Your newly created Airtable content calendar will then appear.
In addition to the imported columns, we’ll add another - “Status” - a single select field to track whether a post is published or unpublished.
Step 3: Use Zapier + ChatGPT to draft content on a schedule
To make things even easier, you’re now going to create a zap that runs weekly and uses ChatGPT to create a draft post for each topic.
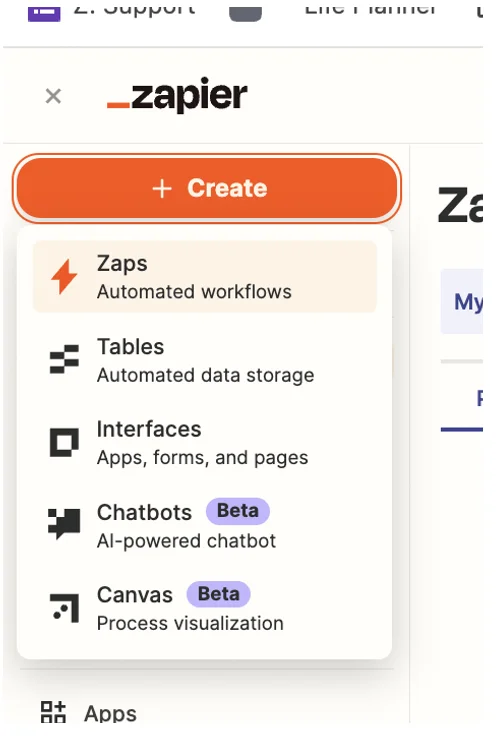
Head over to Zapier, and in the top left, click the big orange ‘+ Create’ button and select ‘Zaps’.
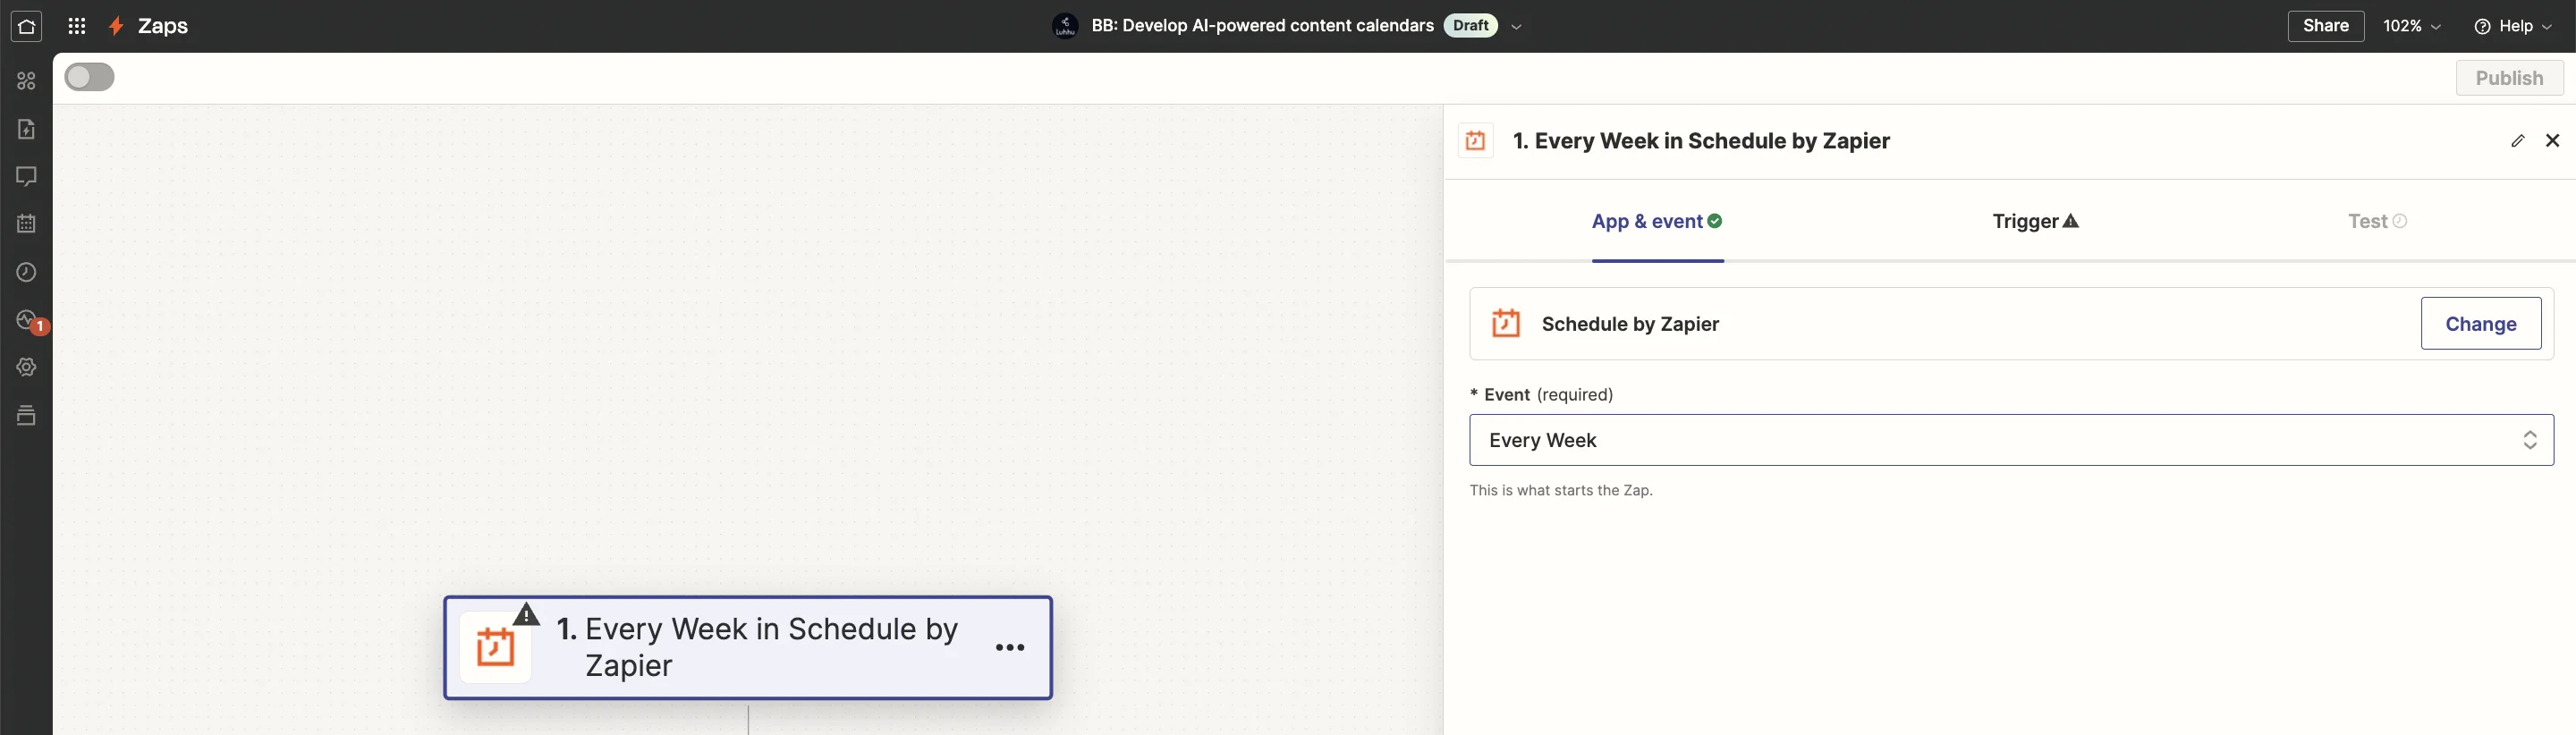
Inside the zap editor, click on the box that says “Trigger” and select/search for “Schedule by Zapier” as the app, with the frequency set to “Every Week”.
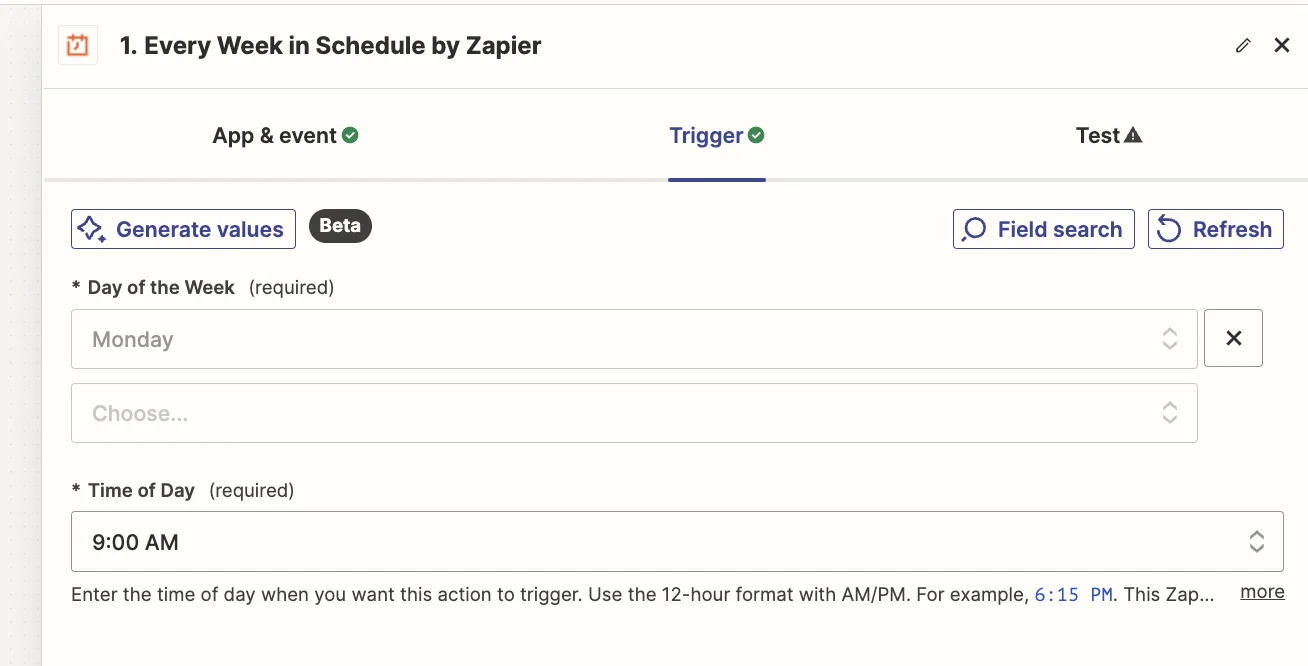
For now, we’ll set the zap to run every Monday at 9am, but you can change this to suit your needs.
Next, we’re going to have Zapier retrieve the next unpublished row from our Airtable.
Back in the zap editor, click the ‘Action’ box, then select/search for “Airtable” as the app and select “Find Record” as the event.
For test purposes, in the Airtable, we’ll set the first record to “Published” to check the zap correctly returns the second row.
Configuring the Airtable find step in Zapier, you should select the correct base and table, then select ‘Status’ for the “Search by Field” and set ‘Unpublished’ as the “Search Value”.
Important: Make sure you select ‘Grid view’ in the ‘Limit to View’ field or Zapier may return rows out of order.
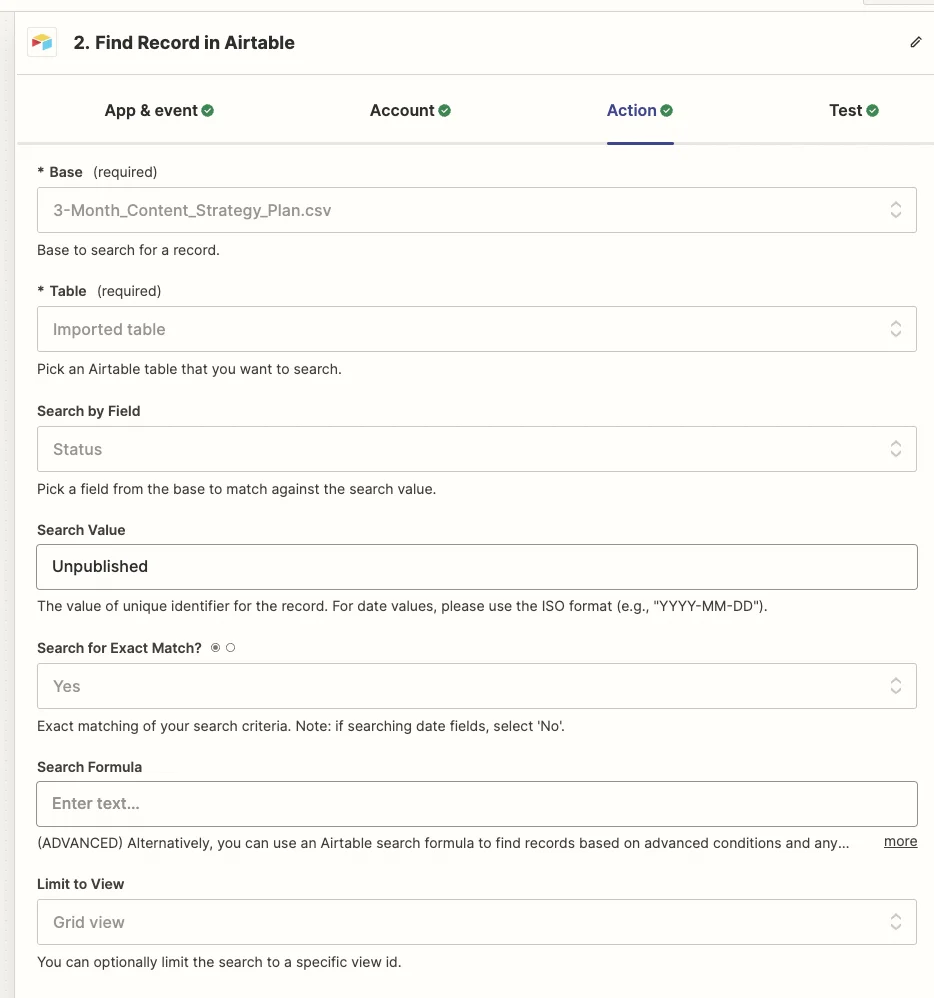
Test the step and you’ll see it pulls in the second row on our content calendar.

Now we’ll do some magic with AI, asking it to create a draft post using the theme, title and summary as a guide.
Go back to the zap editor, click the ‘Action’ box, then select/search for “ChatGPT” as the app and select “Conversation” as the event.
On the configuration tab, most settings can be left as is, but you should adjust the following:
- Max Tokens: 1,000
- Model: gpt-4o (this is OpenAI’s most powerful model)
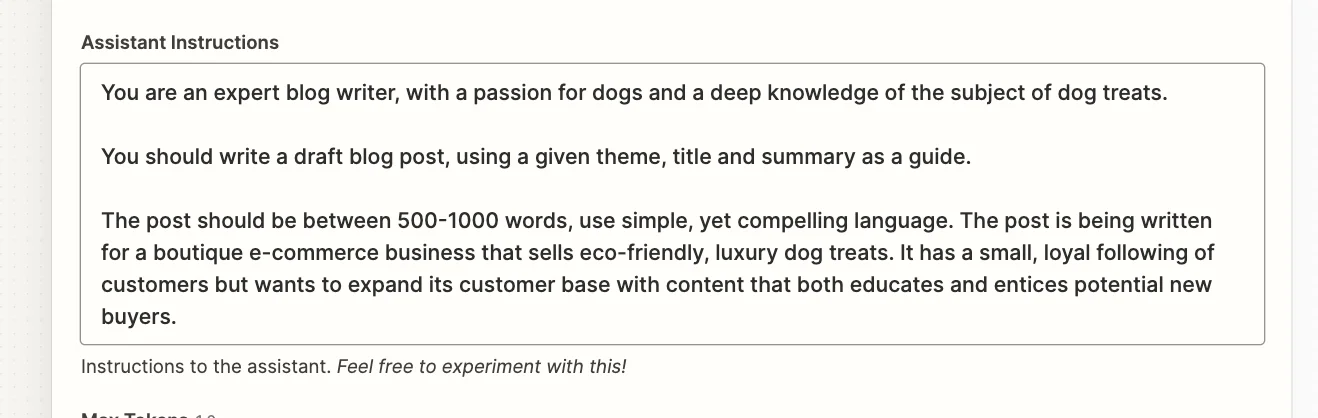
Then, in the “Assistant Instructions” field you want to use a prompt like this:
You are an expert blog writer, with a passion for dogs and a deep knowledge of the subject of dog treats.
You should write a draft blog post, using a given theme, title and summary as a guide.
The post should be between 500-1000 words, use simple, yet compelling language. The post is being written for a boutique e-commerce business that sells eco-friendly, luxury dog treats. It has a small, loyal following of customers but wants to expand its customer base with content that both educates and entices potential new buyers.
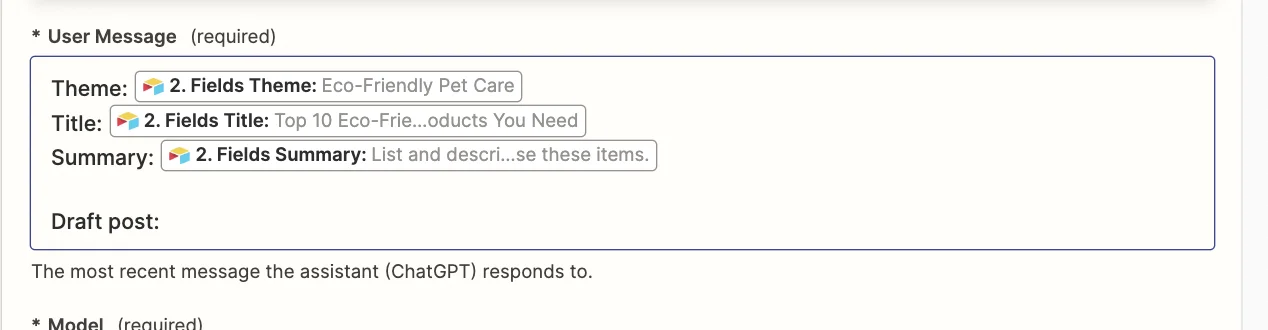
Finally, in the “User Message” field, you should map in the theme, title and summary fields from the Airtable step to give ChatGPT the context needed to create a draft post.
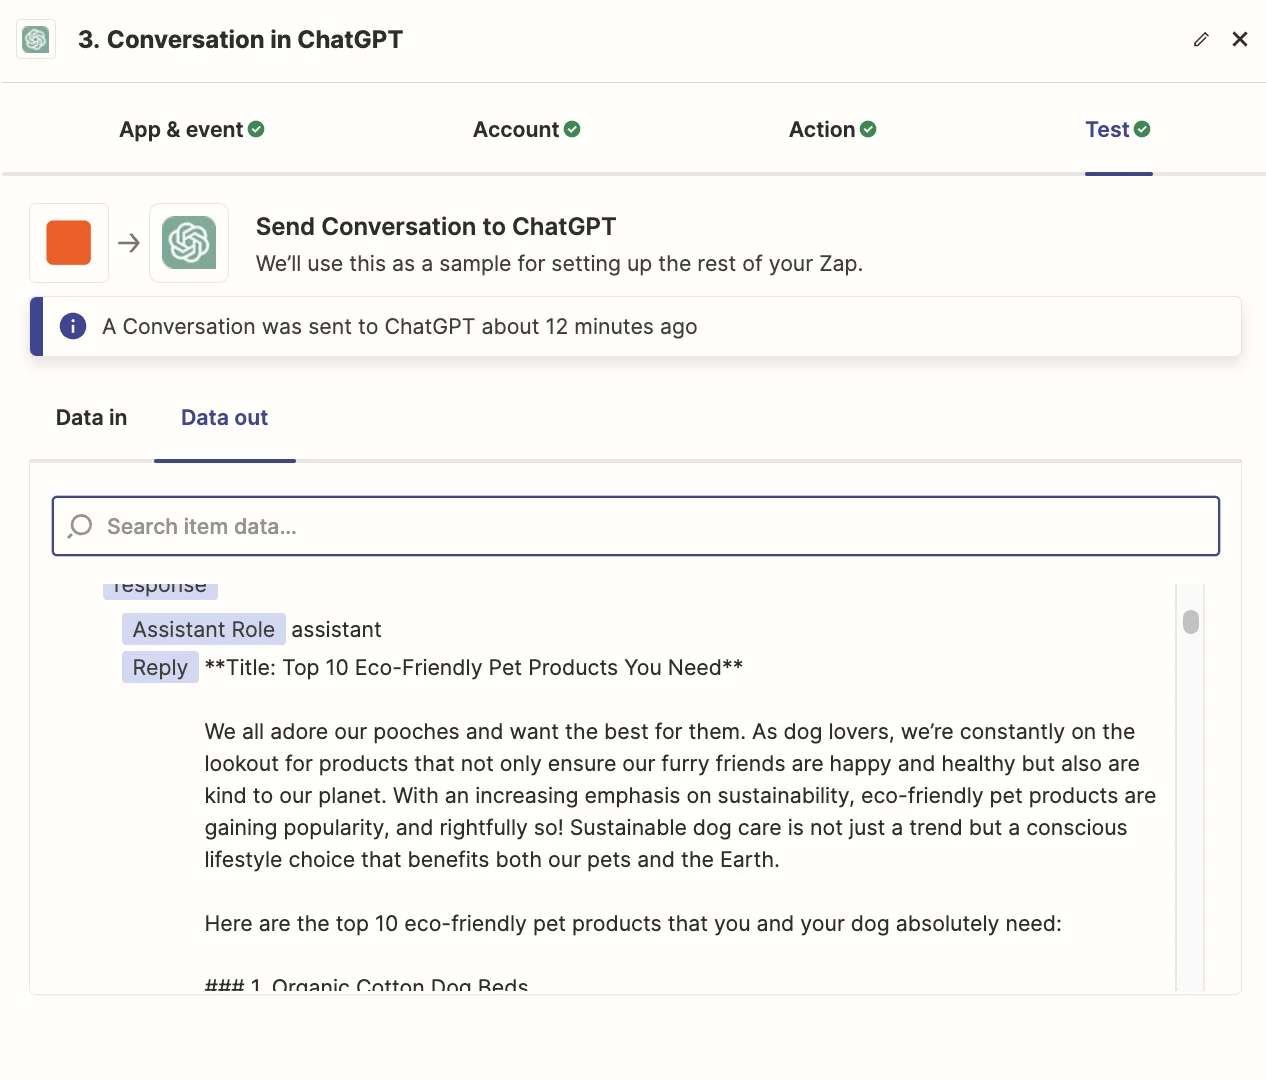
Test the step, and you should see a draft post created (in markdown format here, but you could also tell ChatGPT to give it to you in HTML format).
To finish this off, we just need to do something with the post. Assuming you’ll want to edit the post before publishing, it makes sense to email it to yourself.
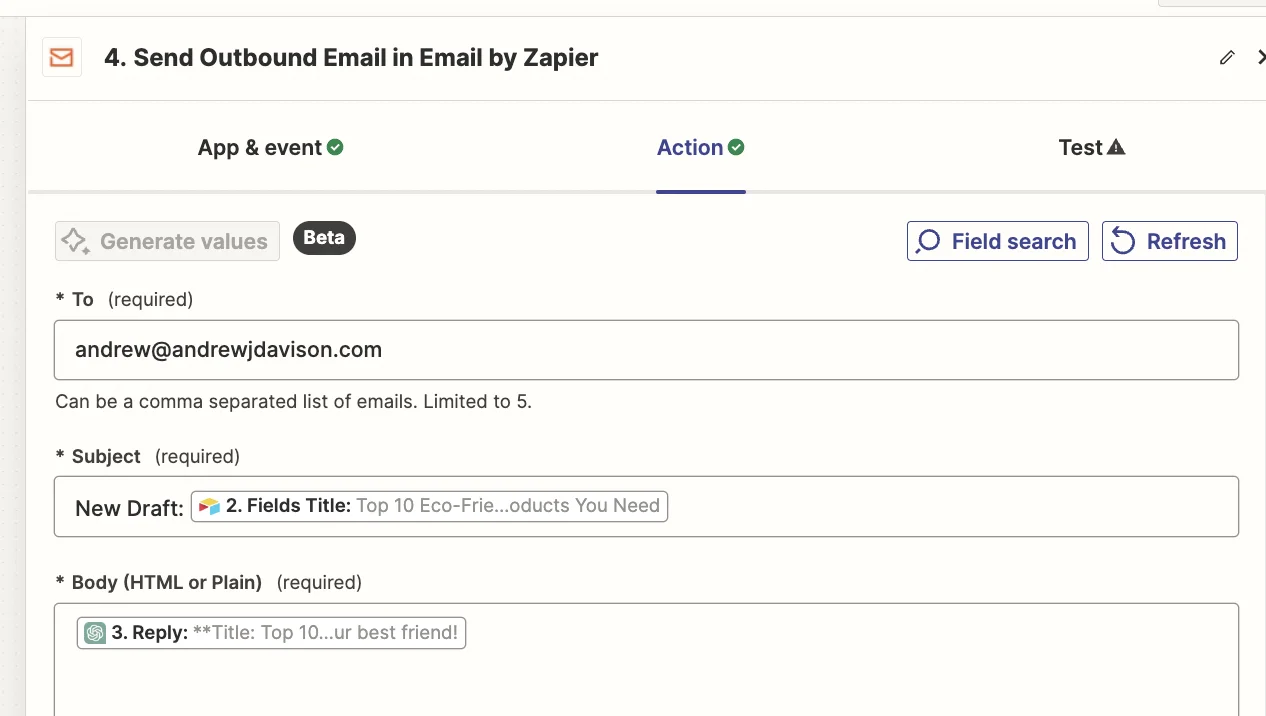
You can do this by adding a new step to your zap, selecting “Email by Zapier” as the app and “Send Outbound Email” as the event.
Then you can configure the step to send an email to yourself, with the ChatGPT response in the body.
Done. Happy publishing!
Extras
- If you use Webflow or Wordpress you can have Zapier create the draft of your post there to save time.
- You can use Zapier + the ChatGPT integration to create a blog post image with DALL-E.
- You could add more ChatGPT steps to the zap to create X/LinkedIn messages or create an article teaser for a newsletter.
- You can use Zapier + an app like Buffer or Hootsuite to schedule those social media posts.
This tutorial was created by Andrew.