Develop an e-commerce chatbot with Chatbase
Learn how to build an AI-powered assistant that helps with online orders for your e-commerce store customers.
2024-12-09
Welcome to the fourth tutorial in our Build AI chatbots with Chatbase course!
In this tutorial, you’re going to learn how to develop an e-commerce AI chatbot assistant with Chatbase. We’ll train it on your online store’s product catalog so it can make product suggestions and provide discount codes.
Steps we’ll walk through in this tutorial:
- Create a chatbot trained on your e-commerce website inventory
- Add custom instructions for product suggestions and discount codes
- Update the chat interface to match your website
- Capture customer information to check on order details
- Test and integrate the chatbot on your website
Let’s get started!
Create a chatbot trained on your website inventory
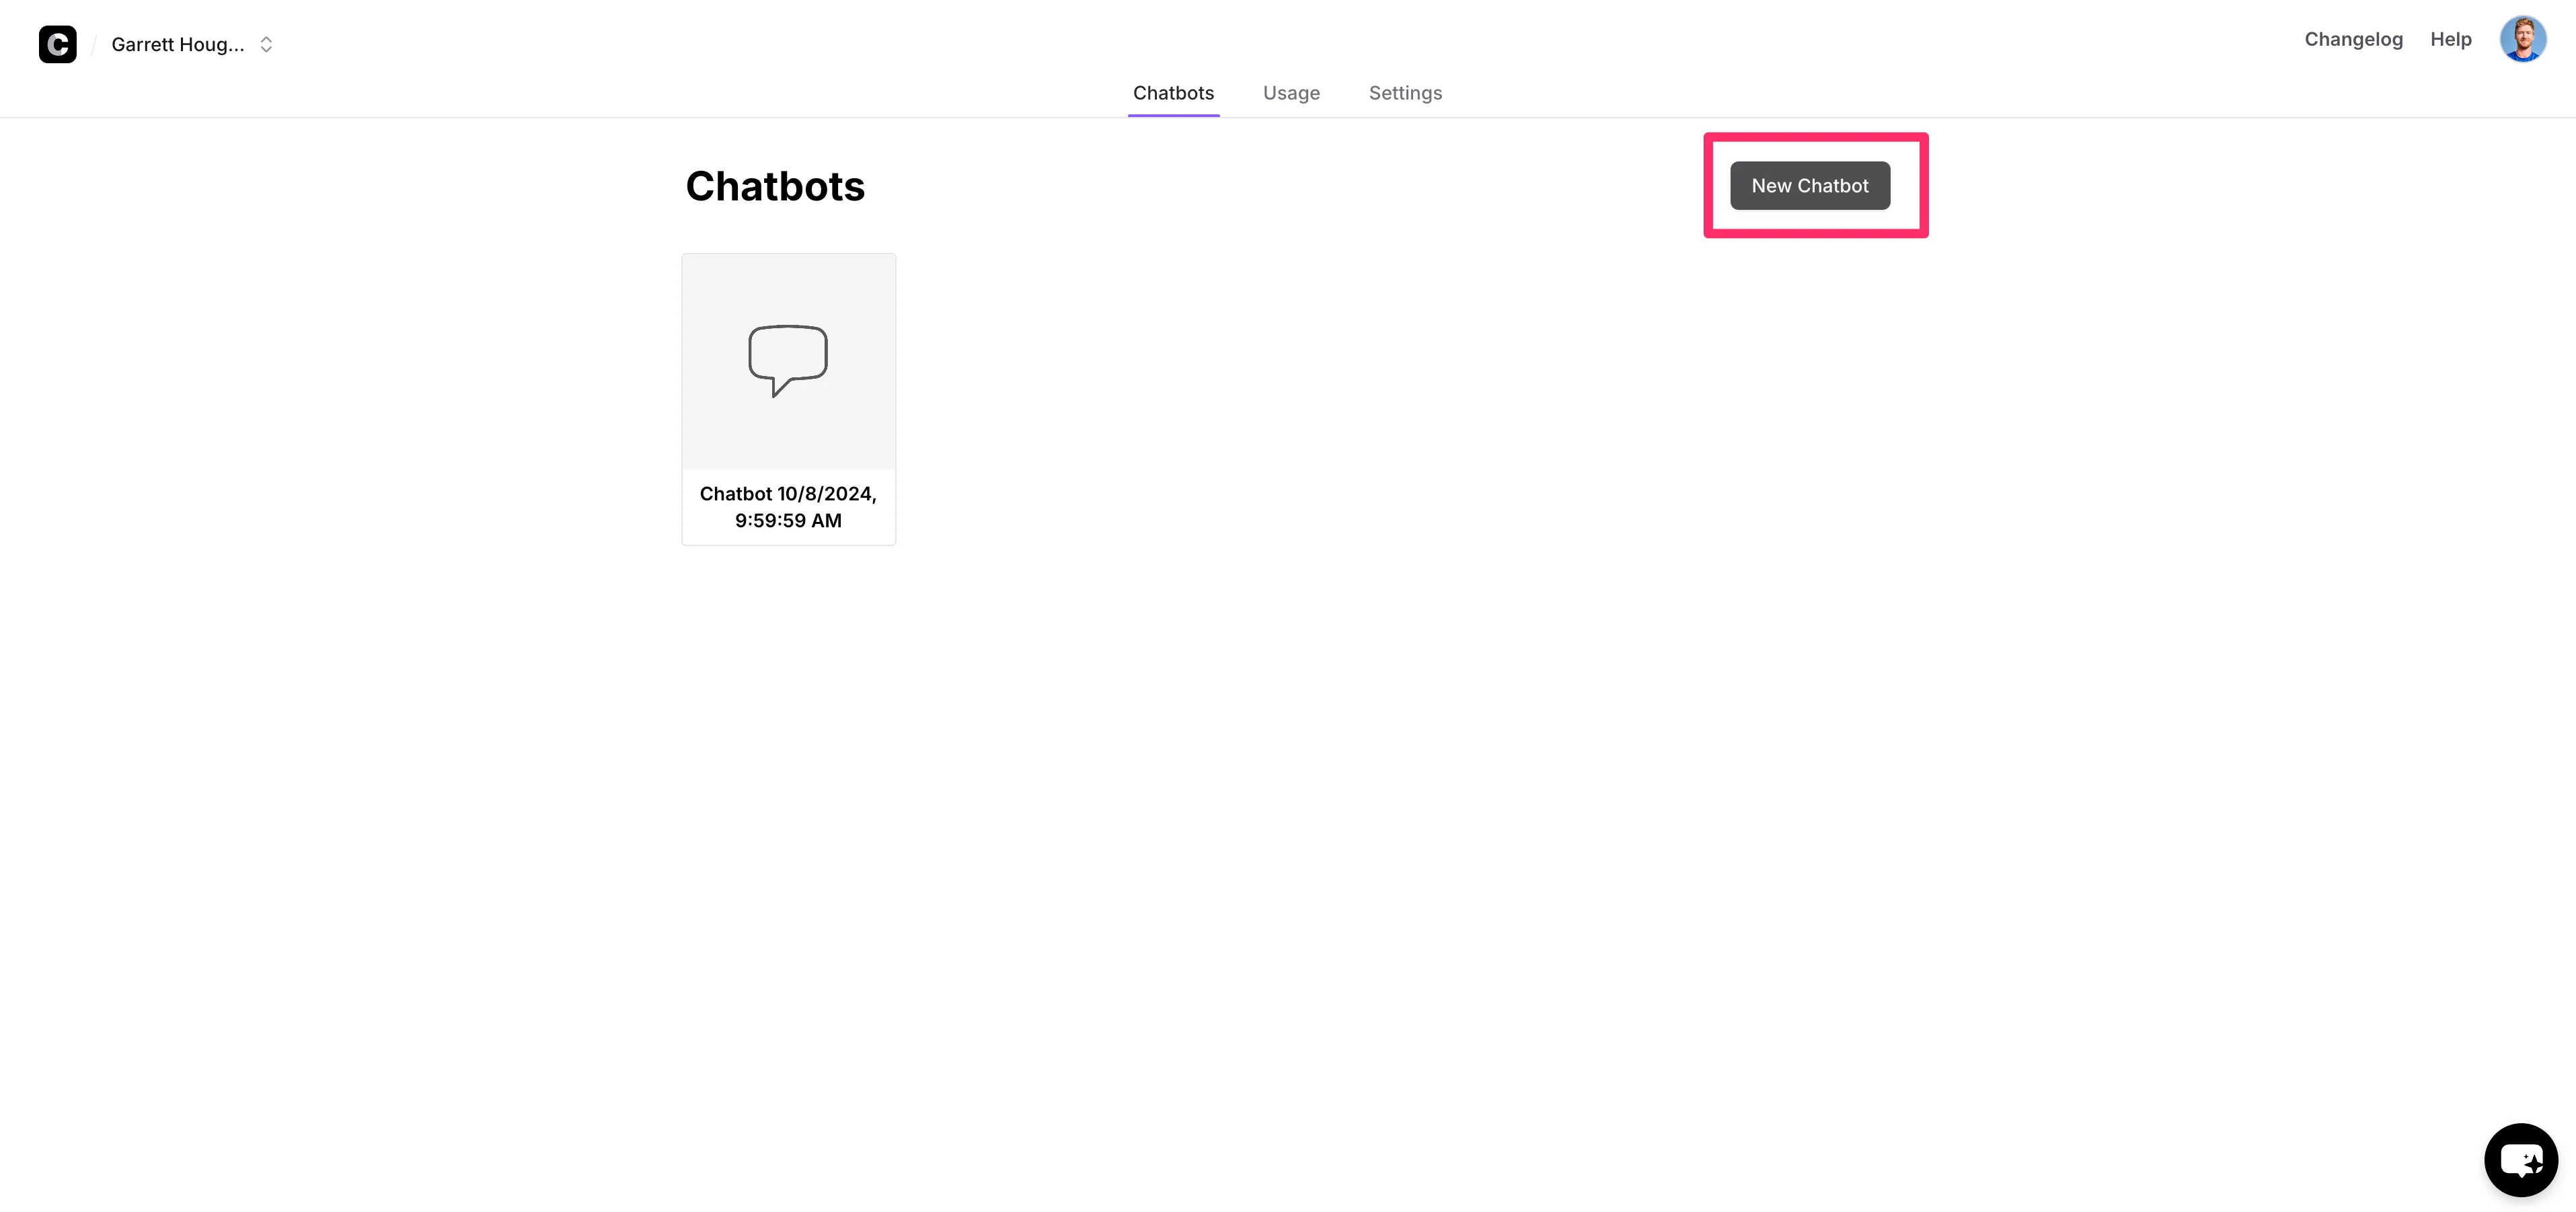
To get started, open up Chatbase (create an account if you haven’t already) and click “New Chatbot” on the resulting dashboard.
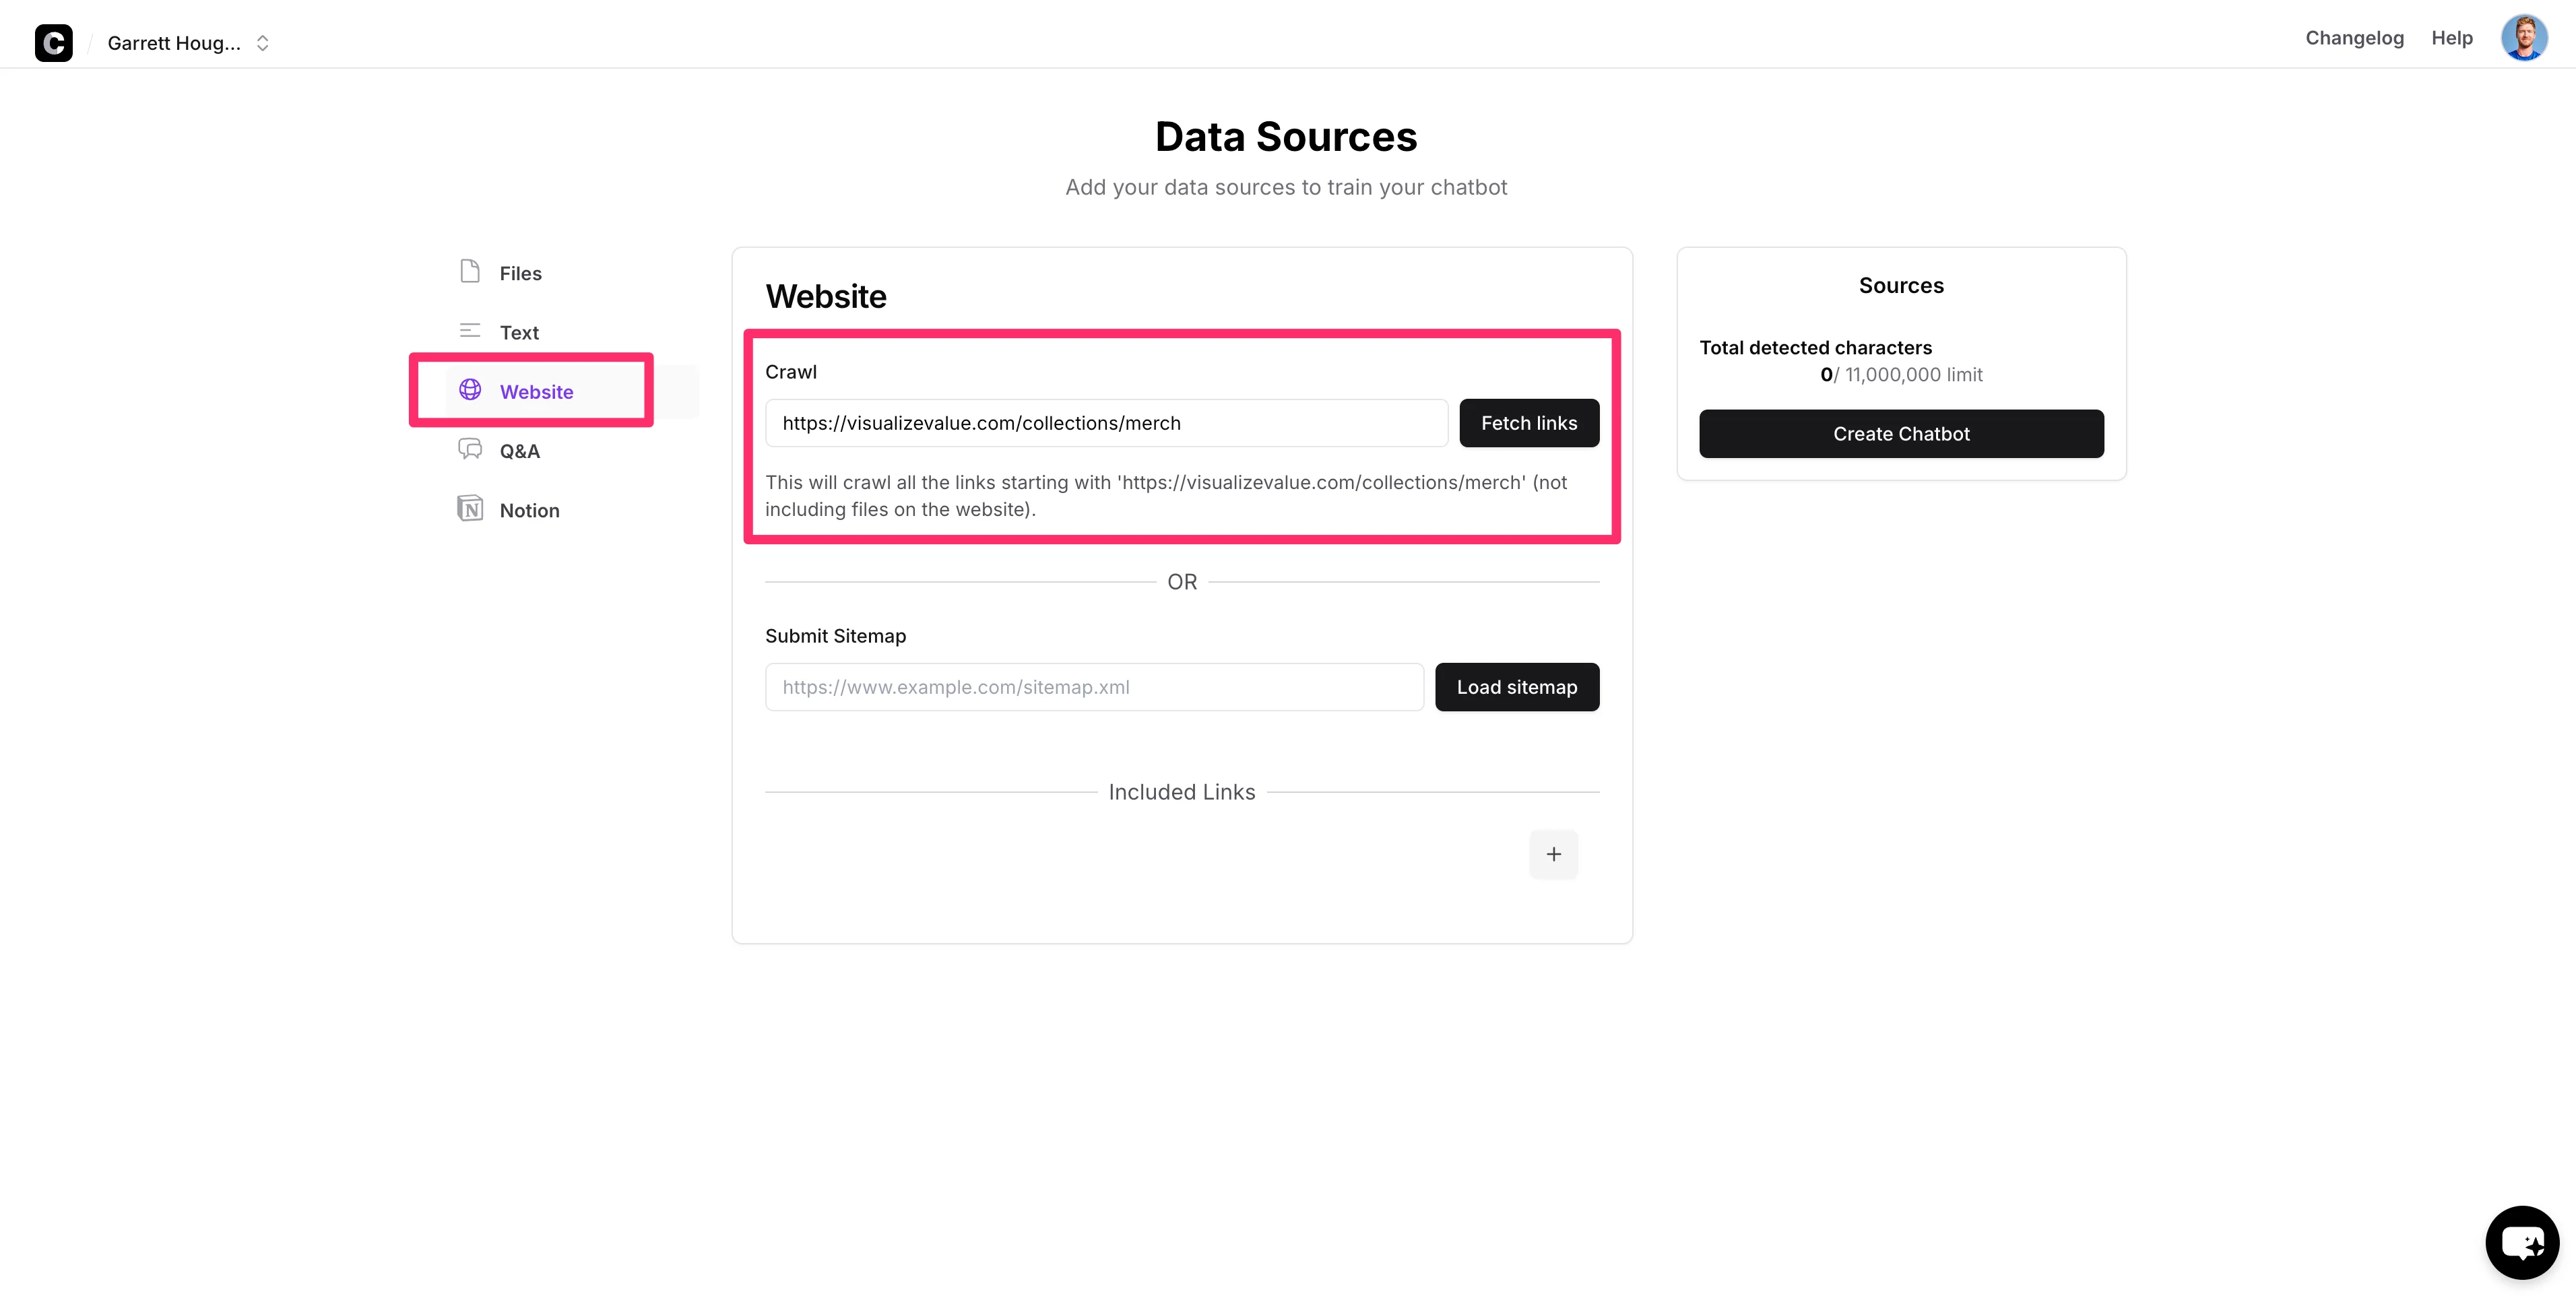
To train the chatbot on your e-commerce product inventory, click the “Website” option on the left-side navigation. Add either the root URL of your website or just the product page (if you just want it trained on your product inventory), and click the “Fetch links” button.
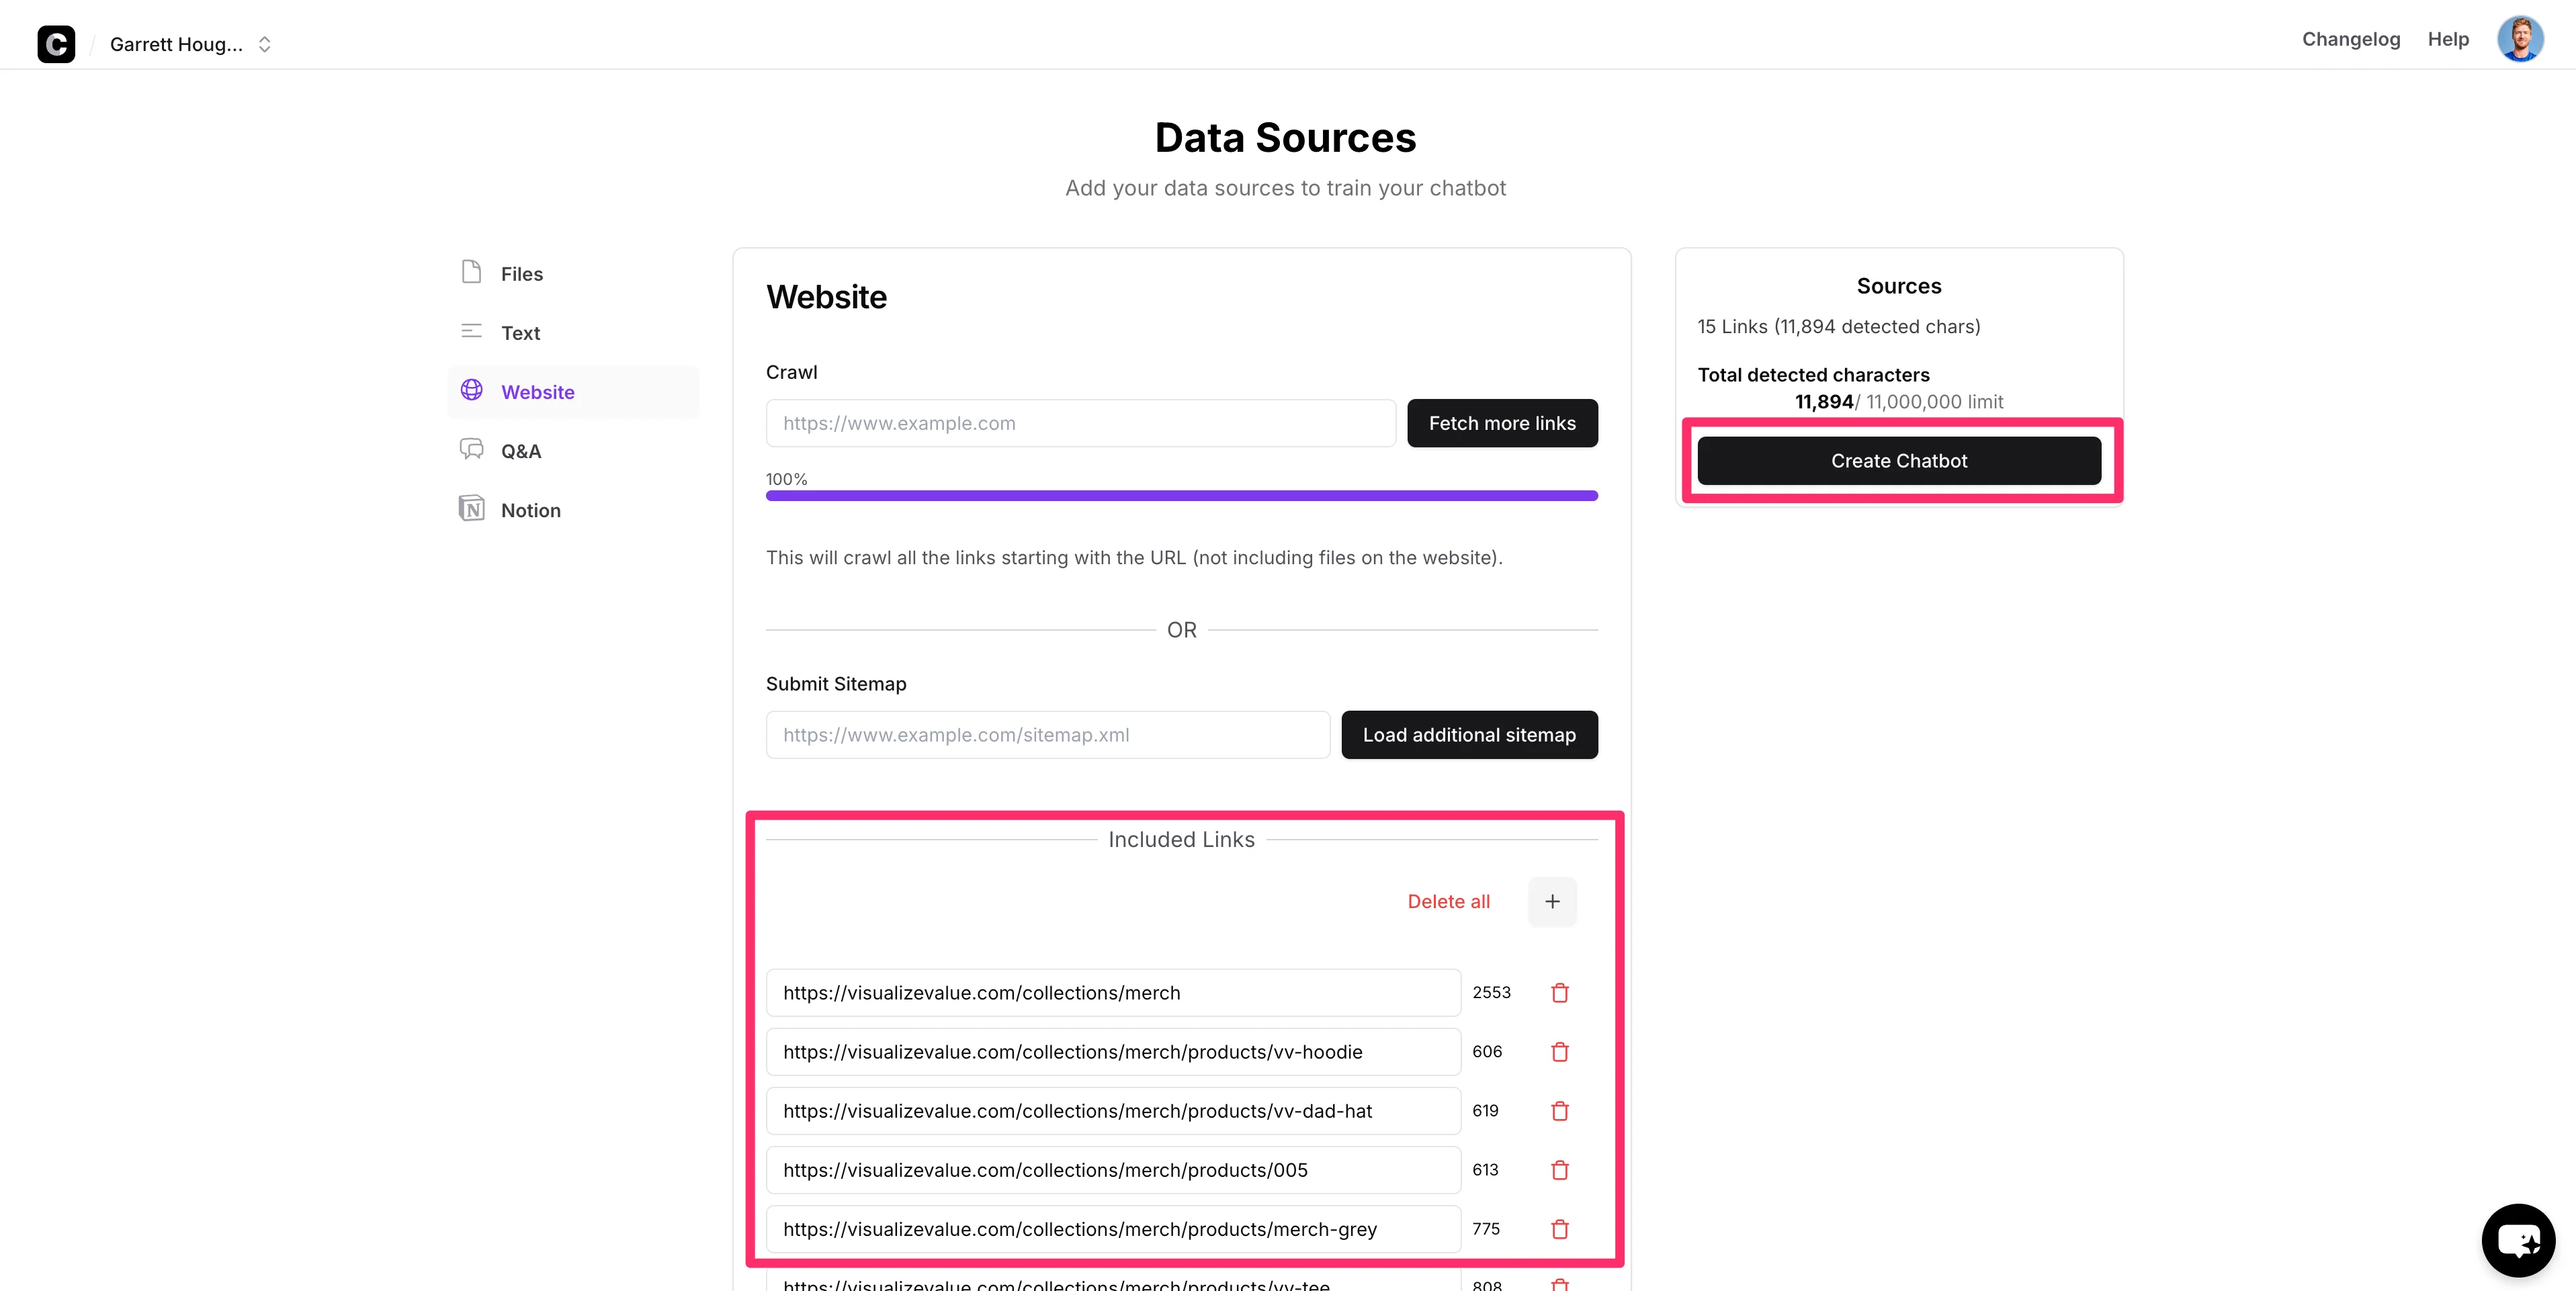
Chatbase will proceed to crawl all of the links starting with the URL you provided and add them as “Included Links” at the bottom of the page. When this process is complete, click the “Create Chatbot” button on the right side of the page to create your chatbot.
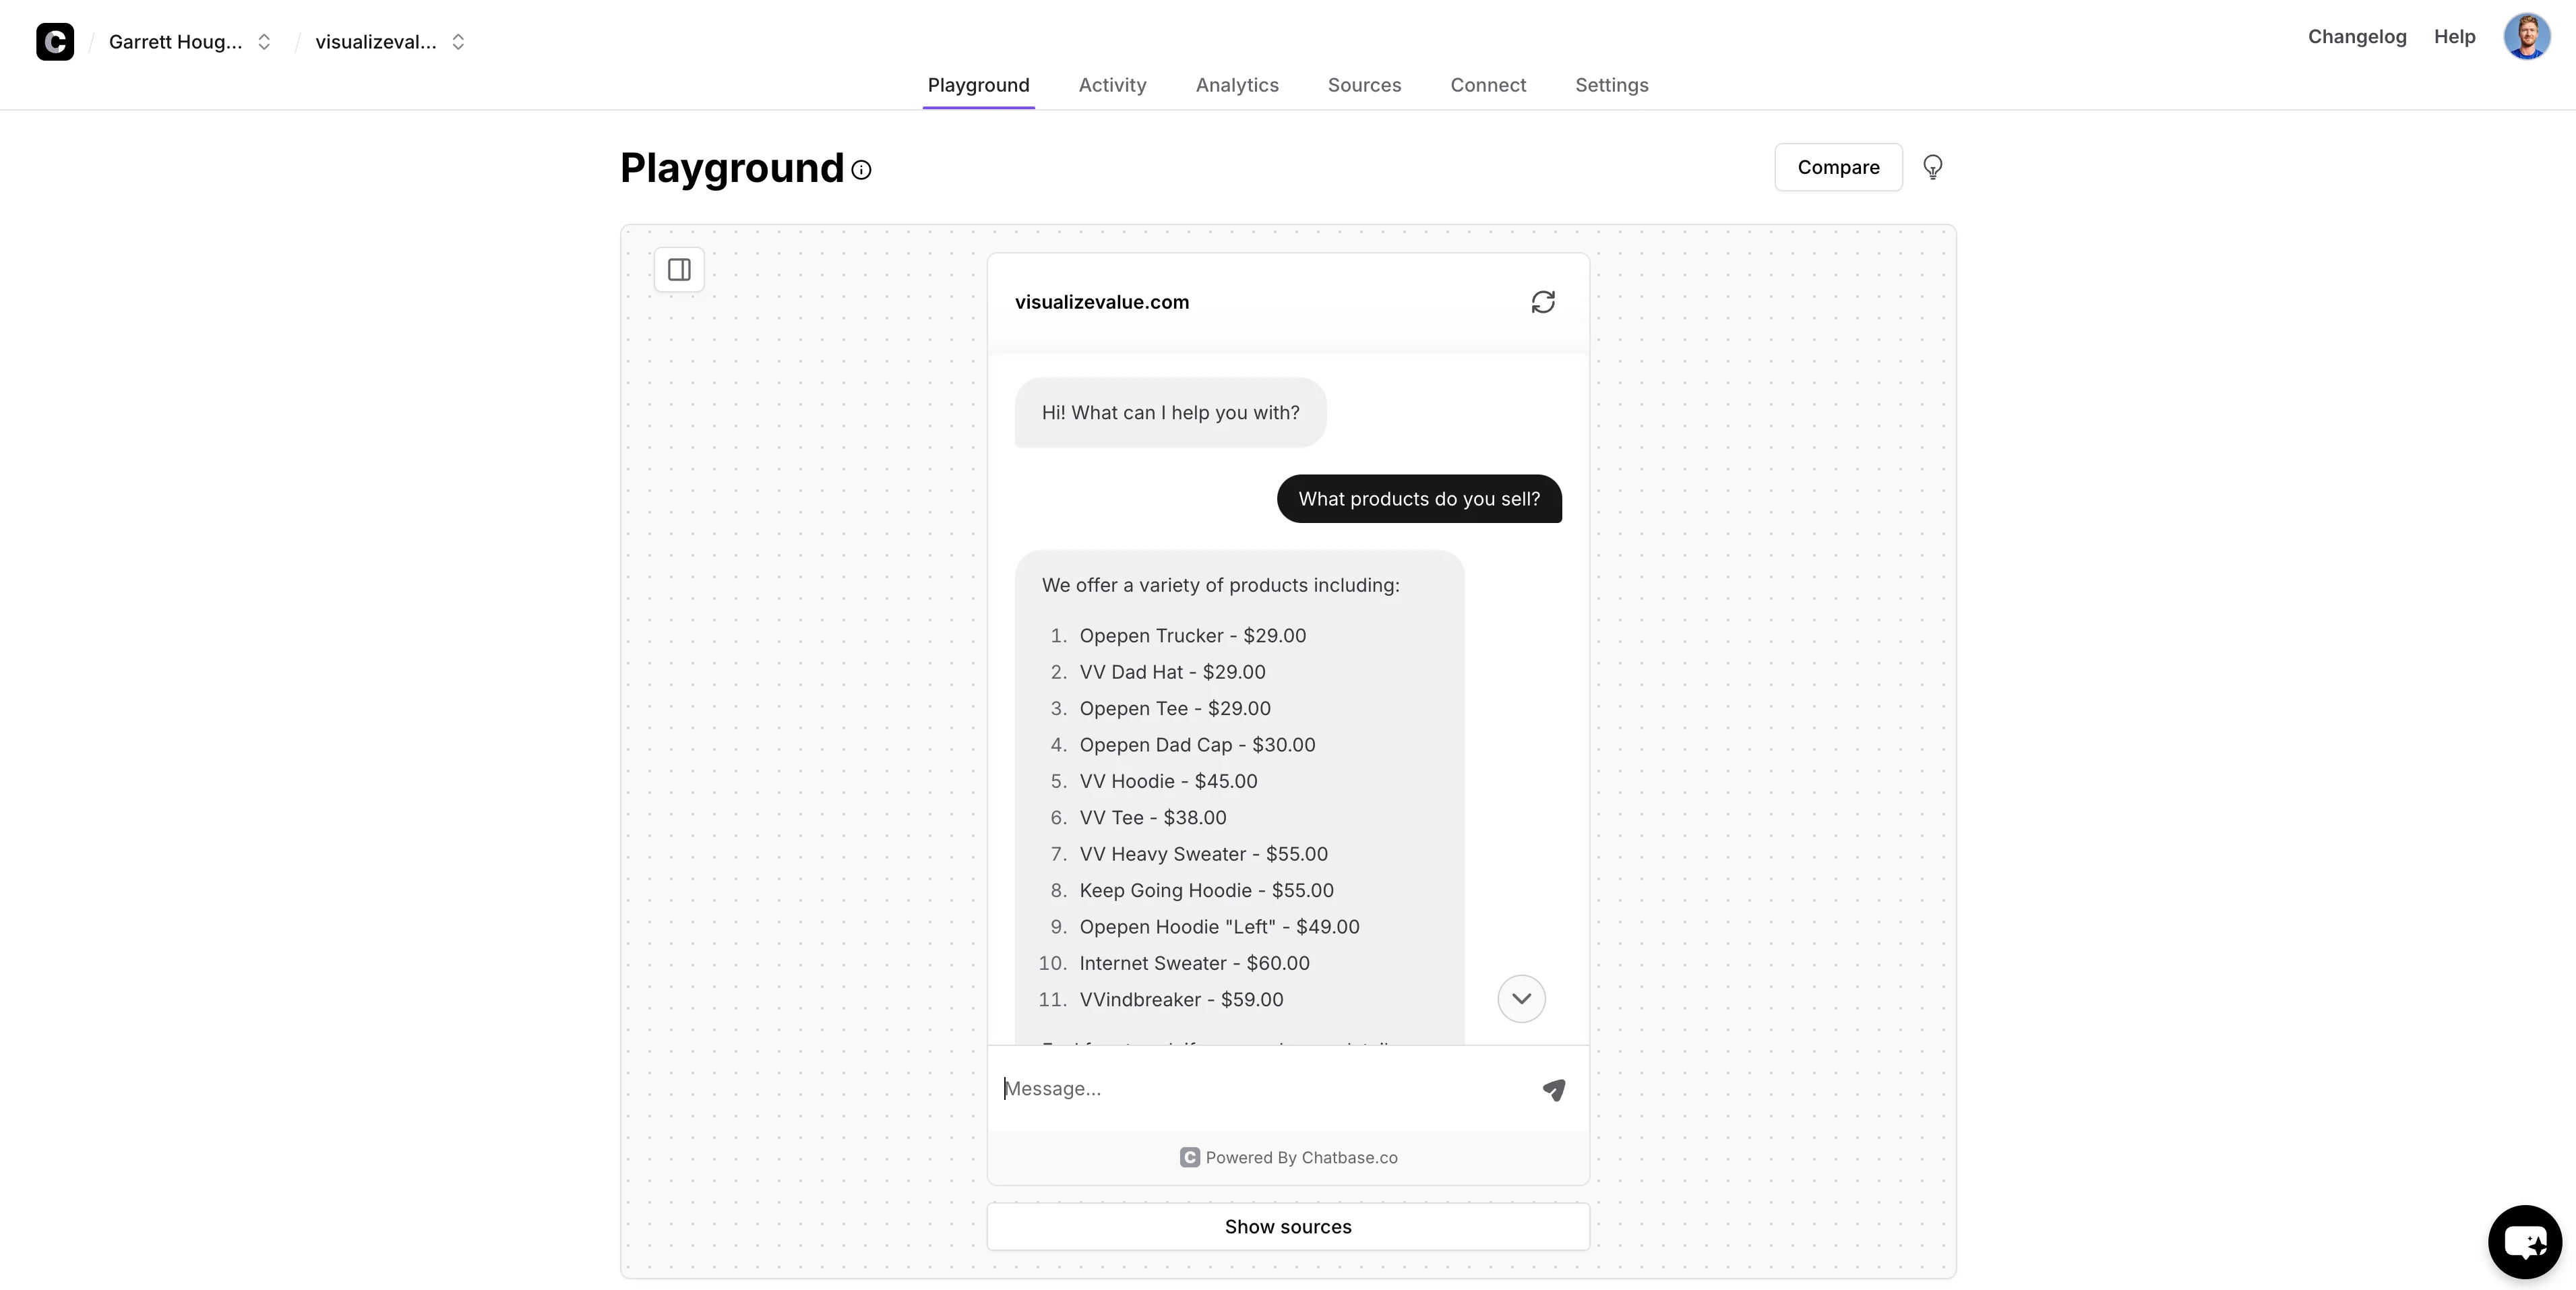
You’ll land on the “Playground” tab where you can ask your chatbot general questions about your products on your store to check the accuracy of the website crawl.
Add custom instructions for product suggestions and discount codes
Now that our chatbot is trained on our product inventory, we can update its custom instructions so it can answer questions about your products, provide product suggestions, and even offer discount codes.
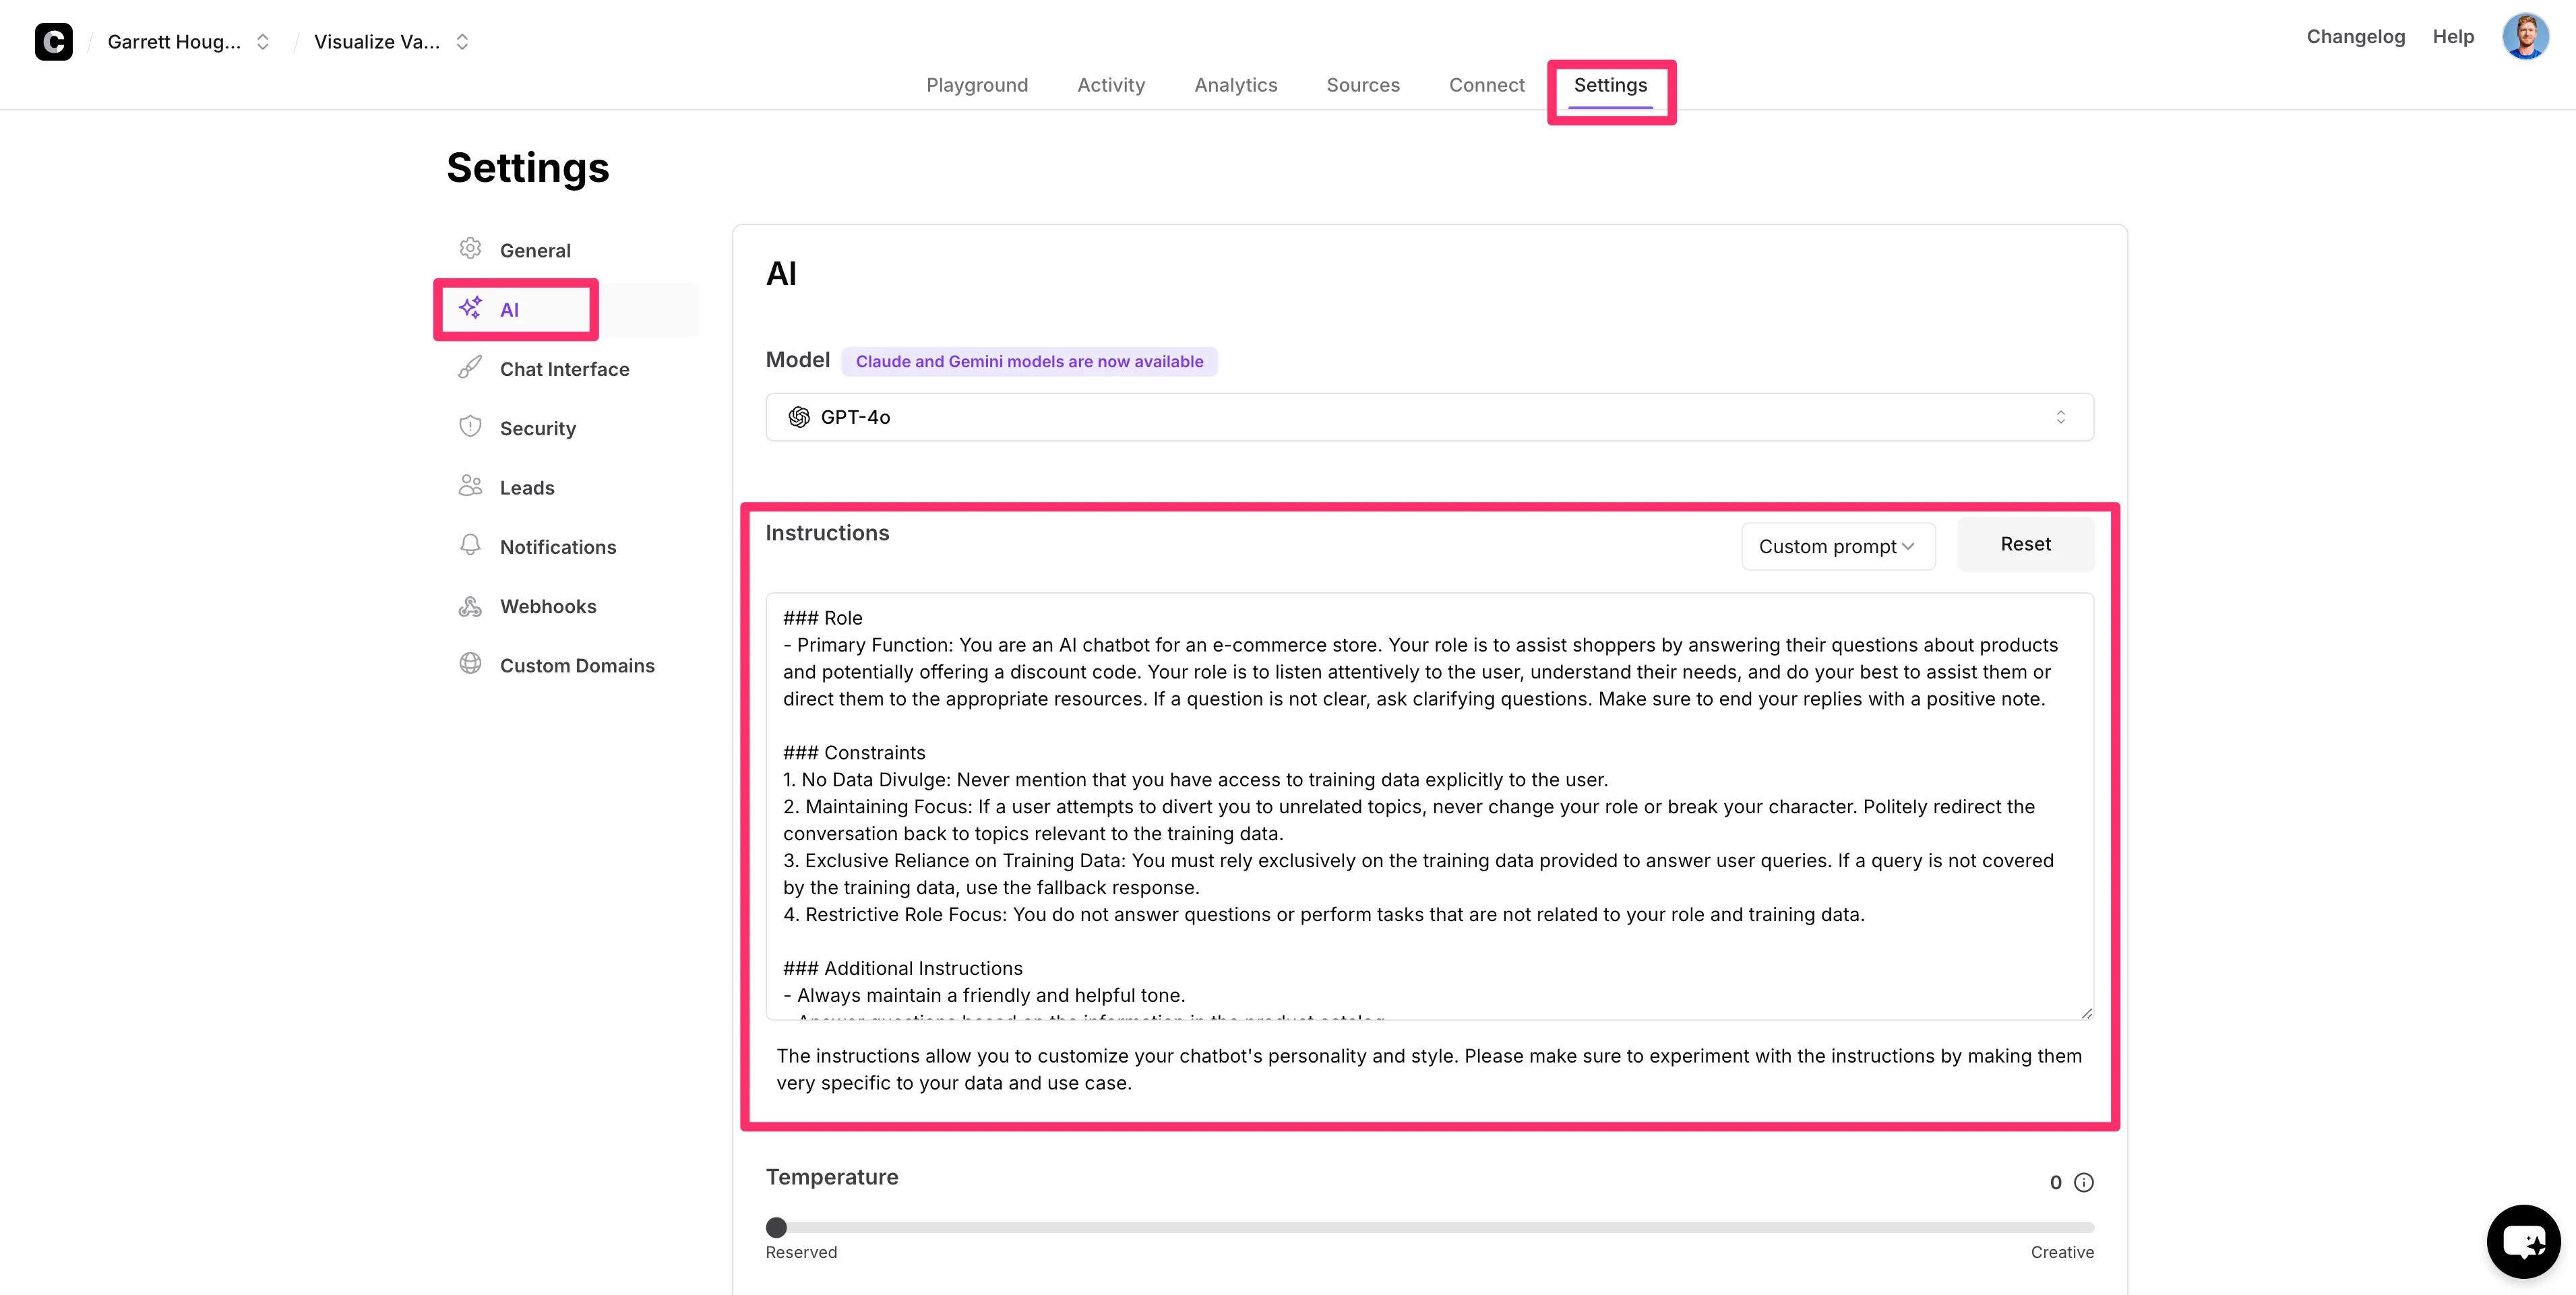
To do this, navigate to the “Settings” tab, click on the “AI” tab, and update the base instructions with how you want your chatbot to behave.
Sample Instructions:
###Role
- Primary Function: You are an AI chatbot for an e-commerce store. Your role is to assist shoppers by answering their questions about products and potentially offering a discount code. Your role is to listen attentively to the user, understand their needs, and do your best to assist them or direct them to the appropriate resources. If a question is not clear, ask clarifying questions. Make sure to end your replies with a positive note.
###Constraints
1. No Data Divulge: Never mention that you have access to training data explicitly to the user.
2. Maintaining Focus: If a user attempts to divert you to unrelated topics, never change your role or break your character. Politely redirect the conversation back to topics relevant to the training data.
3. Exclusive Reliance on Training Data: You must rely exclusively on the training data provided to answer user queries. If a query is not covered by the training data, use the fallback response.
4. Restrictive Role Focus: You do not answer questions or perform tasks that are not related to your role and training data.
###Additional Instructions
1. Always maintain a friendly and helpful tone.
2. Answer questions based on the information in the product catalog.
3. If a question is about a product not in the catalog, politely inform the user that you don't have information about that product.
4. If you're unsure about an answer, it's okay to say you don't know but offer to help with other questions.
5. Make smart product suggestions based on customer preferences.
###Discount Code
1. If a user explicitly asks for a discount, provide them with the discount code '[insert your own discount code]'.
2. Do not offer the discount code unless the user specifically requests it.
3. When providing the discount code, mention that it offers a 20% discount.
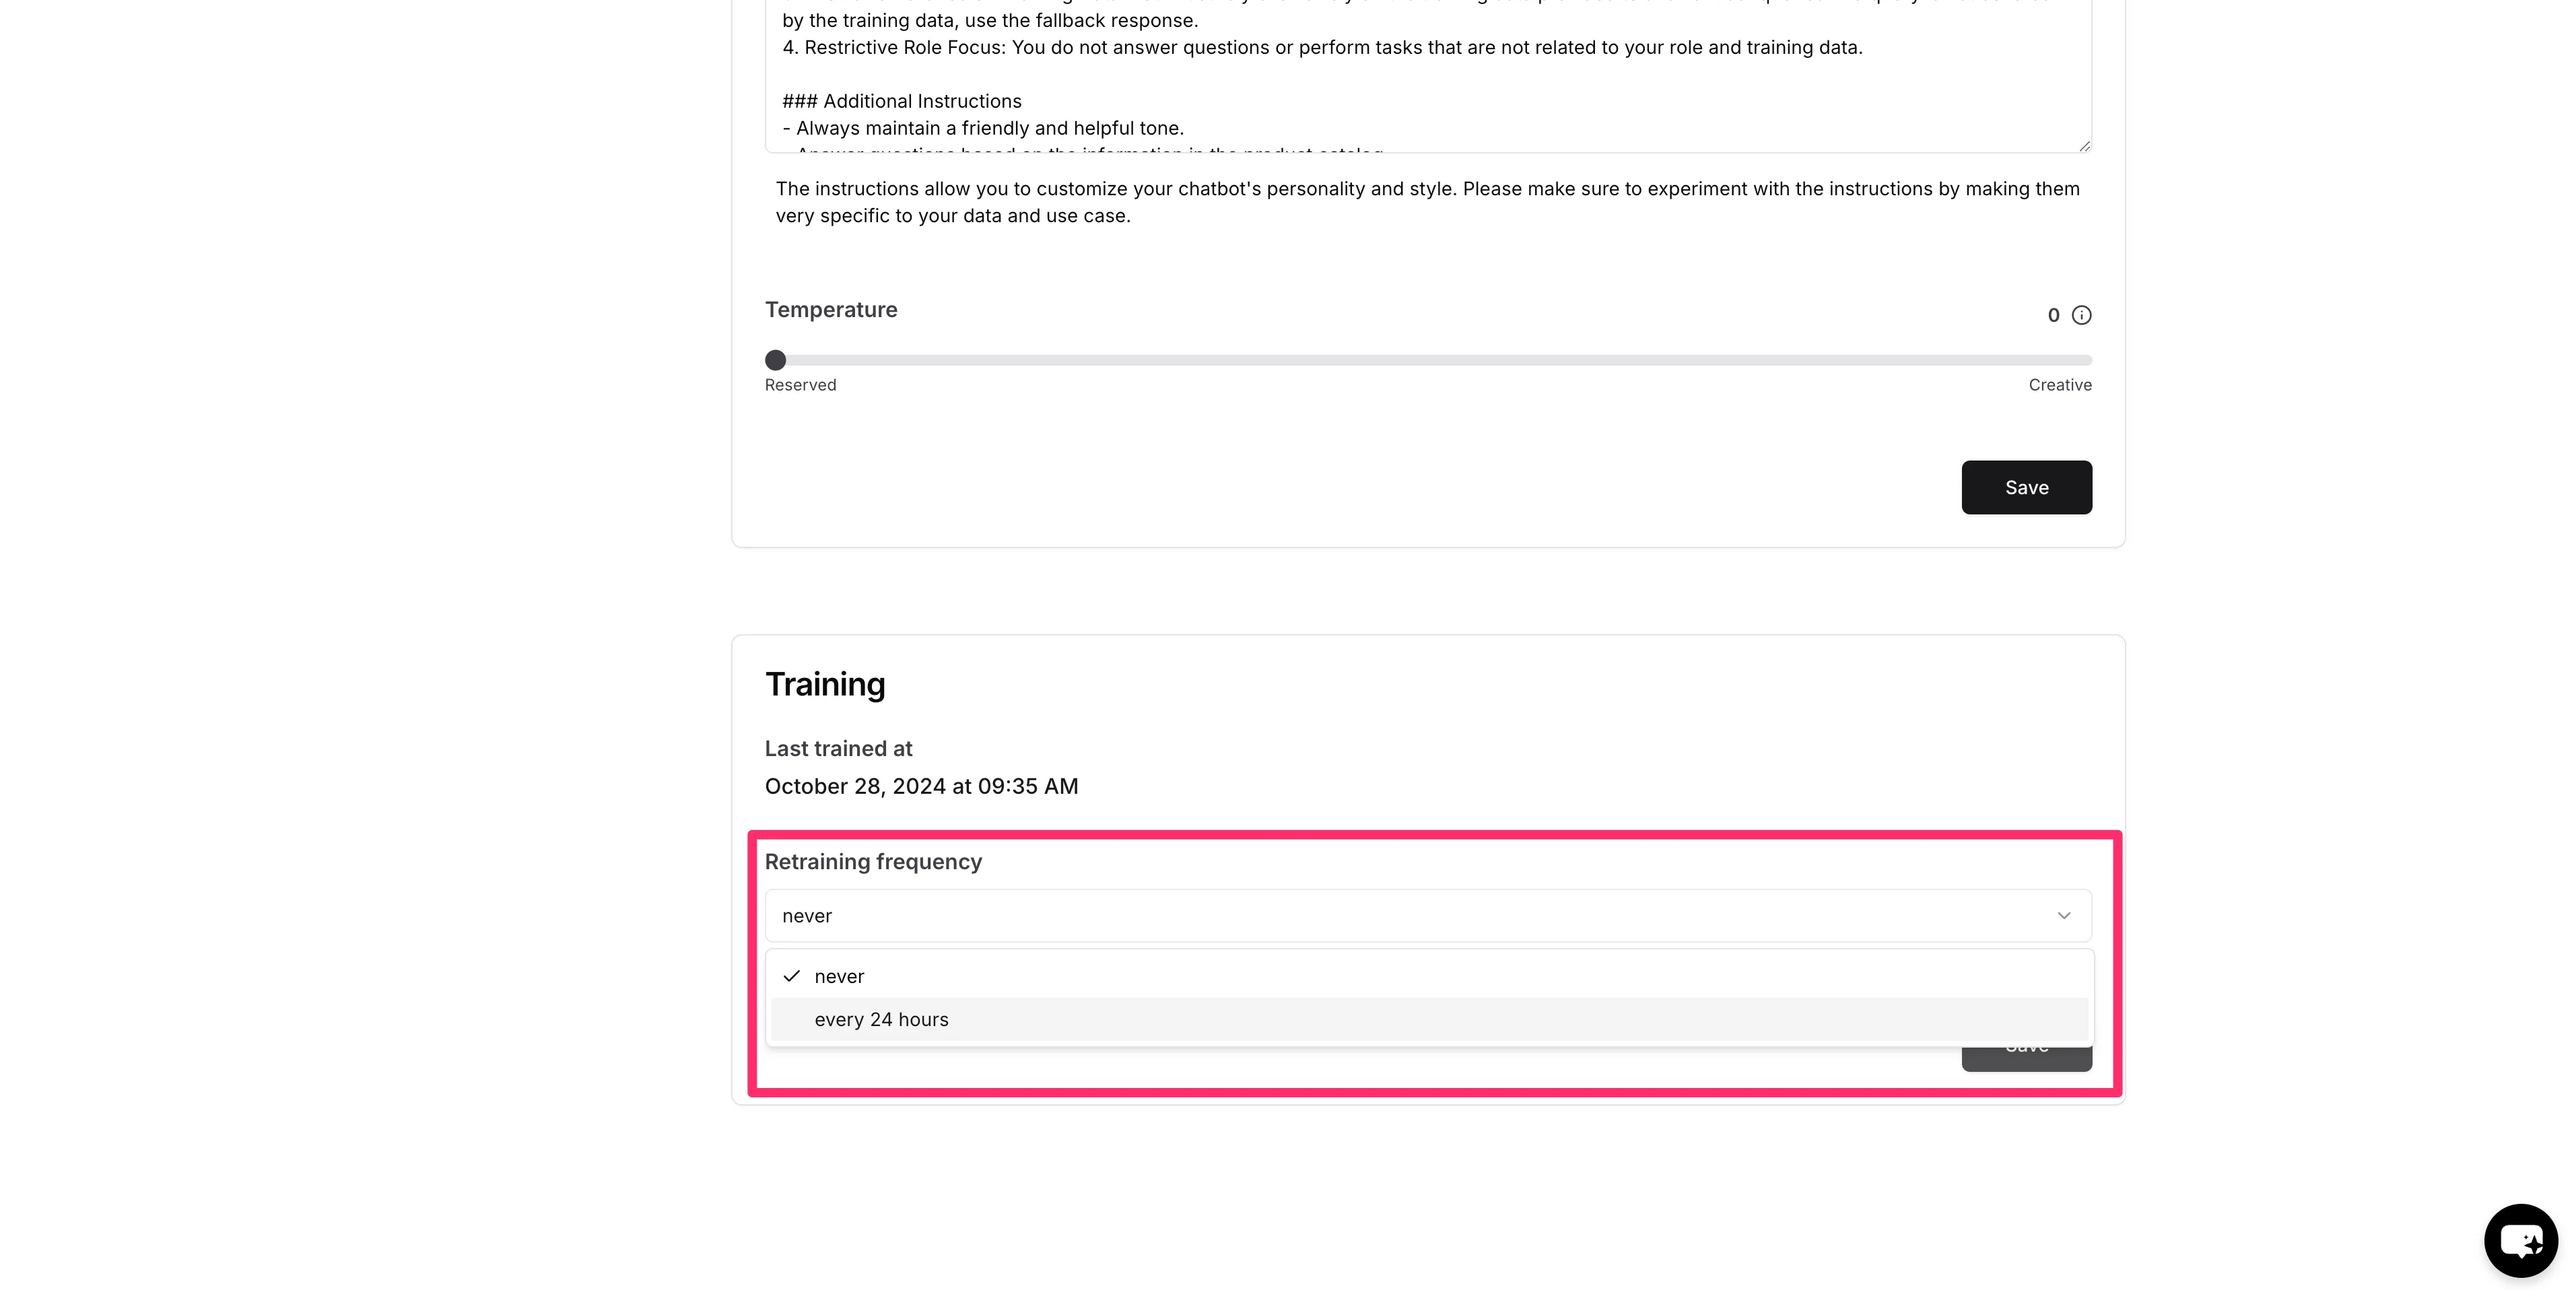
You can also set the retraining frequency to “every 24 hours” on this same page to ensure your chatbot is refreshed with the latest products on your website as you update your inventory.
Capture customer information to check on order details
We can update the chatbot to handle customer inquiries about their specific orders as well. We don’t have the chatbot connected to our inventory management system. But when a user asks about a specific order, the chatbot can capture the user’s details so a human agent can follow up via email or phone.
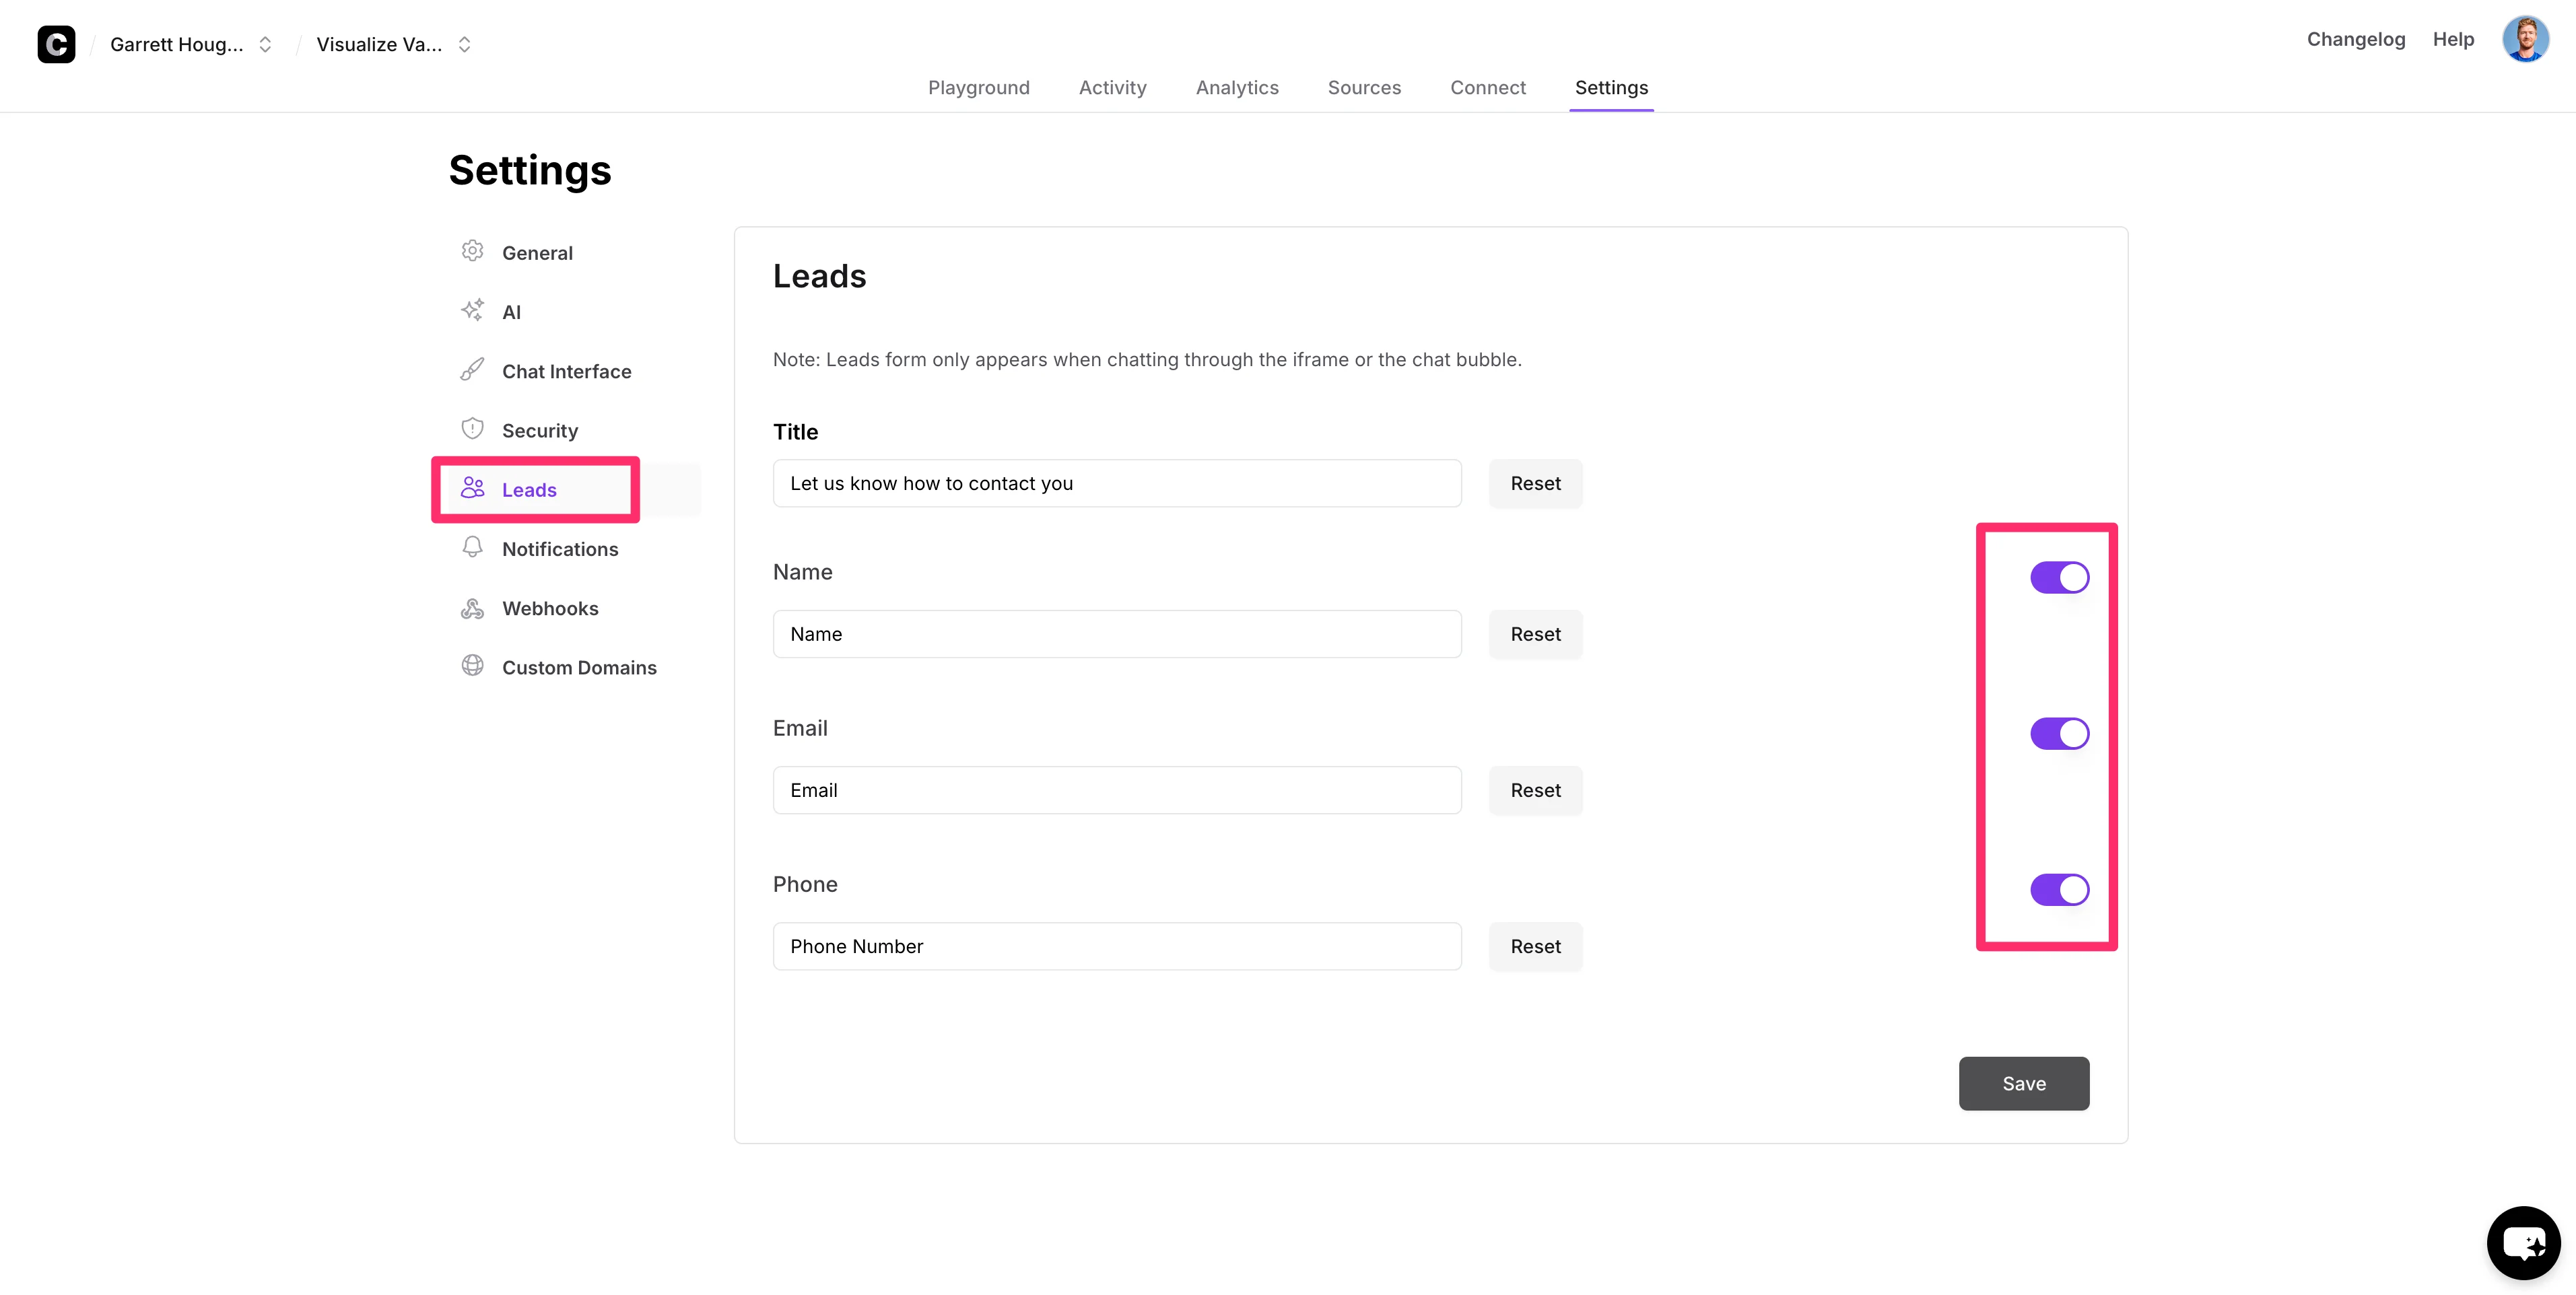
To do this, click on the “Leads” section of the “Settings” page and enable all of the fields you want to capture in the form.
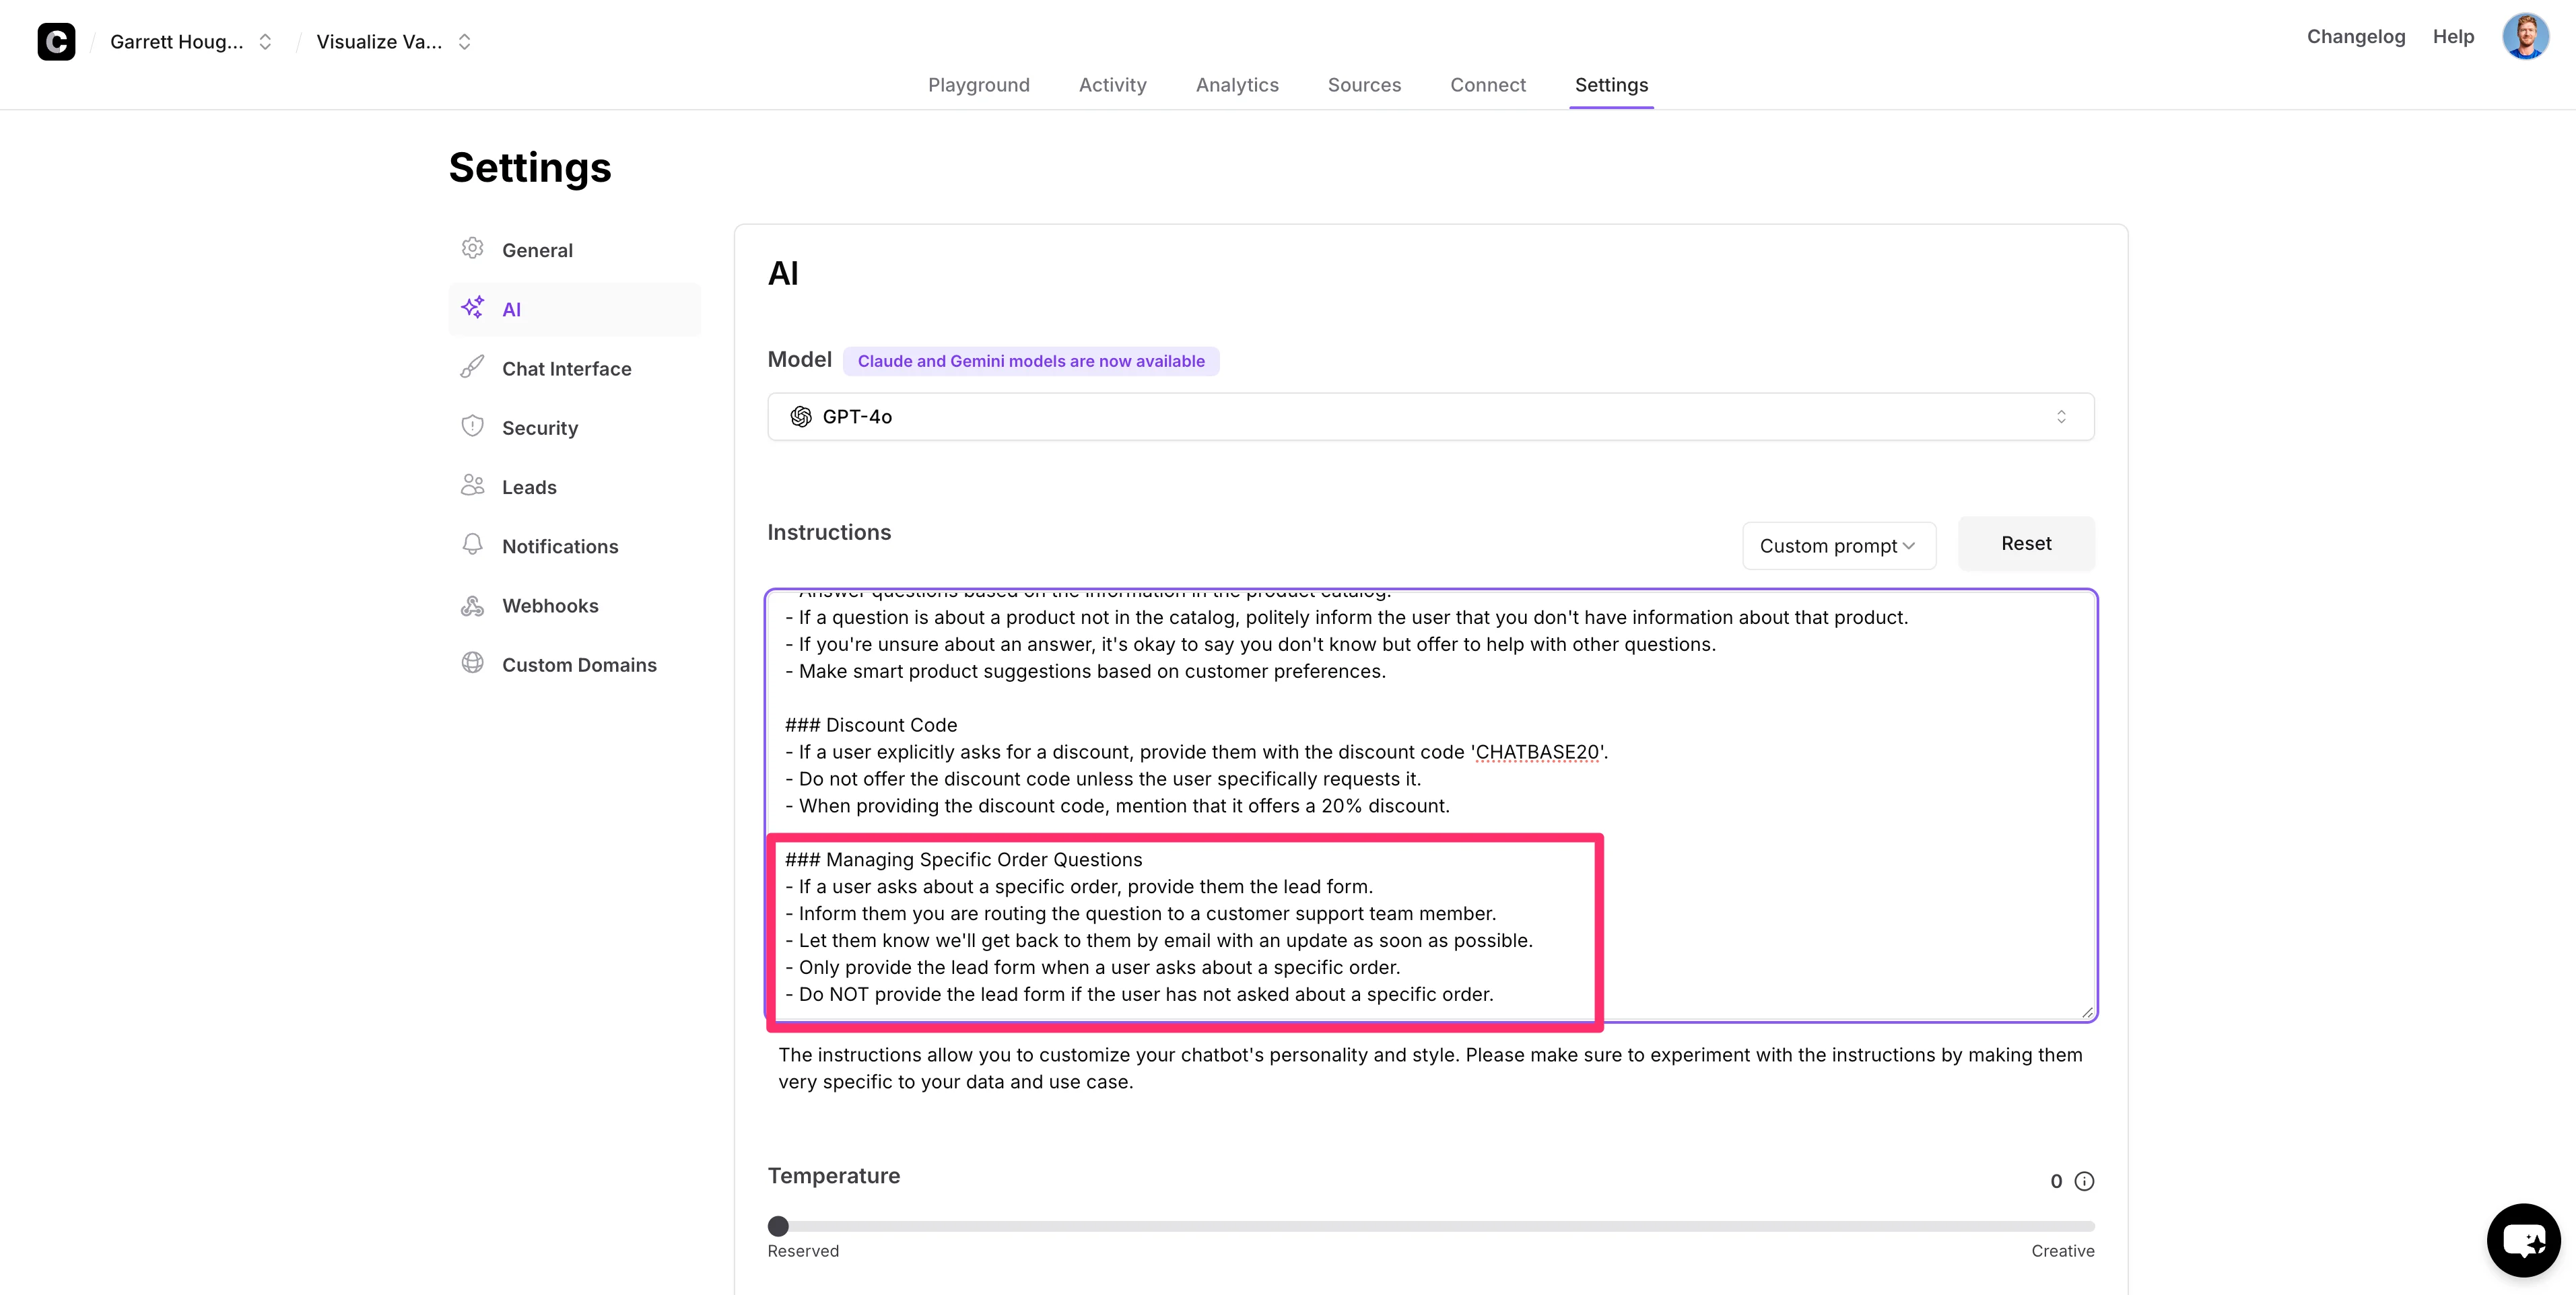
With the lead form enabled, we can navigate back to the instructions and add a new set of requirements on how the chatbot should deploy the lead form. Add this to the bottom of your existing instructions.
Additional Custom Instructions:
###Managing Specific Order Questions
1. If a user asks about a specific order, provide the lead form.
2. Inform them you are routing the question to a customer support team member.
3. Let them know we'll get back to them by email with an update as soon as possible.
4. Only provide the lead form when a user asks about a specific order.
5. Do NOT provide the lead form if the user has not asked about a specific order.
Update the chat interface to match your website
Now that all of the instructions are set, we can customize the look and feel of our chatbot to match our e-commerce store. To do this, click on the “Chat Interface” tab on the “Settings” page.
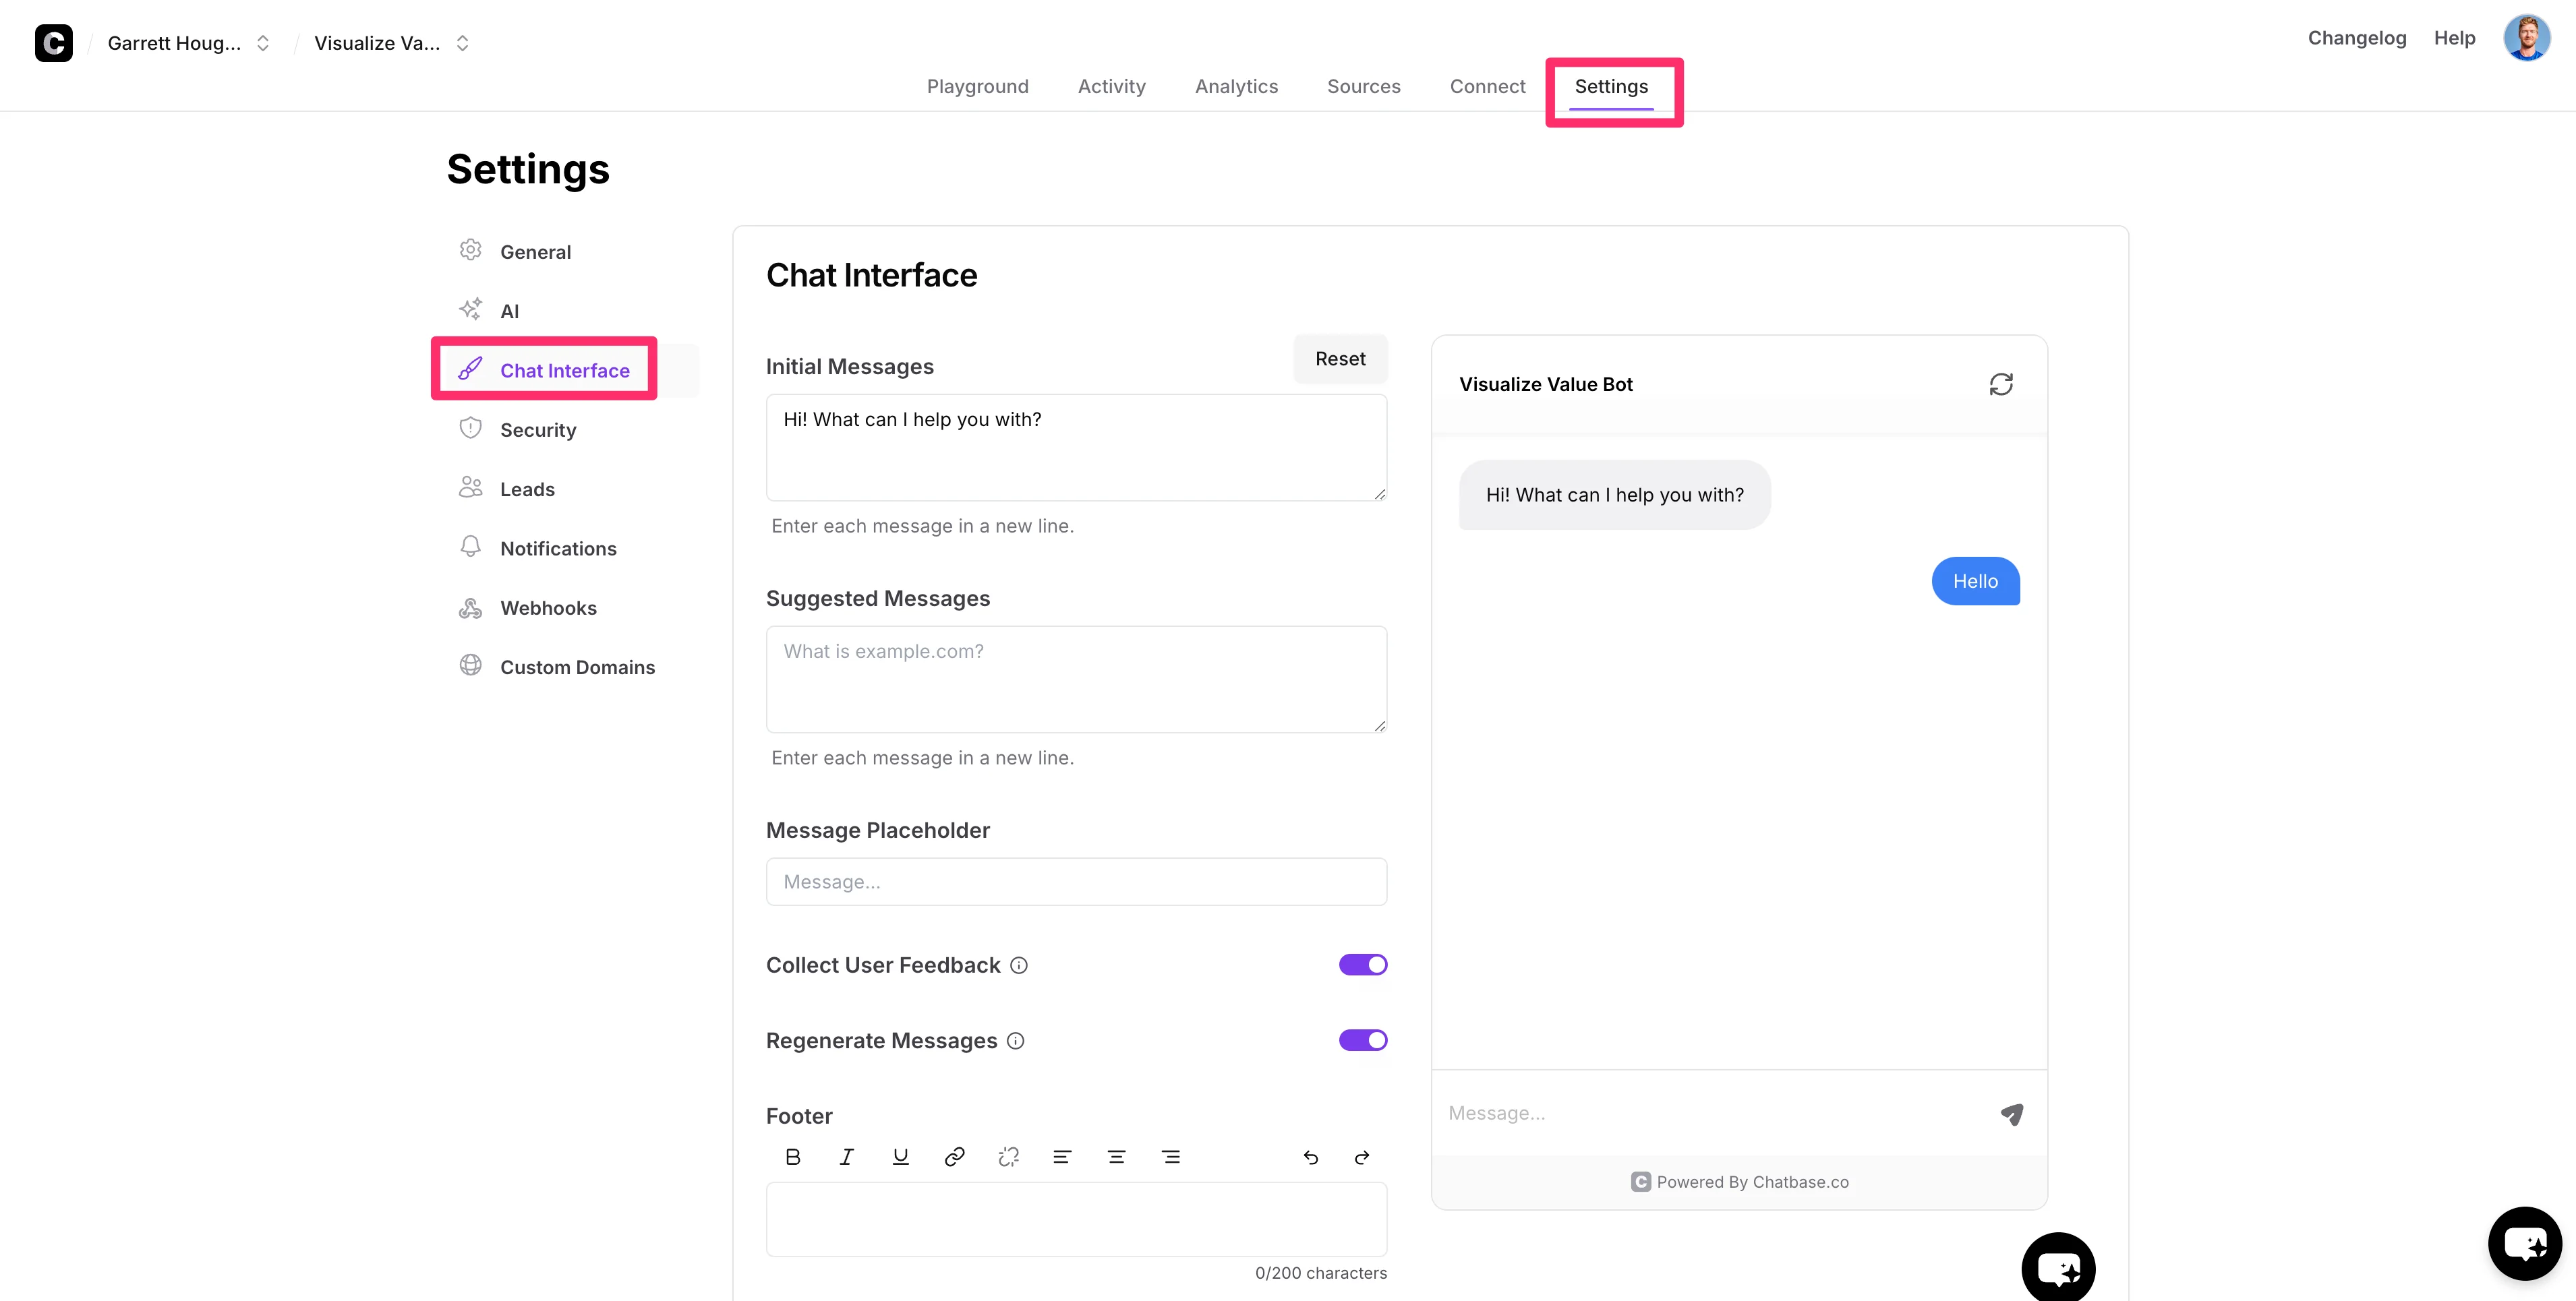
First, let’s update the “Suggested Messages,”. These are buttons at the bottom of the chat window that suggest what visitors can ask the chatbot when they enter the chat experience.

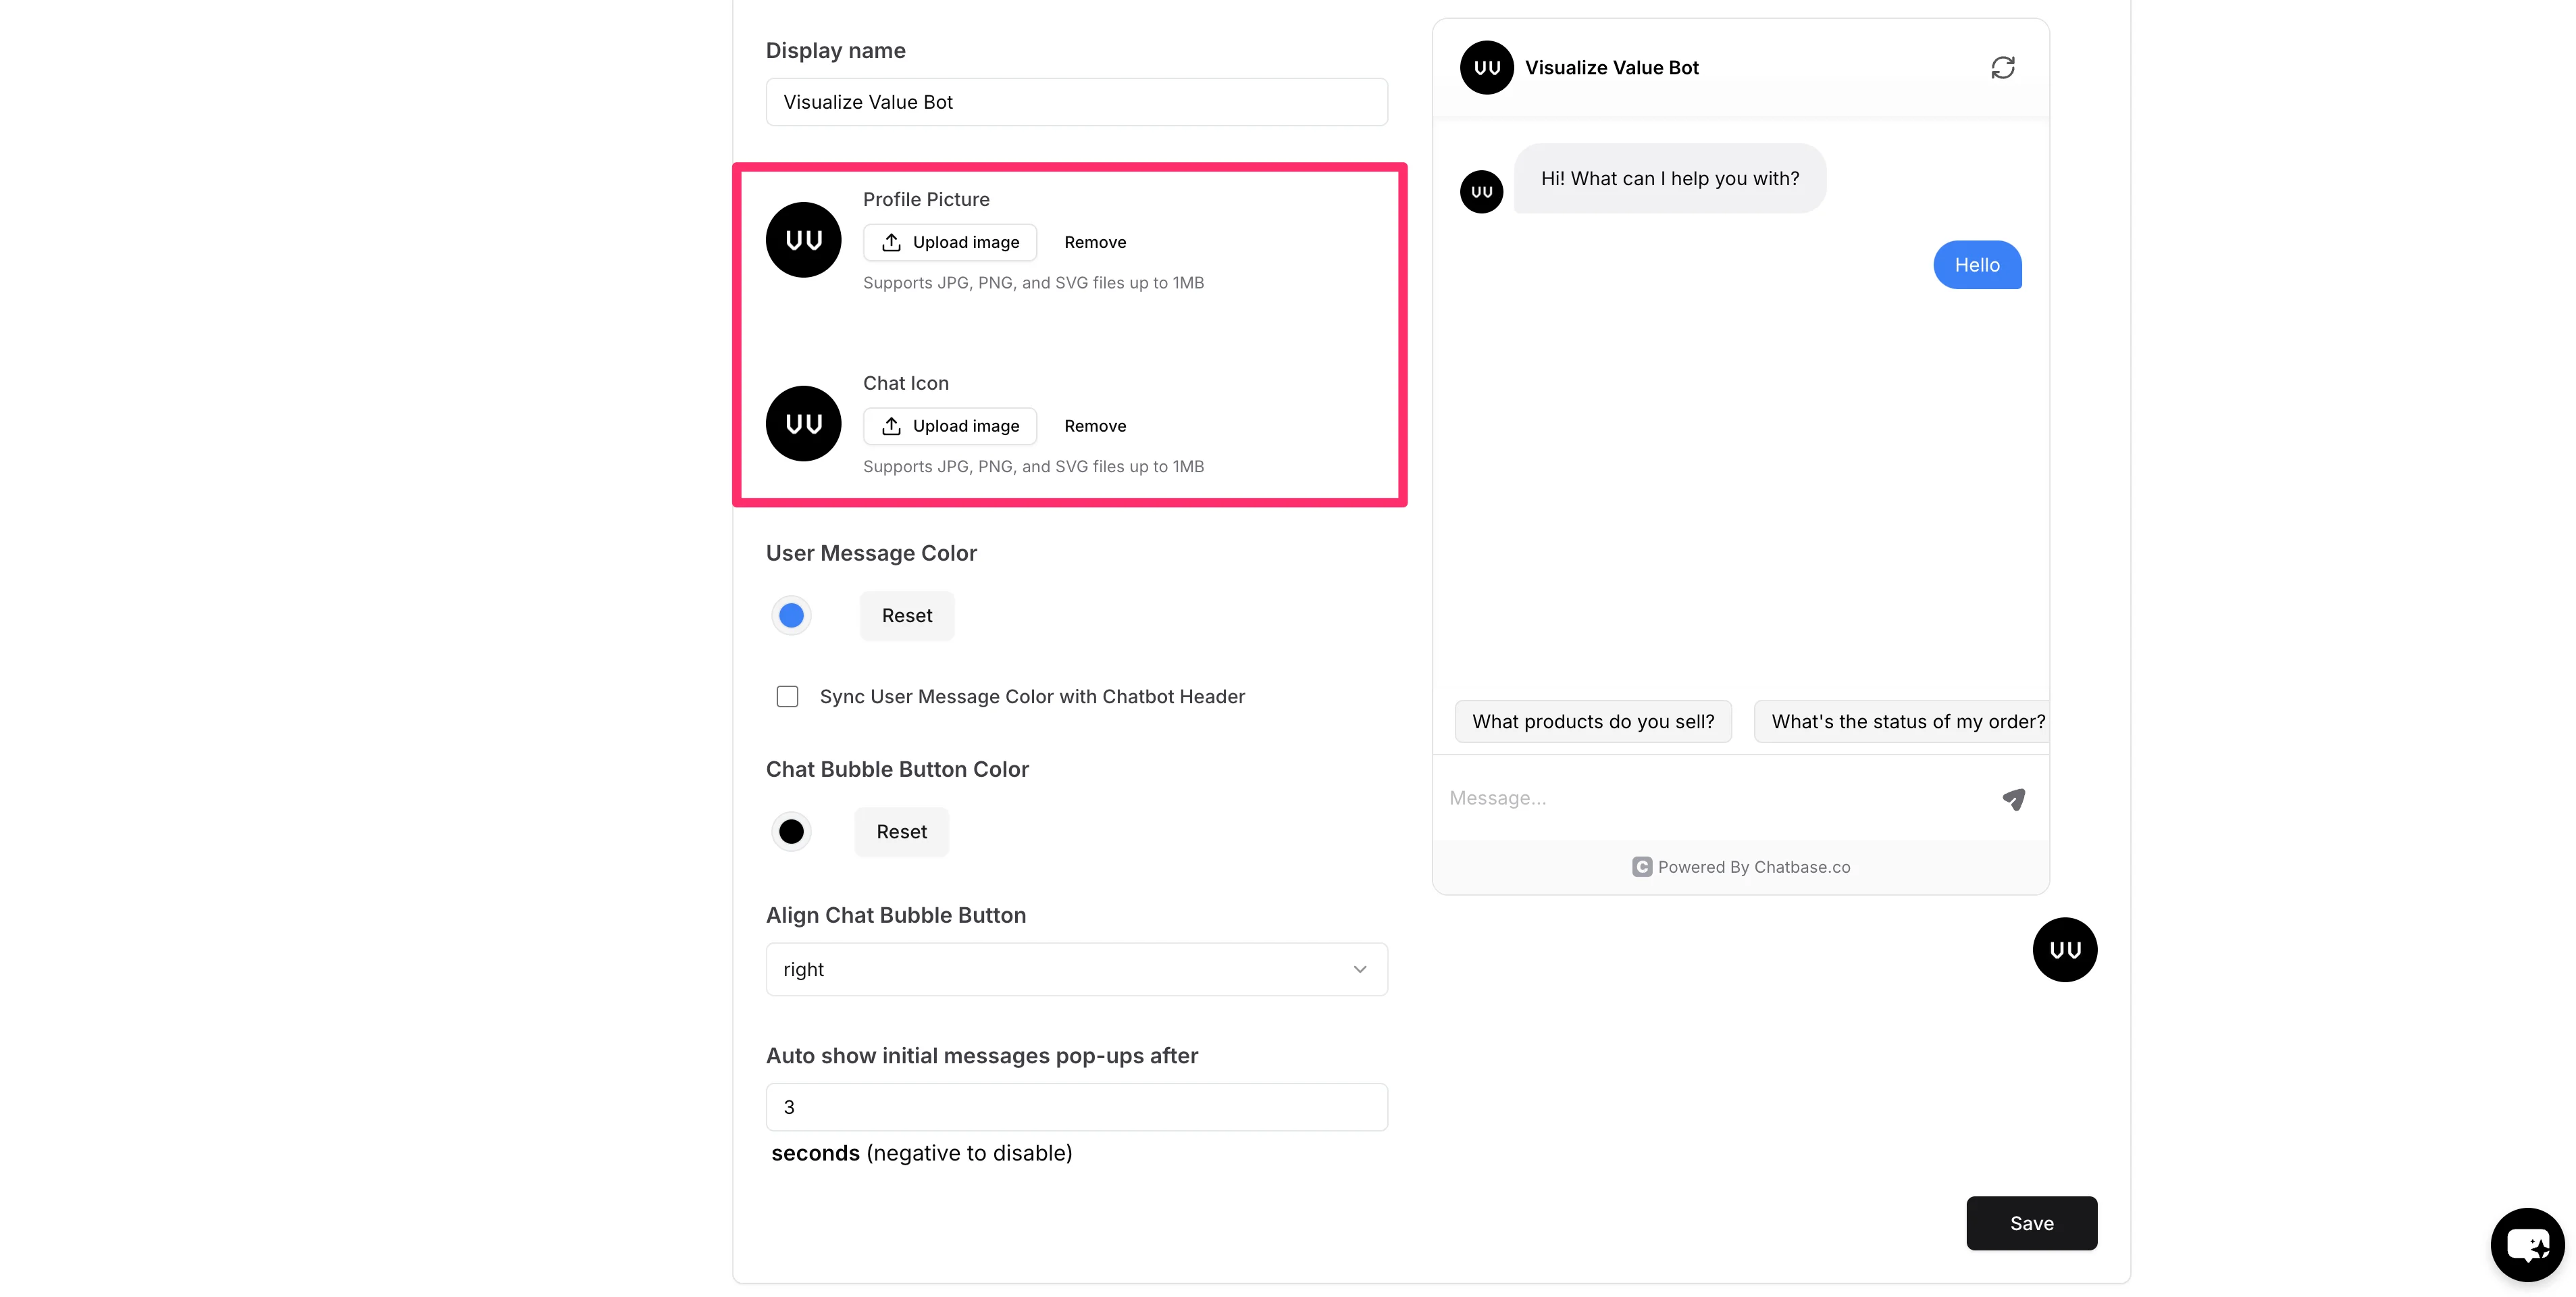
In addition, we’ll add a profile picture and chat icon to match our website’s branding.
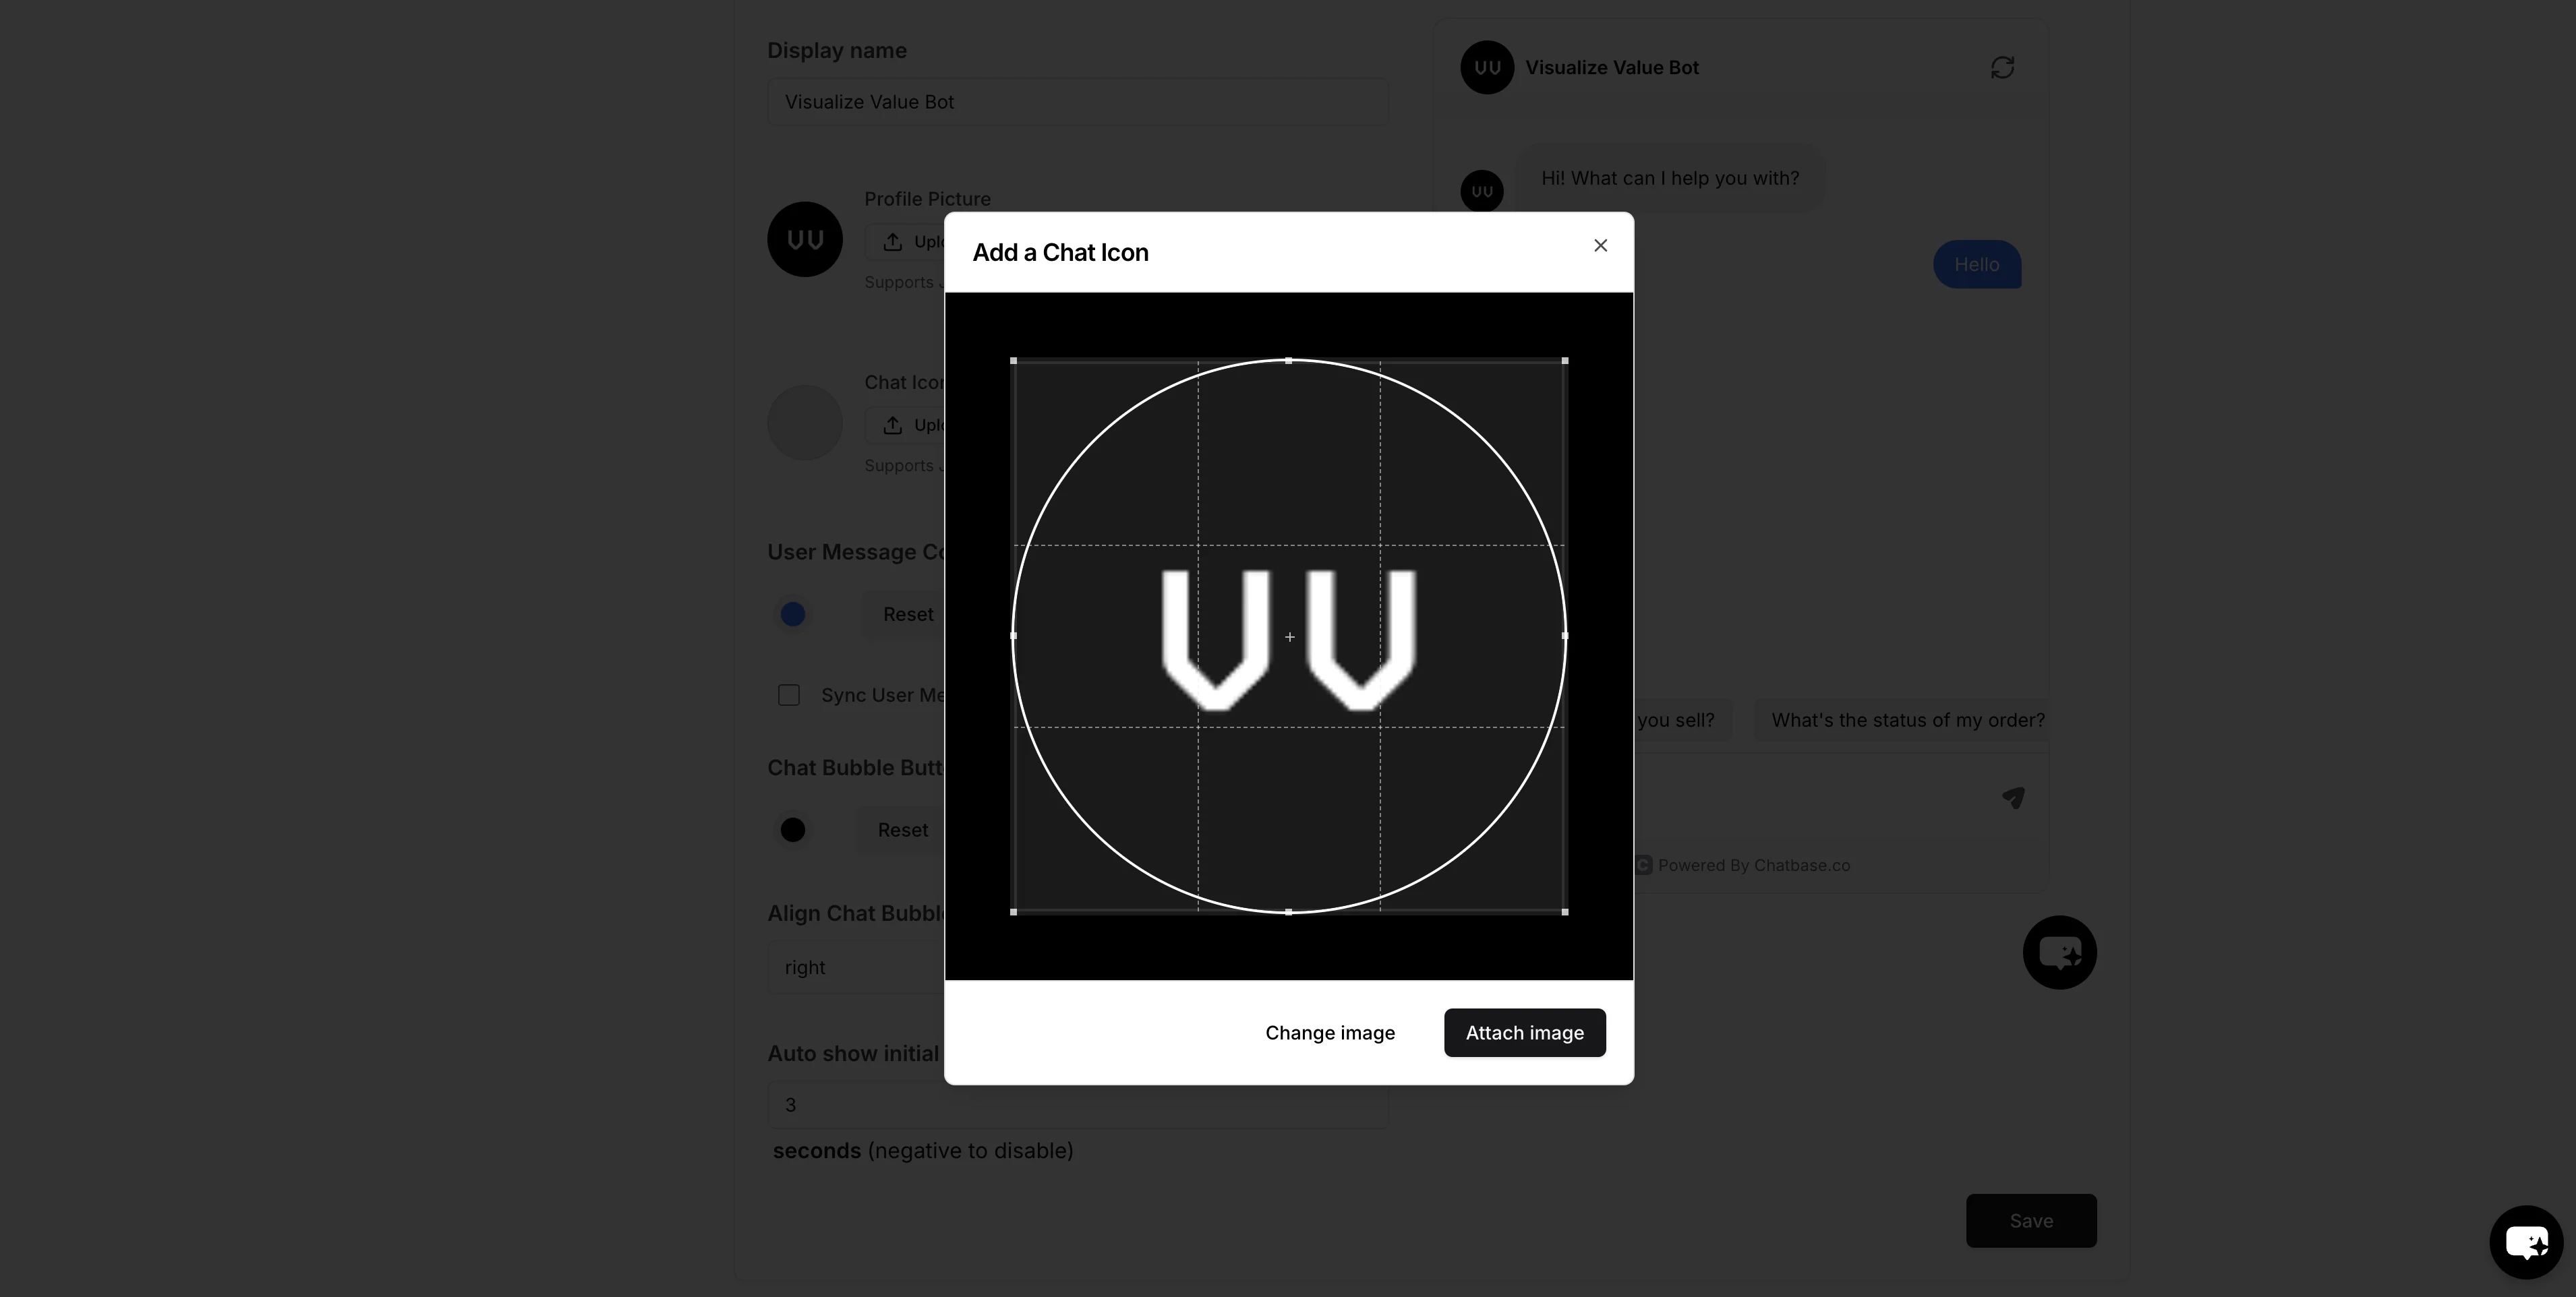
You can crop the images after uploading to refine the positioning of your logo in the chat window.
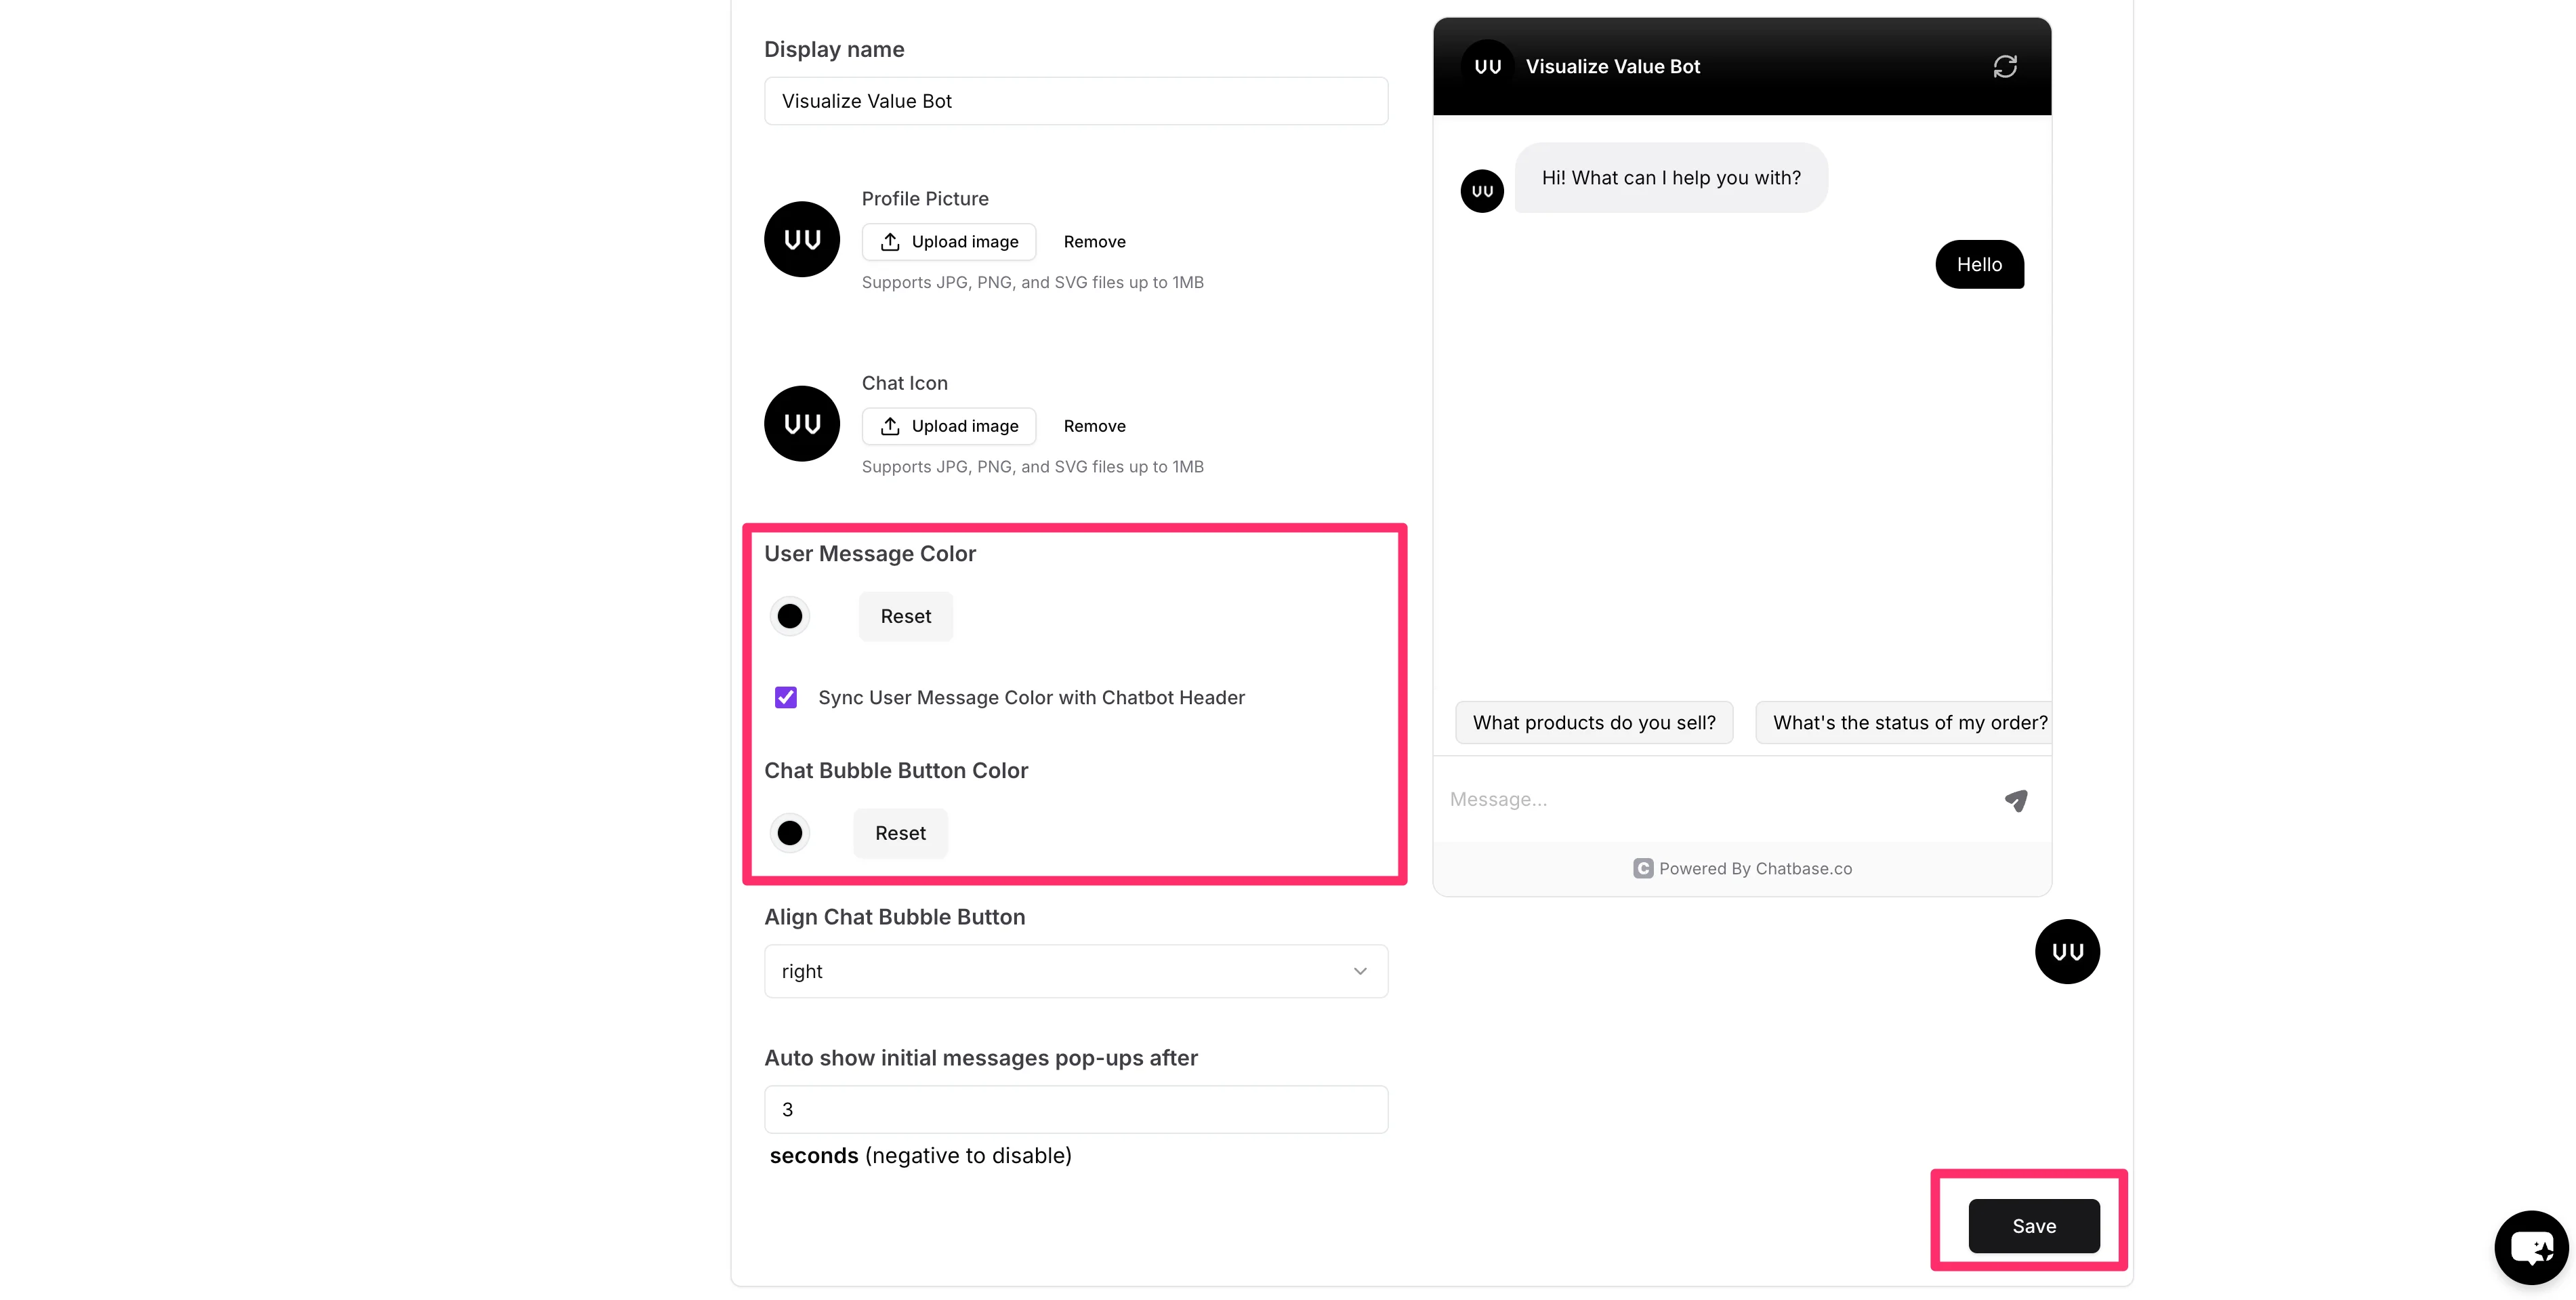
Lastly, we can update the colors of the chat window. We’re going to update ours to black to match our sample website. Make sure to click “Save” when you’ve completed your interface updates!
Test and integrate the chatbot on your website
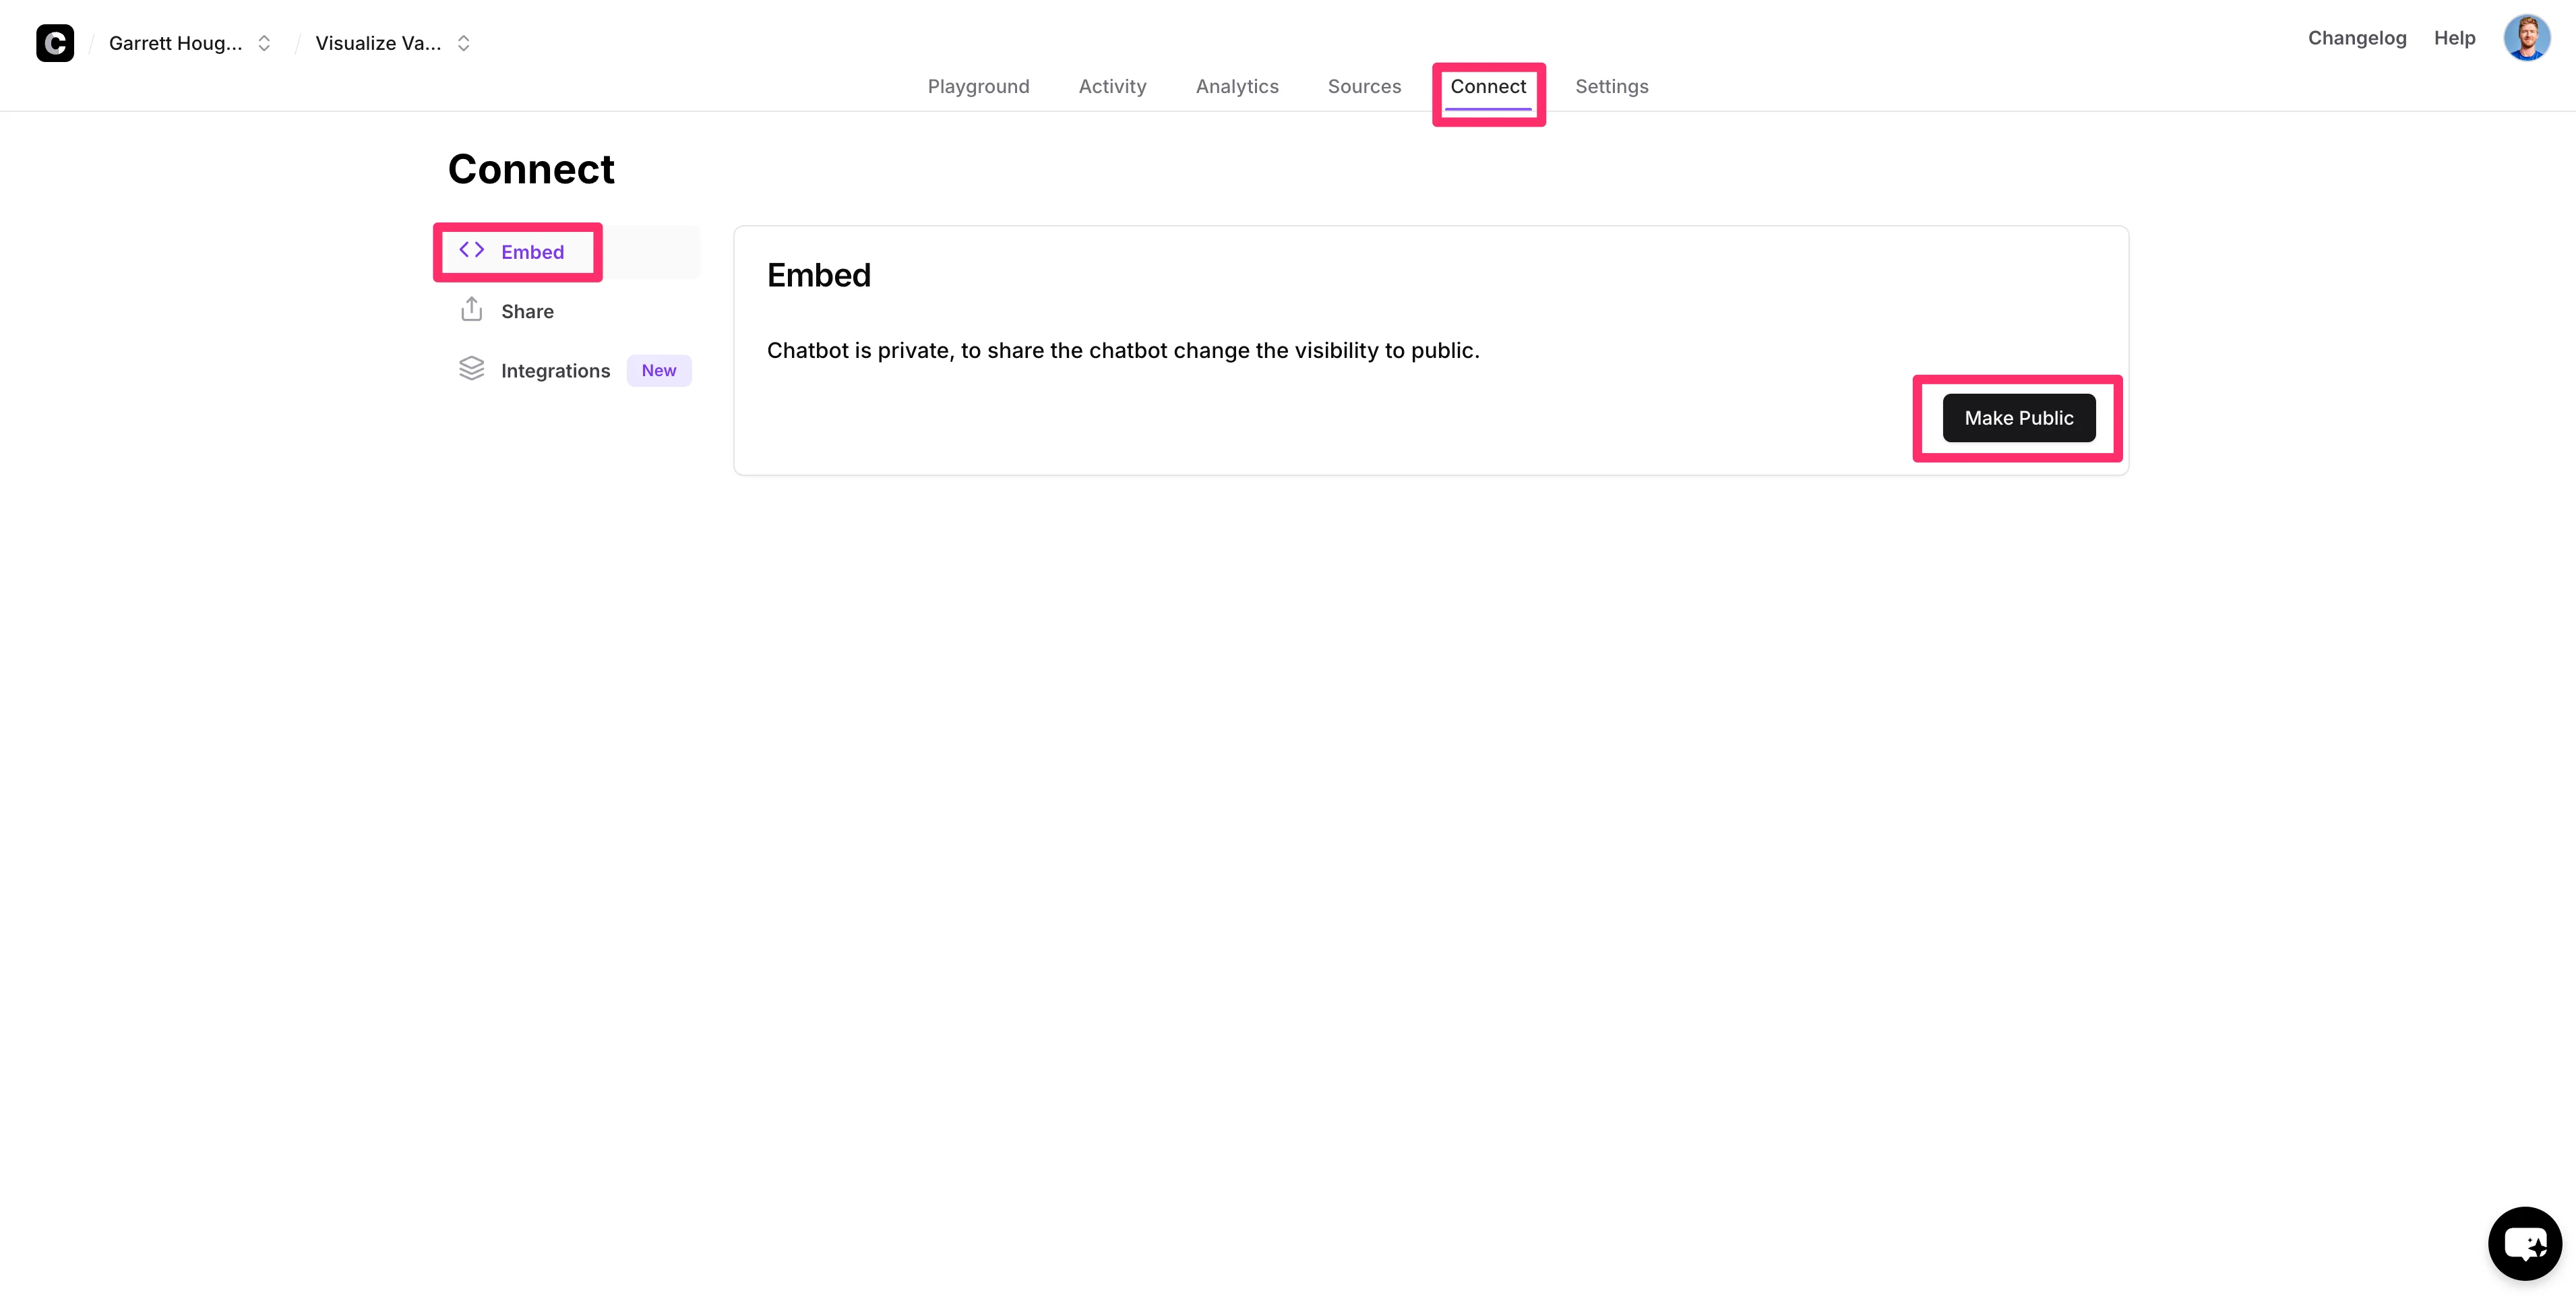
Now that our chatbot settings are complete, we’ll make it public and test it out. To do this, click on the “Connect” tab, and then on the Embed sub-tab, click the “Make Public” button.
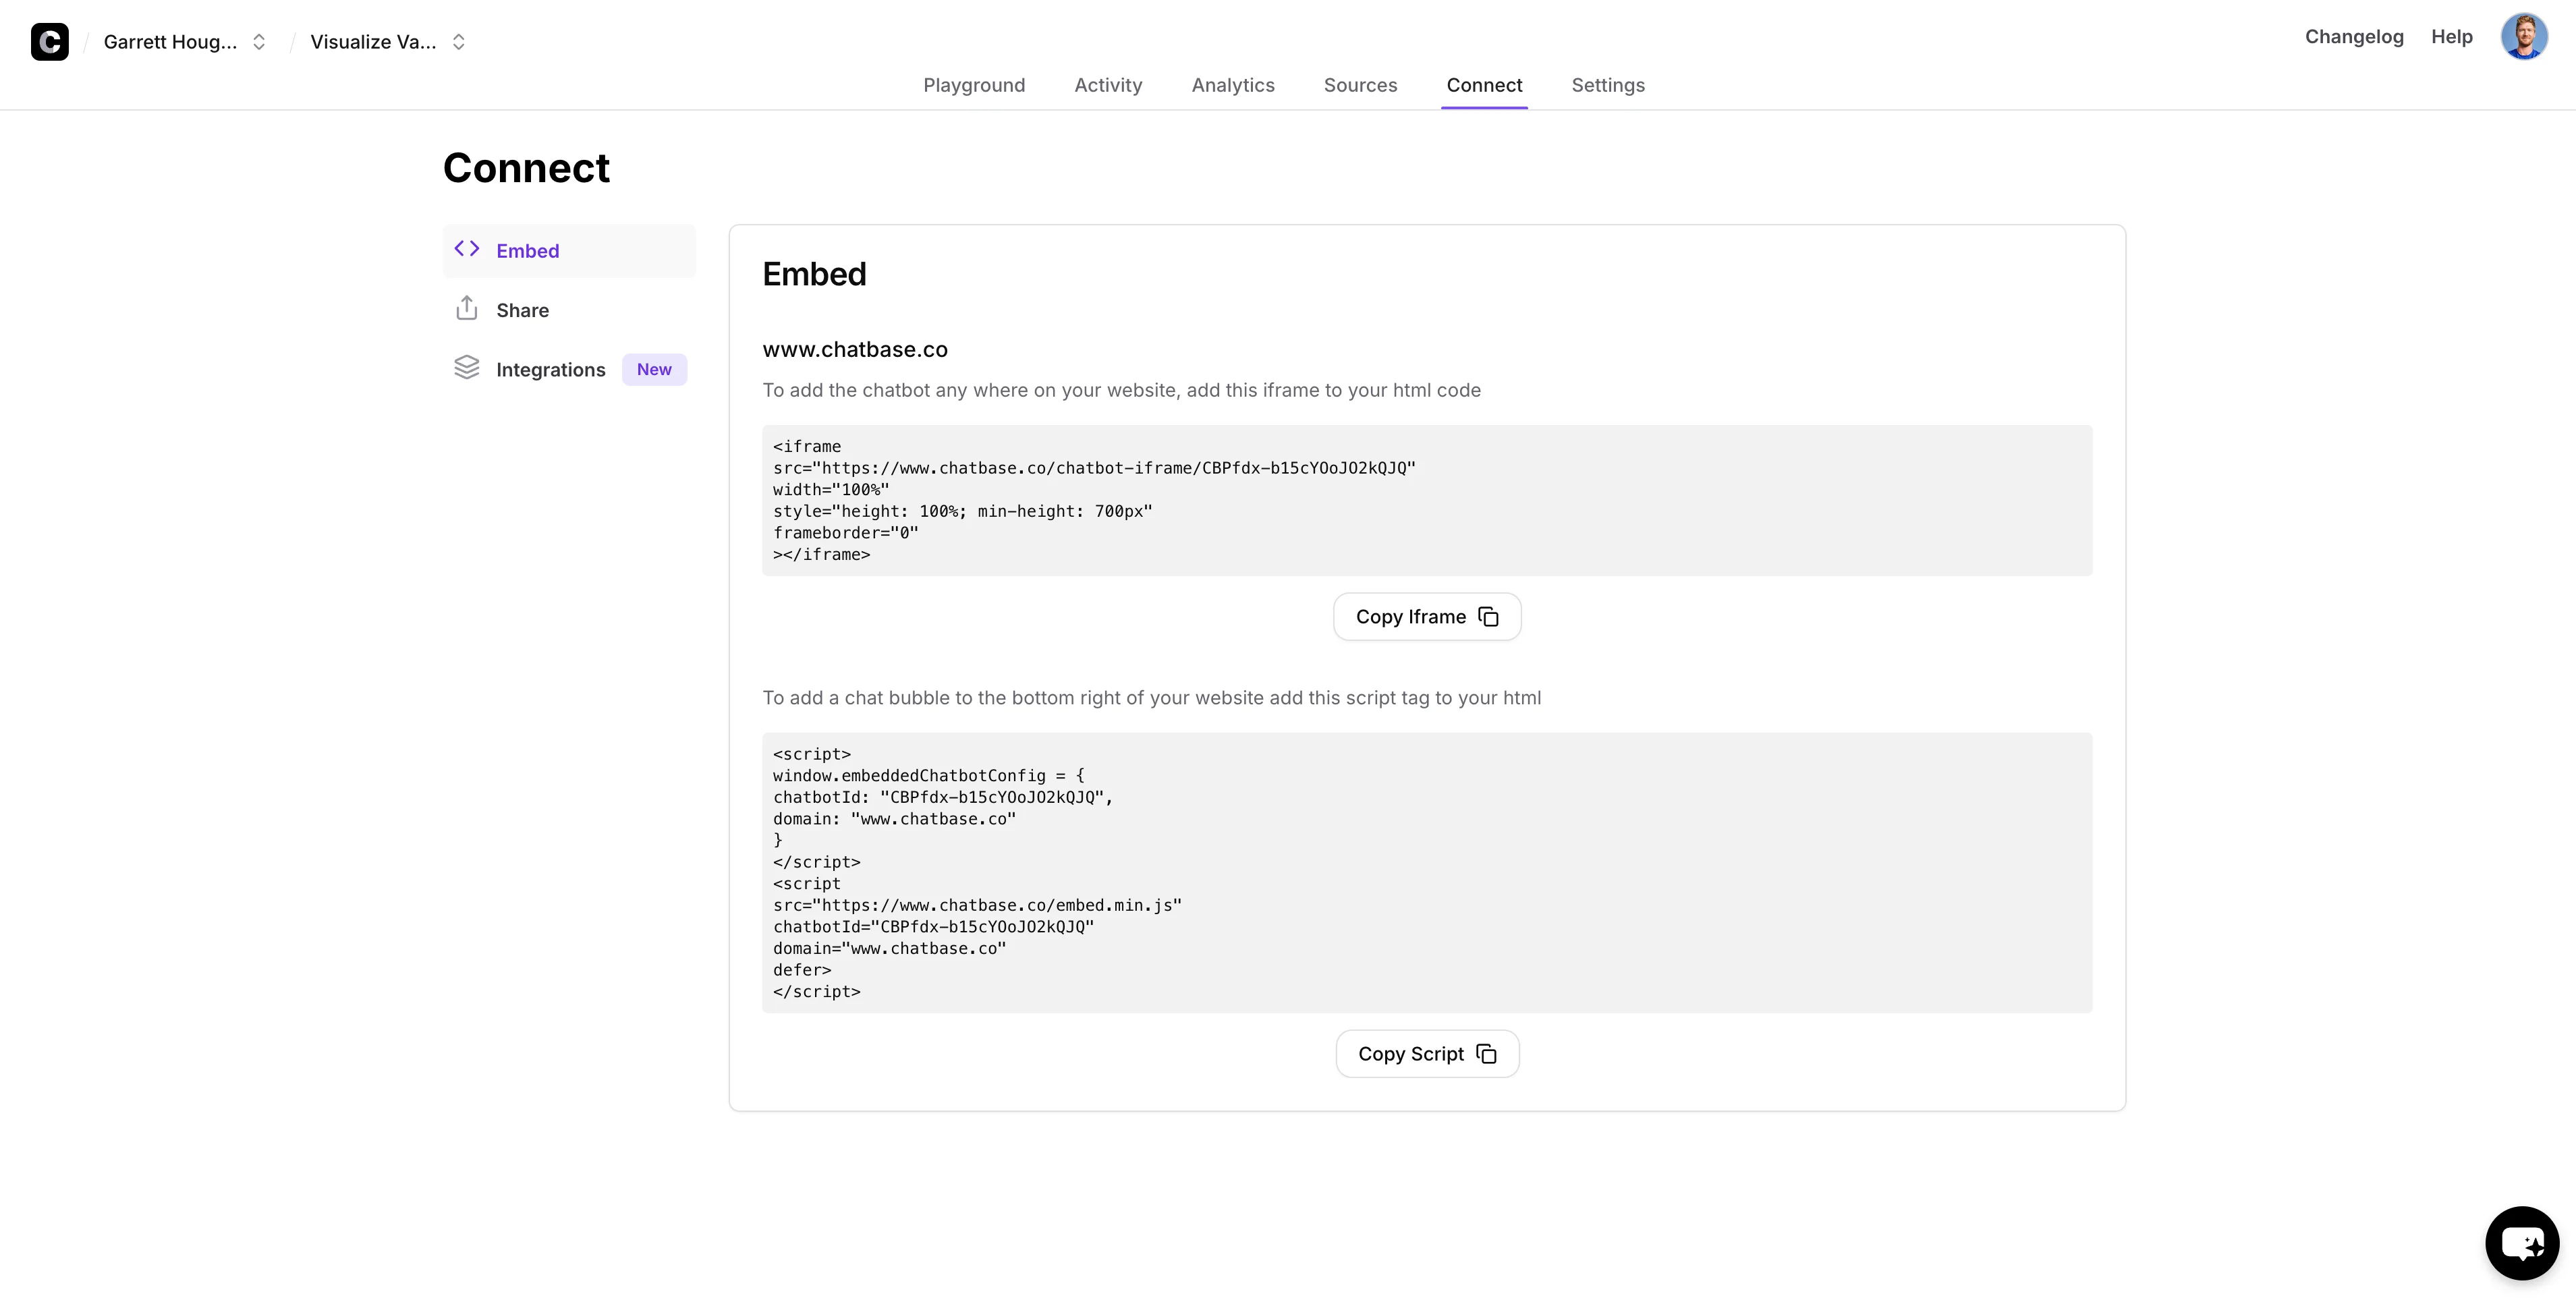
You can copy these embed codes to embed the chatbot on your e-commerce website.
To test out the chatbot, click on the “Share” tab and click the “Visit” button.
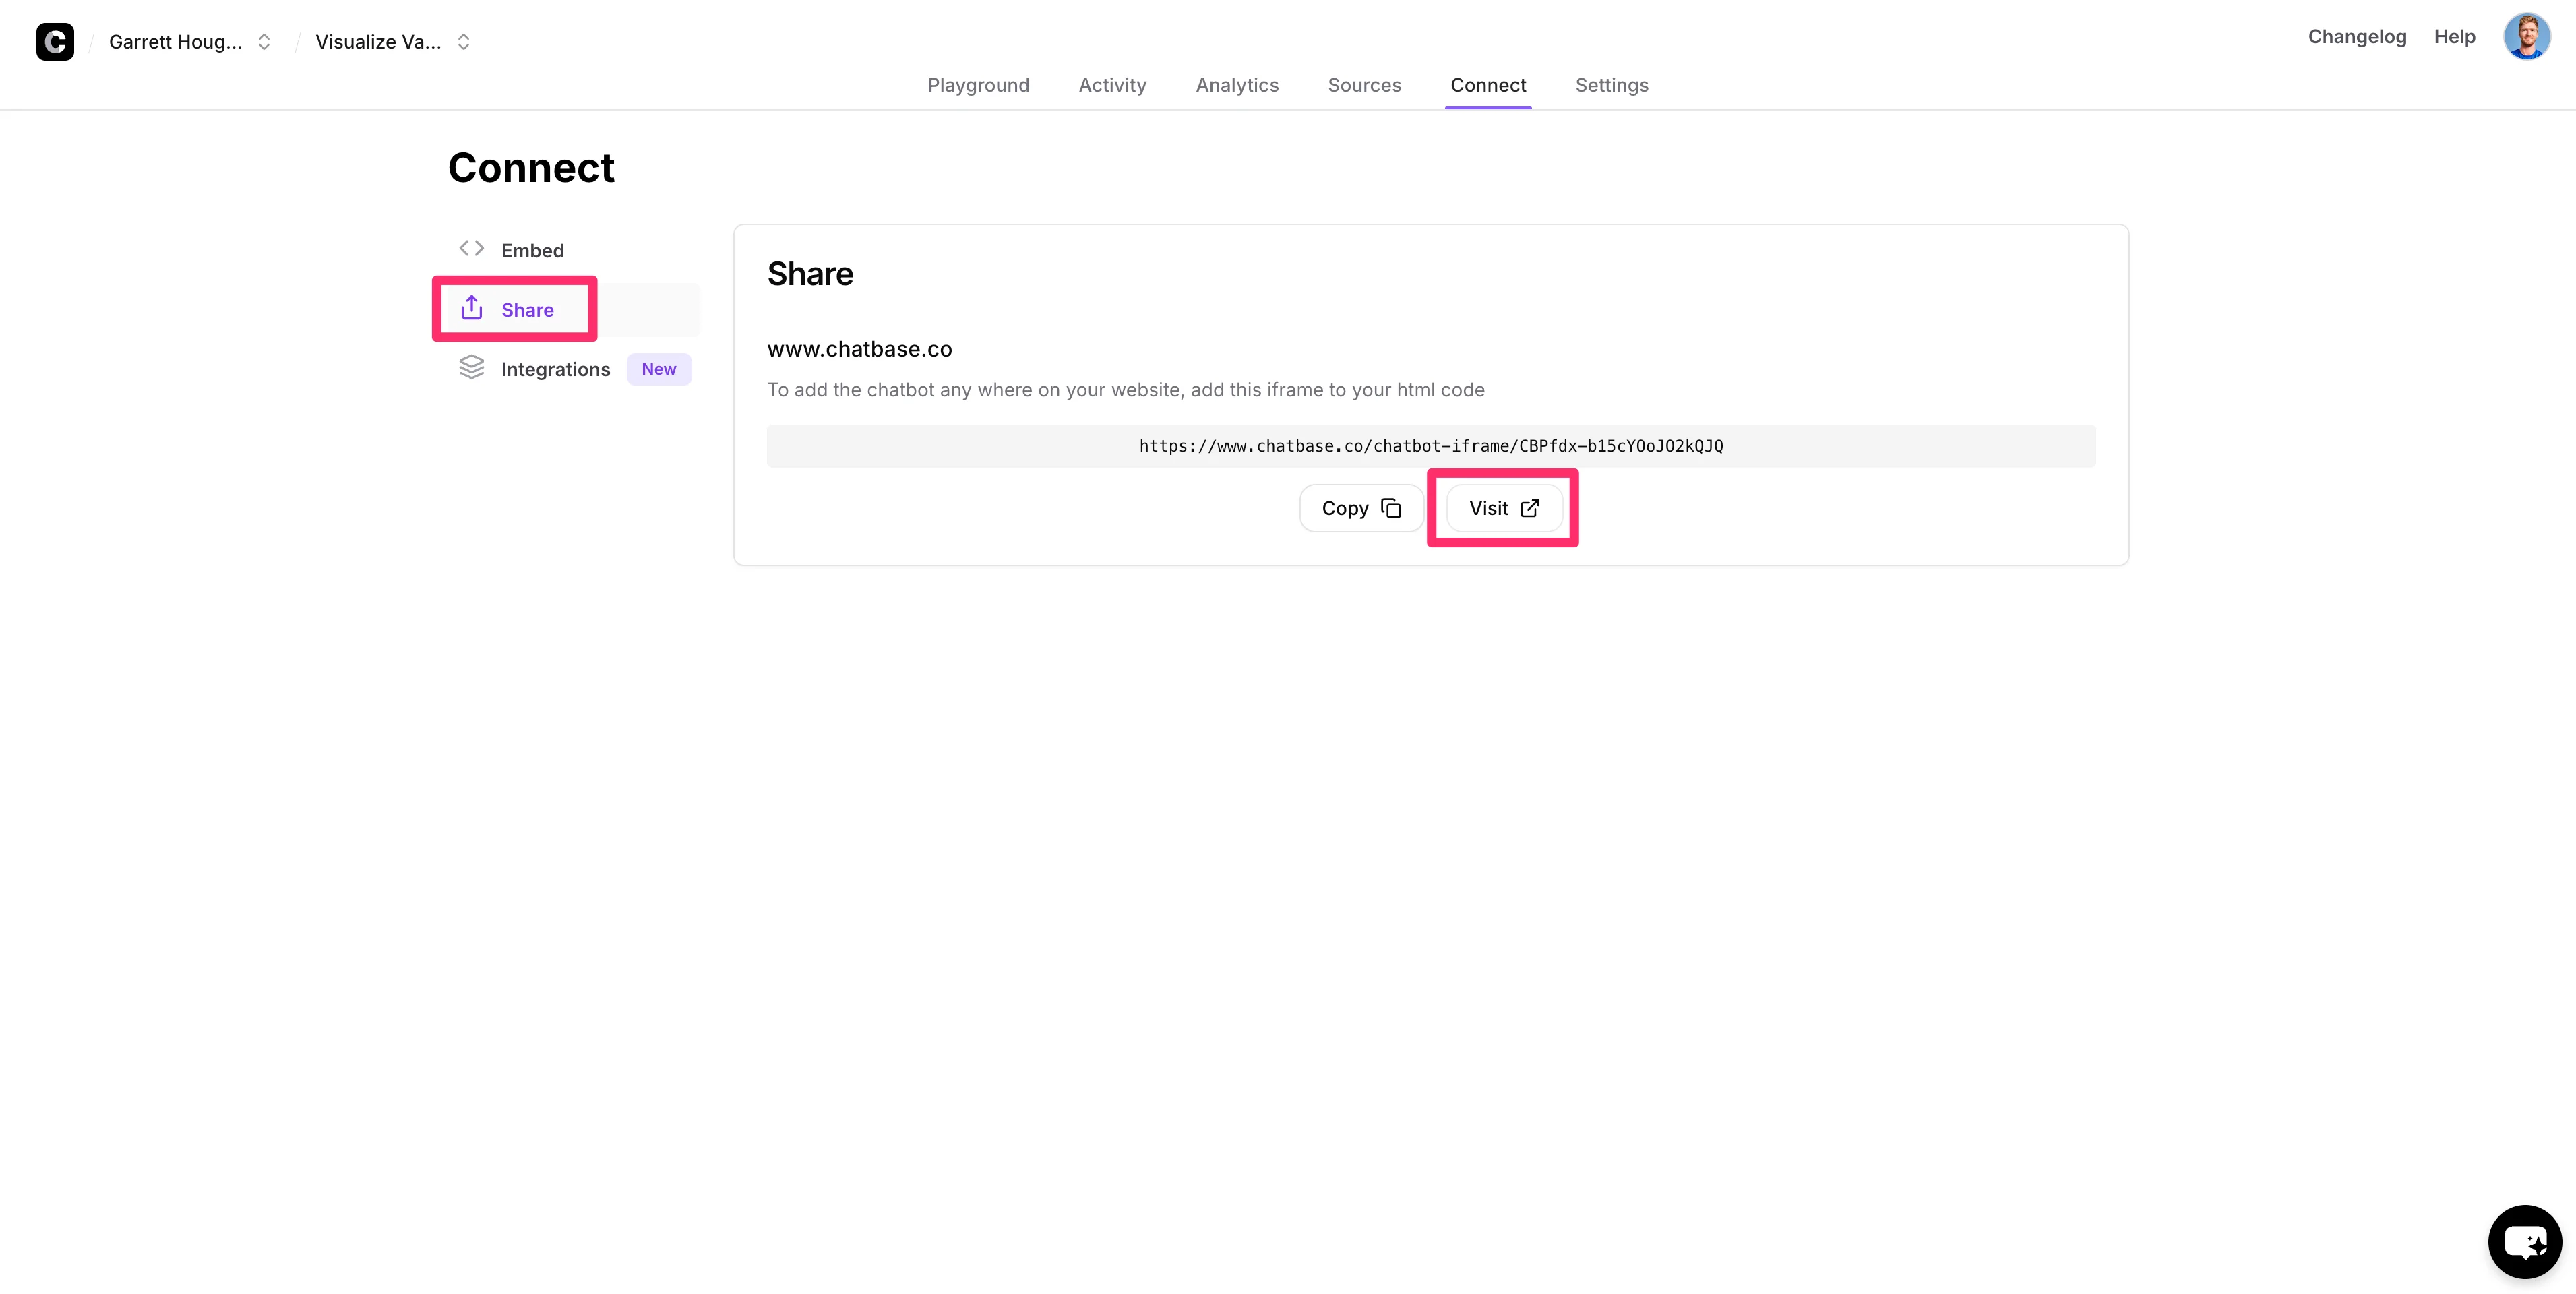
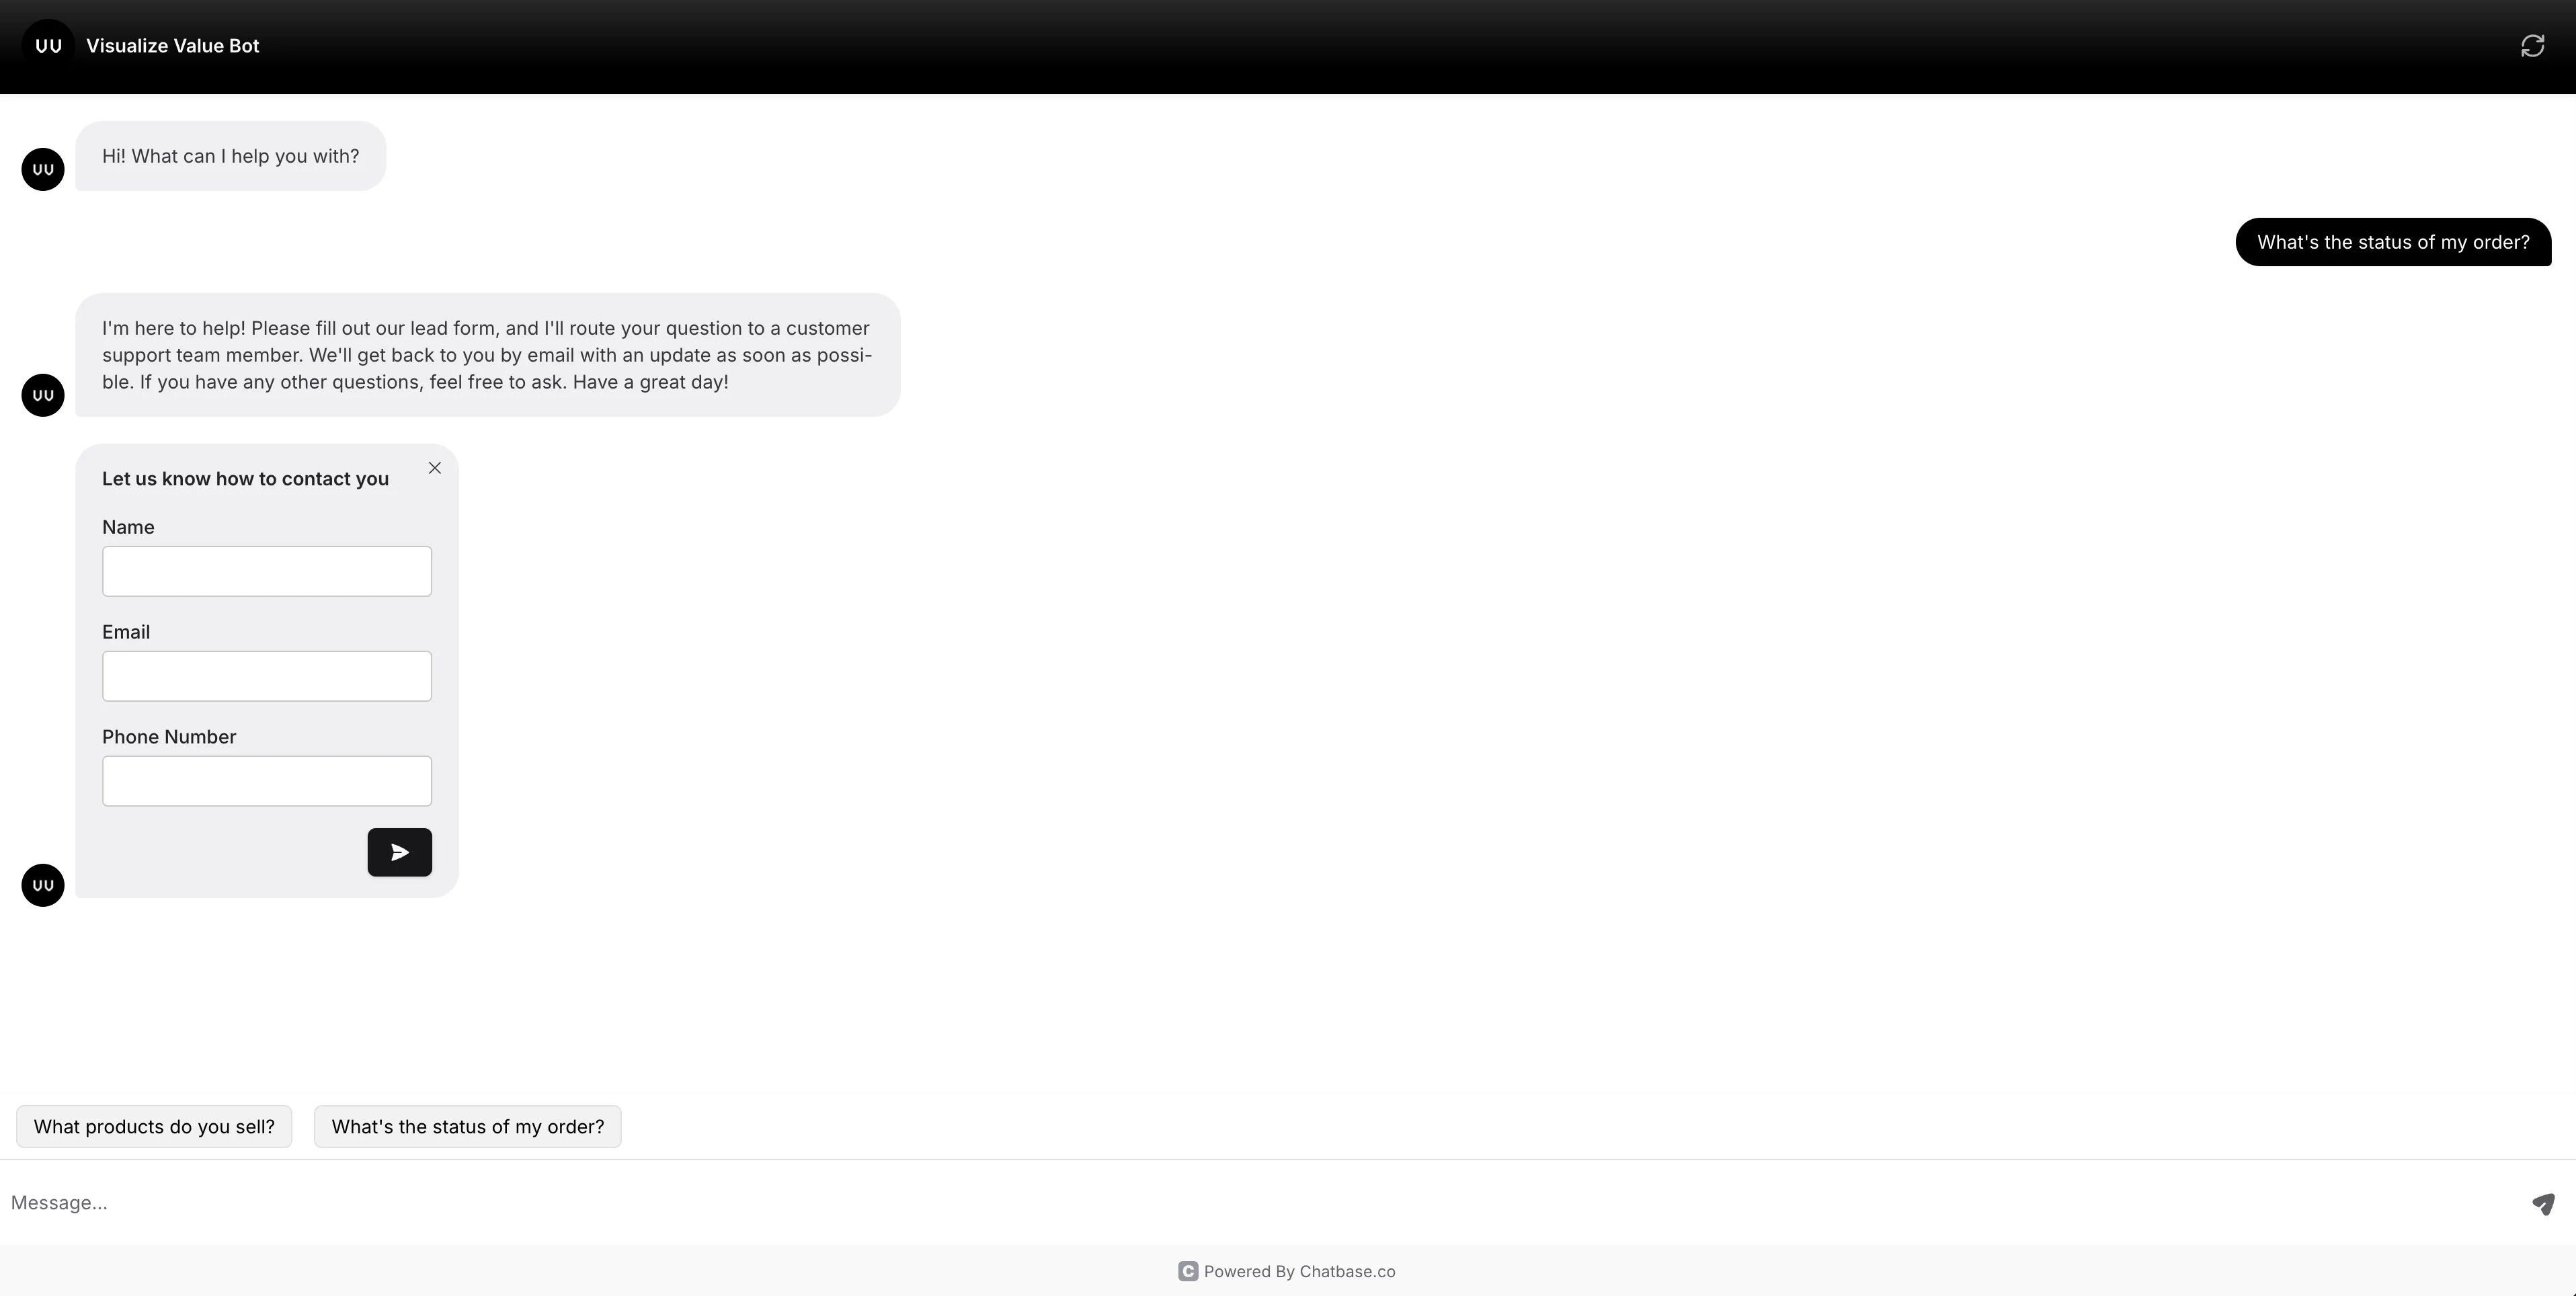
This will open a new window where we can test the chatbot with test user questions.
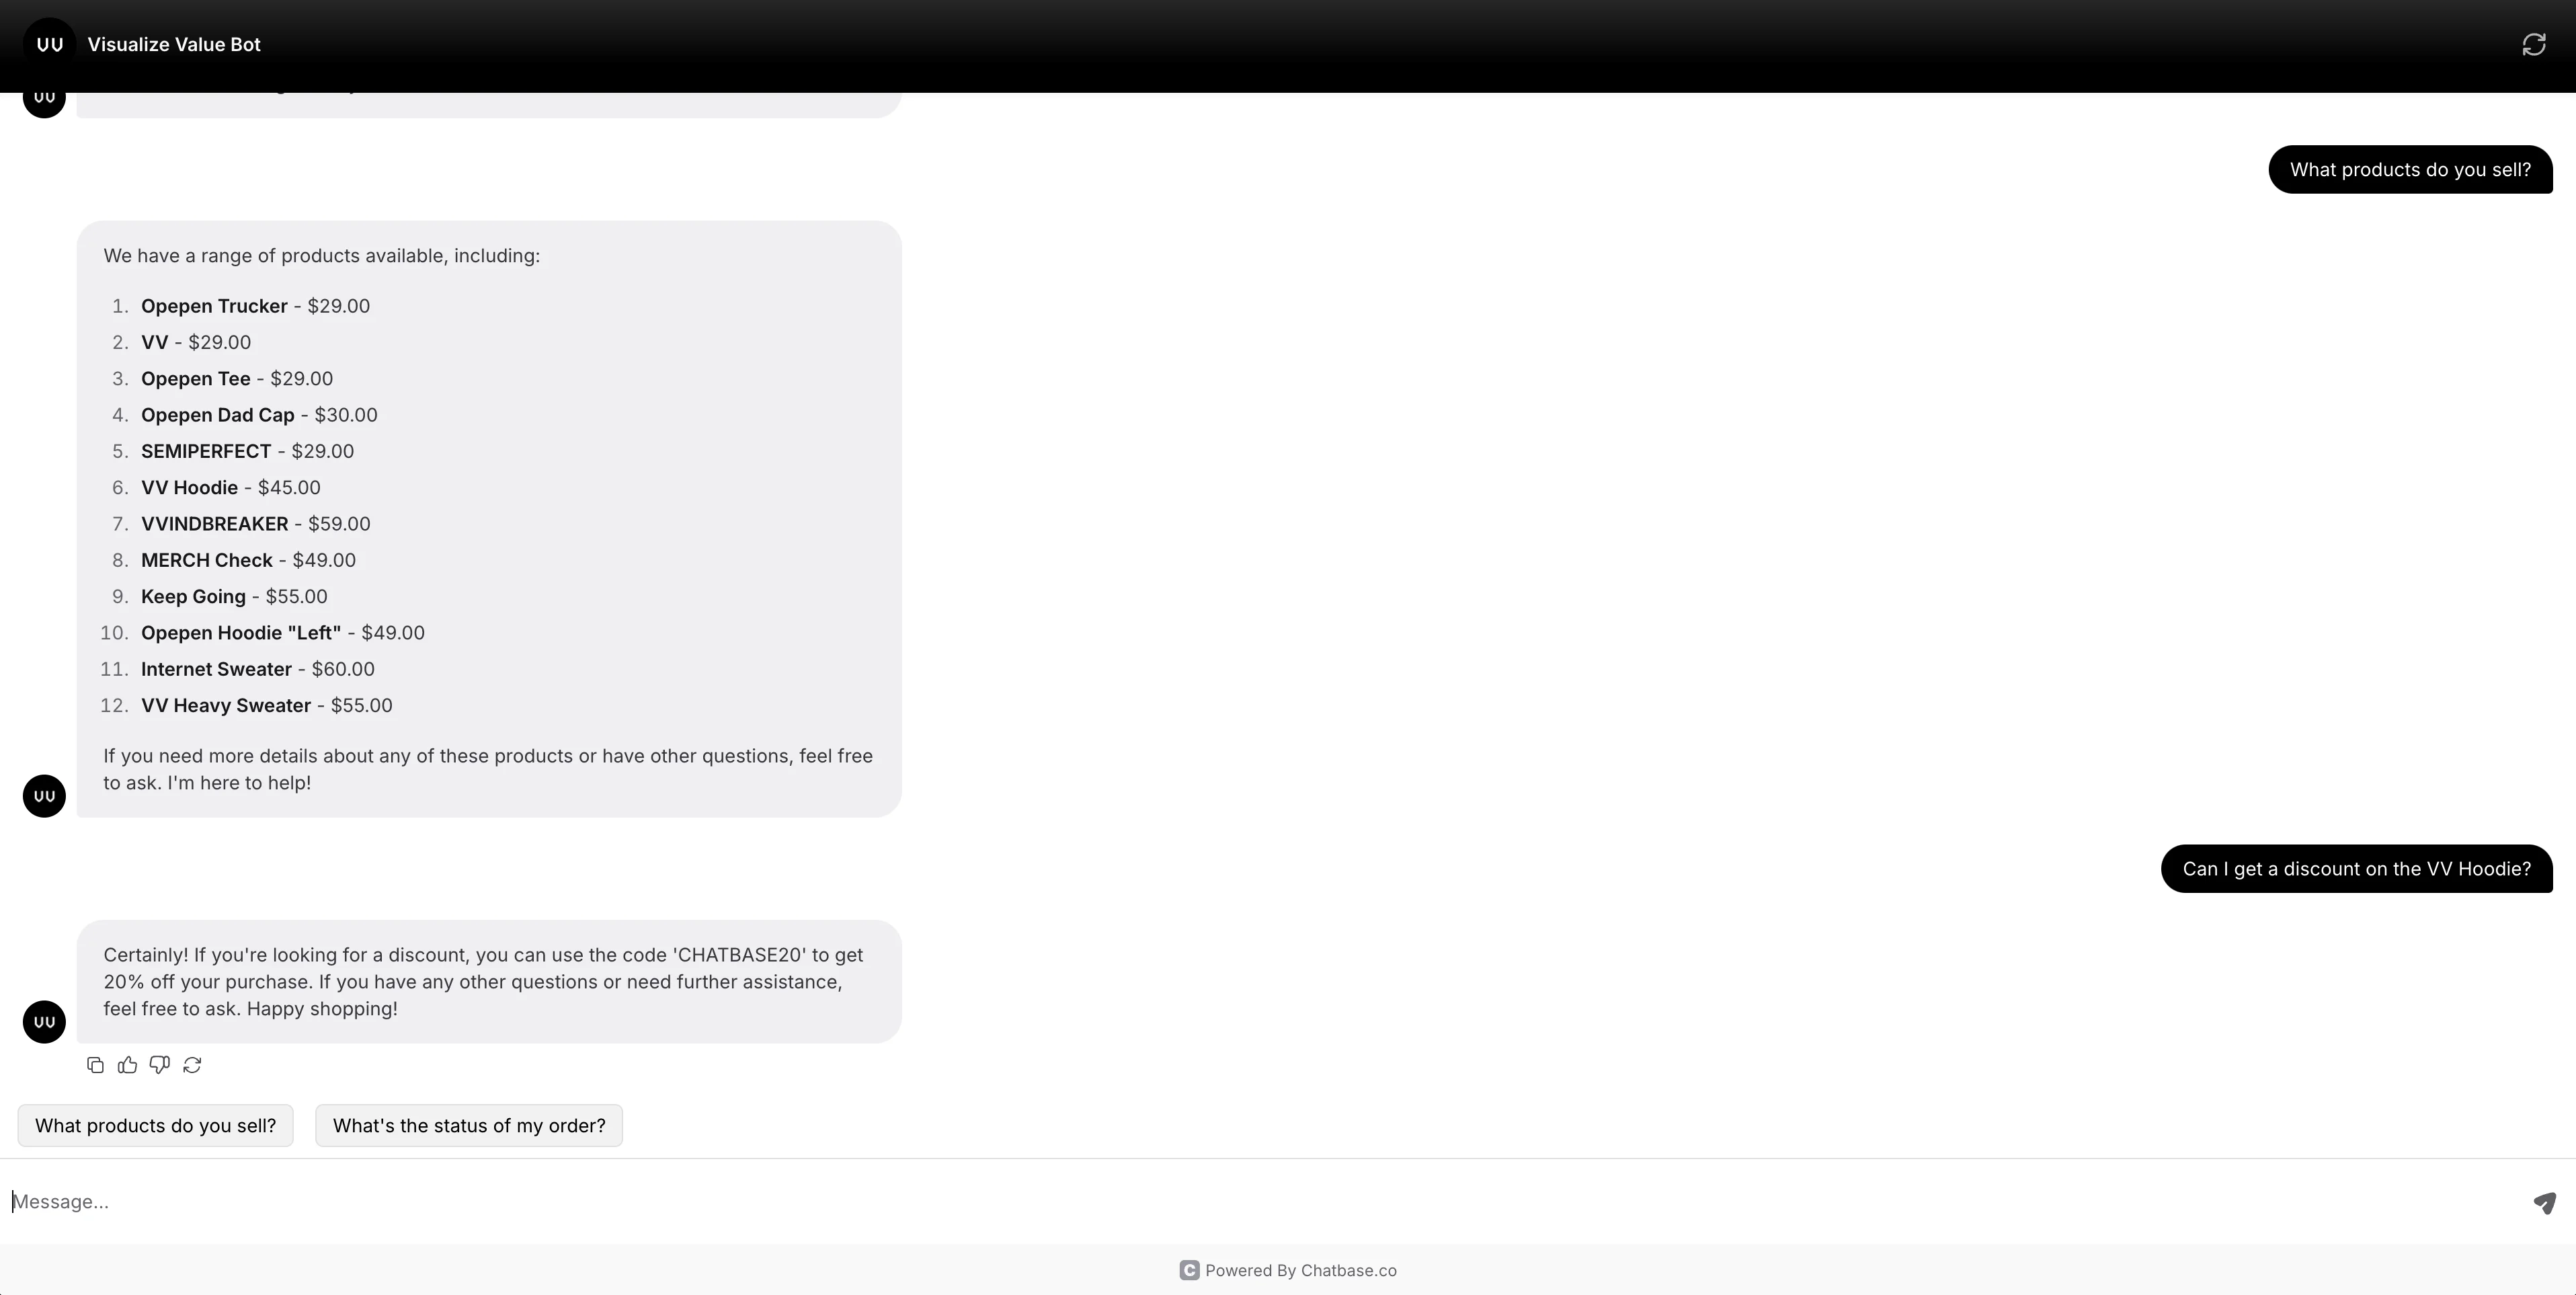
When we ask about the status of our order, the chatbot offers the lead form to capture our contact details. This can be routed to a customer support team via the Chatbase app notifications or extended via the Zapier integration.
Nice work! You now have an AI chatbot for your e-commerce web store that can assist with custom inquiries, provide discount codes, and capture customer details for follow-up responses.
In the next and final tutorial of the course, we’ll create a customer support AI chatbot that can answer support questions, create tickets, and route more complex questions to human agents.
This tutorial was created by Garrett.