Edit videos with Canva’s Magic Studio
Upload footage and see your videos come to life, beautifully edited with Canva’s AI.
2024-11-13
Editing and producing a short video can be intimidating. How to sequence footage, add music, and size it for the right format feels like a job for a pro. Canva’s Magic Studio makes it exceptionally simple for the non-editor to quickly turn around high quality videos in just a few minutes.
In this tutorial, you will learn how to:
- Import and organize video recordings
- Use Canva’s Magic Studio to add direction and effects
- Create beautifully edited videos
Step 1: Upload your footage and write your prompt
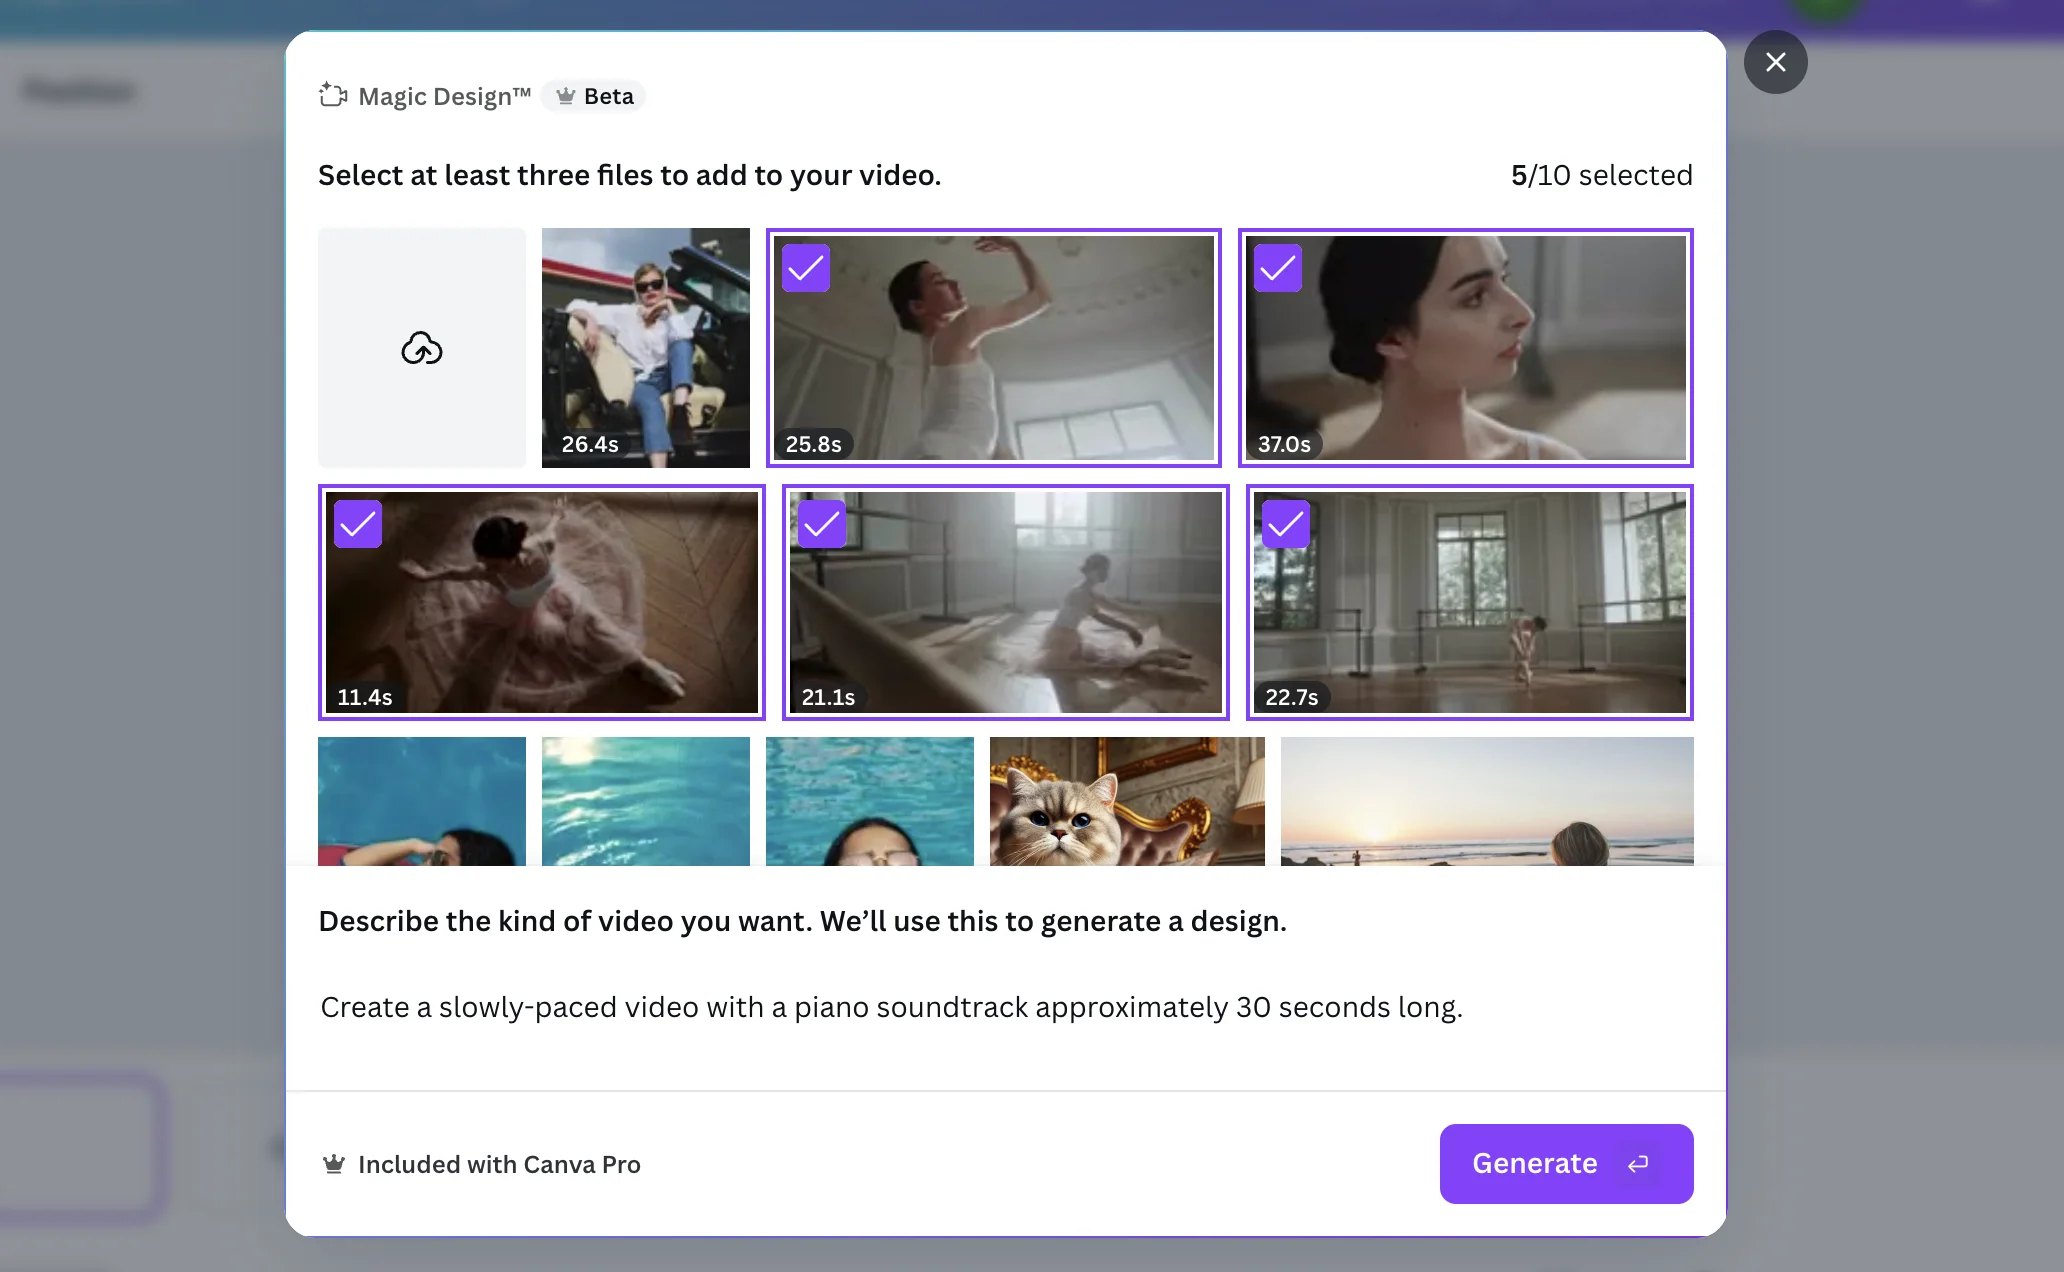
In Canva’s Magic Studio, select Upload files. There you can select the files you’d like to upload.
Write a brief prompt that gives Canva an idea of what you want your video to look and feel like. In this example, the prompt is:
Create a slowly-paced video with a piano soundtrack approximately 30 seconds long.
When writing your prompt, consider the pace of the video (slow or fast) and the type of instrumental if any. This is going to help Canva determine whether it should make many fast edits jumping between clips, or whether they should be more drawn out. Pacing will also determine the soundtrack.
When you click Generate, Canva will take 10-30 seconds to create your video. Canva’s AI will take some creative license and apply music and possibly background colors.
Step 2: Edit your video
Canva’s AI gives you a great starting point that would have typically taken hours to get to. Now, you’re starting closer to the finish line.
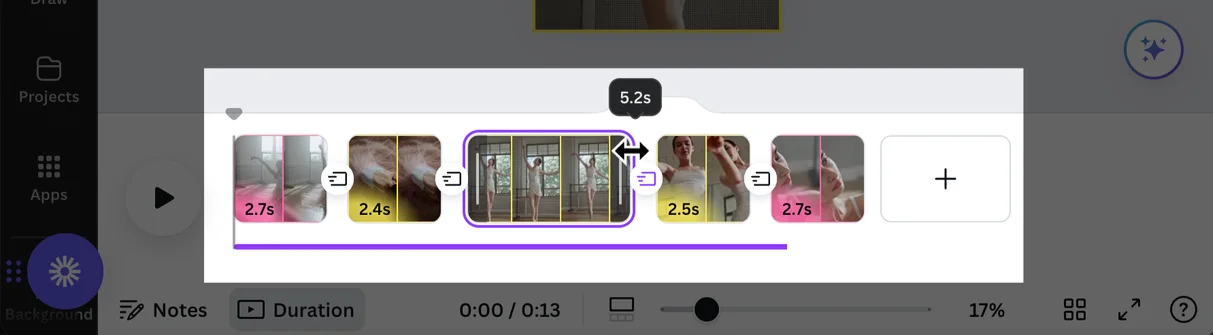
Edit the length of your video
Despite asking for a 30 second video, Canva’s output was around 15 seconds. This happens roughly 50% of the time with Canva’s AI video editor. Given how quickly AI advancements are happening, we expect this fail rate to fall quickly.
You can meet your 30 second goal by lengthening the clips. Simply click either edge of one of the video clips and extend it outward.
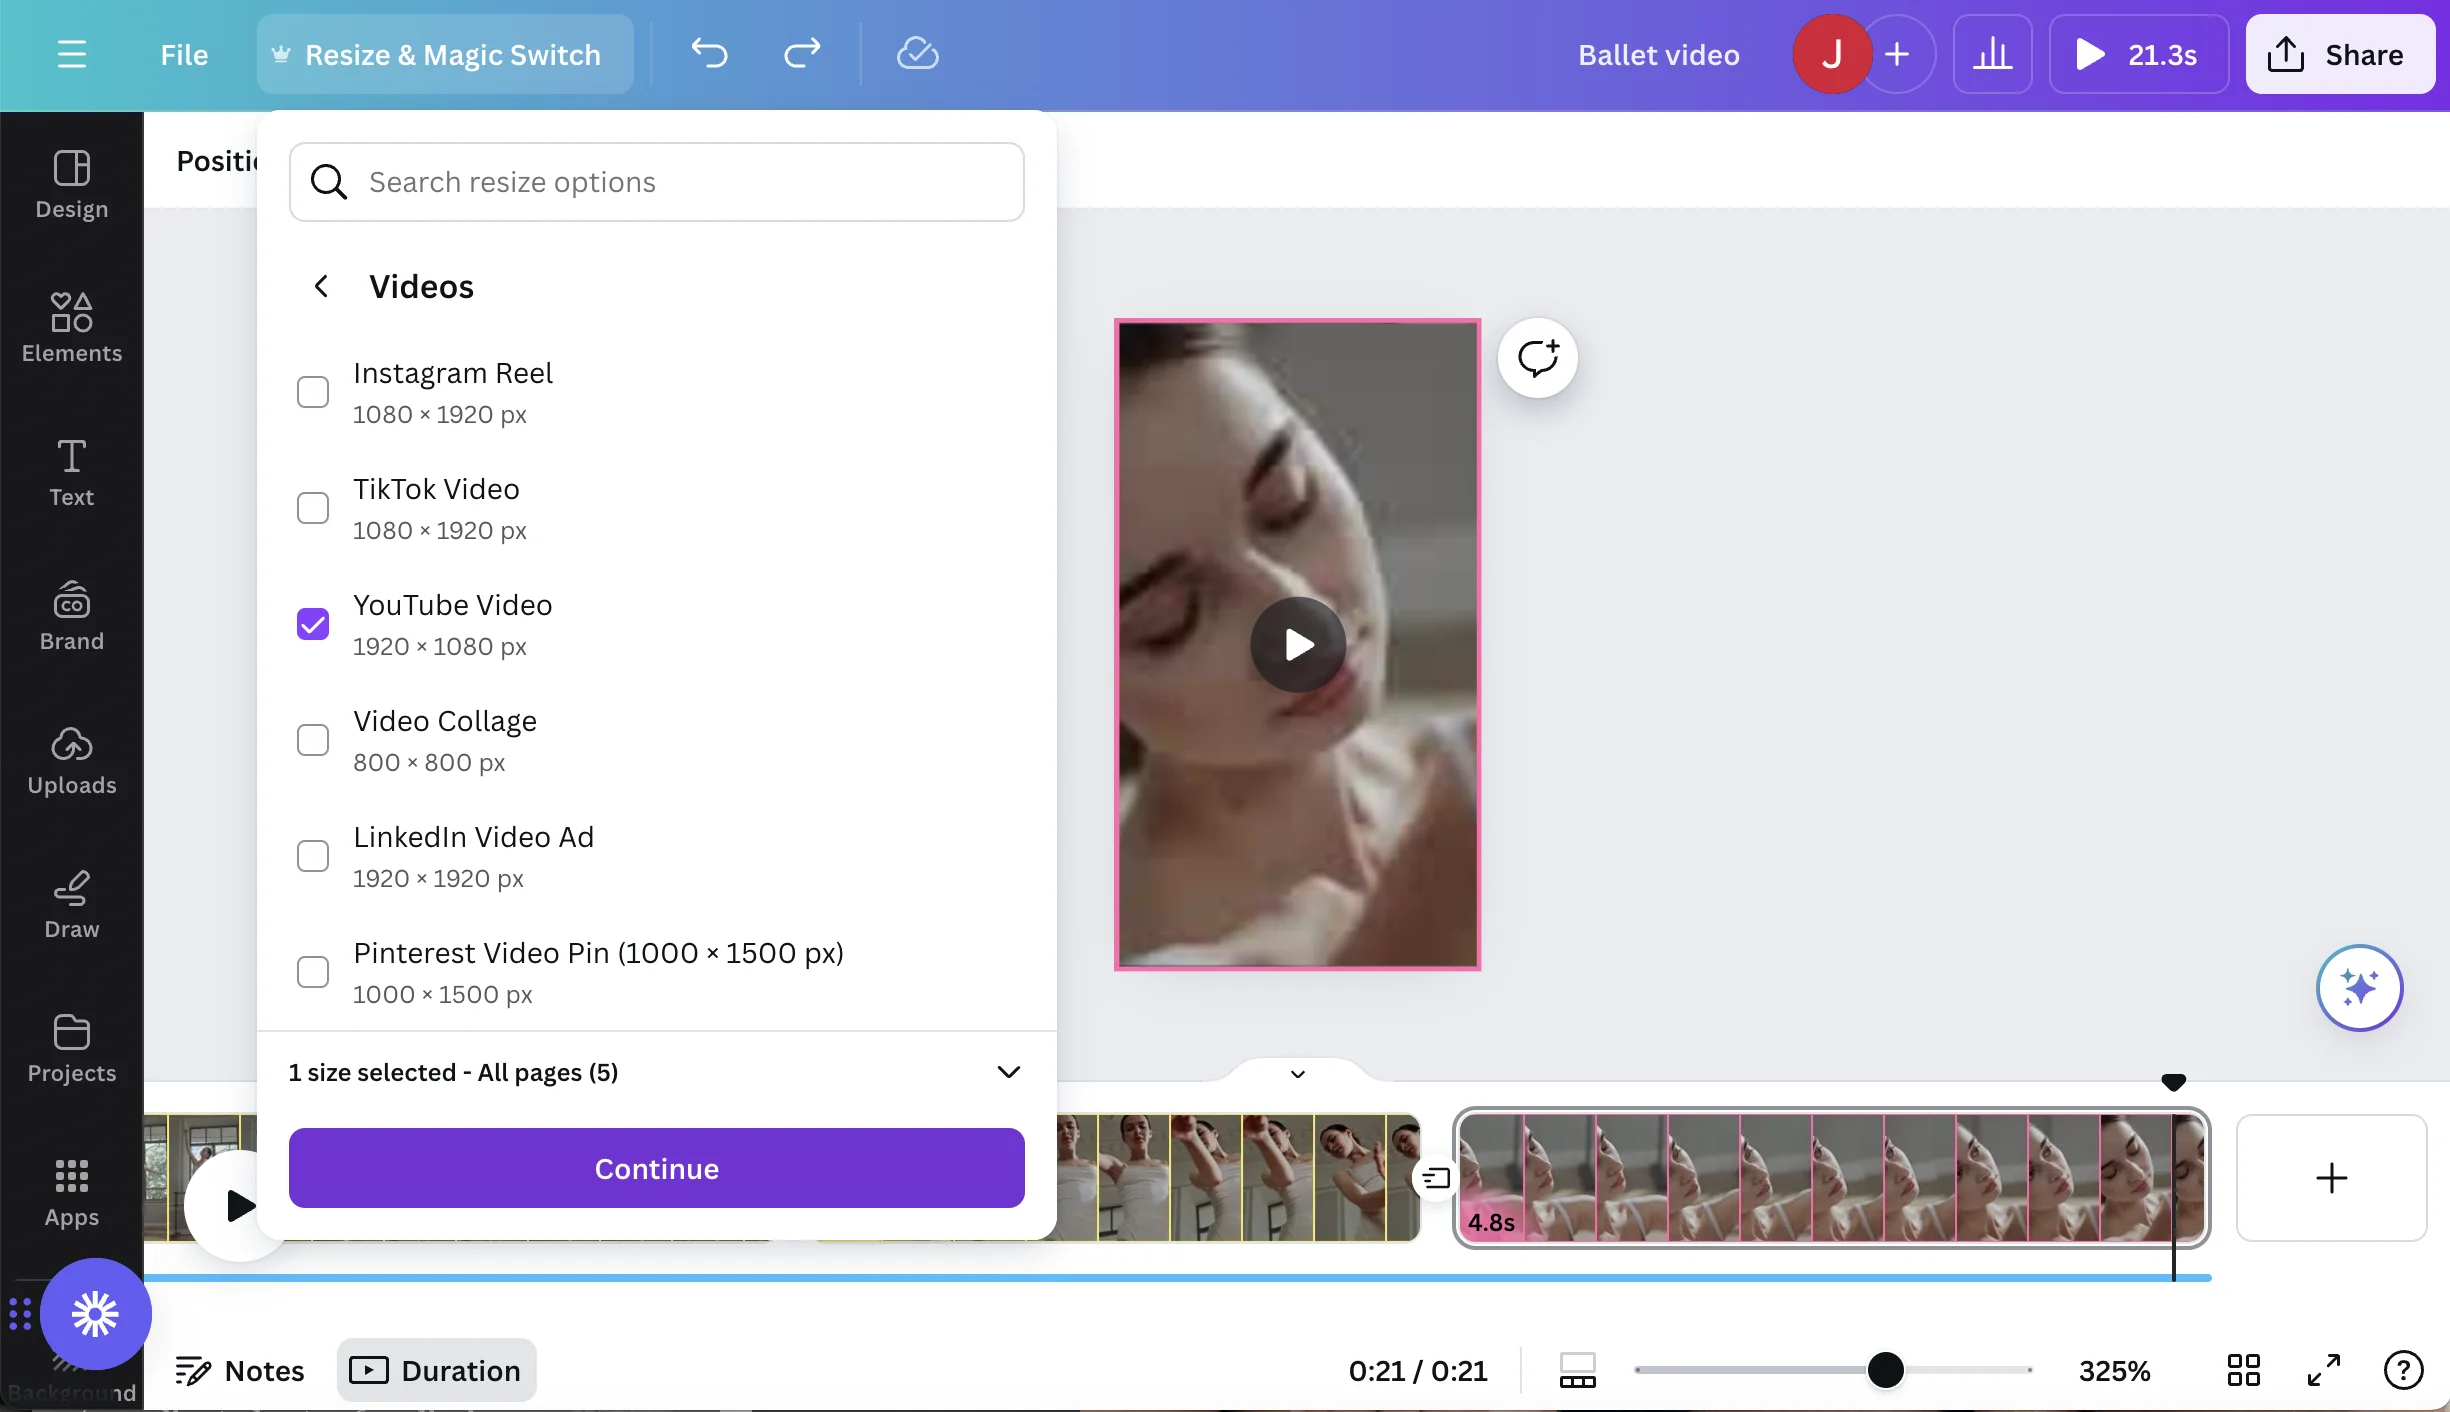
Reformat your video
Canva often generates video in a vertical format given most video exports today are designed to be viewed on a smartphone screen.
If you want a classic format, go to Resize & Magic Switch and select your desired format. For this example, we’ll transform the vertical video into a YouTube format. Canva already knows the video formats for different media.
Your video canvas will transform from a vertical video to a more traditional horizontal orientation. You’ll notice that the videos themselves are still in a vertical orientation. You need to click on the edge of the video and extend outwards in order to get a full view of the entire video.
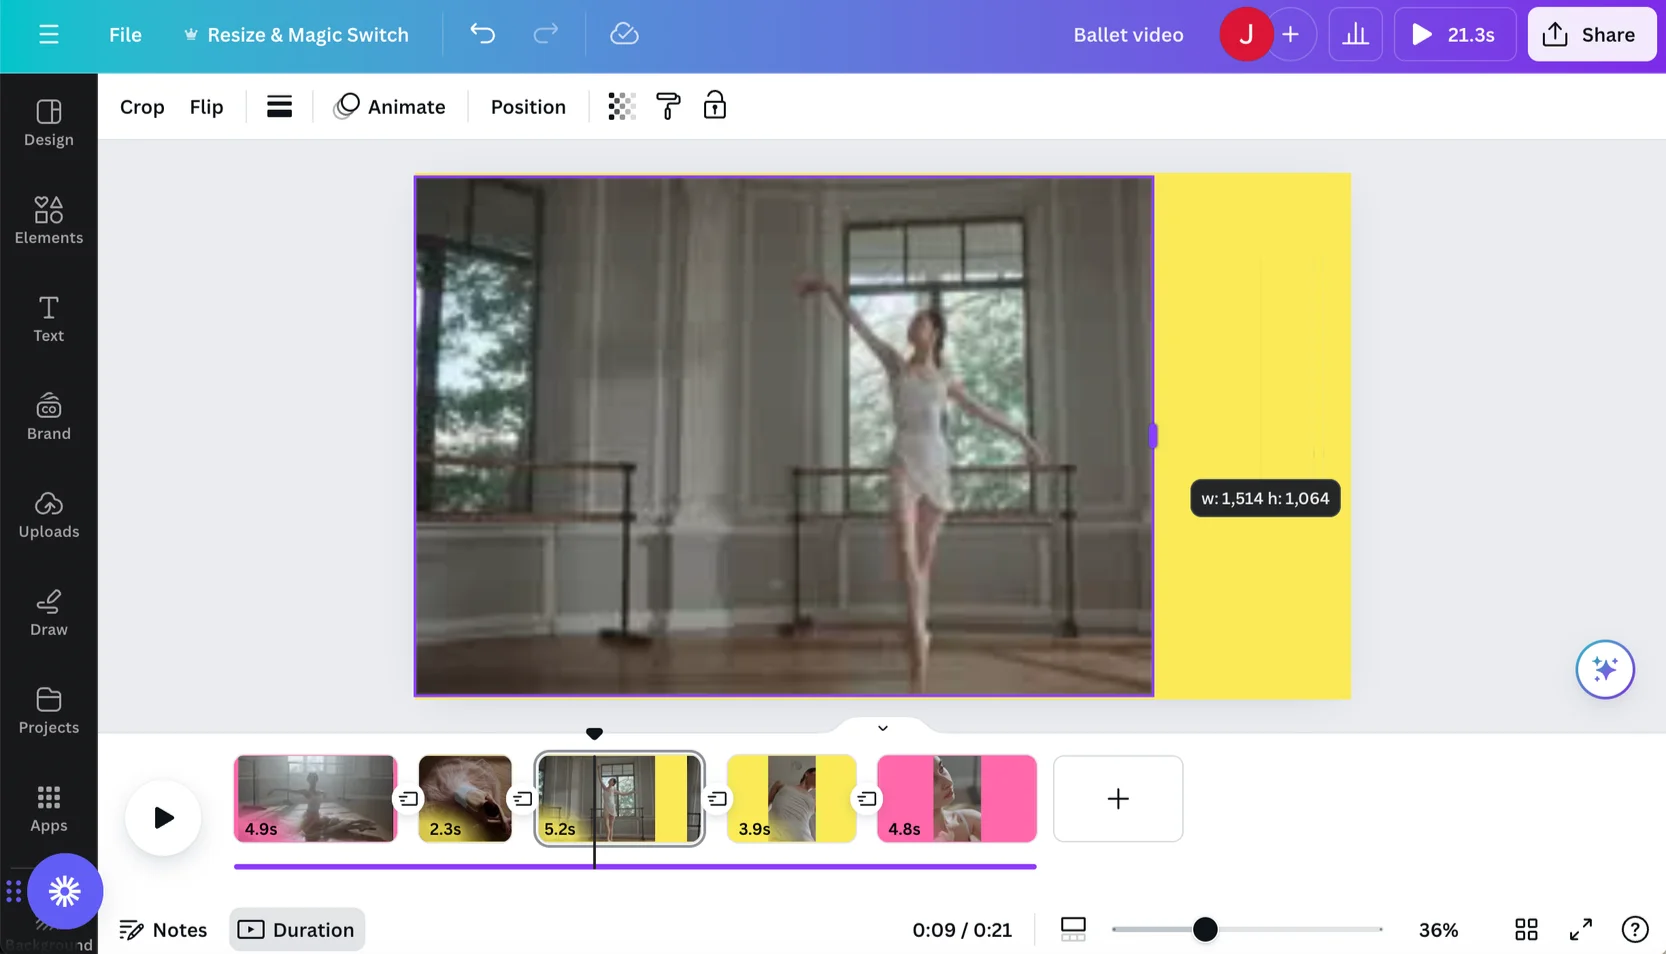
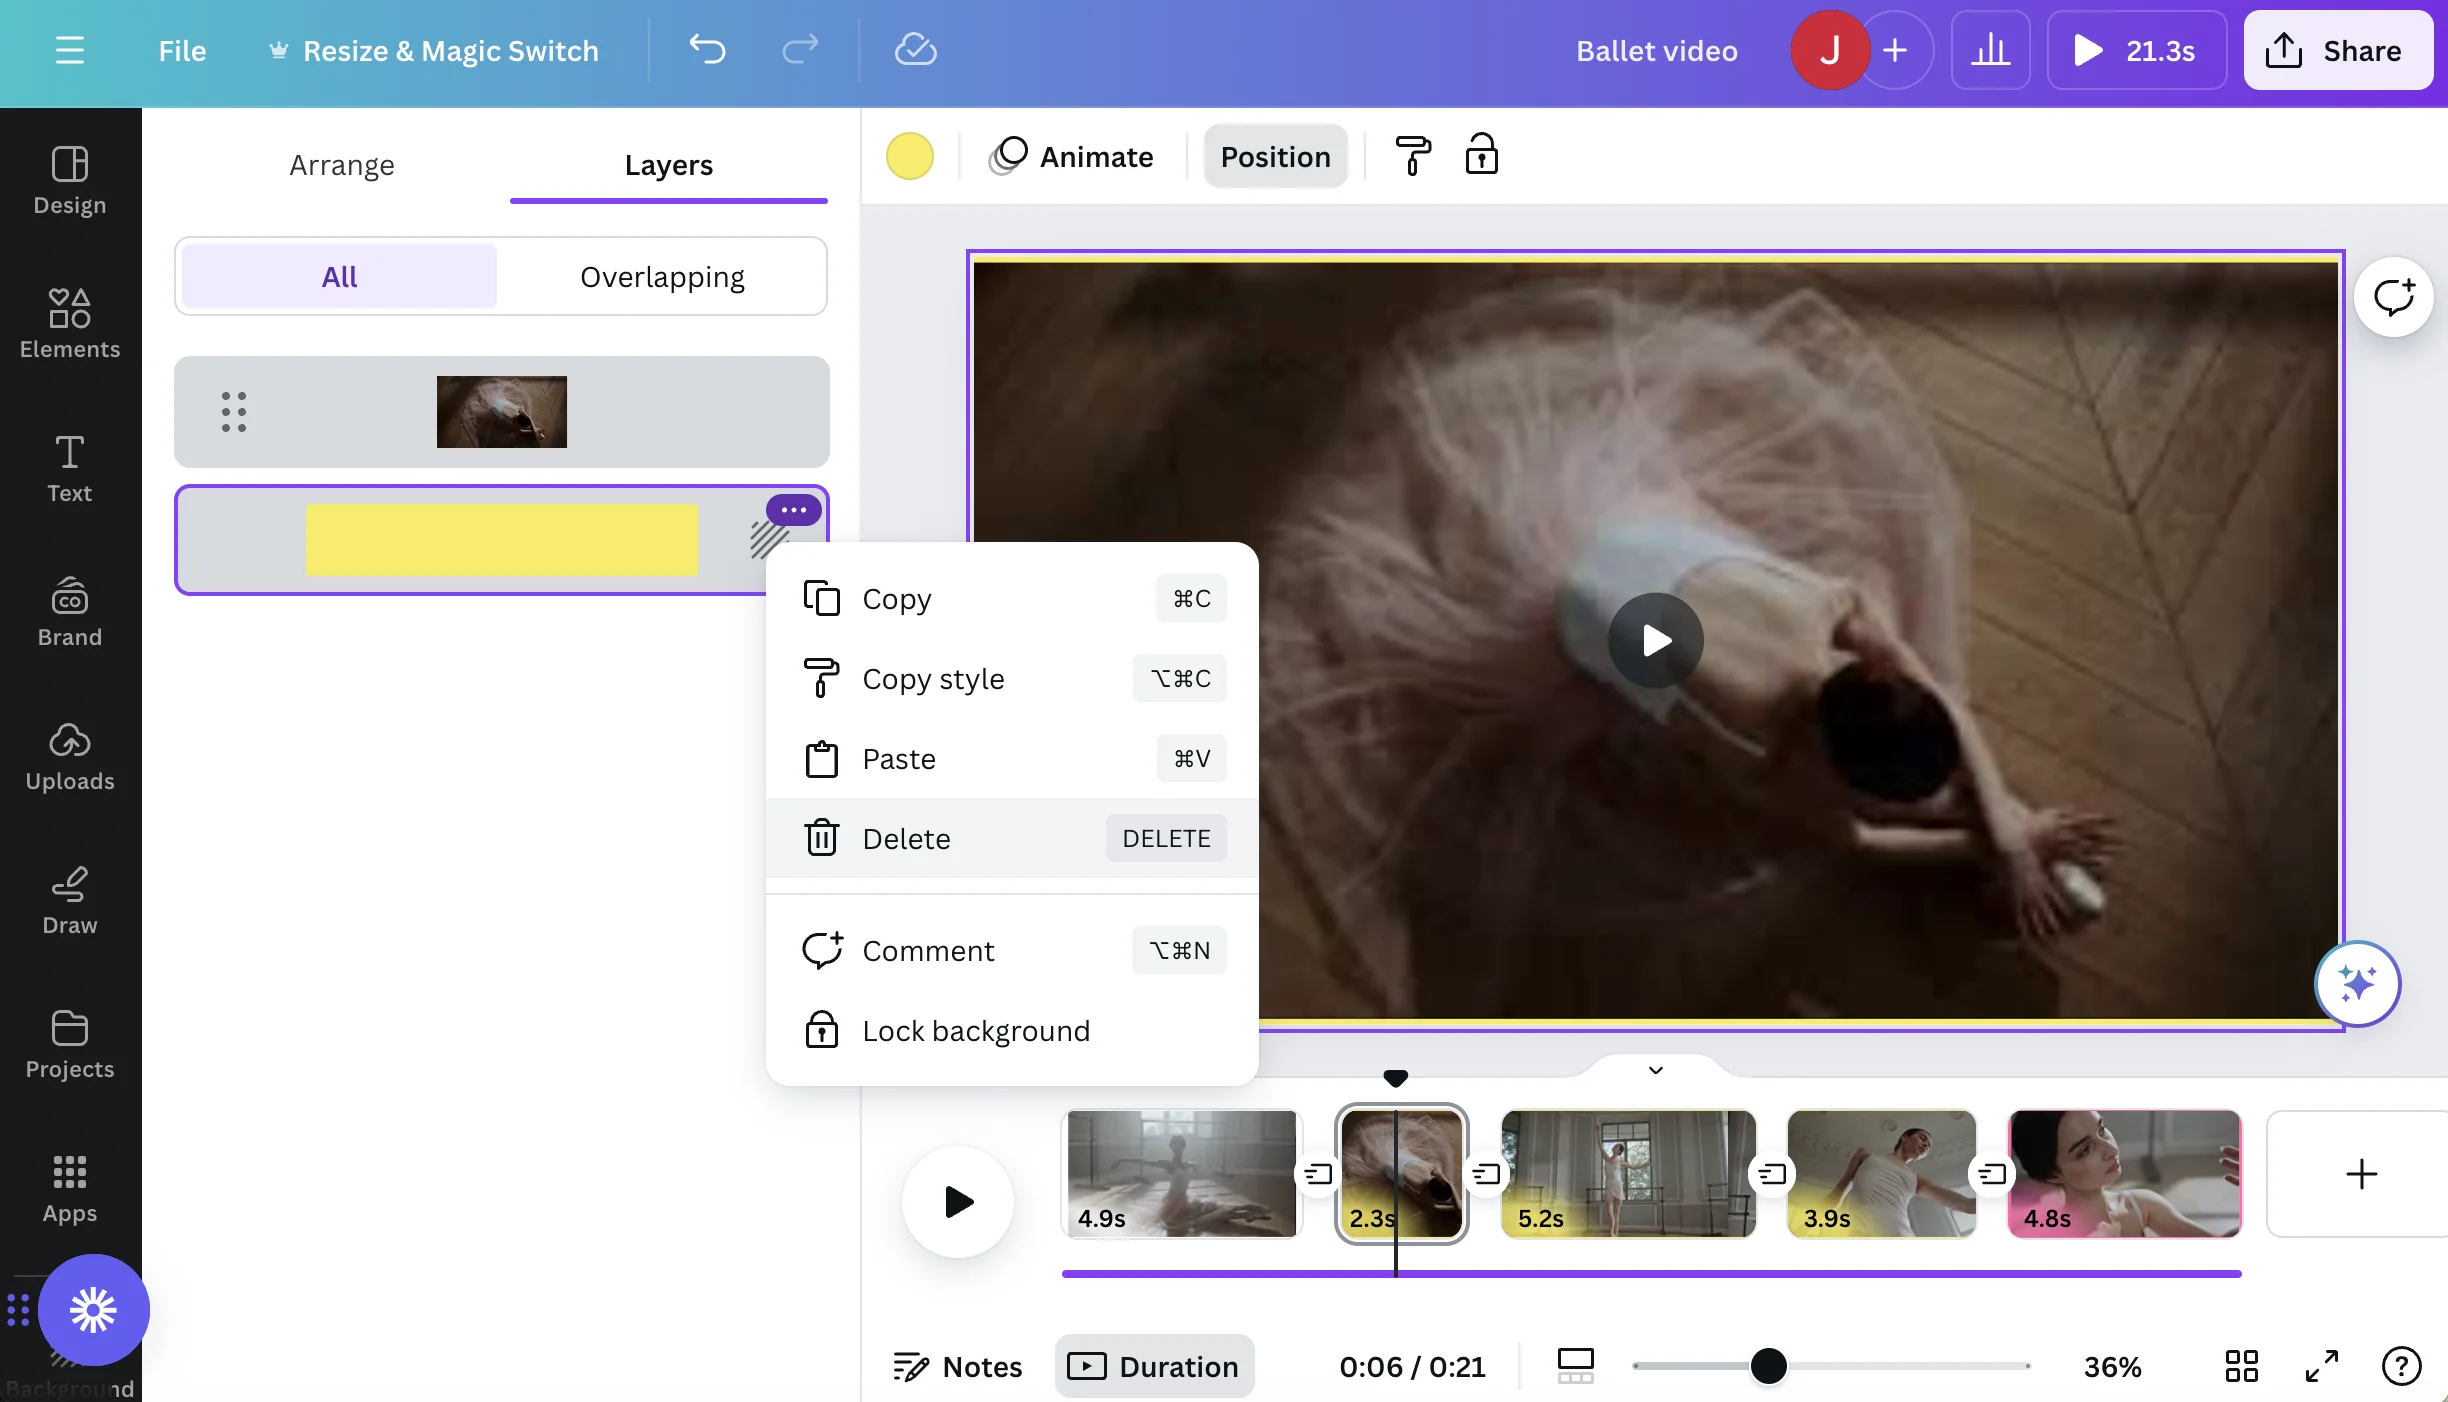
Edit/remove background
Canva’s AI chose to add a background which creates a border for the video. You can edit the color or delete the background all together.
Click Position in the top menu. This will open a panel on the left side where you can select Layers. There, you’ll find any layers of assets Canva created.
For this example, we’ll delete the background since it doesn’t align with the brand we’re developing the video for.
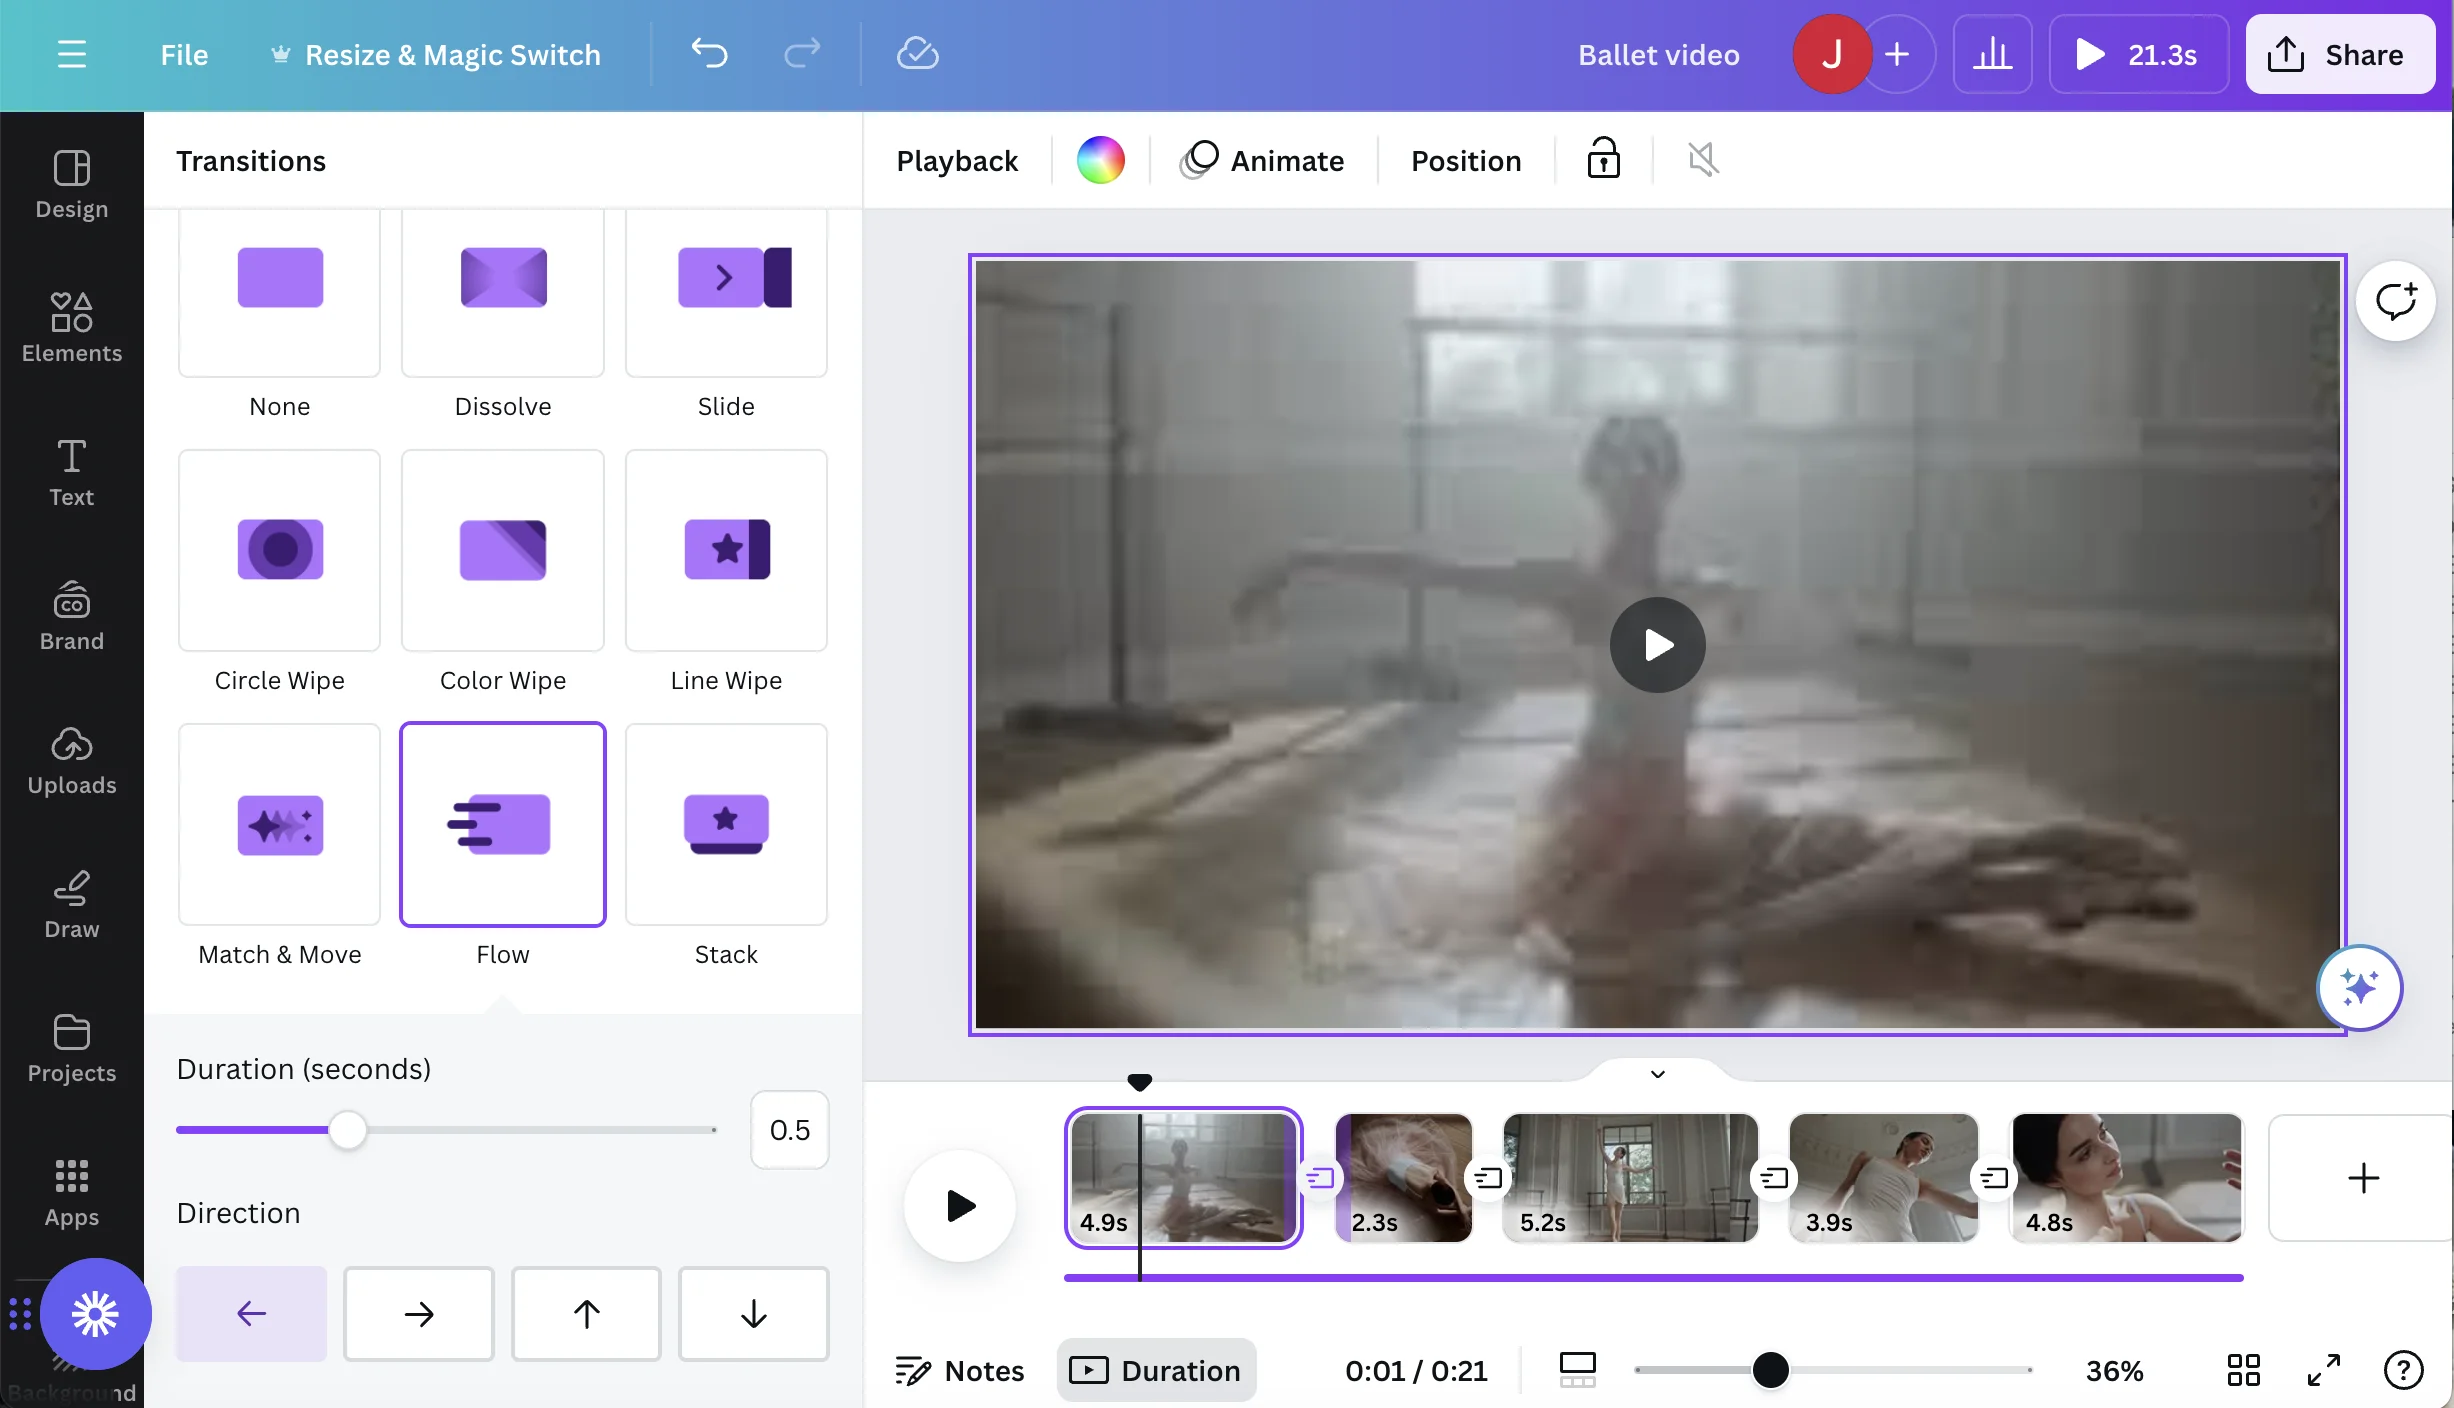
Select appropriate transitions
Canva’s AI will select some transitions for you but you may want to select something manually. Between each of the video clips is a little box connecting the two clips. When you click that box, the Transitions panel will appear. Find a transition that makes sense for your video.
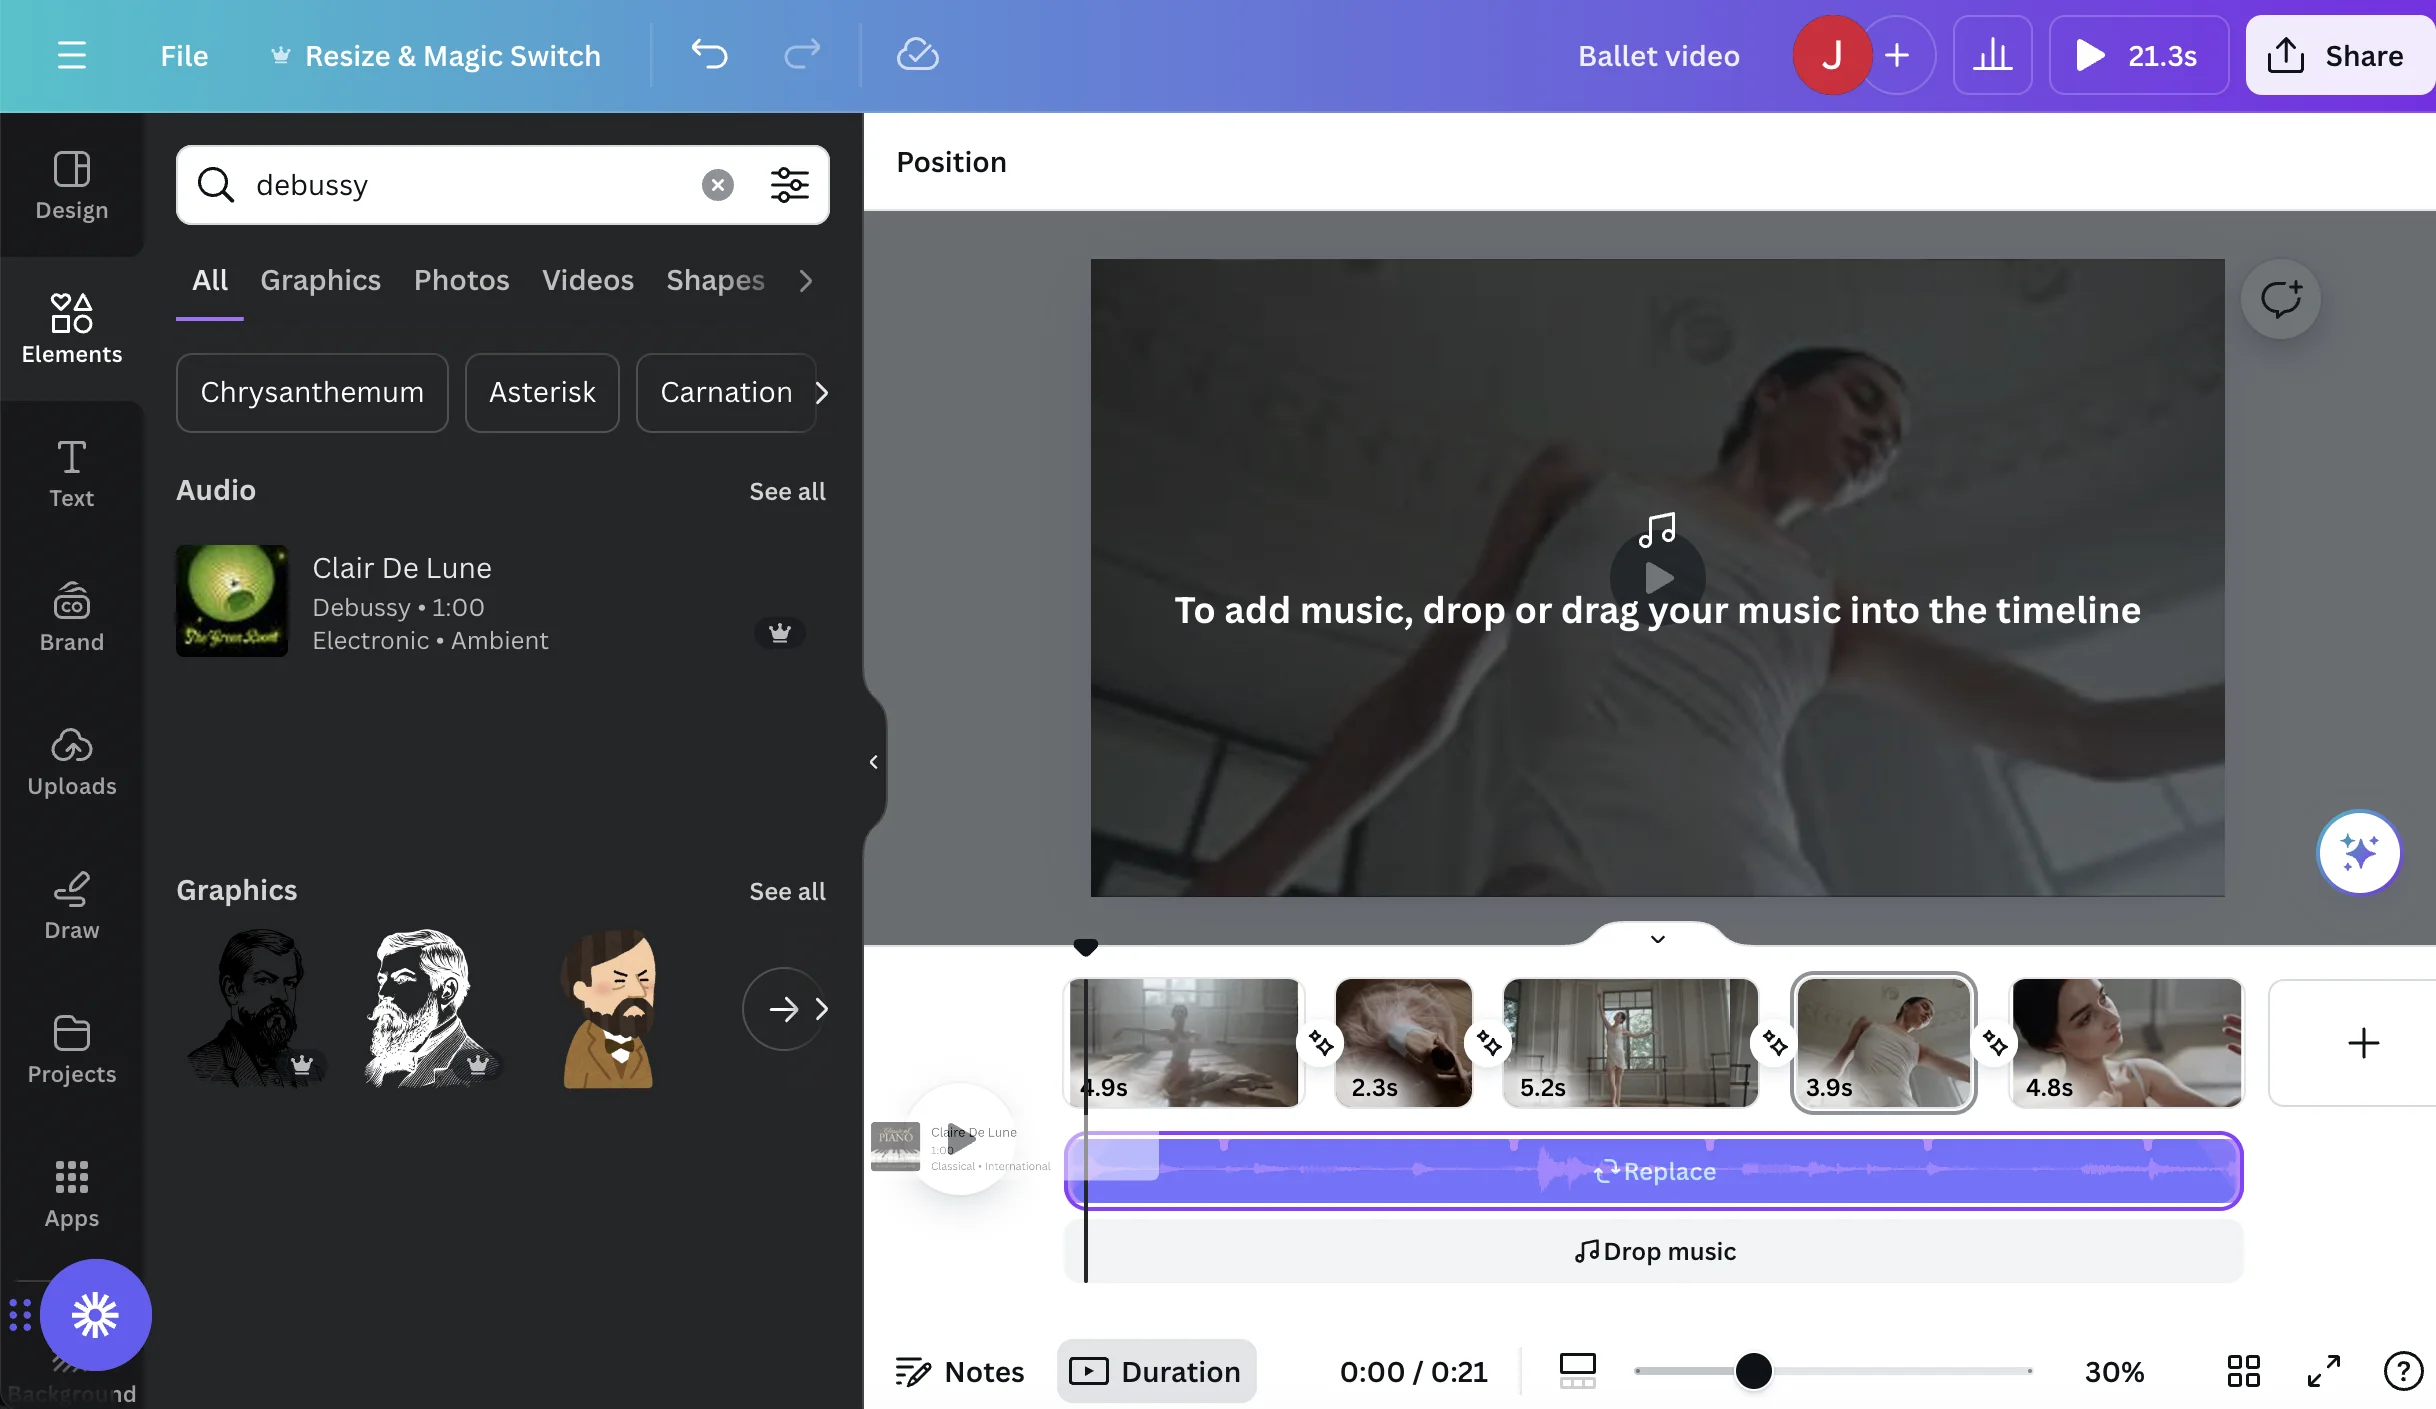
Add the right music
Finally, add the music that makes sense for your video. Canva will find great soundtracks that often meet and exceed expectations. However, if you have a certain song in mind, you can go to Elements > Music and search for the song or artist that best matches your video.
Step 3: Export your video
In the top right corner, go to Share and scroll down the menu to Download.
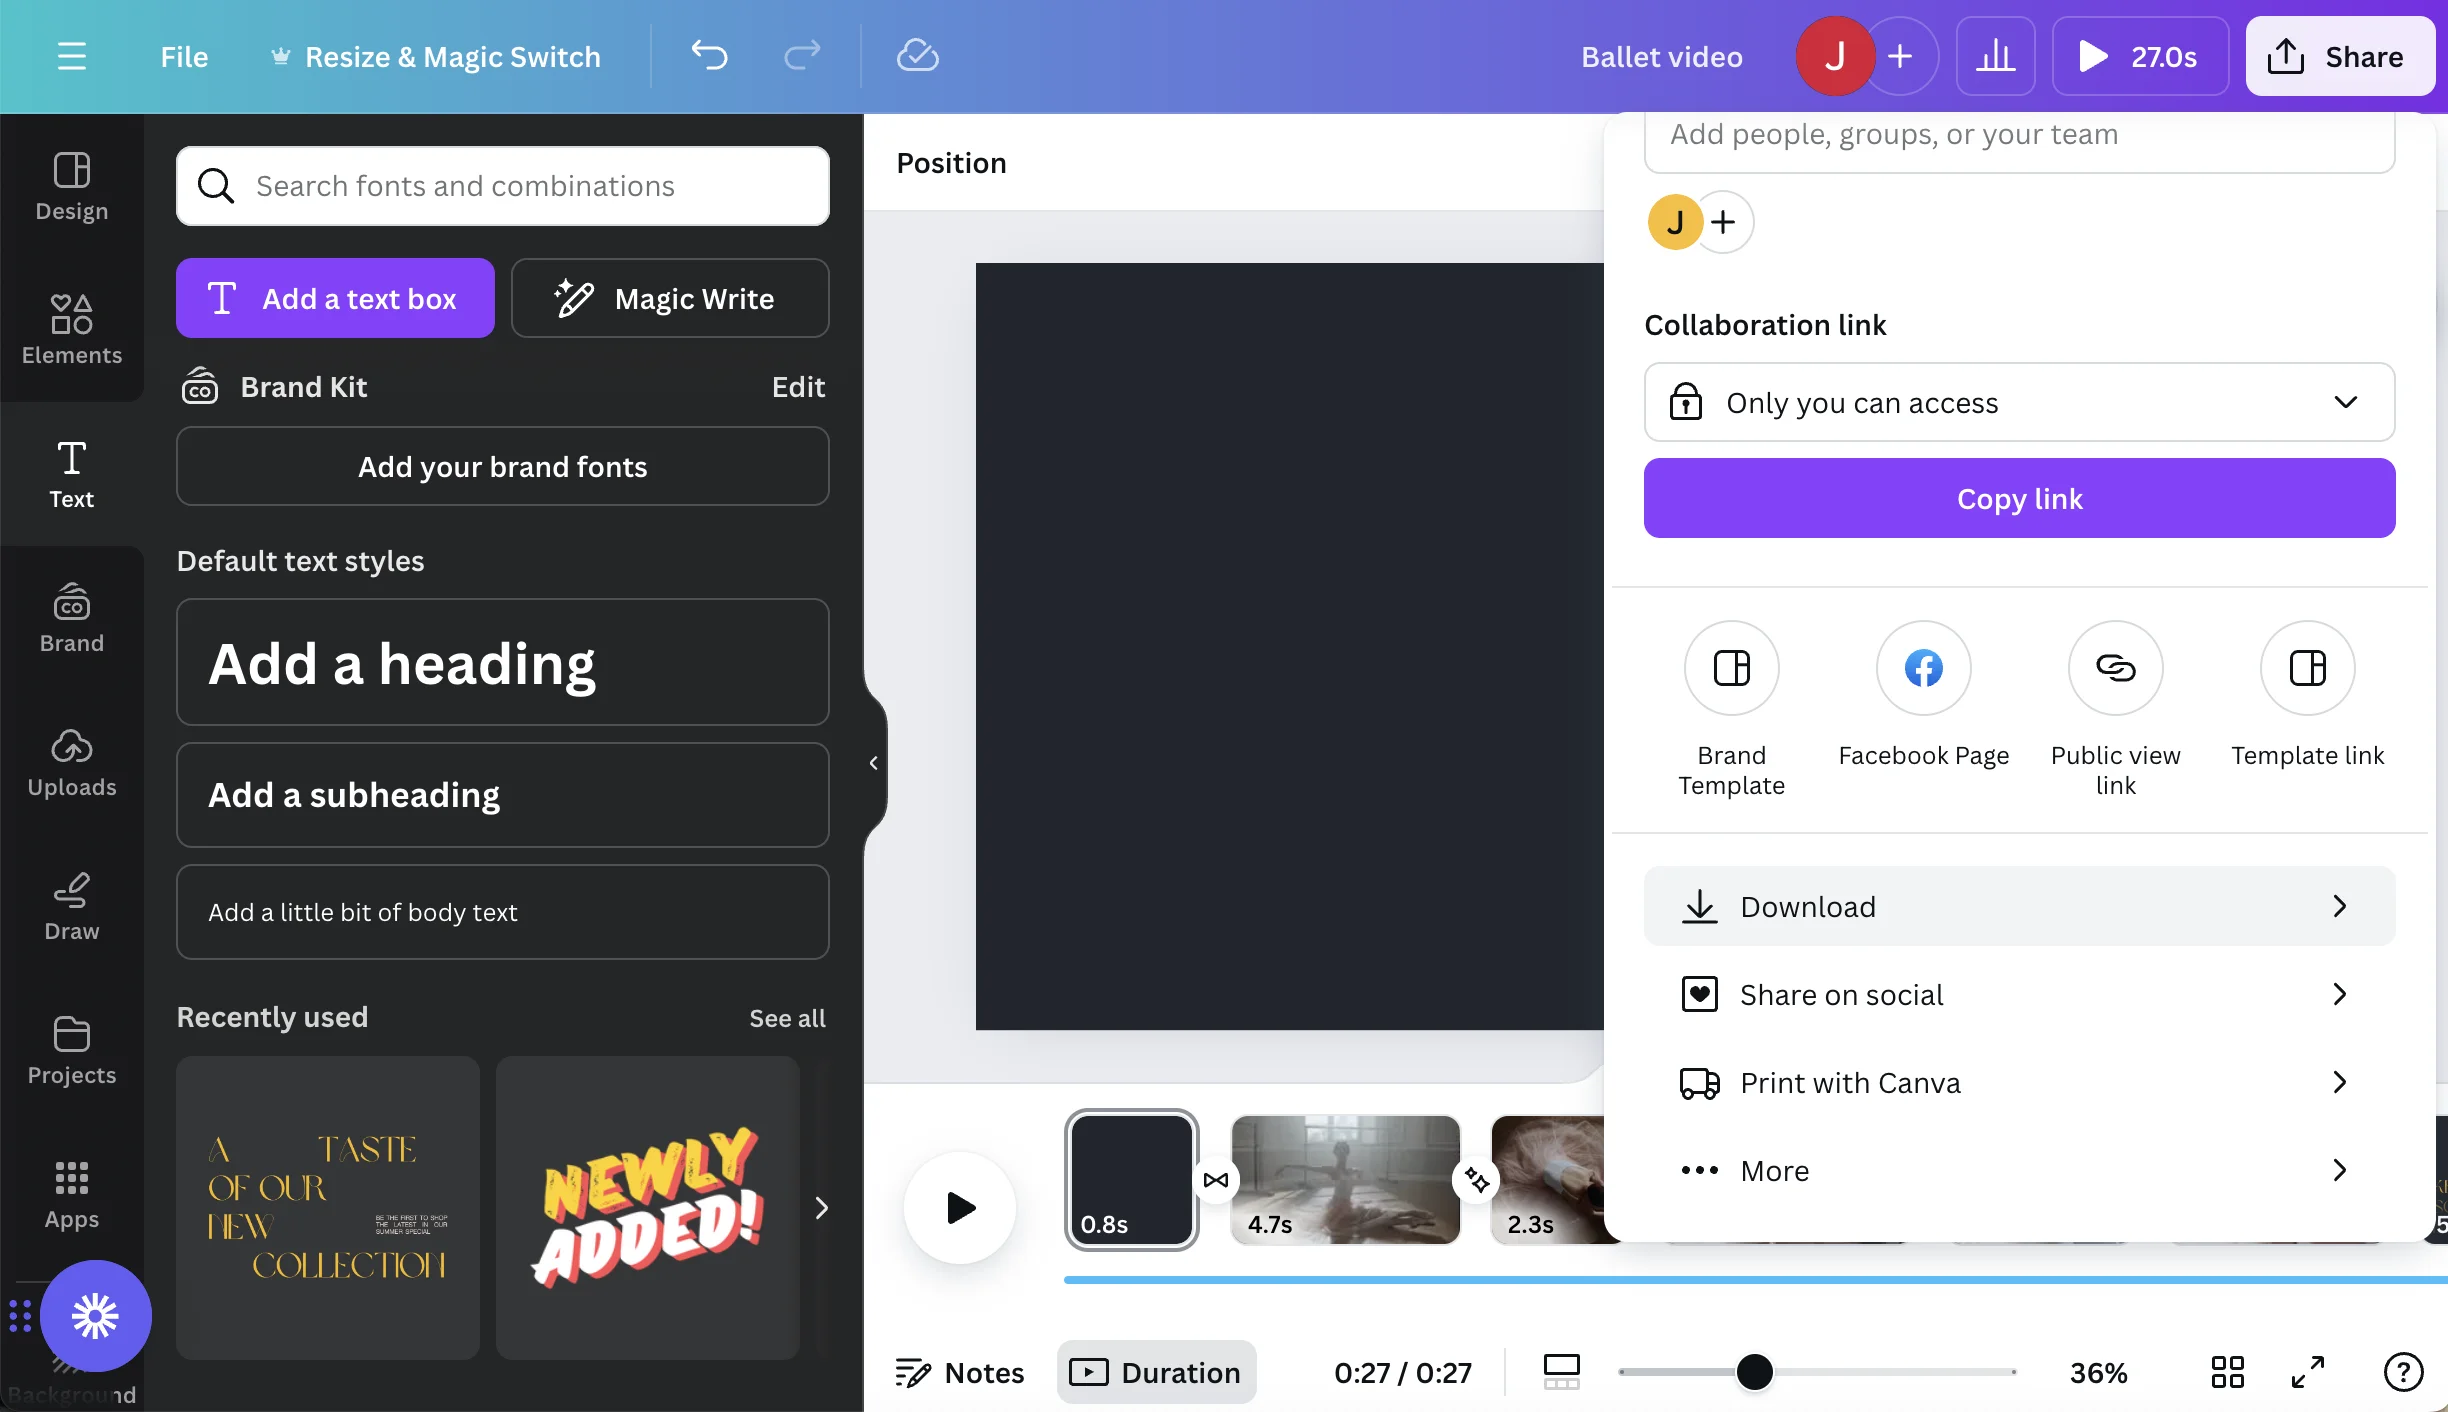
The default download settings will generate a high quality video ready to publish online. Here’s our finished video, from upload to publish in ~7 minutes: