Fundamentals of prompt crafting in Midjourney
Learn how to craft effective prompts to generate images in Midjourney.
2024-12-09
Welcome to part 2 of our Create stunning images with Midjourney course.
Midjourney v6 has made some impressive leaps in understanding natural language. Unlike its predecessors, v6 can accurately interpret and execute on nuanced, conversational prompts. It's like having a conversation with an artist who can instantly visualize your ideas. This version is particularly adept at interpreting nuanced prompts and even generating text within images.
Before we roll up our sleeves and get into the nitty-gritty, let's consider a couple of real-world scenarios where Midjourney can have a lot of impact. Imagine you're a small business owner looking to create eye-catching thumbnails for your YouTube channel, or perhaps you're an aspiring author in need of a captivating book cover. These are just a taste of what's possible with Midjourney.
In this tutorial, you'll learn how to:
- Utilize descriptive language and specific details
- Incorporate artistic styles, mediums, and compositions
- Structure an effective Midjourney prompt
- Optimize prompt elements for desired outcomes
- Implement multi-prompting and prompt weights
Let's dive in.
Using descriptive language and specific details
When it comes to prompt crafting, think of yourself as a painter with words. The more vivid your description, the more accurate your final image will be.
This is to showcase how adding depth and details to your prompt can help you achieve your desired output. Let's start with a basic prompt for our YouTube thumbnail scenario:
Create a thumbnail for a YouTube video about healthy cooking --ar 16:9
Now, you might notice we've added "--ar 16:9" at the end of our prompt. This is an aspect ratio parameter that ensures our image fits perfectly as a YouTube thumbnail.
Don't worry too much about it now – we'll dive deeper into aspect ratios and other parameters in our upcoming lessons.
While this basic prompt gives us a starting point, it lacks the detail needed to truly capture our vision. Let's enhance it with more descriptive language:
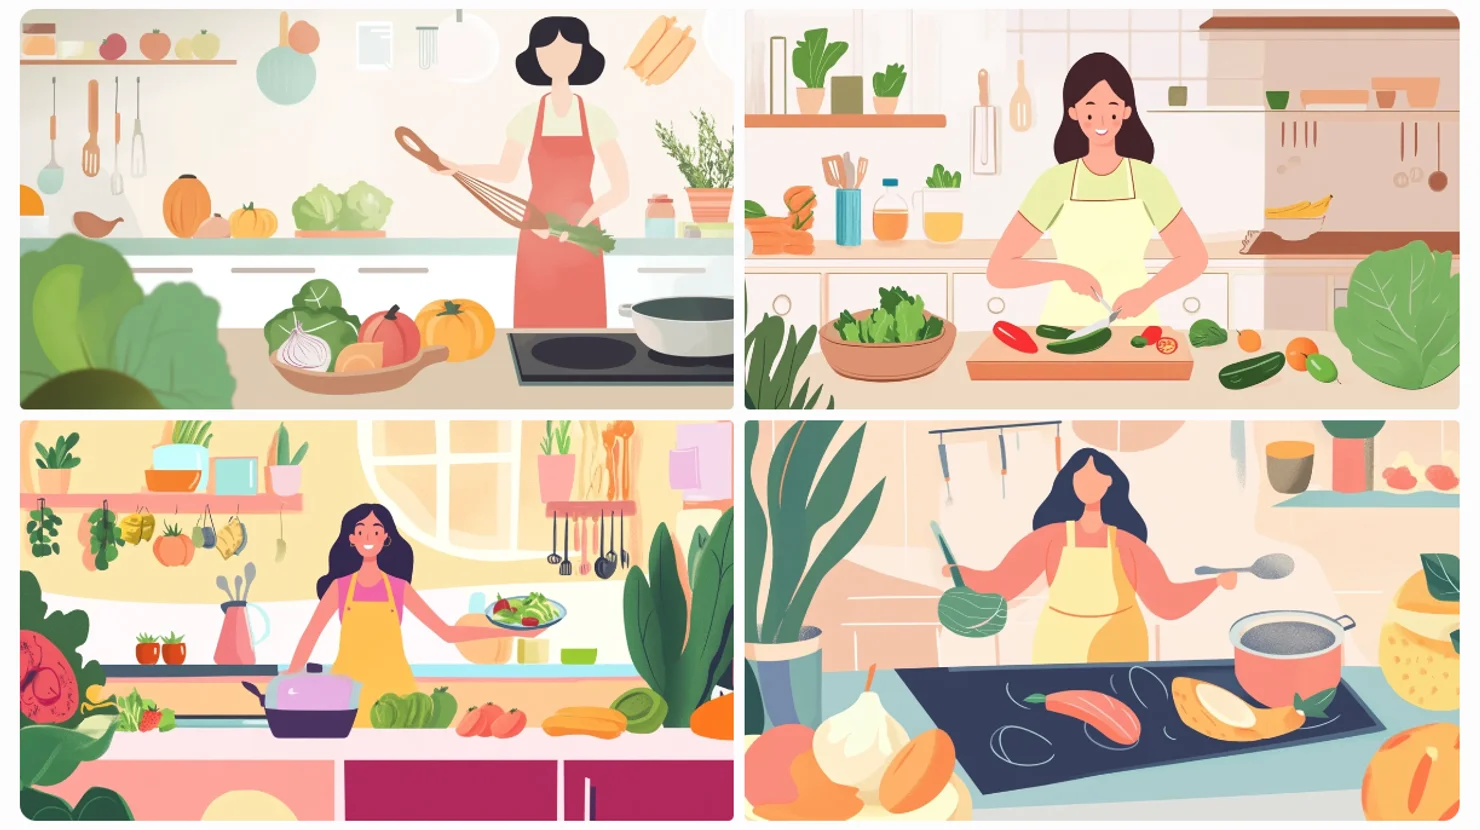
A vibrant YouTube thumbnail featuring a diverse array of colorful vegetables arranged artfully on a rustic wooden cutting board. The background should be a soft-focus kitchen setting with warm, inviting lighting. --ar 16:9
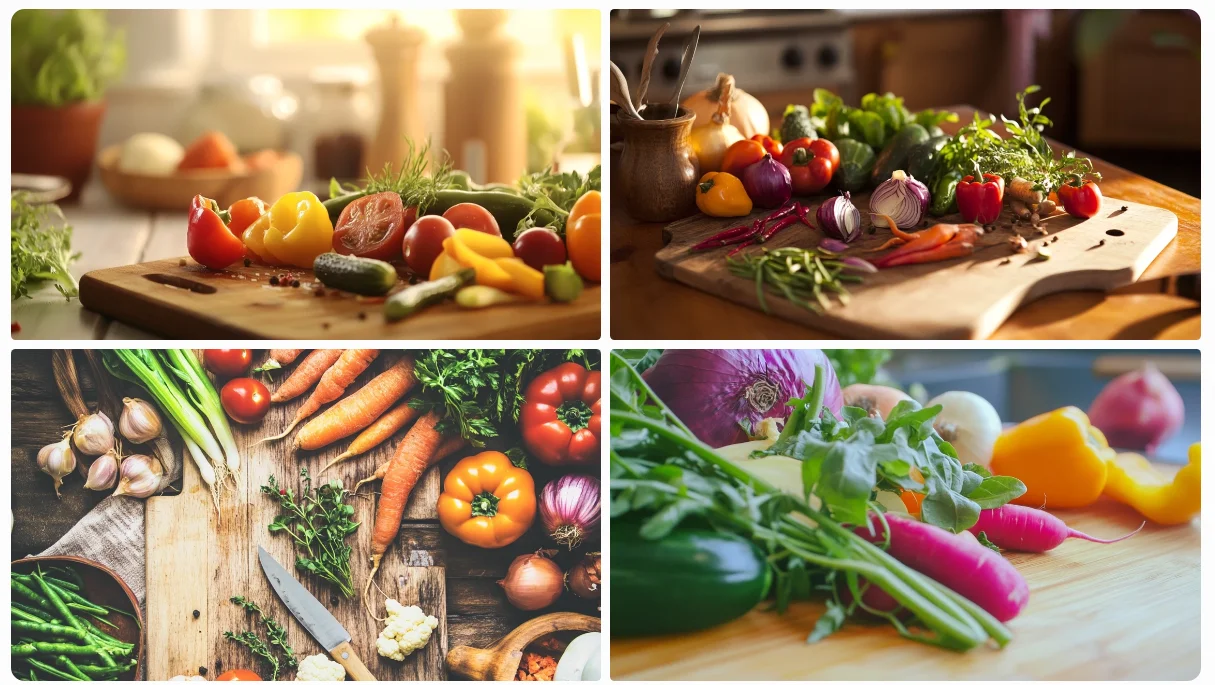
See how the added details guide Midjourney to create a more specific and engaging image. This provides us with a solid base for our YouTube thumbnail. From here, we can add text elements and make further edits using other software or websites to perfect our design.
Incorporating artistic styles, mediums, and compositions
Now, let's turn our attention to book cover design. Here, we'll introduce artistic styles and composition to elevate our prompt. But first, a quick primer:
- Artistic styles are specific visual aesthetics (e.g., impressionist, art deco, minimalist)
- Mediums are the materials or methods used (e.g., oil painting, watercolor, digital art)
- Compositions describe how elements are arranged (e.g., rule of thirds, symmetry, golden ratio)
Let's craft a prompt for a mystery novel set in a small coastal town:
A book cover for a mystery novel set in a small coastal town. Use a noir-inspired style with high contrast lighting. Show a silhouette of a lone figure on a moonlit beach with storm clouds gathering. Include subtle hints of danger and display the title "Tides of Deception" in an art deco font. —ar 3:4
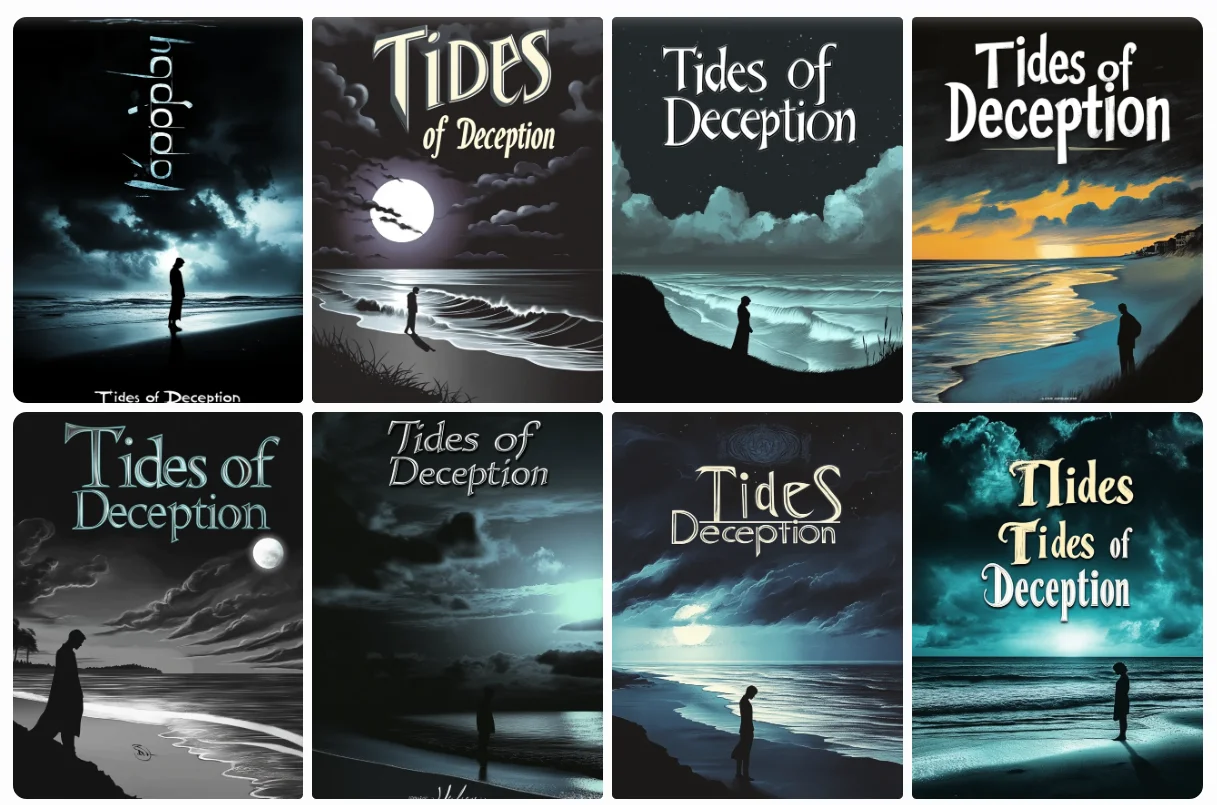
By specifying the artistic style (noir), implied medium (digital art), and composition elements, we've guided Midjourney to create a more atmospheric and genre-appropriate cover.
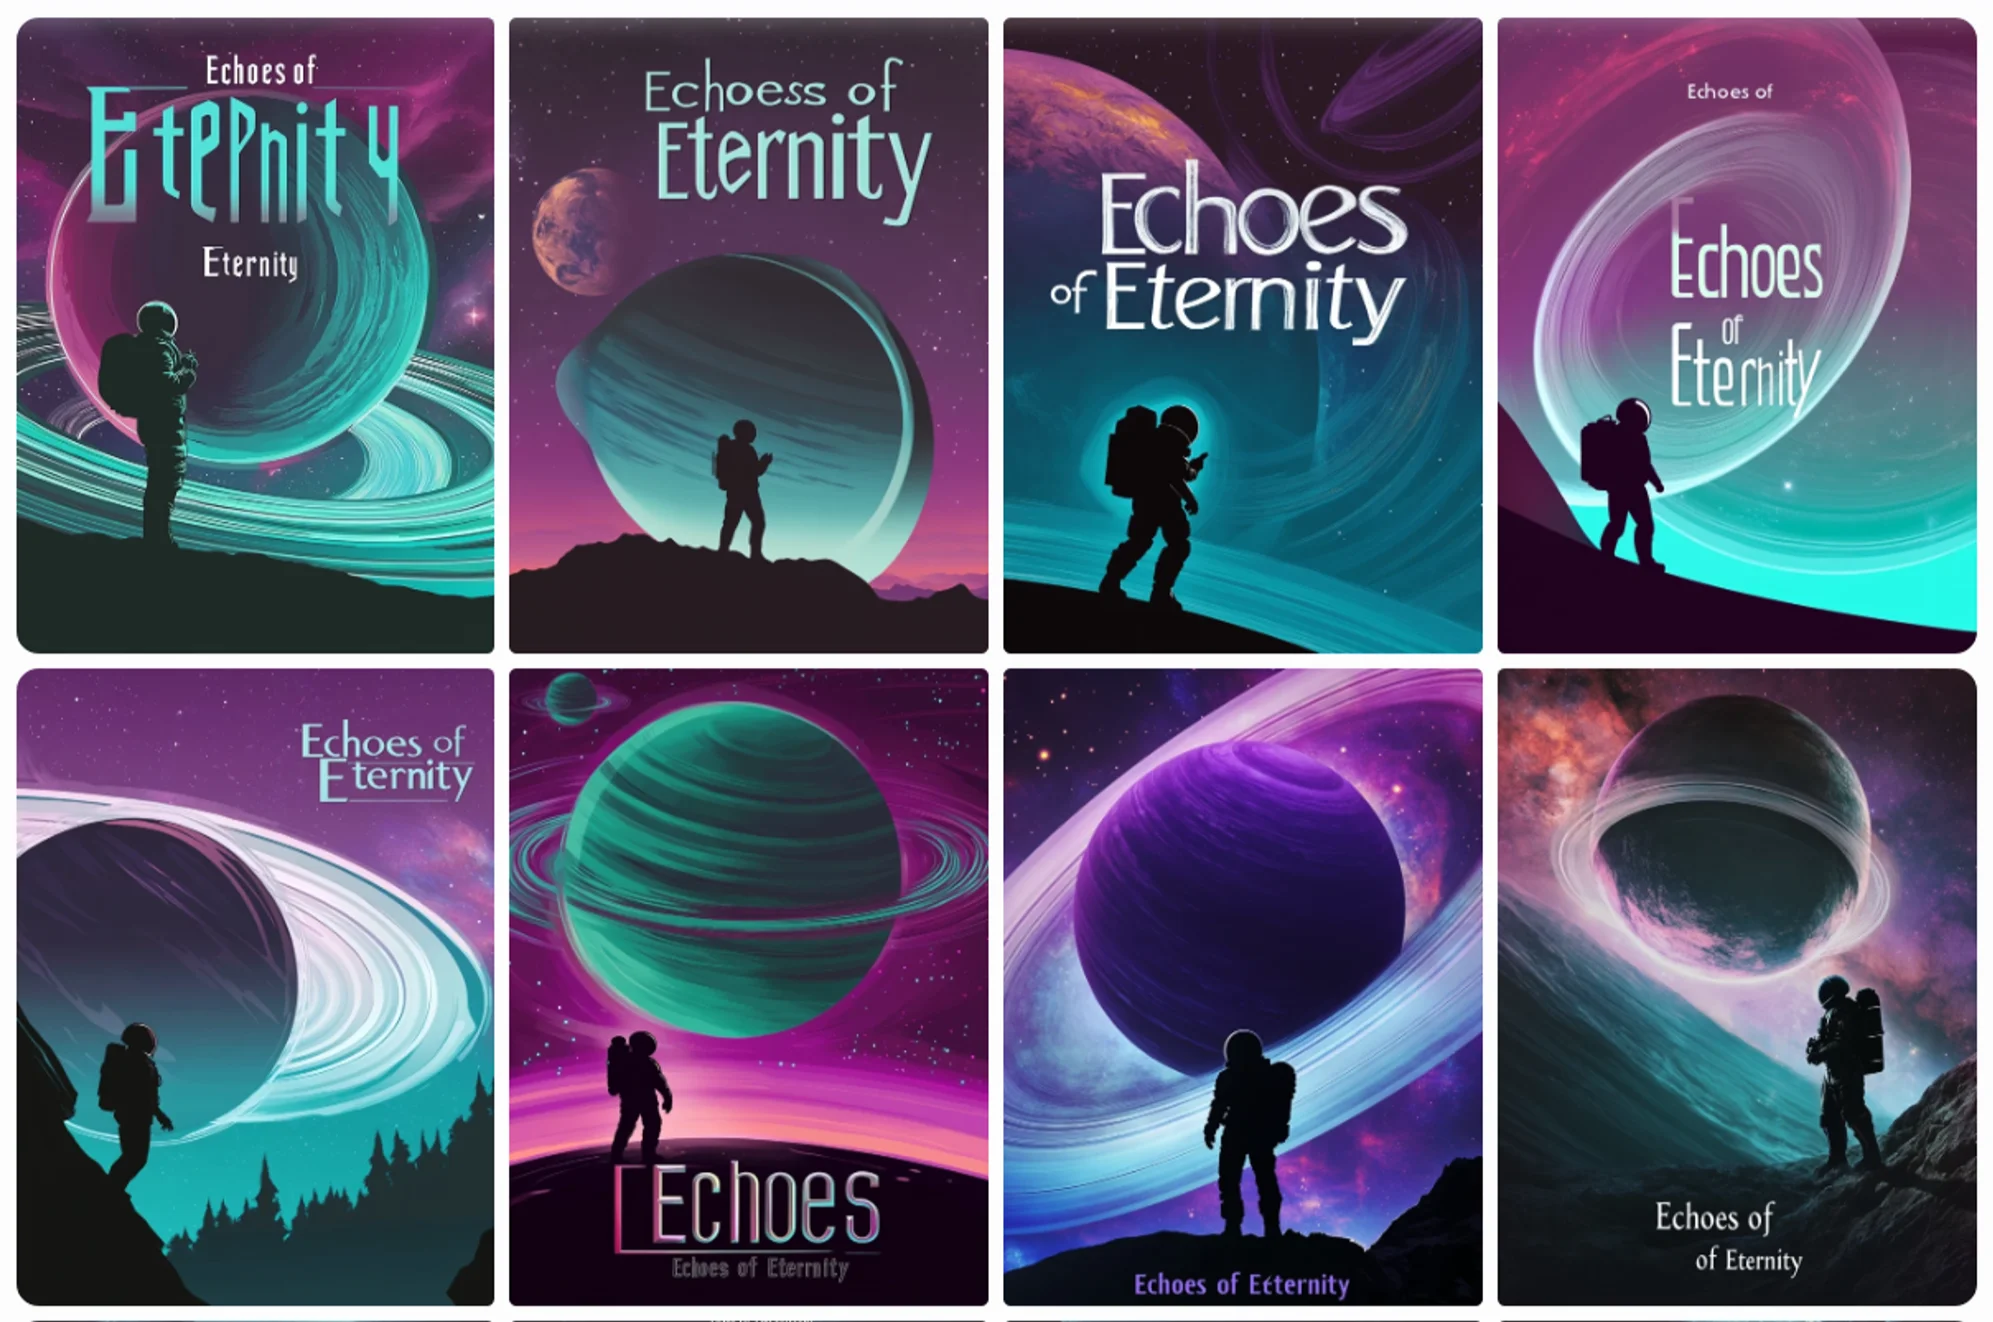
Let's look at another book cover example, this time for a science fiction novel:
A book cover for a sci-fi novel titled "Echoes of Eternity". Show a lone astronaut silhouetted against a massive, ringed planet. Use a color palette of deep purples and vibrant teals. Incorporate a sleek, futuristic font for the title. Add subtle star fields and a distant nebula in the background.
How to structure an effective Midjourney prompt
The structure of your prompt can significantly impact the final output. While Midjourney v6 excels at interpreting natural language, organizing your ideas in a logical flow can help ensure that all important elements are included and properly emphasized.
A well-structured prompt typically includes these elements, though not always in this exact order:
- Main subject or scene
- Style and mood
- Lighting and color
- Composition and framing
- Additional details or elements
Let's use this structure to craft a foundational image for a travel agency's social media post:
A vibrant tropical beach paradise at golden hour. Show happy tourists enjoying the sand and sea, with a luxurious resort visible in the background. Use warm, inviting colors and a wide-angle composition to capture the entire scene. Add some palm trees and beach umbrellas for extra tropical flair.
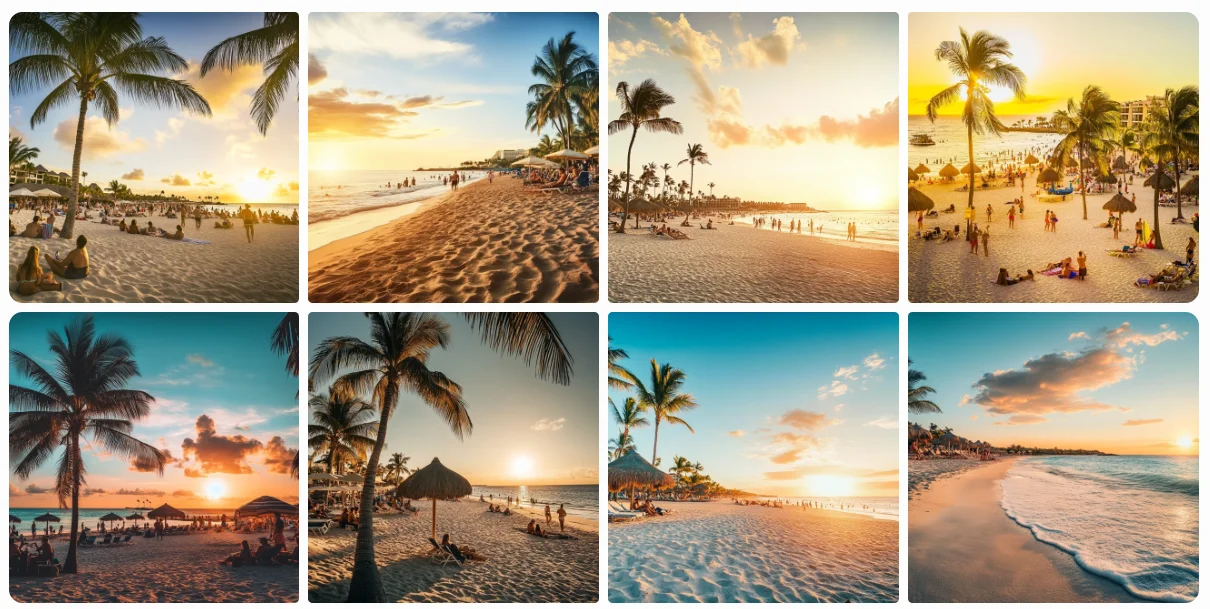
This structured approach ensures we cover all the key elements that contribute to a compelling image, while still allowing Midjourney to interpret and create within those parameters.
Optimizing prompt elements for desired outcomes
Now, let's talk about prompt optimizations. We've already seen how to use descriptive language, learned about incorporating artistic styles and compositions, and explored the basic prompt structure for getting good output from Midjourney V6.
This is a bit of theory, but don't worry, it's quite practical too, so feel free to experiment with these learnings.
- Prioritize important elements: Place the most crucial aspects of your image at the beginning of your prompt. Midjourney tends to give more weight to earlier words.
- Balance detail and brevity: While details are important, avoid overwhelming the AI with too much information. Aim for a prompt that's comprehensive yet concise.
- Specify lighting and color: Be explicit about the lighting conditions and color palette you want. "Bathed in soft, diffused sunlight with a muted pastel color scheme" gives clear direction.
- Leverage cultural and historical references: Mentioning specific art movements, time periods, or cultural styles can help anchor your image in a particular aesthetic.
- Be specific and descriptive: Instead of using generic terms, opt for more precise language. For example, rather than "big tree," say "towering oak with gnarled branches."
- Use sensory language: Incorporate words that evoke the five senses. Describe textures, sounds, or even implied motion to make your image more vivid.
- Incorporate technical terms: When appropriate, use photography or art terms like "bokeh," "chiaroscuro," or "rule of thirds" to guide composition and style.
- Combine unexpected elements: Midjourney excels at creating unique combinations. Try mixing different genres or styles for interesting results.
Implementing multi-prompting and prompt weights
Let's finish this lesson by diving into our final topic: multi-prompting. This a powerful feature in Midjourney that allows you to combine different concepts within a single image. Coupled with prompt weights, this technique gives you even more control over your creations.
Multi-prompting allows you to blend different ideas, while prompt weights let you control the influence of each element. This is particularly useful when you want to merge styles or emphasize certain aspects of your image.
The syntax for prompt groups is to use double colons (::) to separate different concepts. For prompt weights, you add a number after the double colon, like this: concept::weight. The default weight is 1, and you can use decimals for fine-tuning.
To see how this works in practice, let's explore an example of generating interior design visualizations with and without prompt weights.
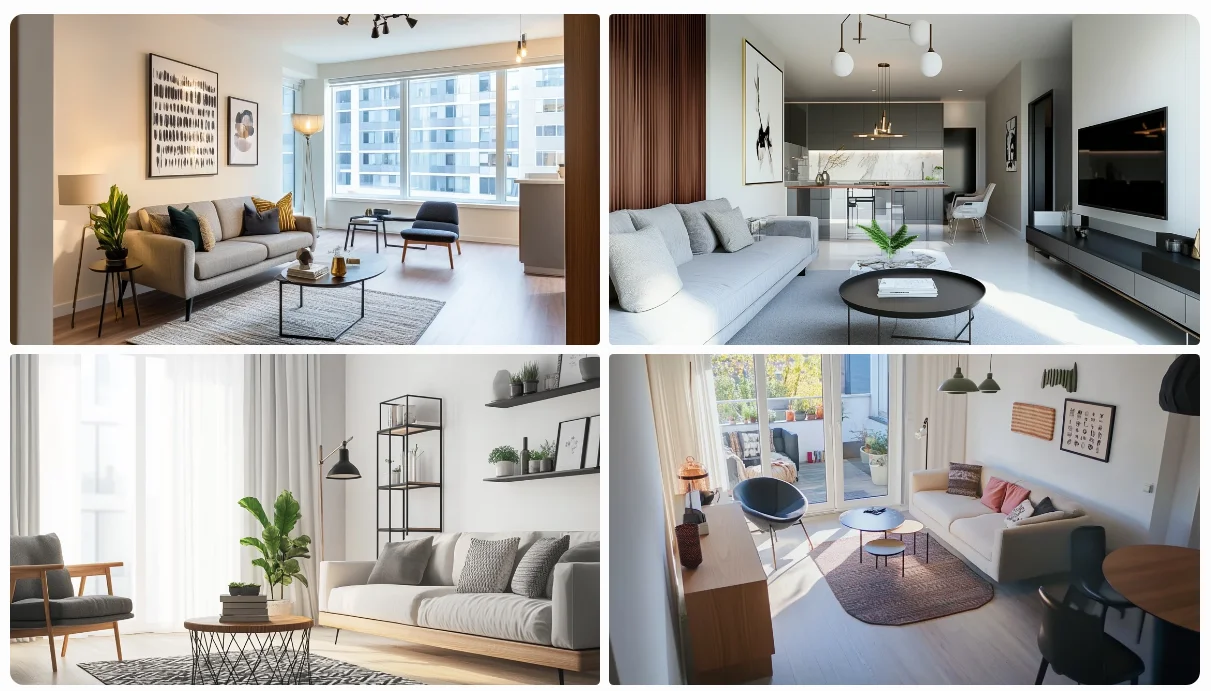
Without weights and grouping:
A wide-angle shot of a modern living room with a minimalist design, featuring sleek furniture in neutral tones, large floor-to-ceiling windows letting in natural light, with a soft and cozy atmosphere
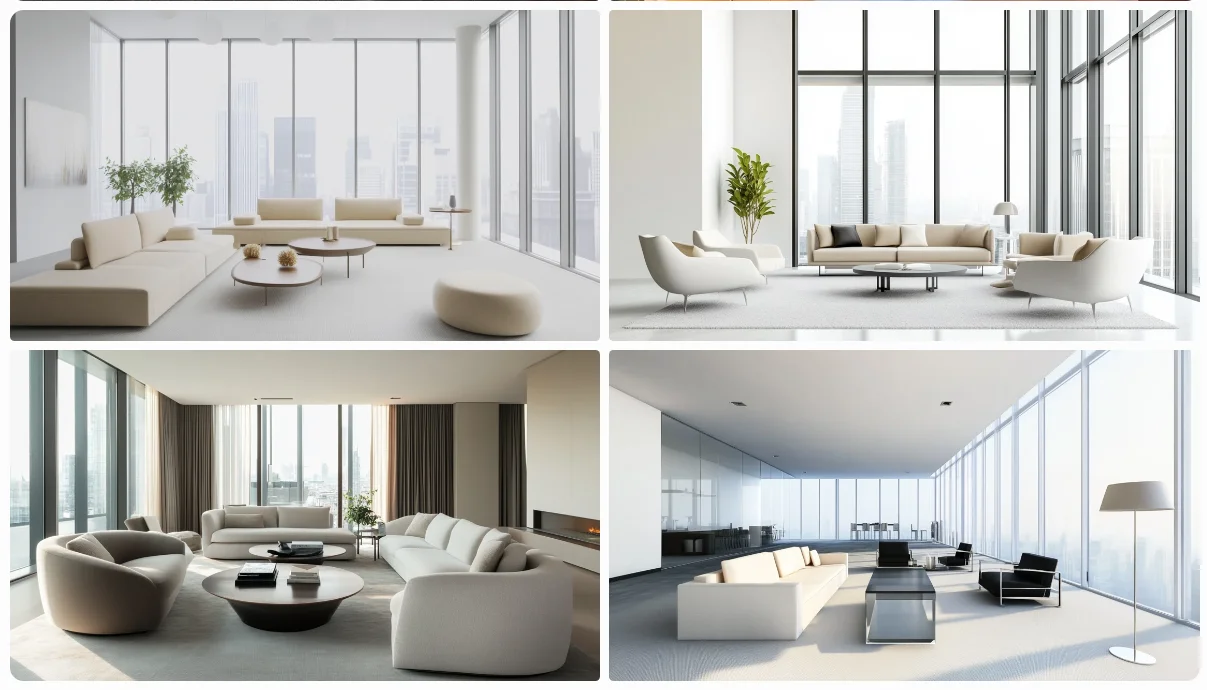
With weights and groups:
A wide-angle shot of a modern living room with a minimalist design ::1.5 , featuring sleek furniture in neutral tones ::1.2 , large floor-to-ceiling windows letting in natural light ::1.4 , with a soft and cozy atmosphere ::1.3
In the second prompt, we've separated each major element of the description into its own group and assigned different weights. This allows us to emphasize certain aspects of the image:
- The minimalist design has the highest weight (1.5), making it the dominant feature.
- The large windows and natural light have the second-highest weight (1.4), ensuring they're a prominent element.
- The soft and cozy atmosphere is given slightly more importance (1.3) than the furniture (1.2).
This technique allows for fine-tuned control over your image generation, helping you achieve results that more closely match your vision. Experiment with different groupings and weights to see how they affect your outputs!
Exercise: Put your skills to the test
Now that we've explored these fundamental prompt crafting techniques, it's time for you to flex your creative muscles! Here's your task:
Create a minimalistic logo for an AI-powered financial advisory startup called "FinOS". The logo should convey trust, innovation, and simplicity.
Requirements:
- Use the structured prompt format we covered.
- Aim for a minimalistic style that combines financial and AI elements subtly.
- Experiment with prompt weights to balance different aspects of the design.
- Ensure the logo is simple and scalable for various uses.
Steps:
- Craft your prompt using the techniques learned in this lesson.
- Generate the logo using Midjourney.
- Iterate on your prompt if needed to refine the result.
Share your work! When you’re done, share your prompt and the resulting logo in the "share-your-work" channel on the Ben's Bites Slack community. Briefly explain your prompt crafting process and how you applied the lesson's techniques. We're looking forward to seeing your innovative logo designs.
This tutorial was created by Tanmay.