Generate a script, dialogue, and storyboard images
Generate a script, dialogue, image prompts and storyboard images with Claude and Leonardo AI.
2024-12-06
This is the 2nd tutorial of our course, How to create an AI-generated short film.
In this tutorial, we'll guide you through the process of creating a script and dialogue for your short film with Claude. From there, we’ll generate a complete set of scene images with Leonardo AI. By the end of this tutorial, you'll have a series of consistently rendered images ready for animation.
Steps we’ll follow in this tutorial:
- Generate script, dialogue, and image prompts with Claude
- Refine image prompts with Leonardo
- Generate all scene images
Generate script, dialogue, and image prompts with Claude
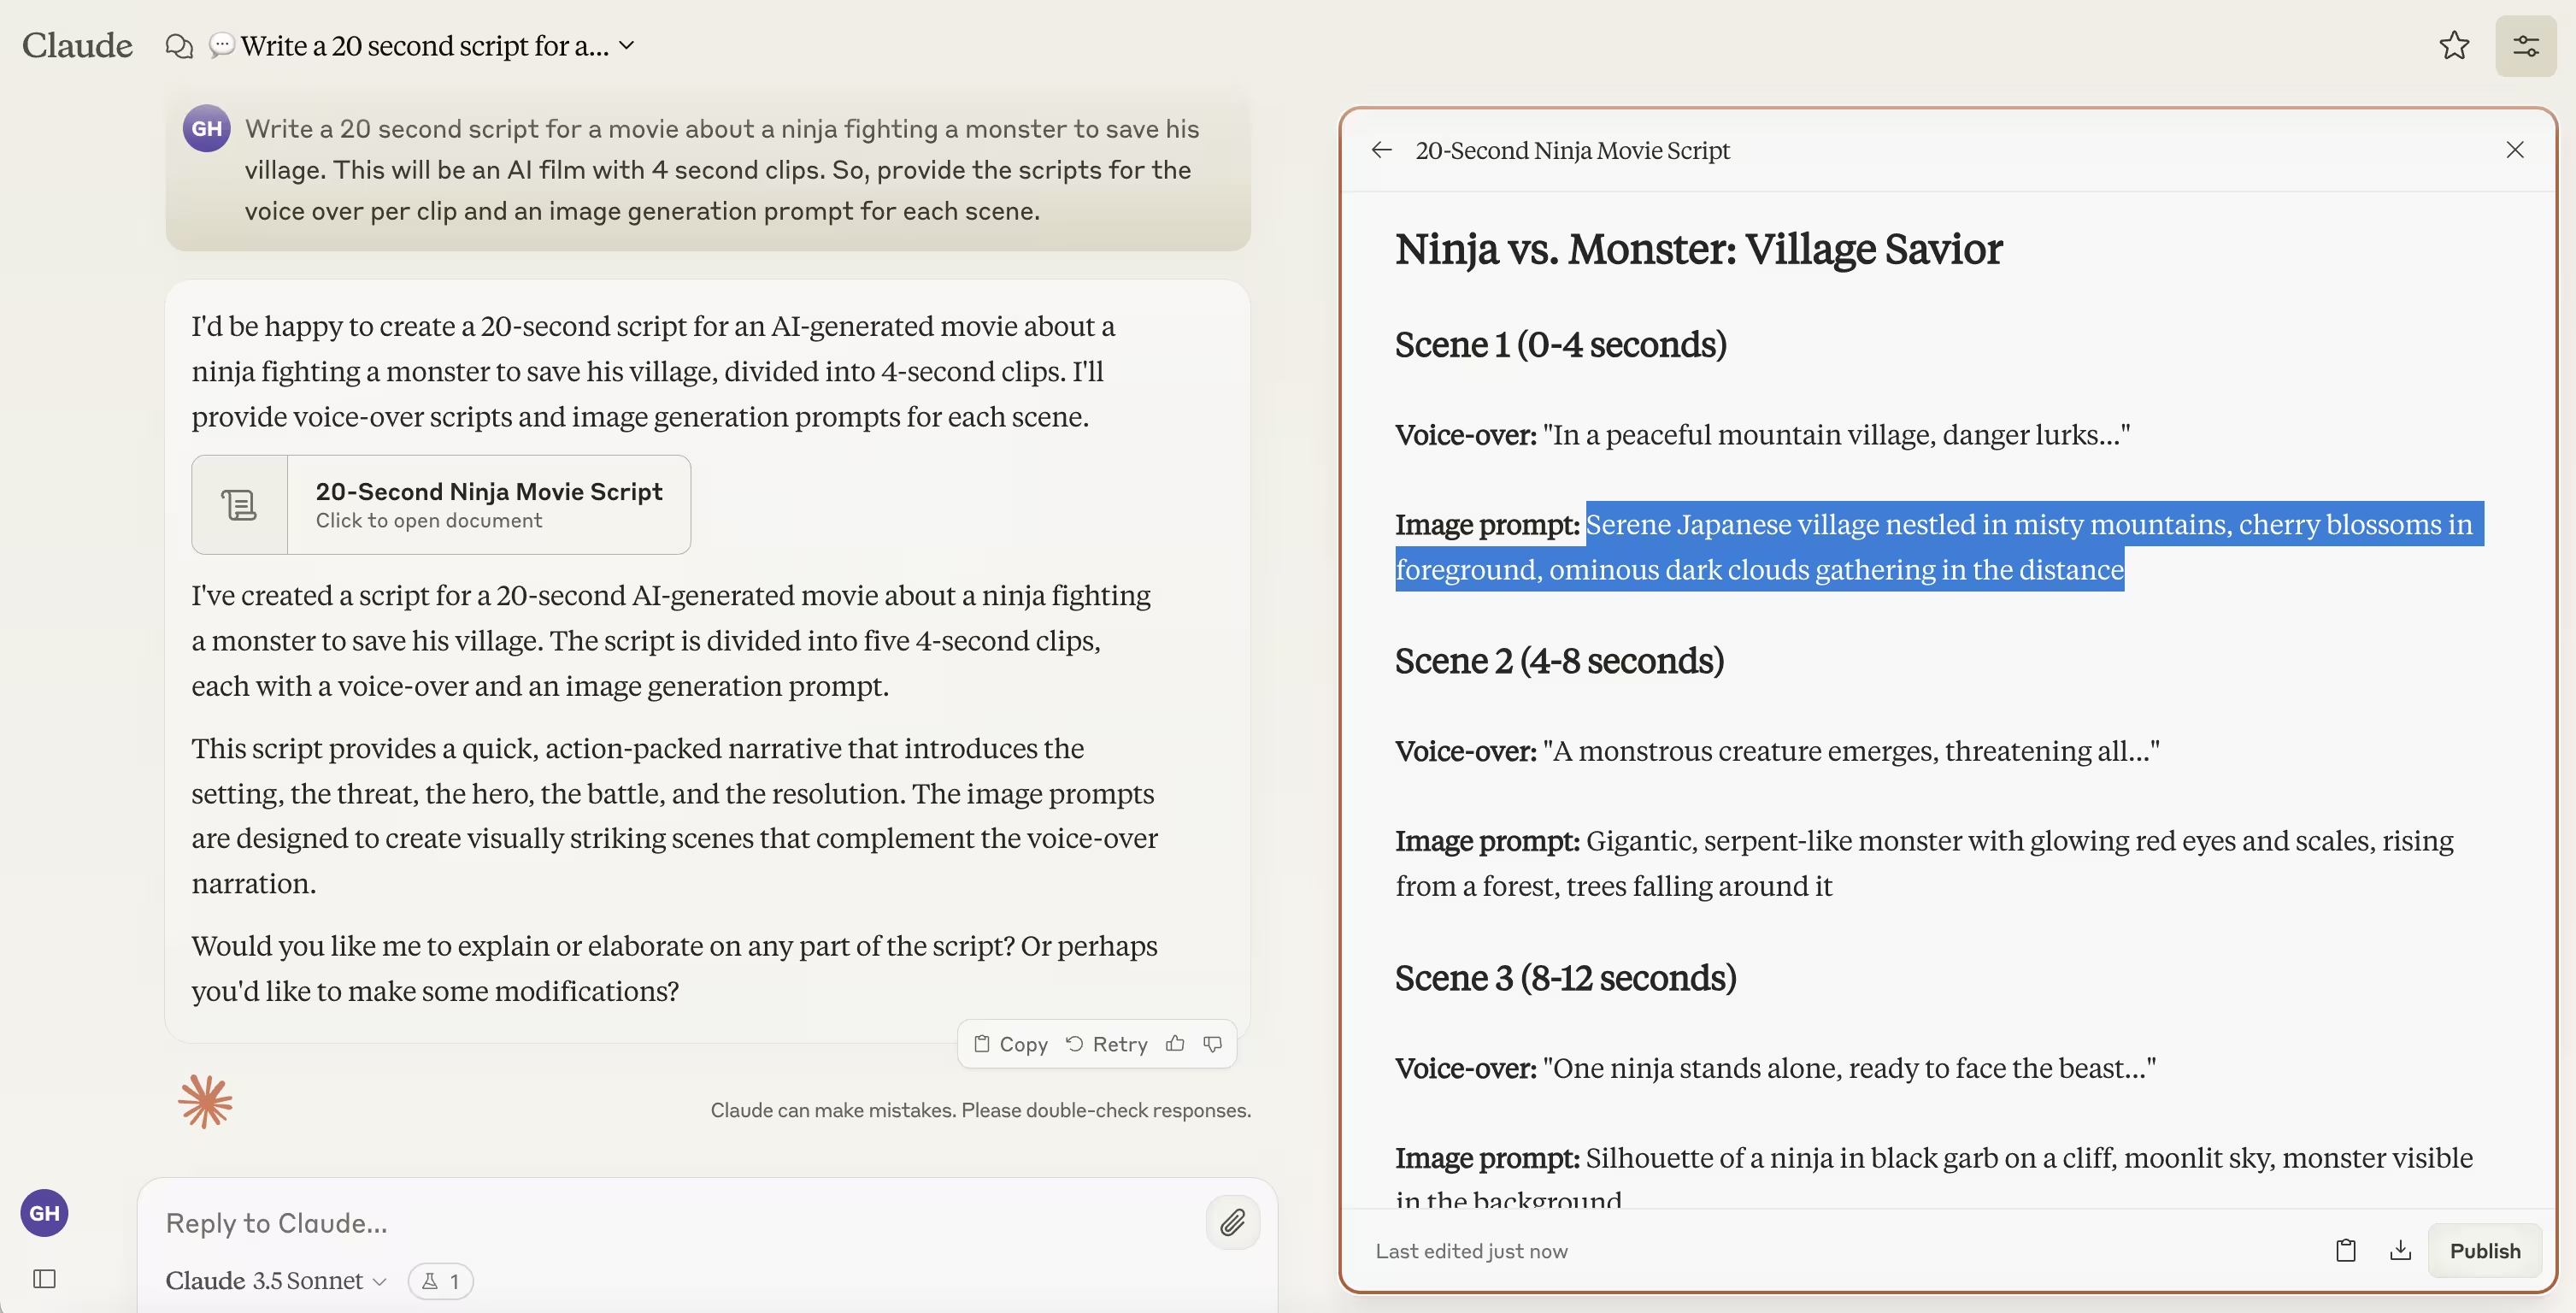
To get started, we’re going to partner with Claude to generate the script, dialogue, and image prompts for our short film. We’ll provide it with a topic and ask for it to generate scenes, voiceover dialogue, and basic image prompts.
Sample prompt:
Write a 20-second script for a movie about a ninja fighting a monster to save his village. This will be an AI film with 4-second clips. So, provide the scripts for the voice-over per clip and an image generation prompt for each scene.

Refine image prompts with Leonardo
With our scenes, dialogue, and image prompts created, we’re now going to head over to Leonardo AI to start generating the images for our short film. You can think of these as high-fidelity storyboard images for each scene. Later, we’ll upload these to RunwayML for animation. To get started with Leonardo AI, click on the “Image Generation” tab on the left-side navigation.

Then, we’ll navigate back to Claude and copy the image prompt from the first scene.
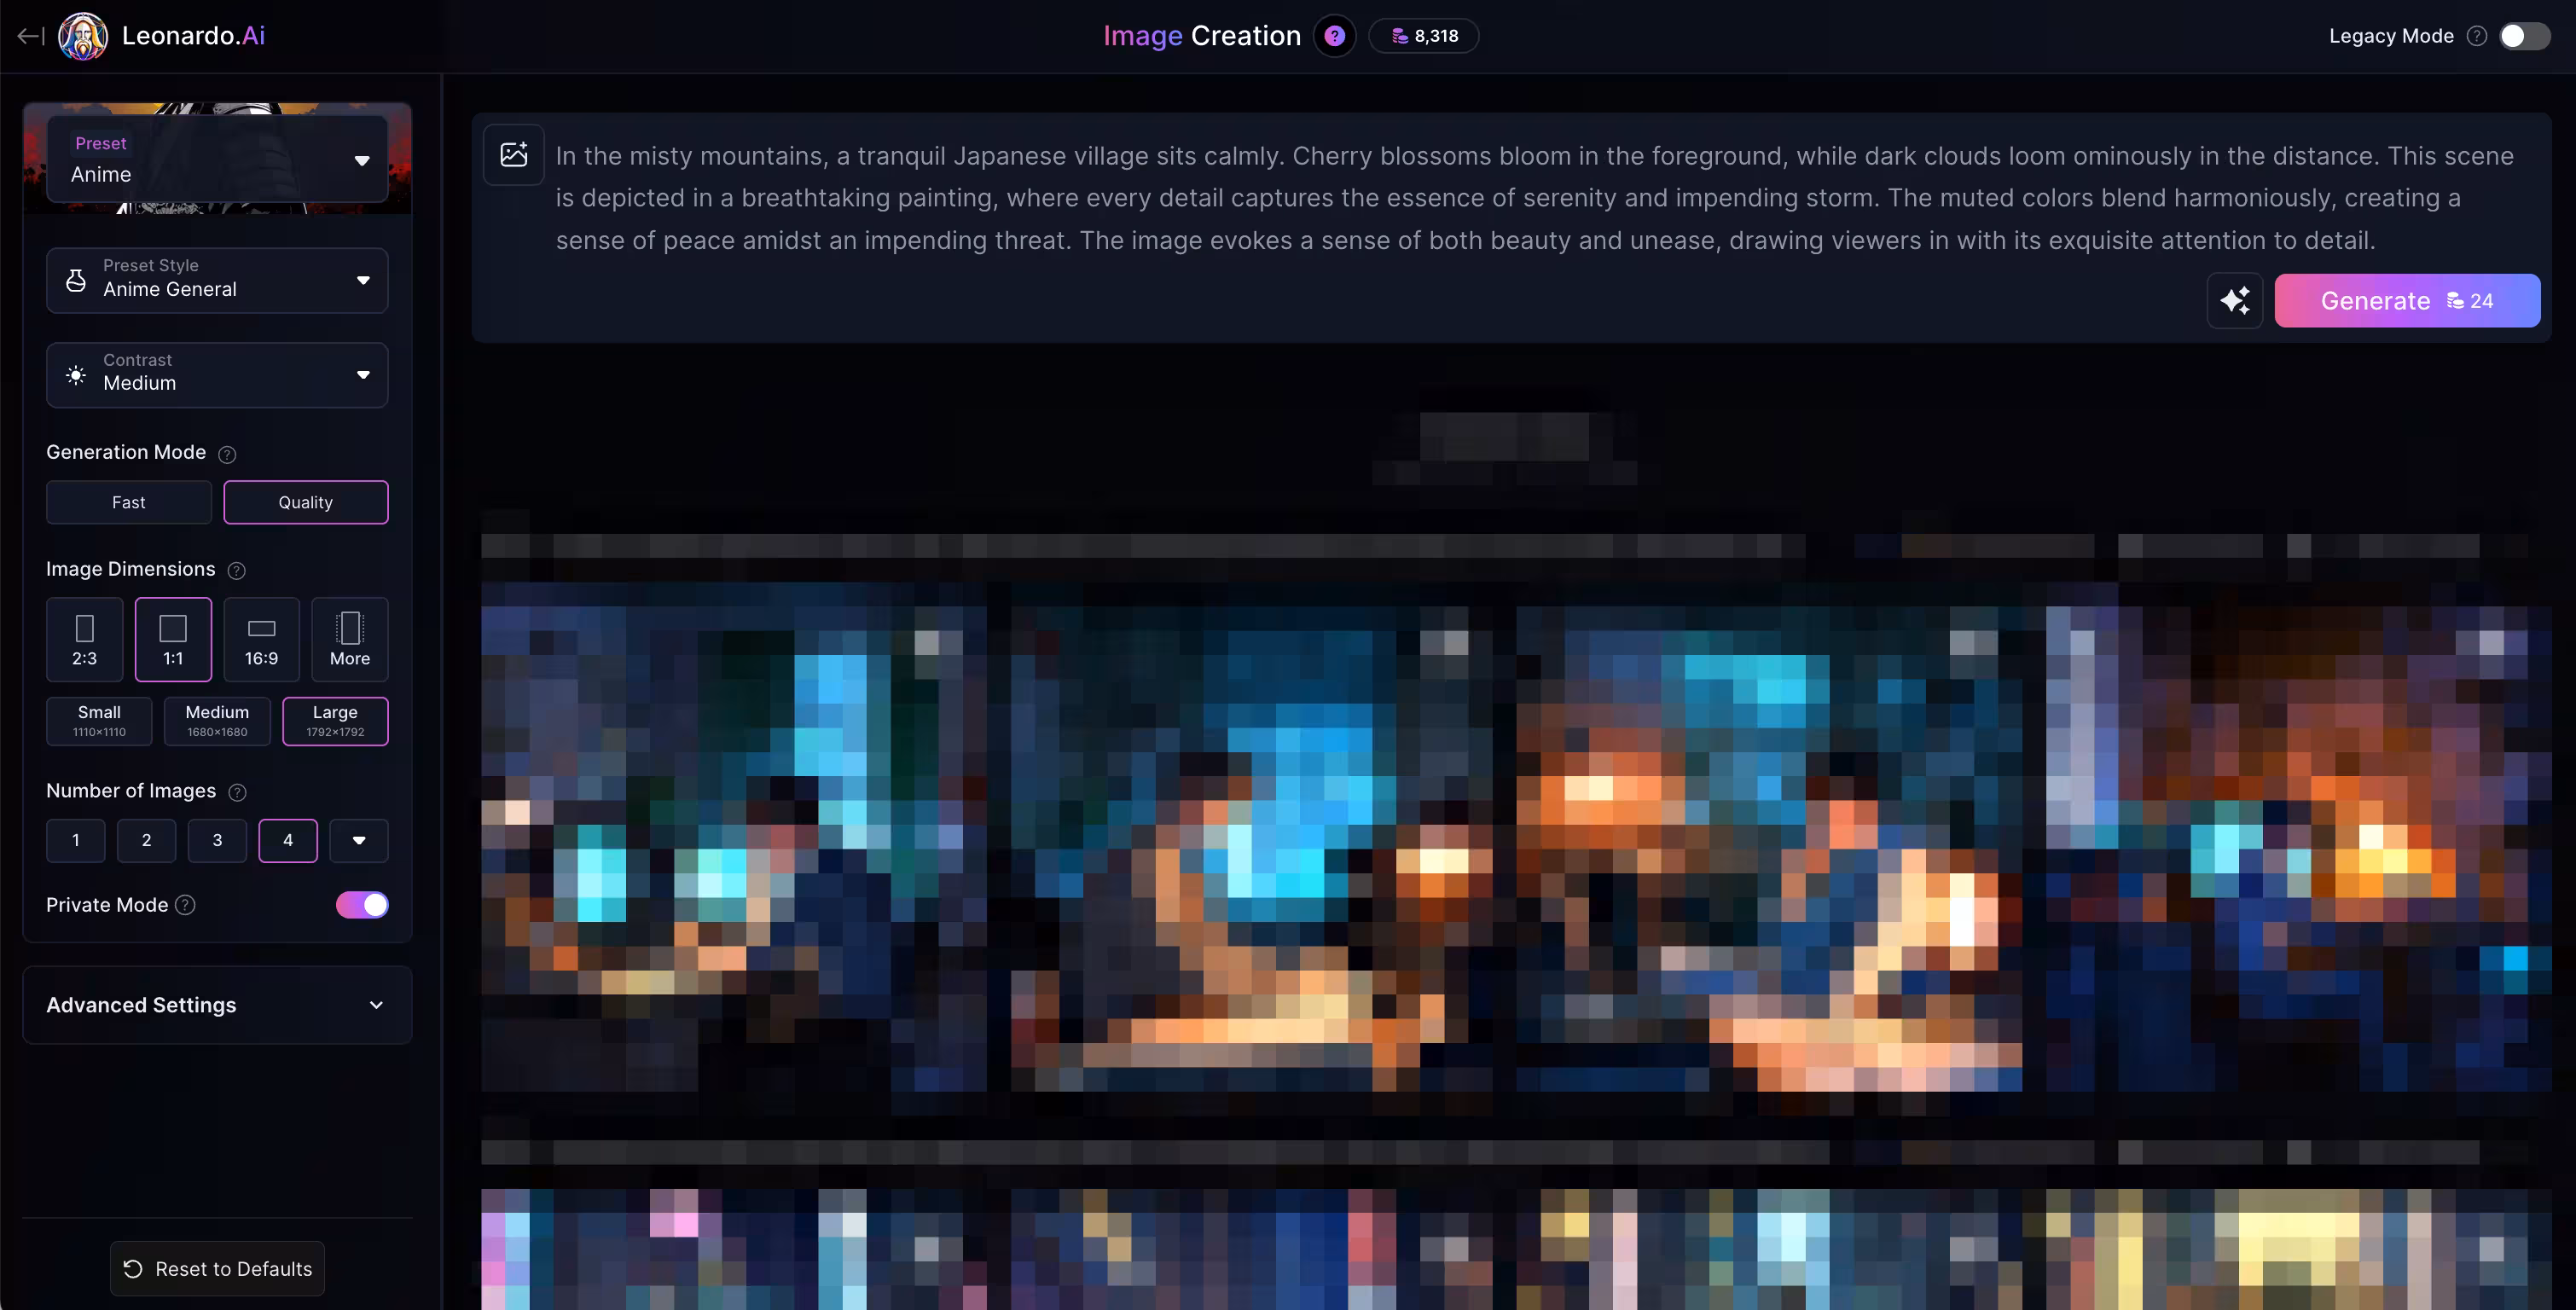
Paste the image prompt into the top text box of Leonardo, but don’t generate the image yet. Click on the magic icon next to the prompt and select the “Improve Prompt” option from the dropdown.
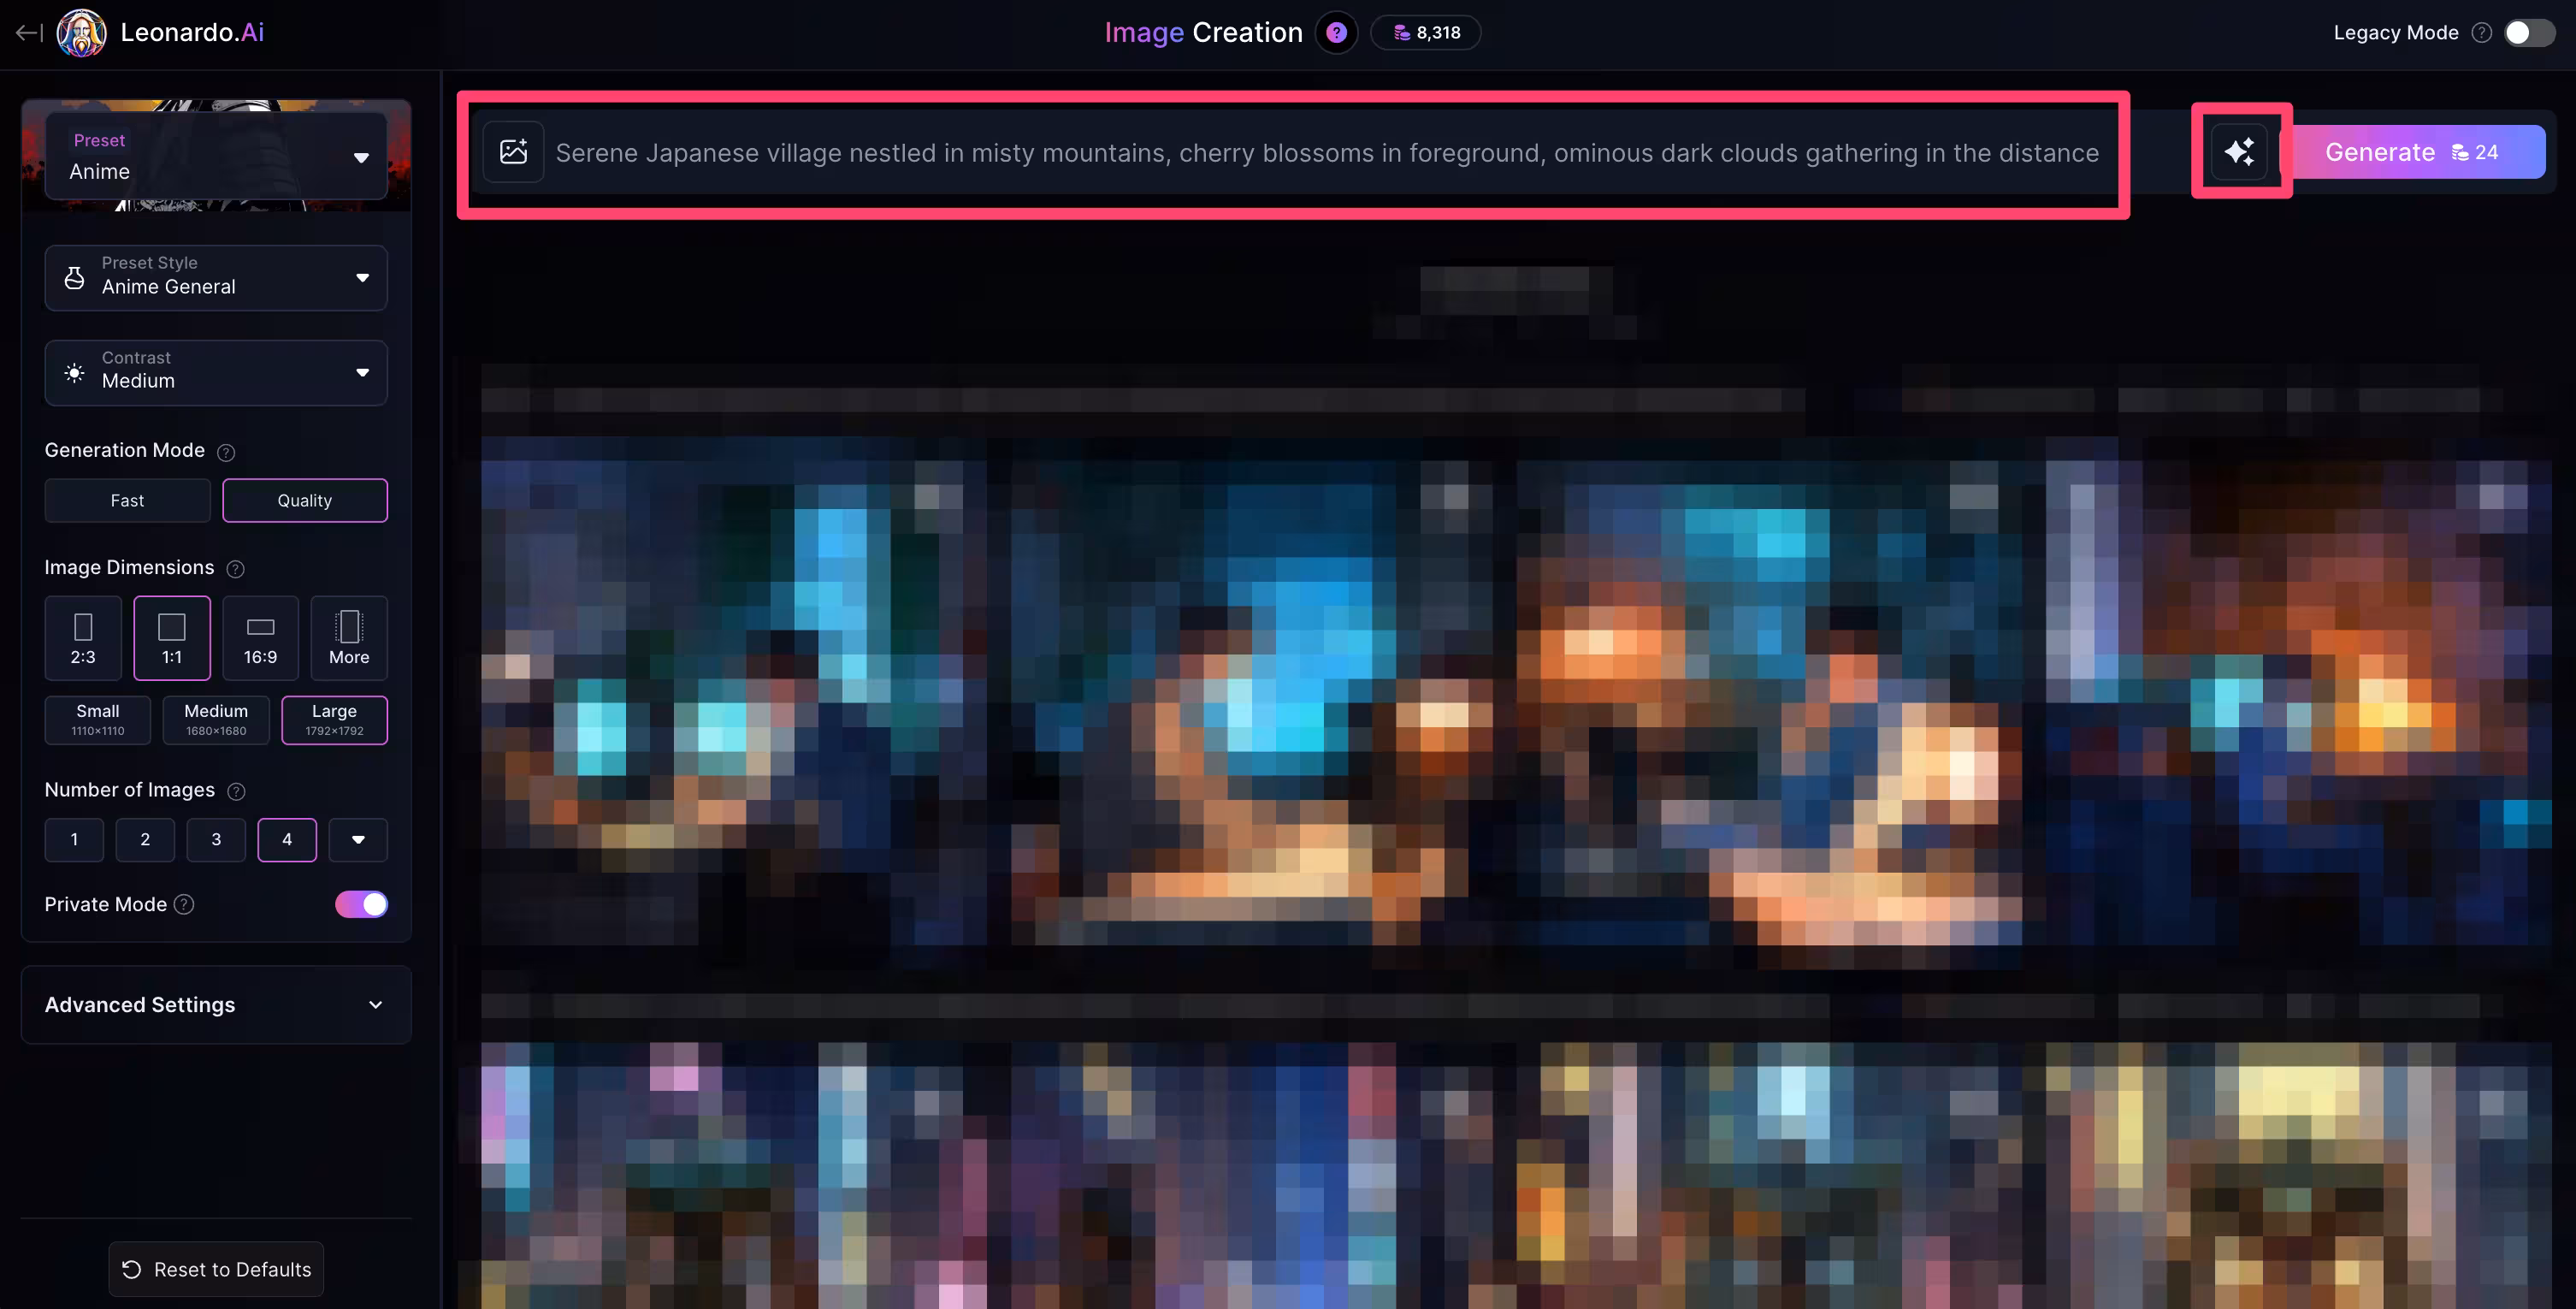
Additionally, you can set the image settings in the left-side panel to what you want from a style and format perspective. For instance, we’ve gone with the “Anime” preset and 1:1 format. When you’re happy with your settings, click the “Generate” button.
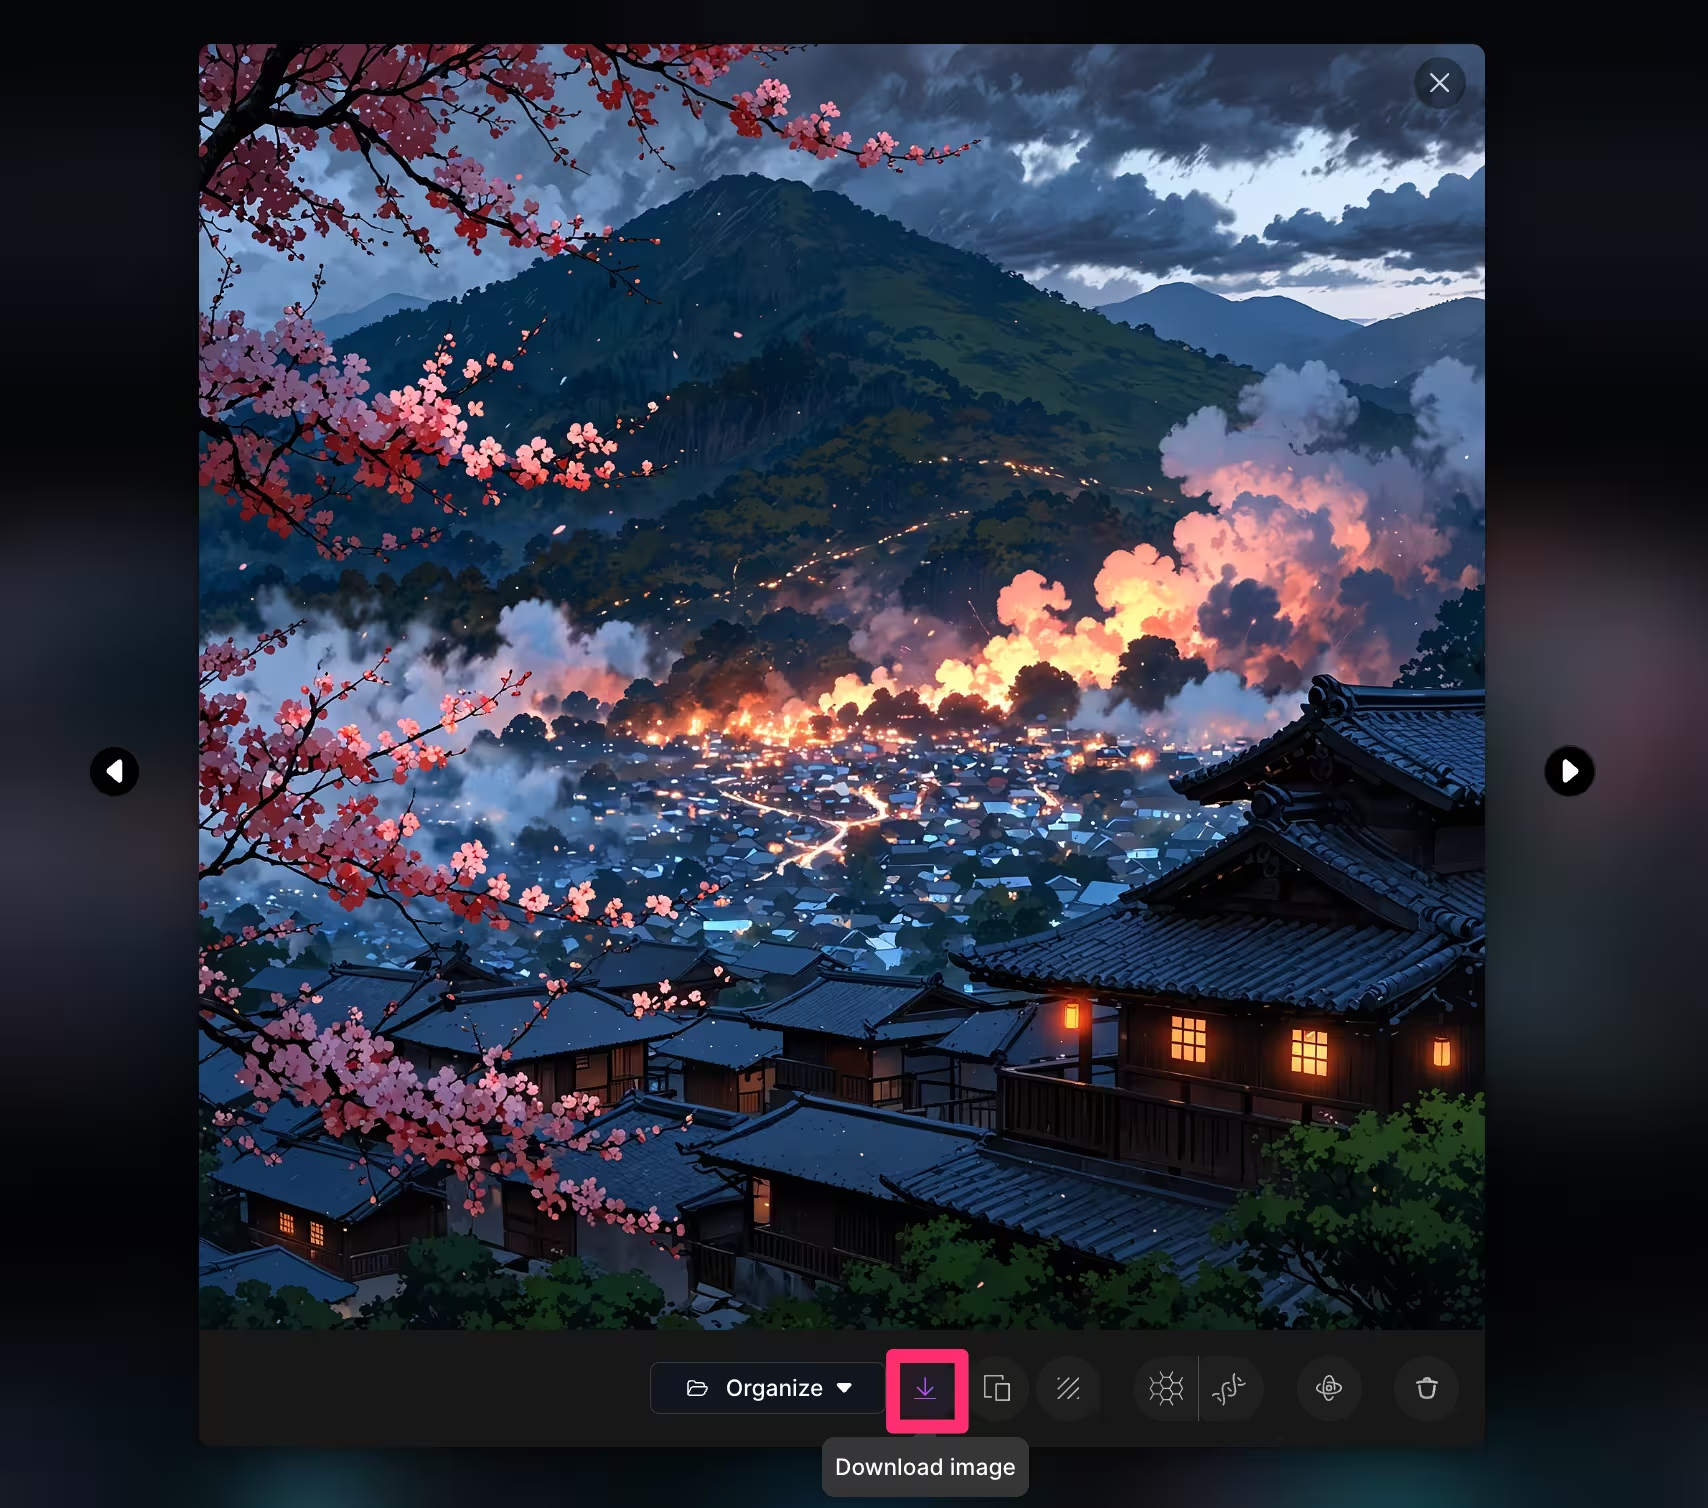
Your first set of images will be generated for scene one of your film. You can click on an image to view a larger version of it and download it to your computer.

To download the image, click the download icon below the image.
Generate all scene images
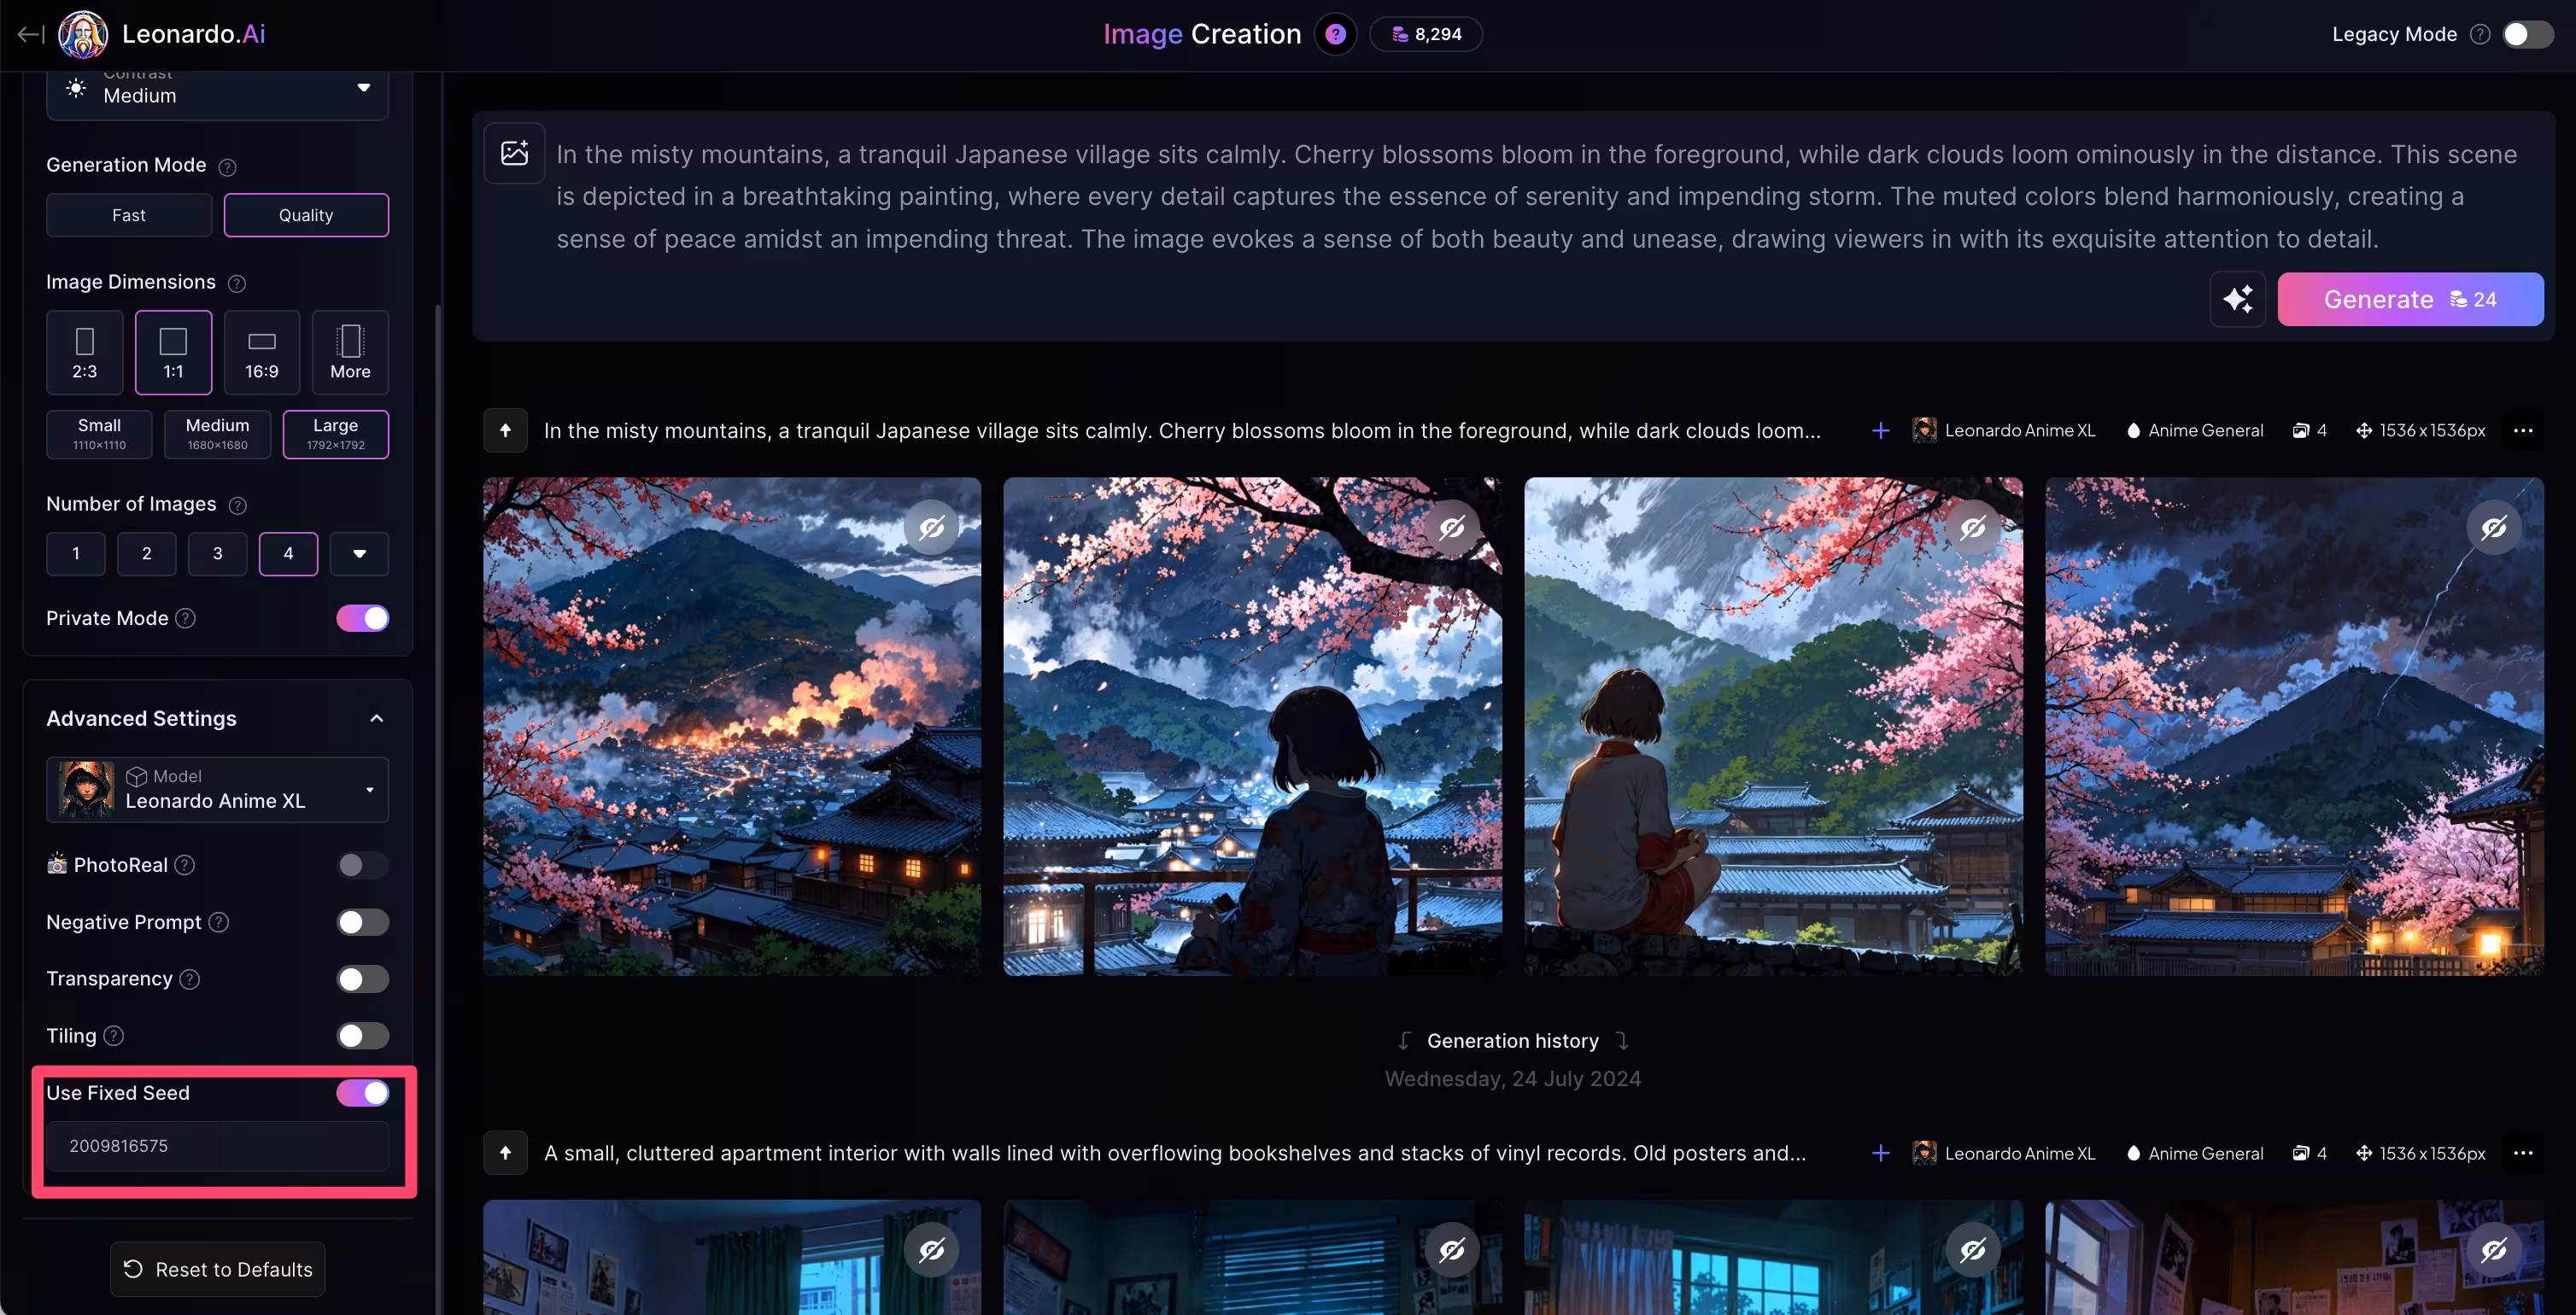
Now that we have our workflow for creating scene images, we want to make sure we get consistently styled images. To do this, click on the three dots icon in the top right corner of the row with your images and click the “Copy Seed” option in the dropdown menu.

In the left-side panel, click the “Advanced Settings” option, enable the “Used Fixed Seed” setting, and paste this seed number into the available textbox.
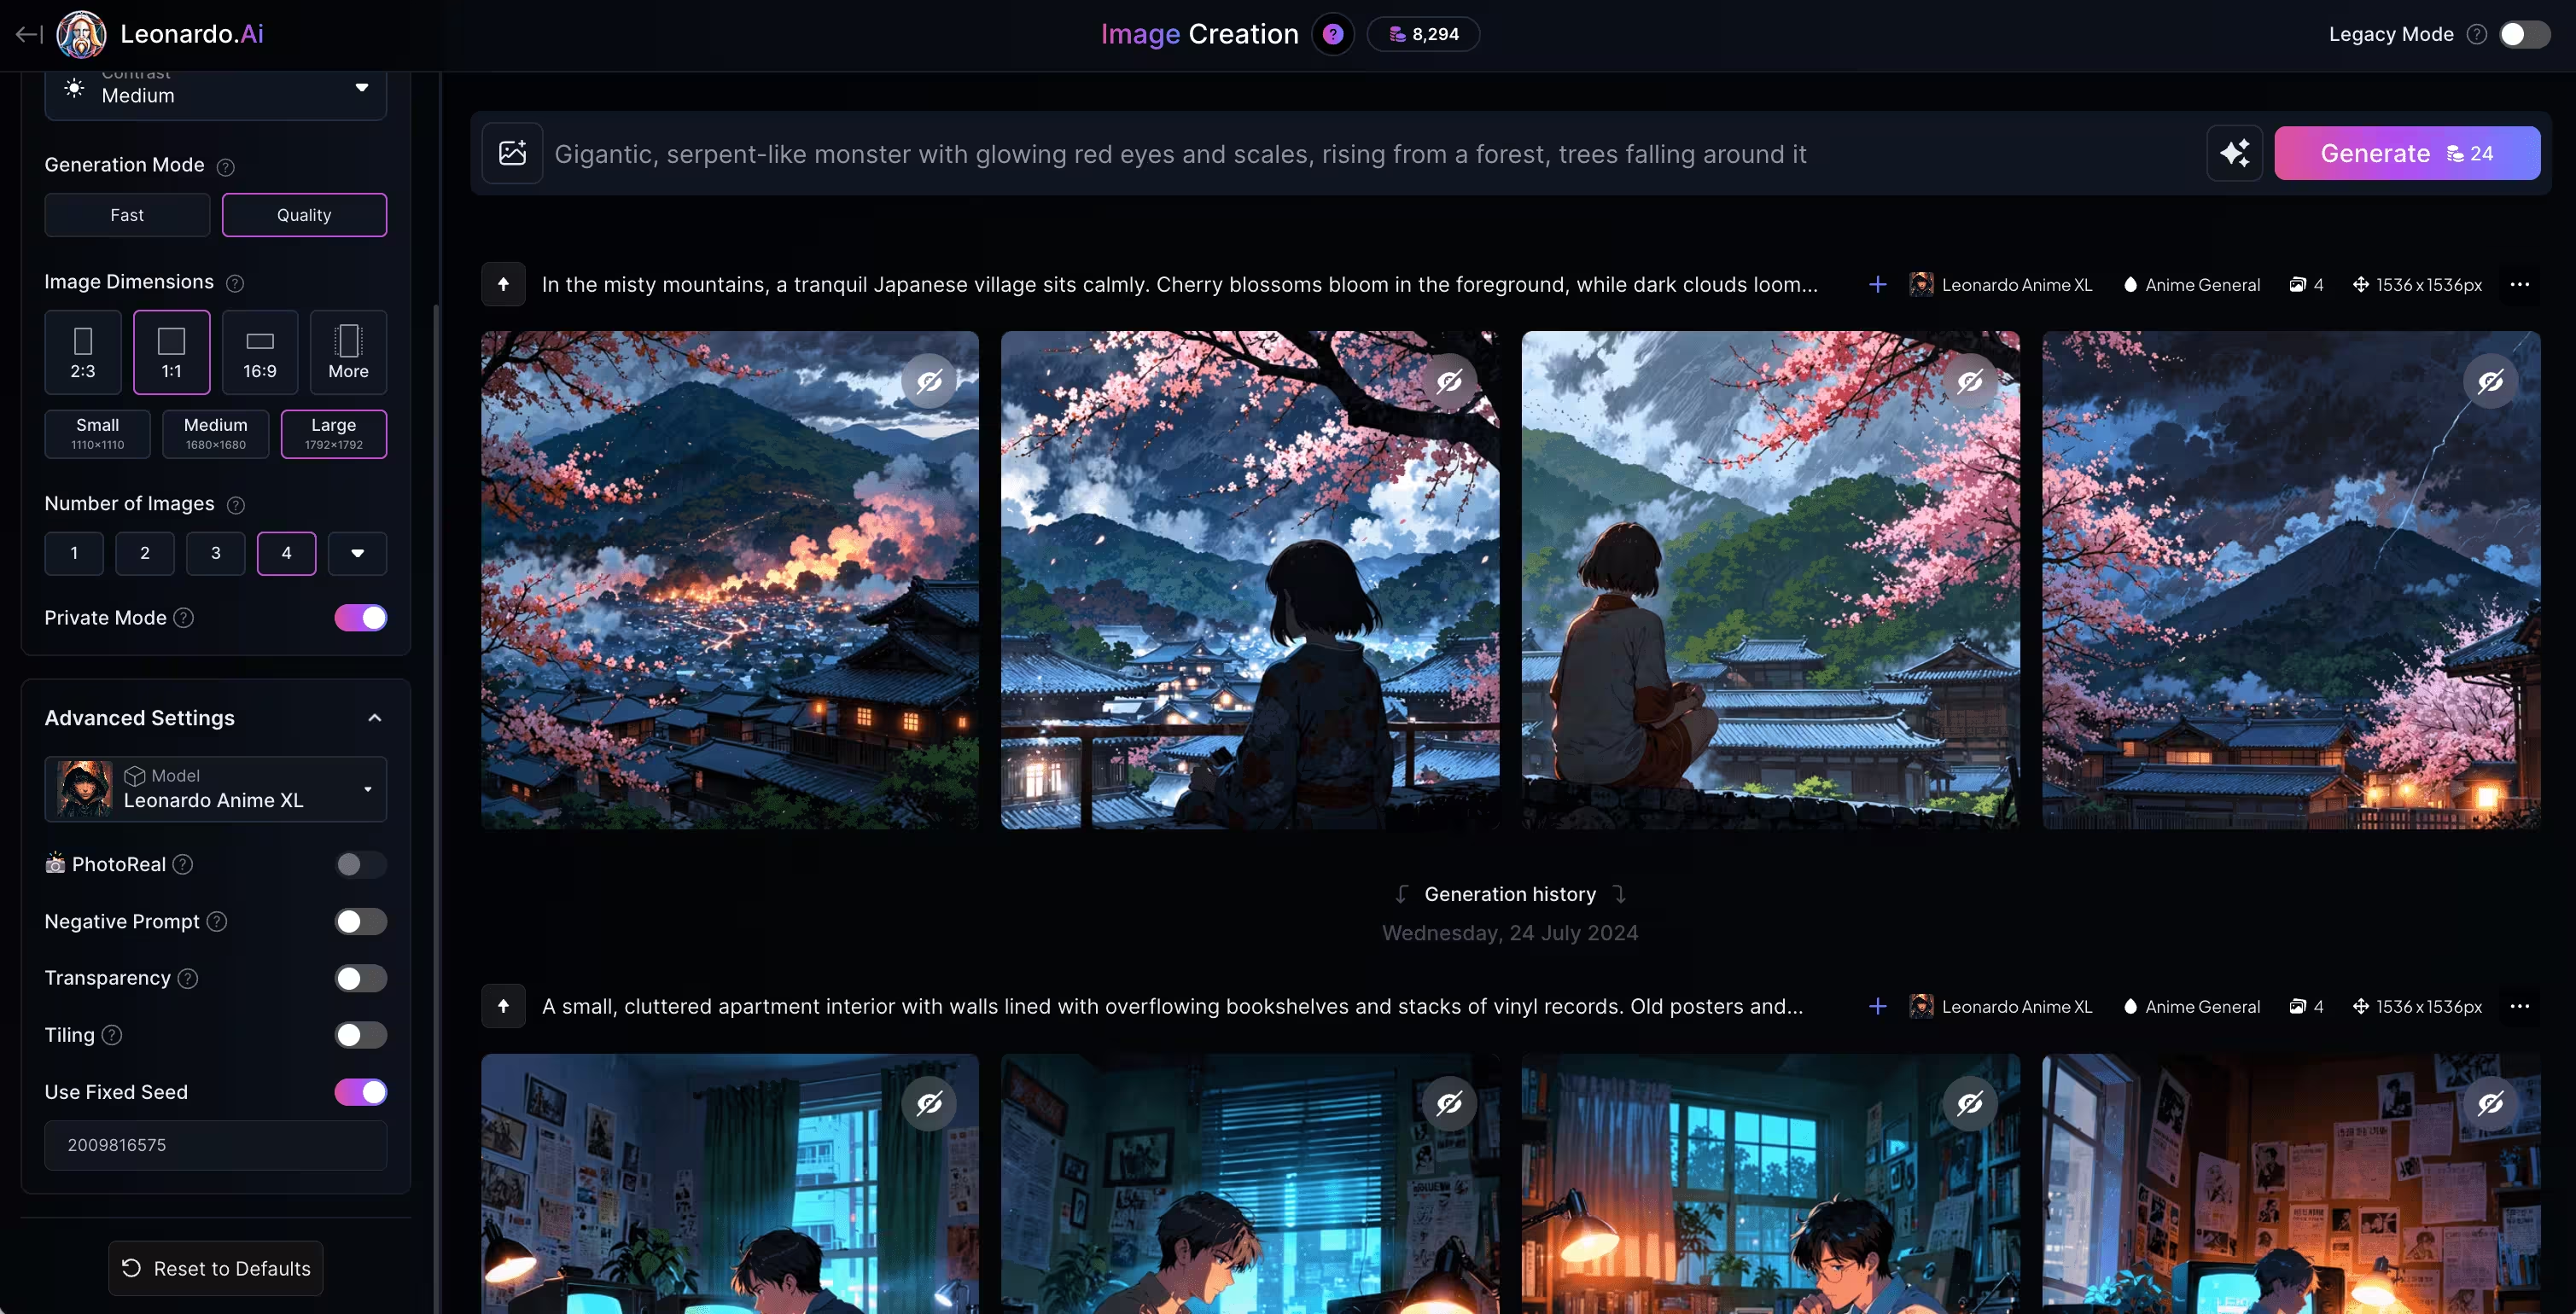
With our “Fixed Seed” added, we can now repeat the steps we just took for our second scene. We’ll go back to Claude and copy the second scene’s image prompt.

We’ll paste this image prompt into Leonardo.
Similarly to before, we’ll click the magic icon by the “Generate” button and select the “Improve Prompt” option from the dropdown to optimize our image prompt. Then, we’ll click “Generate” to create a second set of images for the second scene of our film.
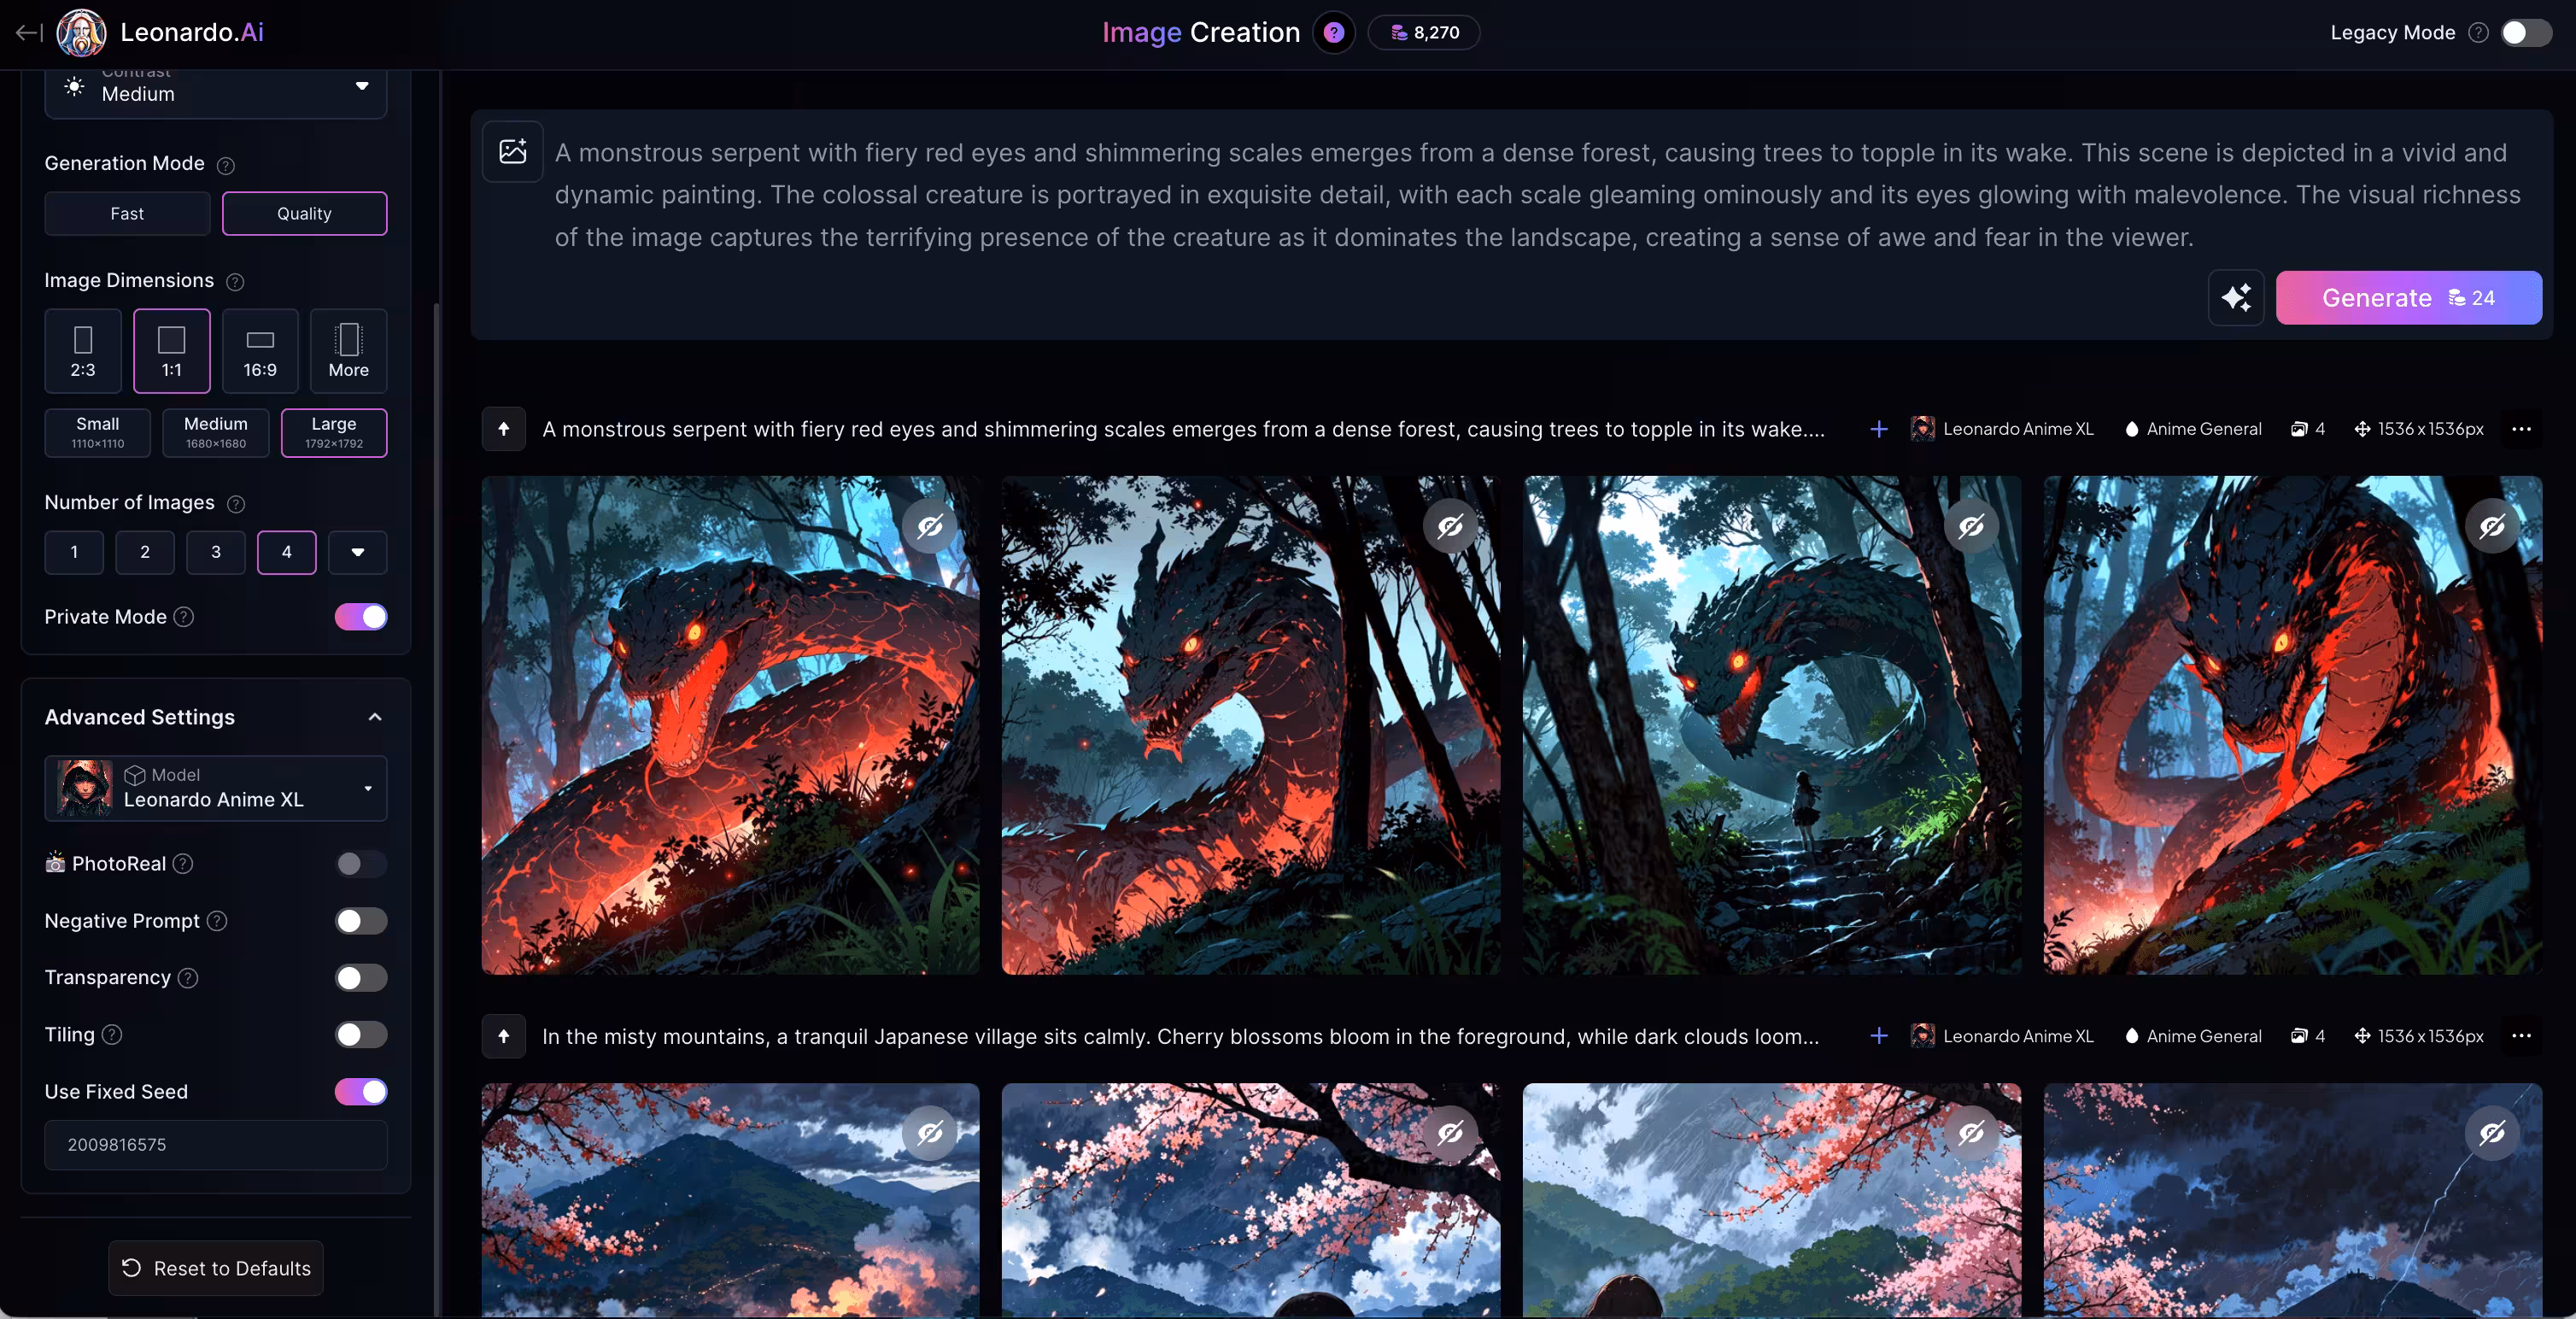
You’ll need to repeat this process for all five scenes of your film. For each set of images generated, select one to download for that scene. By the end of this process, you should have five downloaded images, one for each of your film’s scenes.
This tutorial was created by Garrett.