How to create stunning videos with Runway Gen-3 Alpha
Learn how to effectively use RunwayML’s Gen-3 for video creation, with a focus on crafting powerful prompts.
2024-11-13
Runway ML Gen 3 Alpha is the latest advancement in AI-powered video generation, building upon the foundations laid by its earlier generation models. This new iteration brings significant improvements in video quality, consistency, and creative control.
Gen 3 Alpha sets itself apart by interpreting detailed, descriptive prompts to produce high-fidelity video content. This approach allows both experienced creators and newcomers to harness AI for generating complex, visually striking video sequences.
In this tutorial, we'll explore Runway ML Gen 3 Alpha's capabilities and learn how to craft effective prompts for creating impressive AI-generated videos.
Steps we'll cover in this tutorial:
- Getting started with Runway ML Gen 3 Alpha
- Understanding the video generation process
- Mastering prompt engineering for Gen 3 Alpha
- Exploring Runway's visual language
- Applying advanced techniques and troubleshooting
By the end of this guide, you'll have the knowledge to create stunning AI-generated videos like the one below, using Runway ML Gen 3 Alpha to push the boundaries of your creative projects.
Part 1: Getting started
A. Accessing the platform
Open your web browser and navigate to Runway ML's website.
.webp)
Click "Sign Up" if you're new, or "Log In" for existing users. Once logged in, you will be redirected to dashboard. Find and click "Text/Image to Video" in the left sidebar.
.webp)
B. What you'll need
Before we dive in, let's cover some essential information:
- Subscription: You'll need a paid Runway ML subscription. The Standard plan (starting at $15/month) is the minimum required for access to Gen3 Alpha.
- Credit System: Gen3 Alpha uses credits for video generation. The Standard plan offers 625 credits, which translates to about 60 seconds of Gen3 Alpha footage per month.
- Video Duration: You can generate videos of 5 or 10 seconds. We'll often use 5-second clips in this guide for quicker experimentation.
Now, let's embark on our journey to master Gen3 Alpha video creation!
Part 2: Creating your first video
A. Understanding the interface
Before we start crafting prompts, let's familiarize ourselves with the Gen3 Alpha interface:
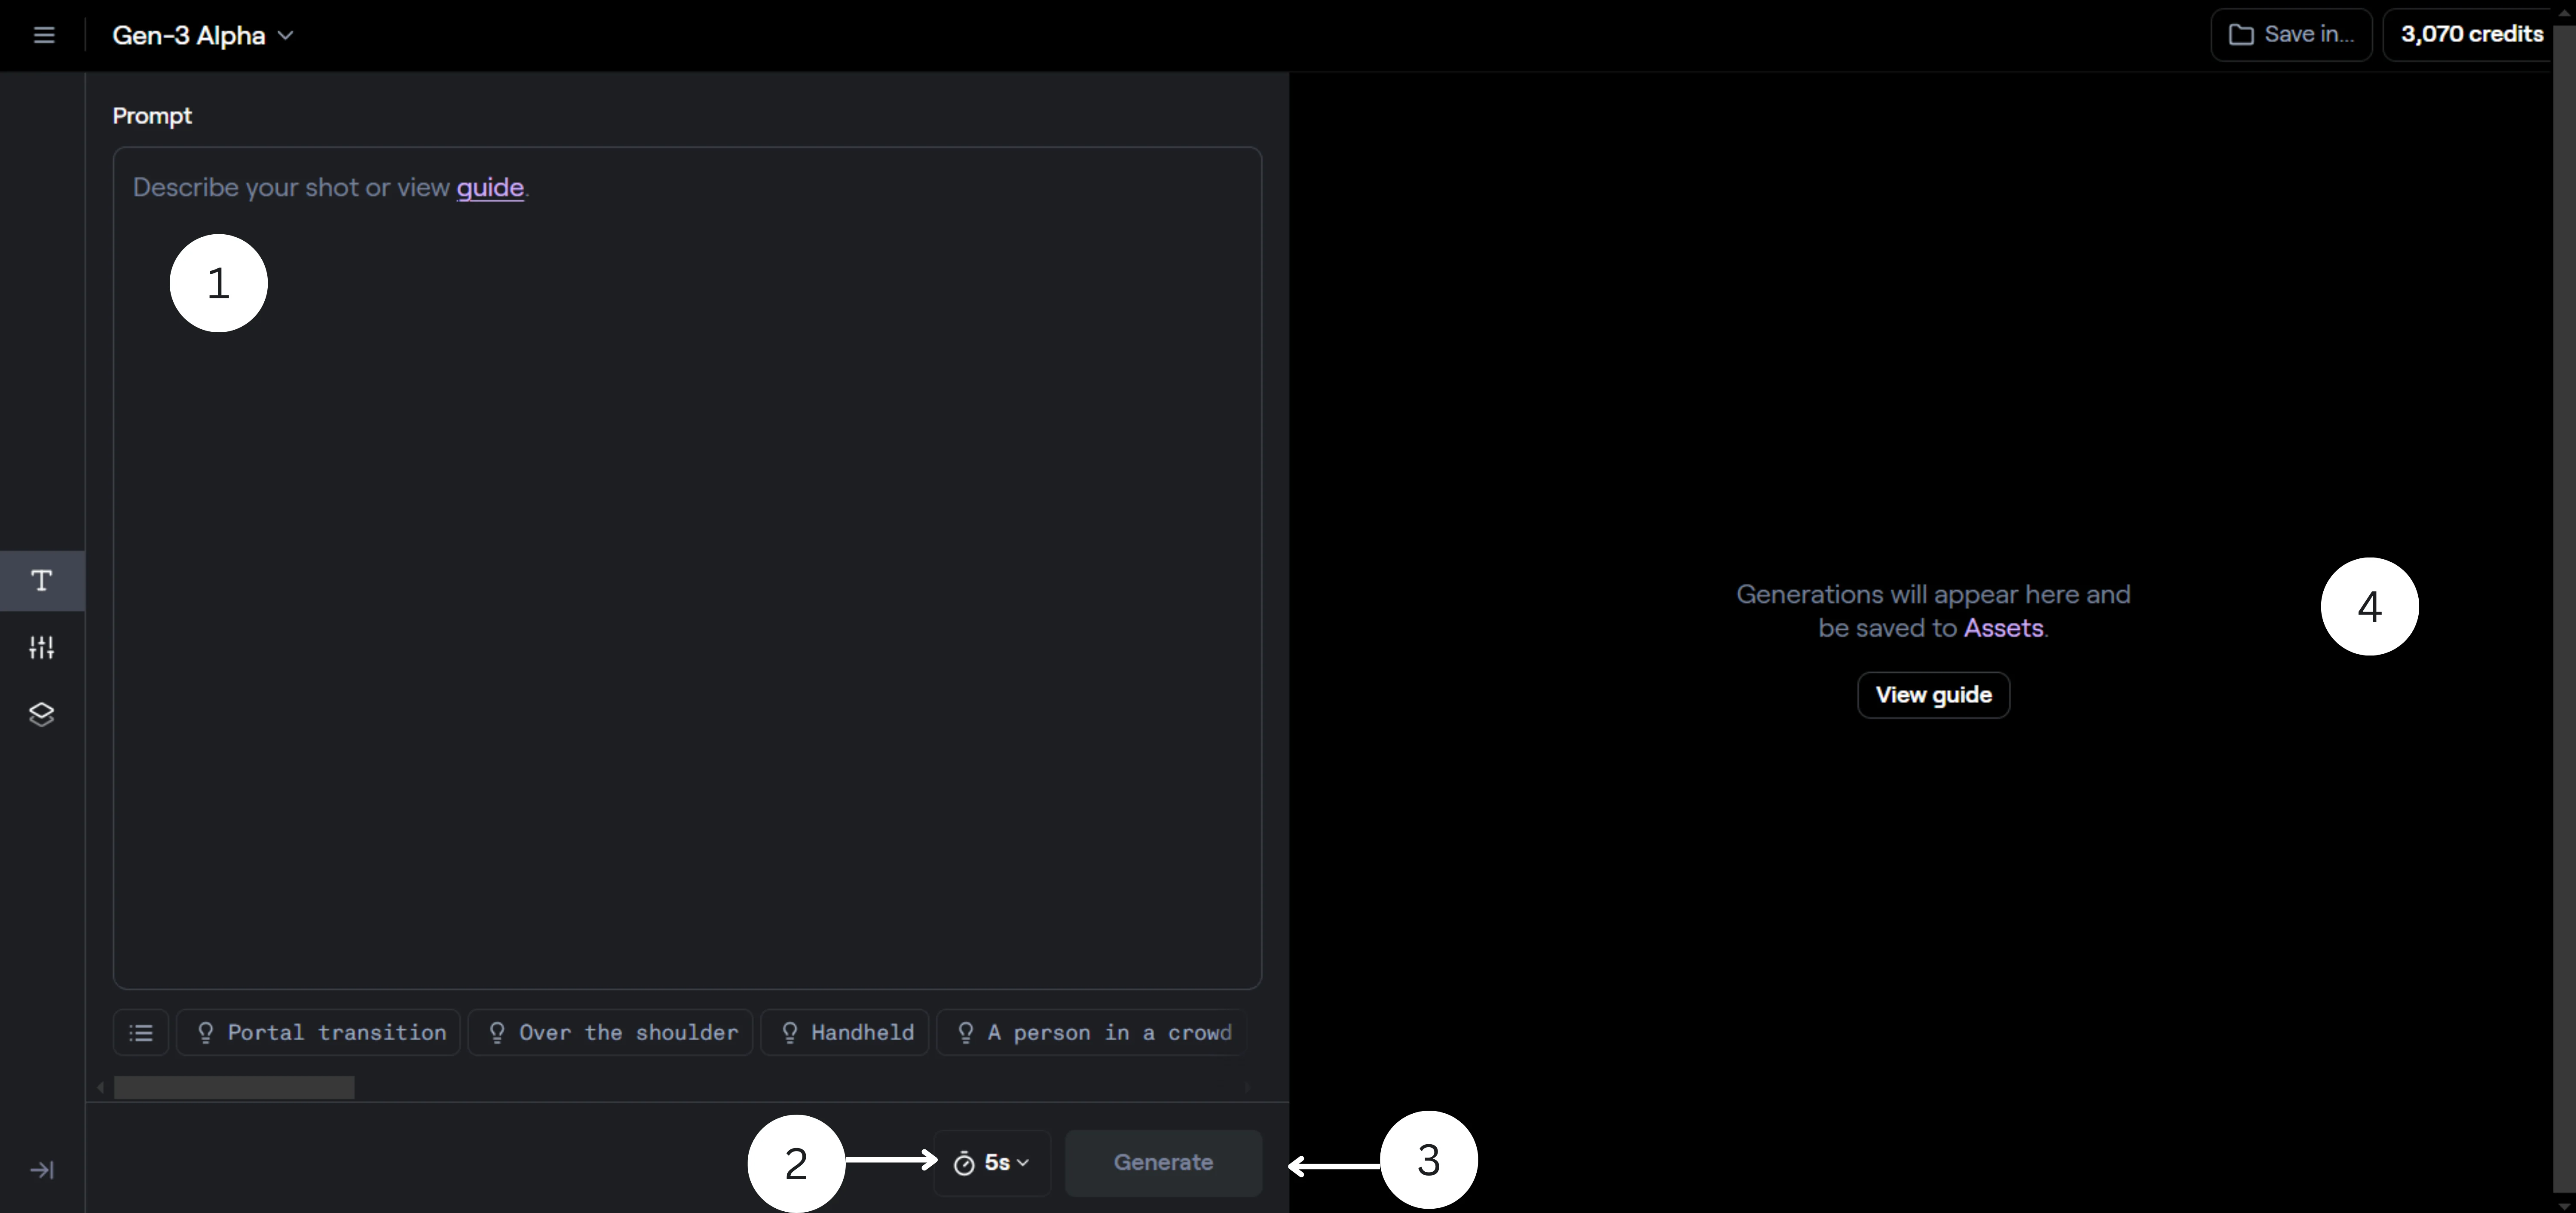
- Prompt Field: This is where you'll enter your text descriptions to generate videos.
- Duration Selector: Choose between 5 or 10-second video durations.
- Generate Button: Click this to start the video generation process.
- Results Area: This is where your generated videos will appear.
- Queue System: Your generation requests will be added to a queue. Generation times may vary depending on system load.
Take a moment to explore the interface. Don't worry if it seems overwhelming at first – we'll walk through each step together.
B. The anatomy of an effective prompt
At the heart of Gen3 Alpha's magic is the prompt – your textual instructions that the AI transforms into video. Crafting effective prompts is key to getting the results you want. Let's break down the components of a great prompt:
- Camera Movement: How the camera behaves in the scene.
- Establishing Scene: The primary setting or environment.
- Subject Description: Details about the main focus of the video.
- Lighting and Atmosphere: The mood and visual tone.
Here's a basic template to get you started:
[Camera Movement]: [Establishing Scene]. [Subject Description] [Action].[Lighting and Atmosphere]. [Additional Details].
Let's see this in action with an example:
.webp)
Slow panning shot: A sunlit meadow filled with wildflowers. A young deer grazes peacefully among the blooms. Soft morning light filters through nearby trees, casting dappled shadows. A gentle breeze causes the flowers to sway slightly.
Let's break this down:
- Camera Movement: Slow panning shot
- Establishing Scene: A sunlit meadow filled with wildflowers
- Subject Description: A young deer
- Action: Grazes peacefully among the blooms
- Lighting and Atmosphere: Soft morning light, dappled shadows
- Additional Details: Gentle breeze causing flowers to sway
Here's what the generated video might look like:
The AI will interpret your prompt and create a short video that aims to capture the essence of the scene you've described. Remember, AI interpretation can sometimes yield surprising results – that's part of the creative process!
Don't worry if it's not perfect - we'll refine our techniques as we go along.
Part 3: Mastering camera movements and angles
Now that we've created our first video, let's dive deeper into one of the most crucial aspects of video generation: camera movements and angles. These elements play a vital role in storytelling and setting the mood of your video.
Types of camera movements
3.1 Static shots
Static shots keep the camera in one position, perfect for establishing scenes or focusing on specific details.
Let's try an example:
Static wide shot: A bustling city intersection at rush hour. Cars and pedestrians move in all directions as skyscrapers loom overhead. Traffic lights change colors, guiding the flow of movement.
Notice how the static shot allows you to take in the entire scene, creating a sense of urban energy.
3.2 Panning shots
Panning involves rotating the camera horizontally, great for revealing landscapes or following action. Try this prompt:
Slow pan from left to right: A serene beach at sunset. The camera moves from a cluster of palm trees to reveal a stretch of golden sand, finally settling on a colorful beach bar with patrons enjoying tropical drinks.
Panning shots are generally used for creating a sense of discovery as they gradually unveils the scene.
3.3 Tracking shots
Tracking shots follow a moving subject, creating a sense of journey or companionship. Let's experiment with this prompt:
Tracking shot: The camera follows a red vintage car as it winds through a narrow Italian street. Colorful buildings pass by on either side, and locals wave from balconies above.
After generating this video, notice how the tracking shot immerses you in the journey, making you feel like you're riding along.
3.4 Aerial shots
Aerial perspectives can add grandeur and context to your scenes. Try this prompt:
Aerial shot slowly descending: A vast redwood forest stretches as far as the eye can see. The camera gradually lowers, moving through the canopy to reveal a hidden treehouse nestled among the giant trees.
Generate this video and observe how the aerial shot transitions from a grand scale to a more intimate scene, adding a sense of discovery.
3.5 Dolly shots
Dolly shots involve moving the camera towards or away from a subject. This creates a dynamic change in perspective and can be used to heighten emotional intensity, reveal information, or create a sense of intimacy or distance.
Slow dolly in: A dimly lit art gallery. As the camera moves forward, focus on a mysterious painting at the far end. The artwork seems to come alive as we approach, its brushstrokes and colors becoming more vivid and detailed.
Use dolly shots to gradually focus on a subject, build tension, or create a dramatic reveal within your scene.
3.6 Crane shots
Crane shots move the camera vertically, horizontally, or in a combination of both. They offer smooth, sweeping movements that can add a sense of scale or grandeur to a scene.
Crane shot ascending: Start at street level in a futuristic mega-city. The camera smoothly rises, revealing layers of elevated highways, flying vehicles, and towering skyscrapers. End on a panoramic view of the entire cyberpunk cityscape.
Use crane shots for dramatic reveals, to transition between different levels of a setting, or to create a sense of floating or flying through a space.
Tips for effective camera work in prompts
- Be Specific: Describe not just the movement, but also its speed and any changes in focus or direction.
- Consider Perspective: Think about how the camera's position affects the viewer's experience of the scene.
- Combine Movements: Don't be afraid to combine different camera movements in a single prompt for more dynamic results.
- Practice: Experiment with different camera movements and angles to see how they affect your scenes.
Remember, the key to effective camera work in Gen3 is being specific in your prompt. The more clearly you can describe the camera's behavior, the better the AI can create the shot you're envisioning.
Part 4: Crafting atmosphere through lighting
Lighting is a powerful tool for setting mood and atmosphere in your Gen3 Alpha videos. By describing the quality, source, and color of light, you can dramatically alter the emotional impact of a scene.
Let's explore some lighting techniques:
4.1 Natural daylight
Natural daylight is versatile and can create various moods depending on the time of day, weather conditions, and season. Bright midday sun produces strong, harsh shadows and vibrant colors, ideal for high-energy scenes.
Bright midday sun: A lively public park. Families picnic on checkered blankets while joggers run along sun-dappled paths. The harsh overhead light creates strong shadows, emphasizing the vibrant colors of flowers and clothing.
Midday sun creates strong contrasts and vibrant colors. It's great for energetic, outdoor scenes. For softer lighting, consider specifying "early morning" or "late afternoon" in your prompt.
4.2 Golden hour
The warm, soft light just after sunrise or before sunset can add a magical quality to your scenes. Try this prompt:
Golden hour lighting: A wheat field stretches to the horizon. A farmer walks between the rows, running his hand over the golden stalks. The low sun bathes everything in a warm, honeyed glow, creating long, dramatic shadows.
‘Golden hour’ lighting adds a sense of warmth and nostalgia to the scene. It's excellent for outdoor portraits, landscapes, and establishing shots that require a sense of beauty or tranquility.
4.3 Dramatic lighting
Dramatic lighting, often inspired by chiaroscuro techniques in painting, uses strong contrasts between light and dark to create mood and direct focus. This style typically involves a single, intense light source creating deep shadows and highlighted areas.
Chiaroscuro lighting: A dimly lit study room. An old scholar reads an ancient manuscript. A single, strong light source from the right casts deep shadows, dramatically highlighting the scholar's focused expression and the intricate details of the manuscript.
4.4 Night and artificial lighting
Nighttime scenes offer creative opportunities with artificial light sources. Streetlamps, neon signs, car headlights, and window illumination can create complex, moody atmospheres. This lighting is perfect for urban scenes, creating contrast between light and shadow.
Neon-lit night: A rain-slicked city street. Puddles reflect a kaleidoscope of colors from neon signs advertising bars and clubs. A lone figure in a trench coat walks under the glow of a flickering street lamp.
It's ideal for noir-inspired looks, cyberpunk aesthetics, or intimate nighttime moments. The interplay of different colored light sources can add depth and visual interest.
Tips for effective lighting in prompts
- Be specific about light quality: Describe whether the light is soft, harsh, diffused, etc.
- Mention color temperature: Specify if the light is warm, cool, or a specific color.
- Describe light interaction: Explain how light interacts with the environment (reflections, shadows, etc.).
- Consider time of day: The position of the sun can greatly affect the mood of outdoor scenes.
- Experiment with contrast: Play with the balance between light and shadow for dramatic effect.
Part 5: Playing with movement and action
Movement and action are essential for creating engaging, dynamic videos with Gen3 Alpha. By describing how elements in your scene move and interact, you can create a sense of life and energy.
Let's explore some techniques:
5.1 Character movement
Character movement can convey emotion, purpose, and personality. It ranges from subtle gestures to complex actions, each adding depth to your scene. Prompt:
Medium shot: A skateboarder glides down a city street. He weaves effortlessly between pedestrians, his movements smooth and confident. The wheels of the skateboard create a rhythmic sound as he navigates the bustling environment.
It encompasses everything from subtle facial expressions to grand physical actions. In Gen3 Alpha prompts, describing character movements in detail can bring your scenes to life.
5.2 Slow motion
Slow motion is a technique that stretches time, allowing viewers to see details that would be missed at normal speed. This effect can add drama, emphasize the grace or power of a movement, or heighten emotional impact. In action scenes, slow motion can make impacts more visceral and intense.
Prompt:
Slow motion close-up: A boxer lands a powerful punch on a speed bag. Sweat droplets fly off in an arc, catching the light. The bag deforms on impact before snapping back, vibrating intensely.
When using slow motion in Gen3 Alpha prompts, consider not just the primary action, but also secondary motions like hair moving or fabric rippling. The contrast between slow-motion elements and normal-speed backgrounds can create striking visual effects.
5.3 Time-lapse
Time-lapse compresses long periods into short sequences, revealing patterns and changes that are normally imperceptible to the human eye. This technique is excellent for showing natural processes like plants growing, clouds moving, or stars wheeling across the sky.
Prompt:
Time-lapse wide shot: A busy city square transforms from day to night. The sun arcs across the sky as shadows lengthen. Street lights flicker on, and the flow of traffic changes from cars to nighttime revelers. Building lights create a twinkling urban landscape.
5.4 Particle motion
Particle motion involves the movement of many small elements, creating textures and atmospheric effects. This can include natural phenomena like falling snow, floating pollen, or swirling dust, as well as artificial effects like sparks, confetti, or digital particles.
Prompt:
Close-up shot: A handful of cherry blossom petals caught in a gentle breeze. The delicate pink petals swirl and dance in intricate patterns, some drifting close to the camera while others float off into the distance against a soft-focus background.
In Gen3 Alpha prompts, describing particle motion can add depth and complexity to your visuals. Consider the density, speed, and pattern of the particles, as well as how they interact with light and other elements in the scene.
5.5 Liquid motion
Liquid motion captures the mesmerizing flow and interaction of fluids. This can range from the gentle ripples on a pond to the dramatic crash of ocean waves, or from the smooth pour of a drink to the chaotic splatter of paint.
Prompt:
Macro shot: Two drops of differently colored inks collide in clear water. Upon impact, they create a hypnotic explosion of swirling tendrils, slowly expanding and intertwining in a cosmic-like dance of color and form.
Liquid motion can create mesmerizing, abstract visuals. Experiment with different viscosities, colors, and interactions for unique effects.
5.6 Environmental motion
Environmental motion refers to the dynamic elements in a scene's background or setting. This type of movement adds depth and realism to your videos, creating a living, breathing world. It can include natural elements like swaying trees, rippling water, or shifting clouds, as well as human-made motion like traffic in a city or machinery in a factory.
Prompt:
Wide shot: A serene forest in autumn. Leaves gently fall from the trees, swirling in the breeze. A crystal-clear stream flows through the scene, with ripples forming as the water moves over rocks and pebbles.
In Gen3 Alpha, detailed descriptions of environmental motion can significantly enhance the immersive quality of your videos.
Tips for effective movement and action in prompts
- Be specific about speed: Describe whether movements are quick, slow, sudden, or gradual.
- Use vivid verbs: Choose descriptive verbs that paint a clear picture of the action (e.g., "glides" instead of "moves").
- Consider rhythm: Think about how different movements in the scene work together to create a visual rhythm.
- Describe cause and effect: If one action causes another, make sure to include both in your prompt.
- Experiment with scale: Play with movements at different scales, from subtle facial expressions to grand environmental changes.
Part 6: Incorporating text and typography
Gen3 Alpha's ability to integrate text elements into your videos opens up a world of creative possibilities. From eye-catching title sequences to informative captions and artistic typography, text can enhance your video's message and visual appeal.
Let's explore how to effectively use text in your prompts, with a focus on creating engaging content for "Ben's Bites.”
6.1 Simple title reveal
A simple title reveal is a clean, straightforward way to introduce text in your video. It's ideal for opening credits, introducing a new section, or displaying key information without distracting from the main visuals.
Prompt:
Cinematic shot: Static shot of a wooden board in a forest reading the text "Ben's Bites" centered on the board in a bold, black serif font.
This technique works well when you want to maintain a professional, uncluttered look for your videos and don’t need much dynamism.
6.2 Dynamic text interaction
Dynamic text interaction involves integrating text with the elements in your scene. This technique can create visually interesting effects where the text seems to be part of the environment.
Prompt:
Close-up of sizzling pan. Steam rises to form the words "Ben's Bites" briefly before dissipating.
It's an excellent way to grab viewer attention and make your branding more memorable.
6.3 Animated typography
Animated typography brings your text to life through motion and transformation. This technique is particularly effective for creating engaging intros, transitions, or highlighting key points in your videos.
Prompt:
The words "Ben's Bites" appear with each letter bouncing into place one by one, creating a playful and dynamic effect.
It allows for creative expression and can help reinforce the energetic, fresh nature of your brand.
Tips for effective text integration in prompts
- Font selection: Specify the font style to match your brand identity.
- Color and texture: Describe the text's color and texture for visual appeal.
- Text animation: Clearly state how the text should appear or move.
- Positioning: Indicate where the text should be positioned in the frame.
- Interaction: Describe any interactions between the text and scene elements.
- Legibility: Ensure your text remains readable against the background.
- Thematic Consistency: Align text effects with your video's overall theme.
Part 7: Advanced techniques: Combining elements
As you become more comfortable with Gen3 Alpha, you can create more complex and nuanced scenes by combining multiple elements. This is where your creativity can really shine, crafting unique and engaging videos that truly capture the essence of "Ben's Bites".
Let's explore some advanced techniques:
7.1 Mixing camera movements and lighting
Combining dynamic camera work with specific lighting can create cinematic effects that elevate your videos. Let's try an example:
Slow zoom: A beautifully plated dish sits on a wooden table by a window. As the camera moves, the light shifts from warm golden hour to cool twilight, revealing the cozy restaurant interior.
This prompt creates a complex shot that changes both perspective and atmosphere over time. Here's what to look for when you generate this video:
- Dolly zoom effect: This creates a disorienting yet captivating visual effect where the subject (the dish) remains the same size while the background seems to stretch or compress.
- Lighting transition: The shift from golden hour to twilight not only showcases the versatility of the restaurant's ambiance but also implies that Ben's Bites is a destination for both lunch and dinner.
7.2 Blending styles and transitions
Merging different visual styles or using creative transitions can make your videos stand out. Let's experiment with a unique transition:
Two scenes: In the first, a close-up of a chef chopping vegetables. In the next, a colorful scene of diners enjoying a meal. As the chef's knife cuts a tomato, color spreads, transforming the whole scene into a vibrant restaurant setting.
Tips for combining elements
- Ensure each element serves a purpose: When combining multiple techniques, make sure each one contributes to the overall story you're trying to tell.
- Consider interactions: Think about how different elements (lighting, camera movement, actions) interact and complement each other.
- Balance complexity: While complex scenes can be impressive, ensure they don't become overwhelming. The focus should still be on the main subject and atmosphere.
- Use contrast: Combining contrasting elements (like black and white to color transitions) can create visually striking effects.
- Think in layers: When crafting complex scenes, think in terms of foreground, mid-ground, and background to create depth.
- Experiment: Don't be afraid to try unexpected combinations – you might discover exciting new ways to showcase your scenes!
Part 8: Troubleshooting and refinement
Even with well-crafted prompts, you may not always get exactly what you envisioned on the first try. This is a normal part of the creative process with AI tools. Let's explore some strategies for troubleshooting and refining your results.
Common issues and solutions
8.1 Lack of detail
If your generated video lacks the level of detail you were expecting, try adding more specific descriptors to your prompt.
Original prompt:
A chef cooking in a kitchen.
Refined prompt:
A chef with a handlebar mustache expertly flips vegetables in a sizzling wok.
8.2 Incorrect interpretation
Sometimes, Gen3 Alpha might misinterpret certain elements of your prompt. In these cases, try to be more explicit about your intentions.
Original prompt:
A cool car drives down the street.
Refined prompt:
A sleek, electric blue sports car with gull-wing doors cruises down a palm-lined boulevard.
8.3 Inconsistent style
If the style of your video isn't consistent throughout, try specifying the desired style more clearly in your prompt.
Original prompt:
A cartoon character walks through a realistic forest.
Refined prompt:
A 2D animated cartoon character, reminiscent of classic Disney style, walks through a photorealistic, lush green forest.
Iterative approach
Remember, creating the perfect video often requires multiple attempts. Here's a step-by-step approach to refining your results:
- Start with a basic prompt and generate a video.
- Analyze the result, noting what works and what doesn't.
- Adjust your prompt based on your observations, being more specific about elements that weren't captured correctly.
- Generate a new video with the refined prompt.
- Repeat steps 2-4 until you're satisfied with the result.
Utilizing seed values
Gen3 Alpha allows you to "fix" the seed value for a generation. This means you can recreate the same video multiple times, which is useful when you want to make small adjustments without completely changing the scene.
To use this feature:
- Generate a video that's close to what you want.
- Note the seed value (usually displayed in the setting of video generator UI).
- Refine your prompt slightly.
- Use the same seed value when generating the new video.
- You can also fix you seed by heading to settings and toggling “Fixed seed”.
Congratulations! You've now explored the key techniques for crafting effective prompts for Runway ML's Gen3 Alpha. From understanding the basic structure of prompts to combining complex elements and considering ethical implications, you've gained the knowledge to create stunning AI-generated videos.
Working with Gen3 Alpha will likely be a process of discovery. You may find some aspects intuitive and others more complex. As with any tool, its effectiveness will depend on how well it aligns with your specific needs and how you choose to apply it.
This tutorial was created by Tanmay.