How to run AI models locally on your PC
Learn how to run AI models locally using LM Studio, allowing for enhanced privacy and offline use.
2024-12-20
Protecting sensitive data while using AI capabilities presents a significant challenge for professionals across industries. Medical practitioners, legal teams, and business consultants often need AI assistance but can't risk uploading confidential documents to cloud services. Local AI processing addresses this crucial need, enabling completely private document analysis and interactions.
In this tutorial, you will learn how to:
- Install and set up LM Studio
- Download and load AI models
- Interact with local AI models
- Chat with your documents using RAG
- Use advanced features like structured outputs and local API server
Let's dive in.
Understanding Local AI
Local AI largely means downloading and running an LLM (Large Language Model) on your Mac or PC. Since these LLMs are pretty big, they need a good chunk of your computer's power to run. But the upside? You're in complete control. No need to send your data to some big company like Google or OpenAI—it all stays put on your machine.
Let’s get deeper: Local LLMs come in various sizes and capabilities. Smaller, more efficient models can run on standard consumer hardware, making them accessible to most users. Larger, more powerful ones require high-end GPUs for optimal performance.
This approach offers several key advantages:
- Enhanced privacy: Your data and queries never leave your device, ensuring complete confidentiality.
- Offline capability: You can use AI functionality without an internet connection, ideal for remote work or travel.
- Customization: You can fine-tune local models to your specific needs or domain expertise.
In this tutorial, we'll use LM Studio to run LLMs locally on your PC. LM Studio stands out among local AI tools for its user-friendly interface and powerful features.
Alternative solutions like Ollama are more suitable for programmers, often only accessible by a CLI. LM Studio offers a chat interface that strikes a balance between user-friendliness and advanced features, making it appealing to both casual users and those seeking more technical control over their local AI models.
Step 1: Install and Set Up LM Studio
Now, let’s begin by installing and setting up LM Studio on your PC. Open your web browser and go to the official LM Studio website. On the homepage, you’ll see the available downloads for different OS.
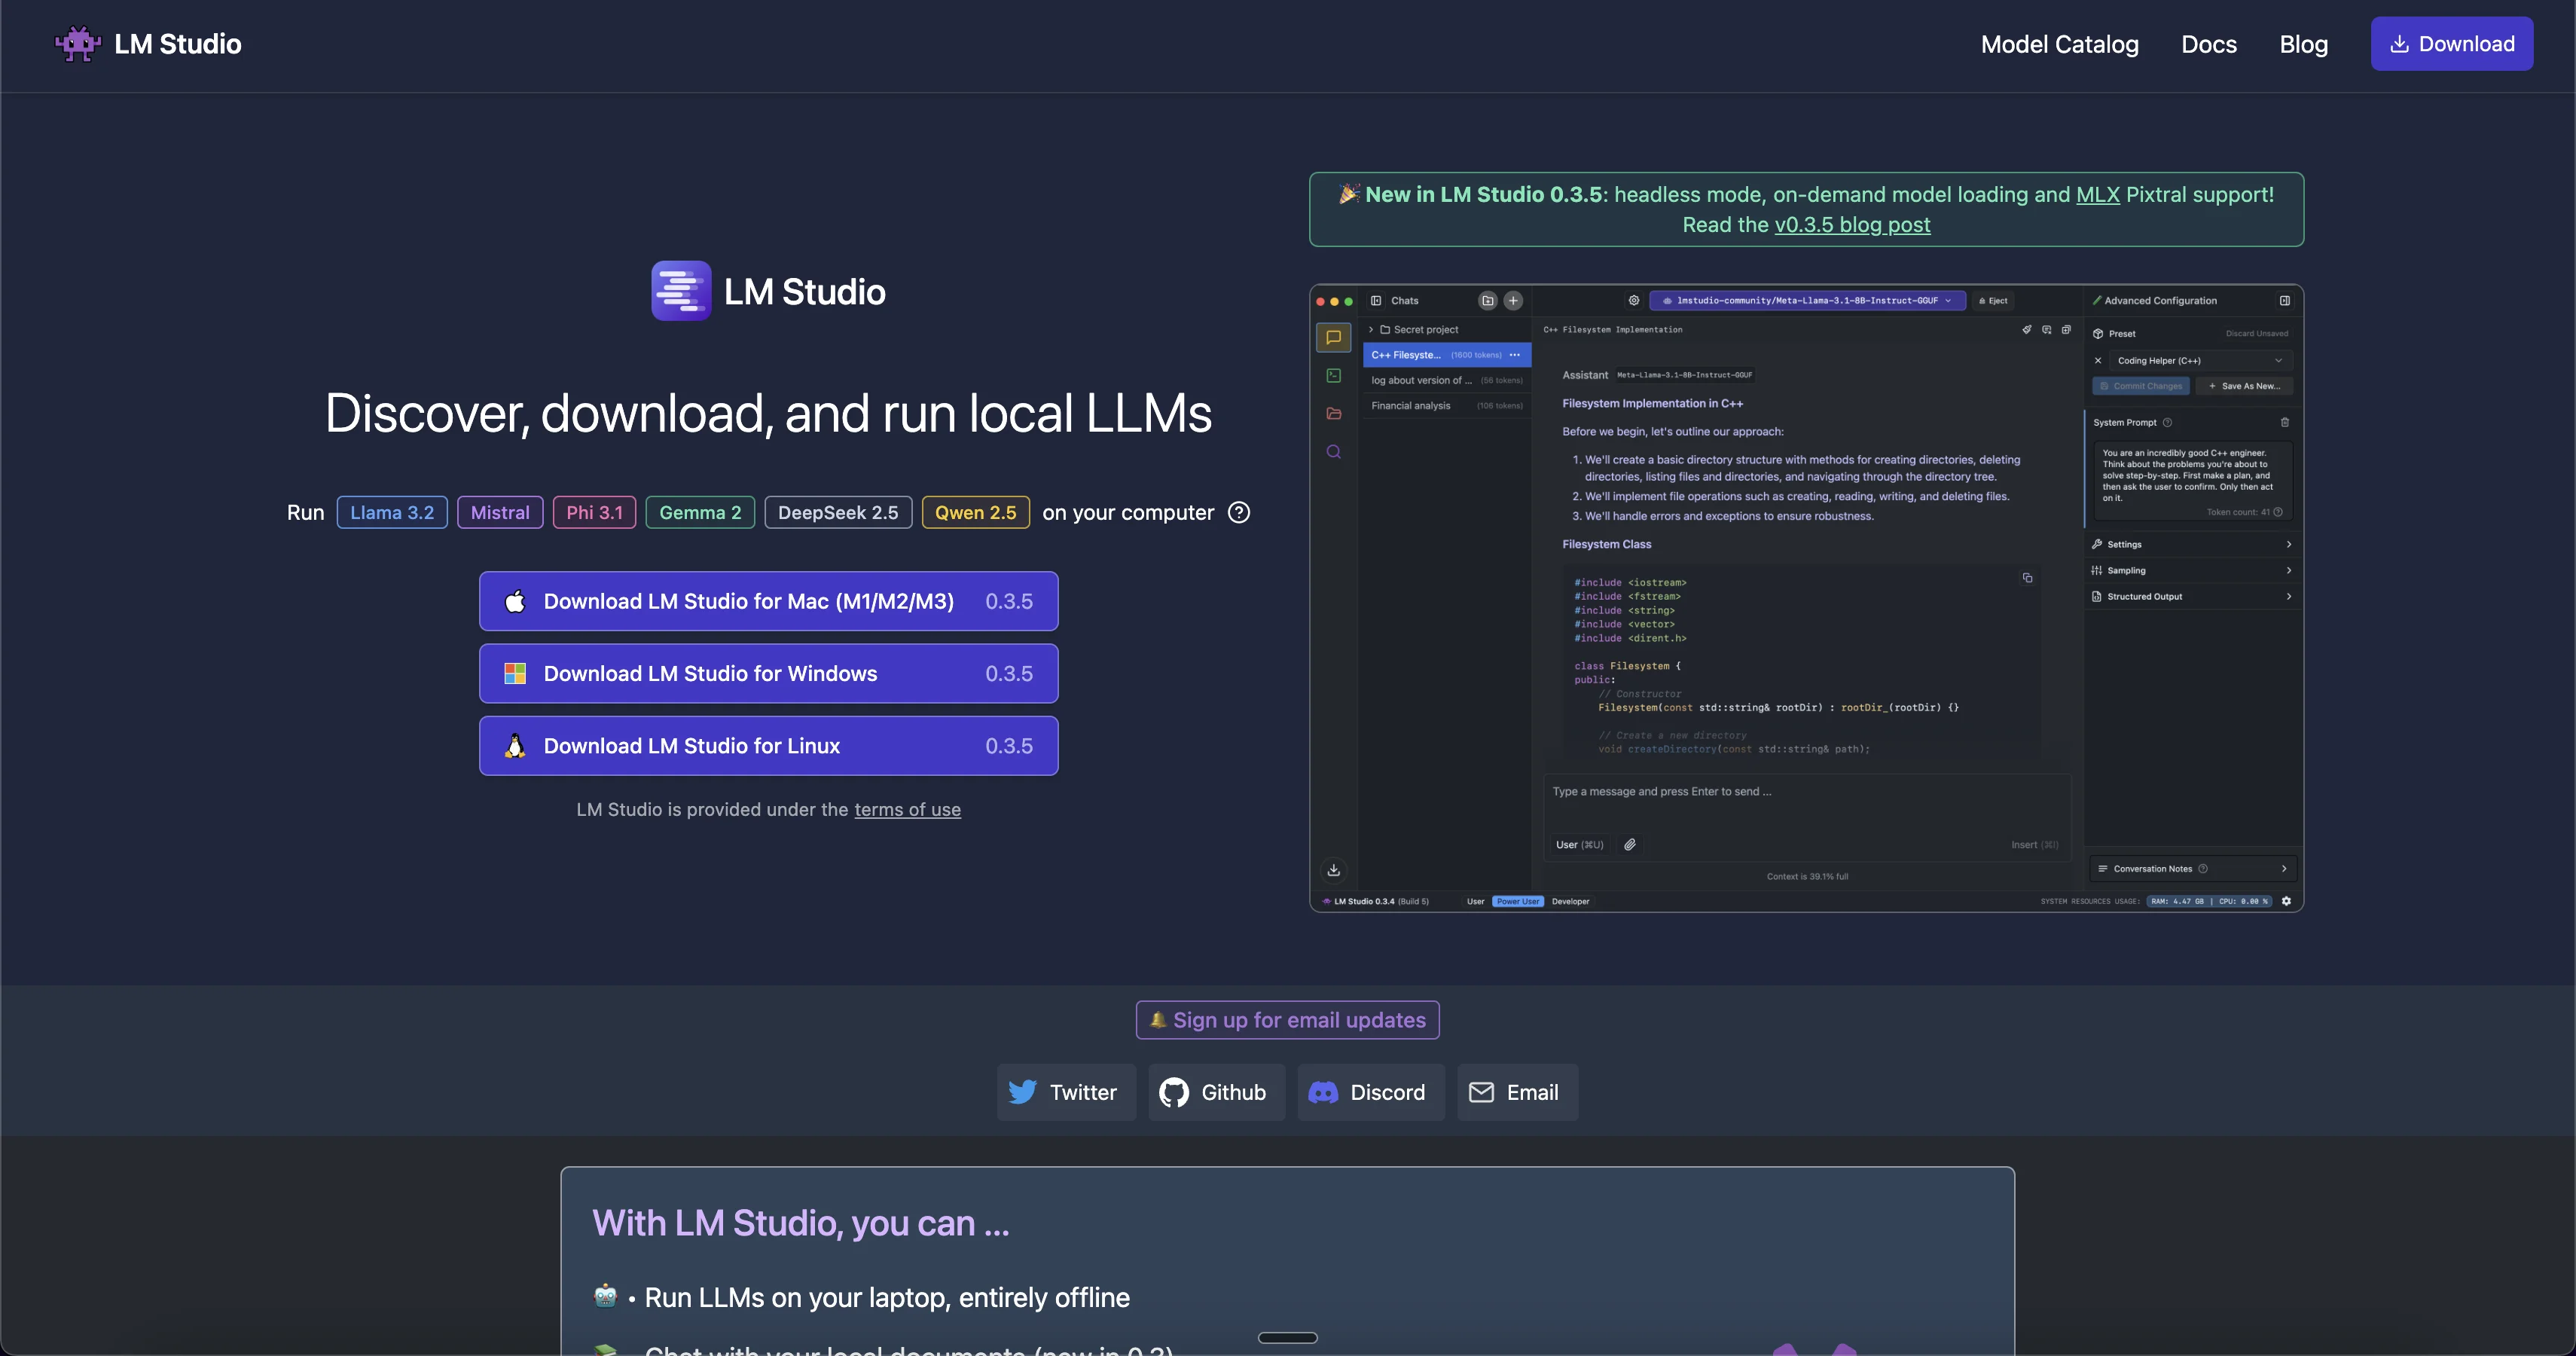
Select and download the version appropriate for your operating system (Windows, macOS, or Linux).
After installation, launch LM Studio. When it opens for the first time, you'll see a ChatGPT-style interface. Let's explore the key components you'll be working with:
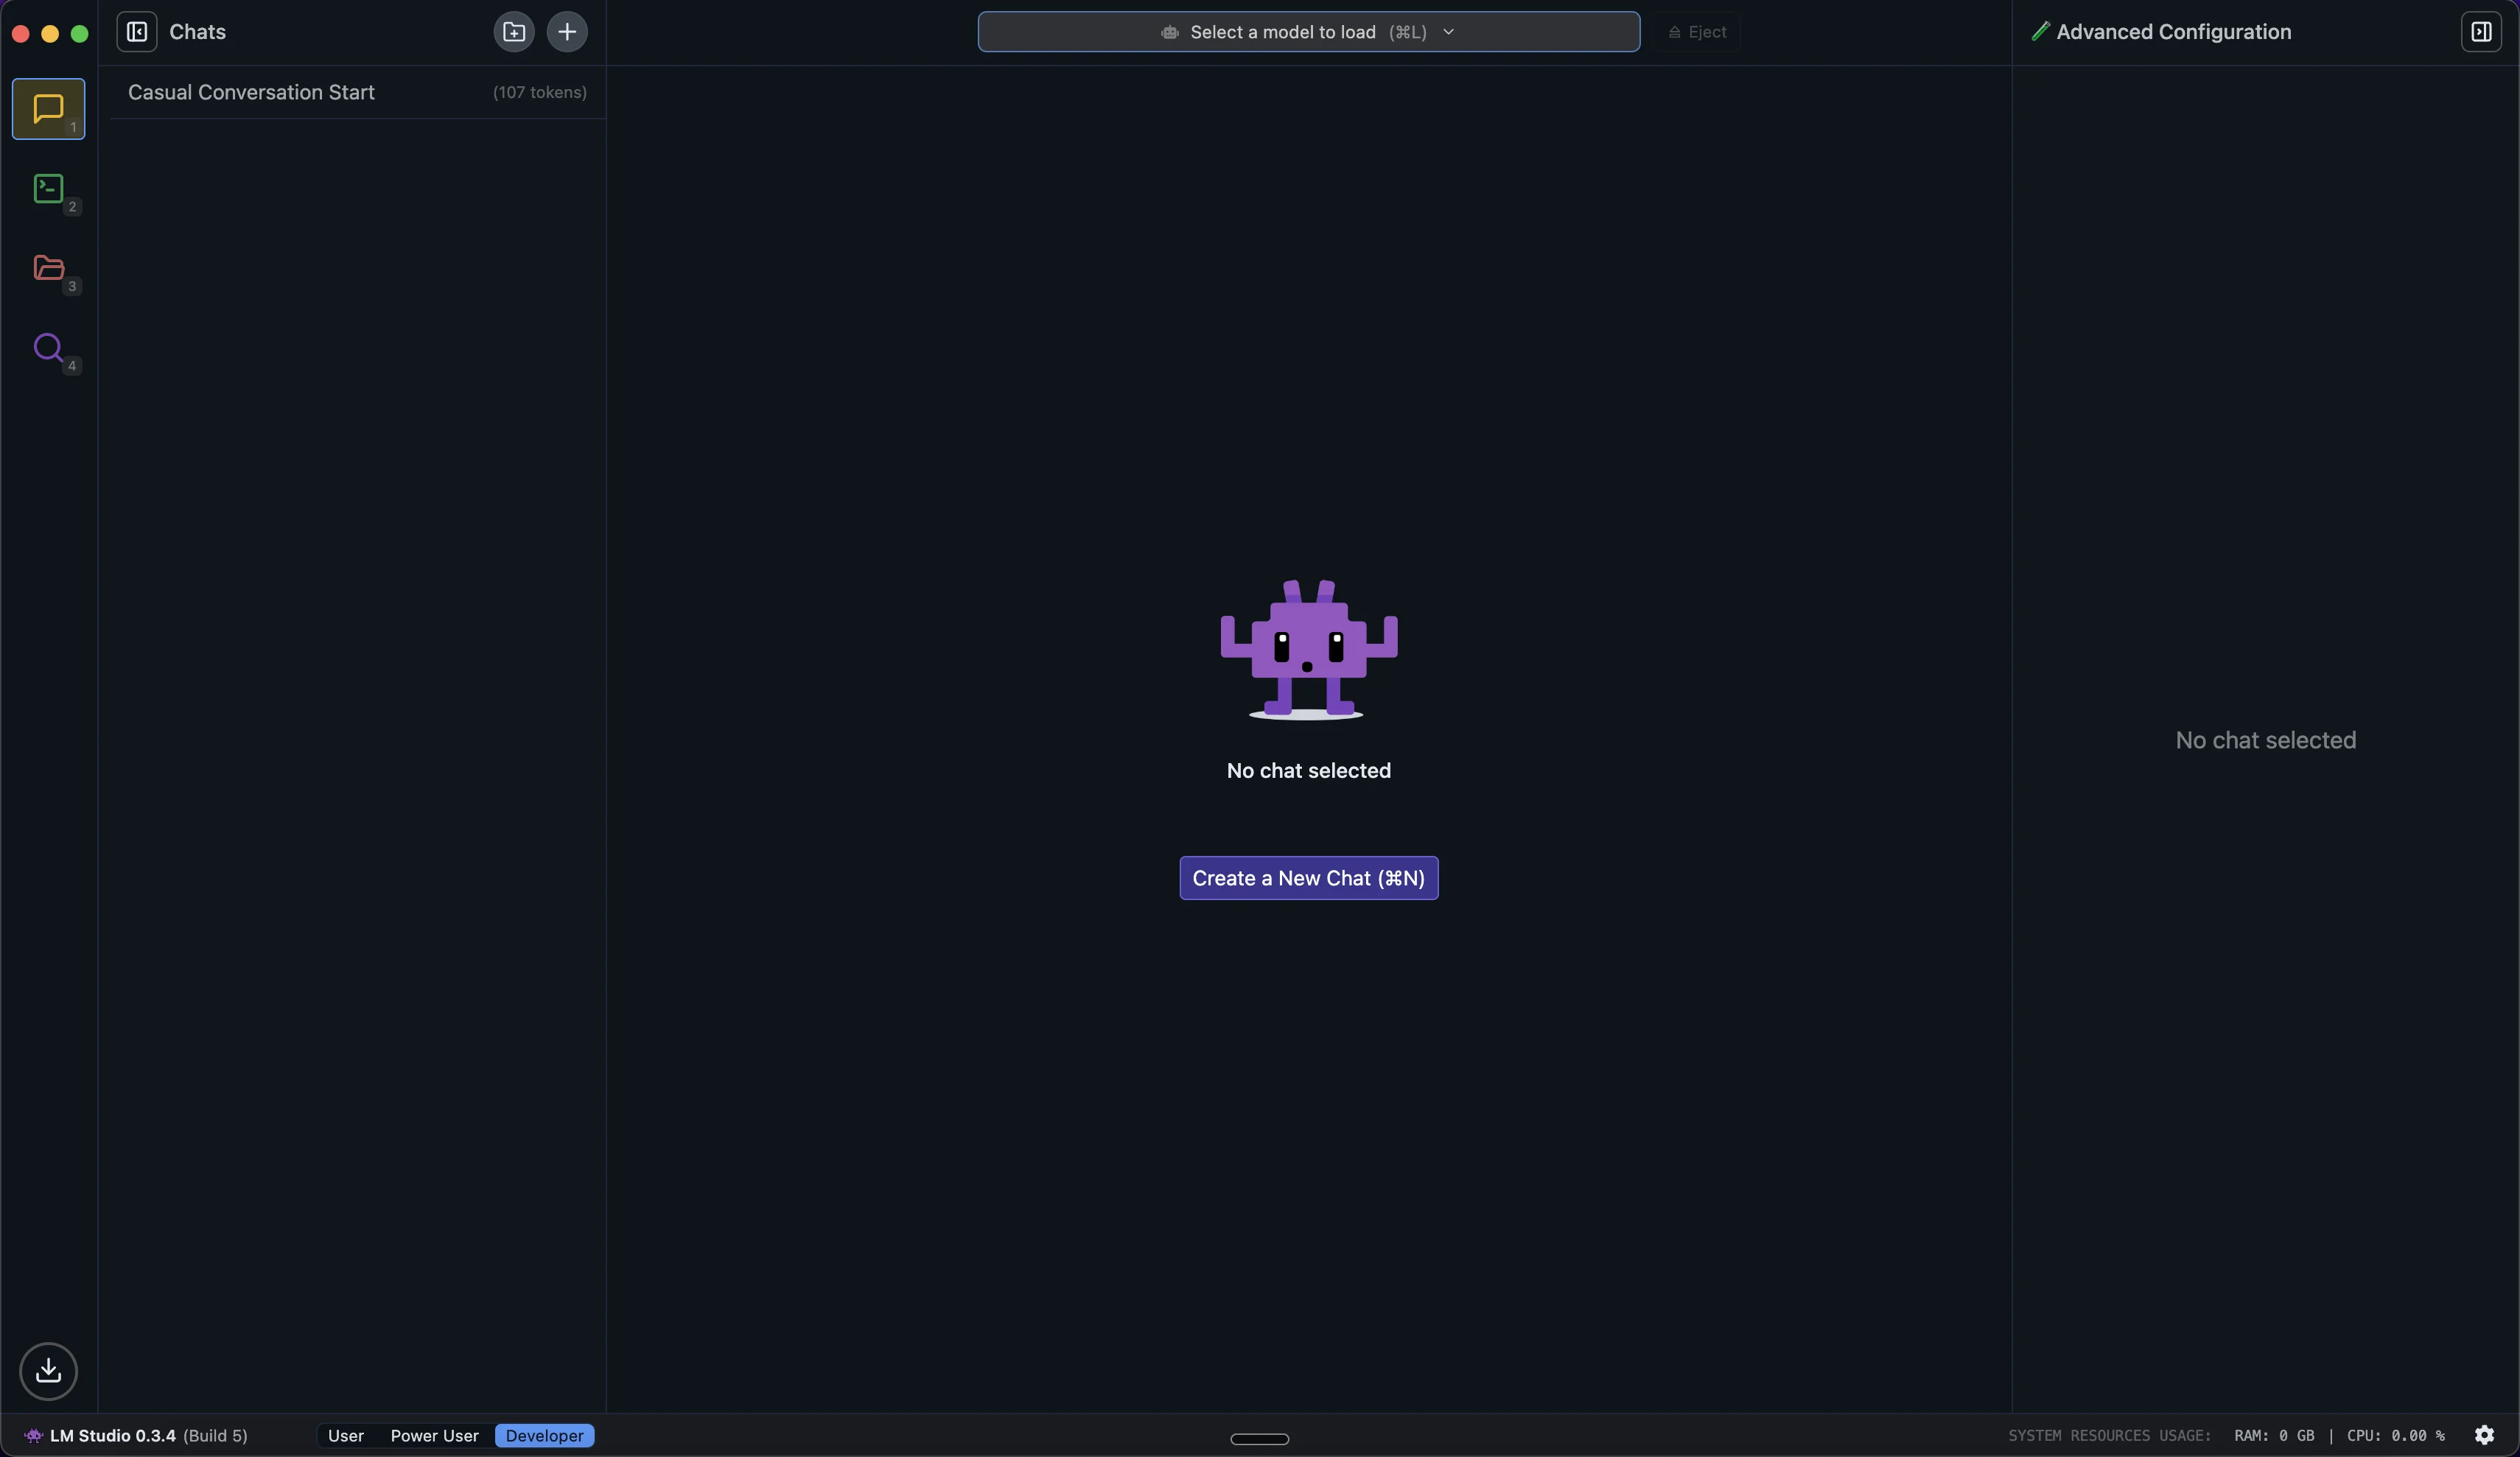
Left Sidebar Navigation:
- Chat: Here you can create new conversations, access existing chats, and interact with your loaded models. It’s our AI conversation dashboard to manage all chats with the models.
- Developer: Use this menu to access development tools and API settings. If you plan to integrate LM Studio into your applications, this is where you'll find the API documentation, endpoint configurations, and testing tools.
- My Models: This section is the library of all our downloaded models. You can view model details, manage storage, and see which models are currently loaded. It shows each model's size and format.
- Discover: Browse curated collections, search for specific models from Hugging Face, and see detailed information about each one's capabilities, size requirements, and compatibility with your system.
The interface is designed to be straightforward while offering powerful capabilities. As you use LM Studio, you’ll find these components work together for a smooth experience running AI models locally. We’ll start with the basics and explore additional functionality as you become more comfortable.
Step 2: Download and load AI models
Now that we're familiar with the interface, let's download a model to run locally from Hugging Face, a popular platform for sharing machine learning models. For most consumer-grade hardware, those with sizes ranging from 1B to 13B parameters work well.
We'll use Meta Llama 3.1 8B, which should run smoothly on most consumer-grade devices. However, if you have a lower-end PC, opt for models with fewer parameters, like the 3B versions.
Click the "Discover" tab in the sidebar and you'll see options for downloading various AI models under "Staff picks" or browse through all others in the "Search all" tab.
Let's download the Llama 3.1 8B model. Search using the model name in the search bar.
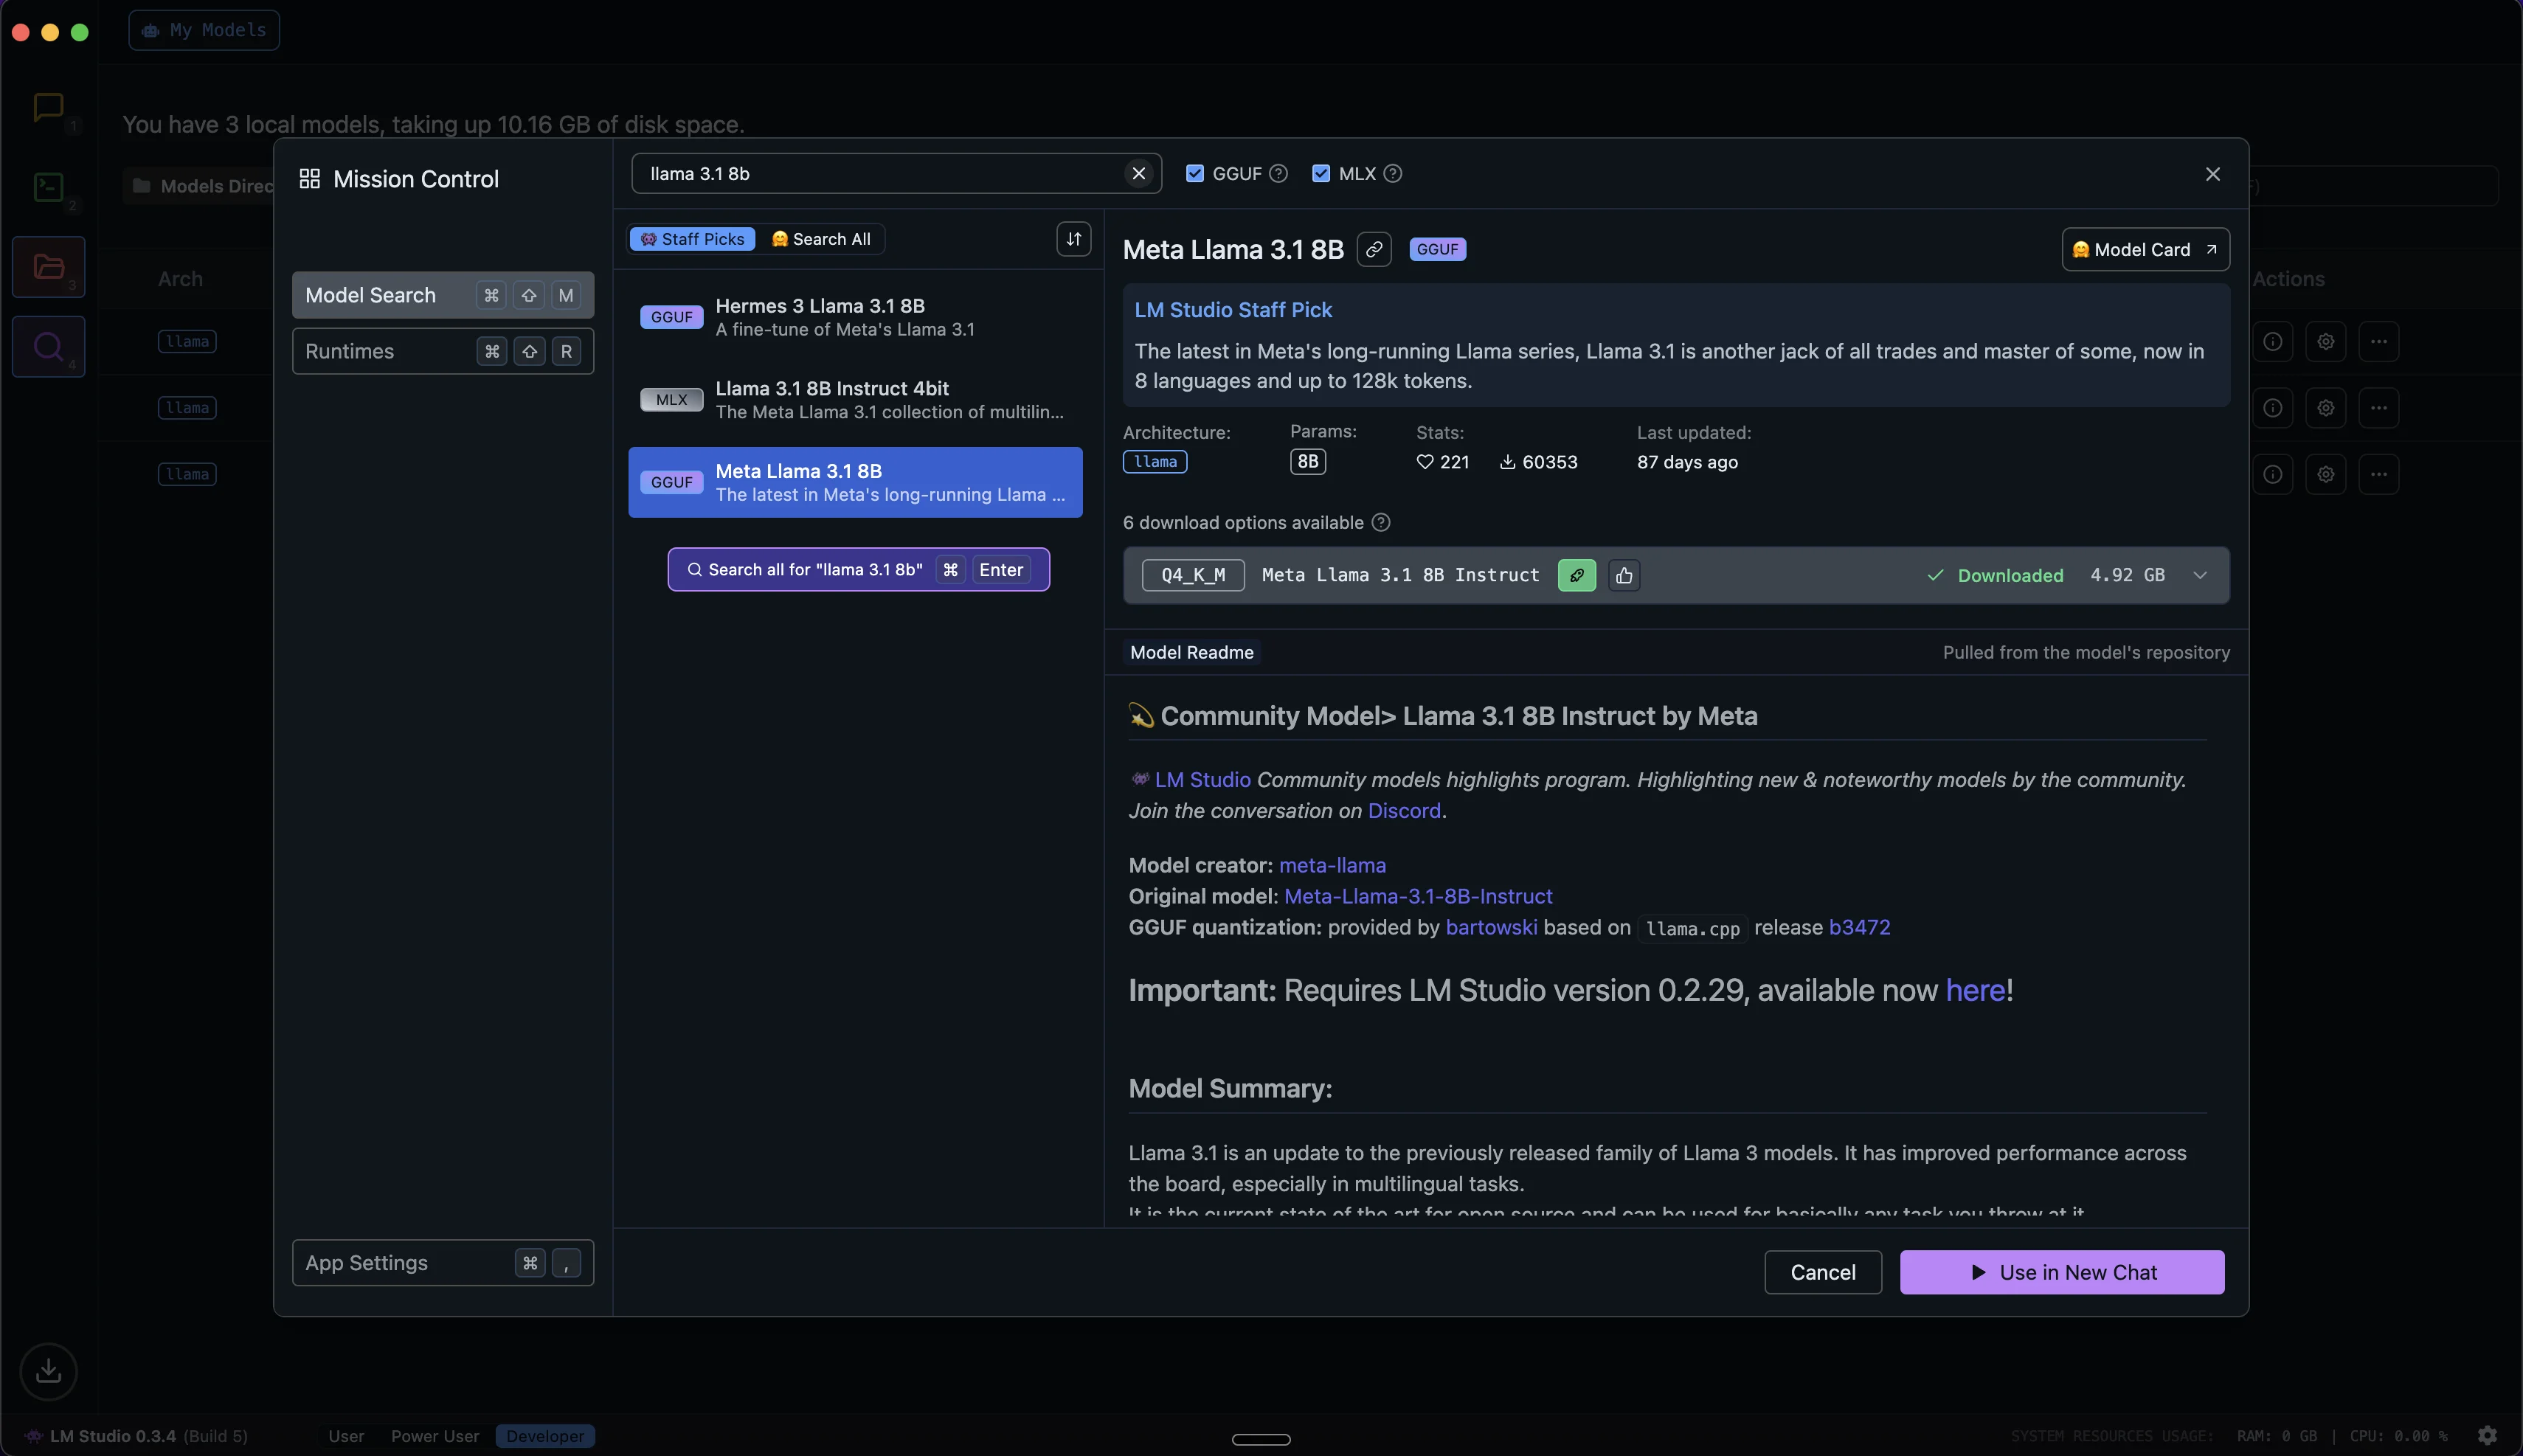
Next to your chosen version, there's a download button. Click it to start the download. The model size will be several gigabytes, so ensure you have adequate storage space and a stable internet connection.
Once the download is complete, click the "Chat" tab in the left sidebar to go to the chat area. At the top of this interface, you'll see a dropdown menu. Click it to see available models. Find the Llama model we just downloaded and click its name to load it.

Step 3: Interacting with Local AI Models
With our model loaded, let's start interacting with it. The LM Studio chat interface should look familiar if you've used other AI chatbots (e.g., ChatGPT, Claude).
To begin, type a message or question in the text box at the bottom. For example, let’s try:
Explain the concept of running AI models locally in simple terms.
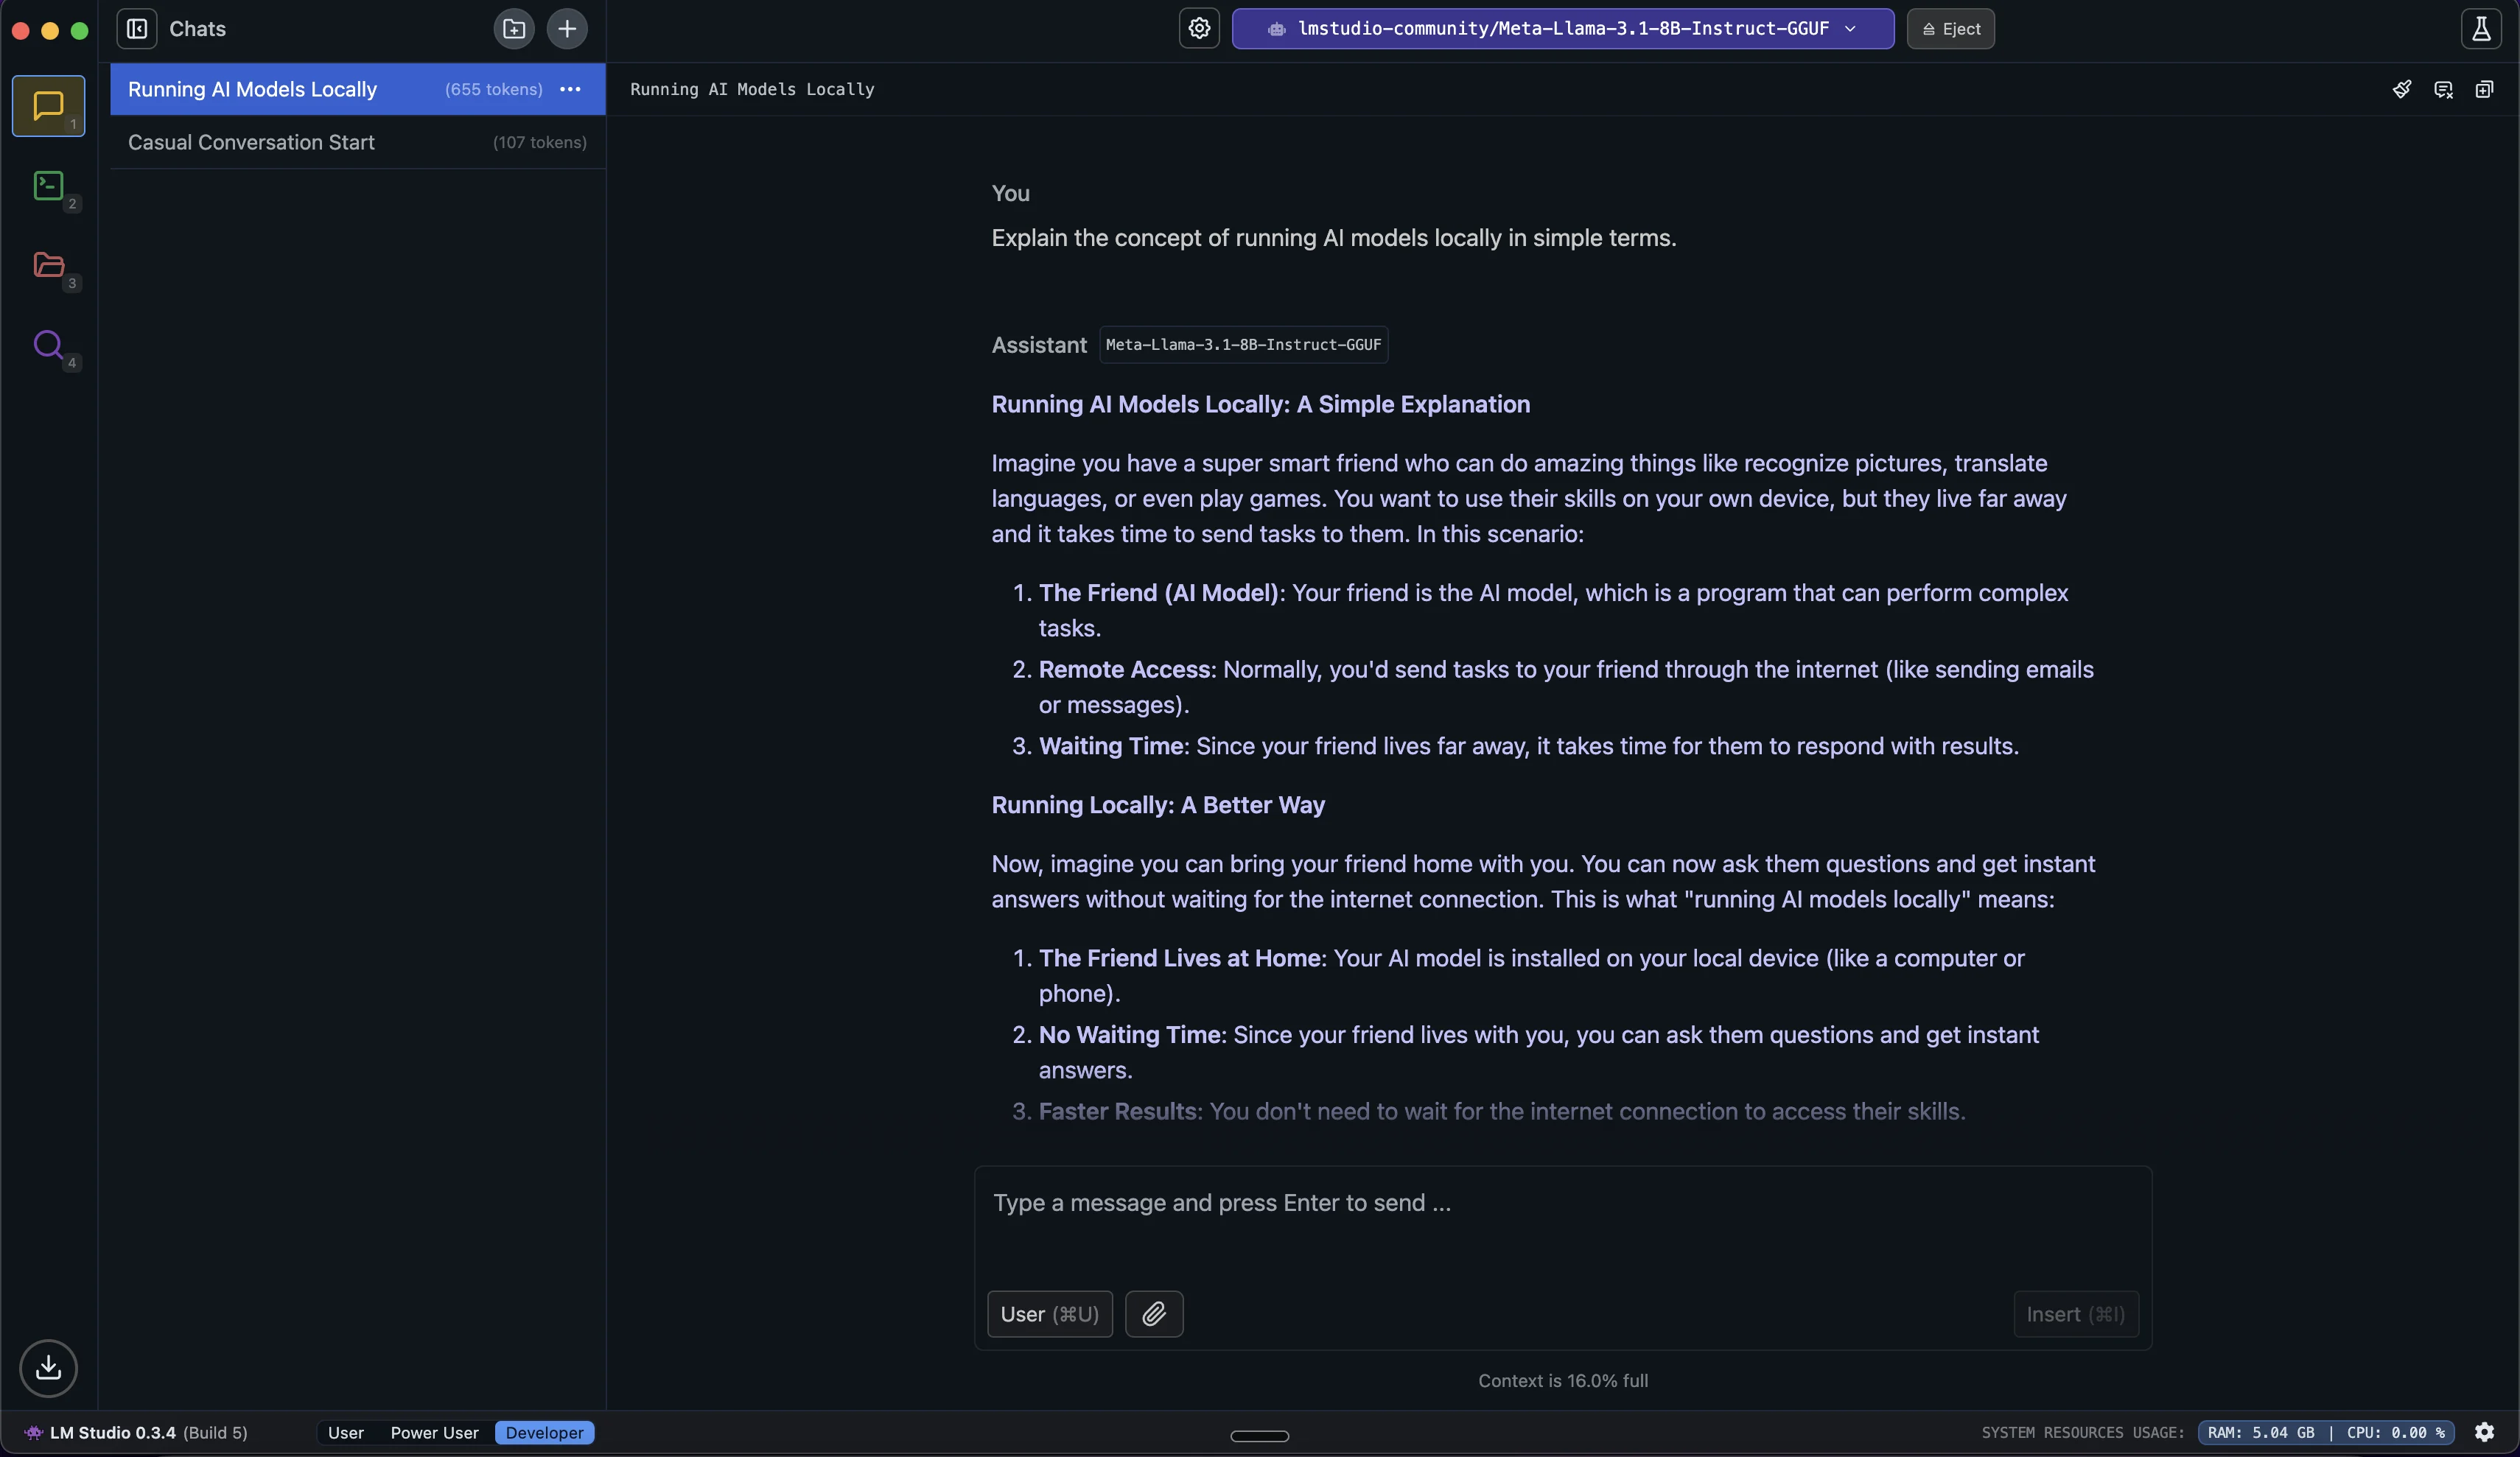
Feel free to continue the conversation by asking follow-up questions or exploring new topics. The AI will consider the entire conversation history in its context when generating new responses.
To start a new conversation, look for the "+" icon near the top of the conversation history on the left.
Chat with your Documents (RAG - Retrieval-Augmented Generation)
One of the most powerful features of LM Studio is its ability to chat with your own documents using Retrieval-Augmented Generation (RAG). This feature is particularly useful for someone who needs to work with private or confidential information since your documents never leave your computer and are processed locally.
RAG combines the AI's general knowledge with specific information from your documents. When you ask a question, it searches your uploaded files for relevant details and then uses this information and its own understanding to give you a tailored, accurate response.
Here's how to chat with your documents using RAG in LM Studio:
- Look for the "Upload File" button in the chat interface.
- You can upload up to 5 files at a time, with a maximum combined size of 30MB. LM Studio supports various formats including PDF, DOCX, TXT, and CSV.
- Once you upload your documents, you can start asking questions about their content. The AI will search through them to find relevant information and use it to generate informed responses.
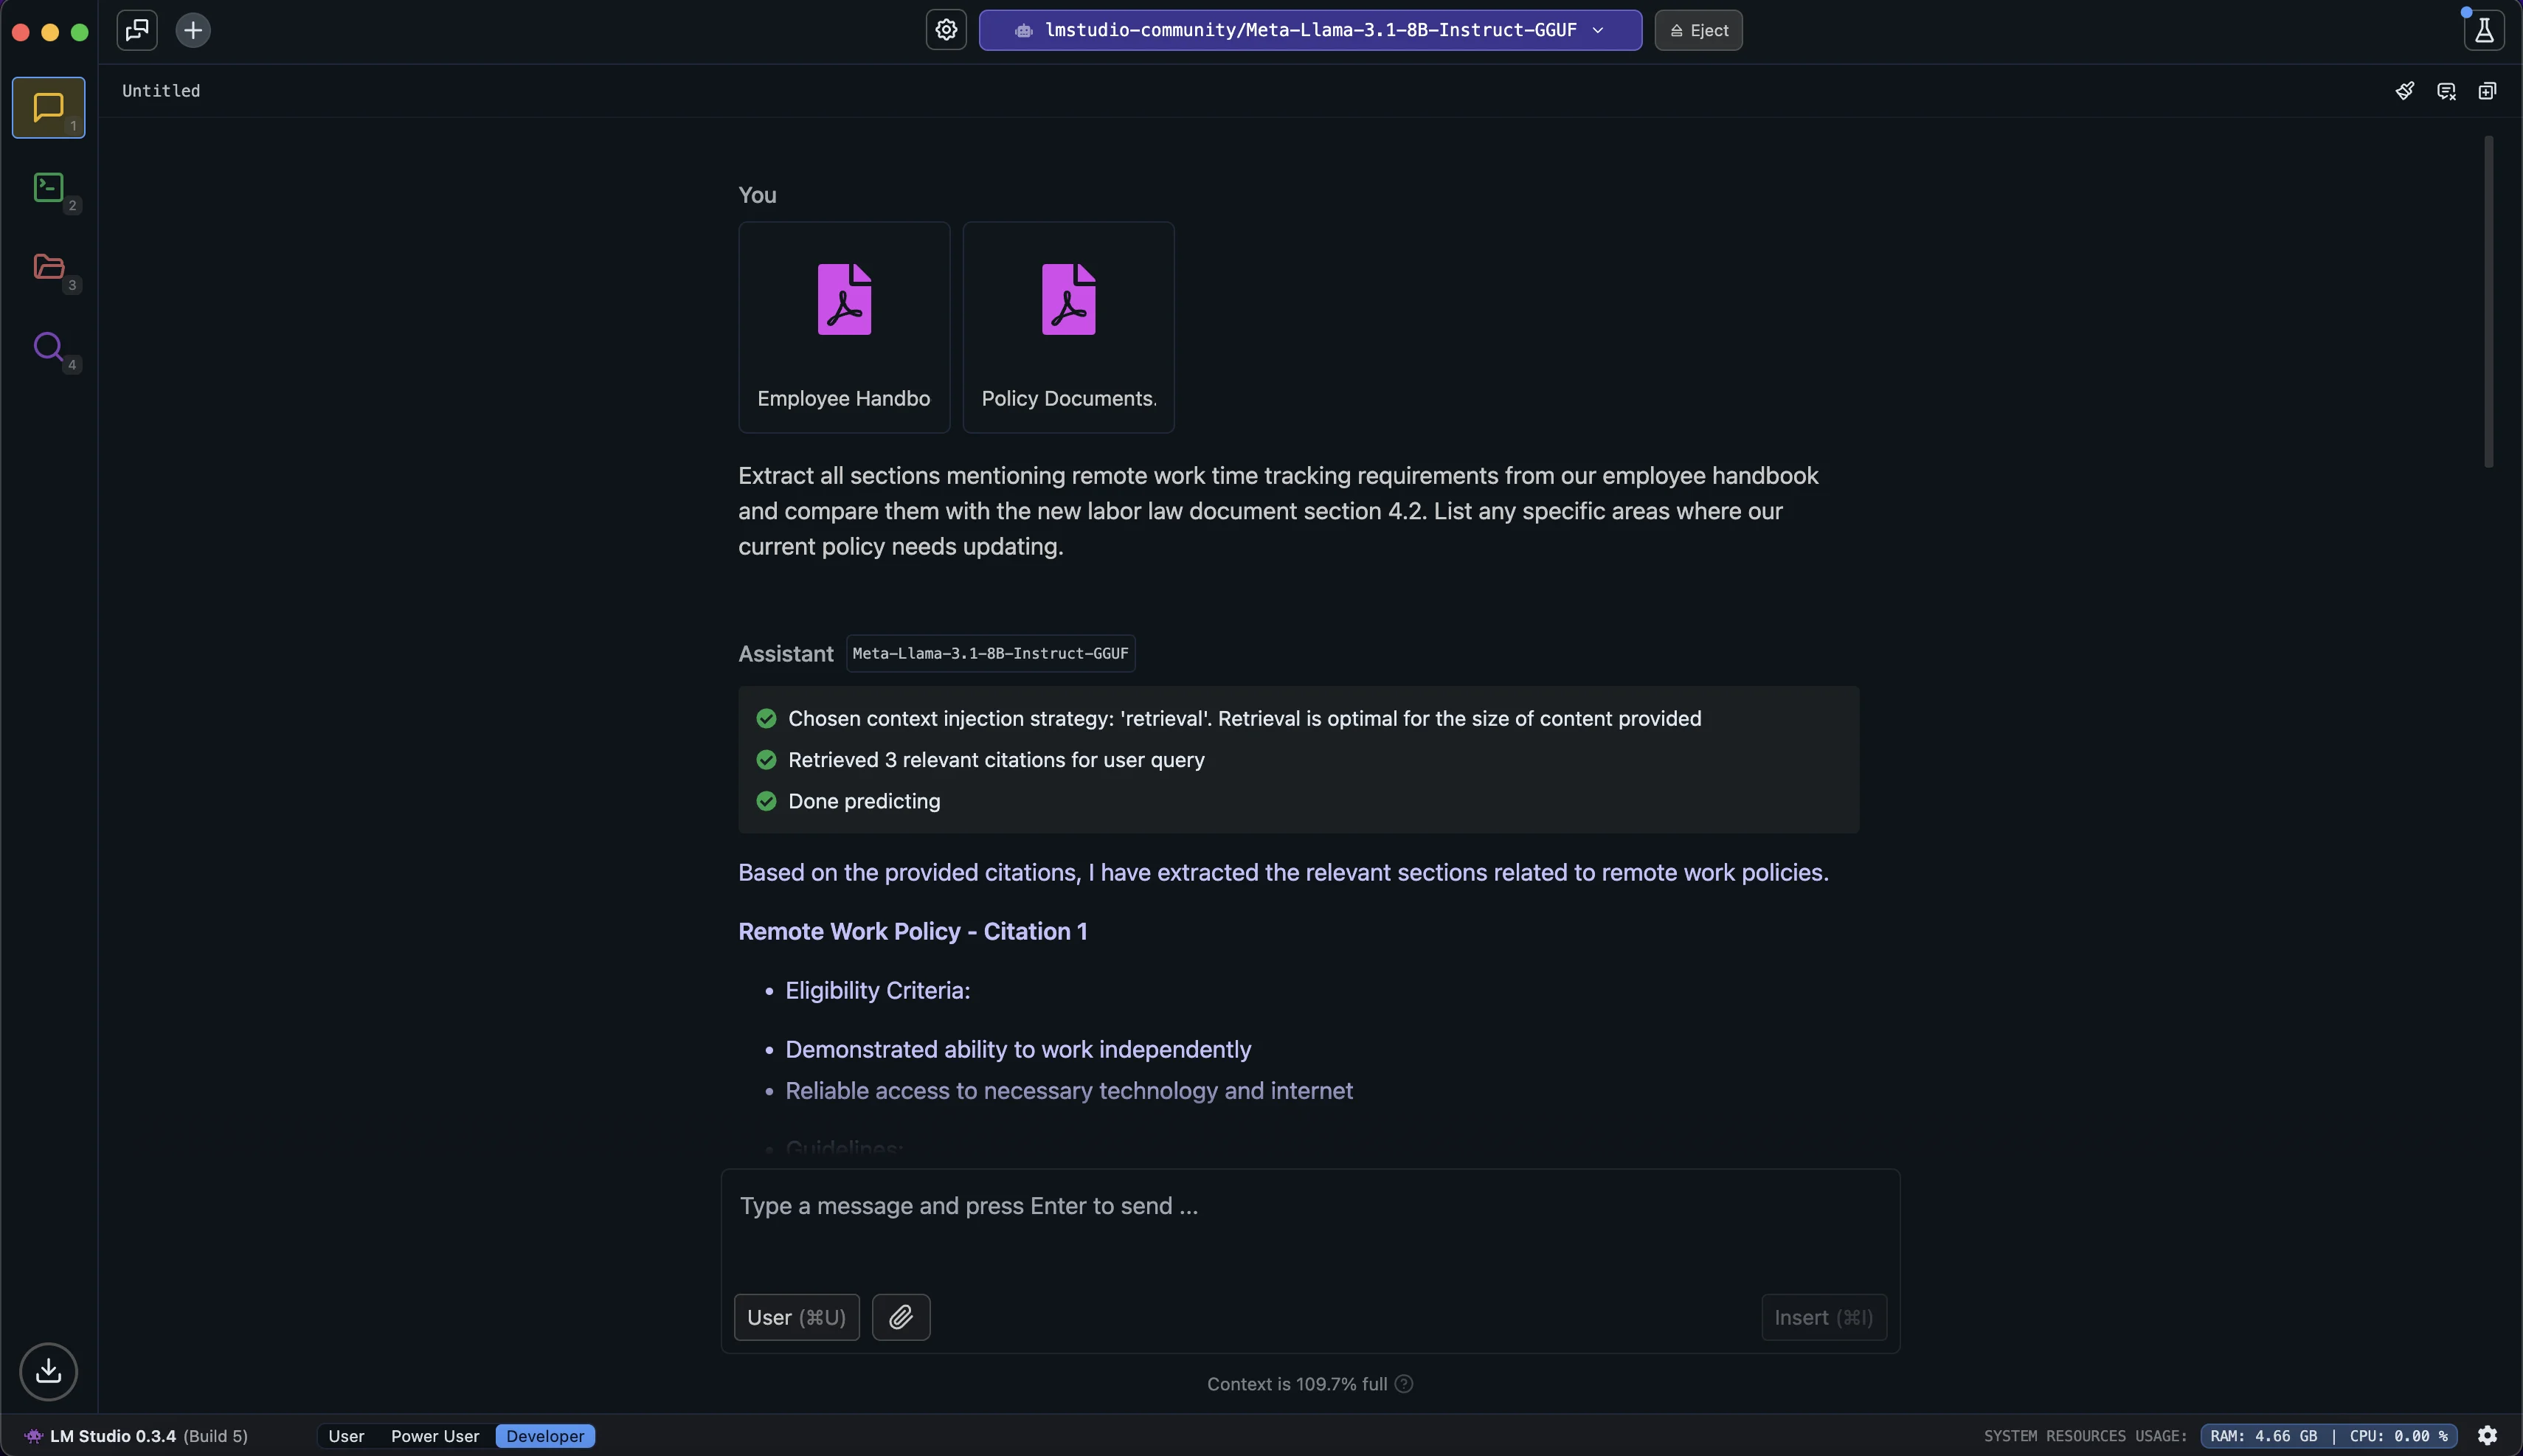
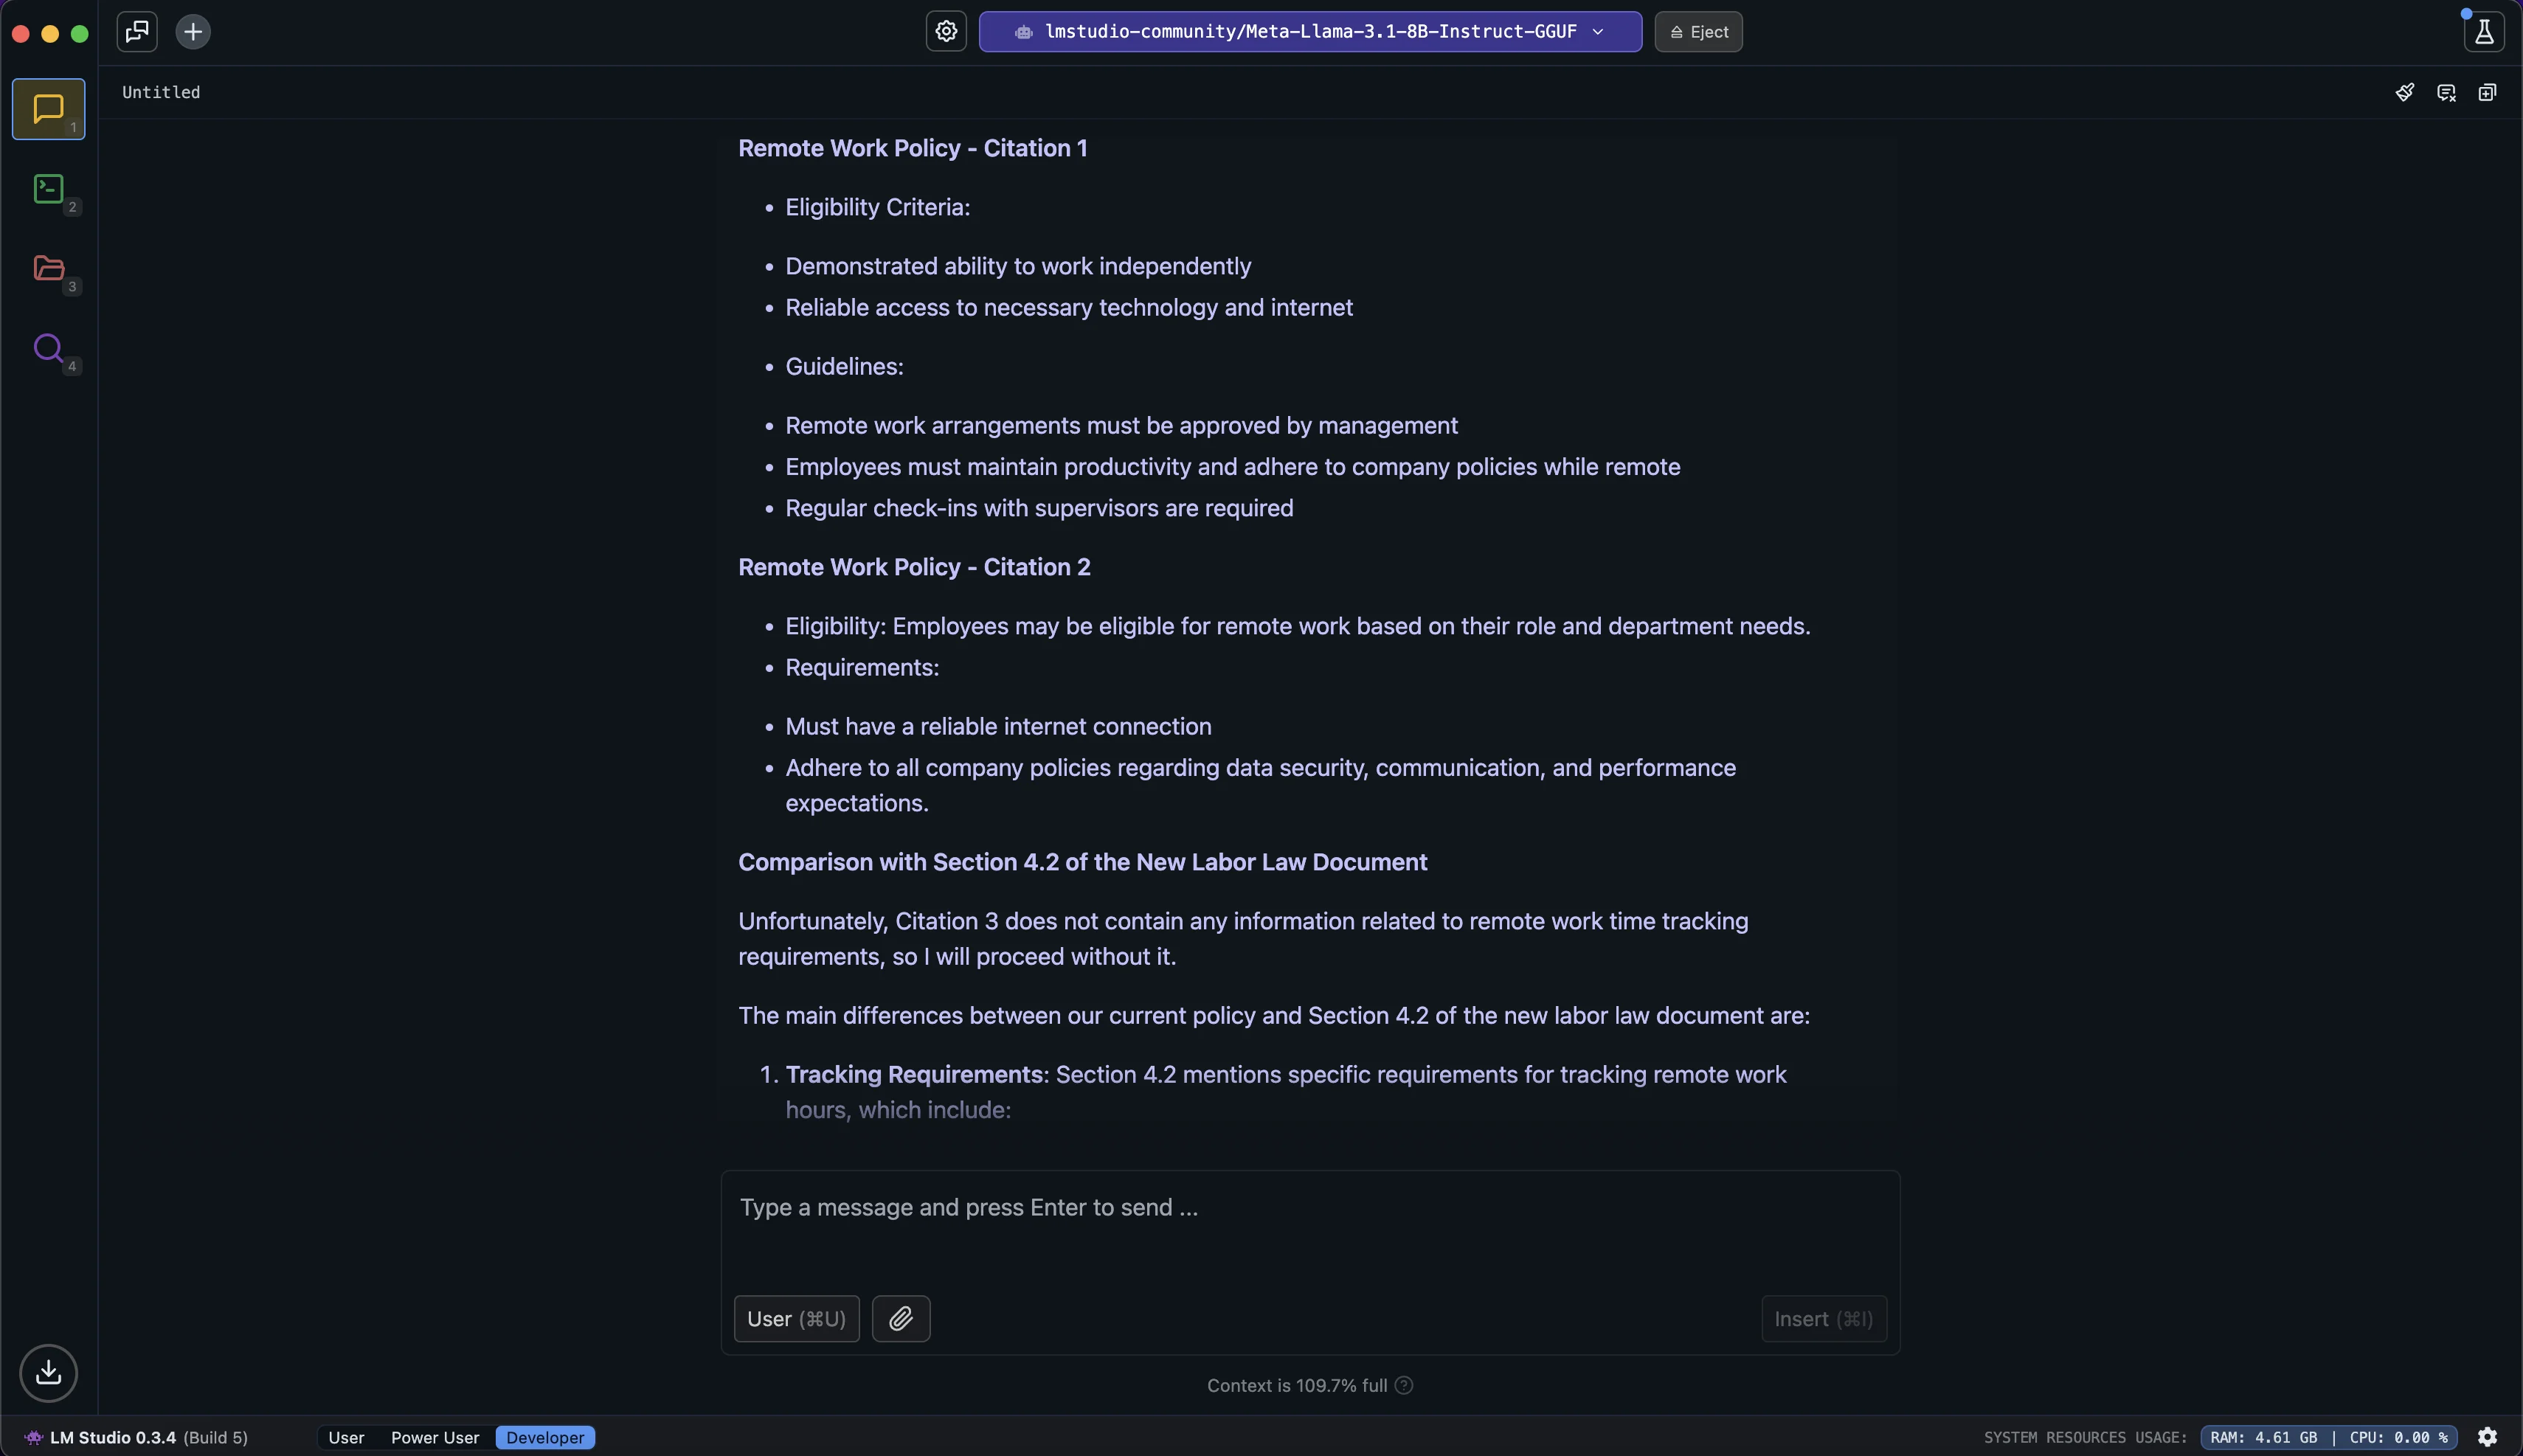
Let's try an example with HR policy documents and labor law compliance:
Extract all sections mentioning remote work time tracking requirements from our employee handbook and compare them with the new labor law document section 4.2. List any specific areas where our current policy needs updating.
Step 5: Advanced Features
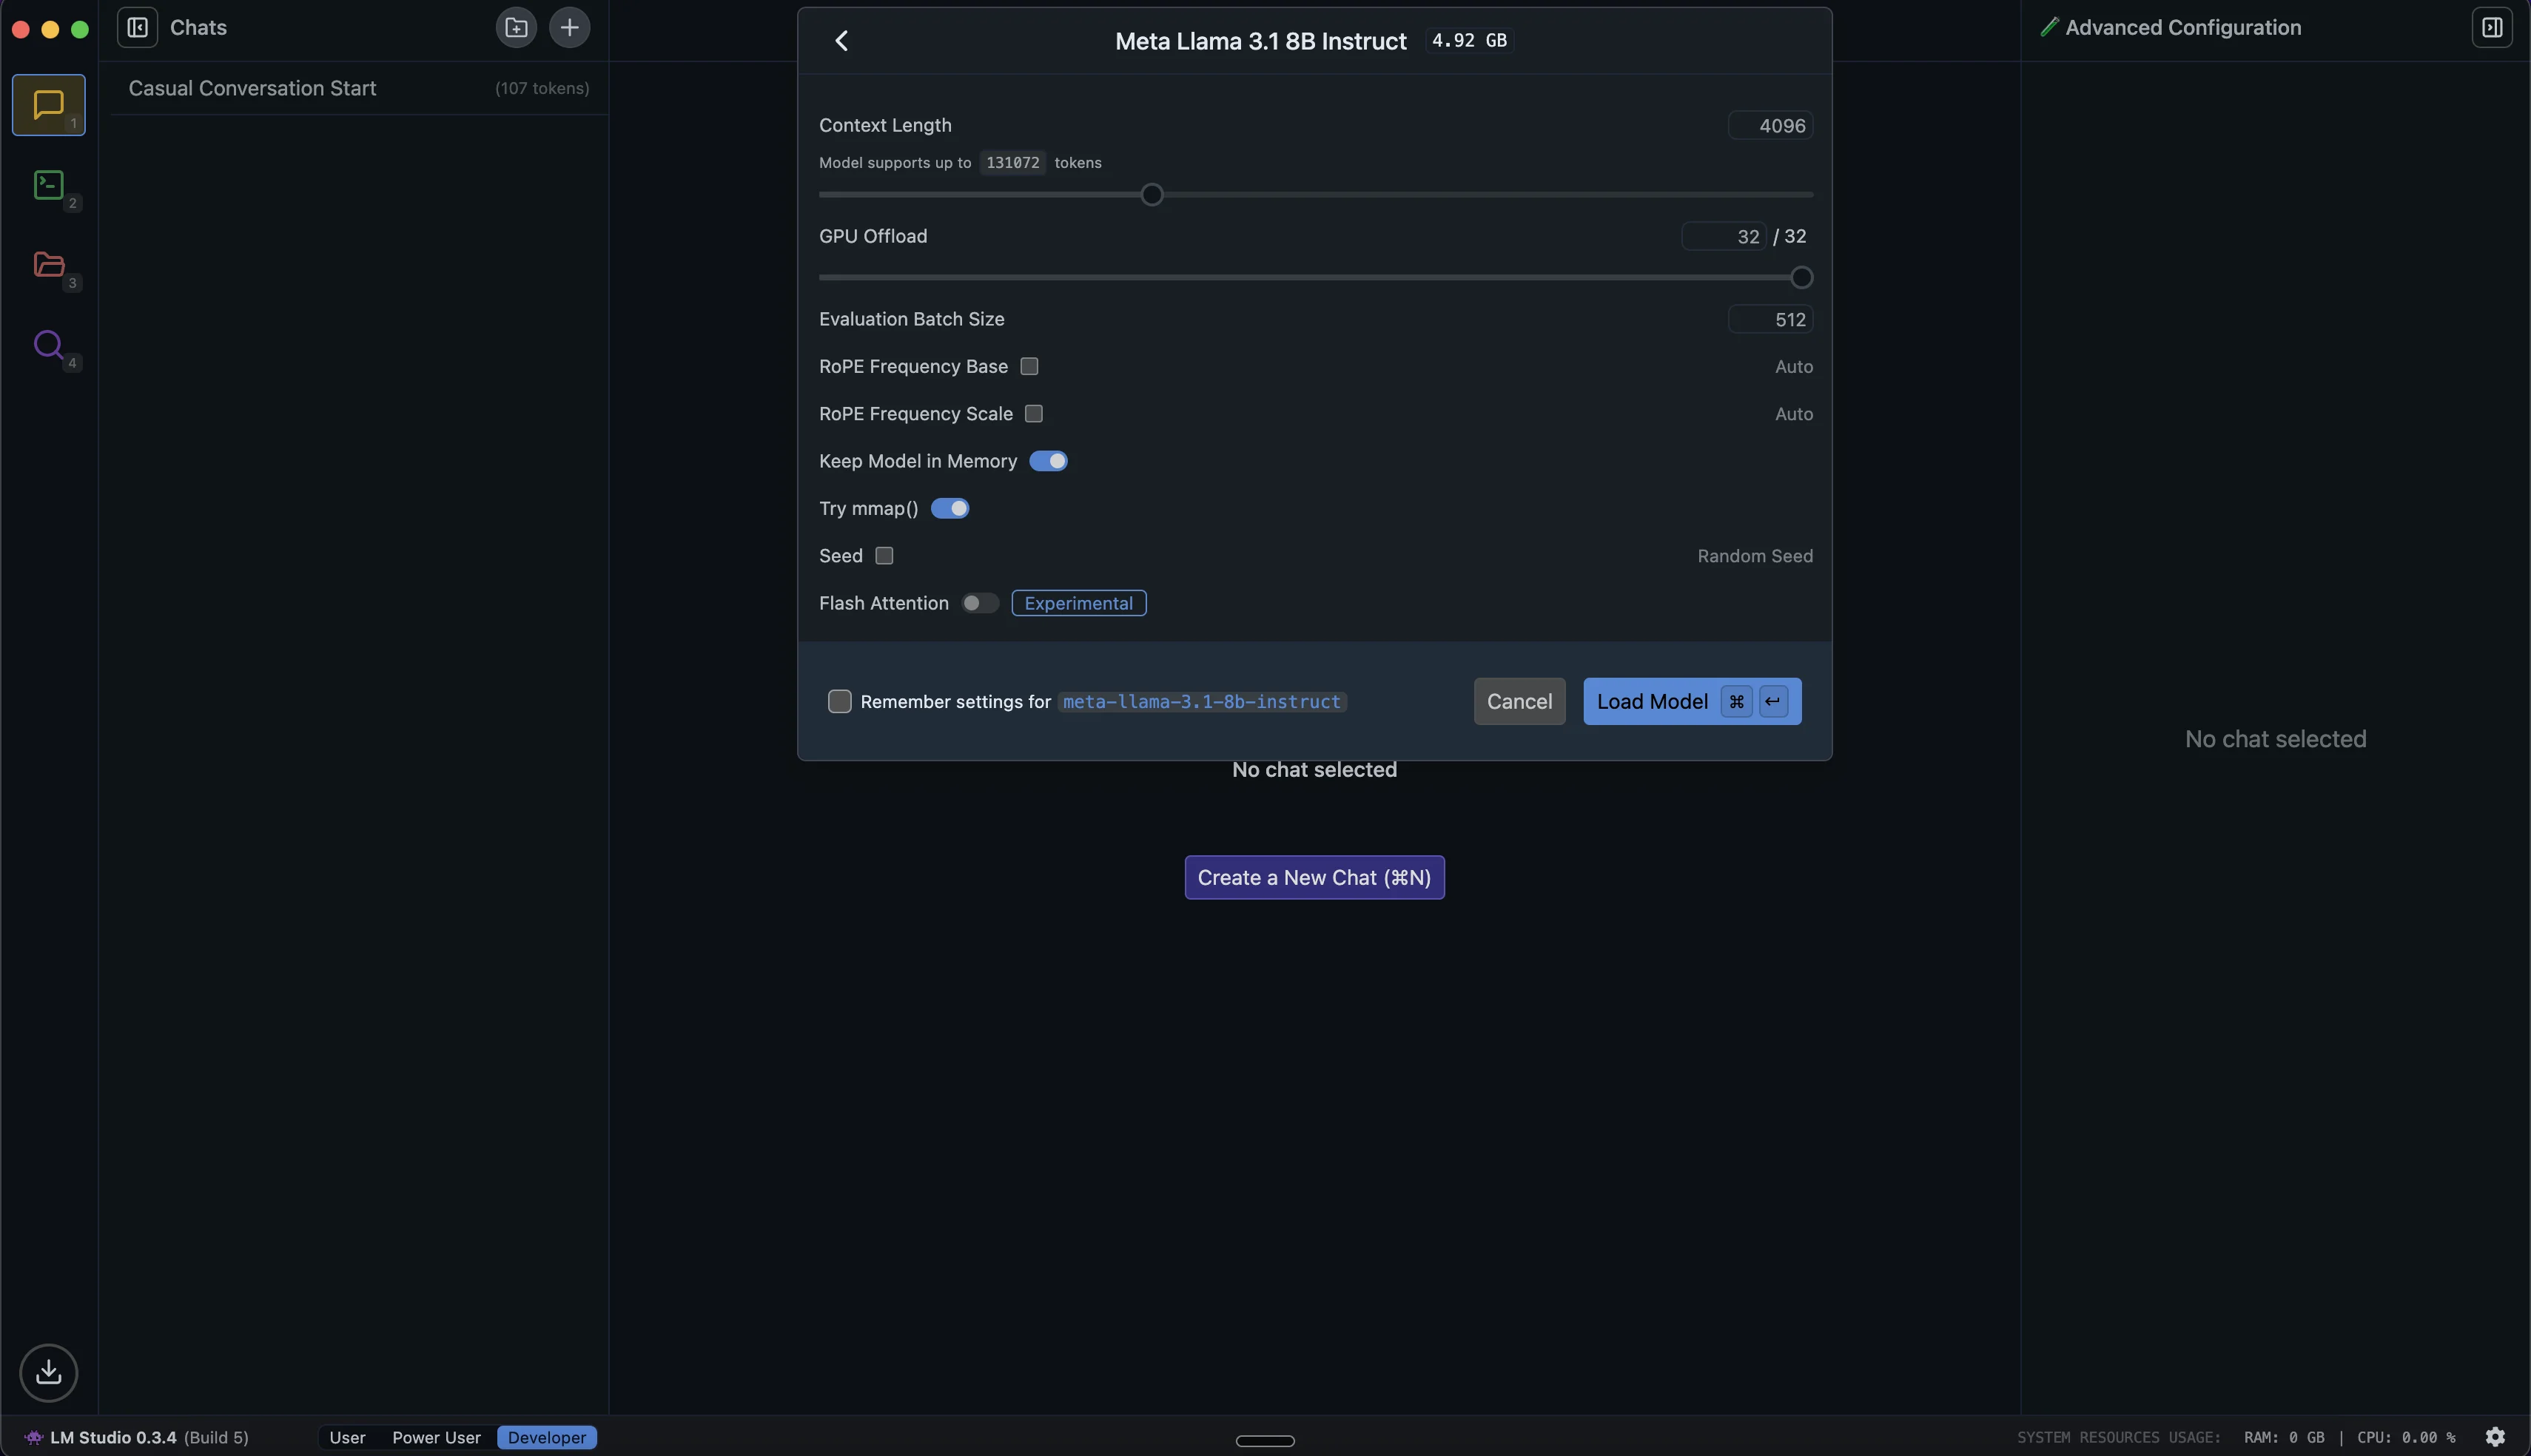
Now, let’s explore some key settings to fine-tune our model’s behavior:
On the right side of the chat interface, you’ll find several important controls under “Advanced configuration“:
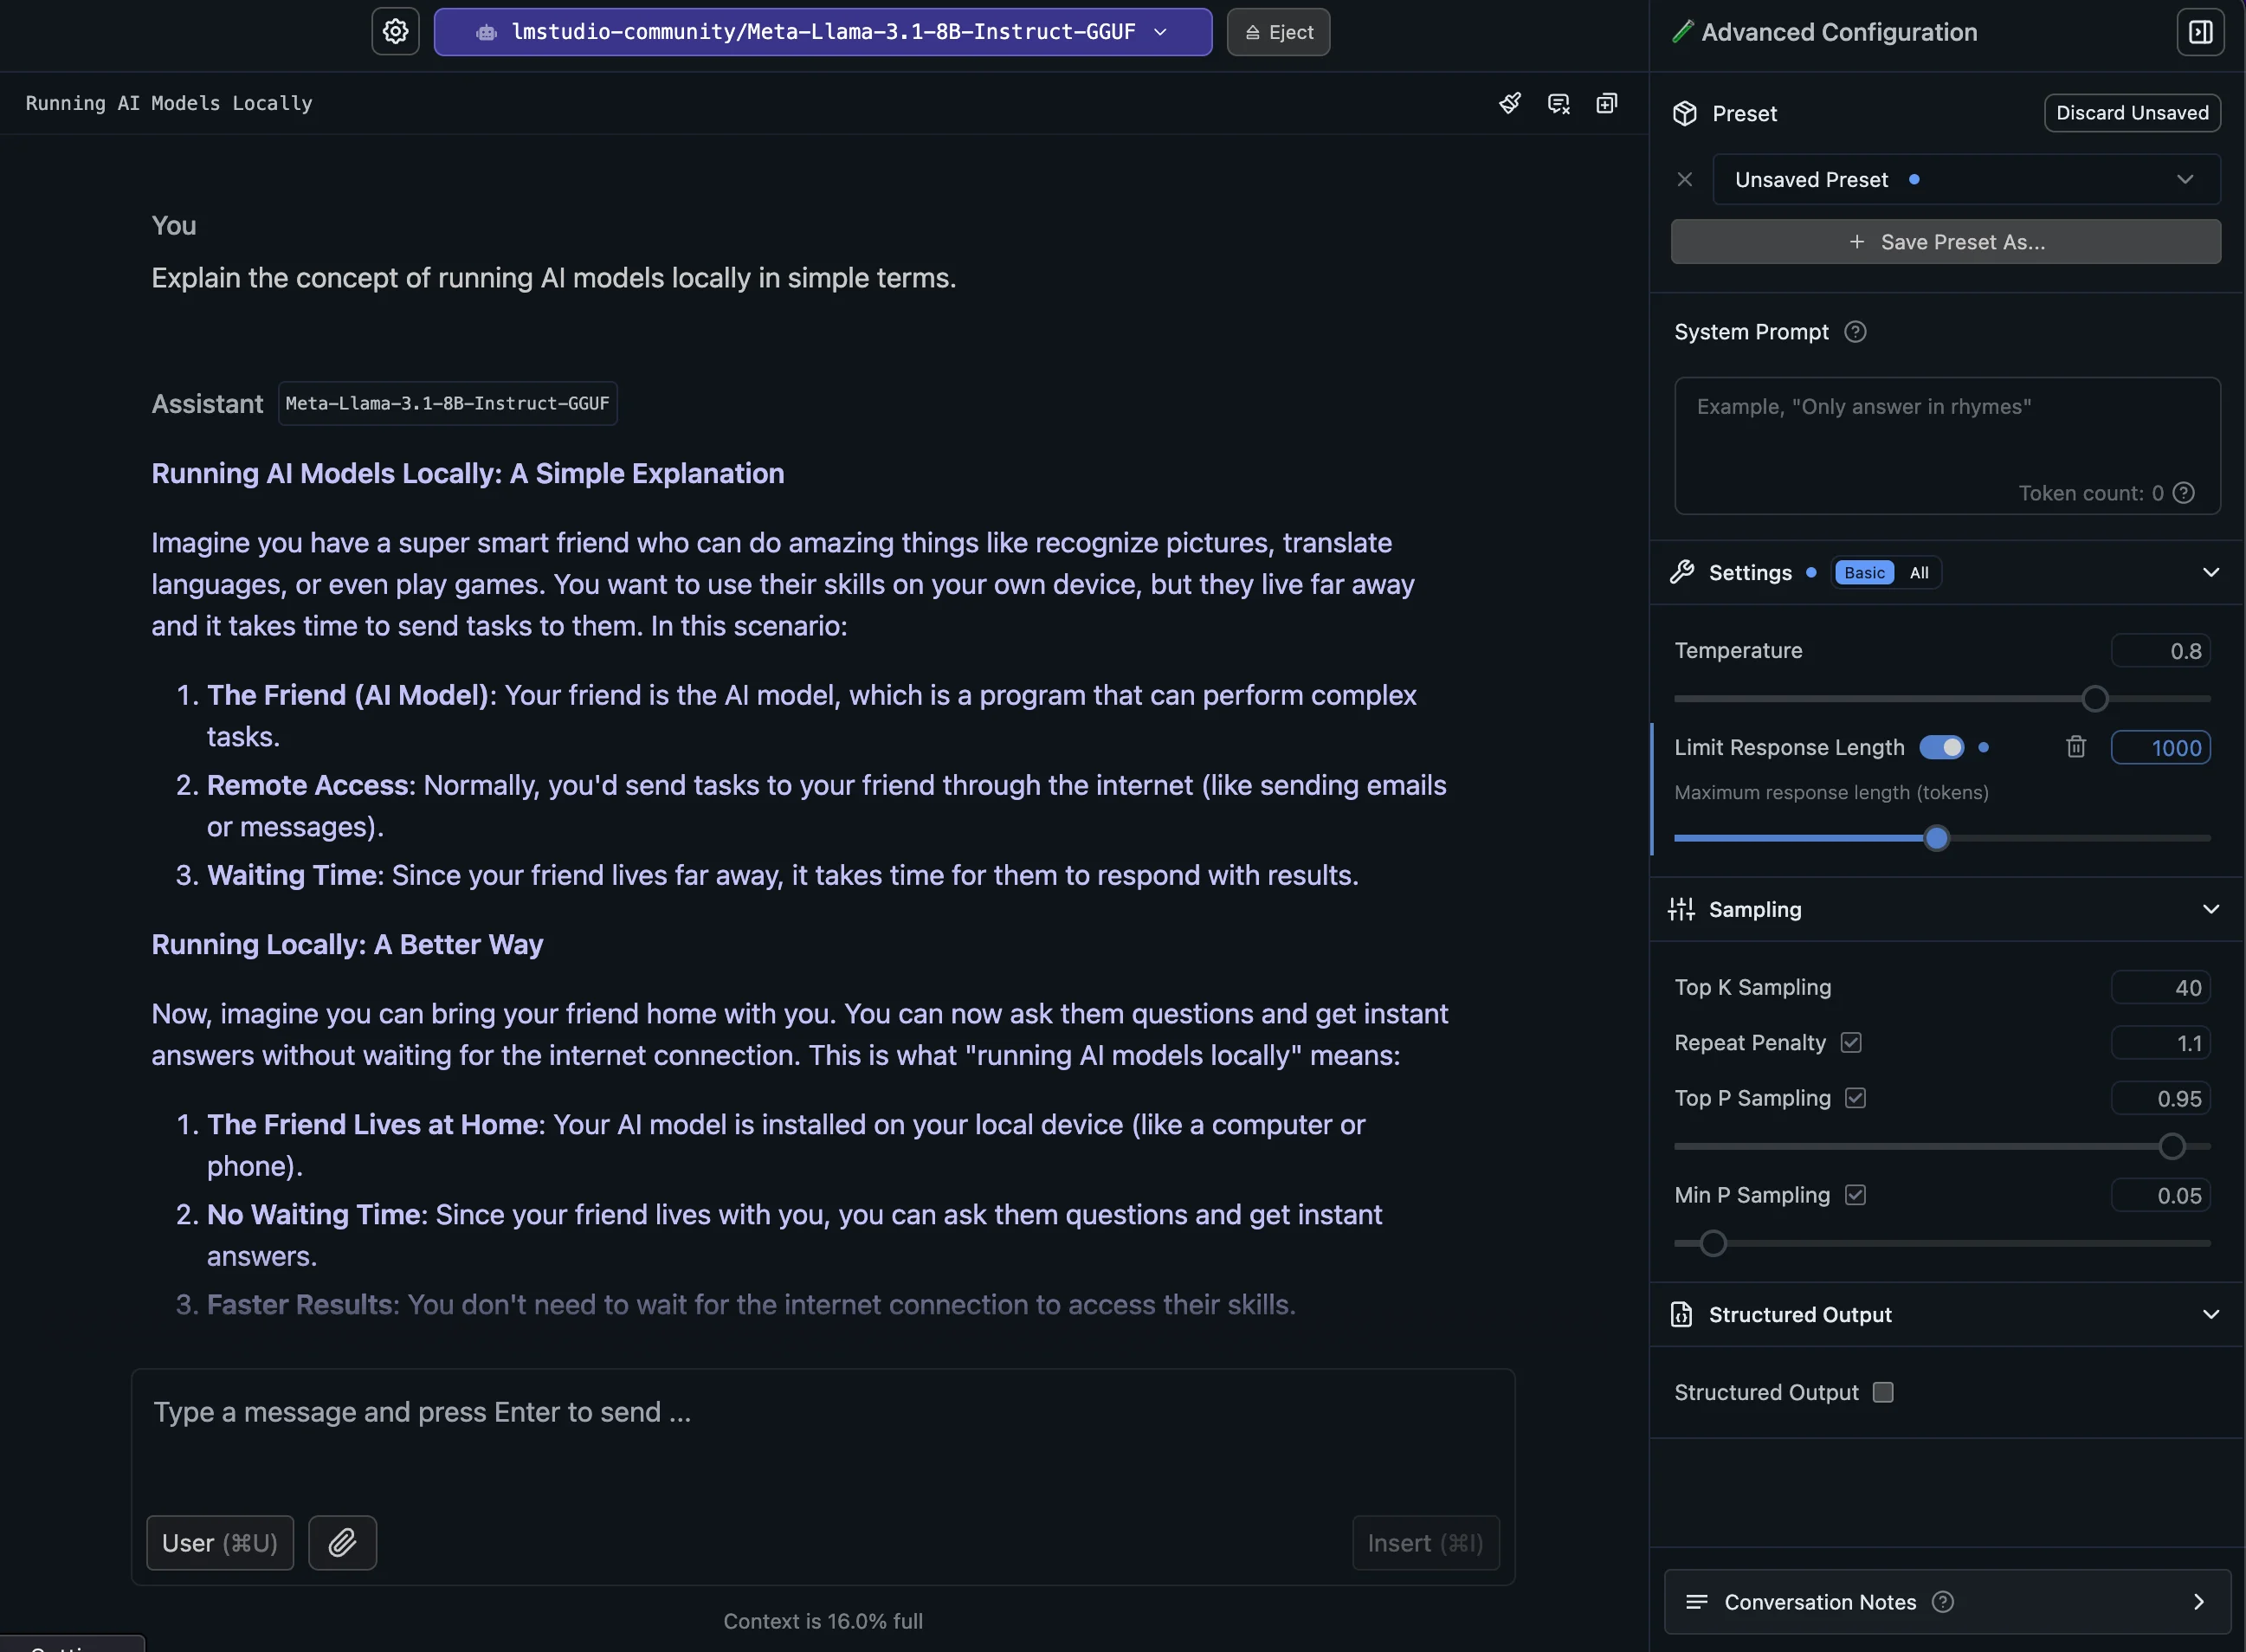
- Temperature: This slider adjusts the randomness in the AI's responses. A lower value (closer to 0) results in more focused and predictable outputs, while a higher value (closer to 1) produces more diverse and creative responses.
- Top P and Top K: These settings influence how the AI selects its next words. Experiment with these to find a balance between coherence and creativity that suits your needs.
- System Prompt: In this section, you can set specific instructions for the AI. Unlike regular chat messages, these instructions persist throughout your entire conversation, ensuring consistent responses that adhere to your guidelines.
- Structured Output: This feature allows you to receive AI responses in an organized, consistent format (specifically JSON). We’ll explore more about this in the “Advanced features” section below.
- Limit Response Length: This setting helps you manage how detailed or concise you want the AI's responses to be in terms of tokens.
Throughout this tutorial, we've explored how to set up and use LLMs locally using LM Studio. You now have the knowledge to run AI models directly on your computer, maintaining privacy and control over your interactions, from basic setup to advanced features like RAG.
Running models locally opens up a world of possibilities for privacy-conscious applications, offline use, and customization. As you become more comfortable with LM Studio, continue to experiment with different models, settings, and features to find the ideal configuration for your needs.
This tutorial was created by Tanmay.