How to use the Groq API in Zapier
An explainer on how to use the Groq API in your Zapier automation.
2024-11-13
OpenAI and ChatGPT aren’t the only options for adding generative AI to your Zapier automation. Meta, Google, and Mistral have all developed their own AI models comparable in output quality to OpenAI.
GroqCloud is a platform that gives you access to these models with insanely fast response times. Better still, they are (currently) free to use with some pretty high limits.
In this tutorial you will learn how to:
- Create a zap to generate an inspirational quote every day.
- Use the GroqCloud playground to test your prompt.
- Access the Groq API with a webhook step to generate the quote.
We’re looking at a very simple use-case for this tutorial, but you could also use GroqCloud and Zapier for applications such as:
- Employee onboarding: Create personalised welcome messages or daily tips for new employees during their first weeks.
- Content generation: Automatically create social media posts, product descriptions, or email newsletter content on a schedule.
- Meeting preparation: Create AI-generated briefing notes or agenda items before important meetings based on recent company activities or news.
- Market trend analysis: Regularly generate AI-powered summaries of industry news and trends to keep your team informed.
Let’s get to it.
Step 1: Create a zap to generate an inspirational quote every day
First, we need to build a zap that triggers every day.
Head over to Zapier, then in the dashboard, in the top left, click the big orange “Create” button and select ‘Zaps’.
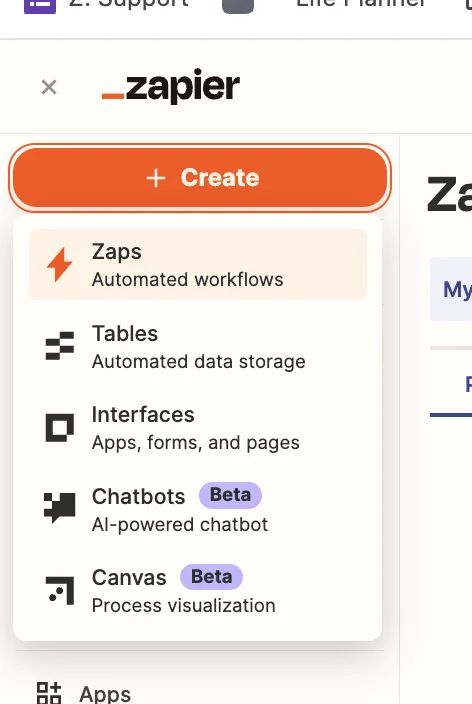
Inside the Zap editor, click on the box that says “Trigger” and select/search for ‘Schedule by Zapier’ as the app. Then select ‘Every Day’ as the event.
When configuring the trigger, choose your preferred time of day. We’ll do 9 am every day including weekends.
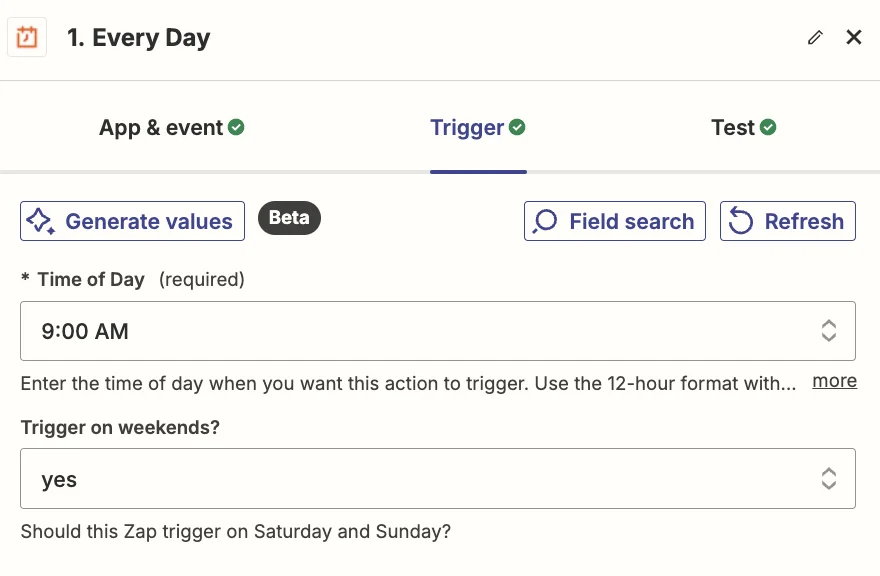
Test the zap and you’ll see a timestamp for the current time. You can ignore this. When the zap is live it will run at the correct time.
Step 2: Use the GroqCloud playground to test your prompt
Sign up for GroqCloud and then on the dashboard, click on the “Playground” tab on the left.
Here we’re going to simulate a chat conversation with Groq’s API to perfect our prompt.
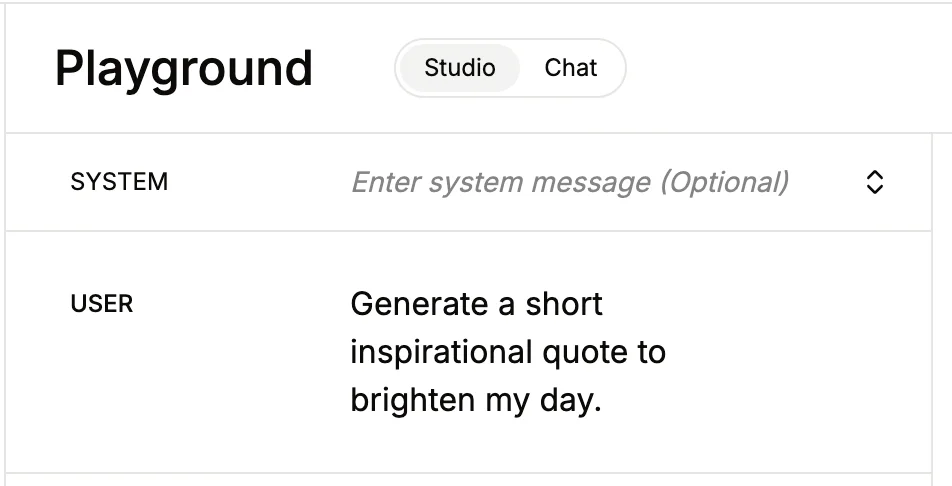
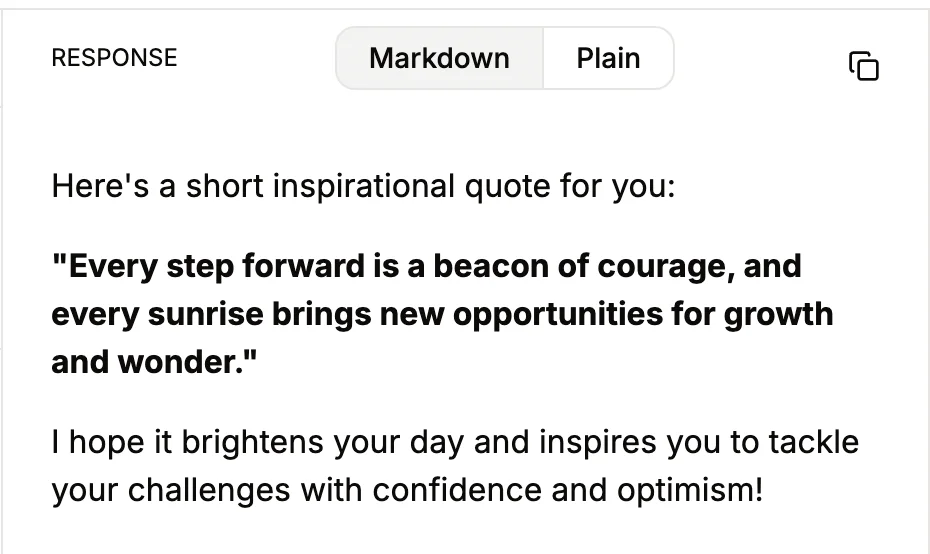
In the left middle panel, we can leave the “SYSTEM” field empty. In the “USER” field let’s try the following prompt:
Generate a short inspirational quote to brighten my day.
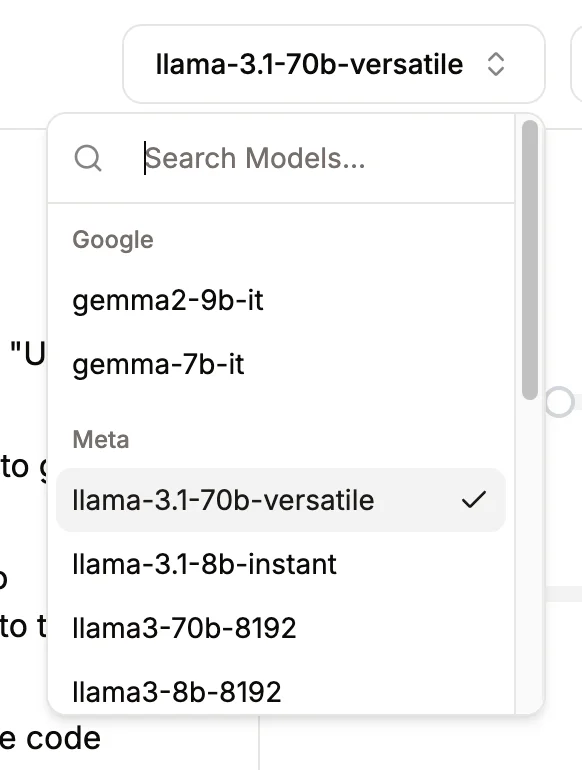
In the top right, you’ll see a drop-down field to select your model. You can experiment here, but we’ll use ‘llama-3.1-70b-versatile’ which is one of the more powerful models from Meta.
Below this in the “PARAMETERS” panel, you can leave everything as is, except for ‘Stream’ which you should toggle off.
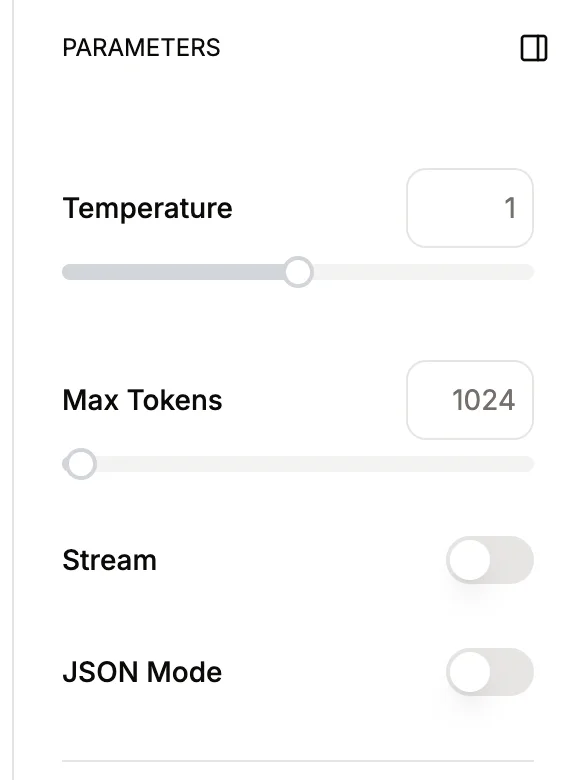
Finally, click the black ‘Submit’ button at the bottom and in the middle right panel you’ll see the AI-generated quote.
Step 3: Access the Groq API with a webhook step to generate the quote
Open a new page (make sure to keep the GroqCloud page open), go to the GroqCloud dashboard, and click the “API Keys” link on the left.
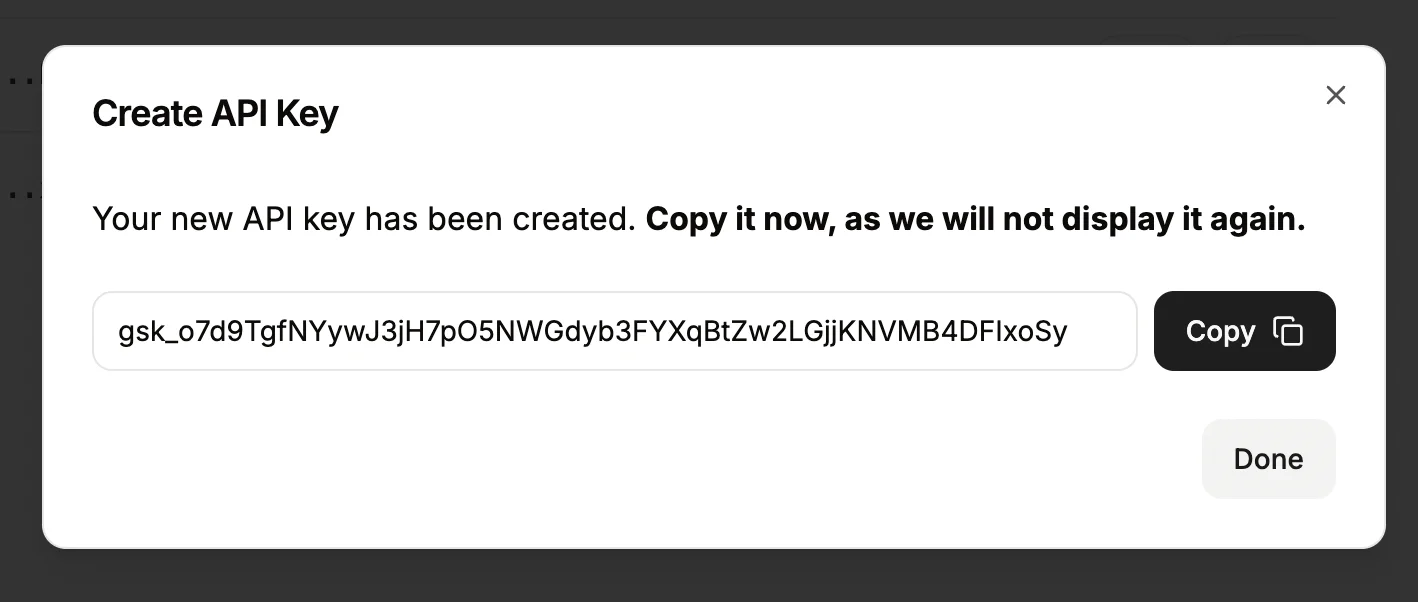
Then click the ‘Create API key’ button and give your new key a memorable name like “Zapier”.

Click “Submit” then copy the API key shown on the next screen.
Make sure to copy it as it’s not possible to view it again (but easy to create a new one if needed).
Unfortunately, Groq doesn’t have a Zapier integration, so we’re going to use a webhook step inside Zapier to send and receive data from the API.
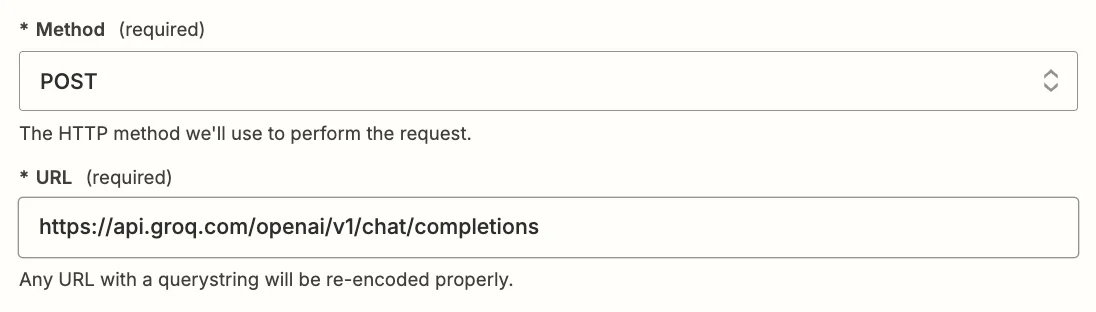
In the zap editor, click the “Action” box. Select "Webhook by Zapier" as the app, and ‘Custom Request’ as the event.
Here are the fields you need to configure:
- Method
Select ‘POST’.
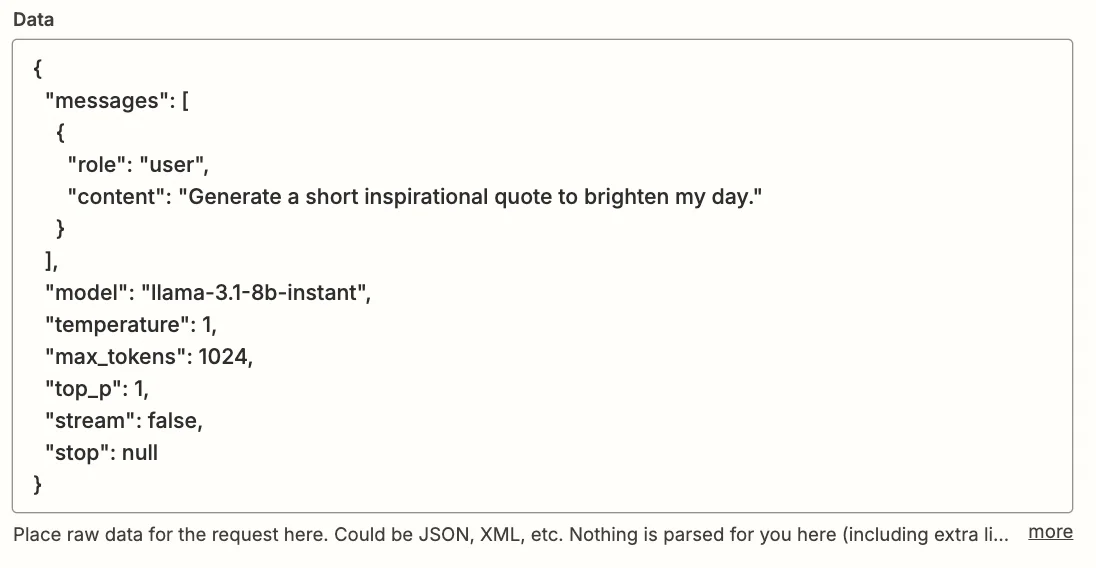
- Data
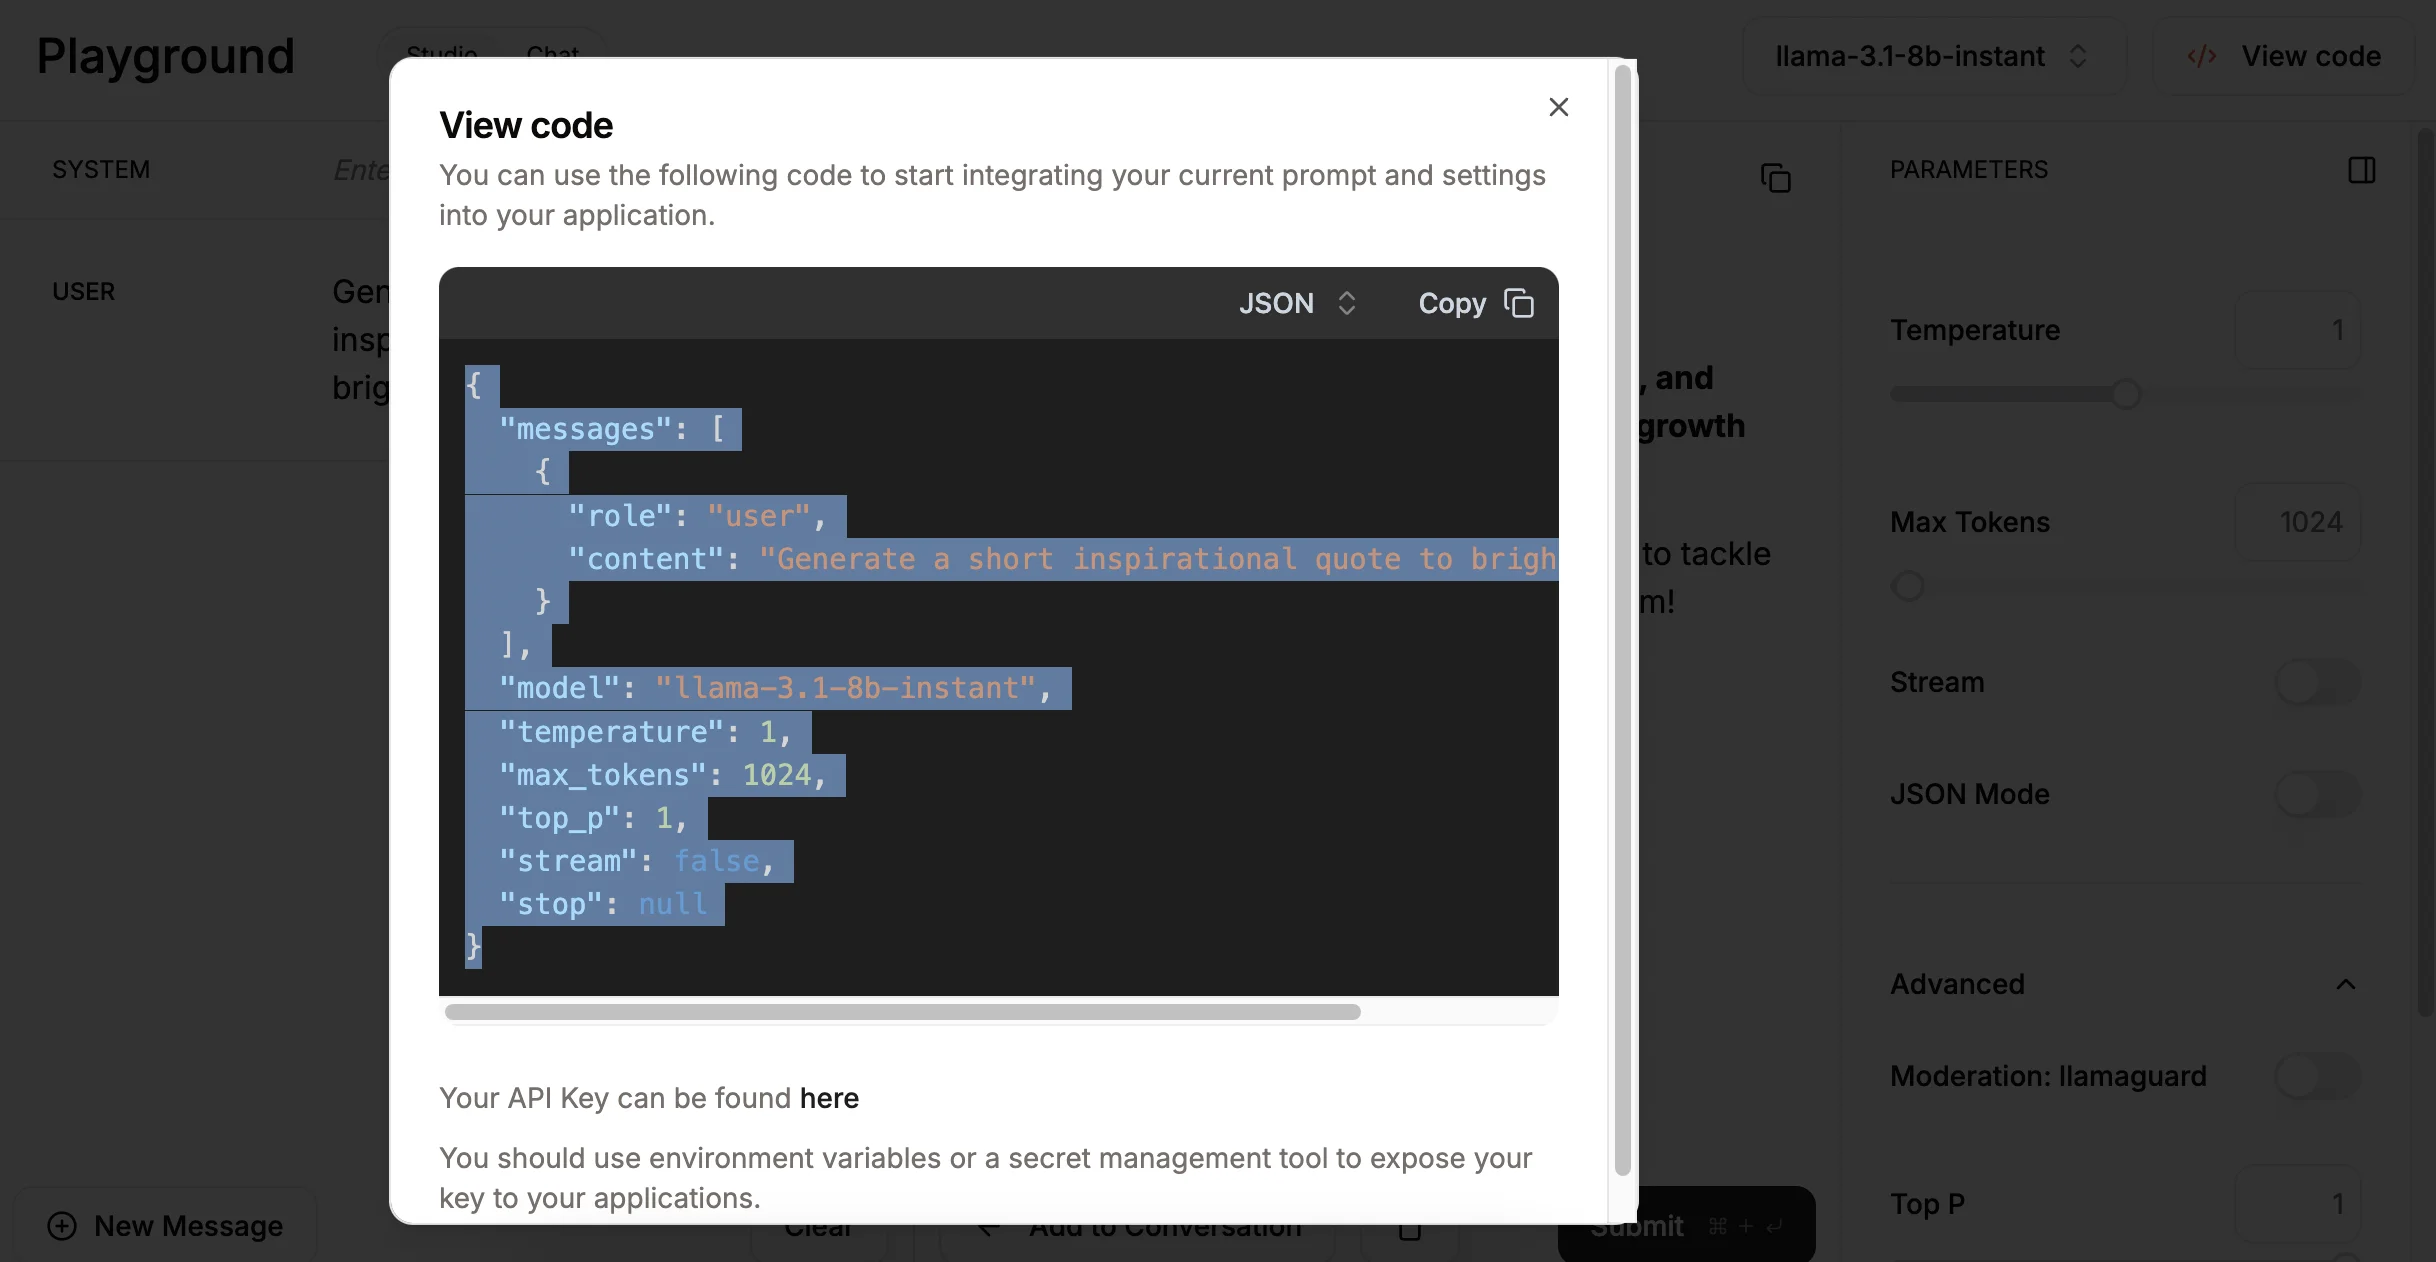
Go back to the GroqCloud Playground page you left open, and in the top right click the “View code” button.
In the pane that appears, in the top right, switch from ‘cURL’ to ‘JSON mode, then copy the resulting code over to Zapier
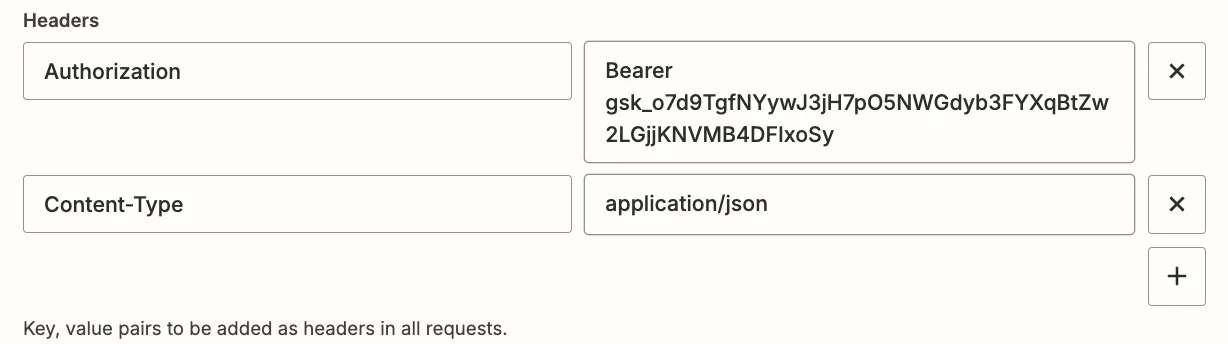
- Headers
Two lines need to be added here- Authorization = Bearer [Groq API Key]
- Content-Type = application/json
Test the Zap step, and in the “Data out” tab, scroll down until you see the ‘Choices Message Content’ field. This is the response from Groq’s API.
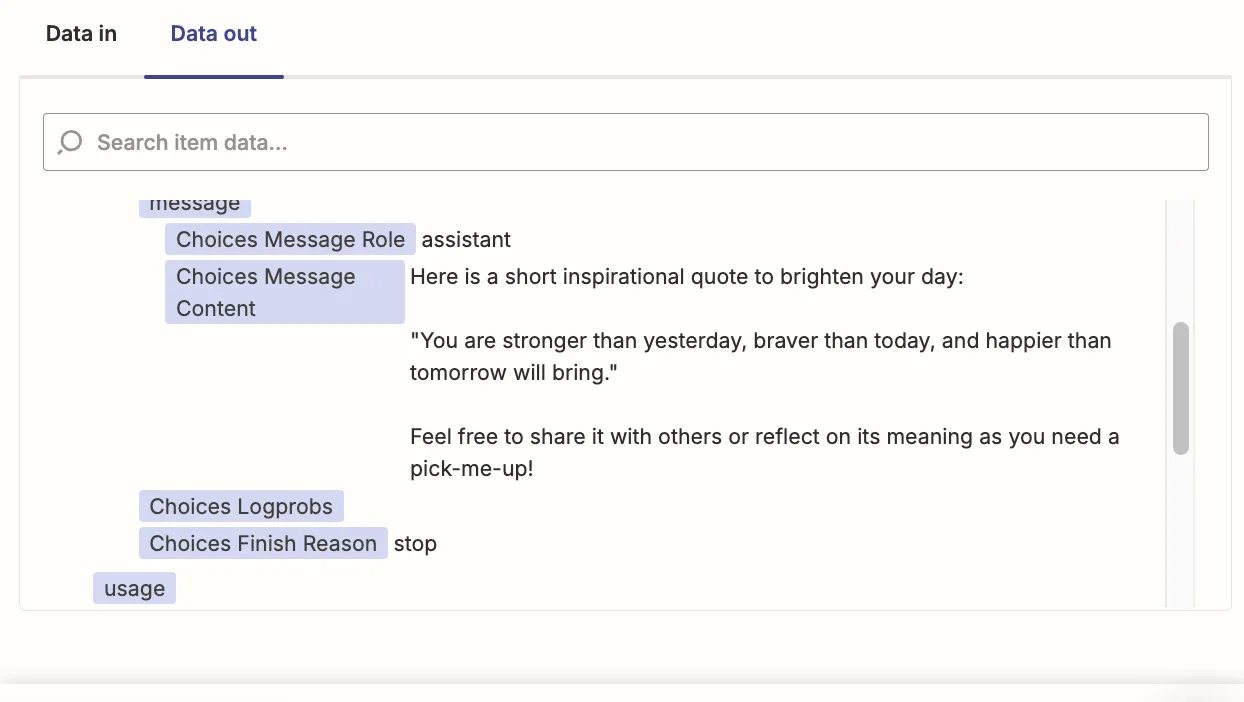
You now have the AI response as a field you can map in subsequent zap steps.
You could send the quote by email, or as a Slack message or even add it to a spreadsheet.
Whatever you want!
This tutorial was created by Andrew.