Midjourney parameters and settings
Learn how to navigate the Midjourney web interface and get an introduction to parameters.
2024-12-09
Welcome to part 3 of our Create stunning images with Midjourney course.
Midjourney's power lies not just in its ability to interpret prompts, but also in the fine-tuning capabilities it offers through its parameters and settings. Whether you're a graphic designer creating mockups for packaging design or an interior designer producing visualizations for clients, understanding these tools can significantly enhance your workflow and output quality.
In this lesson, you'll learn how to:
- Navigate and utilize the basic image generation settings on the web interface
- Understand and apply key parameters for fine-tuning your images
- Harness the power of stylization and variation
- Choose the right generation mode for your project needs
Let's dive in.
Navigating the web interface settings
Midjourney's web interface offers an intuitive way to adjust various settings. Let's explore each setting and understand its impact on our image generation process.
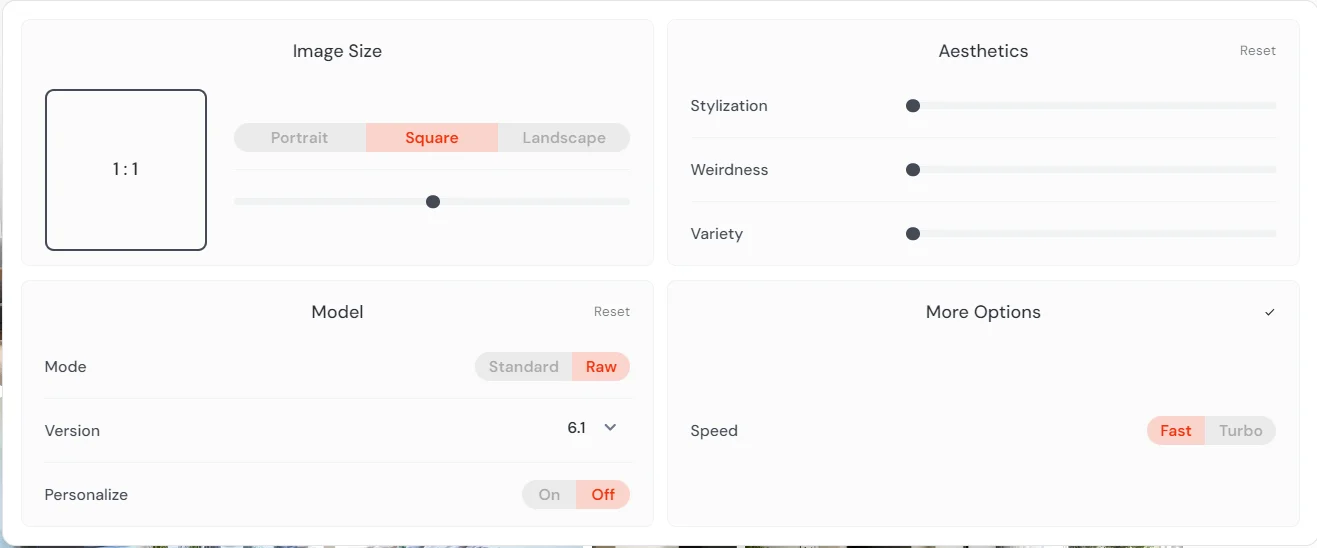
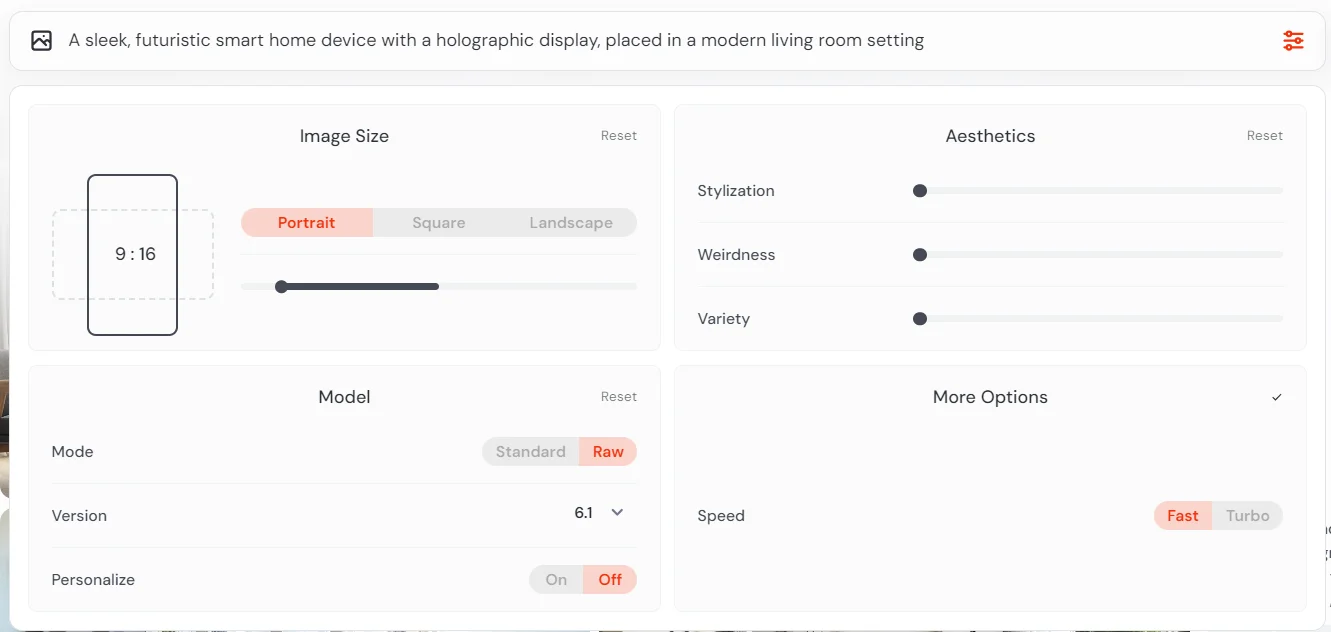
A. Aspect Ratio
The aspect ratio significantly influences composition. A wider ratio like 16:9 is great for landscapes or scenes, while a taller ratio like 4:5 works well for portraits or product shots. This setting controls the aspect ratio of your generated images.
Located at the top left of the settings panel, this control allows you to set your image dimensions.
How to use:
- Click on the preset buttons (Portrait, Square, Landscape) for quick selection.
- Use the slider for more precise control. Drag left for taller images, right for wider ones.
- The current ratio is displayed above the slider (e.g., 3:2, 16:9).
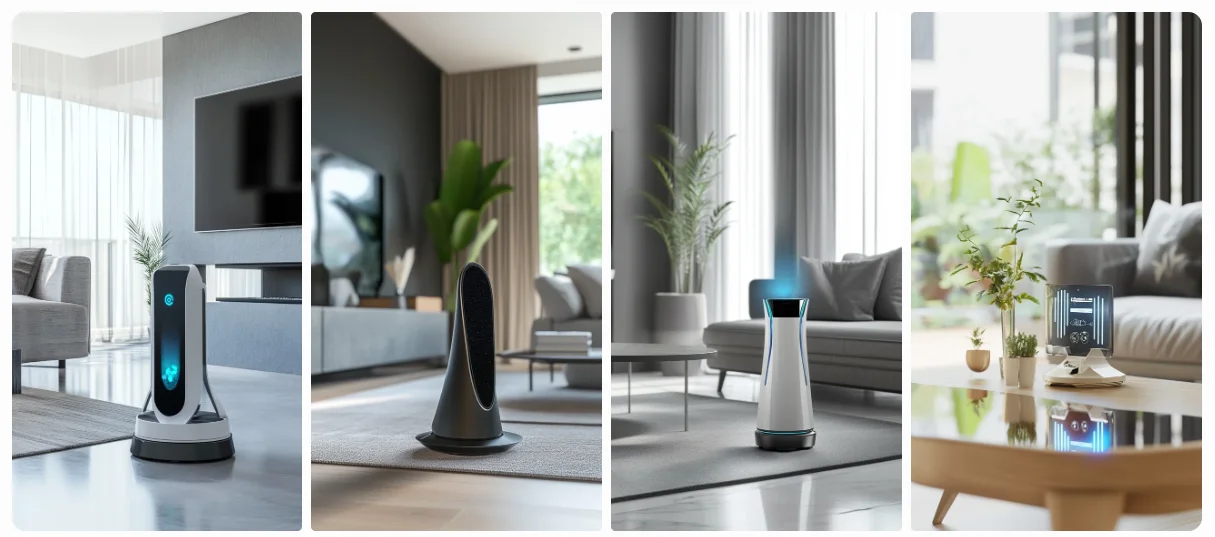
A sleek, futuristic smart home device with a holographic display, placed in a modern living room setting --ar 9:16
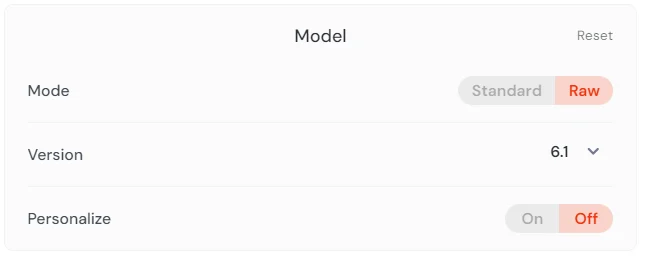
B. Modes
Midjourney provides two image generation modes to choose from:
- Standard mode applies Midjourney's default aesthetic, often resulting in more stylized, artistic outputs. This is great for creative projects where you want Midjourney's artistic interpretation.
- Raw mode provides a more direct interpretation of your prompt with less artistic enhancement. Use this when you need more literal, photorealistic results, such as product mockups or architectural visualizations.
Let’s see the difference with an example.
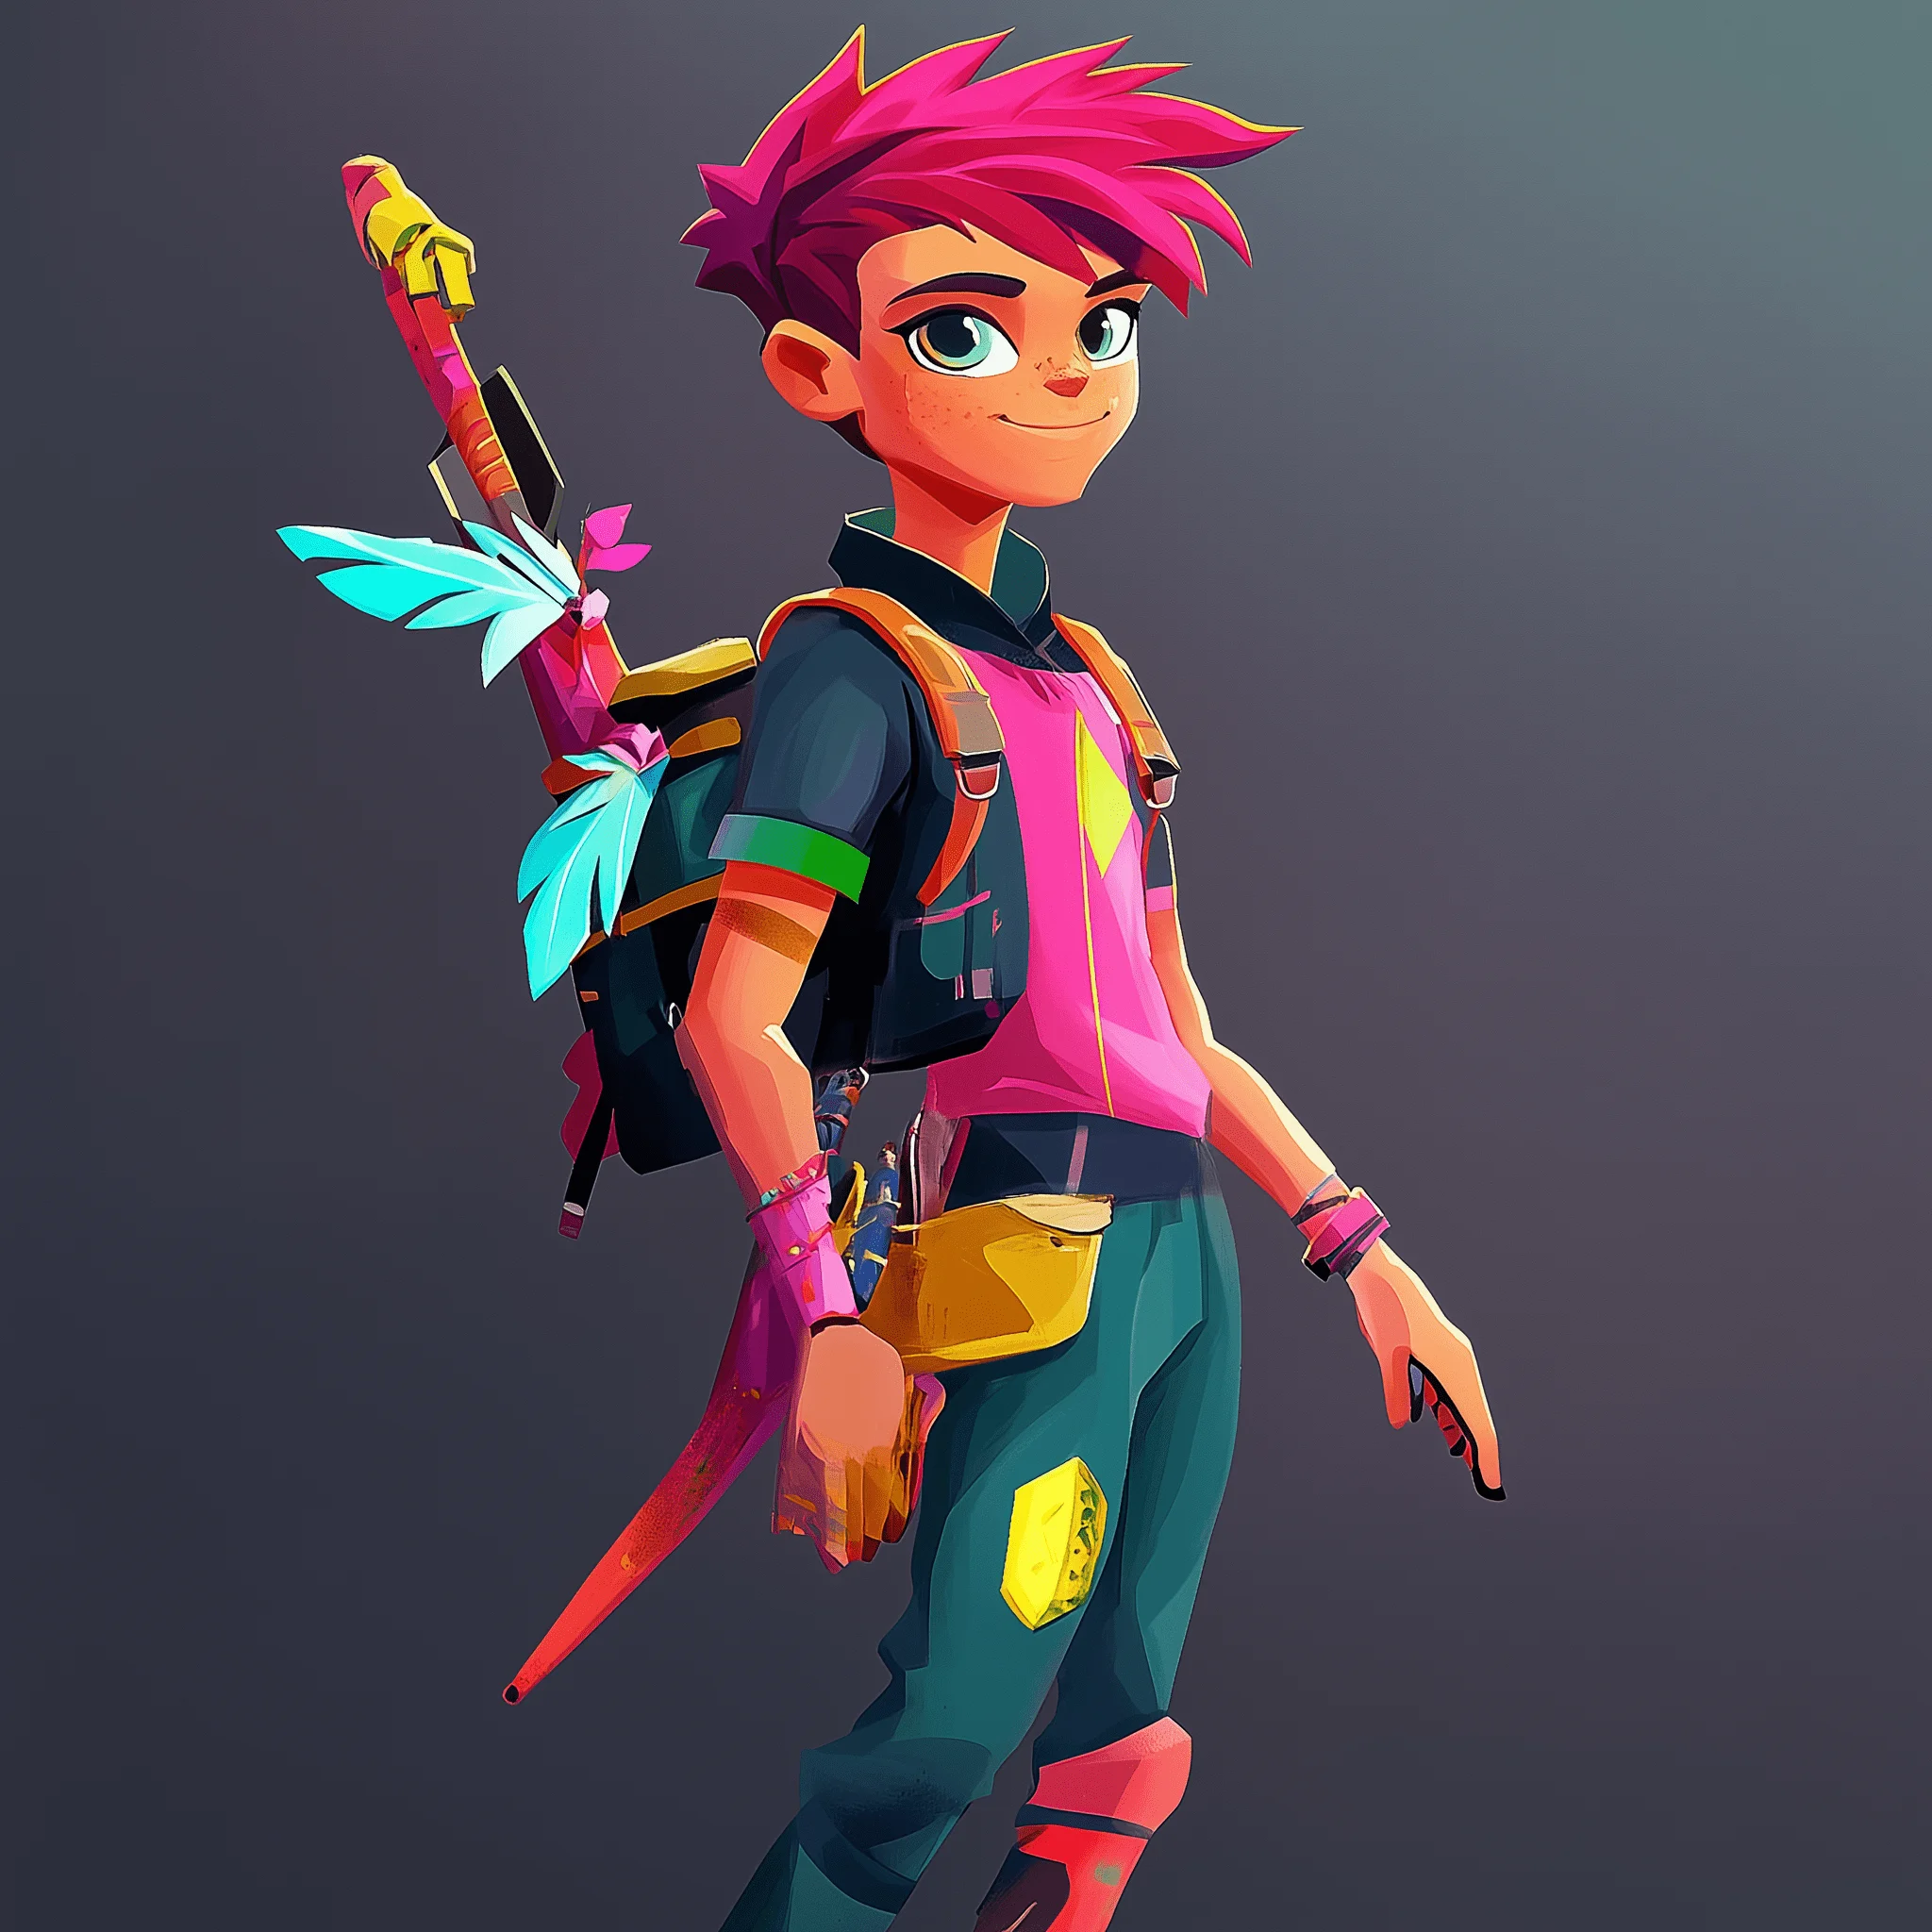
A vibrant, colorful character design for a cartoon-style video game protagonist
Standard Mode
Raw Mode
.webp)
C. Personalize
This feature applies to your personal style preferences while generating images. Personalization can help create images more aligned with your taste, which is particularly useful for maintaining a consistent style across projects. Enabling this feature allows Midjourney to generate images tailored to your image ratings.
For Discord users:
While the web interface offers a more visual way to adjust settings, Discord commands provide quick access to these parameters. Here are some essential commands explained in brief:
-ar w:h: Set aspect ratio (e.g.,-ar 16:9)-v number: Specify Midjourney version (e.g.,-v 6)-q value: Set quality (1 for draft, 2 for high quality)-no element: Exclude specific elements from the image
Remember to place these commands at the end of your prompt.
Key parameters for fine-tuning
1. Negative Prompts
Negative prompts are powerful for removing unwanted elements, allowing you to focus on specific aspects of a scene or design. This is particularly useful when you want to highlight architectural features or product designs without distractions.
Use -no to specify elements you don't want in your image.
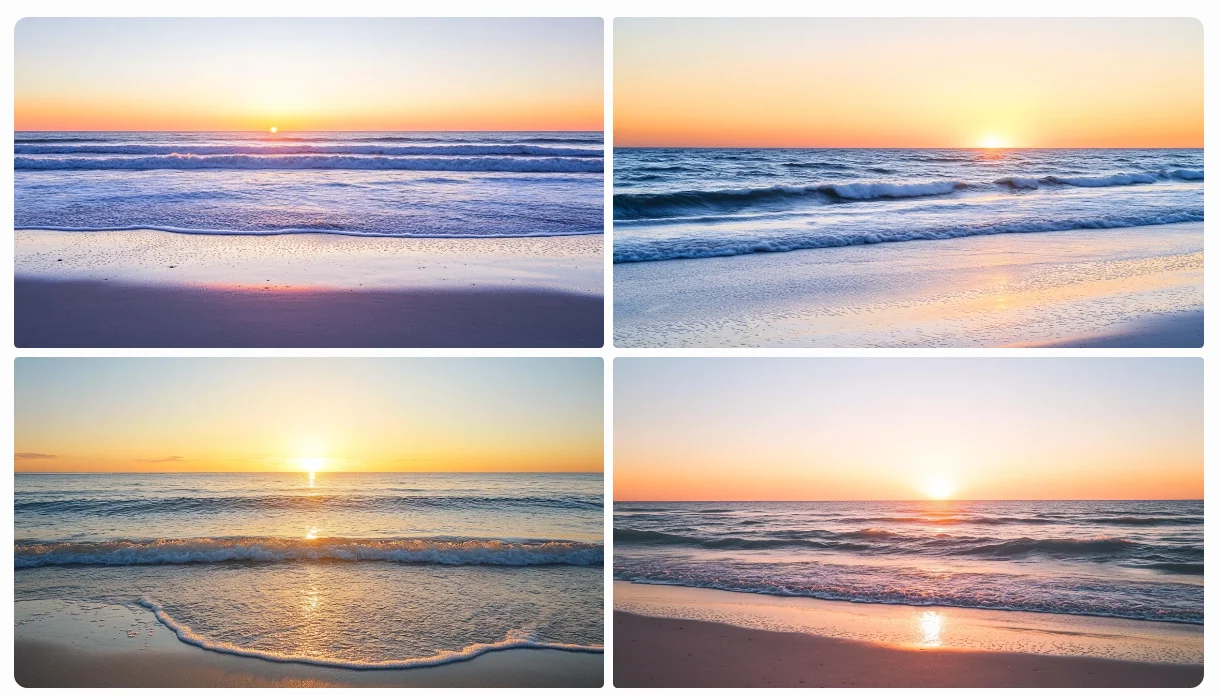
A sunset over a calm beach, with gentle waves and clear sky --no people, boats
2. Quality
Higher quality settings (--q 2) are ideal for final images or when you need to capture intricate details. Use lower settings (--q 1) when brainstorming or creating rough drafts to save time and GPU usage.
The -q parameter adjusts the time spent generating an image, potentially improving its quality.
A detailed product shot of a high-end smartwatch, showcasing its features
—q 1
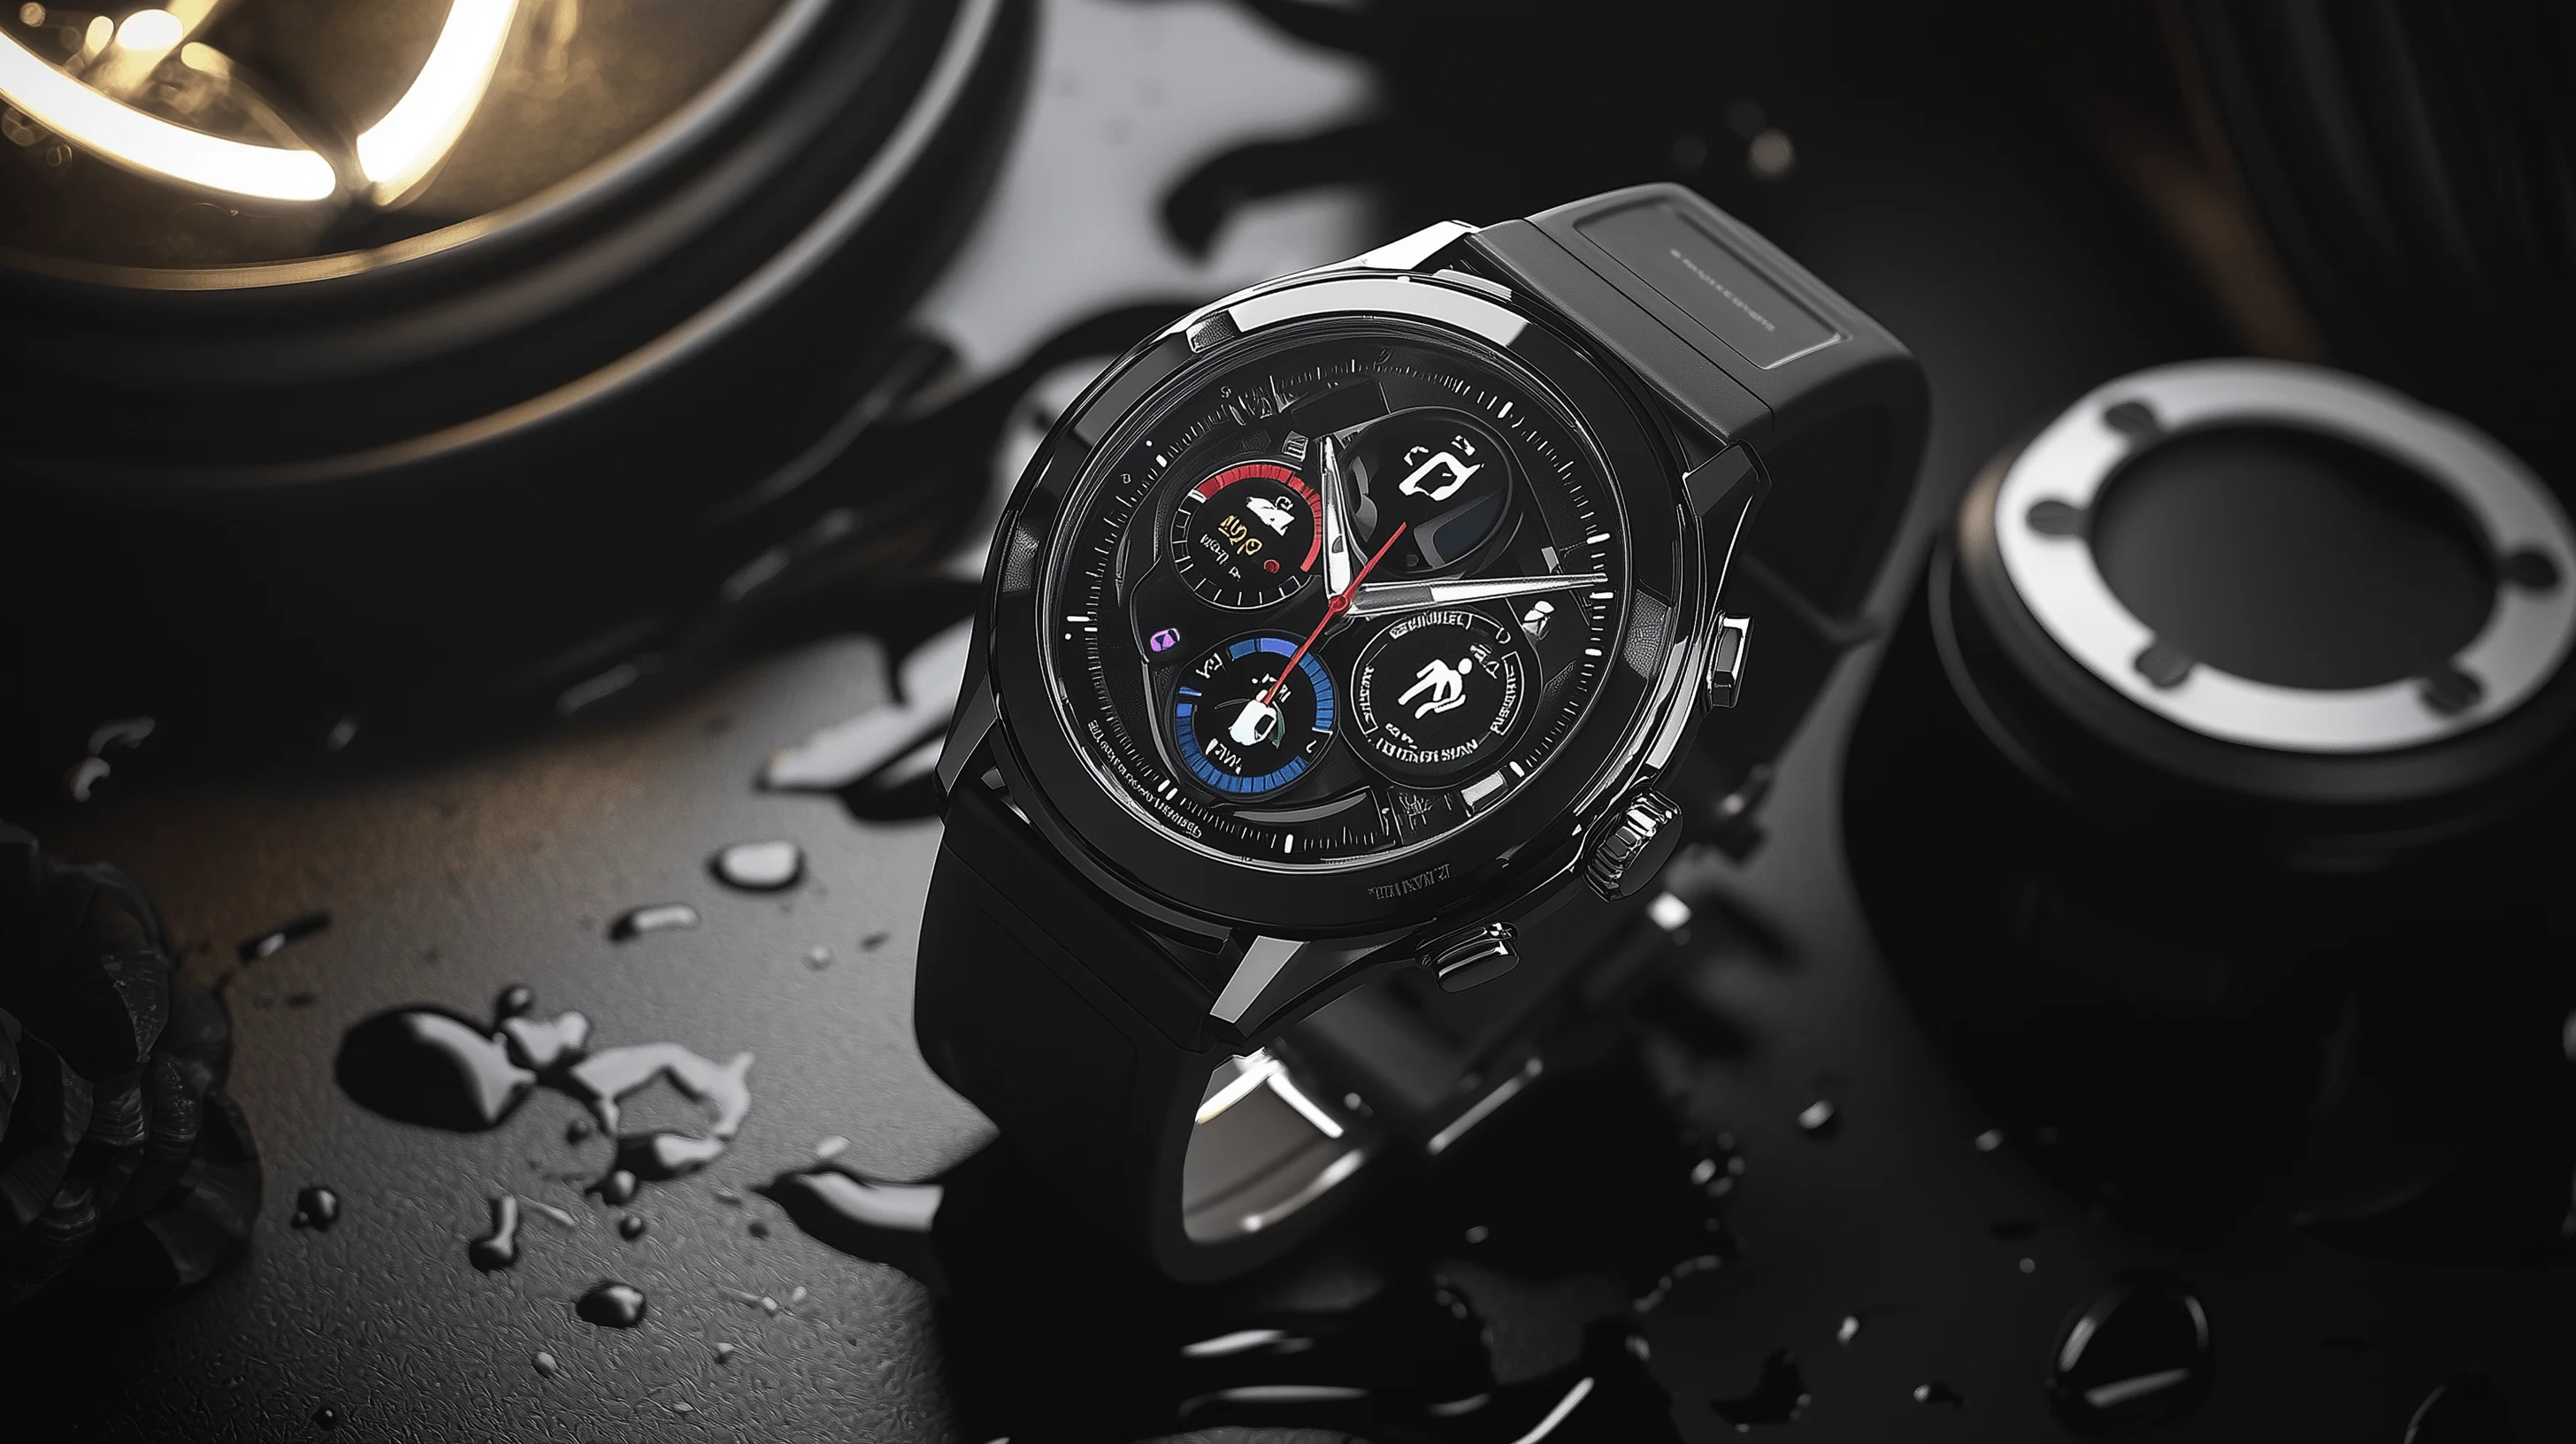
—q 2
3. Seed
Using the same seed allows you to maintain consistency across related images or make small adjustments to a design you like. This is invaluable for creating variations of a product or maintaining a consistent style across a branding project.
The -seed parameter allows you to recreate or iterate on a specific image.
Mastering aesthetics
The Aesthetics section in Midjourney's web interface is where the magic happens. Here, you'll find three powerful sliders that can dramatically alter your creations: Stylization, Weirdness, and Variety. Let's dive into each of these and explore how to use them effectively in your projects.

1. Stylization (--stylize or --s)
This slider balances photorealism and artistic interpretation. On the web, adjust the Stylization slider. On Discord, use --s followed by a value from 0 to 1000.
Let's compare low and high stylization:
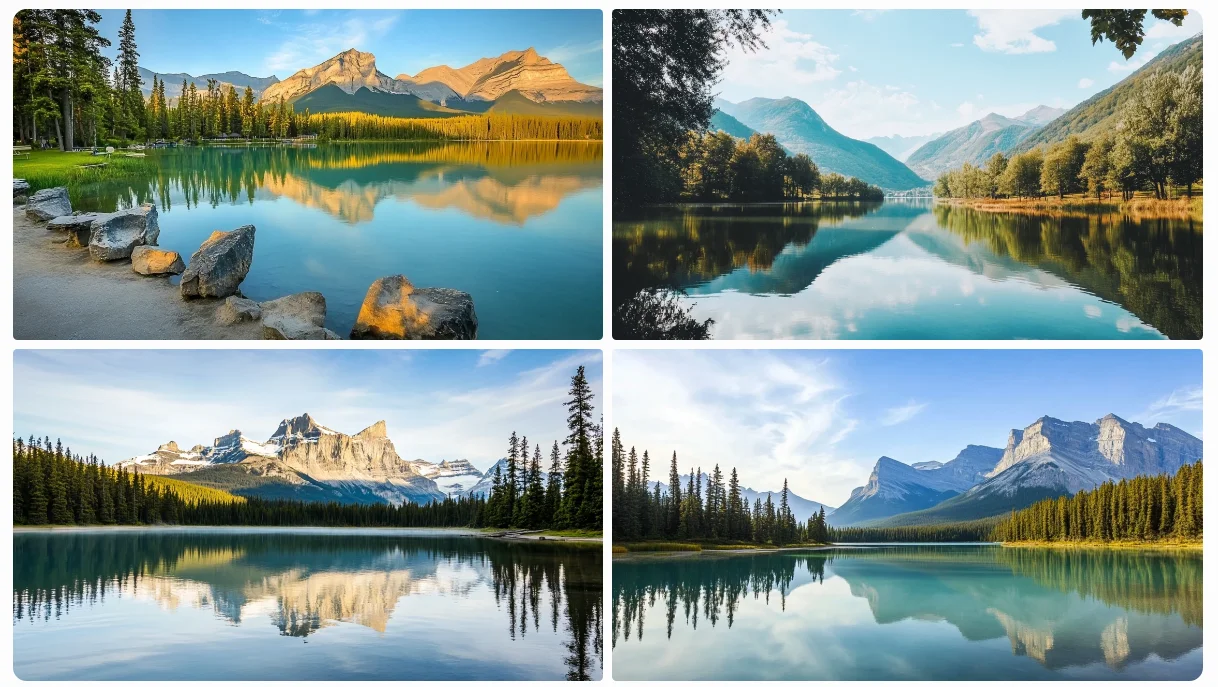
A tranquil lake with mountain reflections
Stylize 0

Stylize 900

In the low stylization image, you'll notice more photorealistic details. The high stylization version will appear more artistic and interpretive.
Use low stylization (0-100) for product shots or architectural renders. Medium stylization (100-300) works well for marketing materials. High stylization (300-1000) is perfect for abstract or artistic projects.
2. Weirdness
This parameter introduces unconventional elements. Adjust it using the Weirdness slider or the --weird parameter (300 to 3000).
Let's compare:
A tranquil lake with mountain reflections
Weird 300

Weird 3000

The low weirdness image will look more conventional, while the high weirdness version might include unexpected elements or surreal interpretations.
Use low weirdness for traditional projects, medium 300-1500 for a bit of quirk, and high 1500 - 3000 for avant-garde or brainstorming sessions.
3. Variety (Chaos)
This influences the diversity of outputs. Use the Variety slider or the --c parameter (0 to 100).
Low variety will produce more consistent results across the image set. High variety will give you diverse interpretations of the prompt.
Let's compare:
A tranquil lake with mountain reflections
Chaos 10
Chaos 100

Use low variety when you need consistency, medium for exploring variations, and high for brainstorming or generating diverse concepts.
Upscaling methods and image enhancement
Upscaling is a key technique for improving image quality and resolution, particularly when preparing visuals for professional use. It's not just about enlarging an image; it's about enhancing its clarity, detail, and overall visual impact.
Some practical applications of upscaling include:
- Preparing images for high-resolution displays
- Creating large-format prints without loss of quality
- Improving the detail and clarity of product images
- Enhancing visual assets for professional presentations
Midjourney offers different upscaling methods, each with its own characteristics. Understanding these can help you achieve the best results for your specific needs.
Let's imagine you're a graphic designer creating a poster for a tech conference. You've generated a base image, but now you need to upscale it for large-format printing.
On the Midjourney web interface, click on the image to open it in the lightbox view.
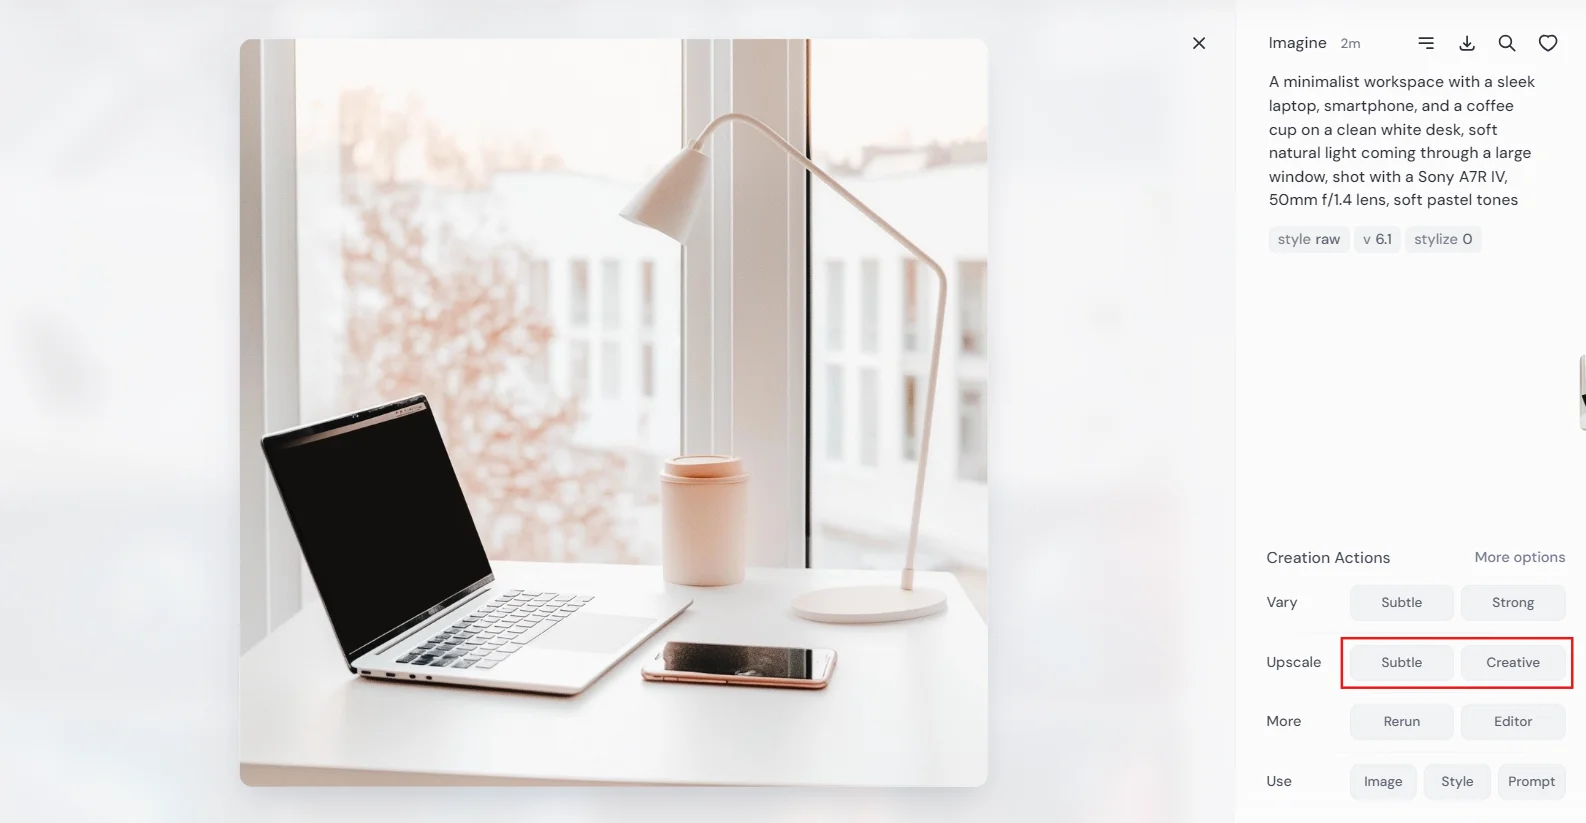
You'll see two upscale options: "Upscale (Subtle)" and "Upscale (Creative)".
Let's try both and compare:
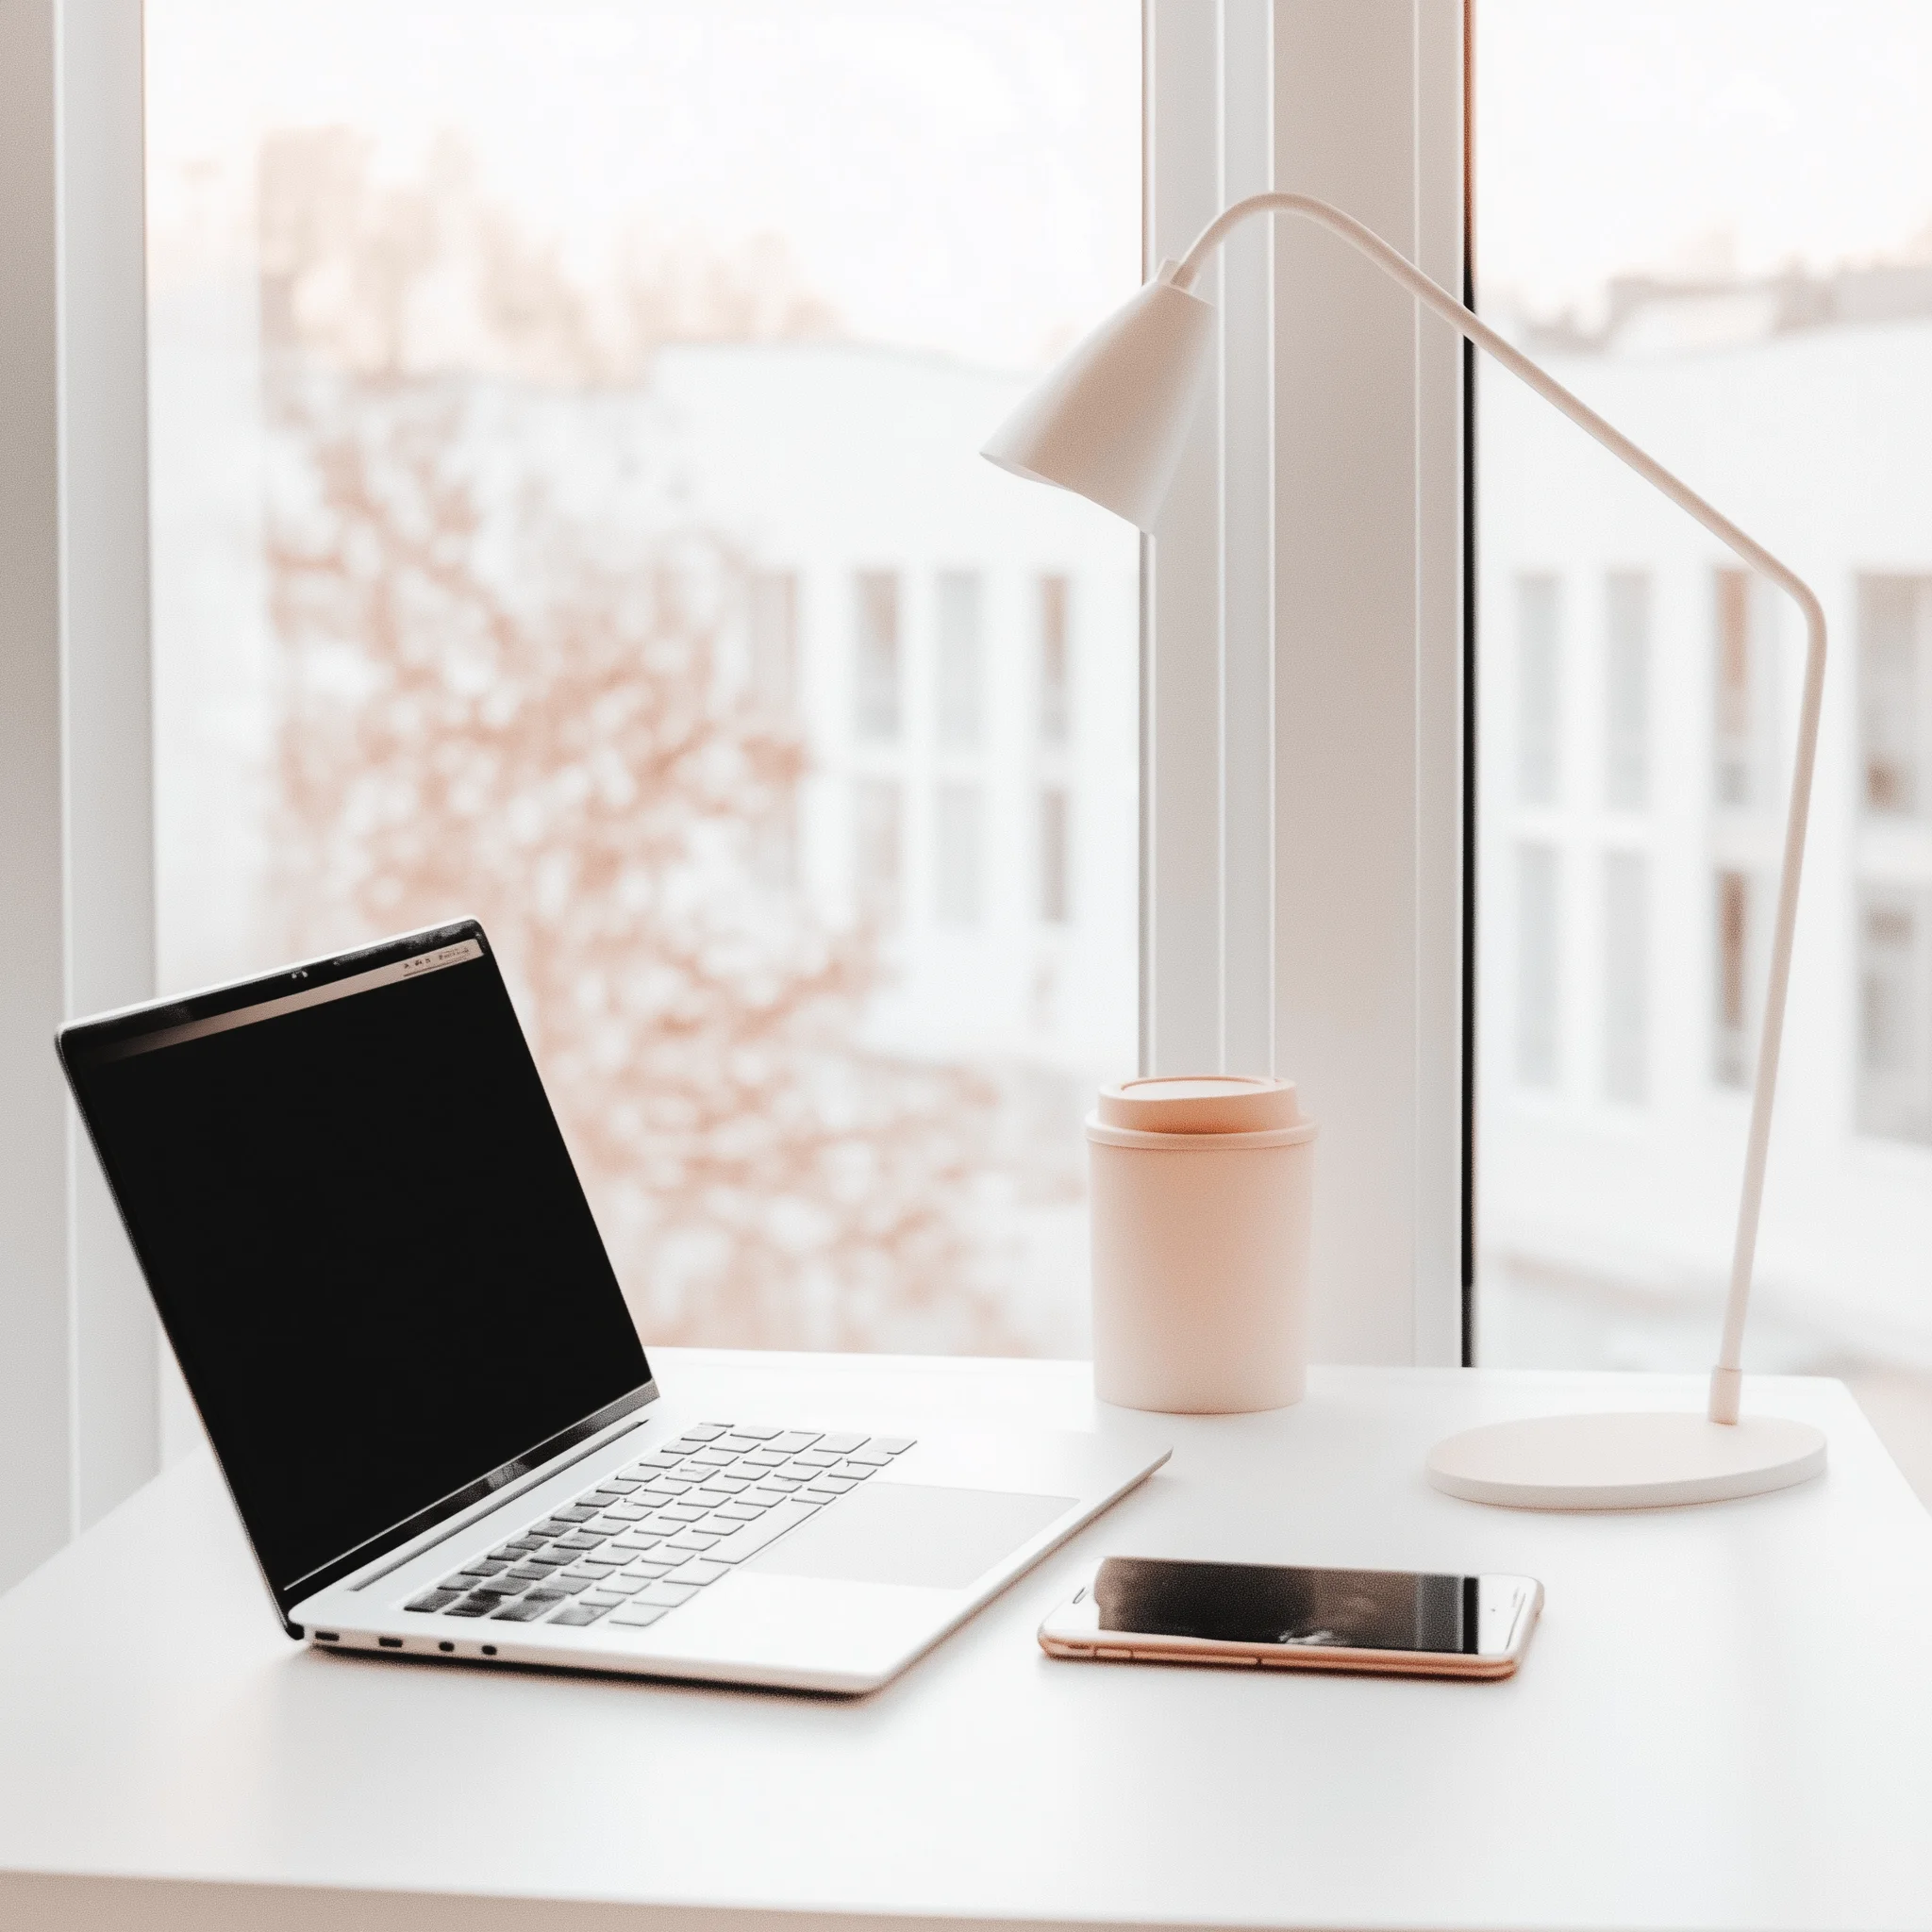
For Subtle Upscale:
Click "Upscale (Subtle)". This method preserves the original image's details and composition while increasing its resolution.
For Creative Upscale:
Go back to your original image and click "Upscale (Creative)". This method may introduce new details or slightly alter the composition while upscaling.
Subtle
Creative
.webp)
Compare the results. The Subtle Upscale should maintain the original design very closely, which is great if you're happy with every detail. The Creative Upscale might introduce interesting new elements or refine existing ones, which could be beneficial if you want to add more depth to your design. Like, in this example, it slightly changed the reflection on the phone screen.
This final upscaling step can help refine your upscaled image, making it print-ready and professionally polished.
For Discord users, upscaling options are available through the U buttons beneath each generated image. The V buttons can be used for variations if you want to explore different enhancements.

Generation modes
Midjourney offers three generation modes, each with its own balance of speed and resource usage. Let's explore how to use each mode effectively in your workflow.
Fast Mode (Default):
Fast mode is your standard setting, offering a good balance of speed and quality. Images typically generate in 30-60 seconds.
Relax Mode:
Relax mode is slower but doesn't count against your GPU time. It's perfect for non-urgent tasks or when you've used up your Fast hours.
Turbo Mode:
Turbo mode generates images fastest (10-20 seconds) but uses more GPU time. It's ideal for rapid prototyping or tight deadlines.
Practical Application:
- Use Fast mode for most client work where you need a balance of quality and speed.
- Switch to Relax mode when brainstorming or working on personal projects without time pressure.
- Reserve Turbo mode for urgent requests or when you need to quickly generate multiple variations.
Exercise: Creating a Product Launch Campaign
Your task is to create a comprehensive visual package for the launch of a new smartphone. This will test your ability to use various parameters and settings to create a cohesive set of images for different purposes.
Requirements:
- Create three images:
a) A detailed product shot of the smartphone (use high quality and low stylization)
b) A lifestyle image showing the phone in use (experiment with aspect ratios)
c) An abstract, artistic interpretation of the phone's key features for a promotional poster (use high stylization) - Use appropriate aspect ratios for each image based on its intended use
- Experiment with stylization and variation parameters to achieve distinct looks for each image
- Use negative prompts to refine your images if needed
Steps:
- Start with a basic description of your smartphone design
- Adjust parameters for each specific image requirement
- Fine-tune your results using the techniques learned in this lesson
- Document the prompts and parameters used for each image
Share your work! Share your prompts, parameters used, and the resulting images in the "share-your-work" channel on the Ben's Bites Slack community. Explain your rationale behind the parameter choices for each image and how they contribute to the overall product launch campaign.
When you’re ready, head on to the next course tutorial.
This tutorial was created by Tanmay.