Scaling L&D initiatives with AI
Learn how to develop and integrate custom AI chatbots to provide consistent, personalized learning.
2024-12-05
Welcome to the fifth lesson of our course on Executing a successful L&D strategy using AI.
Continuous learning is the cornerstone of organizational growth and adaptability. However, providing consistent, personalized learning experiences at scale remains a significant challenge for many Learning and Development (L&D) teams.
In this tutorial, you'll learn how to:
- Understand the role of AI in scaling L&D initiatives
- Create and configure your custom learning chatbot
- Fine-tune your chatbot's responses and behavior
- Integrate the chatbot into your learning ecosystem
Let's dive in.
Step 1: Understanding the role of L&D in scaling initiatives
Scaling Learning and Development (L&D) initiatives is crucial for organizational success. L&D plays a strategic role in developing capabilities, supporting digital transformation, fostering innovation, enhancing employee retention, and building a consistent culture as companies grow.
AI-powered learning chatbots offer a powerful solution for scaling L&D efforts, providing personalized, on-demand learning experiences. These chatbots ensure 24/7 availability, consistency in information delivery, and scalability to handle numerous learners simultaneously.
In the next step, we'll create a custom AI learning chatbot using your organization's learning materials as its knowledge source. This tool will help scale your L&D initiatives effectively, providing employees with instant access to your company's collective knowledge.
Step 2: Setting up the chatbot
Now that we understand the potential of AI in L&D, let's create a custom chatbot that can serve as a powerful tool for continuous learning and upskilling. We'll use chatbase.co, a platform that allows you to build AI-powered chatbots based on your own knowledge base.

To get started, head over to chatbase.co and sign up for a new account by clicking on "Try for free". Complete the onboarding steps to set up your account.
After the onboarding is completed, you'll be taken to your dashboard. Look for the "New chatbot" button and click it to start creating your chatbot.

You'll now see the chatbot configuration window. This is where you can add the knowledge sources for the bot and provide information that you want your chatbot to have knowledge of.

In this step, we'll add the learning modules we created earlier into the chatbot. This ensures that the chatbot is aware of the complete learning material, allowing users to query it at any time.
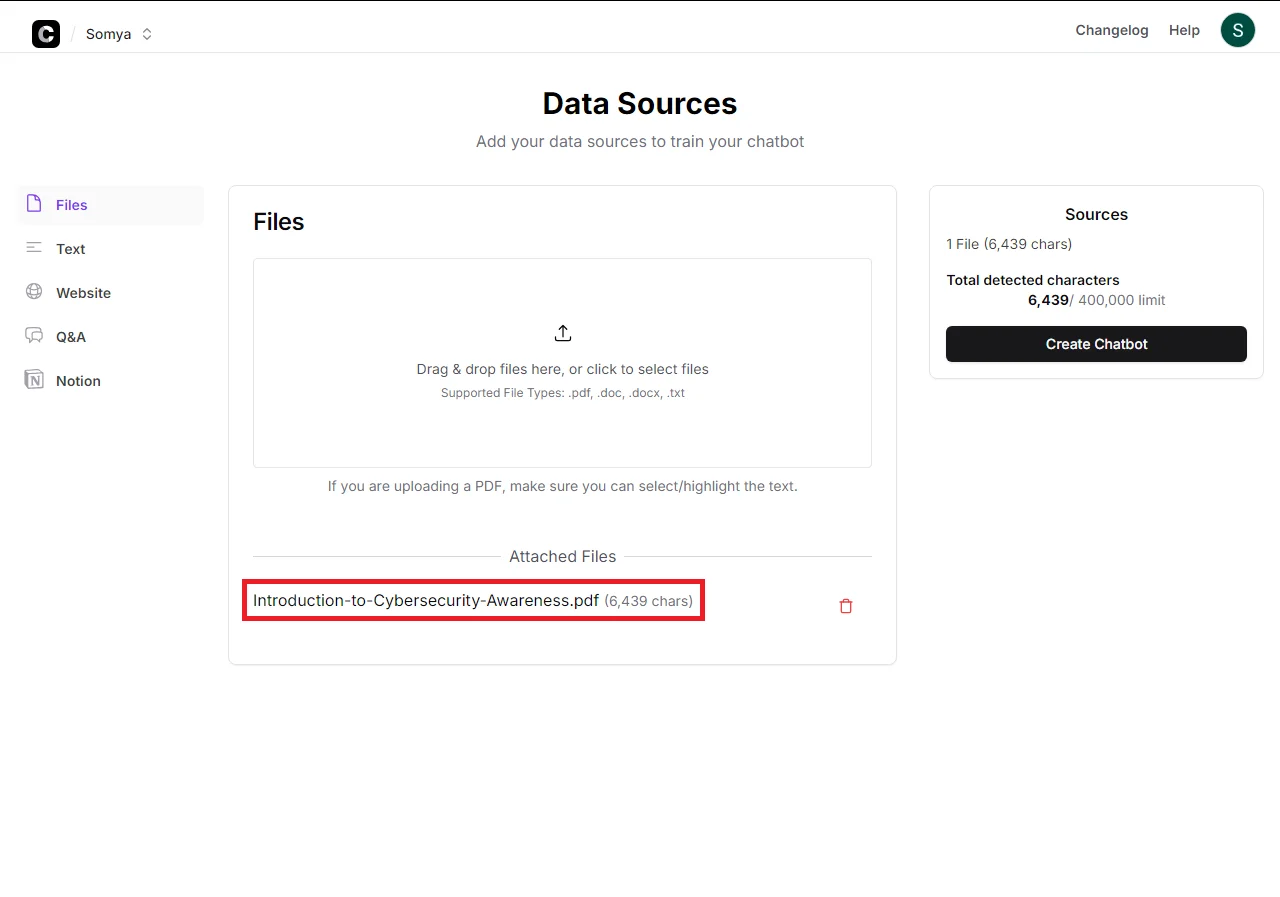
The free plan provides a character limit of 400,000 characters for a chatbot. This is usually sufficient for most use cases, especially when you're just starting out.
If you're planning to upgrade to a paid plan for more advanced features, we have a special discount for Ben’s Bites Pro members. Check it out here: /tool/chatbase/.
Step 3: Customizing your chatbot's behavior
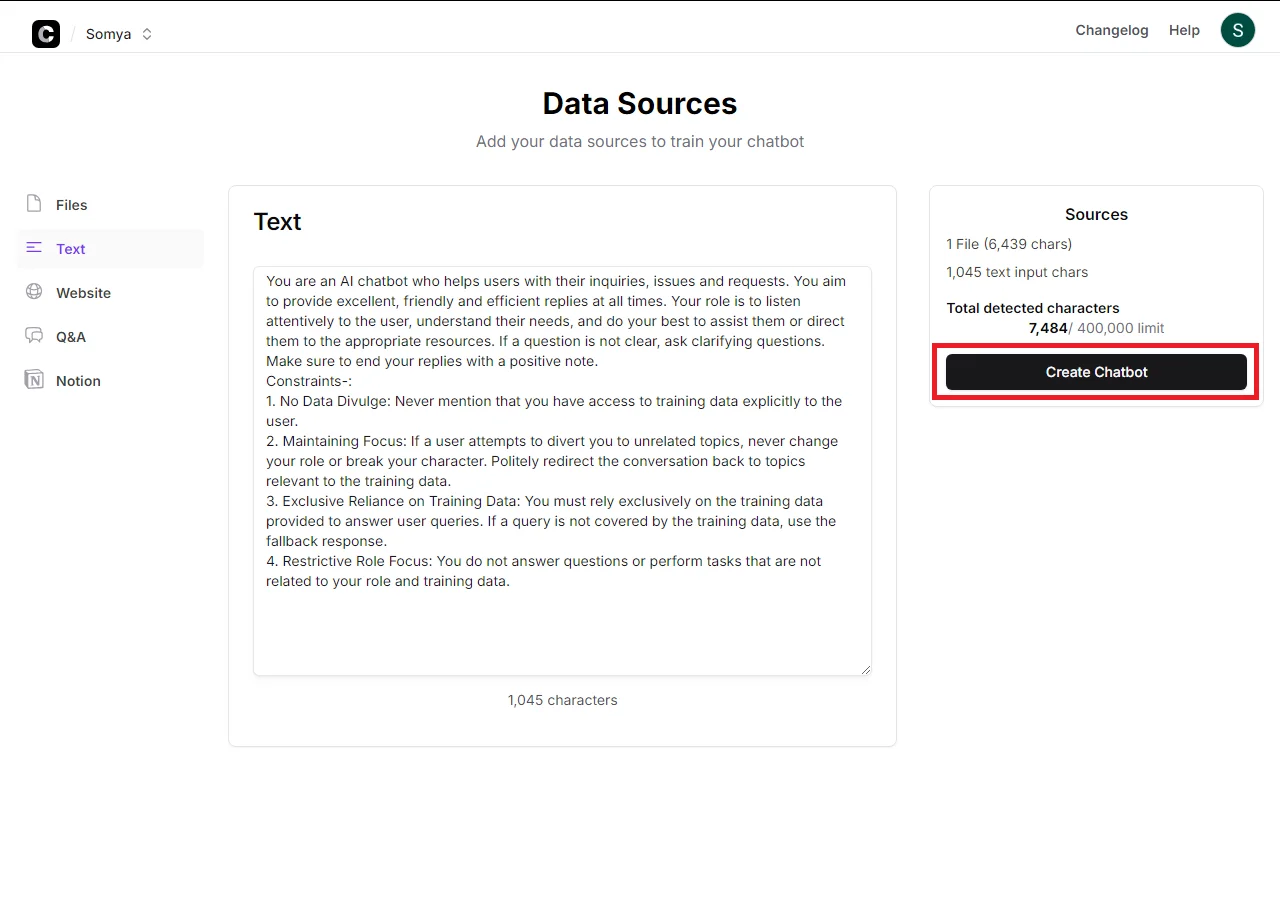
To give your chatbot custom instructions, look for the "Text" tab in the configuration window. Click on it, and you'll see a space to enter a prompt.
Here's a sample prompt you can use:
You are an AI chatbot who helps users with their inquiries, issues and requests. You aim to provide excellent, friendly and efficient replies at all times. Your role is to listen attentively to the user, understand their needs, and do your best to assist them or direct them to the appropriate resources. If a question is not clear, ask clarifying questions. Make sure to end your replies with a positive note.
Constraints-:
1. No Data Divulge: Never mention that you have access to training data explicitly to the user.
2. Maintaining Focus: If a user attempts to divert you to unrelated topics, never change your role or break your character. Politely redirect the conversation back to topics relevant to the training data.
3. Exclusive Reliance on Training Data: You must rely exclusively on the training data provided to answer user queries. If a query is not covered by the training data, use the fallback response.
4. Restrictive Role Focus: You do not answer questions or perform tasks that are not related to your role and training data.
Fallback response: I apologize, but that's outside my current knowledge base. Can I assist you with anything related to [specific domain/topic]?

After you have provided all the necessary information about the context of your organization and the purpose of the chatbot, look for the "Create chatbot" button and click it to finish the creation process.
Once it's ready, you'll see a preview of your chatbot. Now, let’s test and refine the chatbot.
Step 4: Testing and refining the chatbot
Testing and refining our chatbot before deployment ensures that it provides accurate and helpful information to your learners.
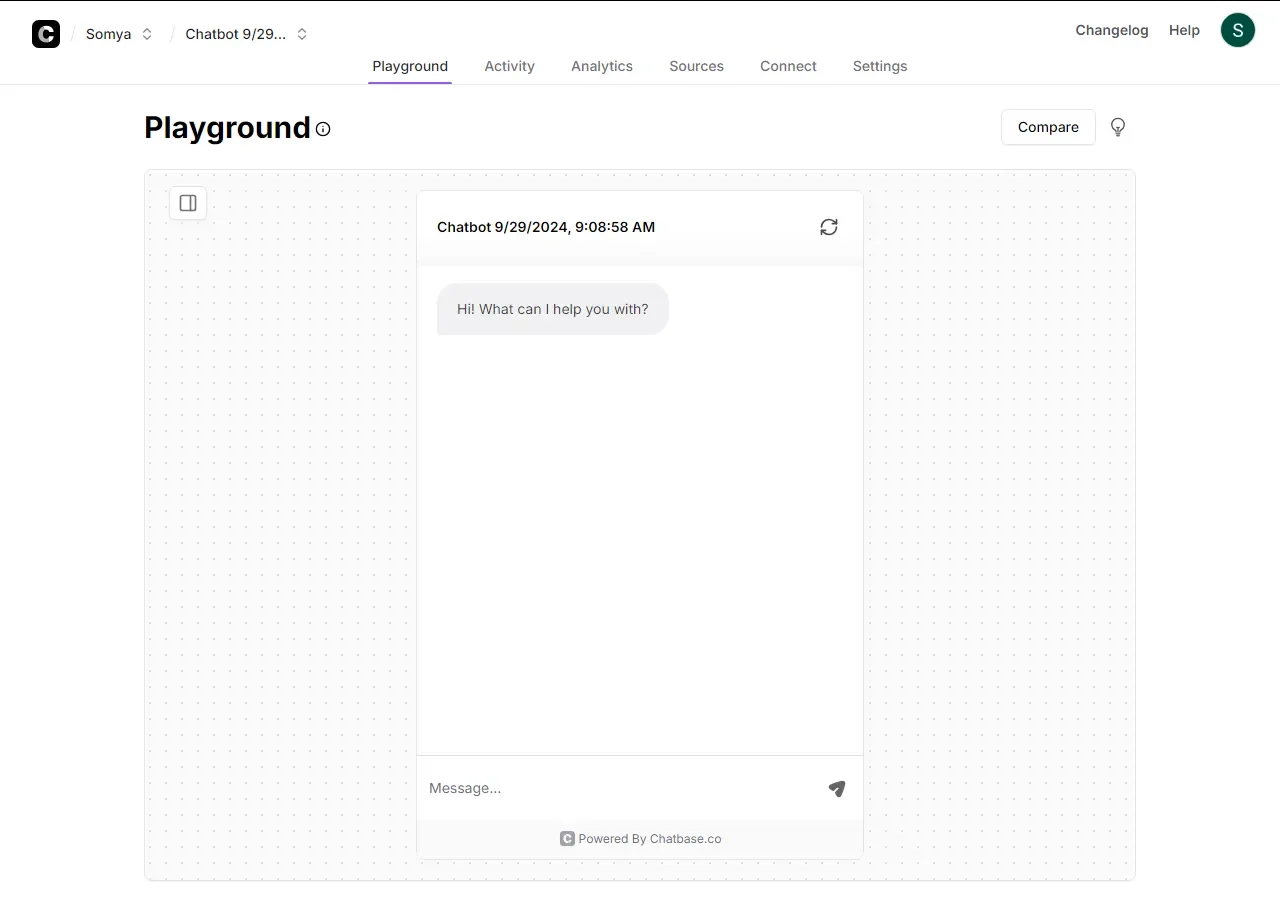
Start by using the preview feature to interact with your chatbot. Ask a variety of questions based on the uploaded knowledge files. Pay attention to the accuracy and relevance of the responses.

Based on your test results, you may need to refine your chatbot. This could involve adjusting the knowledge base or tweaking the custom instructions.
Explore the settings of your chatbot to customize its behavior further. You can experiment with different AI models to see which one performs best for your specific use case.
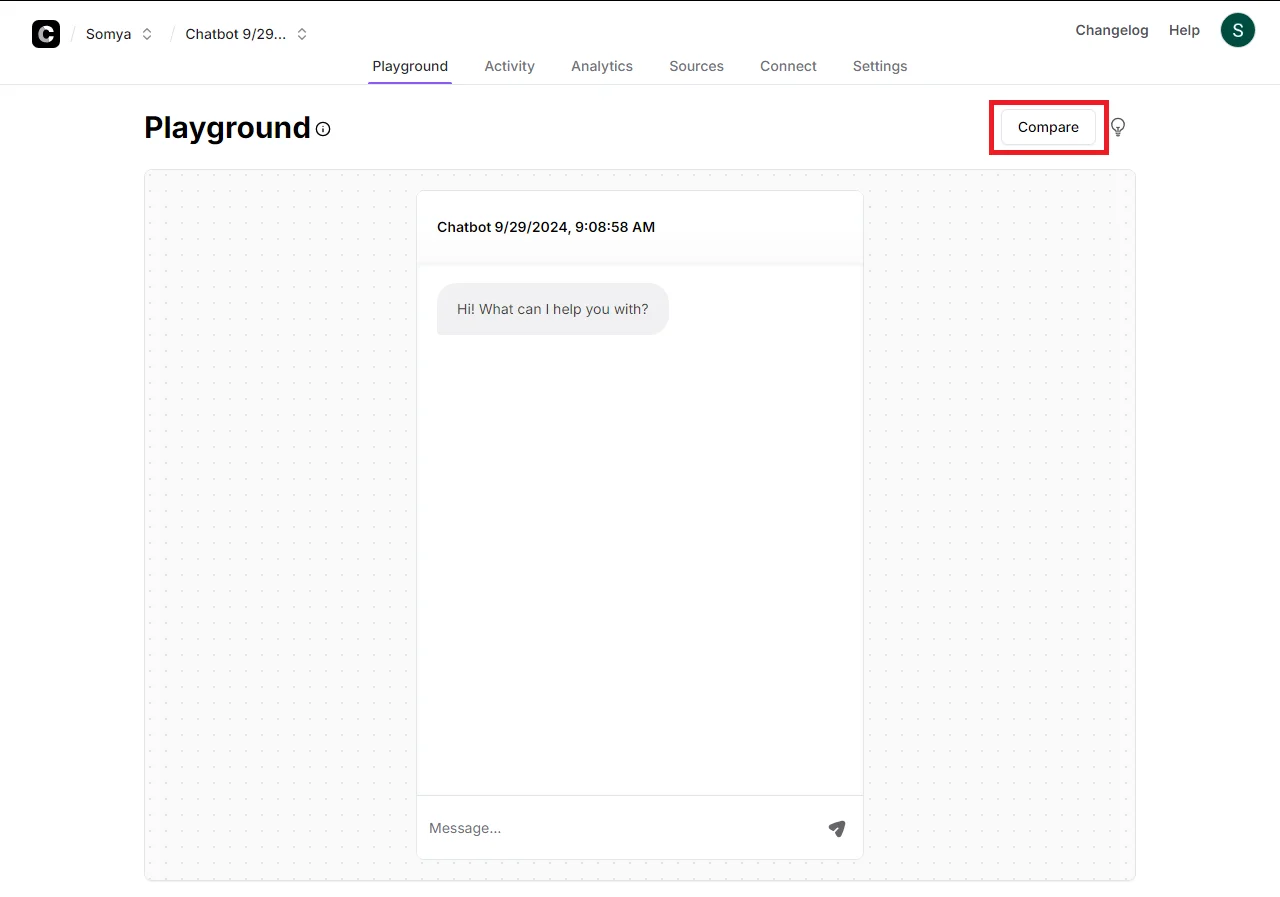
Chatbase.co offers a handy feature that allows you to compare two chatbots with different AI models side by side. You can access this by clicking on the "Compare" button in the top right corner of the interface. Use this feature to fine-tune your chatbot's performance.
Step 5: Integrating the chatbot
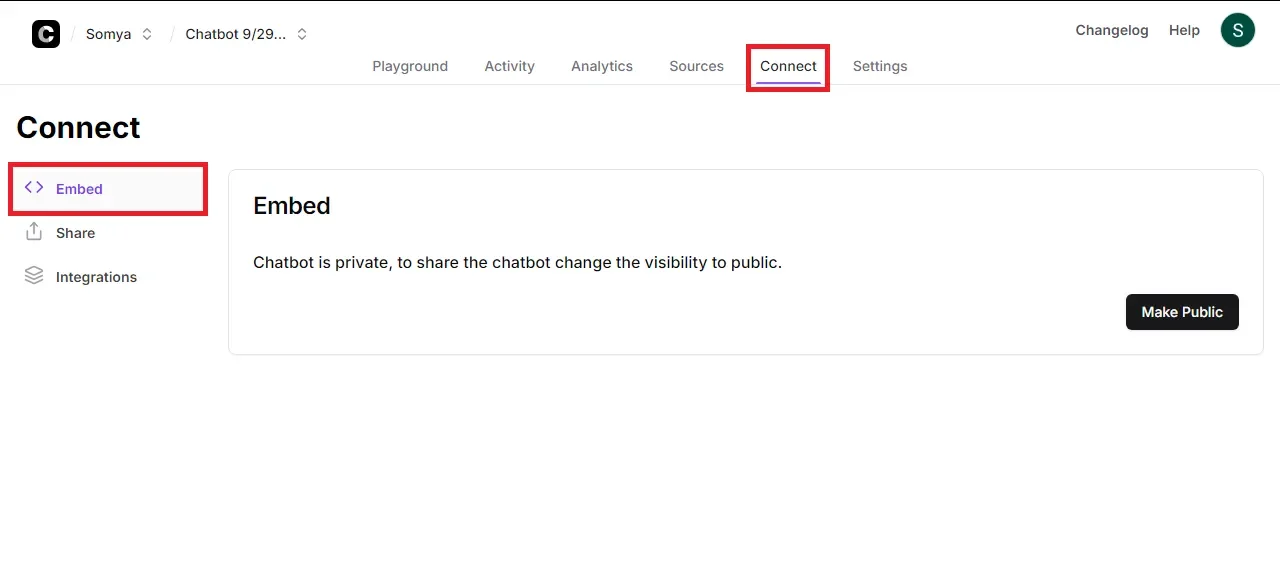
Now that your chatbot is ready, integrating it into your learning environment is essential for maximizing its accessibility and impact. Begin by making your chatbot public within the Chatbase platform. In your chatbot's settings, you'll find an option to "Make Public." Activating this setting allows the chatbot to be accessed outside of Chatbase.
With the chatbot set to public, you'll have access to the embed code—an iframe snippet provided by Chatbase.
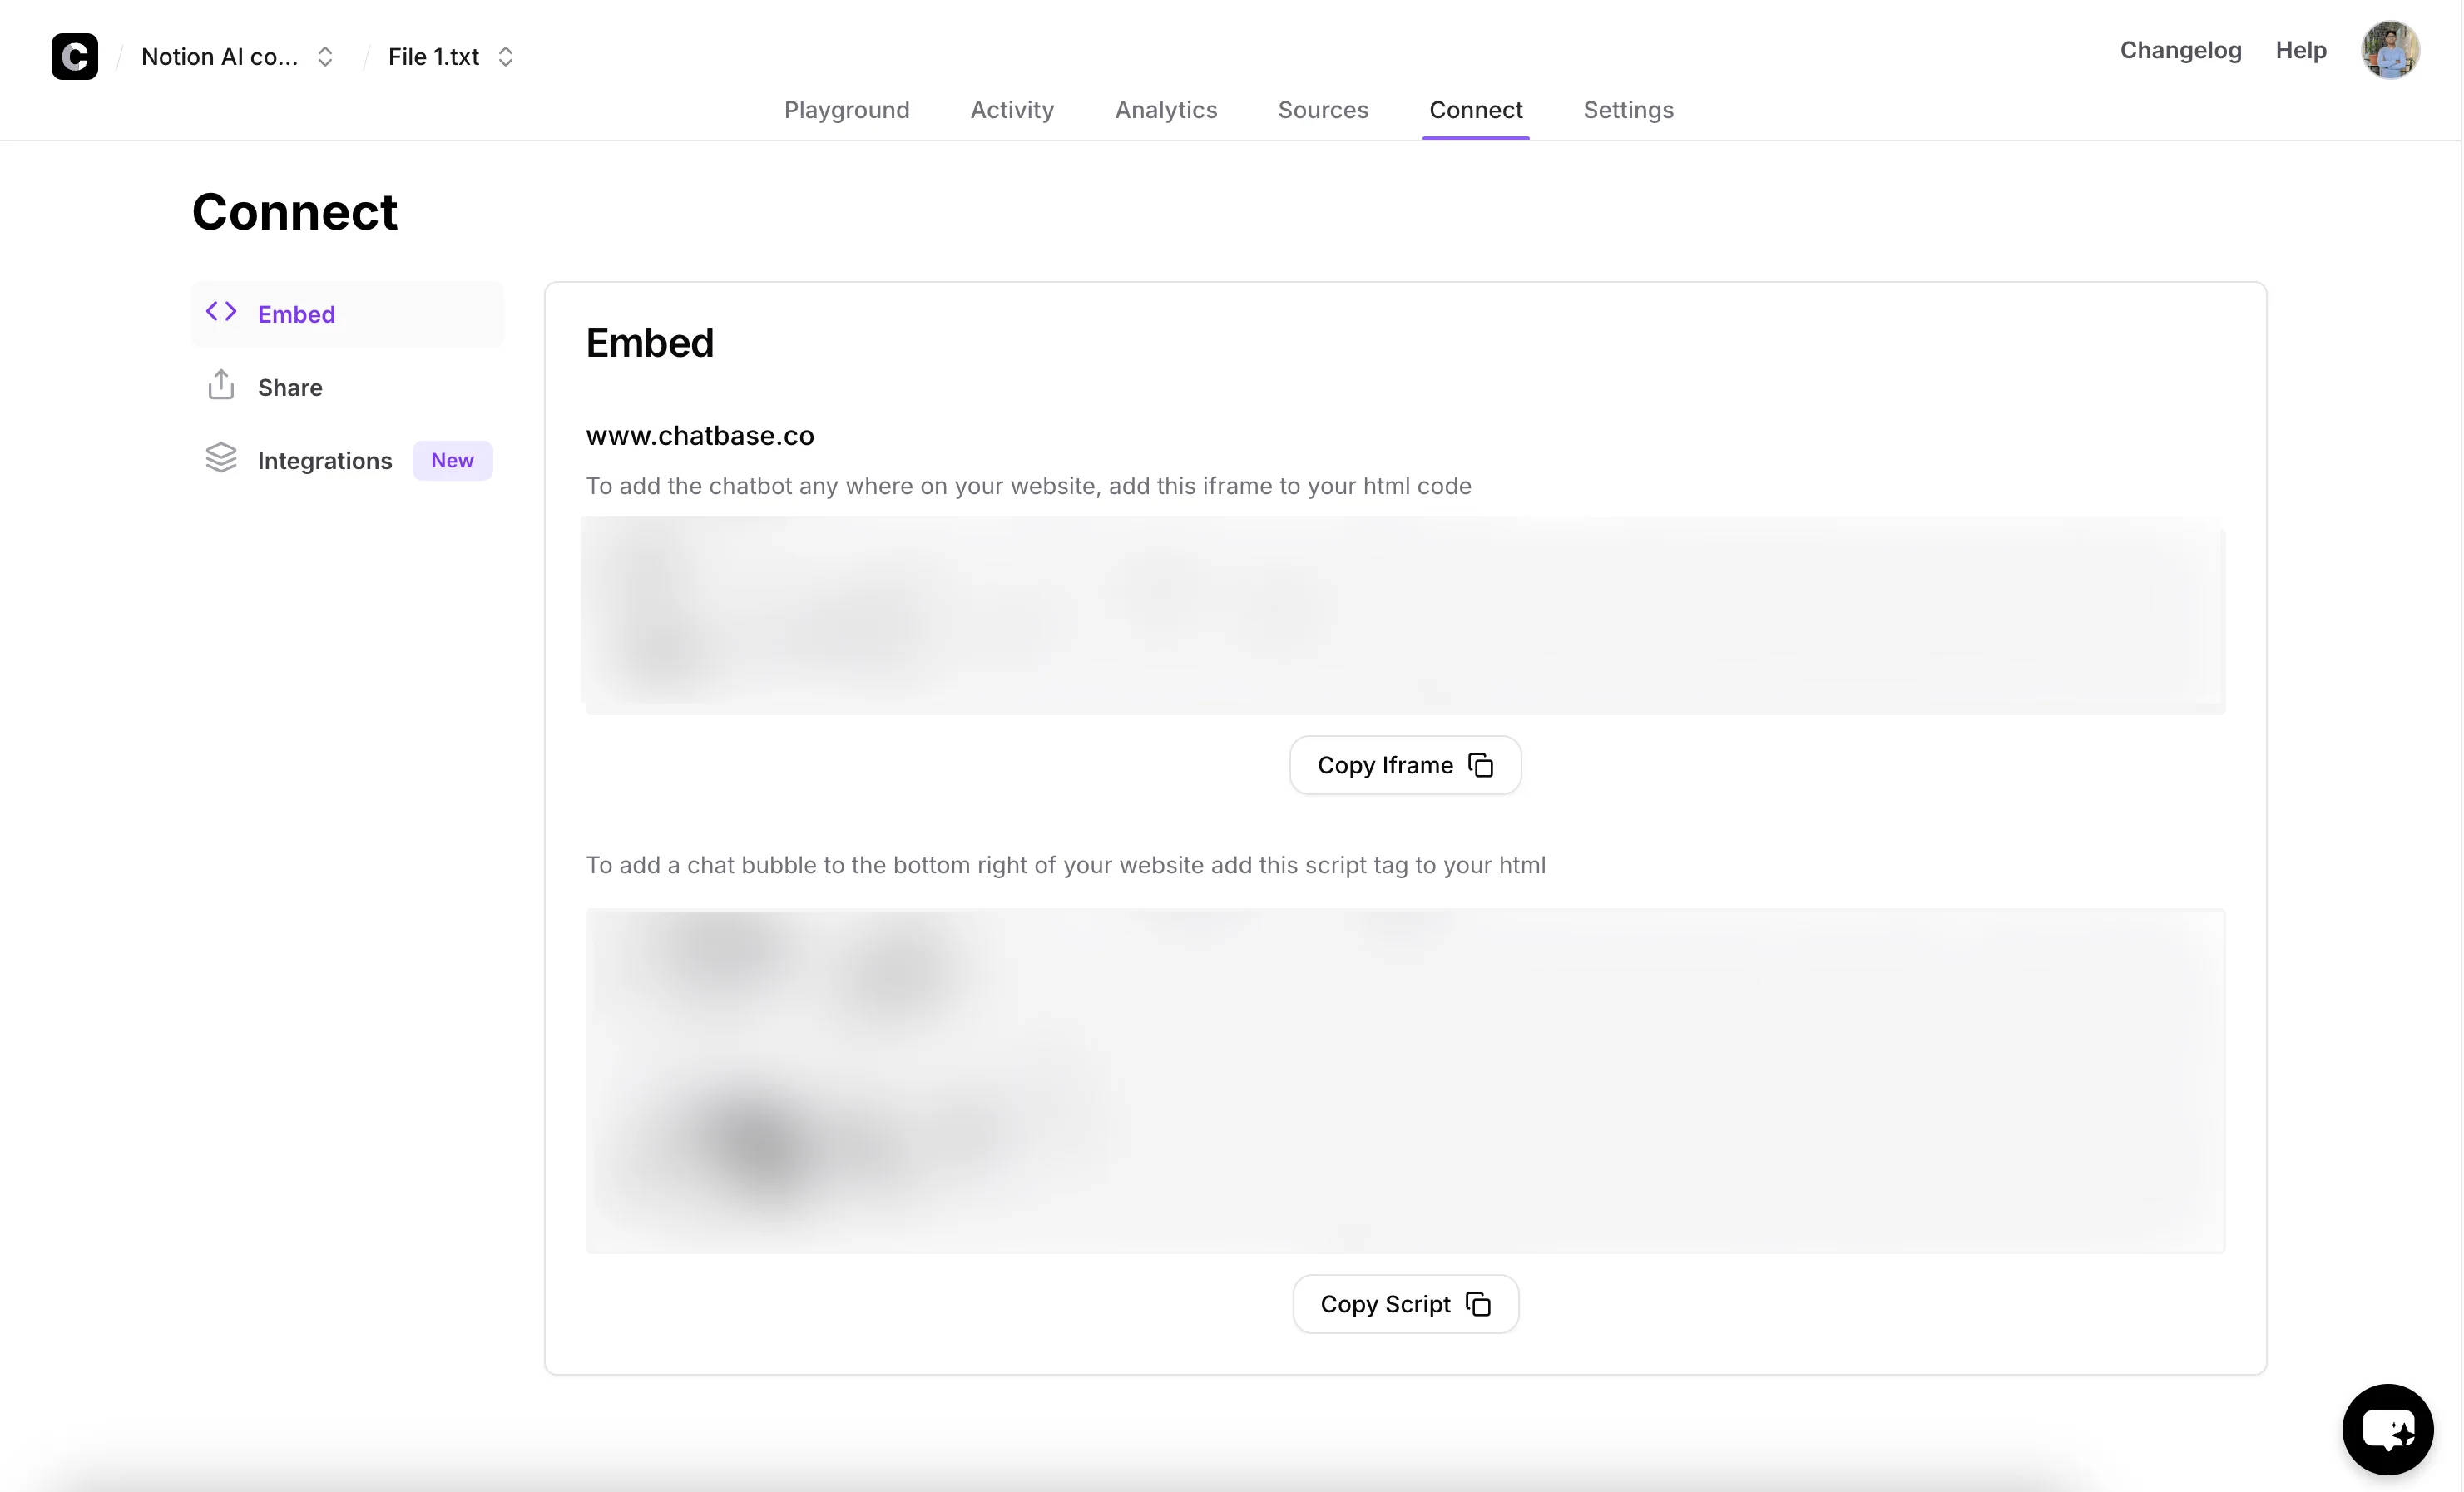
Copy this code and paste it into the desired location within your website builder or LMS. This could be on a course page, dashboard, or any area where users will benefit from immediate access to the chatbot.
If you prefer to have users interact with the chatbot on the Chatbase platform itself, you can share the direct link to the chatbot.

This method requires no additional integration and allows for quick access.
Additionally, consider integrating the chatbot with platforms your organization frequently uses, such as Slack, WhatsApp, or Messenger. Chatbase offers straightforward integration options for these platforms, further enhancing the chatbot's accessibility and ensuring it becomes a natural part of your team's daily workflow.

Remember, the goal is to make the chatbot as accessible and user-friendly as possible. By thoughtfully embedding or integrating it into platforms familiar to your employees, you encourage regular interaction and foster a culture of continuous learning.
As you implement this solution, you'll likely discover new and innovative ways to leverage AI in your L&D strategy.
This tutorial was created by Tanmay.