Set up a meeting prep assistant
Learn how to automate meeting prep, using Lindy to research attendees and send you timely context on them.
2025-01-07
Welcome to the fifth lesson of our AI personal assistants course!
Being well-prepared for meetings is crucial—but it’s a time-consuming process, and frankly, many of us skip it. But not anymore!
In this tutorial, we’ll guide you through the process of creating an automated meeting prep assistant using Lindy. This assistant will automatically trigger based on your calendar events, research attendees using LinkedIn and your previous email interactions, and send you a comprehensive meeting prep alert before the meeting.
Steps we’ll follow in this tutorial:
- Set up your meeting prep alert trigger
- Define the research steps
- Configure the email alert
- Save and test the workflow
You’ll need:
Step 1: Set up your meeting prep alert trigger
To begin, navigate to the Lindy marketplace. Look for the "Meeting Prep Alert" template and click on it to get started. This will take you to the flow editor of this Lindy assistant.

The first step in the flow is to set up the calendar event trigger. Click on the "Calendar Event Started" trigger in the flow editor, authenticate and link your Google Calendar (or Outlook Calendar), and set the minutes offset.
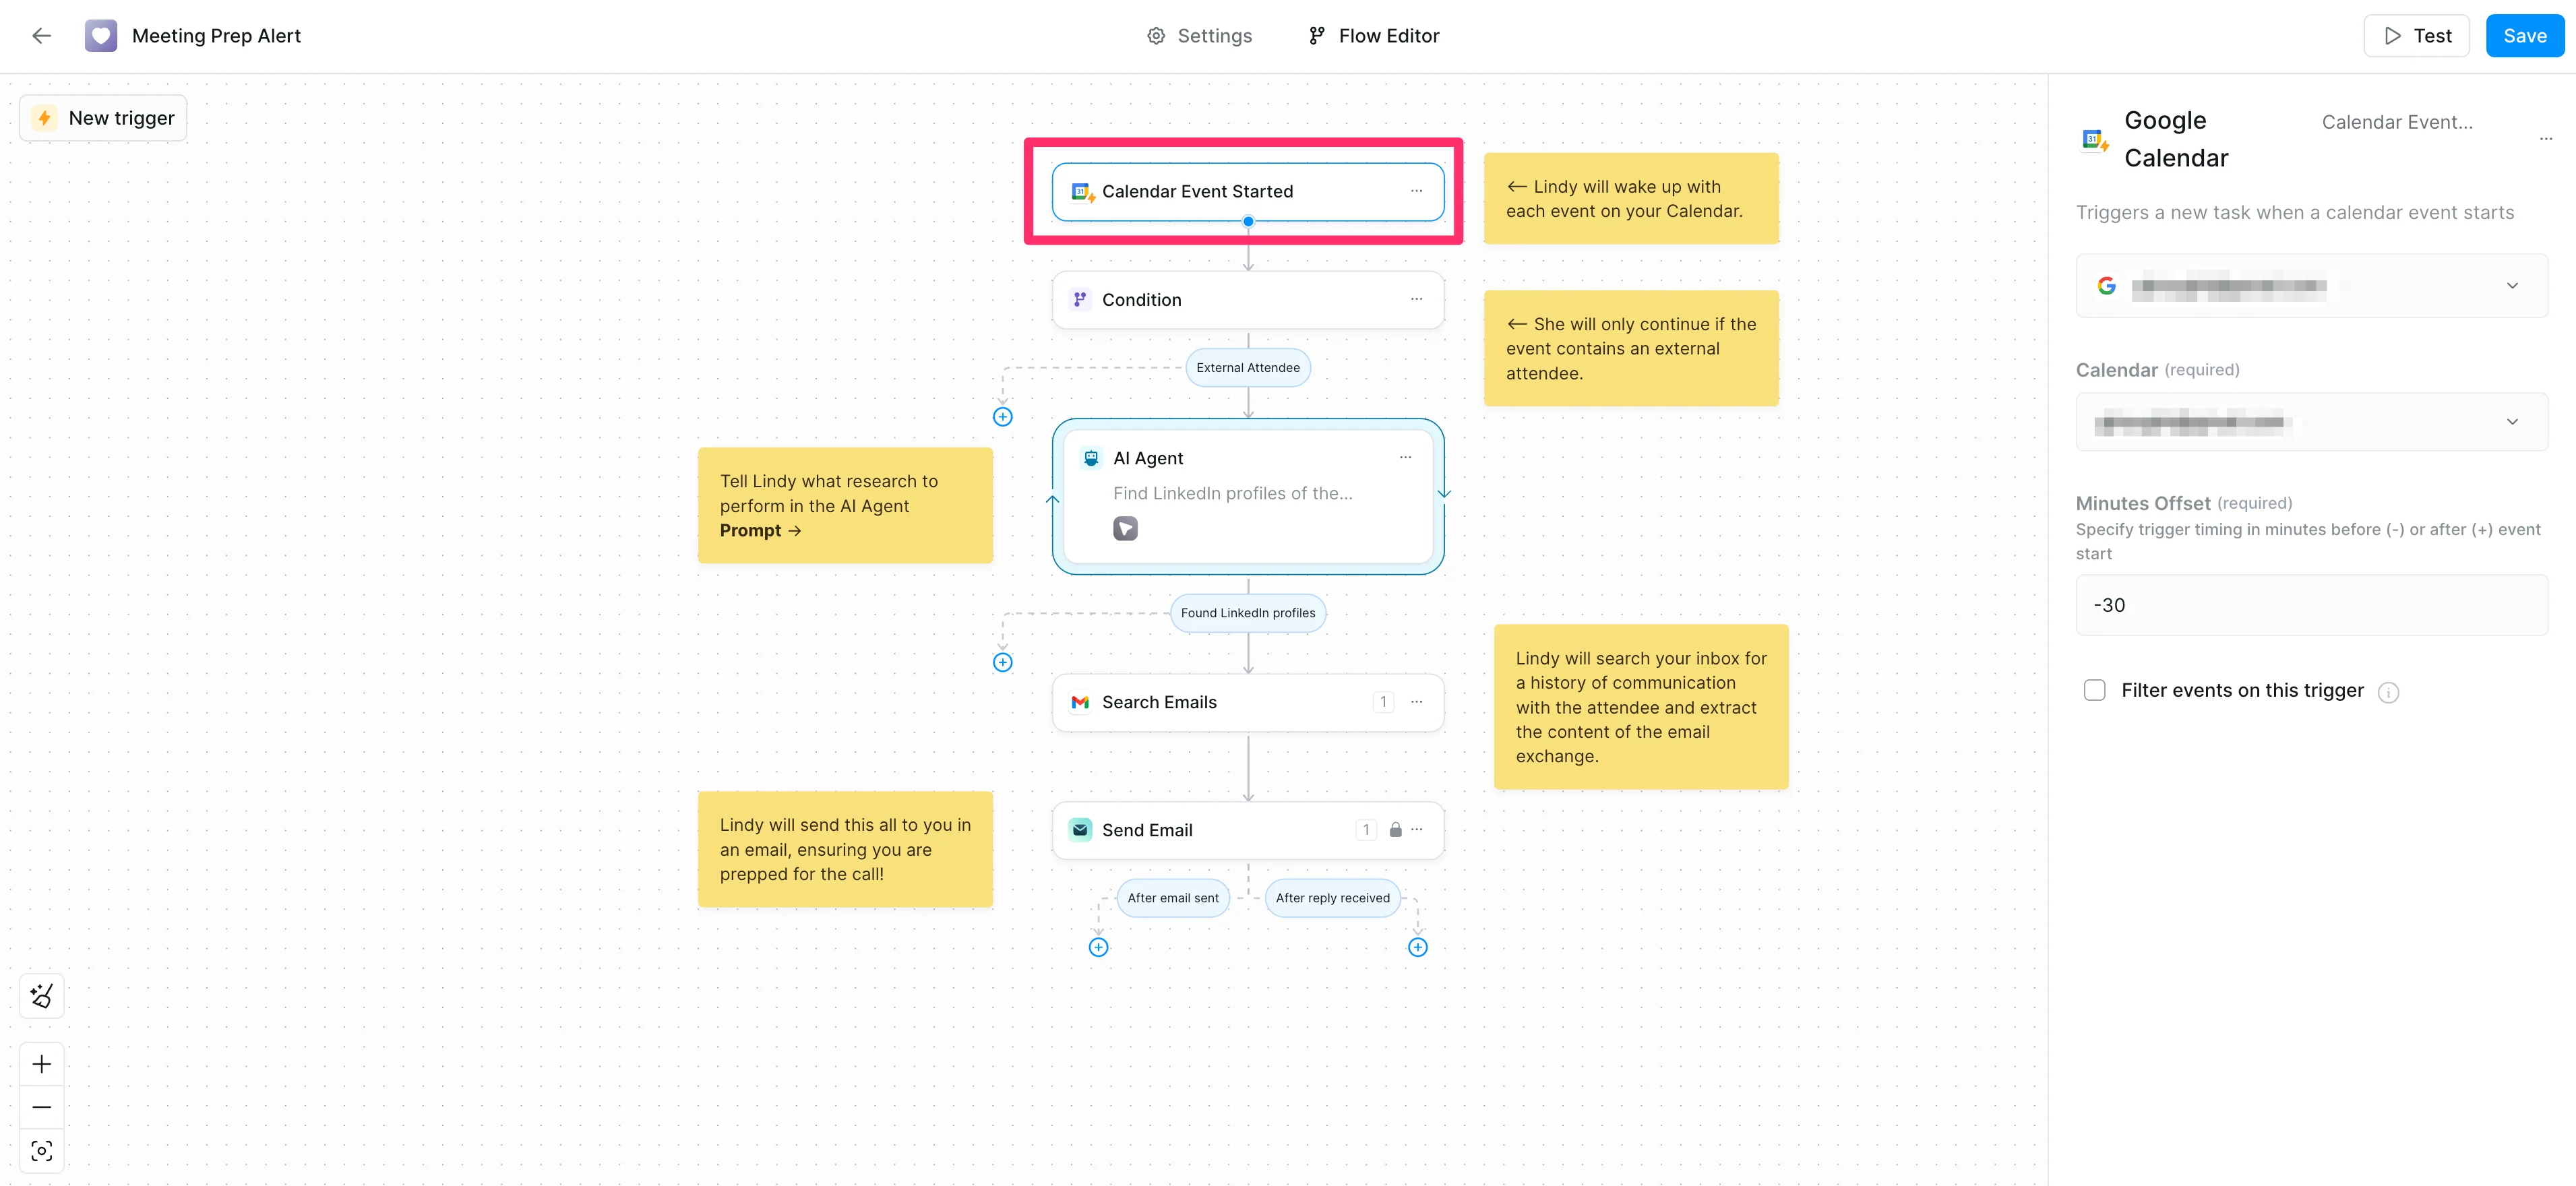
Next, you'll set conditions for when Lindy should perform research on attendees. To do this, click on the Condition step in the flow. By default, it's set to trigger events with external attendees (i.e. people with email addresses not ending in your domain). You can customize this prompt to fit your specific needs and preferences.
Default Prompt:
The meeting includes external attendees (their email addresses will end in something that does not end in "@[insert your domain name])”

Step 2: Define the research steps
After the Condition is set, we’ll define the AI Agent step. This involves setting up an AI agent to search the internet for information on attendees. To do this, click on the AI agent step in the flow. Review the main instruction prompt, which by default instructs Lindy to find LinkedIn profiles, current job titles, and companies of attendees. Feel free to edit this prompt if you want to gather additional or different information.
Default Prompt:
Find LinkedIn profiles of the external attendees, their current job titles and companies.

After setting the search parameters, you’ll need to configure the jump condition. This tells Lindy when to exit the AI Agent step, usually after it has successfully searched for or found the information about the external attendees.
Default Prompt:
You performed the search to look for the LinkedIn profiles of the external attendees, and their current job titles.

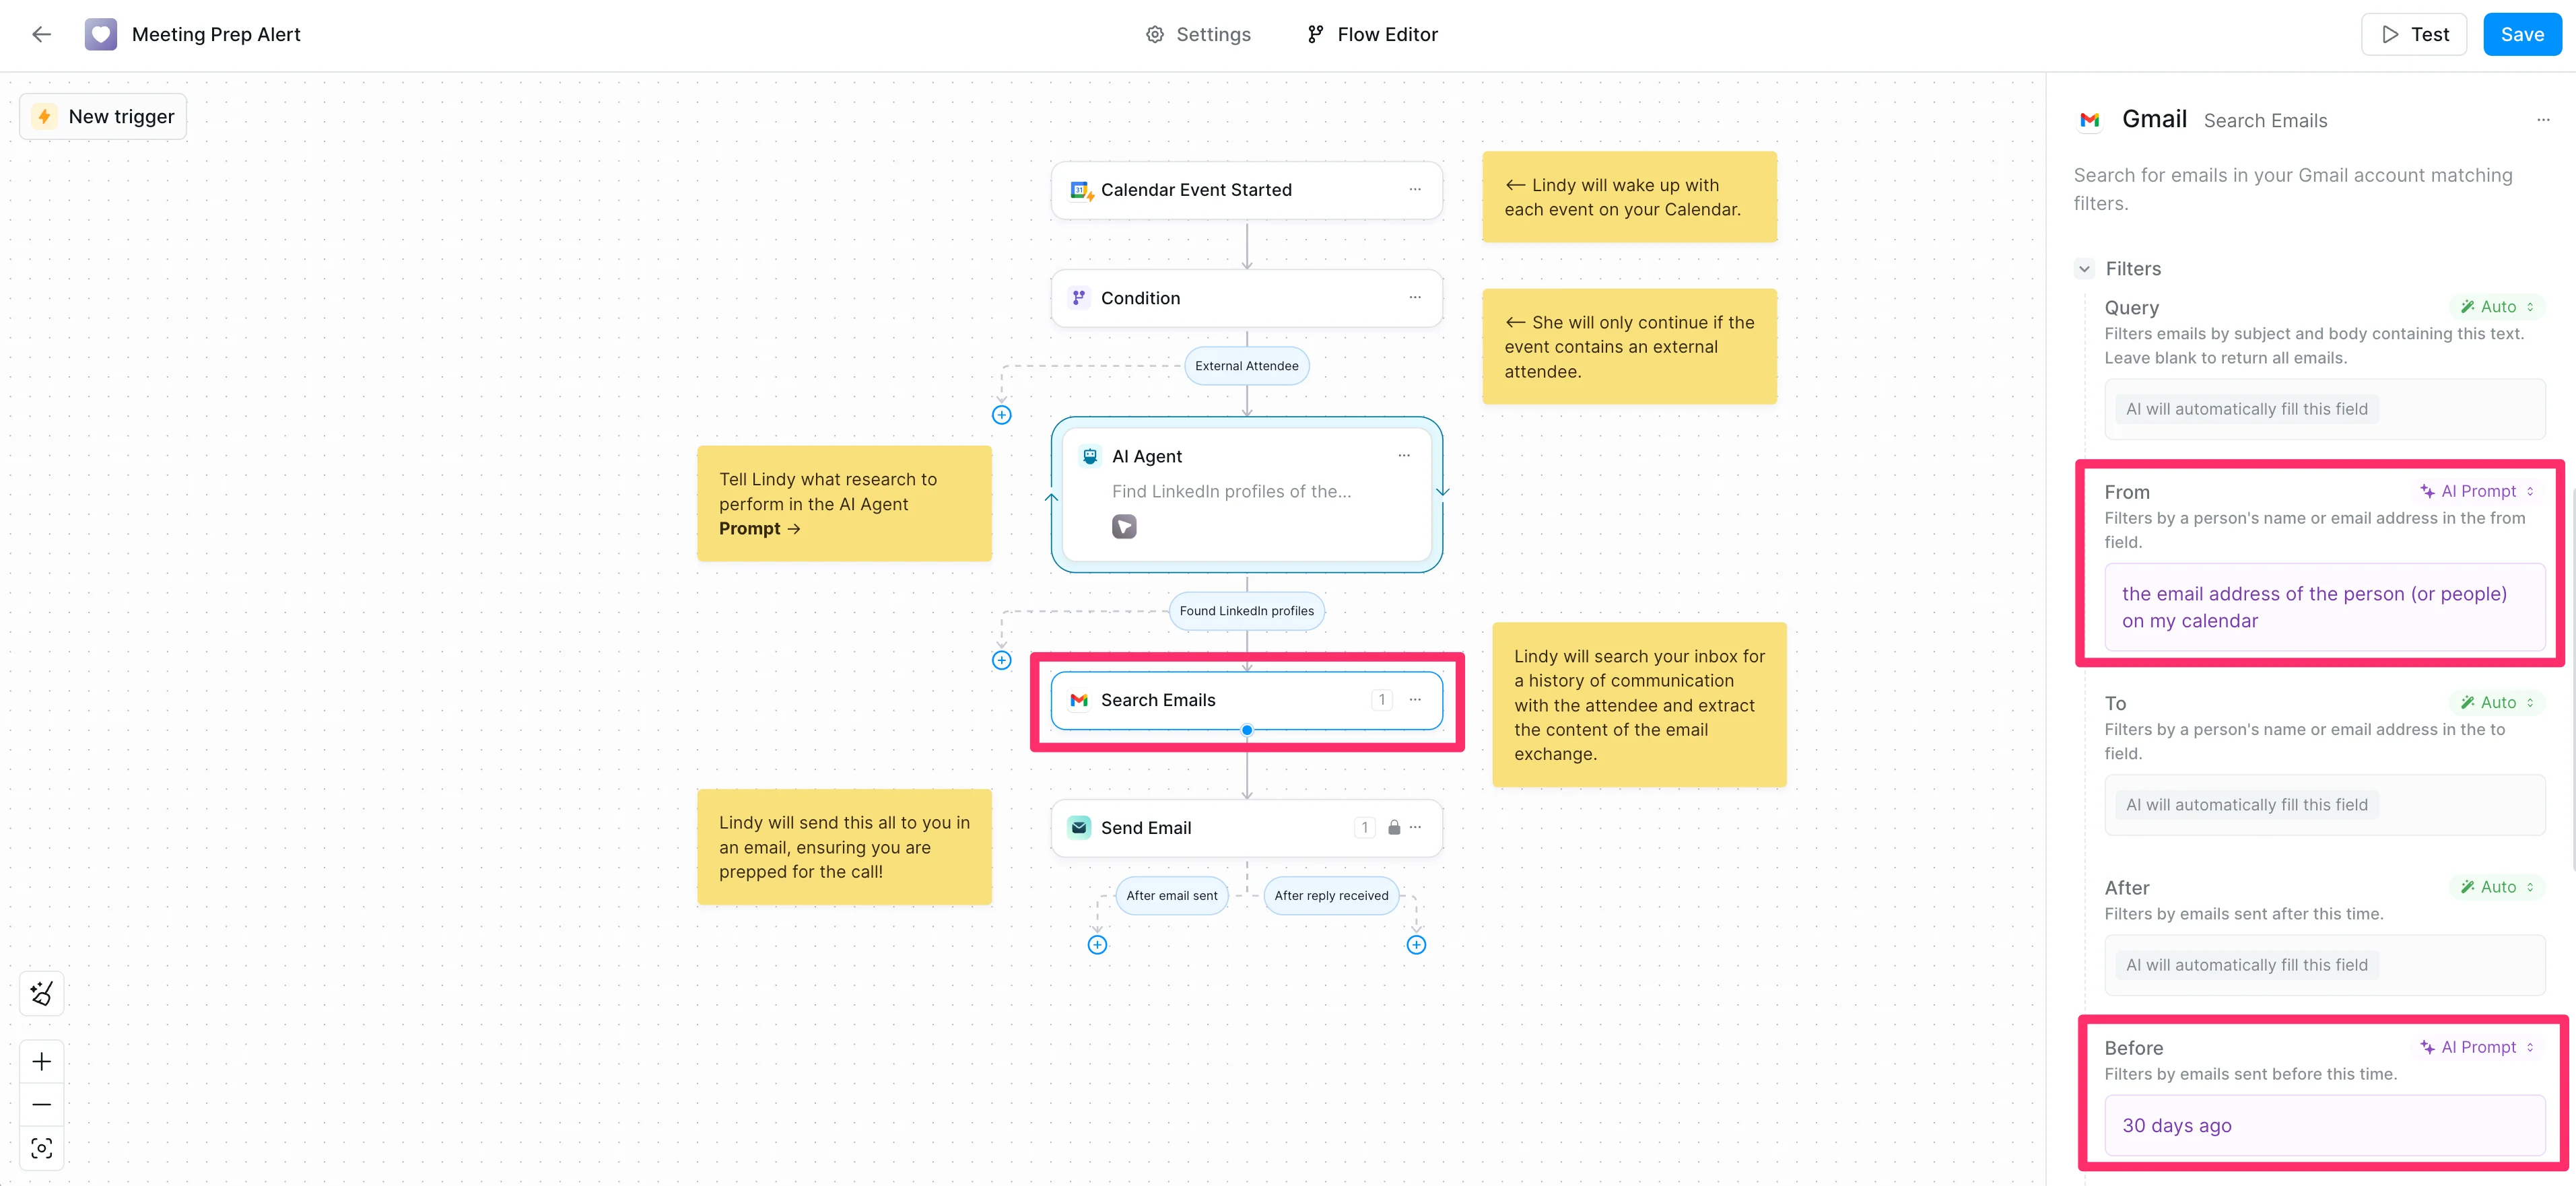
To provide a more comprehensive overview, Lindy can also search your email inbox for previous interactions with attendees. Click on the Search Emails step in the flow, set how far back in time you want Lindy to search your emails, and add any additional parameters to refine the search if needed.
Step 3: Configure the email alert
The final step is to configure the email alert that Lindy will send you with the gathered information. Click on the email alert step in the flow, set the "To" email address to “Set Manually” and add your own email to ensure you receive the alert. From there, you can customize the subject line and body of the email to include the information you find most valuable via AI prompts.

Step 4: Save and test the workflow
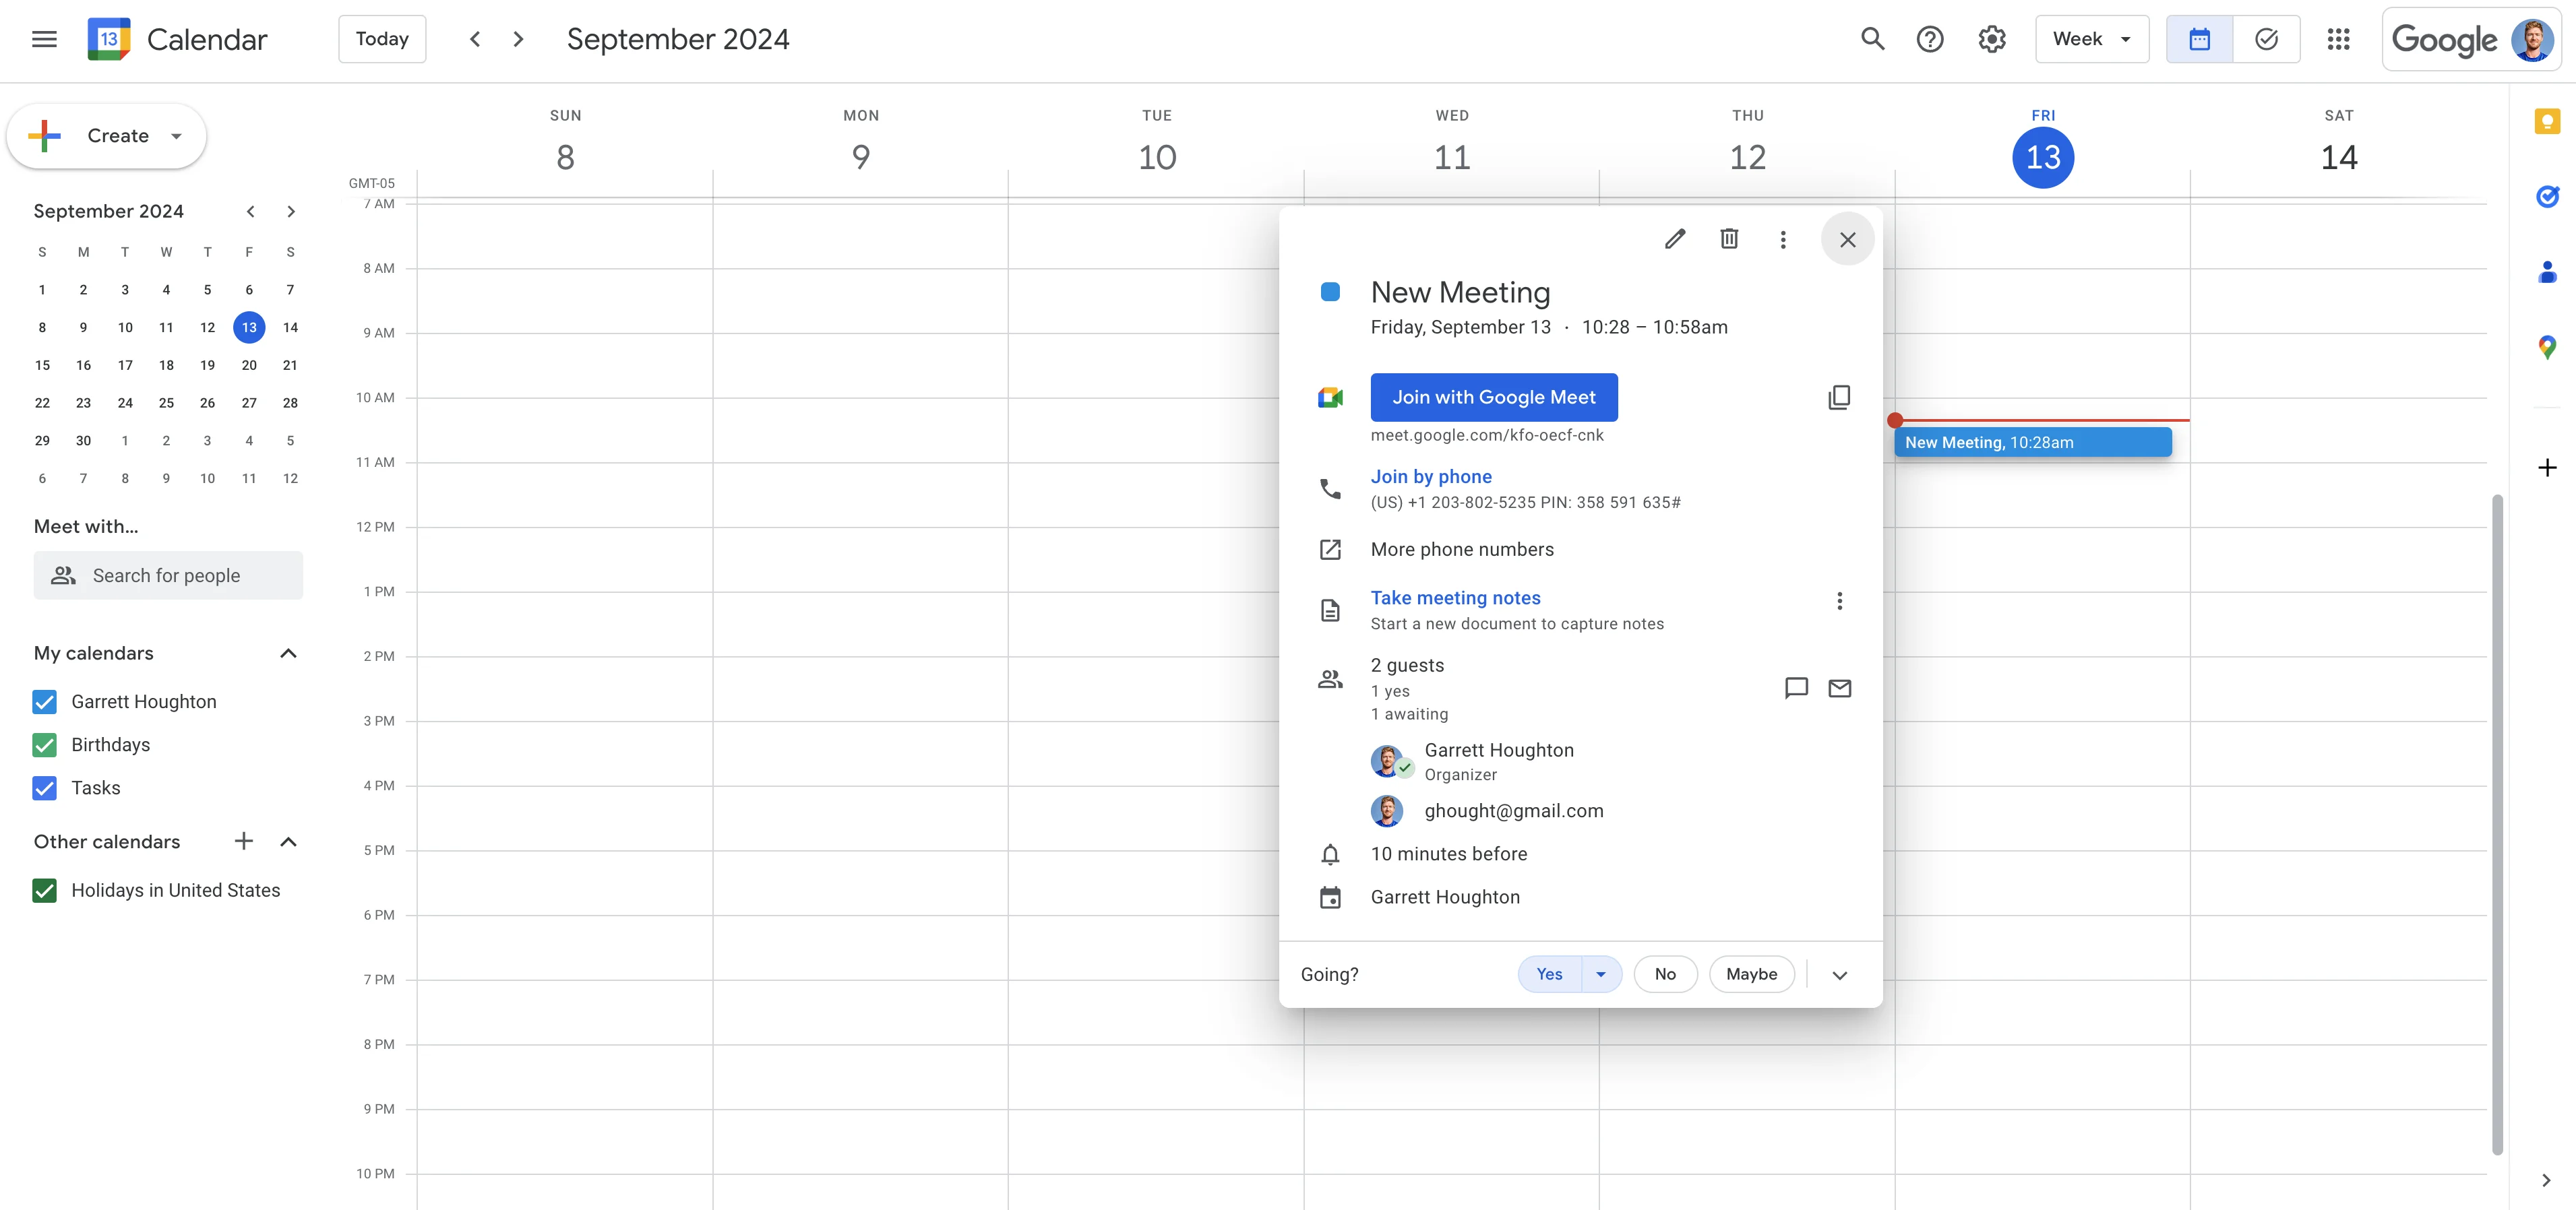
After setting up your meeting prep assistant, it's time to test it. Make sure to click the “Save” button in the top right corner of the Lindy flow builder first. Then, create a test meeting event in your calendar (with an external attendee!).
Wait for Lindy to send you a meeting prep email and review the email to ensure it contains all the information you need.
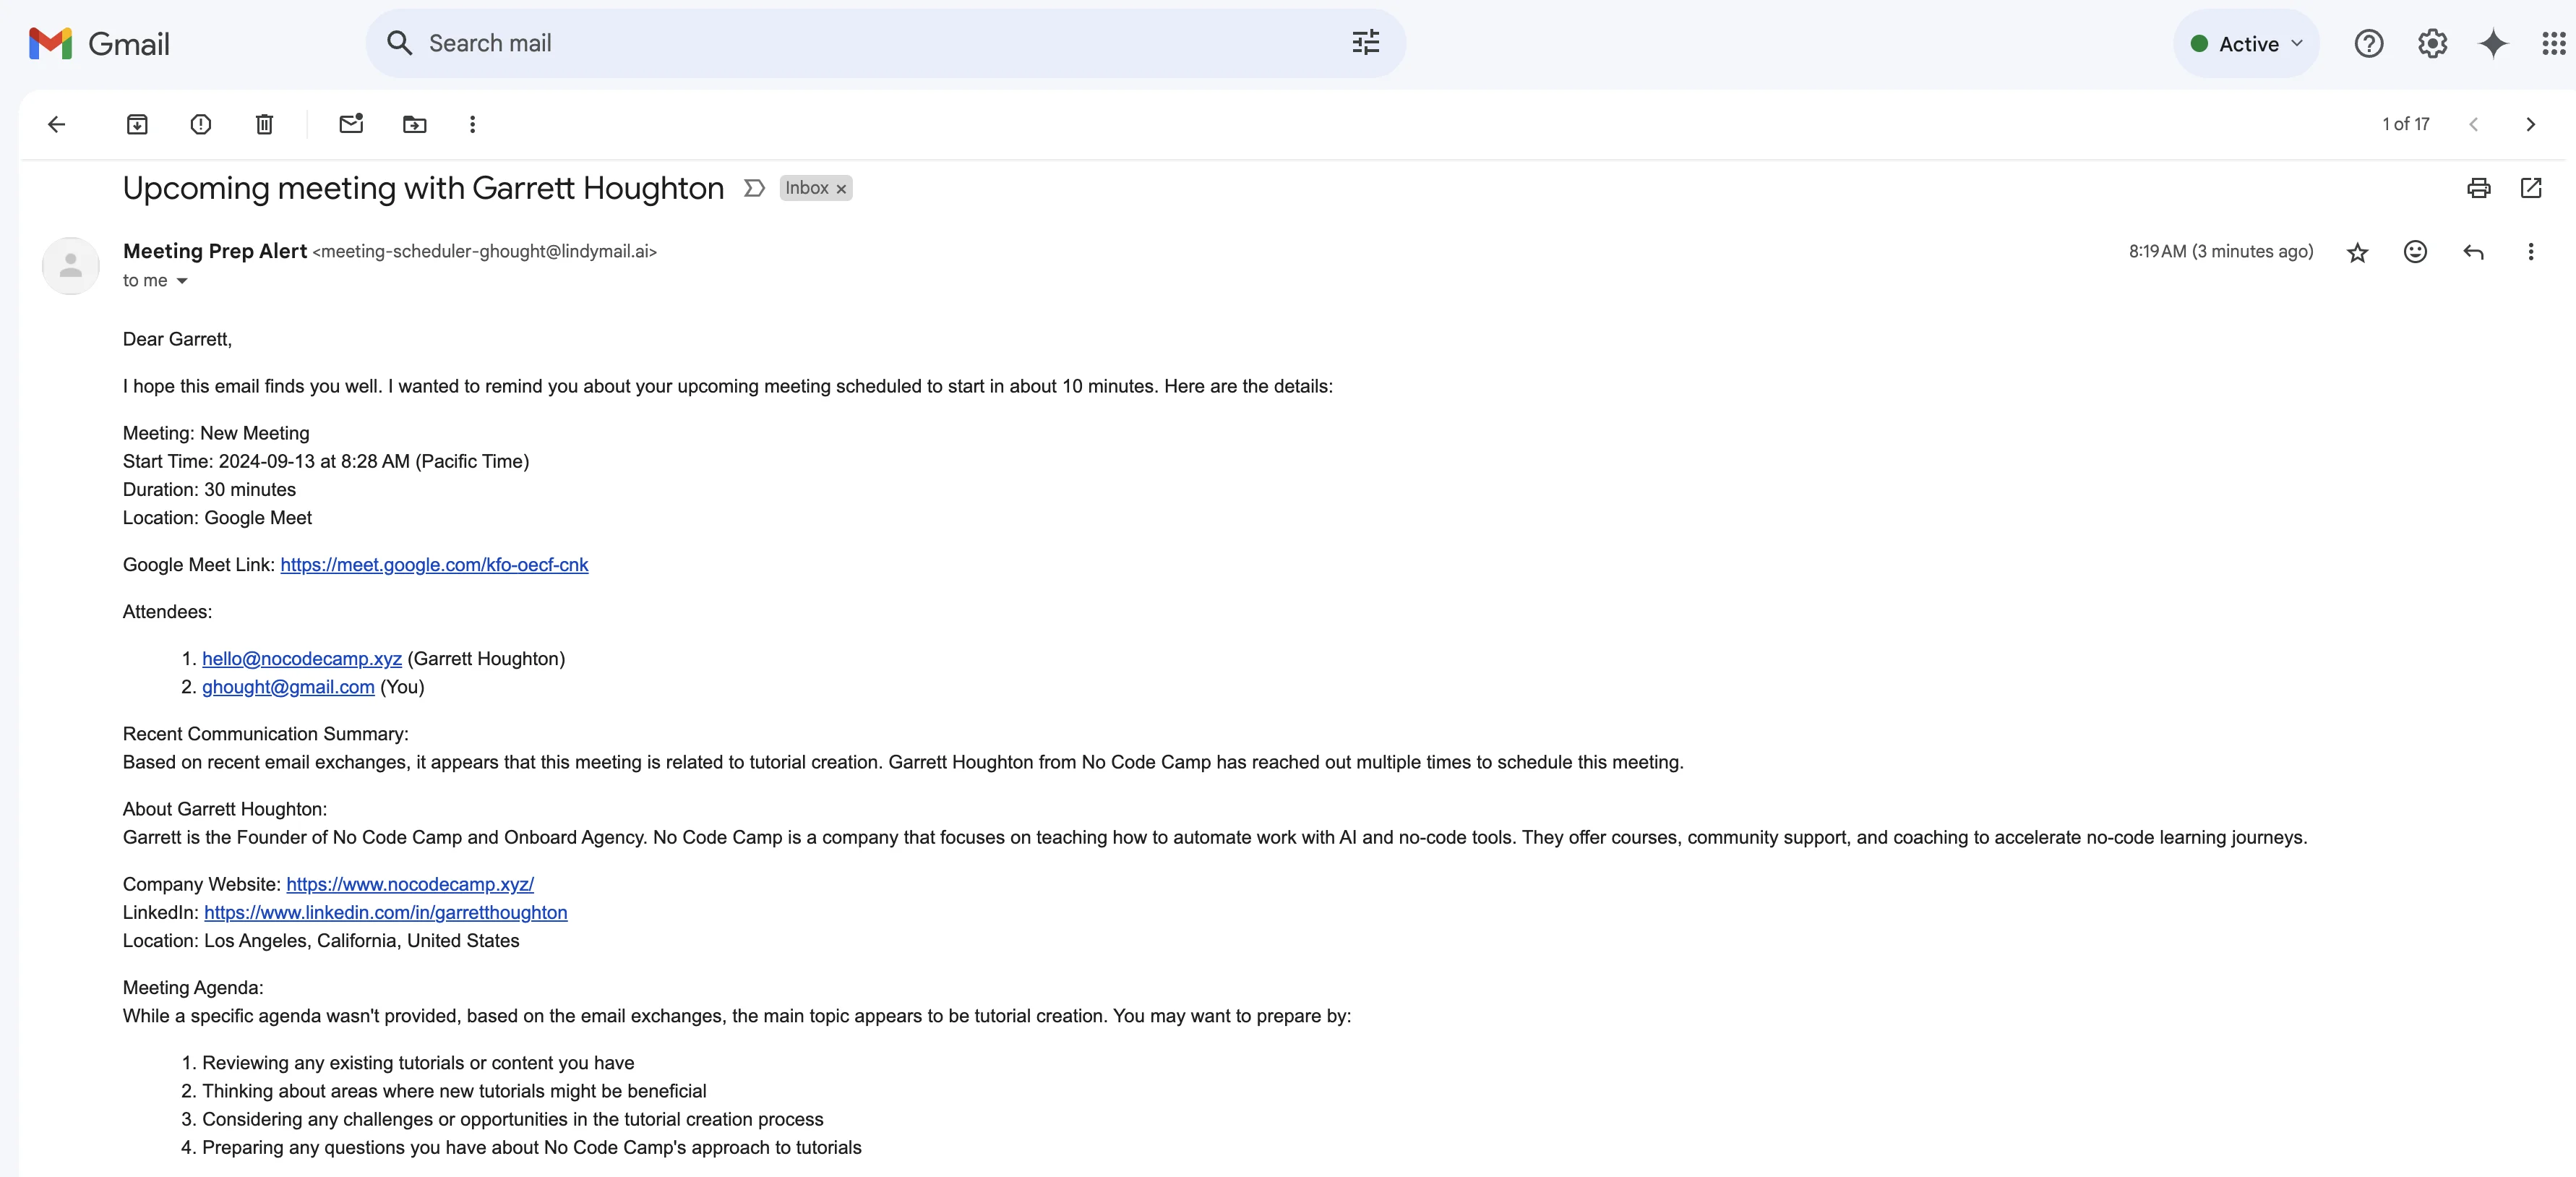
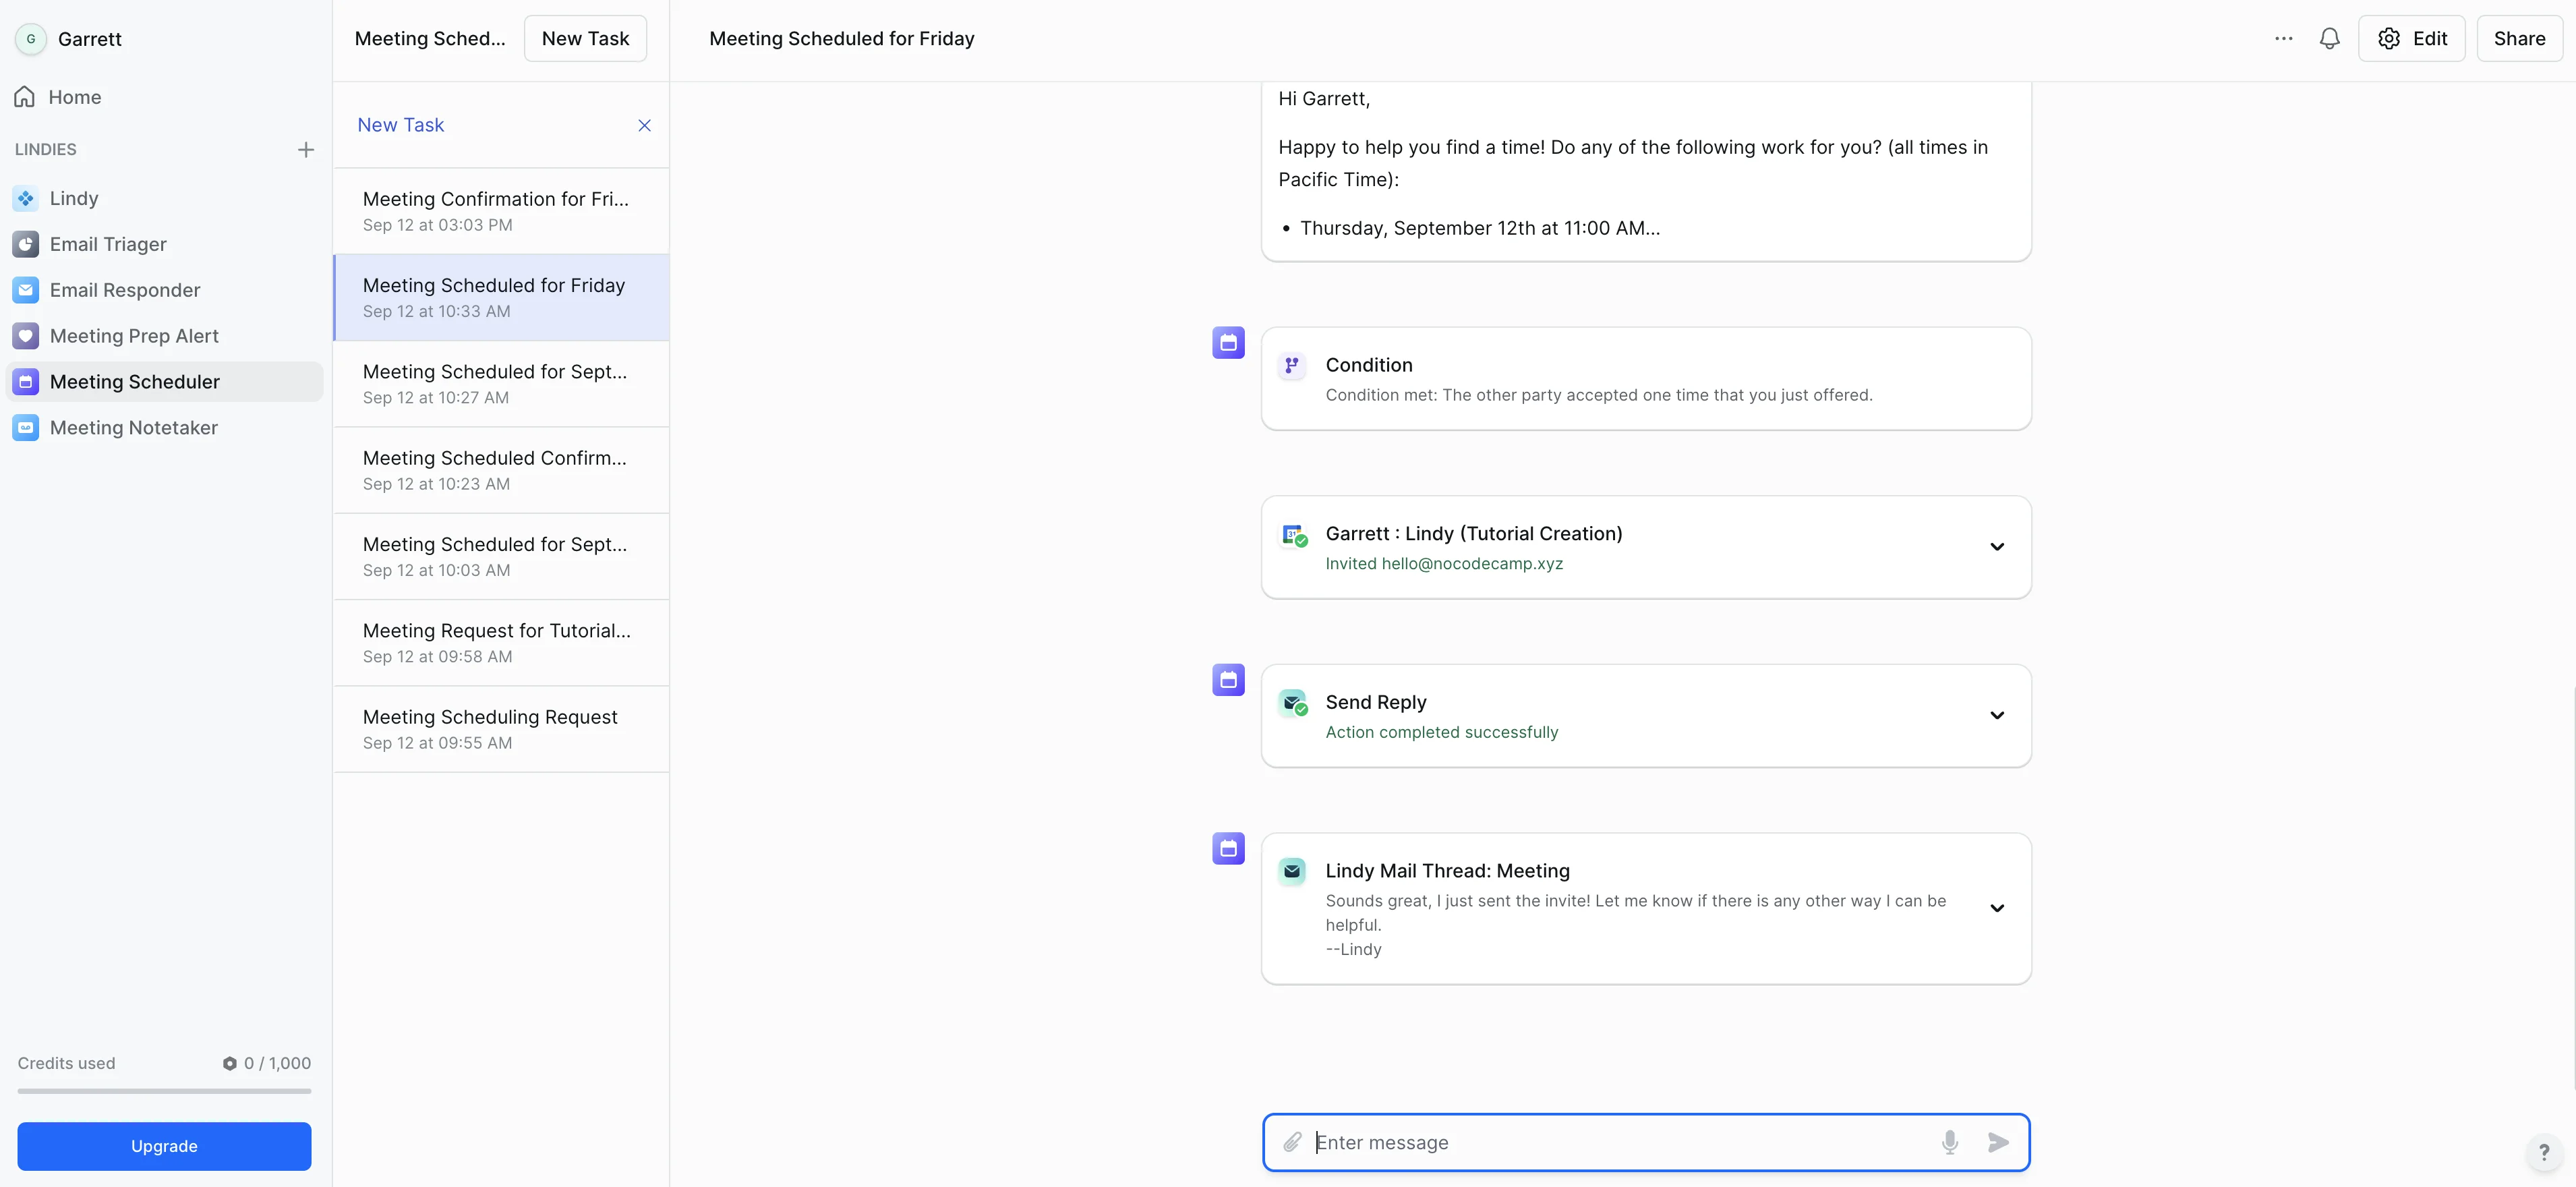
You can also check the full audit trail of each step of the test in the Lindy task view pane. This can help you troubleshoot any issues or further refine your workflow.
And that's it! You've successfully created an automated meeting prep assistant with Lindy. This assistant will help you stay informed and prepared for all your upcoming meetings, saving you time and improving your meeting effectiveness.
In the next and final tutorial of this course, we’ll create a note-taking assistant to automate the next steps coming from your meetings. See you there!
This tutorial was created by Garrett.